For the last few strips they’ve narrowed to the point where a single strip will now span from one end to the other. Good and bad. The good side is no seams to fit, the bad side is that both ends have to be just right. Even a little off on the fit means more planing down and then strip will be too short to fit properly. So far I have been careful to fit one side, then fit the other side but doing so with the strip a bit too long. Once the fit is perfect I just take full length (of the angle) shavings, just one or two at a time, and test fit both ends. When the first end fits to the marks I made and the length is perfect the other end will simply drop in with the gentlest of pressure. I can then pop it out, apply glue and fit it back in followed by the usual tape clamps to keep it in place.
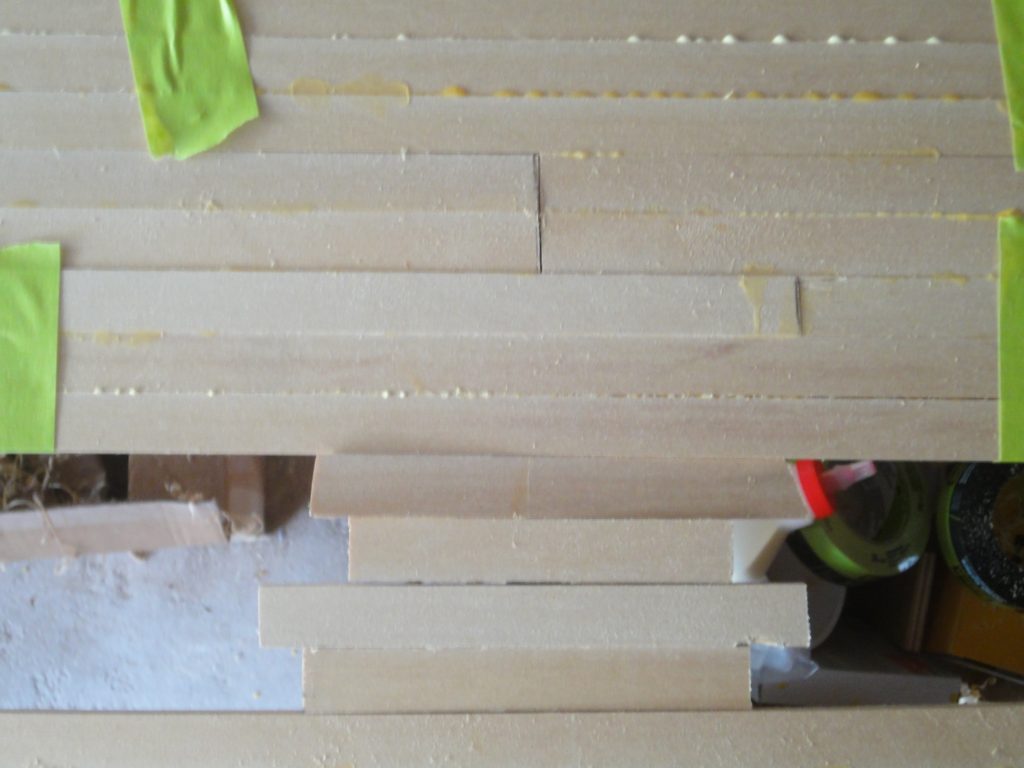
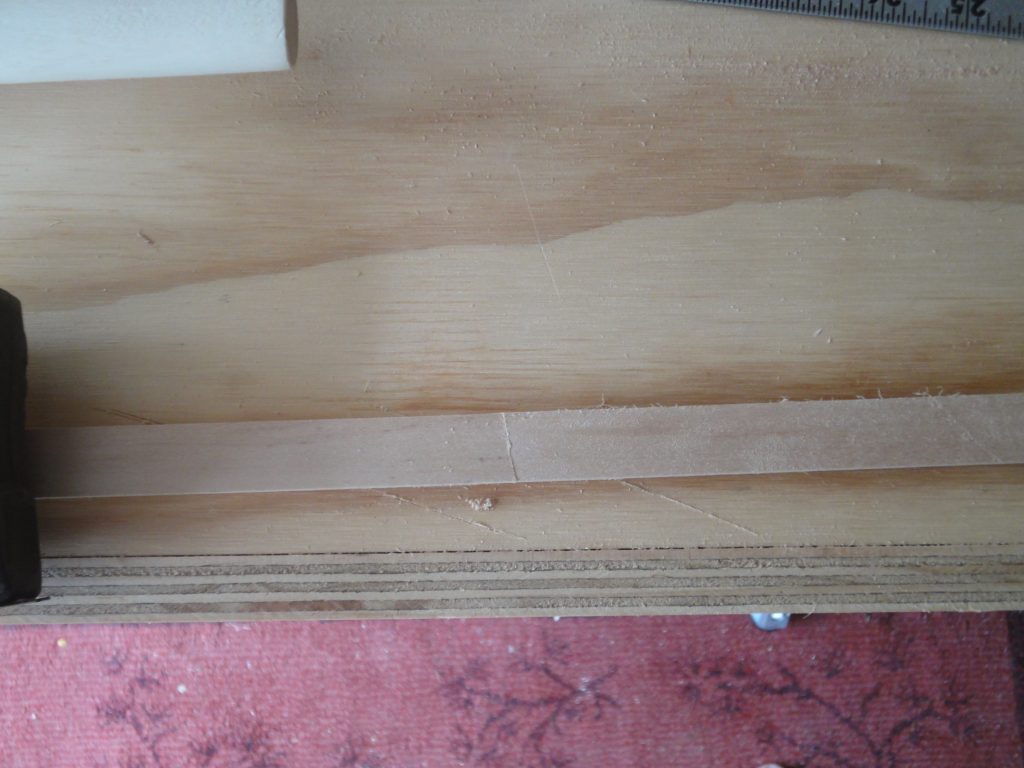
Looking to the last gap I can see on one side it’s a bit less than 2 strips and on the other side just over two strips. This tells me that either the center two strips installed earlier either weren’t perfectly in the center or, more likely, that the stripping of the sides and the resulting beveling resulted in a few strips being just a hair thinner than on the other side resulting in the slightly uneven gap. The reality is that this should have zero impact on the kayak operation and since it’s on the bottom the appearance will not be easily visible, especially given the minimal to no grain appearance of the basswood.
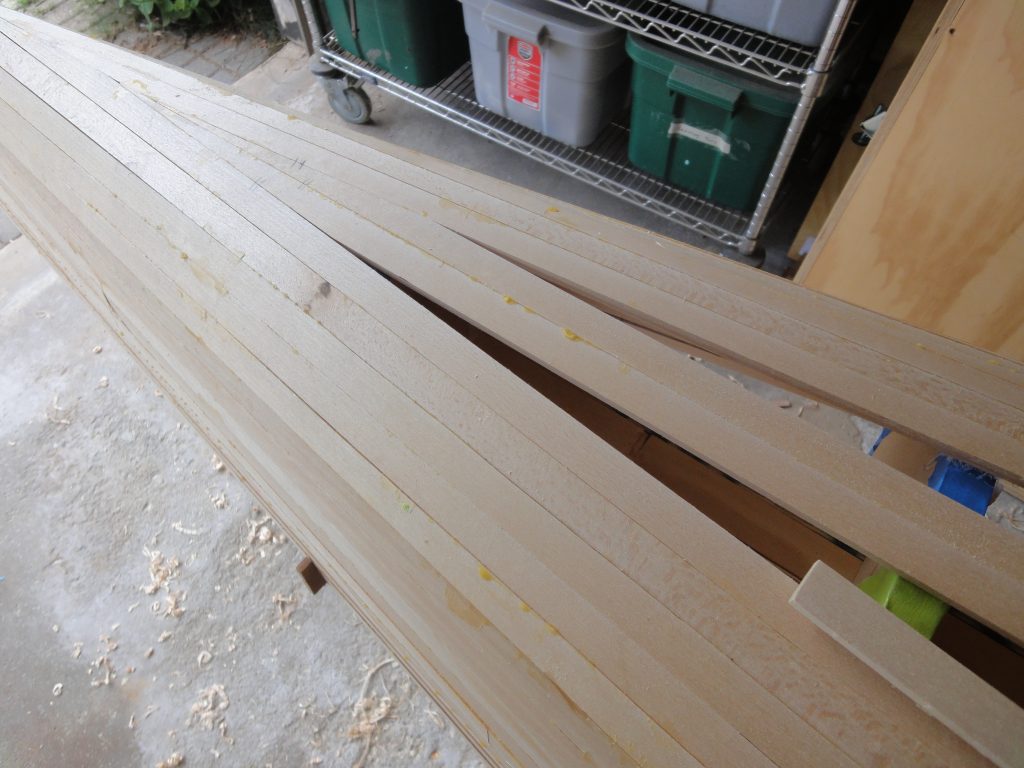
The solution to both of these issues is to install the last two strips as one. I’ve cut to size and then glued up a couple of strips. In the case of the slightly more than 2 I’ll install the next strip and the the final will be the full width and the sliver strip installed together. In the slightly less one, just the two strips will be sufficient. Hopefully the shaping will go well tomorrow and I’ll have the hull finished (from a stripping perspective) and be able to start the work required to turn the kayak over.
A couple of nights after work this week I was able to add a pair of strips. Nothing different than what I’ve been doing for awhile now.
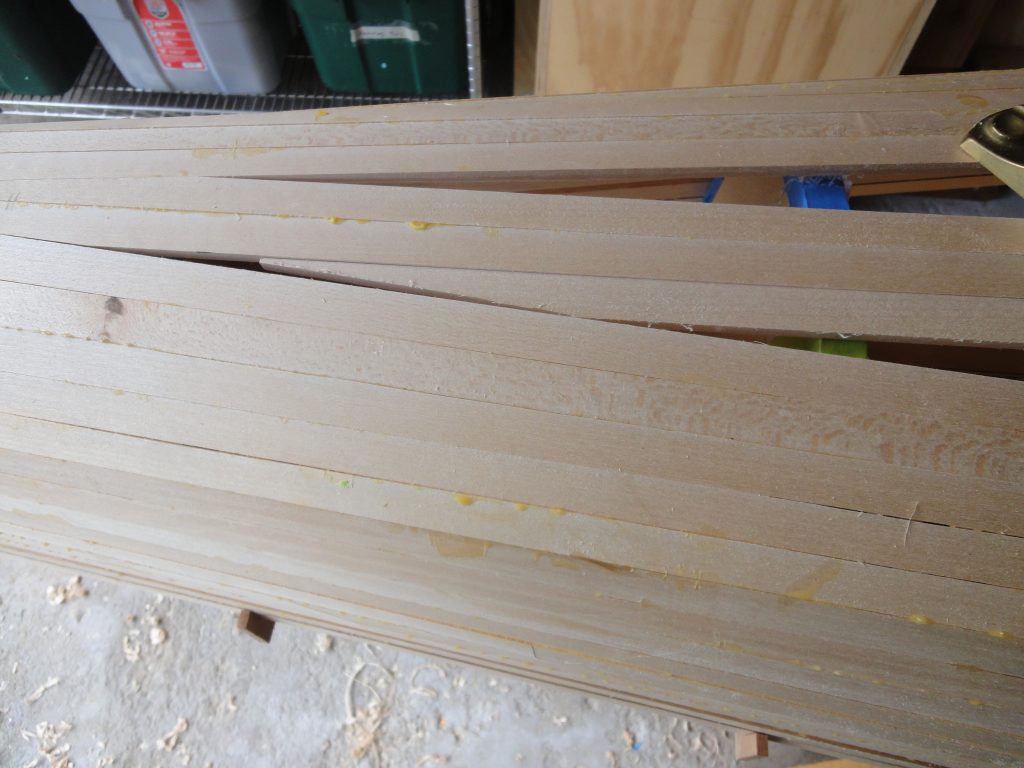
I checked at the widest point and it looks like just over 4 strips will be necessary to complete the hull. You can see a gap of about an eight of an inch. I have some ideas on how to handle this but I think I’ll probably just glue two strips together and then shave it down to a just a bit larger than one strip resulting in an over sized piece that will just fit the remaining space.
Looking forward to the three day weekend. Hopefully the hull will get finished and I can flip it and start on the deck. We’ll see…
I got in a little bit of time one night last week but the majority of the work here is from this weekend. Continuing to strip and started making a transition in how strips are applied.
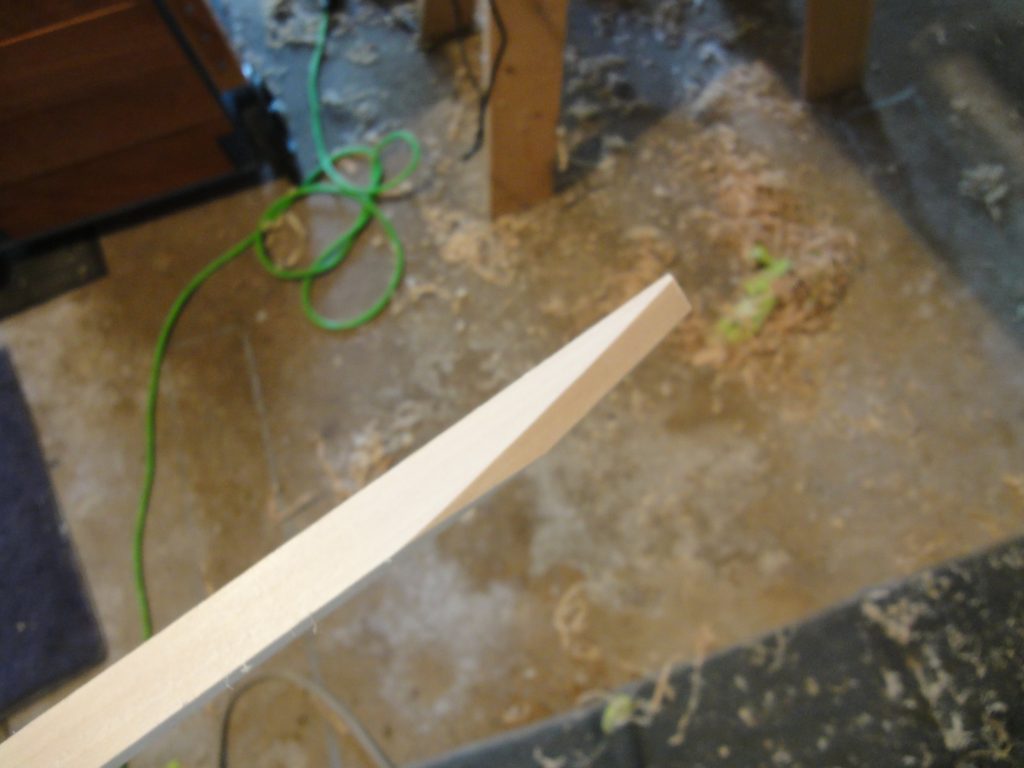
First off, the strips are twisting and turning quite a bit. The following image shows a straight strip that is attached “properly” at the stern but not yet curved or attached anywhere else. Notice just how much it will have to bend to fit.
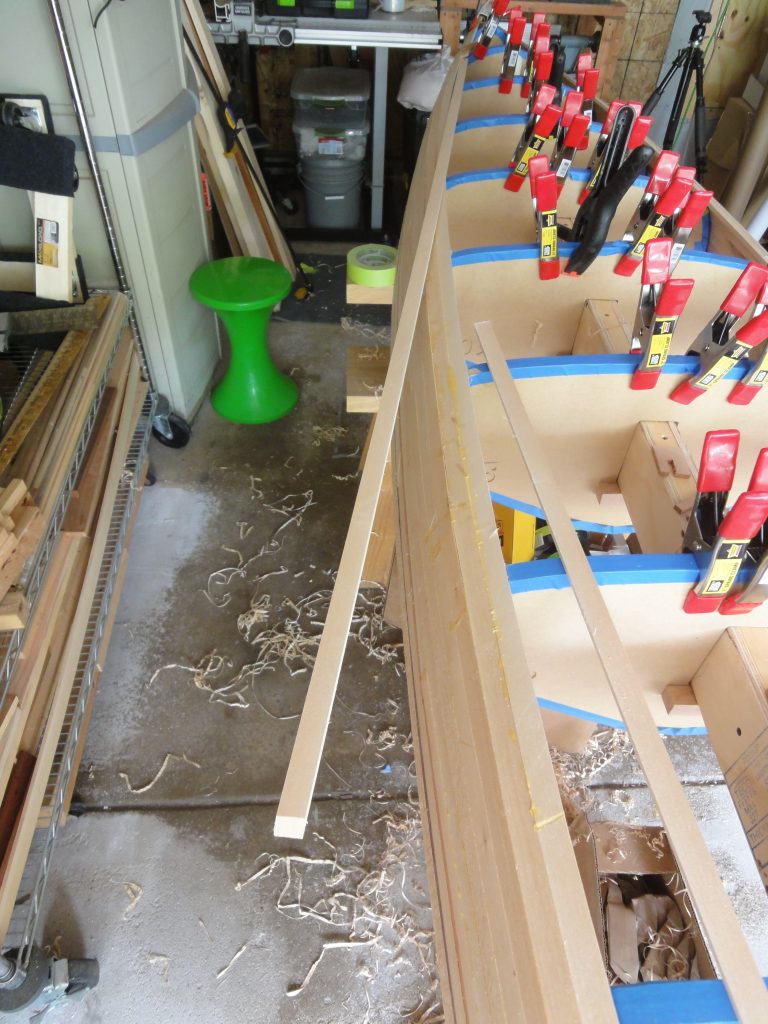
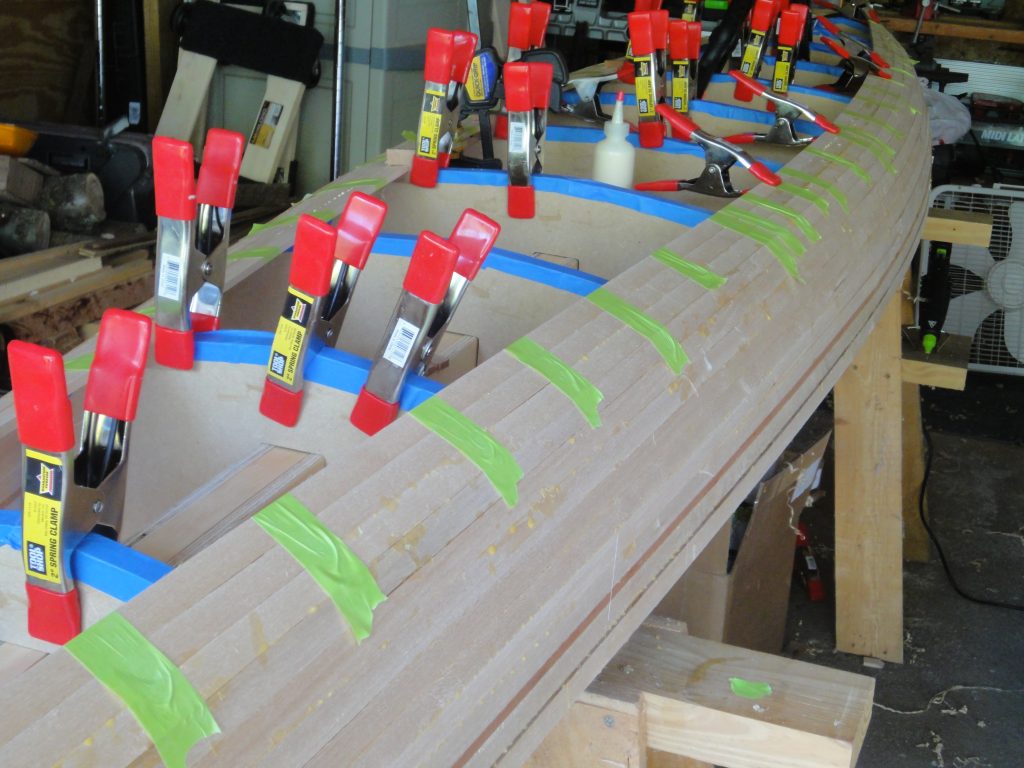
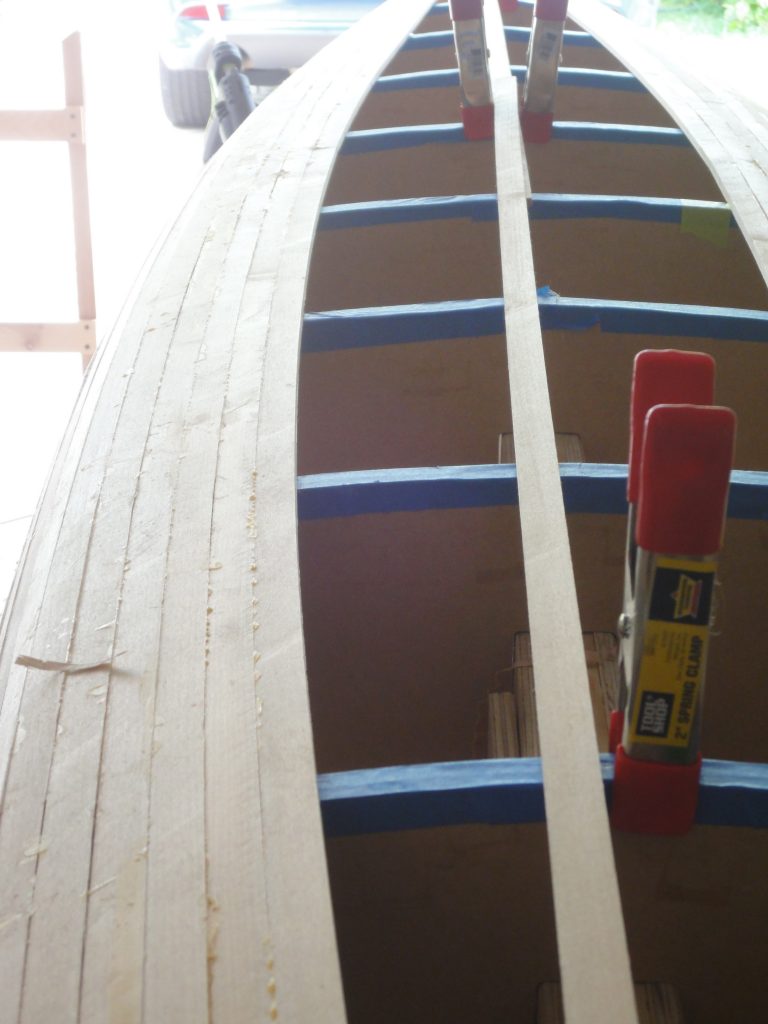
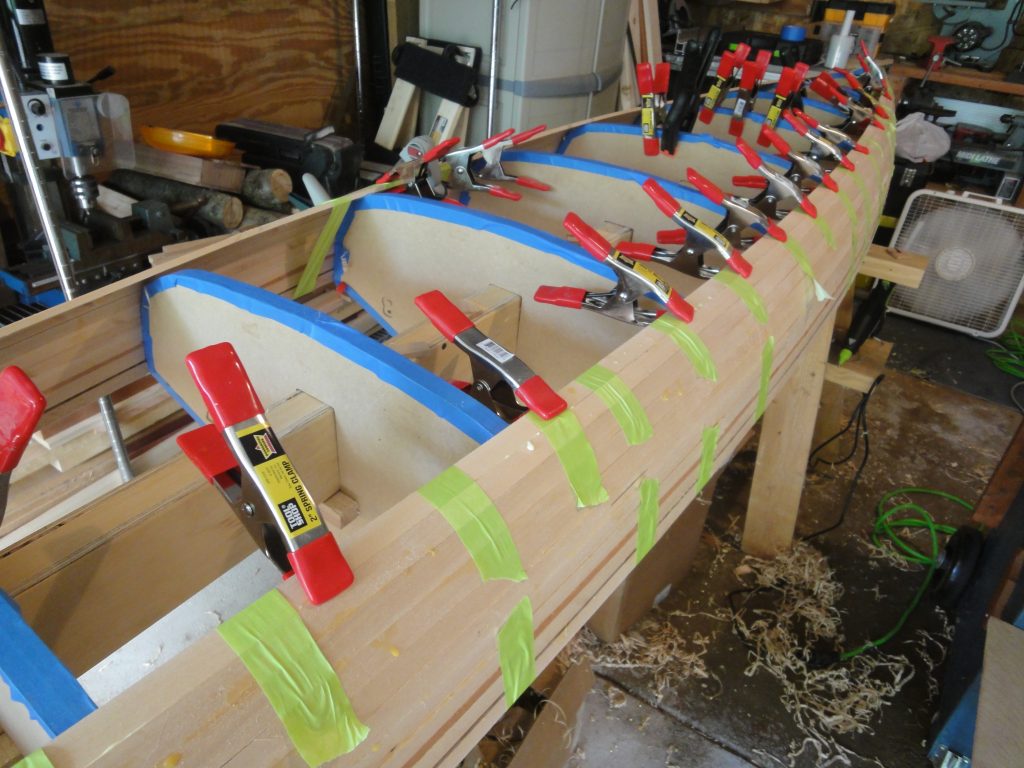
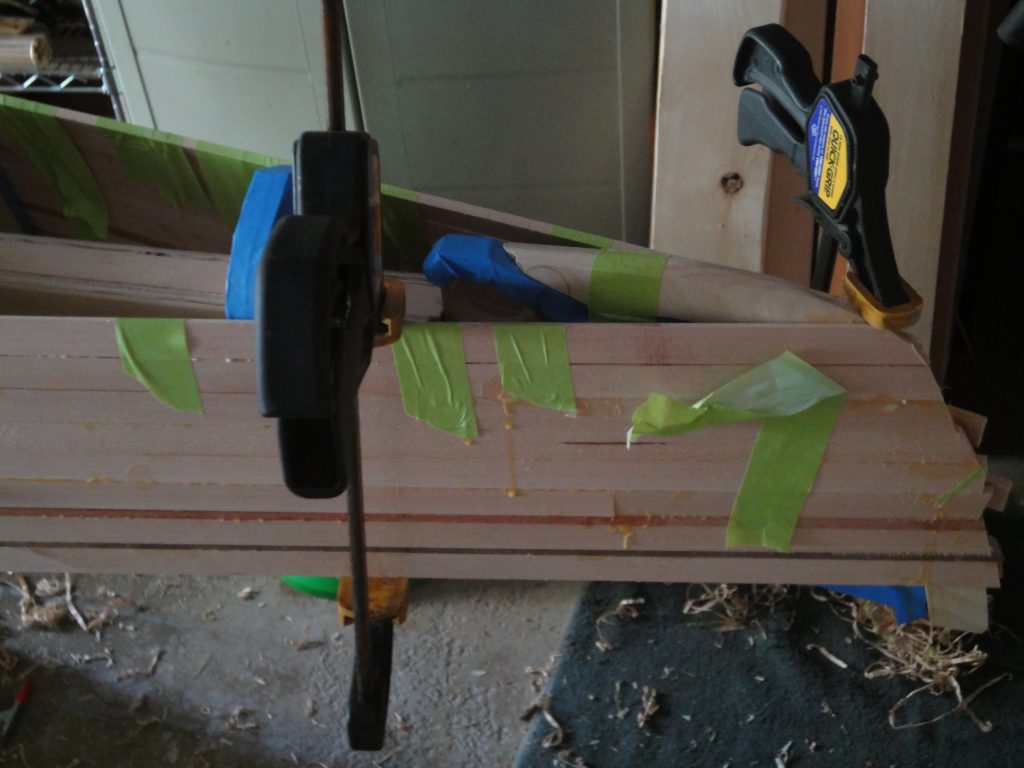
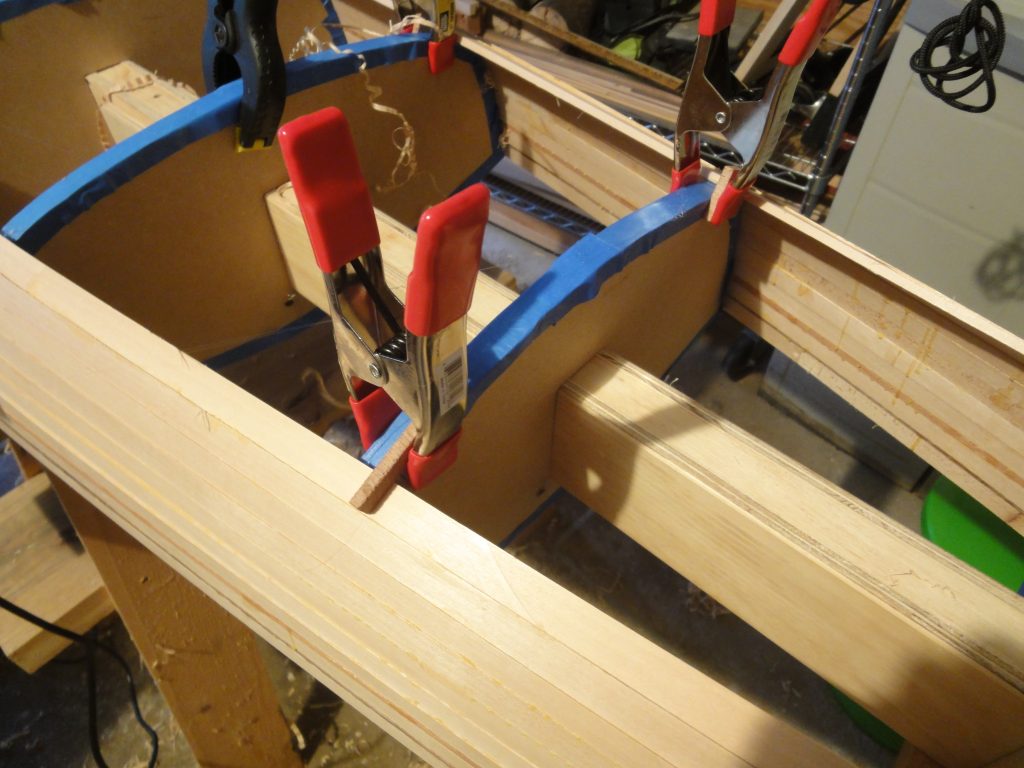
To get these strips to make the curve (and twist at the ends) has required lots of “tape” clamps and lots of other clamps along with occasional creative clamping methods.
I’m also finding that the hull doesn’t always want to lay against the forms so I’ve been “spot welding” it back in place using the hot glue. Each time I need to clamp it for a few minutes to setup. These wood C or U blocks that I made are also useful for holding the strip in place on the curves while I glue it up and get it clamped in place. The down side is these sometimes end up glued to the kayak or form and snap when they are removed. Thankfully I made up a bunch so my supply is holding out so far.
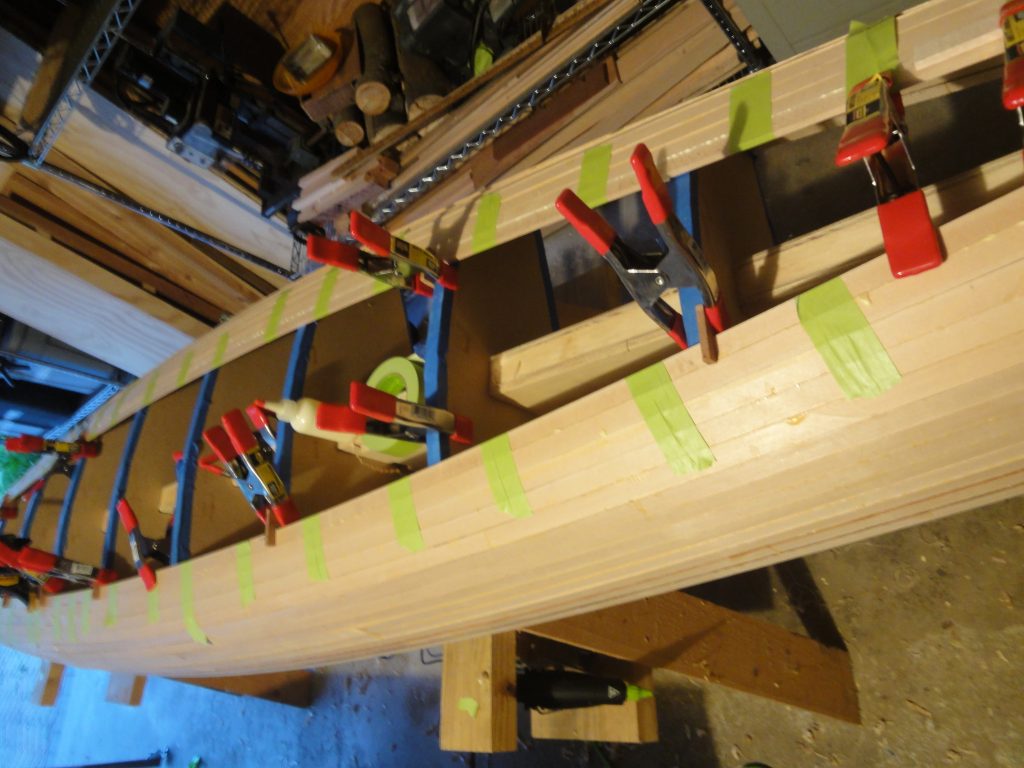
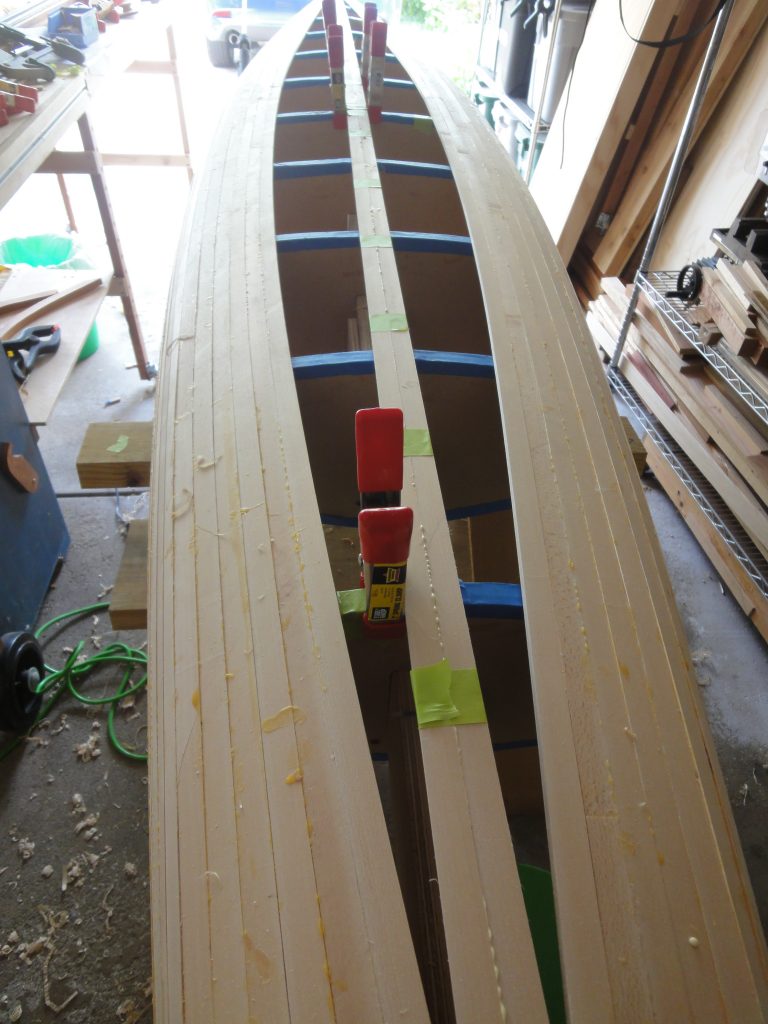
One major hurdle was reached this weekend. Well, one big and one little too. The stern and bow have both been covered with strips and the strips have now turned from nearly vertical to almost horizontal. In addition the chine has been fully turned too so the strips from one end to the other are pretty much flat. Passes with the Robo-bevel have become unnecessary on this part as even a single pass takes off a full width shaving. However there is still quite a bend in the strips. Placing a straight strip down the center also reveals just how much of a curve the strips are being forced into.
The problem with the curves is that holding the strips tight to each other is getting harder and harder. Almost every strip ends up opening a gap somewhere which then has to be cut out, cleaned of glue, re-glued and re-clamped. This all takes time at a minimum and ultimately isn’t at the level or quality of work that I’m trying to put into this project. On the plus side, it really doesn’t matter which way the wood goes as it’s there to act as a framework for the eventual fiberglass/epoxy and as a visual element. So if I run the boards straight instead of curving it won’t affect the structural integrity in any way.
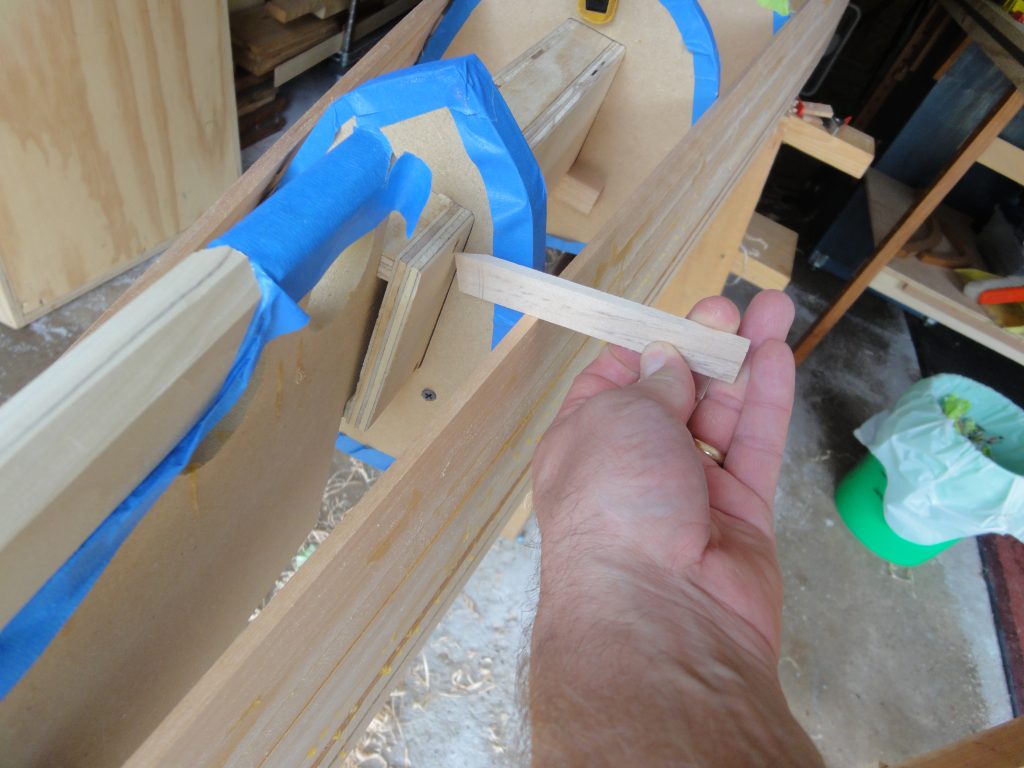
Starting at the middle where there is a tiny ridge, I went ahead and beveled two strips so the would lay on either side of the ridge and meet together tightly. The challenge comes in the ends. The series of images that follows will go over how I fit a strip into the angled edges.
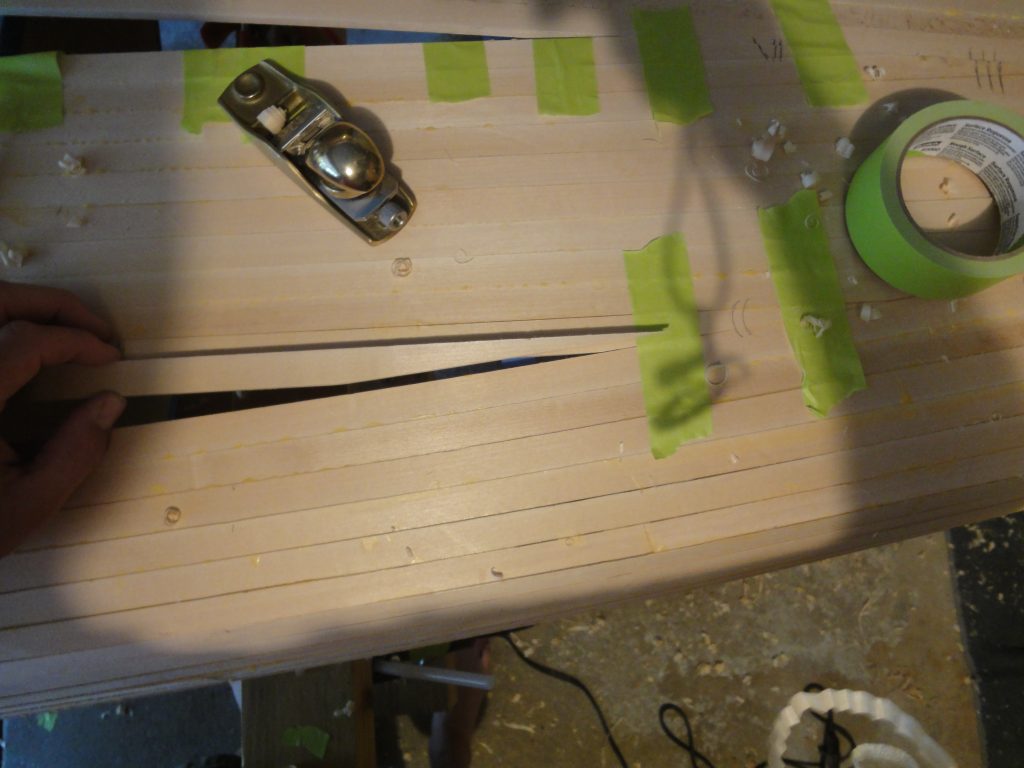
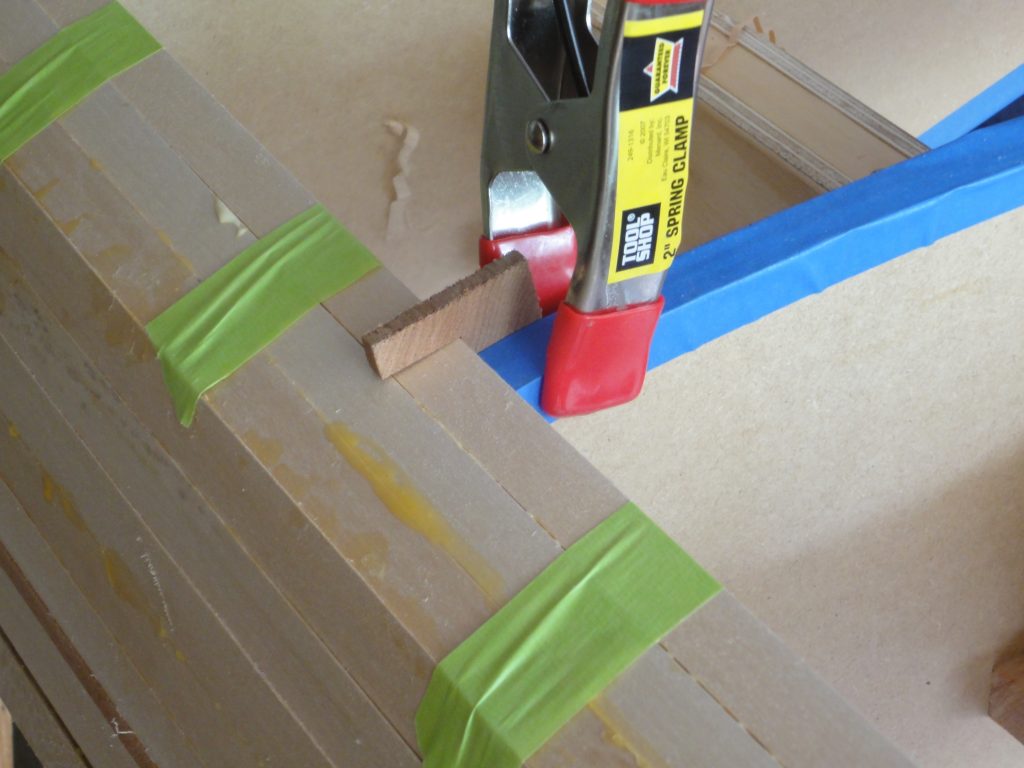
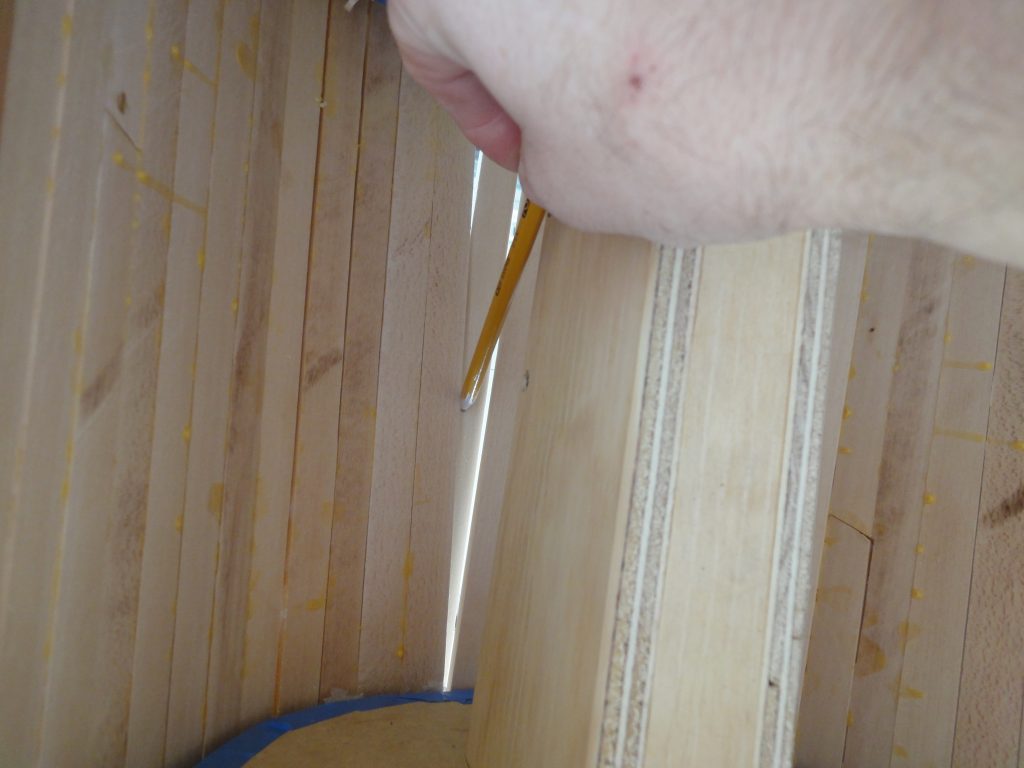
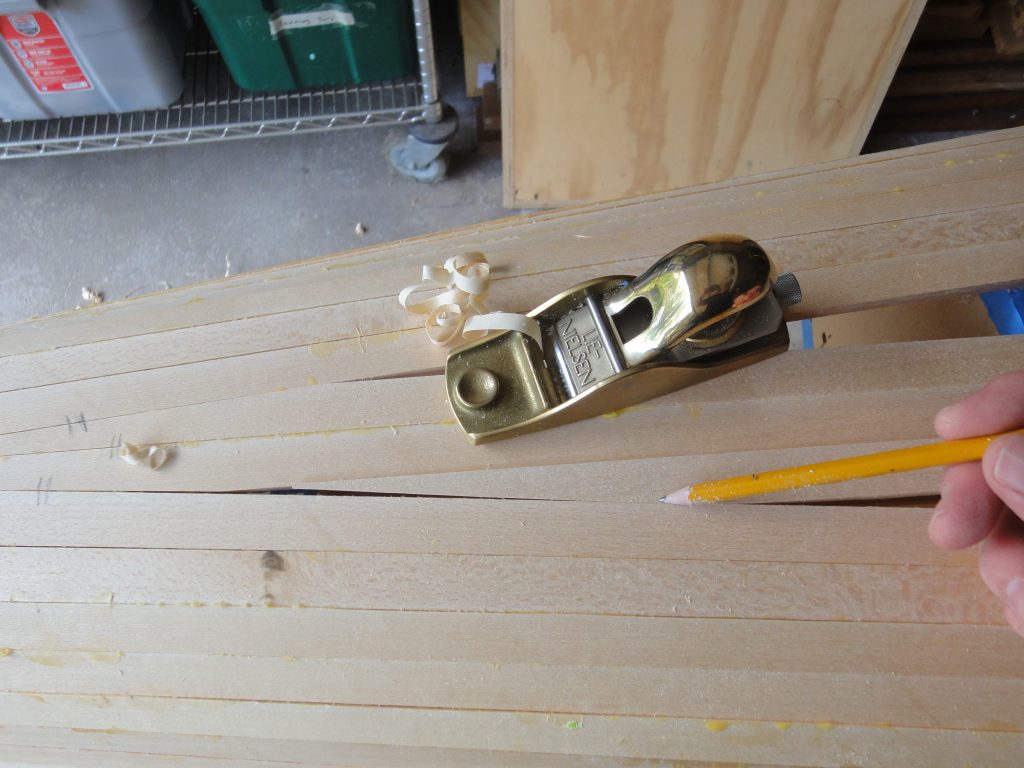
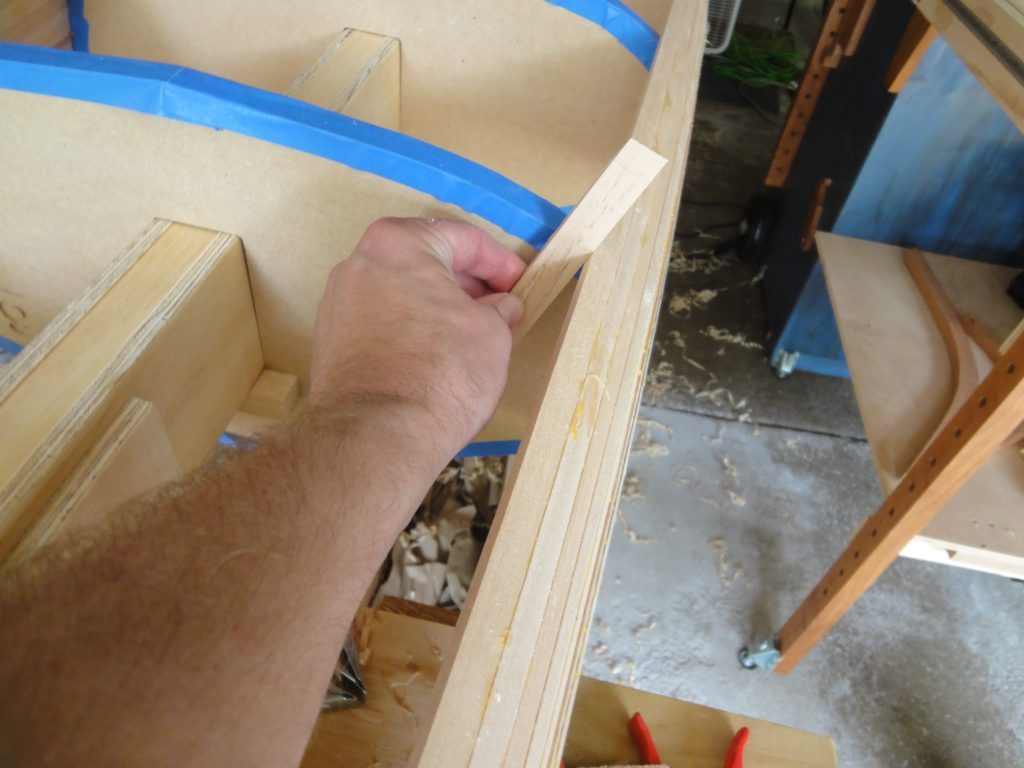
To start, I have an angled opening. I lay a strip over it and then reaching under the kayak I trace along the edge of the angled strip.
Next I cut the strip. I don’t actually cut on the line, but rather starting at a corner, parallel to the line. I could just as easily cut to the line but that would be wasting wood. After cutting the line a few passes with the hand plane makes for a straight edge.
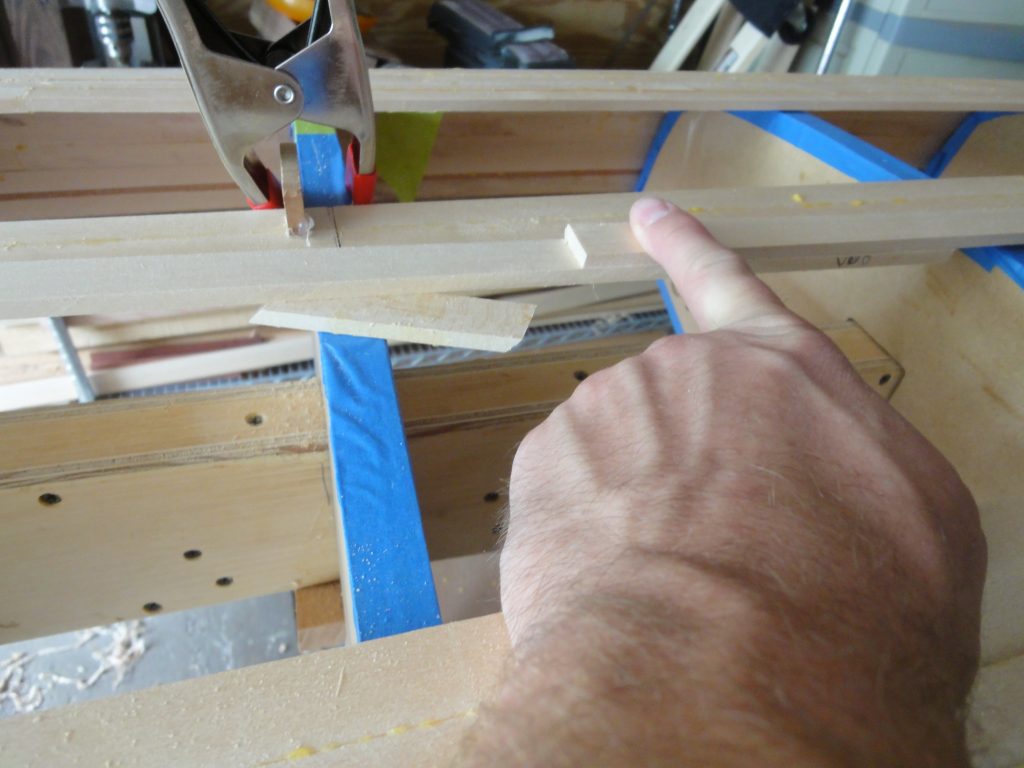
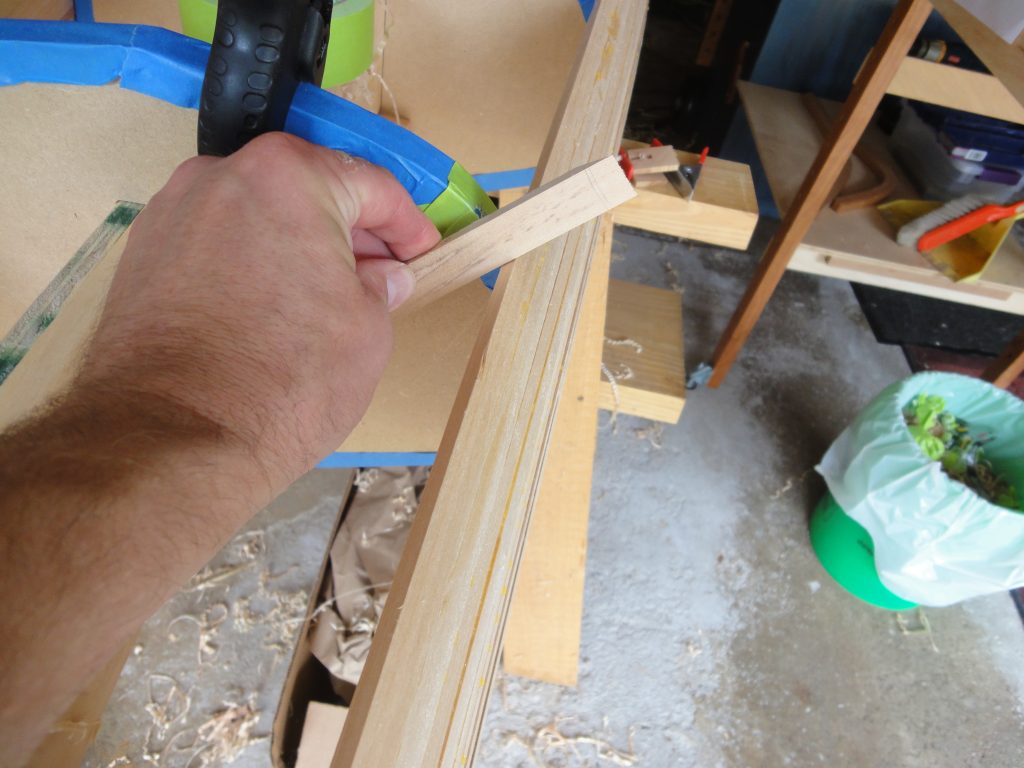
I’ll take it back to the kayak and do the first trial fit. In this case, not so good. You can see a big gap. I point at the tight spot with the pencil. This is where I need to make a few passes with the hand plane.
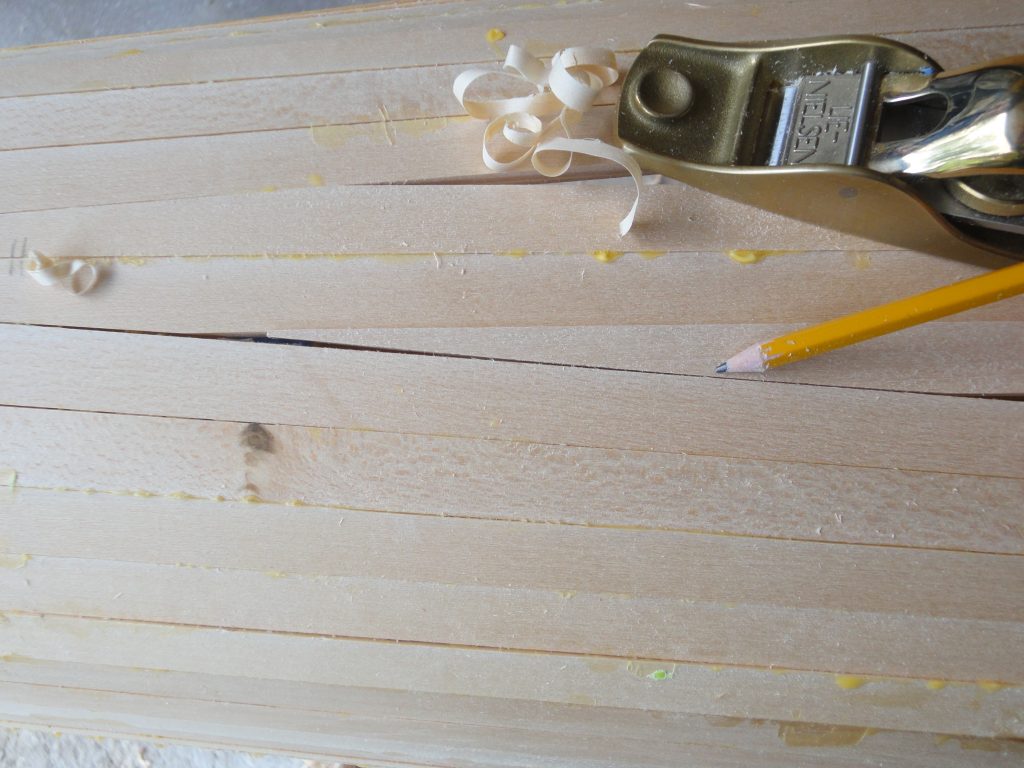
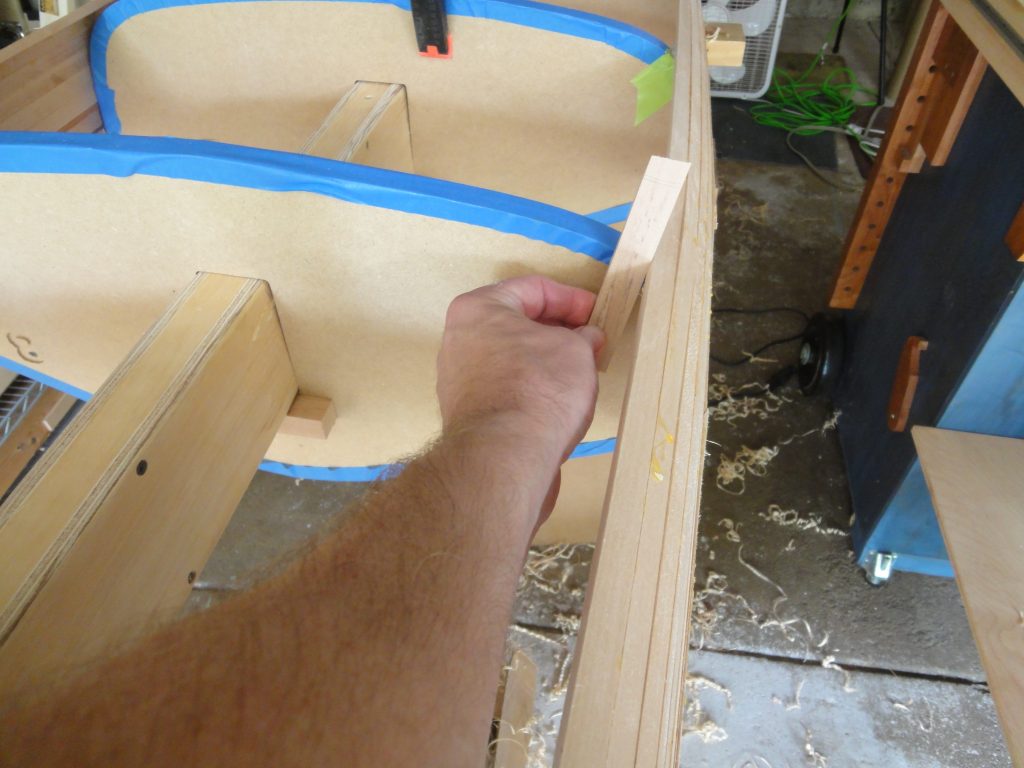
Another trial fit and the back still needs some shaving down. After the next test the middle part of the taper needs a bit of planing. Just a few light passes and now it fits perfectly. The slight gap in front of it will be filled in with sawdust “putty” later one.
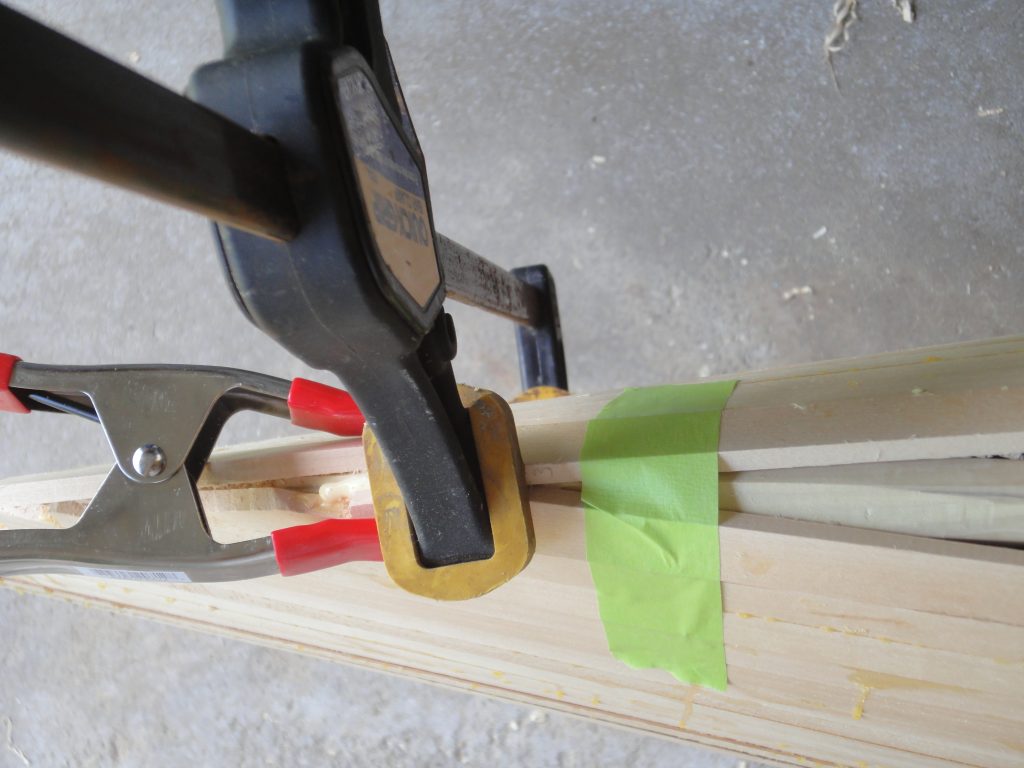
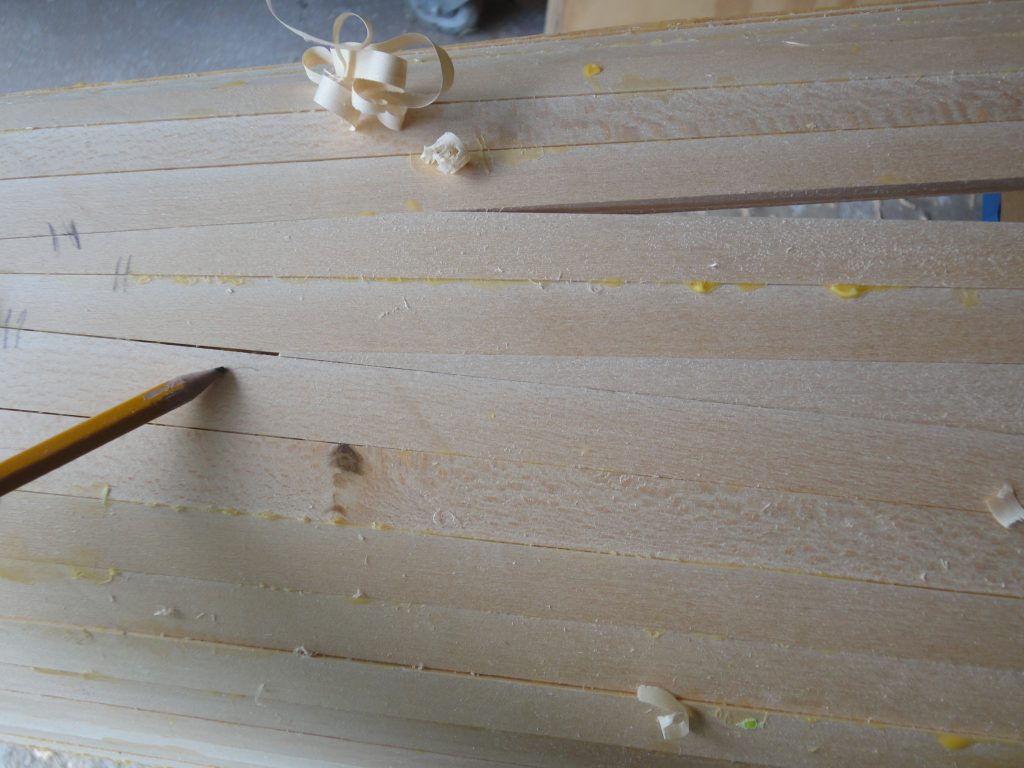
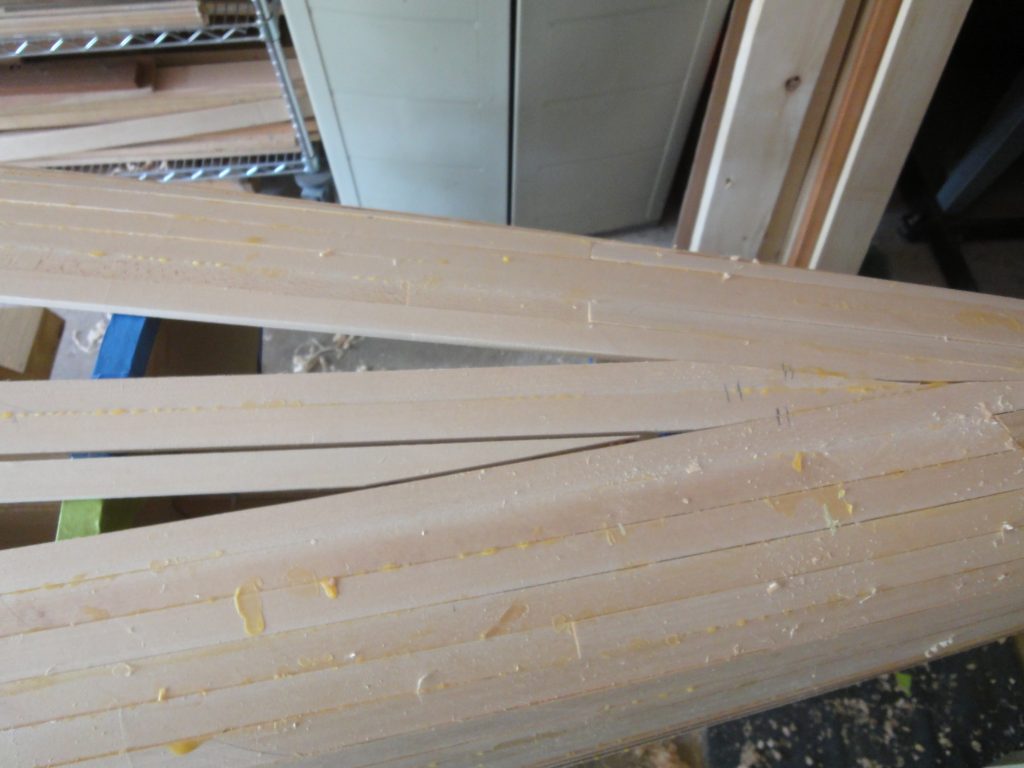
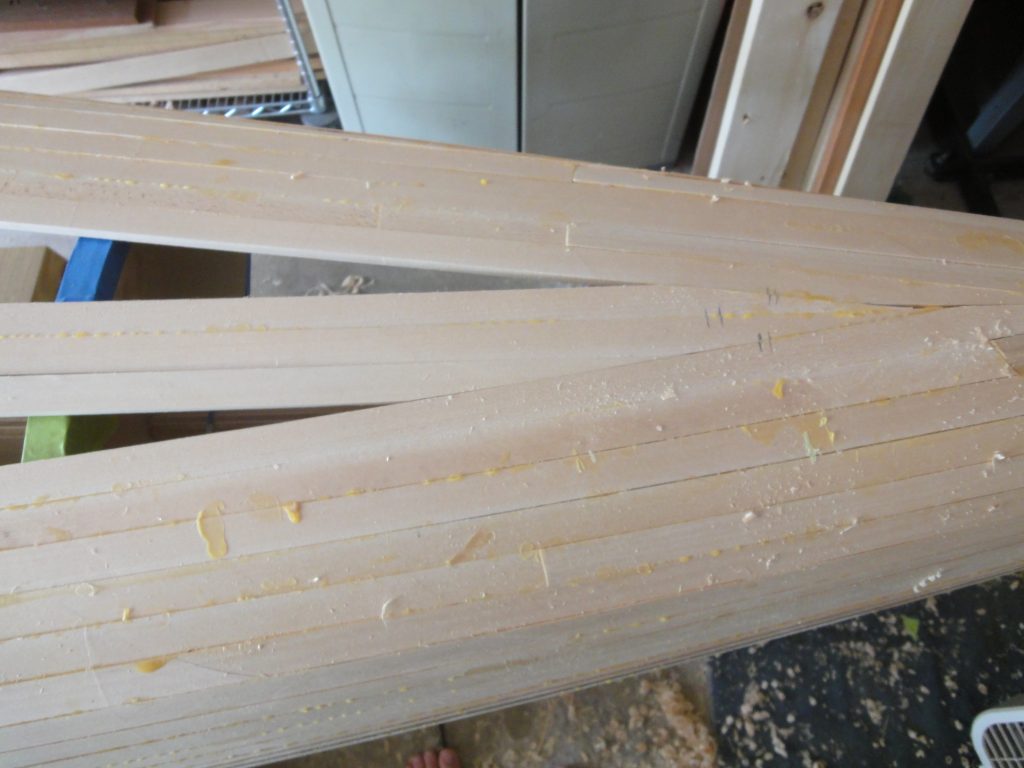
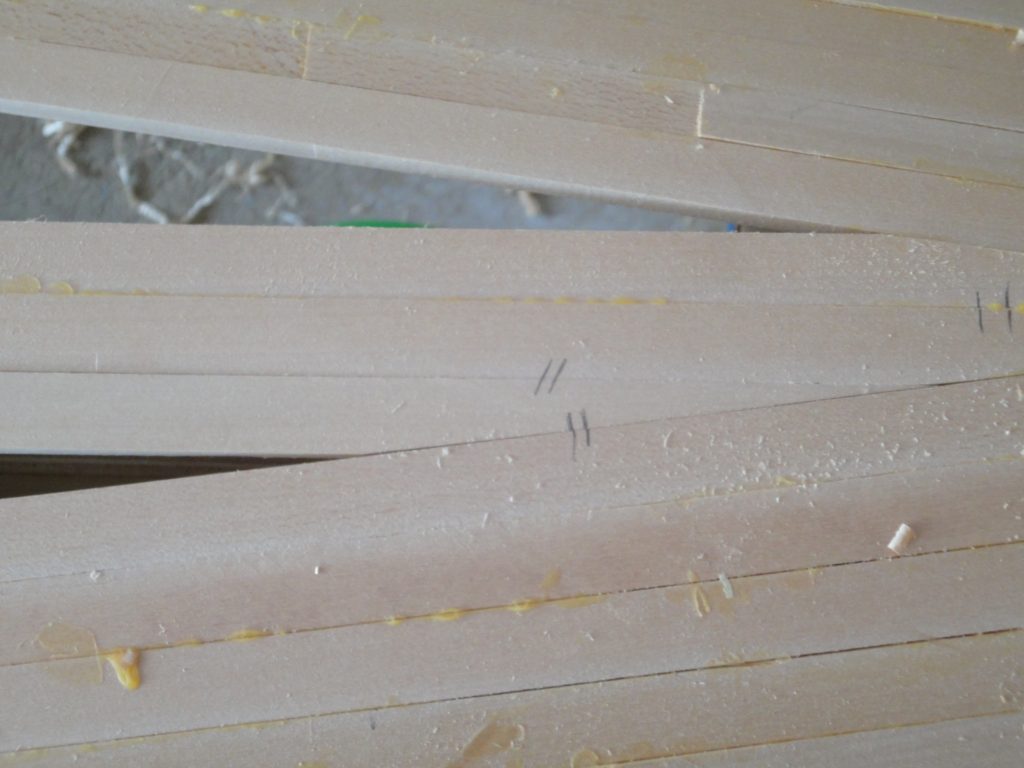
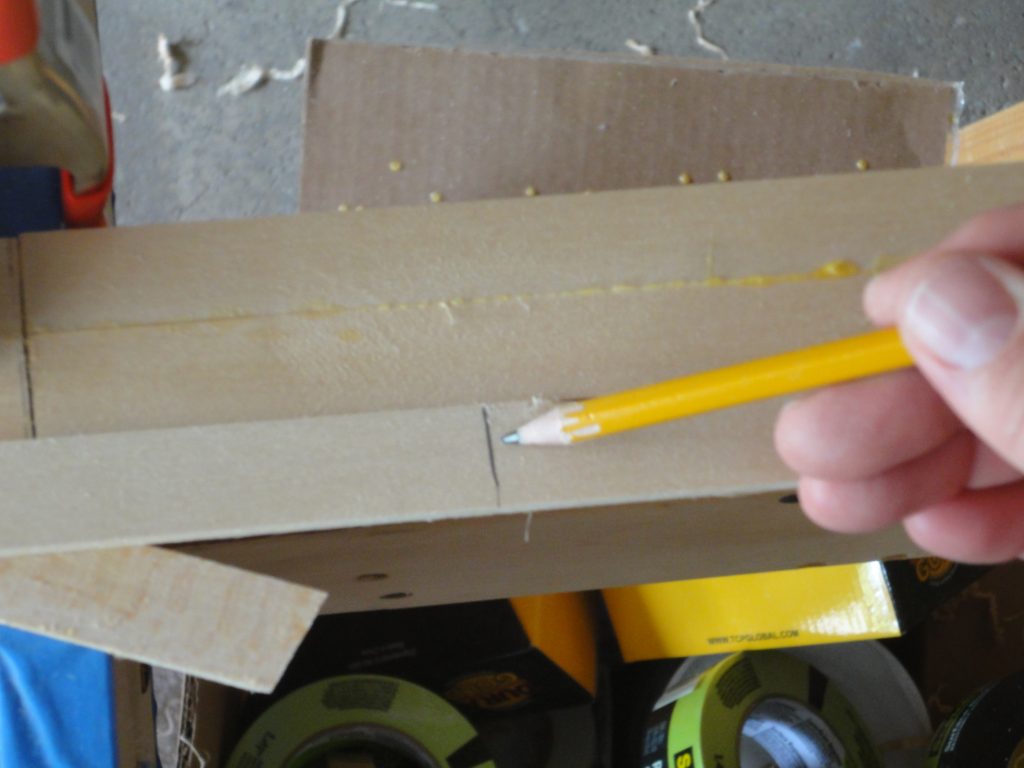
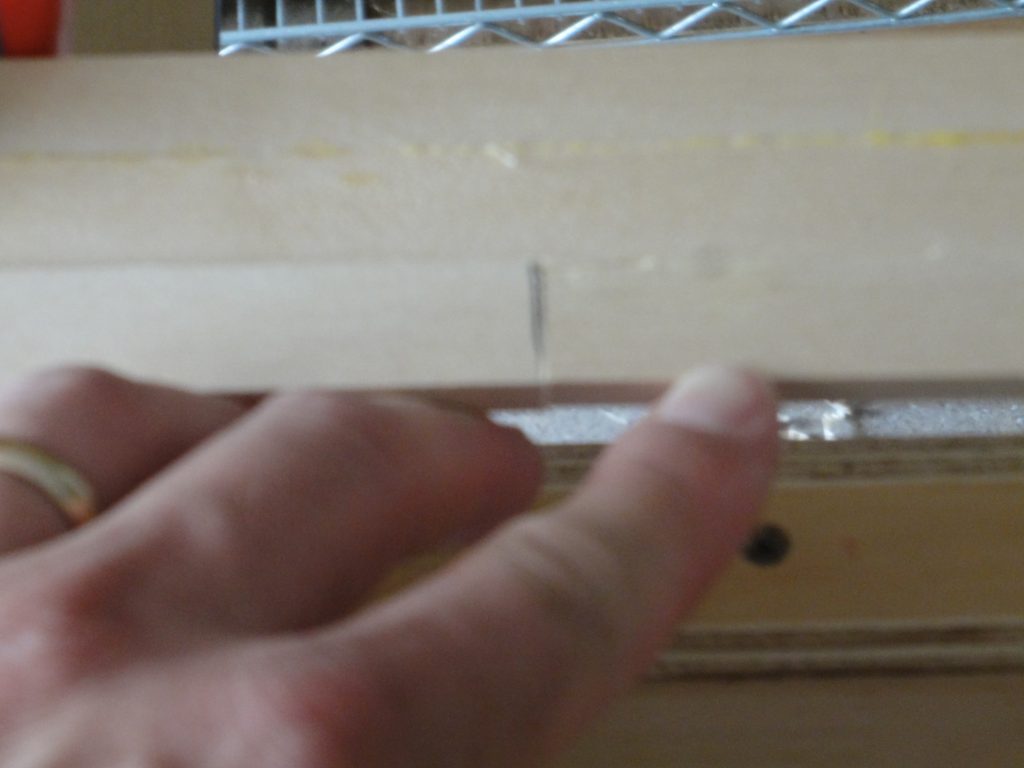
At the other end it took just a single adjustment pass until that board also fit pretty much dead on. Once the fit is good I put couple of alignment marks across the joint so later on when I’m gluing it up I can ensure the board is slid back into the exact same position.
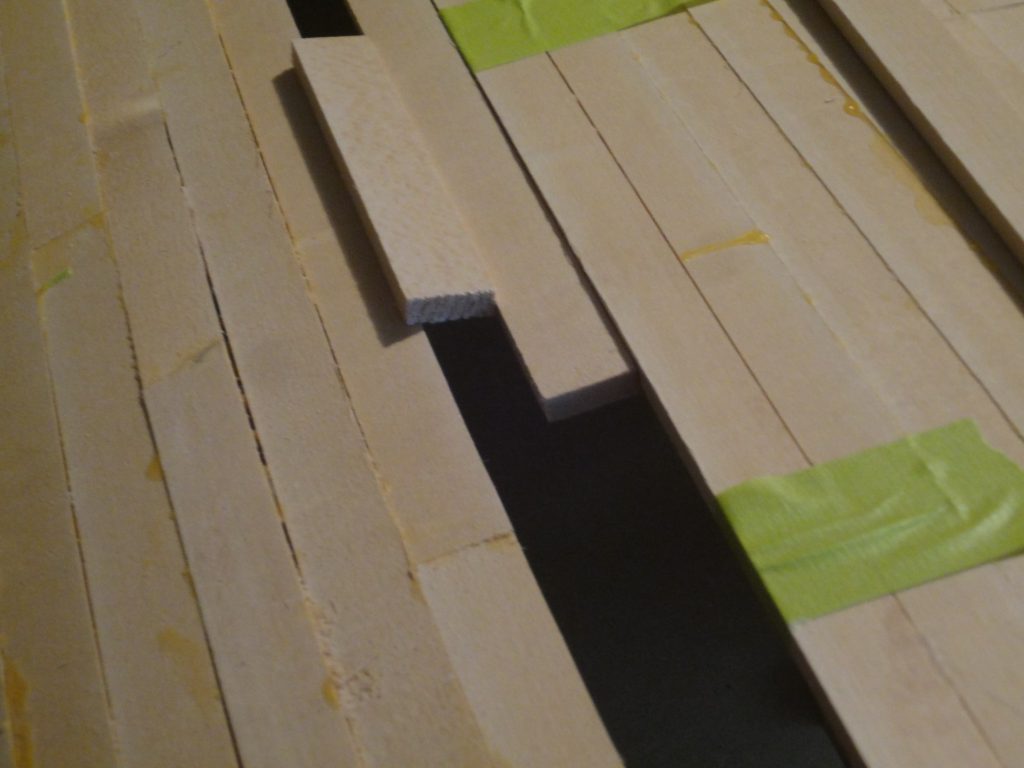
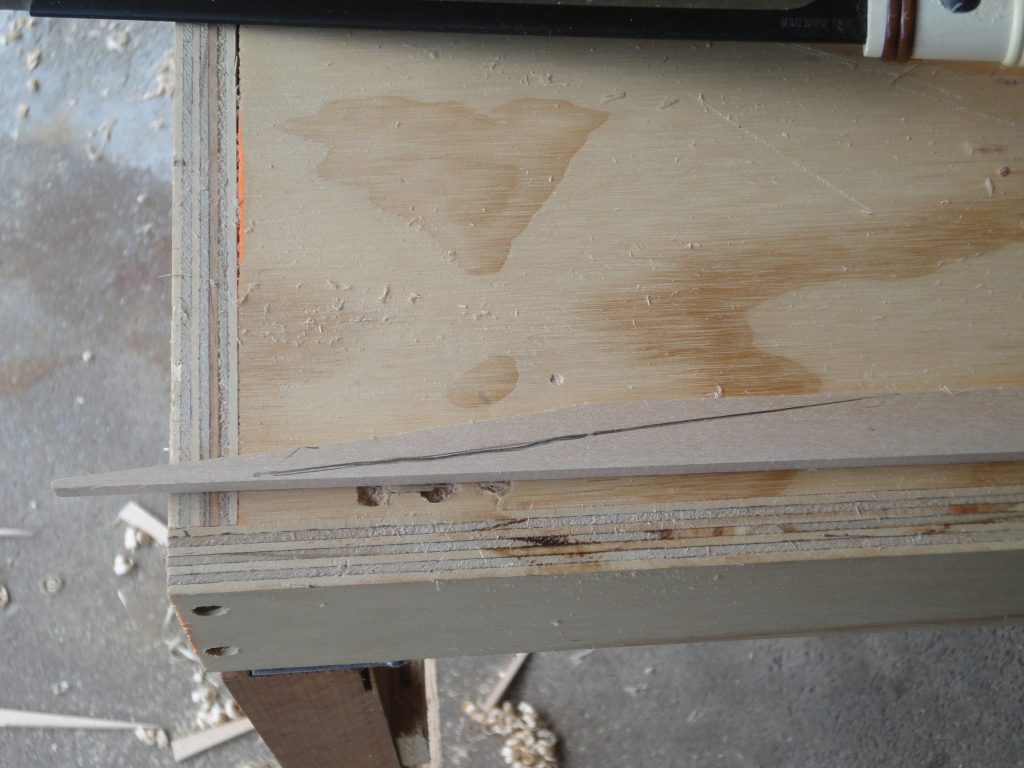
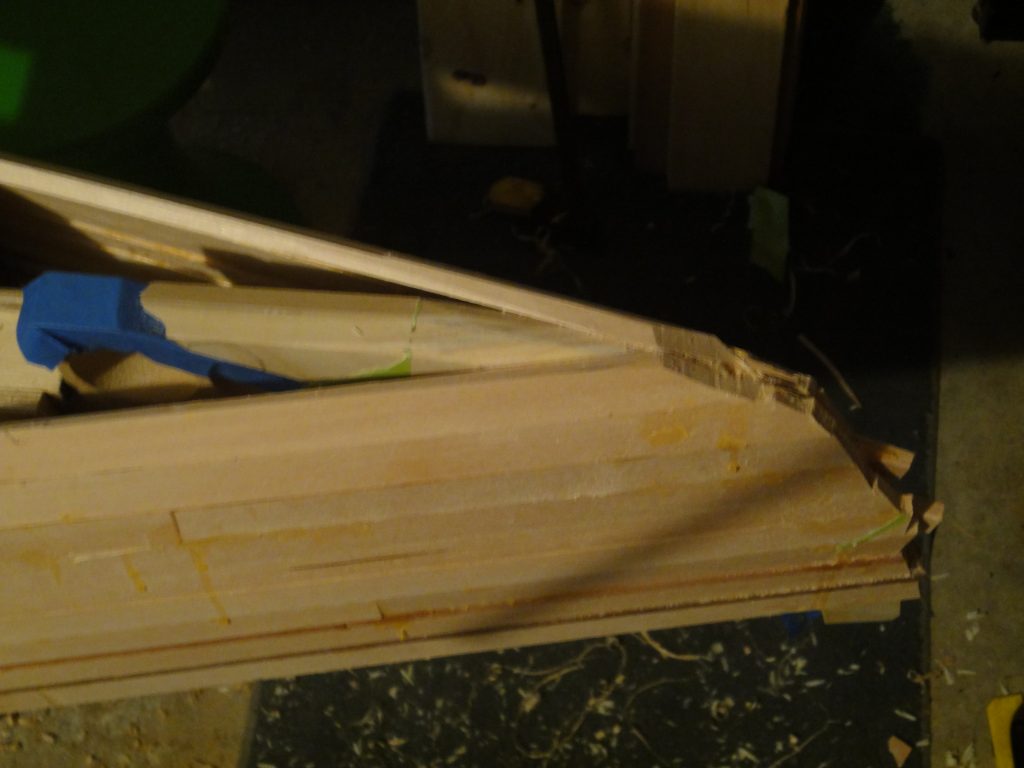
Since I’m not using full length strips it actually works to my advantage in this situation. Each end can be fit independently and then a splice joint made somewhere in between. I stagger the joints from board to board both for appearance and to add just a bit of extra strength to the hull. First one board is cut, then it is aligned over the second board and the cut is traced. Now I can’t actually cut the line or the saw blade thickness will result in a gap between the two boards. instead I cut just off the line, about where the pencil tip is. When cut this way the two boards fit together with zero gap. Unfortunately that shot wasn’t as focused as I had expected.
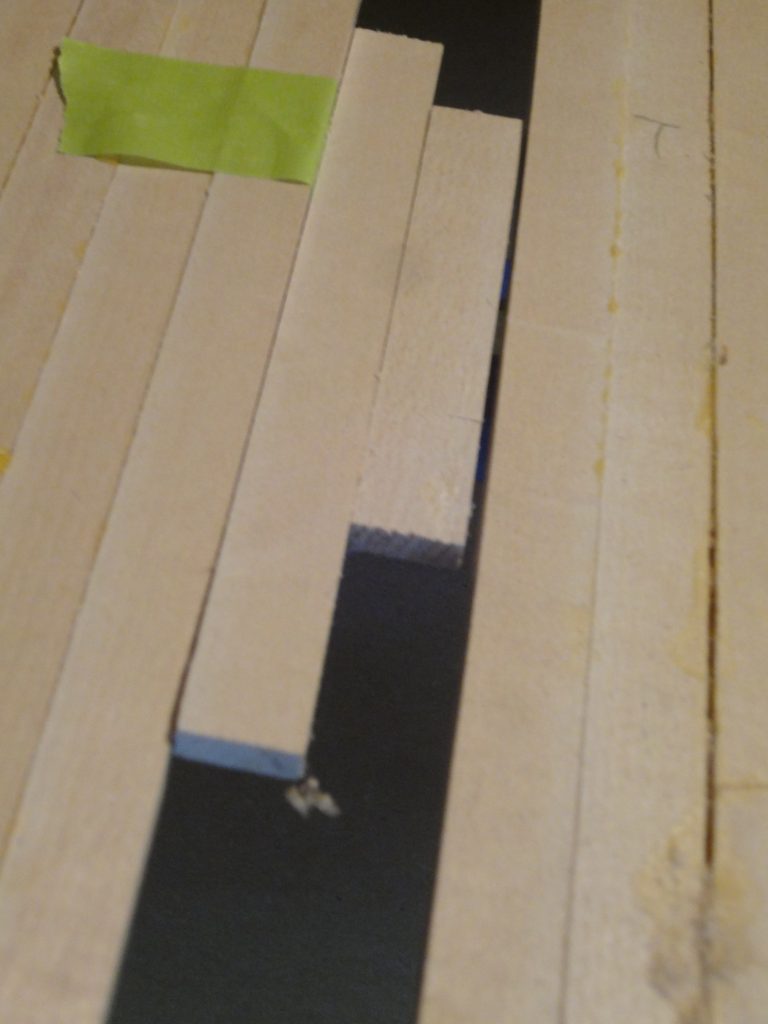
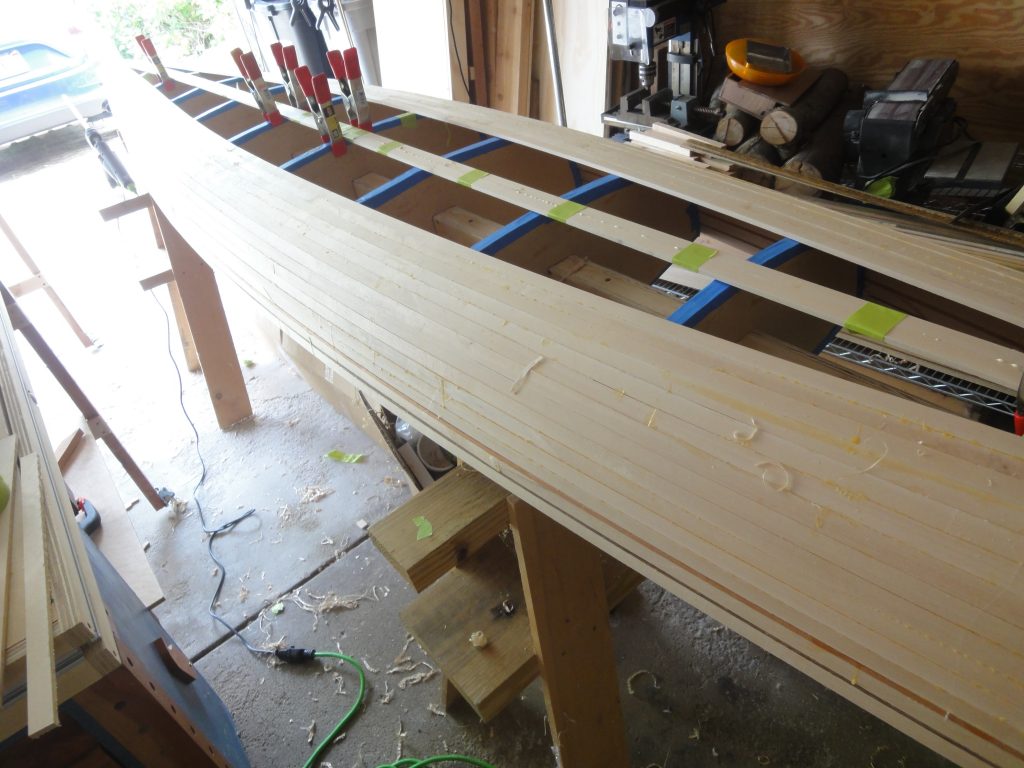
The first two boards followed essentially this same procedure along with beveling the edge so they would fit tightly together at the ridge. Show in the steps above were the second boards to each side of the center. With four boards completed I’m finding these are going in much easier, no heavy turning or twisting to stress the joints and the fitting at each end literally takes just a few minutes each. By my estimate, only about 6 more to go on each side and the bottom should be filled in. Hopefully next weekend (being a 3 day holiday weekend) will see the hull completed and the deck started.
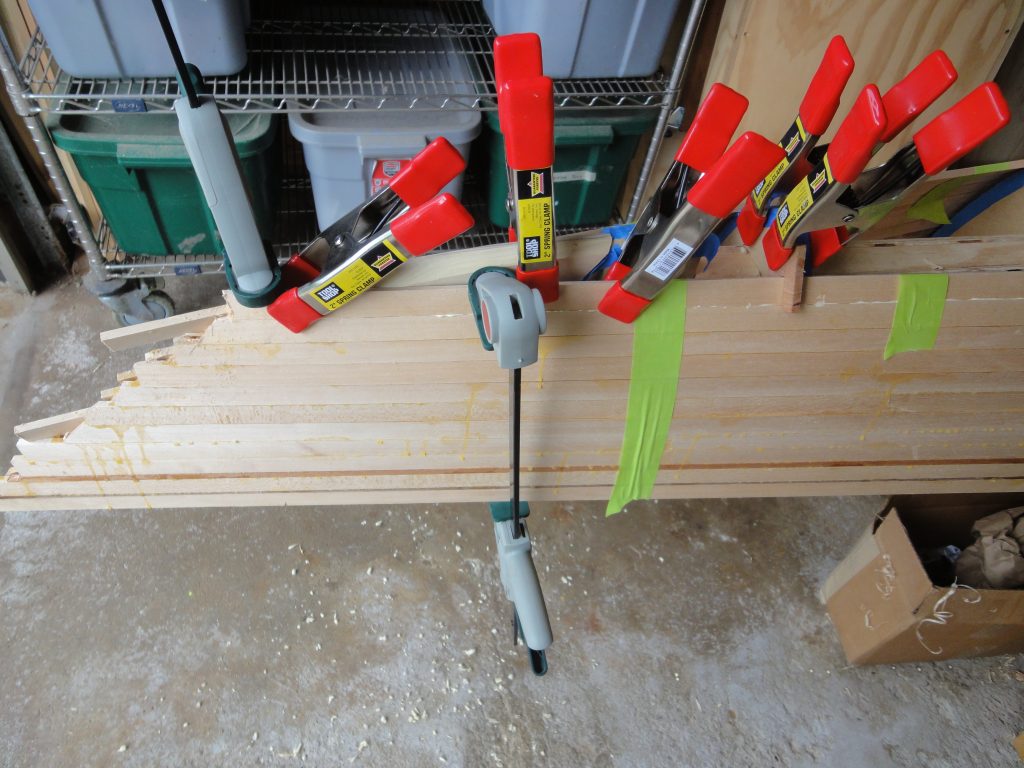
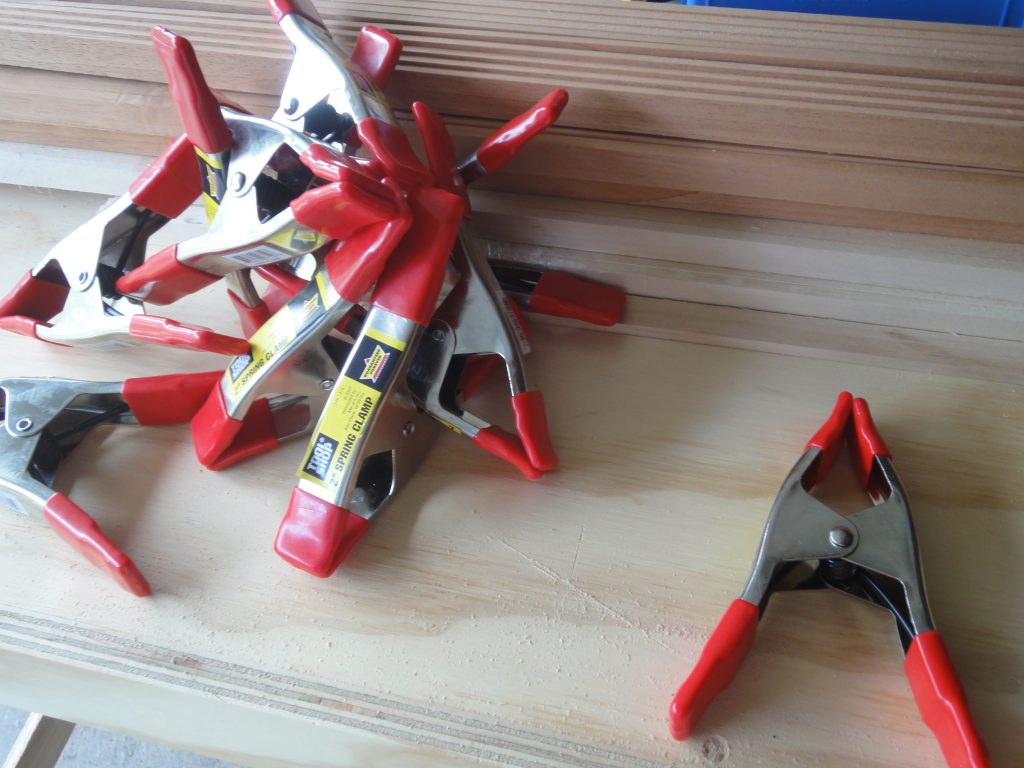
Had a bit of time from getting home from work until it got too dark out. The lighting in the garage is poor at best so for now I need decent daylight to work in there. So I prepped a strip to meet at the stern with the other strip and then glued the strip on. Pretty straight forward. I also stopped on the way home and got a bunch more clamps (still on sale for 99 cents) and 4 more rolls of tape as I’ve already gone through two.
There really is no template or easy way to fit the strip, rather just hold it in place, look for what has to be removed and plane some away. Put back in place, judge your progress, adjust angles if necessary and continue to plane. It only took about 5 minutes to get this planed down and fitting tightly to the previous strip and to the neighboring strip across from it. Of course gluing the strip down took a lot longer.
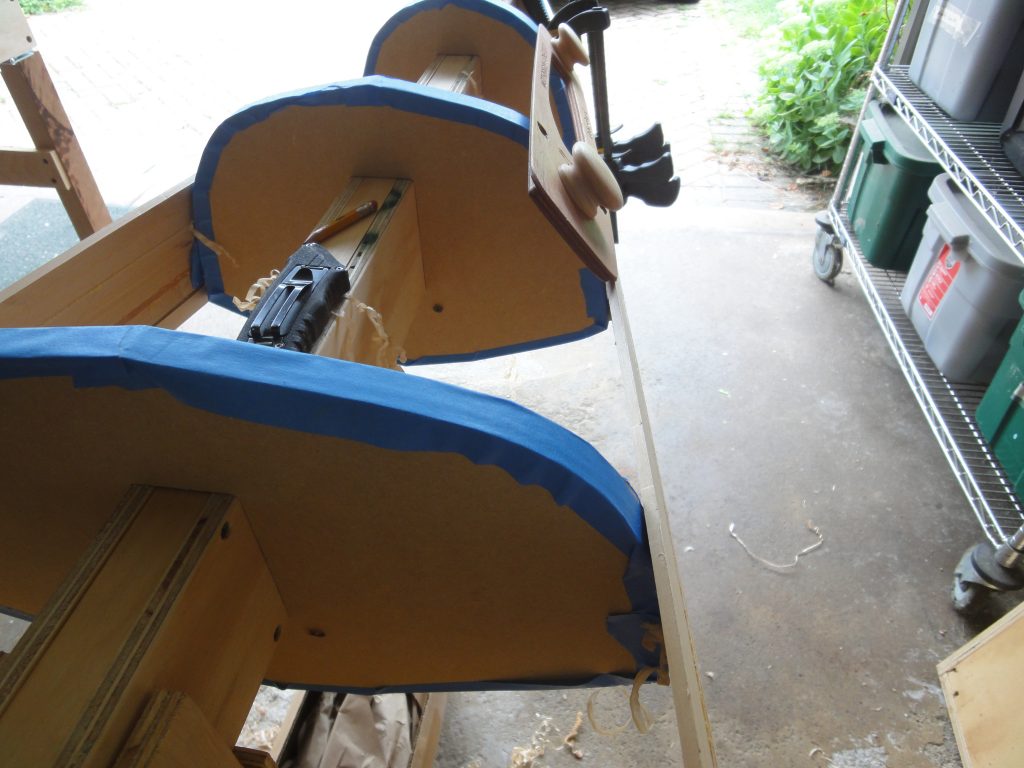
In one sense it’s a bit repetitive, almost boring now with the strip work, but just when you start to think that way the kayak responds with “hold my beer”. As the strips start to round the chine (the part where it transitions from side to bottom) it gets a bit more challenging. A soft chine is a nice easy gentle curve. A hard chine is a sharp angle curve. In this case the Resolute seems to be more or less in the middle.
You can see as I’m running the Robo-bevel just how much the angle changes as to move down the boat.
Selection and orientation of strips is still something I look at from strip to strip. While the basswood is pretty plain with minimal grain, occasionally I do find a pattern that either works or will be an issue. In this case, one side of the strip ended up with an abrupt pattern that didn’t flow nicely from one strip to the next and the opposite side of the strip result in a similar abrupt change. So, I just slid the strips down to the point that I could cut off the abrupt grain. The resulting match seems to flow nicely now.
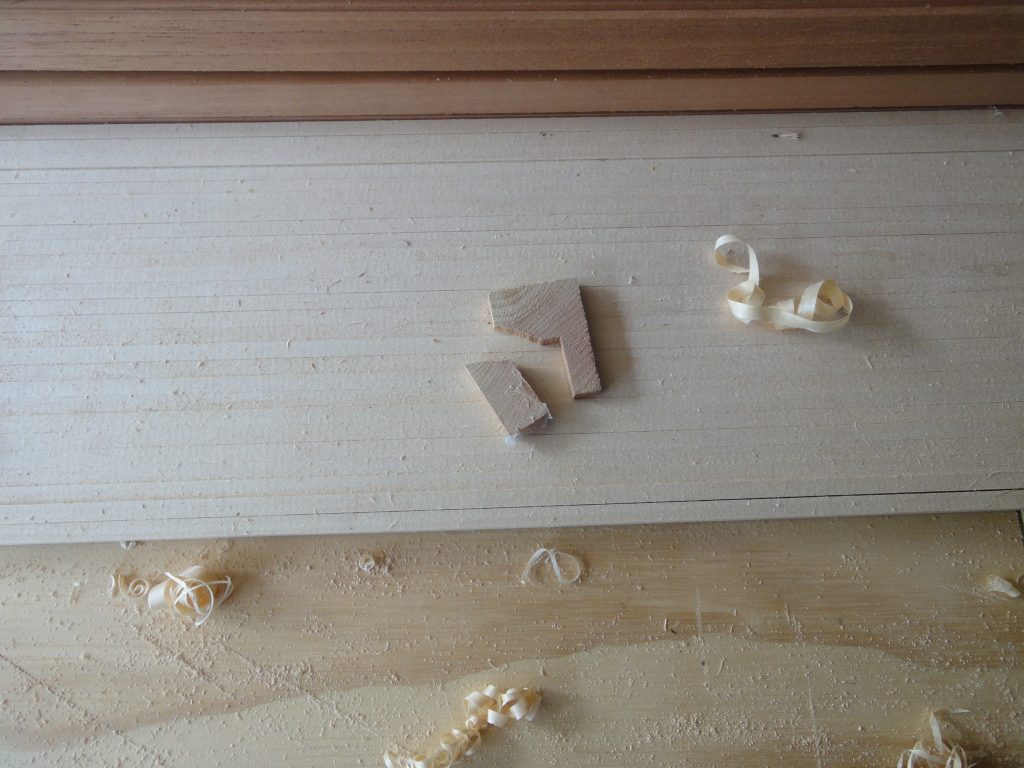
The twists on the strips are starting to be a real challenge. Lots of anchoring tape and even some clamps to try to get them to stay in place while the glue dries. The joints want to split apart so every joint needs pretty good clamping too. Even so I’m getting an occasional strip that doesn’t tighten all the way up. A few were so bad I split them off before the glue was dried, cleaned up the joint and re-glued. The rest of these have a very small gap, in the area of a mm or two. This will not affect the boat as the fiberglass and epoxy will easily fill/bridge the gap. But I won’t rely on that and once I get to the sanding stage I’ll make up a filler from that saved sawdust and some glue and ensure that any gaps are filled.
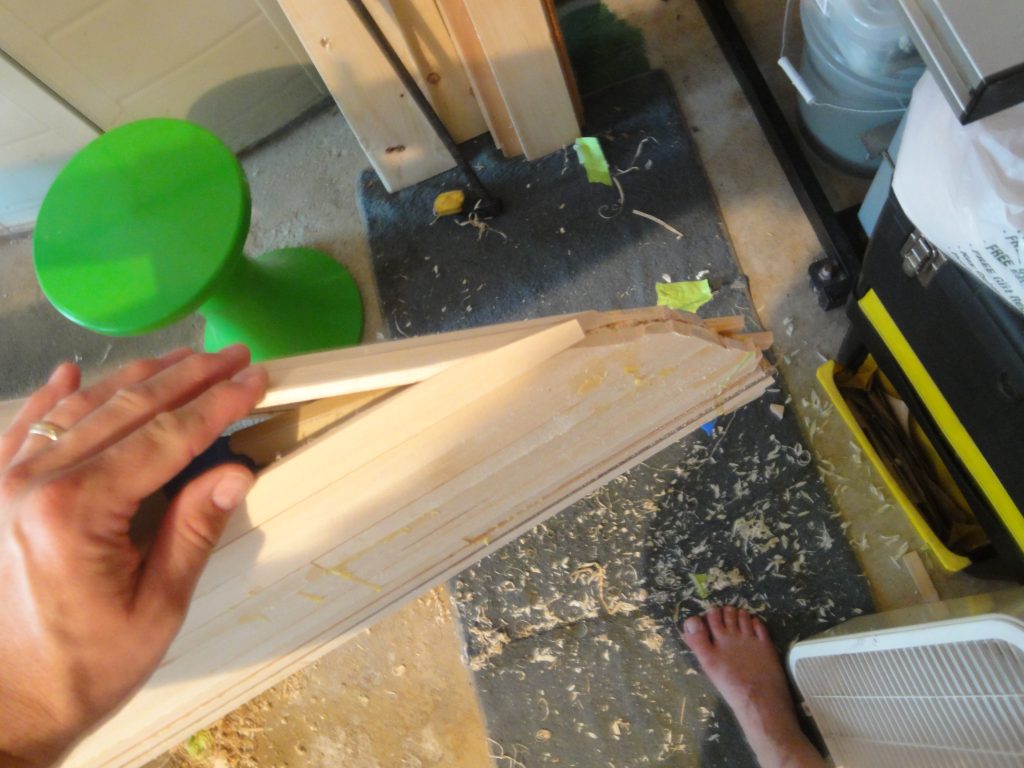
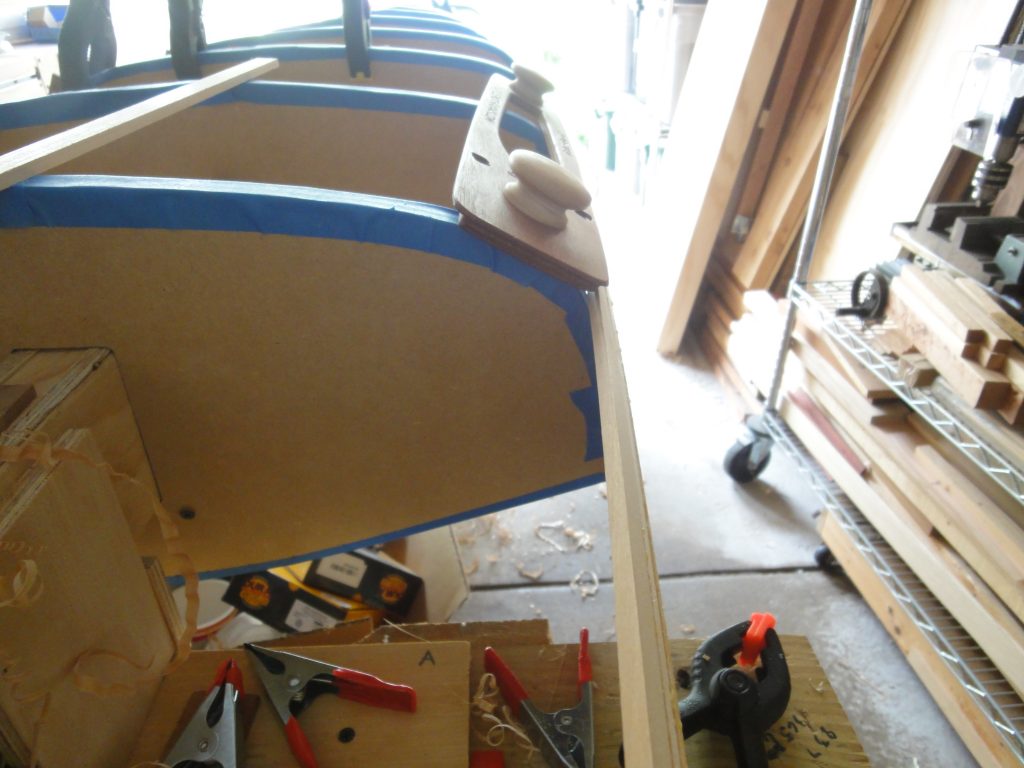
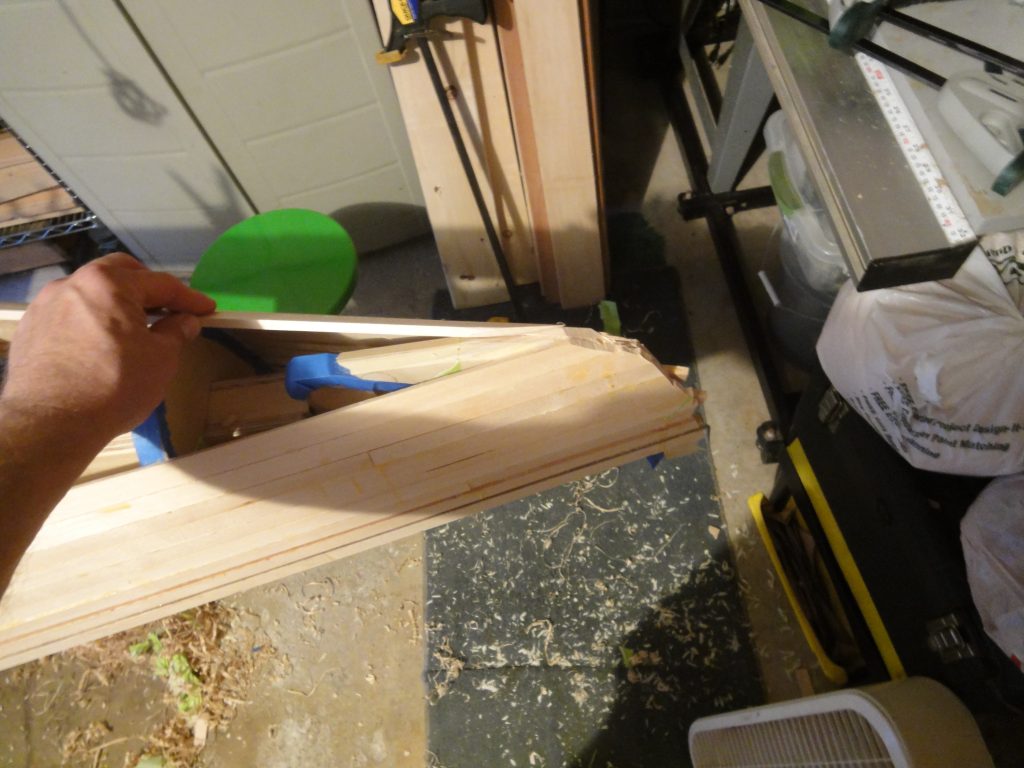
After beveling the strip shown above (when it dried), I held a scrap against the beveled edge to illustrate the amount of twist I’m dealing with. Keep in mind that you’re going from almost horizontal to nearly vertical in about 6 feet where it stays vertical for about 3 before starting the twist back to almost horizontal.
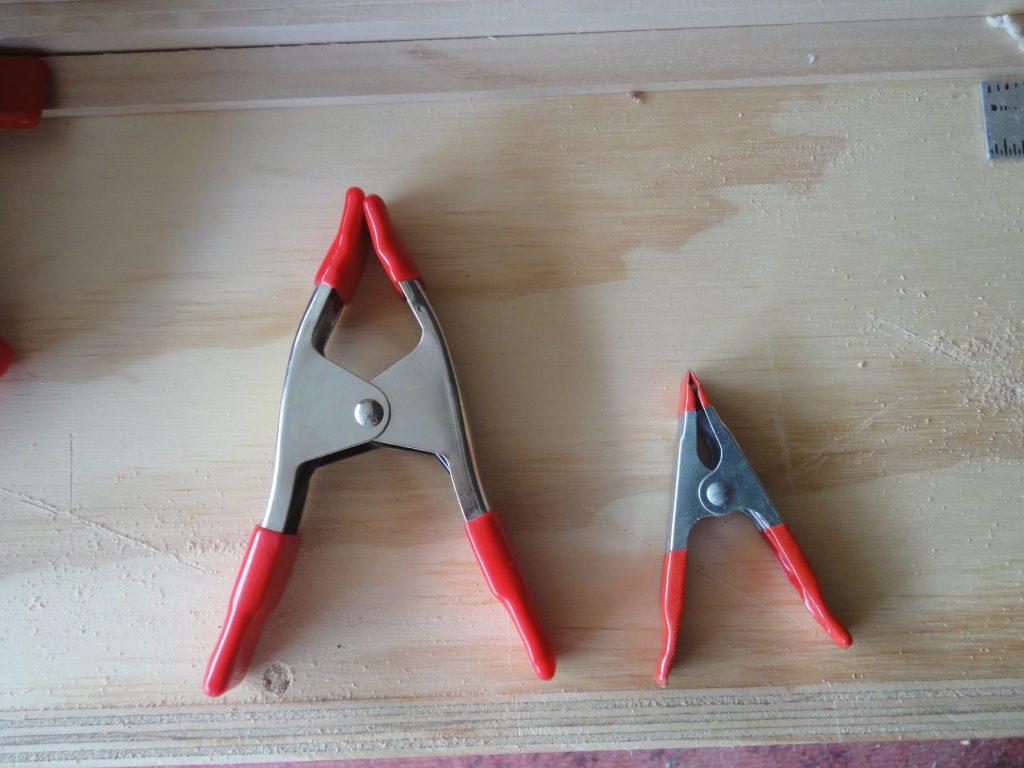
Early on I posted the clamps I purchased. At first they were fine for holding the strips but as I get into the twisting strips the forces are simply too much and easily overwhelm the clamping power of them. So a run to Menards today and I got some 2″ clamps. By the picture you can see the size difference. These clamp down with much more force. Normally $2.99, on sale for $.99! I got 10 to try out and they worked really well. I think I’ll stop for some more tomorrow. In hind sight I’d recommend just go with these and skip the smaller ones I had purchased.
After each strip, both before and after beveling, I check and if the kayak is coming loose from the forms and if so I hit it with the hot glue again. In once sense it’s a little frustrating that it keeps coming loose, but it’s good to know when I’m ready to remove it I should come out with little trouble. The new clamps are working well (with the wood “U” blocks) for holding it in place while the hot glue sets up. If you let it creep away from the forms then the bevel angles aren’t right. You want the strips making good contact with the previous strips and against the forms to help keep the shape consistent, smooth and fair.
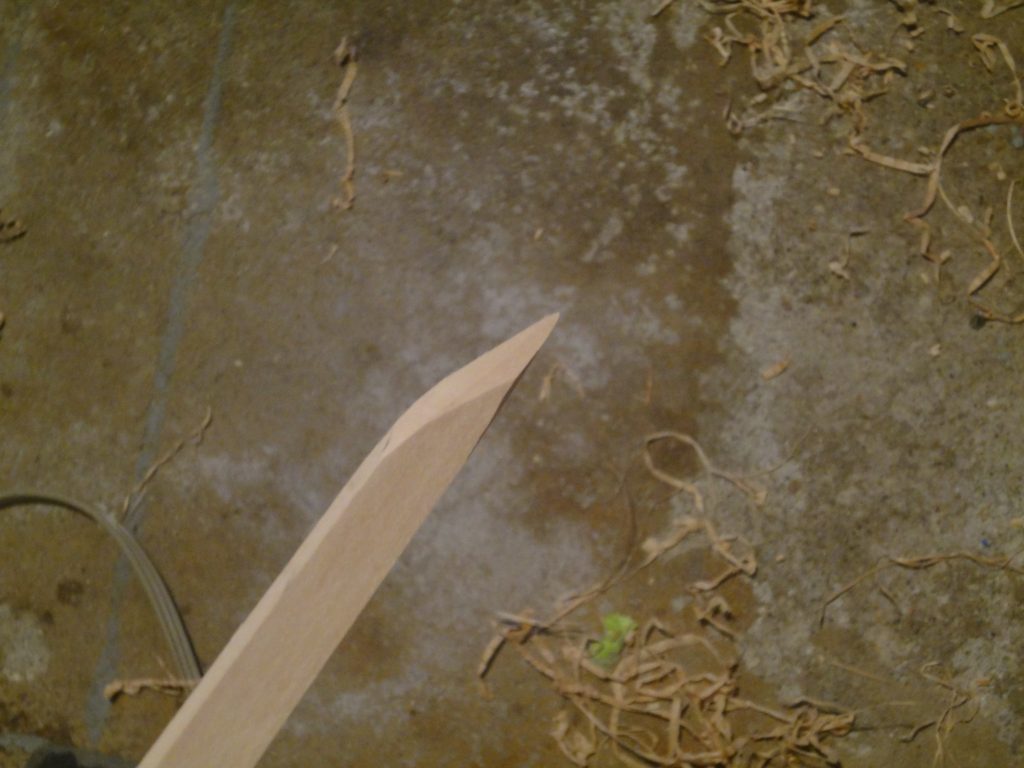
The next challenge that just came up is the stern stem. I’ve reached the top and now need to curve the strips over and start to attach them to each other. The first strip required a lot of planing and fitting and planing and fitting and… until I was able to get about what I was looking for. It was hand beveled to fit against the form and the strip already glued in place and then the end was worked extensively to bring it to a shape that should fit up against the strip that will go on the other side. A little hard to describe but hopefully obvious in the pictures. The stem itself was also worked with the hand plane and a chisel for each strip to ensure good contact. For now the strips are just cut off rough. Later this will all be cleaned up with the outer stems are installed.
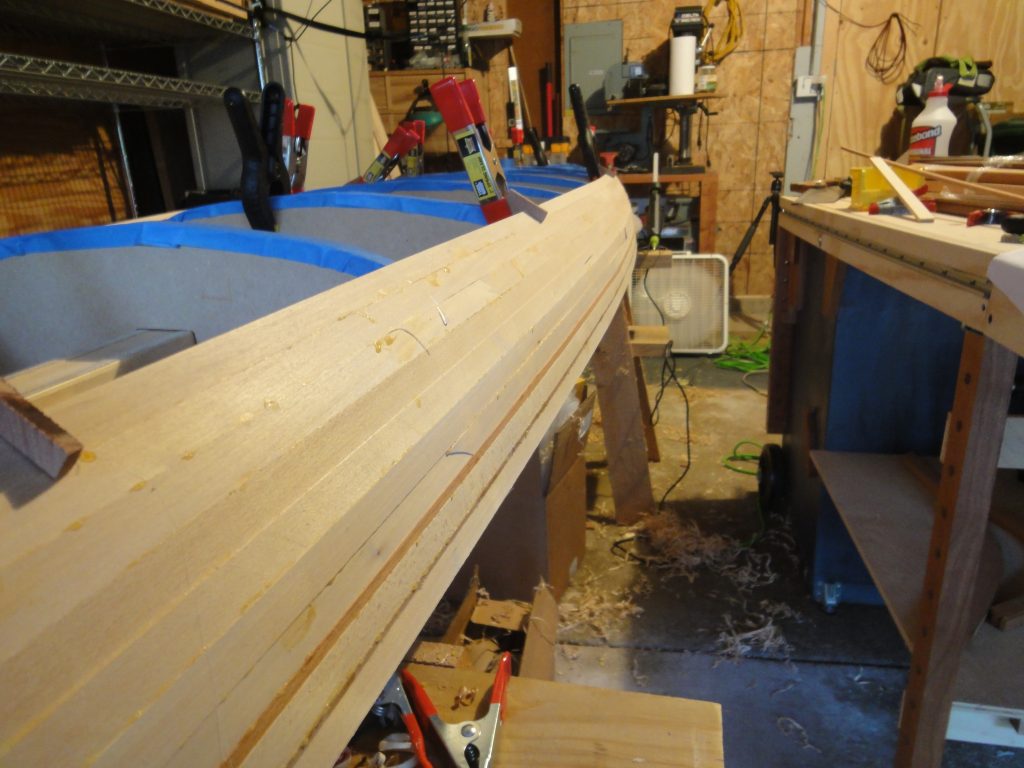
Finally, here are a few overall progress shots. The curve of the hull is starting to become very apparent as I cross the chine and transition to the bottom.