I got in a little bit of time one night last week but the majority of the work here is from this weekend. Continuing to strip and started making a transition in how strips are applied.
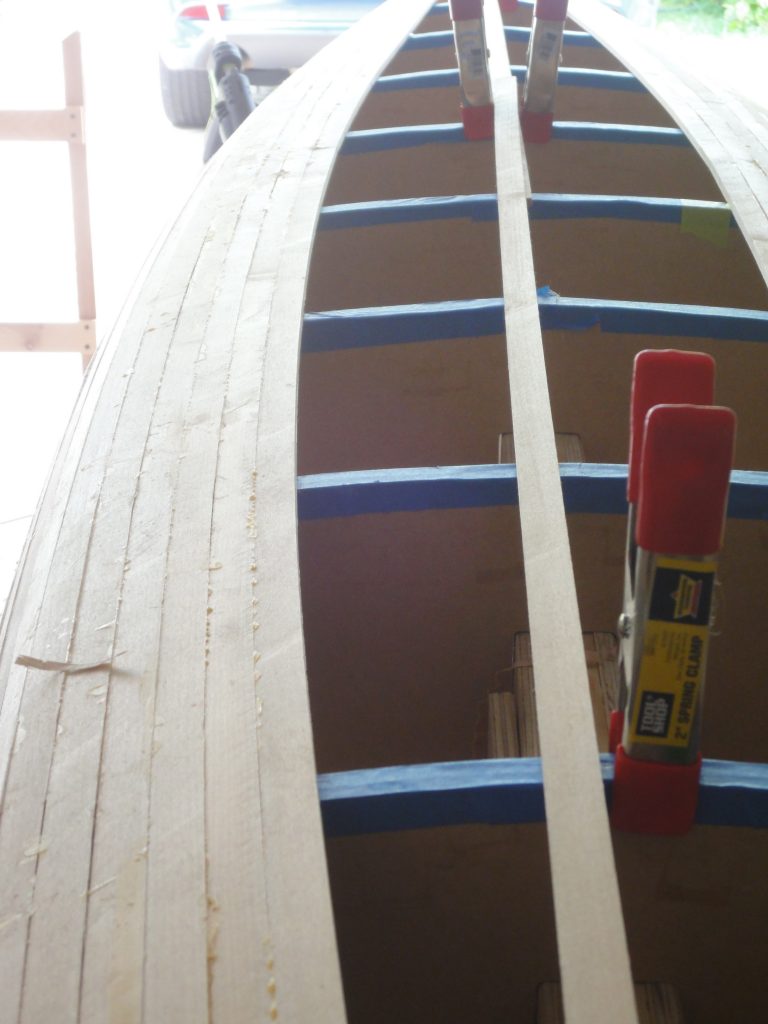
First off, the strips are twisting and turning quite a bit. The following image shows a straight strip that is attached “properly” at the stern but not yet curved or attached anywhere else. Notice just how much it will have to bend to fit.
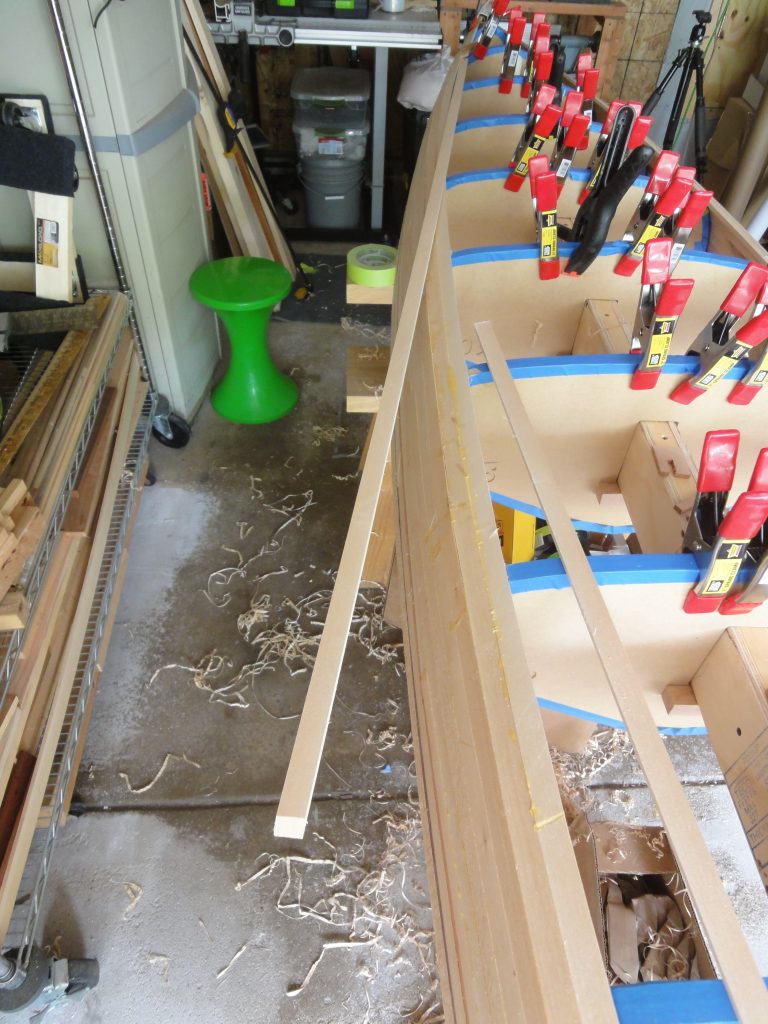
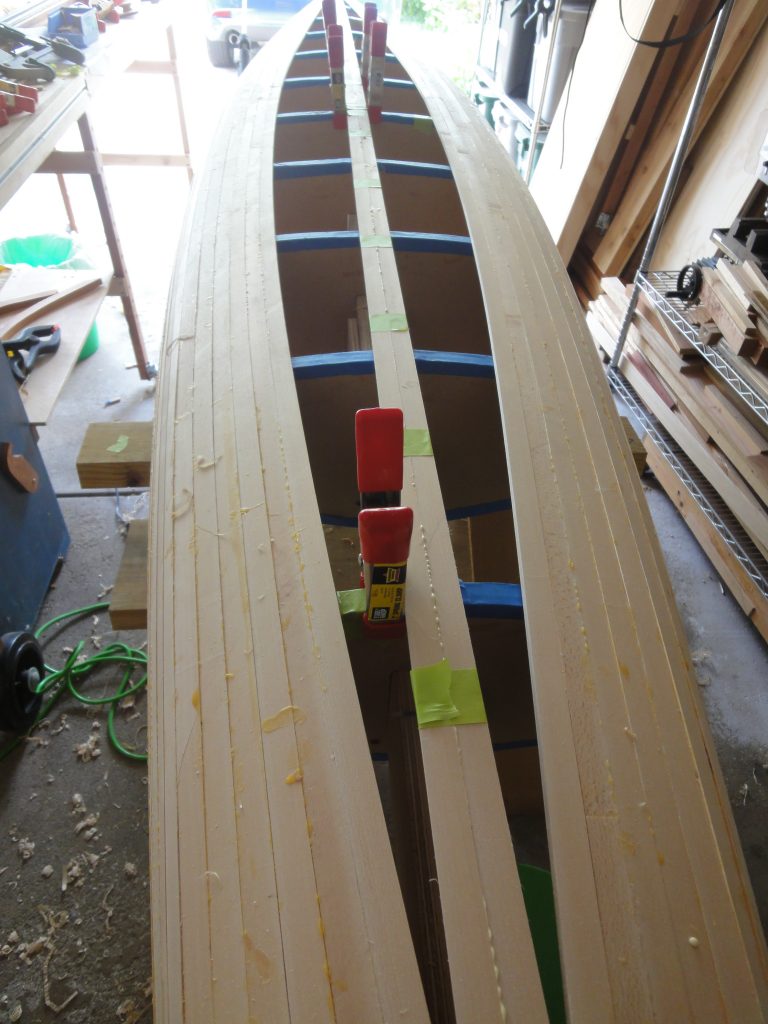
To get these strips to make the curve (and twist at the ends) has required lots of “tape” clamps and lots of other clamps along with occasional creative clamping methods.
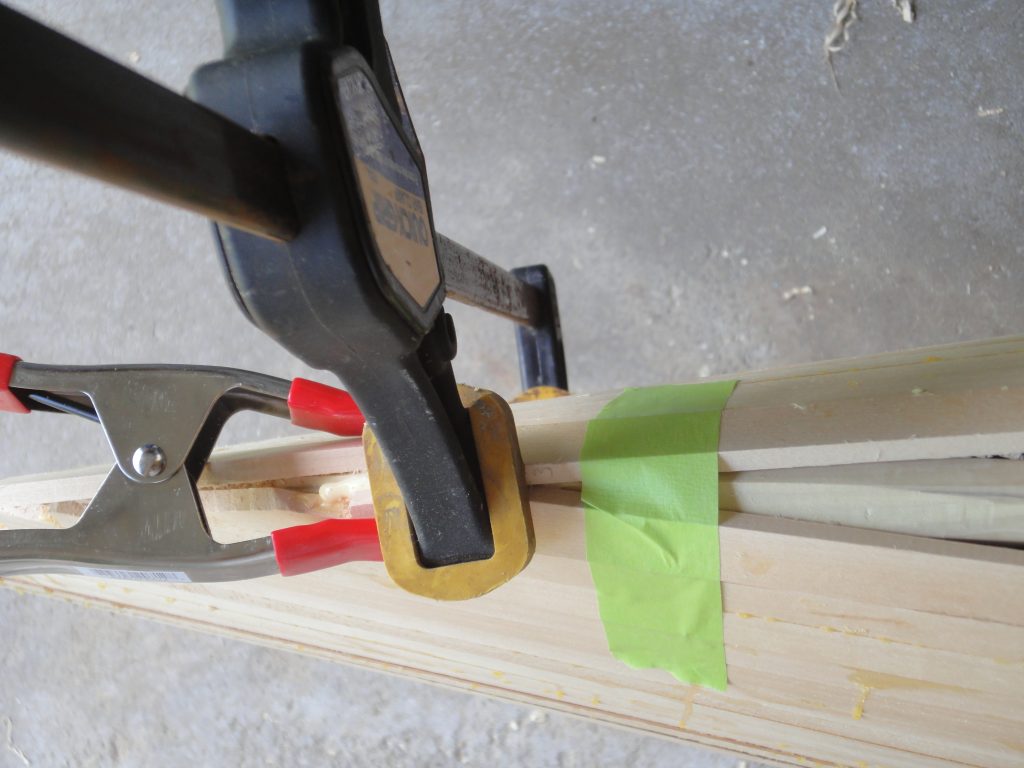
I’m also finding that the hull doesn’t always want to lay against the forms so I’ve been “spot welding” it back in place using the hot glue. Each time I need to clamp it for a few minutes to setup. These wood C or U blocks that I made are also useful for holding the strip in place on the curves while I glue it up and get it clamped in place. The down side is these sometimes end up glued to the kayak or form and snap when they are removed. Thankfully I made up a bunch so my supply is holding out so far.
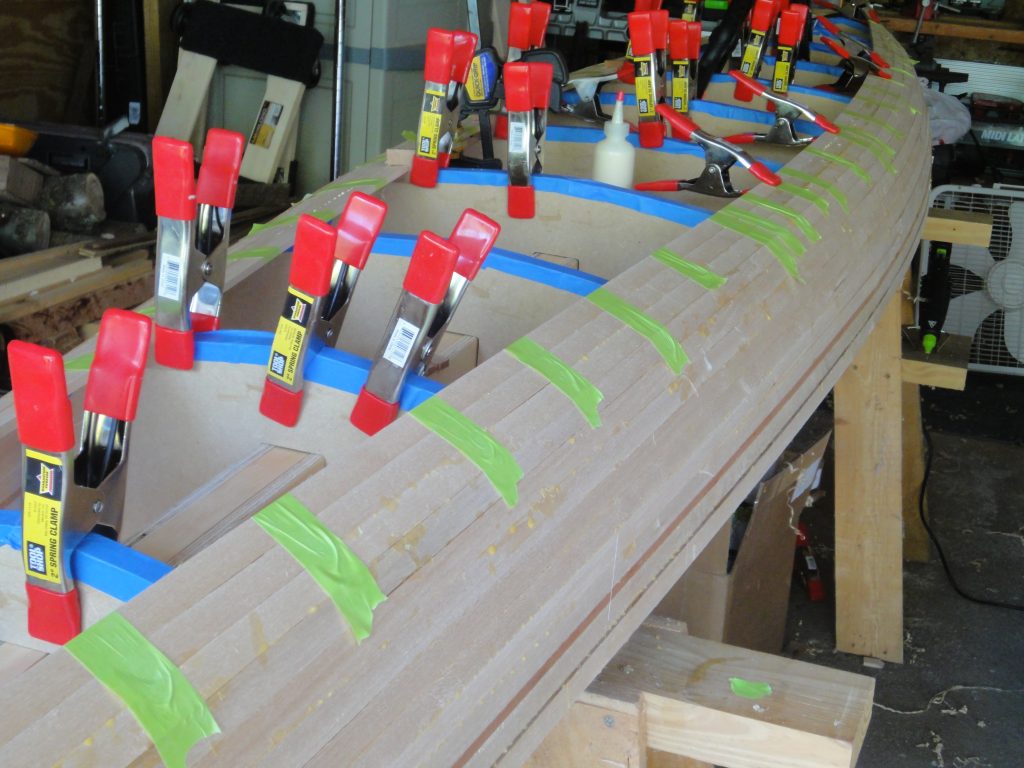
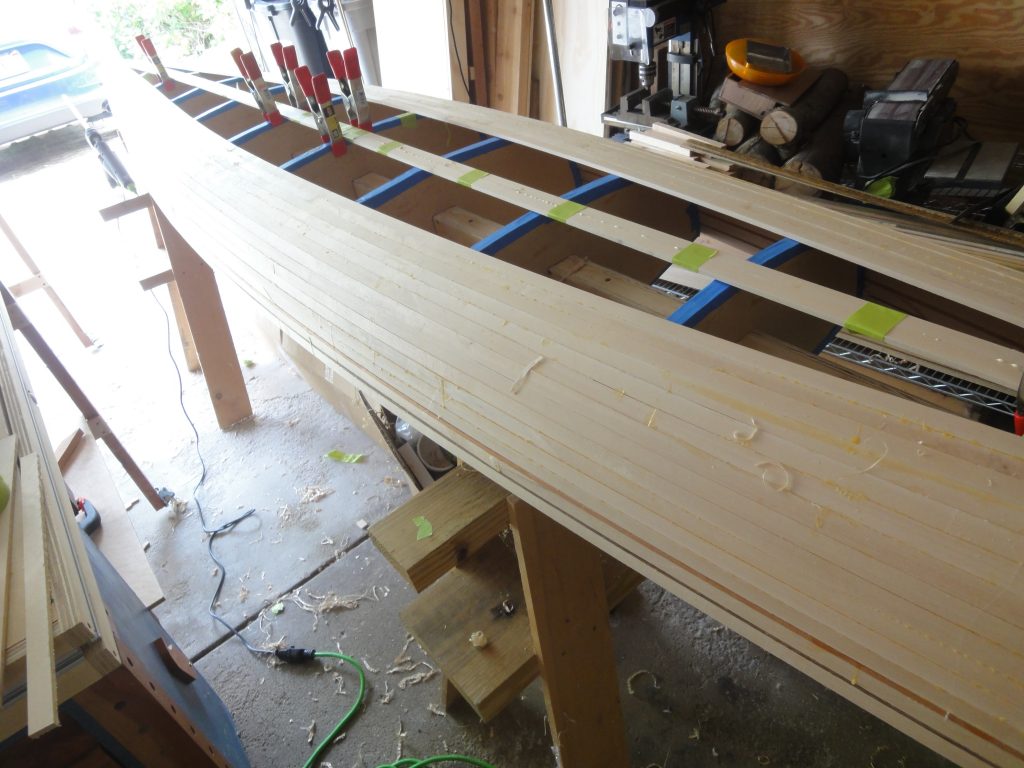
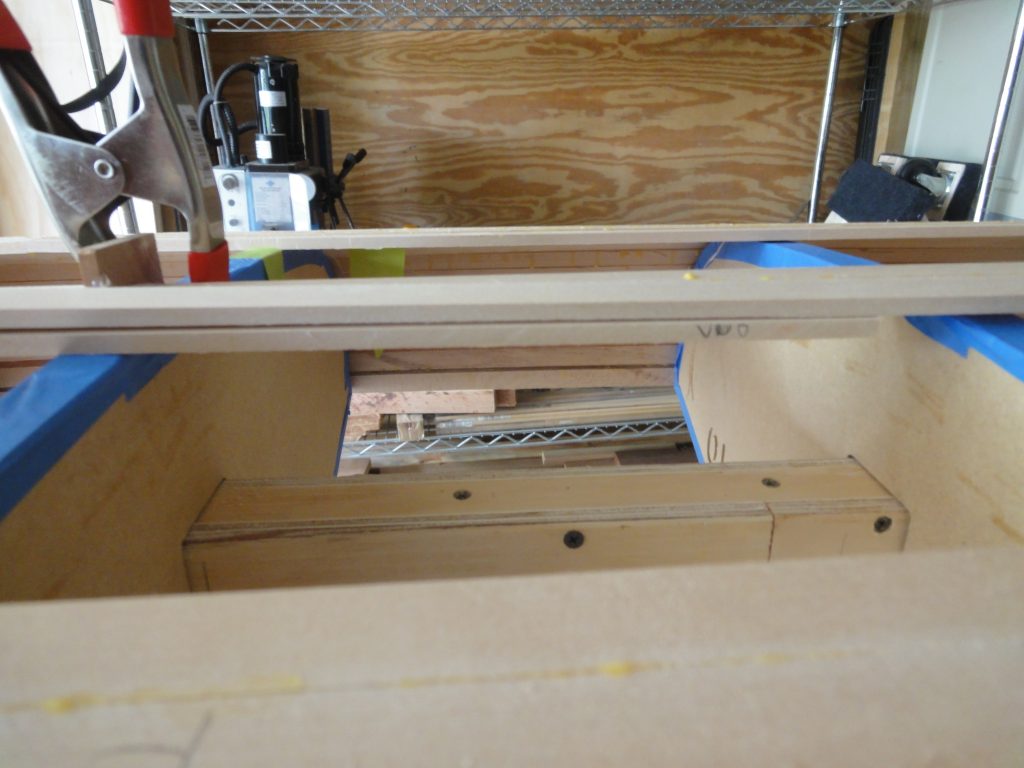
One major hurdle was reached this weekend. Well, one big and one little too. The stern and bow have both been covered with strips and the strips have now turned from nearly vertical to almost horizontal. In addition the chine has been fully turned too so the strips from one end to the other are pretty much flat. Passes with the Robo-bevel have become unnecessary on this part as even a single pass takes off a full width shaving. However there is still quite a bend in the strips. Placing a straight strip down the center also reveals just how much of a curve the strips are being forced into.
The problem with the curves is that holding the strips tight to each other is getting harder and harder. Almost every strip ends up opening a gap somewhere which then has to be cut out, cleaned of glue, re-glued and re-clamped. This all takes time at a minimum and ultimately isn’t at the level or quality of work that I’m trying to put into this project. On the plus side, it really doesn’t matter which way the wood goes as it’s there to act as a framework for the eventual fiberglass/epoxy and as a visual element. So if I run the boards straight instead of curving it won’t affect the structural integrity in any way.
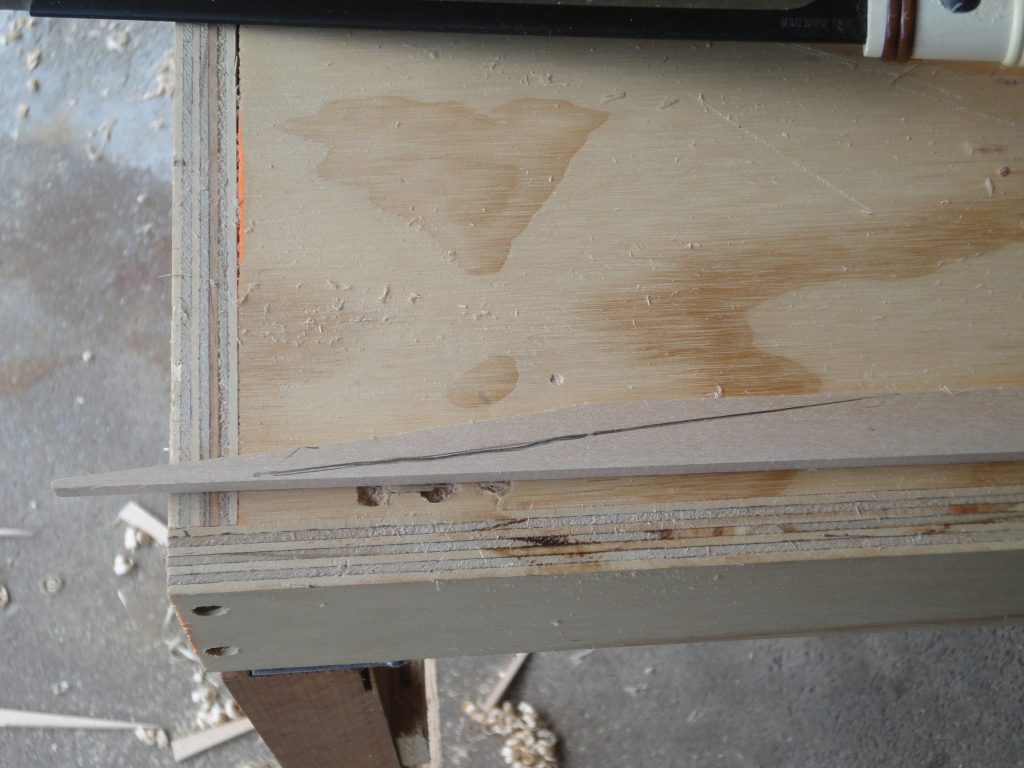
Starting at the middle where there is a tiny ridge, I went ahead and beveled two strips so the would lay on either side of the ridge and meet together tightly. The challenge comes in the ends. The series of images that follows will go over how I fit a strip into the angled edges.
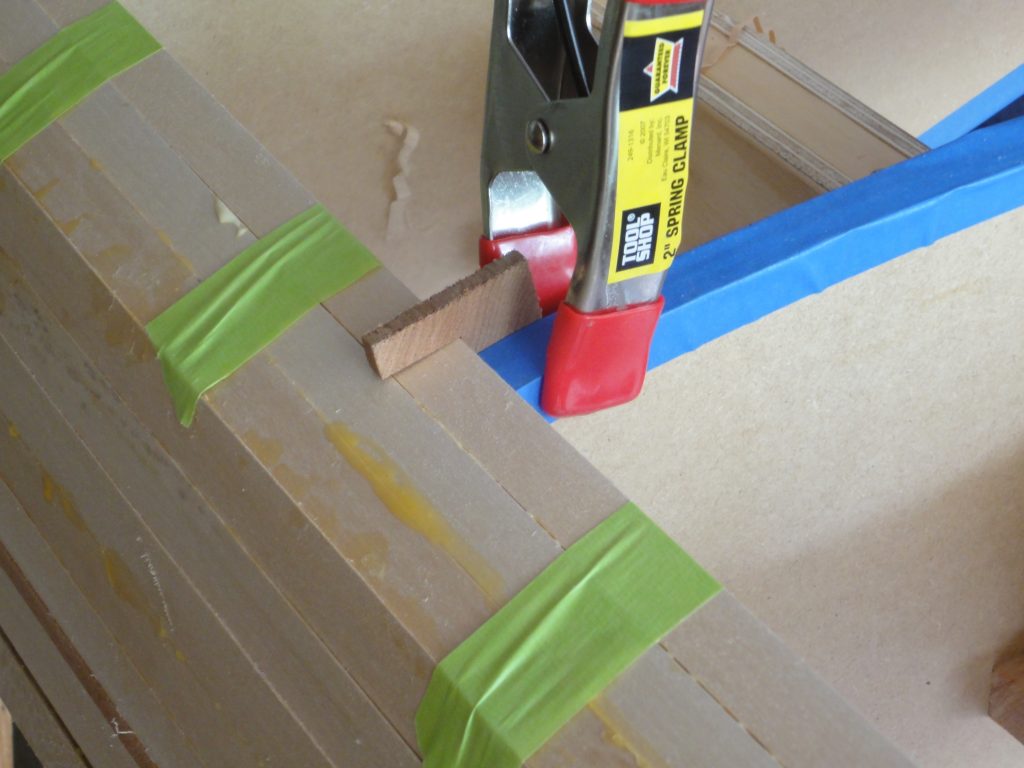
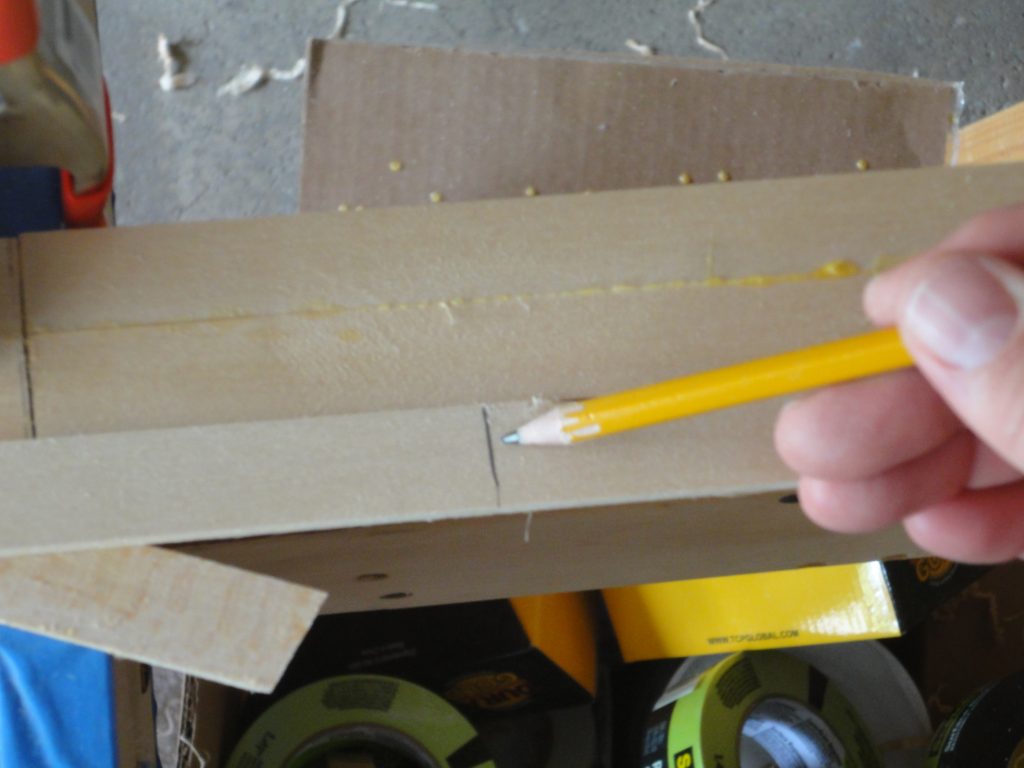
To start, I have an angled opening. I lay a strip over it and then reaching under the kayak I trace along the edge of the angled strip.

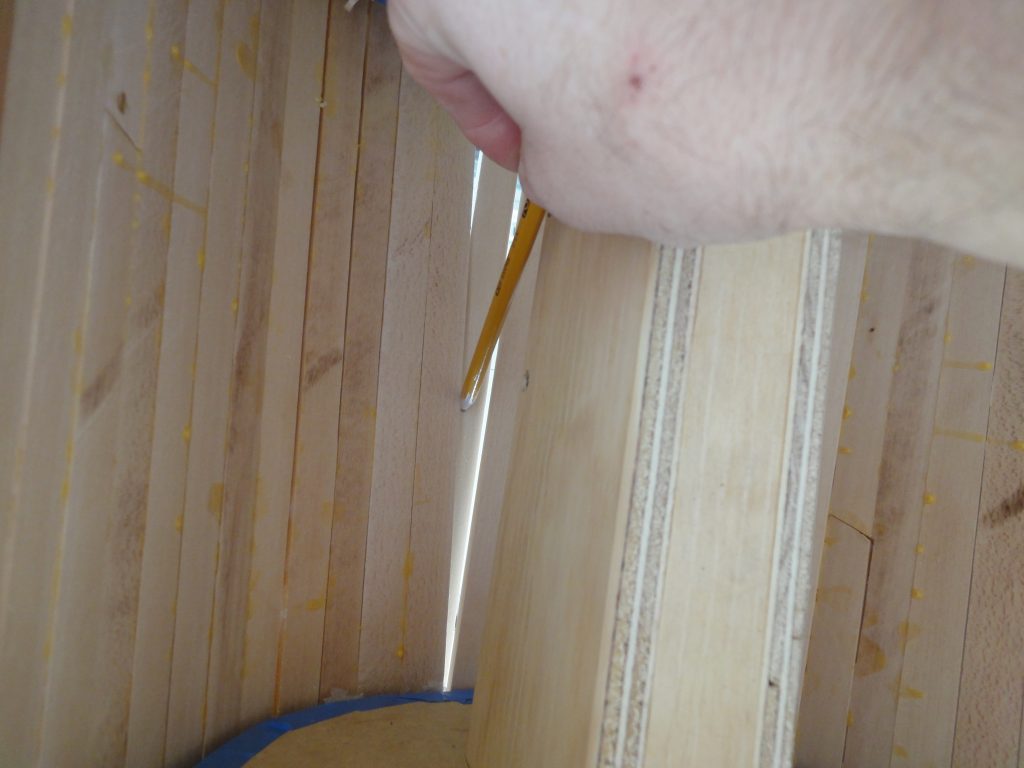
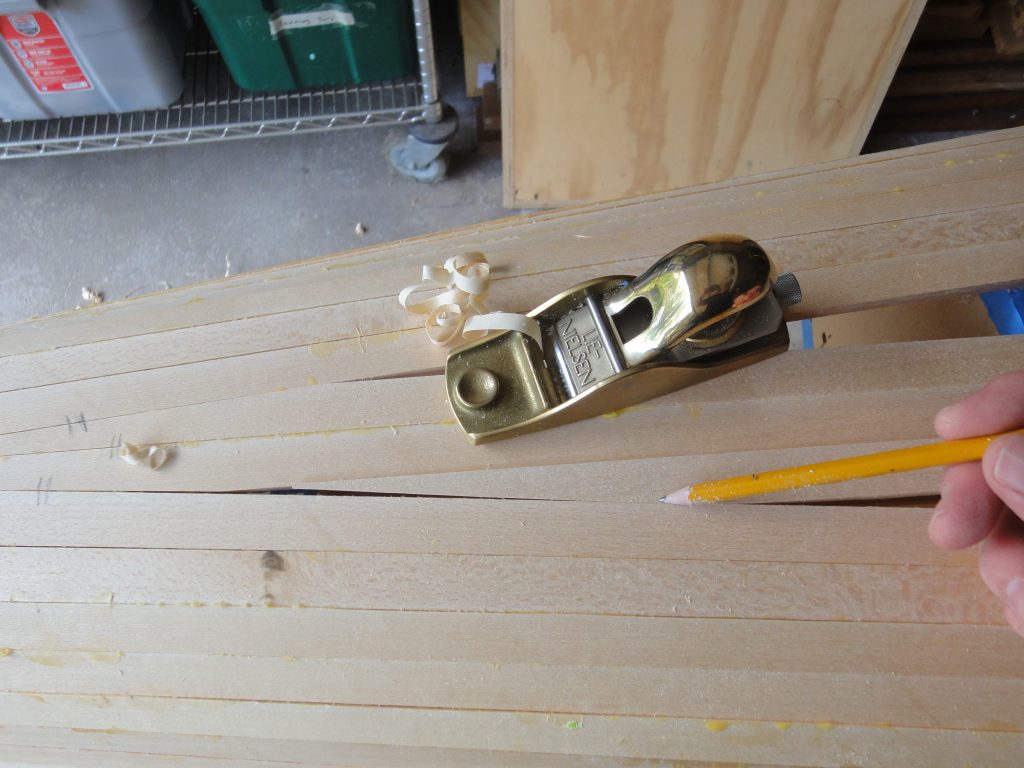
Next I cut the strip. I don’t actually cut on the line, but rather starting at a corner, parallel to the line. I could just as easily cut to the line but that would be wasting wood. After cutting the line a few passes with the hand plane makes for a straight edge.
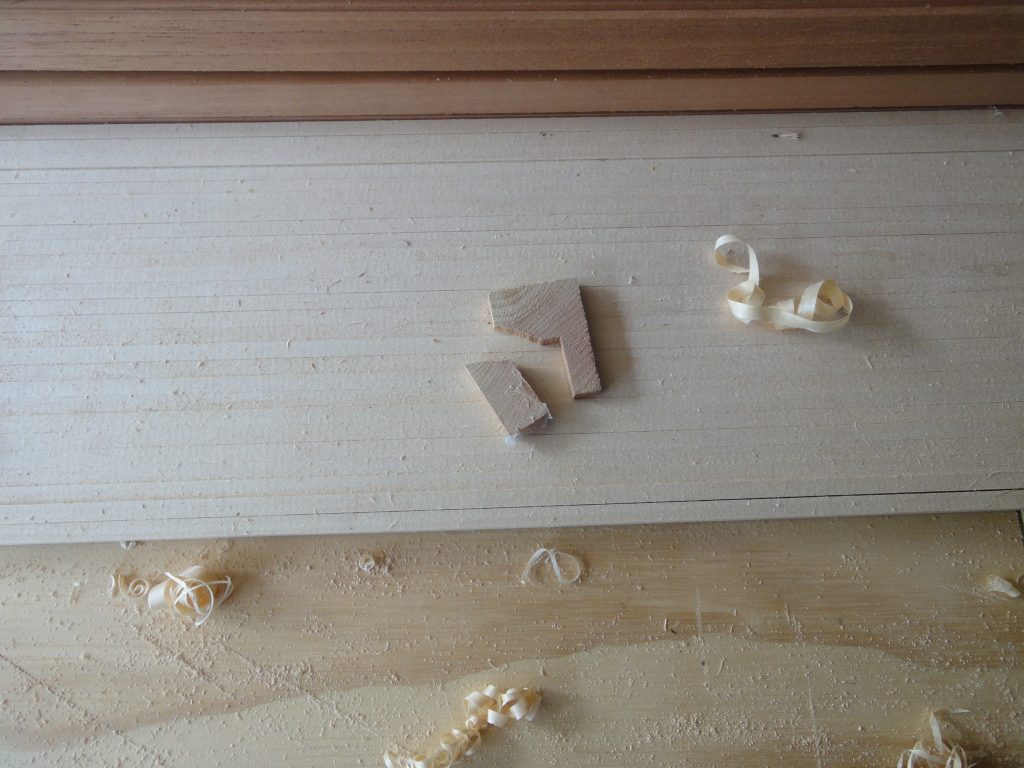
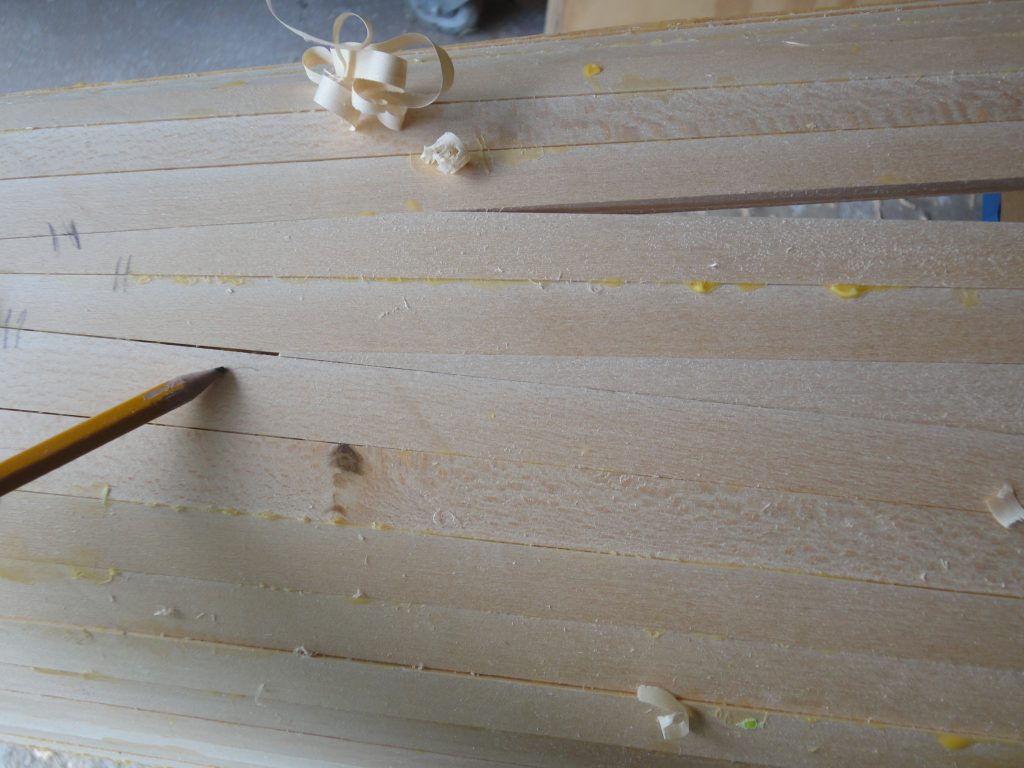
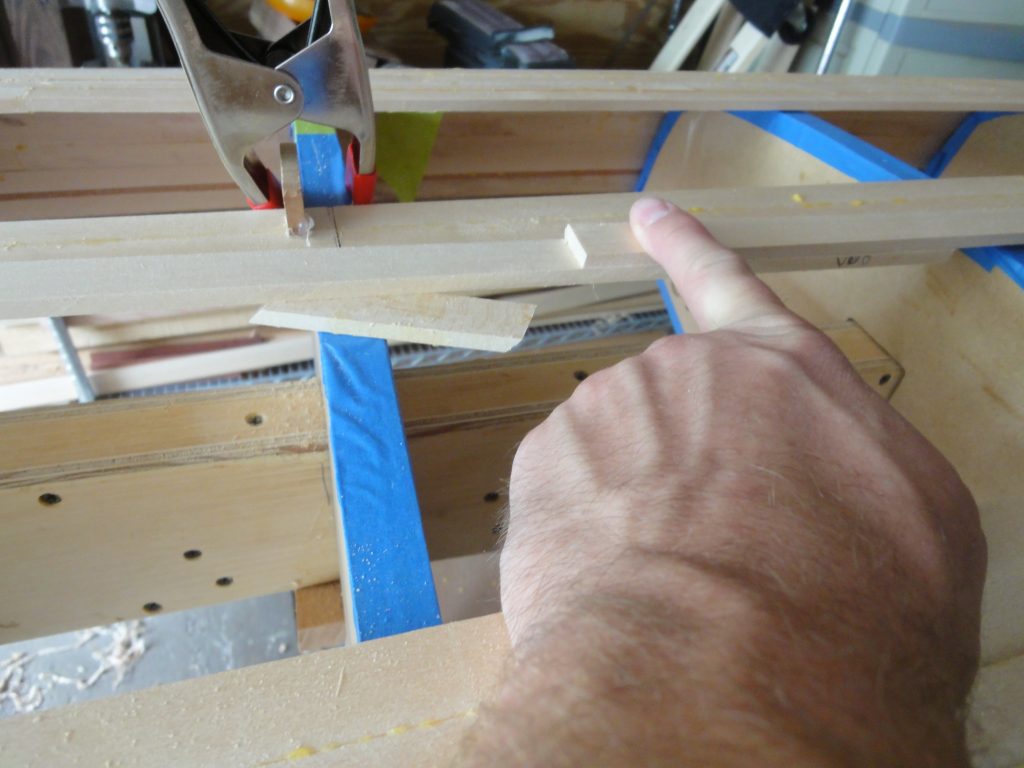
I’ll take it back to the kayak and do the first trial fit. In this case, not so good. You can see a big gap. I point at the tight spot with the pencil. This is where I need to make a few passes with the hand plane.
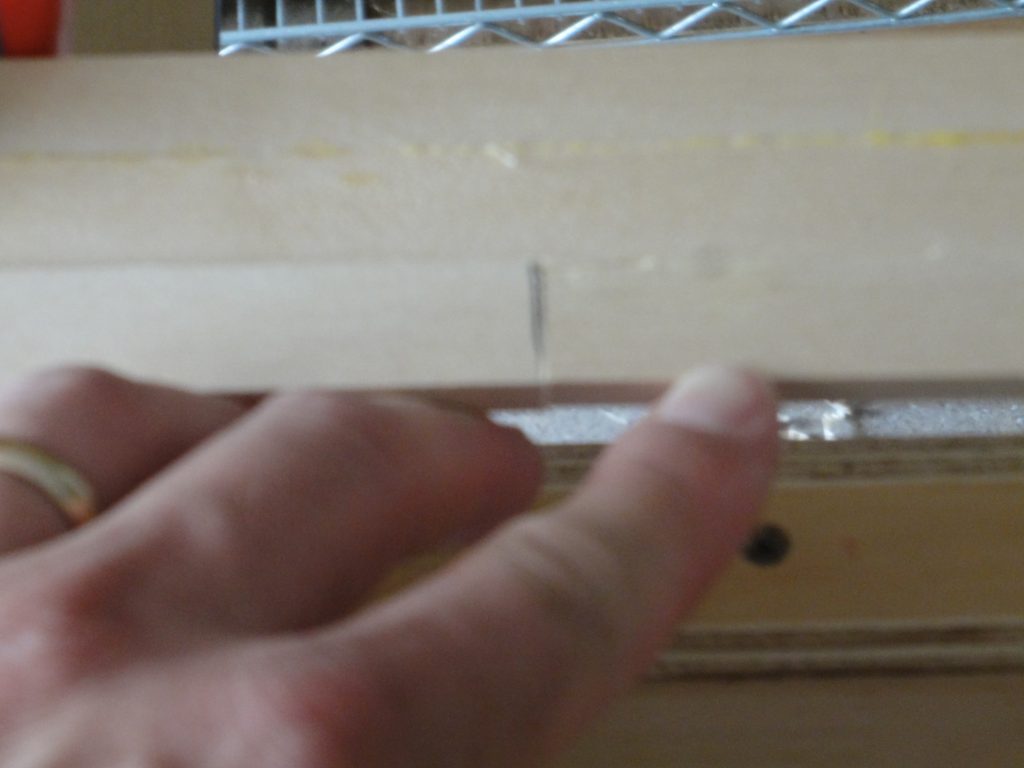
Another trial fit and the back still needs some shaving down. After the next test the middle part of the taper needs a bit of planing. Just a few light passes and now it fits perfectly. The slight gap in front of it will be filled in with sawdust “putty” later one.
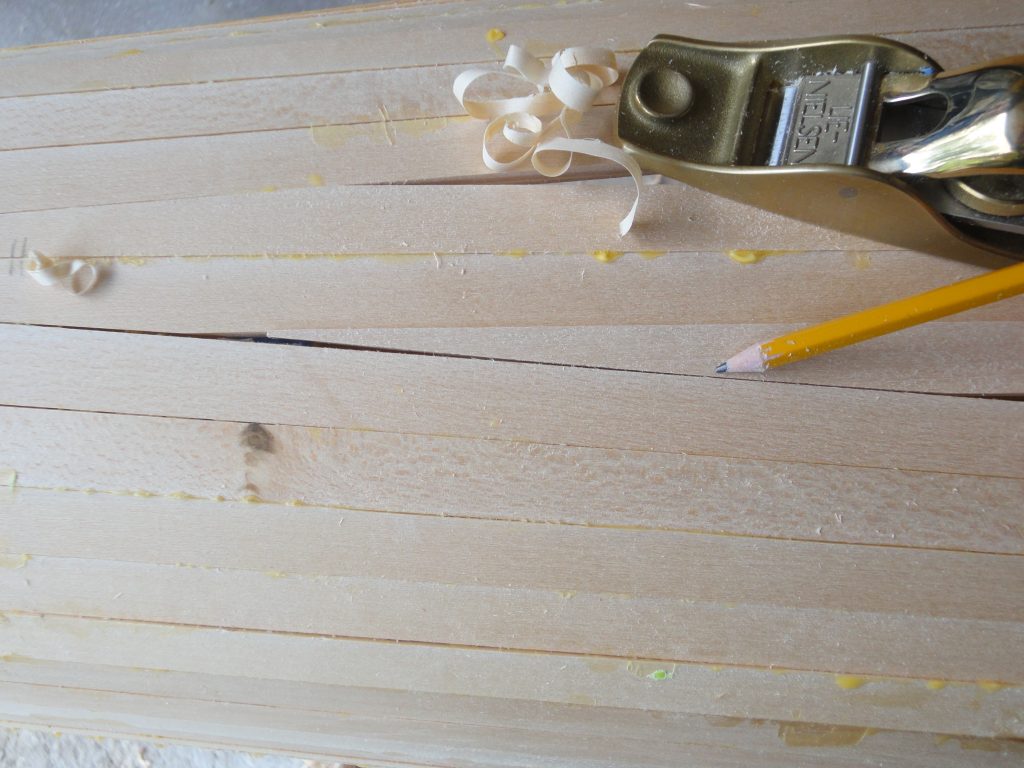

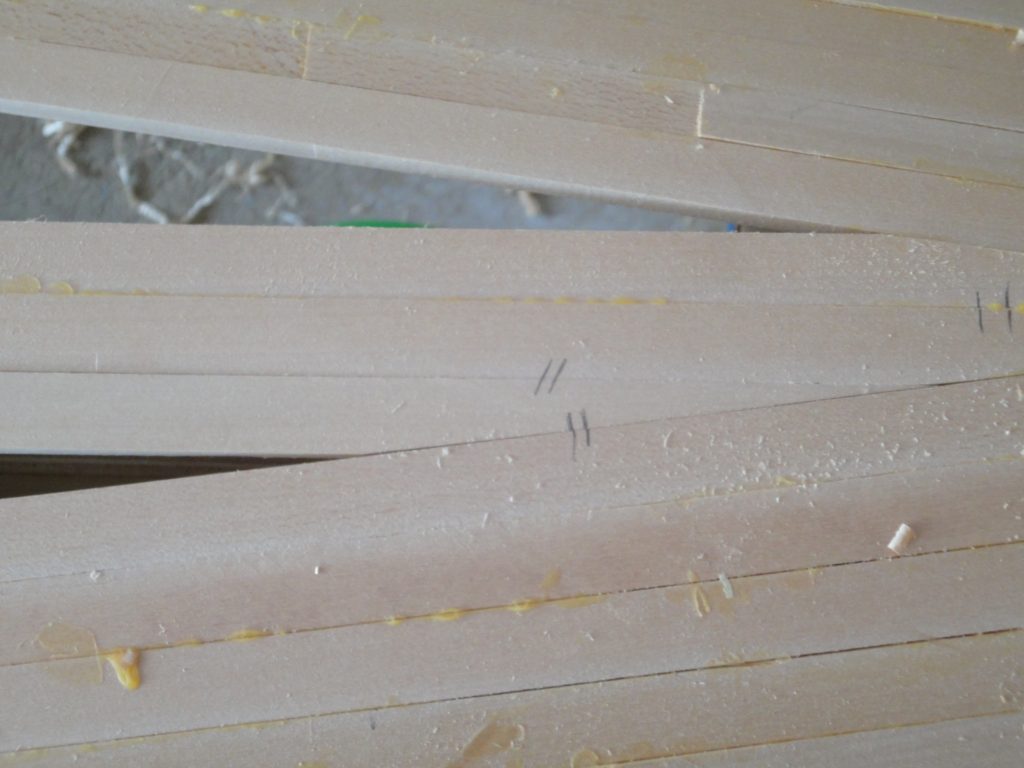
At the other end it took just a single adjustment pass until that board also fit pretty much dead on. Once the fit is good I put couple of alignment marks across the joint so later on when I’m gluing it up I can ensure the board is slid back into the exact same position.
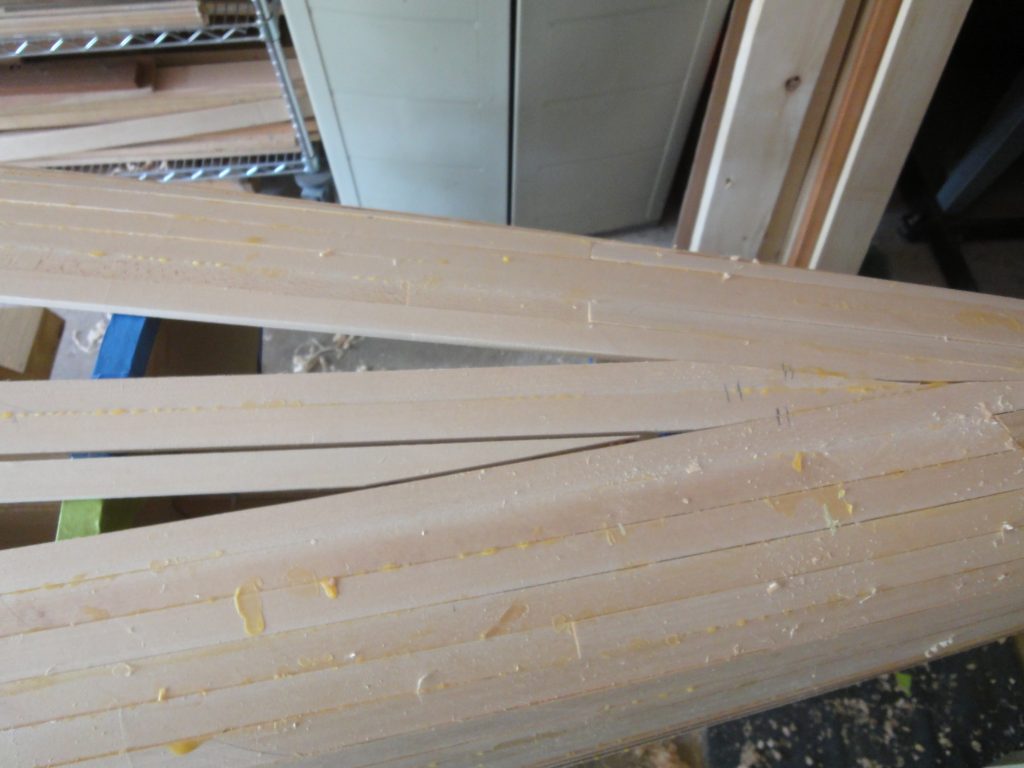
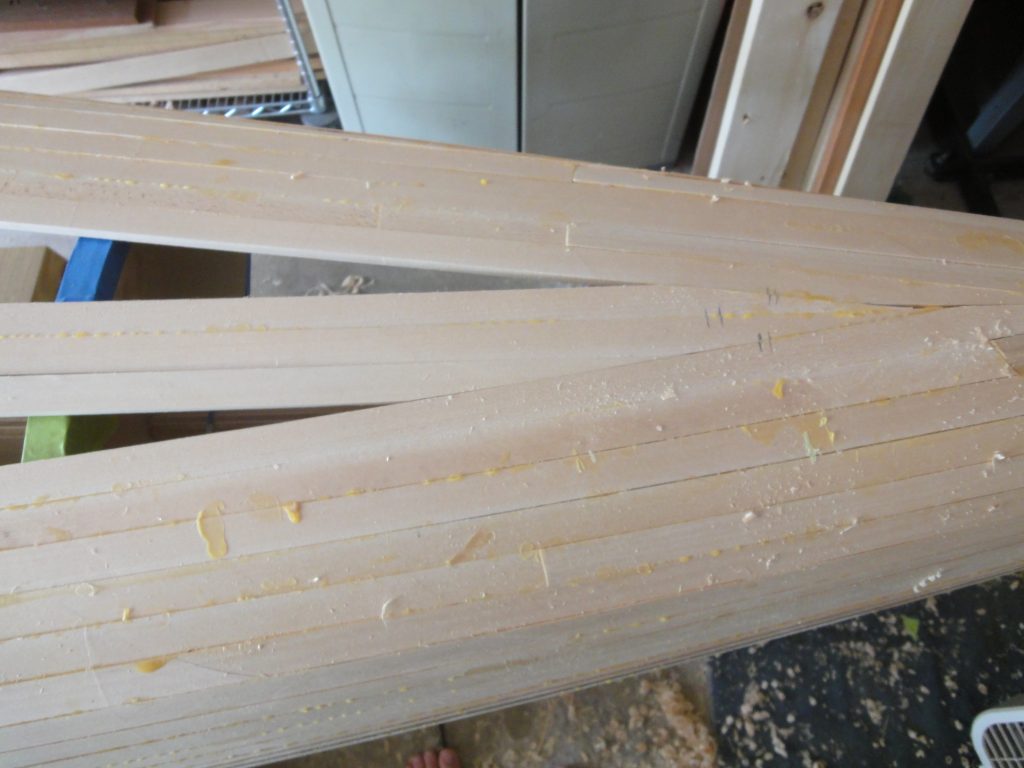
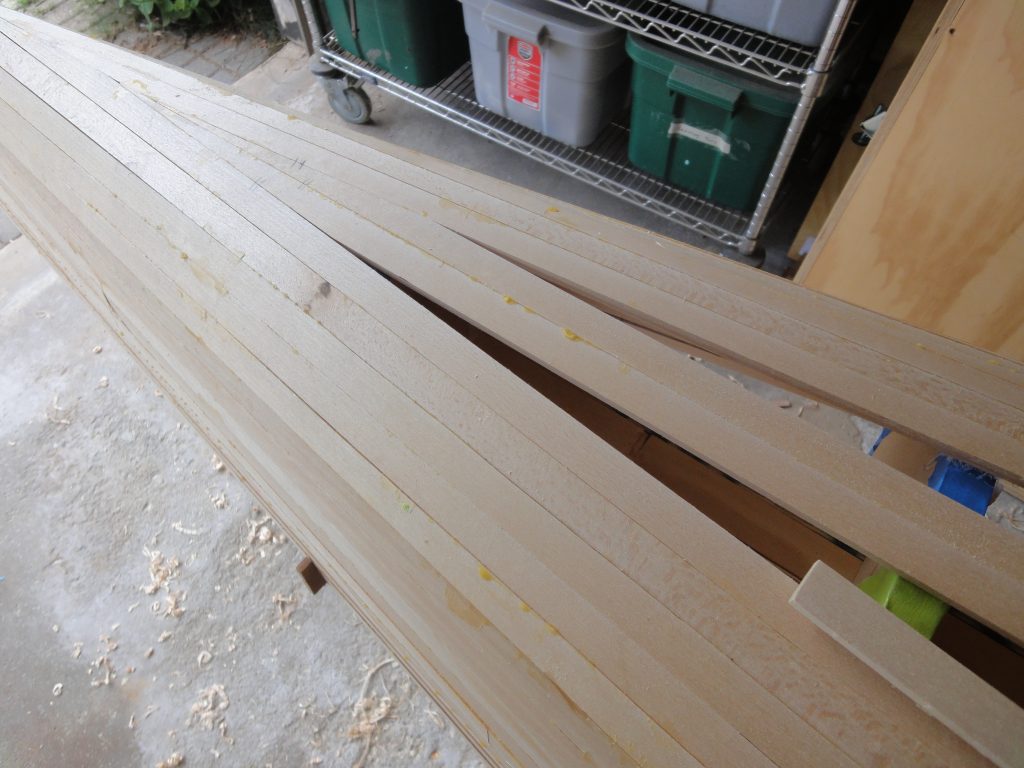
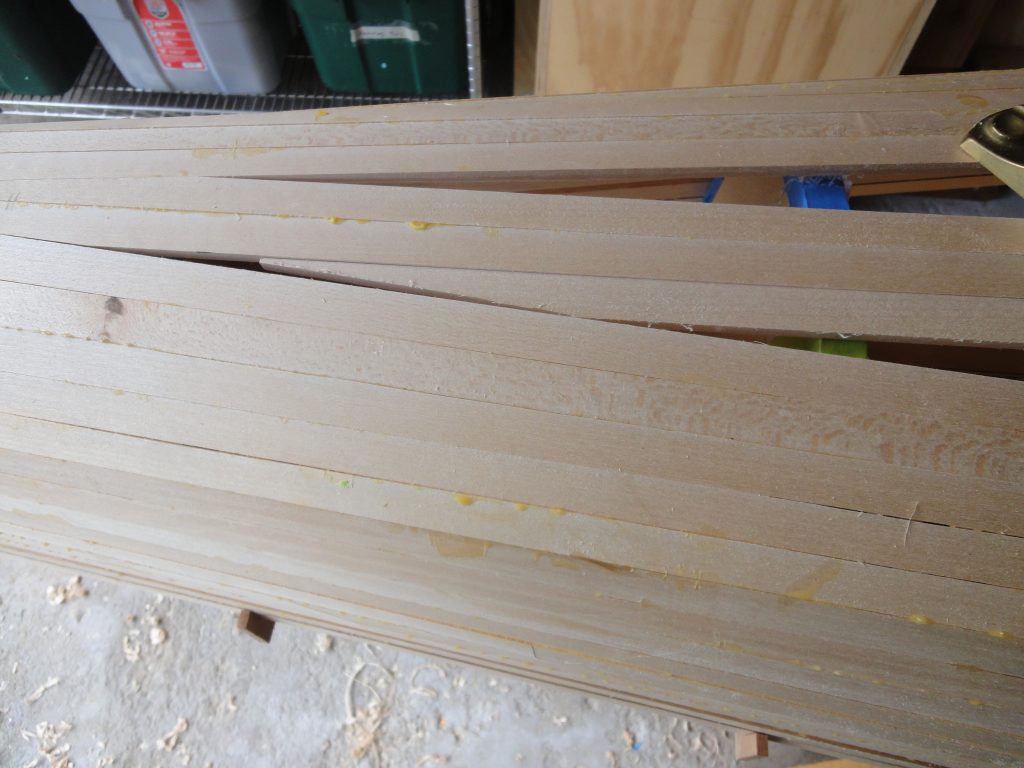
Since I’m not using full length strips it actually works to my advantage in this situation. Each end can be fit independently and then a splice joint made somewhere in between. I stagger the joints from board to board both for appearance and to add just a bit of extra strength to the hull. First one board is cut, then it is aligned over the second board and the cut is traced. Now I can’t actually cut the line or the saw blade thickness will result in a gap between the two boards. instead I cut just off the line, about where the pencil tip is. When cut this way the two boards fit together with zero gap. Unfortunately that shot wasn’t as focused as I had expected.
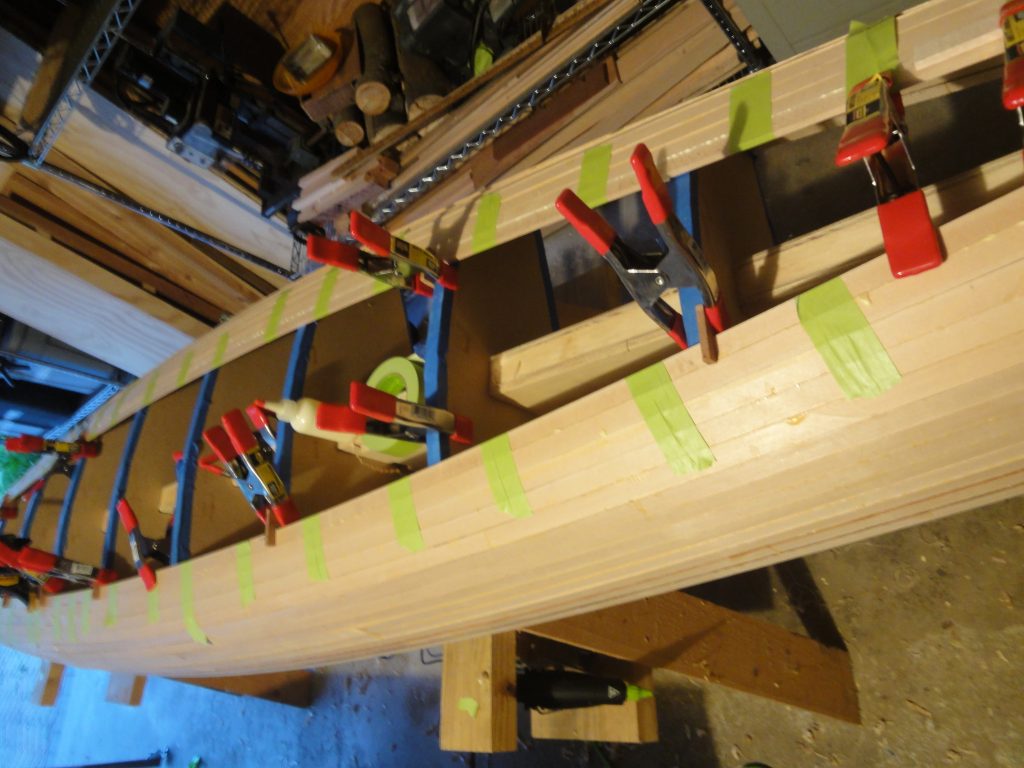
The first two boards followed essentially this same procedure along with beveling the edge so they would fit tightly together at the ridge. Show in the steps above were the second boards to each side of the center. With four boards completed I’m finding these are going in much easier, no heavy turning or twisting to stress the joints and the fitting at each end literally takes just a few minutes each. By my estimate, only about 6 more to go on each side and the bottom should be filled in. Hopefully next weekend (being a 3 day holiday weekend) will see the hull completed and the deck started.