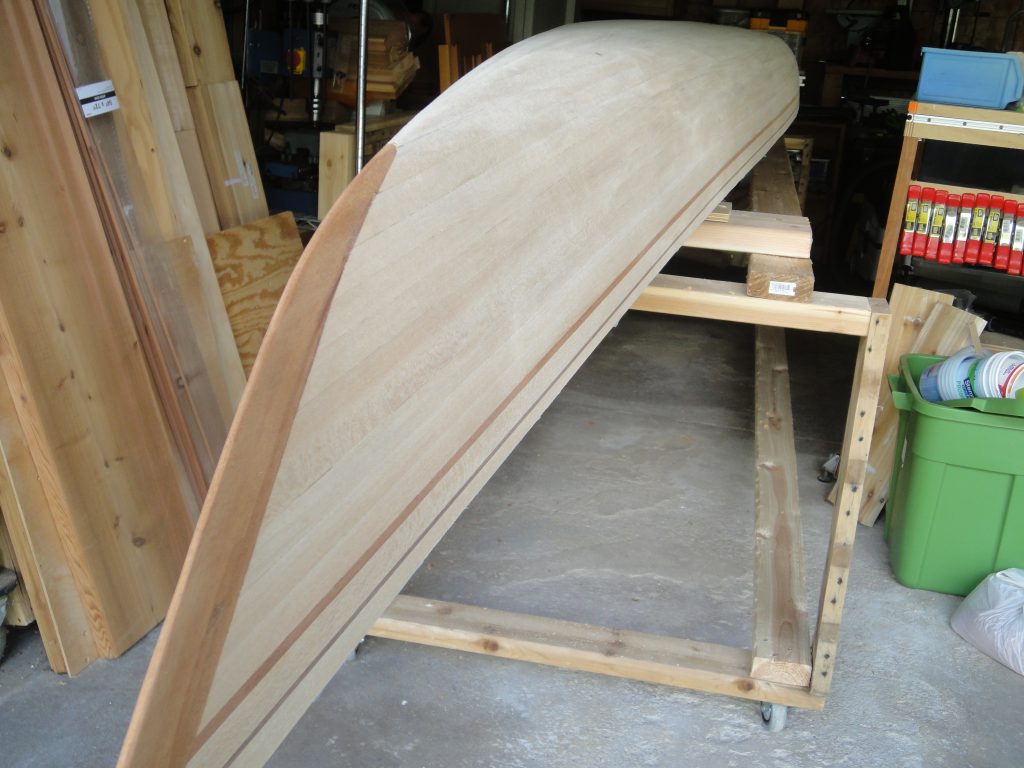
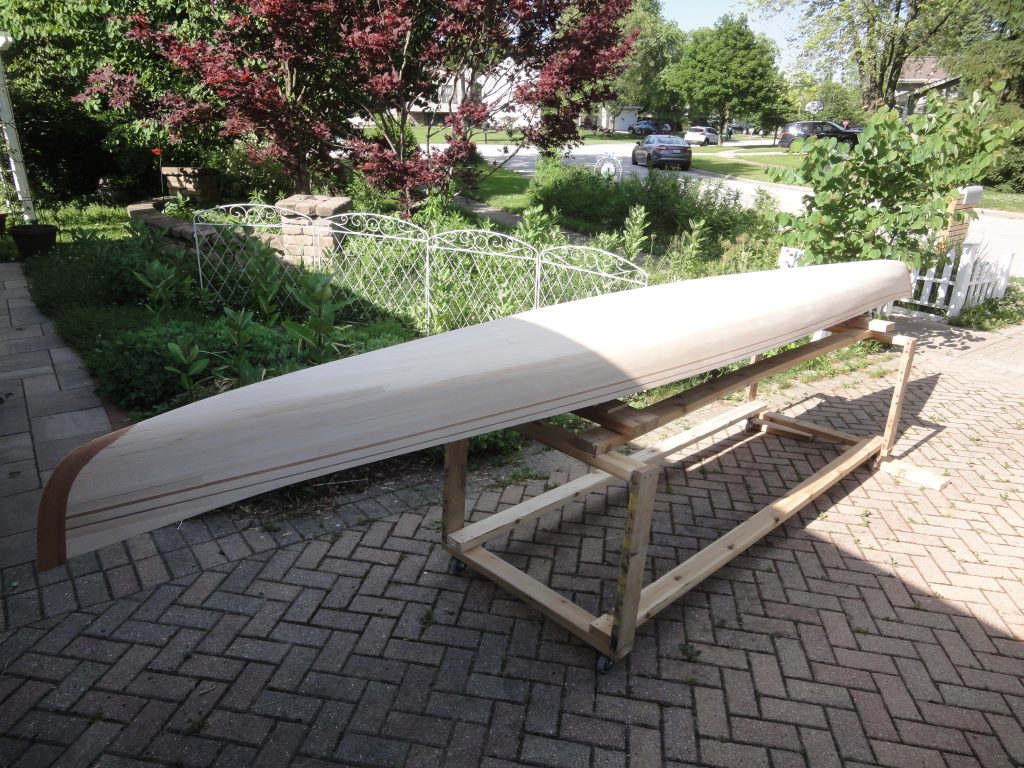
Getting the Kayak Wet

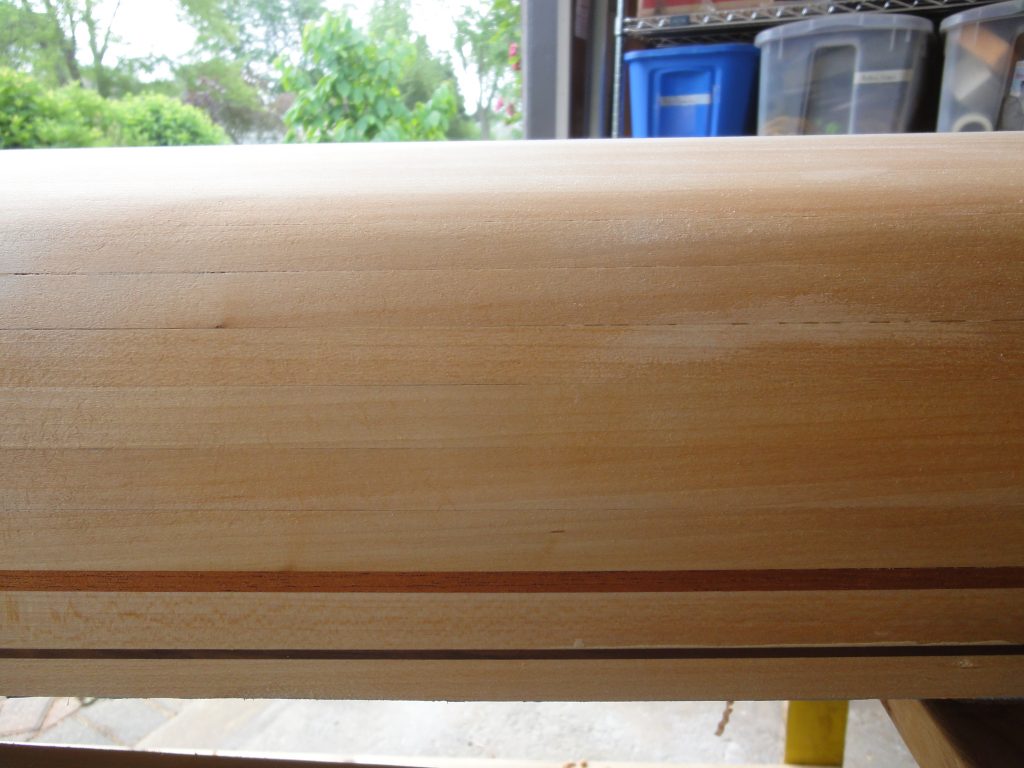
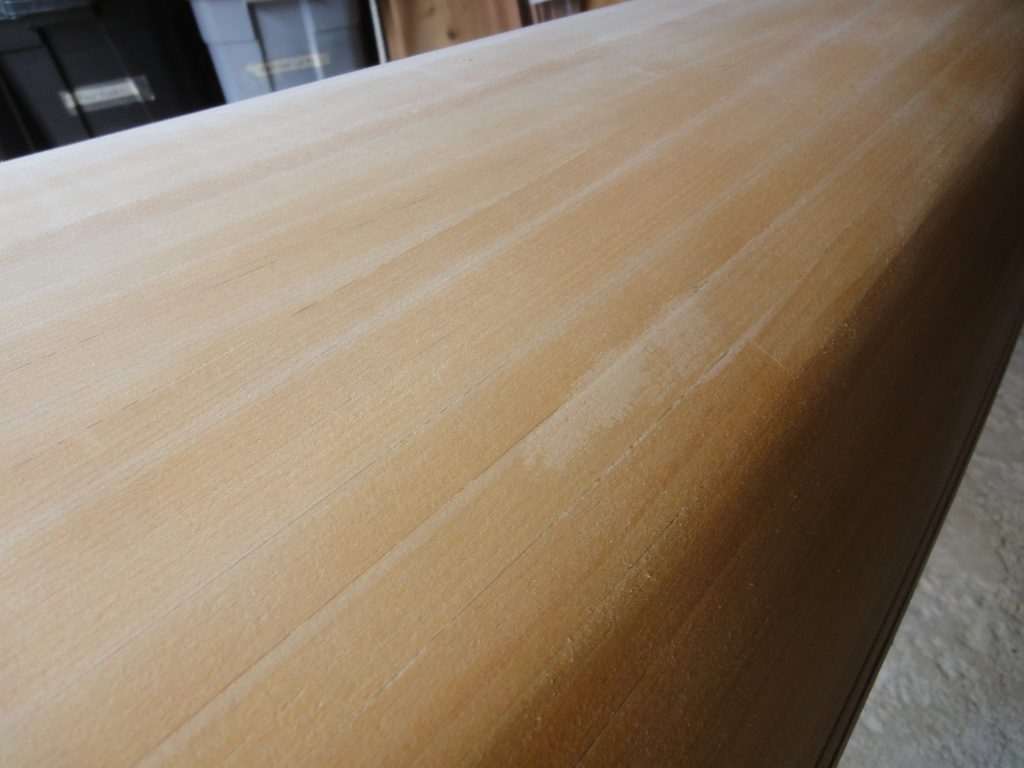
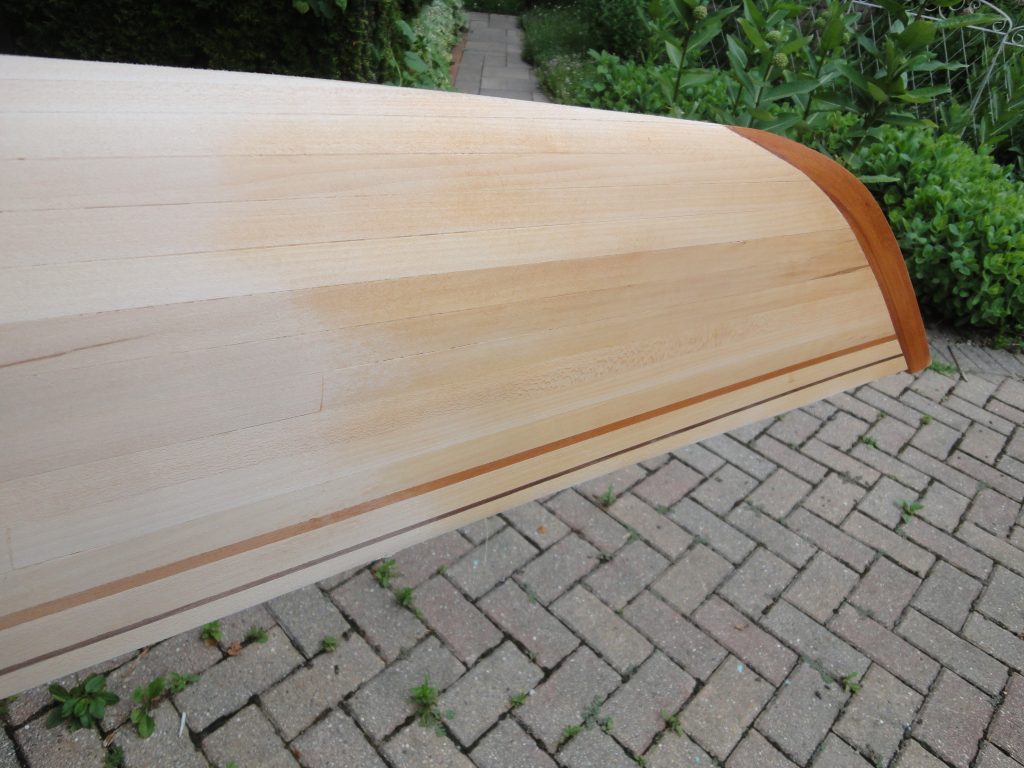
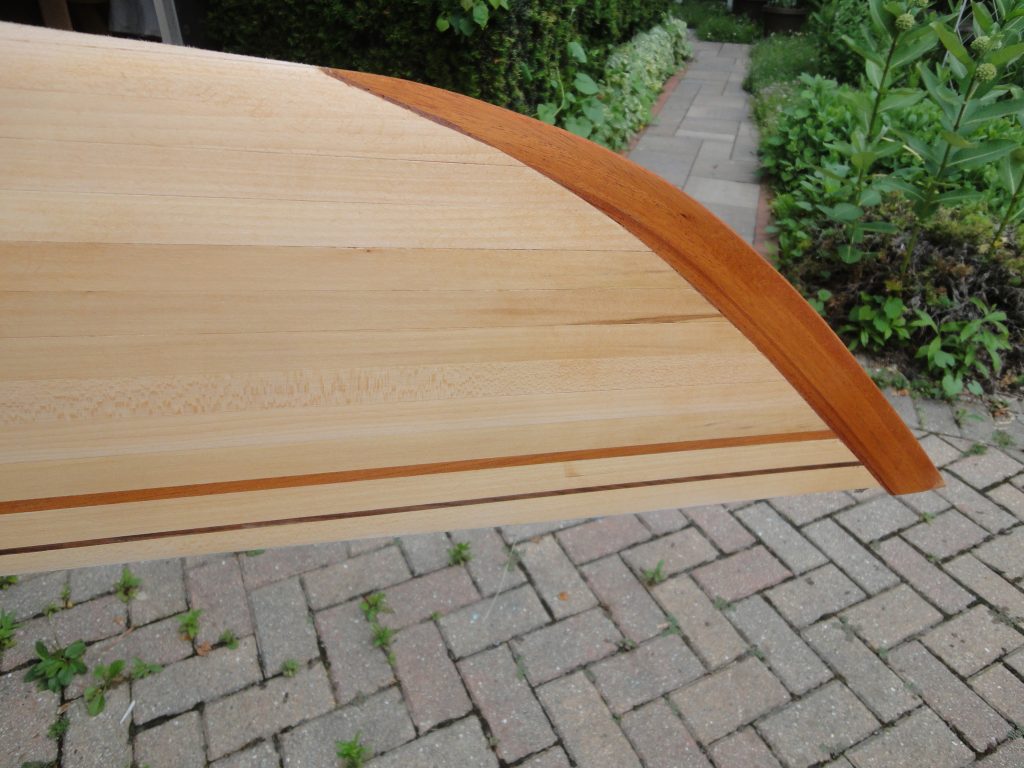
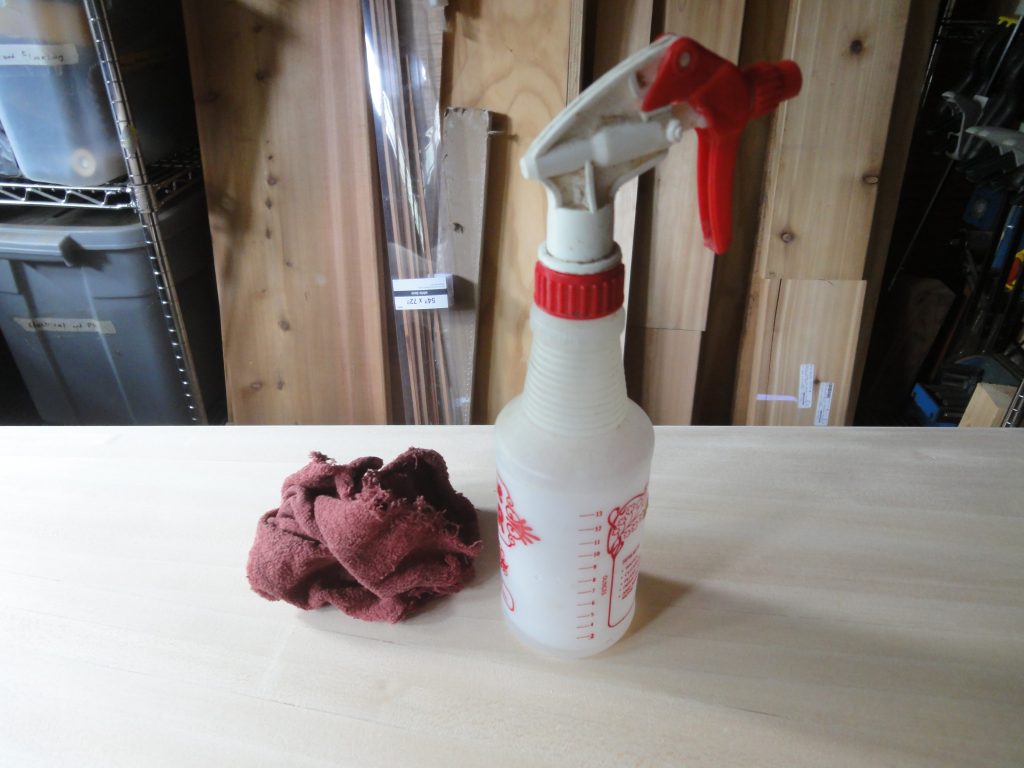
No, I suddenly didn’t just jump ahead to it being completed. Rather this is a step that helps with the finish. You spray the kayak down with water as a way to raise the grain in the wood for a final sanding and a way to see if you missed any glue. It’s also the first time that the colors really start to show. Using just simple spray/mist bottle and an old cloth, I would spray a section, then wipe with the cloth to ensure even coverage of the water. The goal here is to moisten the surface, not have it dripping wet.

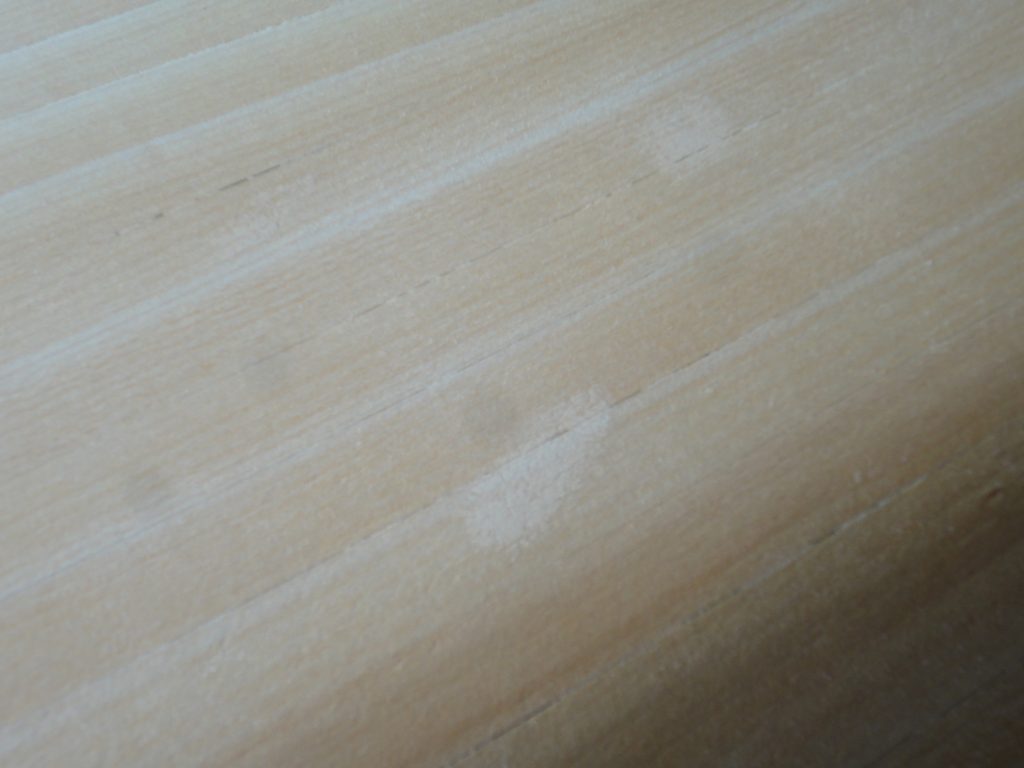
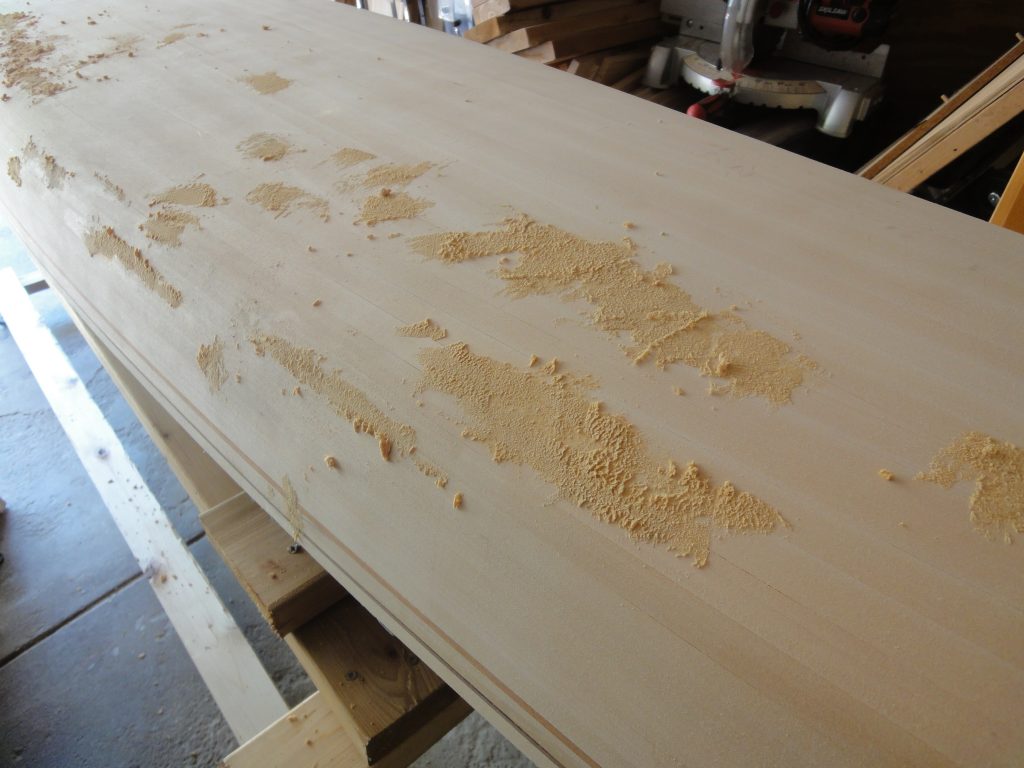
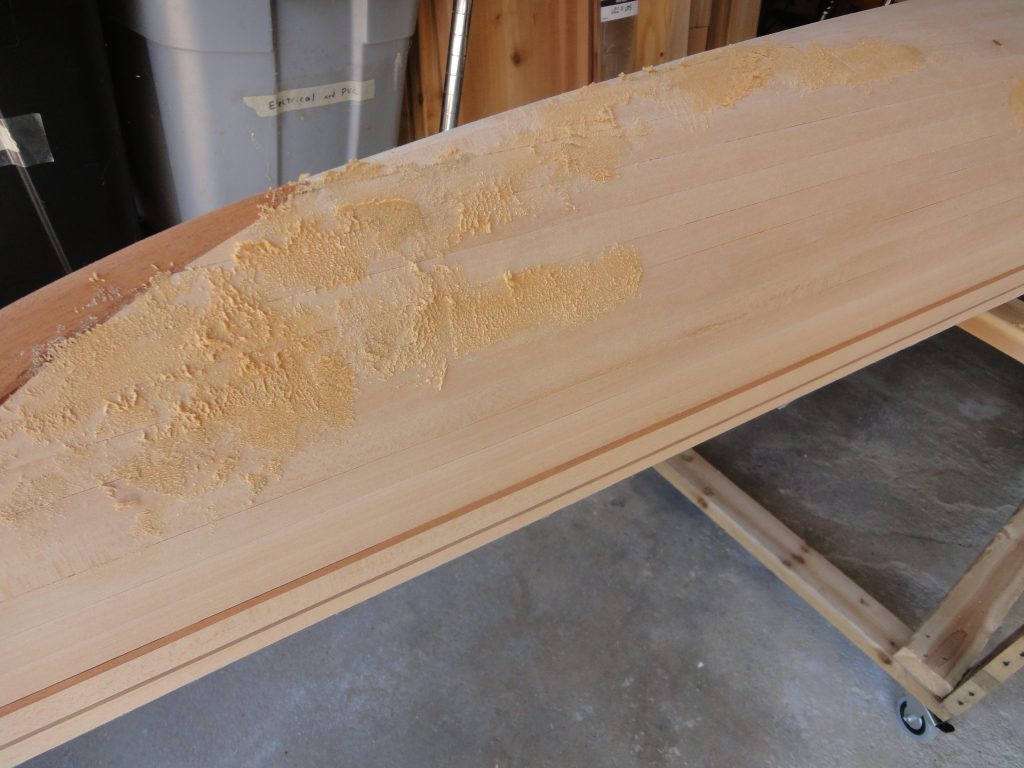
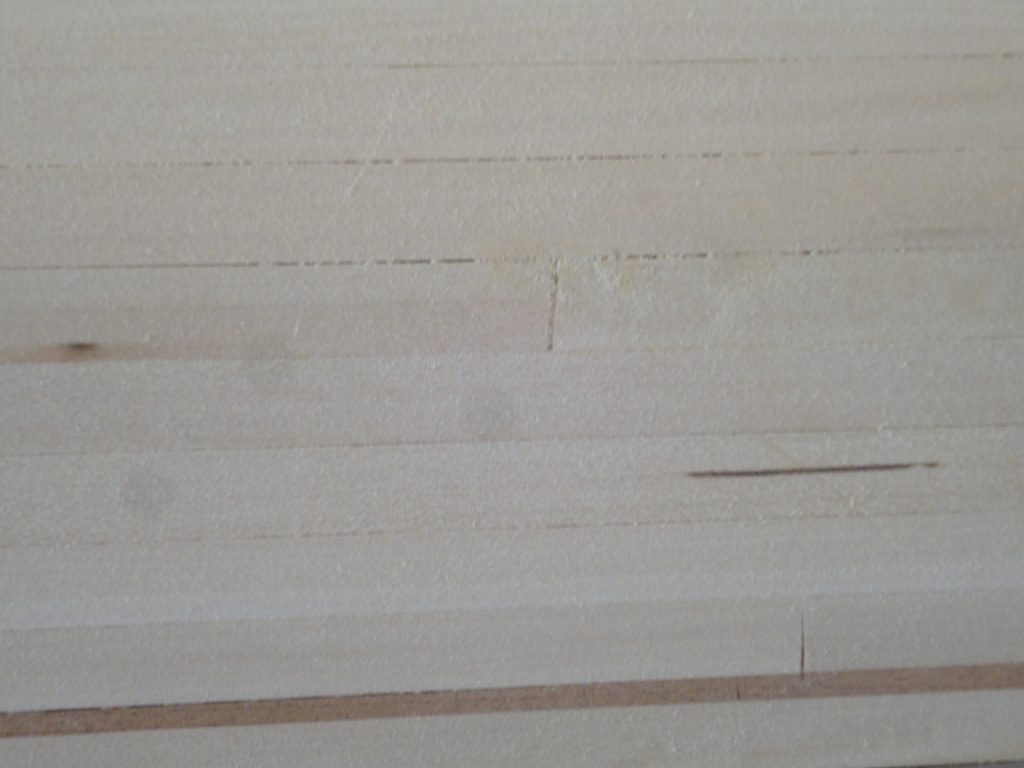
Once it was wet, missed glue spots clearly became visible. See if you can find them in these shots.

It really wasn’t too bad with nearly all of them being where I had done some crack filling. The color of the accent lines and the stem really started to pop too.

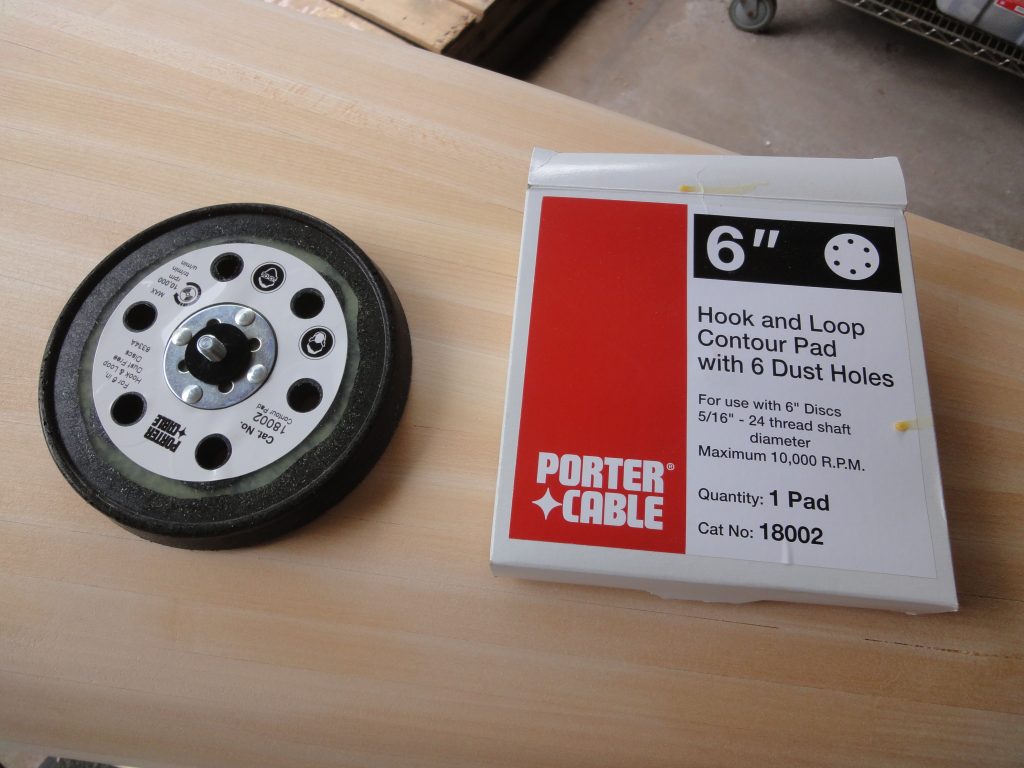
The sanding started with the random orbit, however I swapped out the normal pad for a contour pad. This is a softer pad that will conform more to your surface. The normal pad, going over a curve is going to try to knock down the curve while this pad is going to try to fit the shape. You end up with a less aggressive cut. I sanded at 120. One more wet down and the last few spots were taken care of. Next I switched back to the long board with a 150 grit and gave the whole surface a final once over when it was dry. This created a very good result that should now be ready for fiberglass and epoxy.

I took some vacation time from work around the weekend of July 4th so I’m targeting that as the time to get the outside hull fiberglassed and hopefully move on to the deck. If the weather and side projects cooperate by the time I’m heading back to work I hope to have both pieces done and be starting on the insides.

Straining to Move Forward

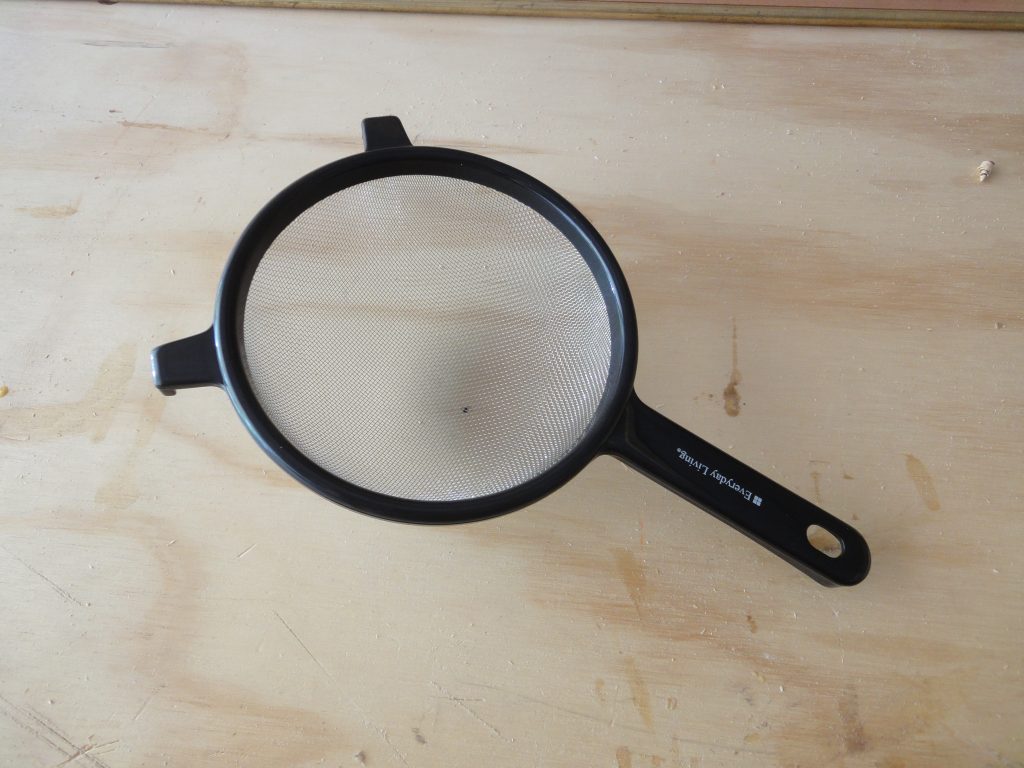
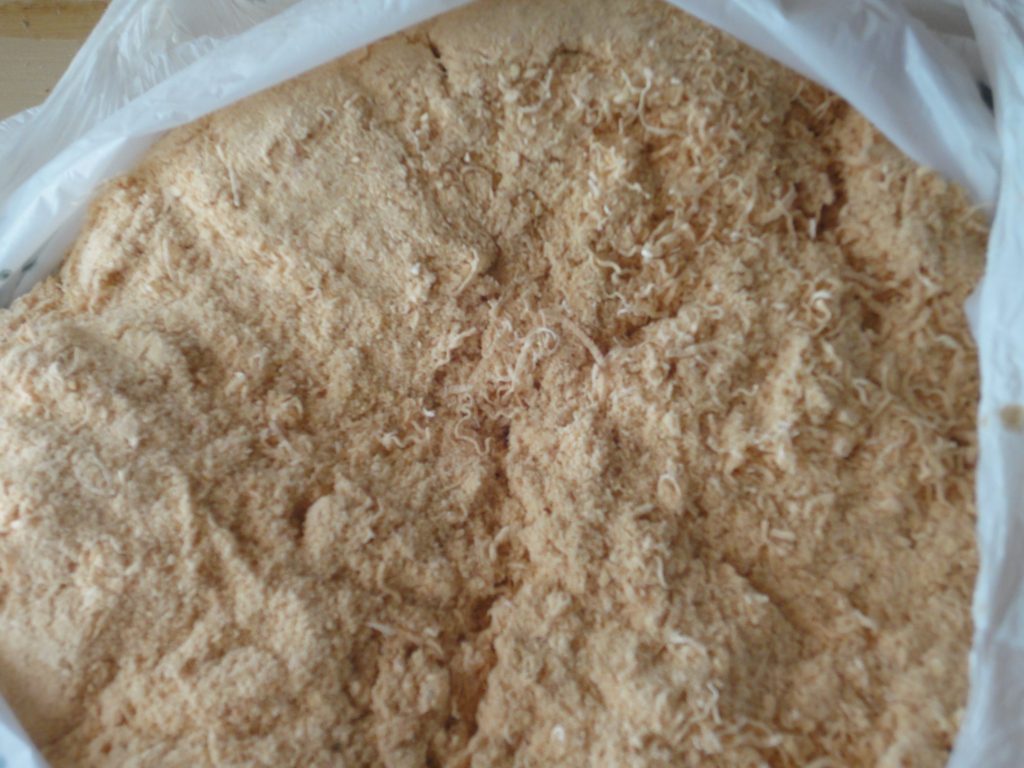
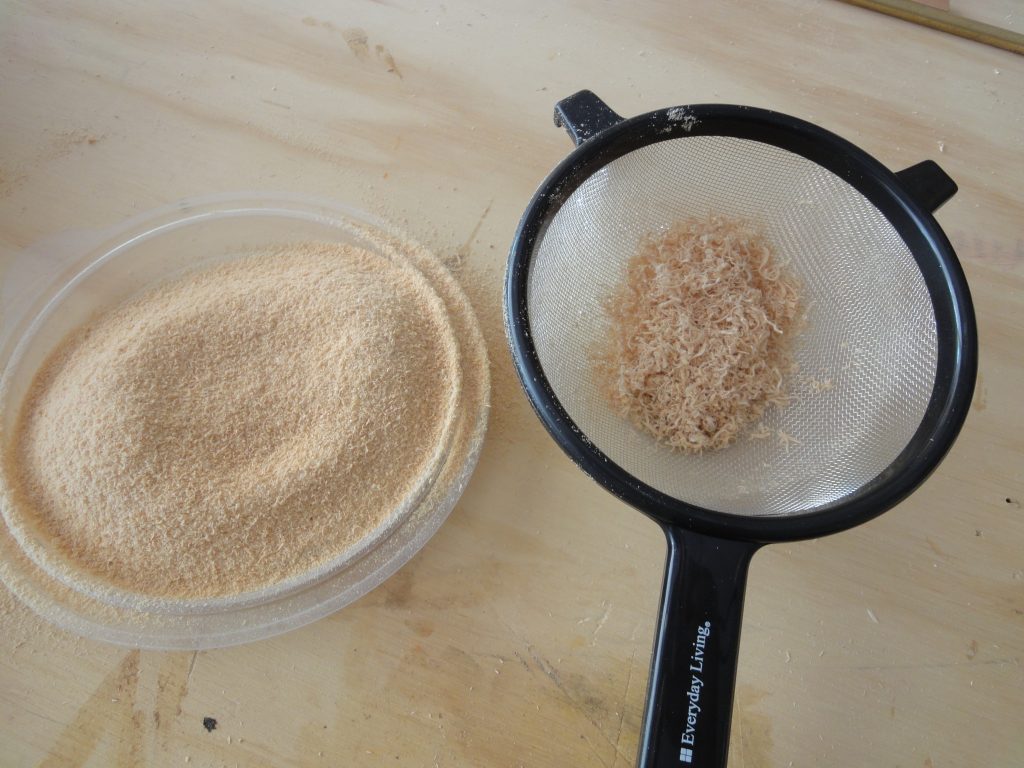
For my last round of crack filling I decided I wanted the finest sawdust possible so I used a strainer. When looking at the shavings/dust that I had collected it became apparent that there were some larger chunks in there that simply would not work as “putty” for filling the cracks so I needed a way to get them out. A cheap strainer from the grocery store worked just fine and took less than a minute to achieve fine dust.

As discussed before, the dust was mixed with glue to make a putty which was smeared into the cracks. Once dried this was once again sanded down with the random orbit and the long board.

At this point I had to make a call. Do I keep trying to fill the cracks (possibly for the rest of the summer) or do I call it sufficient for my first kayak and move on. Checking the inside I can see some pretty wide gaps where bevels didn’t quite fit together. The more I fill and sand the more likely I could actually be opening up the gaps even bigger as I would be eating away the points of the bevel. So I settled for the 3 foot test. If it looks good from at least 3 feet away I considered it acceptable and would put my efforts towards filling the gaps from the inside when I got to that point.

This was definitely a learning experience and a bit humbling too at the detail that needs to go into getting these strips to mate up perfectly, but again, this being my first I am still quite satisfied and feel it’s time to move on to the next steps.

Brought it Down and Wheeled it Around

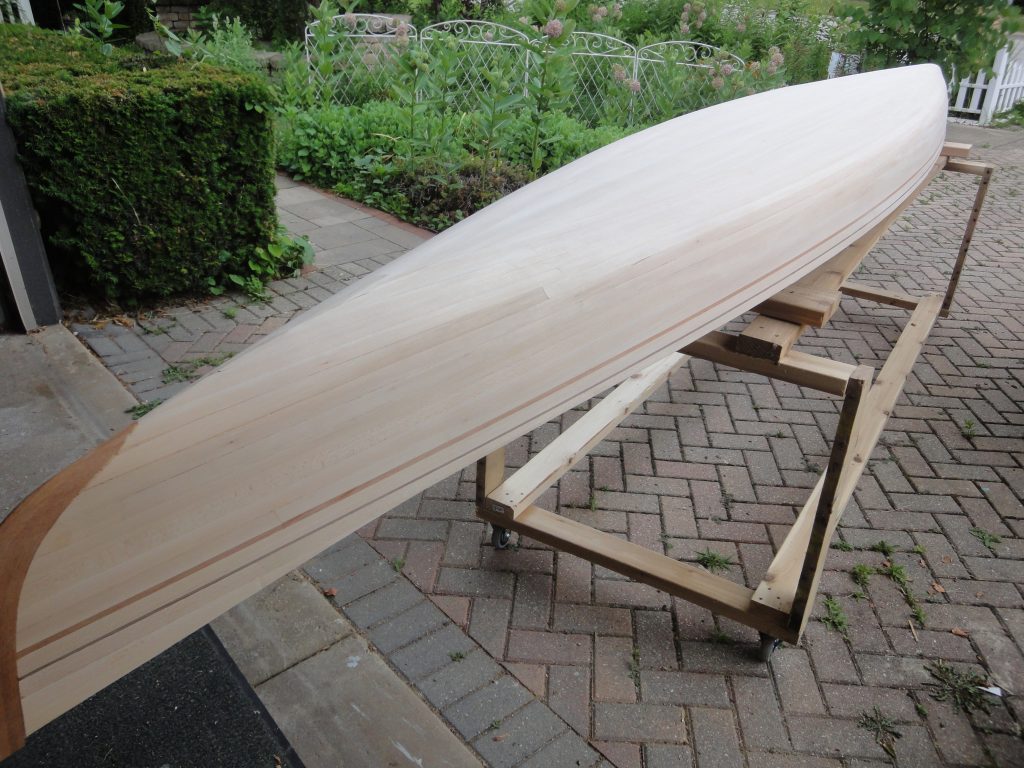
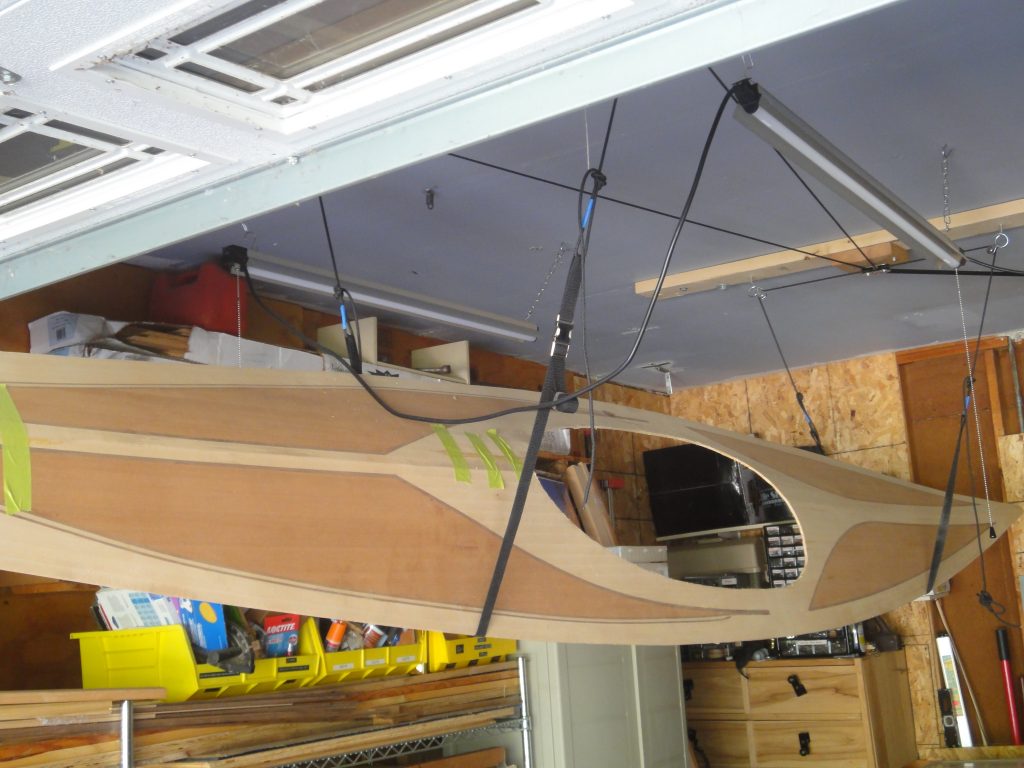
Just a little work today I lowered it onto the cart, wheeled it out to the drive way and checked over the kayak hull and deck. The deck condition seemed good so I hung that back up in, what I hope, to be the least stressful position while I work on the hull. The hull and forms were flipped over and placed back on the supports that I used to use on the saw horses. Once everything spaced out nicely I popped in a few screws to hold the supports in place.

It wheeled around just fine so I gave it a once over and had no apparent damage or deforming over the winter (and spring). Unfortunately I did notice that not all the small gaps between the strips were filled in as nicely as I wanted. So I think I’ll do one more round of filling and sanding on these. There are not a lot of them. In the shot below are a few that I know if I don’t take care of, will bug me when I’m done. These are not structural, purely cosmetic, and you really have to be within about 3 feet to even see them but I still want to at least try to get them a bit better.

Almost Ready to Get Back to Work (on the kayak)

Well, who knew of all the changes that would happen since last fall when I put the project away for the winter. I’ve been lucky in one sense in that my day job is for an essential supplier so almost the whole time I’ve been working but we also had a close family member catch the virus and eventually succumb to it so we are (and have been) taking it very seriously too. I hope all of you are staying safe and healthy.

After taking care of some spring garden projects and almost done with a bedroom remodel I’m about ready to get back to the kayak. As it was left last fall, the hull was pretty much ready to have the fiberglass and epoxy applied. The deck was almost ready too, however when moving it on and off the forms it split down the middle on one of the seams. I glued it back up and will need to scrape, sand and check that joint before the outside of the deck can also be fiberglassed.

Given the virus situation, respirators are hard to come by. Originally I was going to do this in the garage with a respirator, however now I may be limited to just a mask in which case I will work on it in the driveway to promote better air flow and avoid inhaling the epoxy fumes.

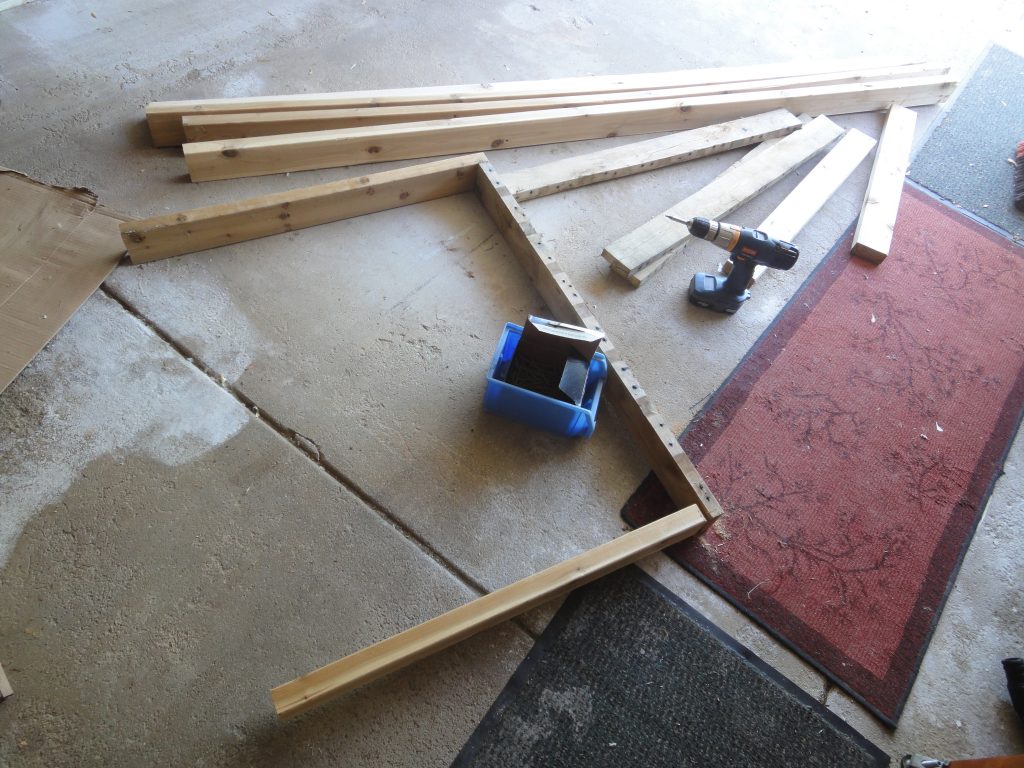
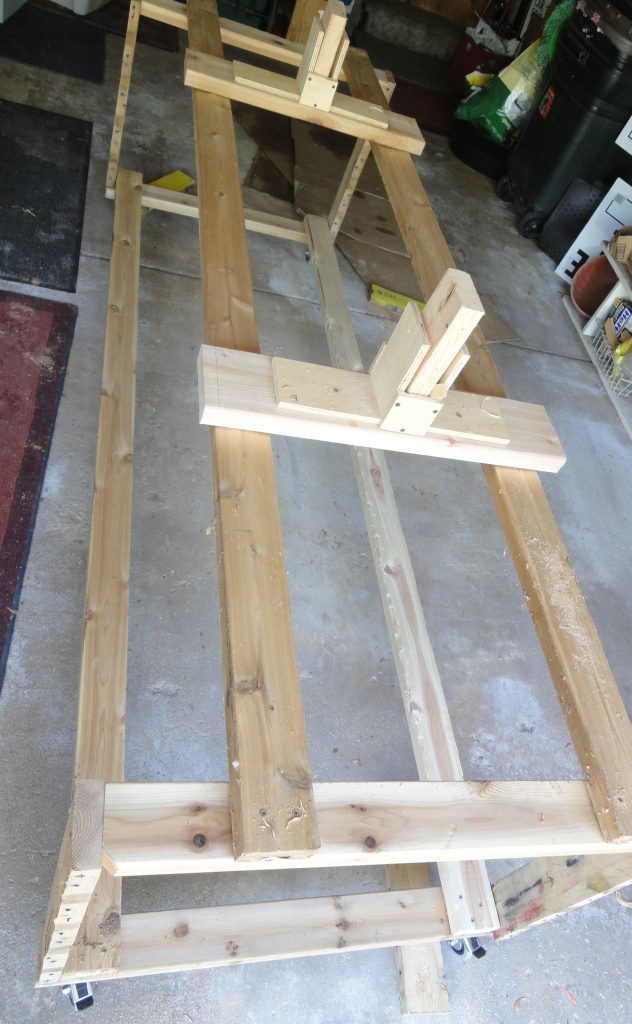
If you’ve been a regular reader you know that I’ve setup the form on a set of saw horses and did all the work from there. Great when you don’t have to move it around, but no so good for going in and out of the garage each day. As a result I did a bit of research on mobile strongback type bases.

The two that I liked are at https://forums.woodnet.net/showthread.php?tid=5370722 and http://blackwaterriverguitars.com/Canoe%20001.html scroll down on both pages to find the images. After some thought I decided the latter was better suited for me. So, with some 2x4s, a few boards pulled off a pallet (from a garden project delivery) and a few more scrap 2×6 pieces I think I have something that will do the trick. Hopefully later this week I can lower the kayak onto here and see how it fits and moves.