Hatch – Part 4 & Some Musings

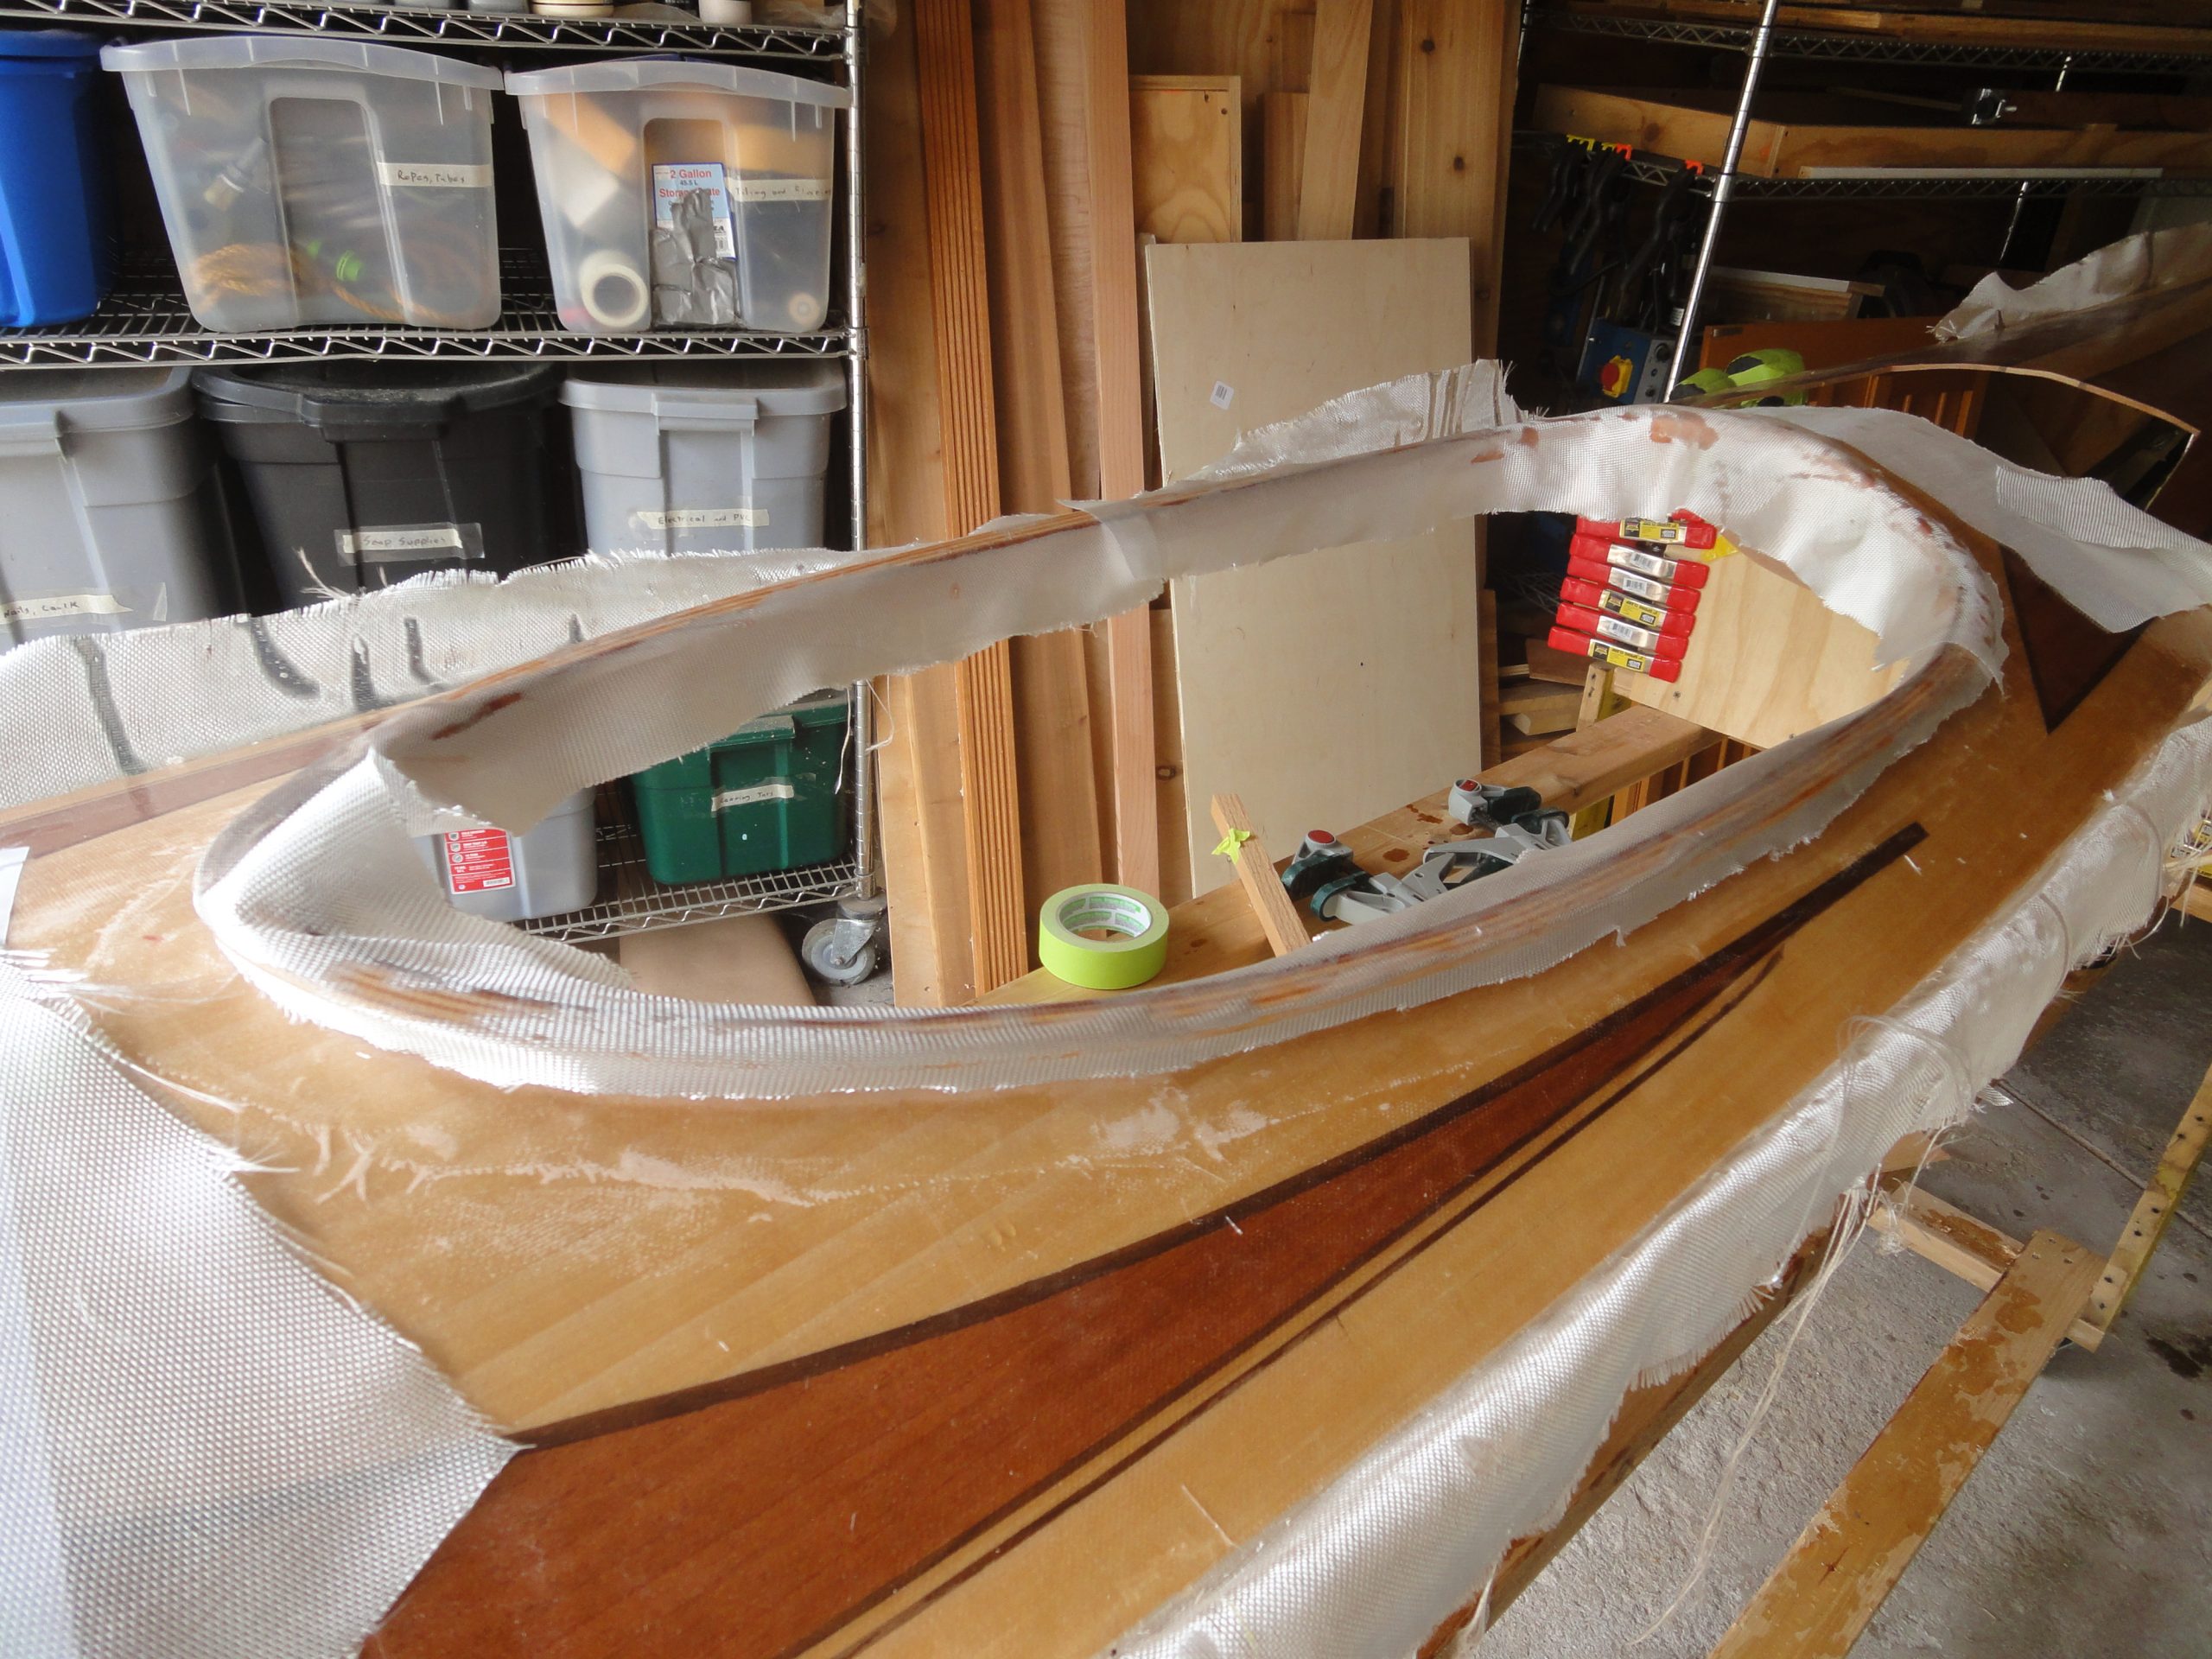
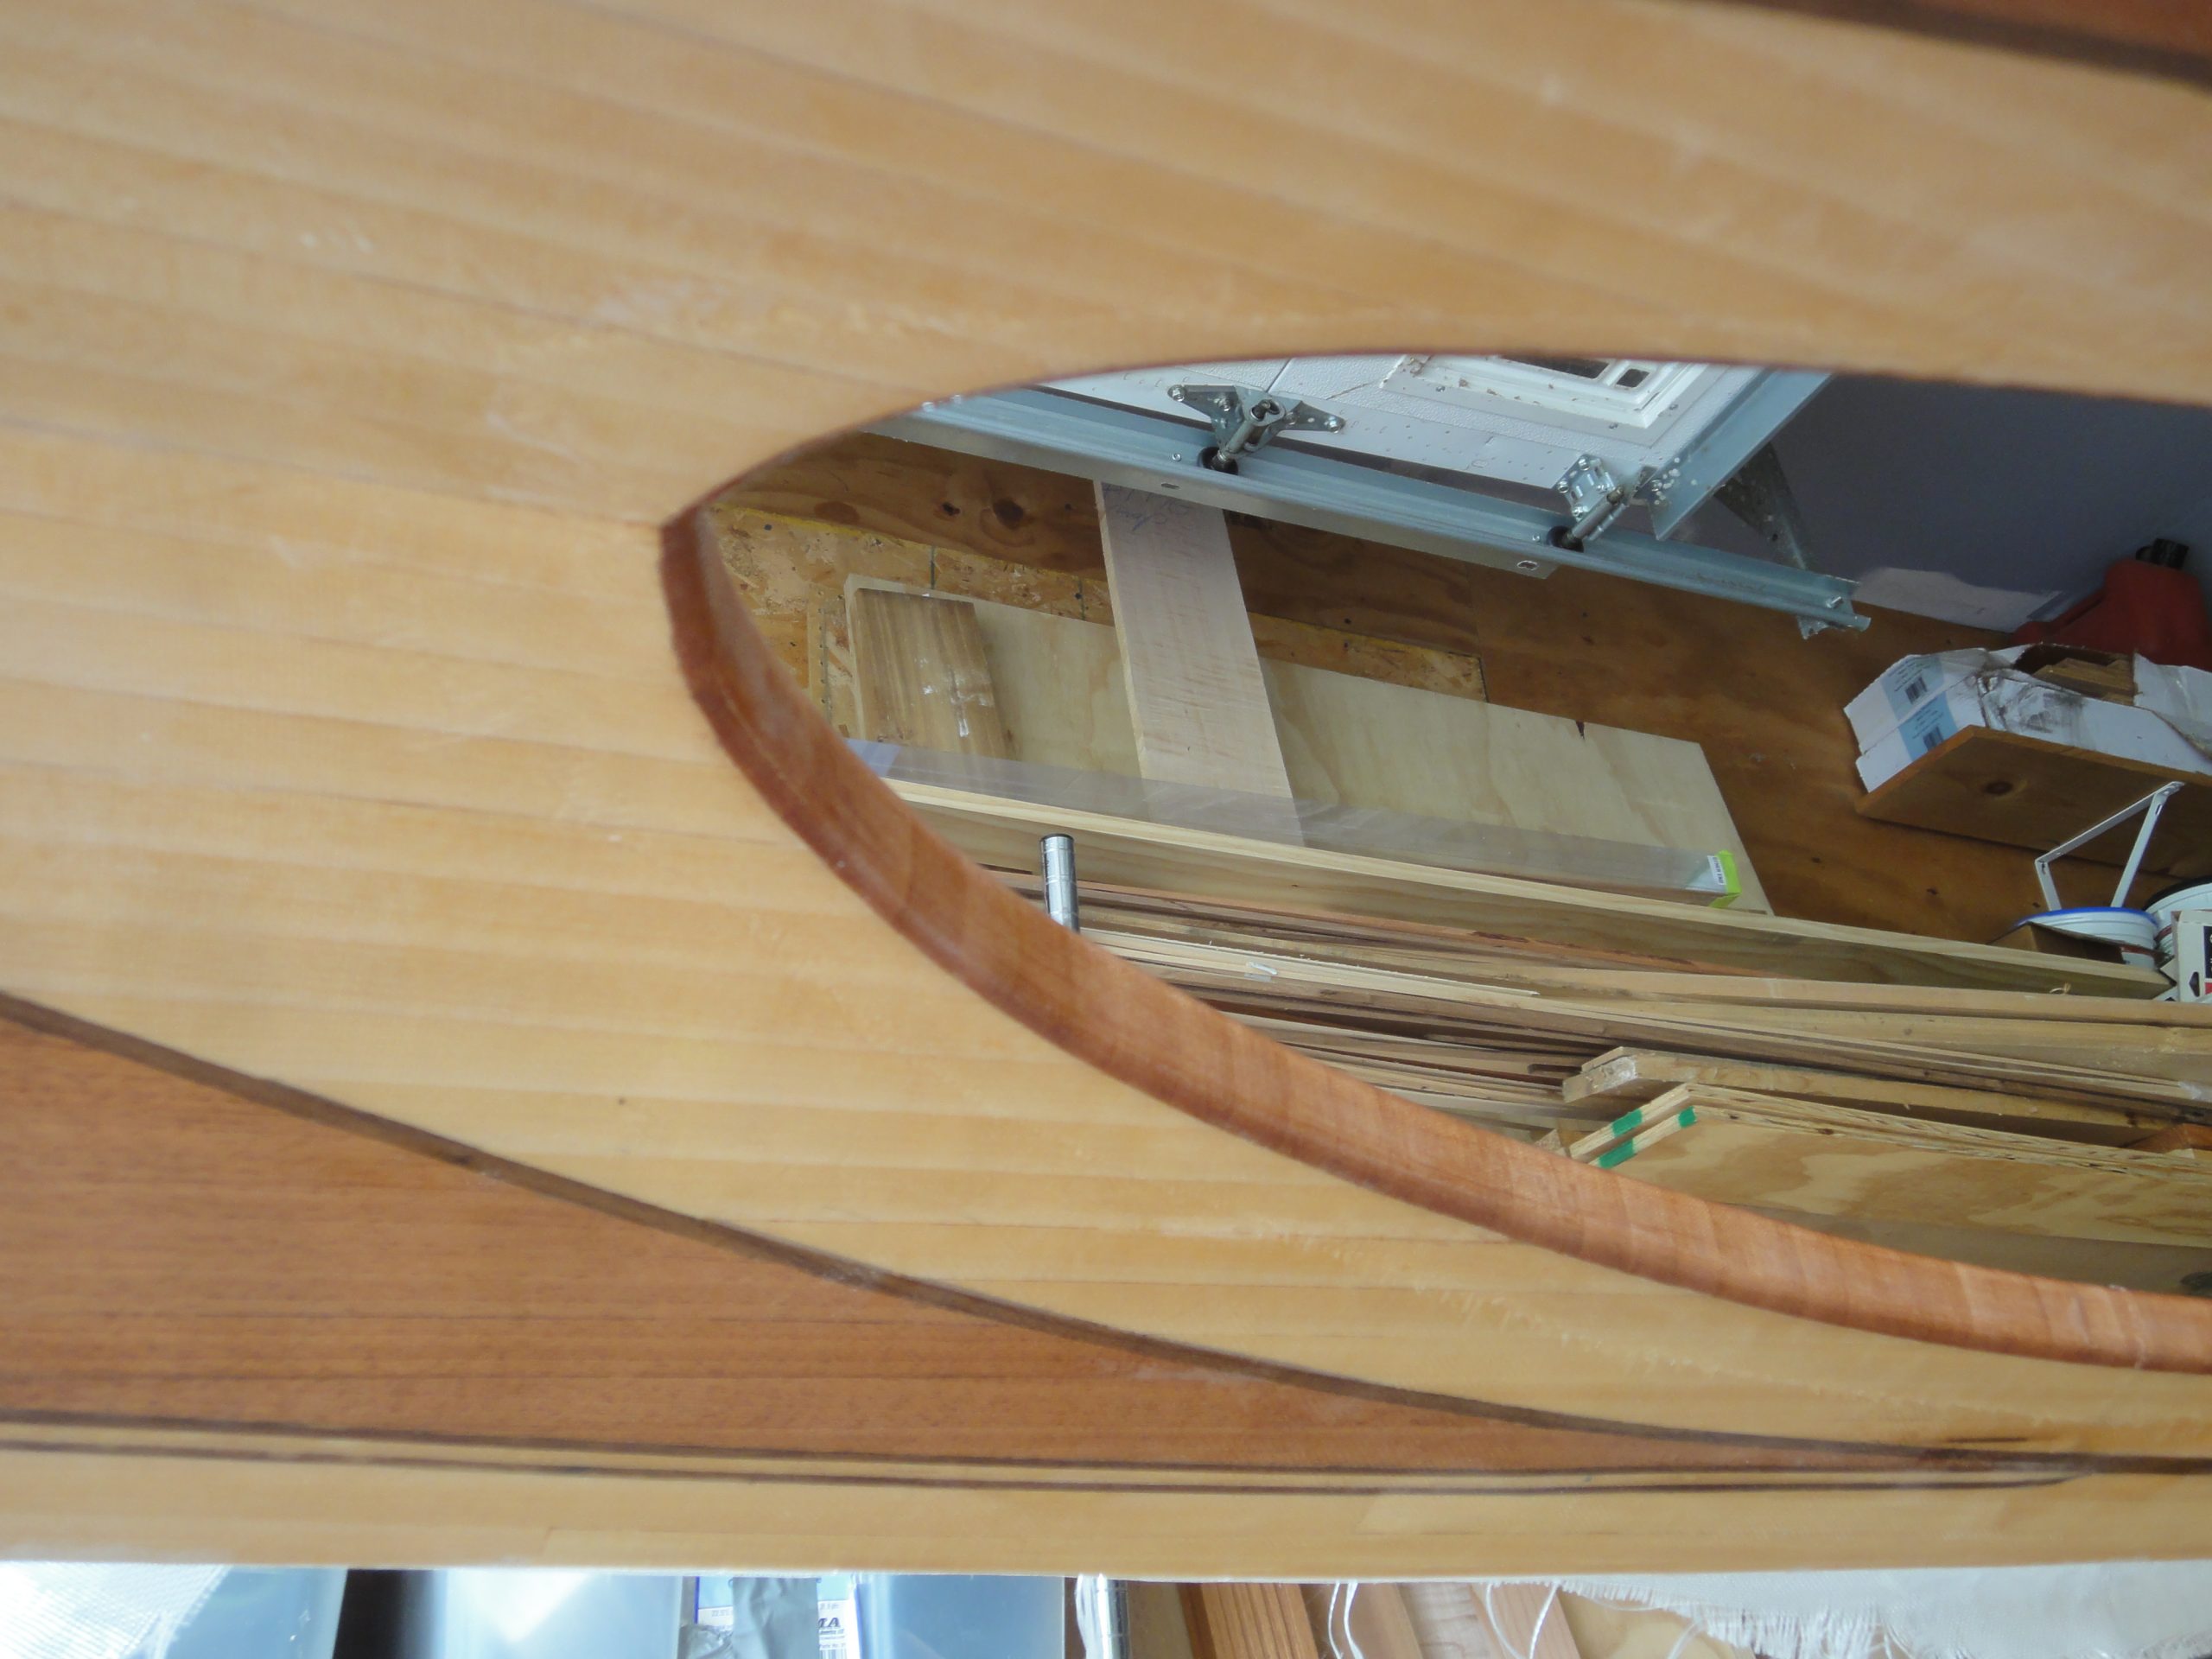
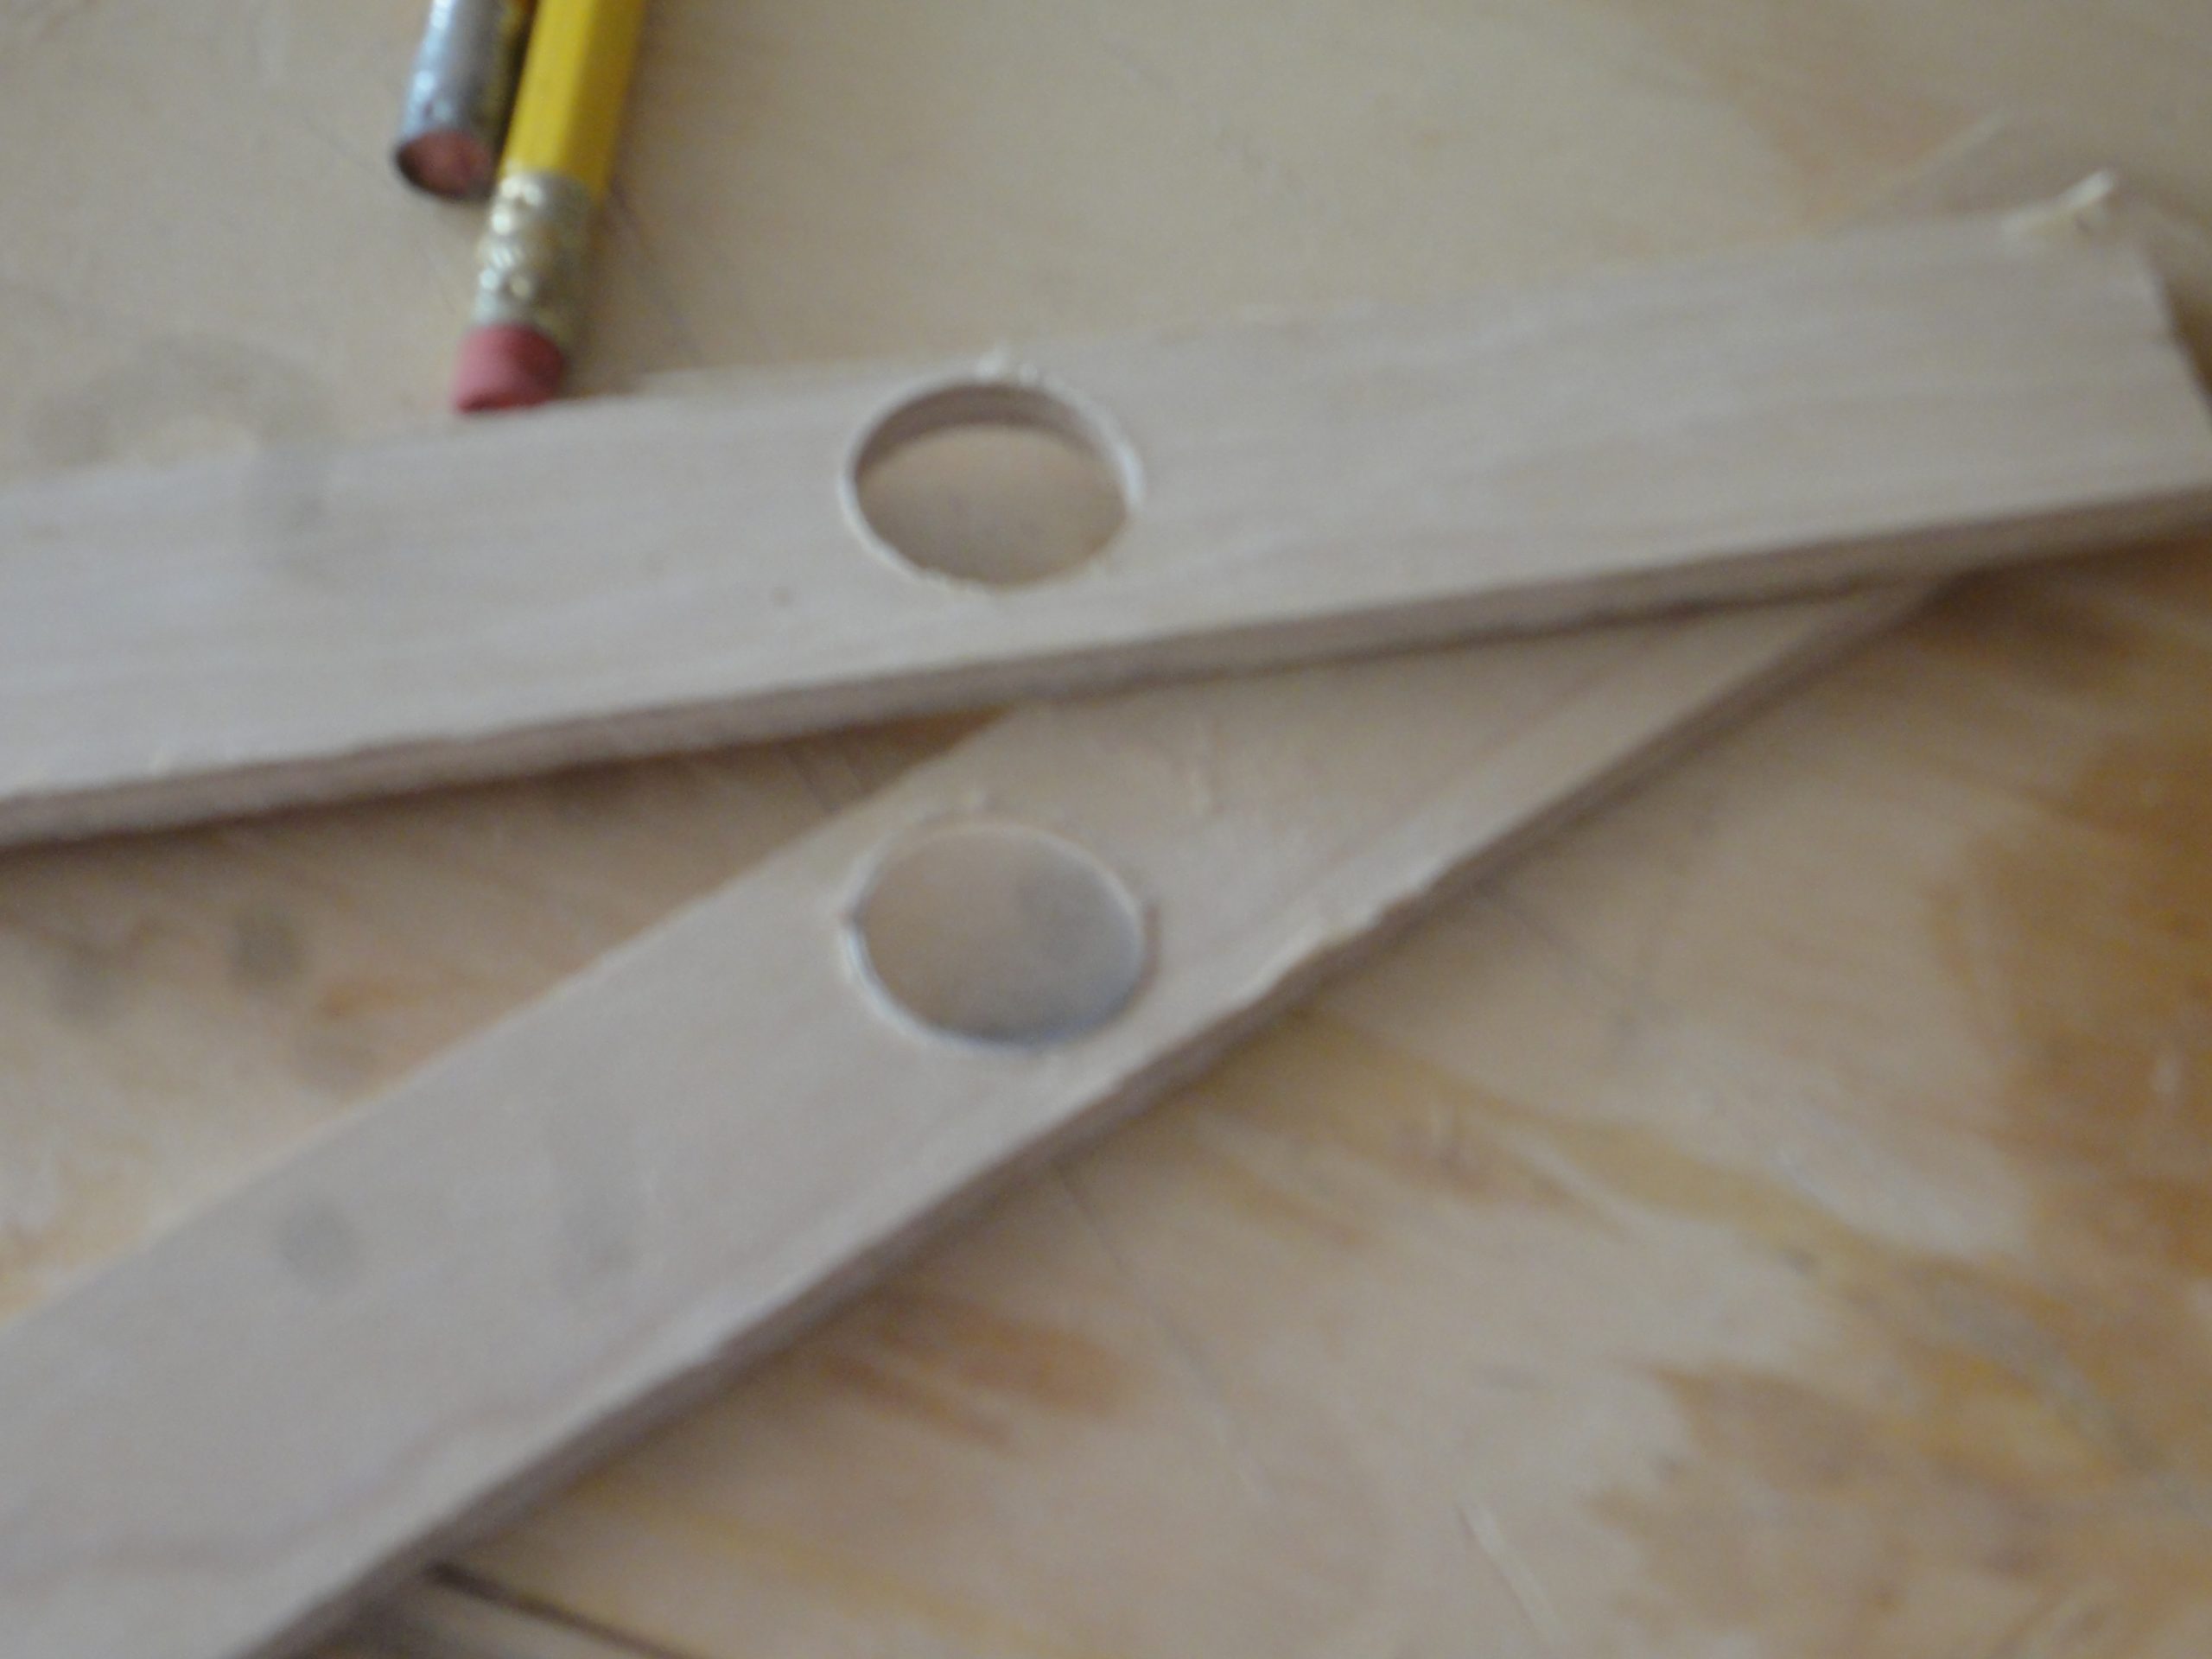
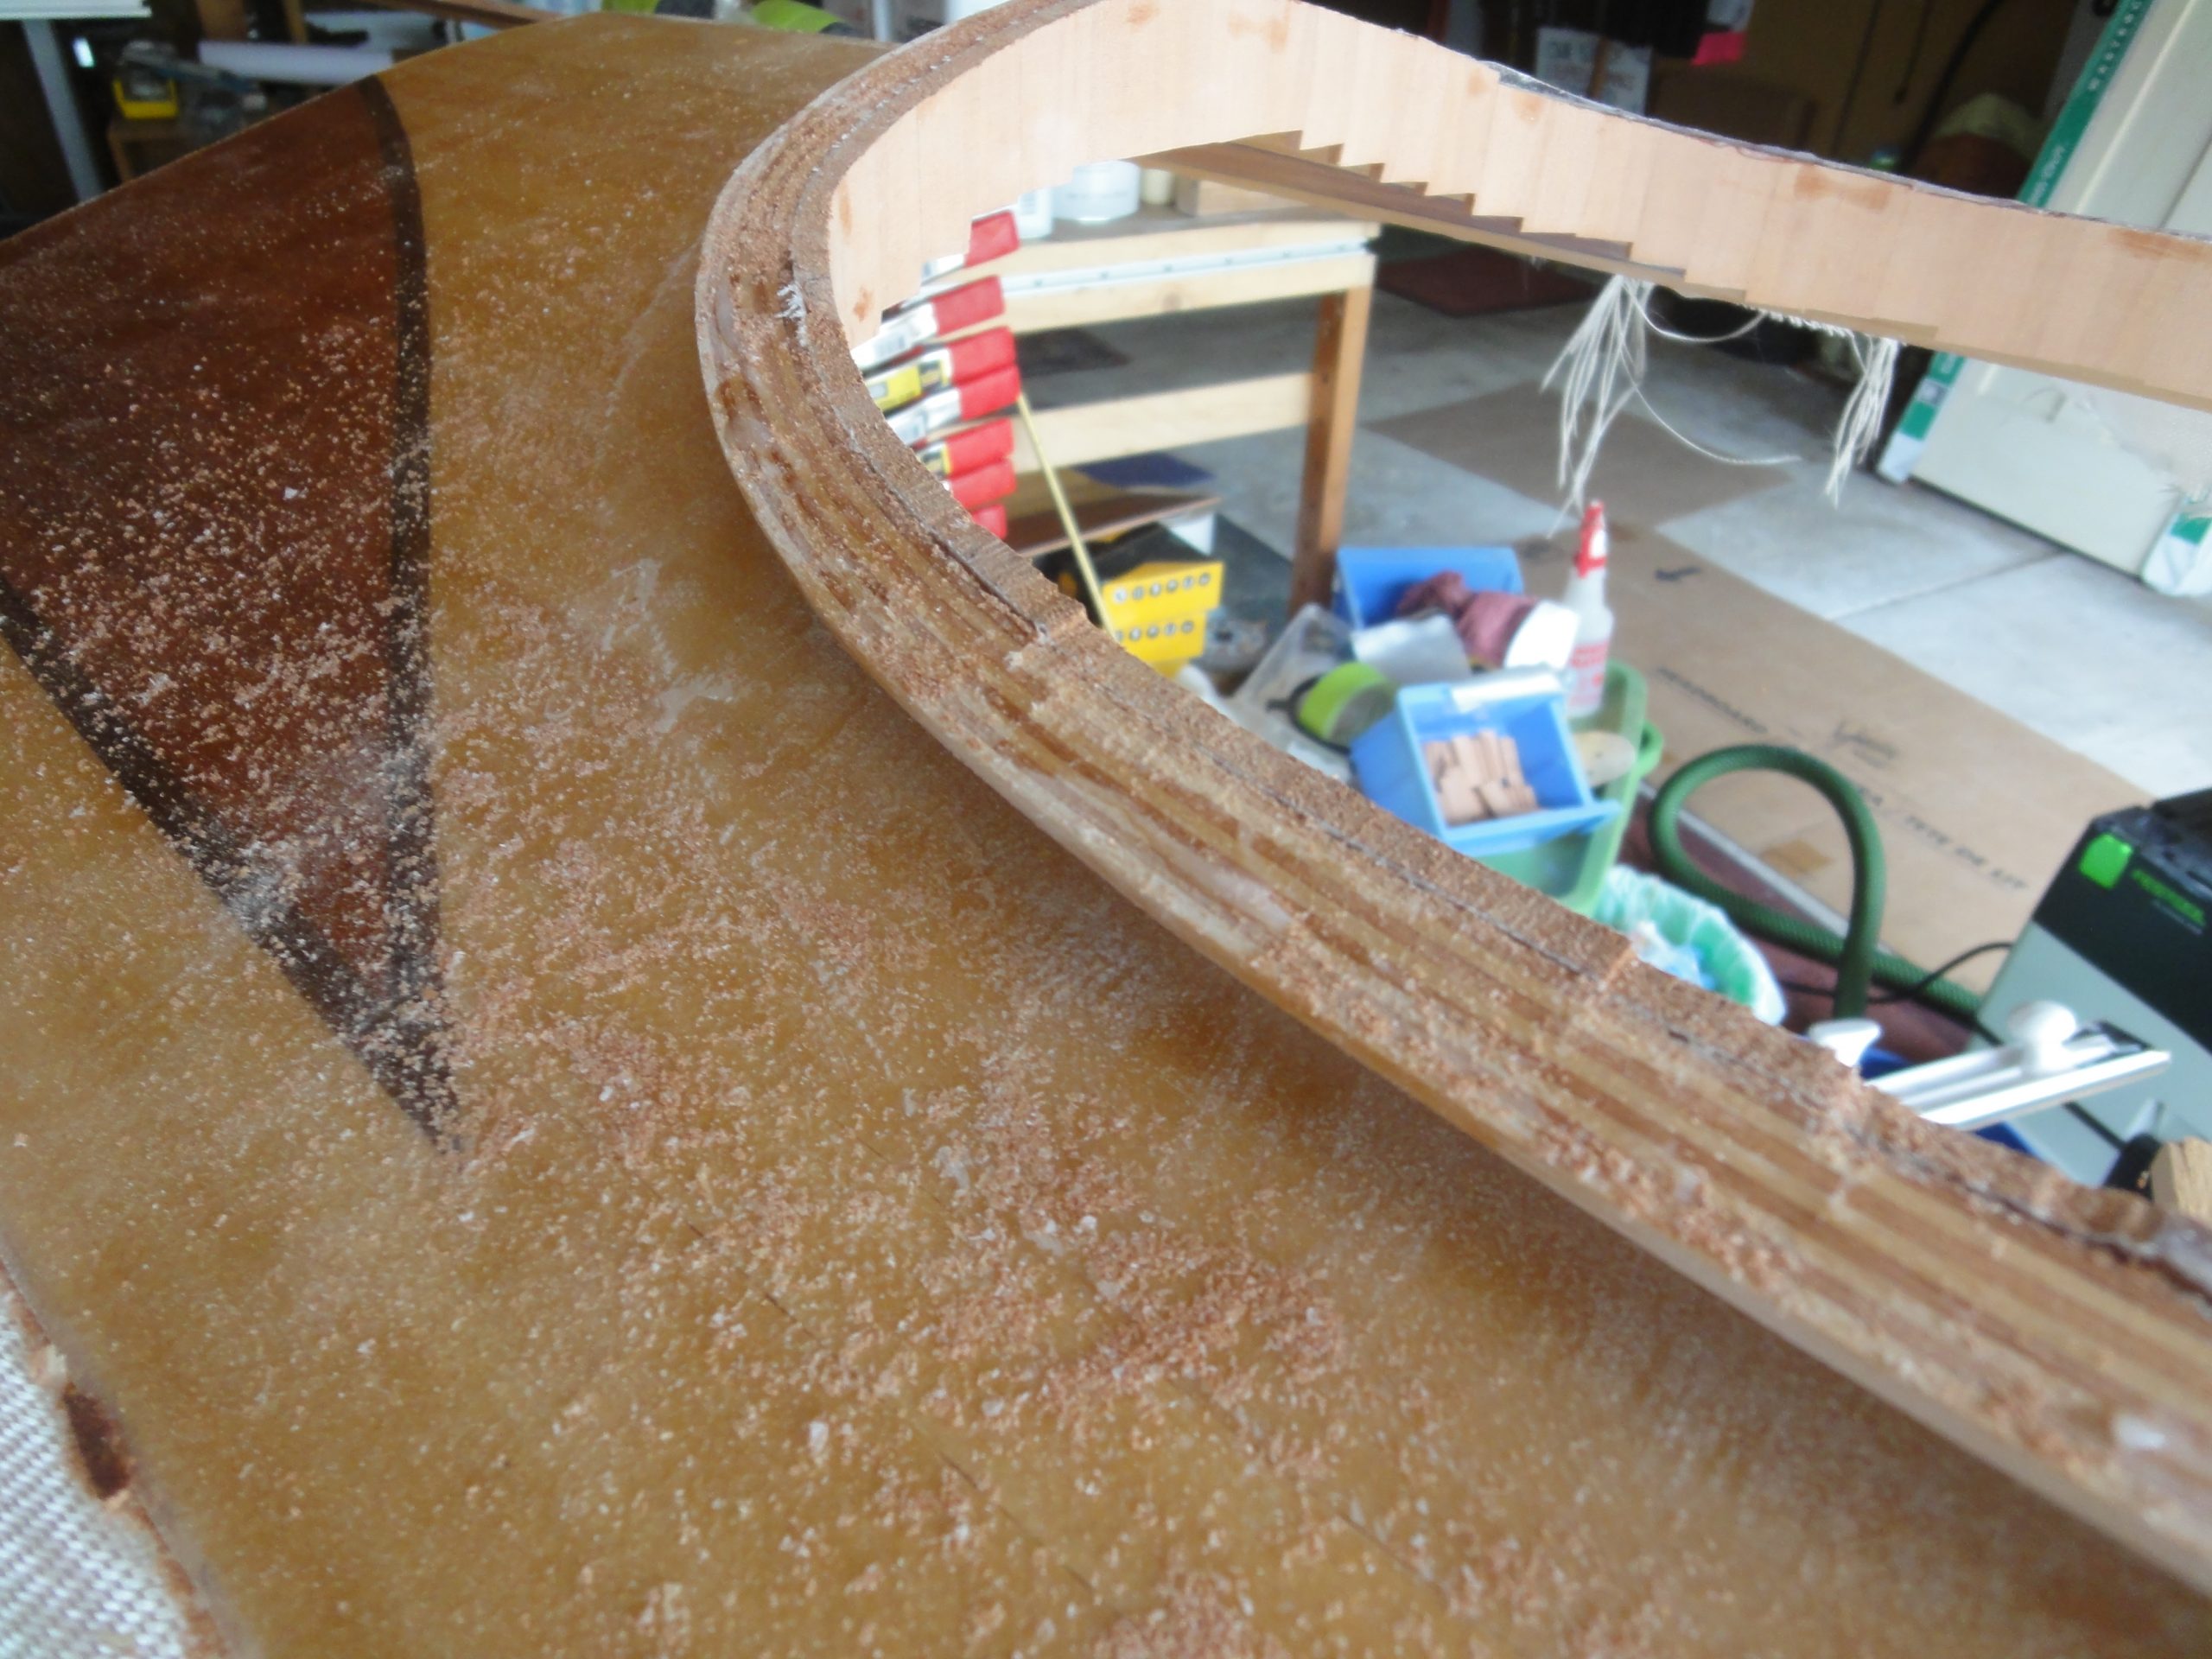
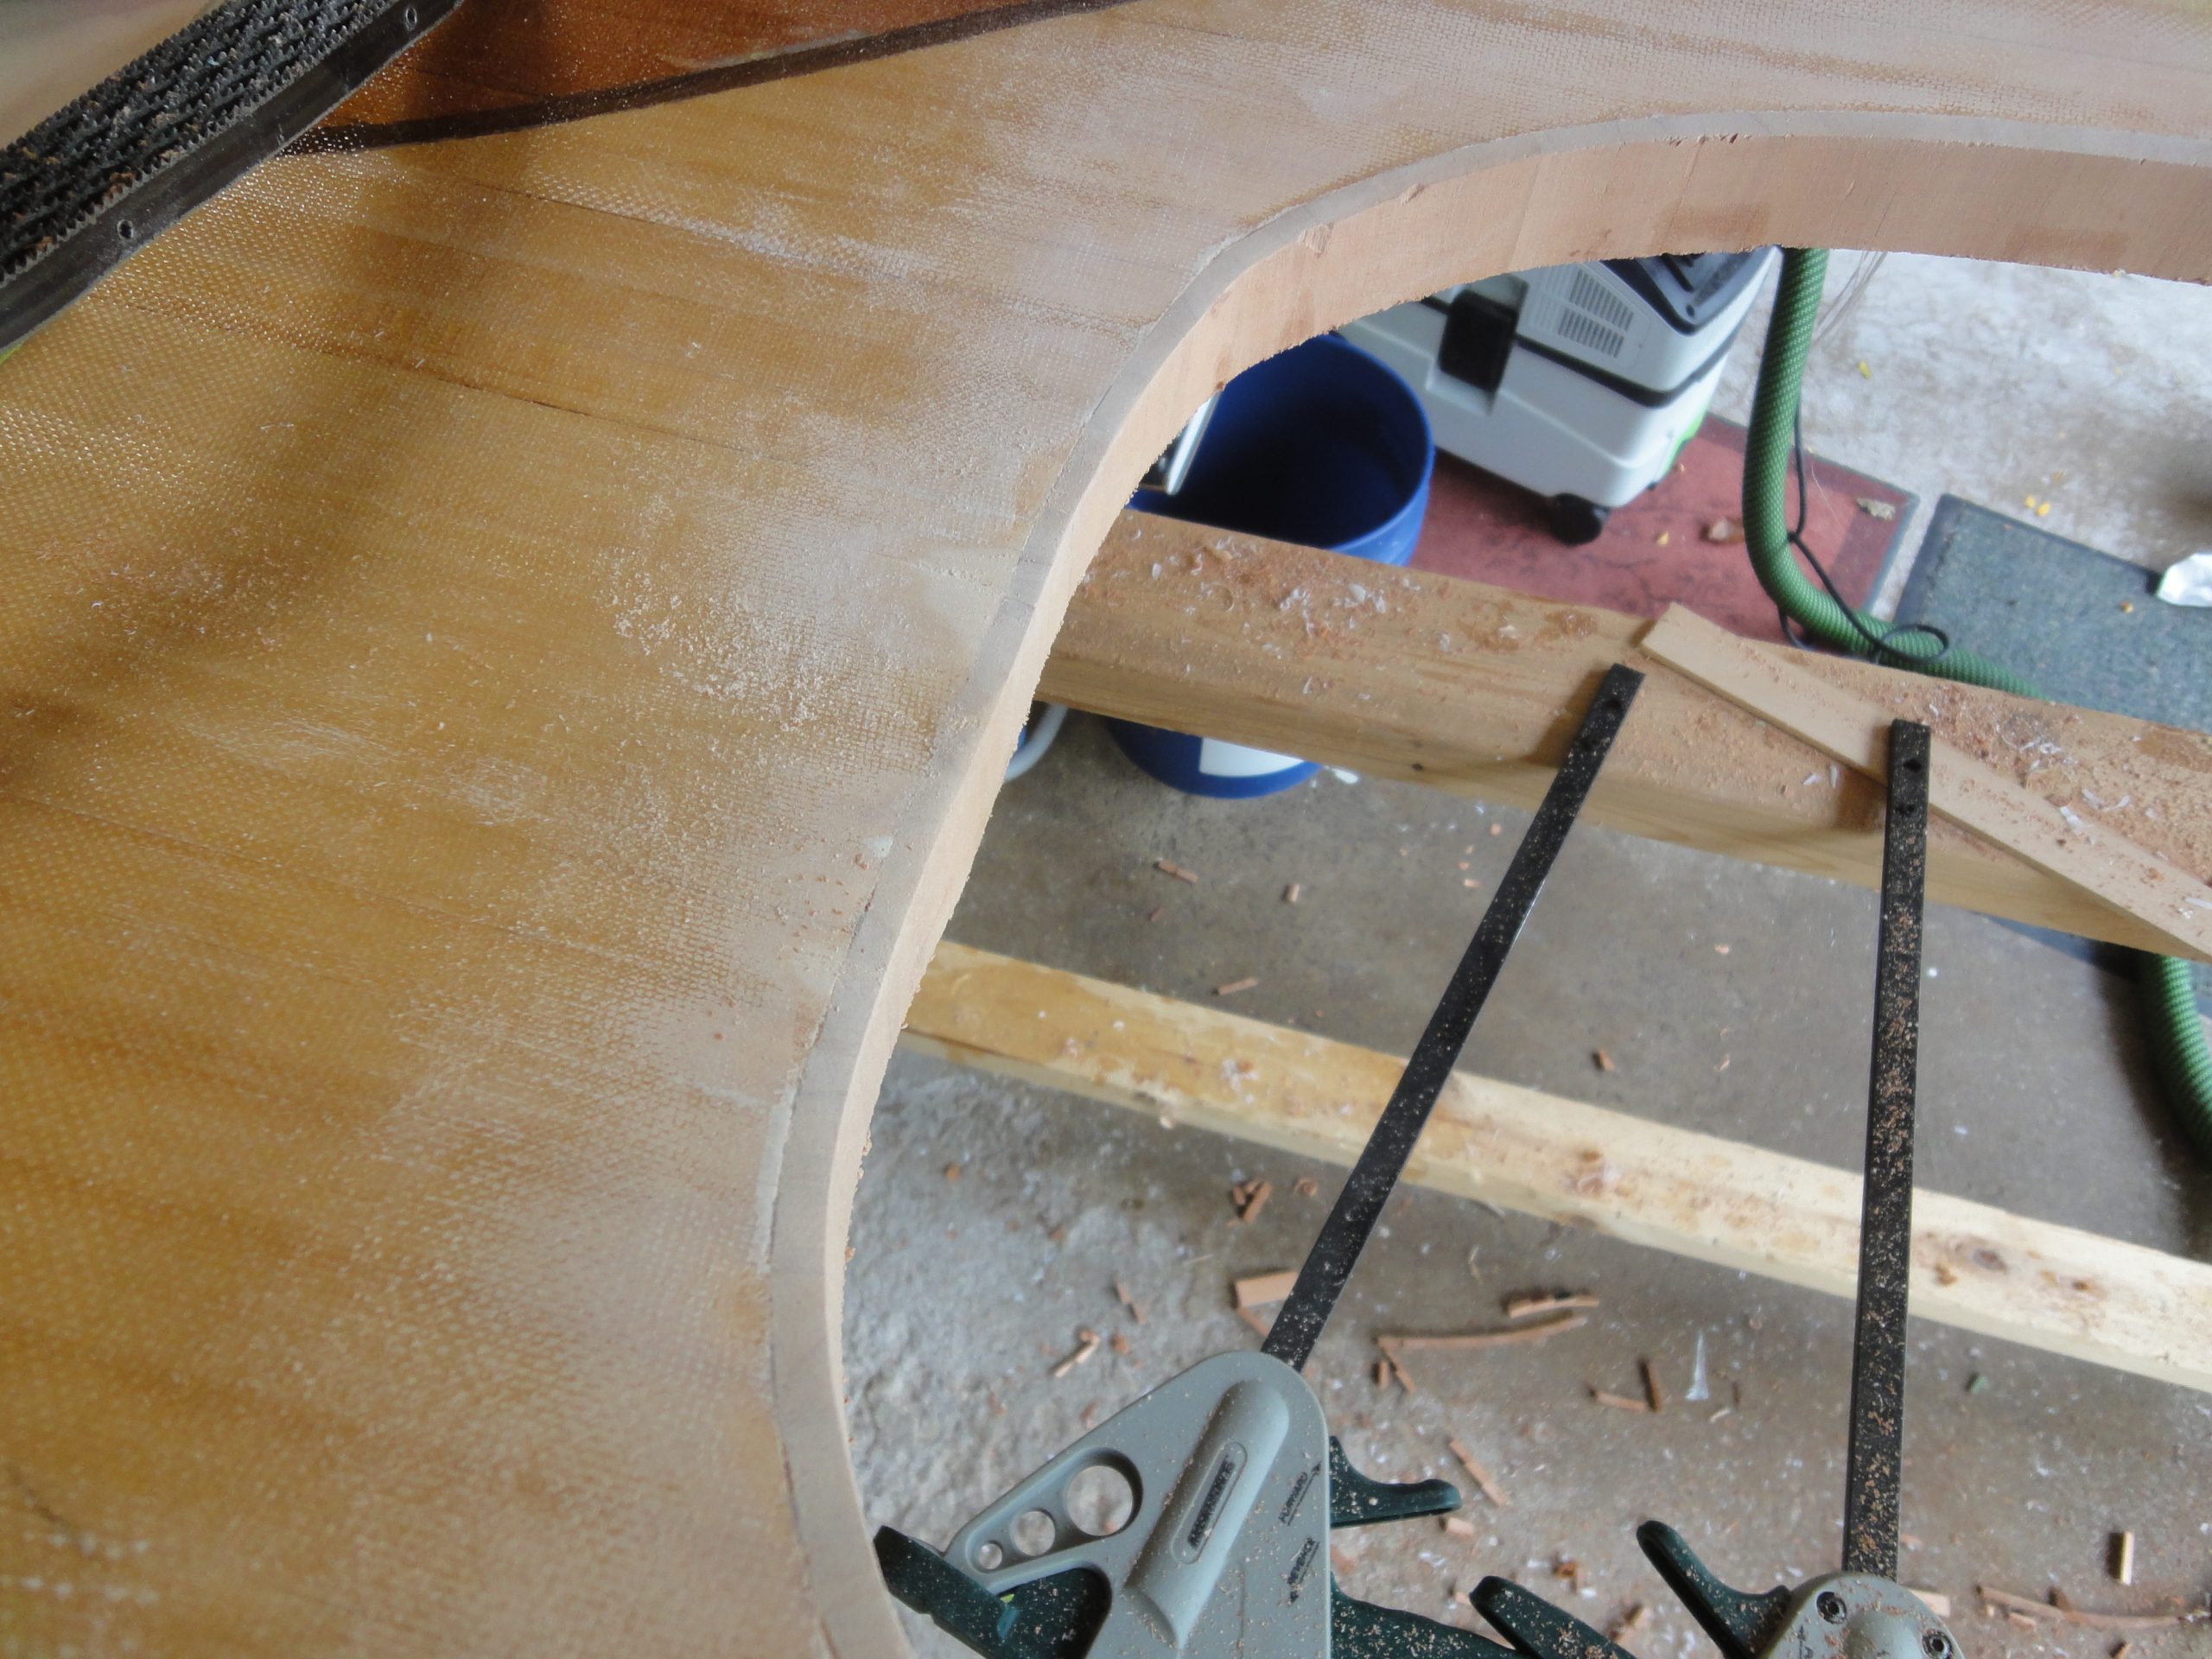
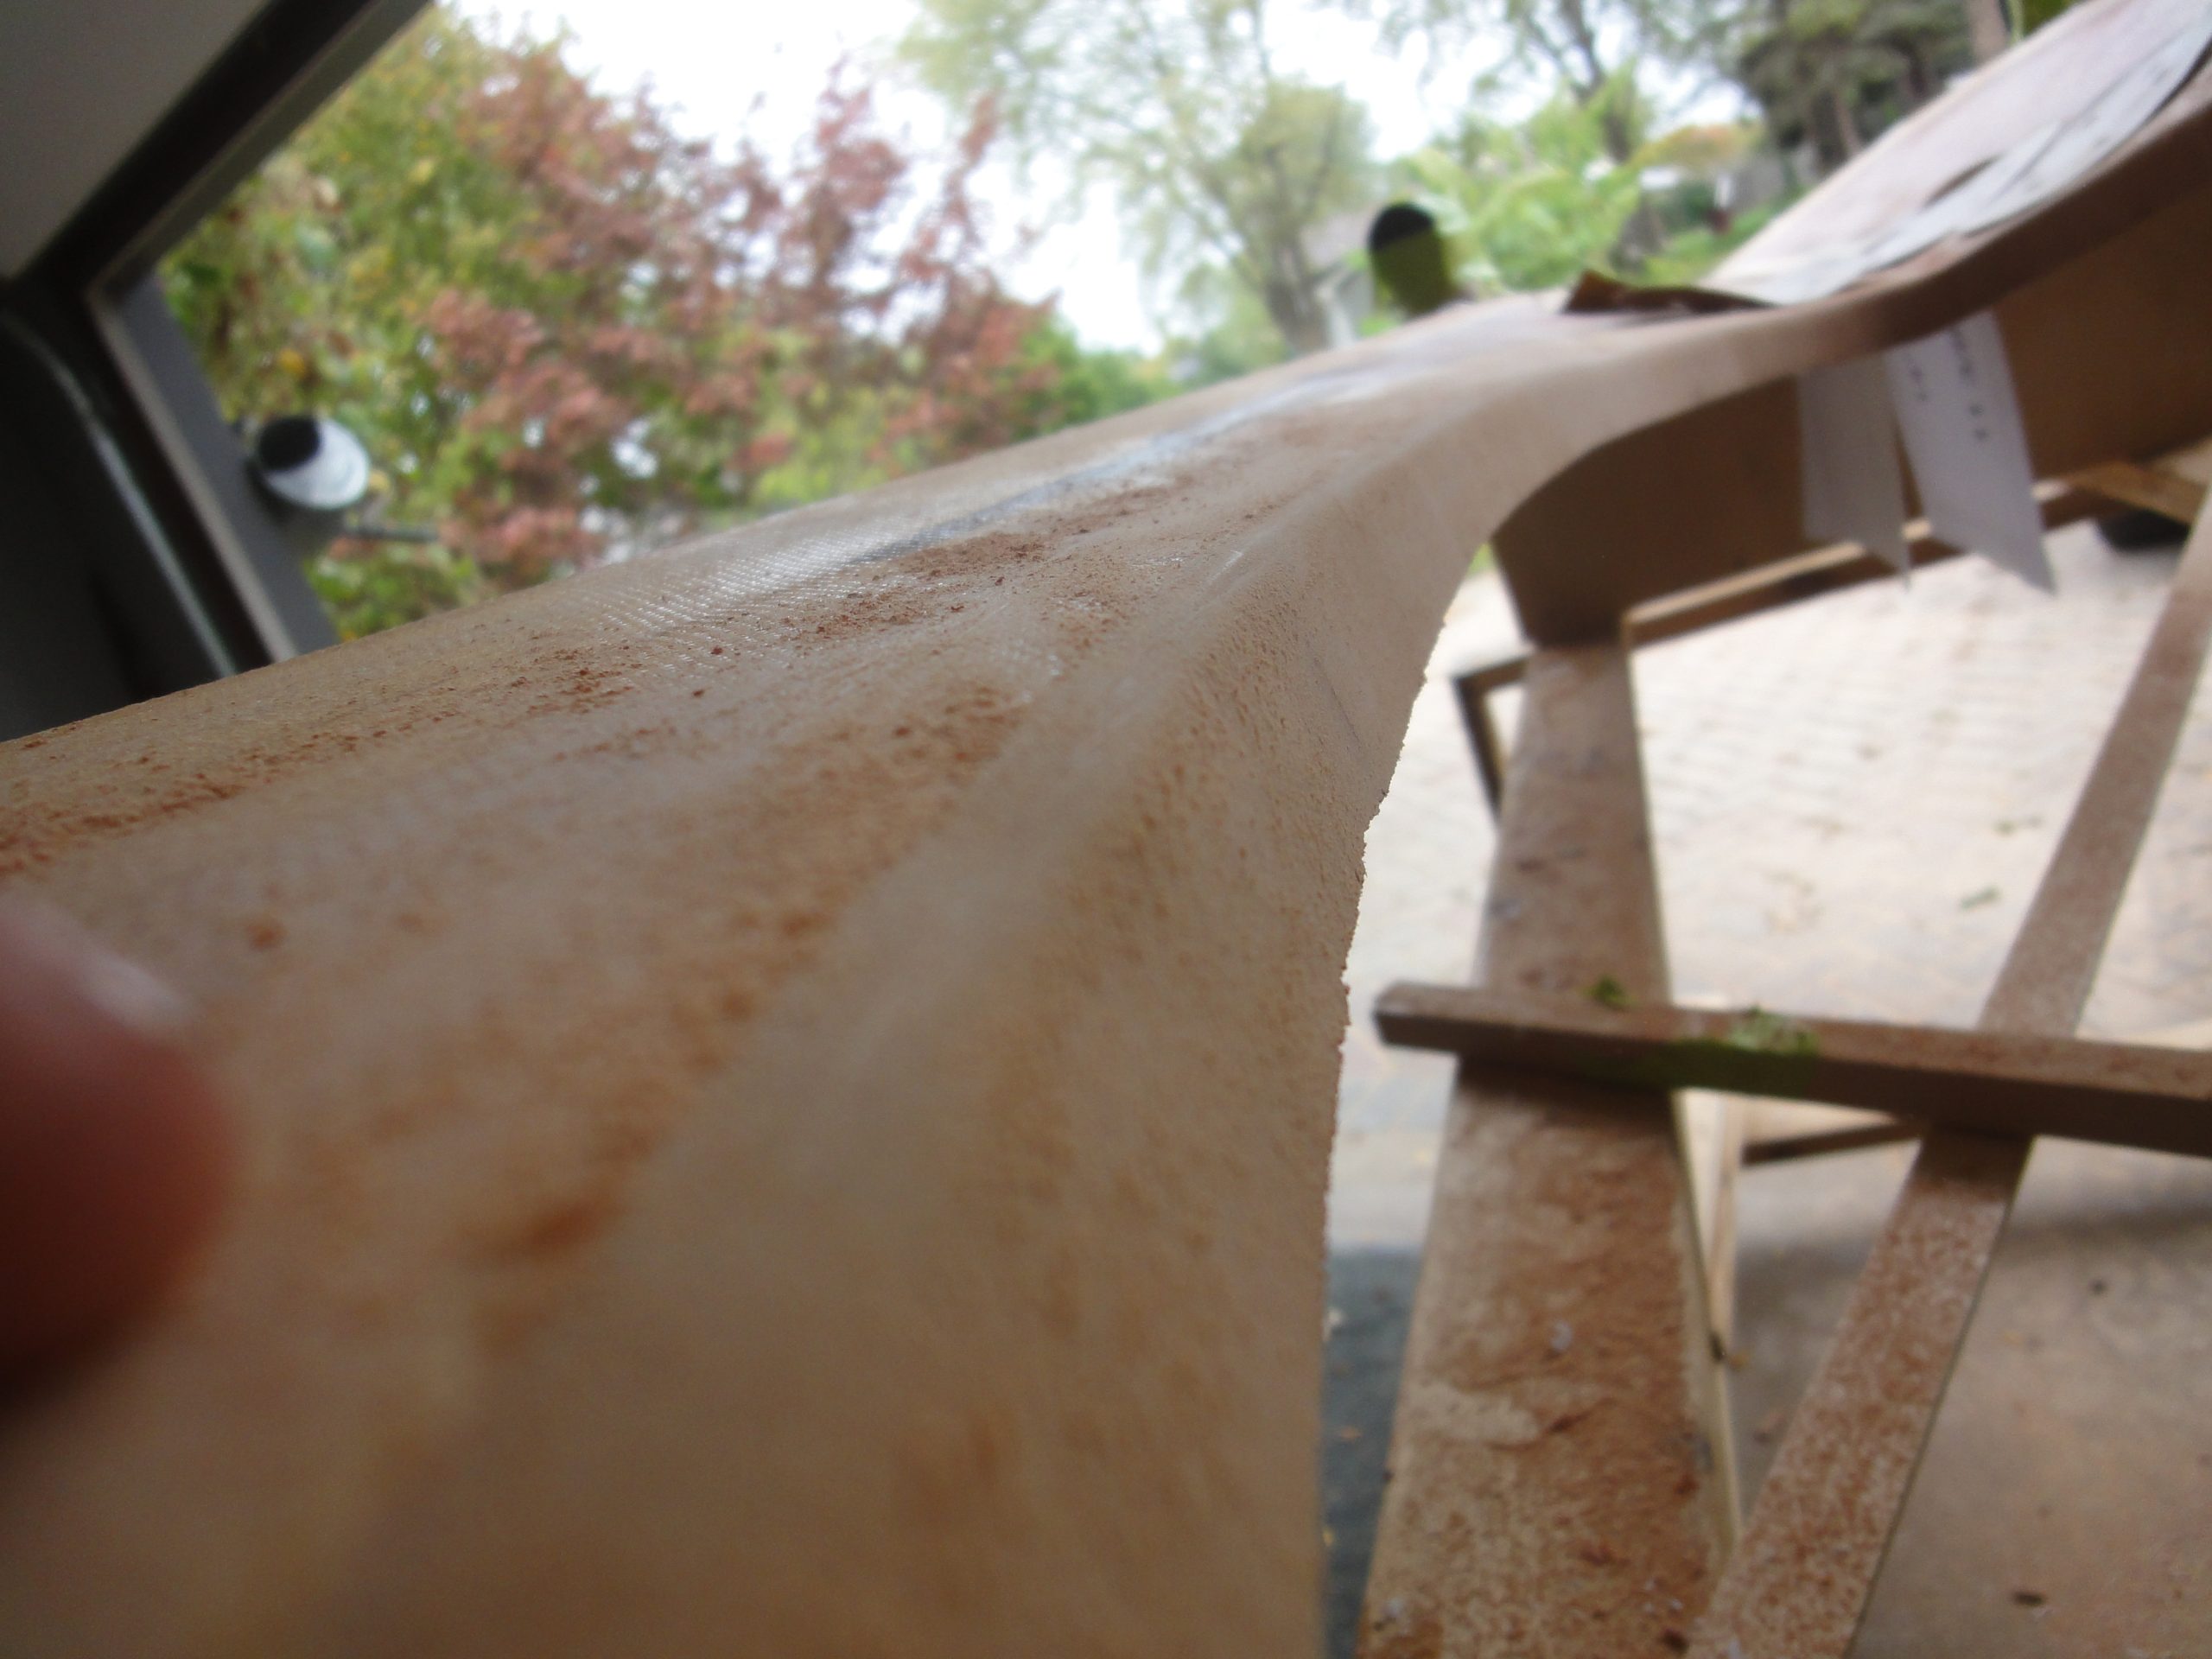
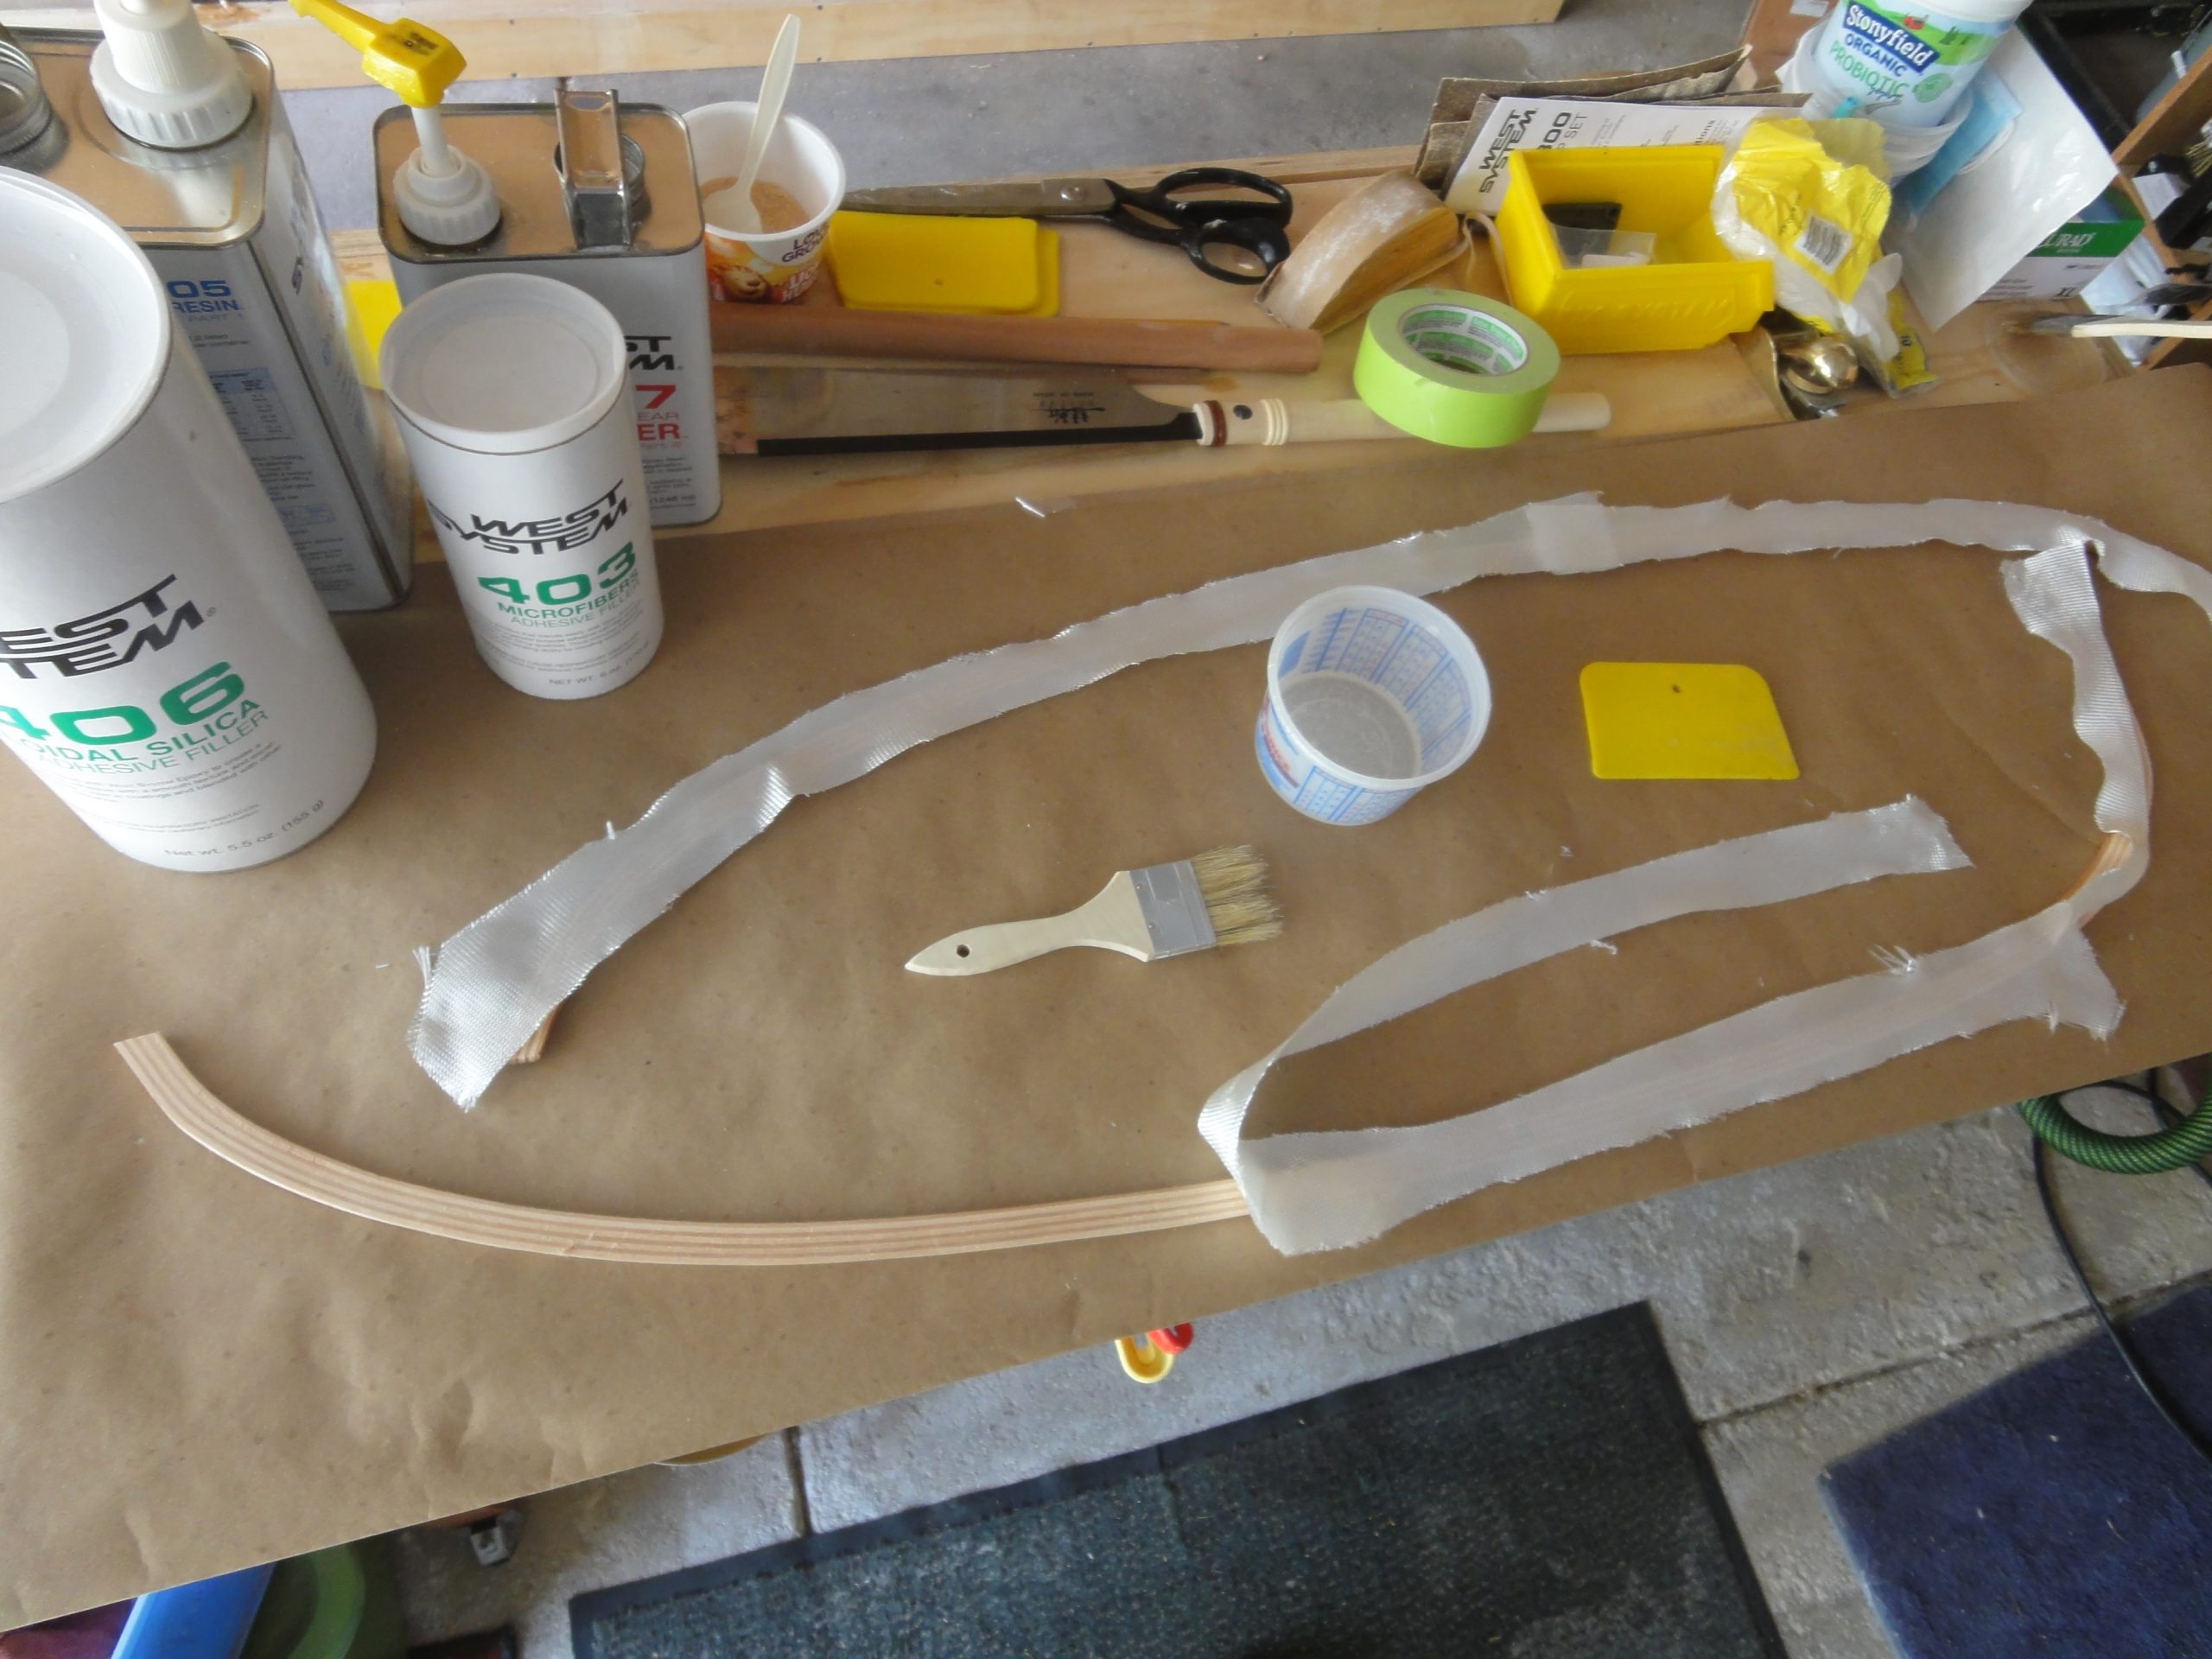
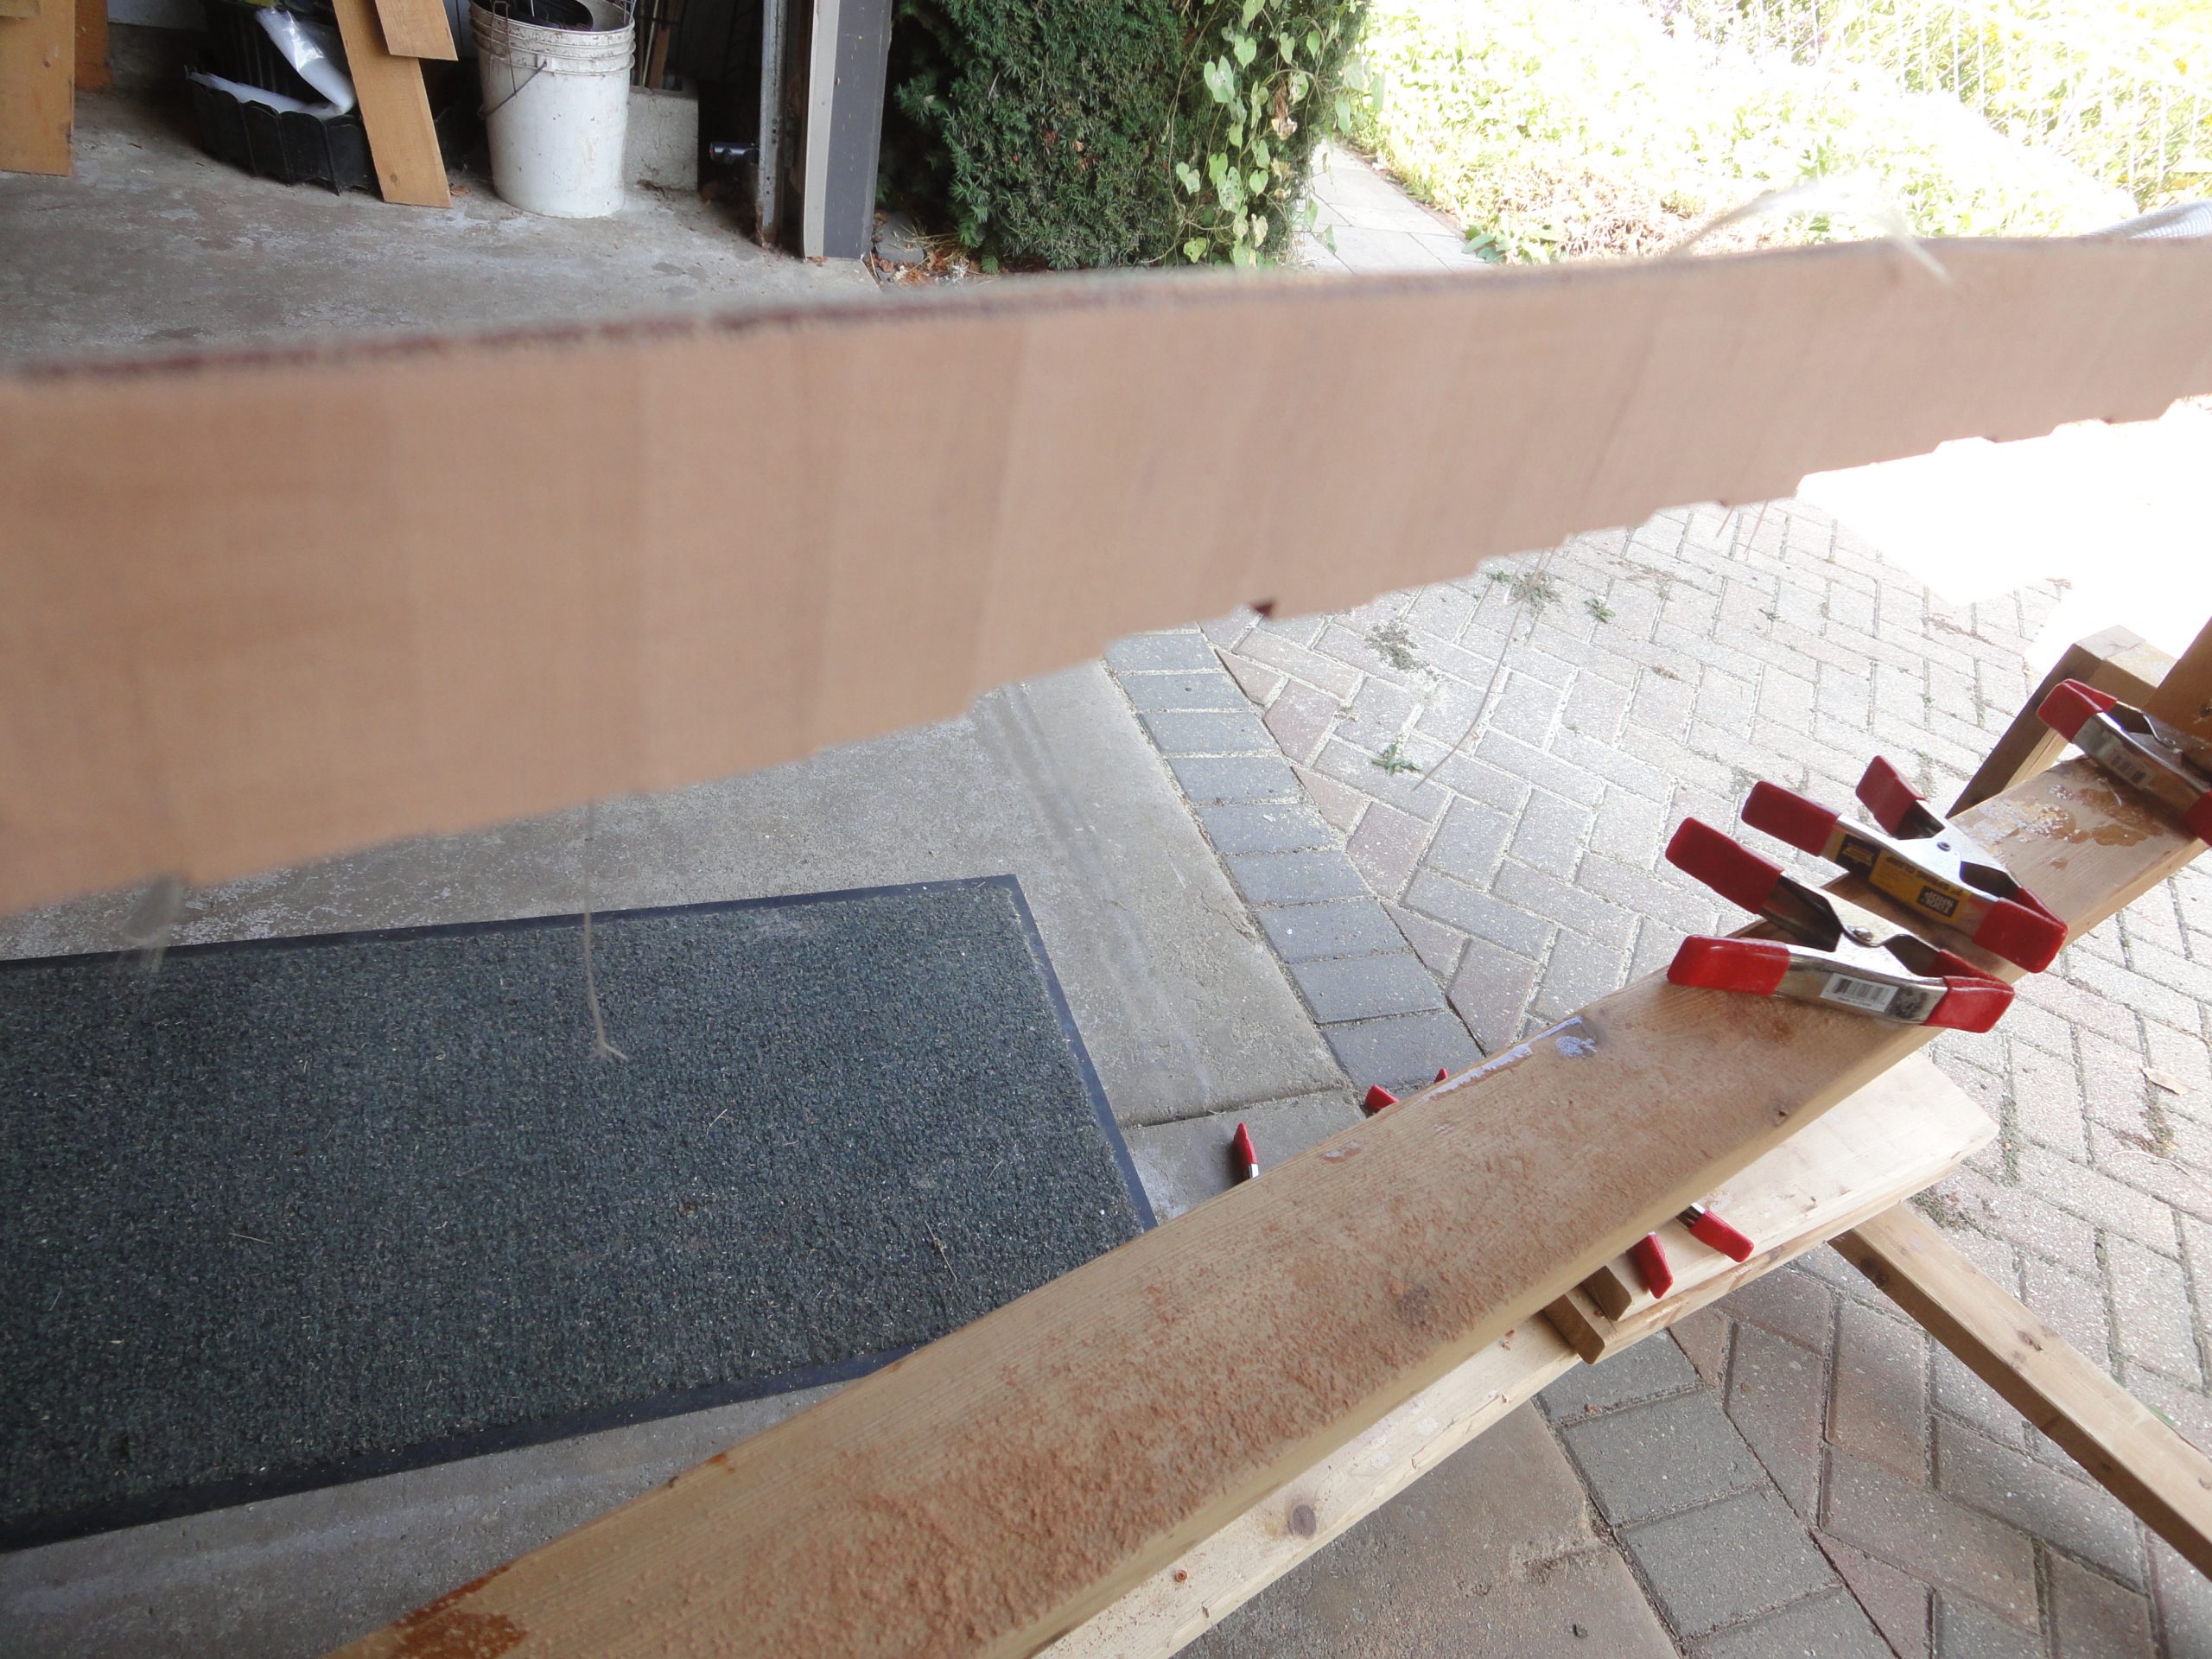
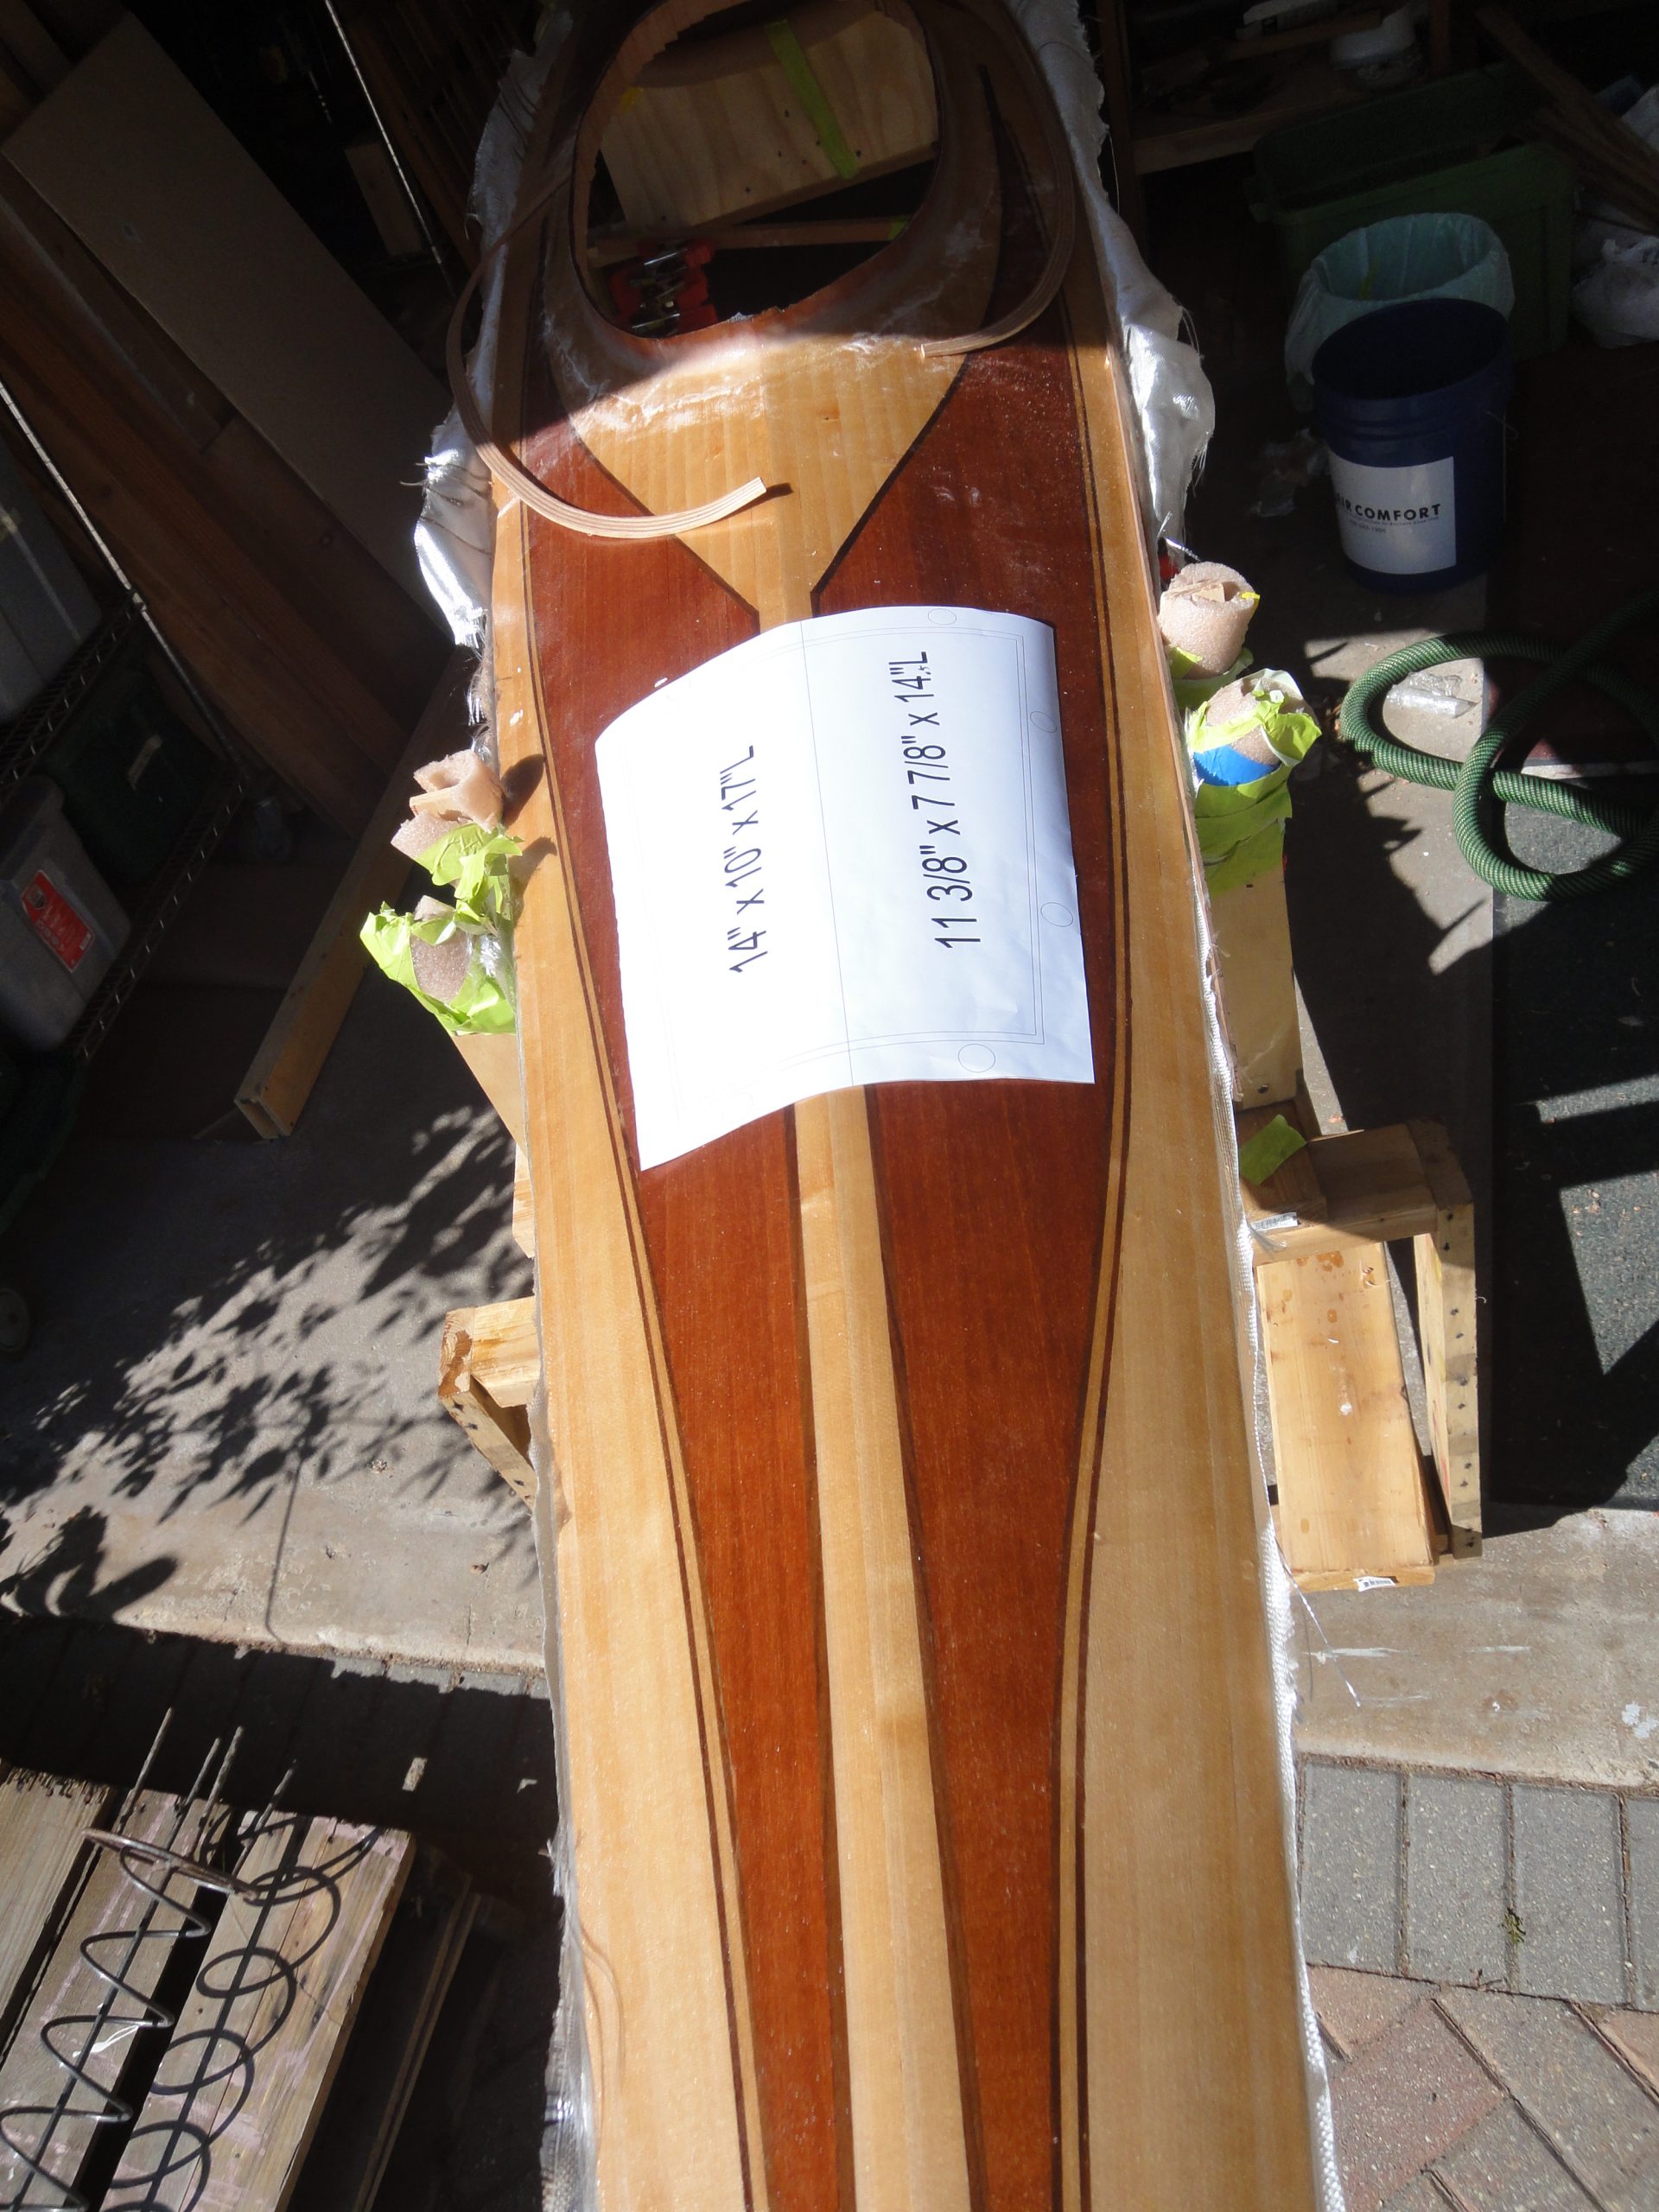
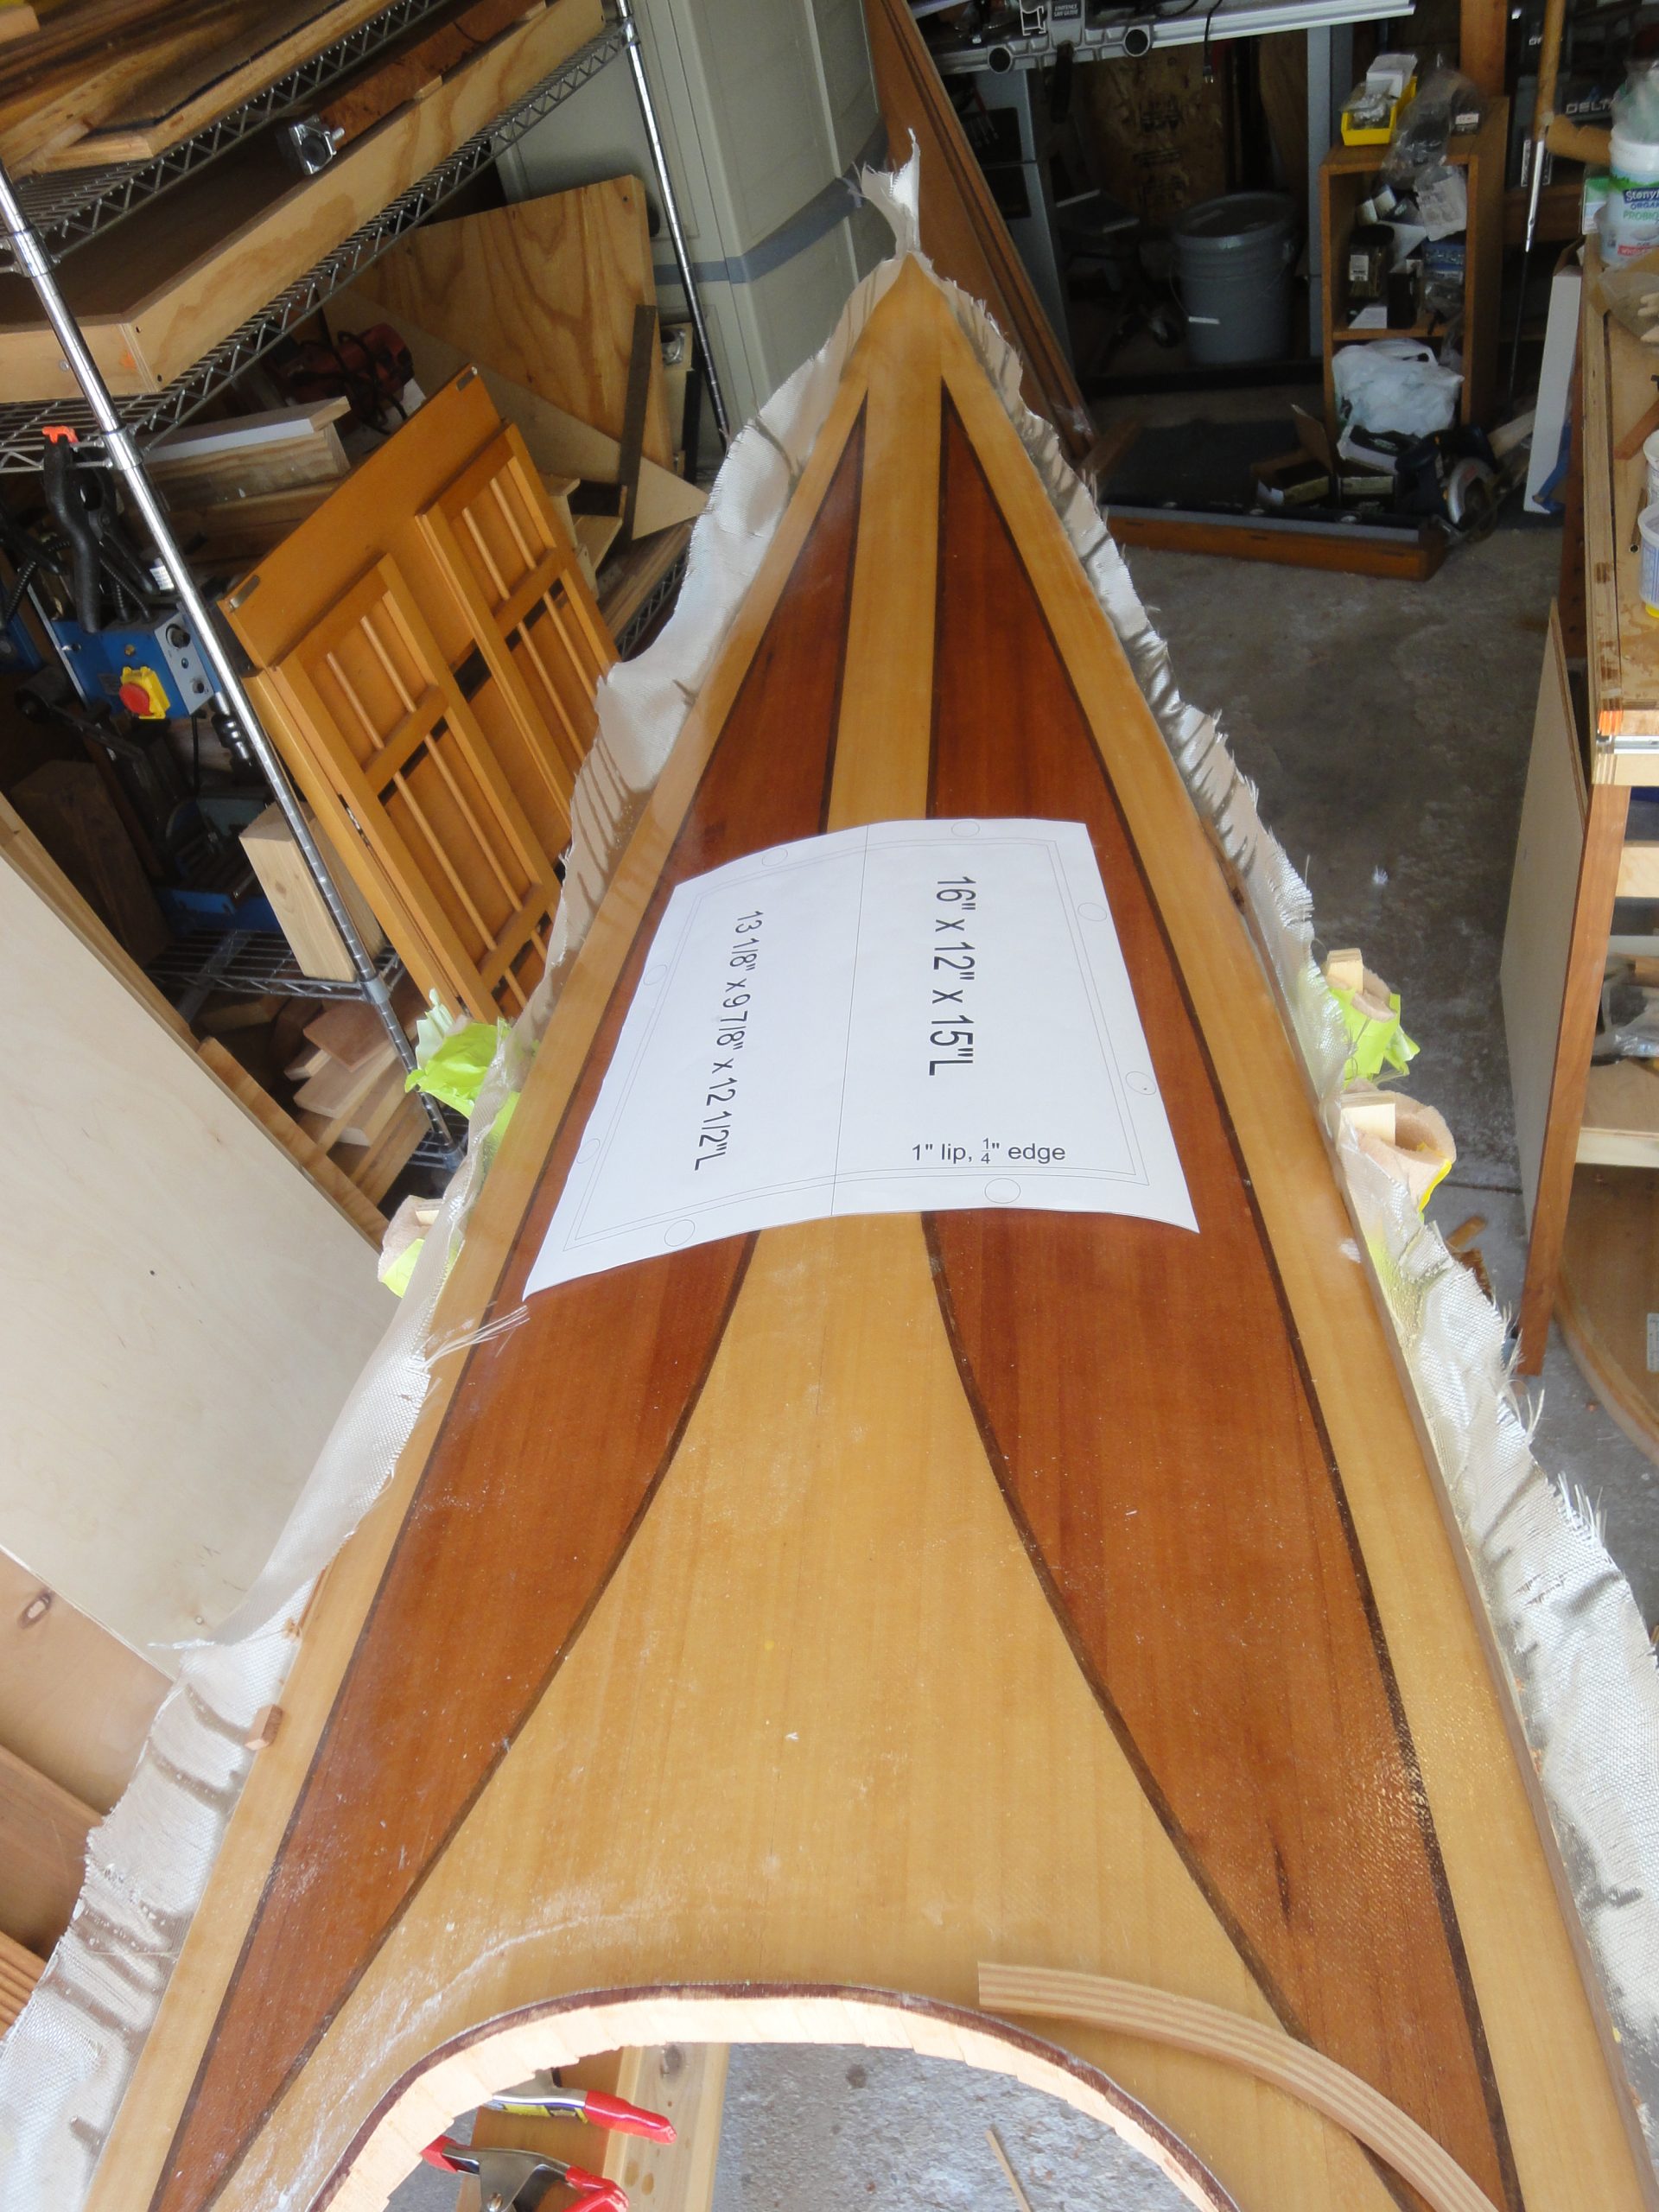
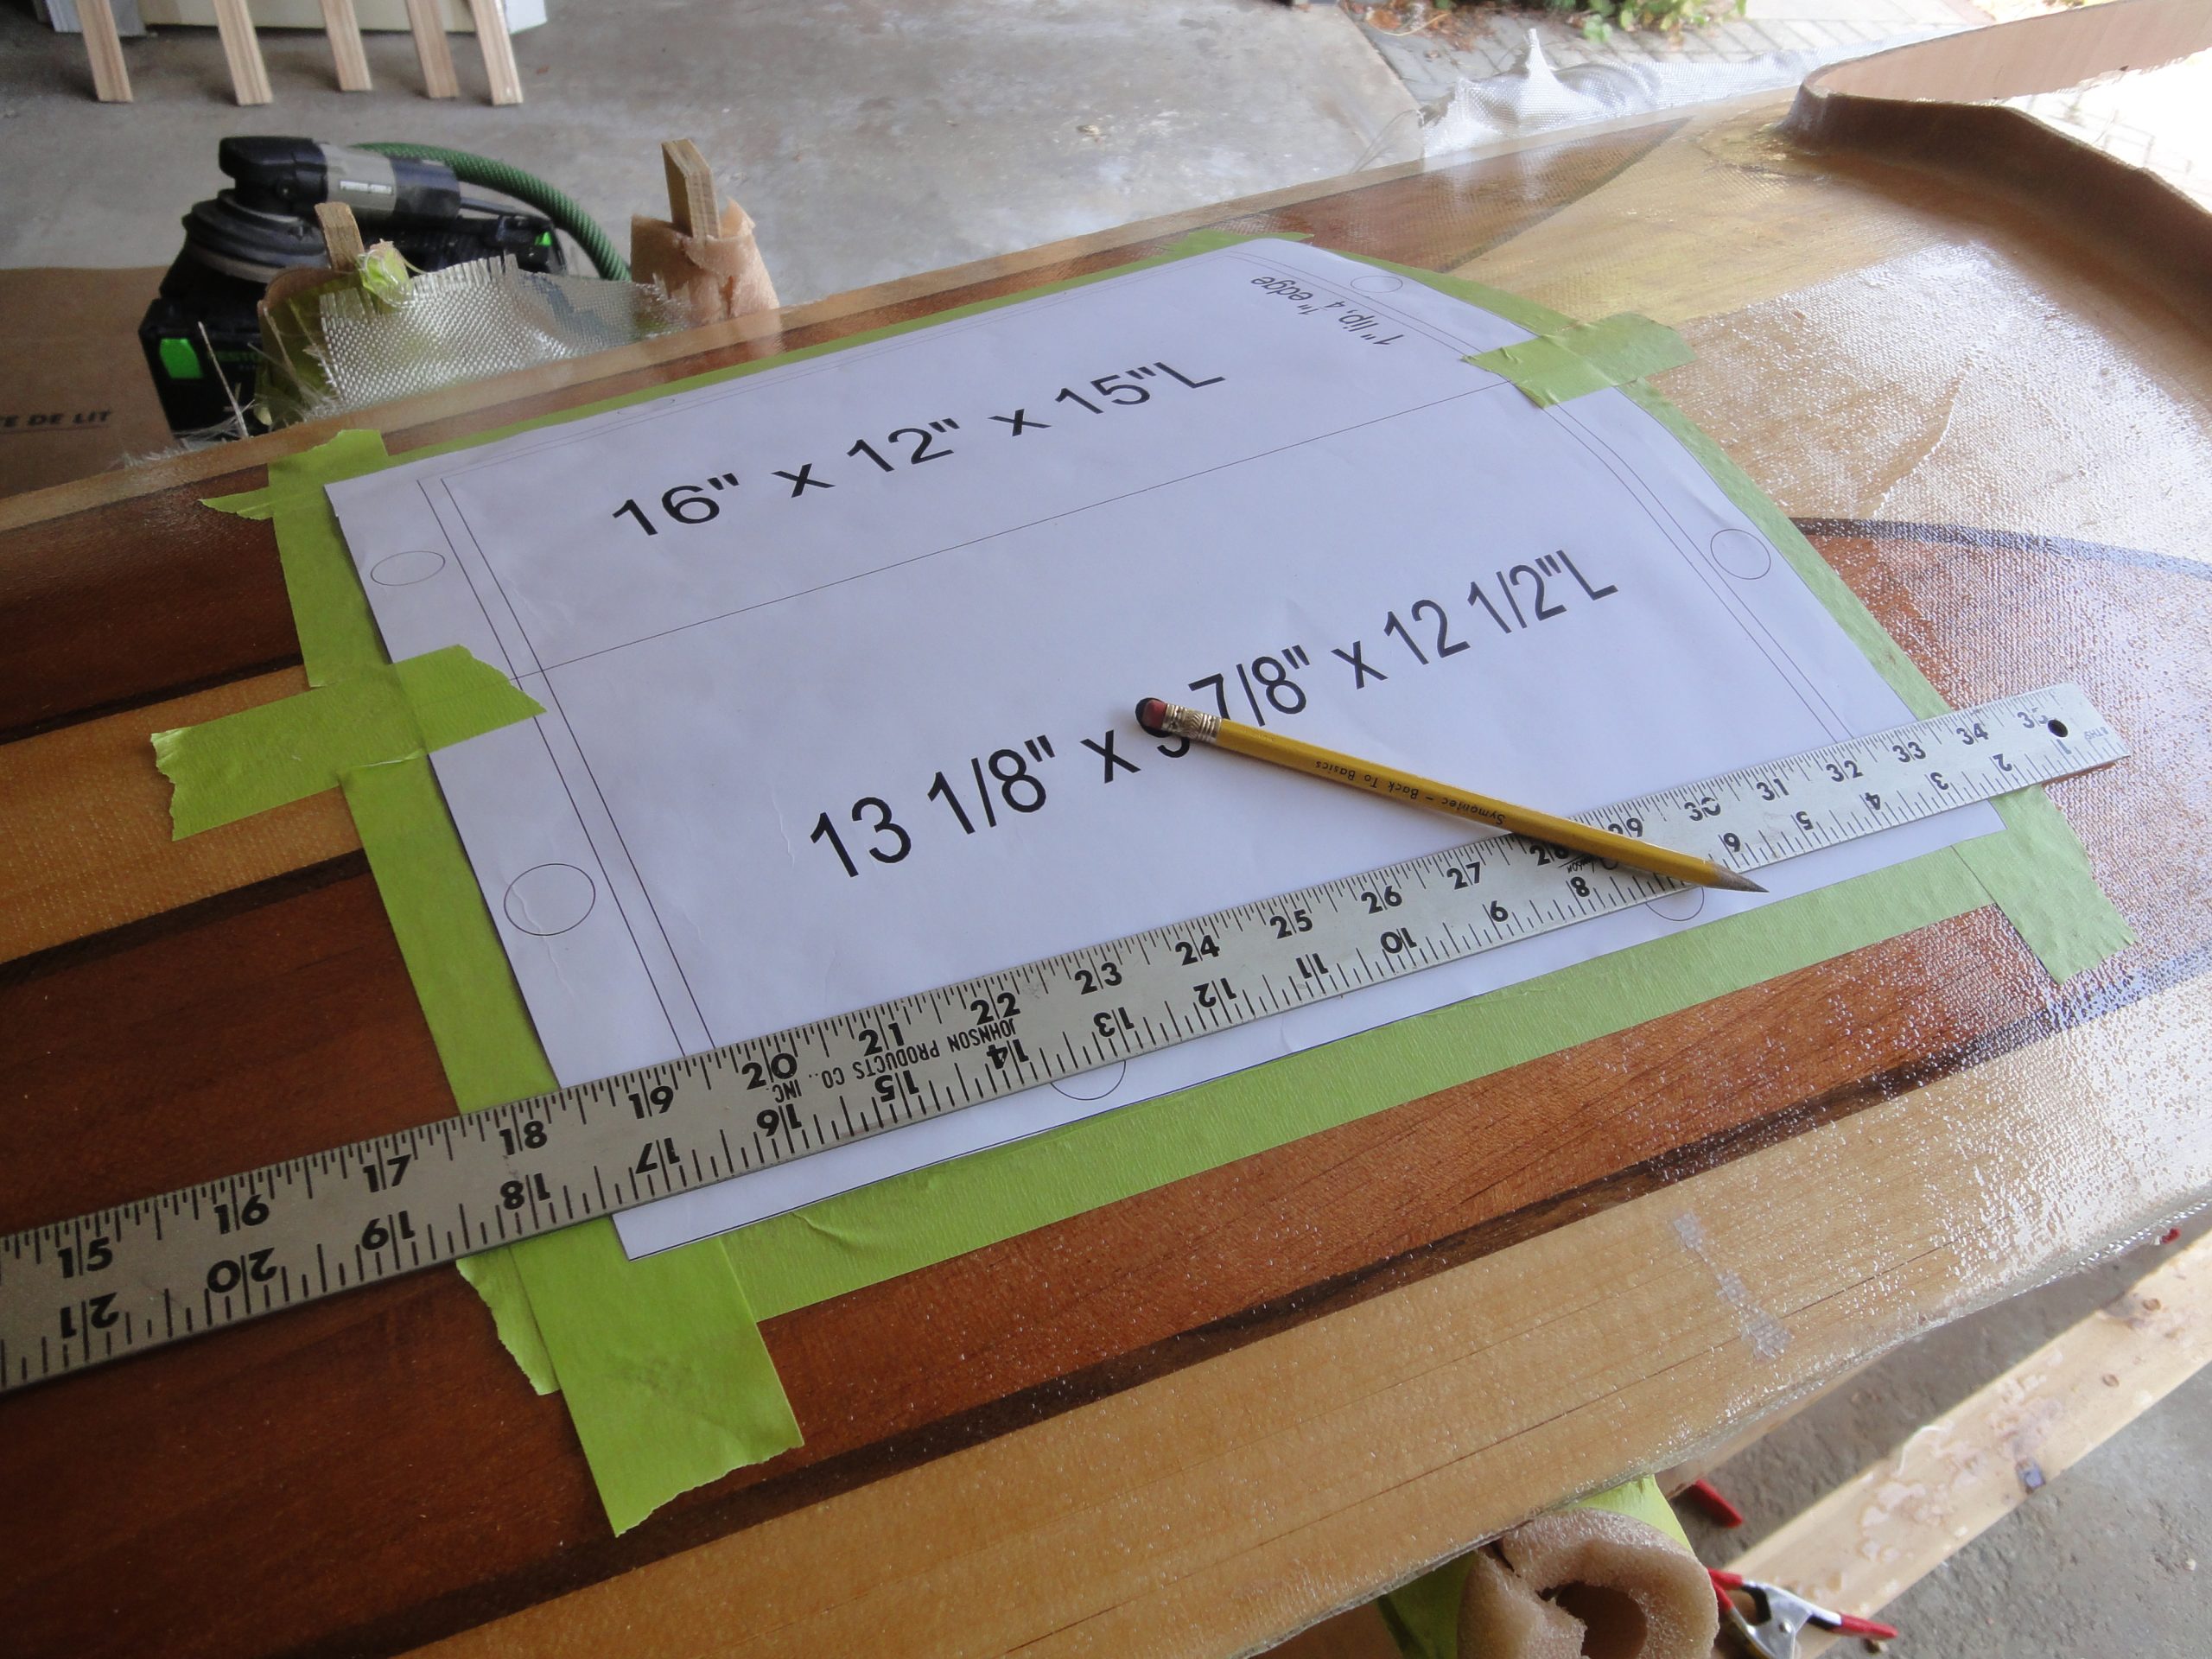
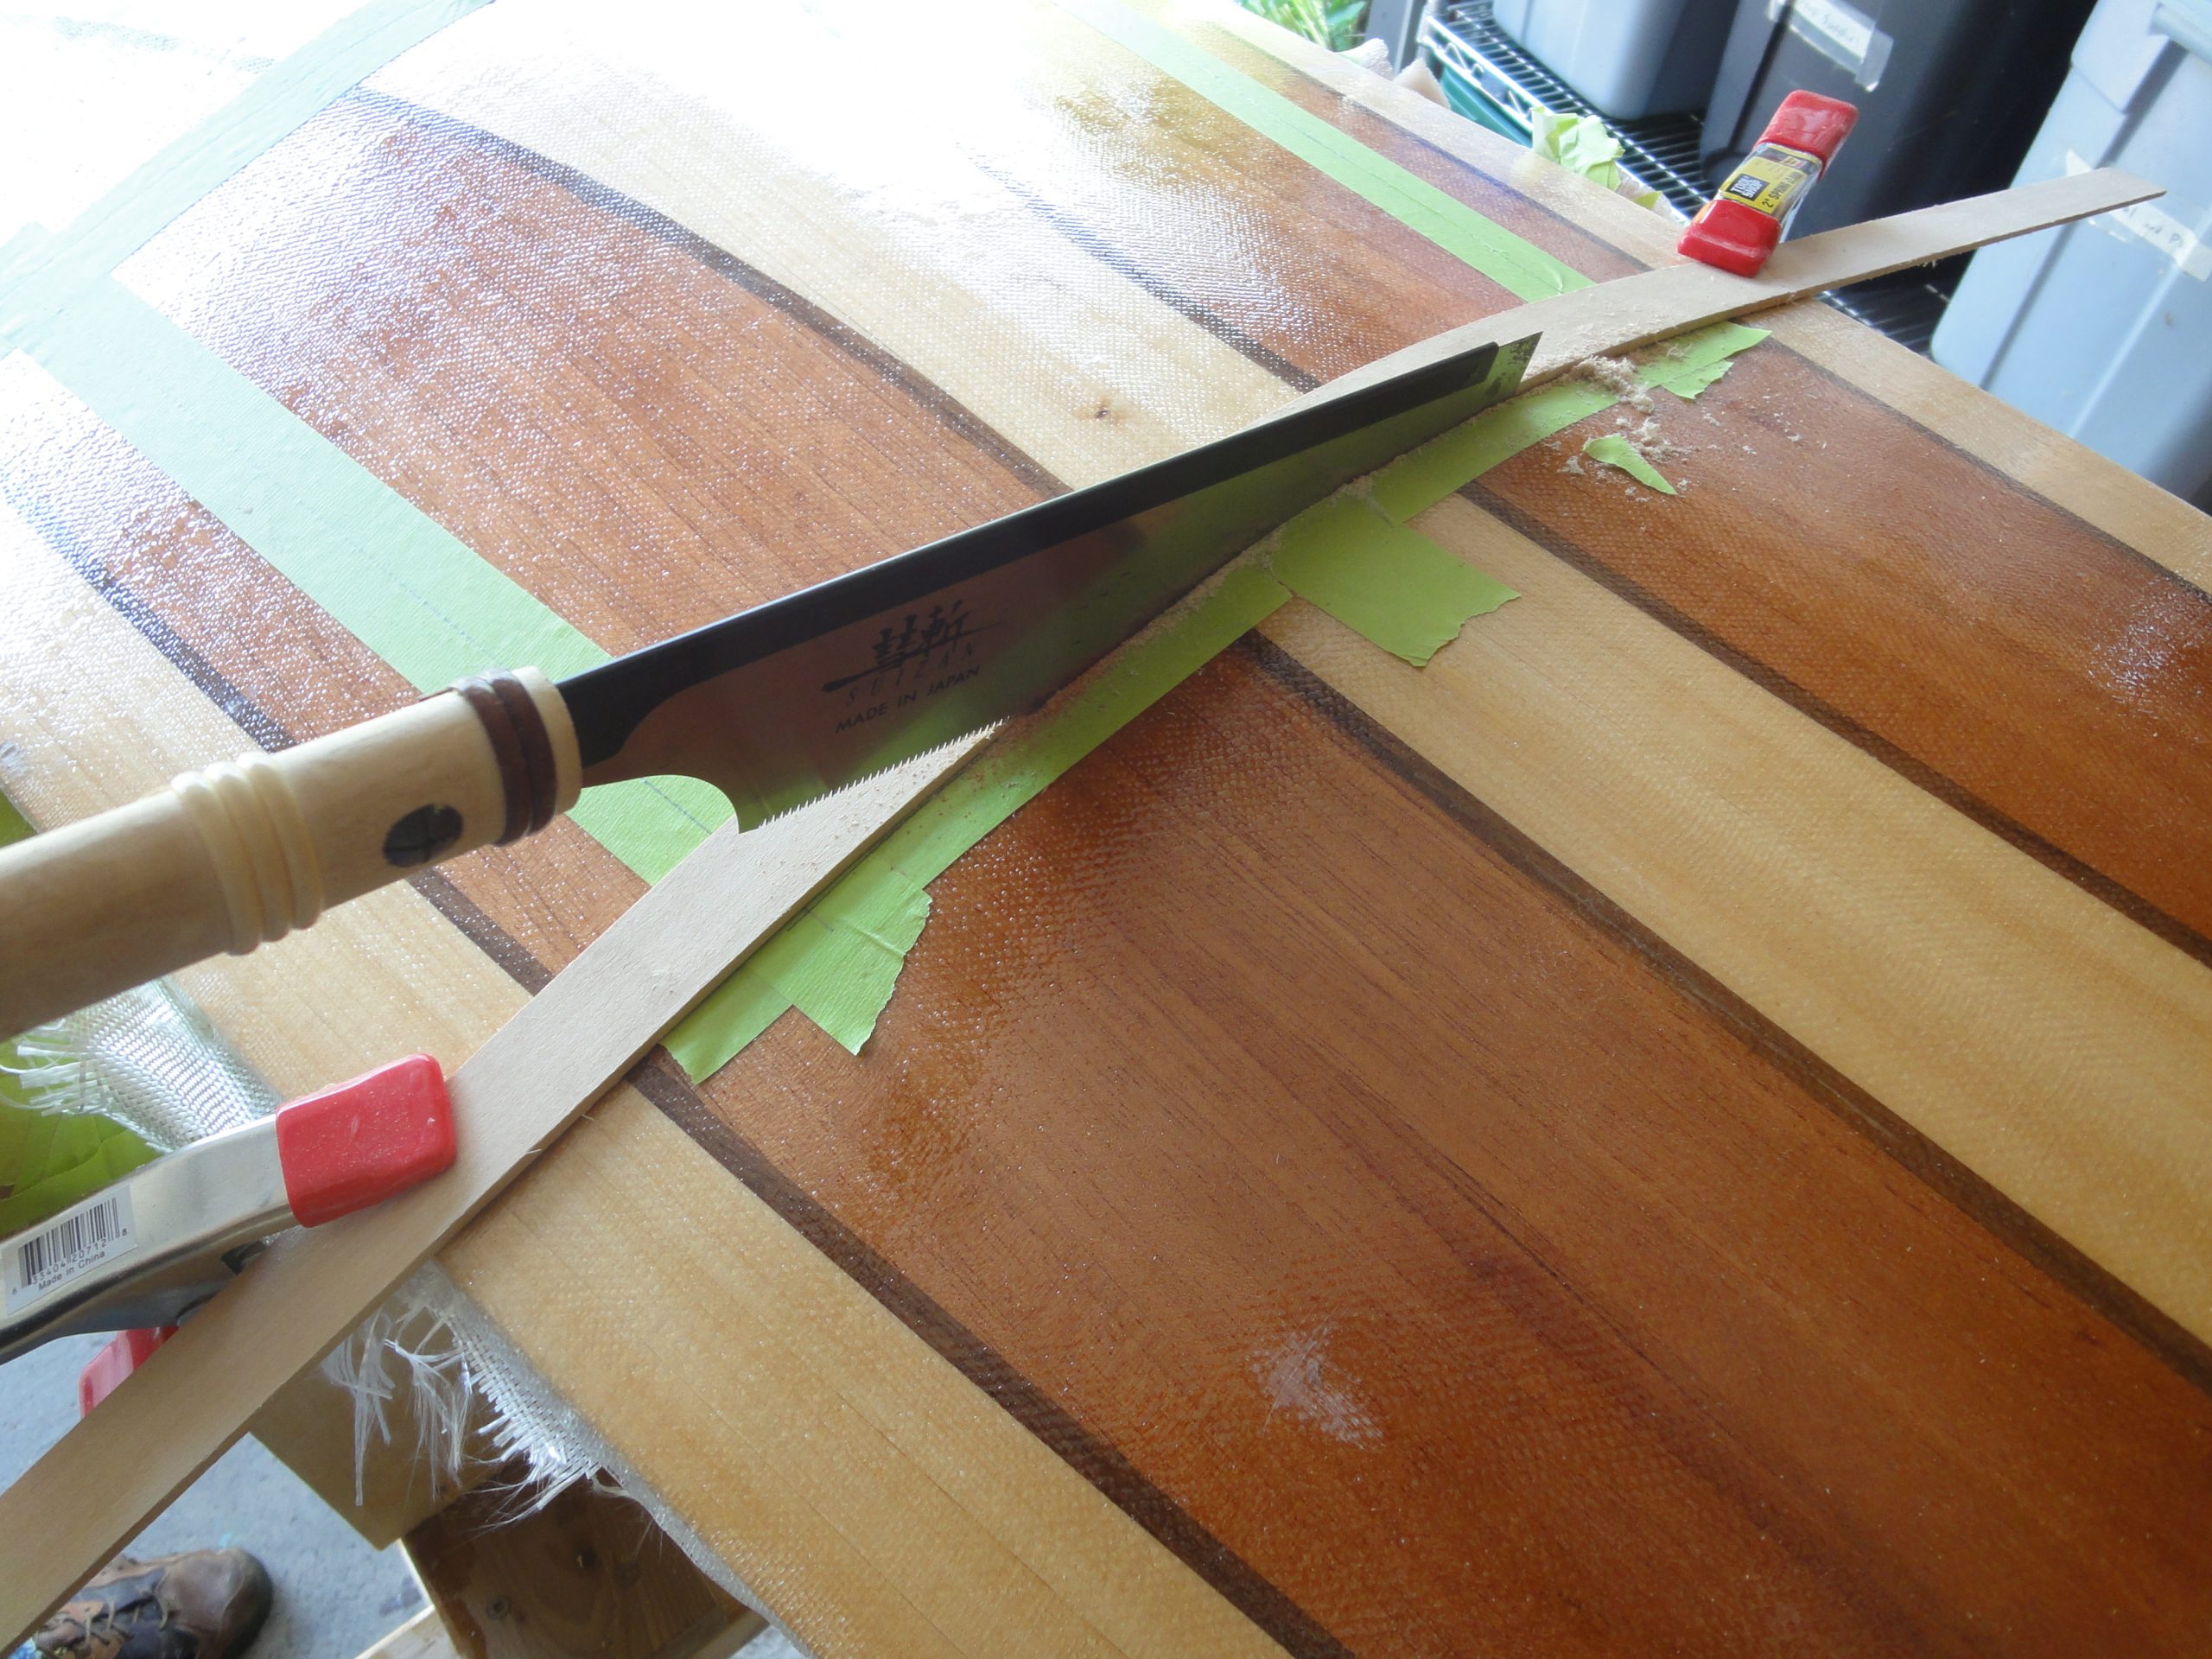
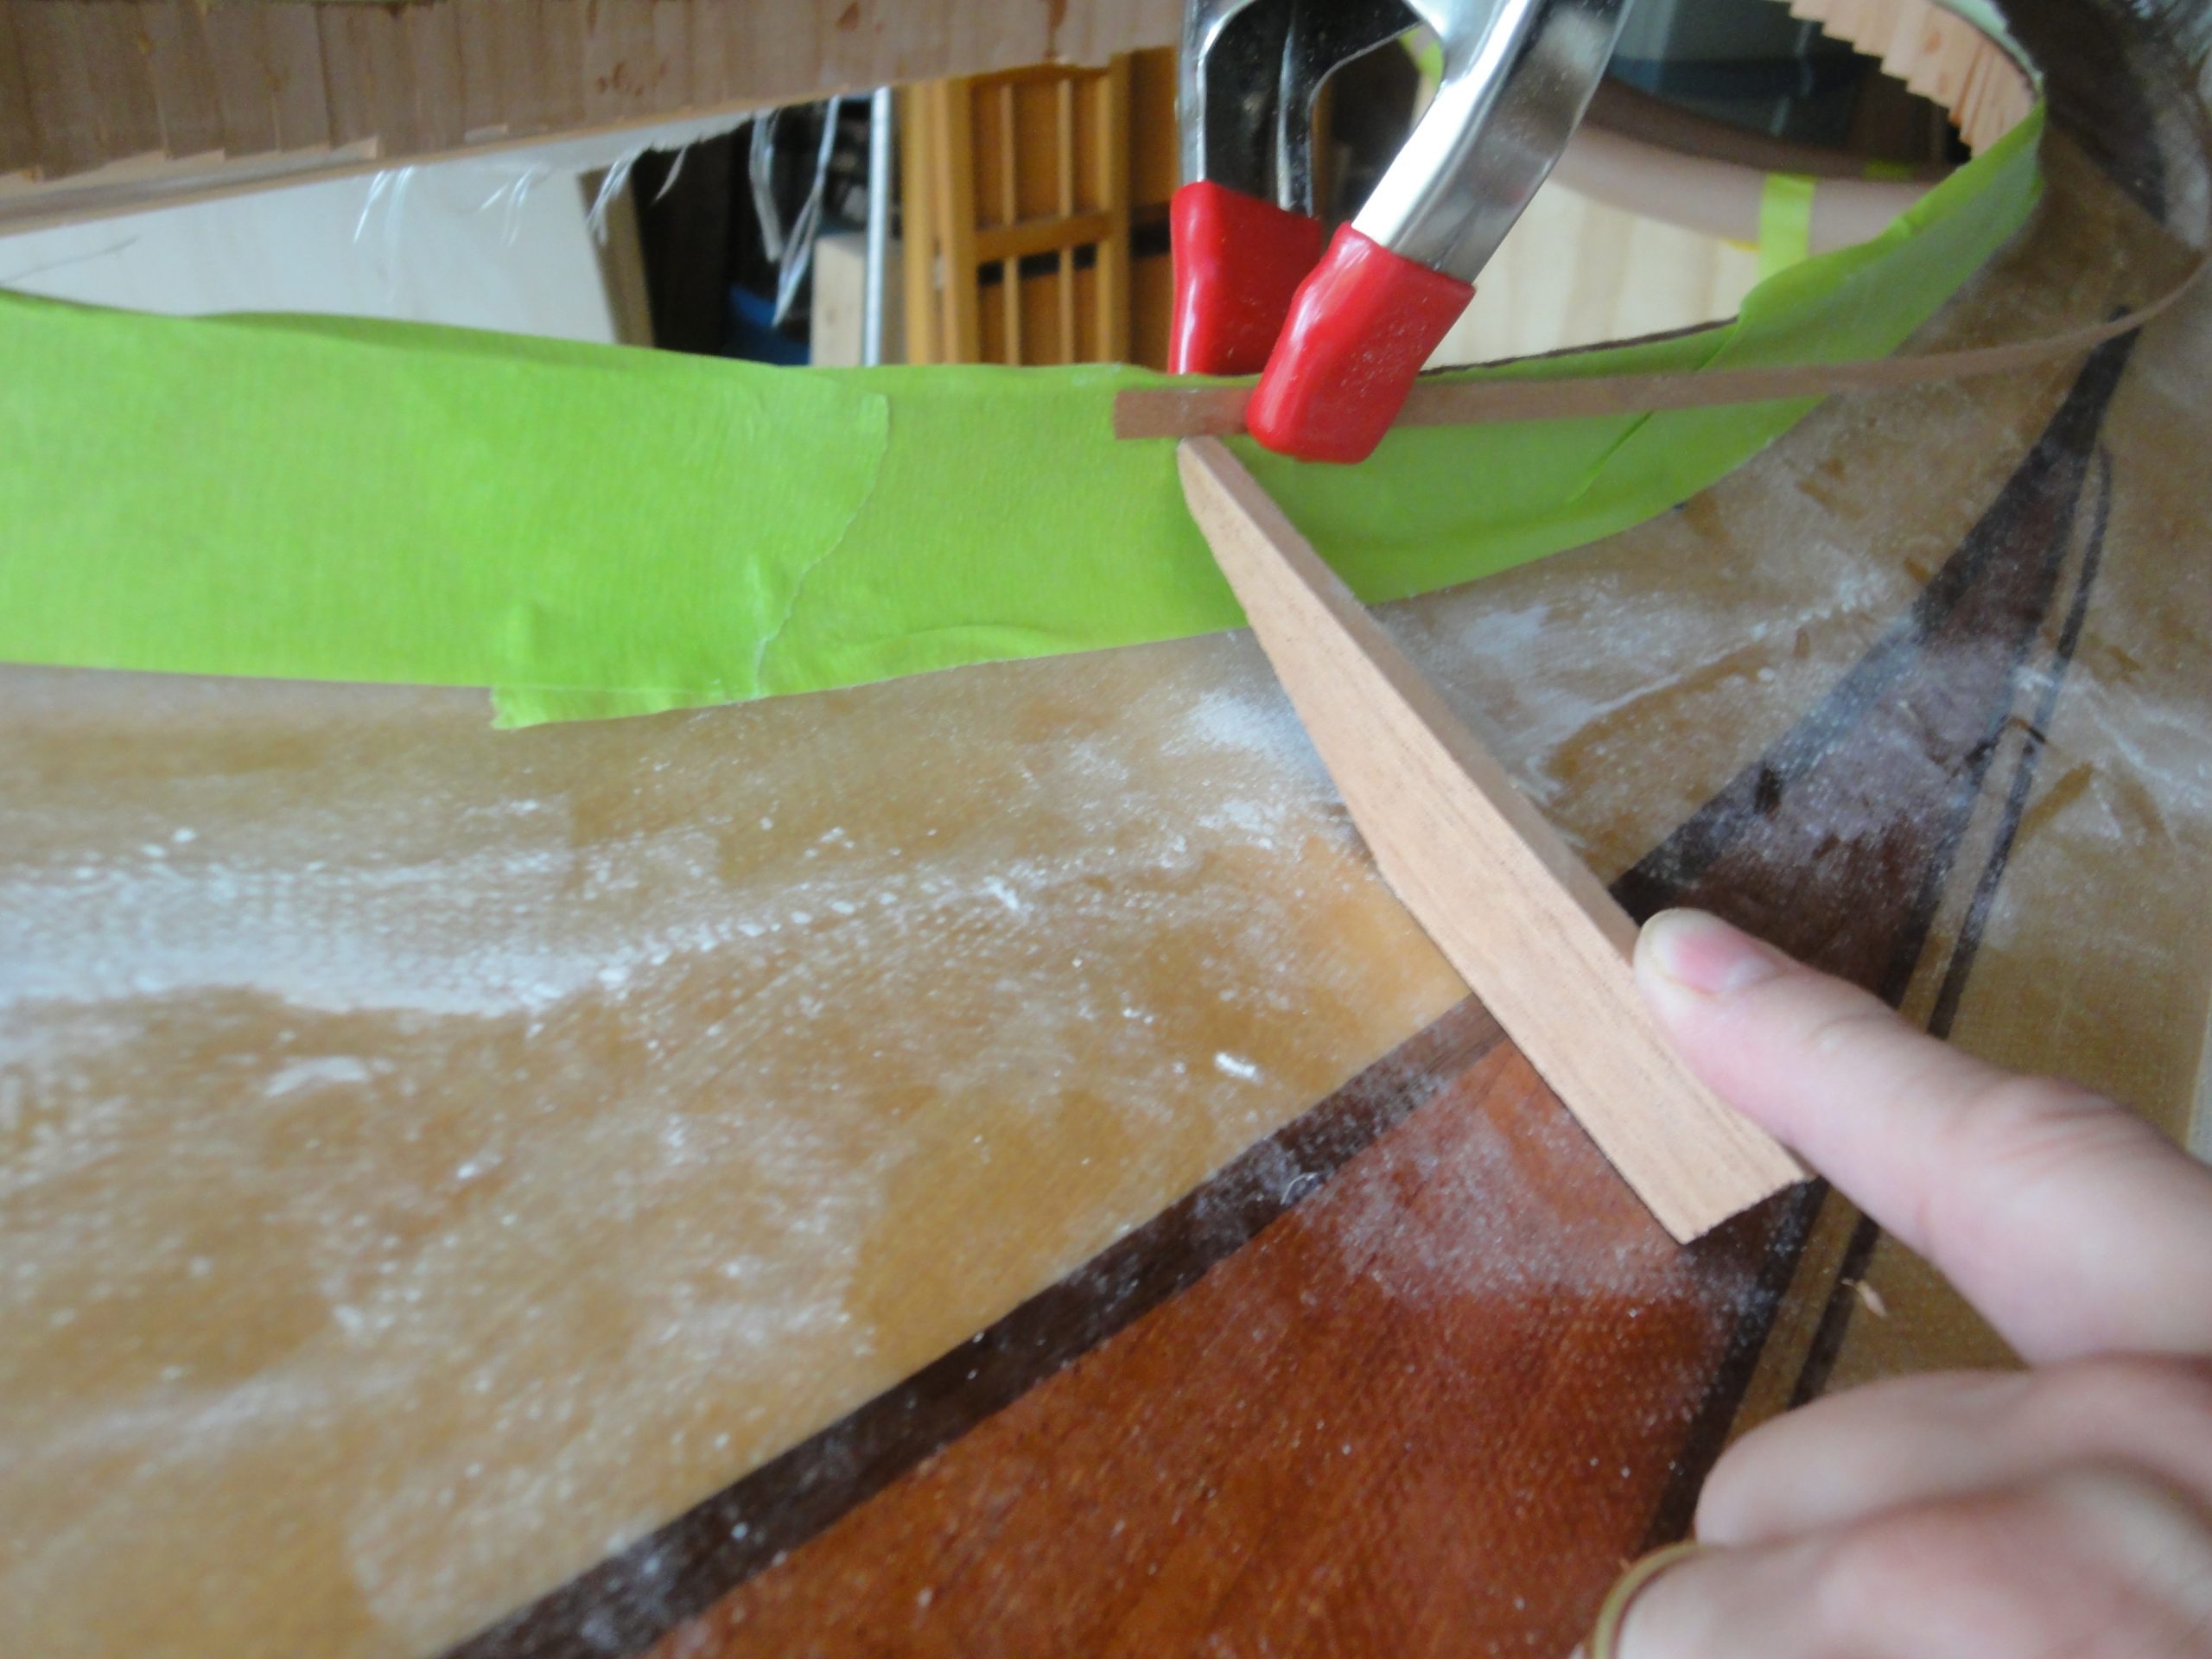
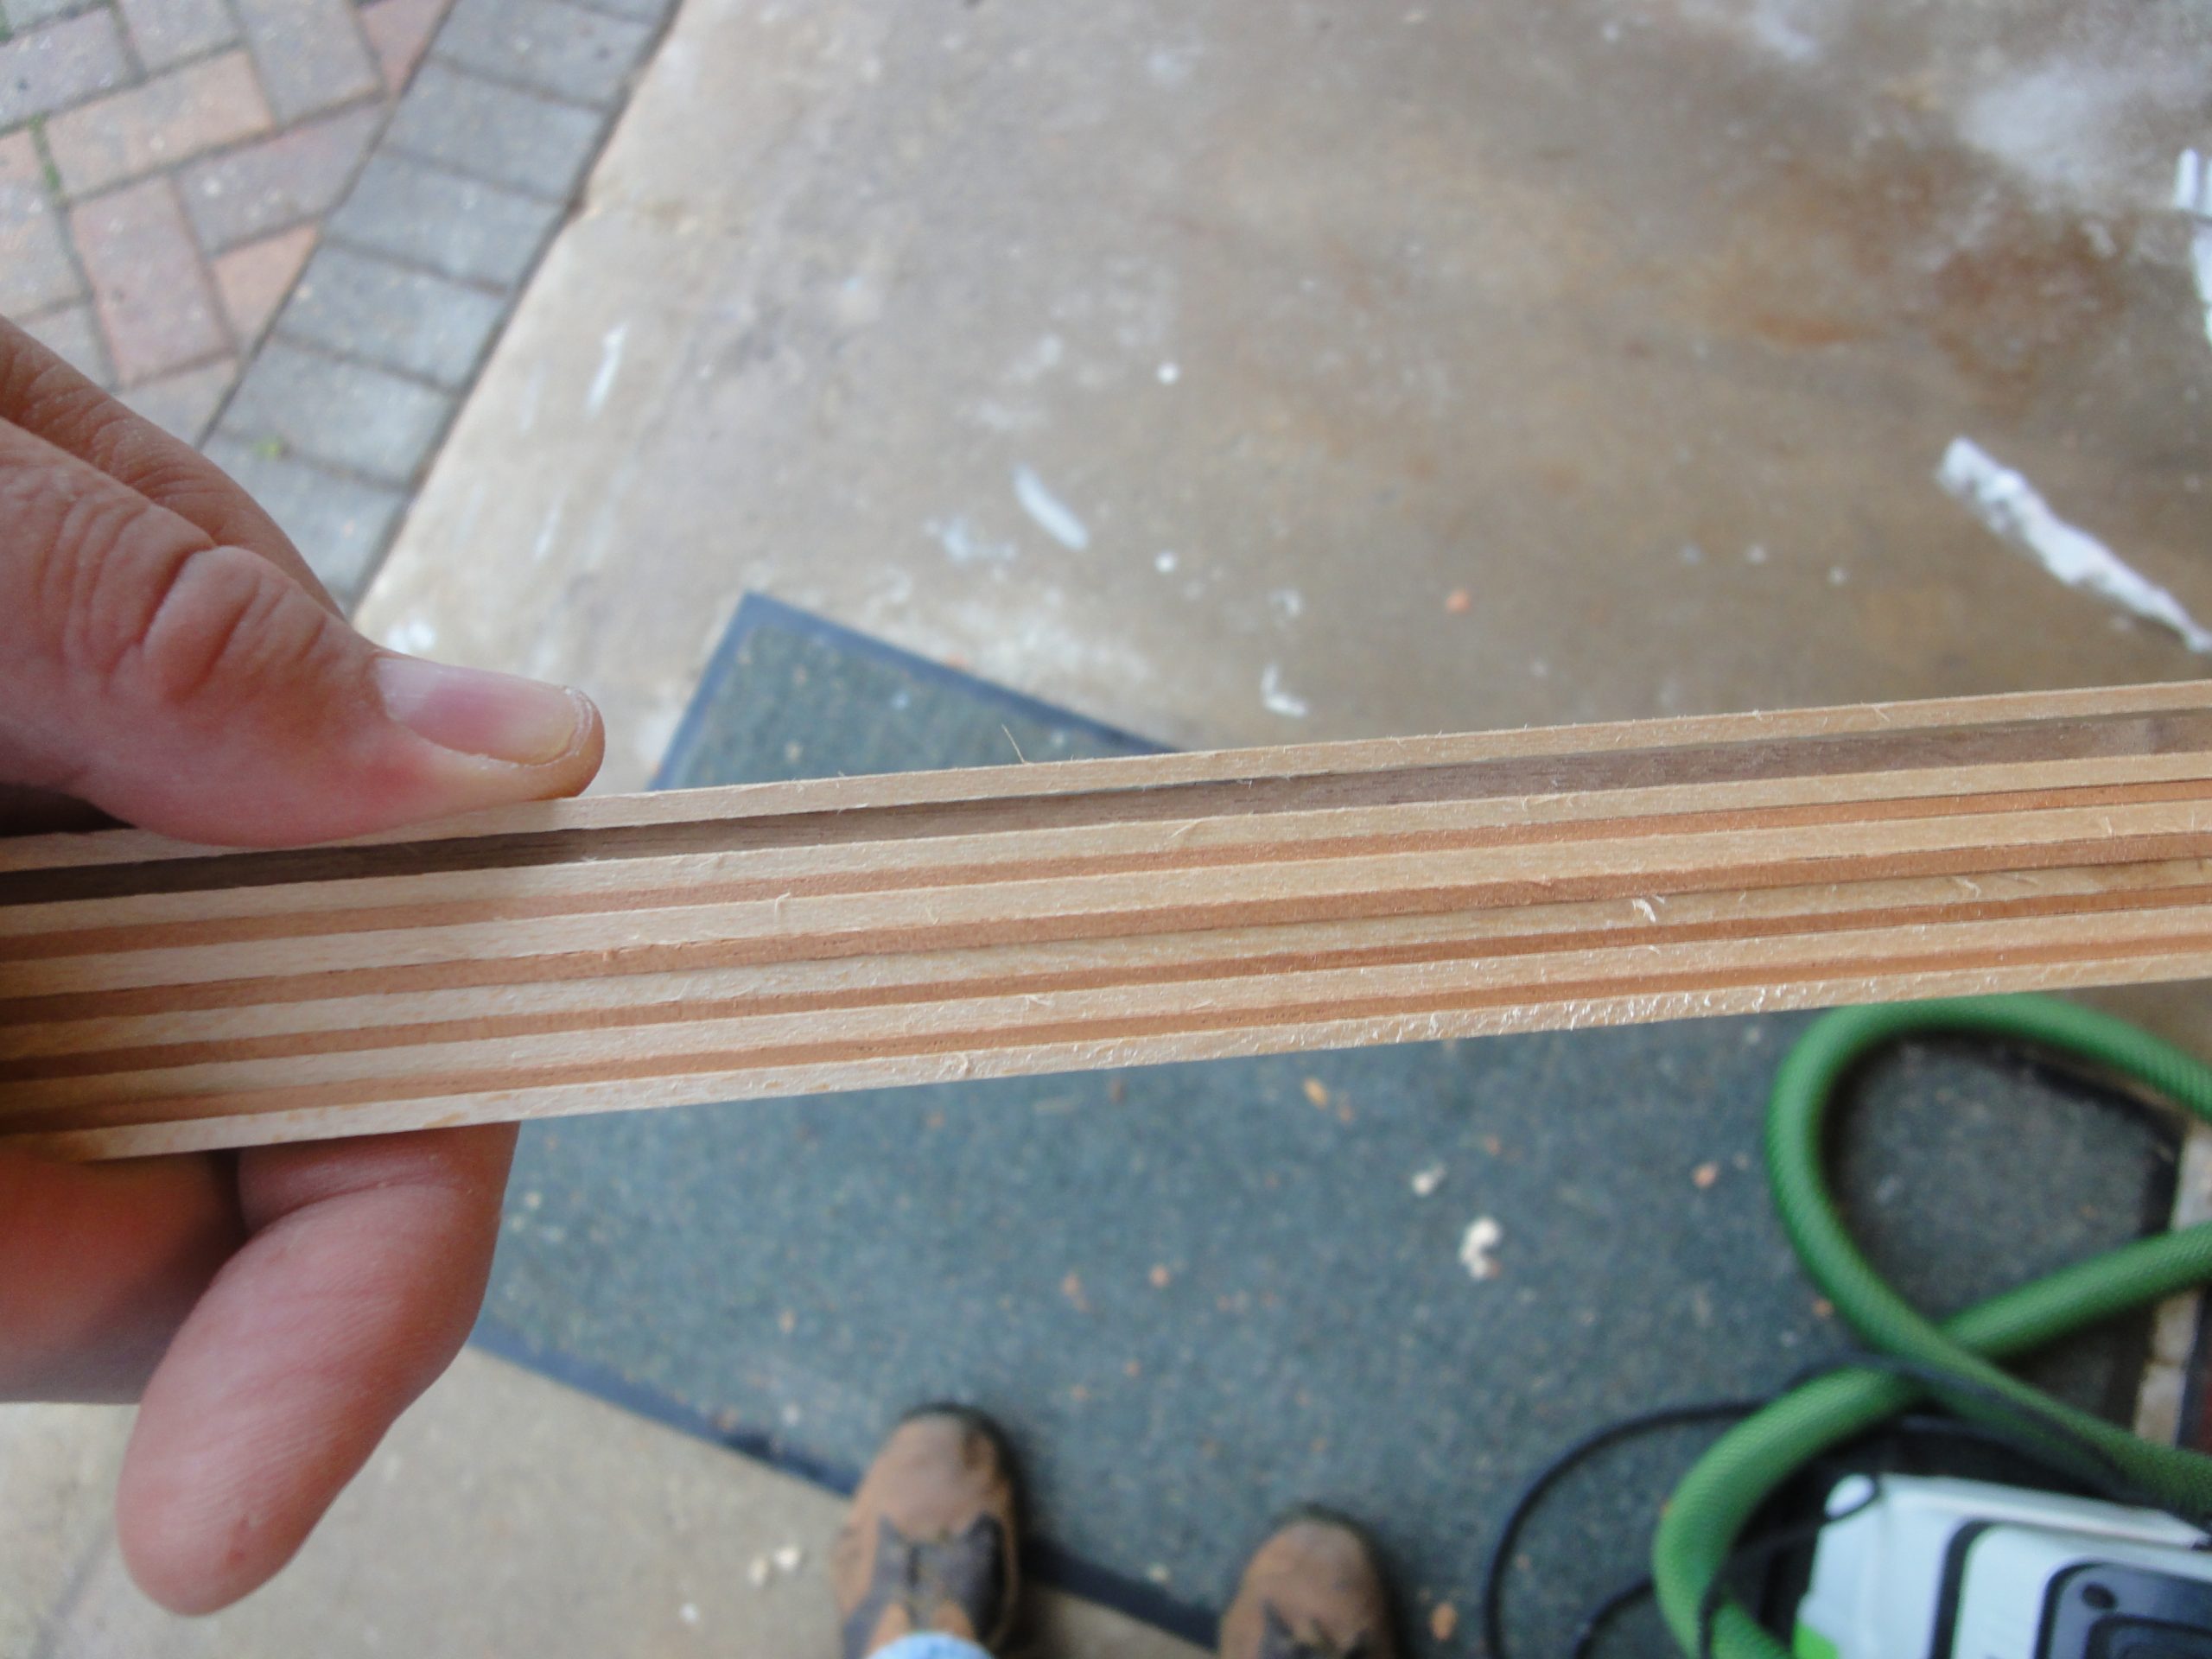
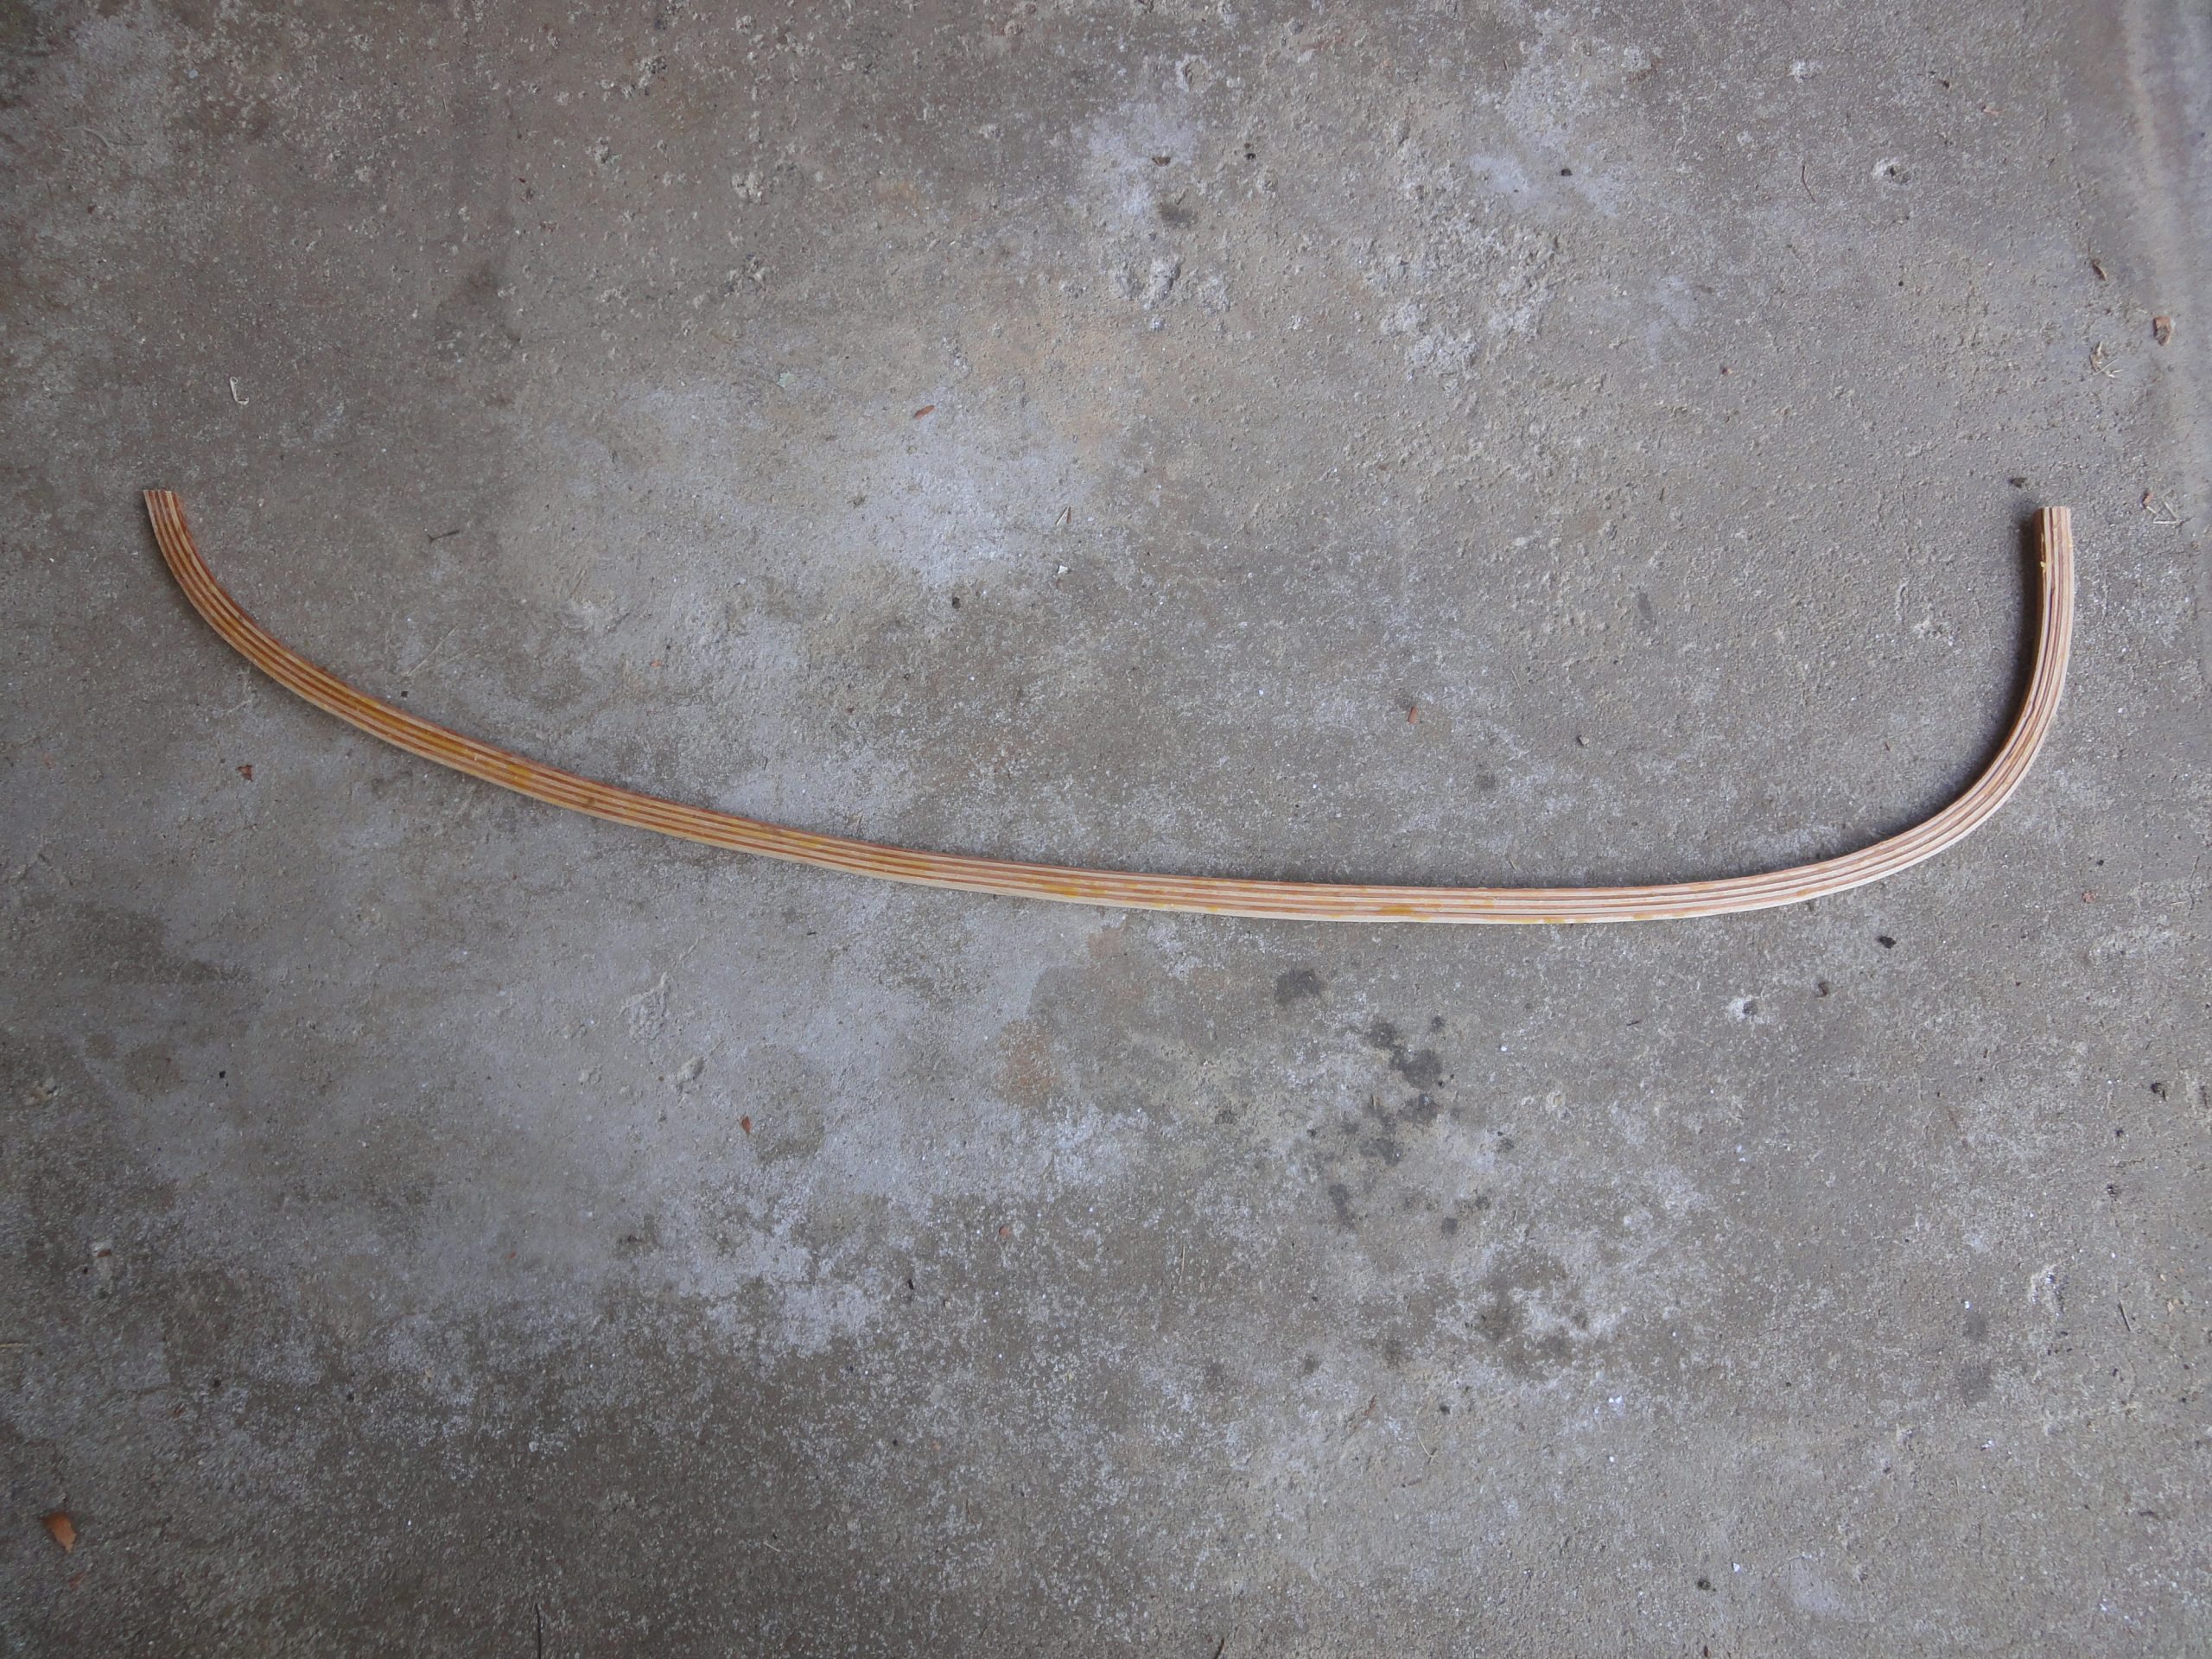
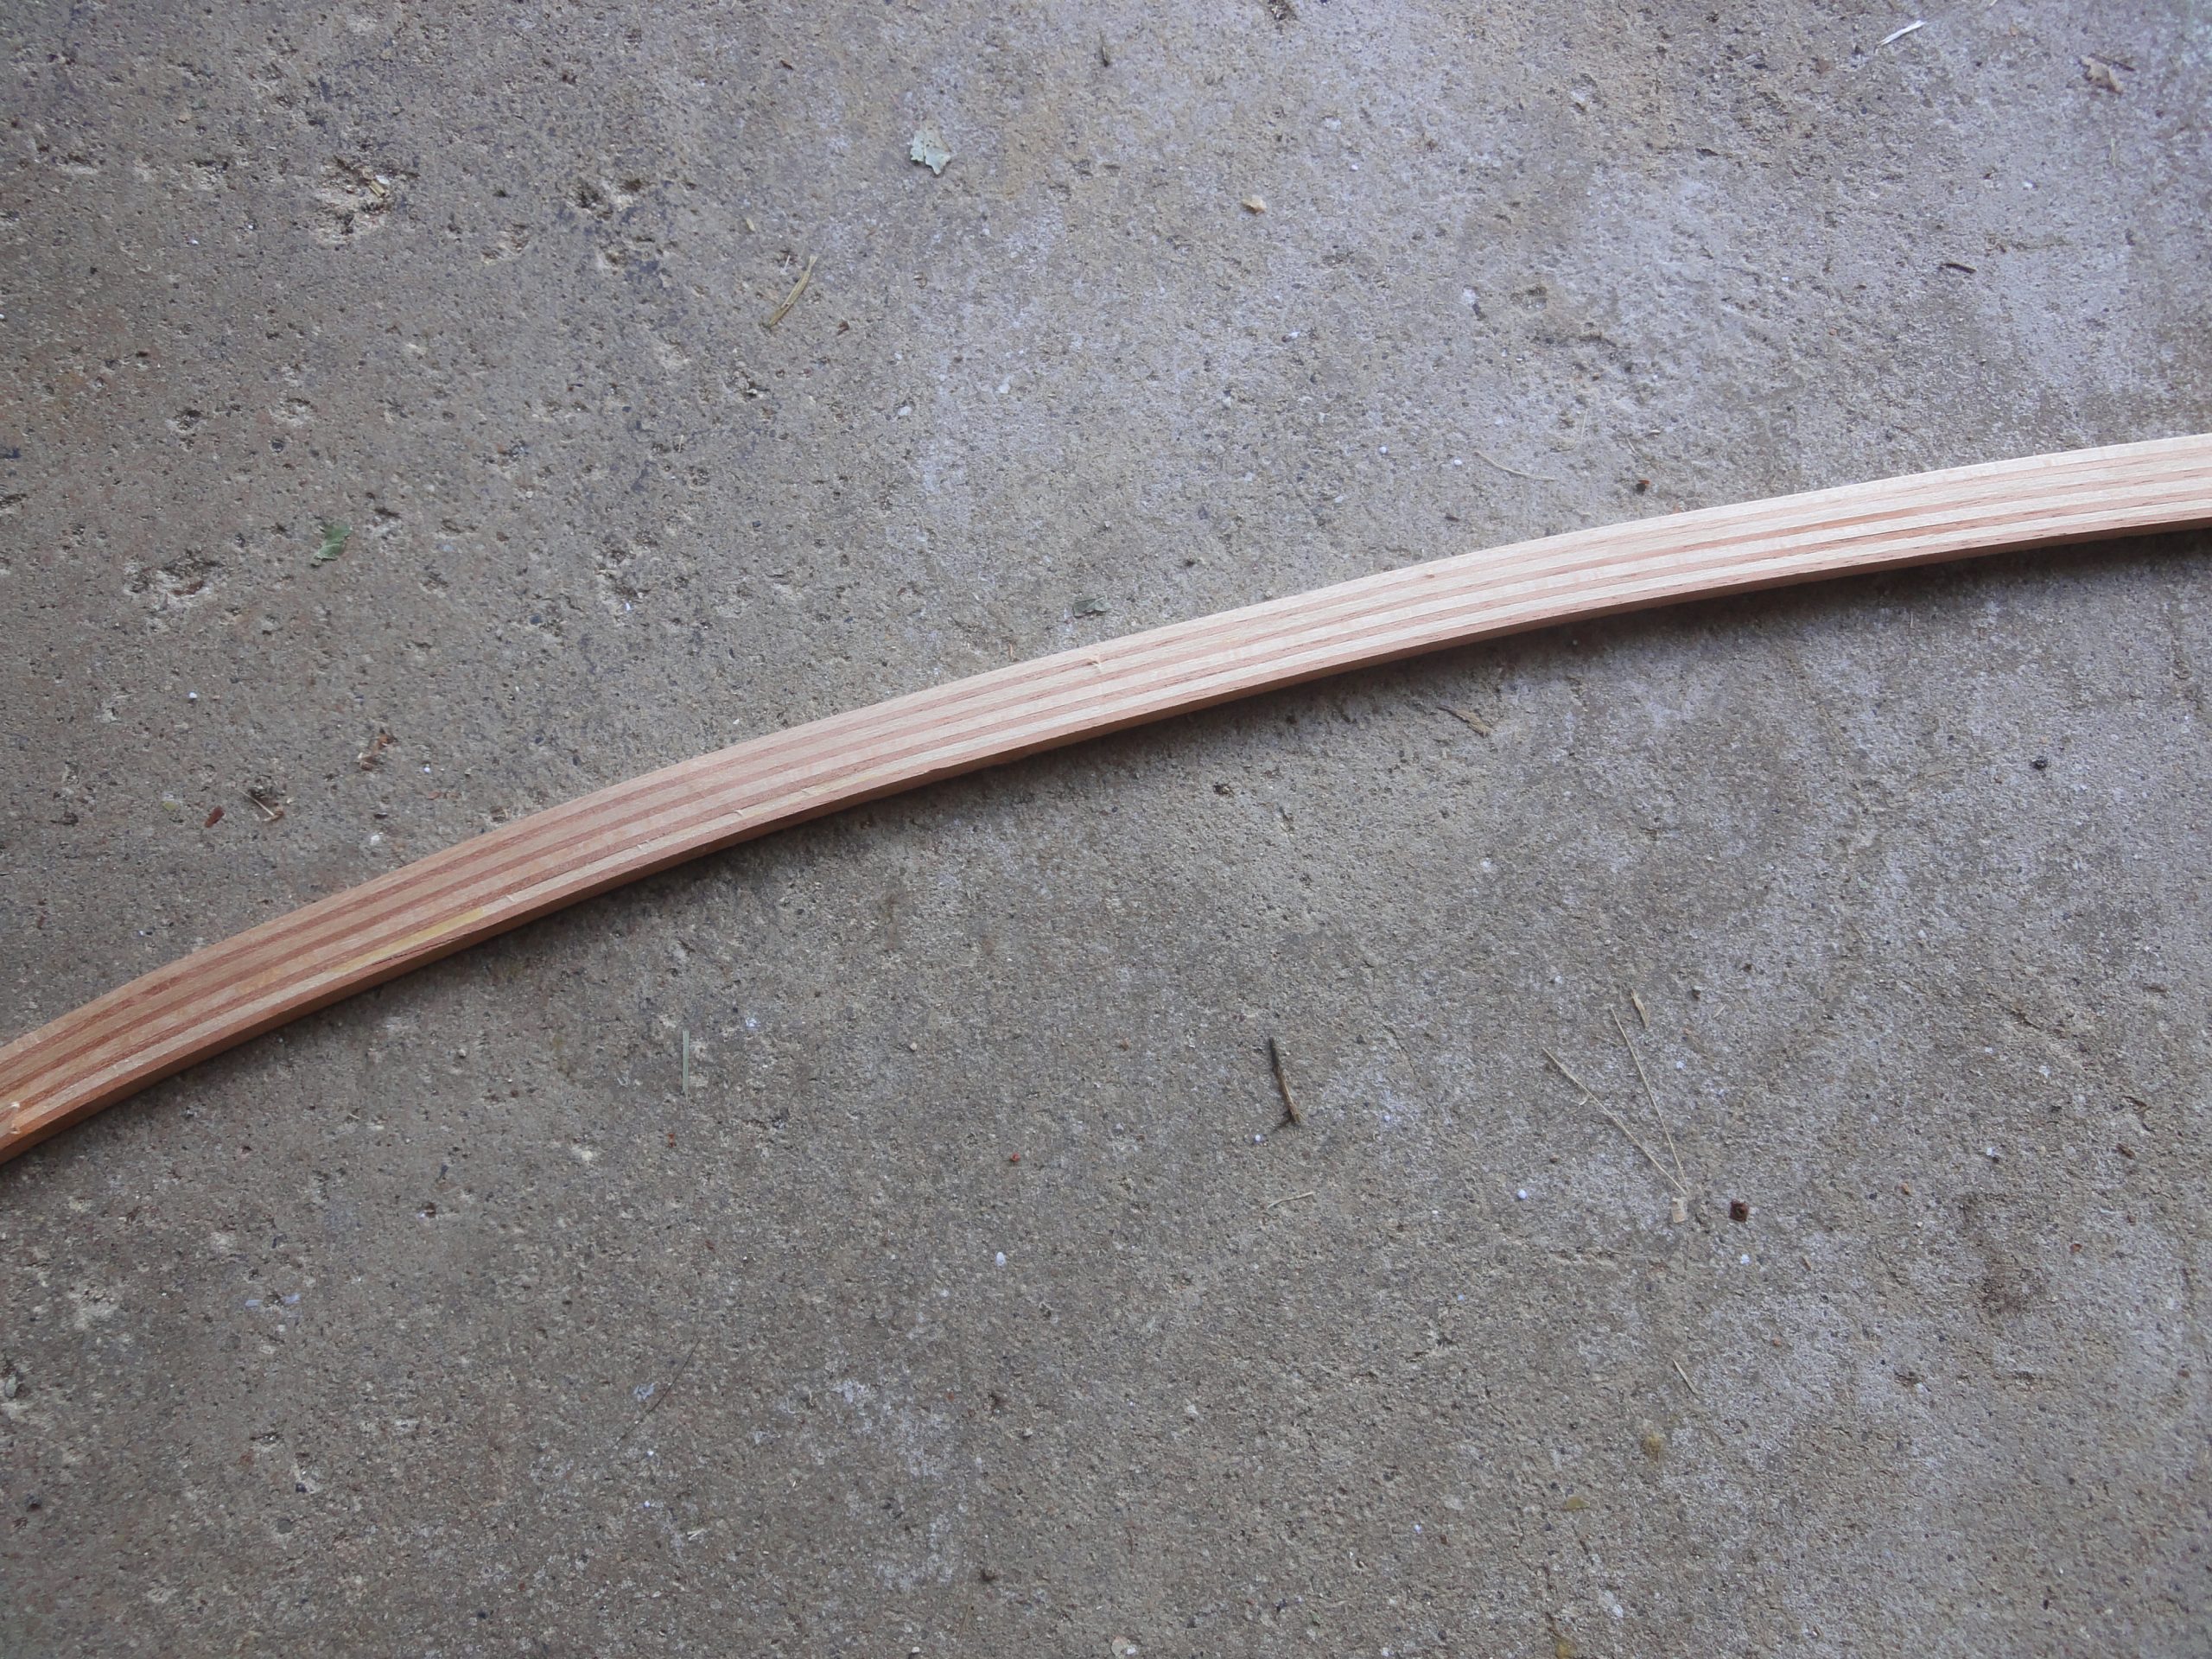
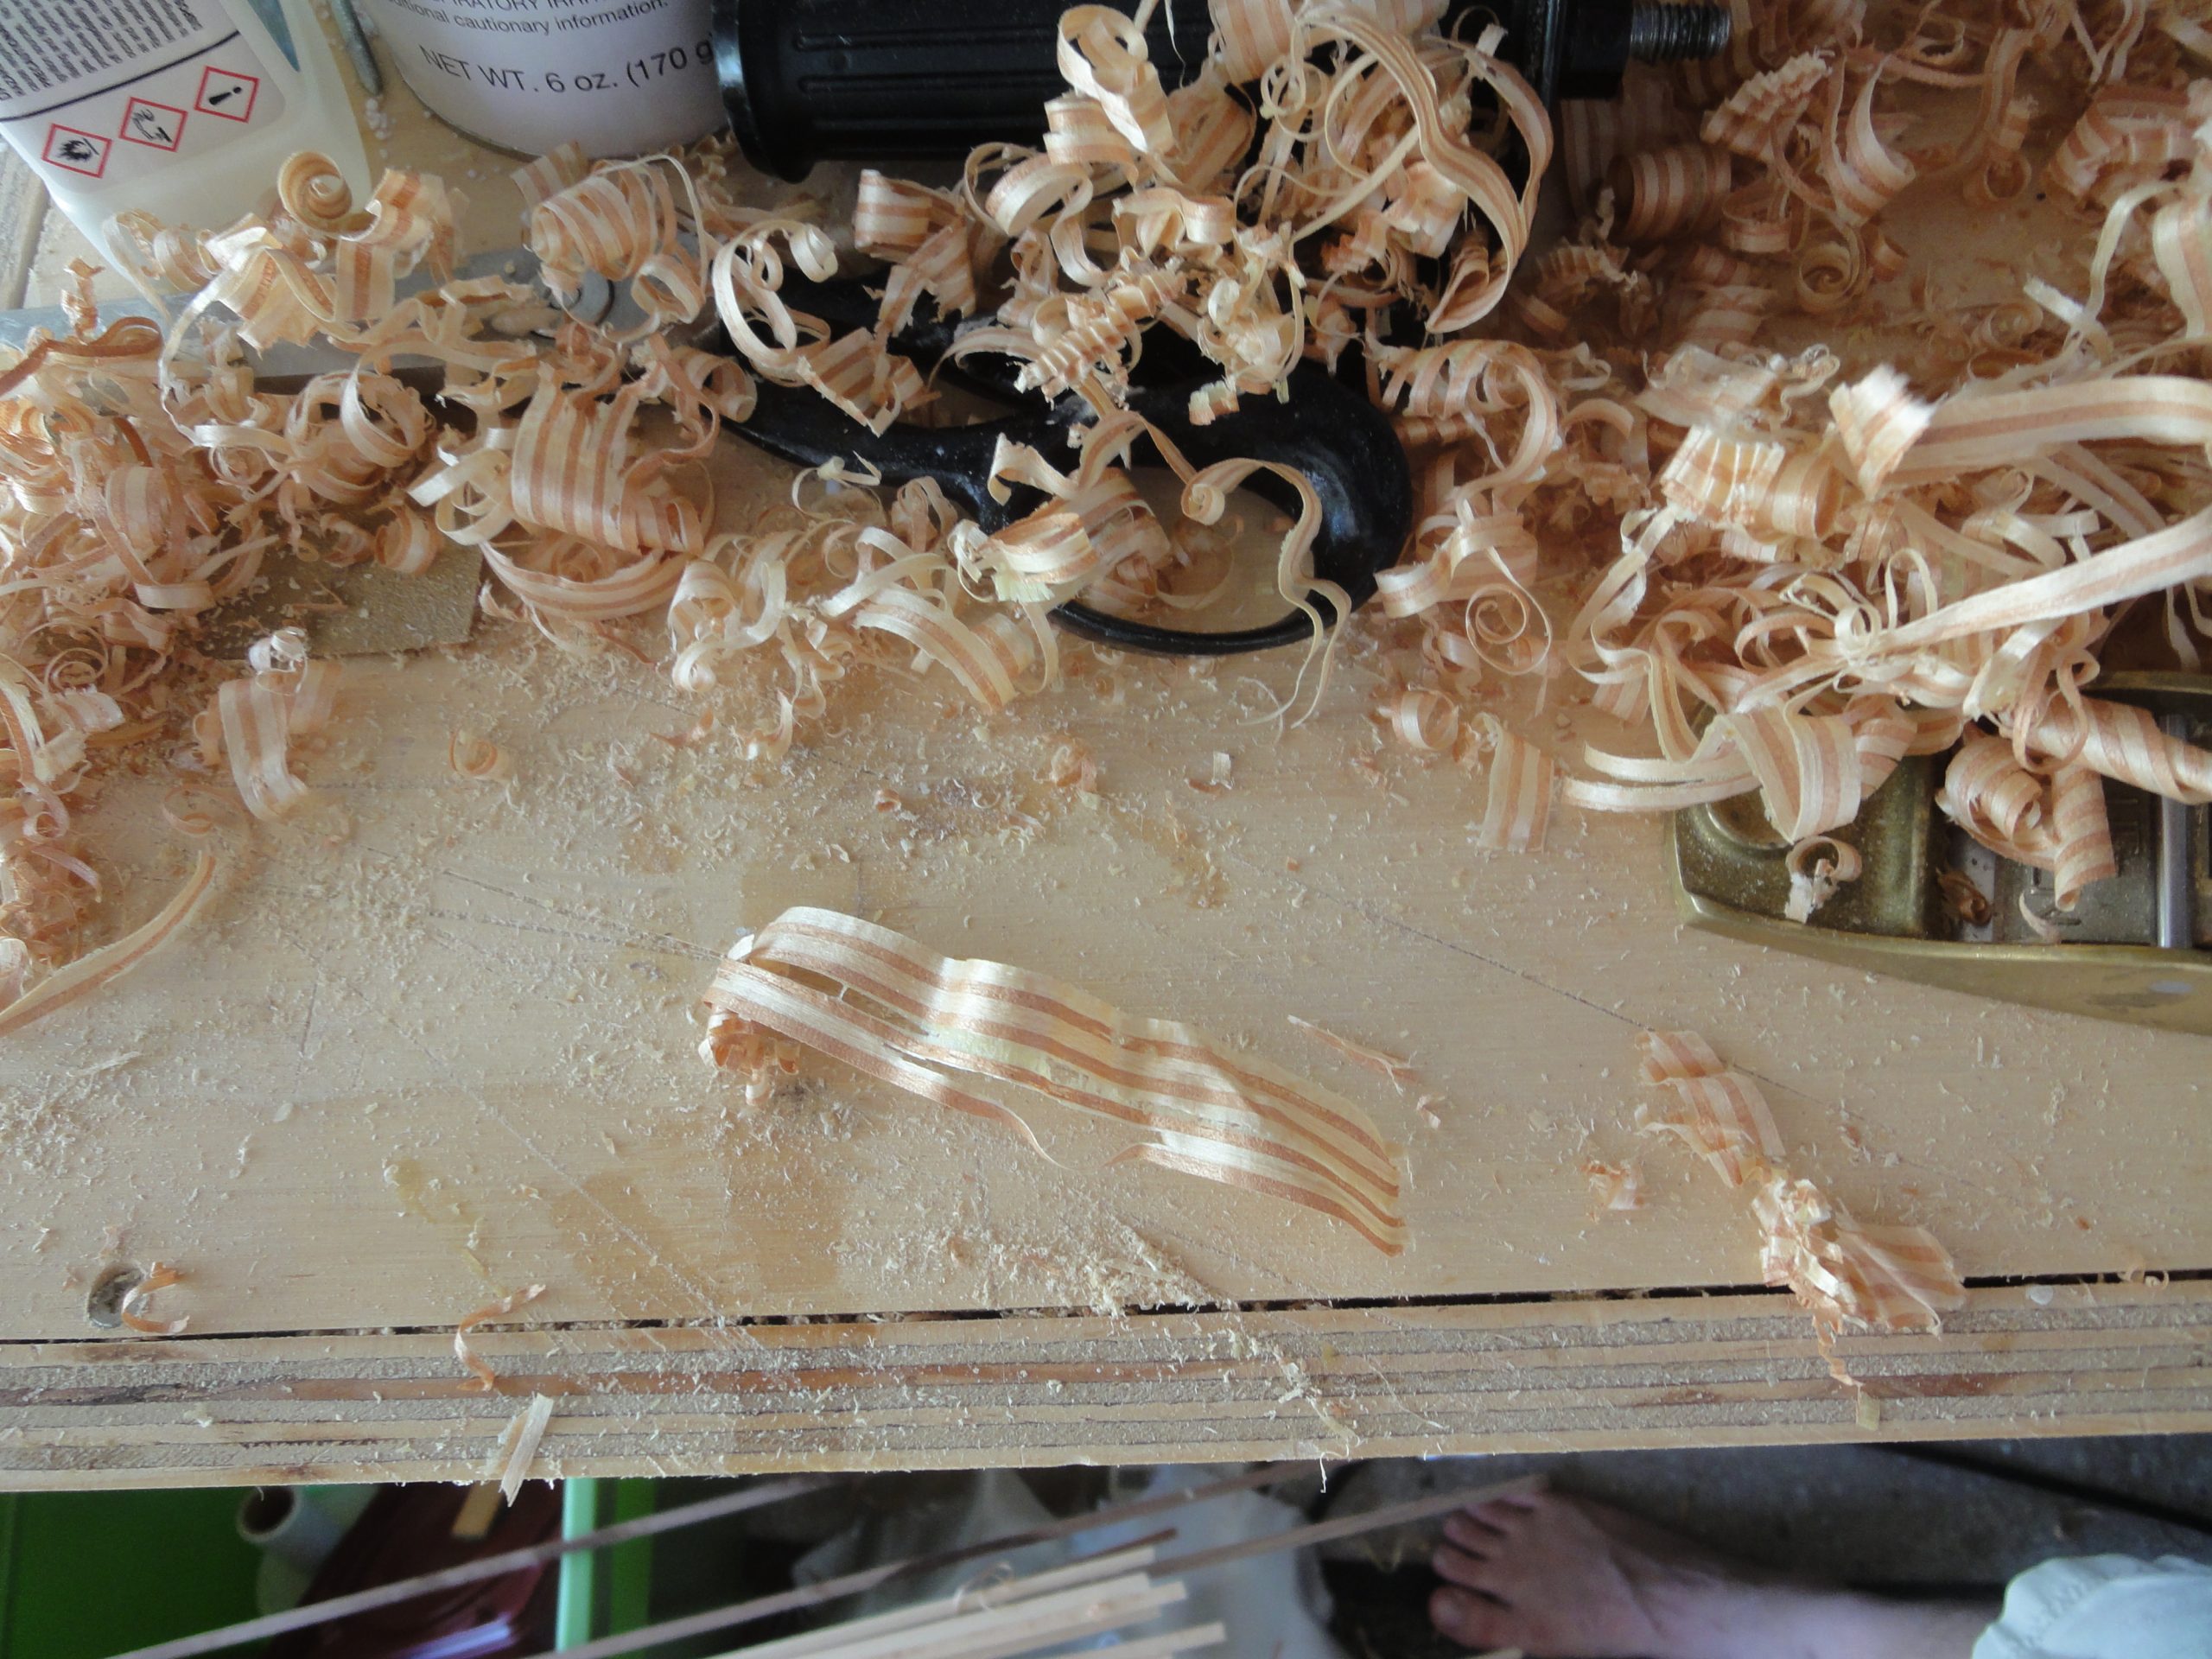
Just a bit of progress today but even that took some time. I took the hatch lip assembly and went ahead and planed/sanded the edges. I also took the time to bevel the outside corners where, on the underside, it goes from vertical to horizontal. The main goal was to avoid a sharp corner as later fiberglass is going to be applied to this.

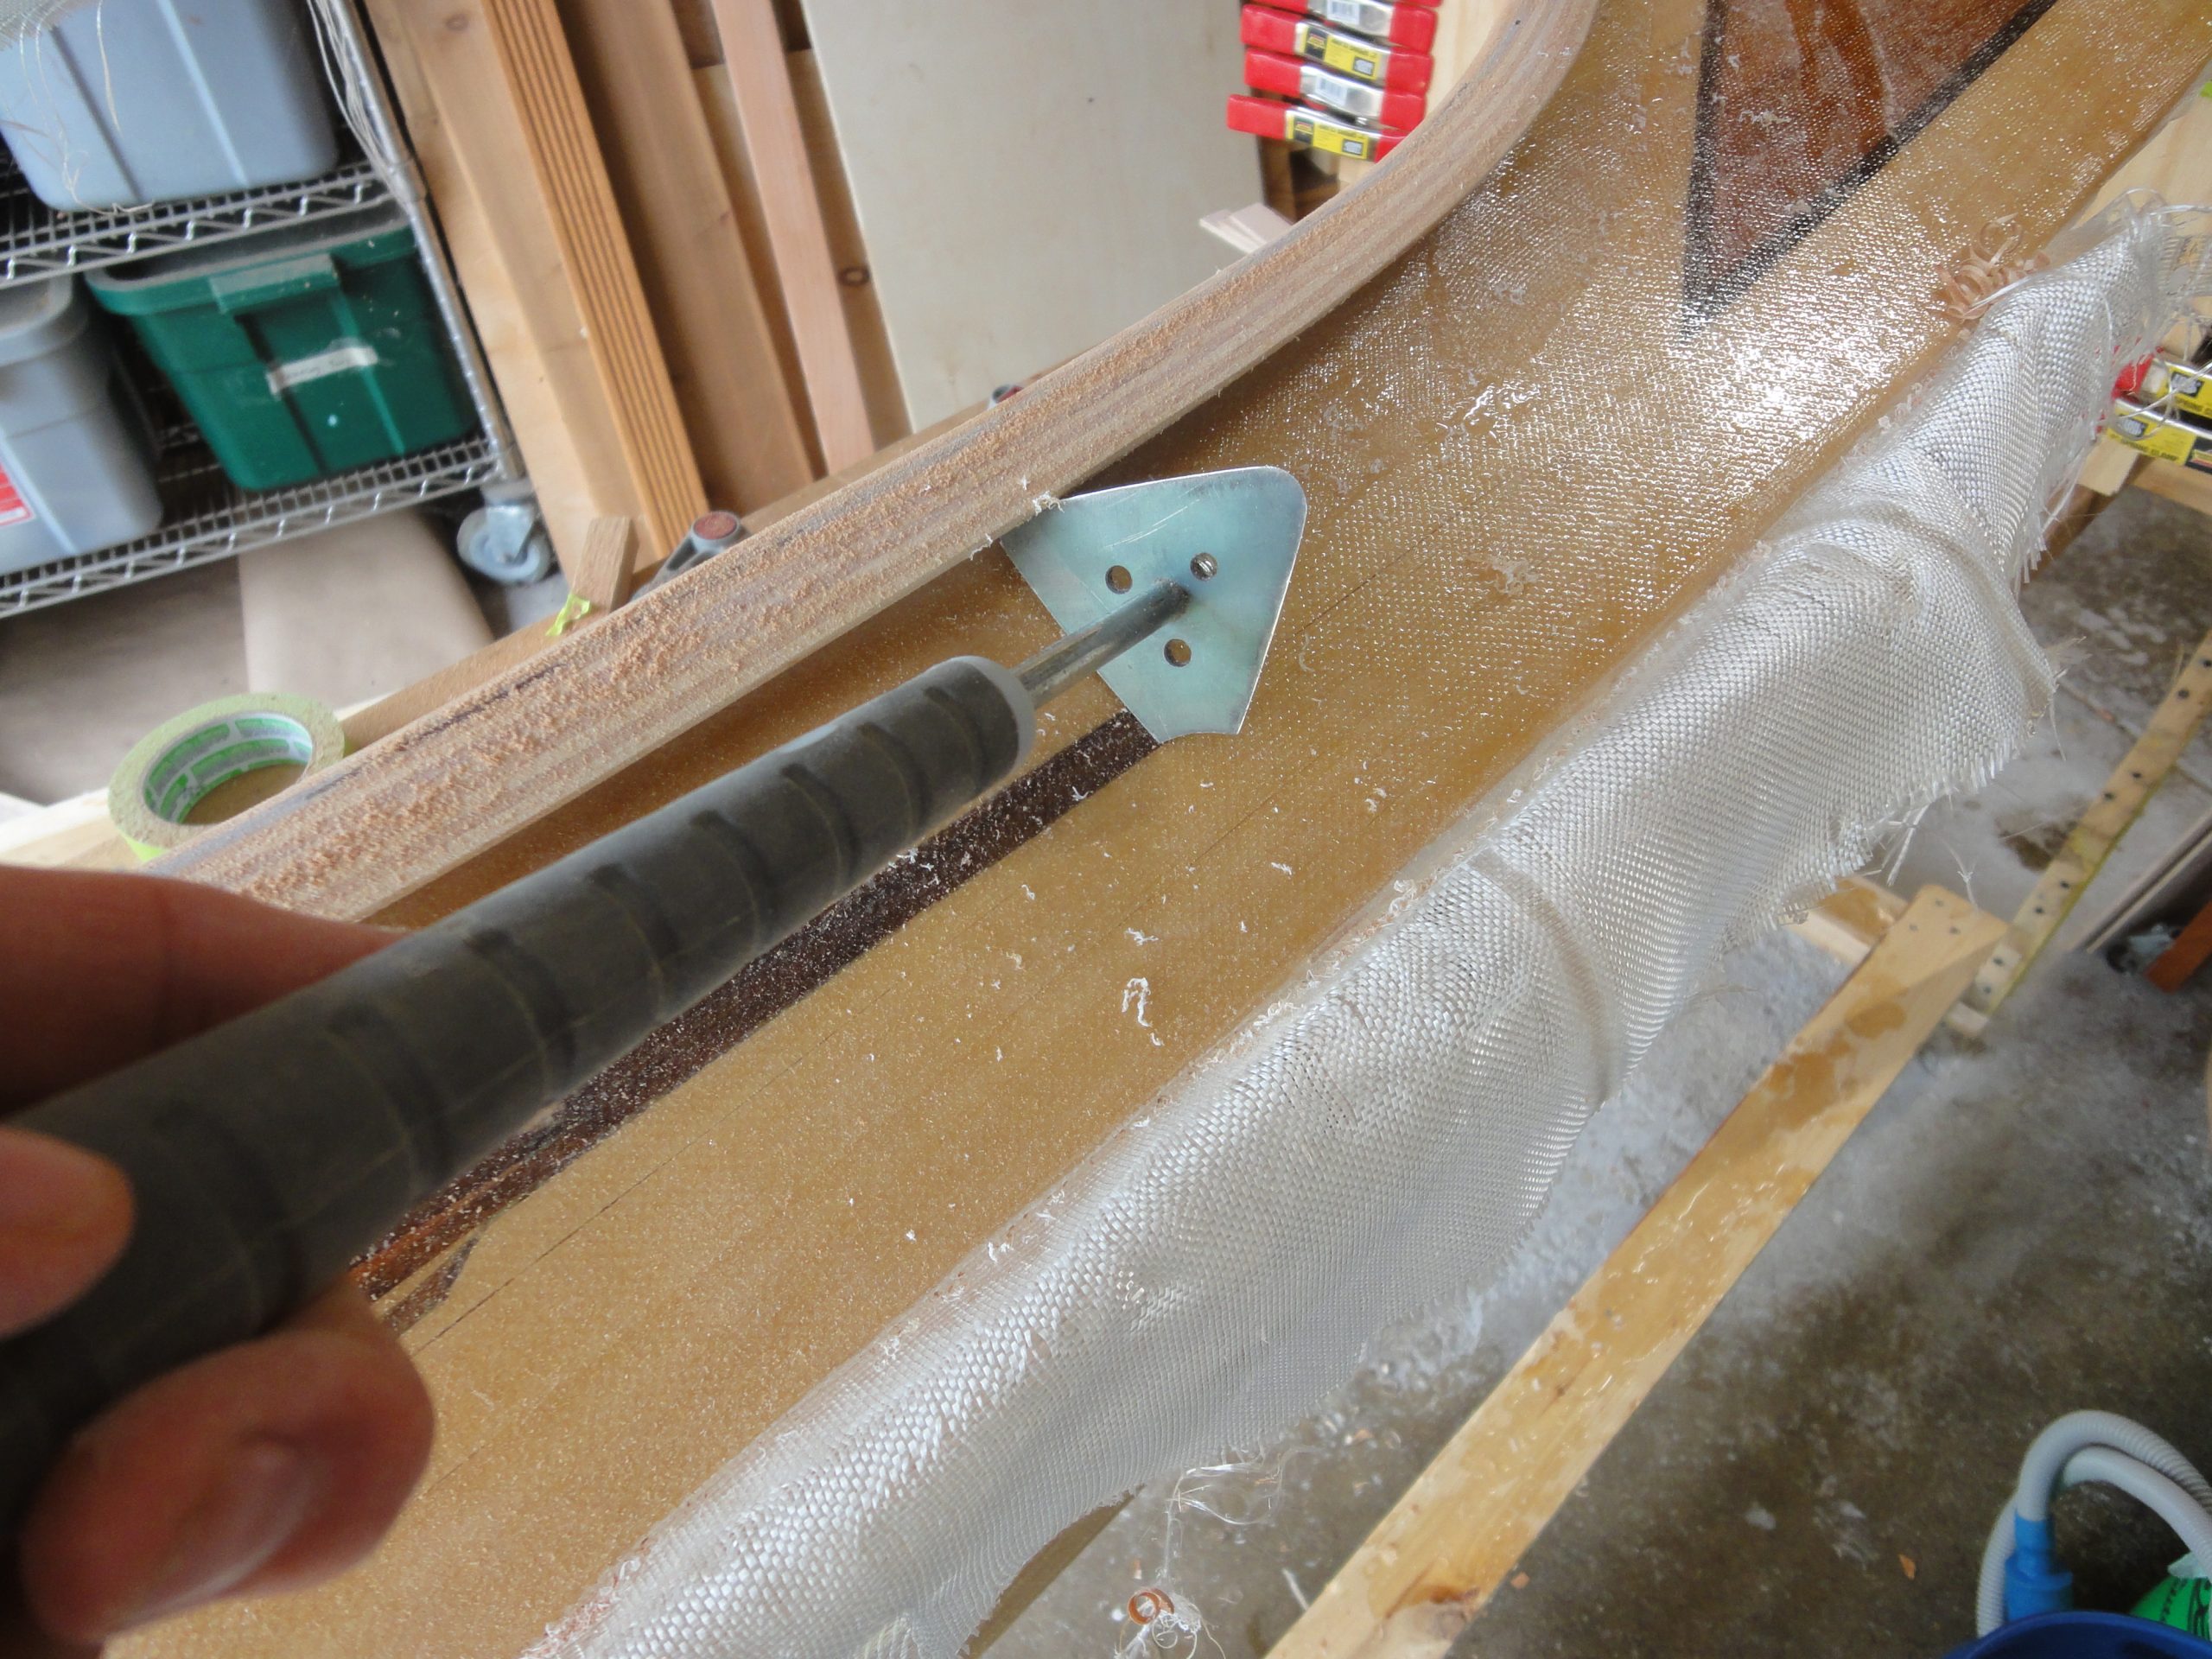
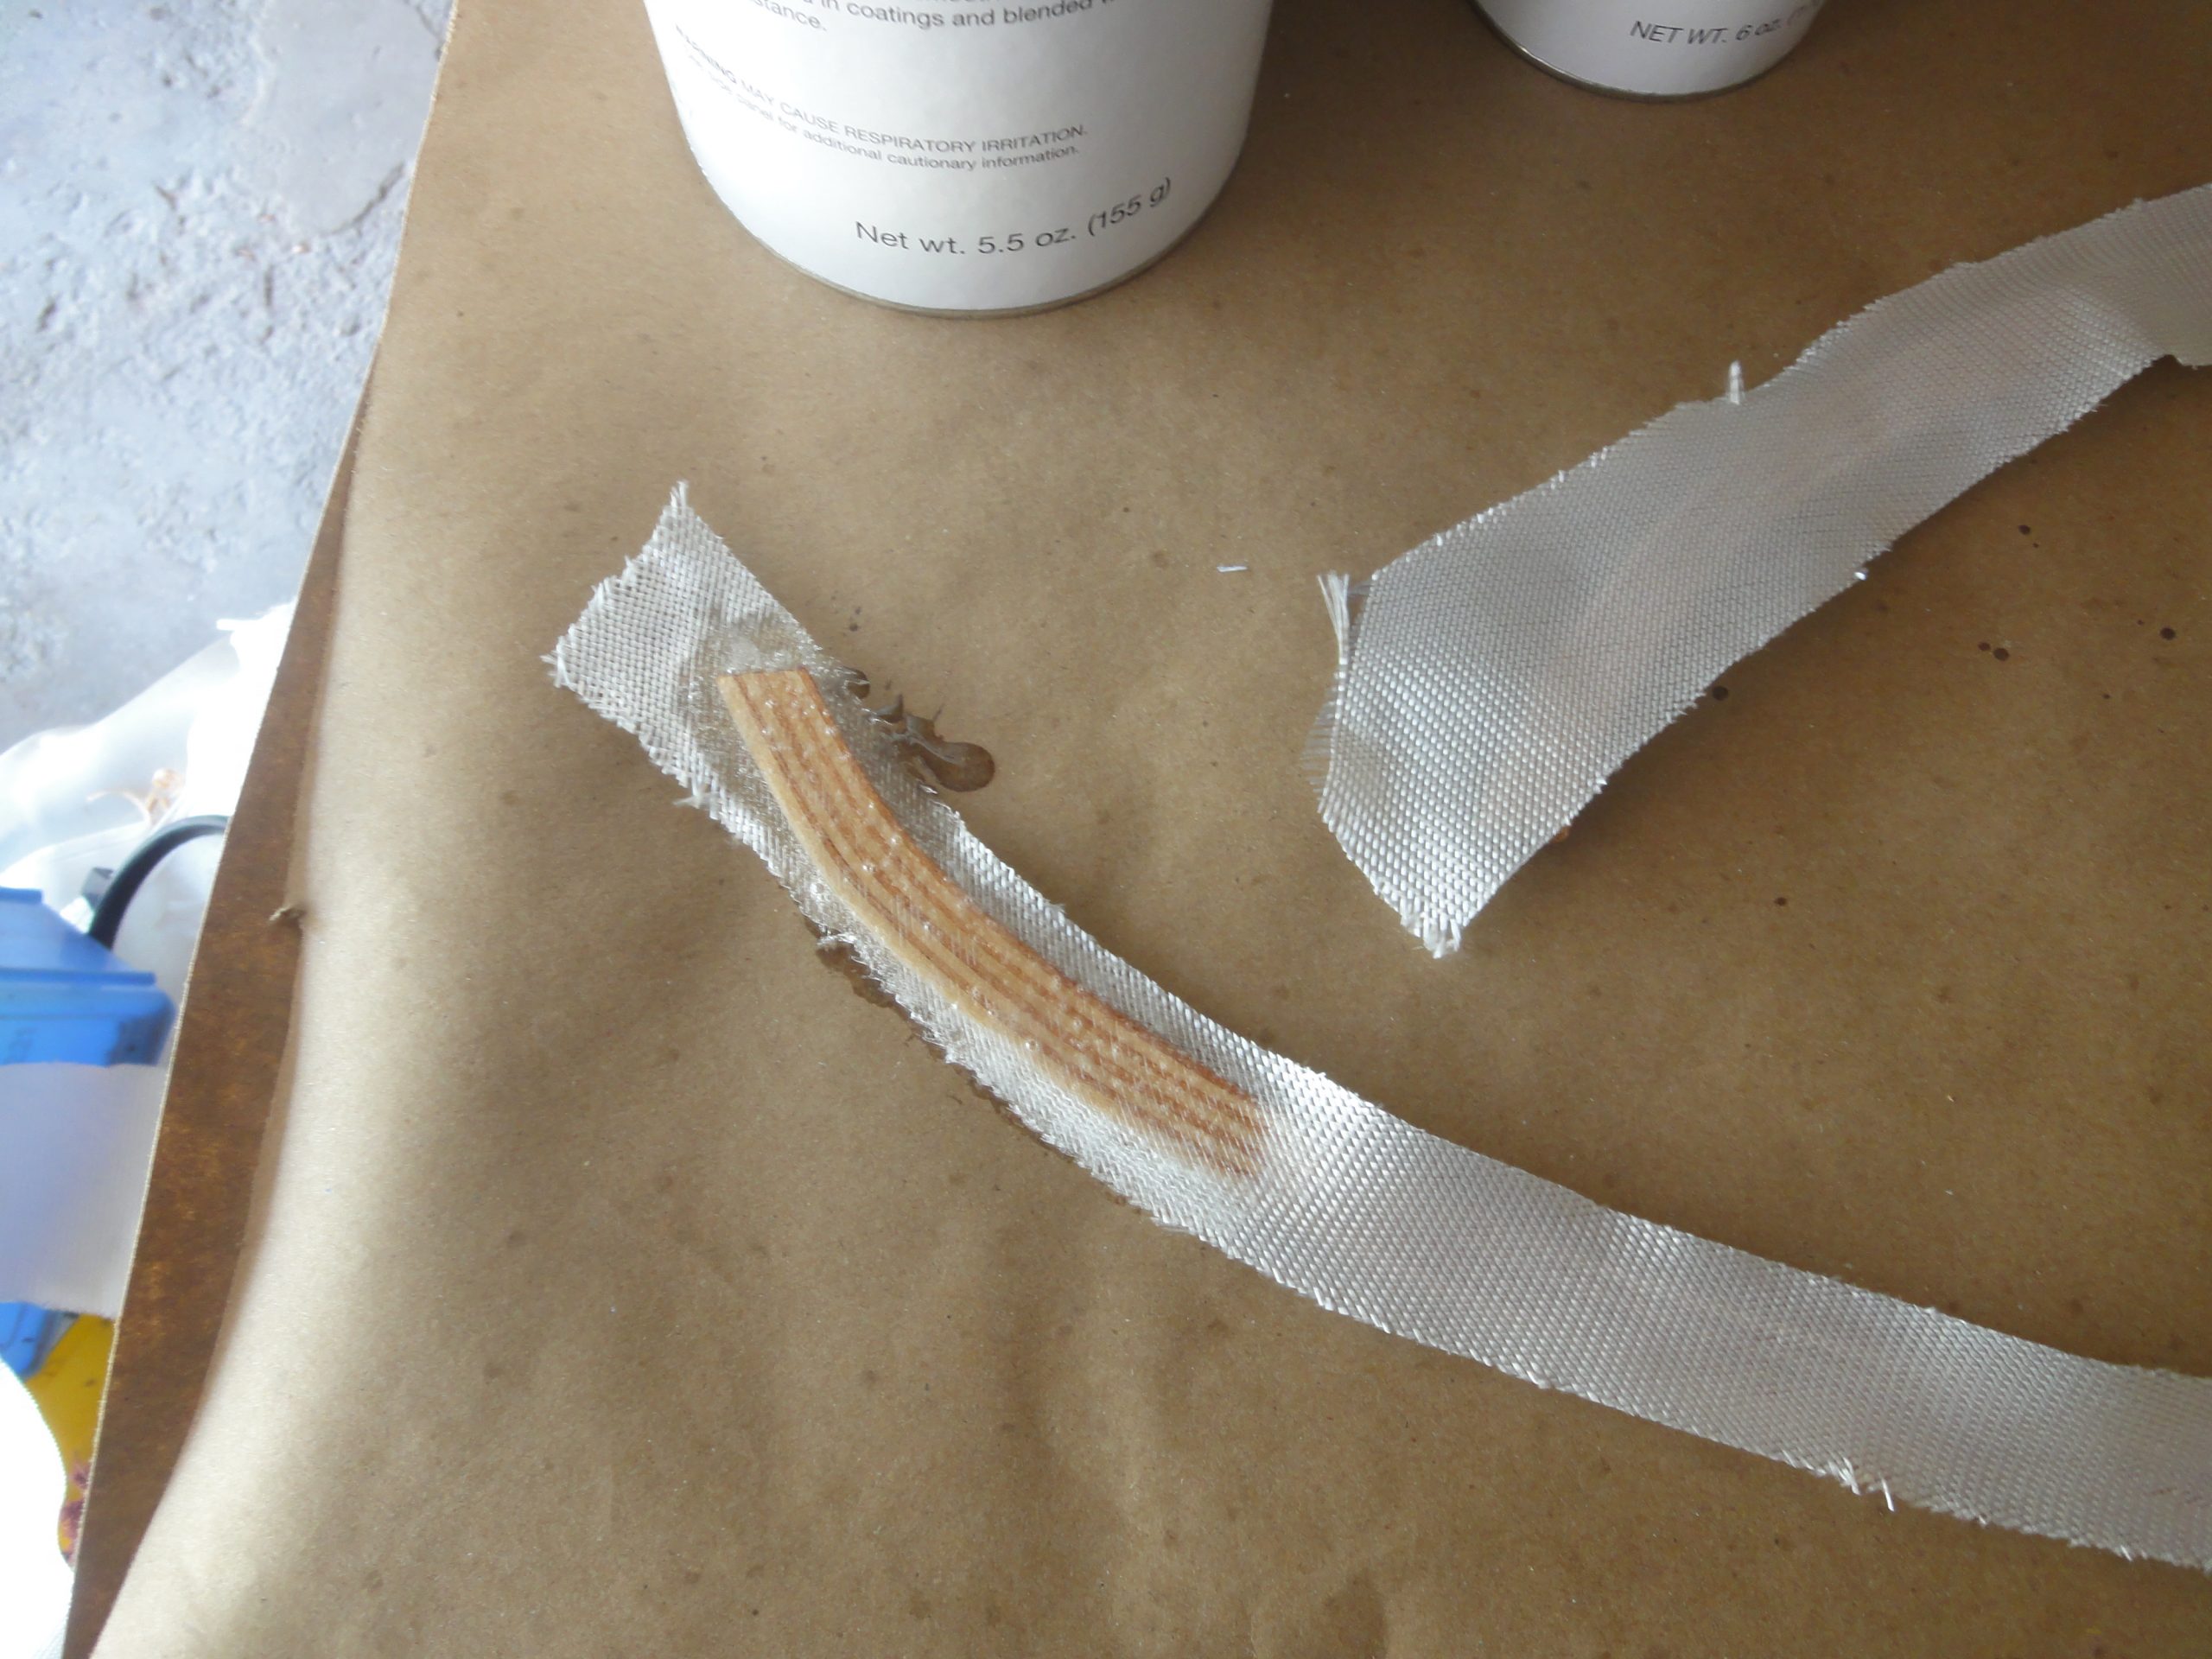
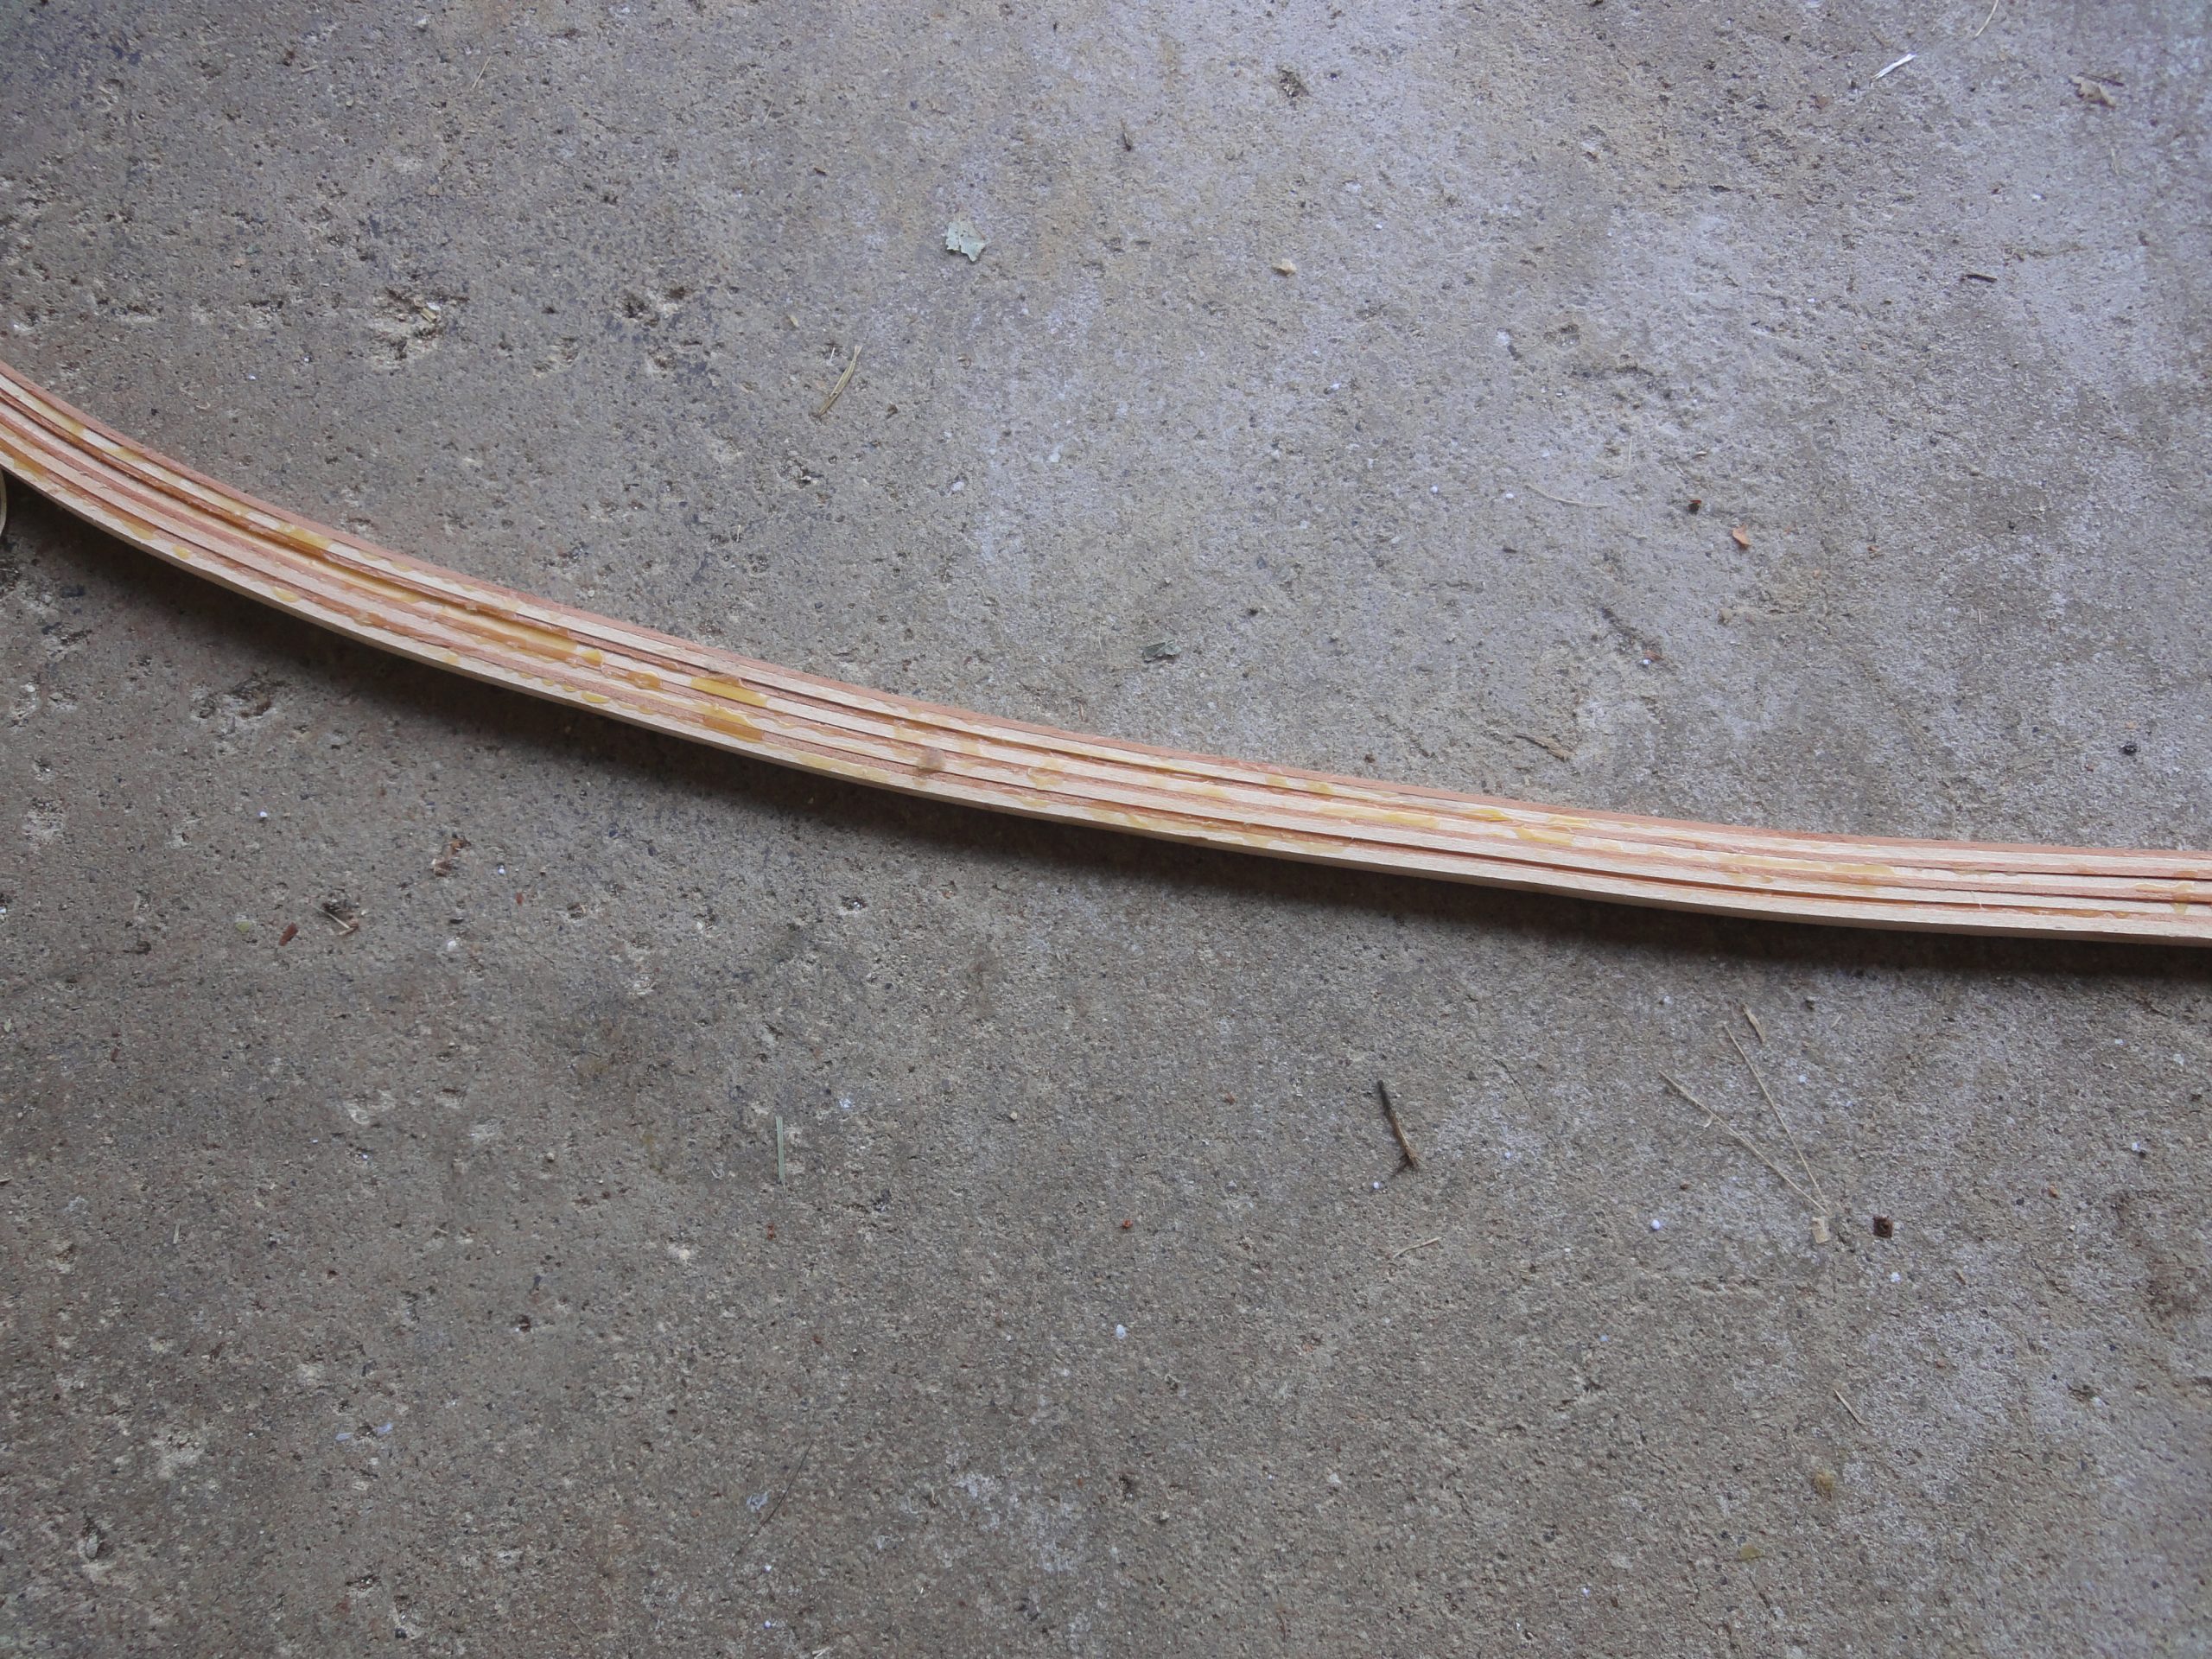
I also glued on a little thin “patch” over the hole that went all the way through. It will act as a backer to hold the epoxy later and at that time can be sanded down or even sanded off when the epoxy dries.

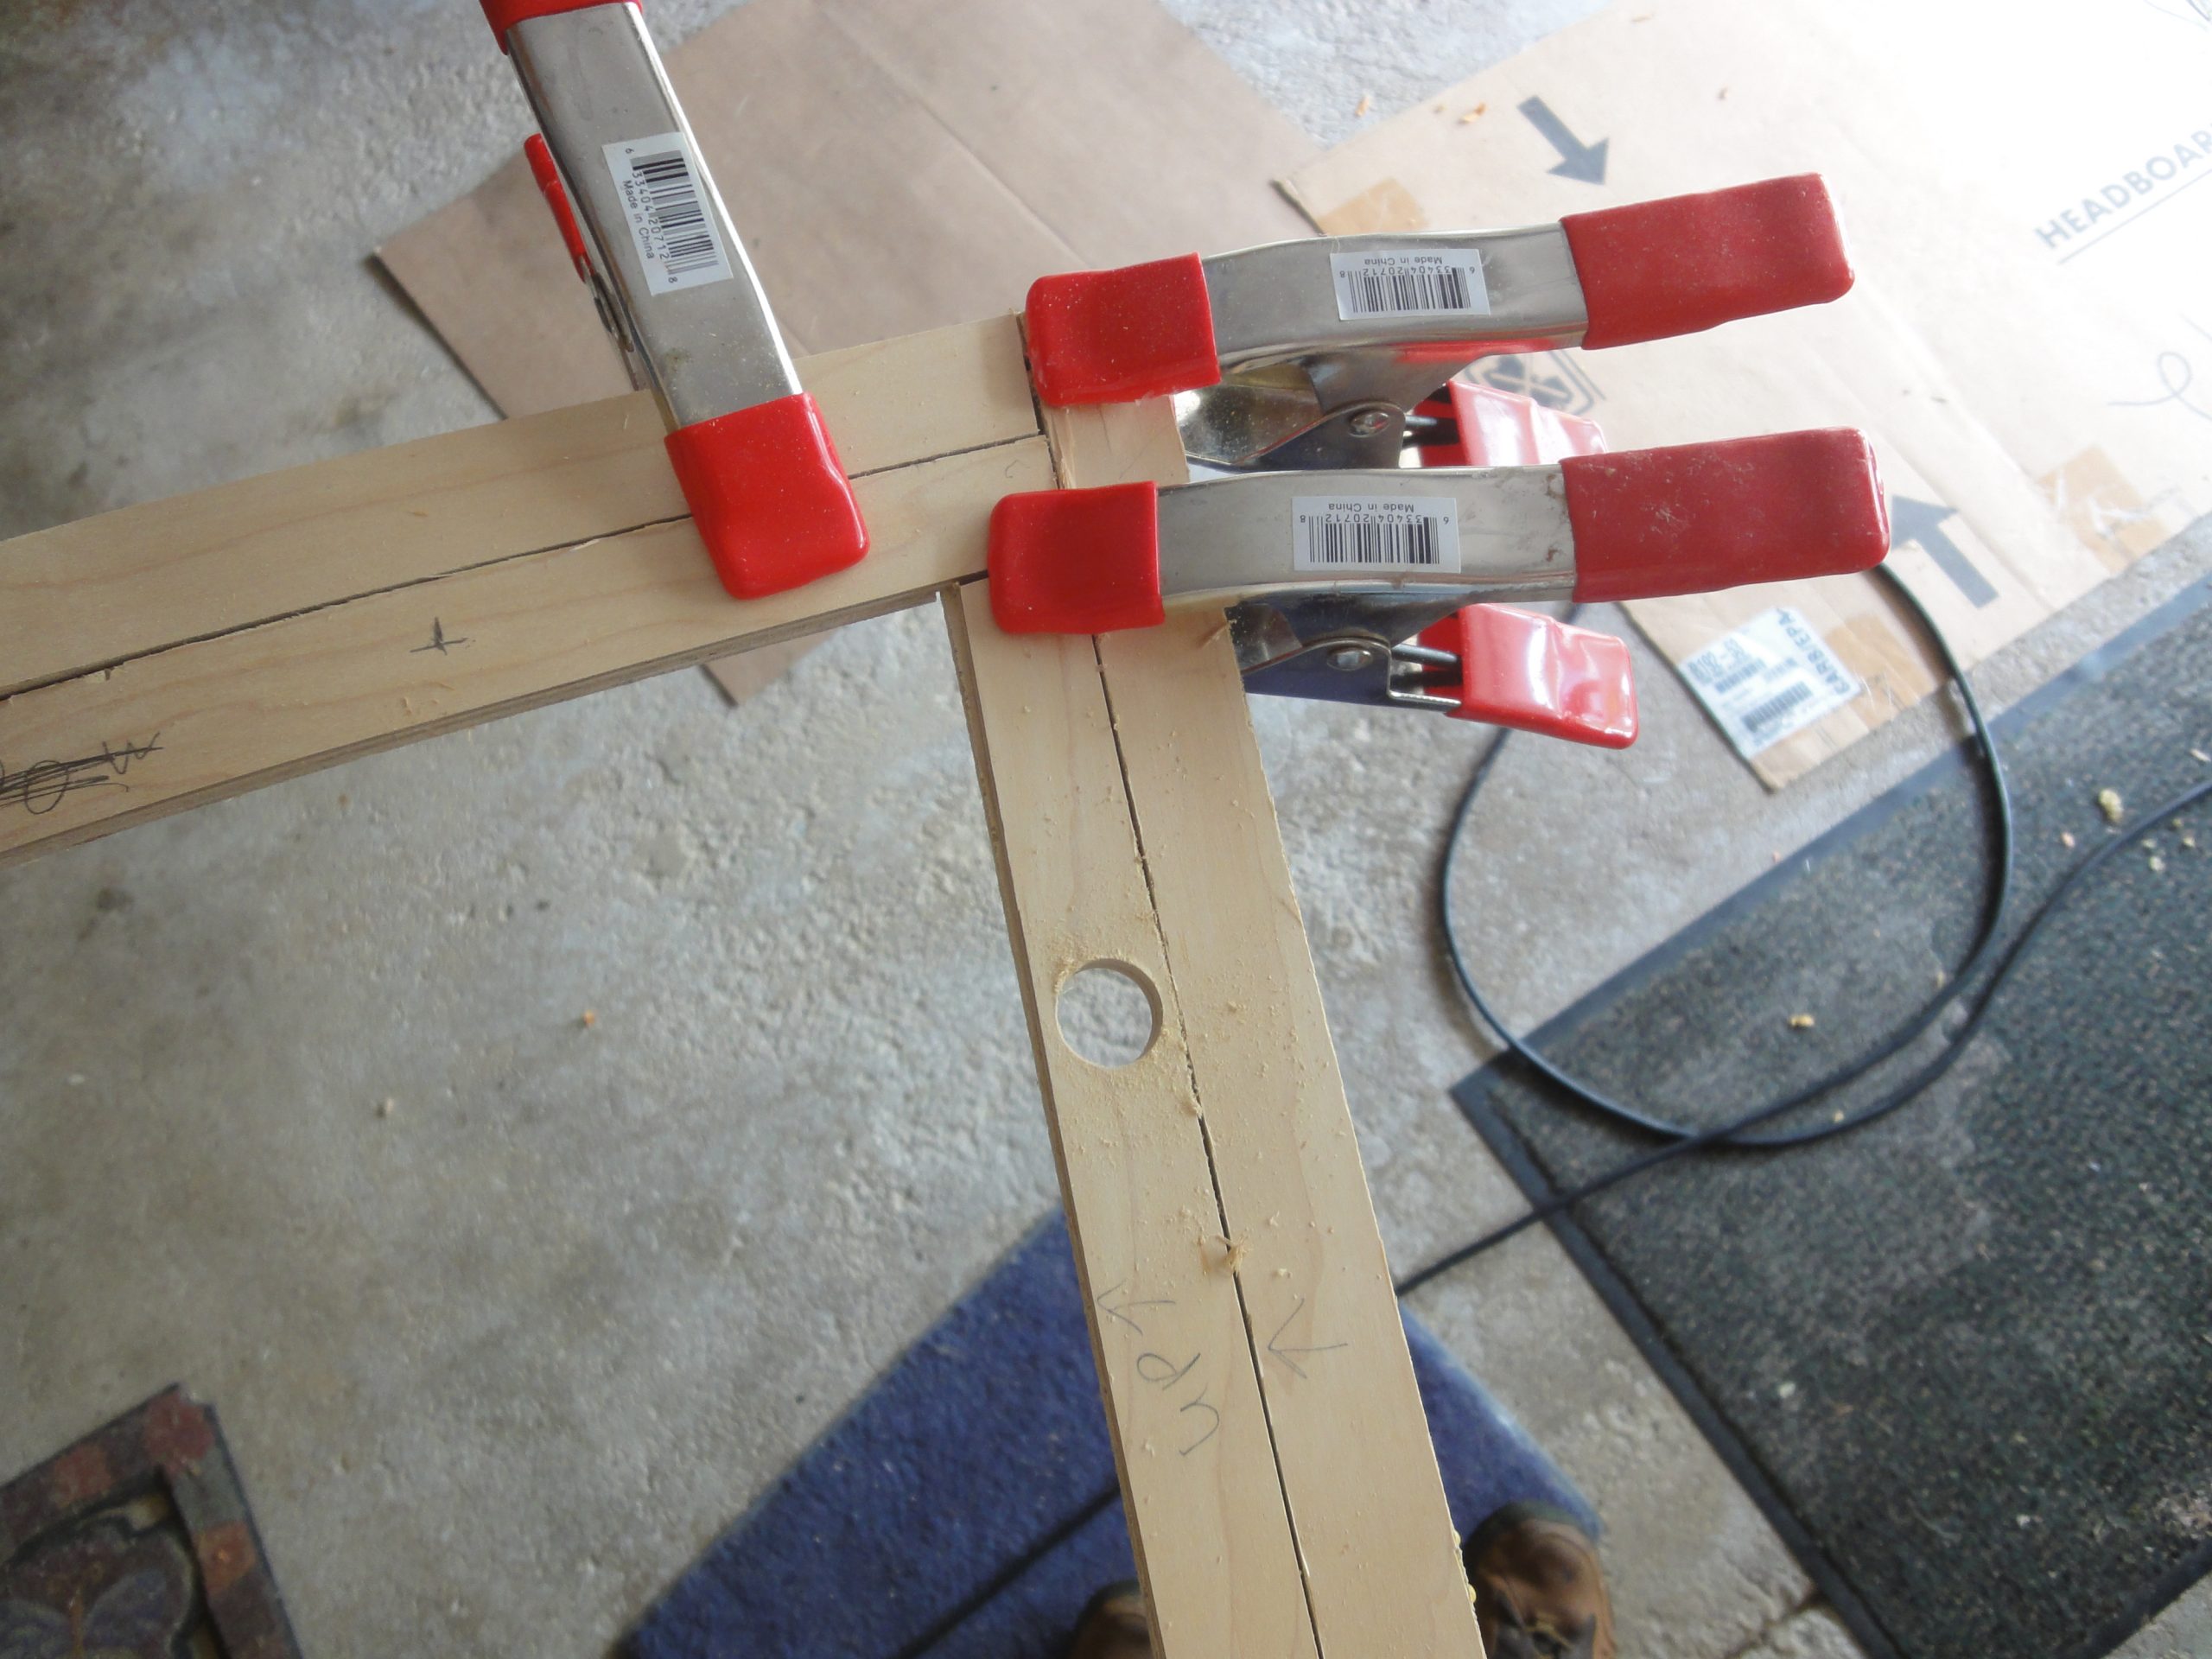
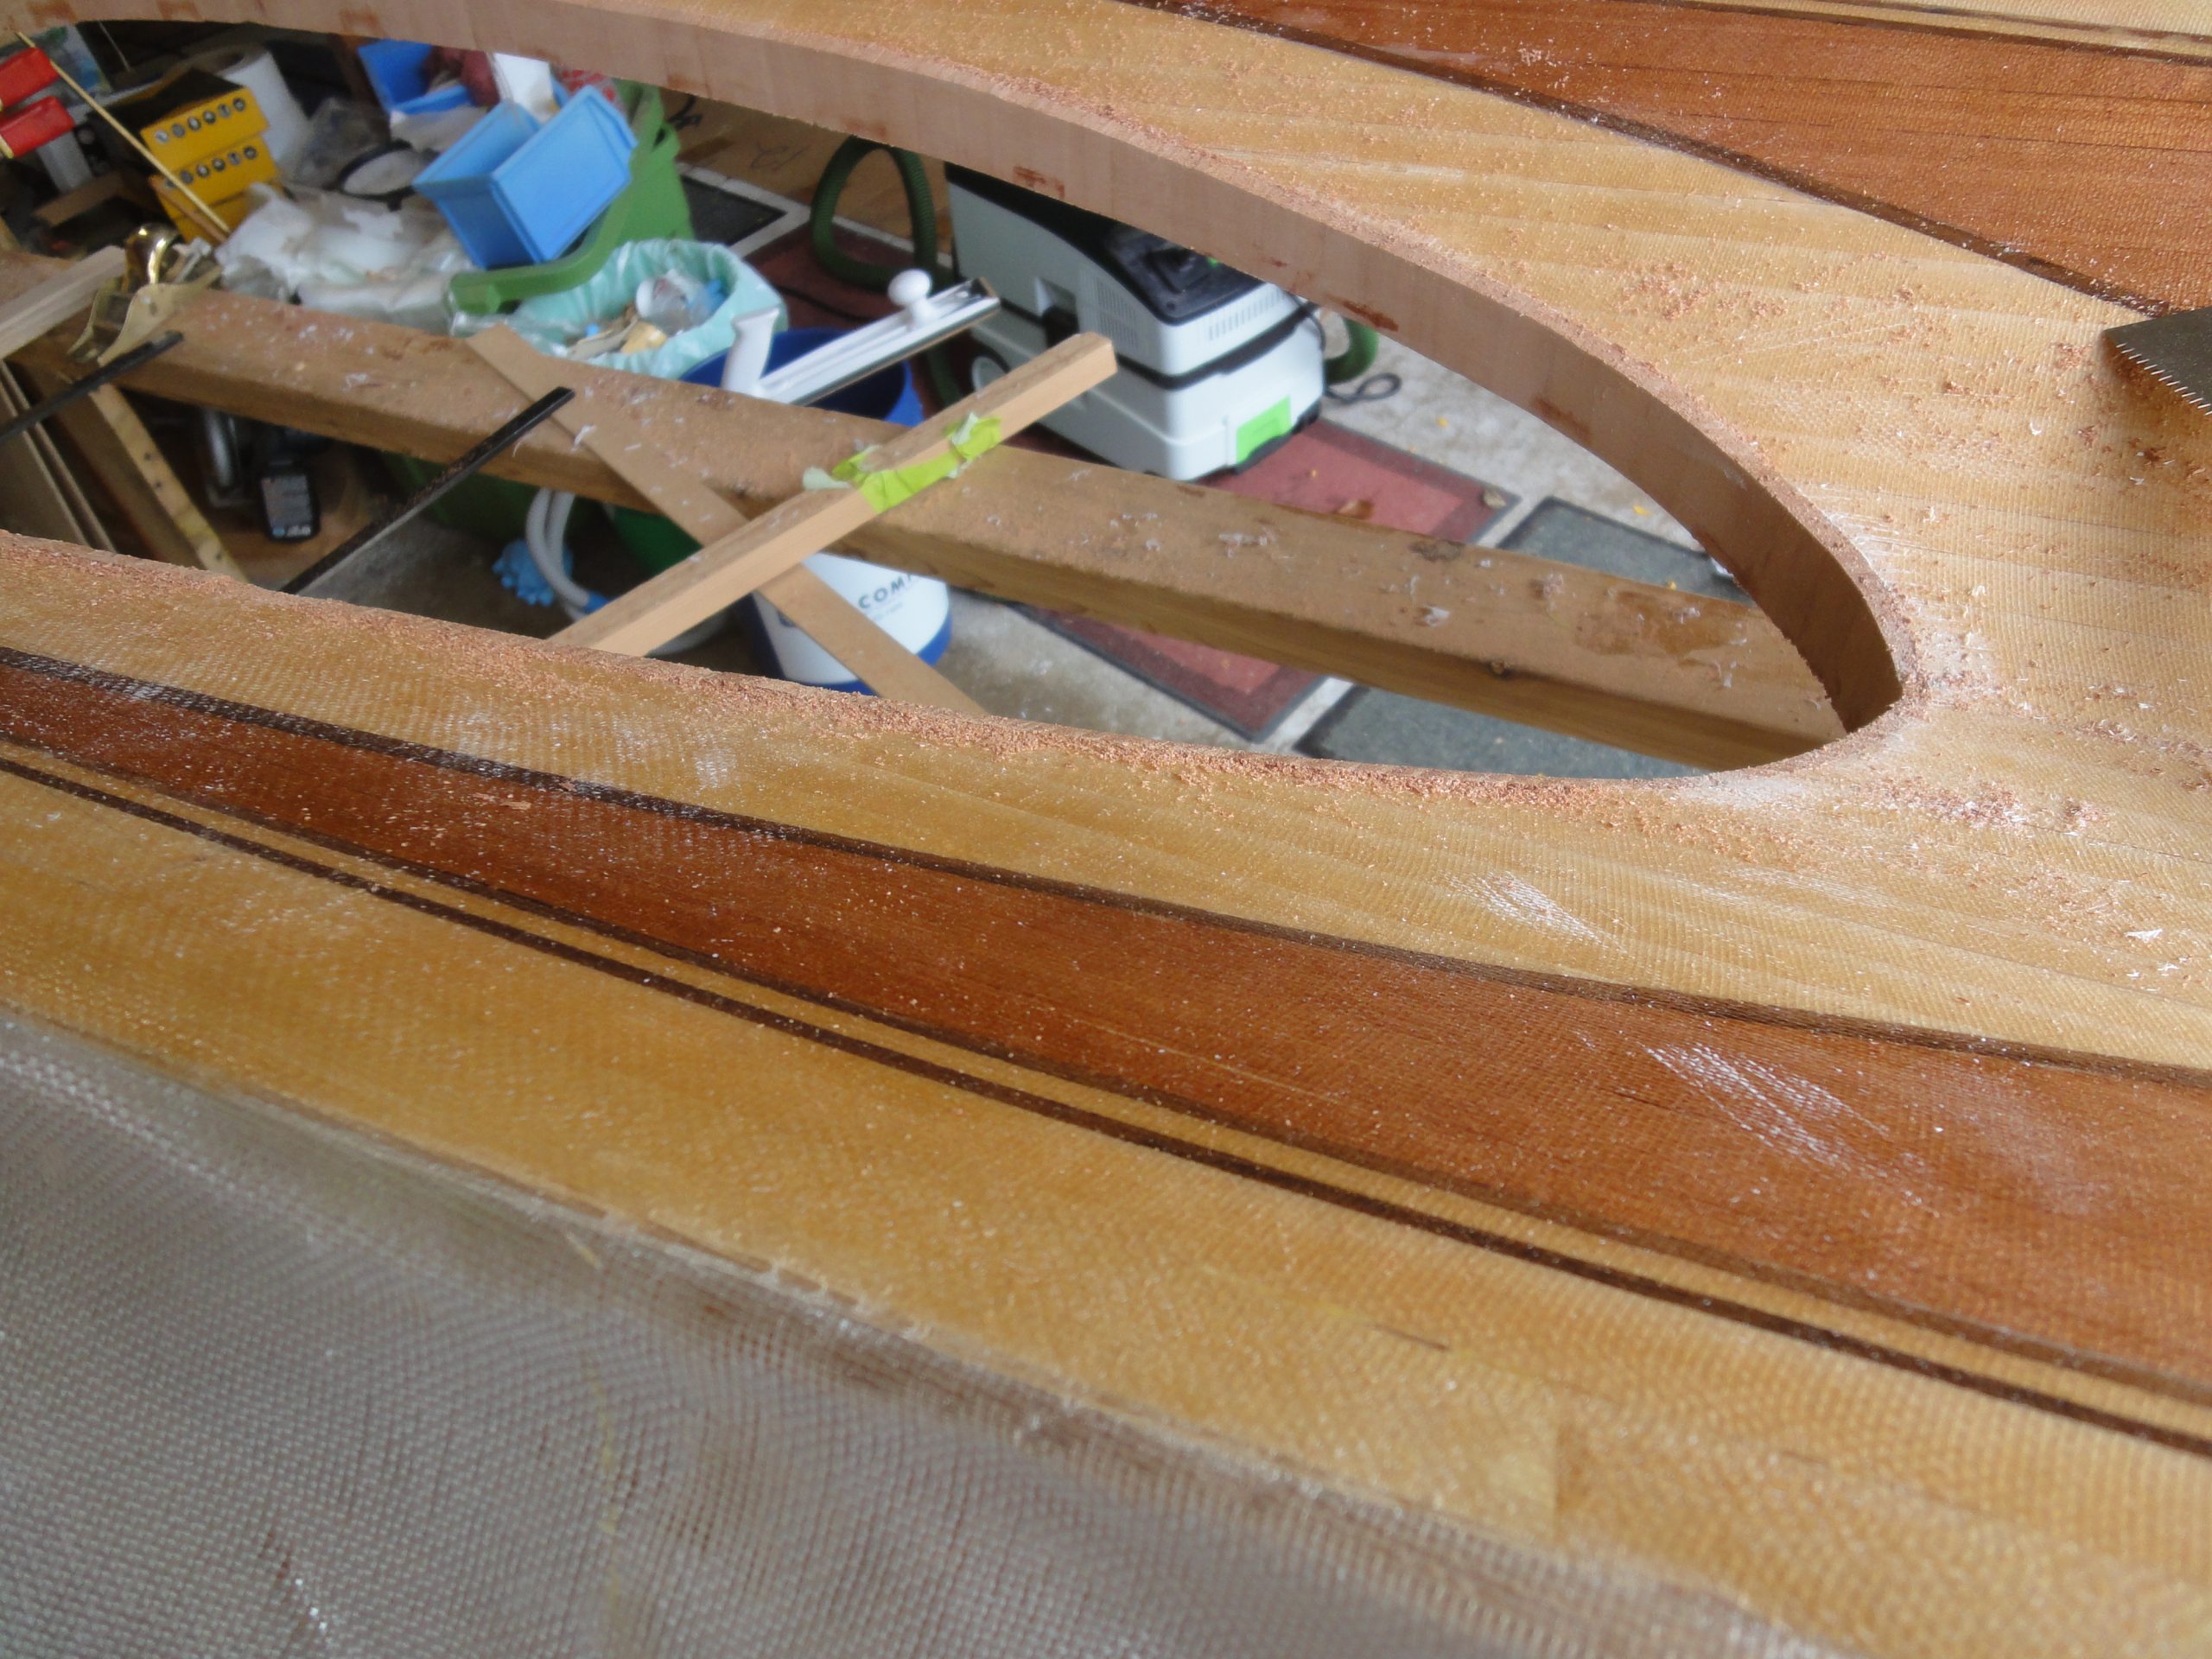
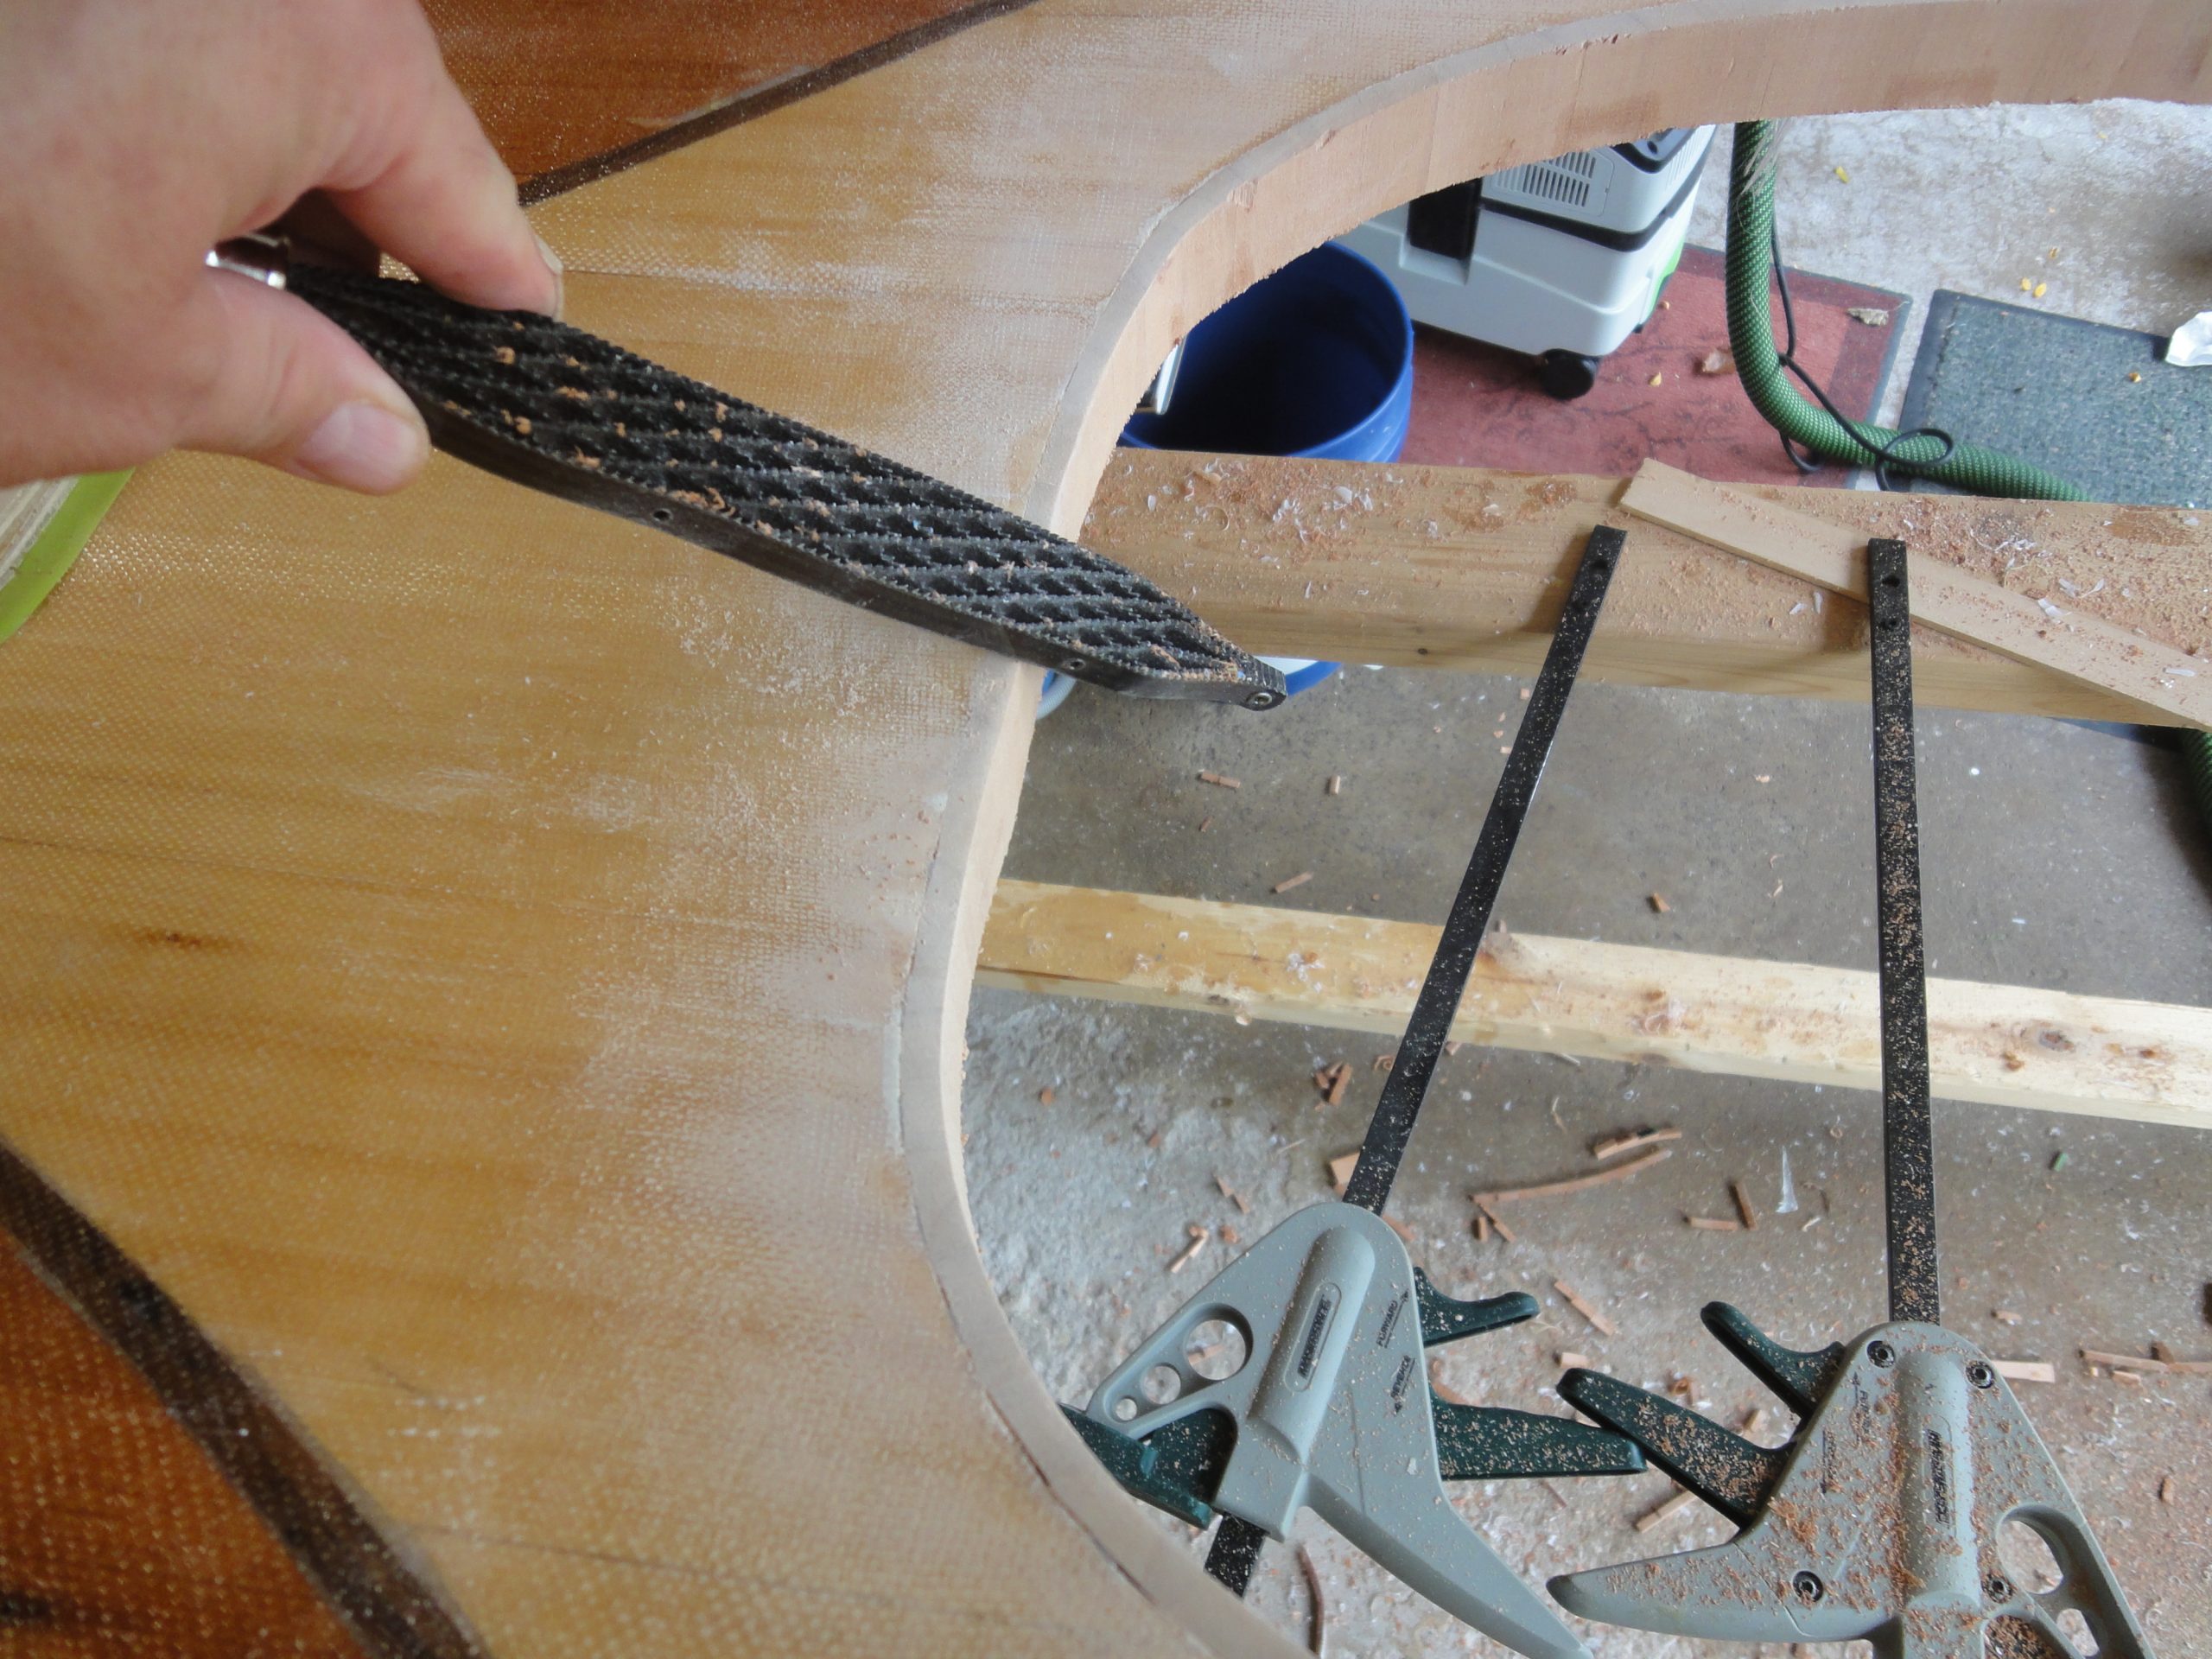
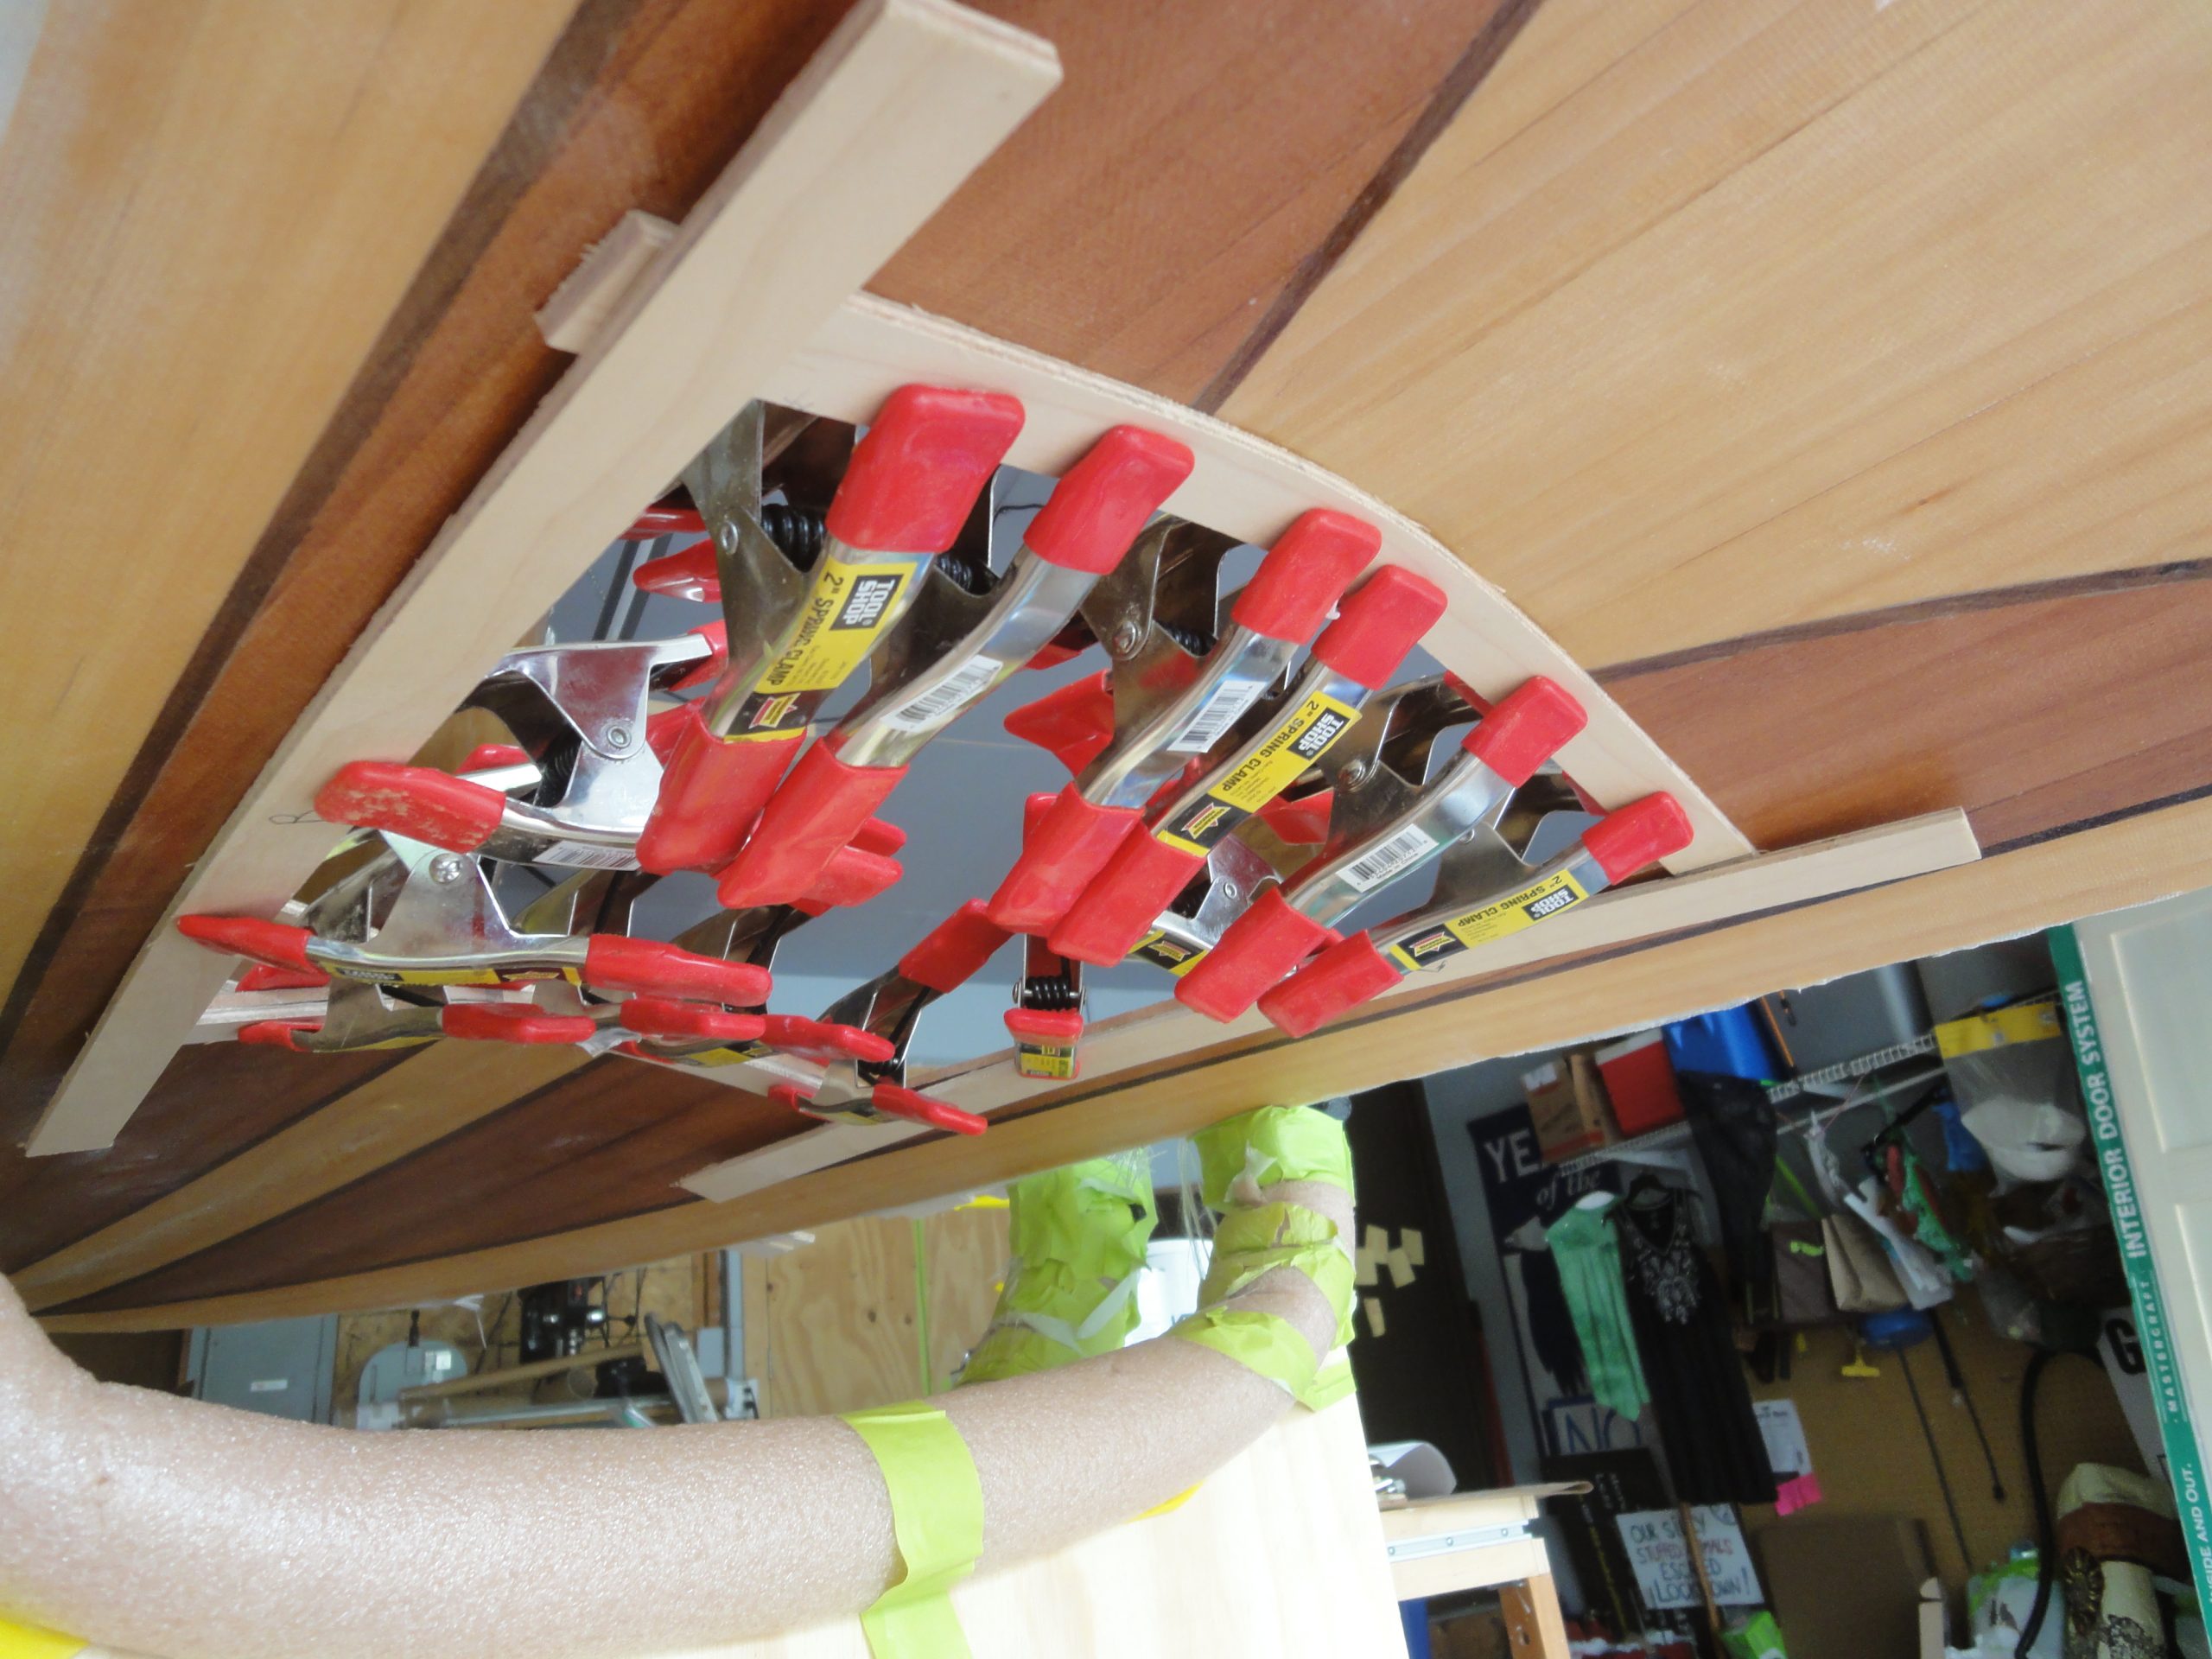
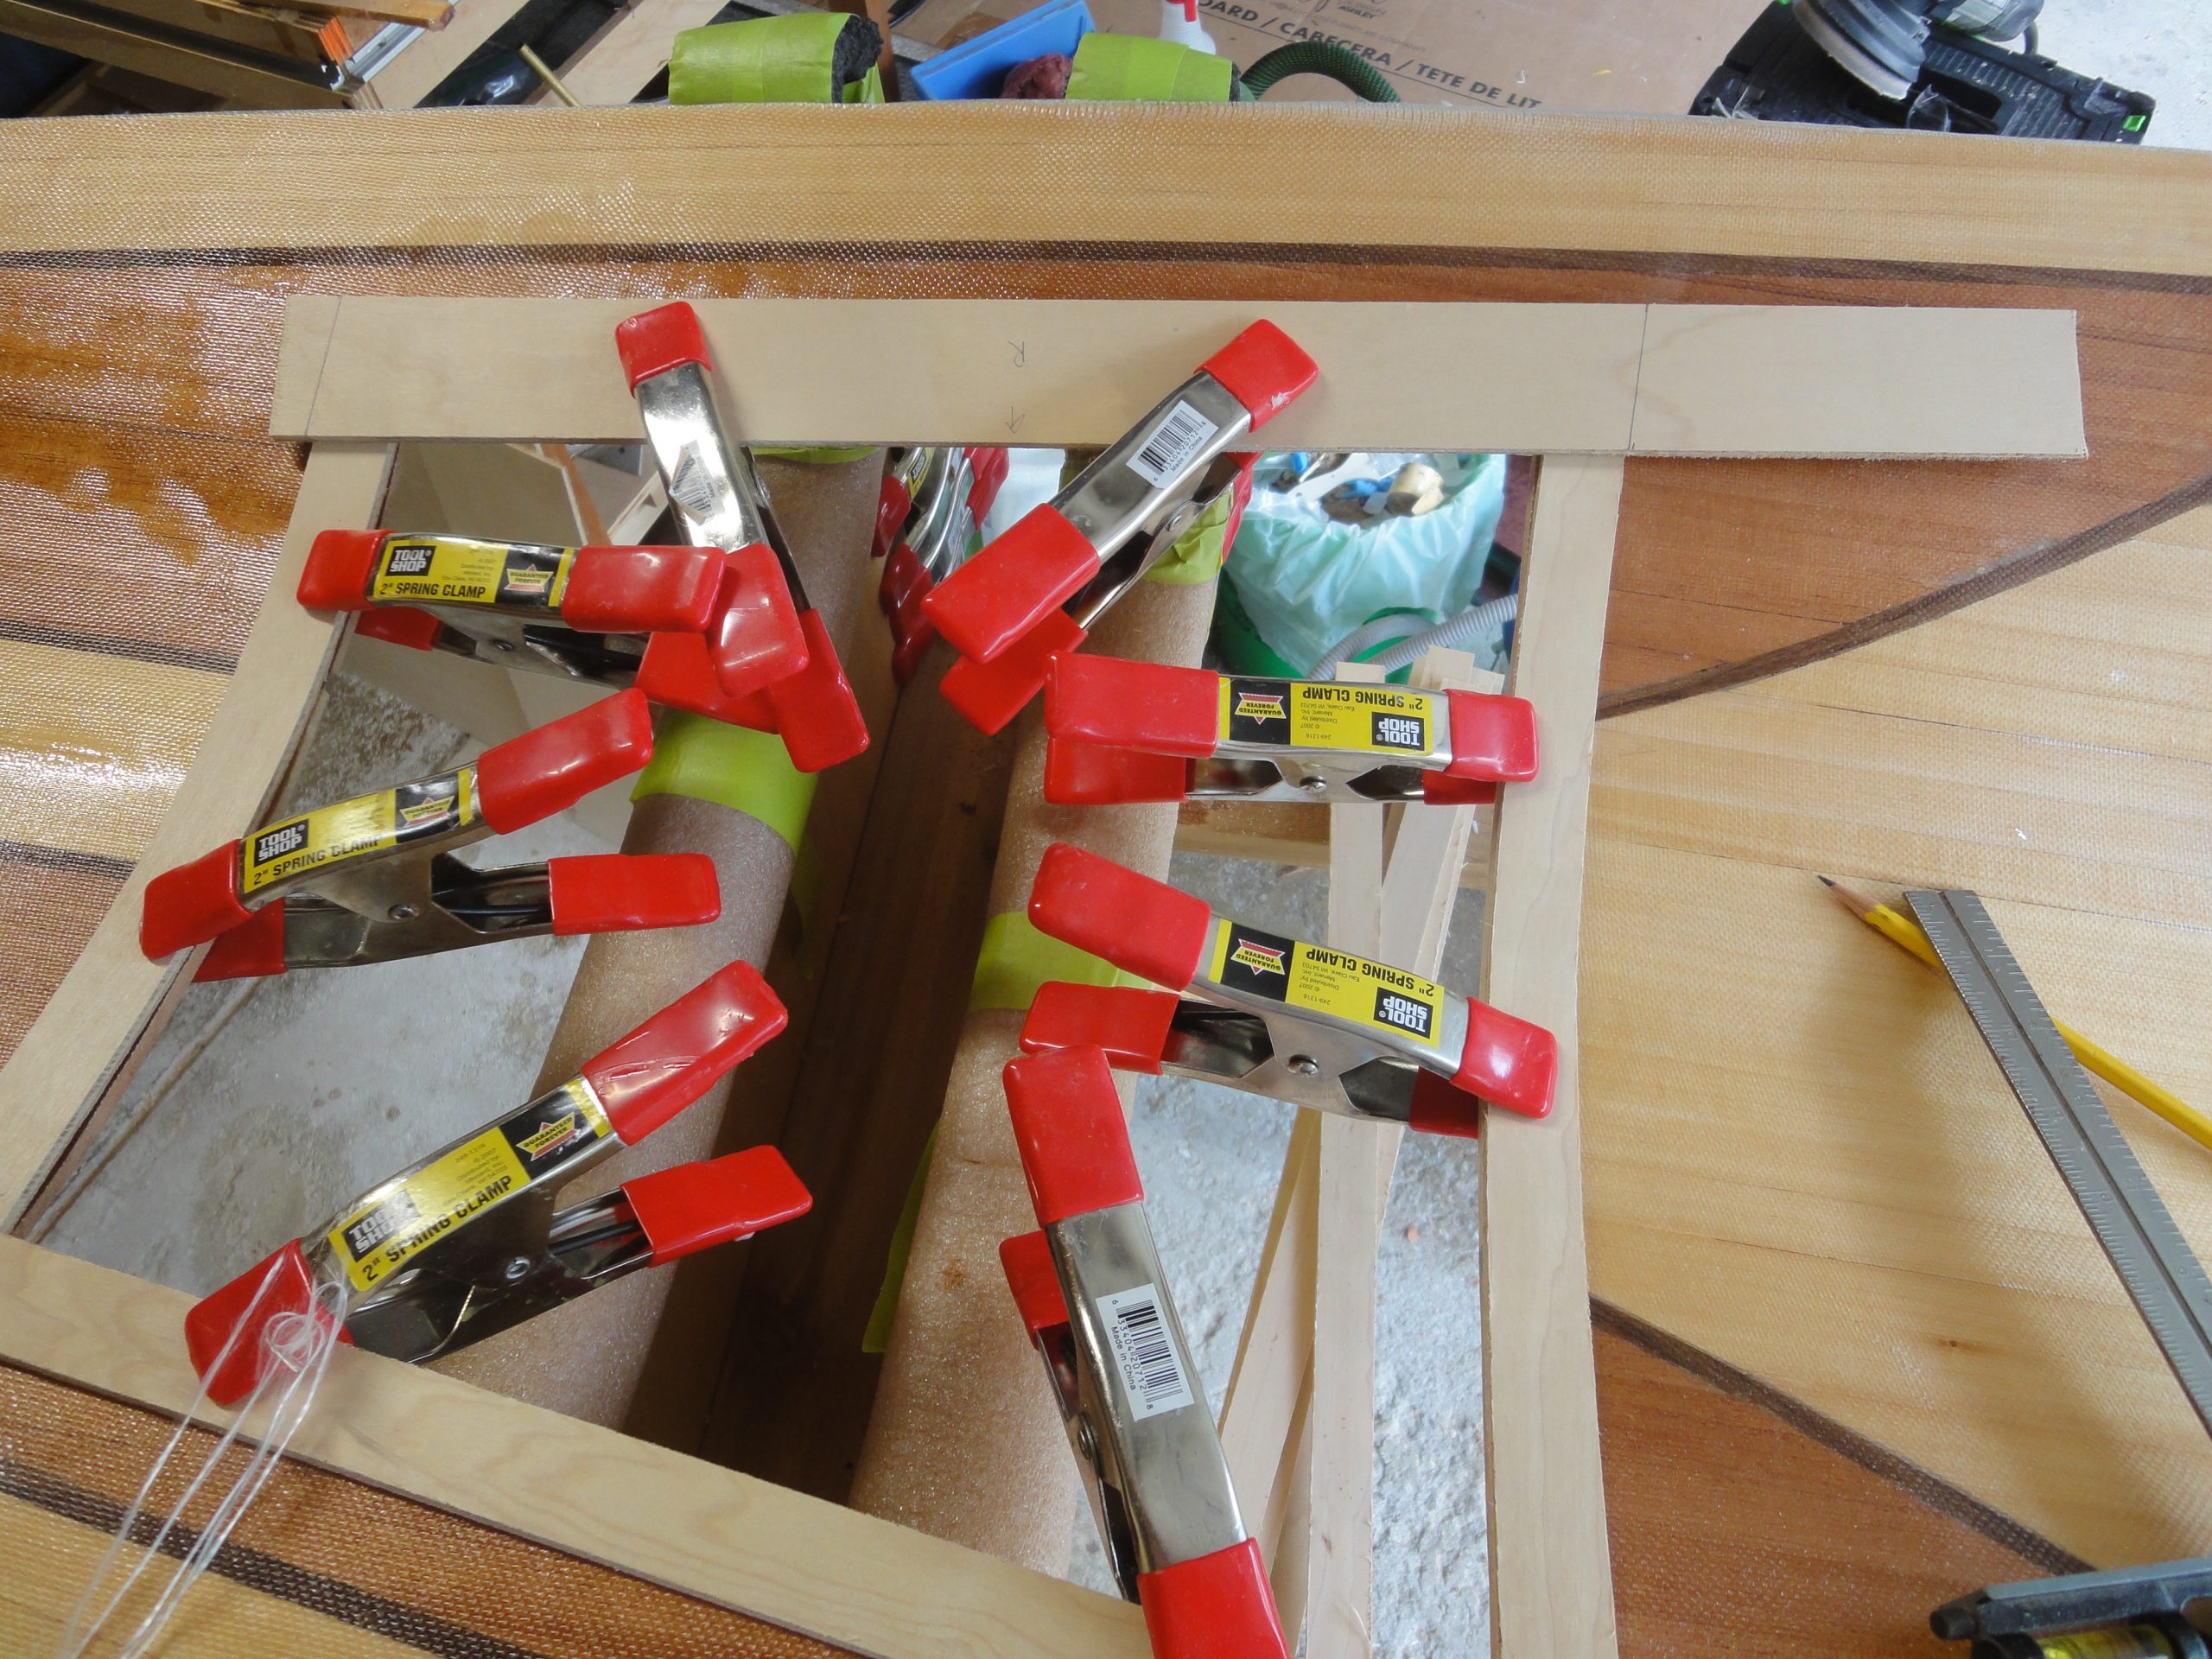
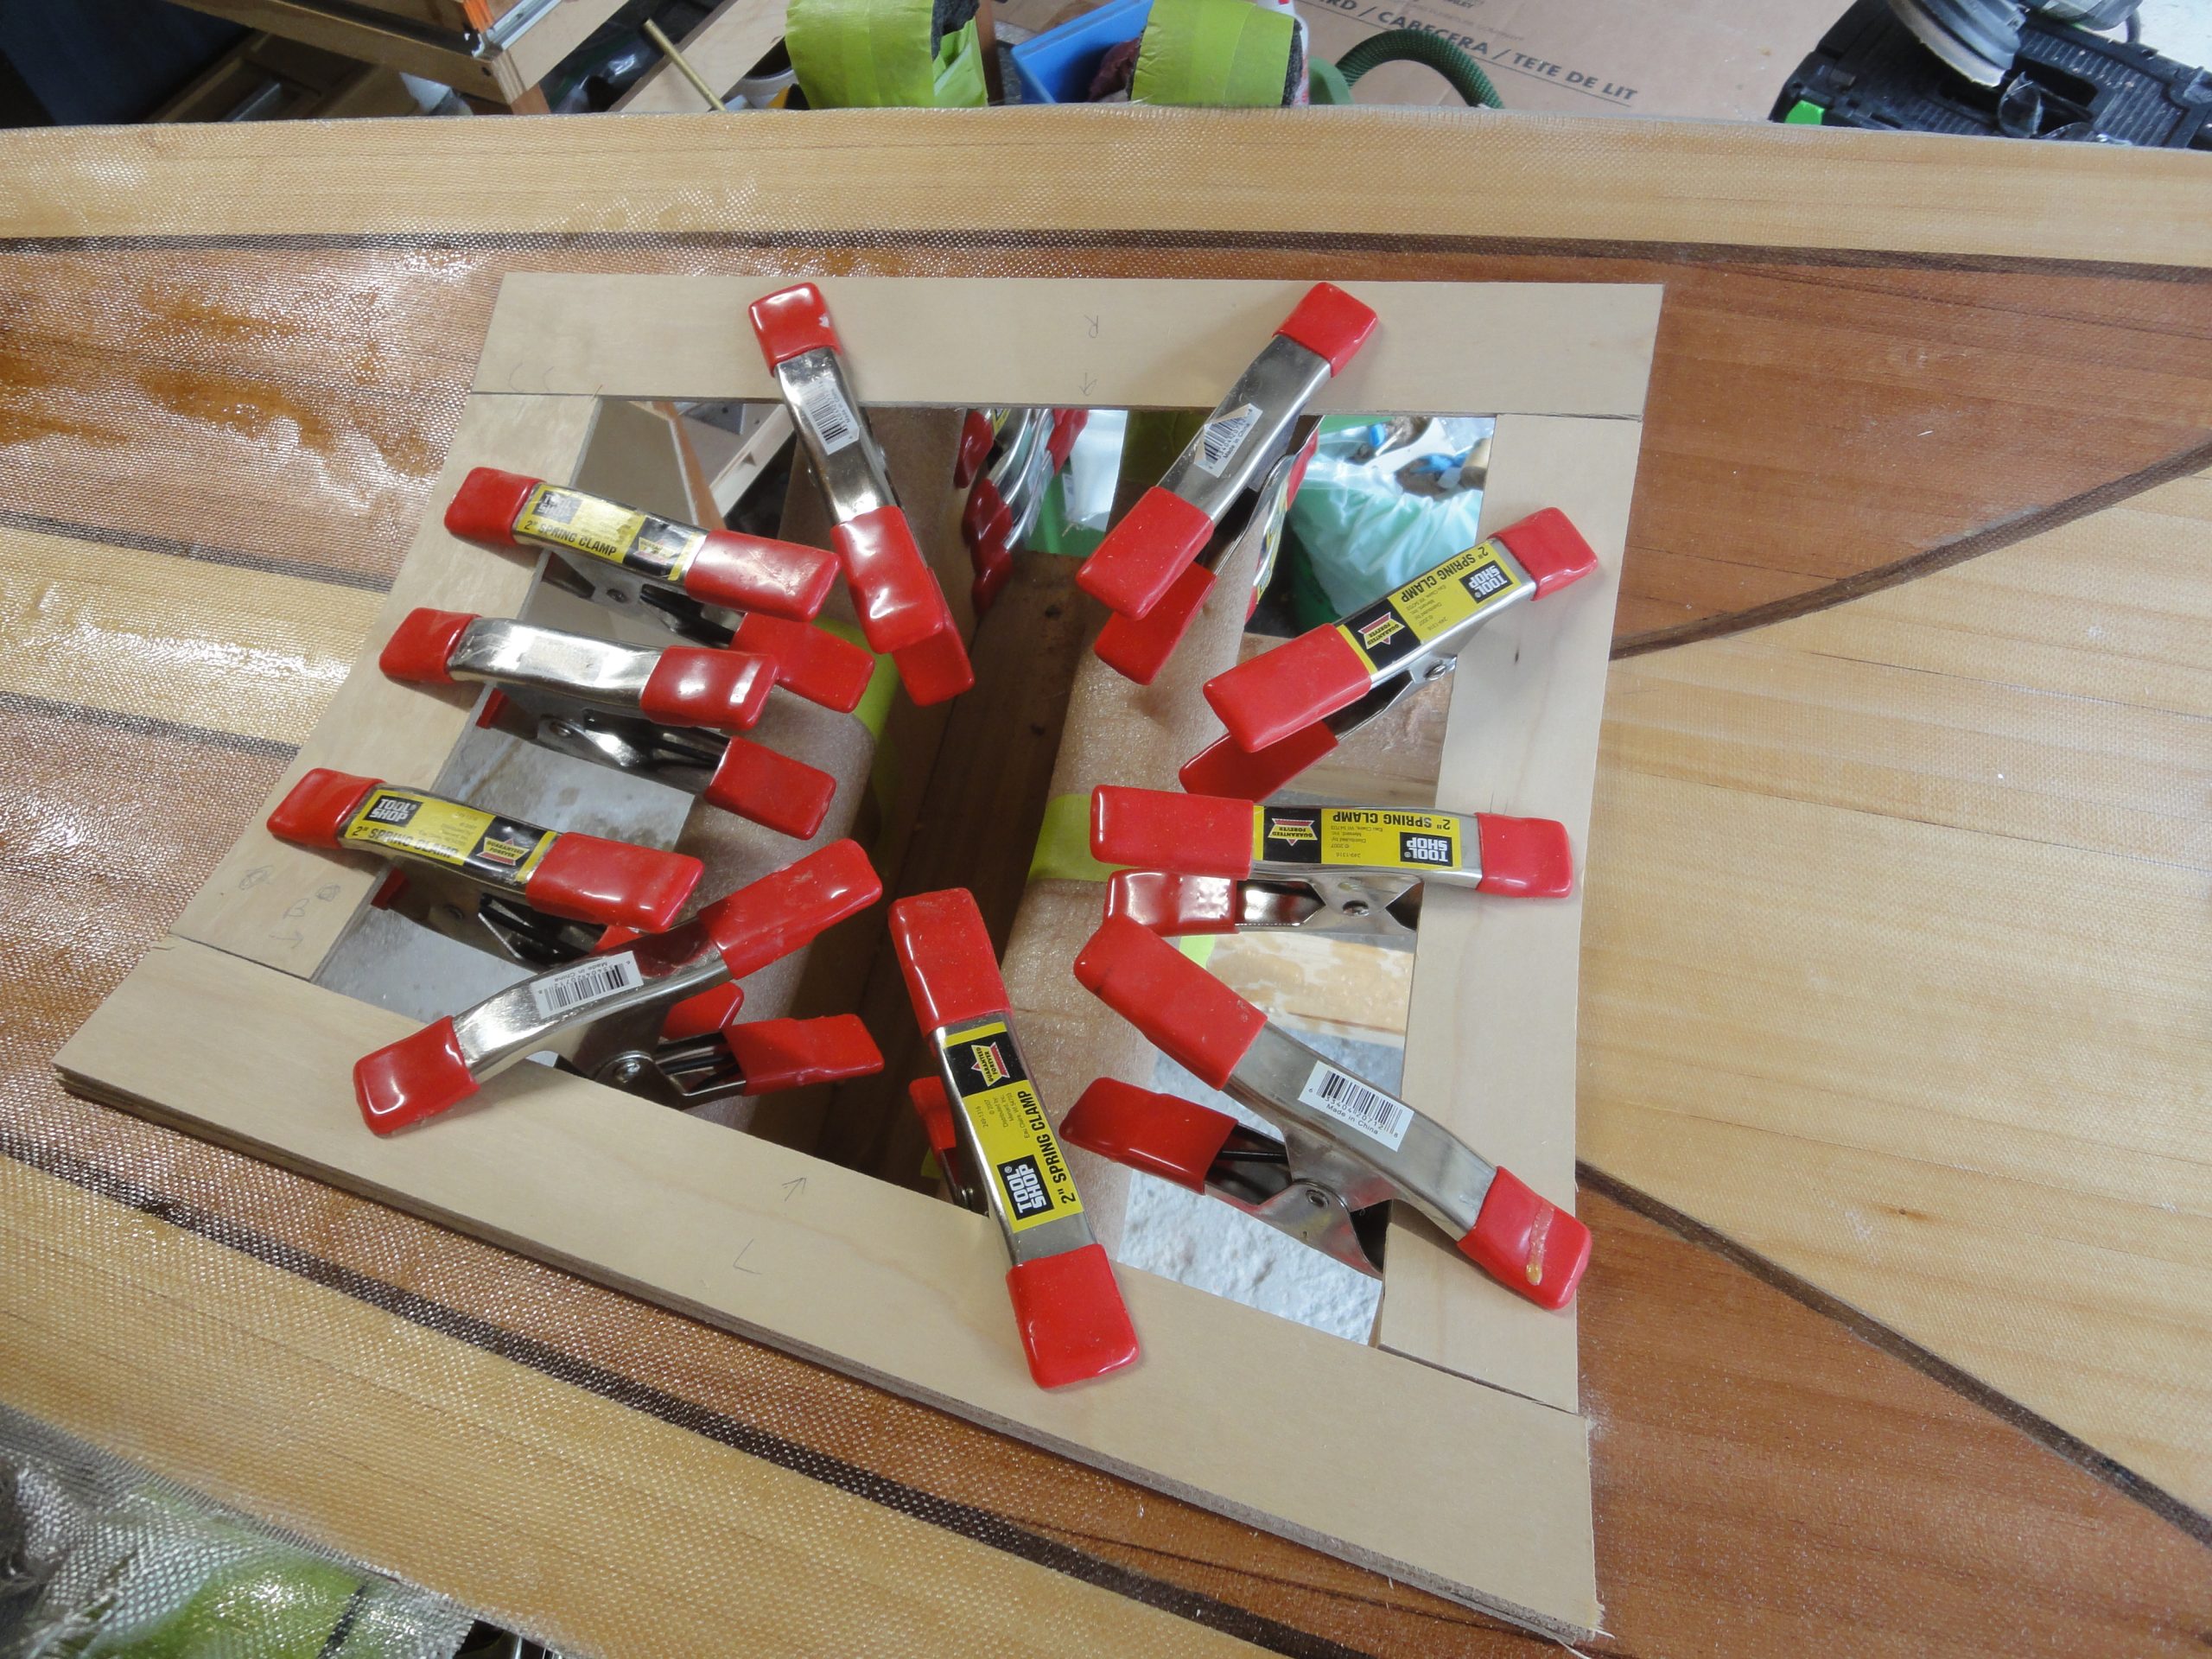
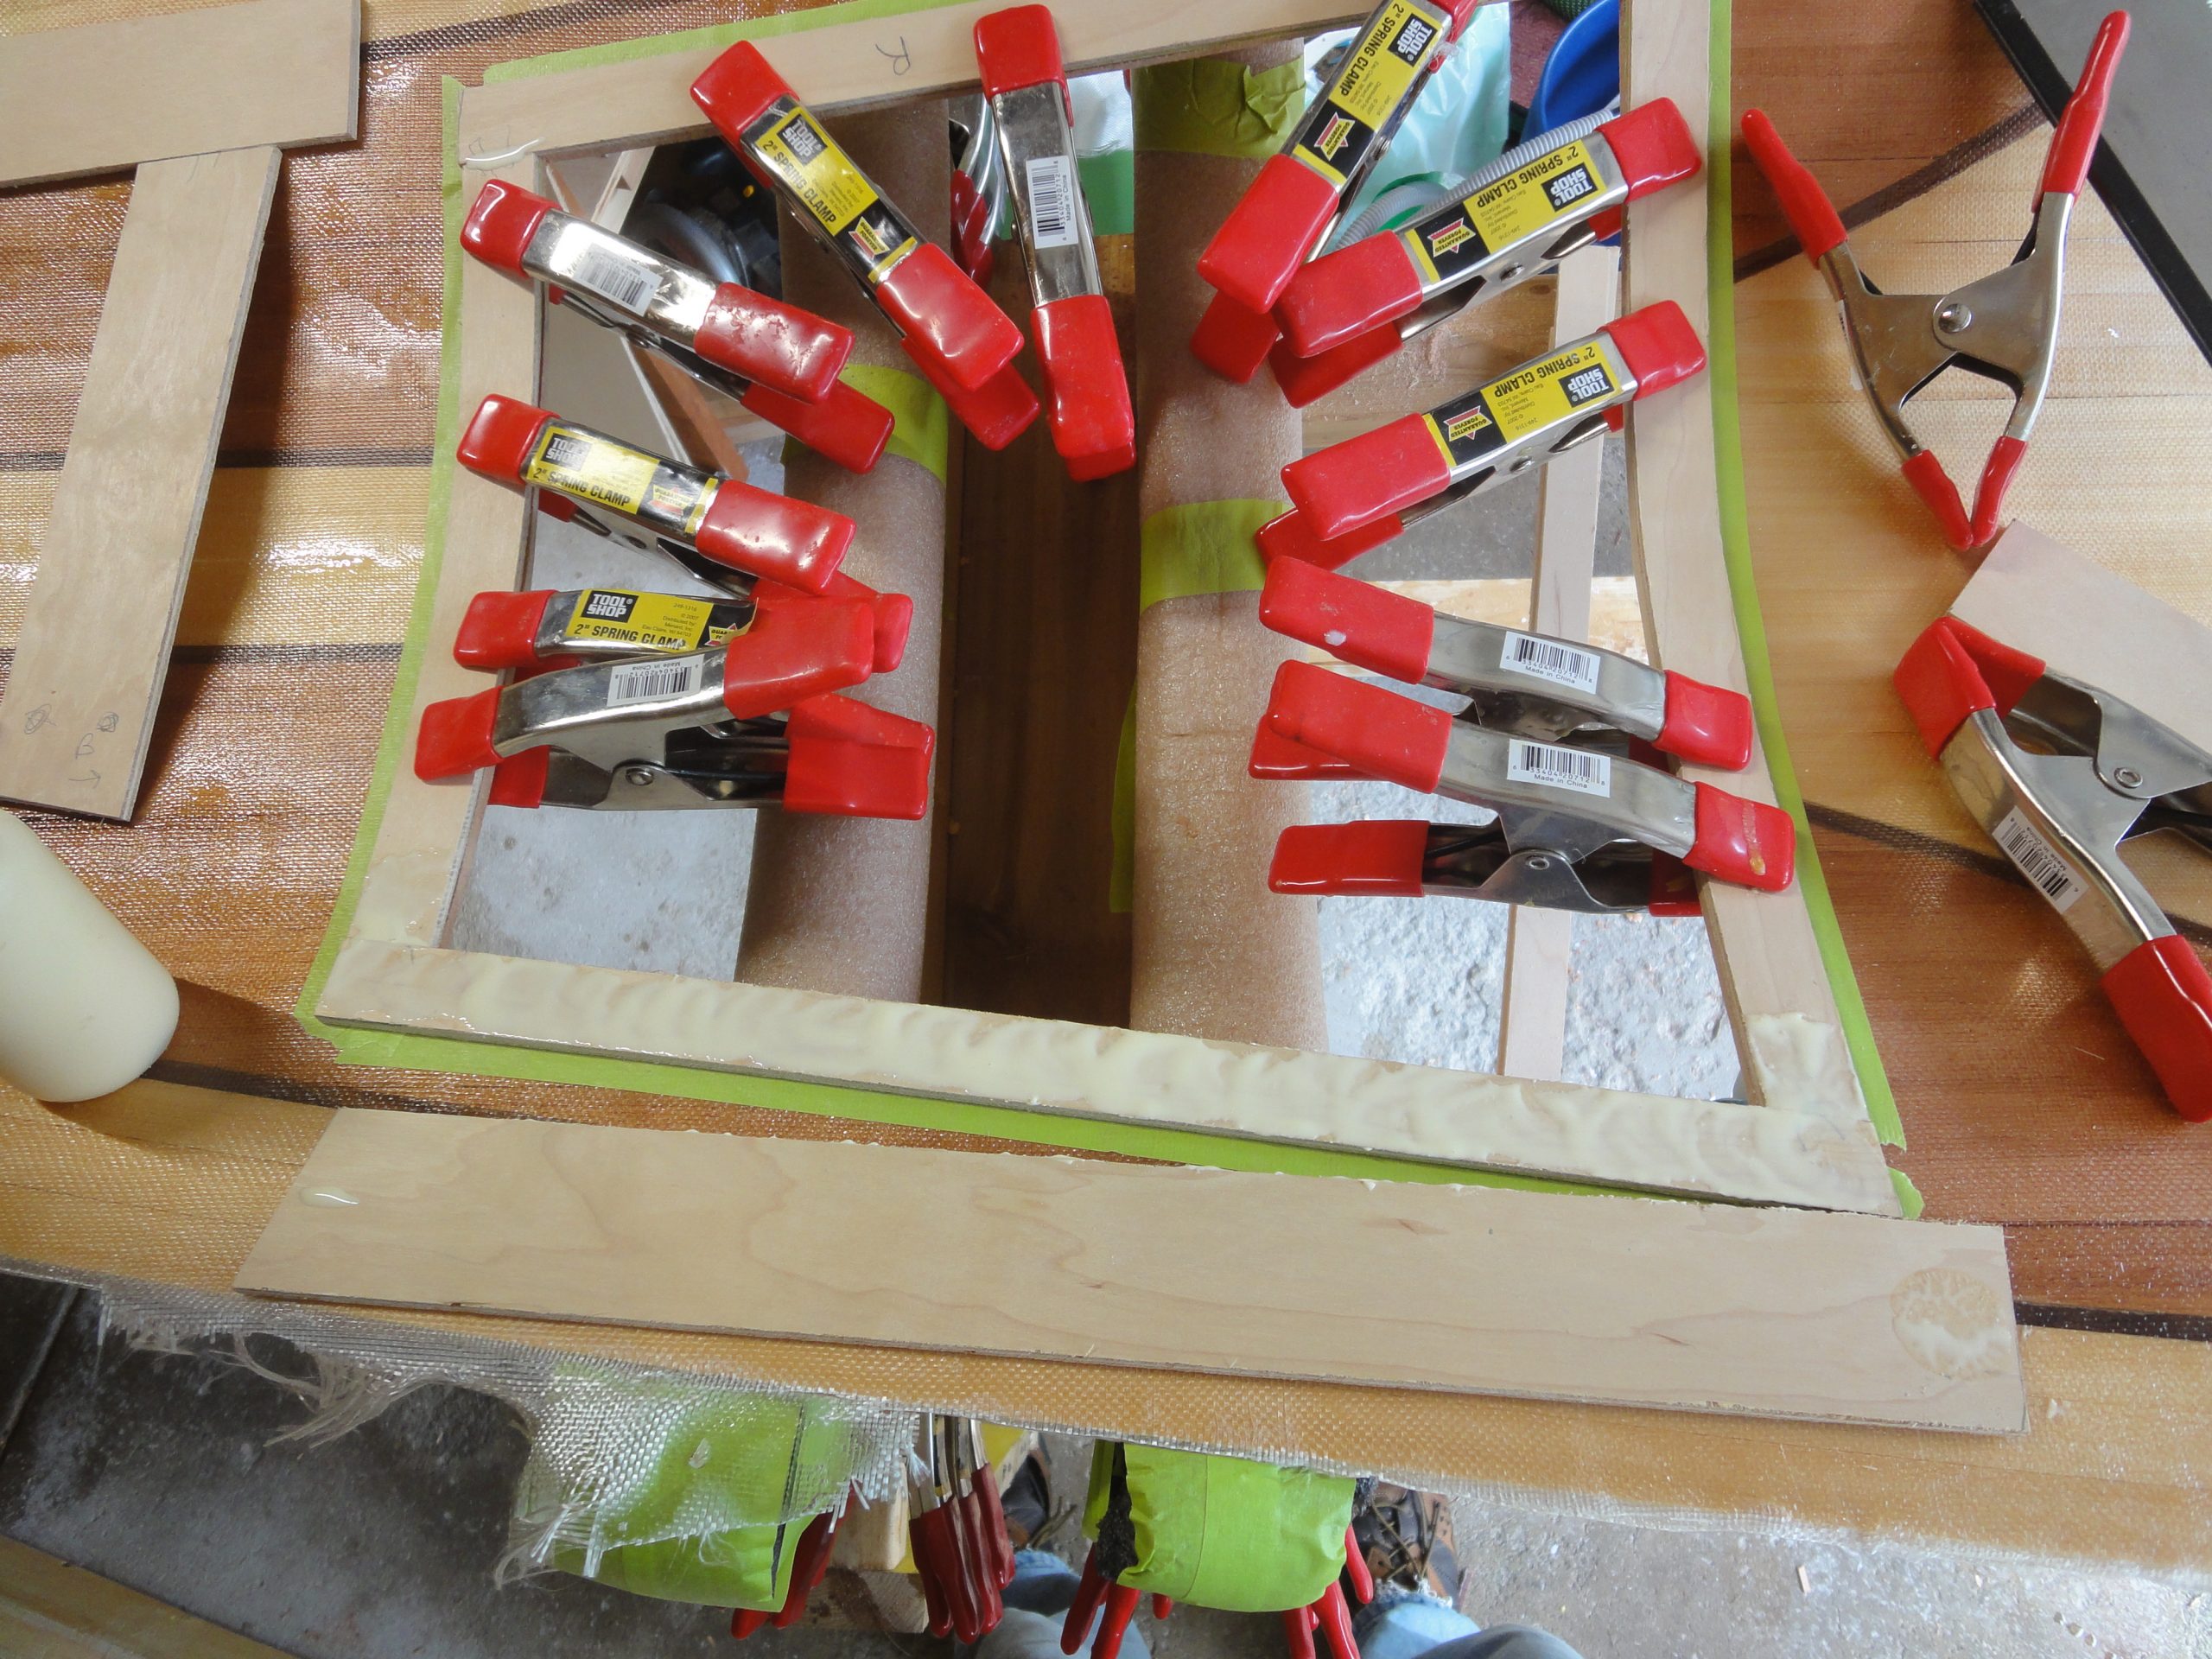
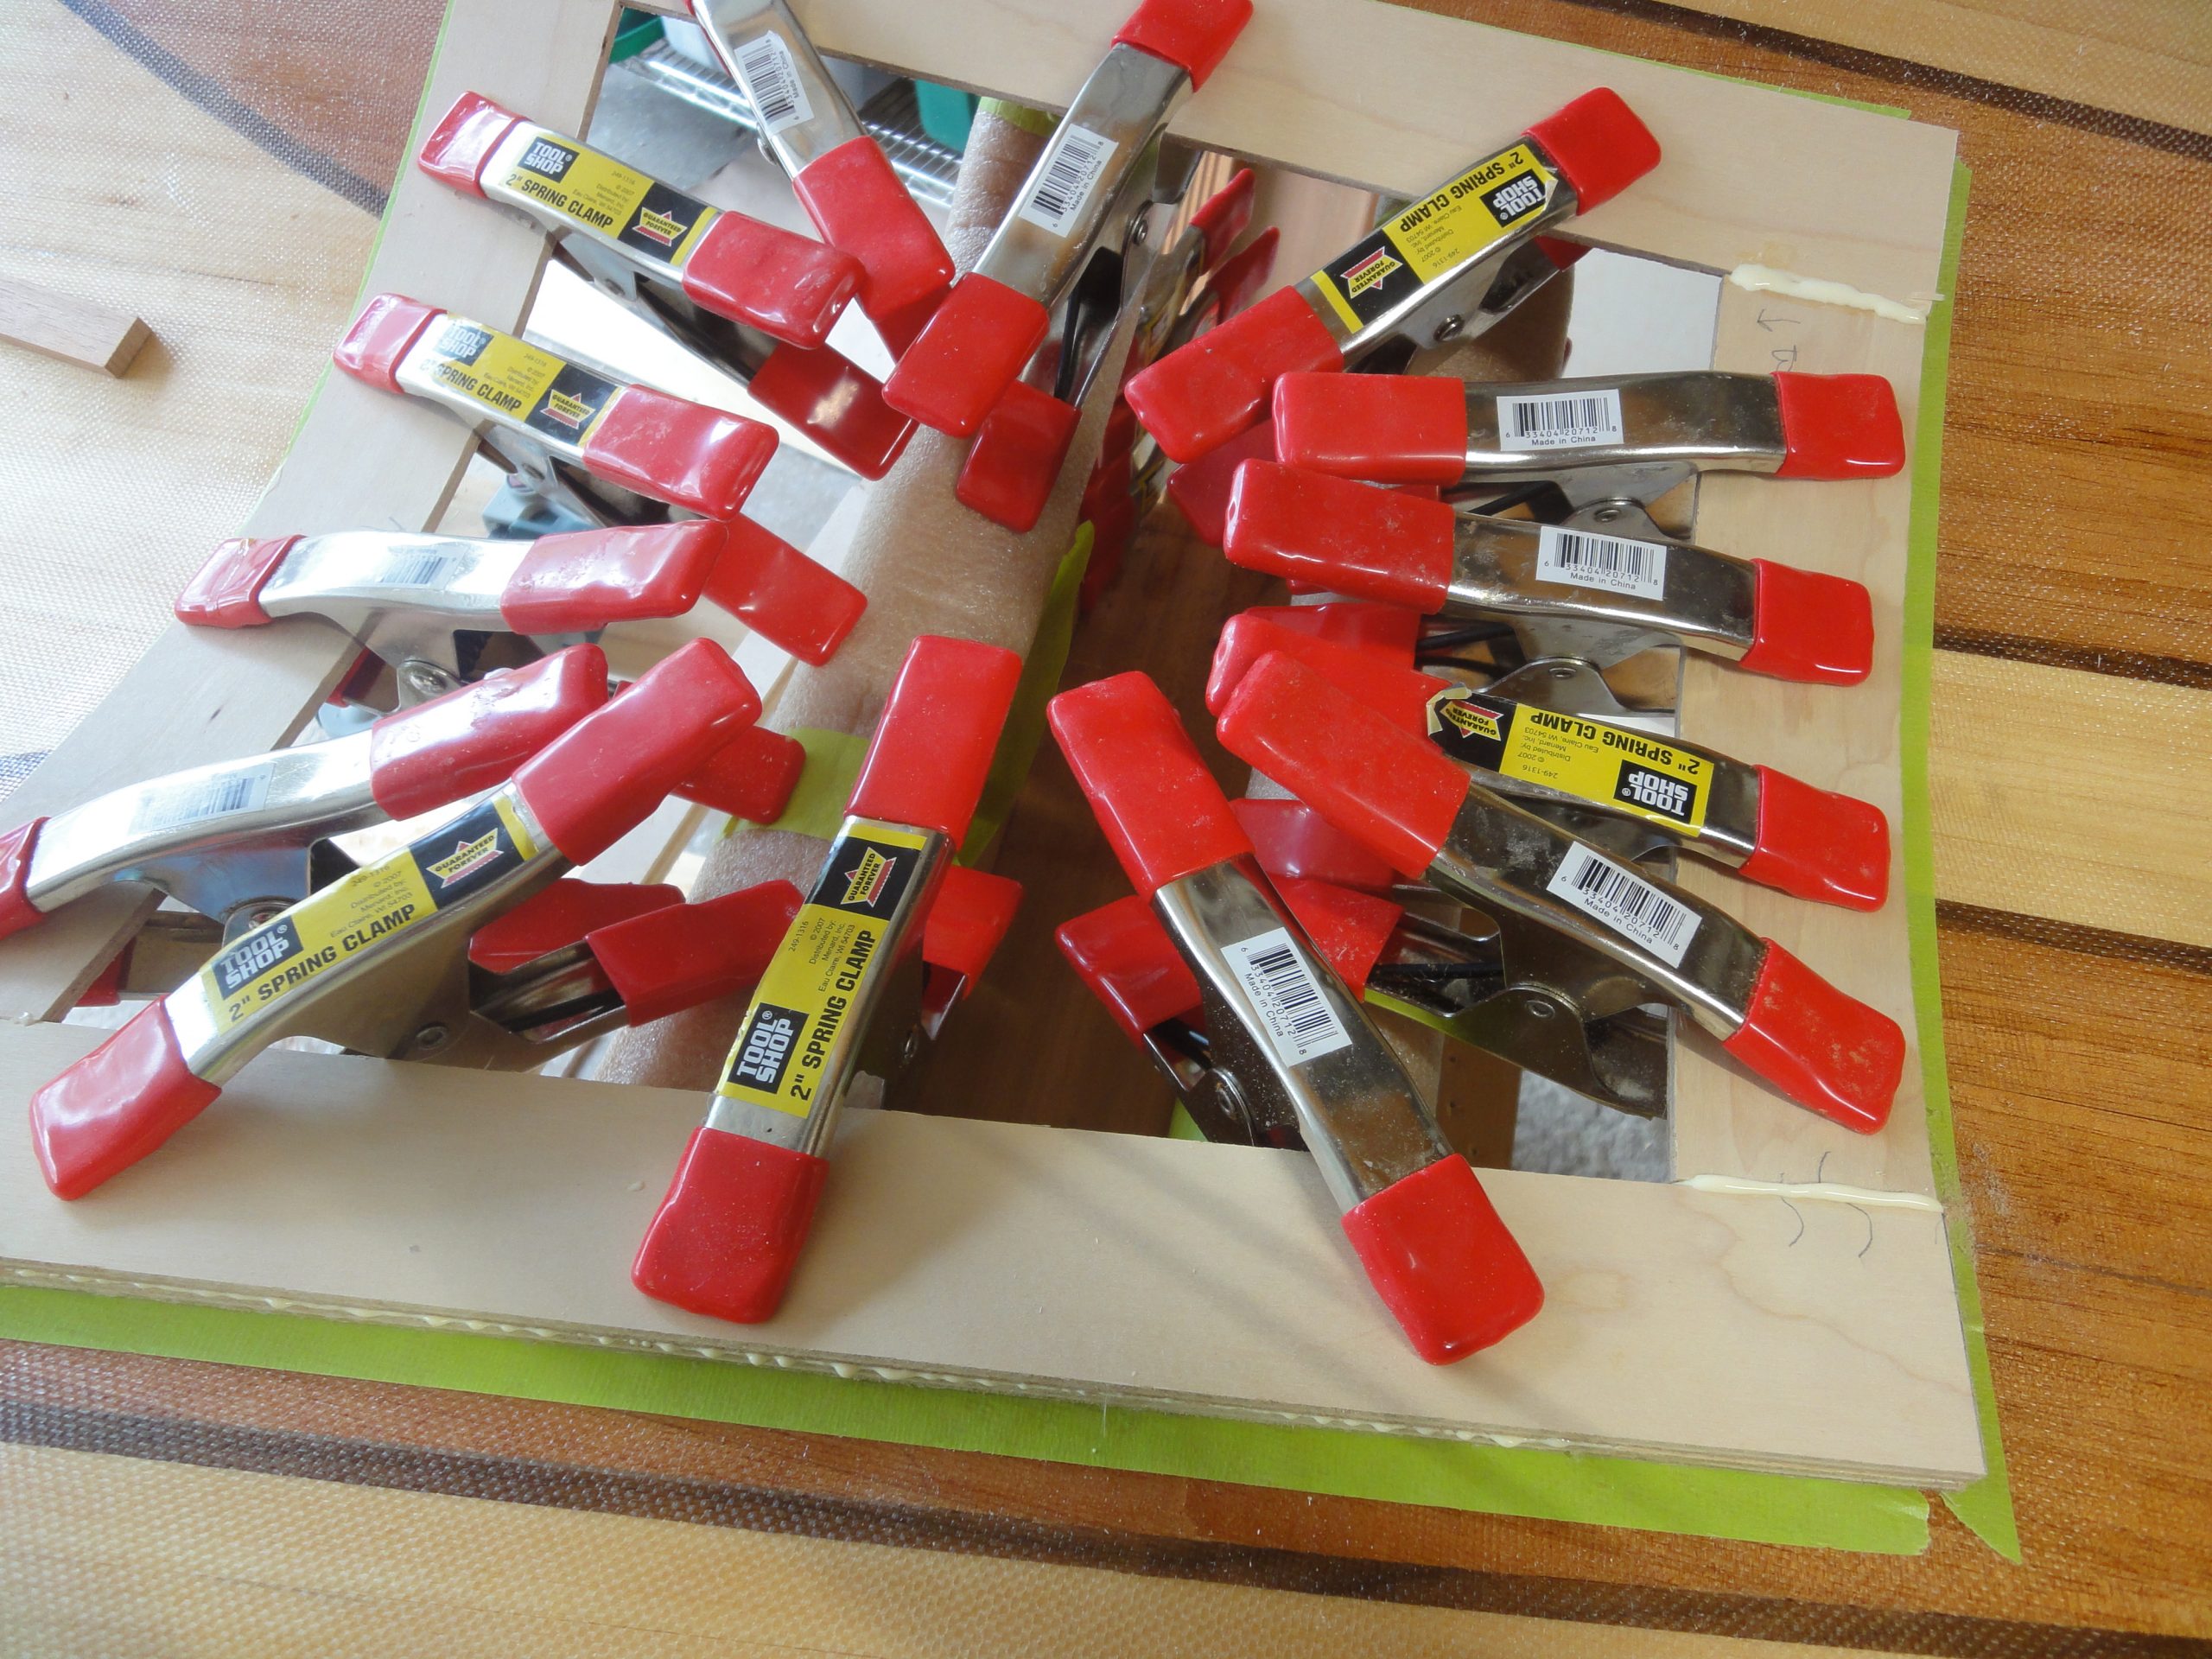
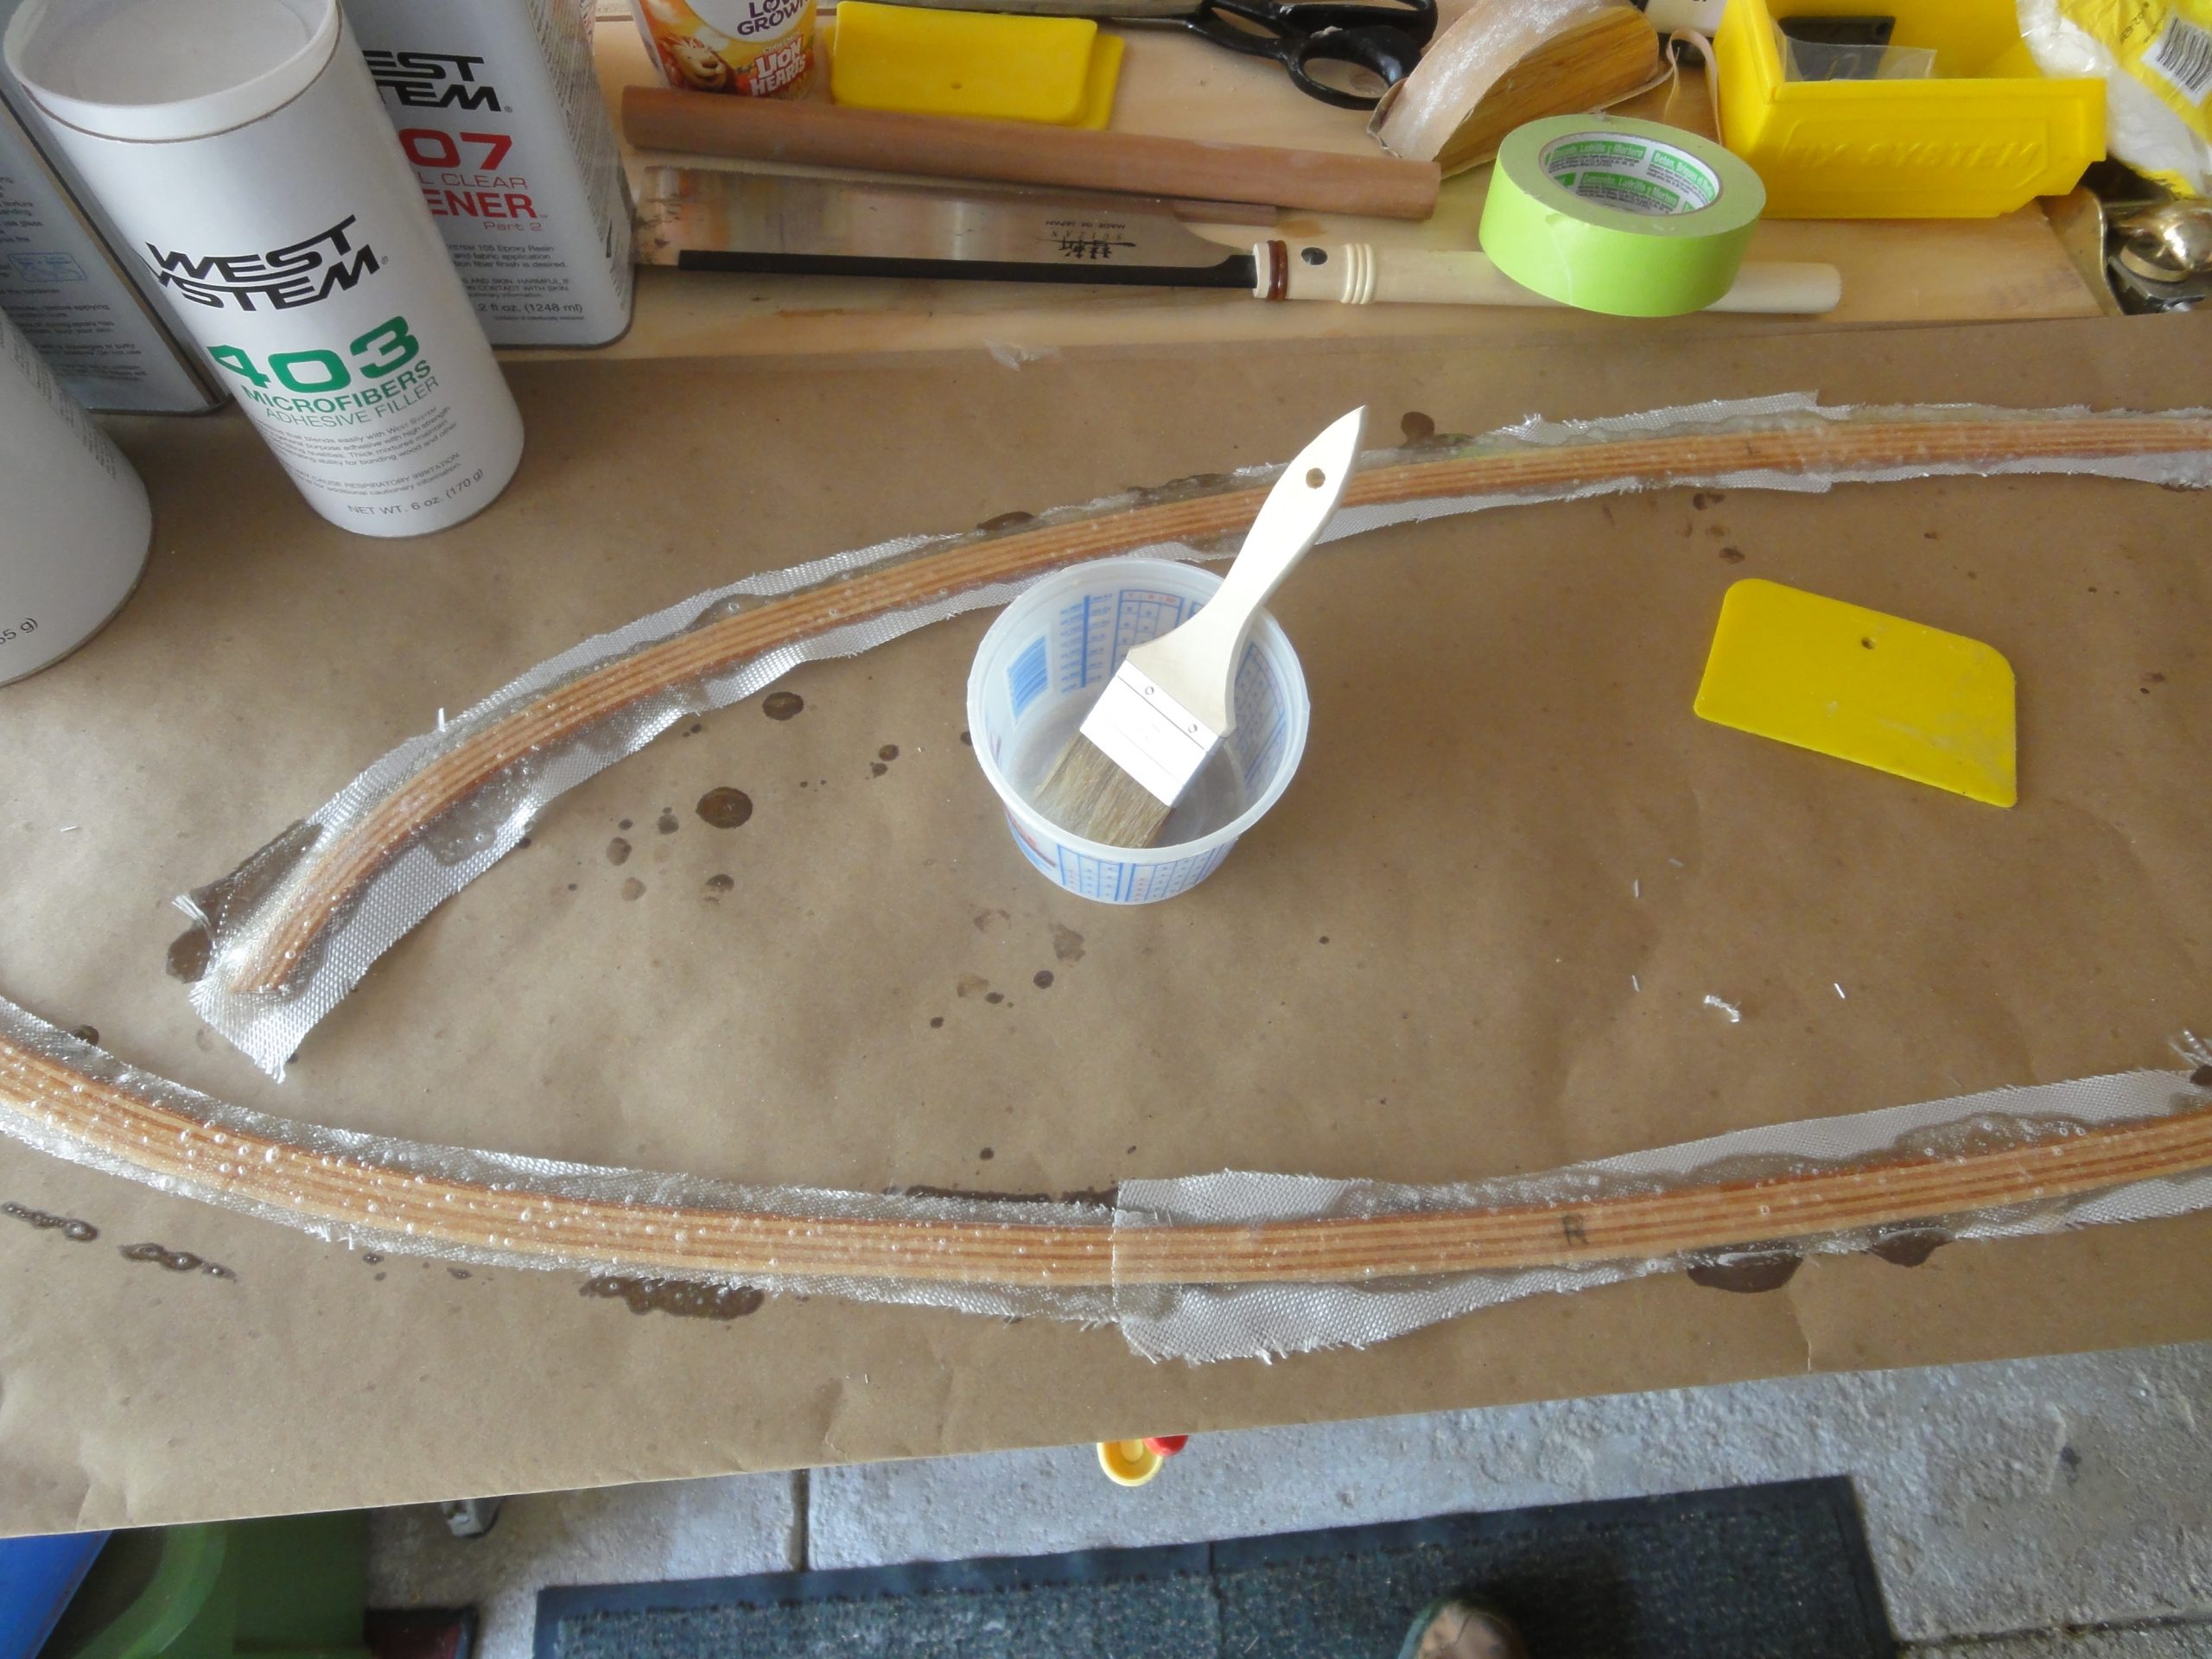
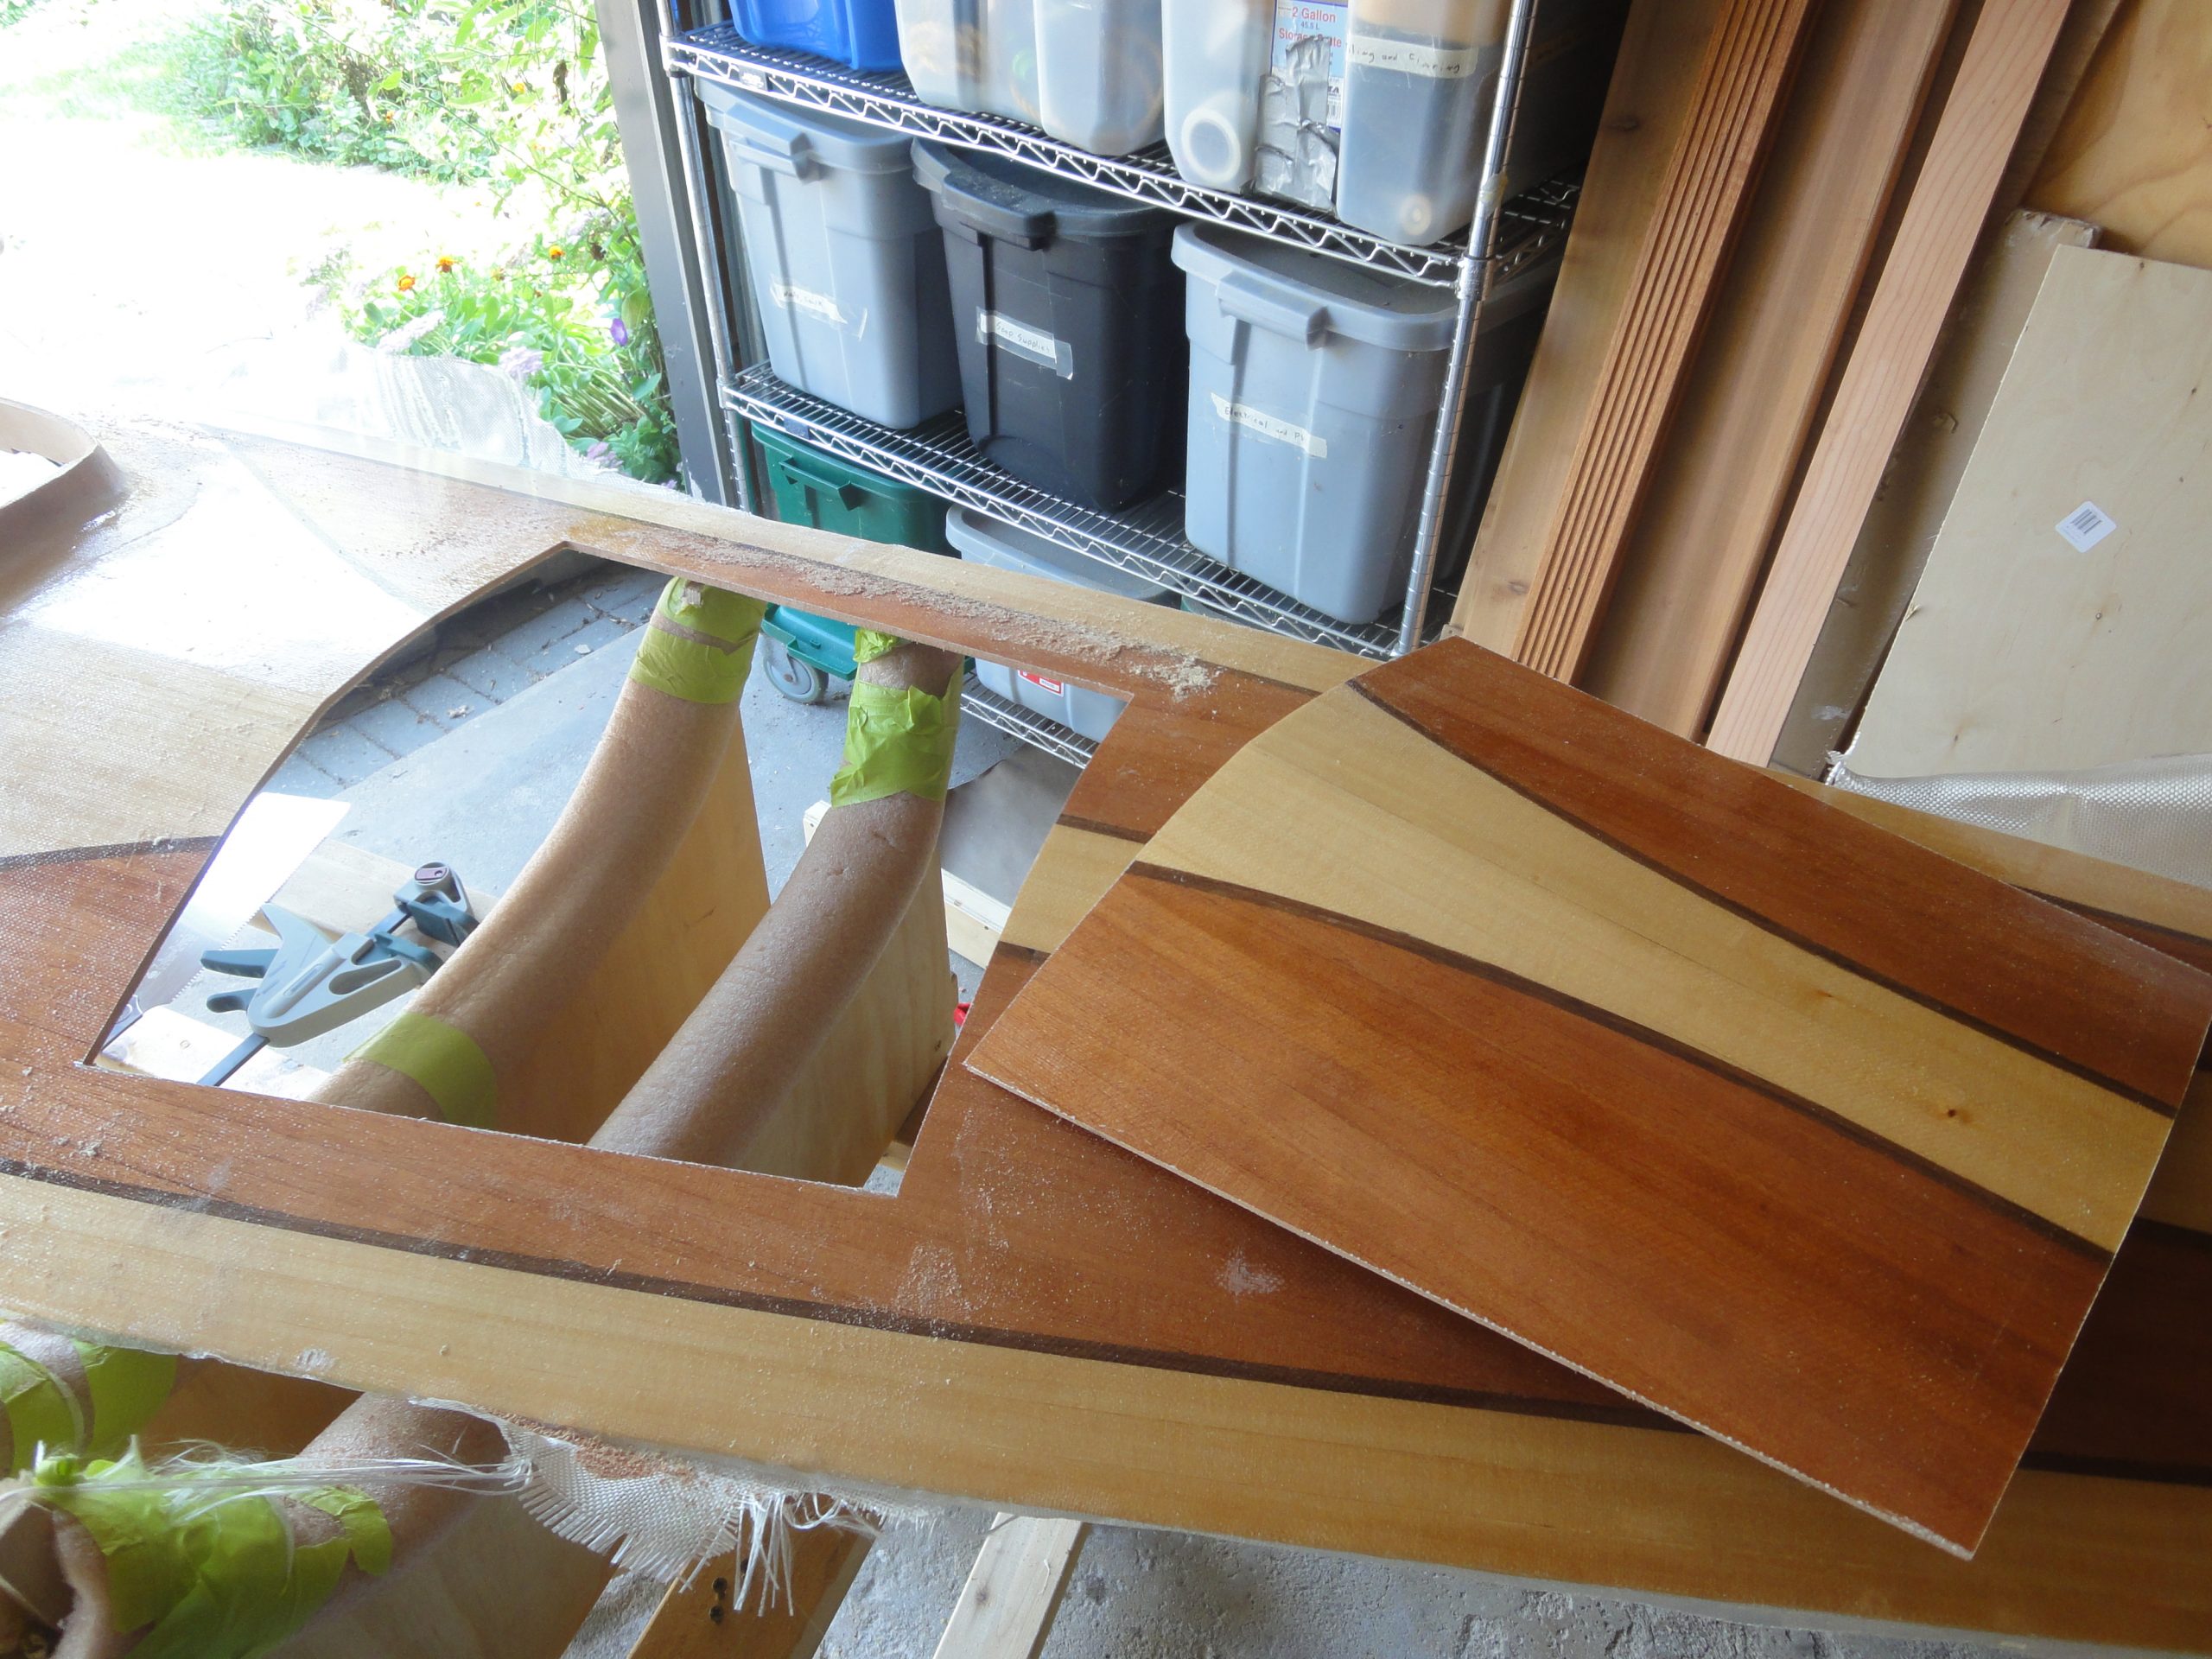
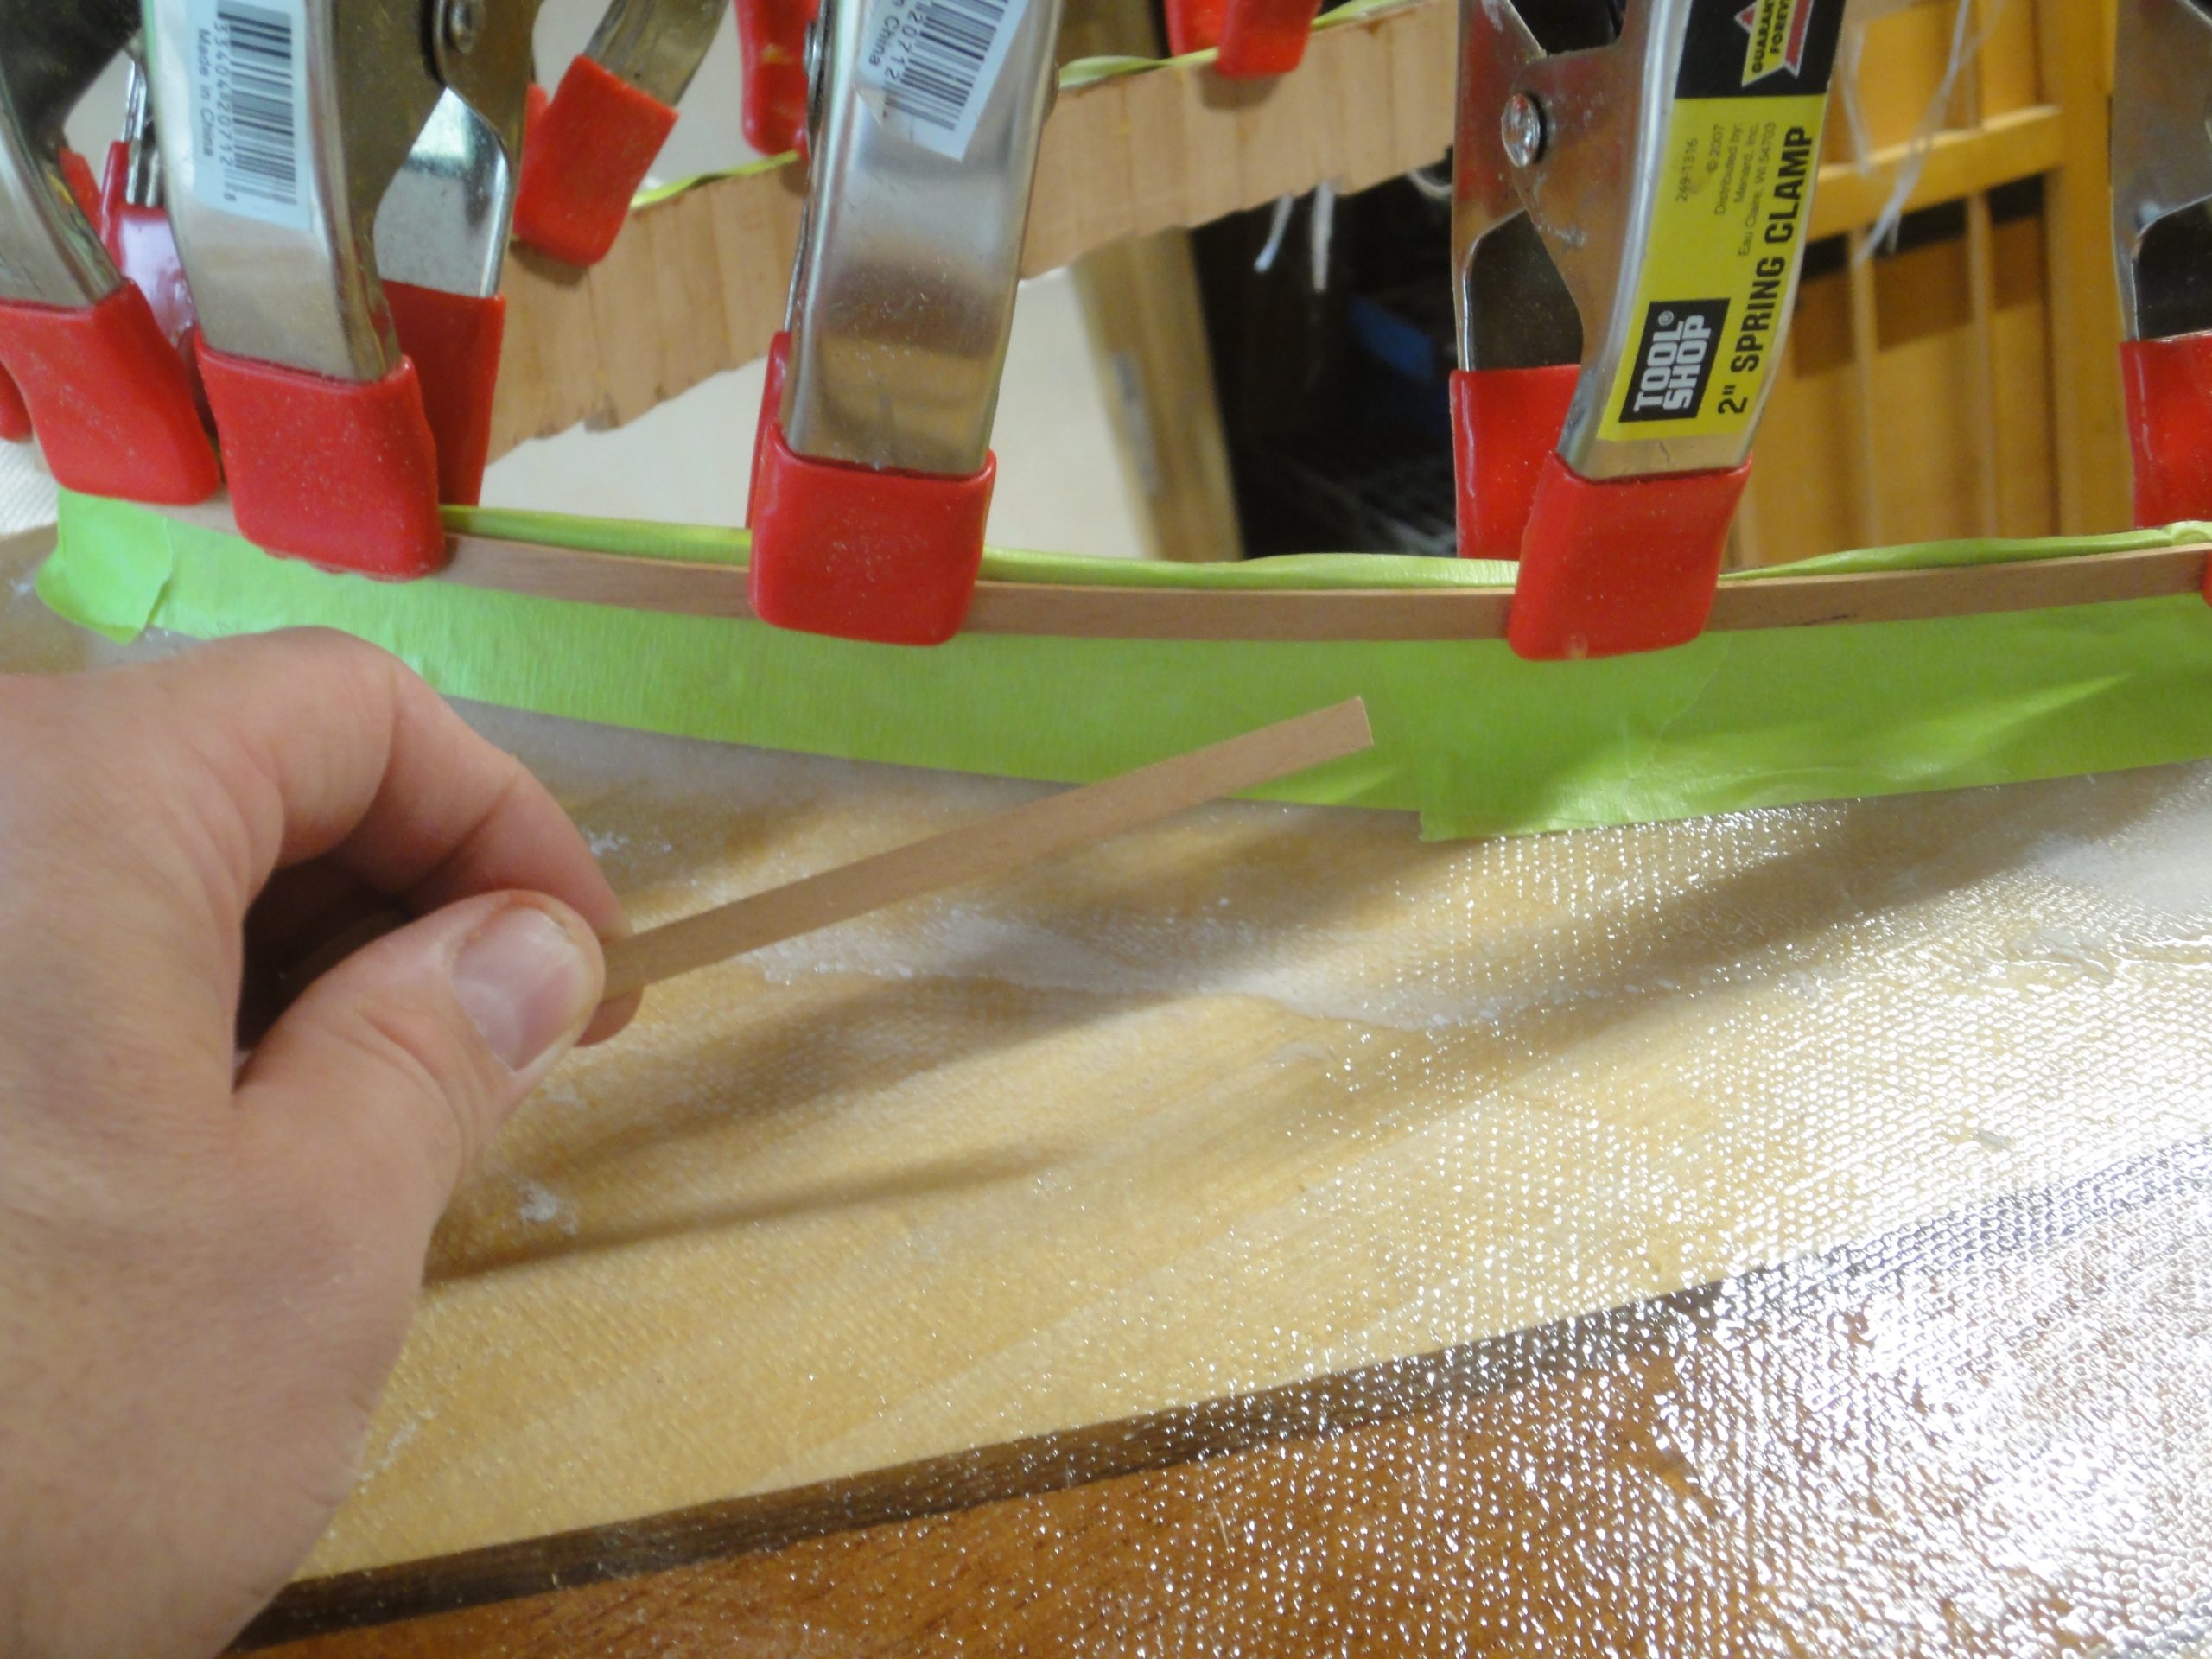
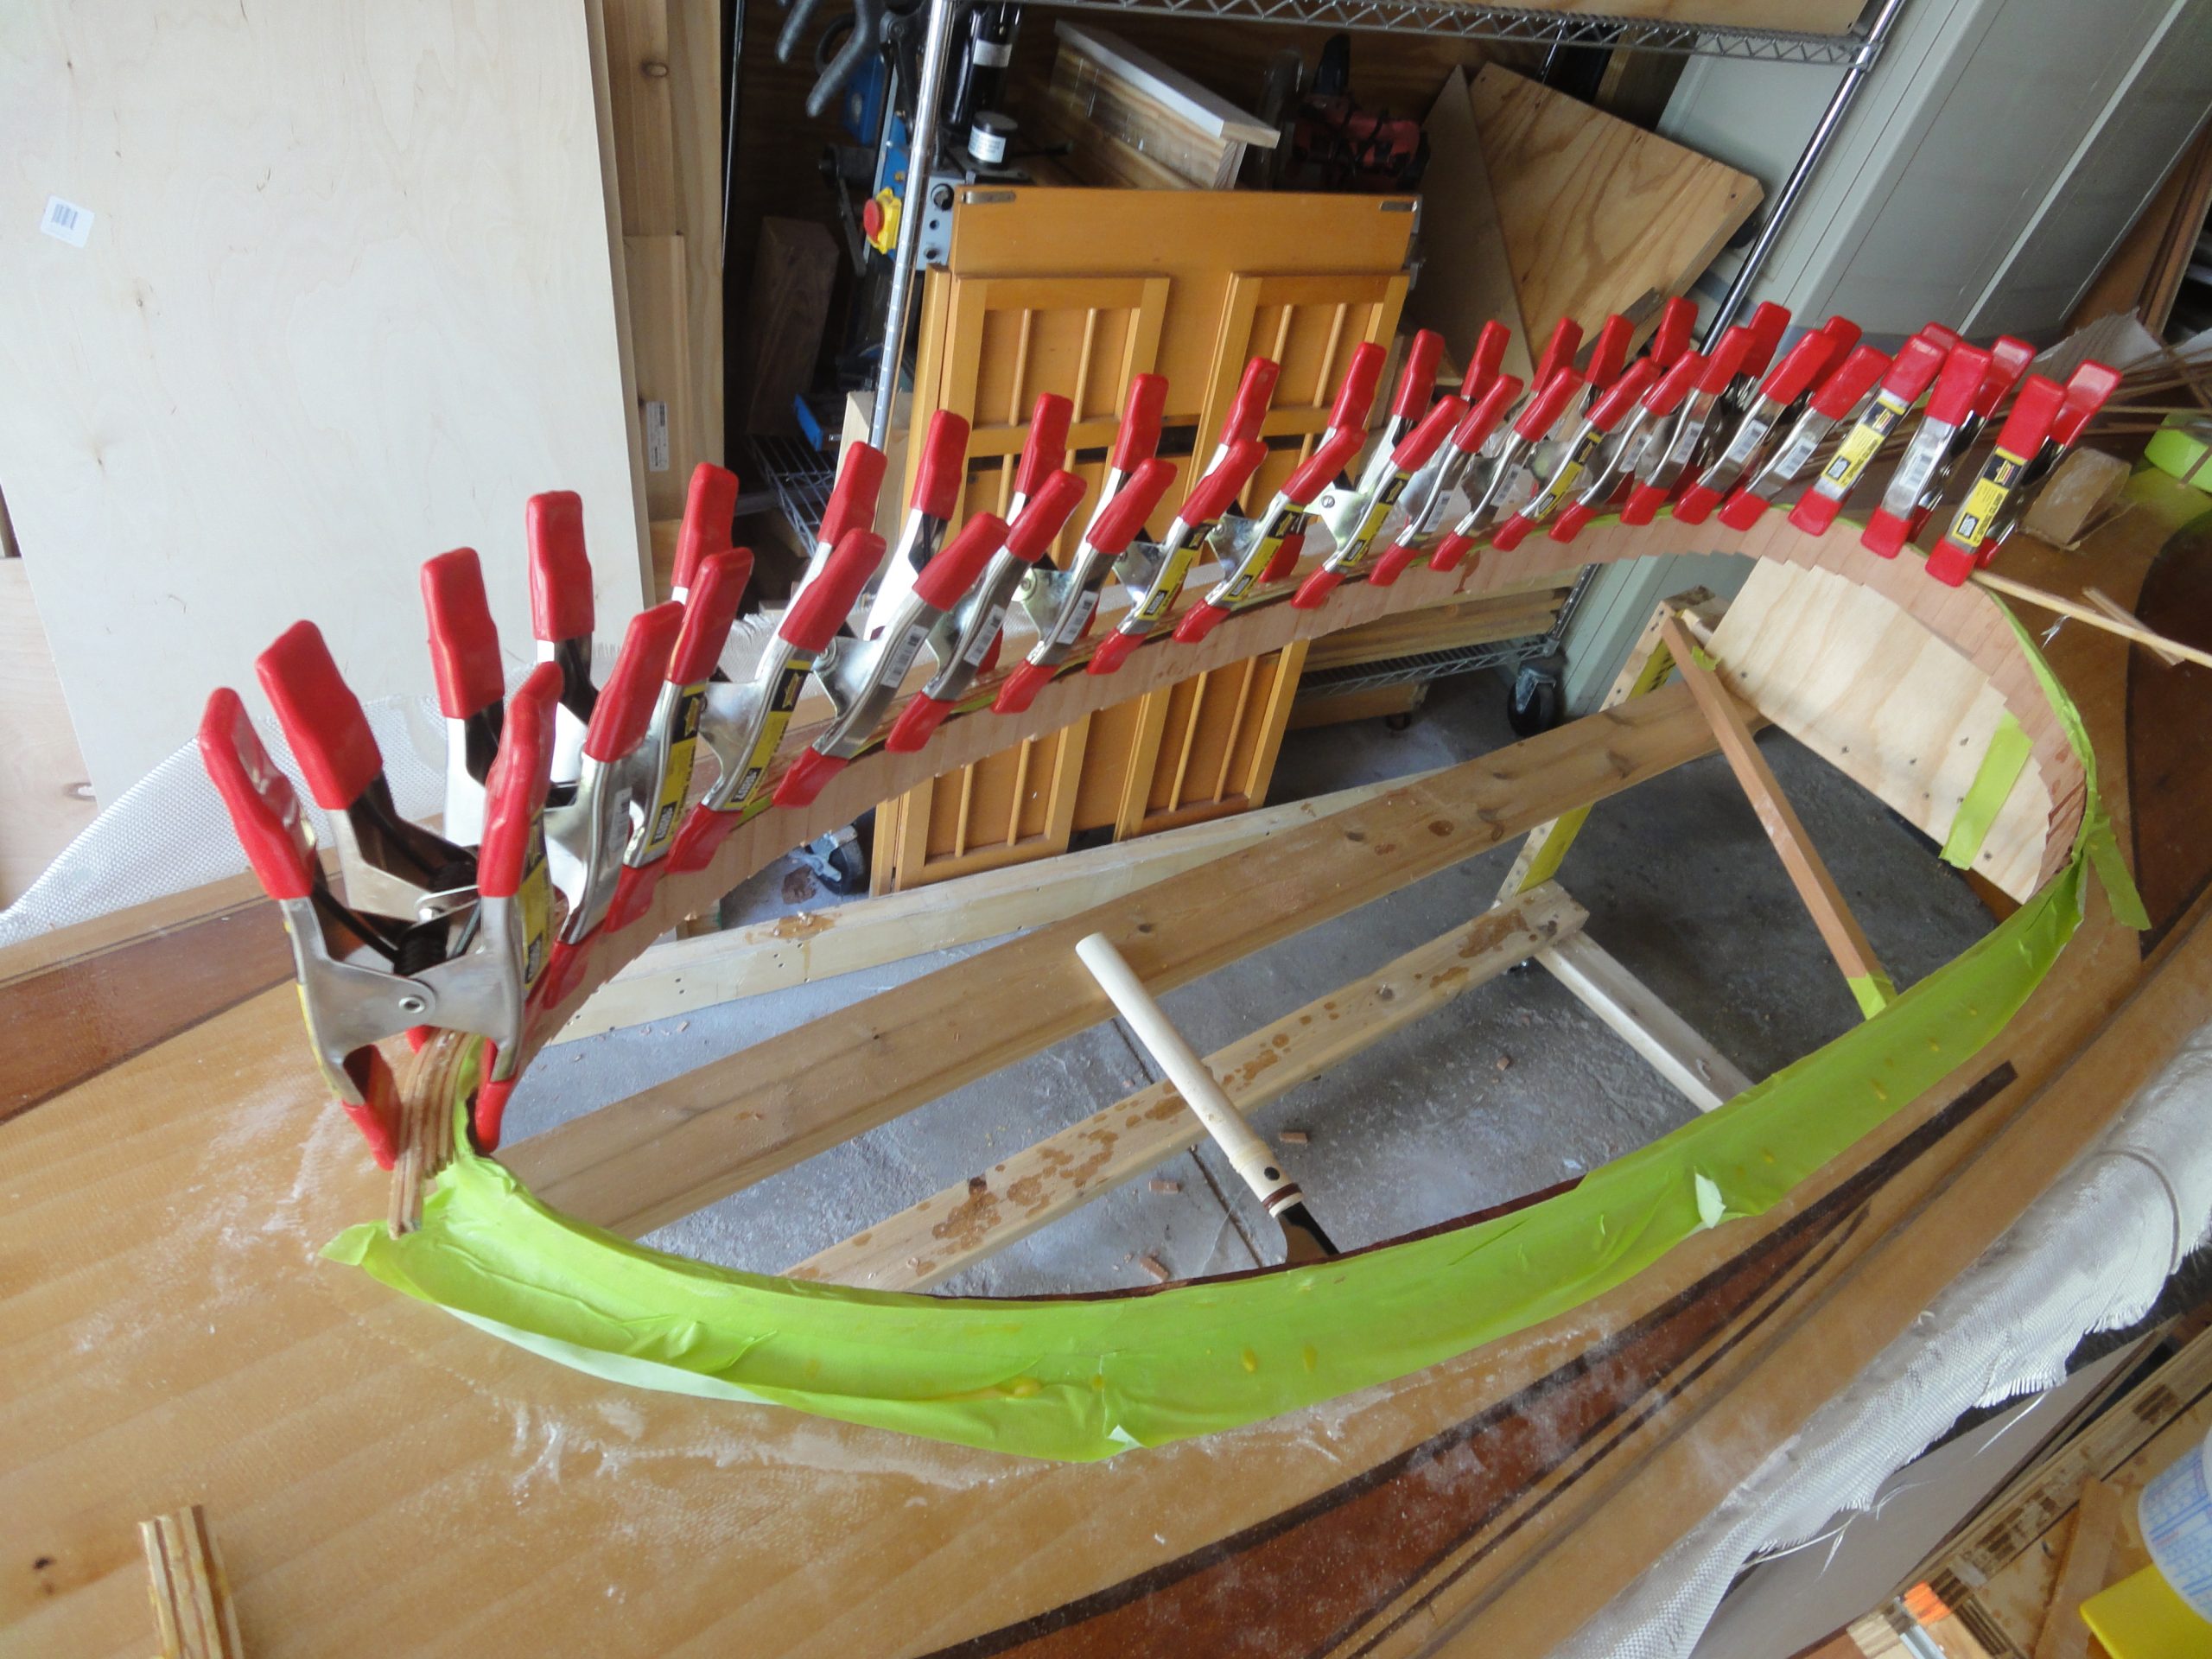
The standard mix of epoxy with silica adhesive filler and microfiber reinforcement was mixed up. I had a jelly-ish consistency and applied it to the part of the lip assembly that would contact the underside of the deck. Everything was carefully aligned as I clamped it in place. You can see a bit of squeeze out at the seam. This was carefully scraped away.

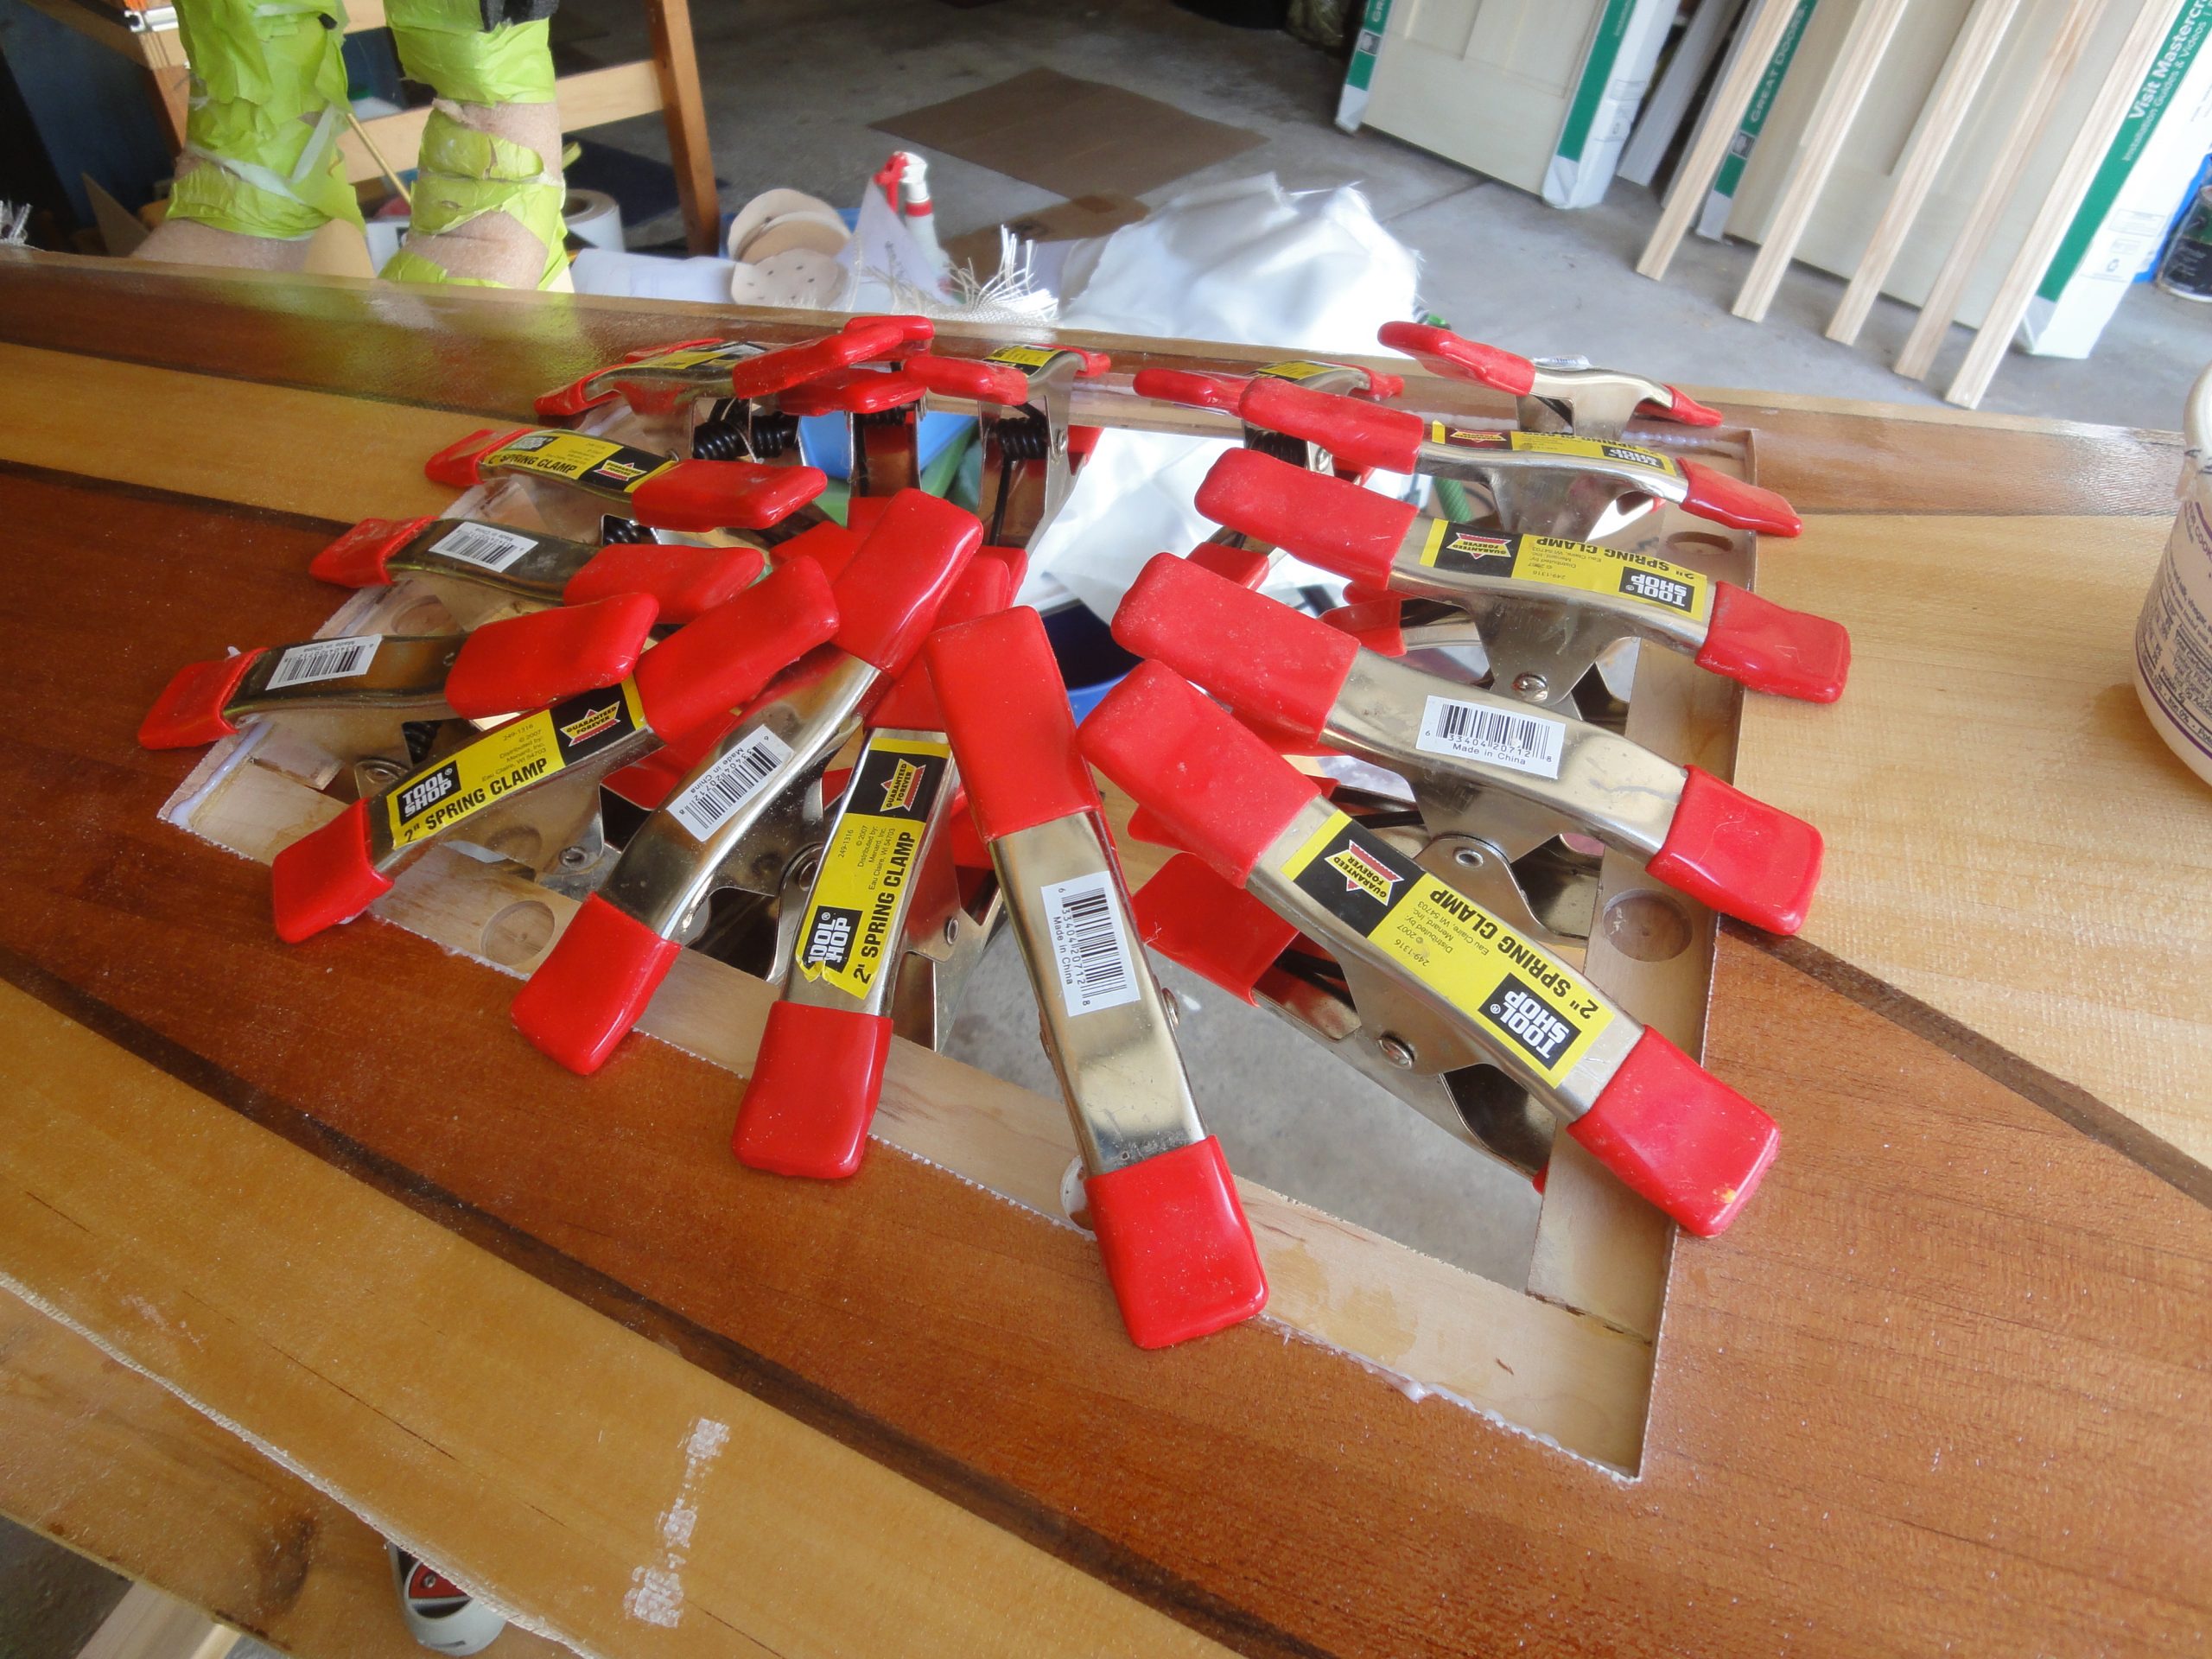
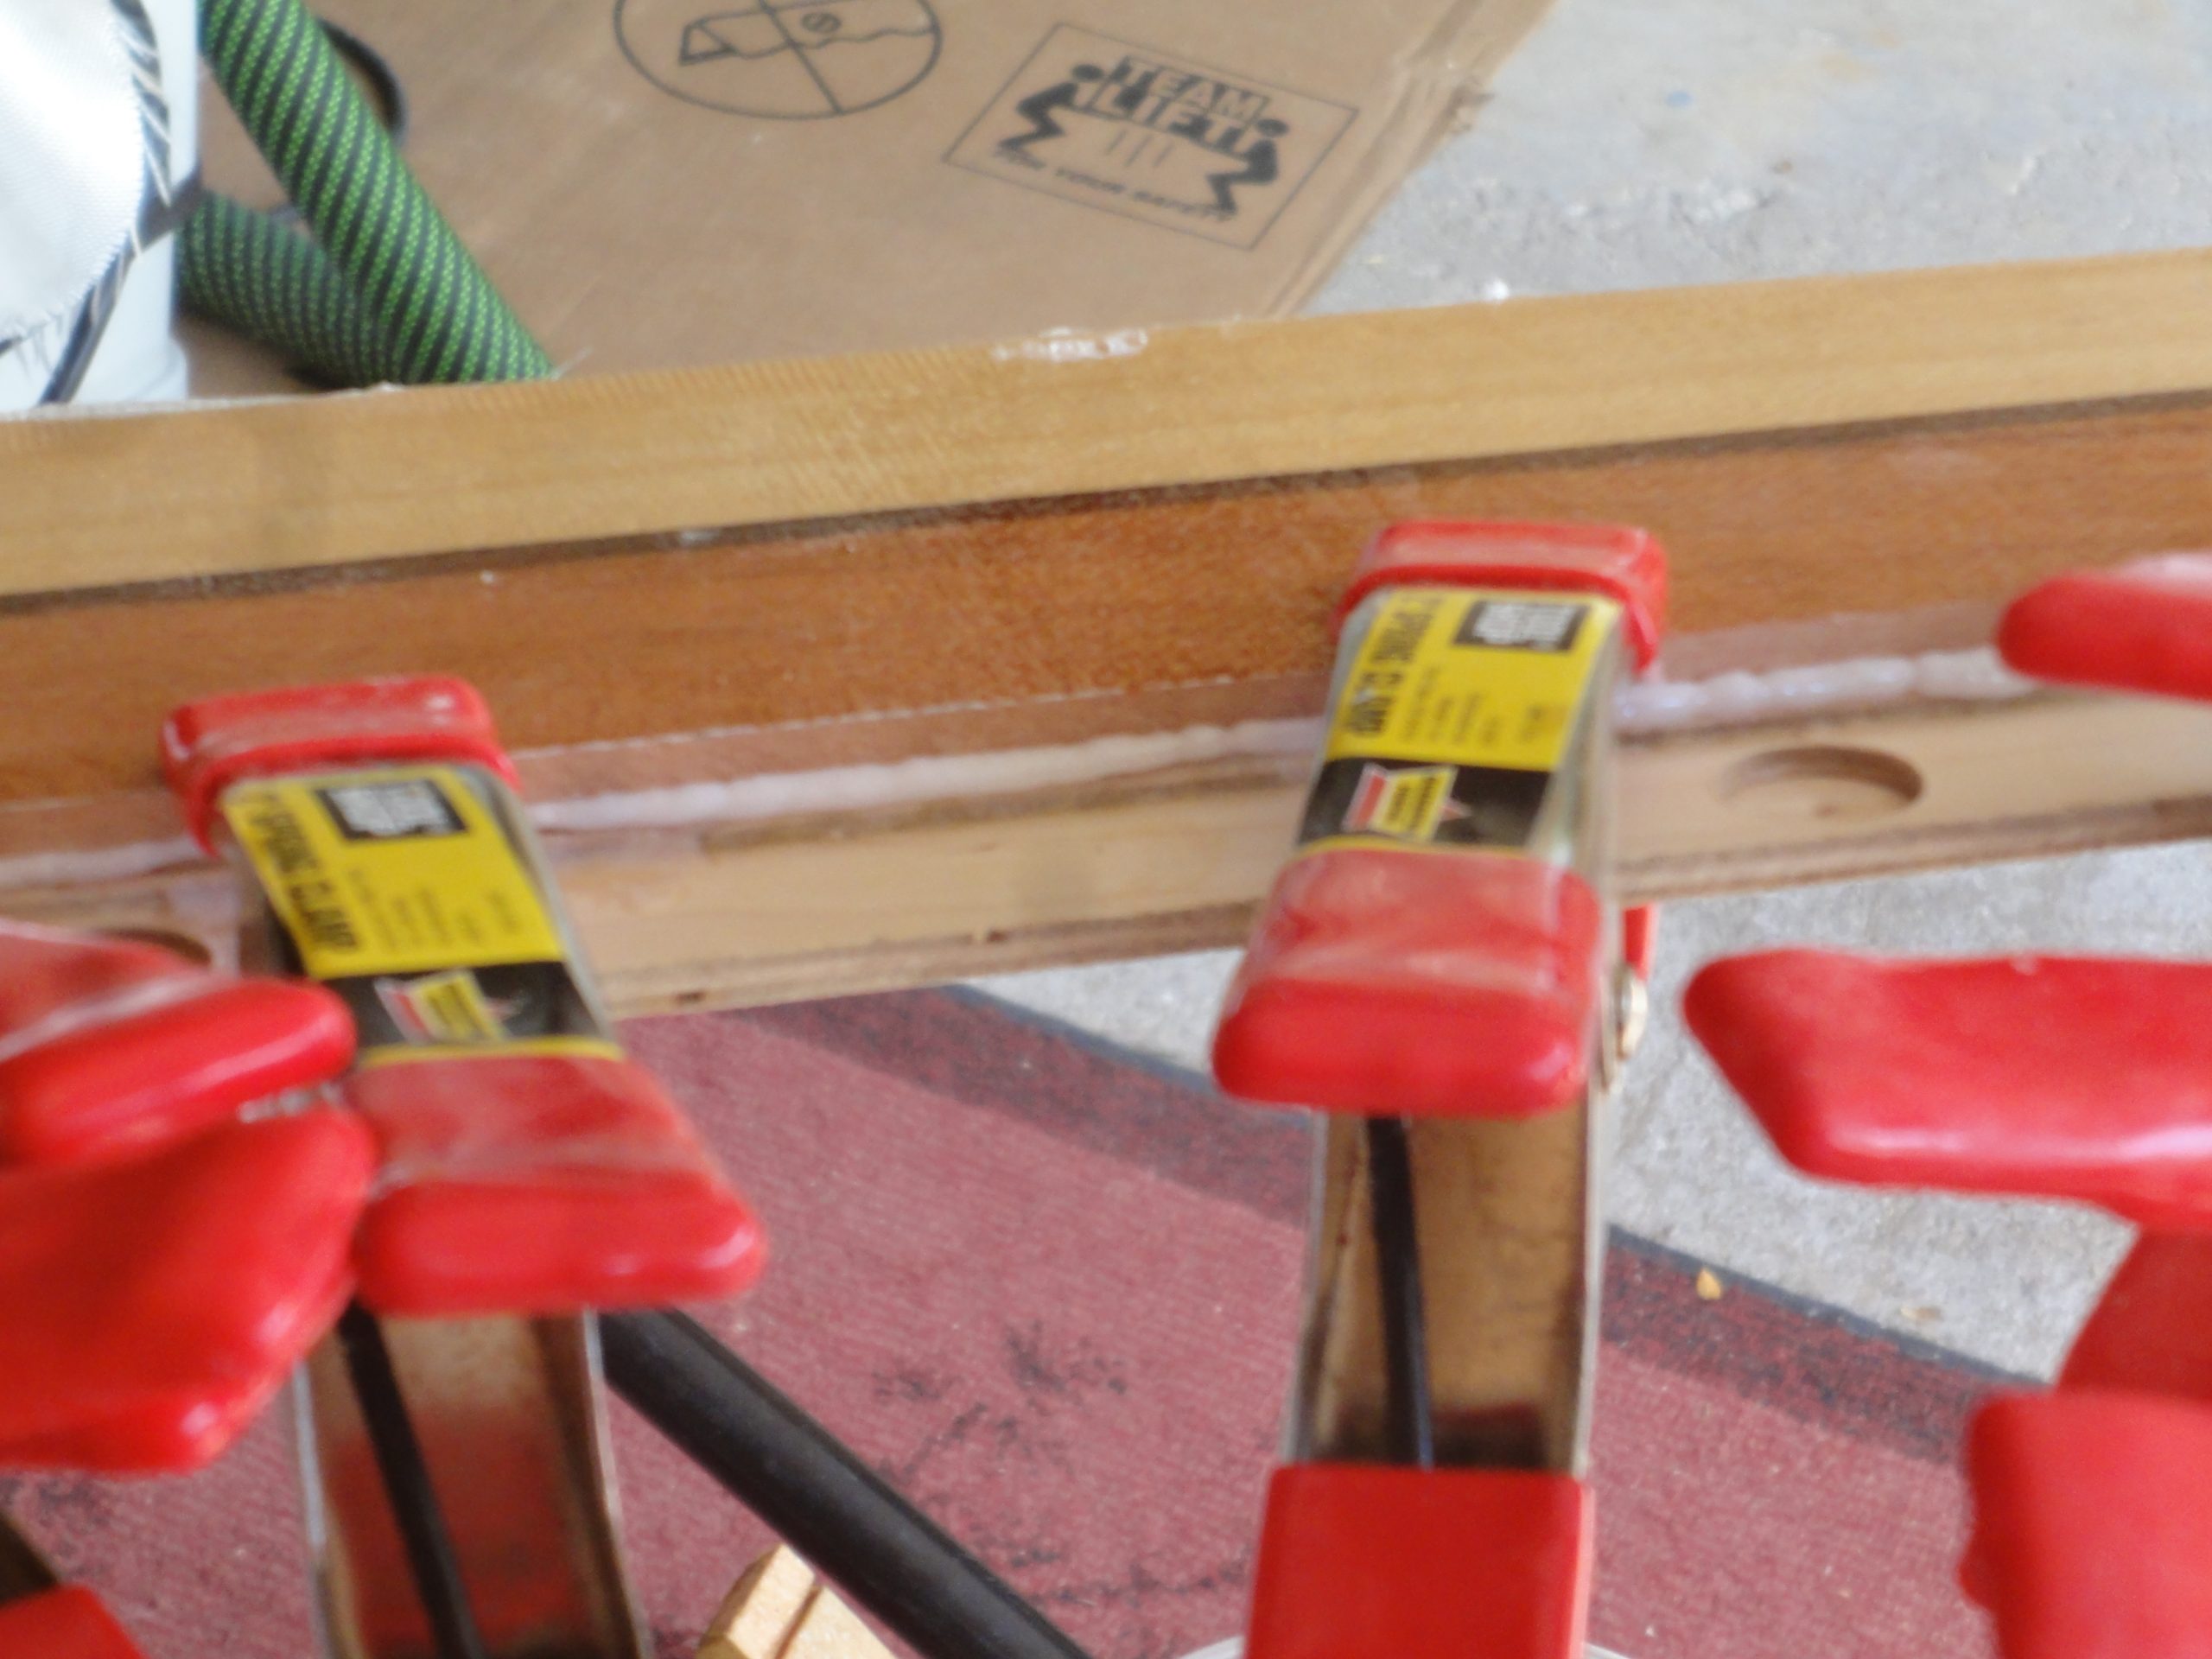
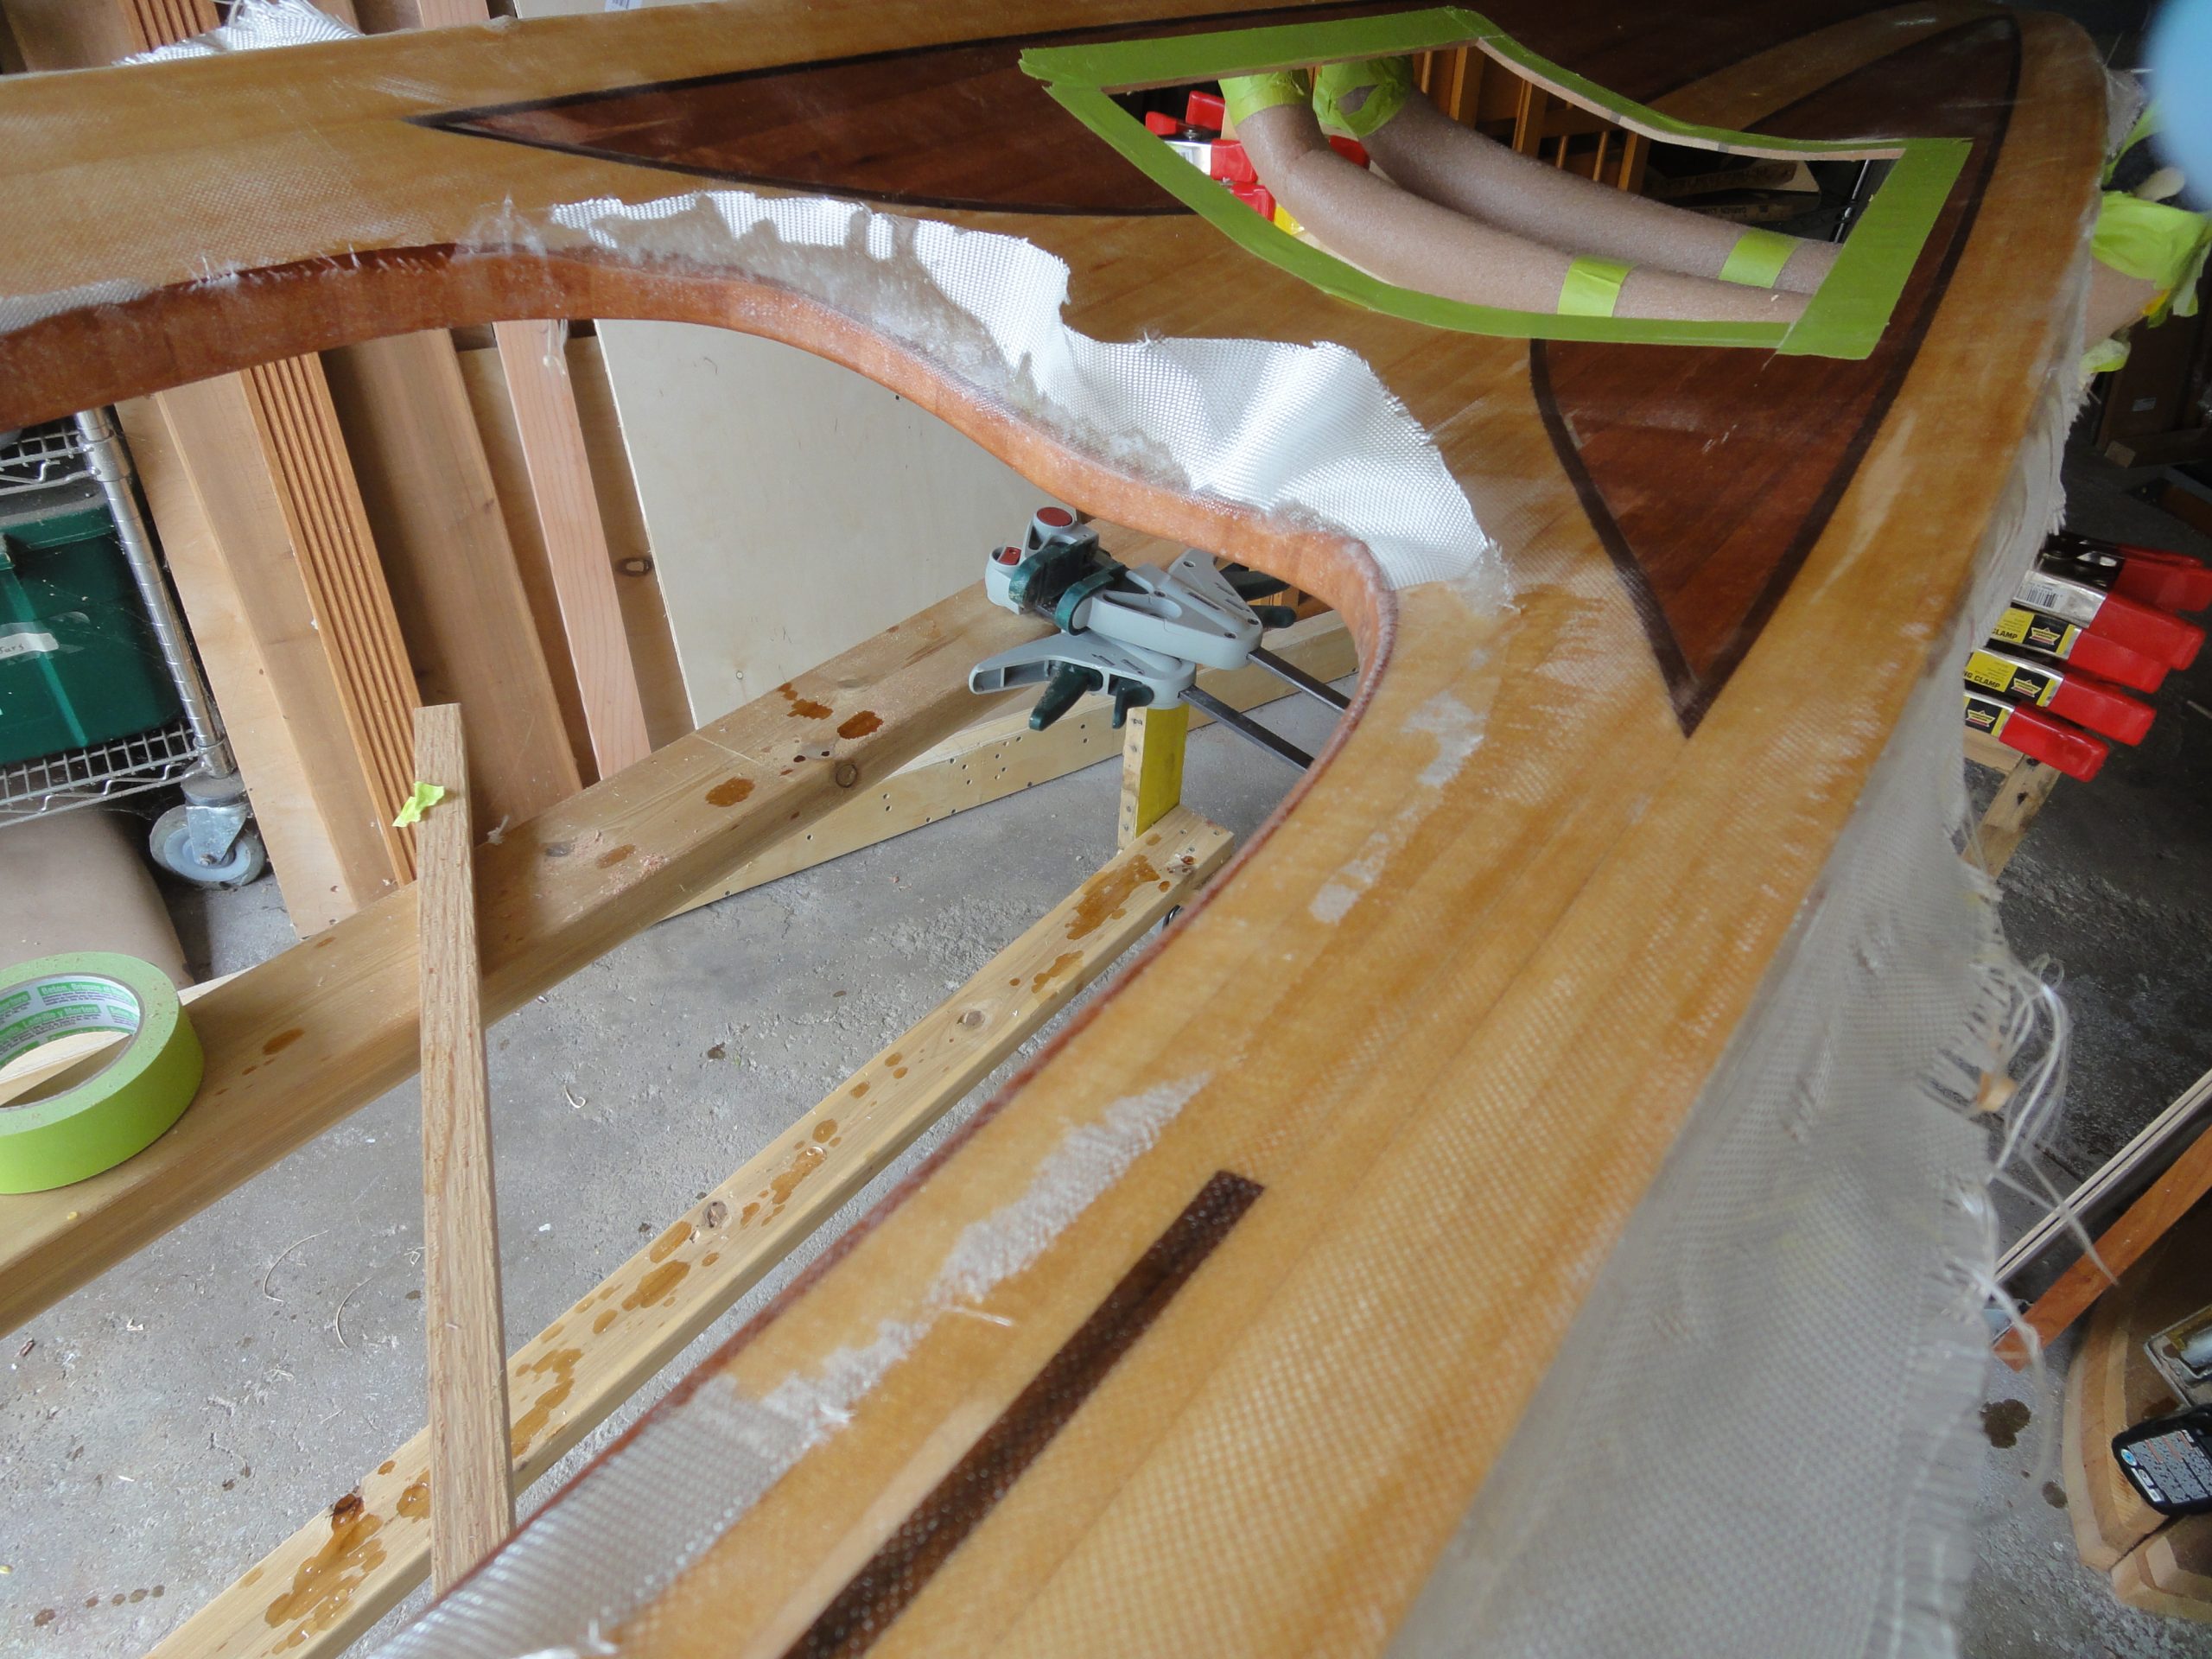
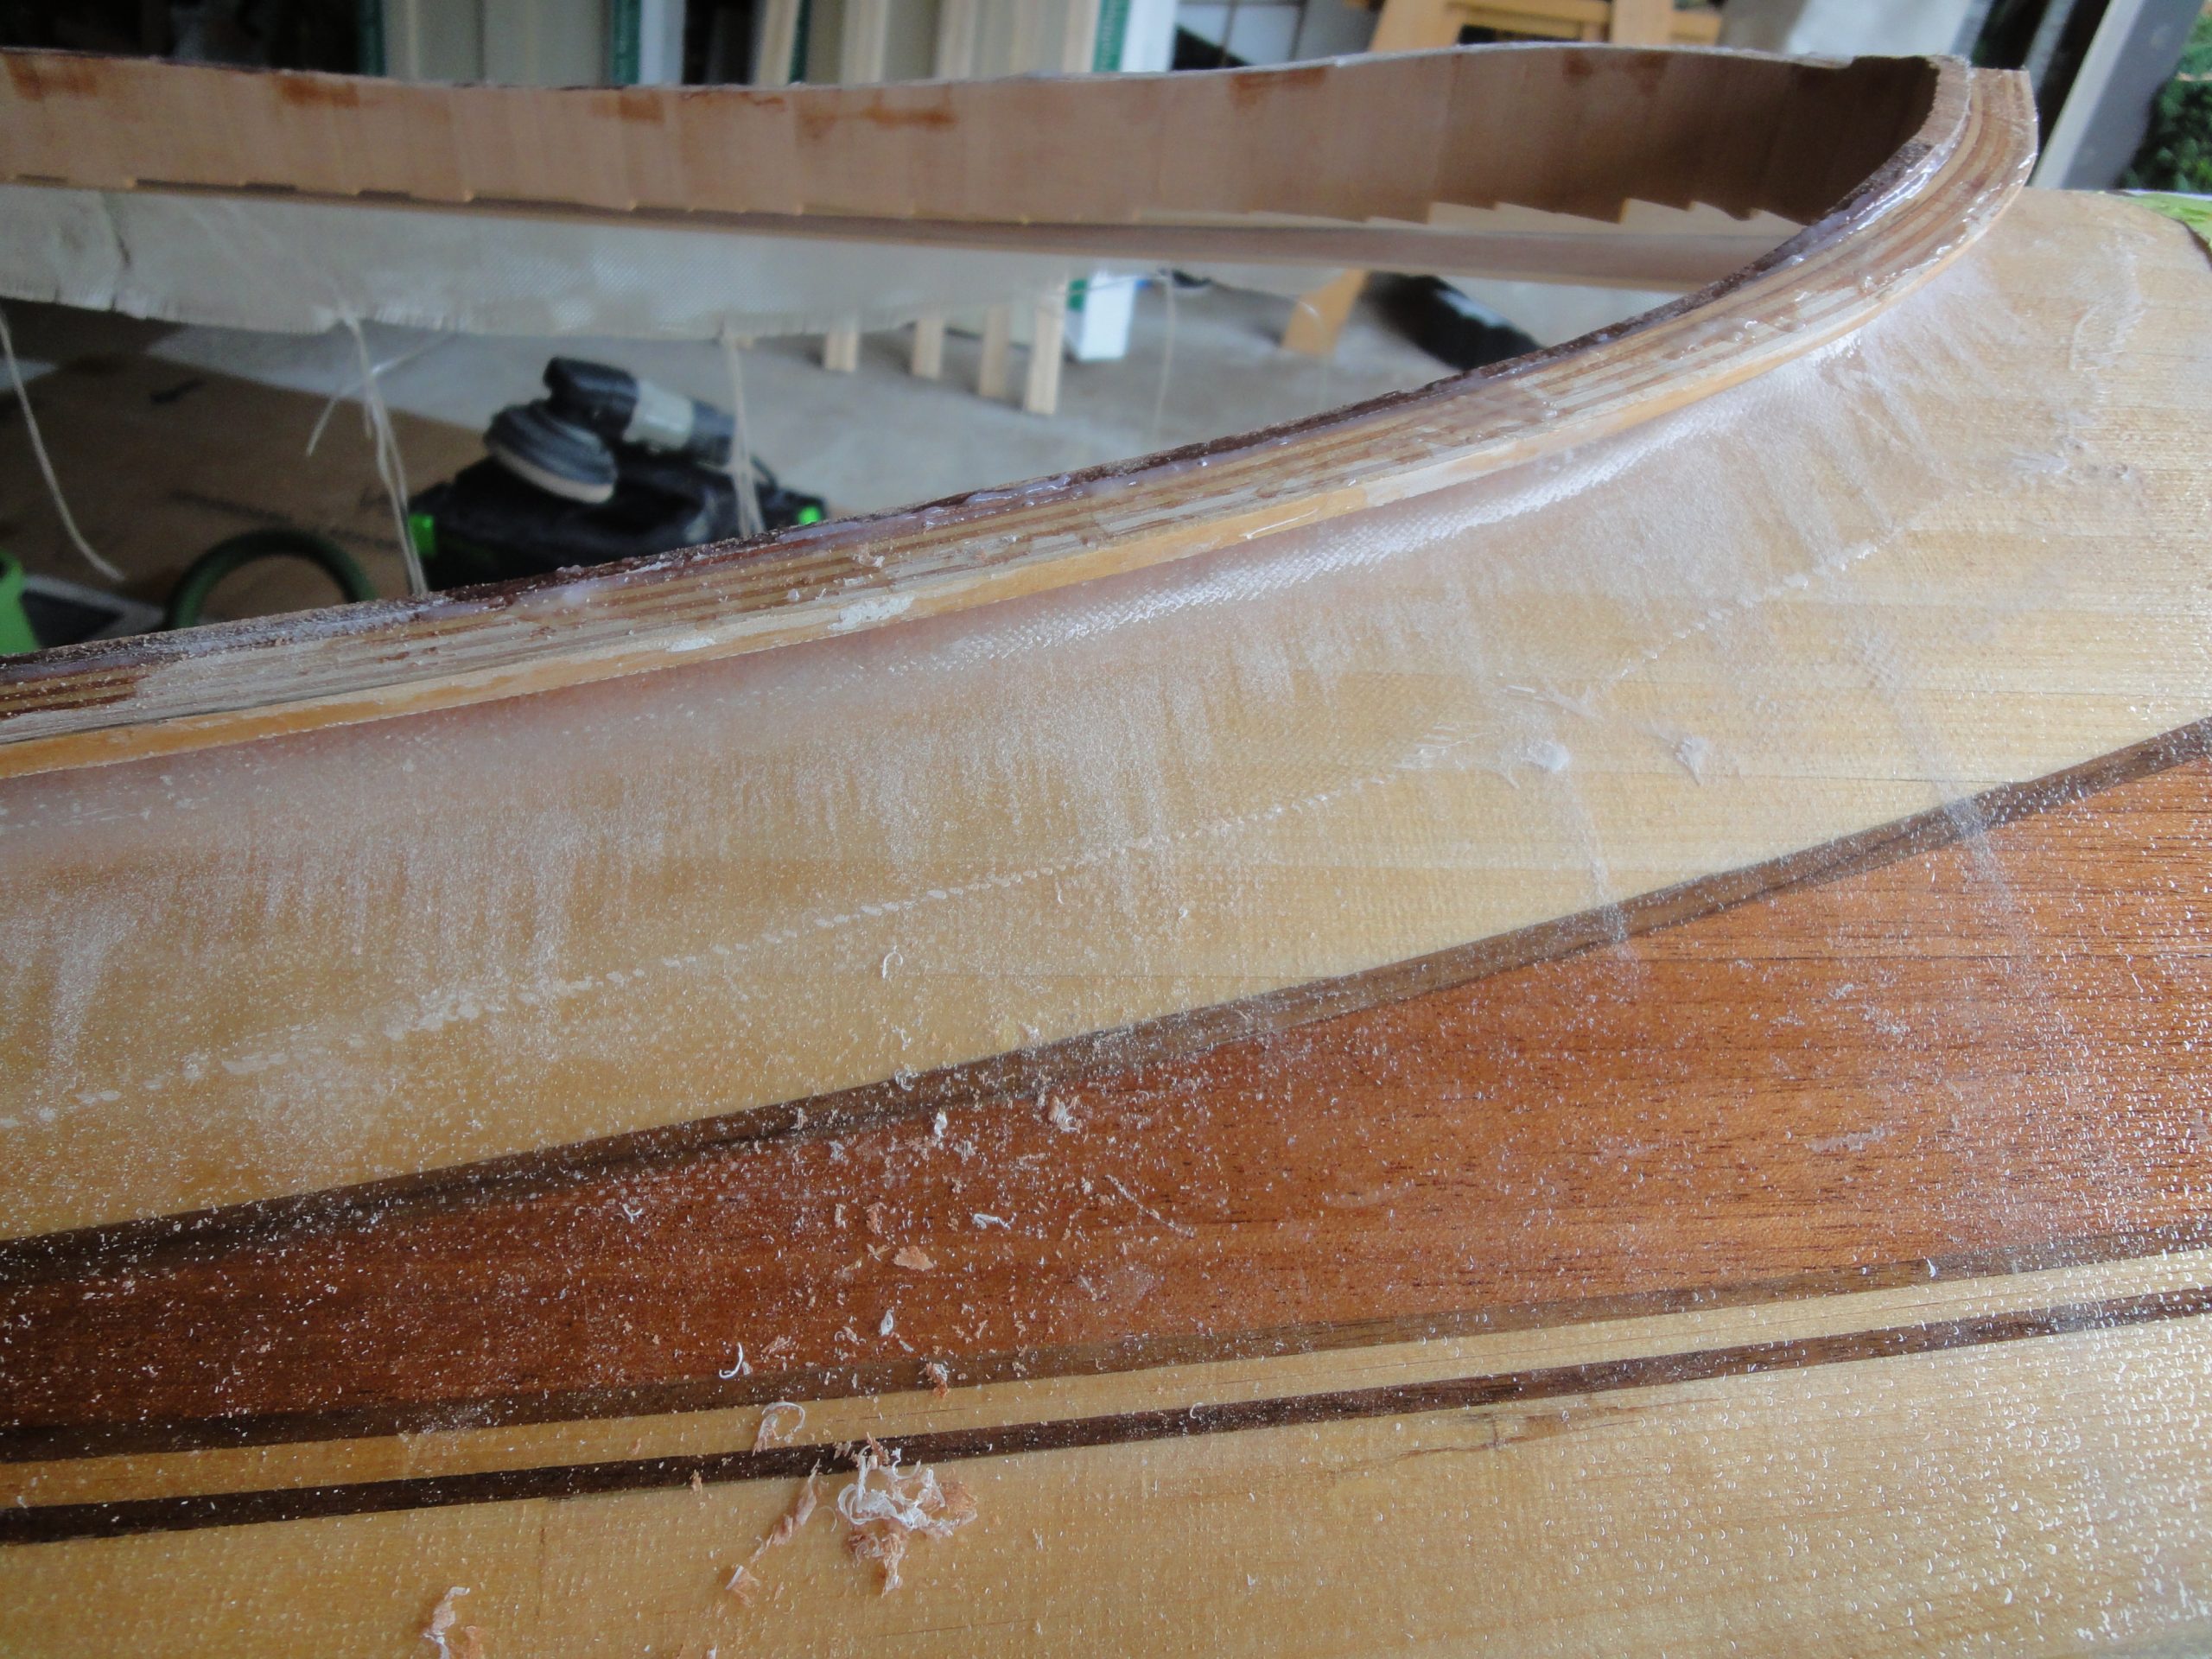
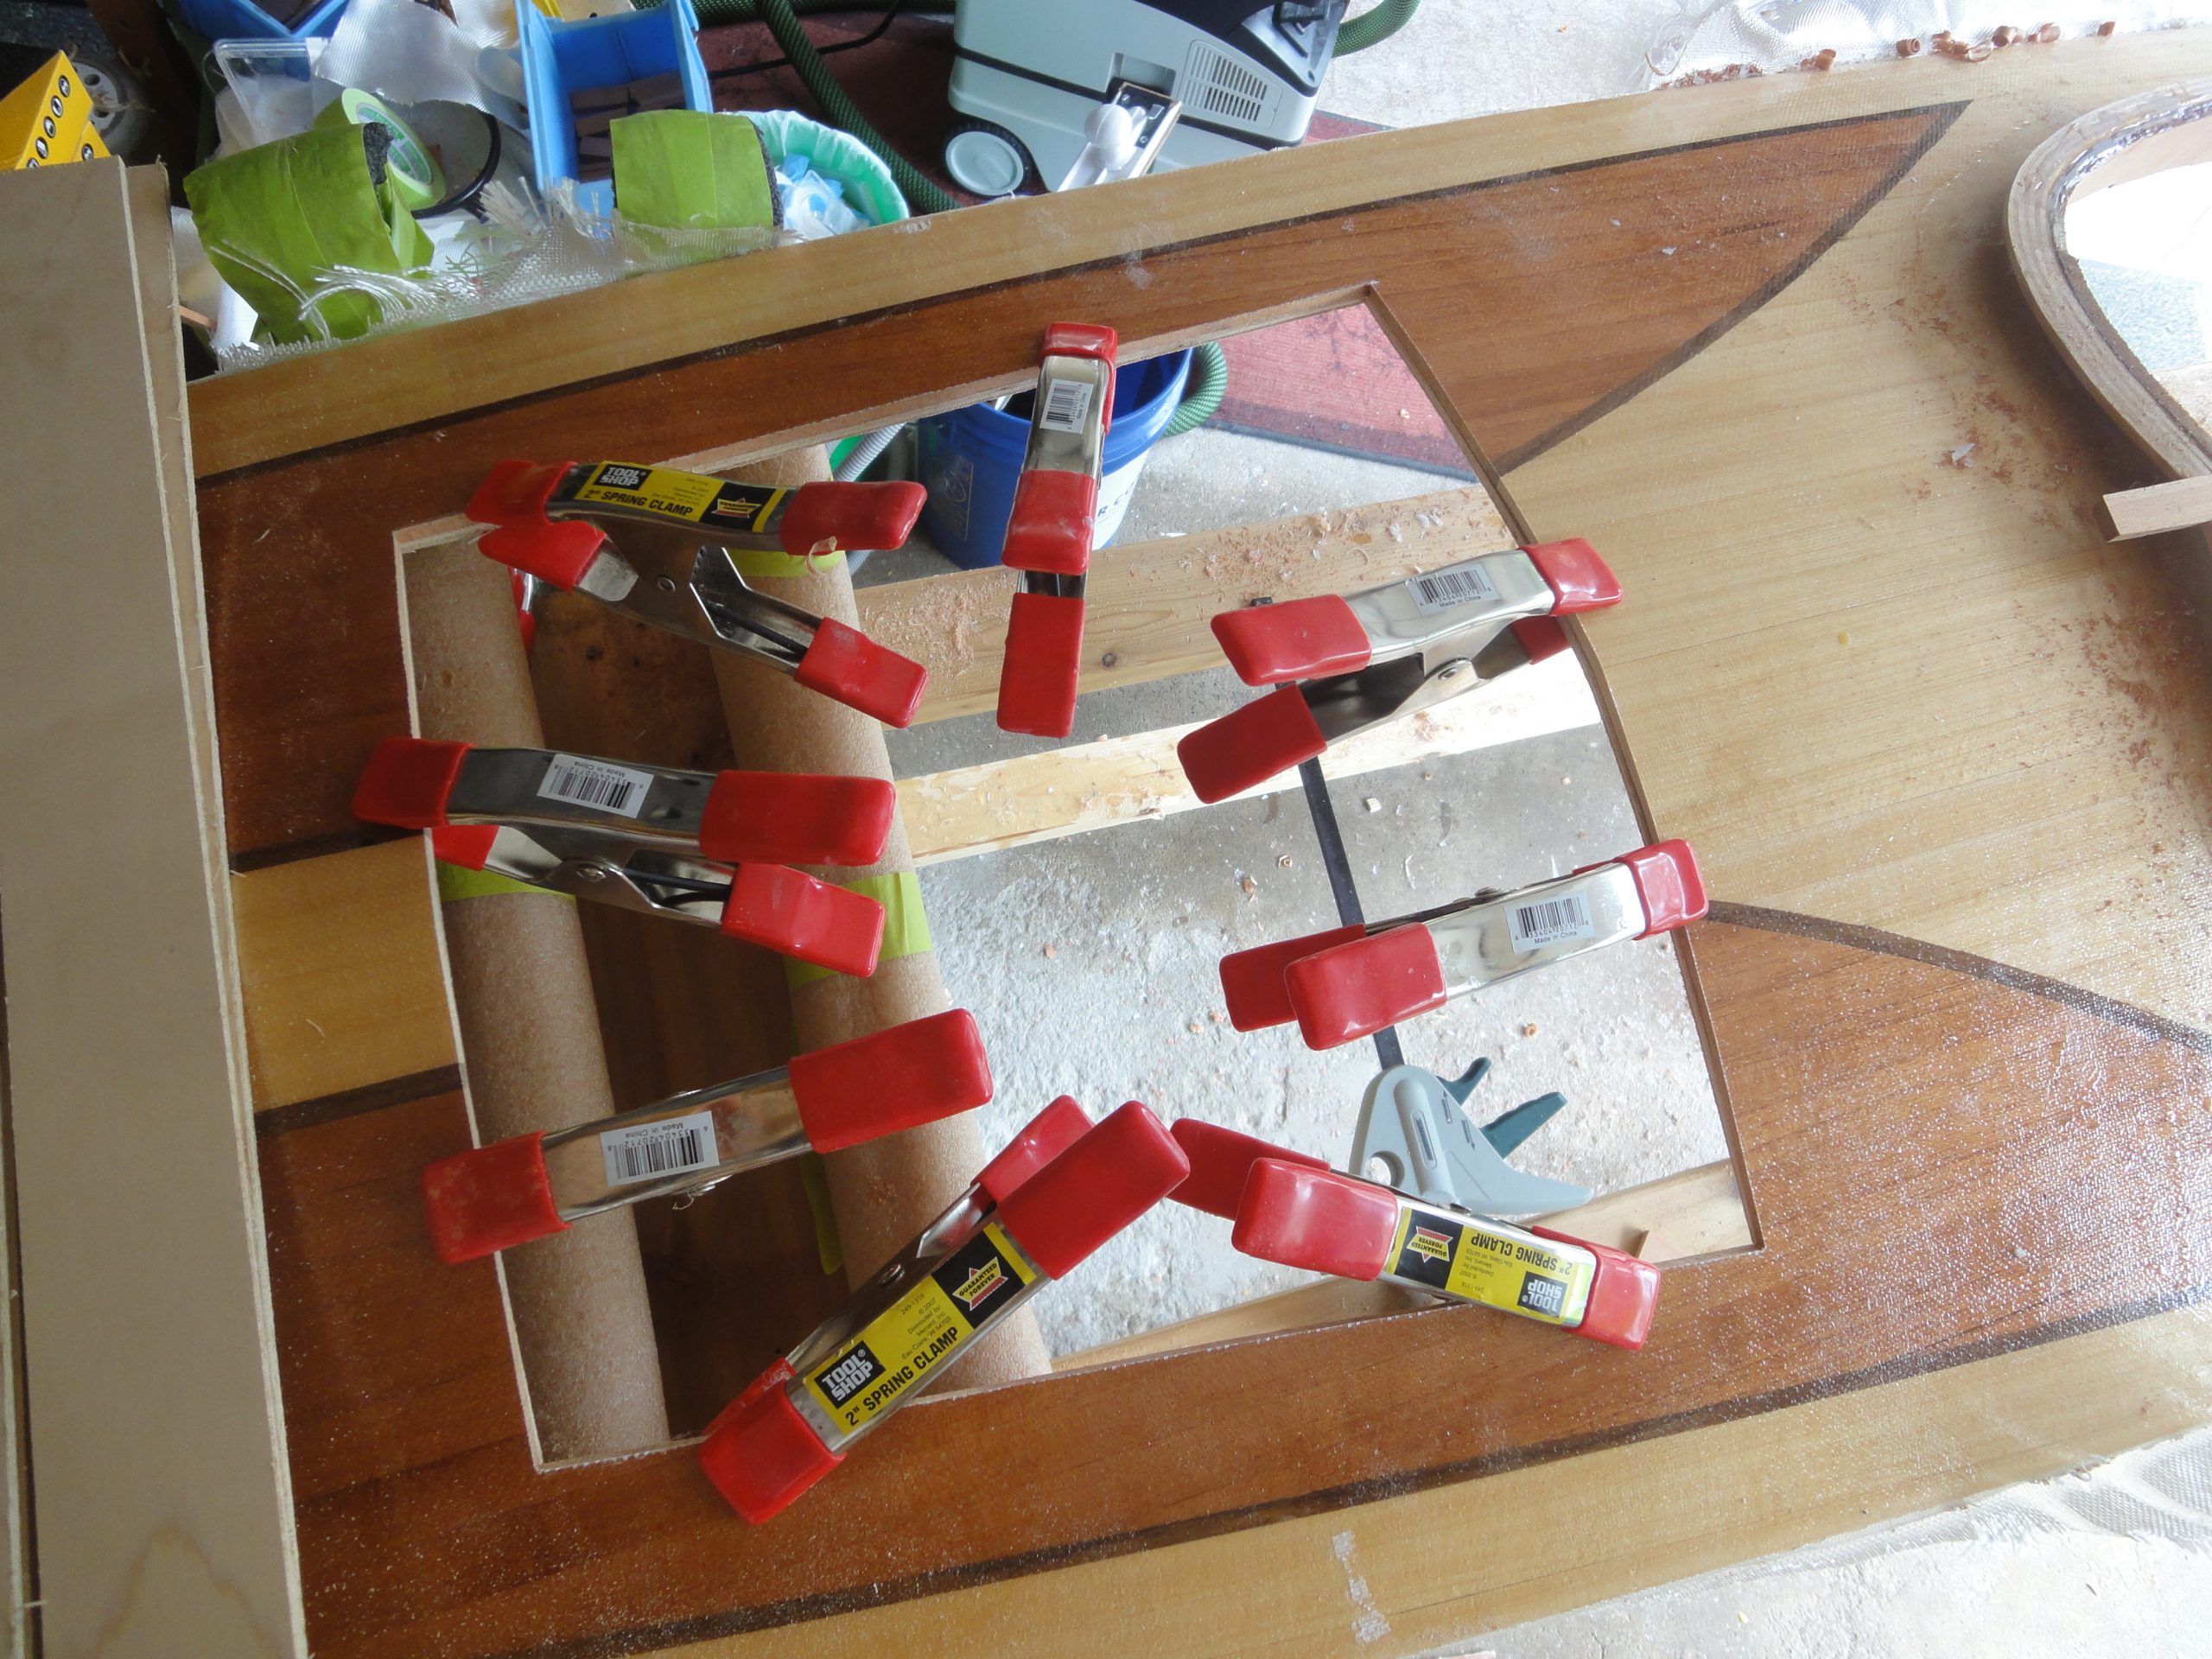
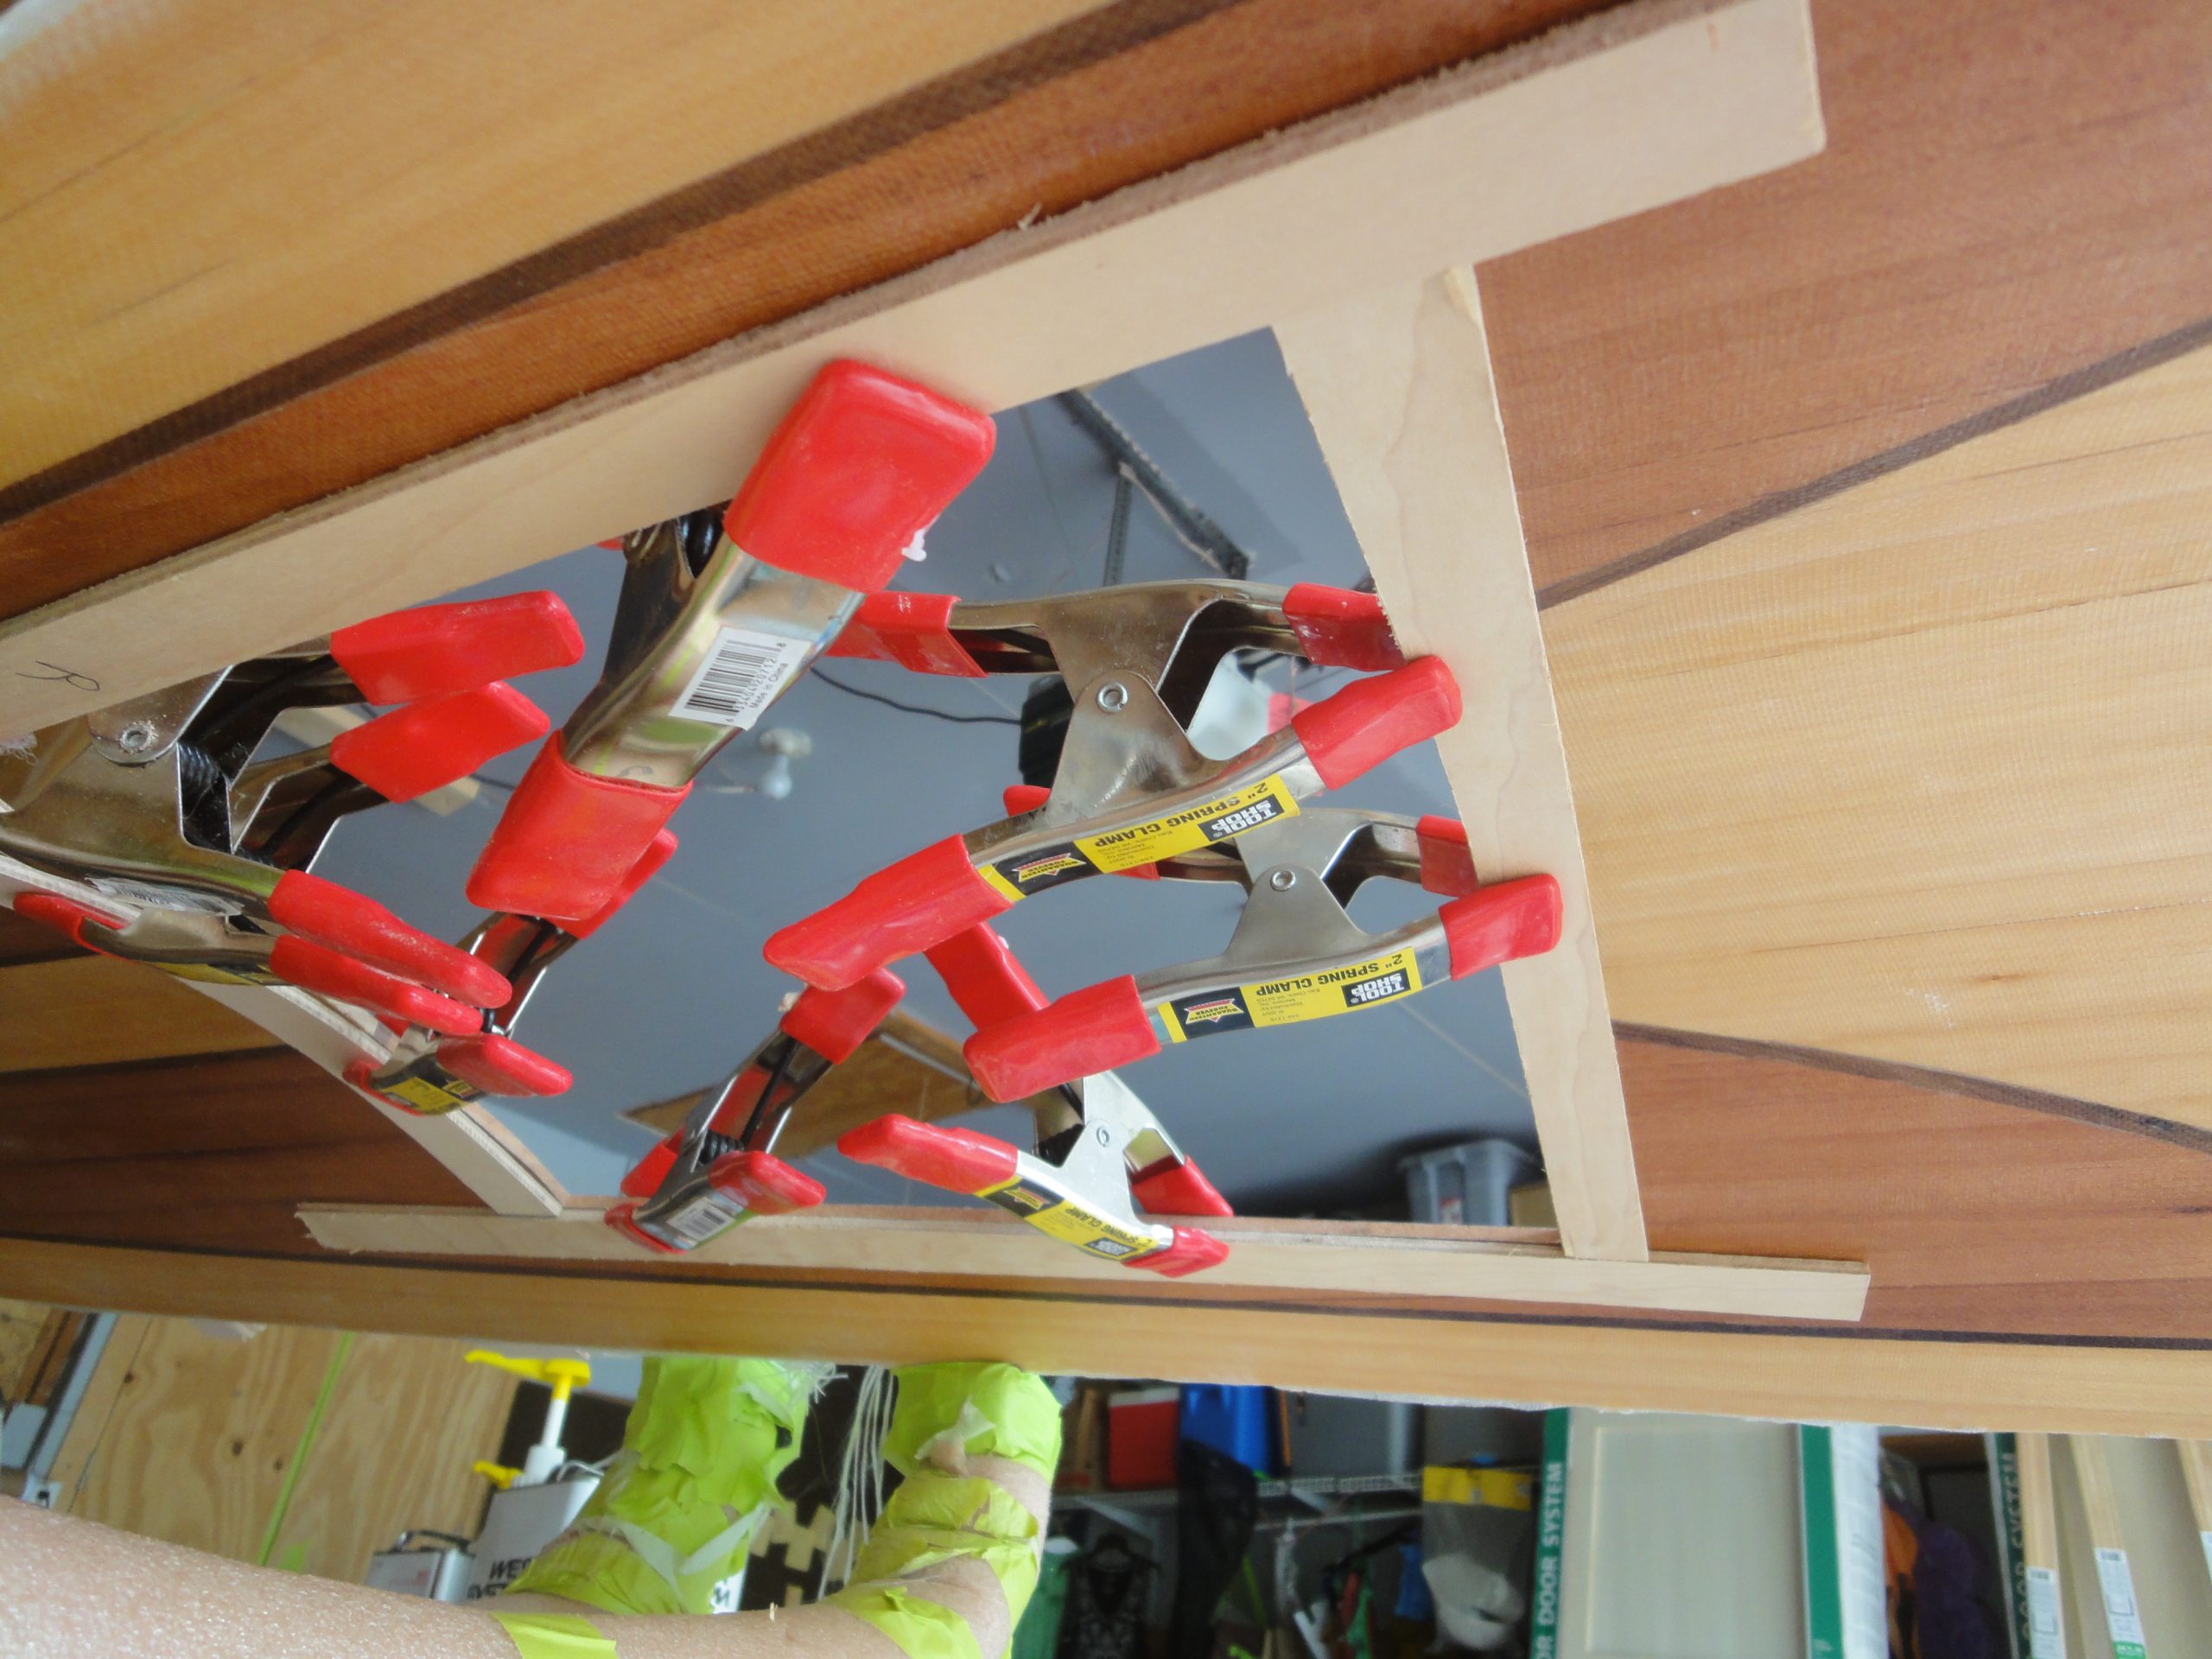
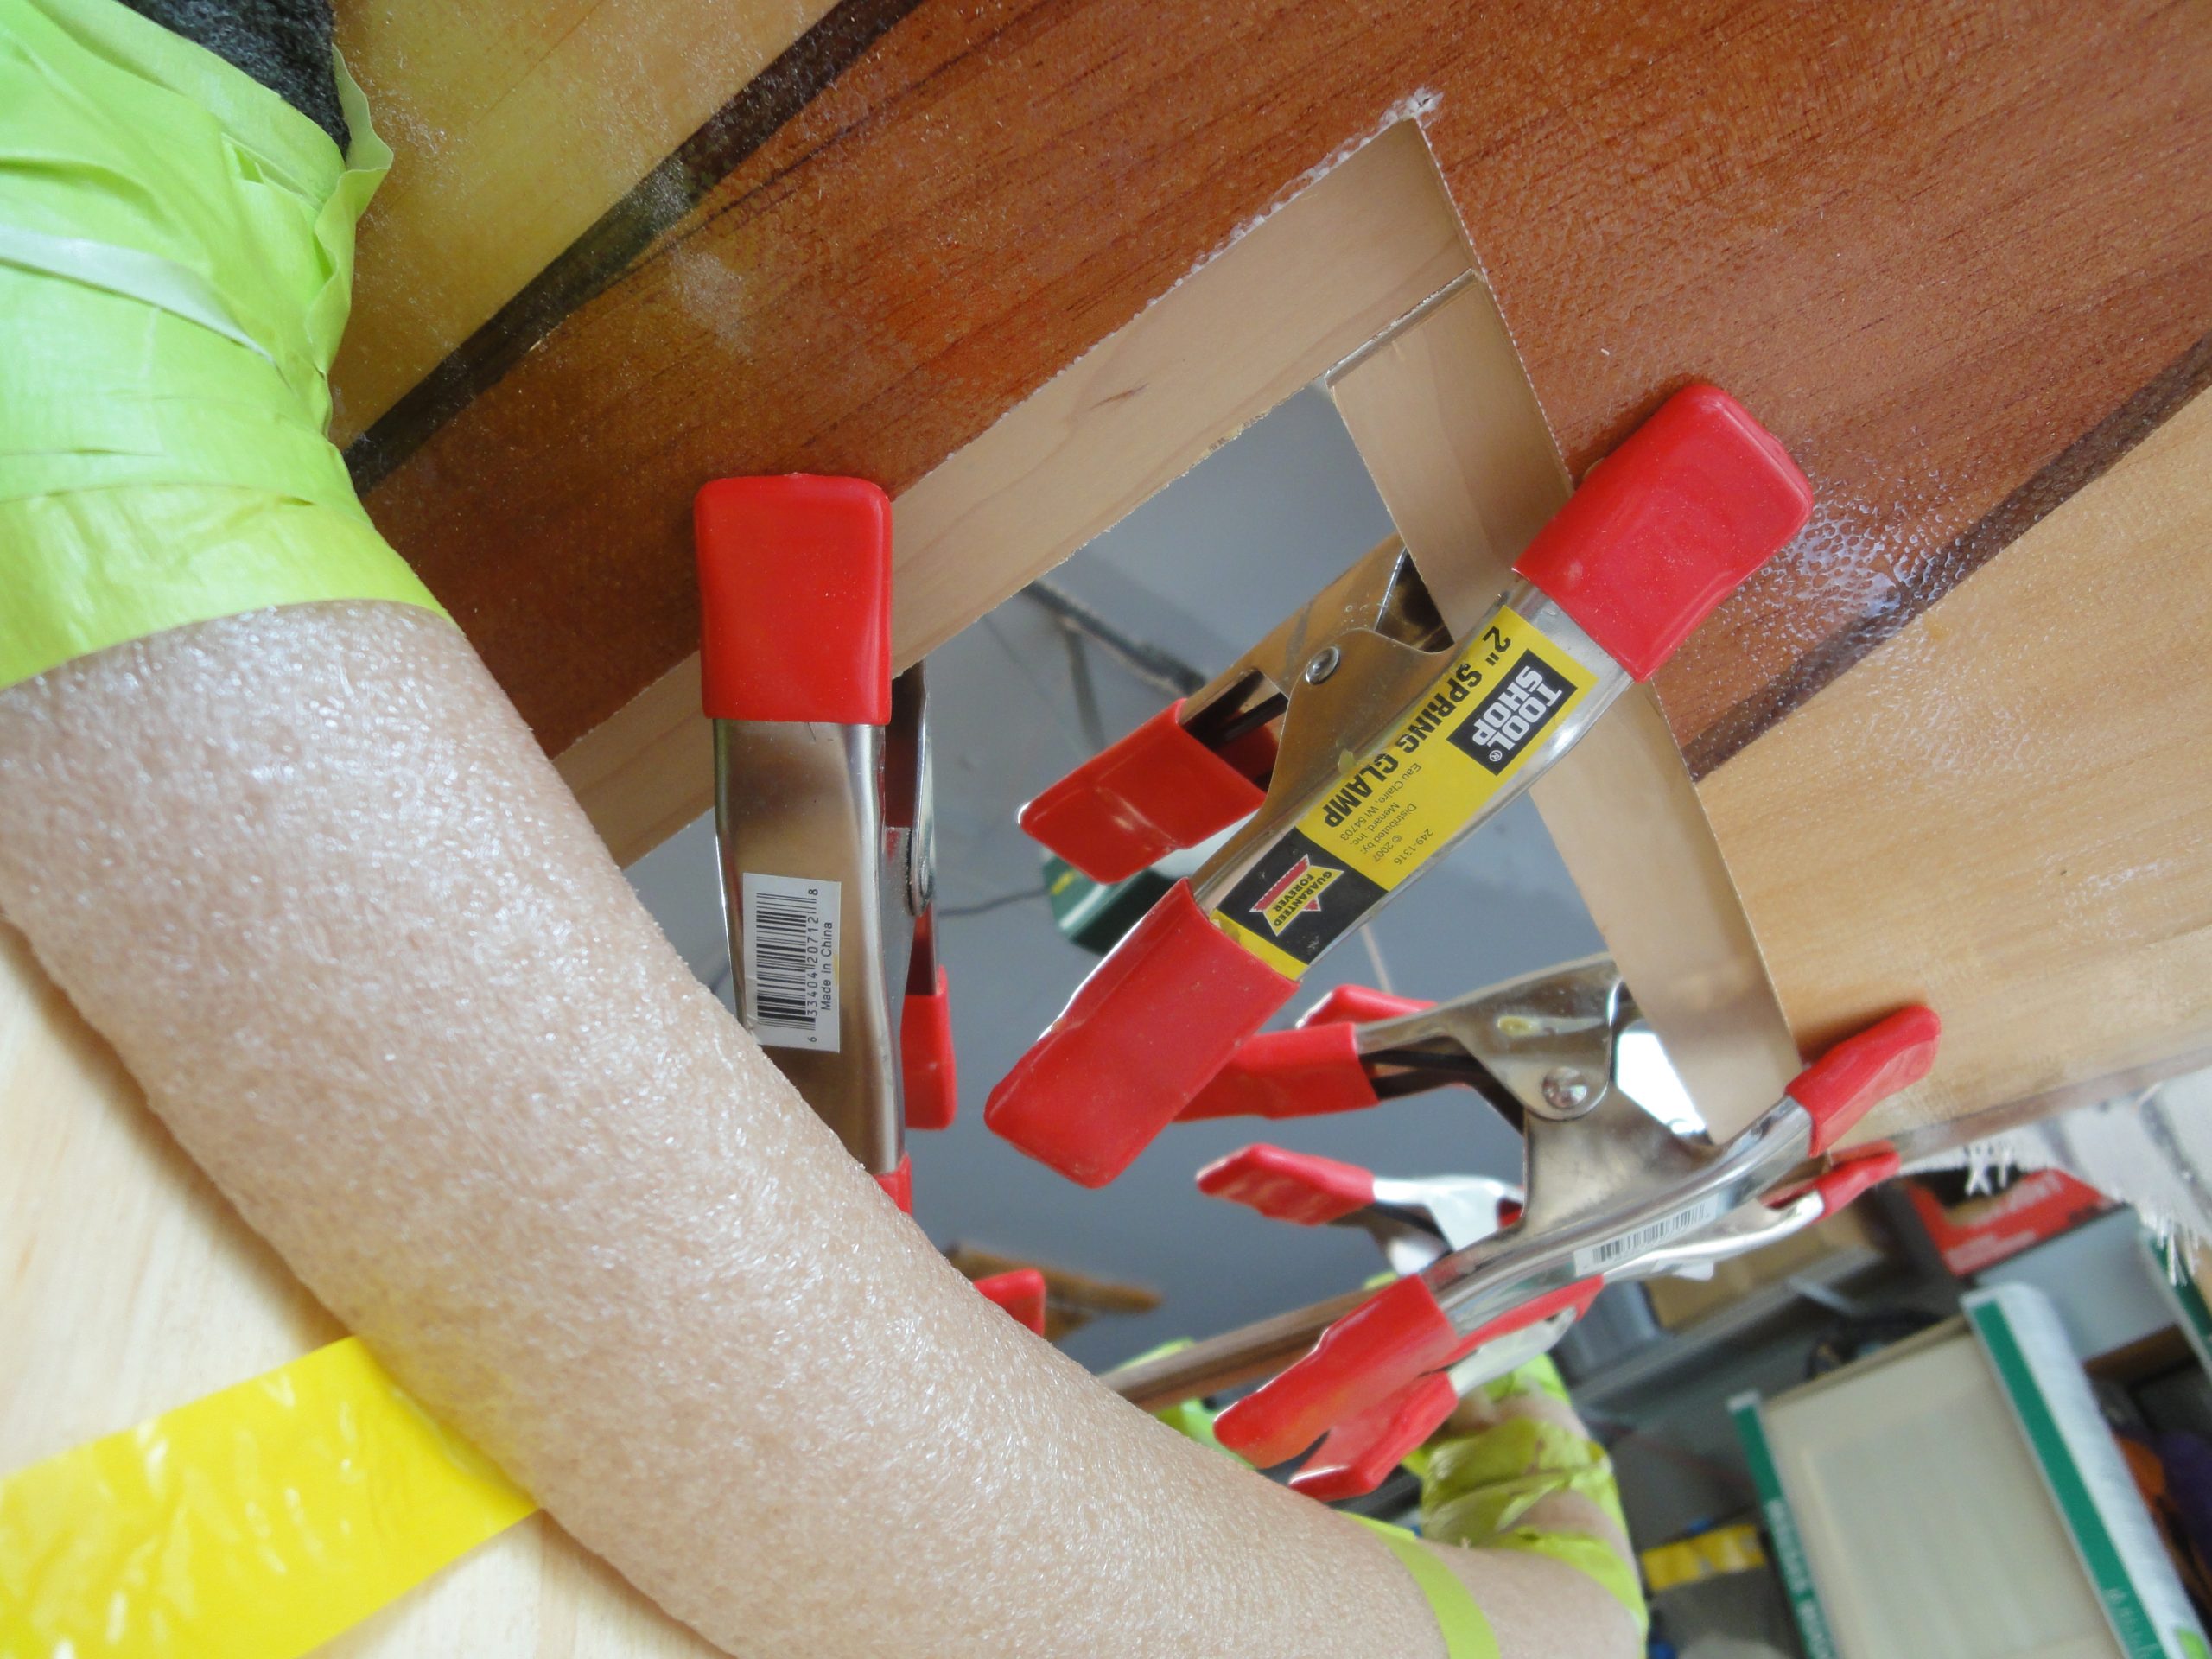
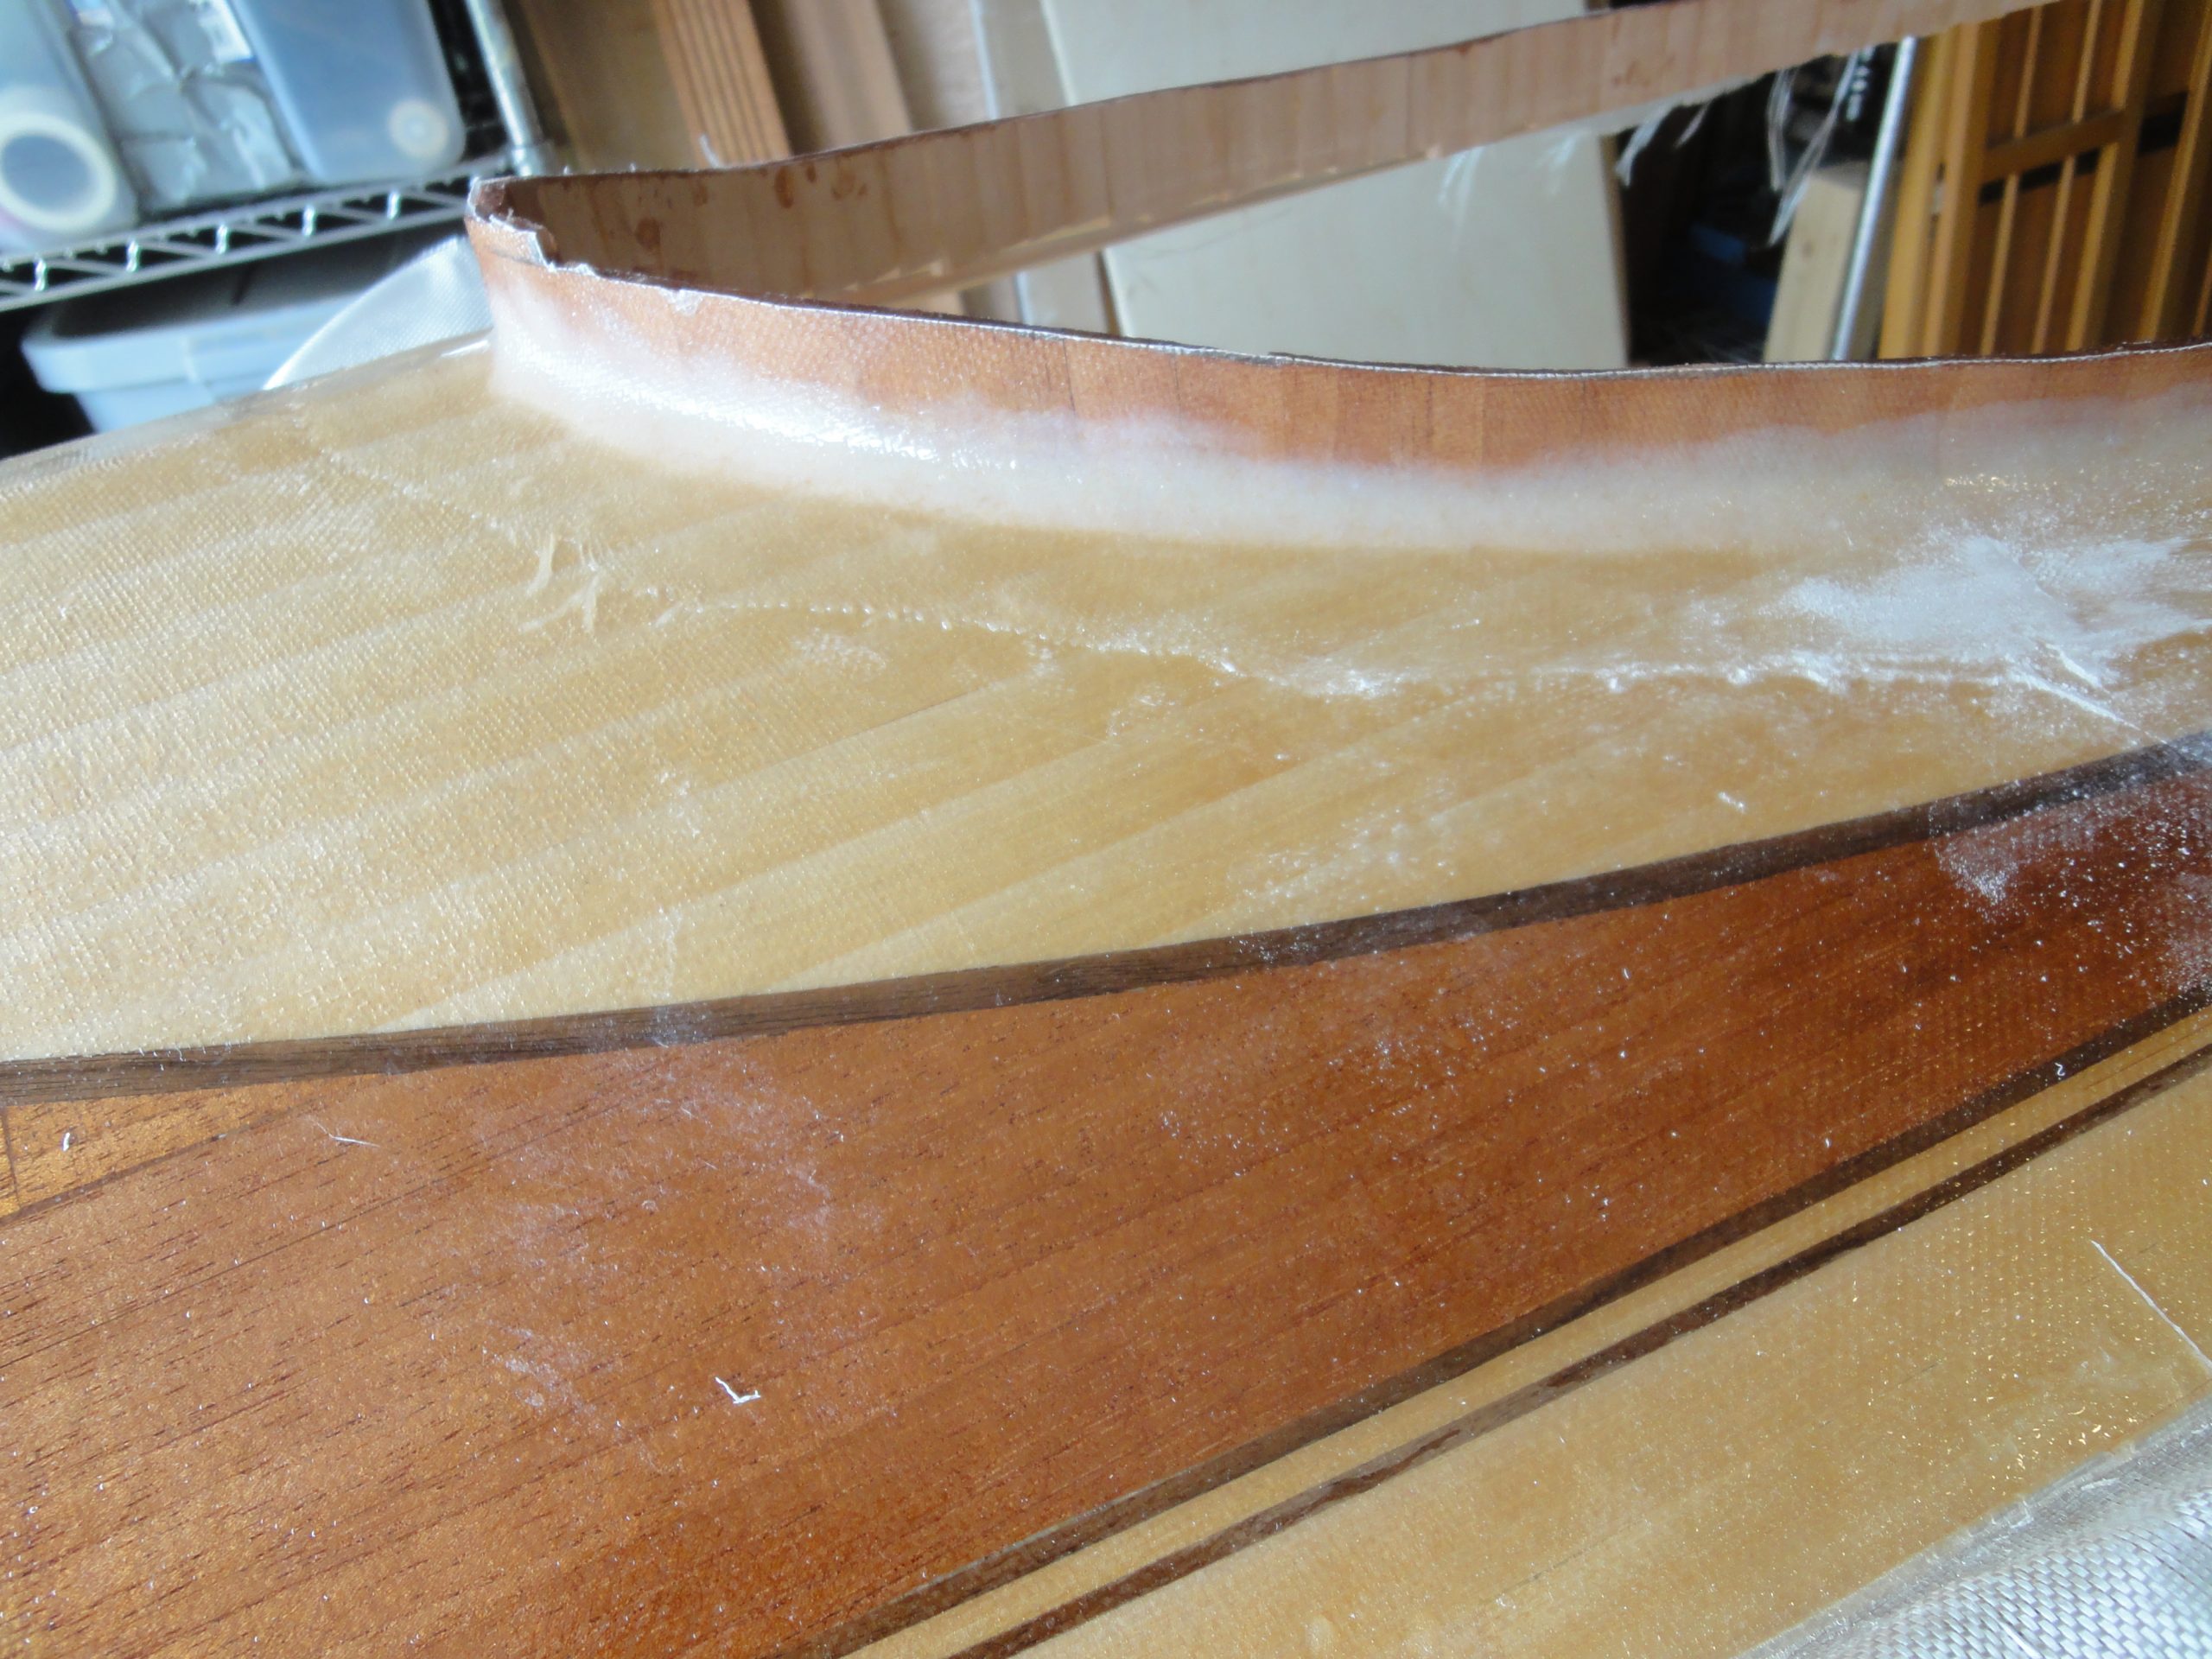
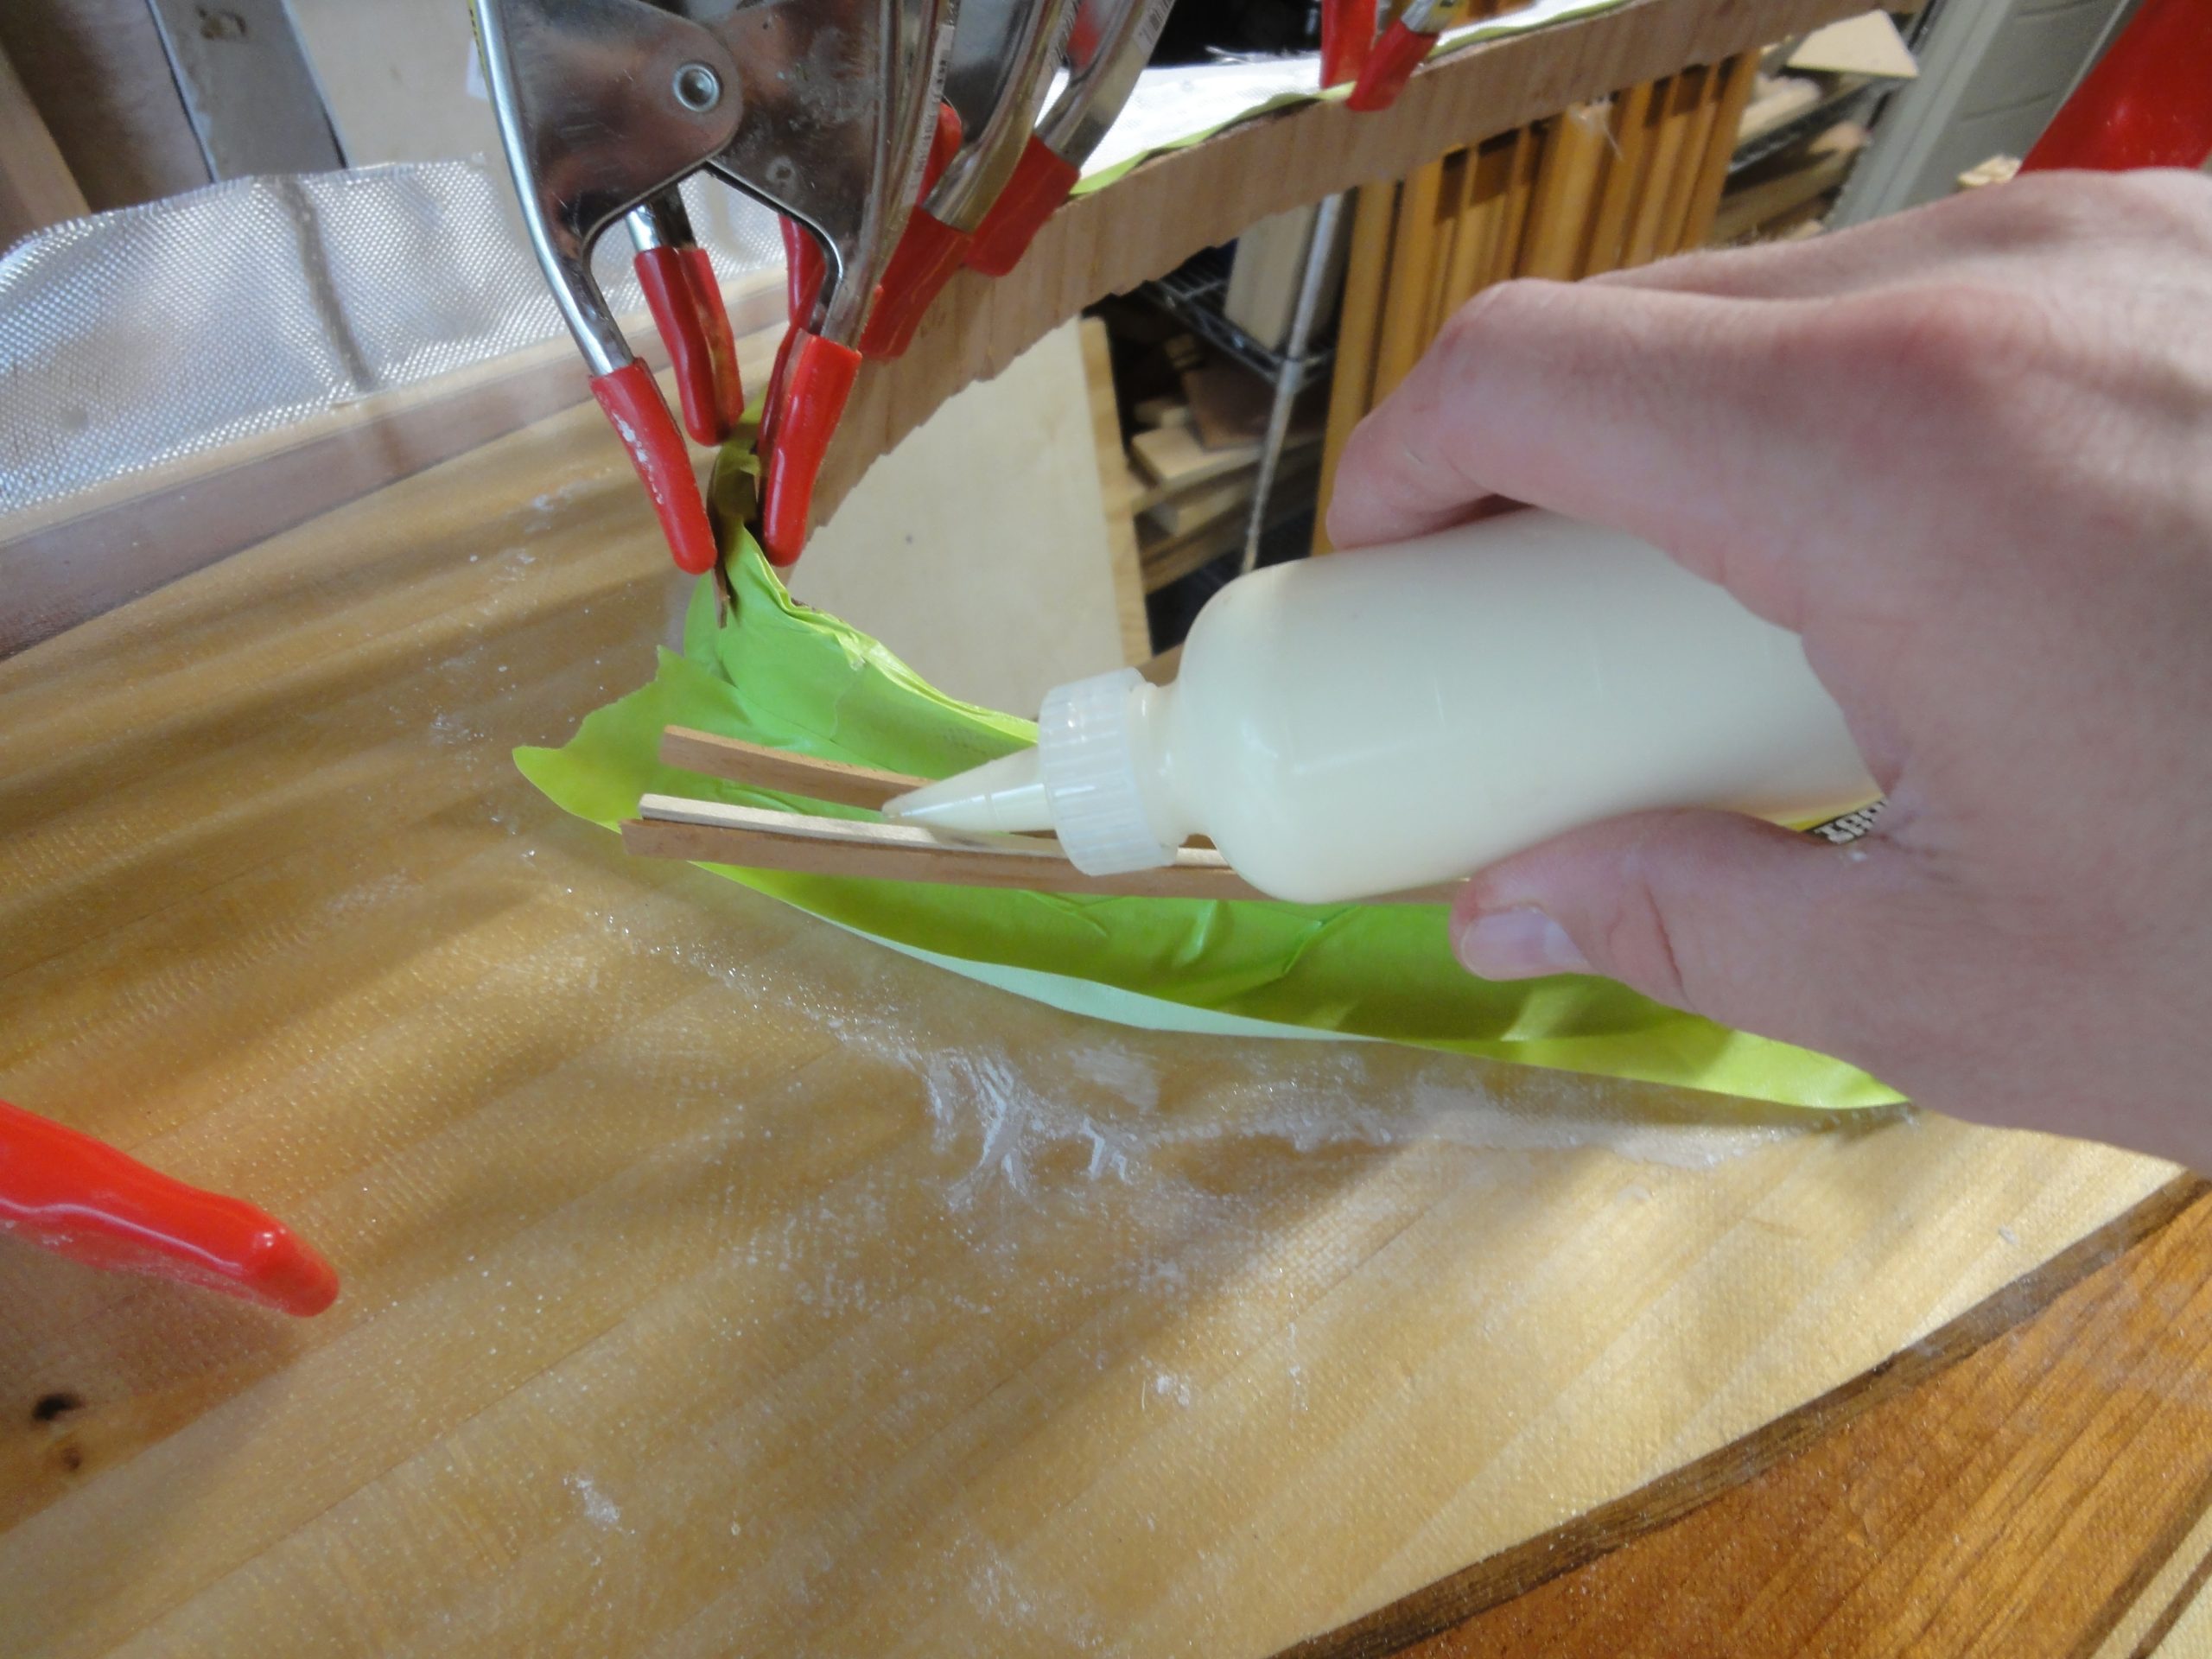
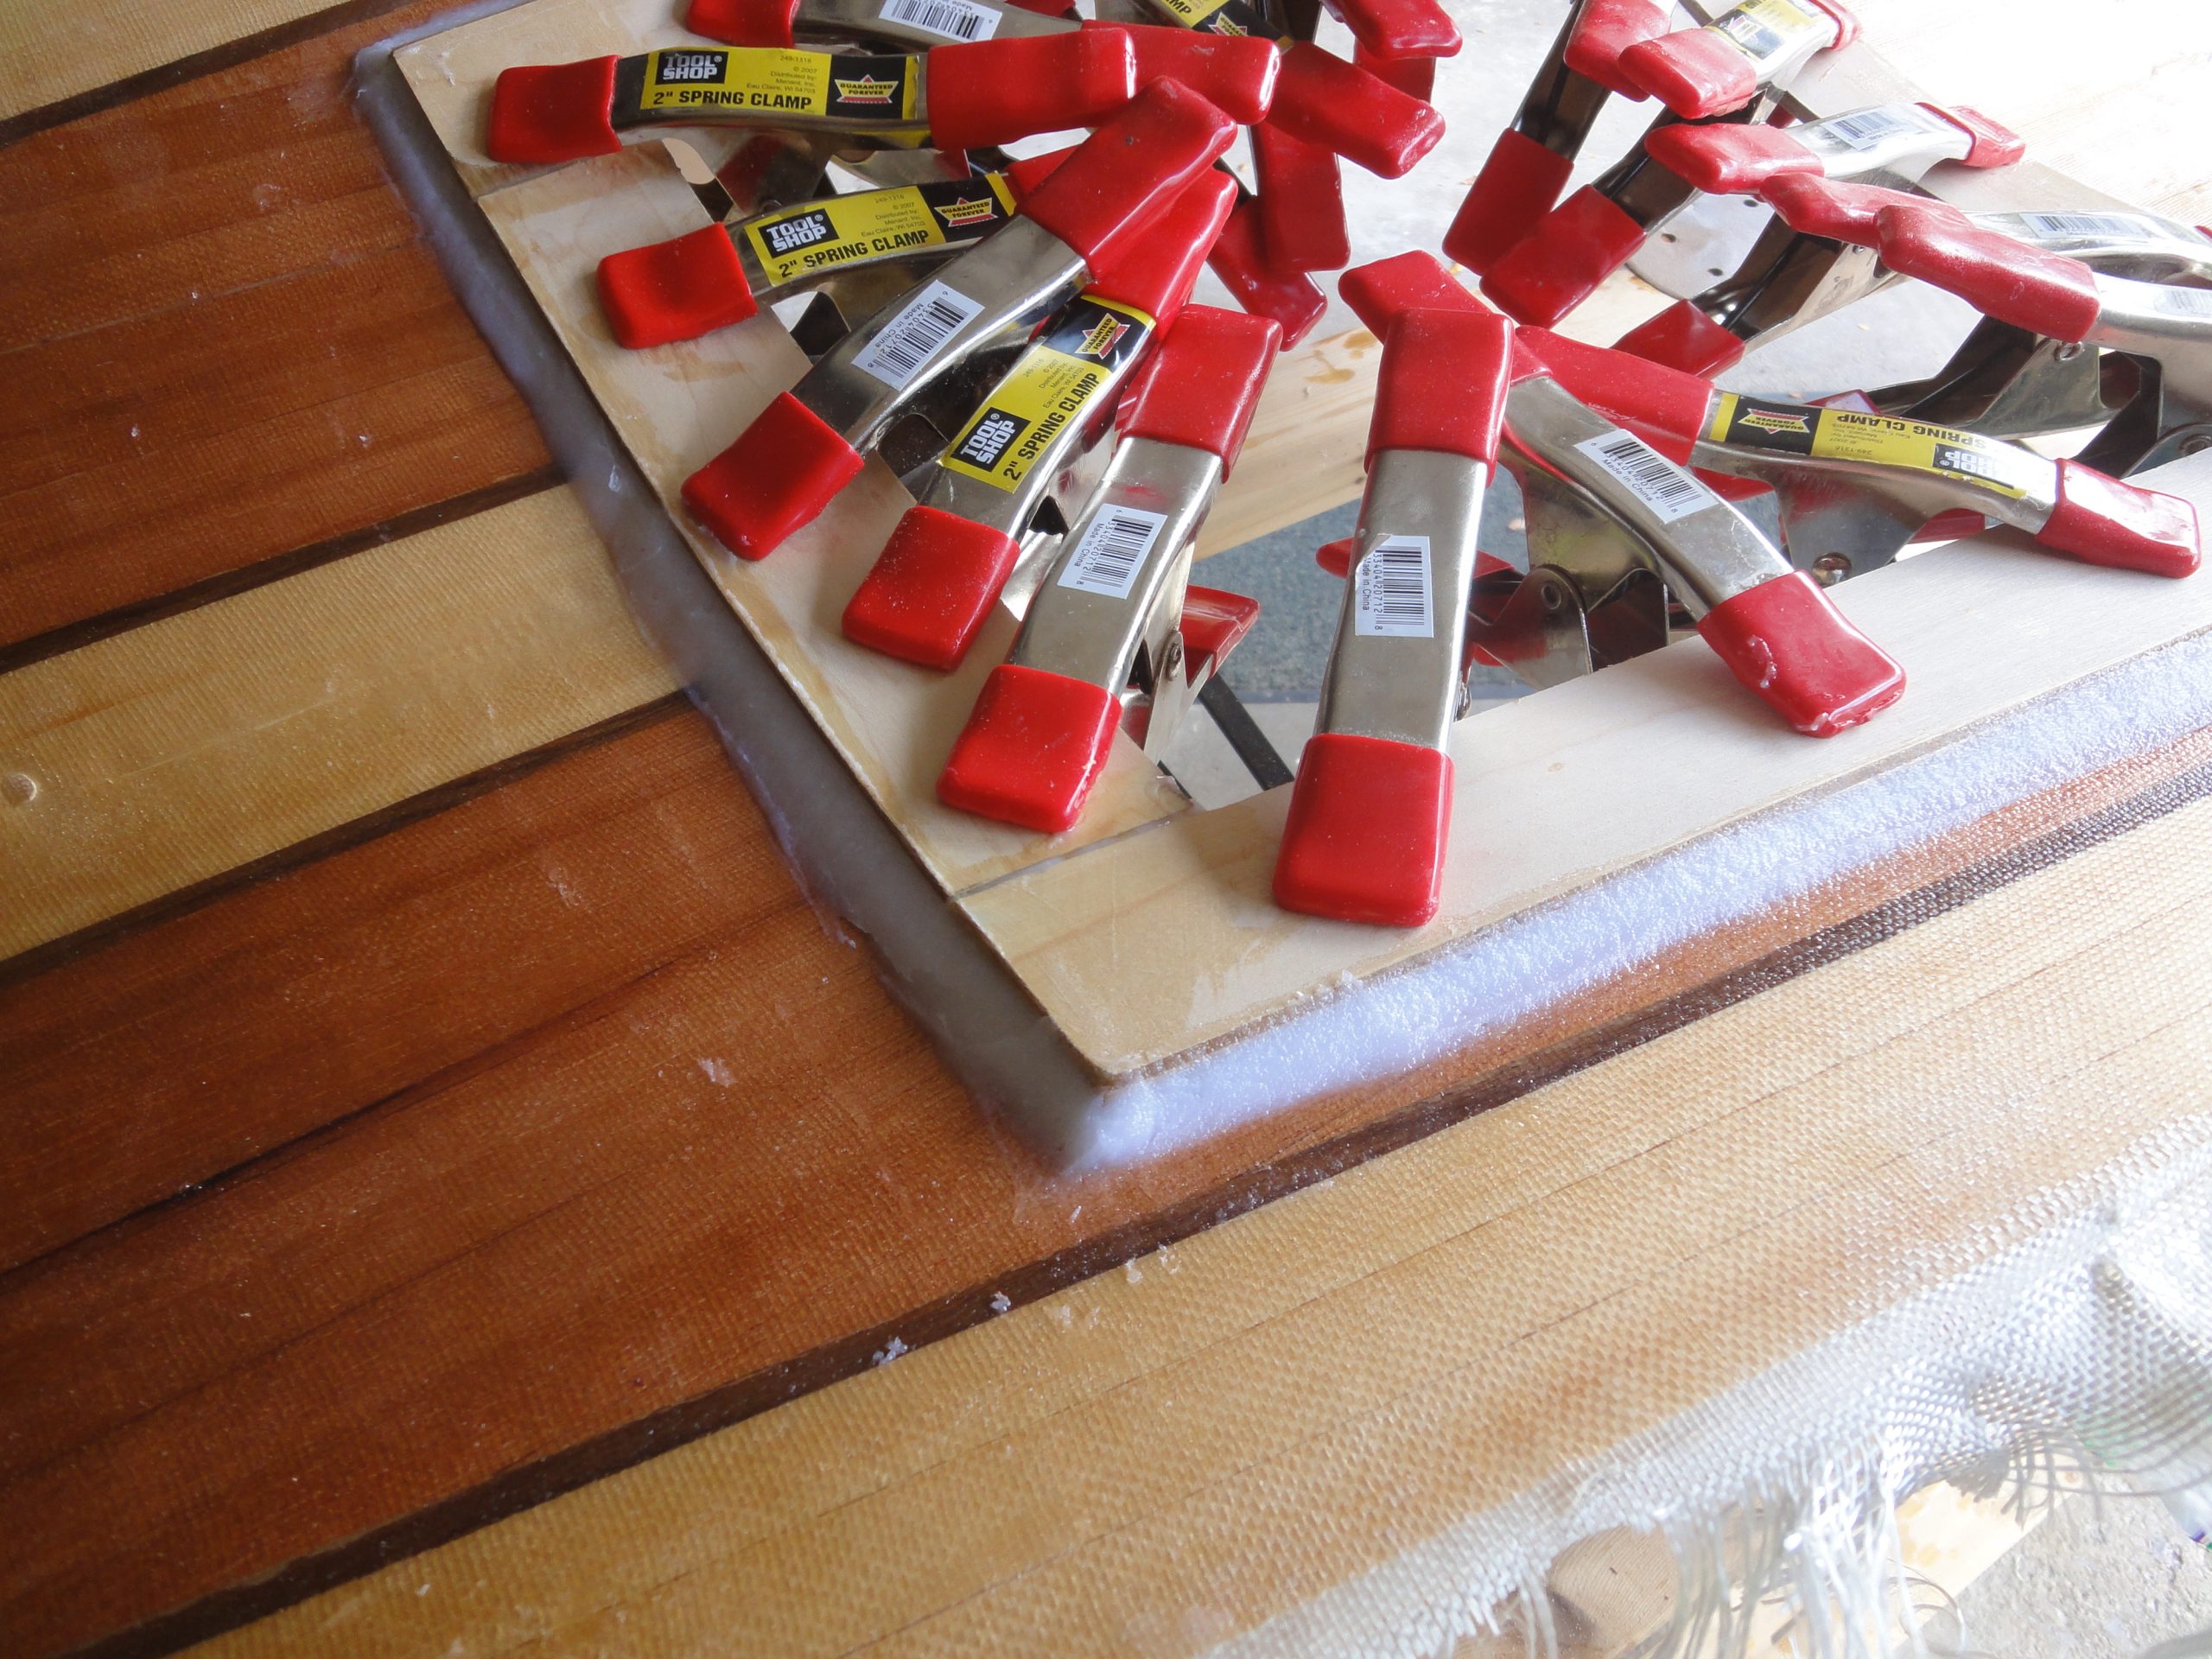
I then flipped the deck over so I could easily work on the underside. A thicker mix of the epoxy was made, similar to peanut butter. (no, I wasn’t wanting a peanut butter and jelly sandwich) This was put in a bag and piped along the underside corner. Using the squeegee and my (gloved) fingers I was able to smooth and shape it into a nice bevel. Directly above the epoxy bevel you can kind of see where I beveled the corner of the wood. This will allow a piece of fiberglass to wrap around and transition to the deck with out having any sharp corners.

While progress is good, it’s pretty obvious the changing of the seasons is going to push completion into 2021. I could maybe try to rush it this year, but then I need an inspection to get a serial number to then get permits, etc. Just not worth it when I won’t even really get to use it this year. I’d rather take my time, do what I still can this year and then wrap it up in the spring.

Off the top of my head I still have the following to do:

  • Finish the hatch
  • Make two bulkheads (make, sand and fiberglass)
  • Put a hatch in one of them
  • Order the seat
  • Install the foot braces
  • Interior: At least 1 more coat of epoxy and probably after sanding that I’ll still need a very light second one.
  • End pours
  • Carry handles at each end
  • Varnish the interior (to protect the epoxy, UV protection only applicable in the cockpit area)
  • Attach the deck to the hull
  • Install the bulkheads
  • Install the seat
  • Add extra fiberglass layer to the bow/stern stem areas.
  • Exterior: At least 1 more coat of epoxy and probably after sanding that I’ll still need a very light second one.
  • Attach deck line assemblies
  • Final sanding for varnishing
  • 3-5 coats (estimated) varnish on the exterior, sanding between some coats.
  • Install deck lines and bungie cords.
  • Contact IDNR to come look at it and acknowledge that yes it is a boat. Have them assign me a serial number.
  • Attach/engrave/??? the serial number to the hull.
  • Go get it wet!

According to the law here, since it’s not a powered craft and under a certain length I don’t technically have to get a serial number. I definitely do not have to register it each year, that requirement was eliminated for craft like this a few years ago. However some of the local jurisdictions require a permit to use it on their lakes and the permit application requires a serial number. Also if I take it out of state (planned to take to the boundary waters in MN) and I don’t have it setup in my home state then technically I have to register it in that other state before use. So just to make it easier for me down the road I’ll jump through the hoops of getting a home built boat setup with an official serial number.

So, the end definitely is in sight, but still a distance off too.

Coaming Wrap Up – Hatch Part 3

With the coaming all sanded yesterday today was a fiberglassing day. I had some left over pieces of straight cut fiberglass and started trying to apply it. It wasn’t making the curves and wrapping around nicely so I pulled it off, tossed it and cut some bias cut strips. When I applied those they wrapped around all the curves quite nicely. So the previous recommendations for using bias cut fiberglass have a lot of truth behind them and my, um, er… test… proved that out.

The fiberglass was placed on top of the coaming and then when wetted out and stuck in place I trimmed it off to allow just enough to wrap under the lip. The other side went down the riser portion of the coaming and wrapped onto the underside of the deck. All was wet out and epoxied to the deck. I used the squeegee to remove the excess (carefully as to not pull the cloth out of position) and then a quick pass with the torch to remove any bubbles. I was very pleasantly surprised at how nicely the cedar darkened up and popped. As the additional coats go on and eventually the varnish this should really look sharp.

I then moved on to the hatch. As it was dried from the glue up yesterday I removed the clamps and was happy with the result. A small split at the peak will not affect it when the epoxy and fiberglass gets applied and I’ll plane off the point to make a more rounded surface.

Since I’m using magnets to hold it down I have to start the work for attaching them. First I laid them out in pairs and marked the two outside faces. These are 3/4″ by 1/8″ in size each. They were purchased from KJ Magnetics and I needed 32, at least originally I did when doing two deck hatches. Worst case I have some extras, but ultimately I think even if I do a bulkhead hatch I’ll still use most if not all of them.

Next I got a couple of scrap pieces from when I cut the lip assembly. I stacked them and did a test cut at the drill press. The goal is to go fully through one and half way through the other. This will allow the magnet to sit in the half way hole and in the other one I’ll add a bit of thickened epoxy and the put the magnet into that hole. Since I labeled the magnets, as long as I keep the number sequence positions (5 in one hole and 5 in the opposing hole for example) and I attach them with the numbered side in not visible in either hole) then I shouldn’t have any situations where they end up repelling instead of attracting.

I also cut and fit a second set of strips that will sit on the lip (and eventually attach to the hatch). With these strips clamped in place I went ahead and drilled the first hole. And promptly went all the way through both boards. Sigh.

Analyzing what went wrong I and I realized that the frame wouldn’t sit flat on the drill press table like my scraps did, and being just an eight of an inch up was enough for the bit to go through. So I bit the bullet and did all the cuts with it raised up on a block. I cut through the first hole and just a bit into the lip assembly to have a mark, then I went back and aligning to these marks, cut them free handing the depth. It came out just fine. Mostly. Sigh again.

The lip assembly actually was the part that worked fine, but one of the strips had a blow out where the narrow wood along the edge of the hole crumbled. So I cut another piece, fitted and shaped it and used the first as a template for the hole location. While cutting the replacement piece, it too blew out. Sigh… for the third time.

But I guess third time was a charm as when I made the piece, yet again, and cut the holes all went well.

Given the frustrations I thought it best to call it quits for today instead of plowing on and risking a really bad mistake that couldn’t be easily fixed.

The coaming is effectively done. It, like the rest of the kayak, will still need a sanding and an additional coat or two of epoxy but that will be done when all the rest of this little fidgety stuff gets finished.

Coaming Part 5 & Hatch Part 2

Got some good time in today and made substantial progress, although mostly on “little” details. I’ll start with the continued coaming work.

The little bit of the riser sticking above the lip was trimmed close to flush and then the extra was planed and rasped and sanded off. At the front and back where the lips didn’t quite meet nicely I trimmed both back and then fit a piece of cedar into the gap. I’ll trim it off later.

While these were drying I flipped the deck and trimmed off the riser parts that were sticking below the underside. Once cut off, that rough edges were planed, rasped and sanded flush with the underside of the deck.

The corner is a sharp 90 degree angle which will not feel nice if you bump it, risk a scrape or minor injury if/when an underwater exit is required and most of all the fiberglass doesn’t like hard angles so wrapping it around this will be difficult. So, again with the rasp I rounded it over. I considered a router with a round over bit which would work fine, but only for the underside. The top would still have to be done by hand. And when it comes down to it, by the time I get the router out, install the collet, insert the round over bit, run a few test cuts on some scrap to get the depth right and then do the cut… well it was faster to do it by hand. Literally took less than 5 minutes for the underside.

Once completed I used 40, 60, 80 and 120 grit sandpaper to smooth out the rasp marks. Some left over sanding disks from the random orbit worked just fine. The deck was flipped and a similar process was done on the inside of the lip. Moving to the outside lip I’ve got an upper and a lower portion. The upper is pretty easy to do and I started by taking a few passes with the block plane and then finished up with sanding. I can’t get the block plane on the lower part and the rasp didn’t really fit either. So I used a scraper to take the corner off and then once again ran through the four grits on all three rounded corners of the upper lip.

I actually bounced back and forth between the hatch and the coaming. As one glue up was drying I’d go work on the other part. So the above and the following steps were actually somewhat intertwined in execution.

The hatch was cut out the other day but now I need to construct a lip in the deck to hold the hatch in place. There are various methods, some involving twist cam locks, others just held in place with bungie cord. Most plastic kayaks have a screw on lid or a stretch fit rubber cover that goes over the opening. While all are valid, I want to keep my kayak mostly wood in appearance so that eliminates some options. The bungie cord would be fine but I’m hoping to keep the deck somewhat clear. So I researched alternatives.

What I settled on is to hold it on with magnets. Using rare earth magnets, which are very strong, the hatch cover should easily stay in place even if the kayak is upside down and has “stuff” sitting on the lid. To make this work I have to construct a lip to hold one half of the magnets and a seal that will keep out any little bit of water that splashes into the small gap between the hatch and deck. I looked at some examples out there and came up with a design that I believe will work well.

To start I got a 2′ x 2′ piece of plywood that is 1/4″ thick. I ripped four 2″ pieces and eight 1″ pieces. Four of the 1″ pieces were clamped to the underside of the deck and then trimmed so the fit nicely without overlapping.

The 2″ pieces were then positioned on top of the 1″ pieces, flush on the back side so the extra inch protrudes into the hatch opening. These too were trimmed to fit.

Once I was happy with the layout I took all the clamps off and protected the underside of the deck with tape. I then put the 1″ pieces back into place and glued along the butt joints. Not that this will be structural but I figured it couldn’t hurt. I then overlaid the 2″ pieces and glued them to the 1″ pieces and made sure everything was well clamped in place. I’ll leave this to dry overnight.

Coaming Part 4, and The First Cut is Not the Hardest

First up, coaming work. I fiberglassed the underside of the coaming rim as this would be very difficult to do later. Pretty simple process. Some protective paper on a work surface, then bias cut fiberglass is laid over the strips. Using the dabbing technique I wet out the cloth. Later a second coat was added.

What I forget to get pictures of, was after these strips were dried I trimmed off the excess fiberglass, sanded everything smooth and then using a thickened epoxy I mounted them to the outside of the coaming riser. A sharp eye will note the R and L designations, however these will be underneath and never visible. I labeled them to ensure I epoxied the correct side.

Prior to attaching them to the riser I sanded the inside smooth using a combination of shapes with sandpaper attached.

Now in between applying the fiberglass and attaching to the coaming I had a few days while I was waiting for the epoxy to setup and dry. For awhile now I’ve been considering the hatches and what options I might have. At the moment I’m undecided on if the front hatch will be in the deck or if I’ll make a bulkhead mounted hatch. The latter is not common, but has been done before.

However the rear one is a given. First I took measurements and then drew some actual size templates to experiment with placement and appearance coupled with how big of an access opening I’d actually have. I carefully cut them out and started experimenting with placement.

One thing that goes in the “oops” category is that the front decorative elements are not exact mirror images of each other. Close, but when I put the template there and measure up from each side, to center it, I found it noticeably closer to the edge of the red on one side compared to the other. I could offset it so visually it would be centered with the red but then physically the opening would not be centered. So, more and more I’m leaning towards a bulkhead hatch instead. With my elongated cockpit it won’t be difficult to reach and with my planned activities, the front storage will rarely be used.

The rear one fits nicely, but was too far back in the picture. I since adjusted the template much closed to the cockpit. Once satisfied I taped it in place then marked the cut lines on additional tape applied to the kayak. This tape will help protect the surface as it’s cut and provides somewhere to actually see the lines I mark.

So I mentioned the first cut was not the hardest… the second one is. With the deck much further along, fiberglassed, epoxied and a lot of coaming work completed the thing that had me really concerned was cutting out the hatch. Once mistake and potentially the entire deck would have to be redone. I considered using a jigsaw/saber saw but I don’t get the quality of cut with my saw that I would like. A router with a 1/16 inch bit would work but I’d have to fashion a template which would have to work with the curved surface and once again one slip and bye bye deck.

I finally decided the least destructive way to accomplish this cut is by hand. It’s worked for many other parts of the boat and it’s really difficult for a cut to get away from you. To assist I did clamp a guide board right along the line and ran the saw against the guide board.

To say I was very pleased with the result would be a big understatement. Once I build the underside lip and get the hatch back into proper position, the cut line will all but disappear. It really went much better than anticipated and I now see I was stressing over this step for no reason. Or perhaps all the stress I felt helped me to really think it through first to ensure it was done right. Either way… progress!

Coaming Part 3

This work was performed over three days. After completing the riser portion and letting it dry I was very happy with the results. In hind sight I might have put it on a bit thicker and larger than necessary, but as this is my first build I’m not complaining. The picture below shows it whiter and brighter than it appears in person. Lifting the deck by the coaming no longer feels like it’s about the all fall apart but rather is very solid. Where the edge of the fiberglass laid out on the deck there were a few rough spots. I sanded a couple just to remove sharp edges. Note, I think I sliced/stabbed my fingers a half dozen times in less than a minute prior to doing this! Be very careful around fiberglass edges and have extra bandages on hand!

In preparation for the lip I created a little spacer jig that can sit on the deck and project where the bottom of the lip should be. Using this I lined up the first strip and in the process worked out some kinks. Figuratively and literally. The strips I had left over were not long enough to completely circle the cockpit. They also would not going to make a “V” bend at the front. So I decided to start at the point of the V, run half way around and cut off the excess. Then I would repeat on the other side. If I got really lucky I could trim them just right and have both joints meet nicely but I’m not expecting that to happen and already have a plan B in mind that will look intentional and not like covering a mistake. (at least I hope so).

Now I also don’t think I have enough strips of one wood species to make the approximate 3/4″ thickness I am aiming for. Easy solution is to just rip more. But before going through all that setup work I did some experimenting with mixing species.

I really liked the alternating strips and the walnut was a nice touch but it was also thicker and not liking the bends I was asking of it. With just the Spanish Cedar and Basswood I had enough to do the full lip. So I went with the alternating pattern in the middle picture.

Strips were glued 3-4 at a time with many clamps to keep everything in alignment. So many that I actually ran out trying to do two sides so I just worked on one side at a time. A section would be left clamped while another part was left free. Glue applied between strips and then slowly working around they were clamped into position. The other part was then un-clamped, glued and re-clamped. The wood had to follow the curve around the coaming and also a vertical curve to match the height. Being 1/8″ or less in thickness they followed along nicely.

I allowed a full overnight dry just to ensure all would be good. The strips actually held the shape pretty closely after removing the clamps. Of course with all the glue there was some clean up required so I shaved each one lightly with the block plane until both sides were smooth. In the process I created a bunch of wood “bacon” shavings.

Next I’ll need to fiberglass the lip to strengthen it and then fasten it to riser, perform some more clean up and then finally fiberglass over the whole area.