Well, the kayak is complete. It took about 2 1/2 years (working some spring and fall but mostly summer months) to accomplish. Warning in advance… this post is long and rambling. But I’m trying to include a lot in it. Gratuitous pics and a video at the end.
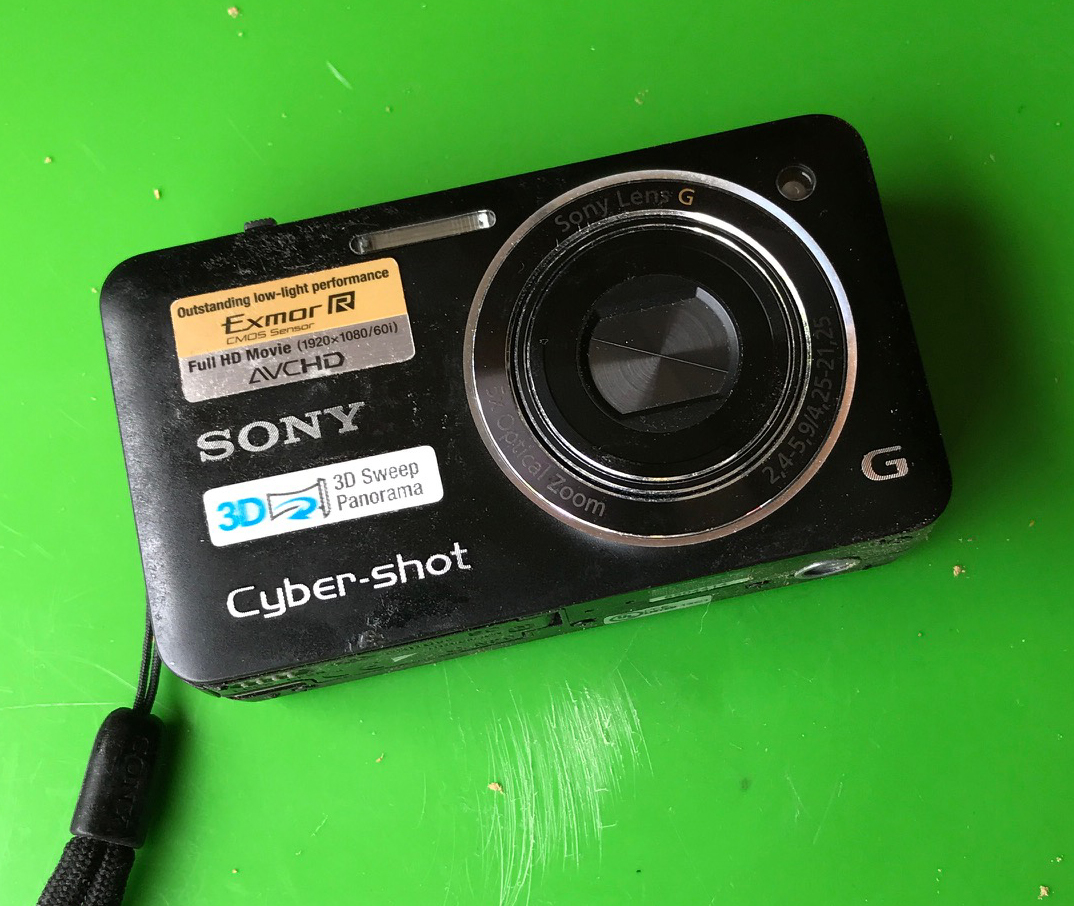
To start with I found keeping up this blog and my work log and documenting my equipment, supply and tool purchases in addition to actually building a bit extra challenging but it also gives me something to point people (friends, coworkers, etc.) to when they ask for details about how I built it. The photos and videos on here were almost all taken with a cheap used camera I got off Ebay just for this project. I think I paid $15 for it. I didn’t want to use any “good” equipment and risk ruining it with epoxy or dropping it or something.
I was very pleasantly surprised at what this little old used camera did. Sure it had few quirks, mostly on close up stuff, that I had to work with but otherwise did a great job. Here is a shot of it near the end of the build. Most of the “gunk” you see on it is dried epoxy. The model is the DSC-WX5 and looks to be a model from 2010. Over 1100 photos and a handful of videos were taken while documenting the build.
What did I learn while building the kayak?
Plenty.
First that I enjoyed building this very much. Even during some of the more trying and difficult steps I still had fun. I also didn’t push to meet any time table or artificial deadline, instead accepting that it would be done when it was done.
I also learned that spammers and other “bad people” like attacking blogs. I get a few dozen attempts (minimum) every week from hackers trying to take over this blog. Thankfully I don’t use many addons so that keeps them mostly at bay and the security options I have set seem to do the rest.
Interestingly enough since I started this blog I’ve had about 19,000 visitors who’ve viewed almost 50,000 pages. This already filters out the “bots” that crawl the web. I’m sure some of these visitors got here by accident but that still leaves quite a number of people interested in info on building a kayak.
I learned to use both cheeks. This is a tongue in cheek reference to not doing it half assed (or one cheeked) that my wife and I use. Many times I just wanted to move along and skip over something or decide it was “good enough” but still not right. In these cases I stuck with it and ensured it was done right, or even re-did something to make sure I wouldn’t regret one cheeking it at some later date.
Fiberglass cloth is easy to work with. Fiberglass cloth covered with solidified epoxy is basically a sharp edge of glass. I can’t even count how many of these slices I got along the way.

Watching Nick’s videos https://www.youtube.com/c/NickSchade/playlists (Petrel Play is a good “quick” series, but the Micro Bootlegger Sport is really worth the few dozen+ hours you’ll spend to watch all) is a fantastic way to see what it is that you’ve read about in books or seen in sill images. I can’t thank him enough for putting these out and have been a Patreon supporter of him (https://www.patreon.com/NickSchade) for awhile now as a small way to support what he is doing and to give back something to him.
For the most part this isn’t an incredibly difficult project, but rather a time consuming one. Breaking all the steps down and simply doing each one, with some practice on scrap first if necessary, will yield a kayak at the end.
You don’t necessarily need a lot of tools. A handful of good hand tools will get you through most of the work. Things like cutting the strips can be avoided by ordering precut strips which eliminates a few tools. Indispensable to me were the low angle block plane, the Ryoba saw, lots of clamps, shinto rasp, cordless drill and the random orbit sander. The Hutchins long board, table top drill press, a table top bandsaw and a belt/disc sander definitely helped too but I think I could have figured out a way to get by without them if I had too. Probably just using hand tools and spending more time with them to accomplish the same result.
The supply cost simply to make the Kayak cost about $1,300. This does not include the forms or the seat. I could have made the forms myself and traded time for money (i.e. about 10-20 hours to make the forms vs buying the CNC service) and perhaps a bit of accuracy and same on the seat. I had enough left over wood strips I could have easily built a wood seat with no additional cost (vs. buying a foam one) but I also would have added another 20-30 hours at least. All told including tools I bought for this project (most of which can be used on other projects) and supplies and disposable materials (rubber gloves, for example) and this was about a $3,000 project.
I would say the kayak I built compares at least to a Wilderness systems 140 or 165 which retails at $1,499 – $1,899. Checking the internet and I don’t see much discounting off of this. So, my raw supply cost, even with the seat and forms seems to be in line with a quality purchased plastic kayak. Of course you can find a good kayak for less but not a custom design sized for me model. Some may feel my costs to be a great deal and others may see it as a waste given you can get one cheaper without investing a lot of time into it. I think only those who have built one themselves will understand that this is about much more than just raw costs. The satisfaction of knowing you made it yourself is a big part.
Speaking of time, all together, based on my work log, pre-research, book reading, video watching and such, I’ve invested over 400 hours over 3+ years. However I’m not going to count watching Nick sanding his kayak as “work time”. In terms of actually working on the kayak (not including shopping for wood or drawing the CAD plans), the actual “labor” of building it came in exactly 300 and one half hours. The CAD work and initial shopping added about 10 more hours.
The actual stripping of the kayak (gluing the wood strips together) took around 80 hours for the design I selected. Had I just ran straight strips I’m sure this would have been reduced by at least half. Here are a few more notable approximate time stats:
| Stripping | 80 hours |
| Early Sanding and Scraping | 65 hours |
| Coaming | 10 hours |
| Hatches | 25 hours |
| Final coats, sanding and varnish | 40 hours |
Outside of those five areas, the rest of the time was taken up with a multitude of other tasks. Things like the seams, fiberglass application (which was mostly waiting for it to dry more so than actually doing it), making bulkheads, deck line guides, working on the stems, etc.
But given that this was the proverbial labor of love… for me I think at least equal (if not more) fun was in building it. I do expect to get many years of use out of it and certainly hope to take some multi day trips in it, hopefully up in the boundary waters sometime.
One issue, which wasn’t a mistake but rather just a frustrating process involved the law. You see in Illinois where I live a number of years ago the state did away with the registration requirement for a kayak or canoe under 18′ that is self propelled. So literally all I have to do is take it to water and use it. But, the forest preserve district in the county I live in which has a number of nice lakes requires a permit to use a boat on their lakes. The permit application requires the boat’s HIN (Hull Identification Number, think serial # or VIN for a car). Since I built it there is no HIN. I argued this with them for a few weeks and they brought in the IDNR (Illinois Department of Natural Resource) and they all finally came to the conclusion that I need to have IDNR come out, inspect it and agree “yes it is a boat” and then issue me a HIN which I then have to some how put on there in order to then pay for a permit to use it on a forest preserve district lake of which I already pay takes that support the forest preserve district. Foolish… yes?
Maybe not so much. Upon checking laws in some other states, they do require registration. If I take it to those other states unregistered then in order to use it I have to register it in those states. And of course registration (in any state) also requires a HIN. So at the end of the day I really had no real option other than to, for now, go the IDNR route and get it serialized.
The above dialog took place over the first summer I worked on it. So two years later I called the numbers I was given and was pleasantly surprise to find they still worked. I talked to them and was told to have a Conservation Officer for my county come out and inspect the kayak to determine if it was in fact a boat. I was given another name and number and reached the officer with no problems. He was willing to come out the following Saturday since he was working anyway. I was told the boat did not have to be finished, just mostly complete. At this point I was about to start varnishing so it definite was mostly complete. He also told me to have receipts for the supplies.
Thankfully I had kept most of them. I didn’t have any for the wood but did for the fiberglass, epoxy and most of the other supplies. I also had an email for the officer so I sent him the URL to this blog stating that it was my work log for building it. Never heard back on the email. That Saturday he was there nice and early, looked over the boat, my documentation and asked a few questions. I also asked if he had gotten the email and he said “yes and that he had looked at a few entries”. So after a very painless and relatively short process I was issued an official “it’s a boat” document.
Next step was to file this with the IDNR. I opened the application but it was clearly designed for someone who had purchased a boat, not built one. I made a few attempts to fill it out but every time there was some important area that I couldn’t answer. On the plus side there was a number for the main IDNR office so I called them. Got the welcome recording and told I was 20th in the queue and the wait time was about 25 minutes. Eh, not too bad. Two hours and 38 minutes later…. “Hi can I help you?” To their credit once I made it to the front of the queue and someone answered they were very helpful. Al, the guy I talked with, took a few minutes to fully understand what I was trying to do and then asked me to hold while he conferred with a colleague. After maybe 10 minutes he came back on the line with everything worked out.
Normally to register a boat you have to do it online only but you need a HIN to do that and since I was actually trying to get the HIN and couldn’t use online… well they solved it by issuing me a HIN right then and there and putting my basic info in the system pending the application completion and fee. I need to fill out a couple of forms that Al said he’d mail me as it’s the only option they have right now for self built. He’s also highlighting on the forms exactly what areas I need to actually complete. With the fee they’ll then register the boat for the next three years (which while this is optional I more or less would have to do it in order to take it out of state anyway) and offered me the option of titling it. I don’t need to and he said this but also stated if there is ever any question of ownership or if I ever want to sell I’ll need the title. It’s a one time fee of I think he said $28 so I said it makes sense, send the form(s) for that too. If I didn’t title it and wanted one at a later date I’d basically have to give up my registration and redo the entire process.
When I had mentioned the long hold time Al mentioned that they are very short handed right now (fall of 2021) which anyone paying attention knows of the worker, supplies and goods shortages going on pretty much all year. Even with being short handed he was very helpful and took the time to ensure that this process was done correctly. It’s nice to see that kind of customer service still exists.
What went wrong with the build?
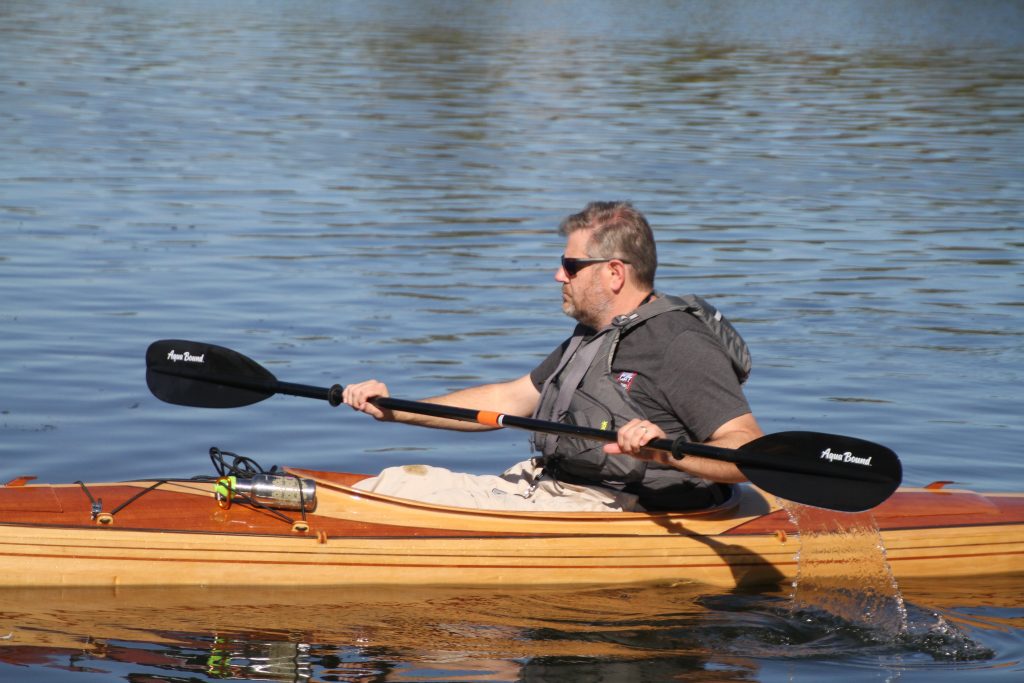
When I started this blog I said I’d share the good and the bad. I believe I have fairly represented the mistakes I made along the way. When following the steps in the right order and applying your best efforts there really were very few real mistakes. A handful of small things that were resolved but nothing major that I believe jeopardizes the integrity of the kayak. Really most of my mistakes were more in the visual area rather than the construction. The pin striping being one of the biggest as I messed it up in a few areas. But unless I point it out , no one has noticed on their own (or at least they’ve been polite enough not to bring it up).
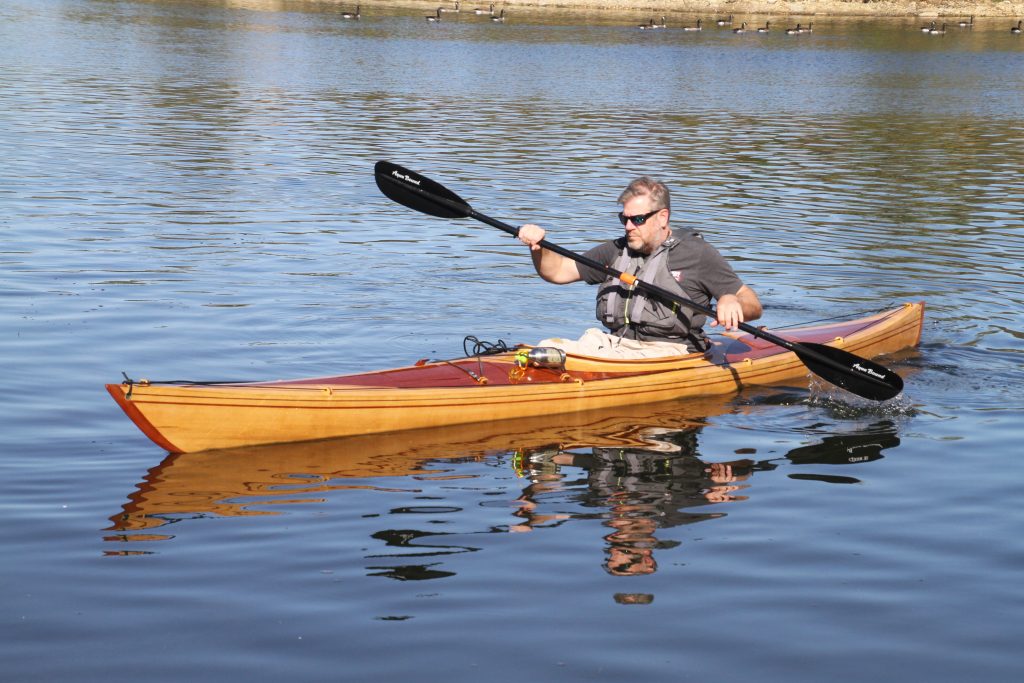
It certainly isn’t of the same level or caliber as something Nick Schade makes but it’s also my first boat. I’m certainly proud of what I have done with it. Sure I can find all the blemishes in the finish but quite frankly even I have to look to find them so they really are small and not obvious.
Of course I posted the finished pictures to a few kayak groups on Facebook and received many, many positive comments.
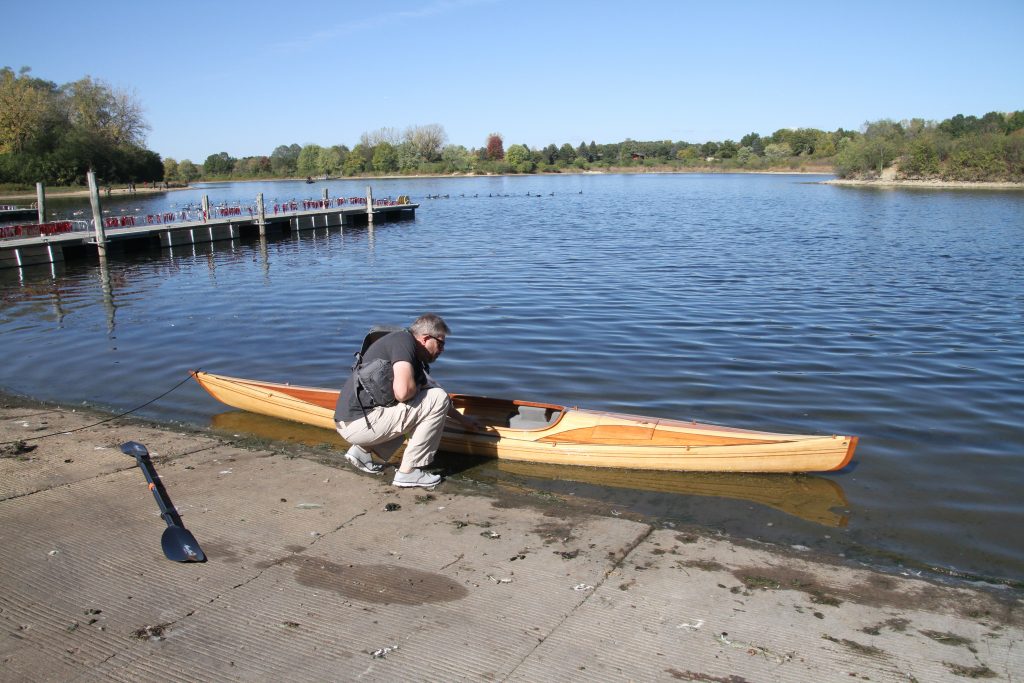
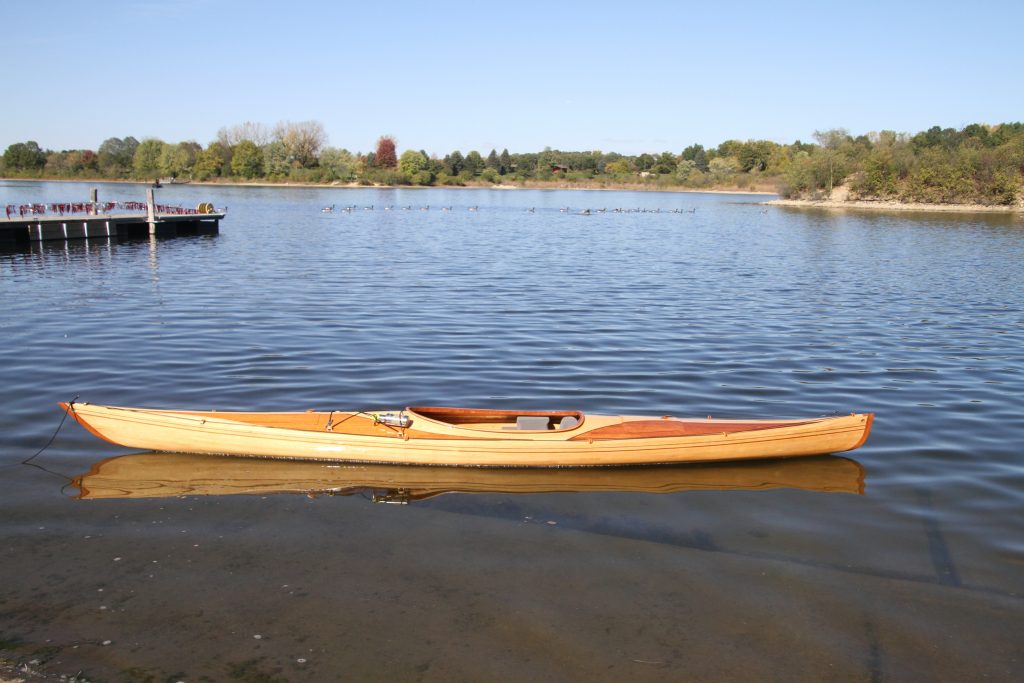
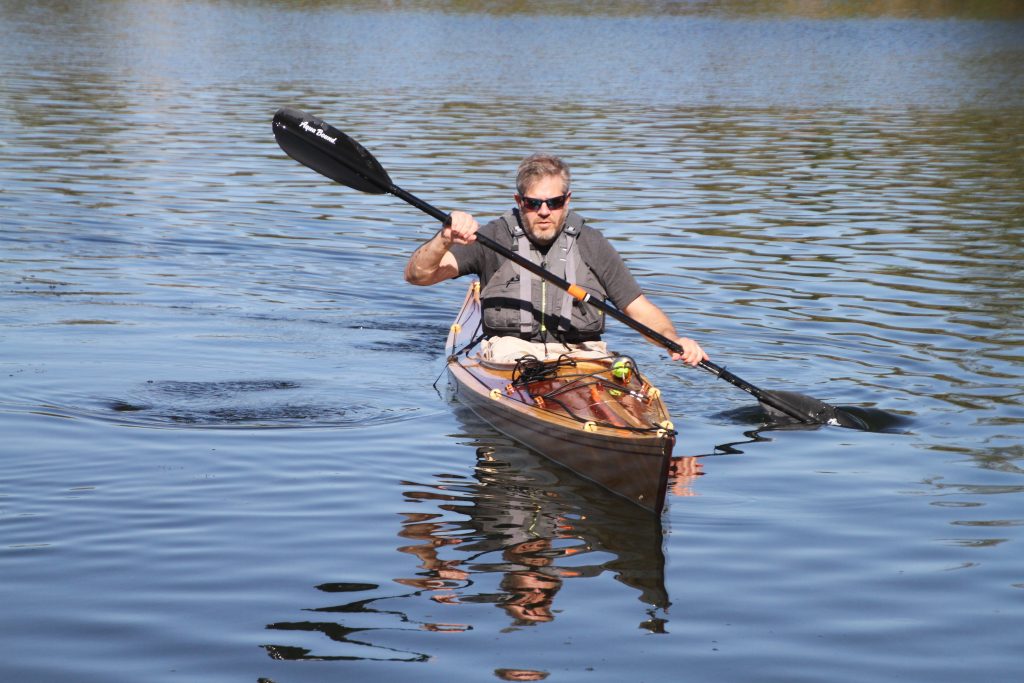
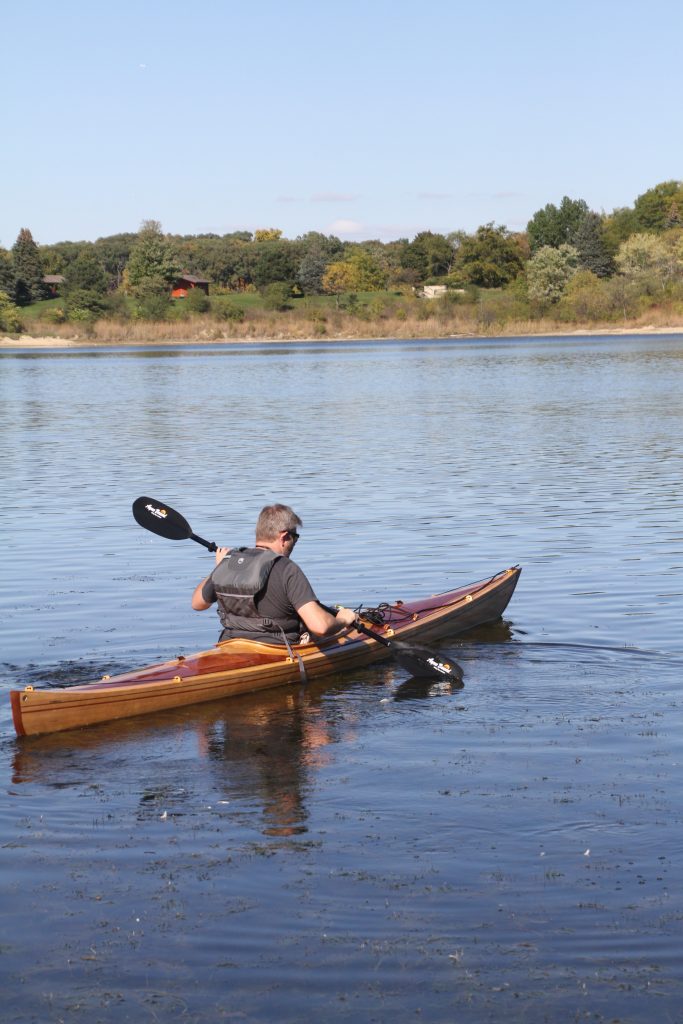
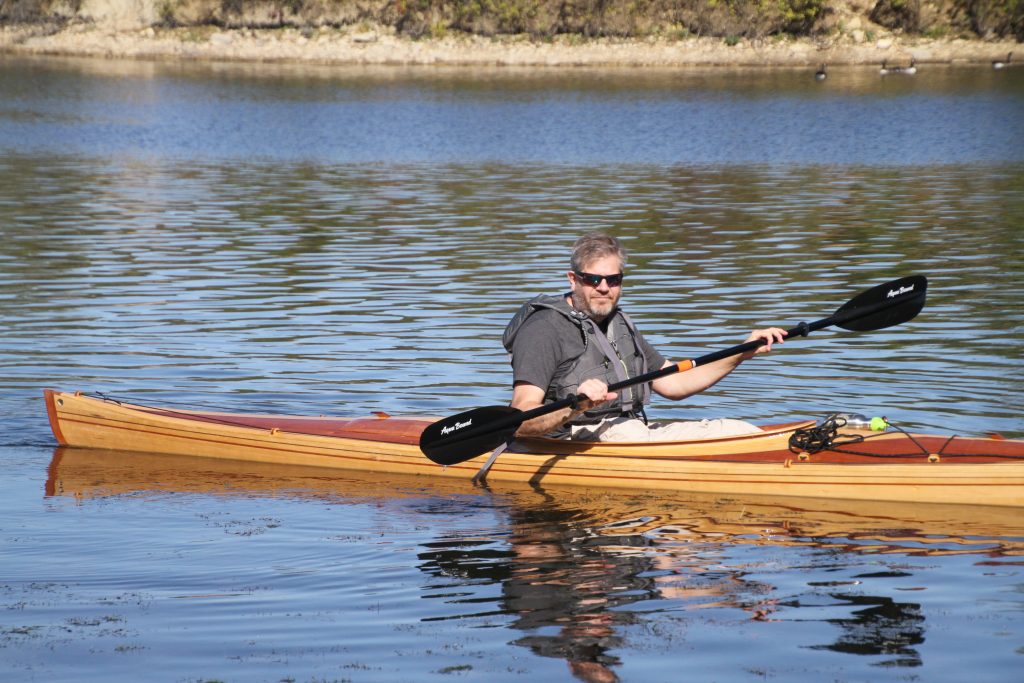
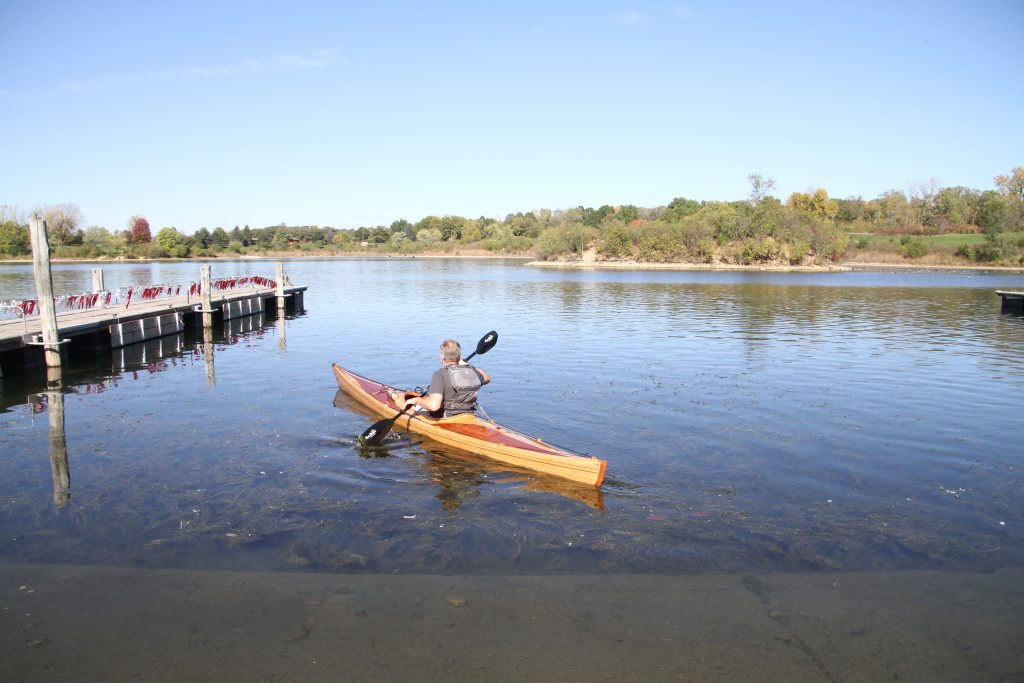
Today ( October 23, 2021 ) I finally got it out on the water for the first time. I dropped it into a nearby lake with a line tied to the bow and was happy to see it floated. A push away from shore and it kept floating needing only an inch or two (without me in it) to remain off the bottom. After a few minutes I checked under both hatches and in the cockpit area and everything was perfectly dry. It doesn’t leak!!!
Finally I got up the nerve to try it. Of course it sat a bit deeper in the water but even with my size the displacement didn’t dramatically change. While I didn’t measure I’d estimate maybe three to four inches of total displacement. A few small circles between the docks to ensure all was remaining dry and to get a feel for it.
The stability seemed to be OK. Granted it’s been over two years since I was last in one so I didn’t have a current memory but compared to the plastic ones I’d estimate this one rocked a bit more back side to side but even with a pretty good hip swivel the stability seemed good. With cold water temps I wasn’t going to experiment today but if I can find an indoor pool, or worst case next year, I will definitely push it to see just where the tipping point is.
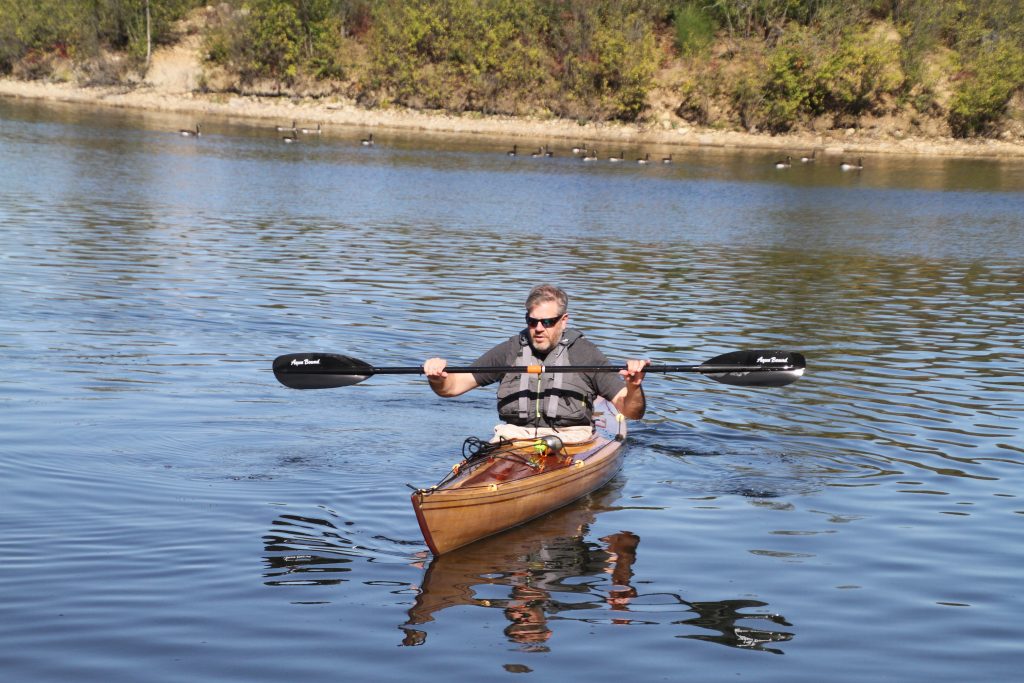
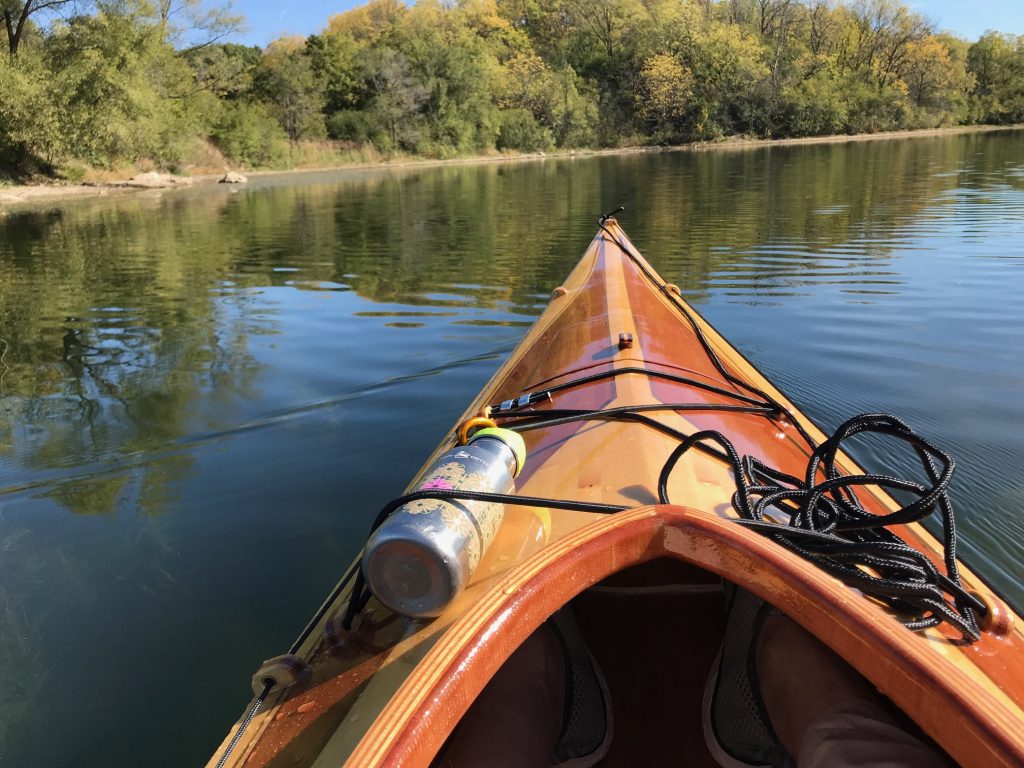
With a moderate wind I then set off padding into, with and sideways to the wind at various times. The tracking was acceptable but not automatic. You did need to paddle a bit to ensure a relatively straight line. Of course the direction of travel in relation to the wind did have some noticeable difference. Once I’ve had some more trips in it I’ll decide if I need to consider adding a rudder or not. The relatively flat bottom of course contributes to the tracking (or lack of) but I believe as I get used to it I’ll be fine.
After I finished doing circles by the docks, my inaugural trip was just over a mile and a half and took about 35 minutes going at a mostly moderate pace. Paddling is nearly effortless as it glides through the water. Definitely a pleasure, not a chore, to paddle.
If you decide to build one yourself, find a plan you like, do as much research ahead of time as possible and take your time. I believe that if you’re willing to stick with it almost anyone can make a kayak. As I told my wife, nothing I did here was new or revolutionary. All the steps, techniques and efforts were simply standing on the shoulders of all those before me who made one (or more) and shared their experiences knowledge in some way. I hope this blog was able to do the same.
Here are a few last specs:
- Model: Resolute from Bear Mountain Boats
- Plan length: 16′ 6″ (last time I measured I was within an inch of this)
- Final weight: 55 pounds
- Designed for: larger paddlers. Recommended for 300 total pounds (paddler, gear, etc.)
- Hours for me to build: 300 hours
- Time to build: Started building June of 2019, finished October of 2021. Only worked on from approximately May through October each year. (unheated garage shop)
- Approximate material only cost: $1300
- Approximate materials, tools (that I didn’t already have), supplies, (all in) cost: $3000
- Changes to the plan: Elongated the cockpit (towards the front) for easier access with my bad knees and long legs.
- Purchased instead of building: Seat, paddle. But the next project is to build a paddle.
If you have any questions or want to reach me, feel free to leave a comment below. As long as you use your real email (it doesn’t get publicly posted) I’ll see it from my dashboard view and can reach out to you.
Now that it’s completed I went through all my posts and compiled a “check list” of steps from start to finish. Some stuff can be done in a different sequence and I’ll make note of a few spots where I’d recommend this, but in general follow these steps and you have kayak when you’re done.
- Select a model/plan
- Order plan or use lofting table to draw plan
- Cut forms (or send cad files out for CNC cutting of the forms
- Make a strong back
- Attach forms to the strongback
- Create a work cart (optionally use saw horses)
- Mount strongback with forms to the work cart.
- Decide on any patterns or details.
- Purchase primary wood(s) for kayak and any accent/detail wood(s)
- Cut wood into strips
- If going with cove and bead, apply the cove and bead, otherwise have something like a Robo-Bevel tool available
- Create inner stems for front and rear. Outer could be created now or after stripping is completed.
- Start applying strips to the forms. Either using staples or, as I did, staple-less.
- Continue applying strips working in any accent or detail pieces.
- Apply (create if not done yet) outer stems. Work until final shape.
- Scrape/sand outer surfaces
- Cut out cockpit
- Sand cockpit opening
- Create coaming
- Cut out hatches if using
- Sand hatch openings
- Create hatch lip (or if using premade hatches follow their instructions)
- Fiberglass outside, deck and hull (separately) (fill coats, sanding, etc.)
- Remove from forms.
- Scrape/sand inner surfaces
- Fiberglass inside deck and hull (separately) (fill coats, sanding, etc.)
- Do end pour at this point via thickened epoxy with a small dam in place to hold it. (I did it much later, doing it here would have been a lot easier)
- Drill tie down/carry holes.
- Install hole liner tubing if using
- Install foot braces
- Install any other hard to reach internal features (if making a seat you’ll probably also make cheek plates and these should be created and installed at this time)
- Attach deck and hull via seam tape or bias cut tape and epoxy
- Install outer seam, fill/blend seam as necessary
- Final outside prep sanding.
- Install line guides if they will need to be varnished
- Install bulkheads if using
- Varnish
- Make or buy seat
- Install seat
- Install line guides, bungie cord, hatch seals and any hatch hold downs.
Enjoy your completed boat!
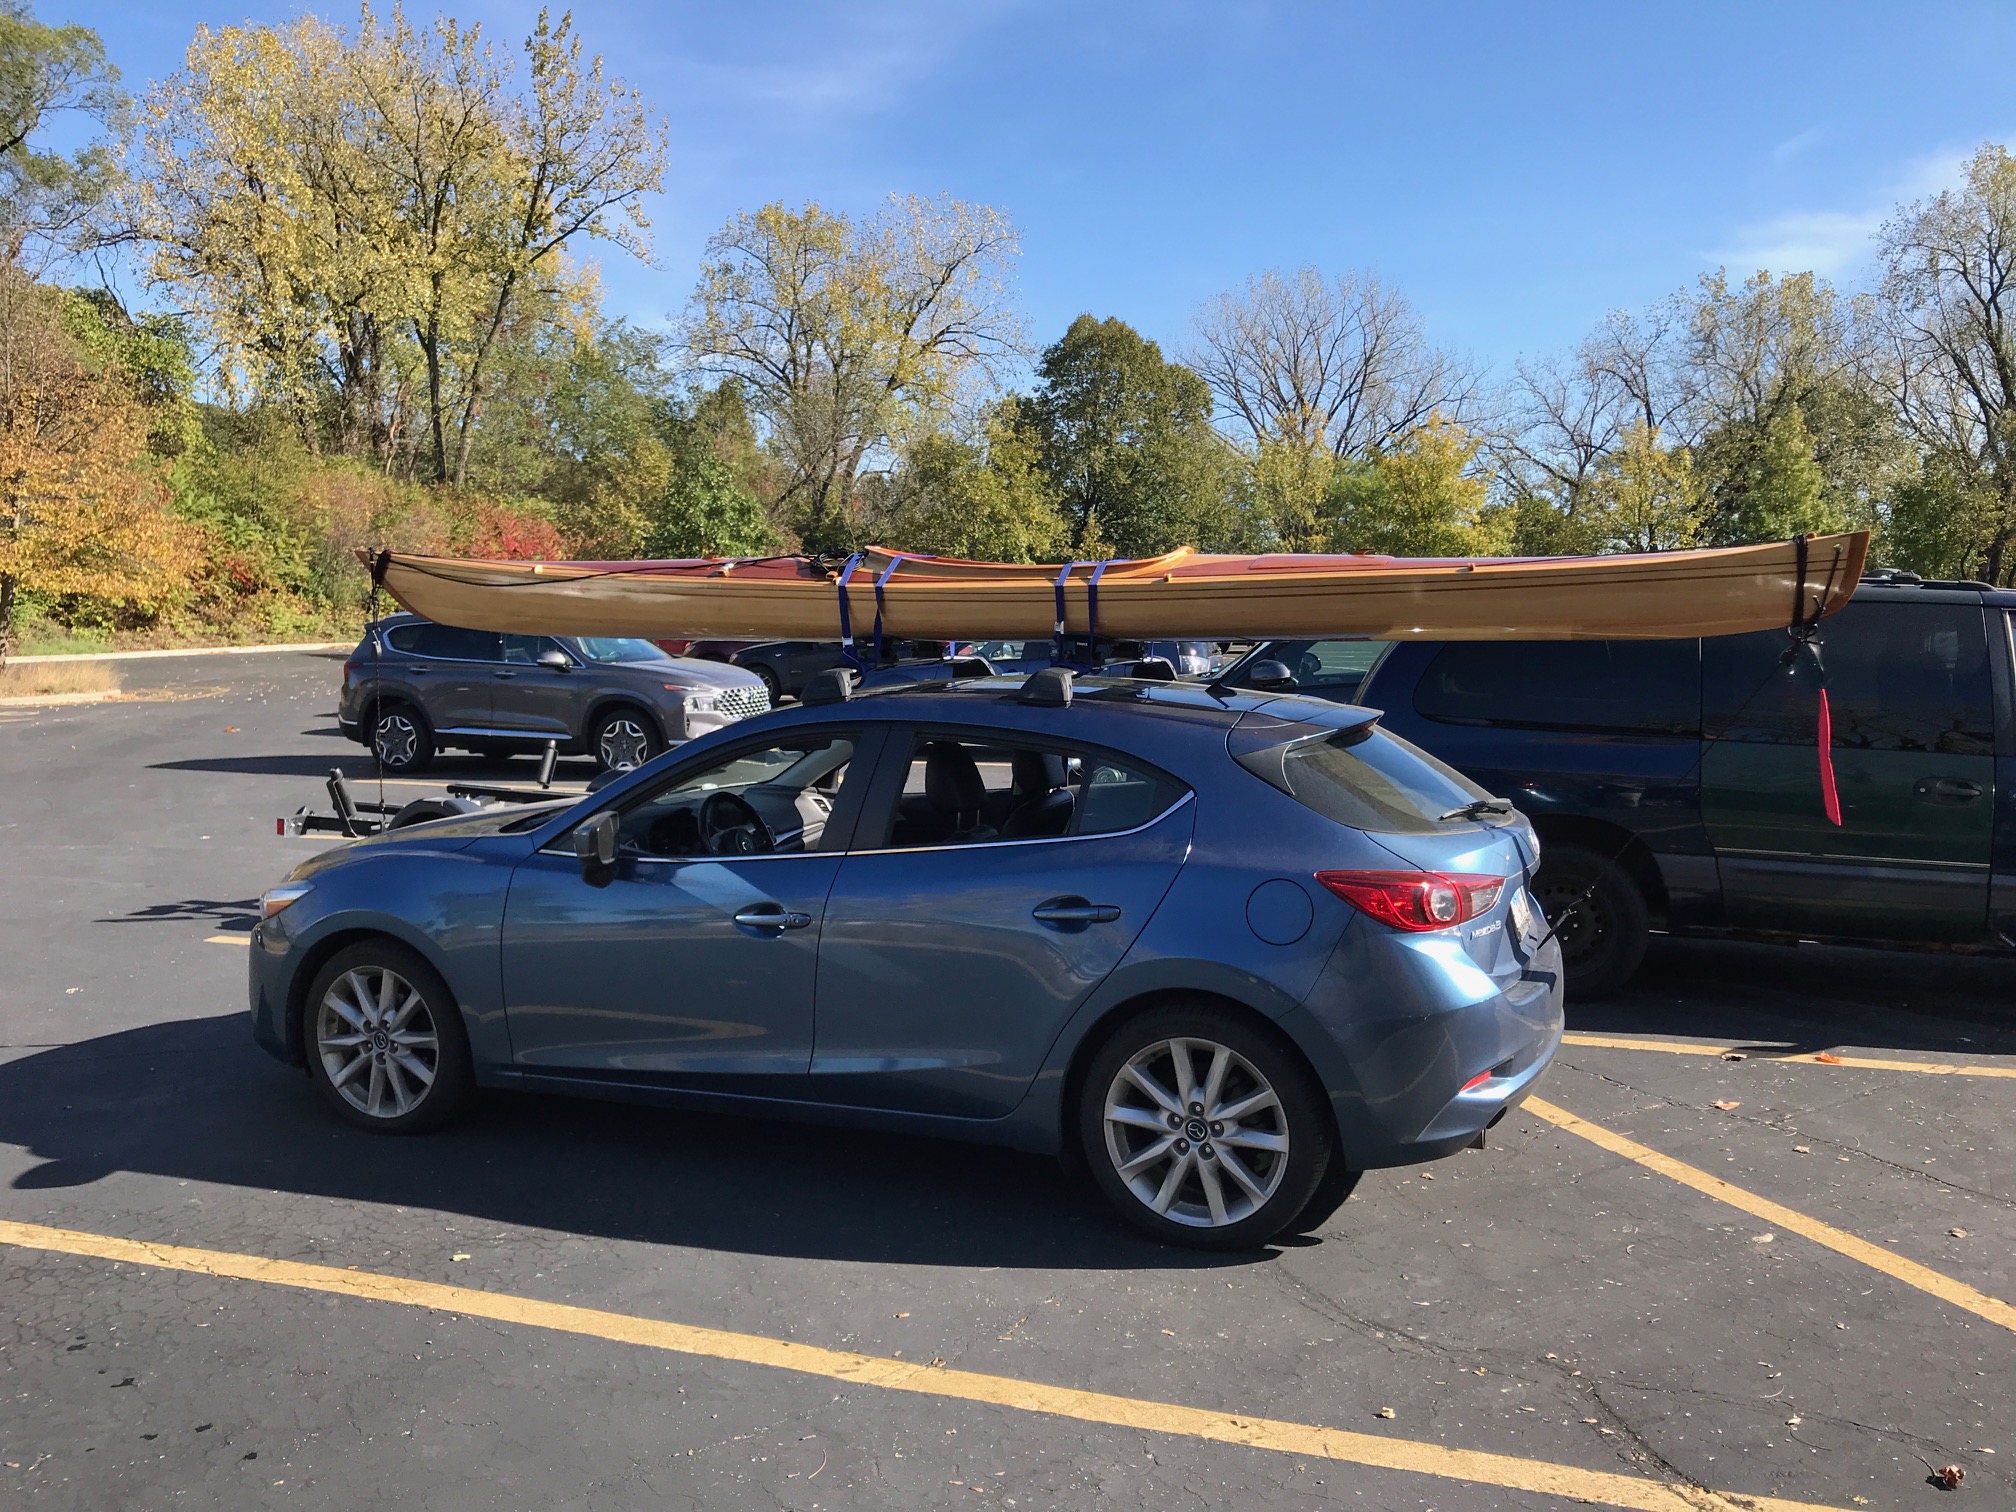
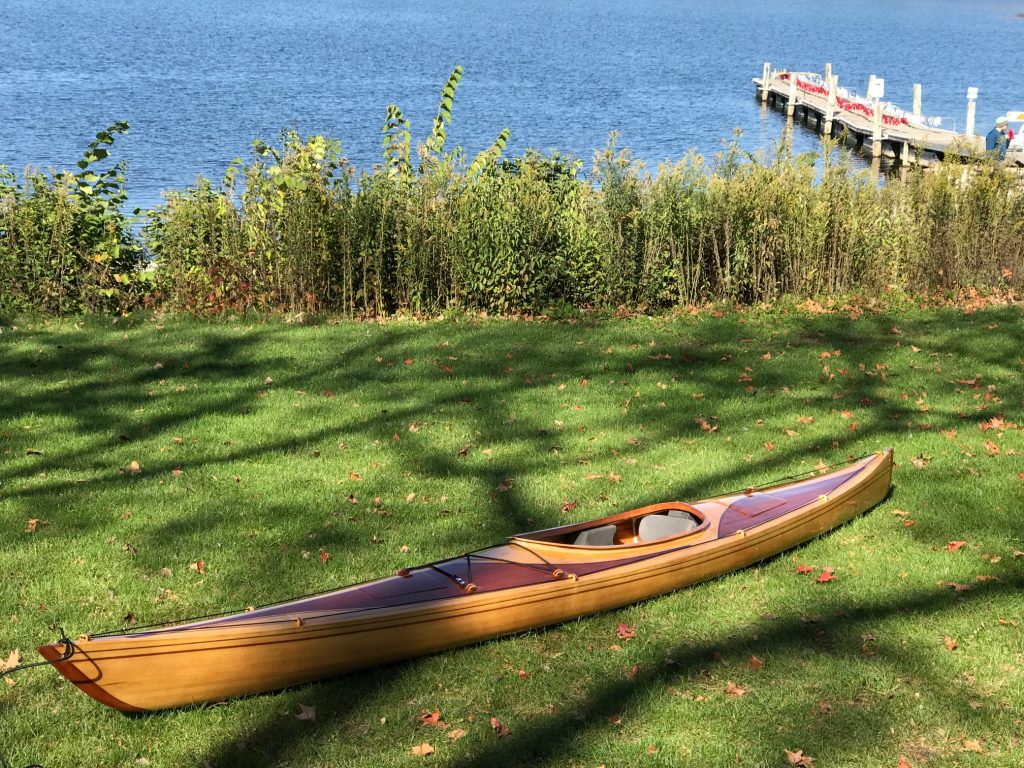
And finally, the gratuitous pictures and video…