Two Steps Forward, One Step Back

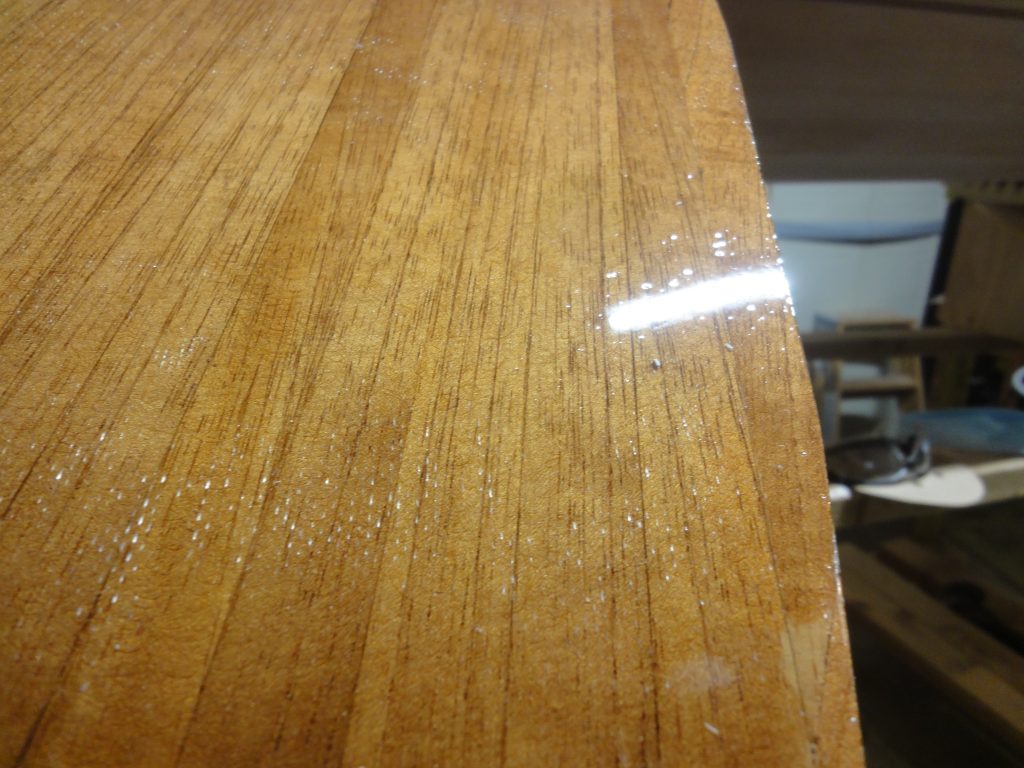
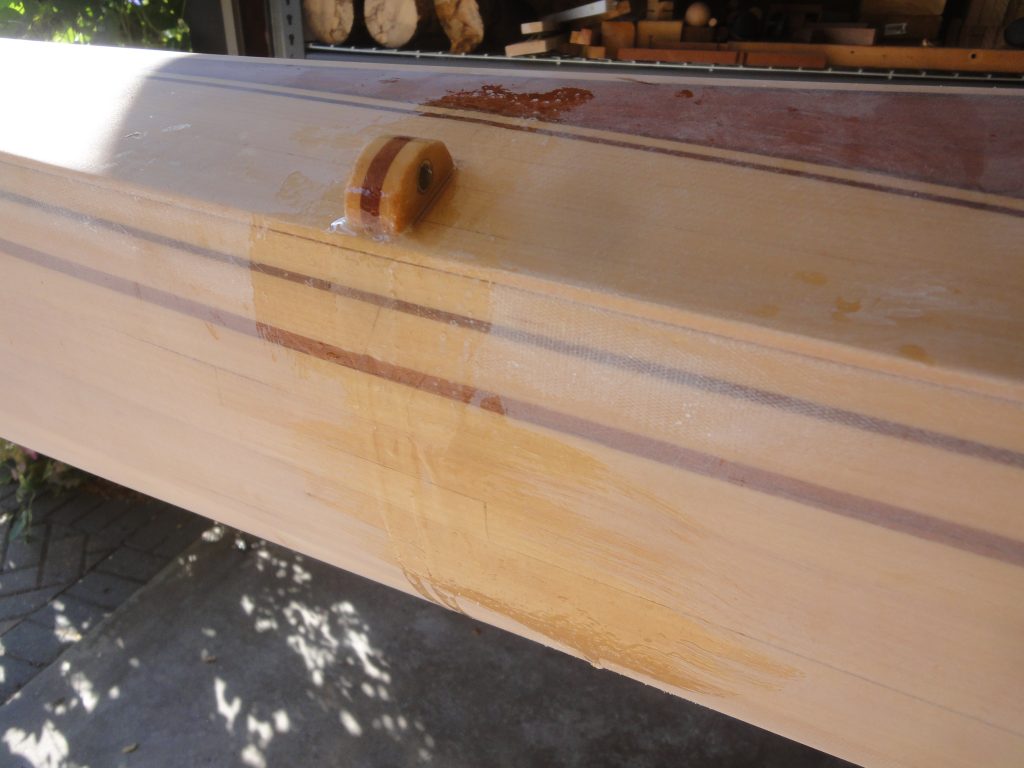
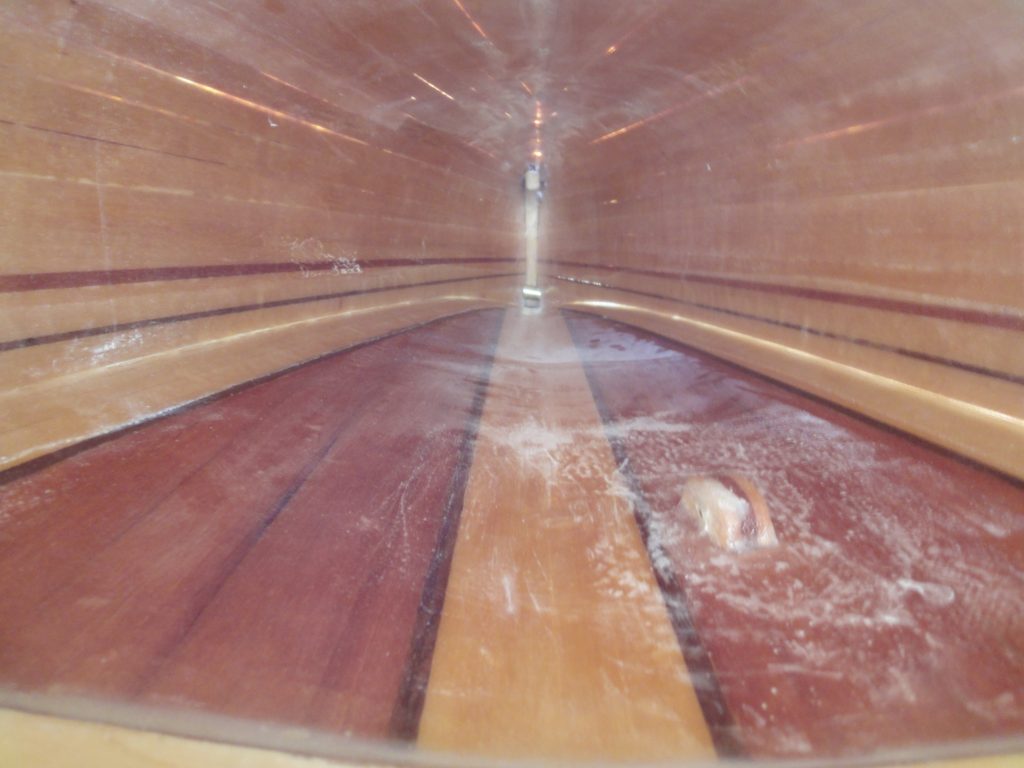
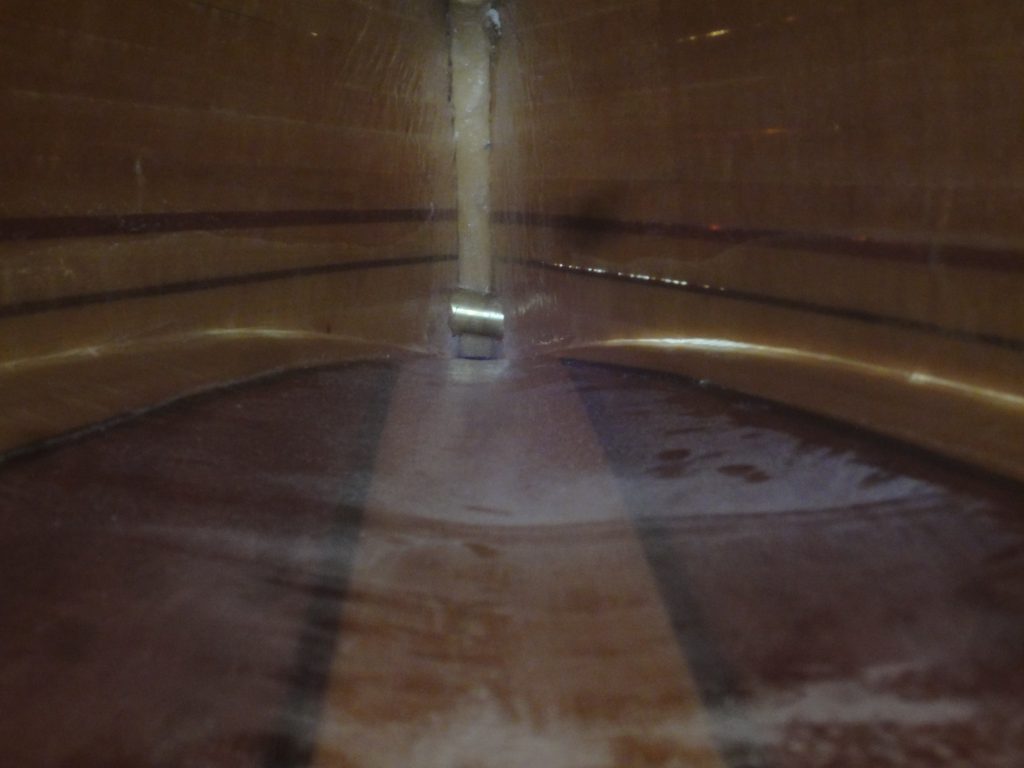
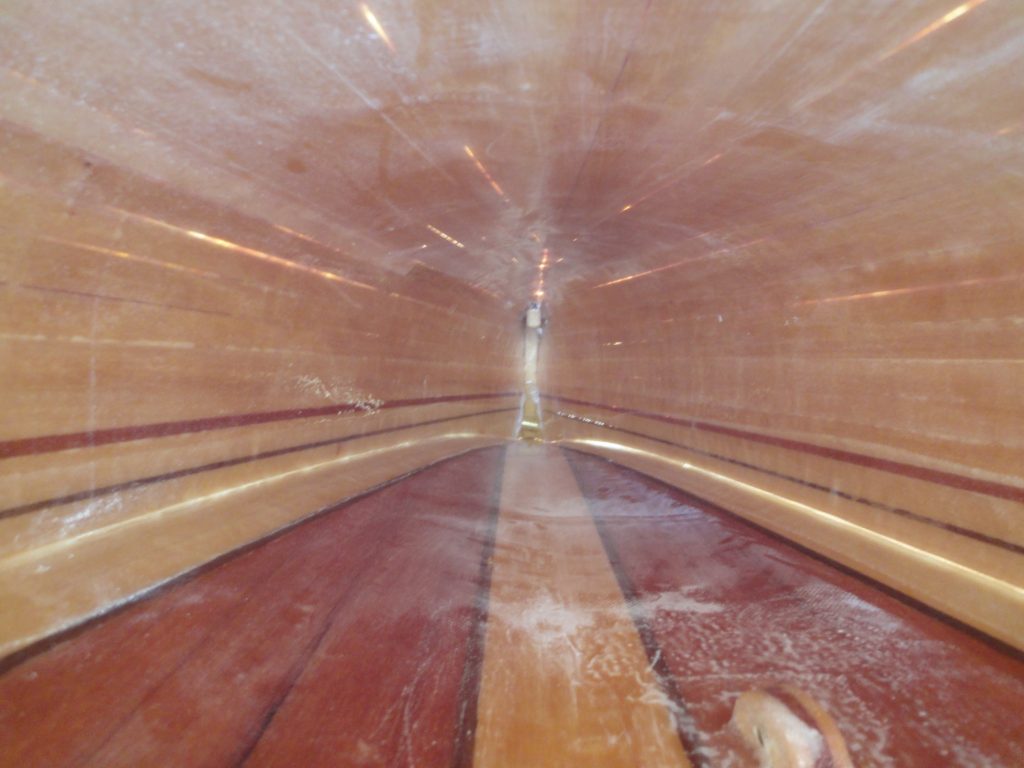
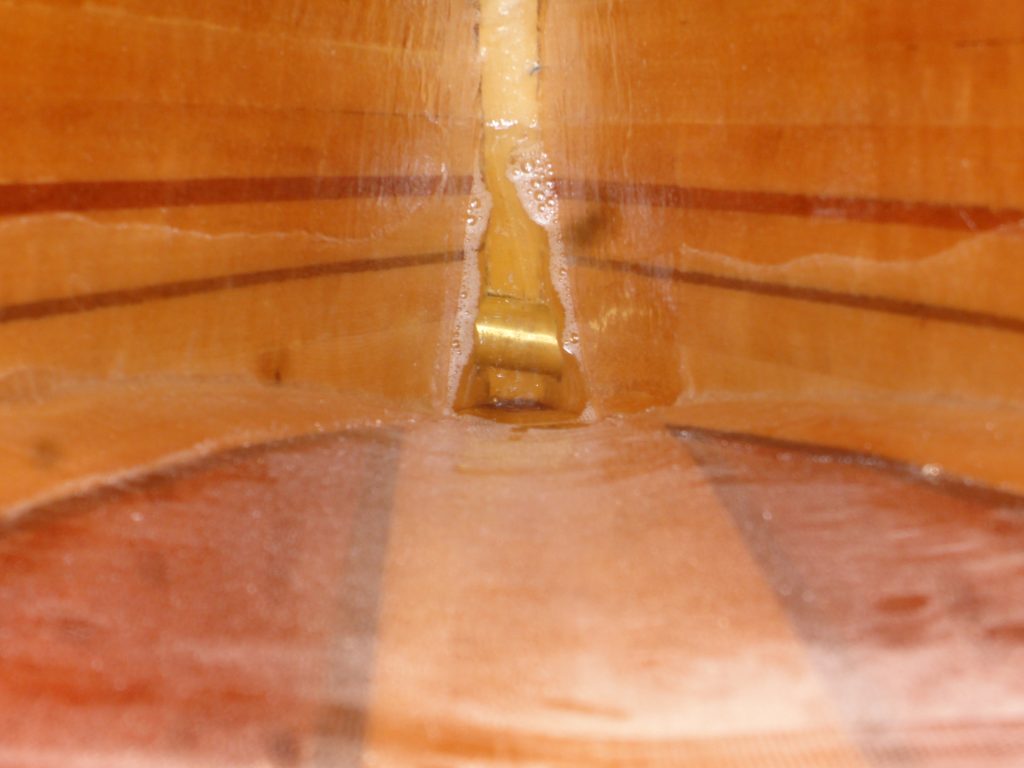
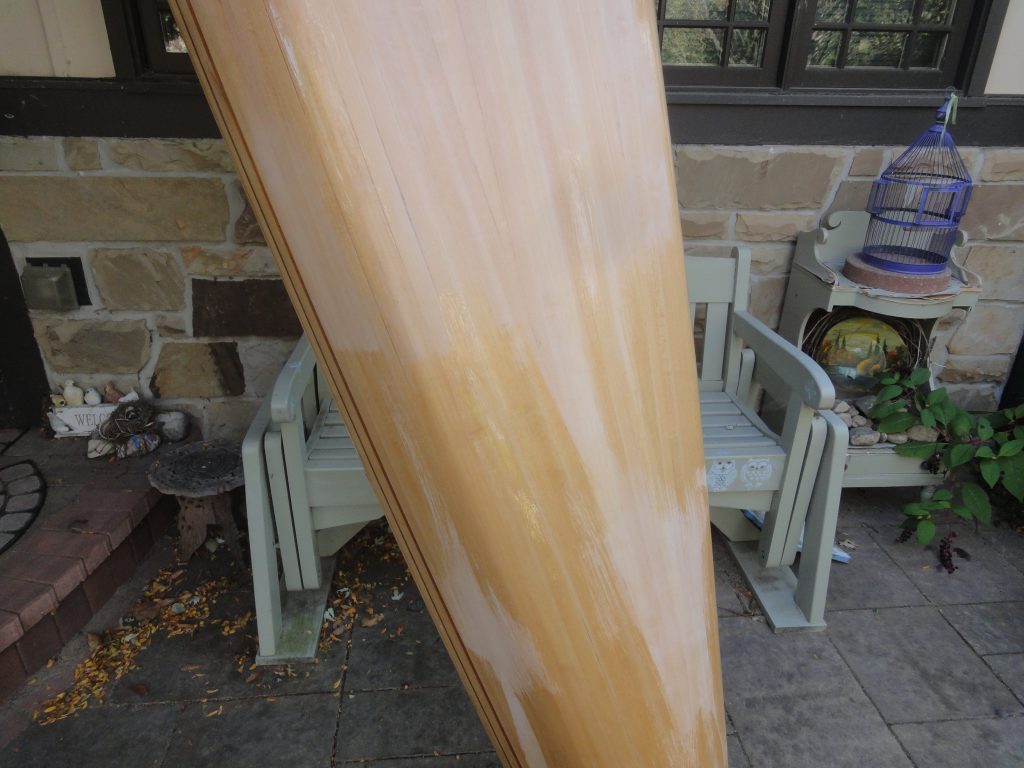
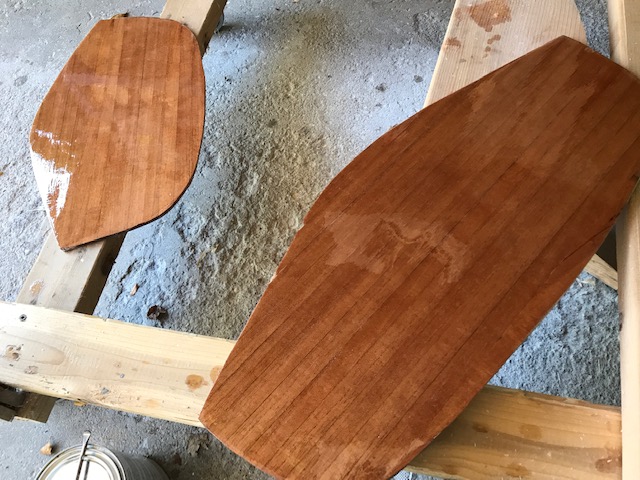
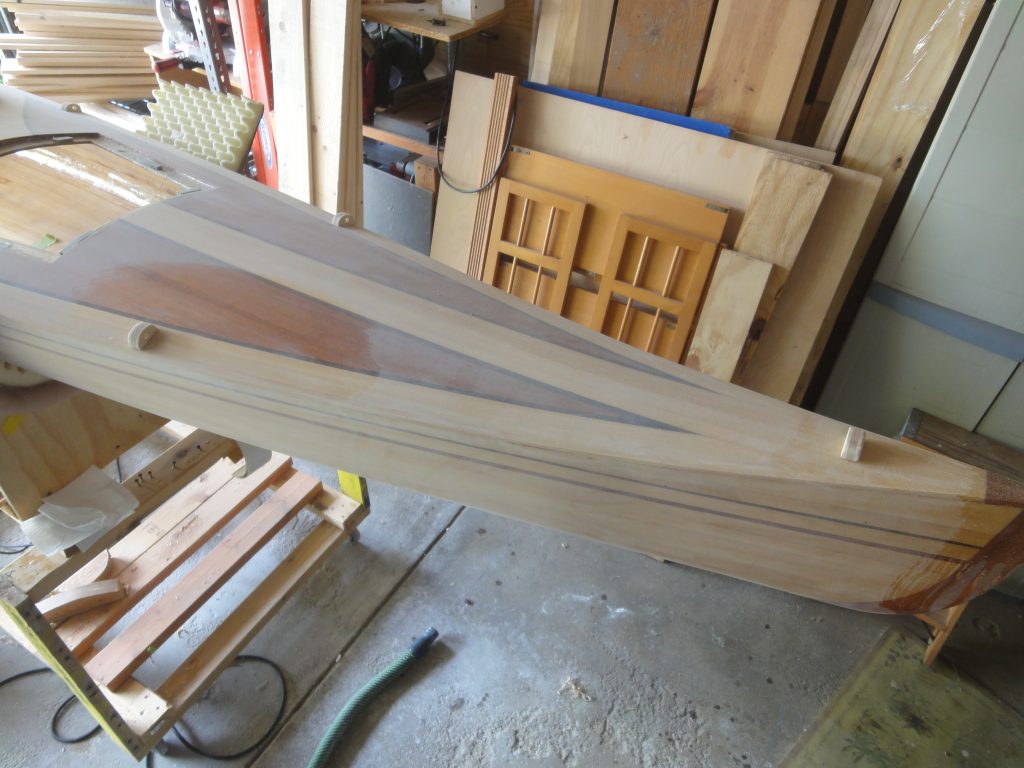
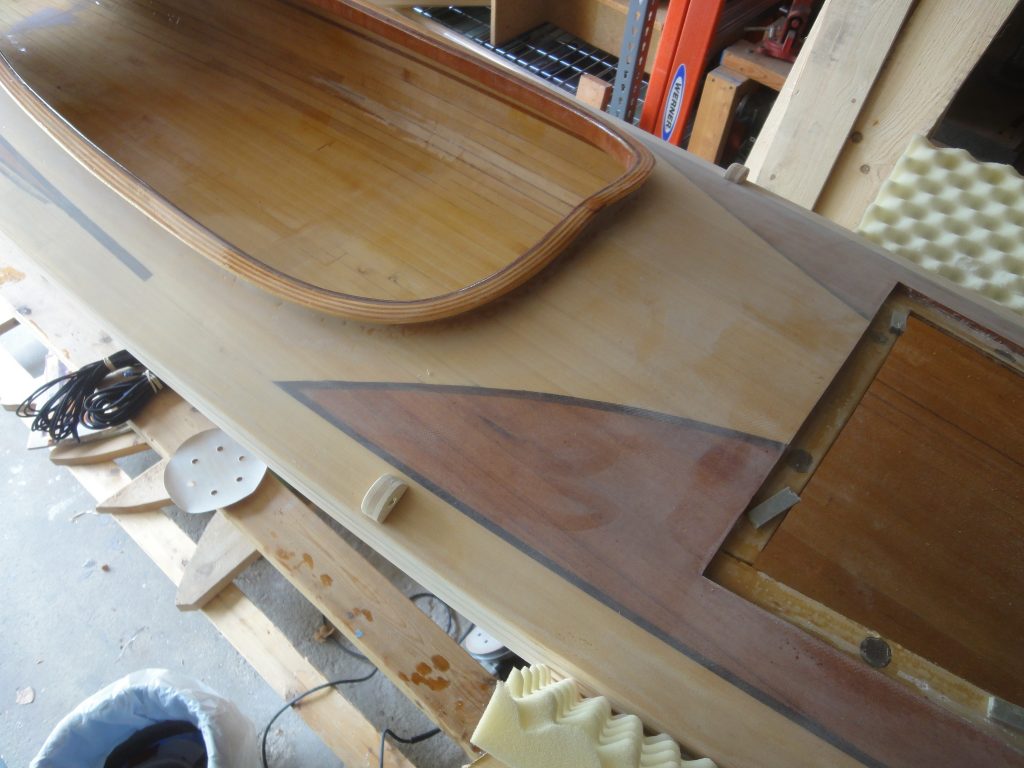
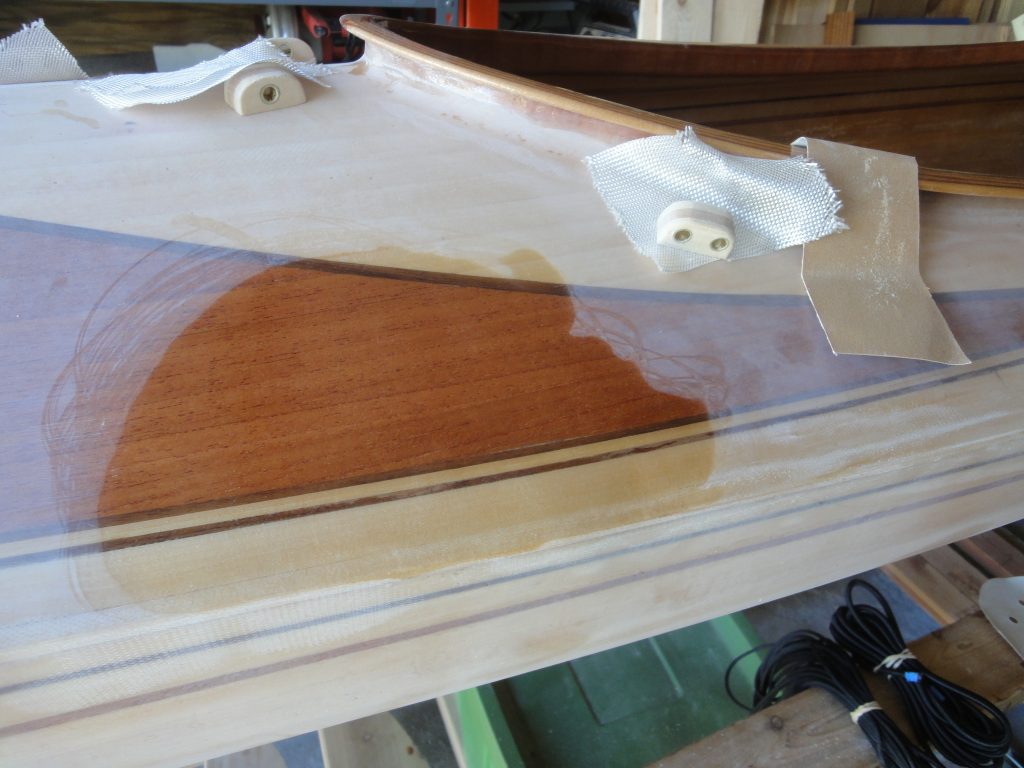
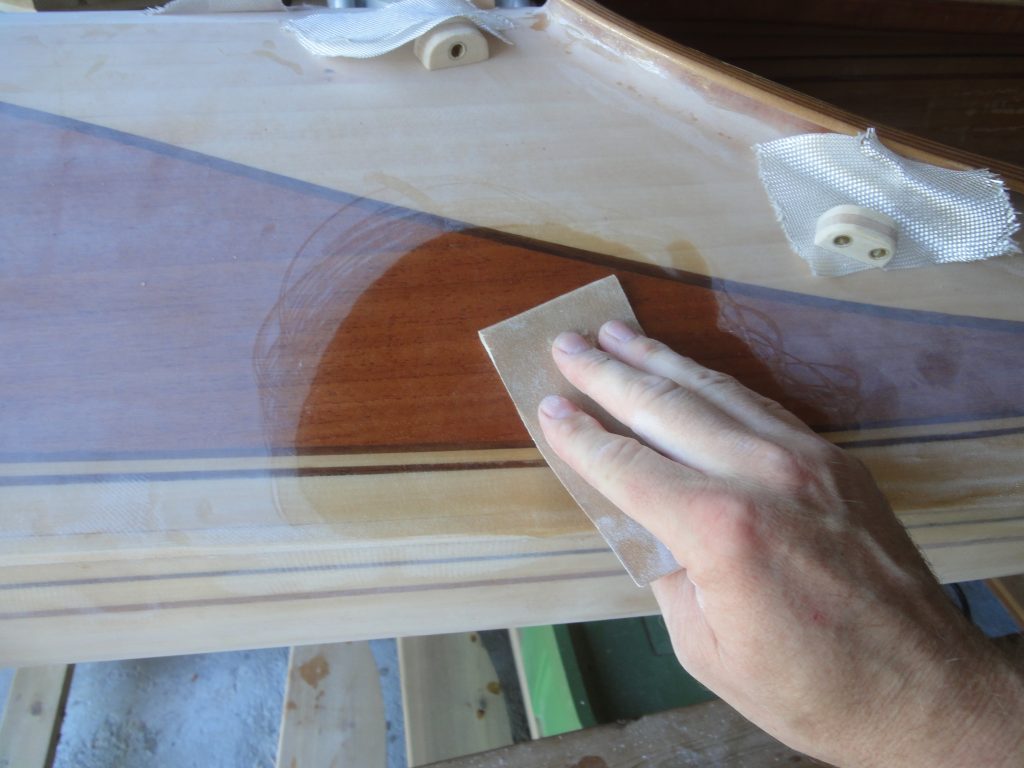
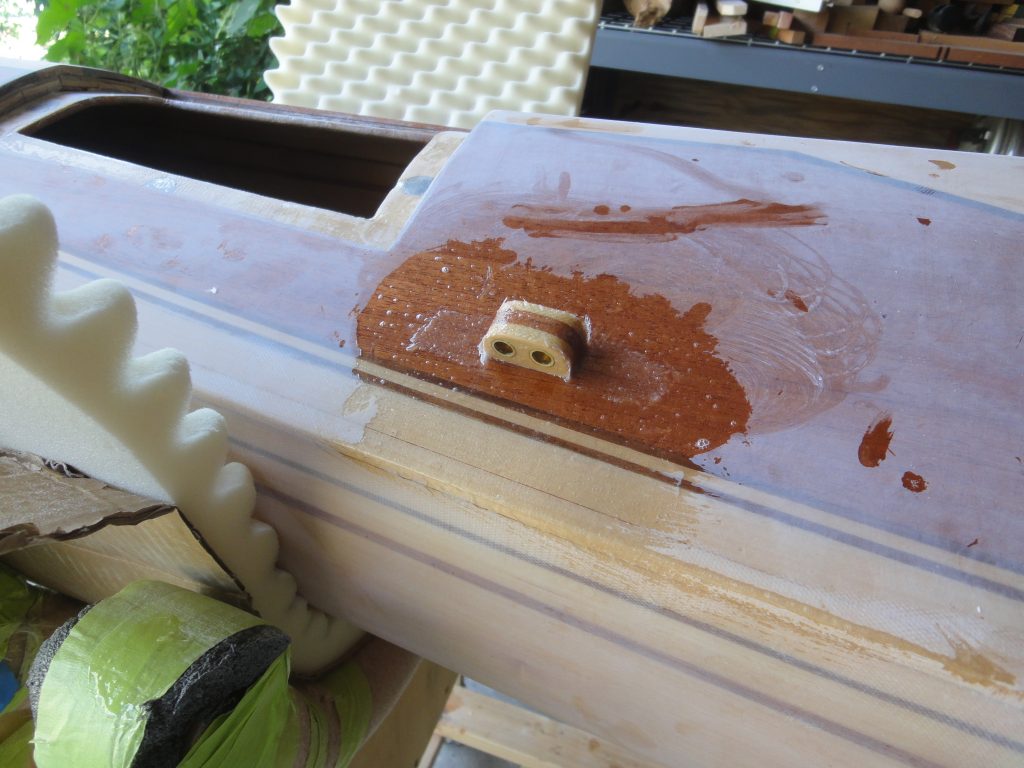
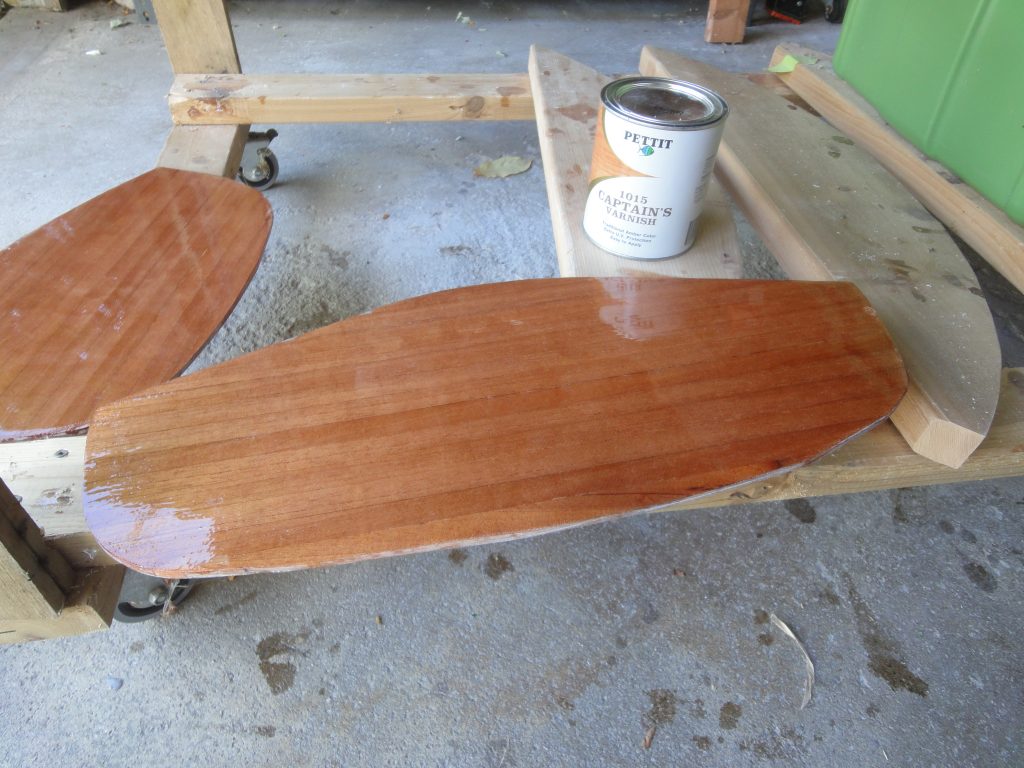
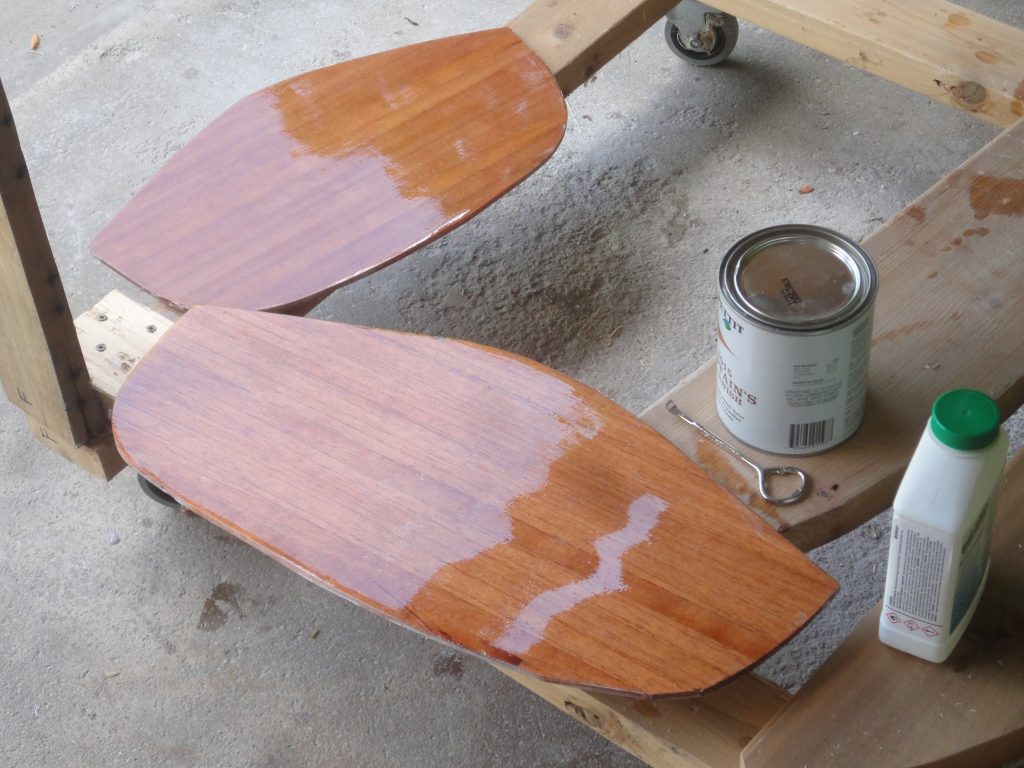
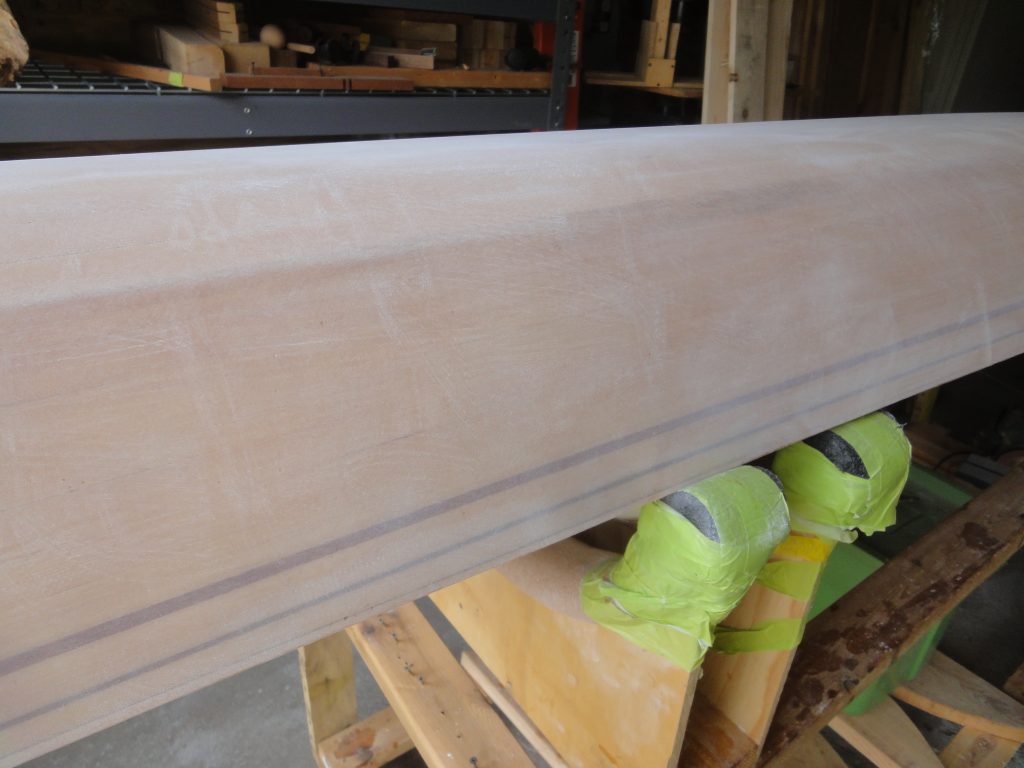
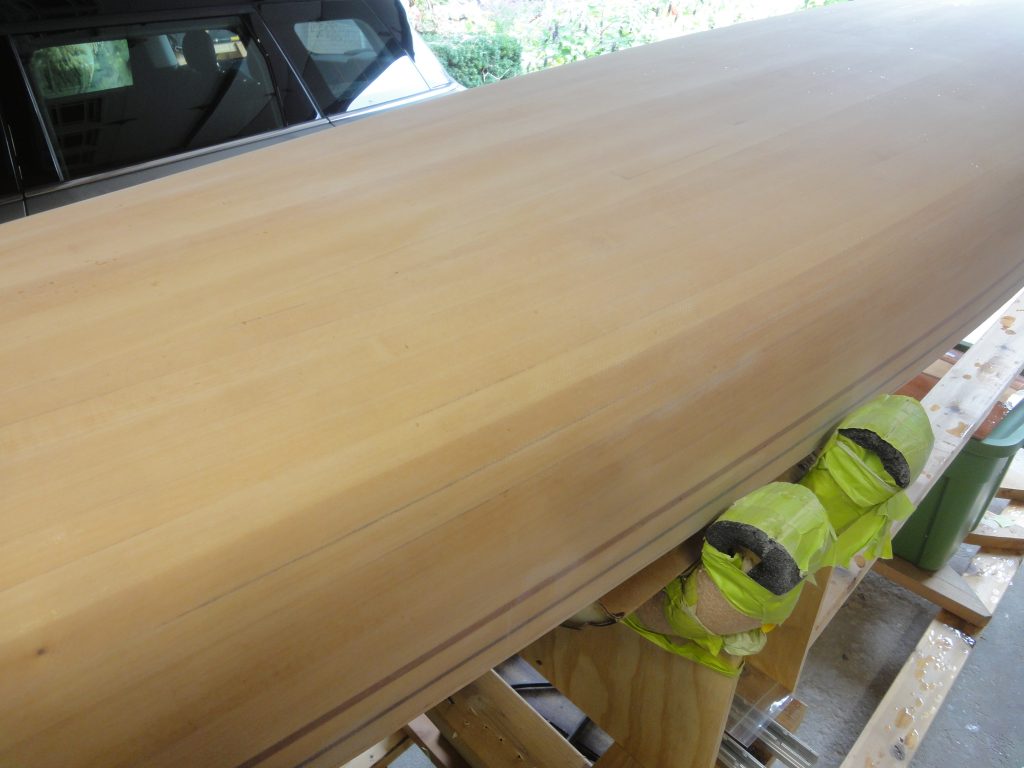
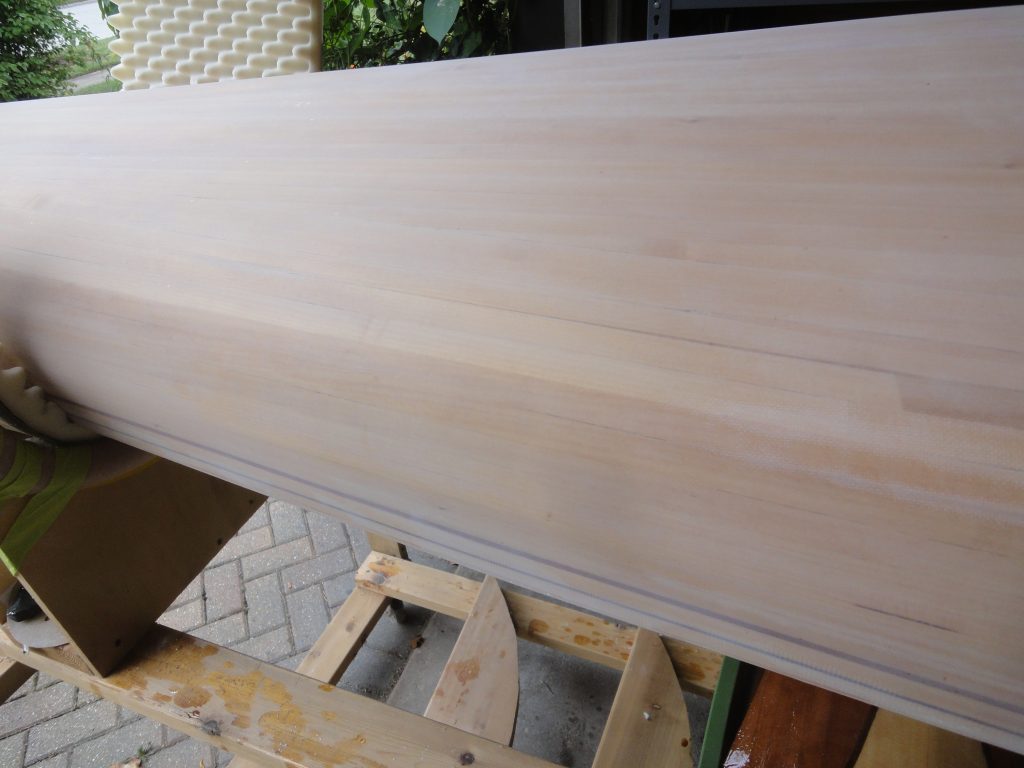
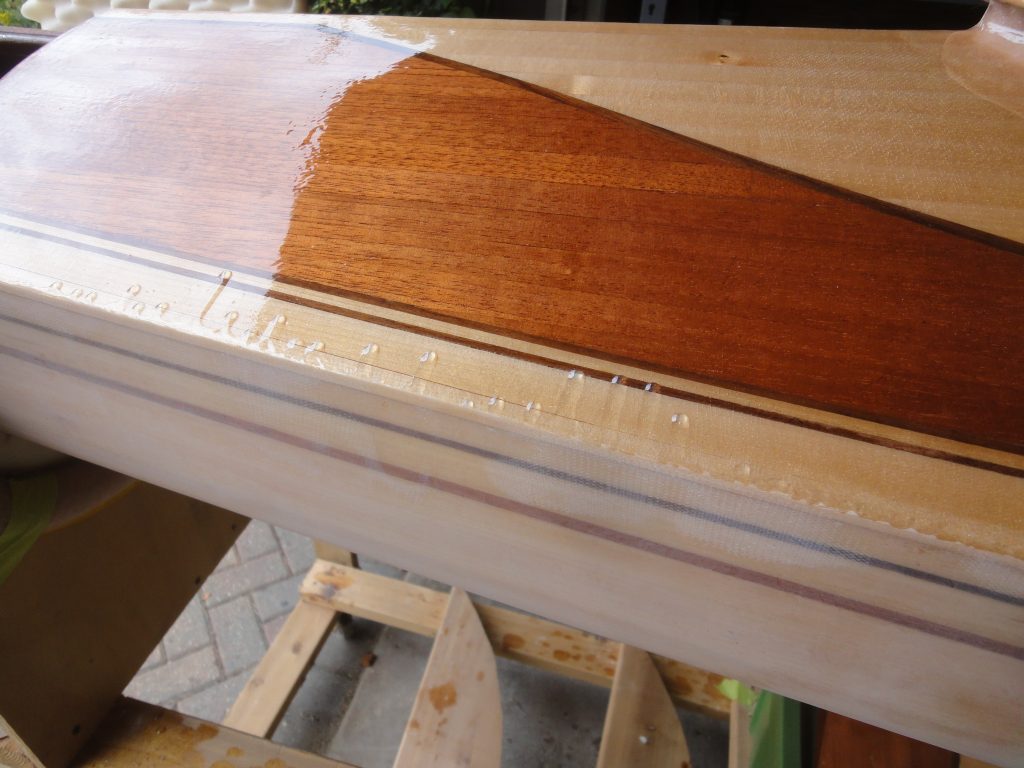
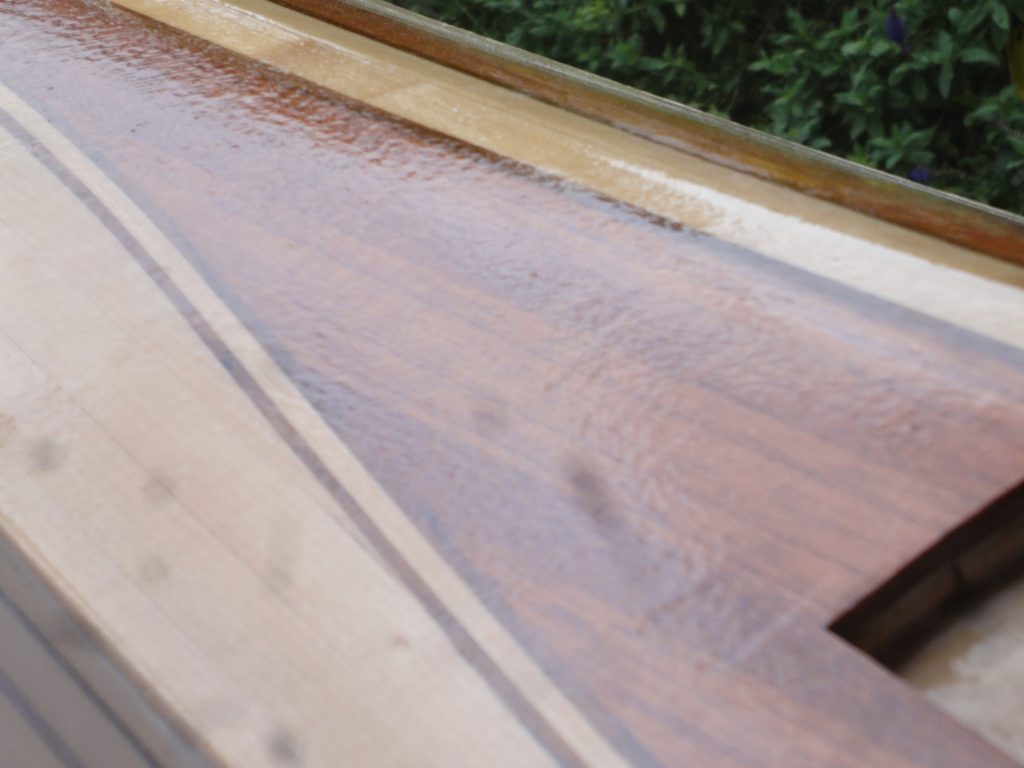
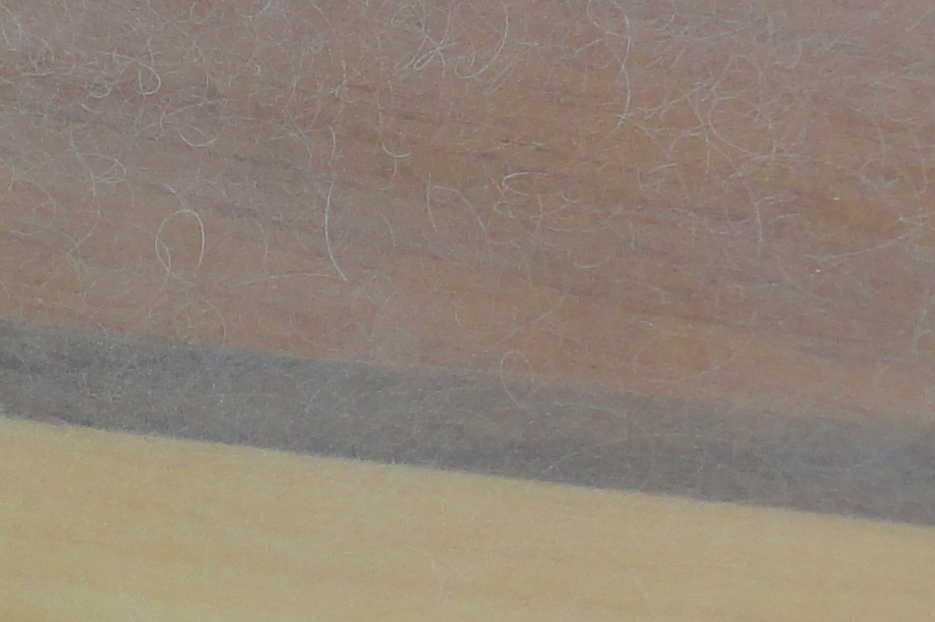
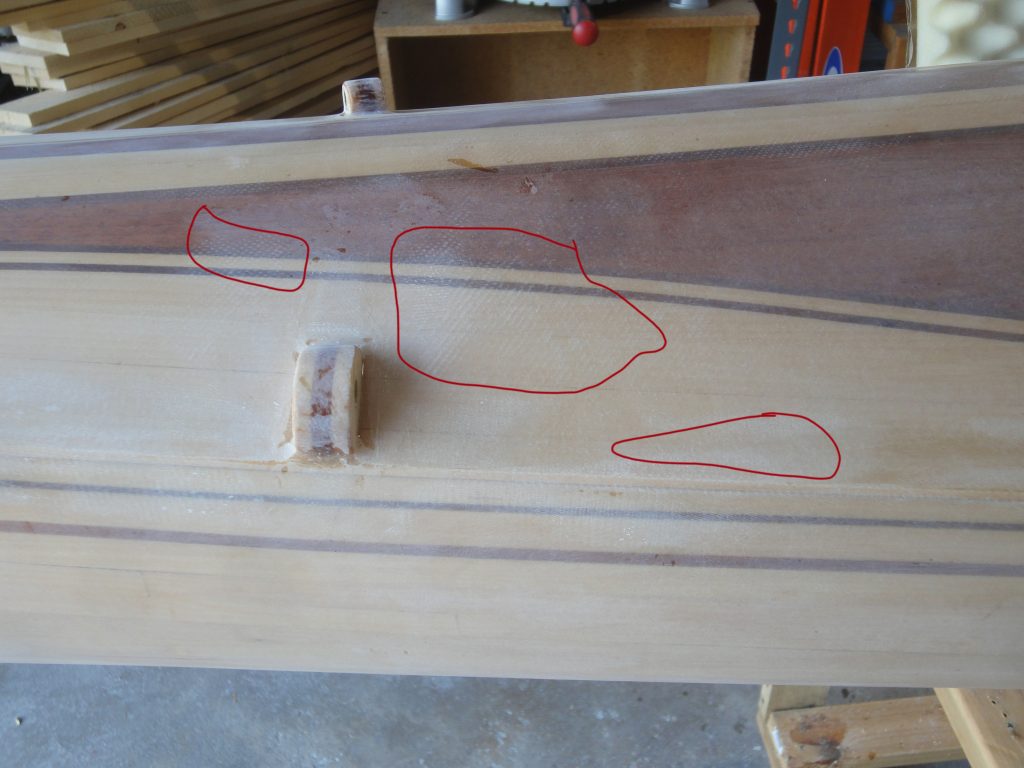
Let’s start with the oops. During the last few sanding sessions I’ve noticed some of the fiberglass weave showing through. I checked on some of the kayak building forums and the general consensus is that I’m hitting the top of the weave but it’s not really anything to worry about. But it will be at least a little visible, with light in the right direction, even after varnishing. Most builders say they have this, usually in more places than they want, too and not to worry. I could put on another thin epoxy coat and then resend more gently and that might hide the weave, but it might not. In the picture below I’ve highlighted a section of the deck where this is visible. In the other picture, this shows three coats of varnish on one of the bulkheads and you can see short “lines” in the lower part of the picture which is the weave showing through.

More later on what I decided to do about this.

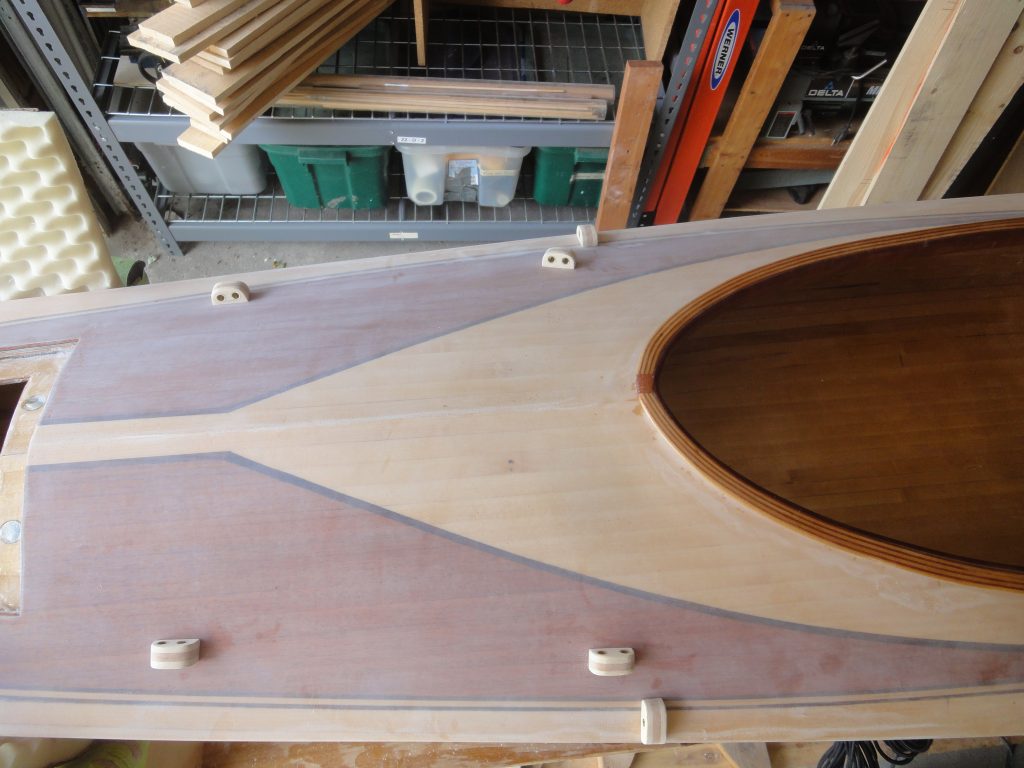
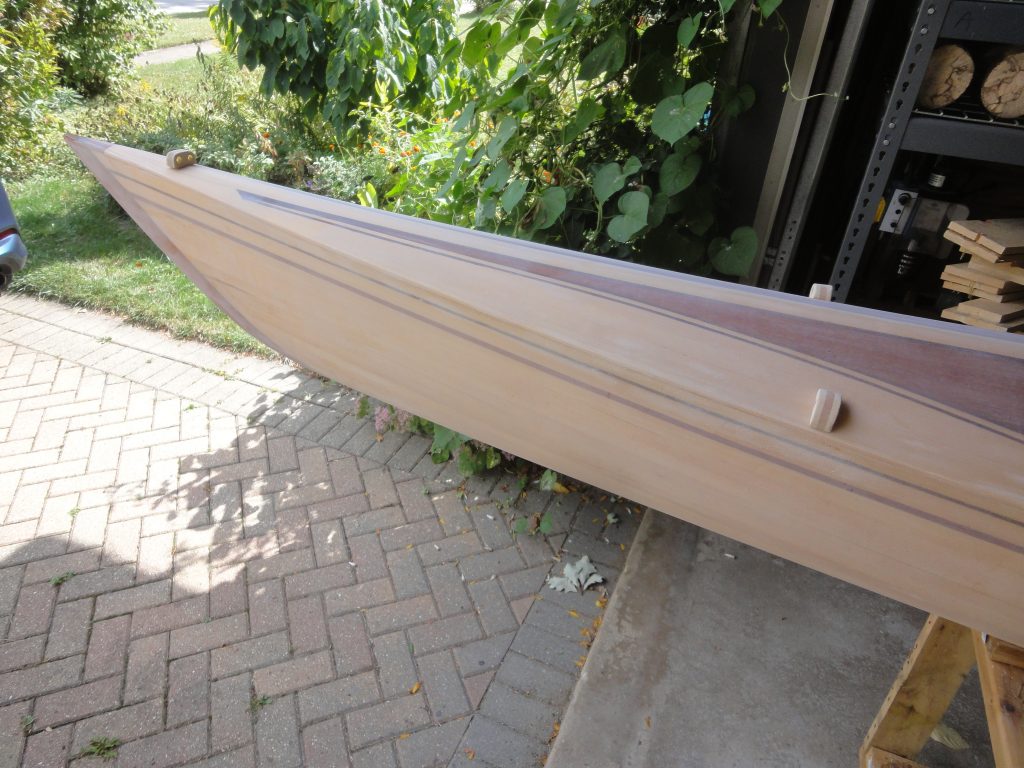
The main goals today were to sand out the tie down points and the line guides. They were pretty rough to start with, but a bunch of sanding later and all are looking really good. I went through a LOT of 60 grit discs on the tie downs and line guides then a moderate amount of 80 grit to finish these off.

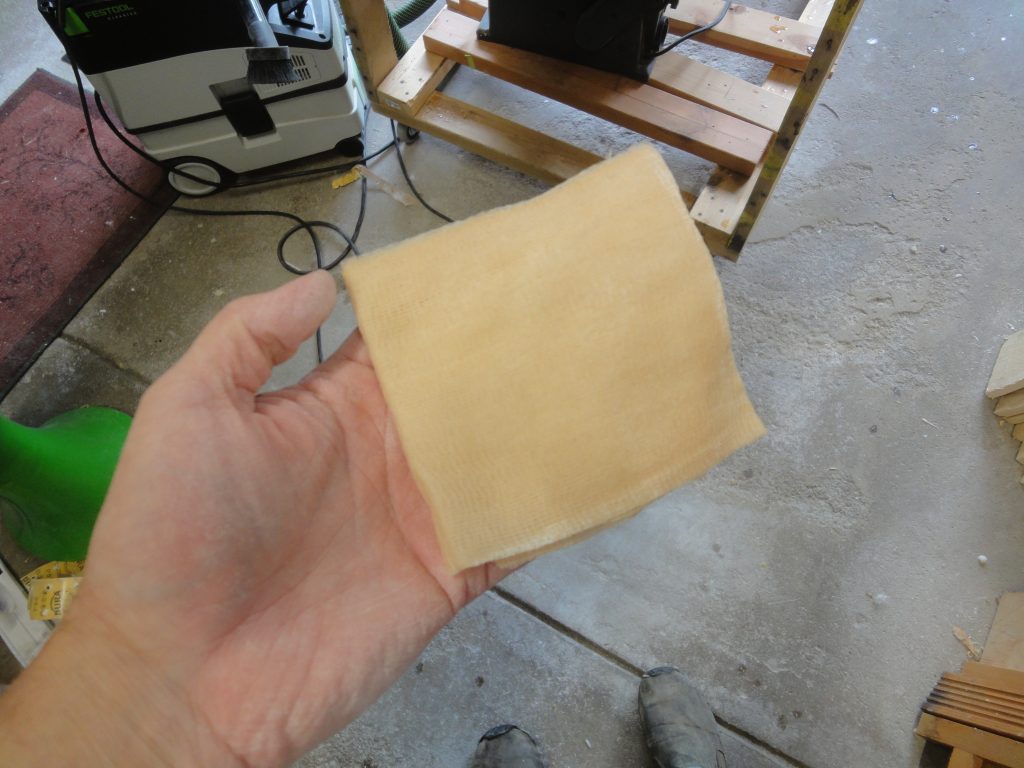
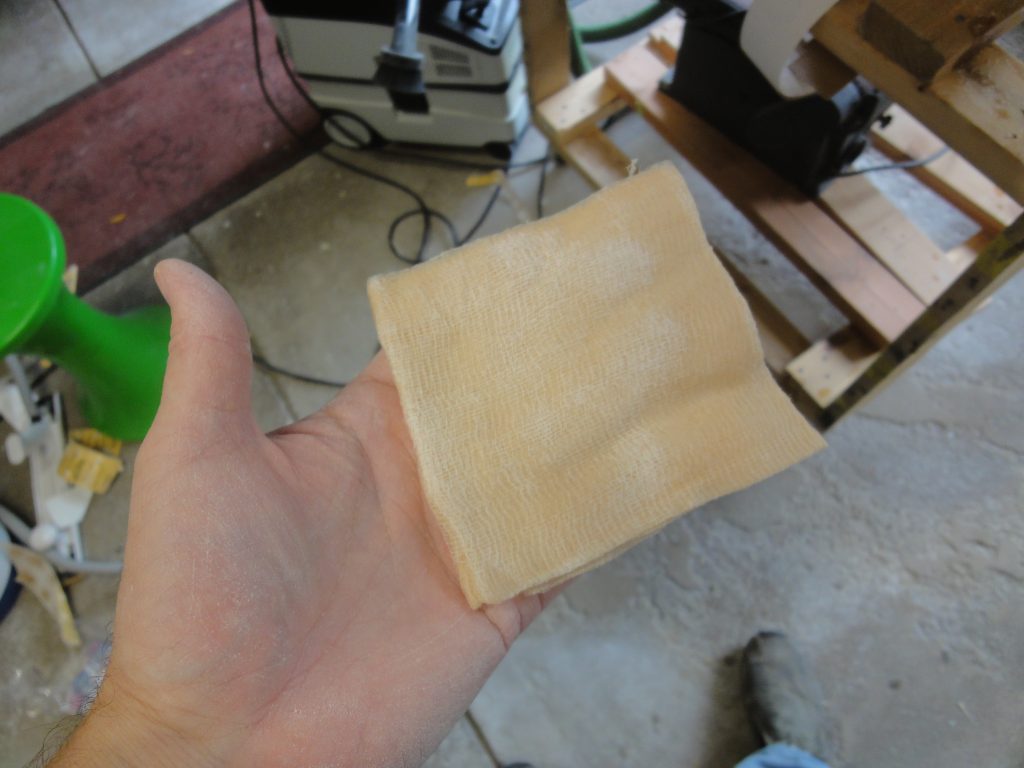
Once done with the sanding I was still debating with myself what to do about the weave. I did a vacuum and tack cloth and then a bio-solv wipe down to see how it would look. Cleaned up nice but the weave is still visible. I’ll probably have to consider trying another fill coat to see if it will help. That can happen another day though as I have the time and the weather is good for doing the end pour.

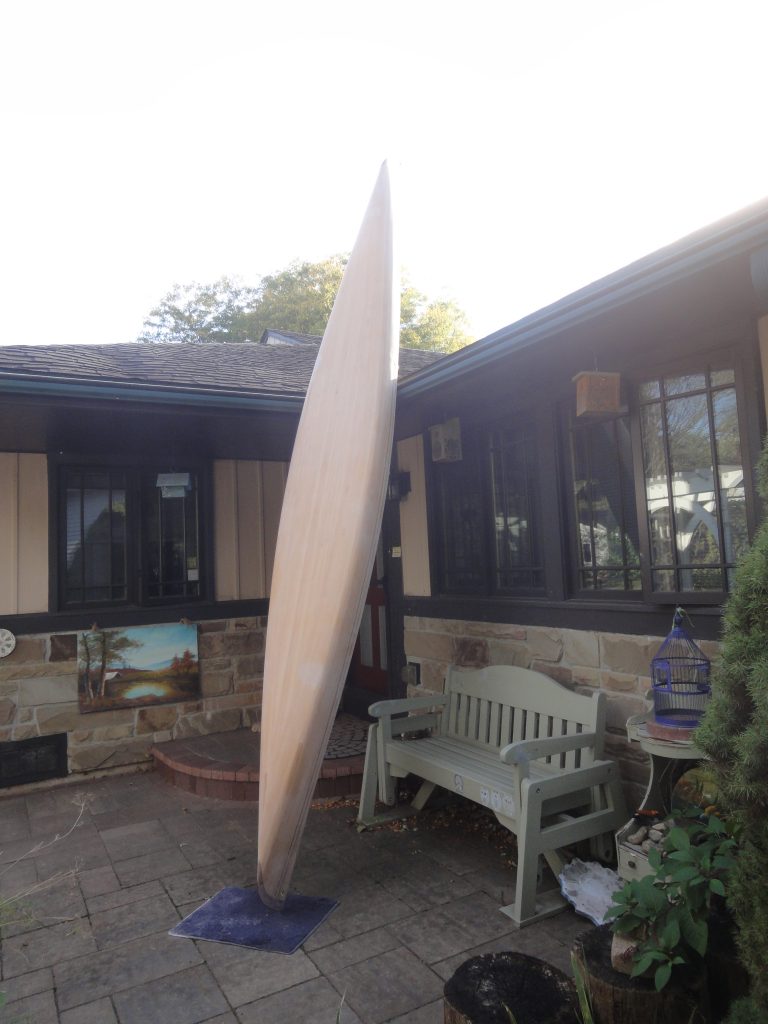
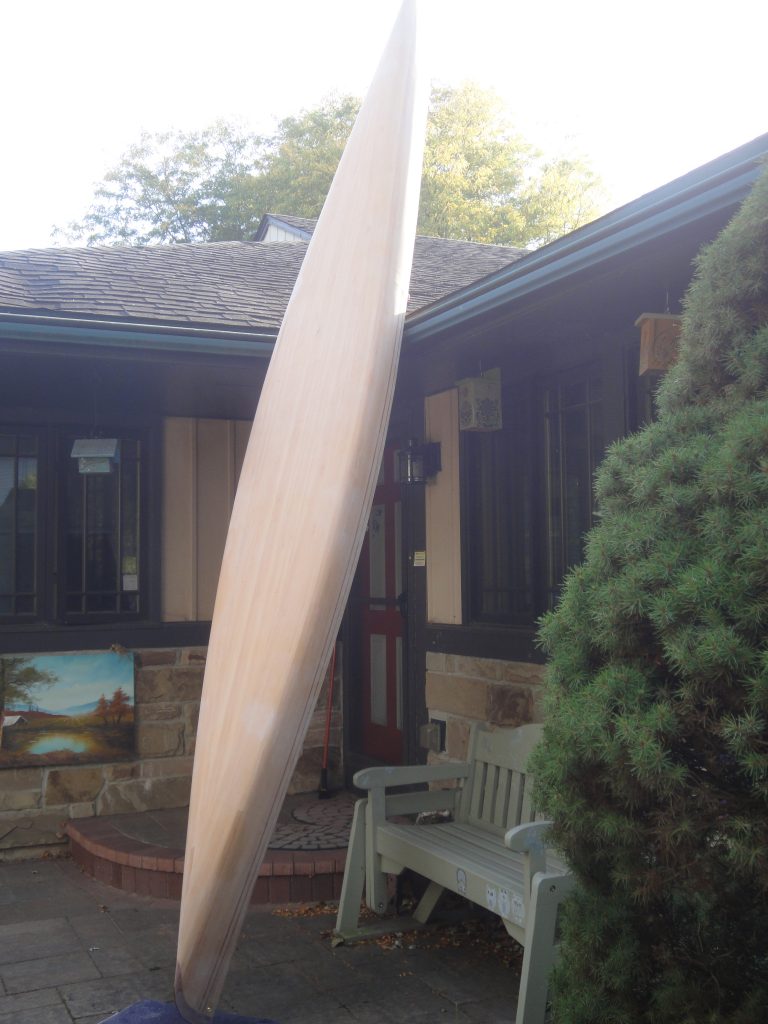
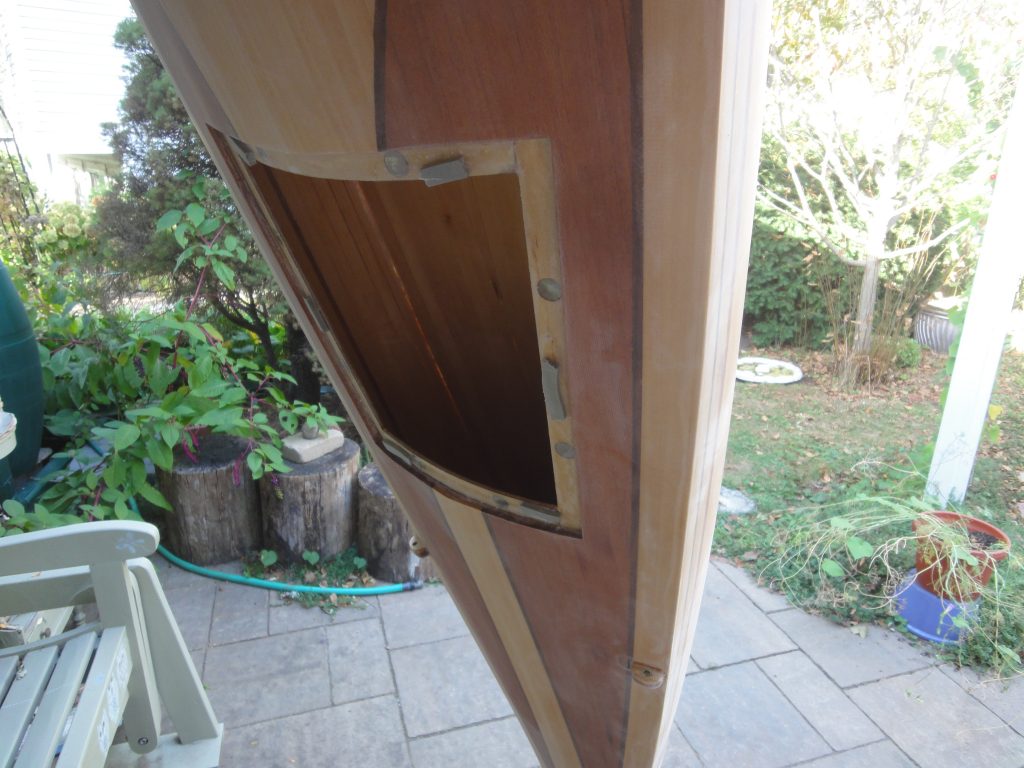
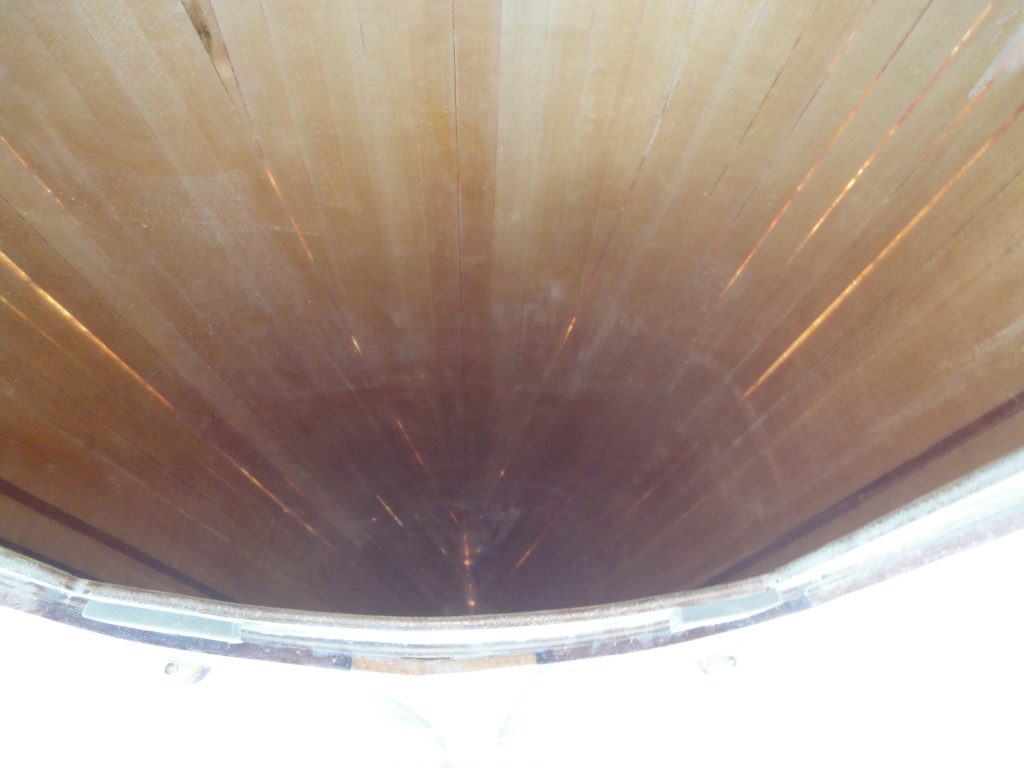
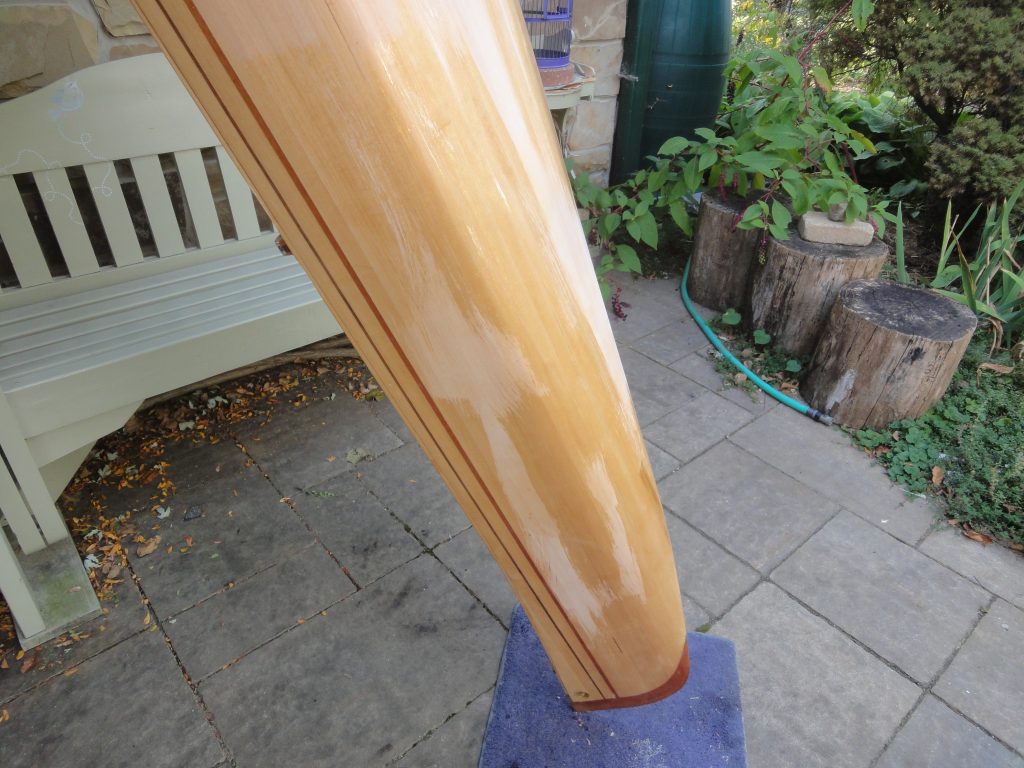
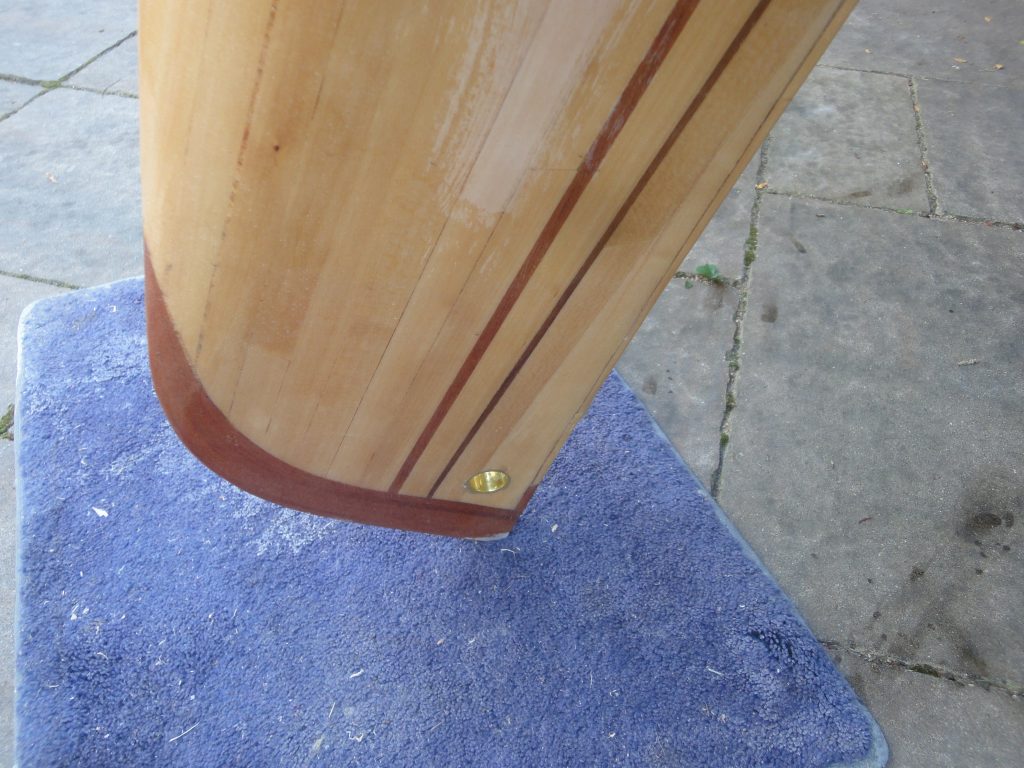
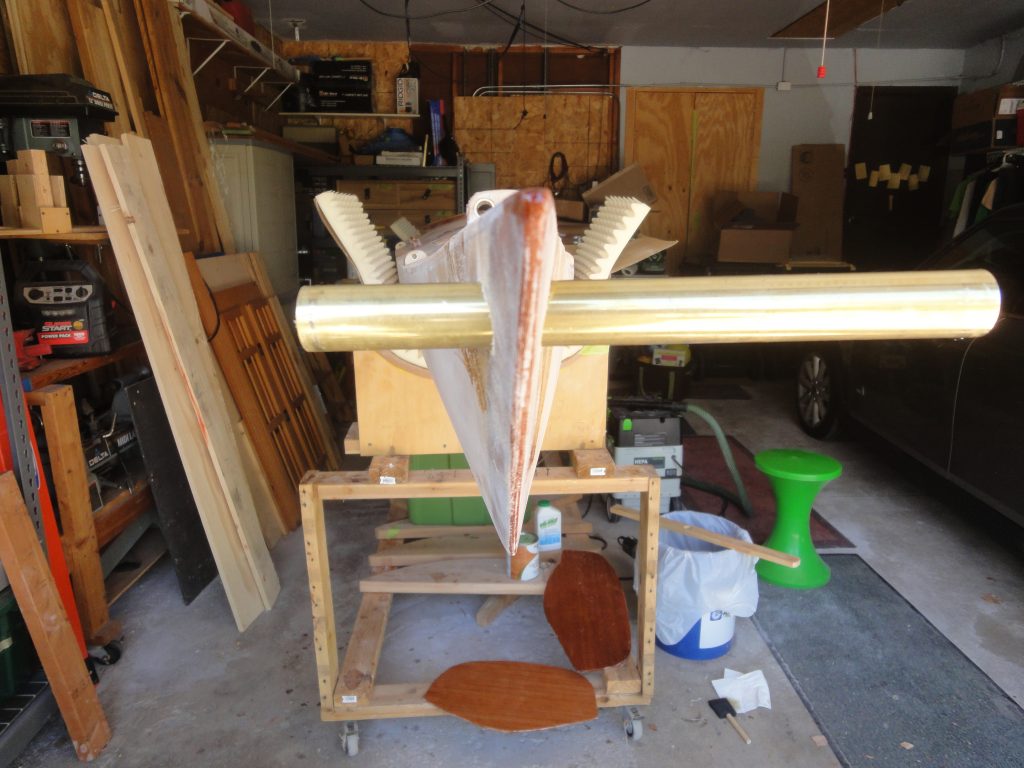
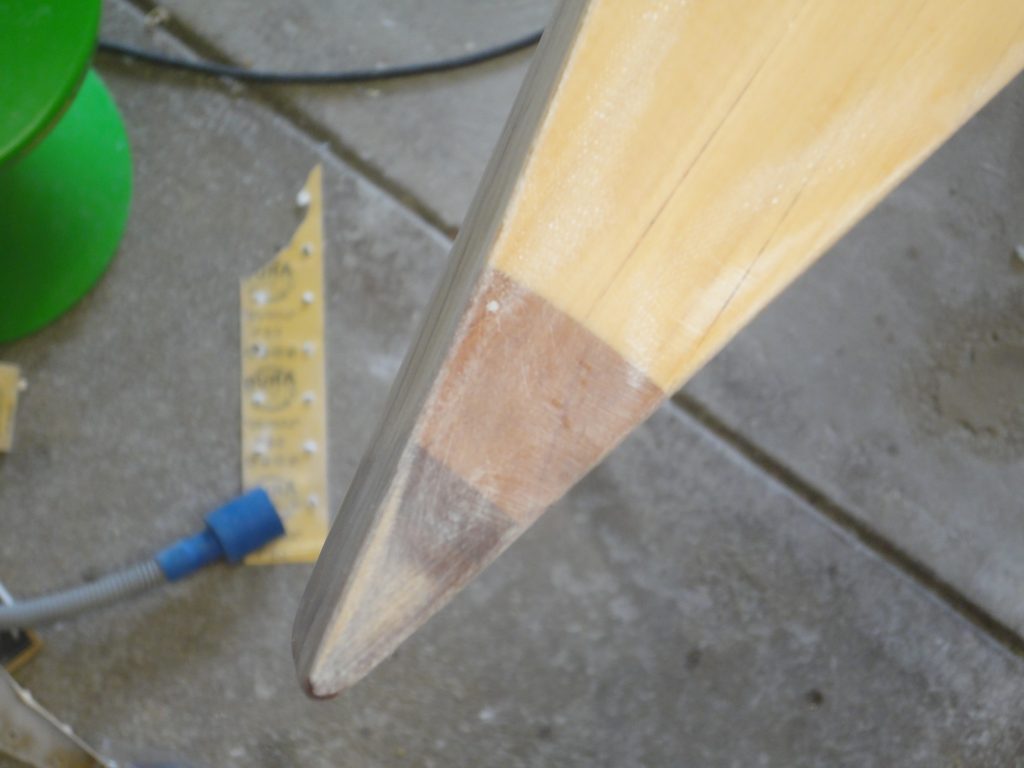
I started by getting the kayak to the front of the house where there is a 90 degree inside corner that I can prop it up on. An old rug section was placed on the ground in an attempt to avoid damaging the tip. With a bit of wrestling and only banging the end on the ground once (I’ll have to see what if any damage this did later) I finally got it into place. It’s pretty much straight down through the access hatch to the end point.

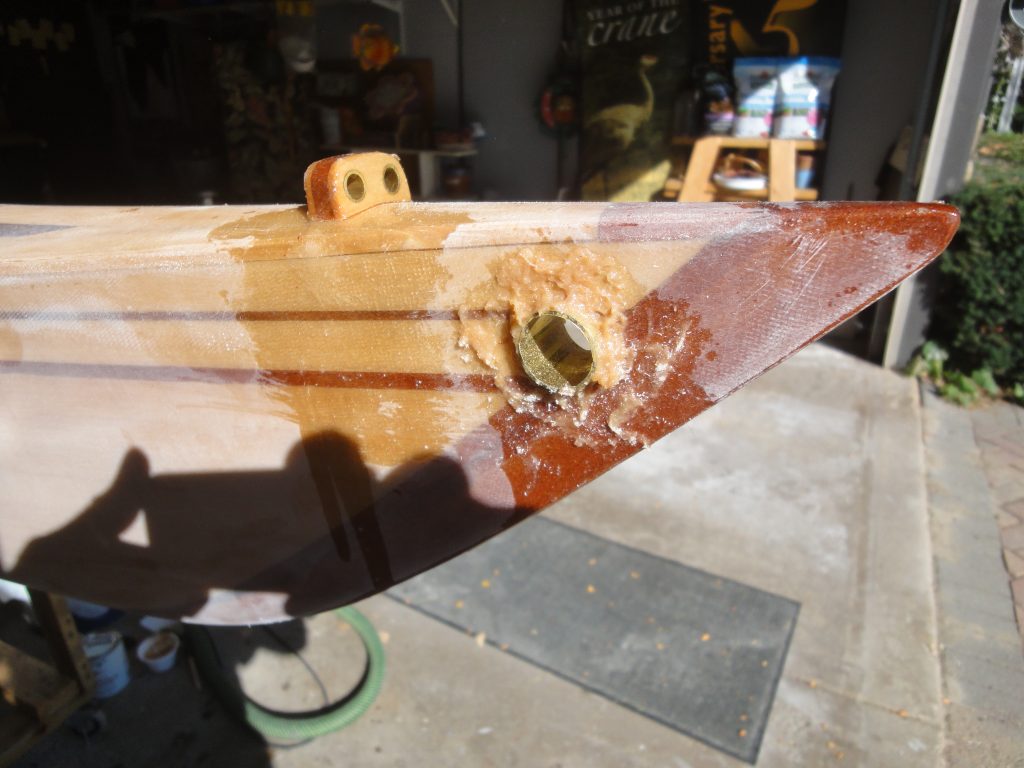
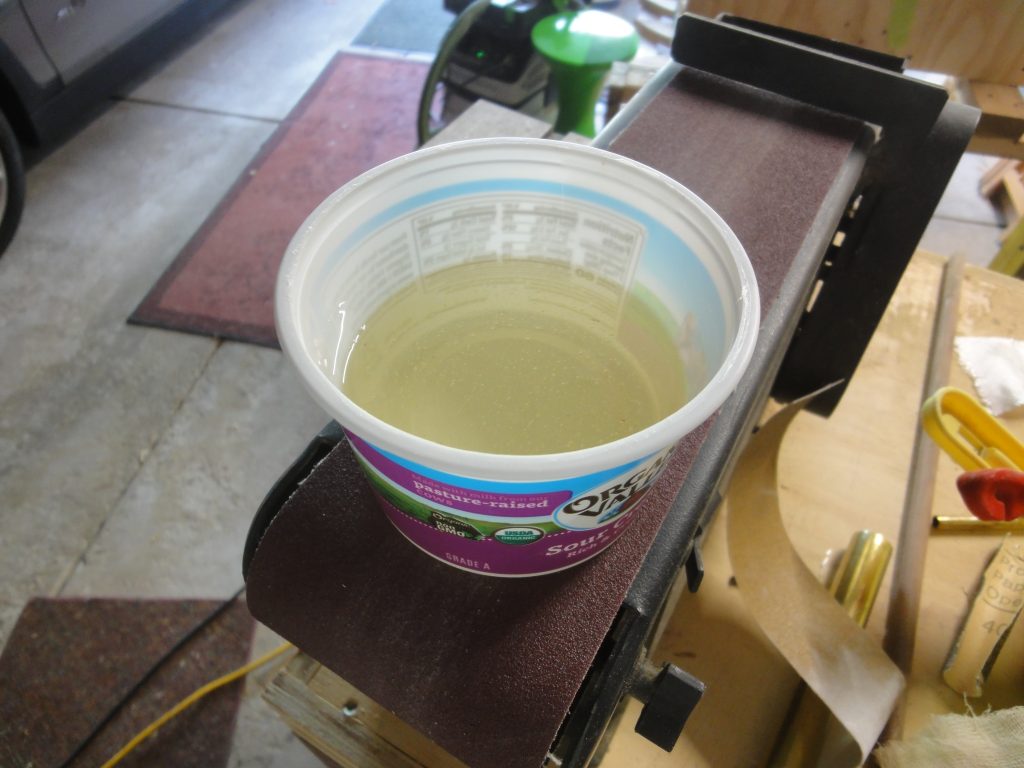
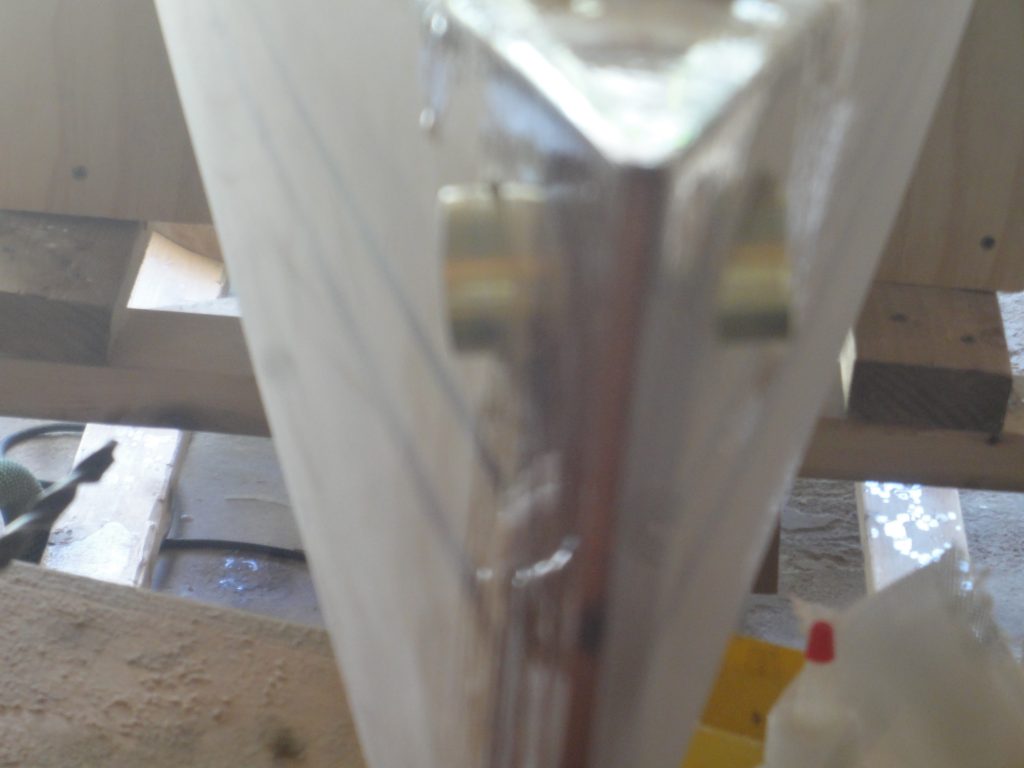
Normally a batch of epoxy is 2 or 3 pumps of epoxy and hardener. Even during the initial wetting out where I needed a lot I still did not do more than 5 as the one time I tried more it started to set up before I was done applying. But being as this wouldn’t be applying but rather just pouring it in I mixed up a 10 pump batch to ensure I had enough. Turns out this was WAY more than I needed. Filling the end well past the pipe only would have needed 4 or 5 pumps. This also, unfortunately, is a good opportunity to see the angle that the pipe ended up getting installed at. From the outside I don’t expect anyone will really notice this but I’ll still know it is there crooked.

So with about half the batch available I decided today was “another day” and grabbed a brush and got as much visible weave as I could reach covered with a thin coat. When done I checked the end by the pipe and saw nothing leaking out so even as is the pipe was a good solid waterproof connection, this end pour will only help. It’ll also make good reinforcement for any stresses put on the tie down during transport.

So, the to do list with the deletions and the additions is:

  • Full once over to look for any defects or other stuff that needs fixing
  • Light fill coat on other half of kayak to cover weave spots
  • Final sanding over whole kayak (check inside too for any drips or other issues with the finish in the cockpit
  • Install foot braces
  • Install bulkheads
  • Hatch – final fitting
  • Varnish, varnish, varnish
  • Install deck lines

I’ve noticed two small areas that were sanded through the weave and into the wood and one area that looks like a 1/2″ stretch or so where there is air under the fiberglass. If I find anything else in the once over it’ll get added to my fix list, otherwise these I already know about are fairly quick fixes although given drying time for epoxy they’ll probably actually take a few days to be completed.

A Quick Sand and Splash

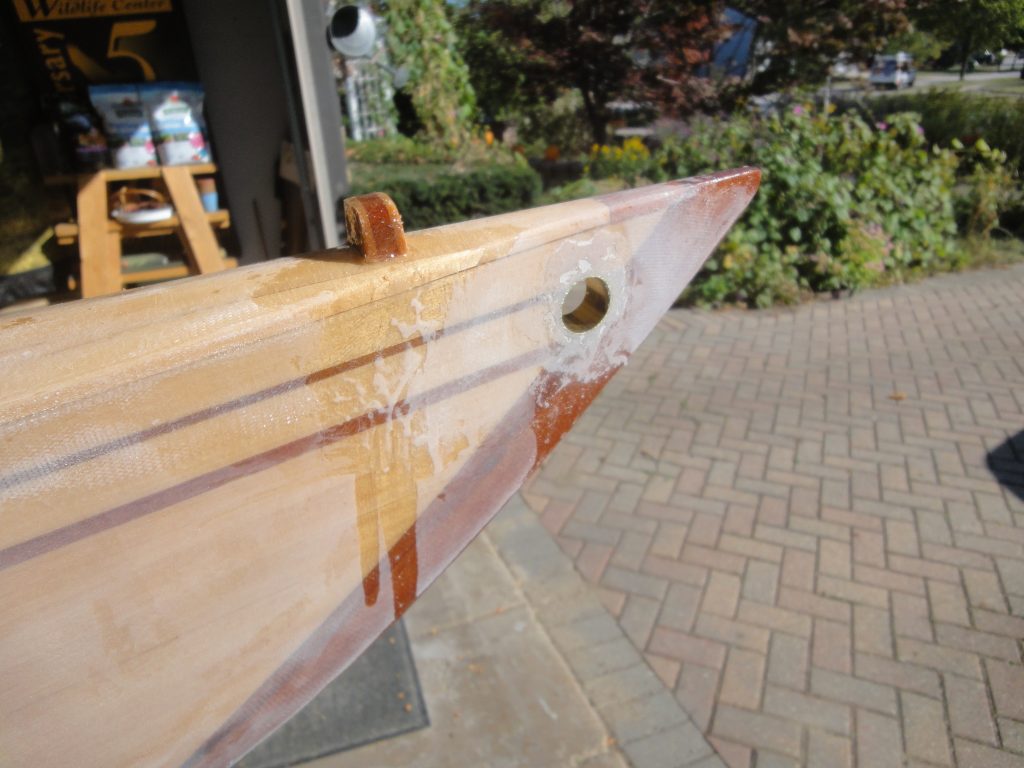
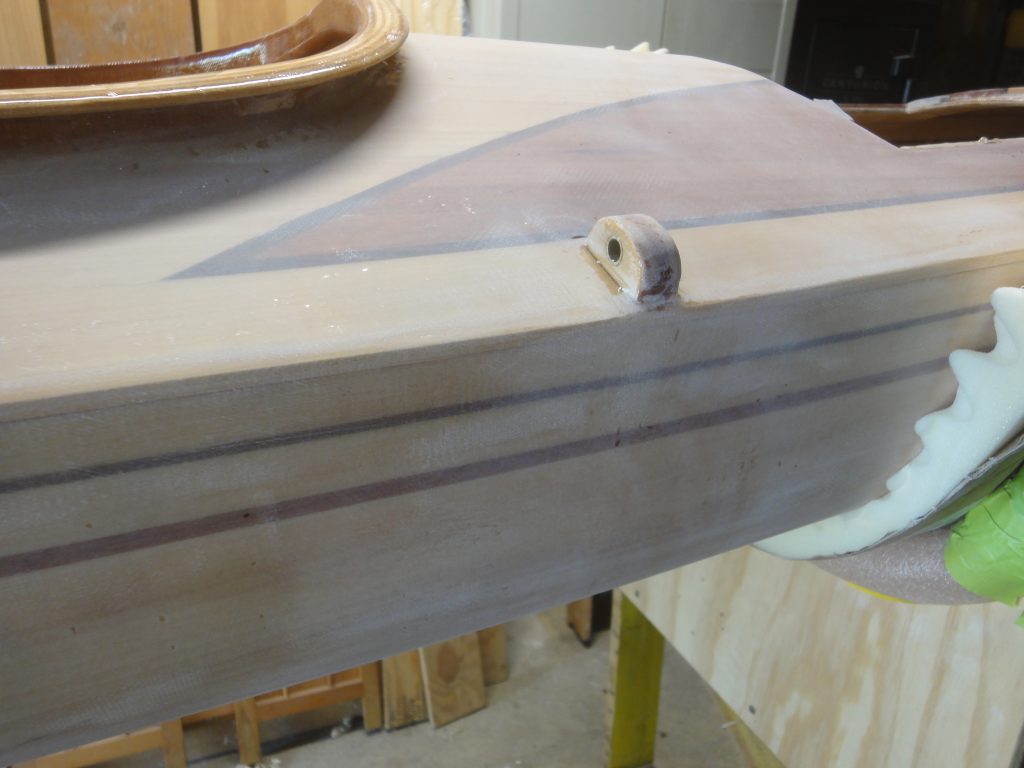
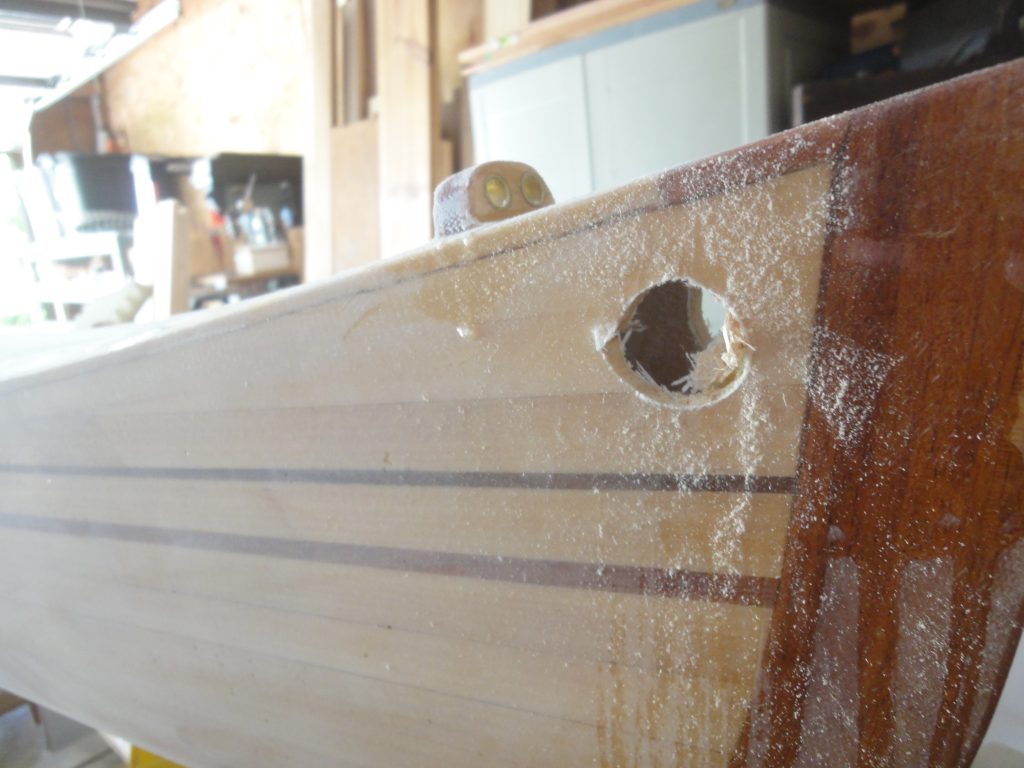
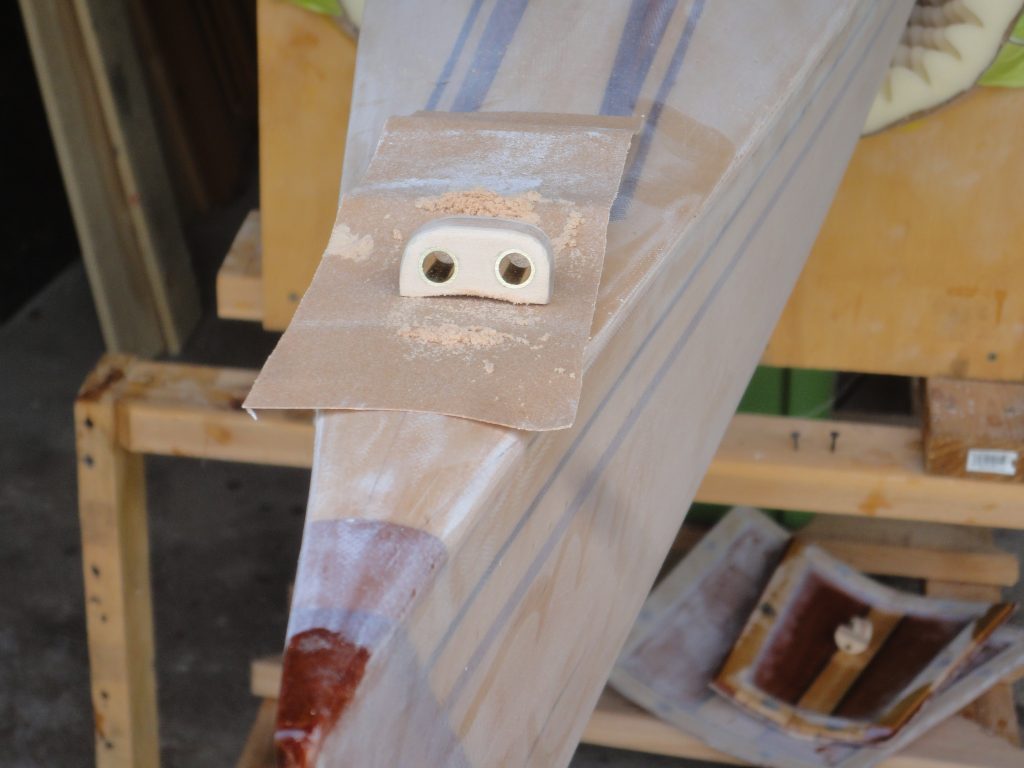
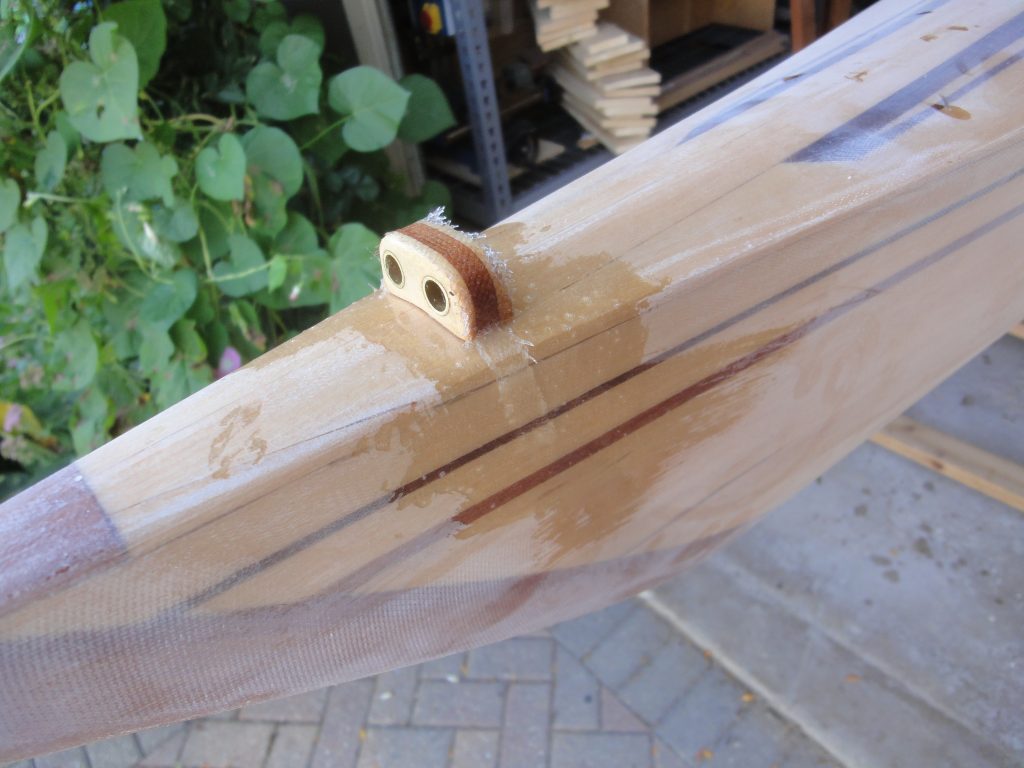
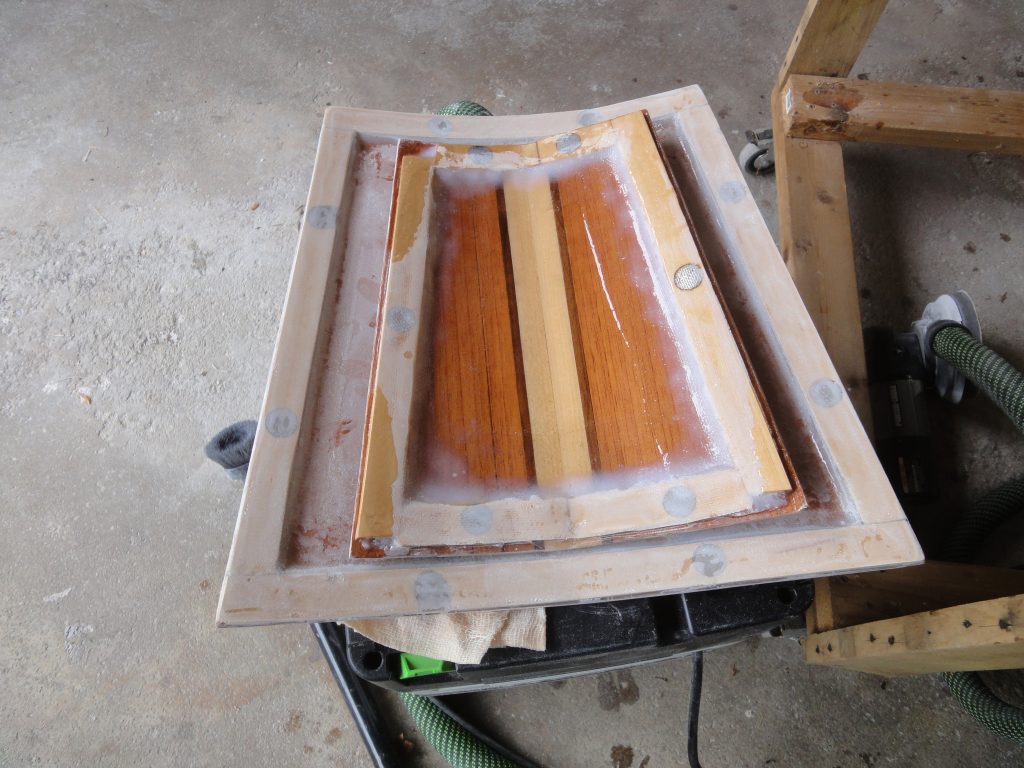
Just a quick work session this evening lasting a half hour. It was enough to do a preliminary sanding of one of the tie down holes. The before shot is from the front, the after shot is the rear one rough sanded down.

I also did a more aggressive sanding of the bulkhead that was varnished to attempt to remove some dimples from the surface. After cleaning I applied a new coat of varnish to see how this comes out.

Finally the line guides were a little rough with the weave being something I could still feel so I applied another fill coat to them.

I want to do more, but I can’t

More progress was made today, unfortunately most of it involved epoxy so now I’m stuck waiting for it to dry and can’t really do anything else.

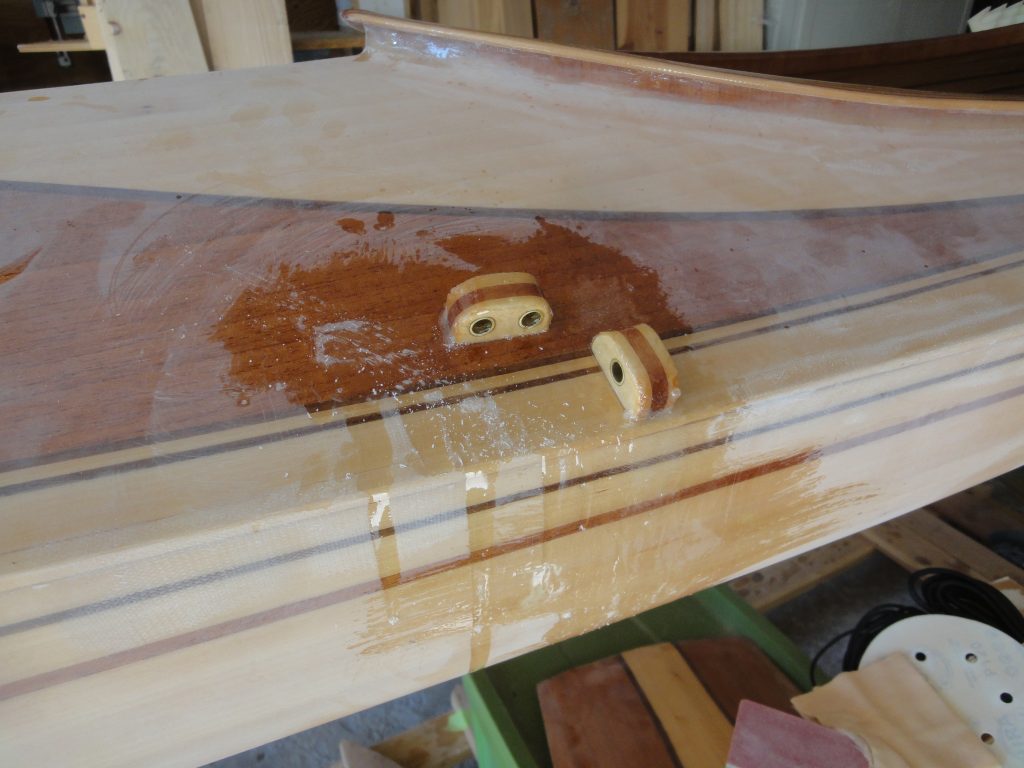
First I sanded down all the line guides, or specifically the epoxy and fiberglass strips that I put on them. Once cleaned up I applied a second coat of epoxy. I forgot to take any pictures as this is just more of the dozens of other times I’ve done epoxy and sanding now.

Checking a few reference videos (Petrel play for one… see link below) and I realize I should have done the end pours and tie down drilling long before attaching the deck. This would have allowed the end pours to be done easily instead of having to balance the kayak on end. Oh well. I know better for next time.

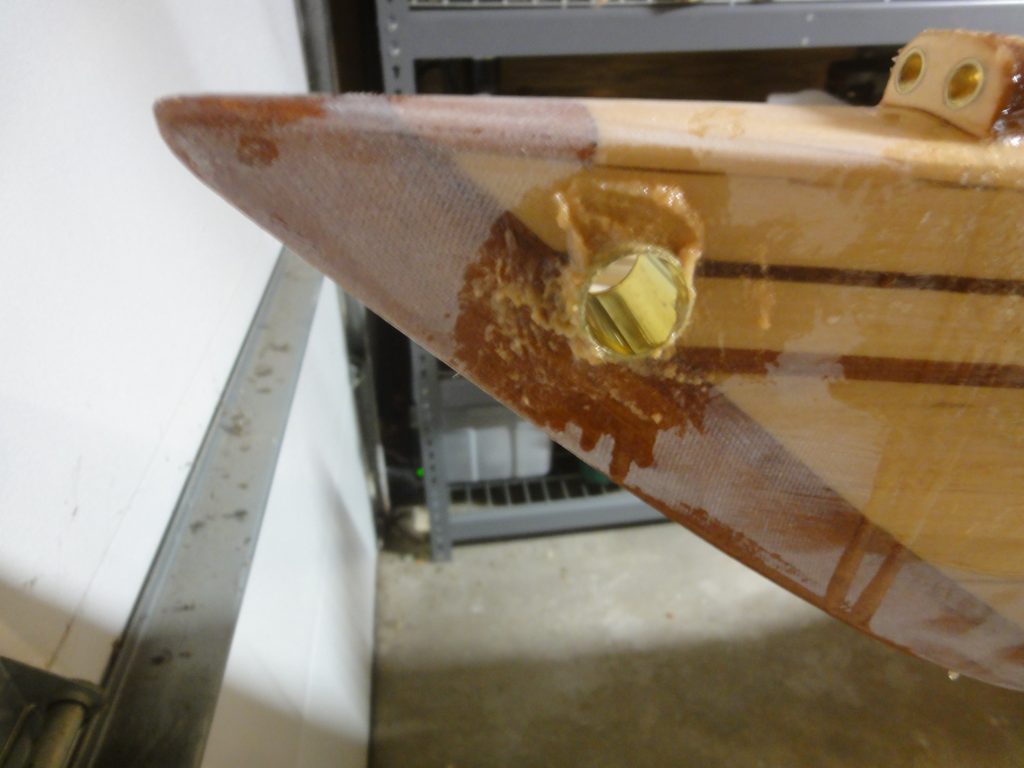
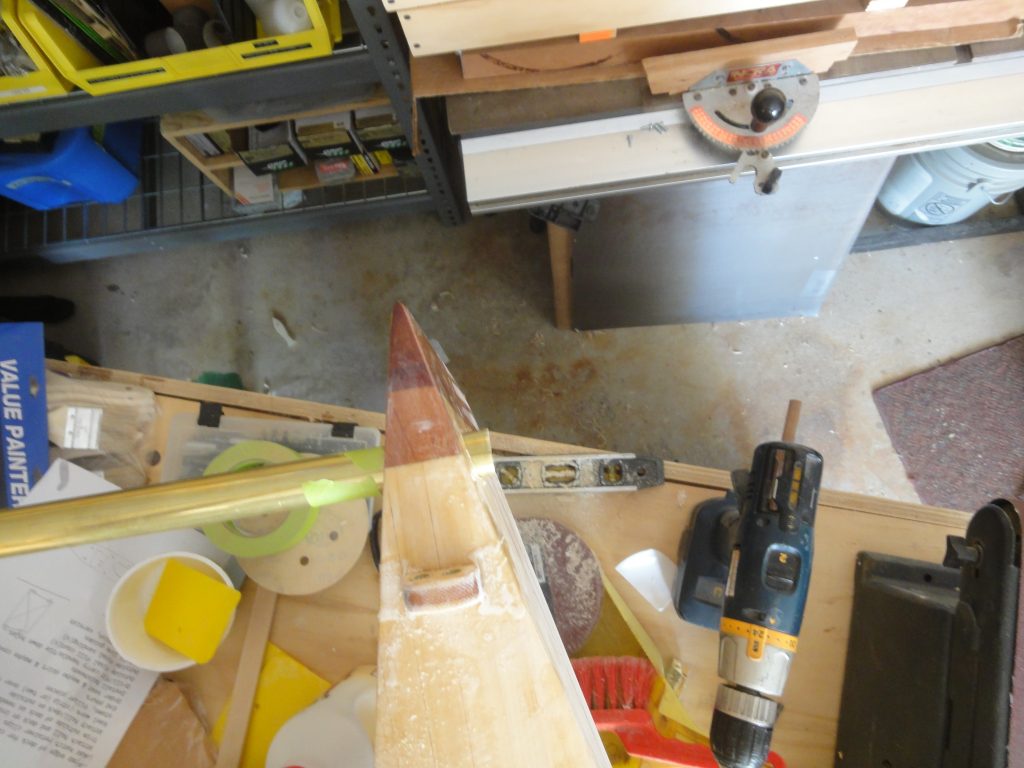
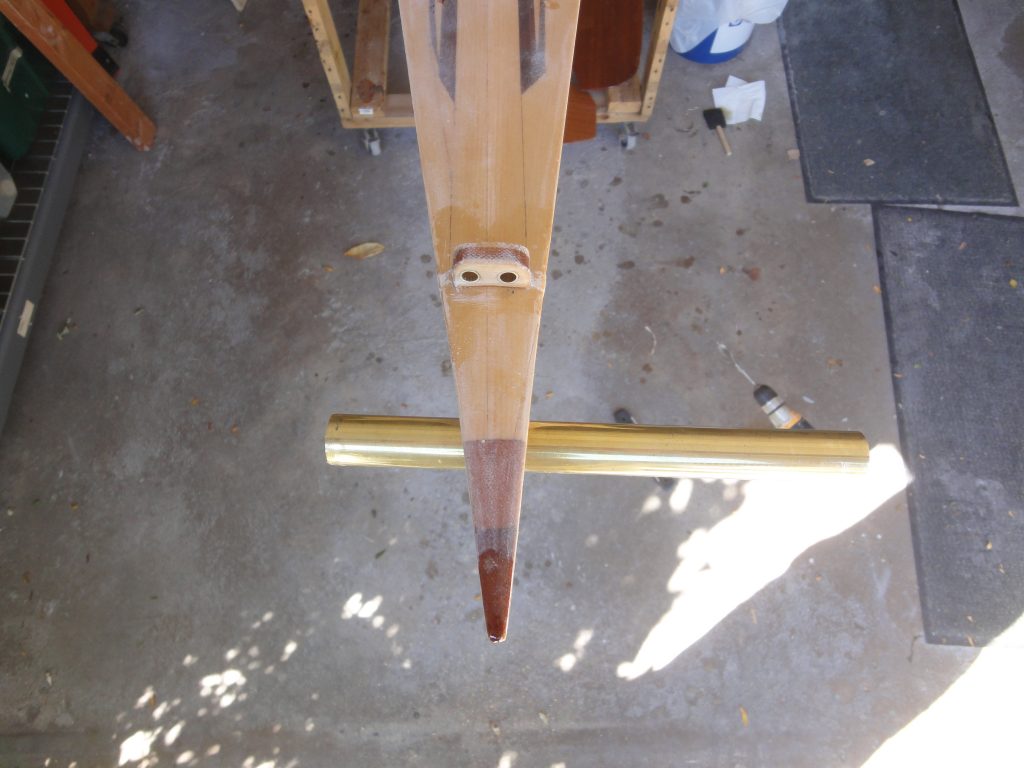
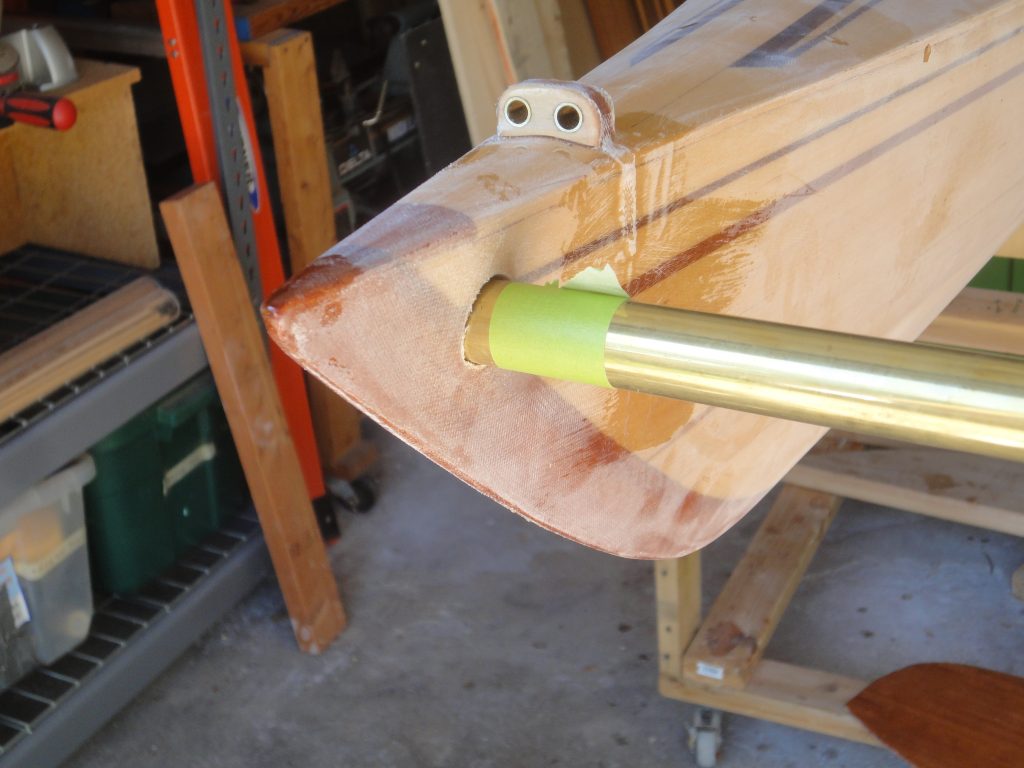
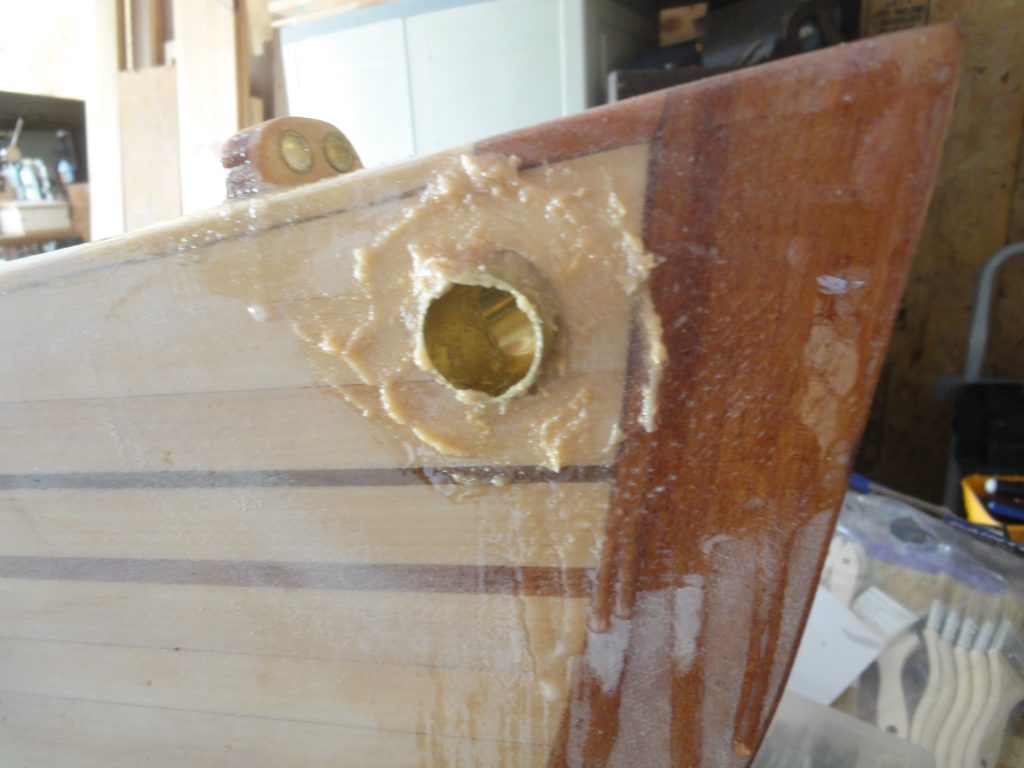
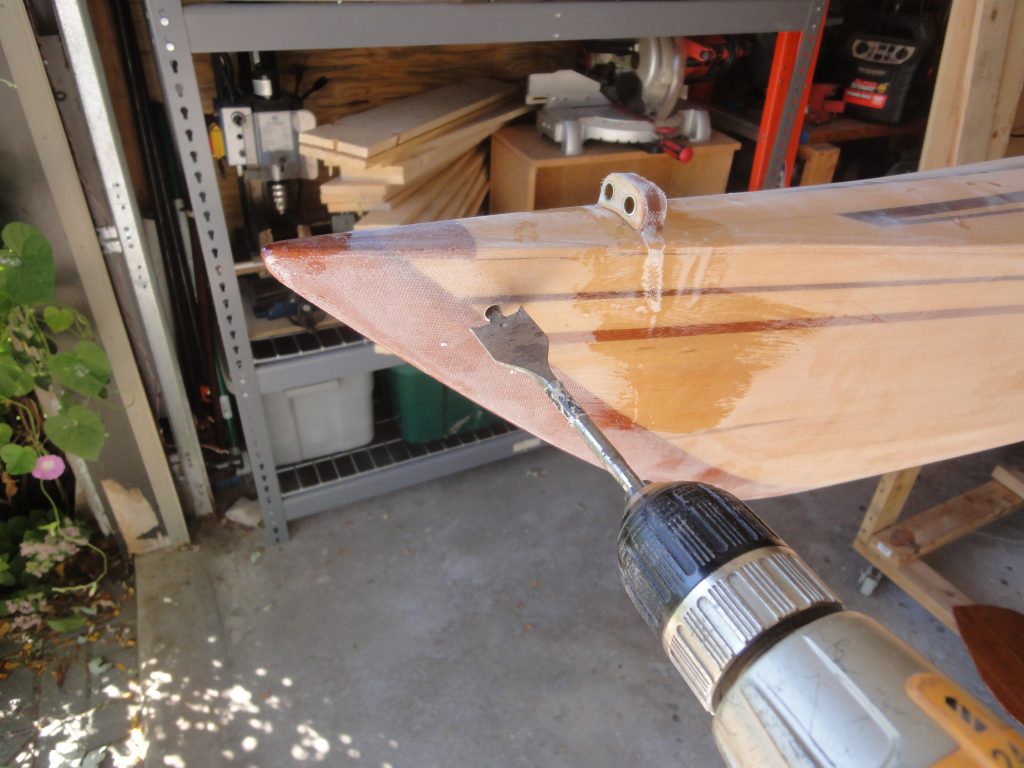
Moving on to the tie downs, I started at the rear, drilled a hole through and found air for part of the hole. So the rear will need an end pour. I went ahead and sanded the hole and then installed the 1″ brass tube that I planned to line it with. So here is one of those oops moments. It went in fine but the hole is slightly over size (even though I checked both the tube and bit with calipers and found them to be nearly identical) and some how I didn’t drill it straight. It’s much more exaggerated with the foot long bar in there. Once trimmed down and sanded to fit it won’t look as crooked, especially since it will only be seen from one side at a time. I probably could have done this better and will try differently at the front.

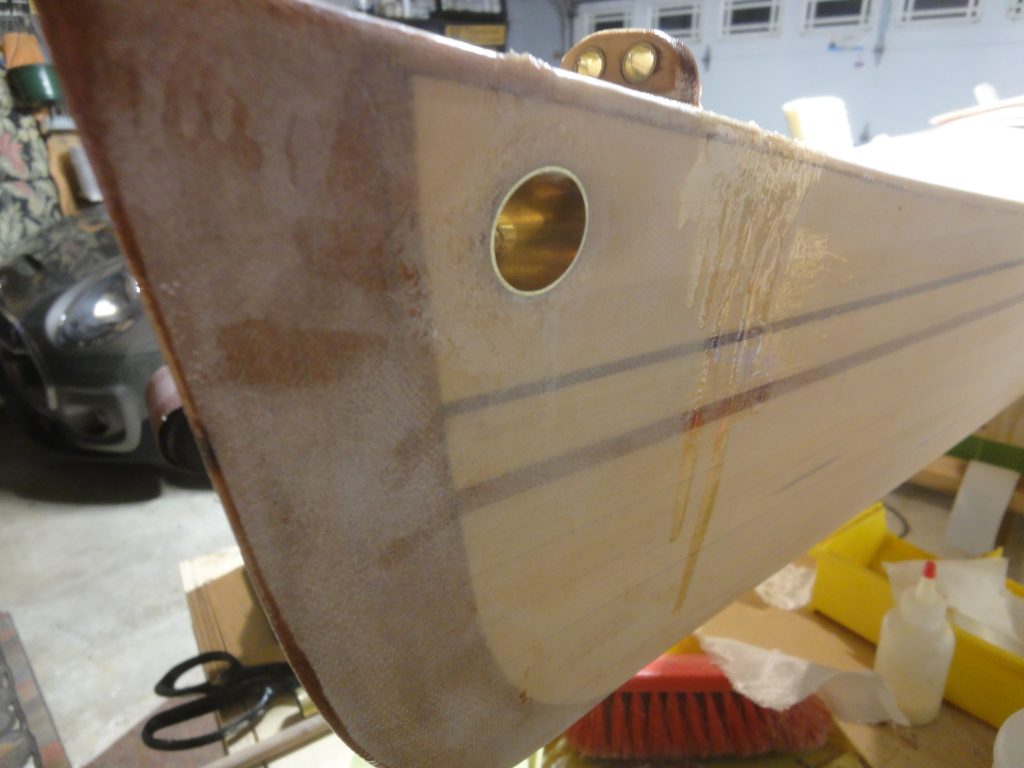
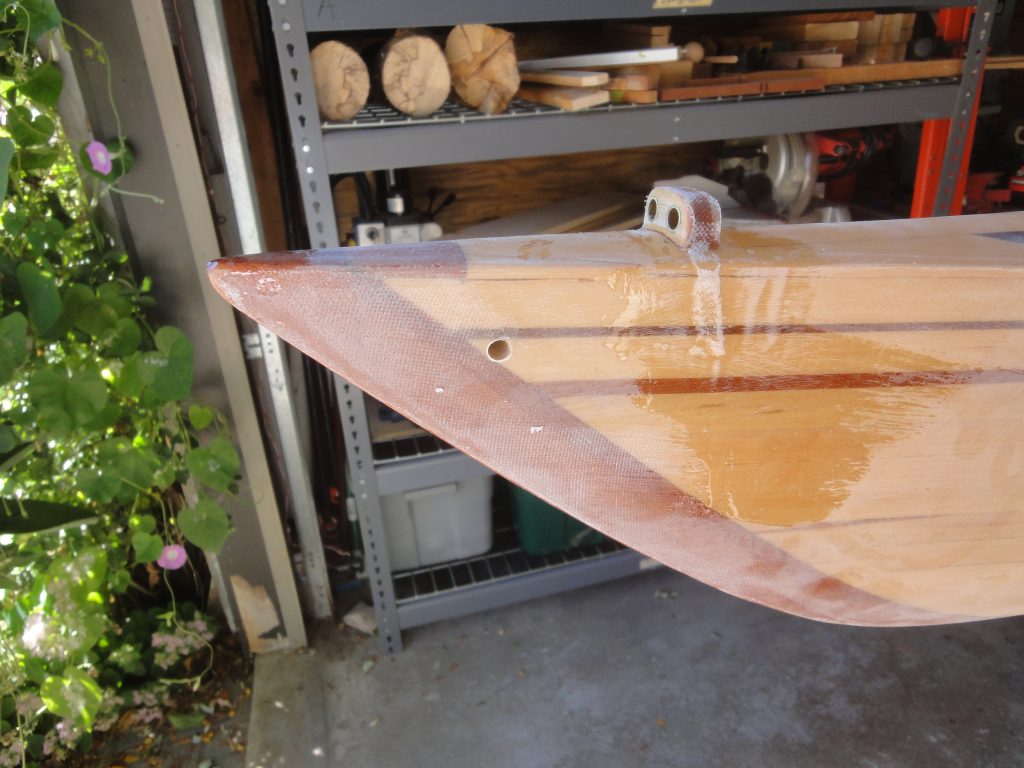
So I moved to the front and tried there. This time I did a small bit pilot hole and paid even more attention to my guide lines and the level and this time the hole was nearly perfect. But it’s a small hole. So back to the 1″ bit and an attempt to enlarge it. Going slow and constantly checking for level and of course coming in from each side to meet in the middle to avoid tear out and I think this one is much better. A piece of tape marks the point to cut the tube. Bonus, on the front I had solid wood all the way around so no need for an end pour.

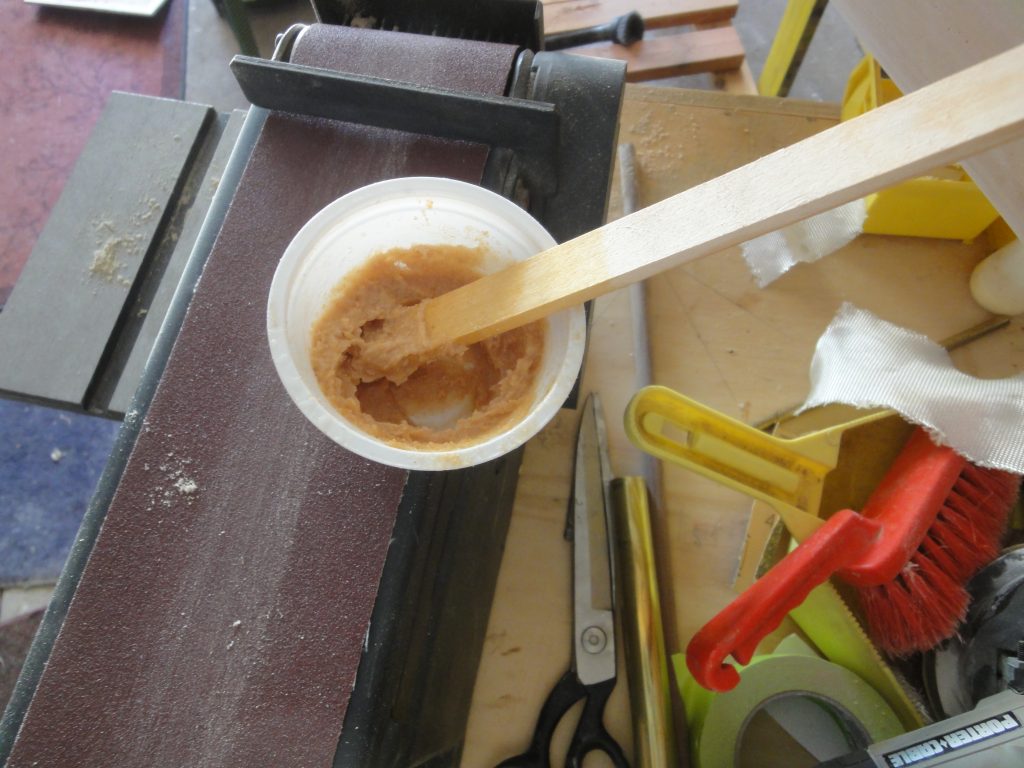
First I epoxied the tubes in place which also provided for sealing of the underlying wood, I also used this epoxy to do the fill coat on the line guides (mentioned earlier). Mixing up some more epoxy, adding adhesive filler to thicken it and then some saw dust to color it and I went ahead an used this to fill any gaps around the tubes and help further lock everything in place. Application was easy… a nitrile glove covered finger to scoop it up and push it into place.

Once this all dries I’ll file/sand down the tubes to be flush with the hull.

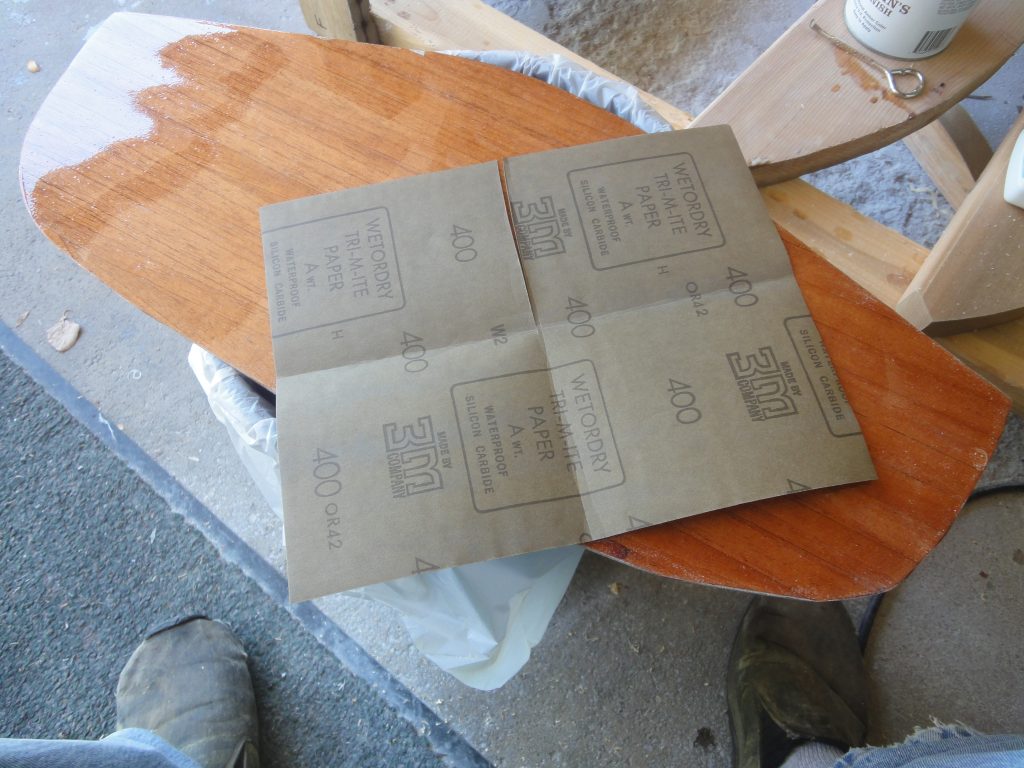
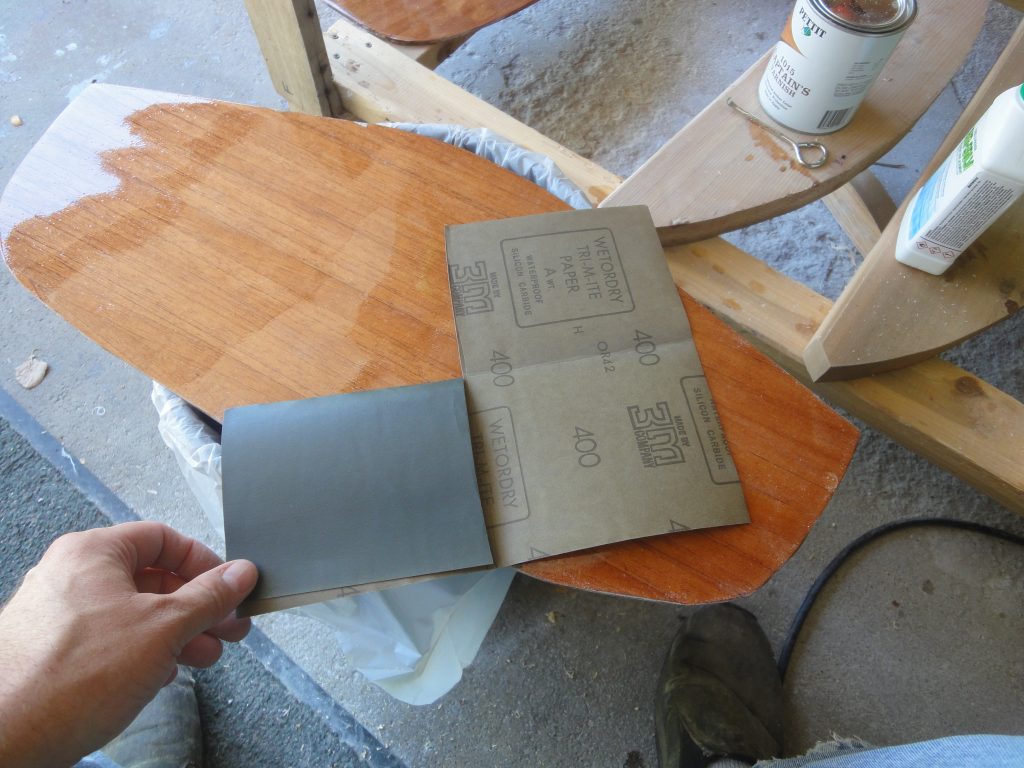
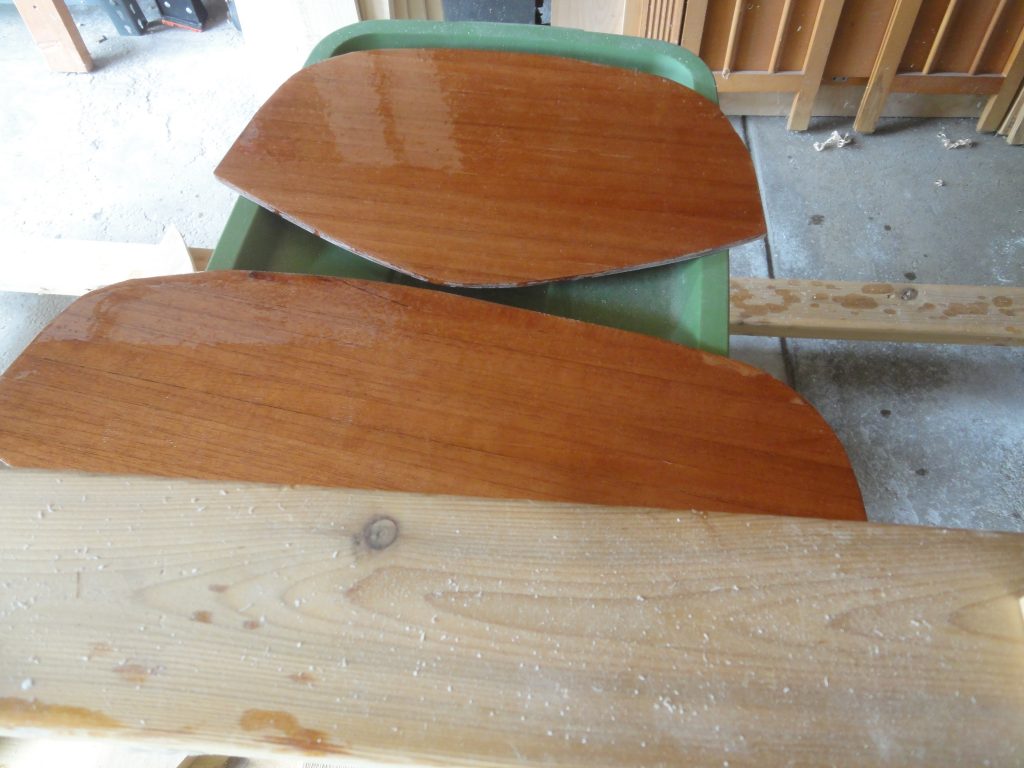
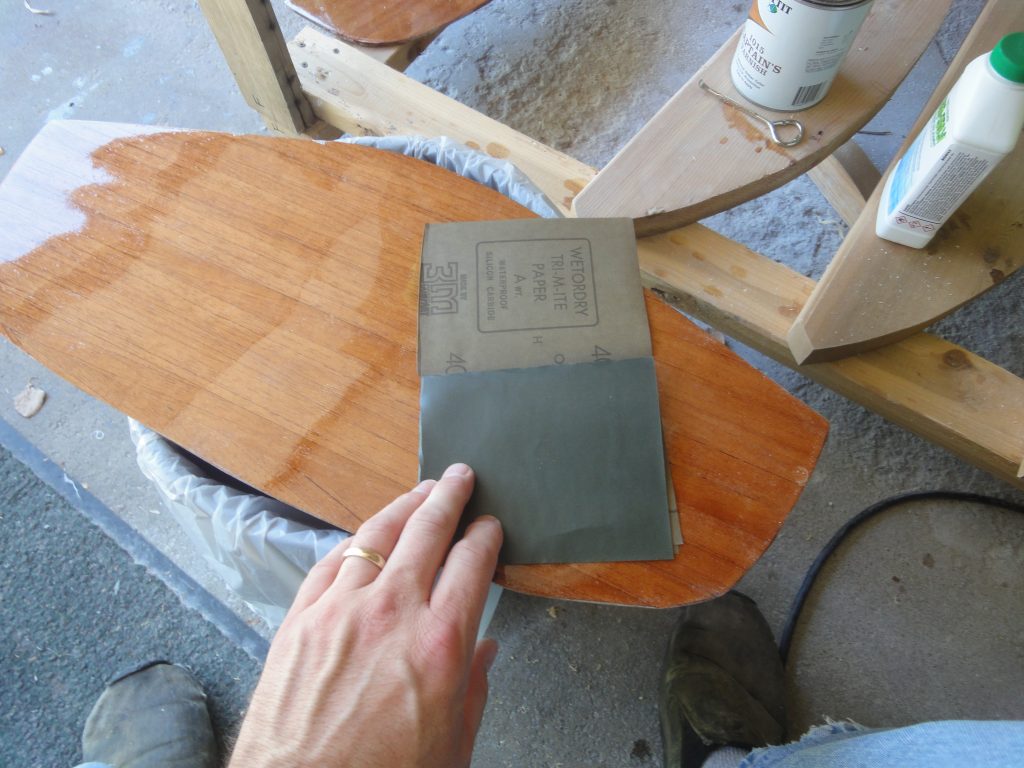
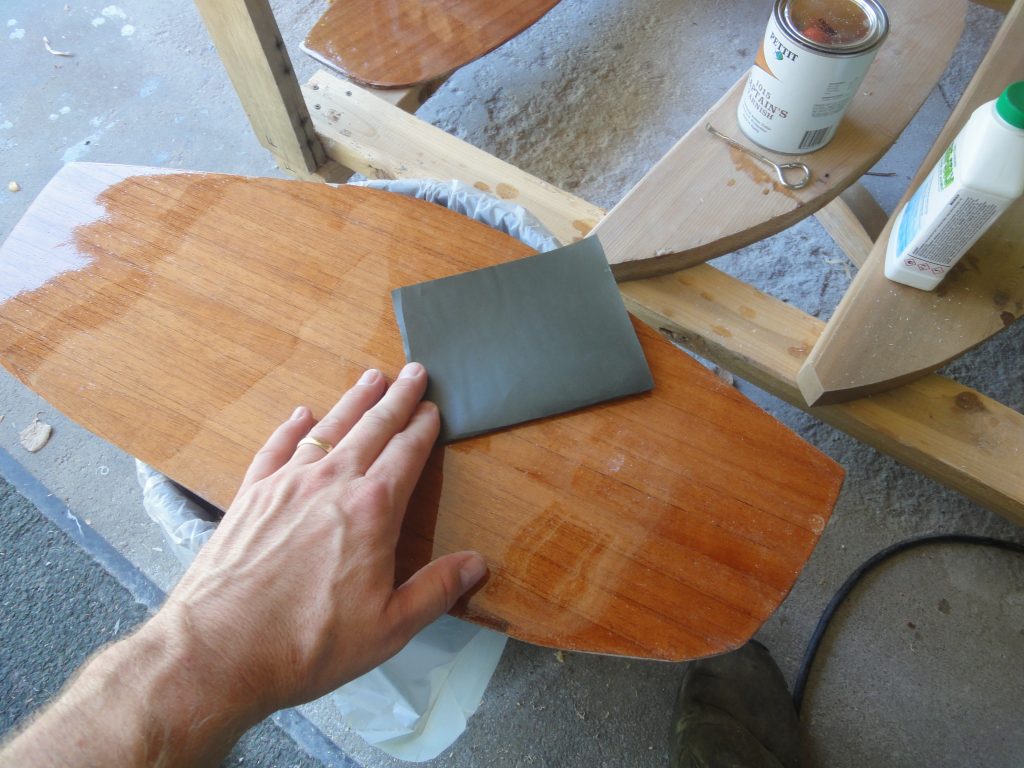
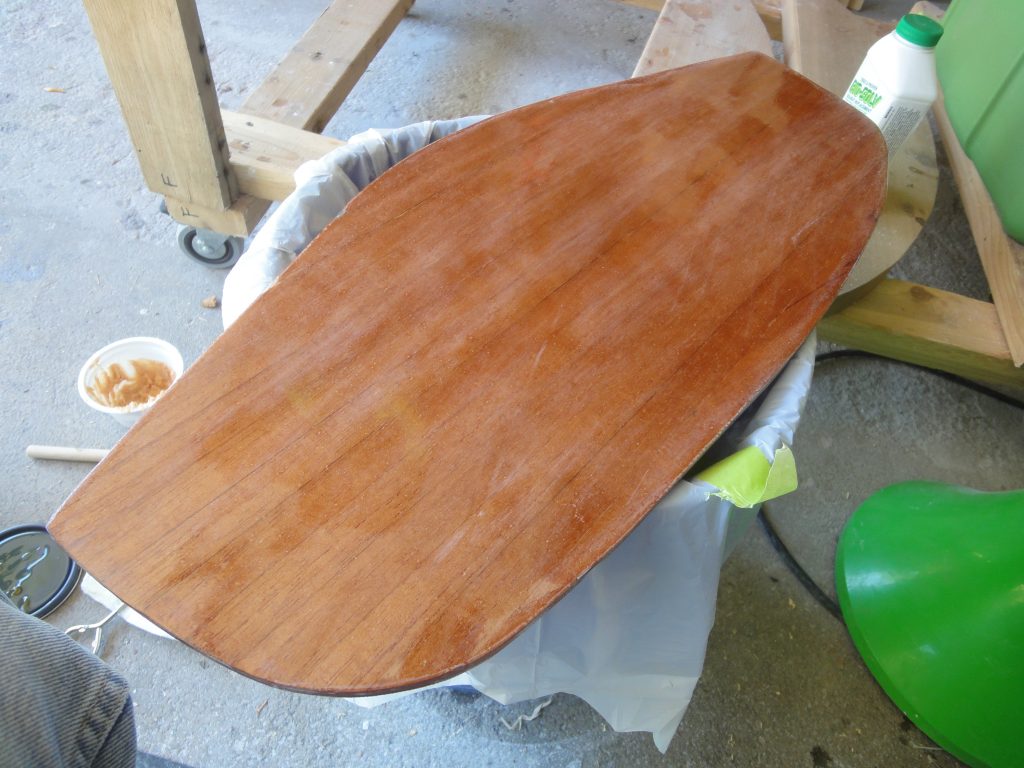
With little else to work on due to the epoxy drying I turned to the bulkheads. The first coat of varnish still had that wet look, although it was dry. Just minor surface contaminates (dust, etc.) was found. I used 400 grit sand paper to give it a quick once over and remove those. The paper was folded, unfolded, cut half way through, then refolded so that the grit side never touches another grit side. Makes for an easy to use size with three more surfaces I can expose by just refolding it. After a quick sanding the feel was back to smooth so I applied another coat. Checking some resources (Nick’s Petrel Play video, episode 18, for one) and I was aiming for 4 coats but three may be sufficient, especially for these internal surfaces. I’ll see how it comes out after coat 3 before deciding.

  • Drill/fit carry handle/tie down holes – Done, epoxy and glass still needed.
  • End pours – only in the rear
  • Line guide fill coat(s) and sanding – in progress. One done, will evaluate if another is needed once dried.
  • Install bulkheads
  • Hatch – final fitting
  • Varnish, varnish, varnish

Next time will be sanding, fill coat evaluation and fiberglassing of the tie down holes. Probably the rear end pour too. If the line guides fill coat is sufficient I can move to final sanding on these, otherwise I’ll need to do one more fill coat on them. I need to get a finish on the other side of the bulkheads so I can then install them. The varnish is such that I can easily do a coat a day so by mid to late week I should have both sides completed.
Line Guides and more

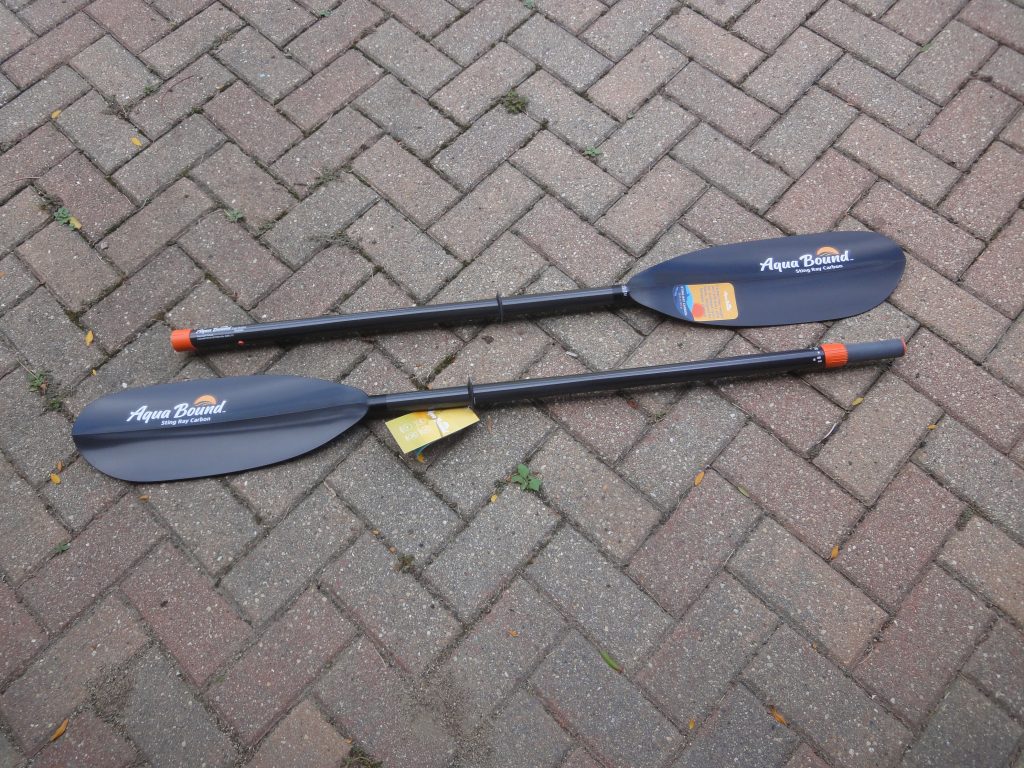
In the last few days both my paddle (main one for now, later it will become the backup/spare when I make one) and the seat arrived. I’m very happy with both choices. The paddle was ordered from REI after researching a whole range of different brands, styles, usage, sites to buy from, etc. Not a top of the line paddle but also not a basic one either. I figure it’s a good option for now.
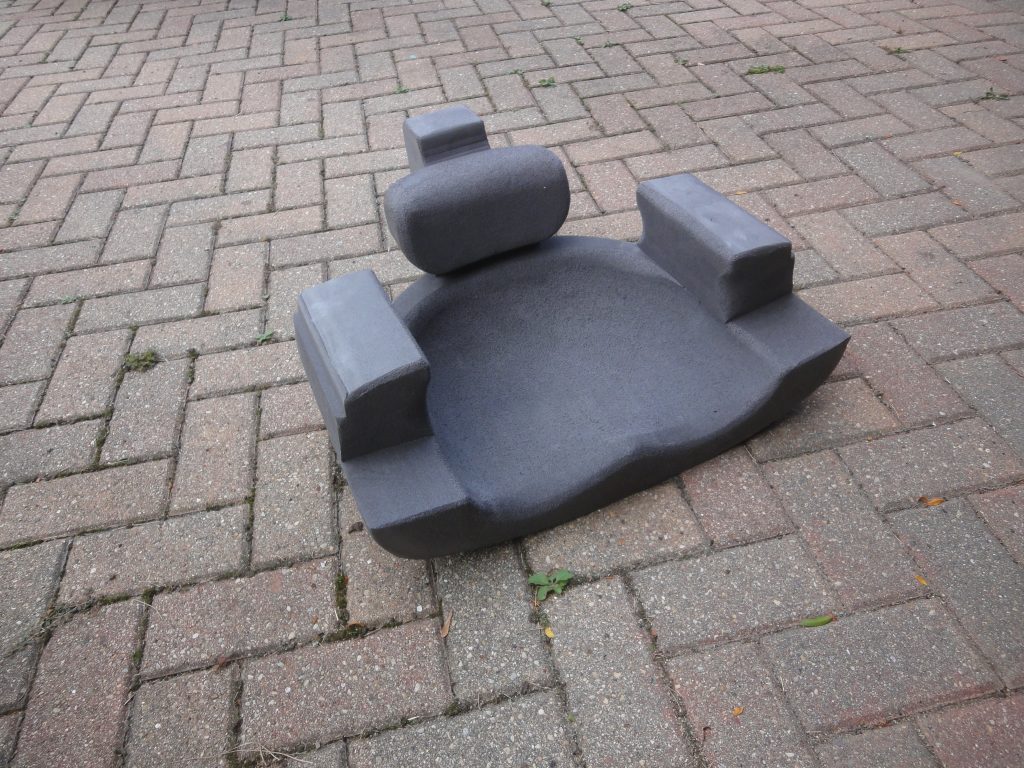
The seat was ordered from Redfish Kayaks and required a number of measurements to be provided. Since the Resolute is a kayak model that they’ve built before I didn’t need to also send a template. From order to receipt was about a week.
It’s made closed cell foam which provides some cushion and comfort with very little weight. The seat is sculpted out to help keep your center of gravity low too. Of course I tried sitting in it on the ground and was very pleased. I did put it in the kayak too and found it such a tight fit that I don’t think I’ll have to mechanically fasten it to keep it in place. Very well designed in my opinion. Of course final judgement will be reserved for when I can actually sit in it with it installed but I see no reason I won’t still be happy.

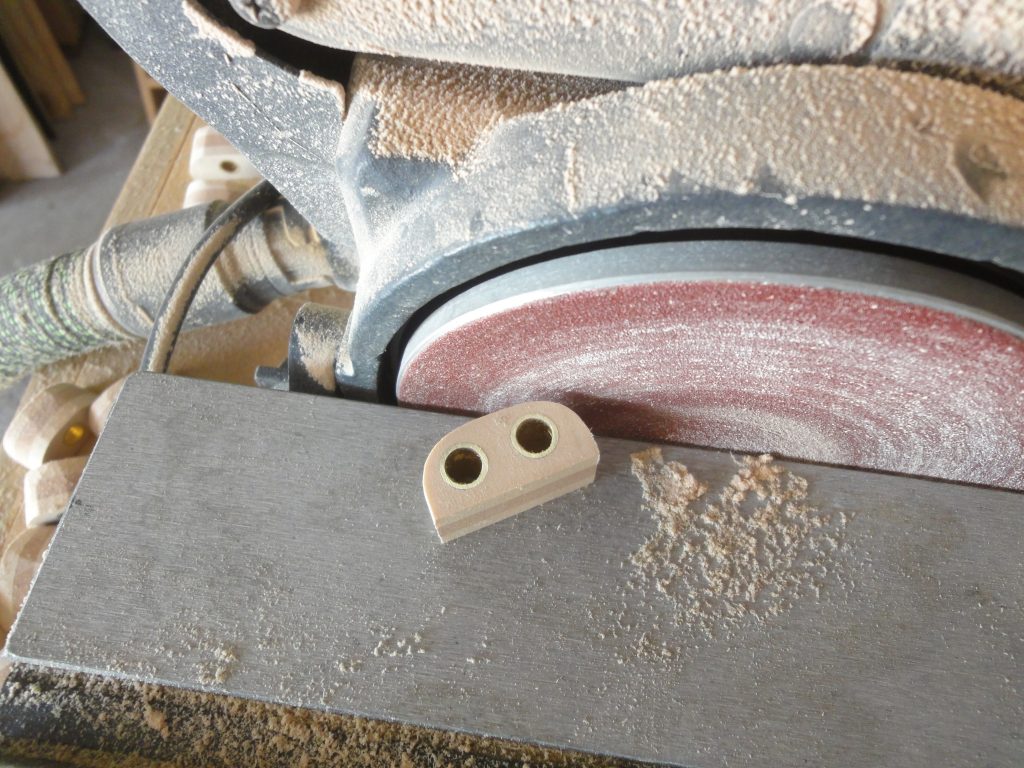
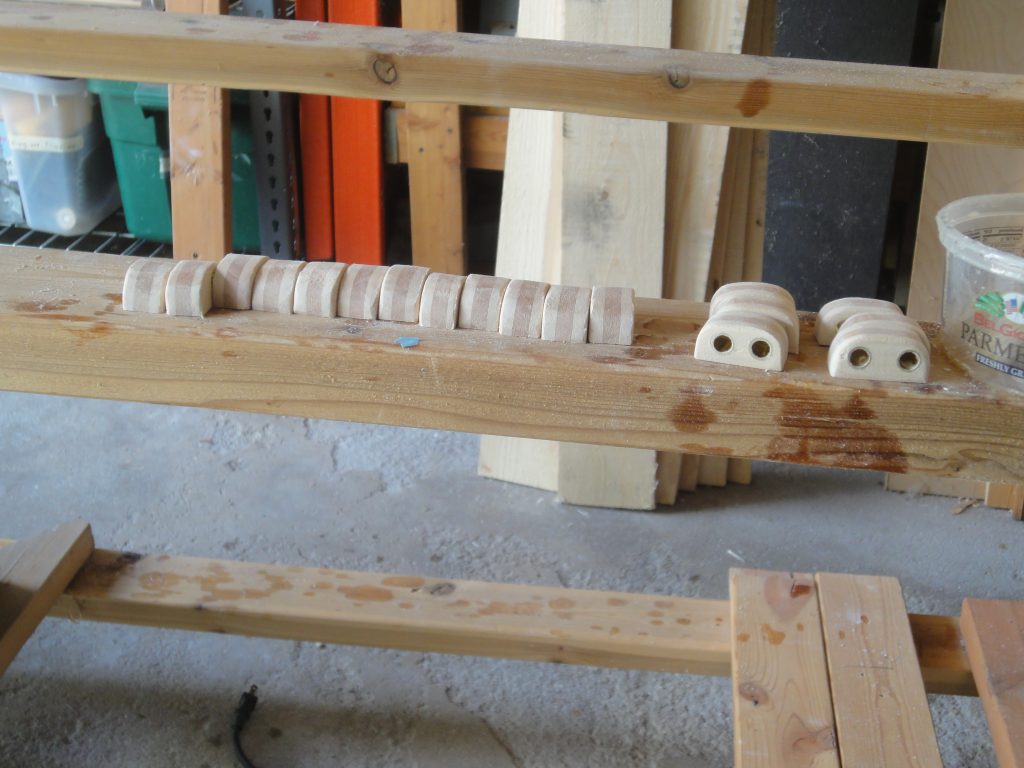
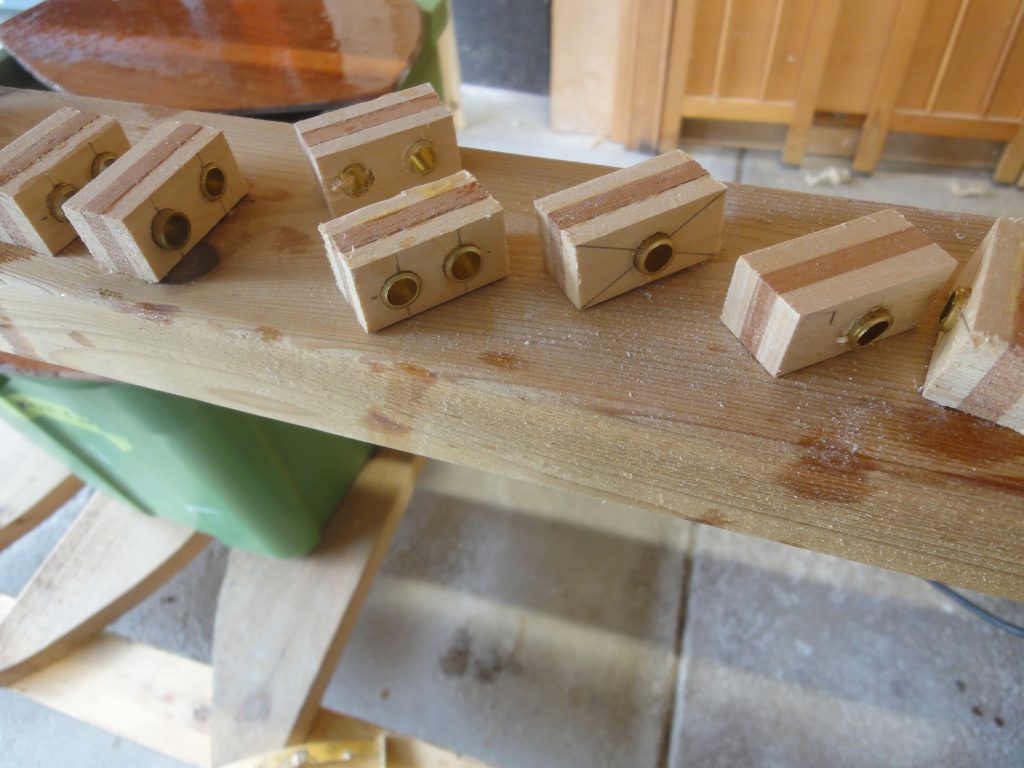
Most of today’s work was shaping the line guides and then installing them. On the disk/belt sander I started by sanding down the brass rods until they were flush with the wood and then a light sanding on the wood to remove any glue from the glue up.

When all six sides were clean and flush I then rounded over the two top corners. Coming off the sander these were a bit rough so I then hand sanded to smooth them out and better refine the shape before then rounding over all the sharp edges that would be sticking up.

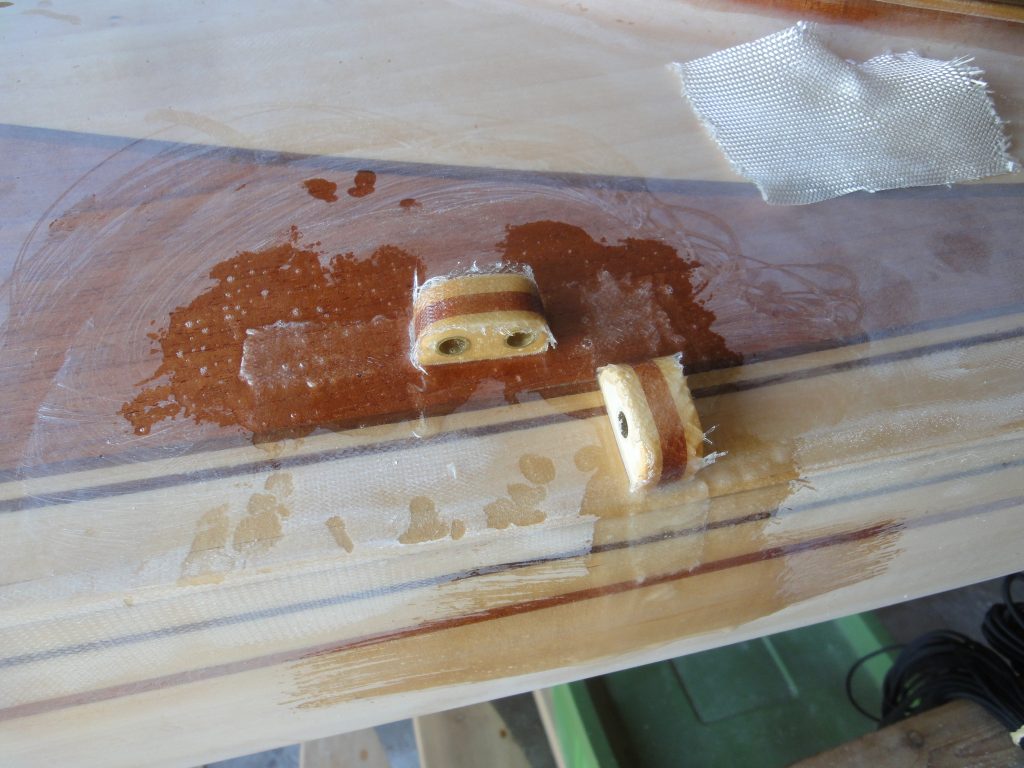
For placement I’ve got a double at the front and back, and then four singles along each side, one in front and one behind the cockpit and then one each centered more or less between those and the front and back. Four more doubles were installed in front of the cockpit and turned 90 degrees to provide for a bungie cord connection point. Finally two more singles were installed on the underside of the hatches. These will have a line attached to them and to the other two singles that I installed under the deck to prevent accidental lost of the hatch.

On the sides they sit flush but at the ends some shaping is required. I placed sandpaper over the deck and then just sanded the line guides in place allowing them to shape and conform to the deck. Every so often I’d check the fit and keep sanding until it fit nicely and was shaped from edge to edge.

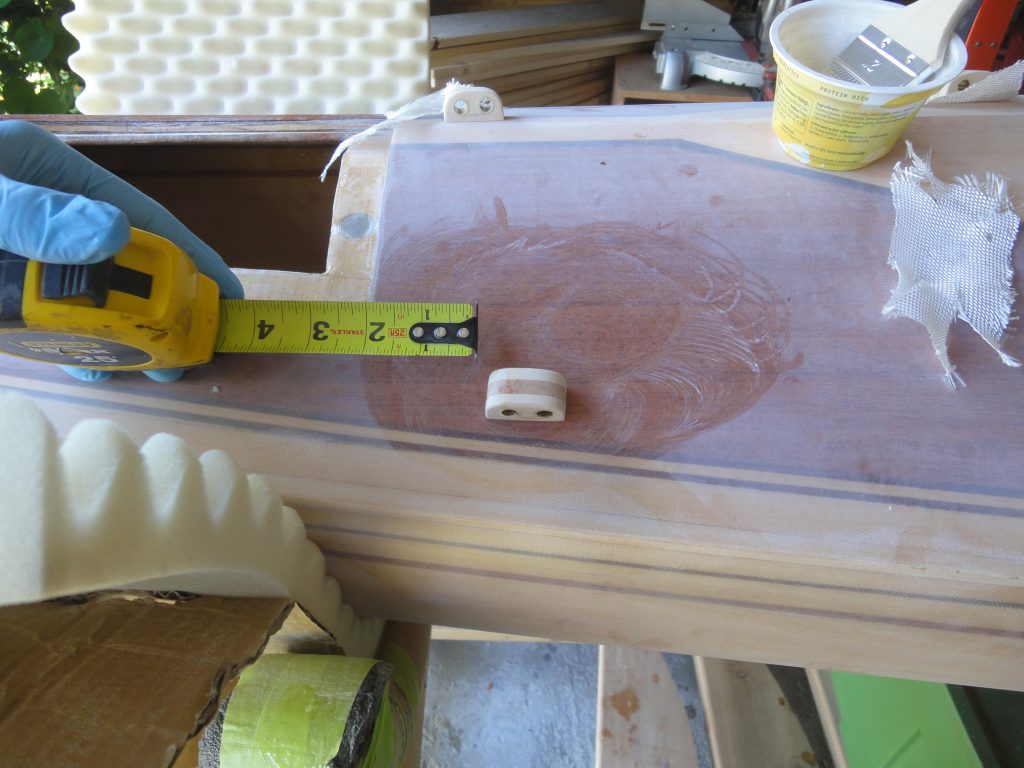
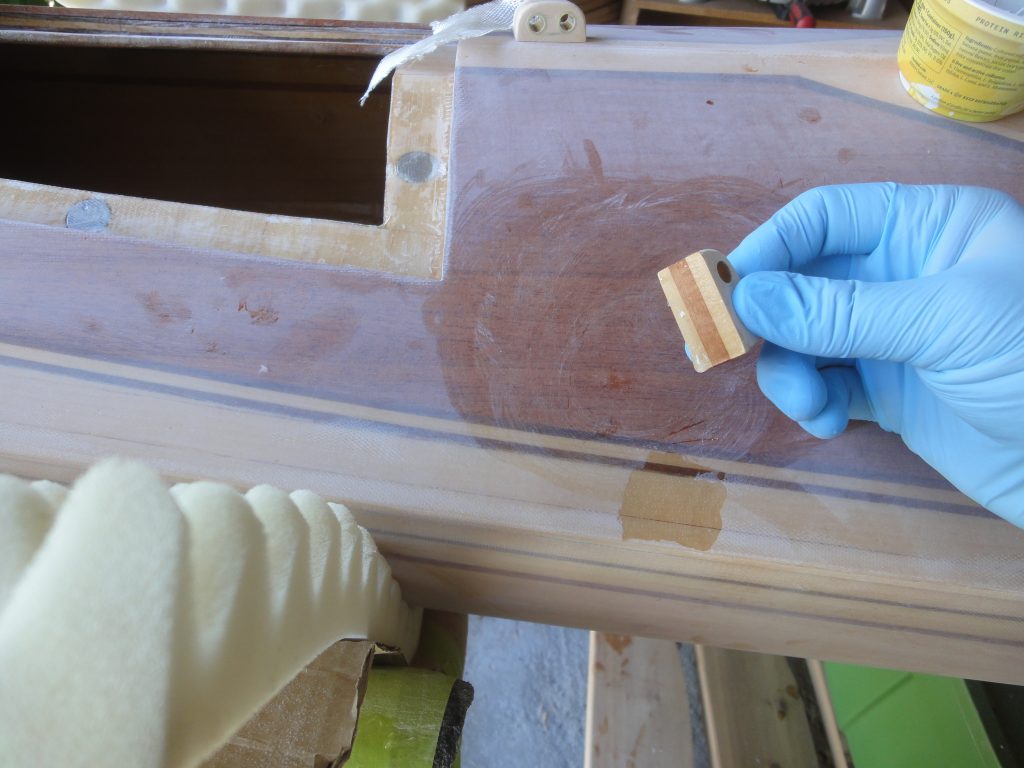
In preparation for attaching I did a bio-solvent (see below) cleaning of the areas, then roughed up with a coarser sand paper to allow for better adhesion of the epoxy. After measuring to determine where each would go I was ready to install. Each line guide had epoxy applied to the bottom and then was positioned on the deck. Measurements were reconfirmed to ensure each was in the planned spot.

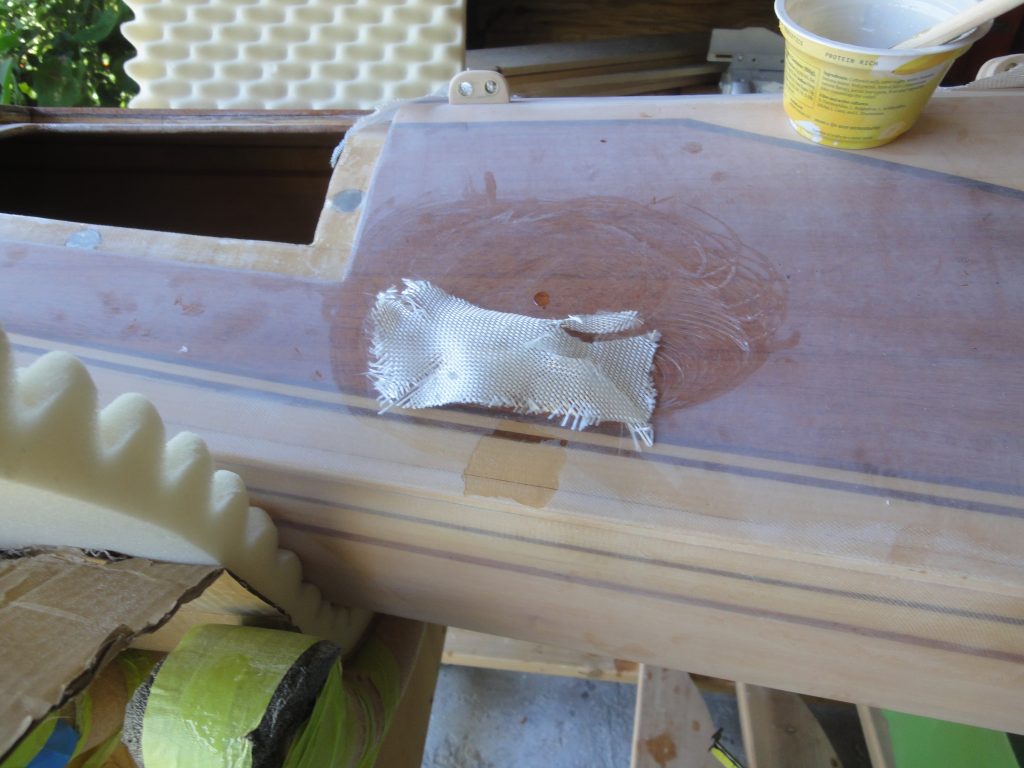
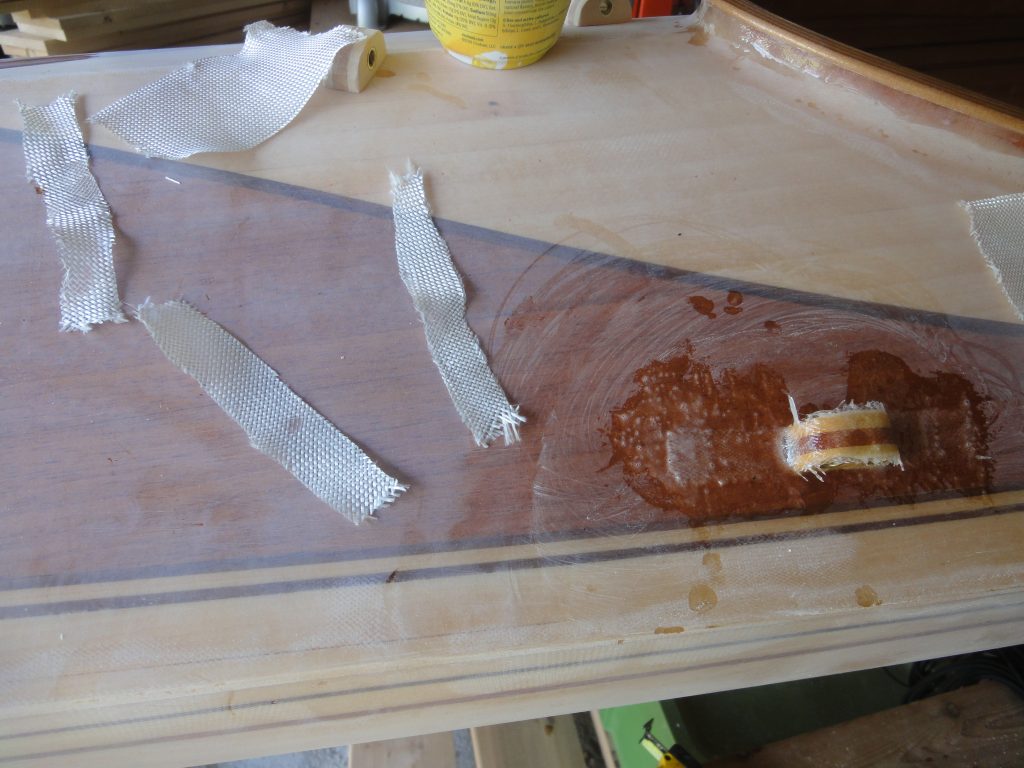
At first I cut a patch of fiberglass to go over them but even with snipping the corners (or sides) and using bias cut tape it just wasn’t conforming well. After struggling through a couple I switched to a strip of fiberglass instead which worked much better. With the first two still wet I removed the fiberglass and changed them to a strip too. Standard application, wet out the glass, squish it in to remove bubbles and ensure good contact, etc.

On a separate note I ordered (and received already) the deck line and bungie cord from CLC. I went with just simple black as I think any other colors would have detracted from the overall appearance.

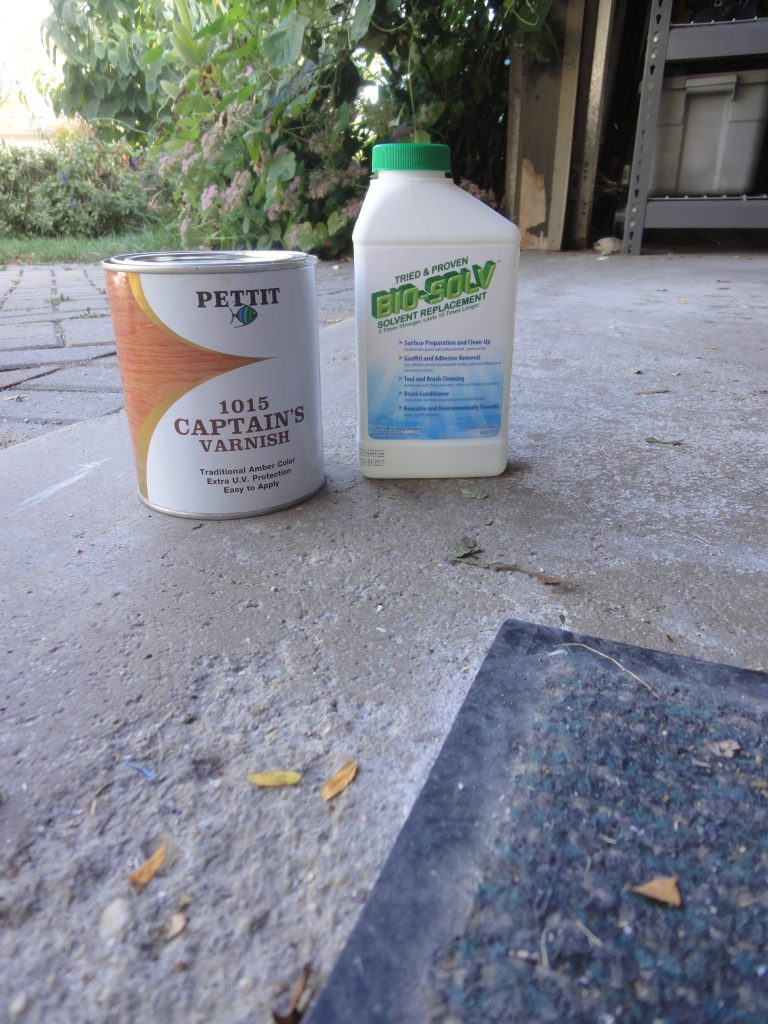
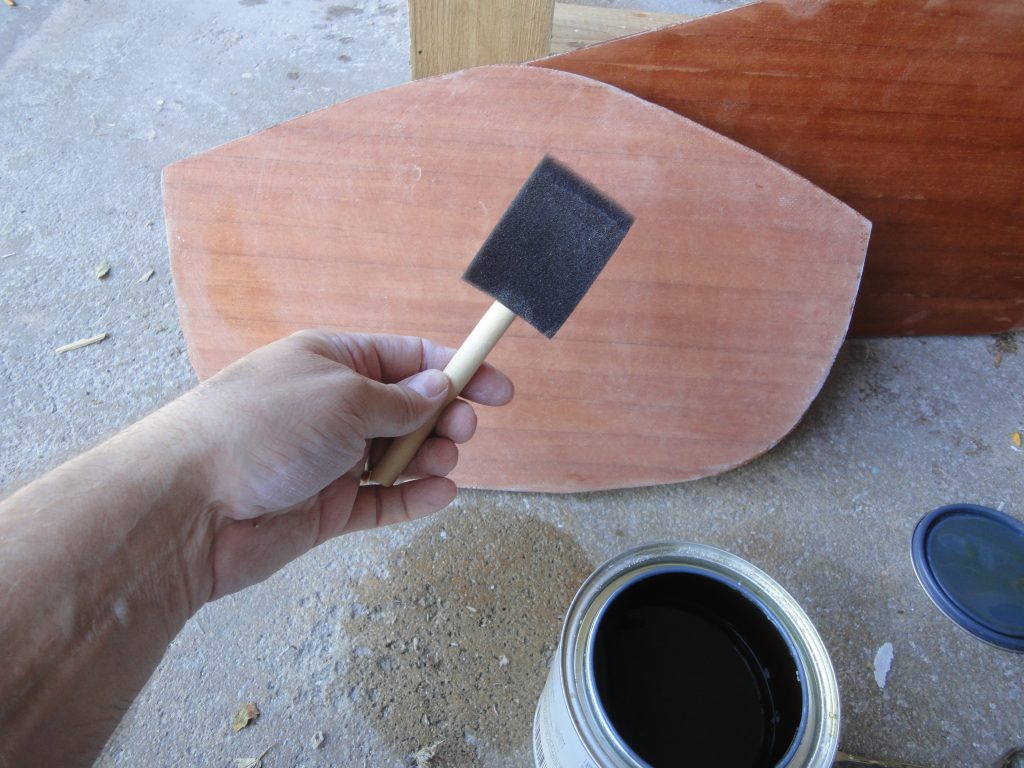
Bio-Solv was used for cleaning any dust and contaminants from the surface. And the varnish, Pettit Captain’s Varnish 1015, is what I’m planning to apply as the final finish. Figuring that the best place to experiment with the application of the varnish was the bulkheads since no one will really ever see them I went ahead and wiped them down with the Bio-Solv. Once it dissipated off I used a basic foam brush and brushed on the first coat of the varnish.

I used the same cross hatch pattern as when I did the sanding. Back and forth, up and down and then back and forth again. This was done in sections (basically one half of a bulkhead side) and then I worked the next section into the wet edge (as suggested on Pettit’s instructions on their web site). Really pretty simple to apply. I’ll have to wait for it to dry to see how well the coat took. At least wet it has a “wet” look. I’m expecting after 4+ coats it should retain that look even while dry. The varnish, besides providing a shine look is actually quite important as it is a UV protectant. Sun on the exposed epoxy will start to break it down. The varnish helps stop this from happening. It also takes the brunt of any small dings or scratches allowing for easier refinishing if/when necessary.

While brushing on varnish may not require experimenting, determining how many coats, how to sand (or not to) between them and such will be the experiment part. Once I have it worked out on the bulk heads then I can apply the same technique to the rest of the kayak.

The to do list is shrinking pretty much ever time I get a chance to work on it now. But I did have to add one item… final hatch fitting and sealing. The hatch openings will need a bit of work in terms of sanding and smoothing before I can install the seal tape (more about this in a later entry). I’ve also been researching if the end pours are actually needed. Seems there is some debate on this. If I drill by tie down holes and have solid material all the way through then the end pour will probably not be necessary. But if I hit space then it probably will be. Perhaps tomorrow I can work on these.

  • Drill/fit carry handle/tie down holes
  • End pours – maybe?
  • Install bulkheads
  • Line guide fill coat(s) and sanding
  • Hatch – final fitting
  • Varnish, varnish, varnish

And so the sanding continues….

Actually I’m just about done with it, after today that is. Most of the rest of the sanding left will be on the hatches, bulkheads and when I install the deck line guides.

The finish felt nice and smooth after 80 grit. After 120, wow! After working up to 220… It felt like glass! Just amazing the difference. I wish there was a way this blog could share the feel at each stage. At each point you think it’s great, then after the next grit you realize just how “poor” the previous level of surface prep was.

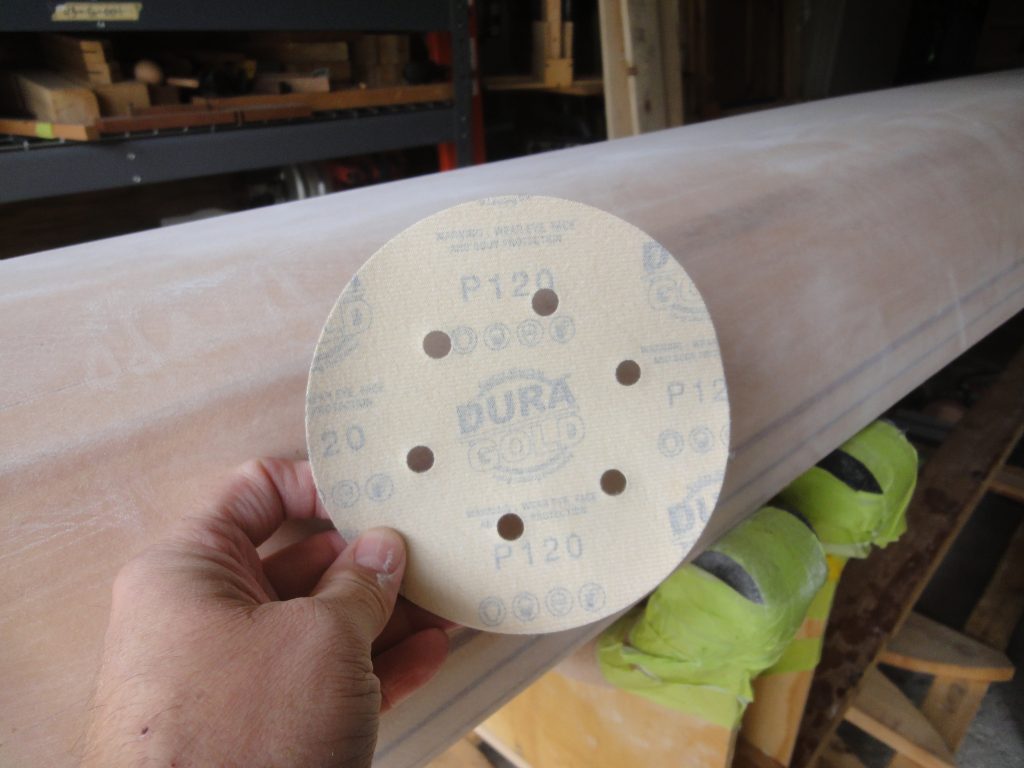
Basically I finished random orbit sanding with 80, then vacuumed it off and used a tack cloth over the whole hull before moving to 120, again on the random orbit. I kept repeating ending at 220.

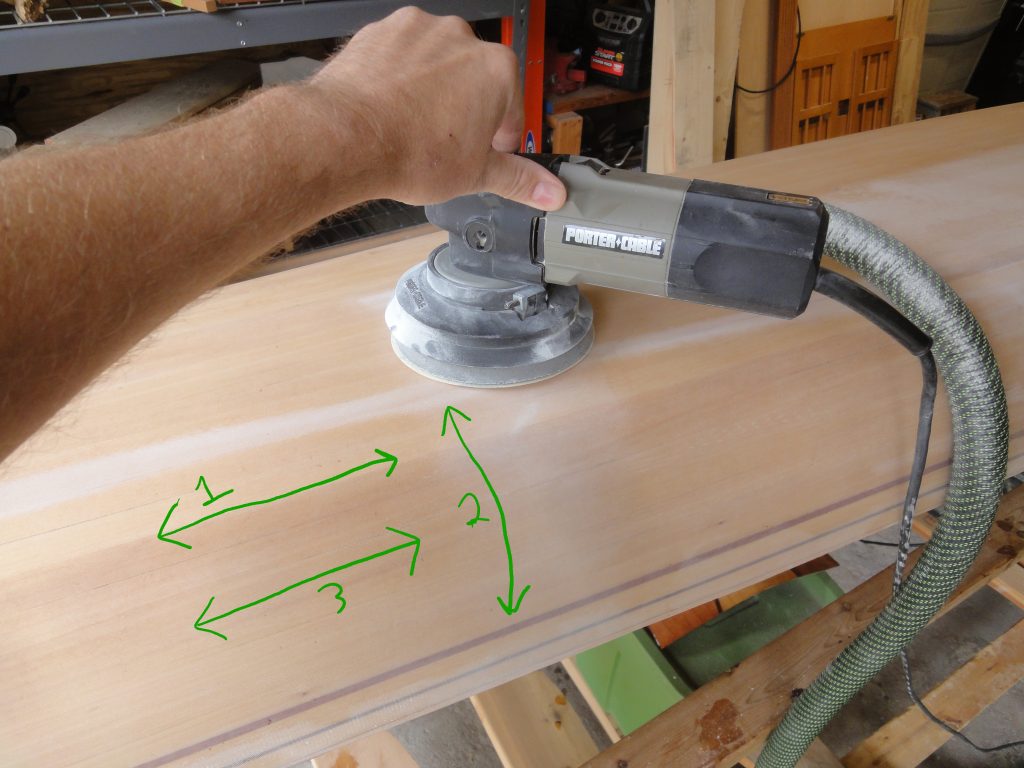
When sanding I used a back and forth, then up and down, then back and forth once again pattern over an area about 2′ wide. It’s really obvious when you compare to a non sanded area.

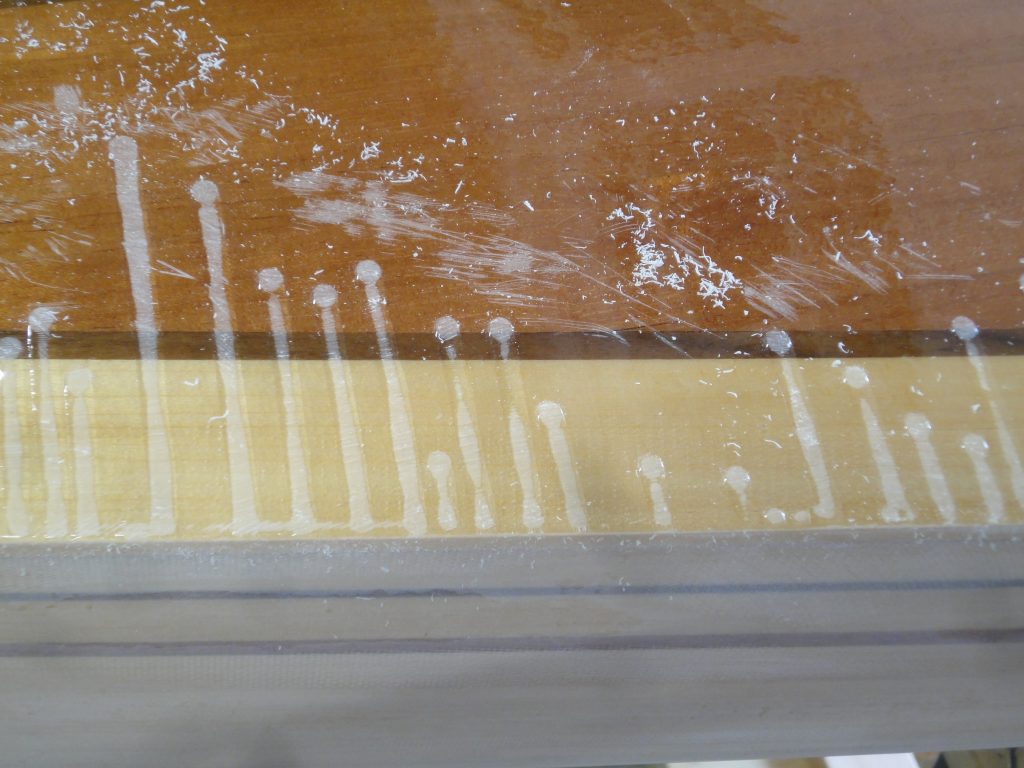
Once the 220 was finished I flipped it over to start on the deck. Even with the drip edge of tape I had on there there were still a number of runs. The surface felt mostly smooth to the hand with just a hint of texture, but with a zoom in you can see just how rough the “smooth” epoxy is. Thus the need for sanding.

The Shinto rasp made quick work of the drips and the long board evened everything out.

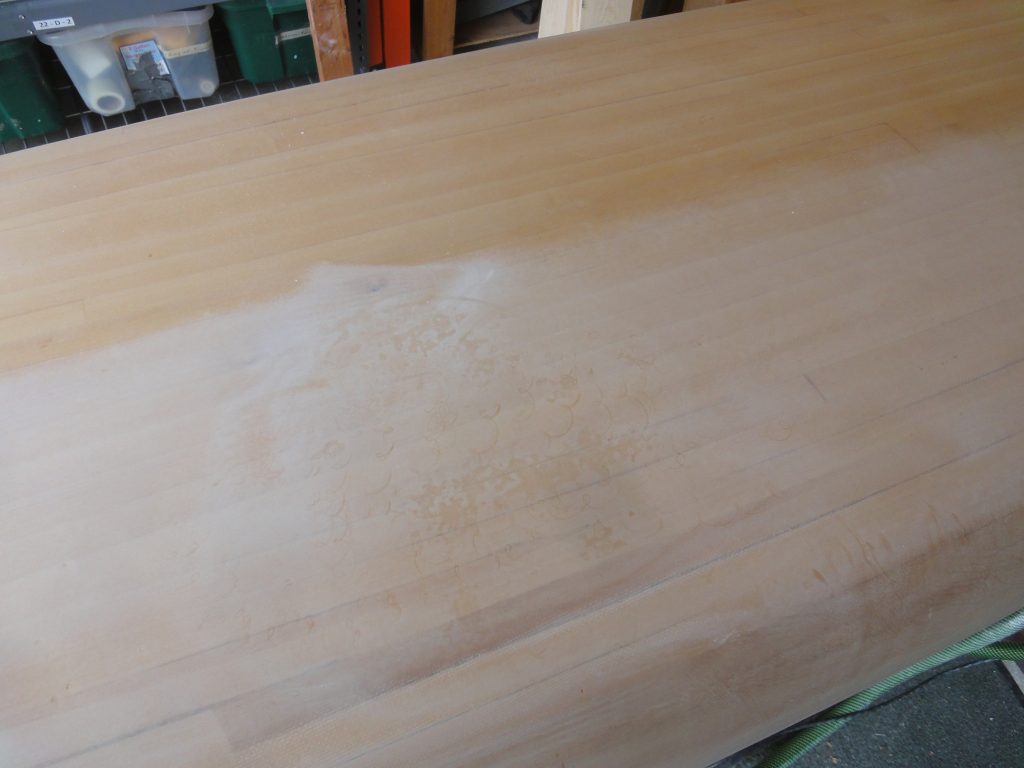
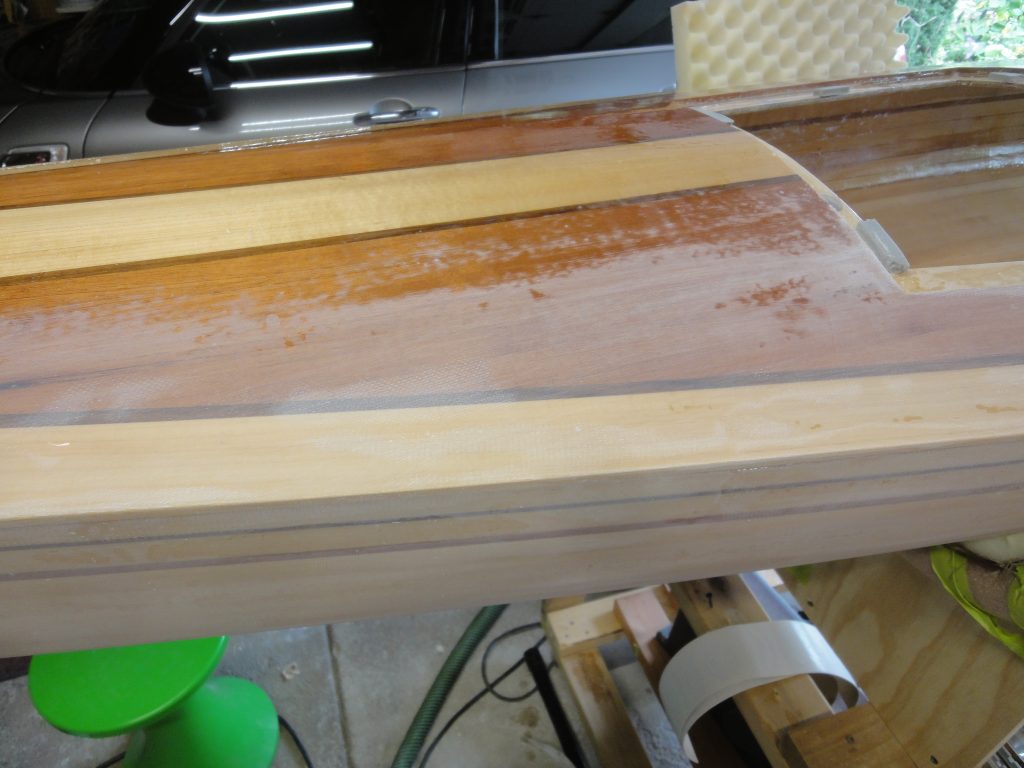
Again between each grit the surface was vacuumed and wiped with a tack cloth. Even after the vacuum it’s surprising how much a simple wipe across still takes up from the surface. Normally when sanding with the random orbit it leaves scratches that are almost invisible, however if there is a contaminate in the surface (larger grit from a previous sanding for example) then you get a very obvious swirl. As soon as I noticed the image in the third picture I immediately wiped this area down again and changed to a fresh sanding disc.

A delicate hand is also required. On the back I held the sander there just a moment too long and went right through the epoxy and into bare wood. I’ll need to touch this up later with at least epoxy if not a bit of cloth too.

I went ahead and sanded the hatches and applied the final fill coat on the inside of the smaller one which still needed this. The second side of each bulkhead also received a final fill coat.

Finally, in preparation for the deck lines I went ahead and glued in the brass tubes into the wood blocks. Even though the super glue will set almost instantly I was done for the day and will save the sanding and shaping for next time.

This brings the to do list down to:

  • End pours
  • Order seat – done, already shipped, just waiting for it to arrive.
  • Install bulkheads
  • Drill/fit carry handle/tie down holes
  • Install line guides
  • Line guide fill and sanding
  • Varnish, varnish, varnish

I also ordered a paddle which arrived today. The project is finally approaching the finish line.