The First Cut is the Hardest…

No, I’m not misquoting Cheryl Crow’s song. Today I made a big cut, the kind of cut that if you do wrong, well let’s just say you risk turning a big part of the kayak into firewood. But let’s start with the easier stuff.

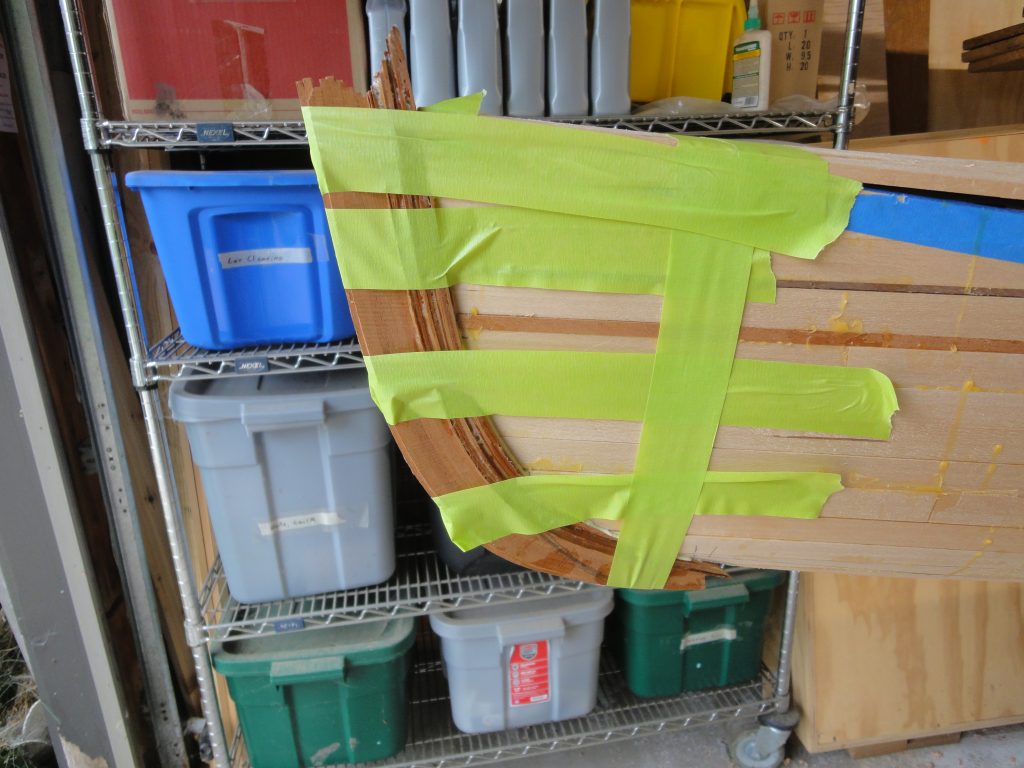
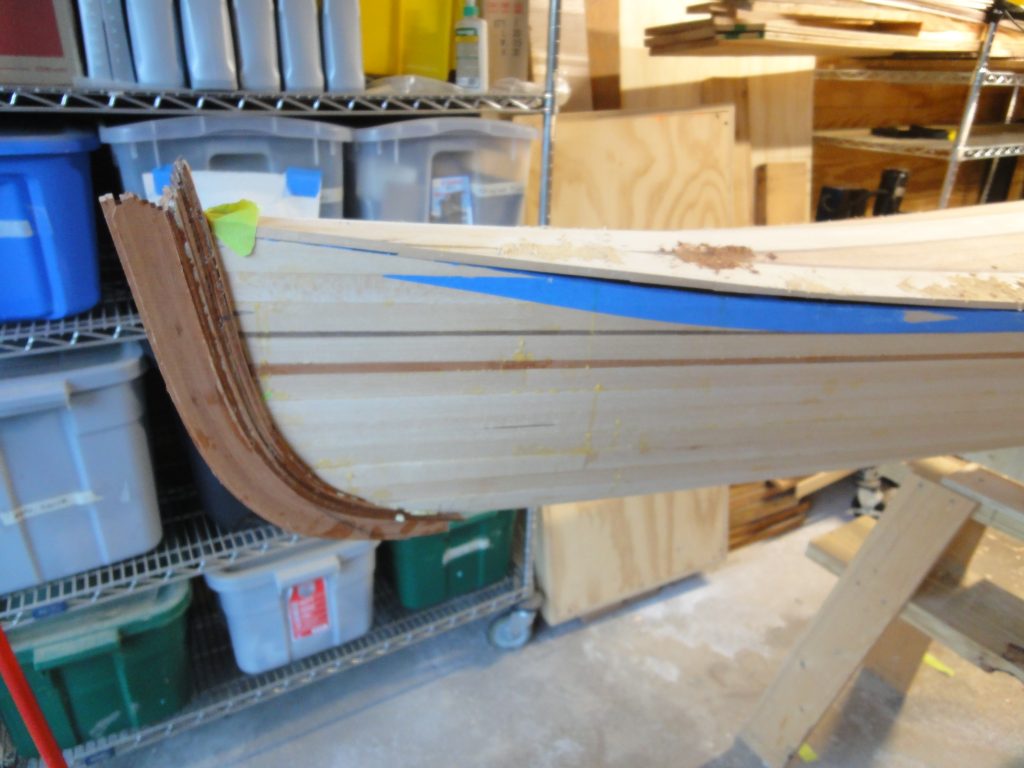
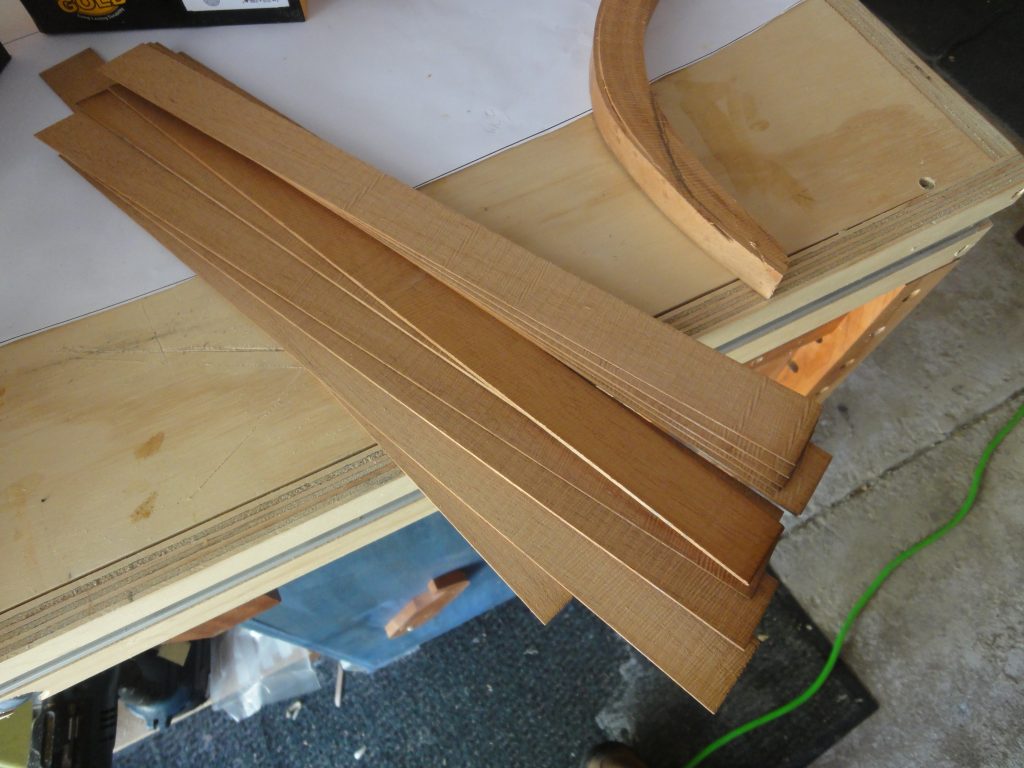
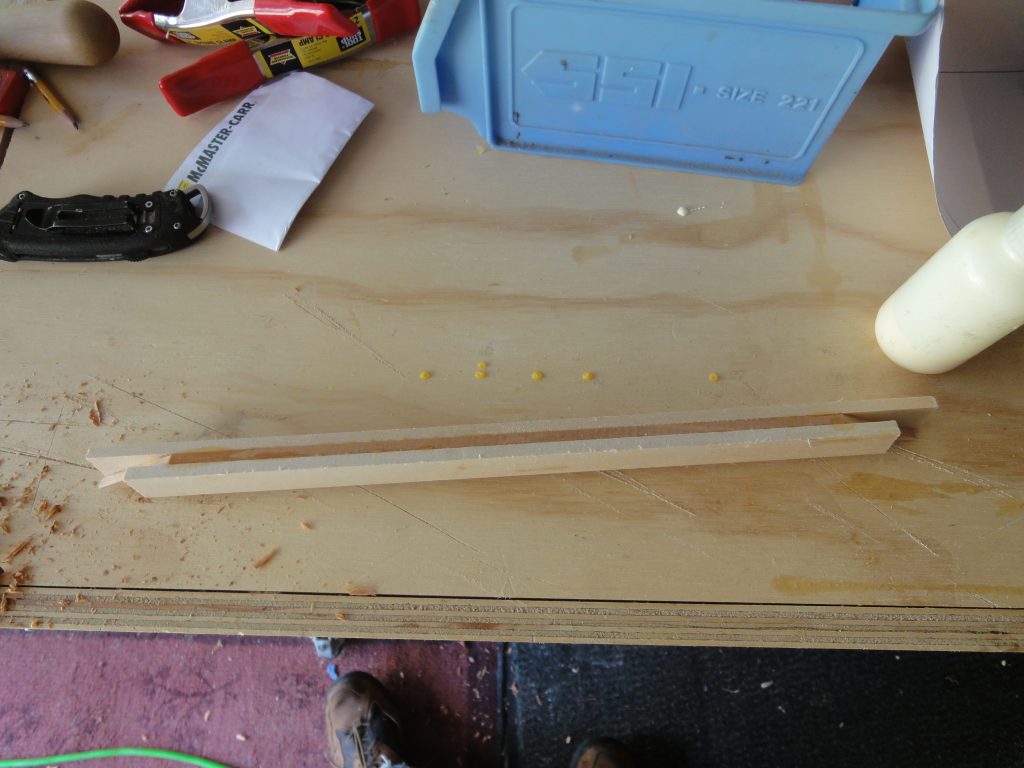
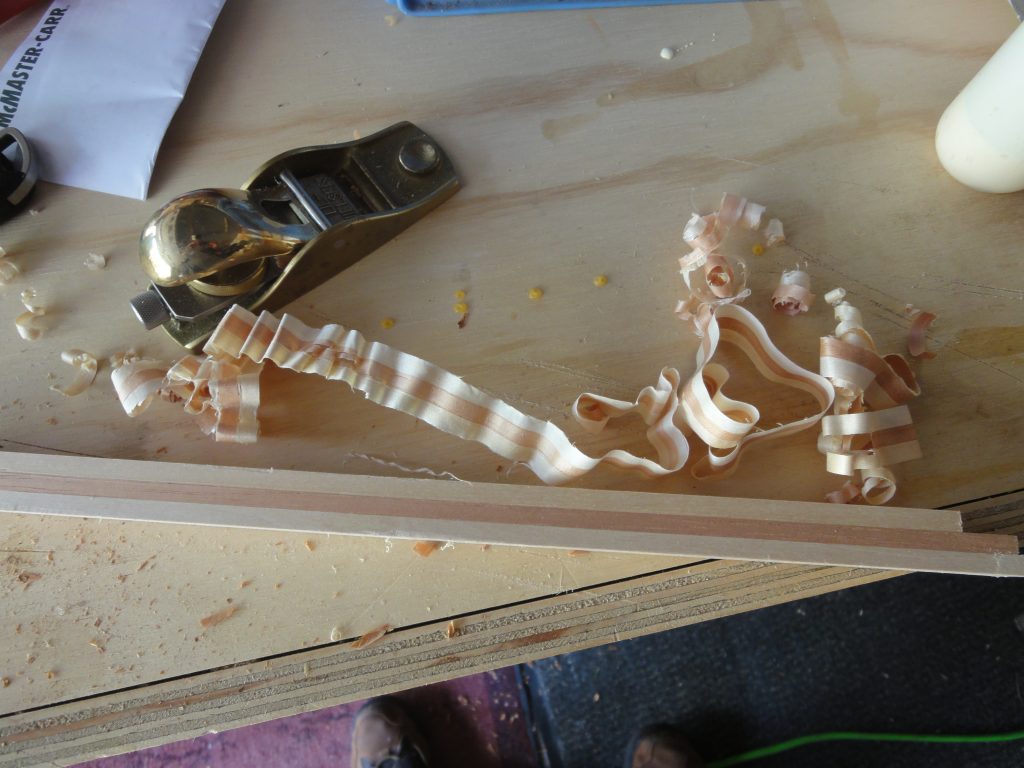
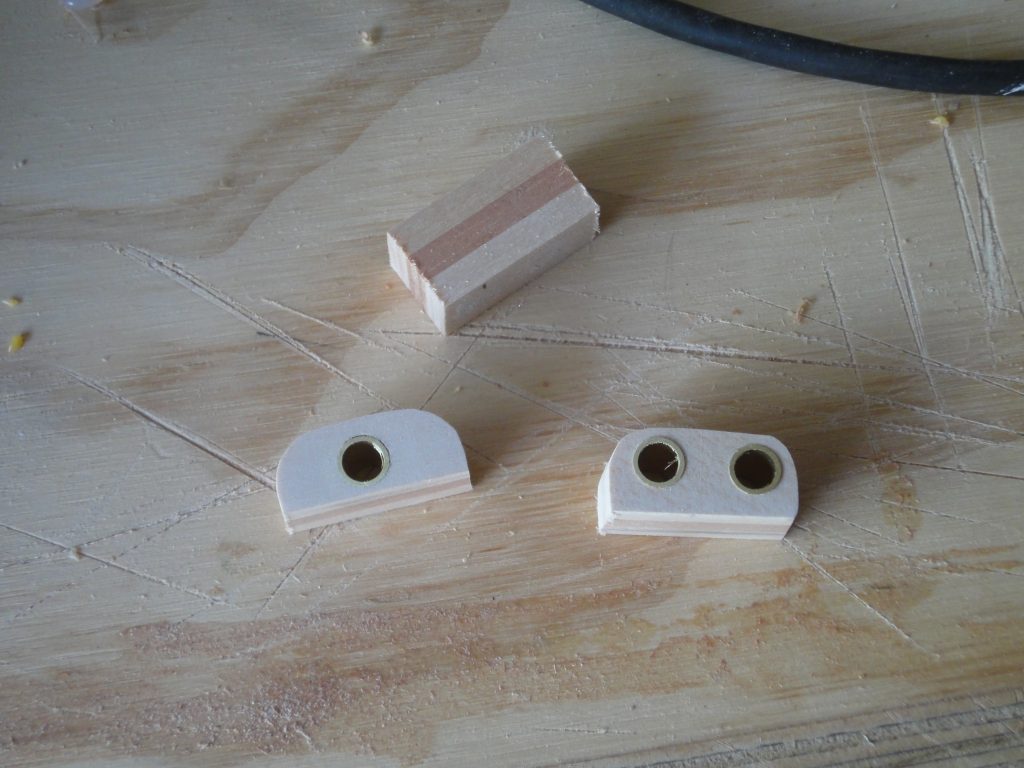
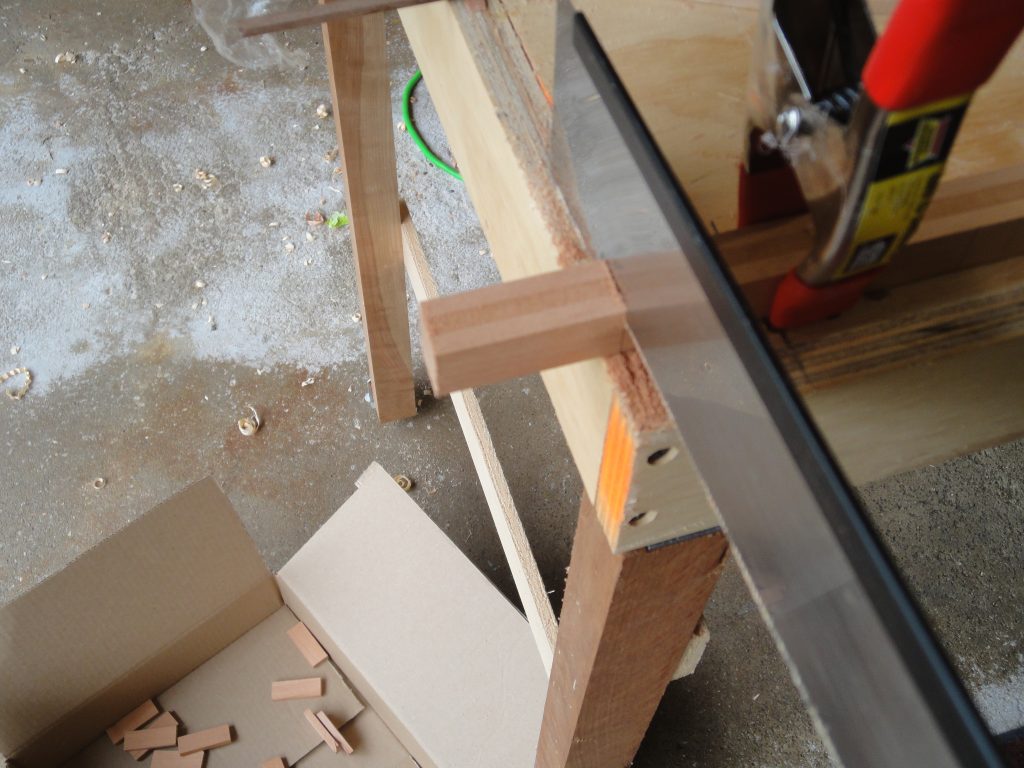
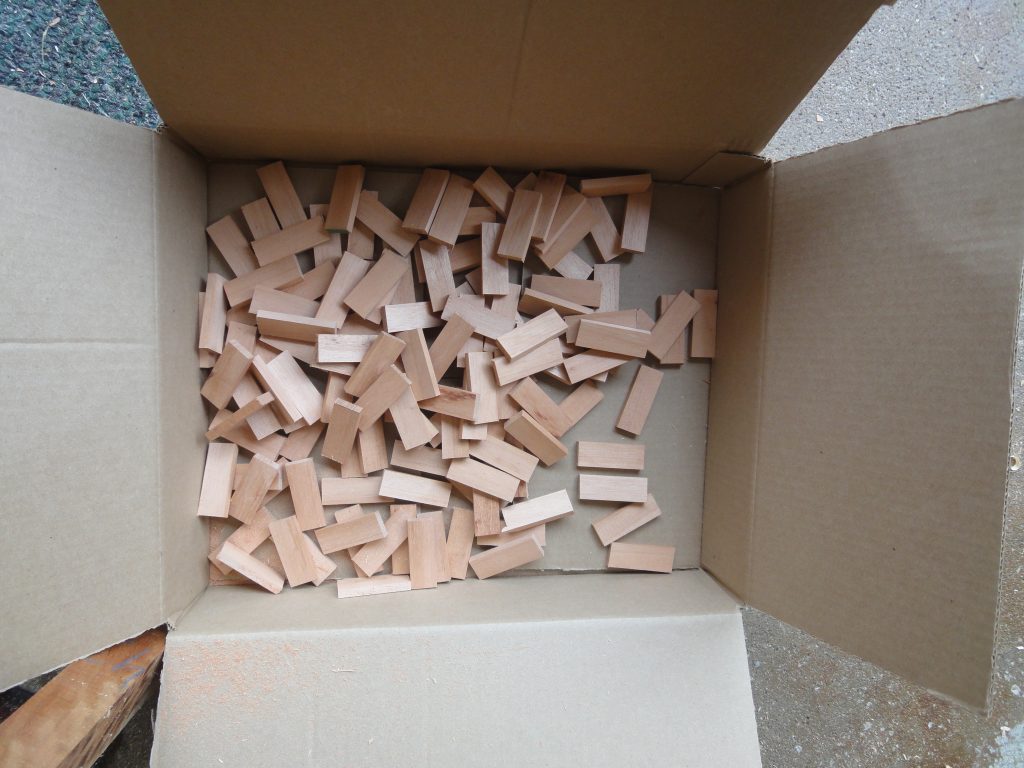
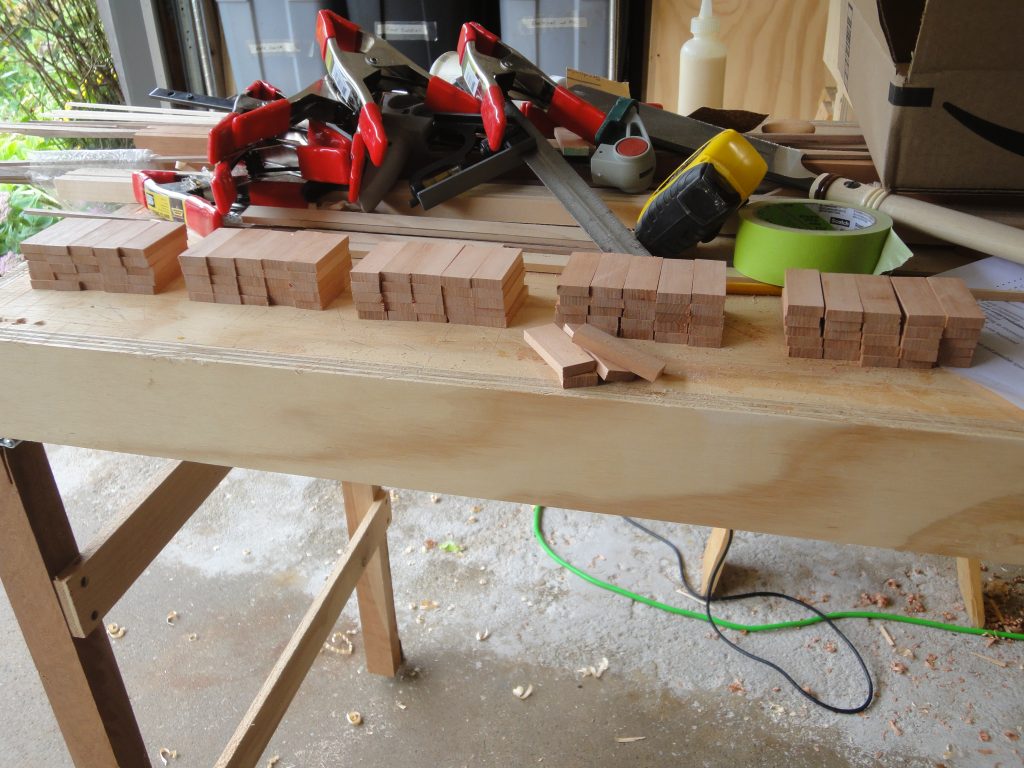
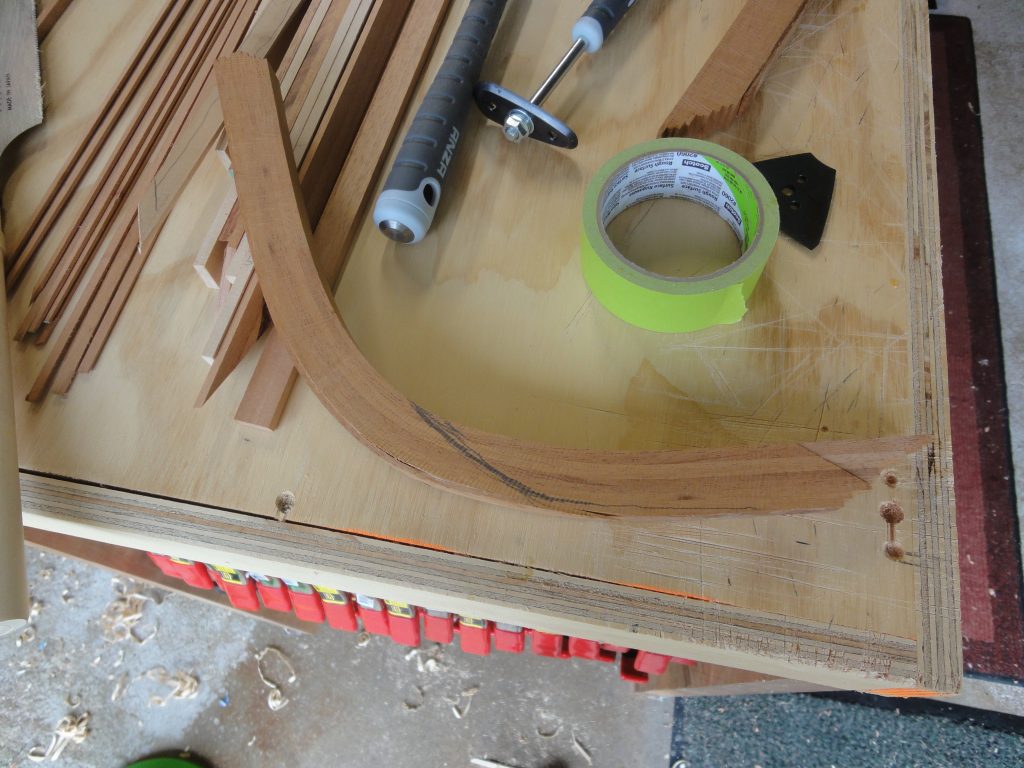
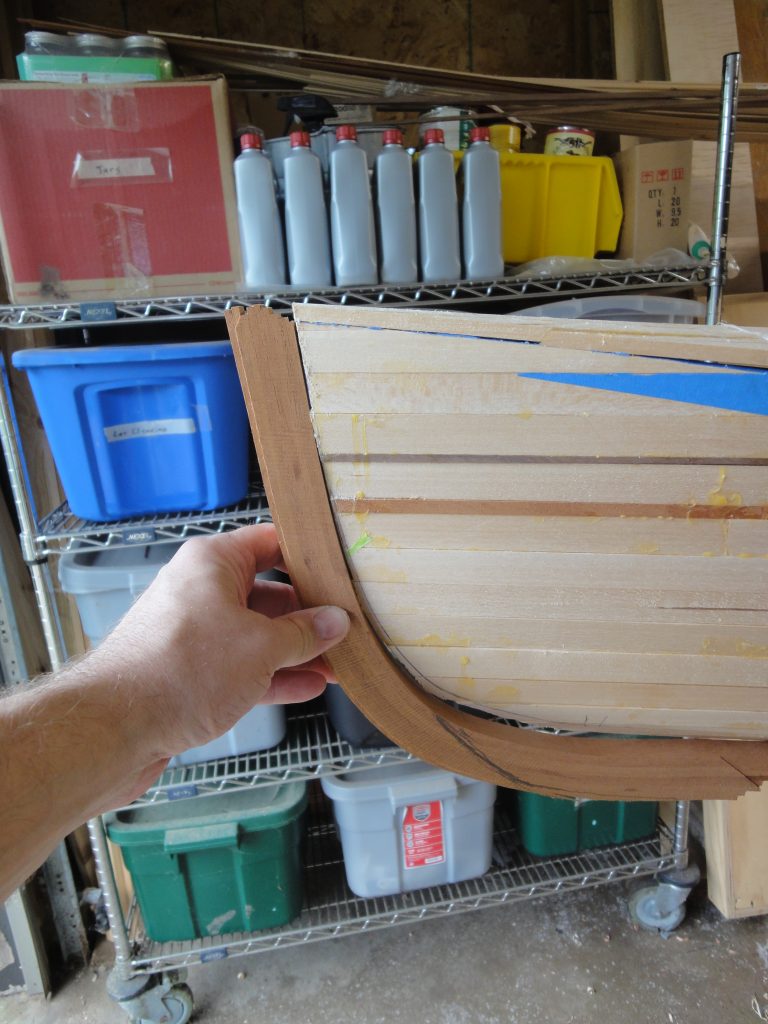
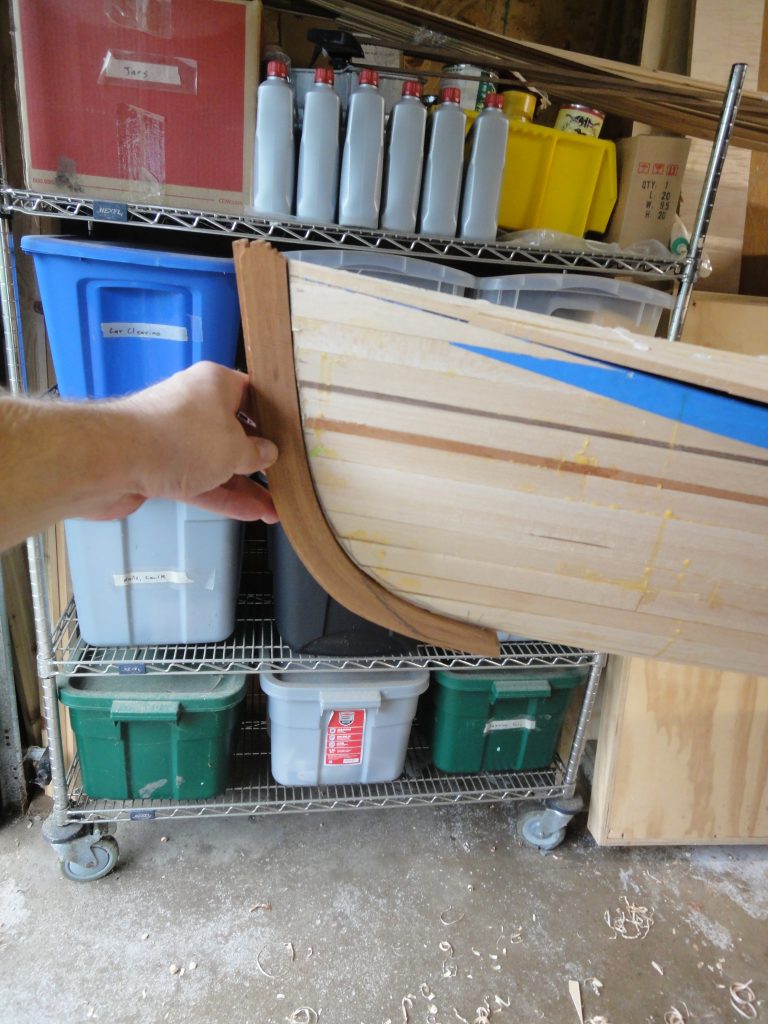
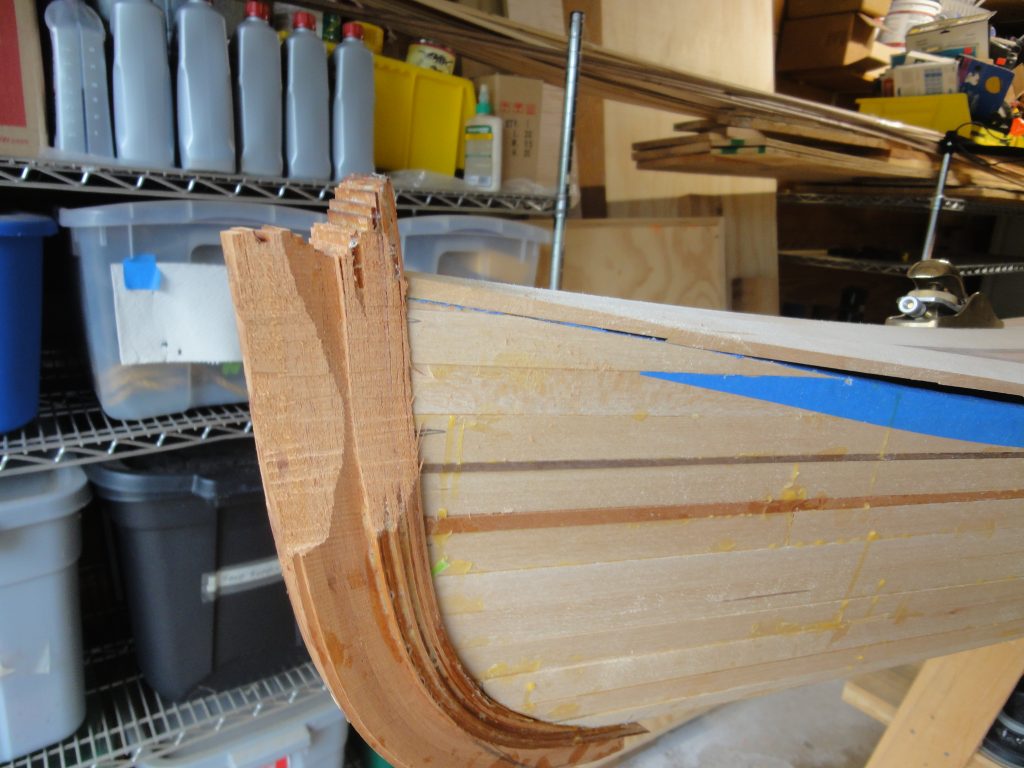
After drying overnight the stems were ready for shaping. Nearly all of the work was done with the Shinto rasp. Almost two hours of time and I’ve got both of them roughed in about an eight of an inch or so oversize. Final shaping will be completed when I’m working on the hull.

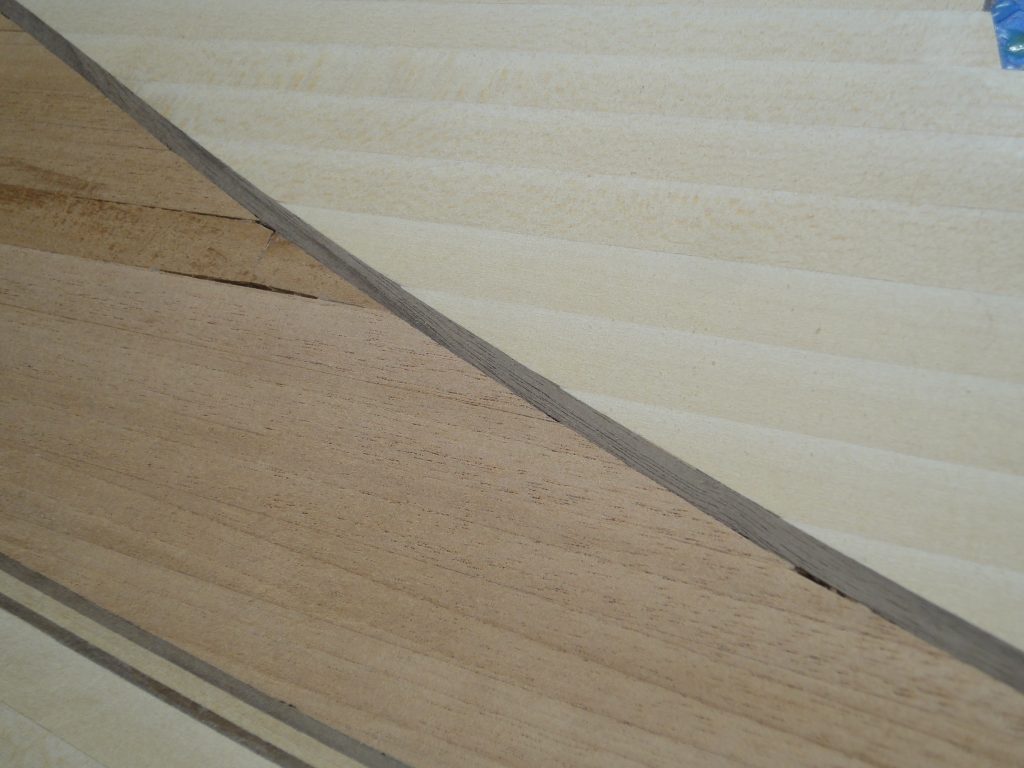
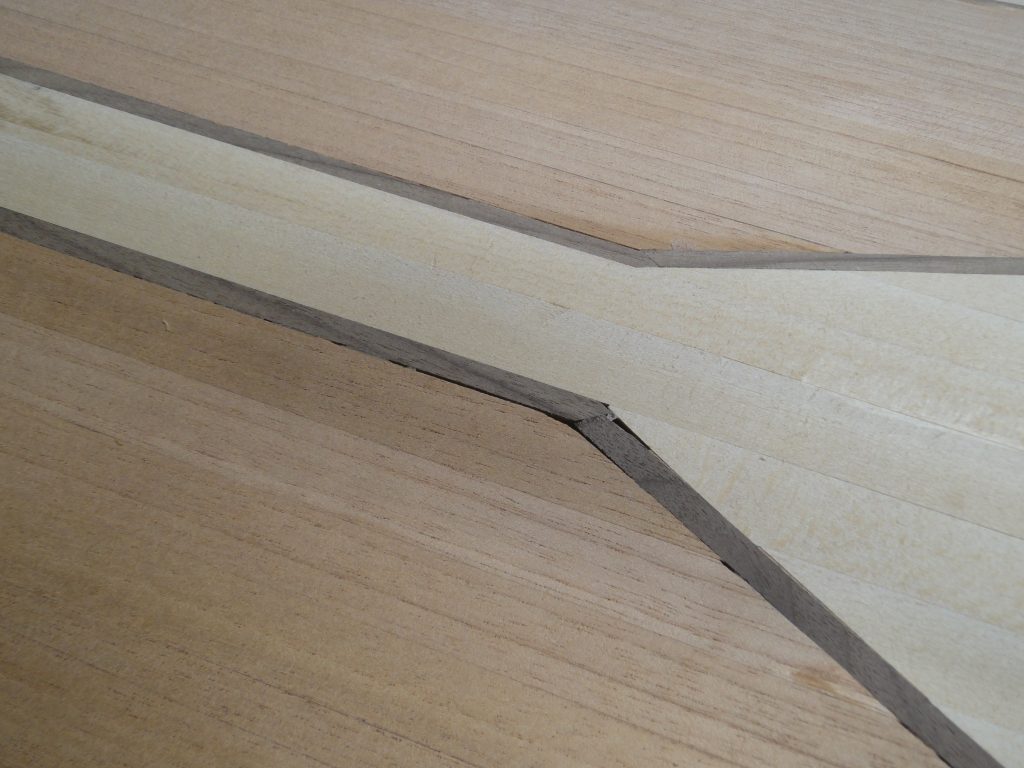
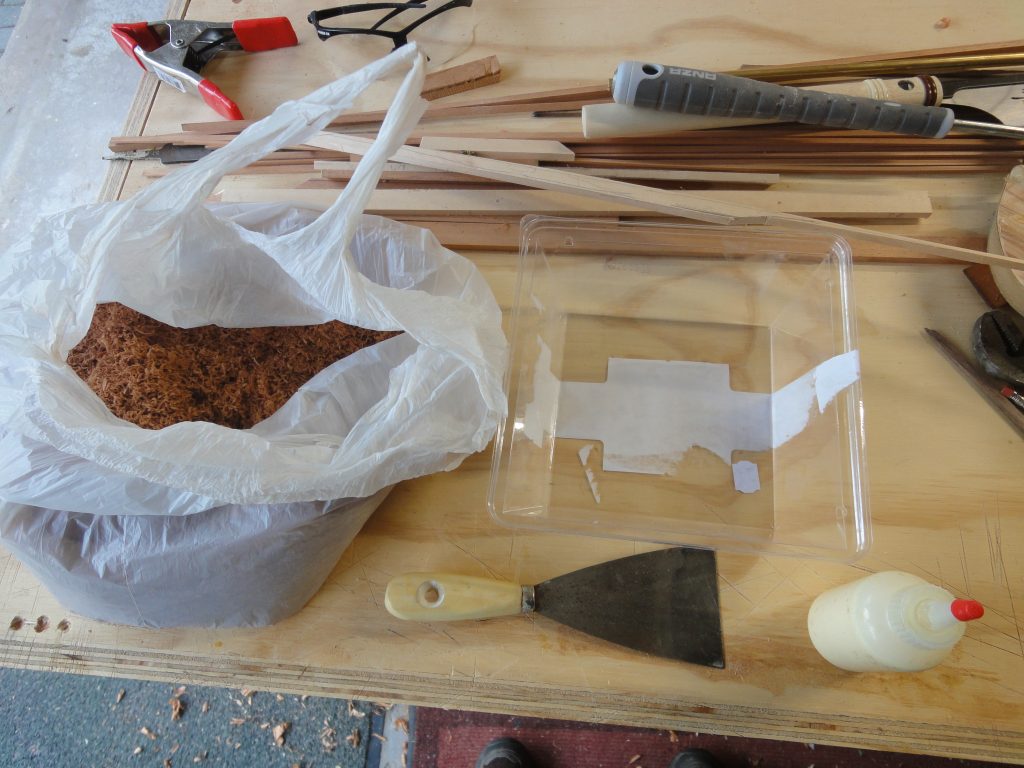
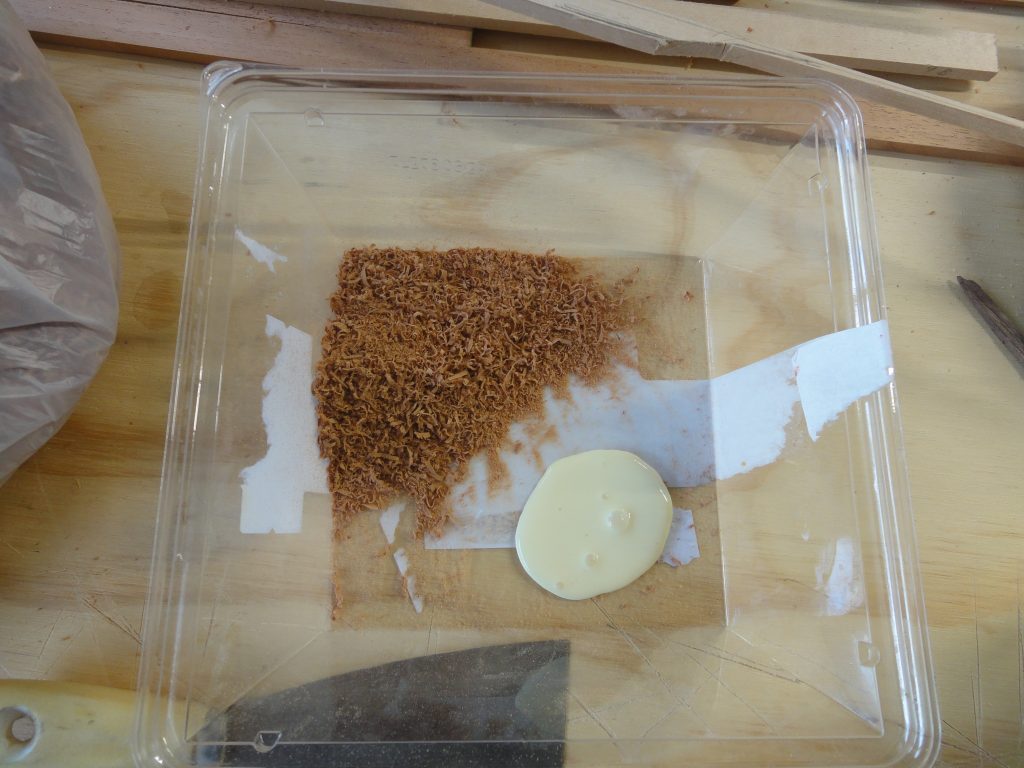
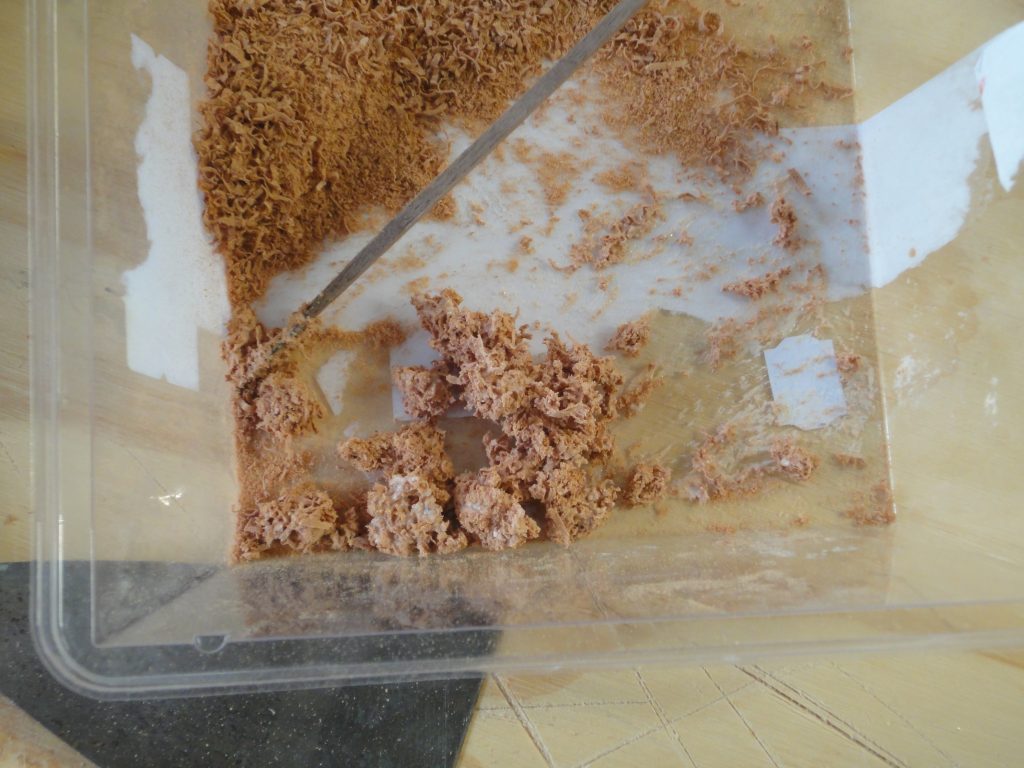
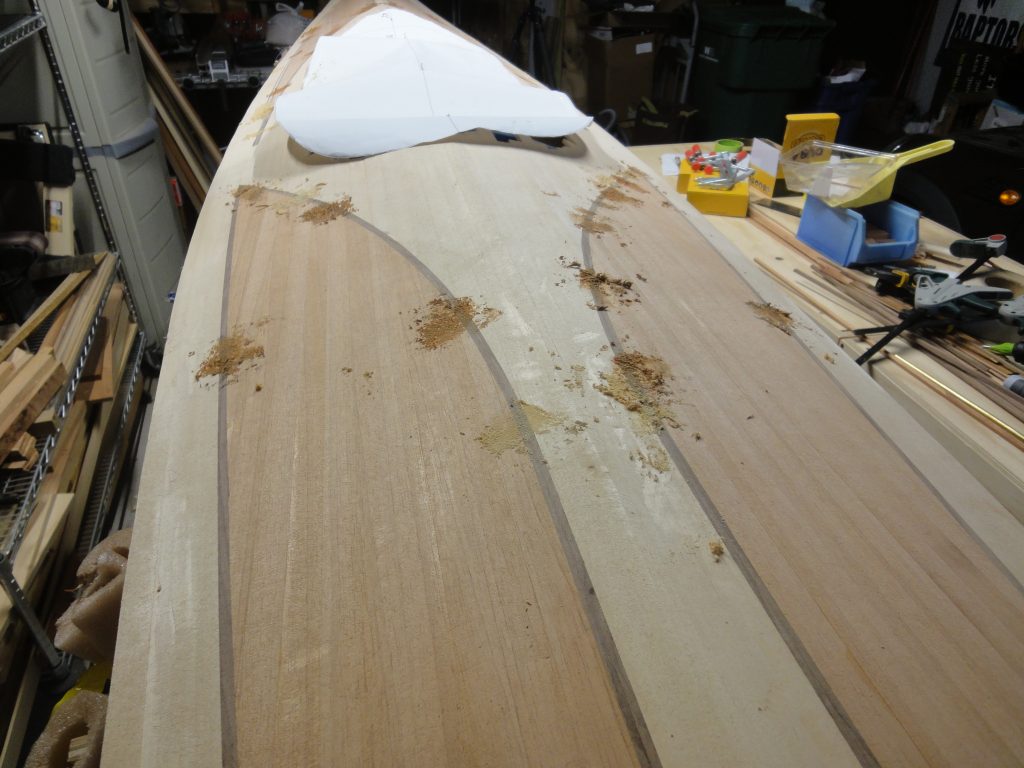
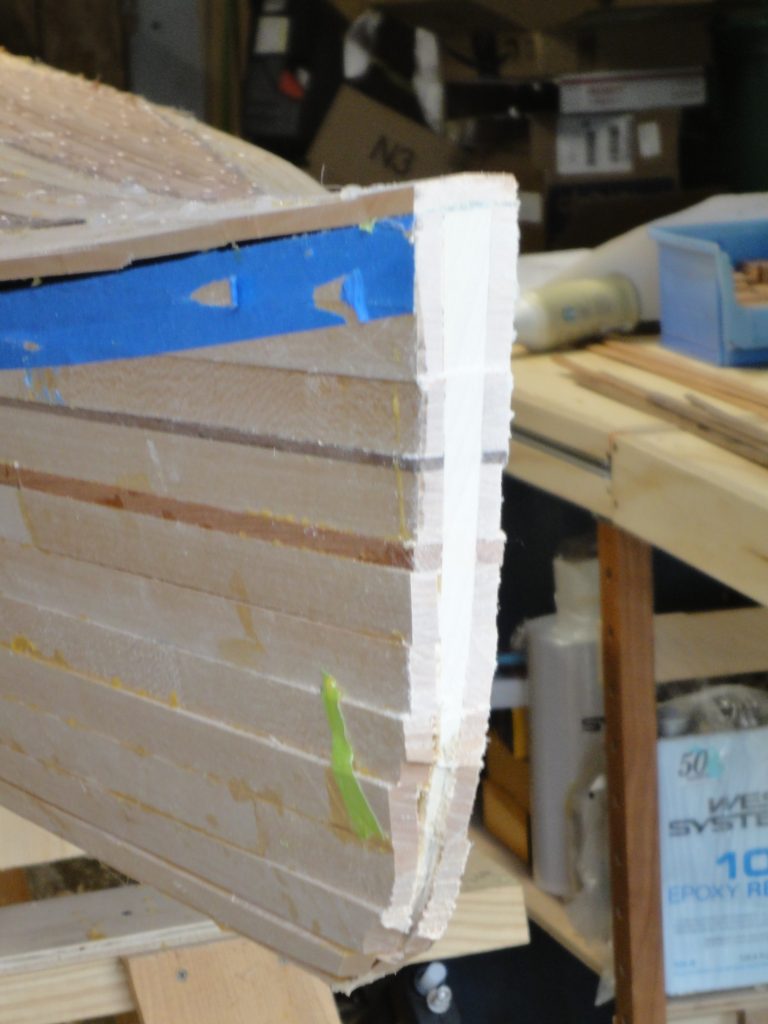
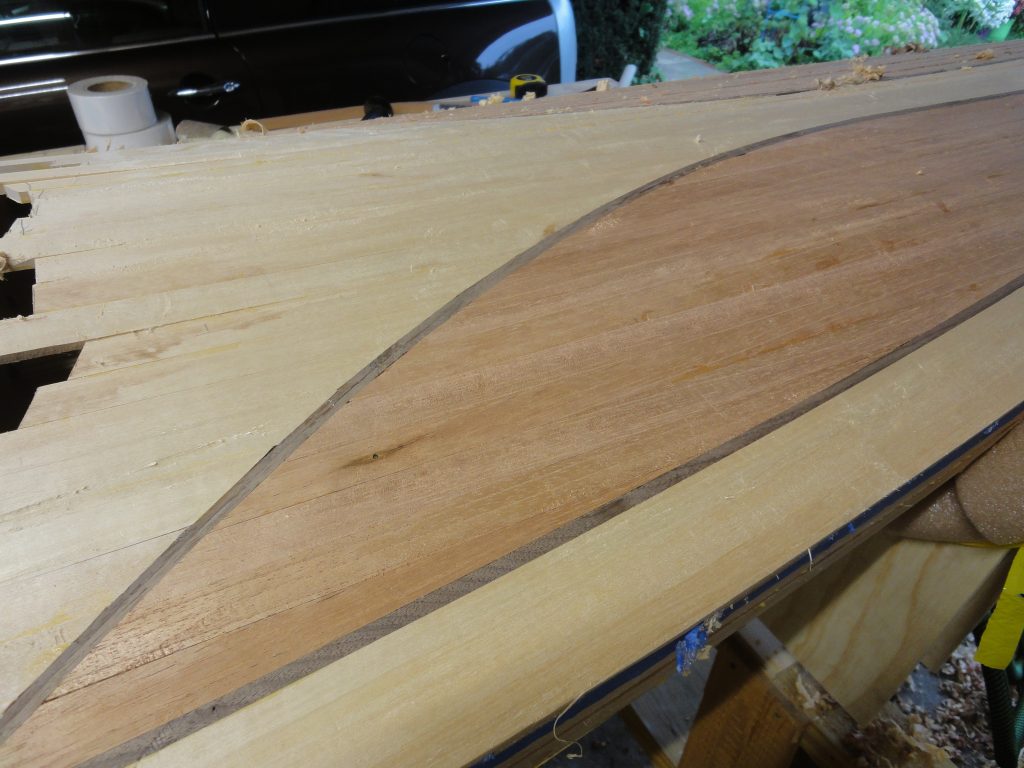
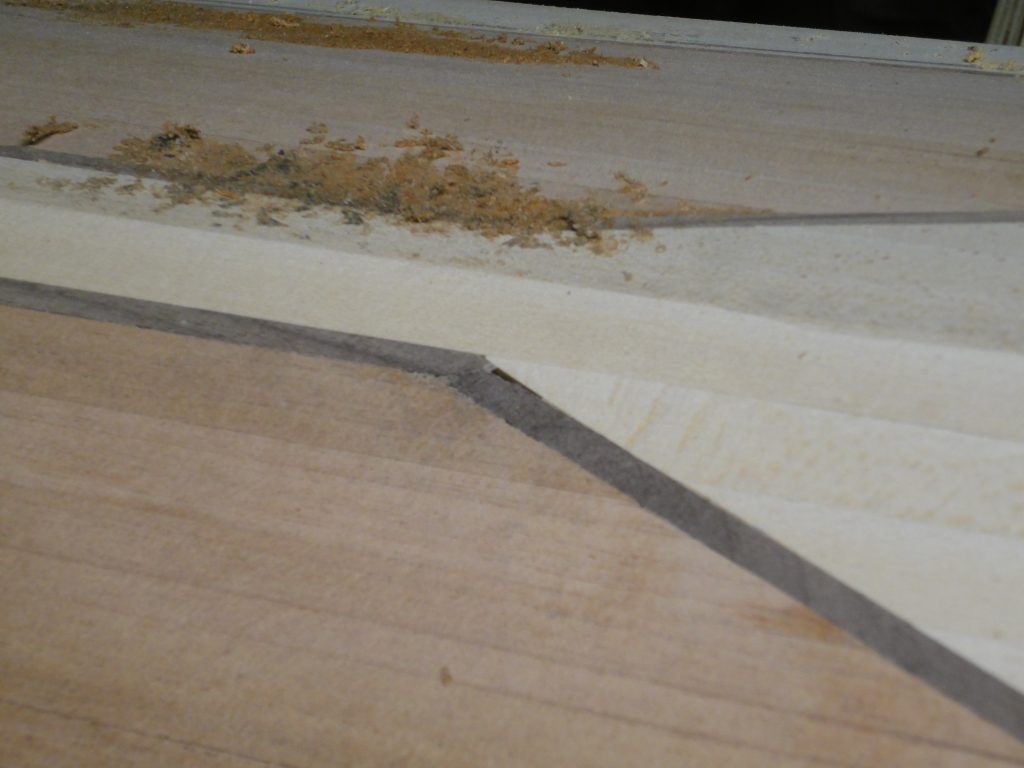
Also yesterday, I made some filler. Today I sanded off that filler, made some walnut sawdust and filled in the walnut spots. Compare the pictures below of the Spanish cedar before and after. The remaining gap was filled in with walnut after the picture was taken.

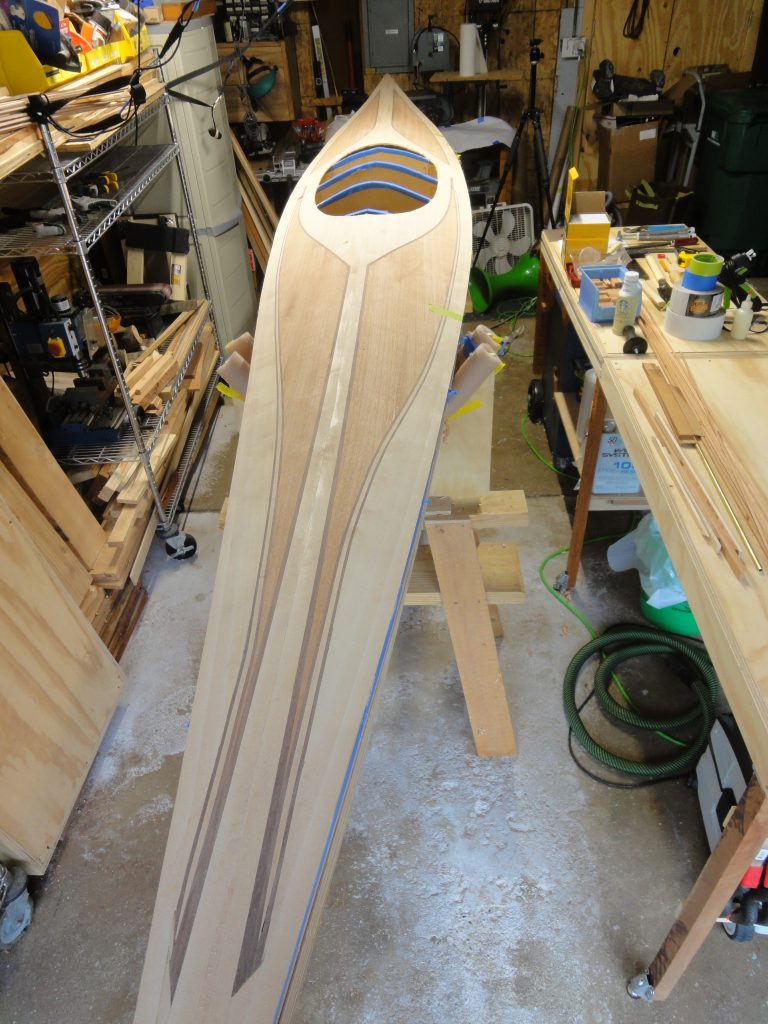
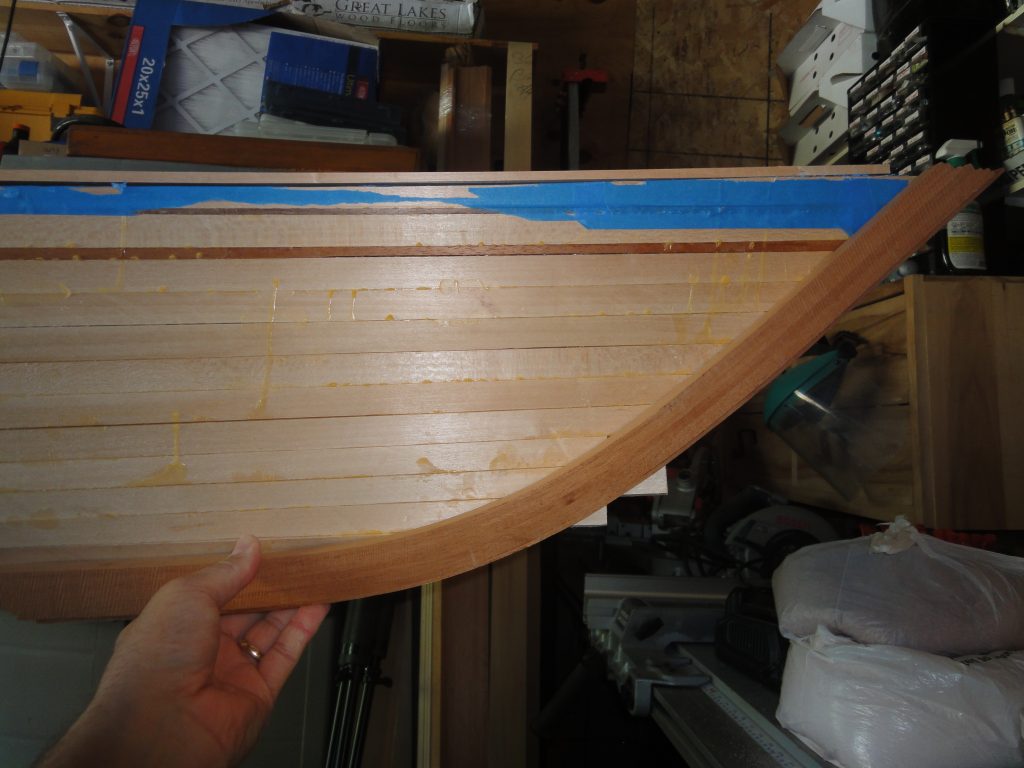
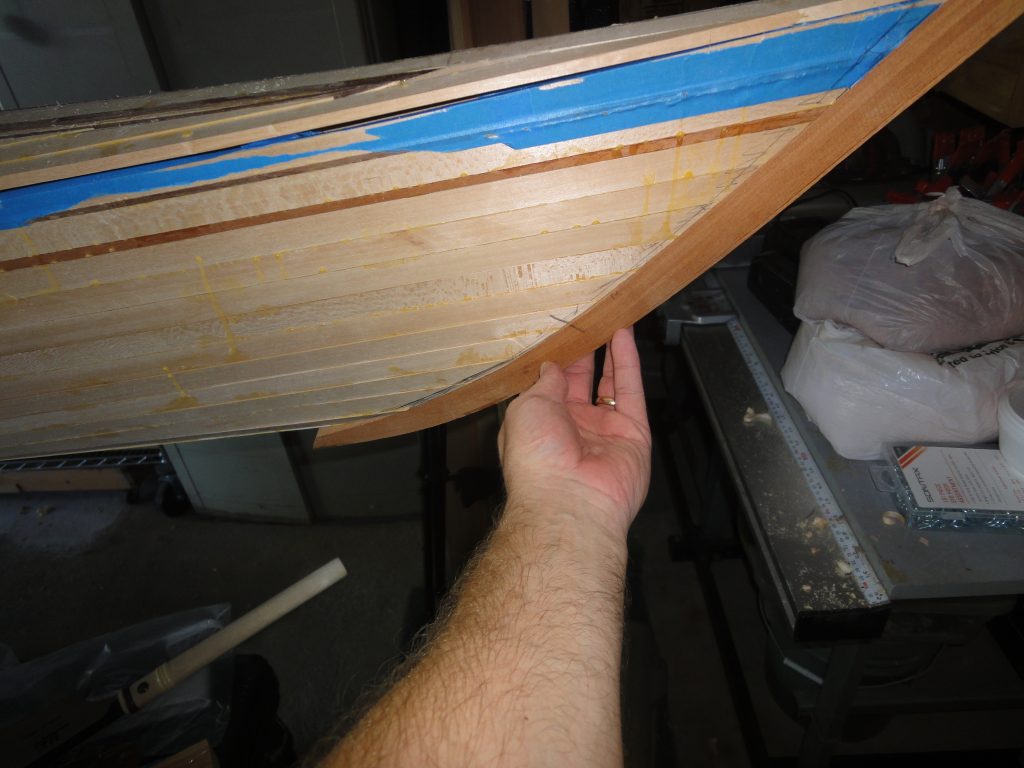
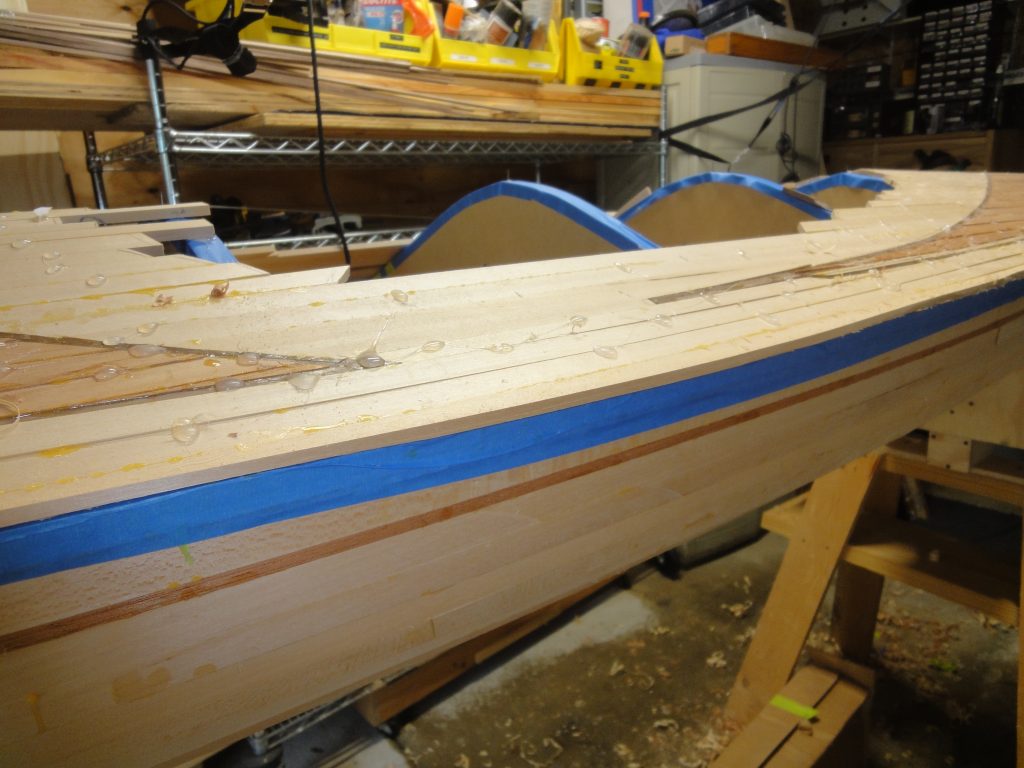
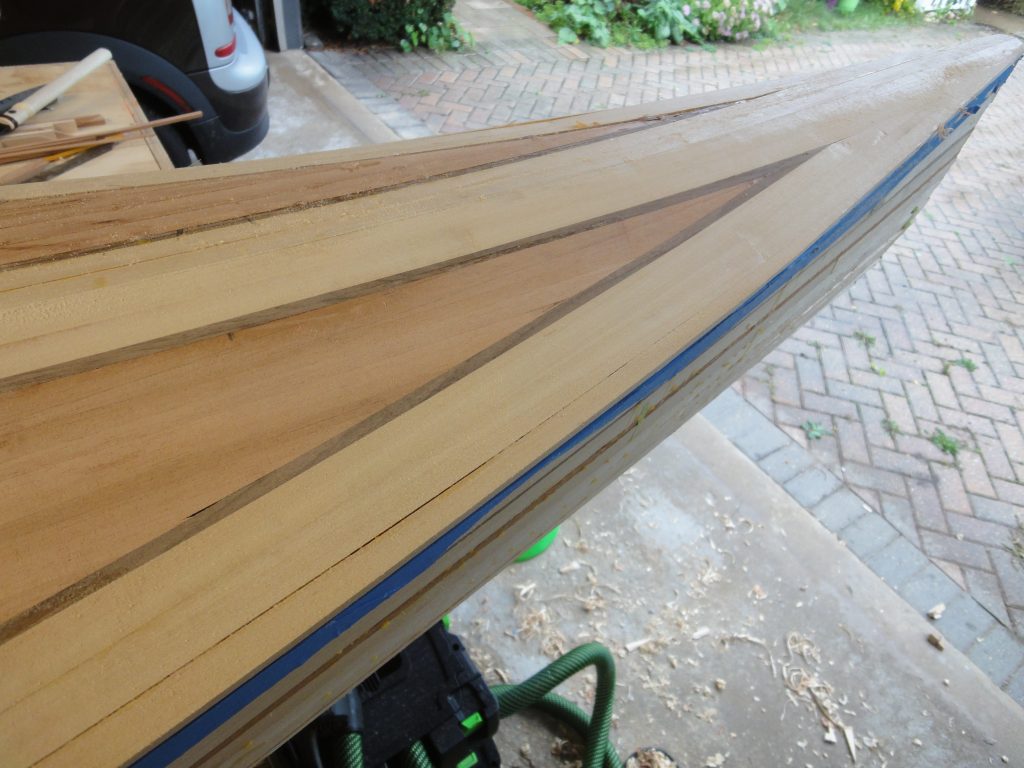
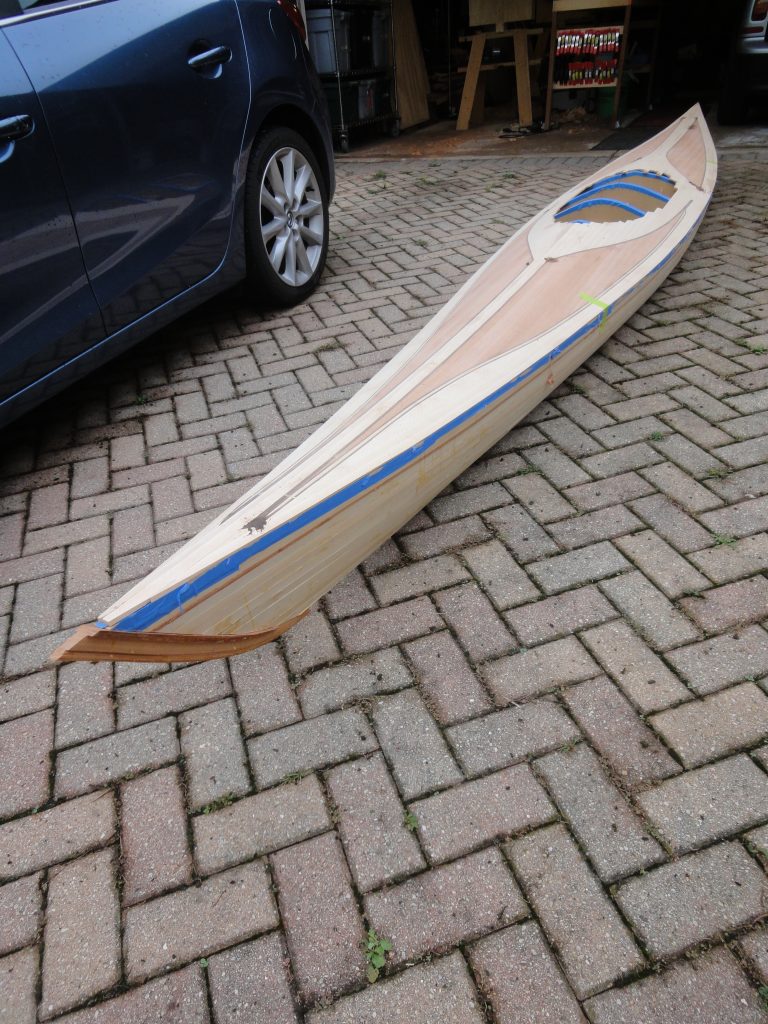
In order to make the bow easier to work on I removed the kayak, flipped around the supports and put it back in the garage turned 180 degrees. Of course I got a few more pics while it was in the driveway.

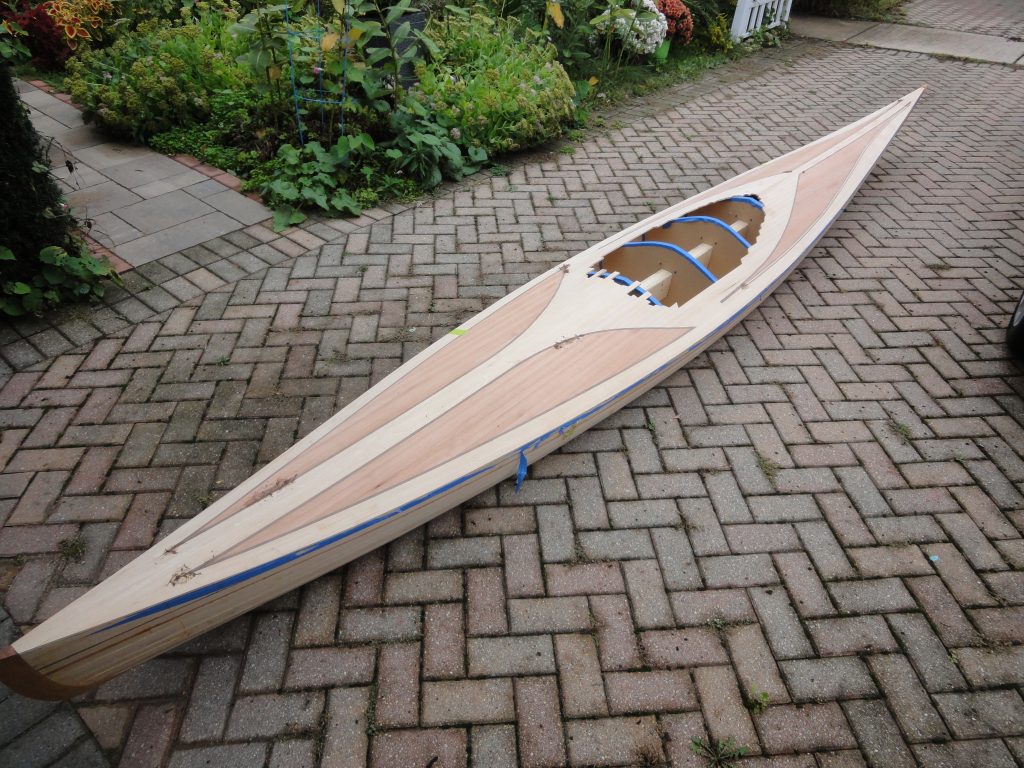
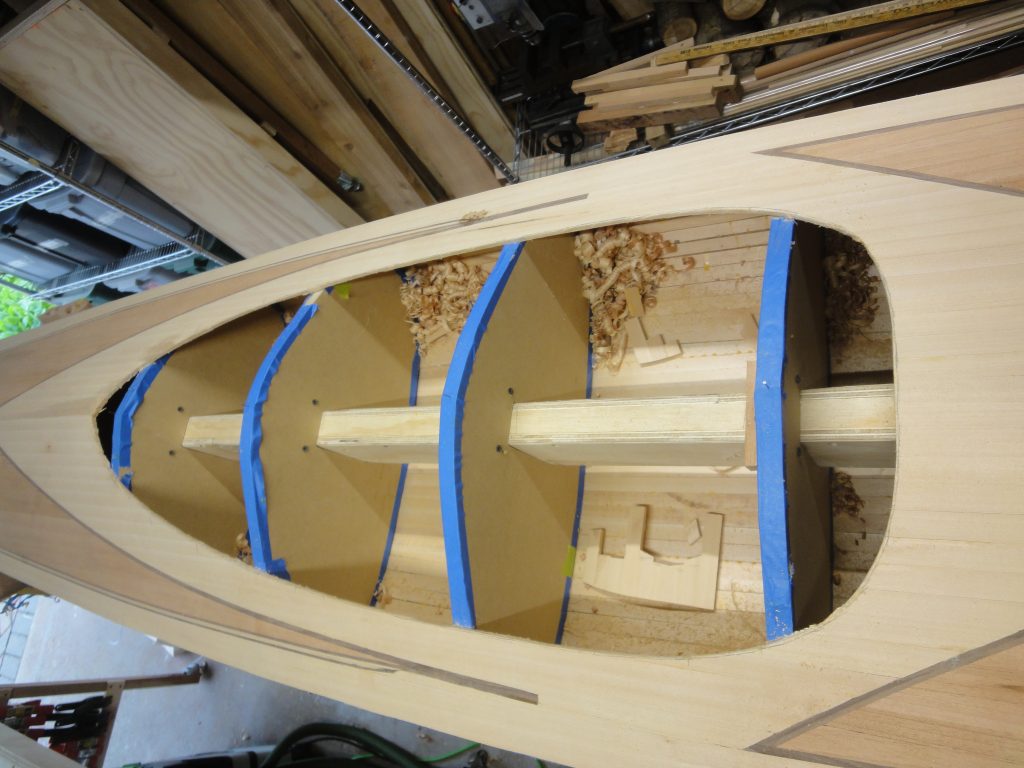
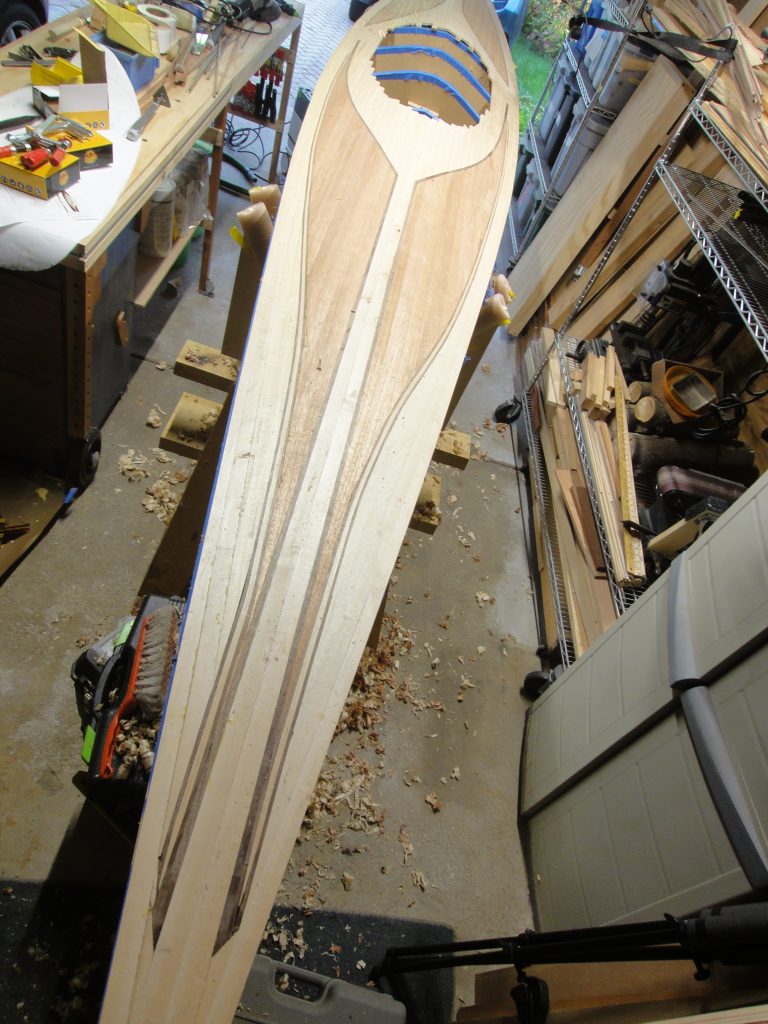
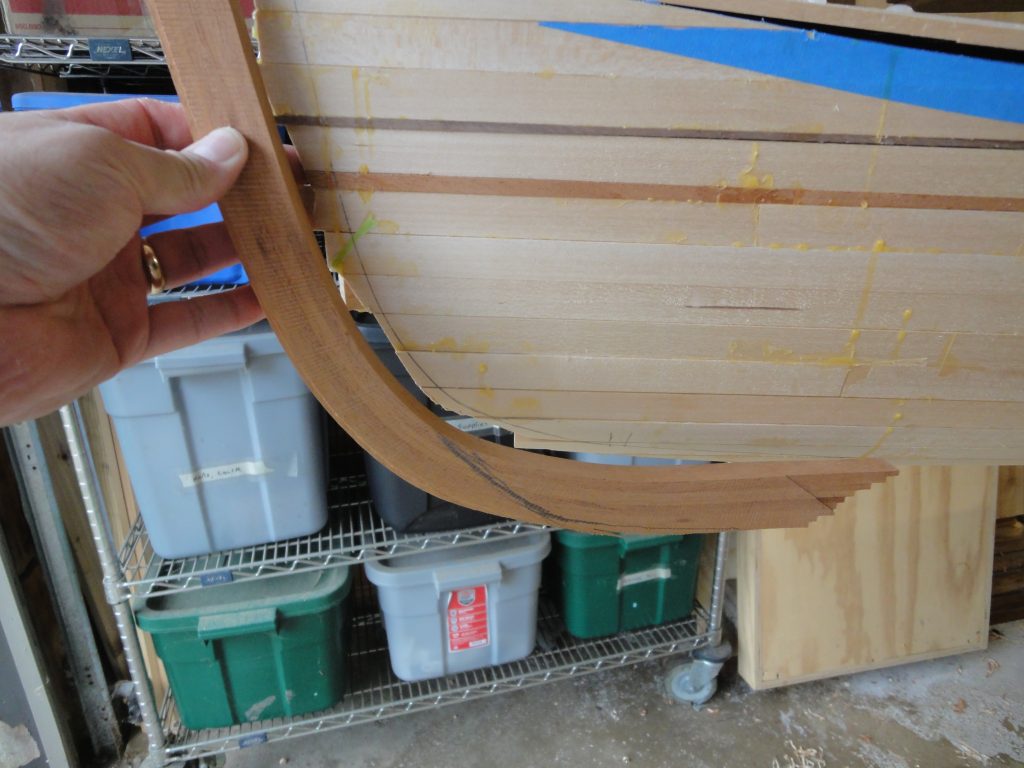
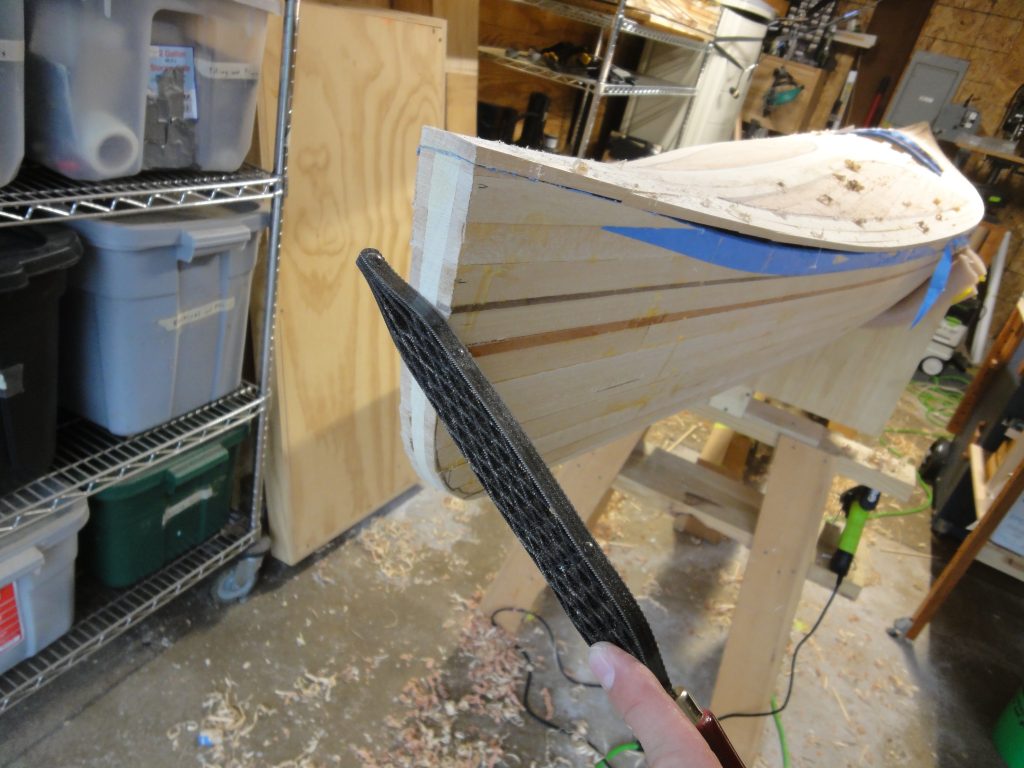
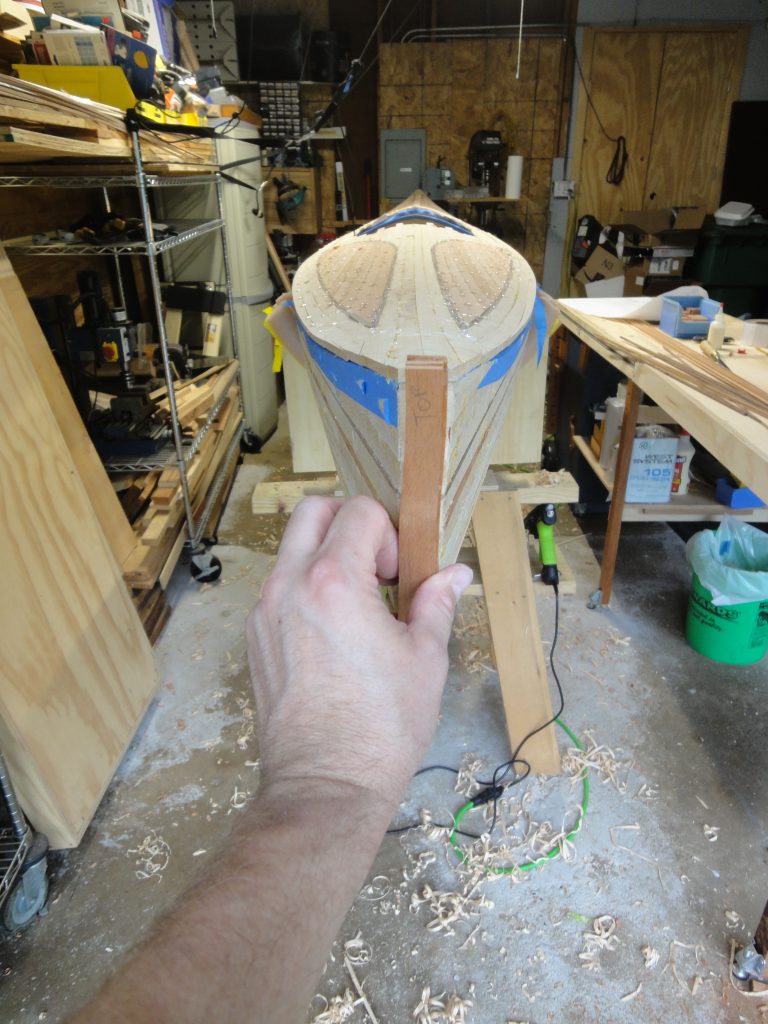
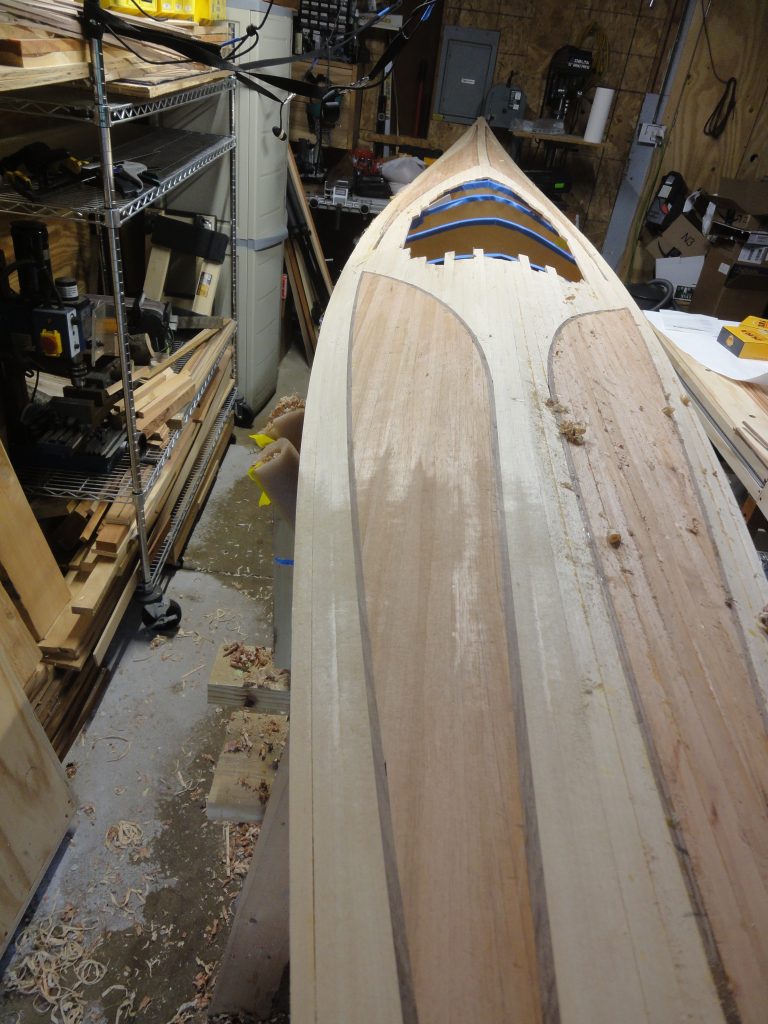
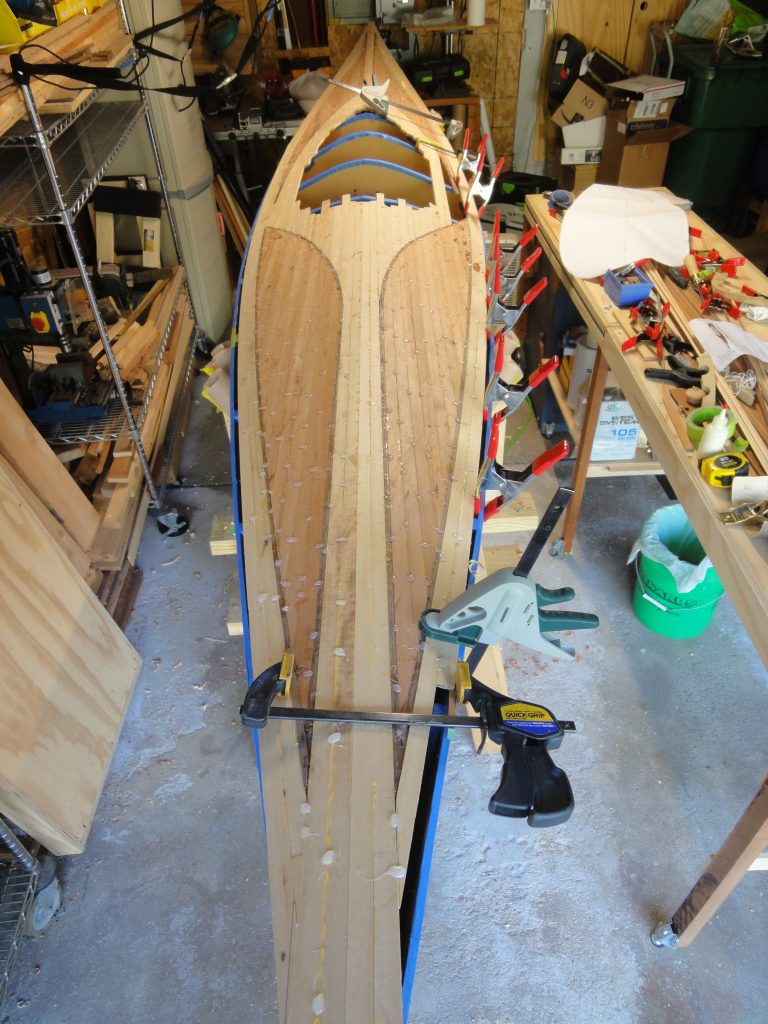
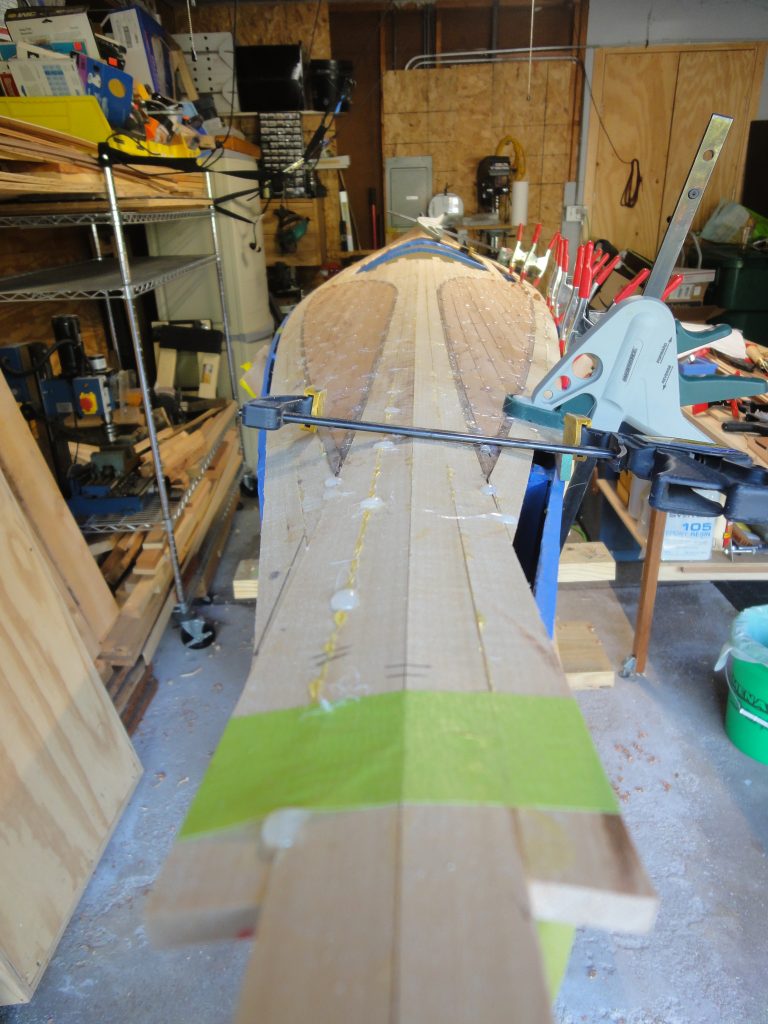
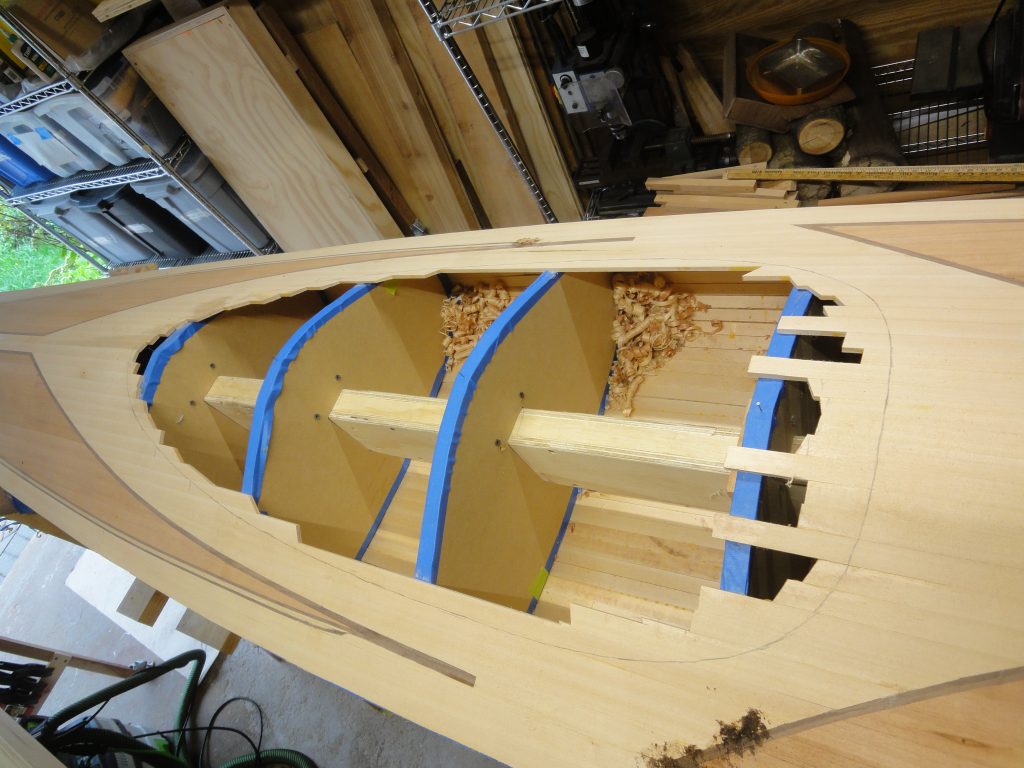
And now on to the theme of the day. The cockpit opening was cut out. The process was actually pretty simple. First I cut out the template I’ve been using accurately to the line. Until now it was rough cut a bit oversized. I also pre-cut most of the secondary shape.

It was then taped in place using the alignment nails I’ve been using all along. I took measurements at key locations and verified them on the other side. Good news is that it was centered right from the start. My measurements on both sides were consistent.

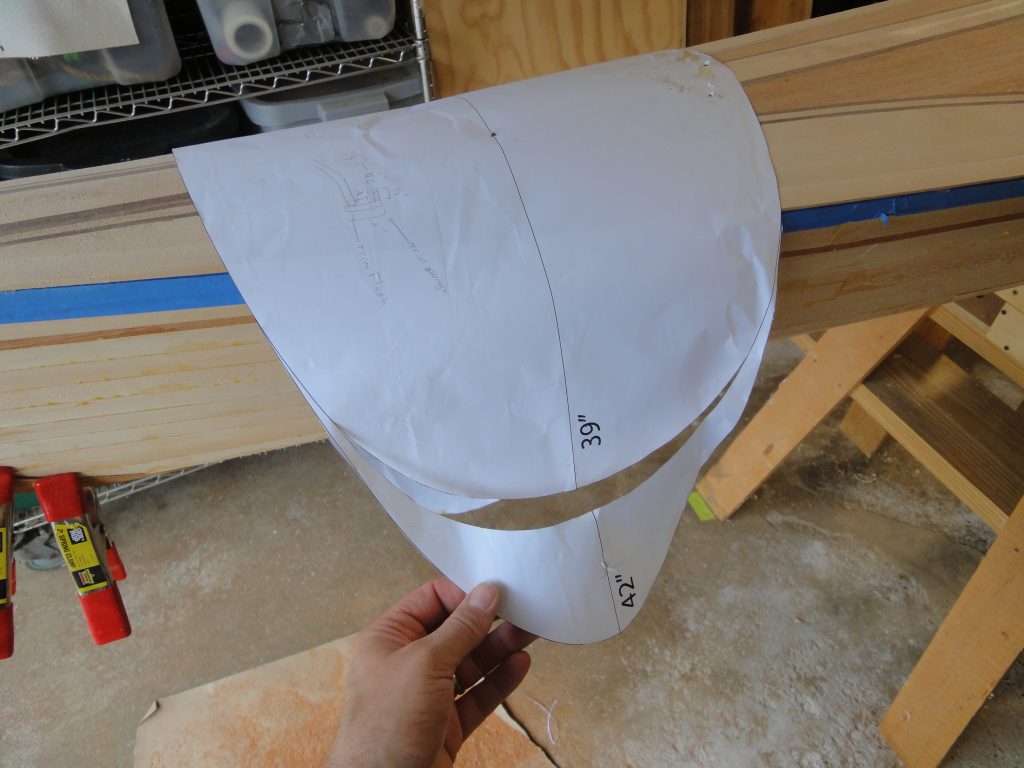
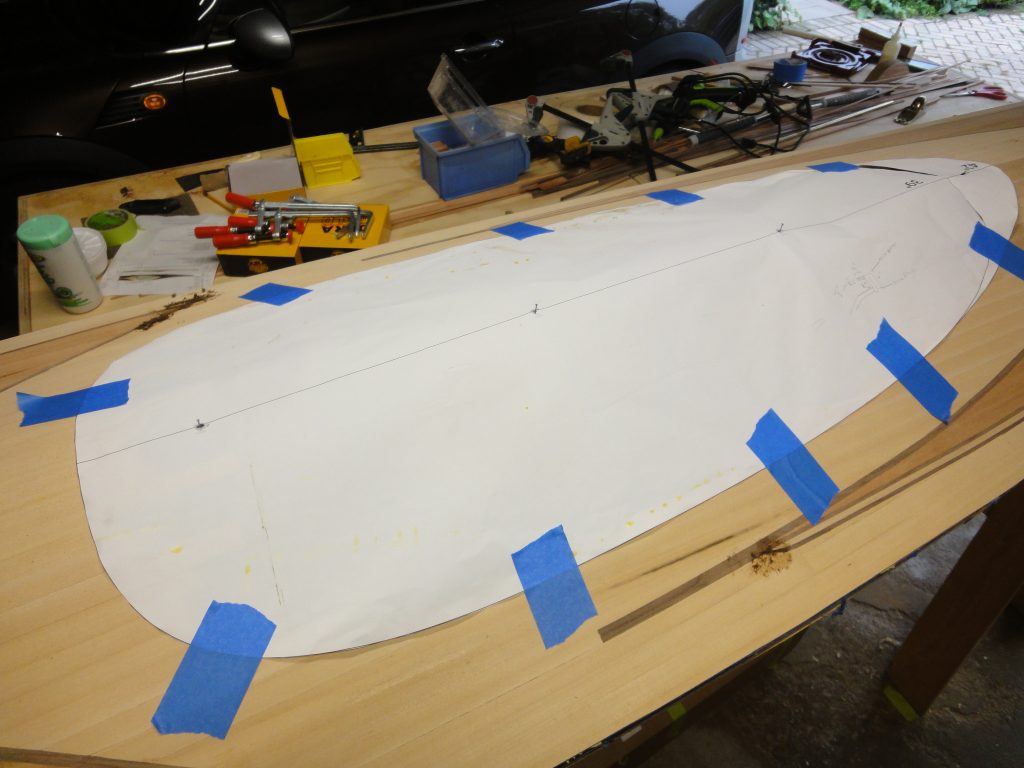
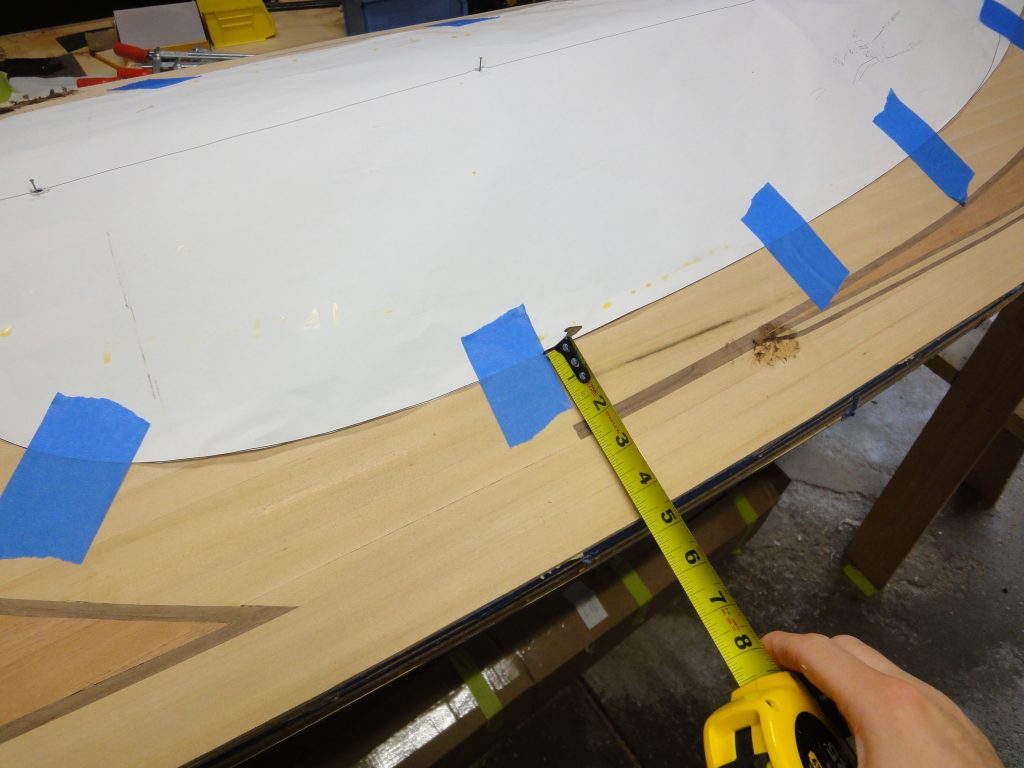
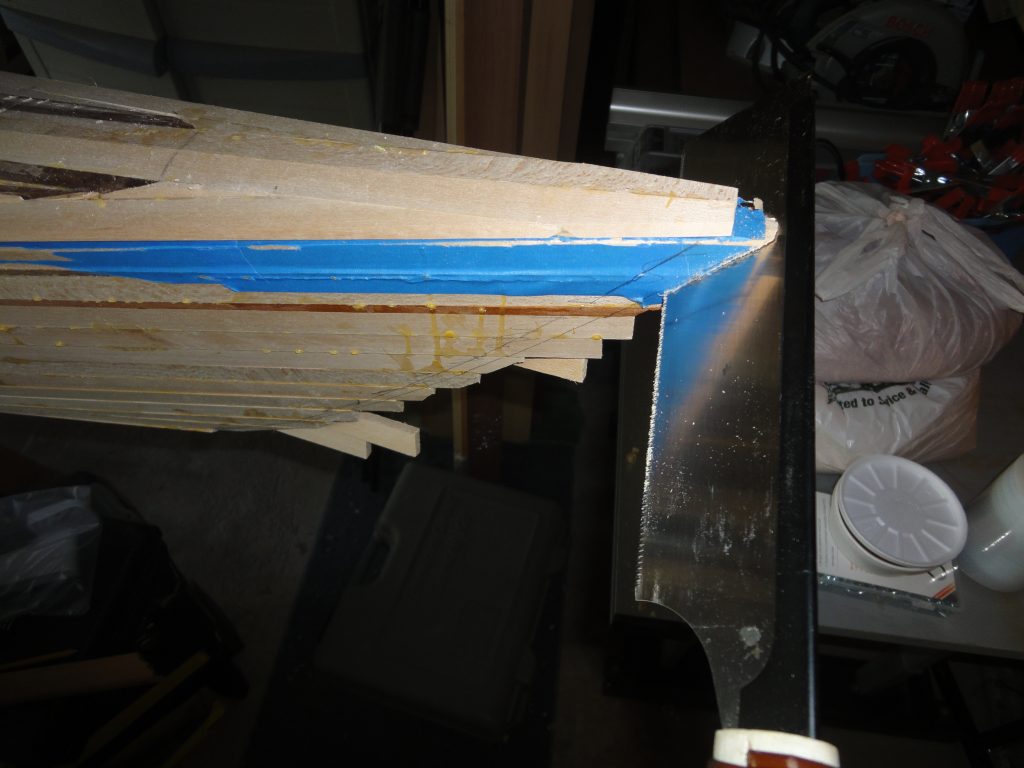
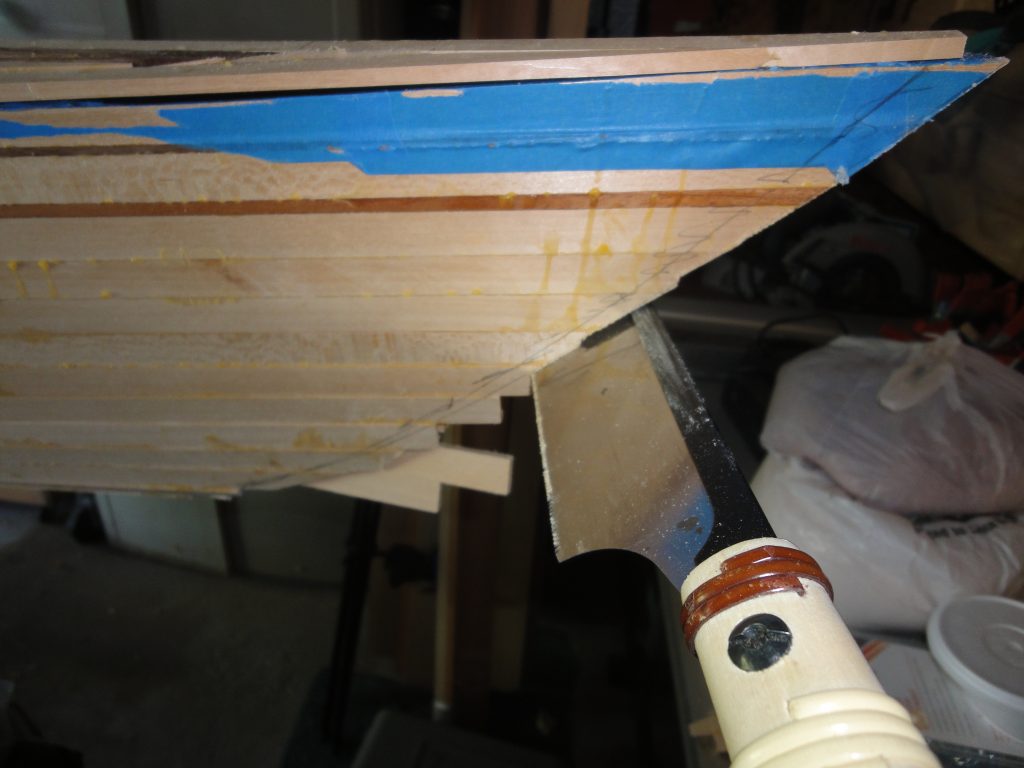
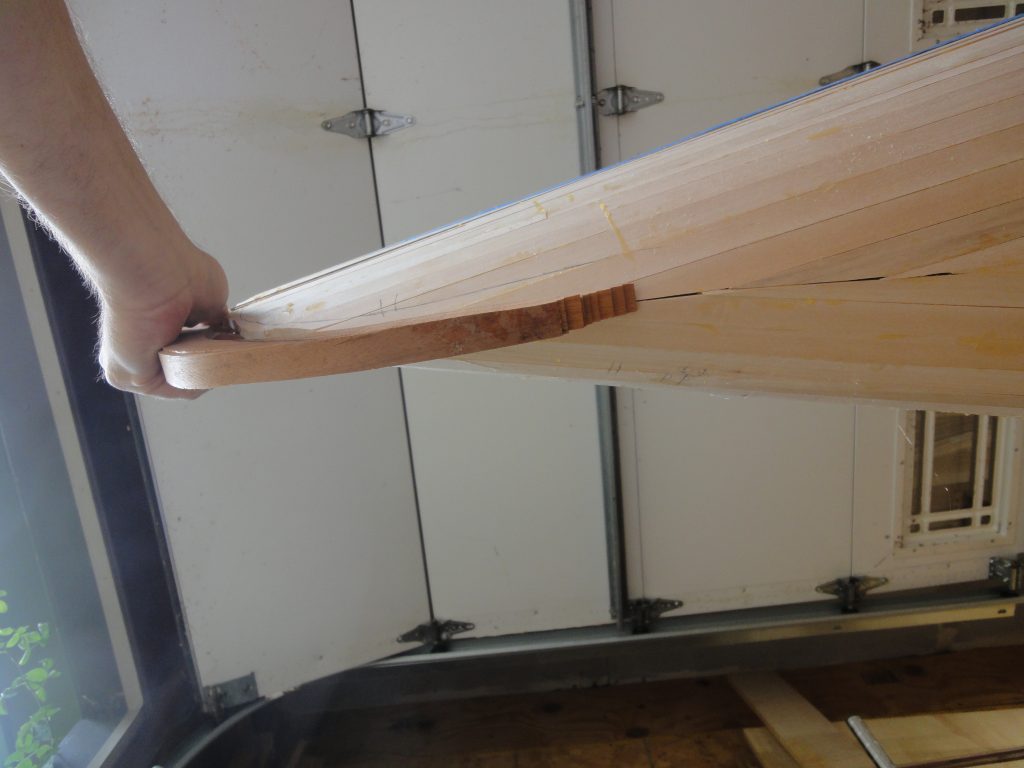
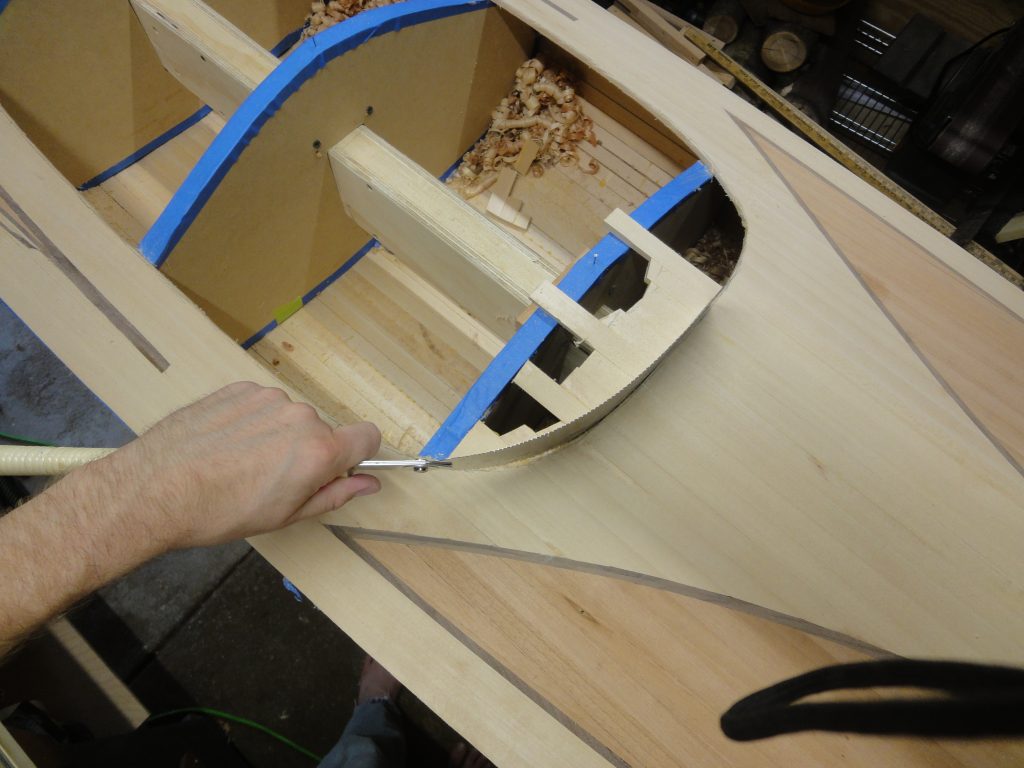
Carefully I traced the edge of the paper. As I got to each piece of tape, I would lift them one by one, trace the edge and the push it back down to keep the template in place. Once completed the template was removed and I had a good line to cut along. Actually I cut inside the line planning to sand and/or plane to the line as I clean up the cut and ensure it is a smooth and fair curve. This will probably be my next work session.

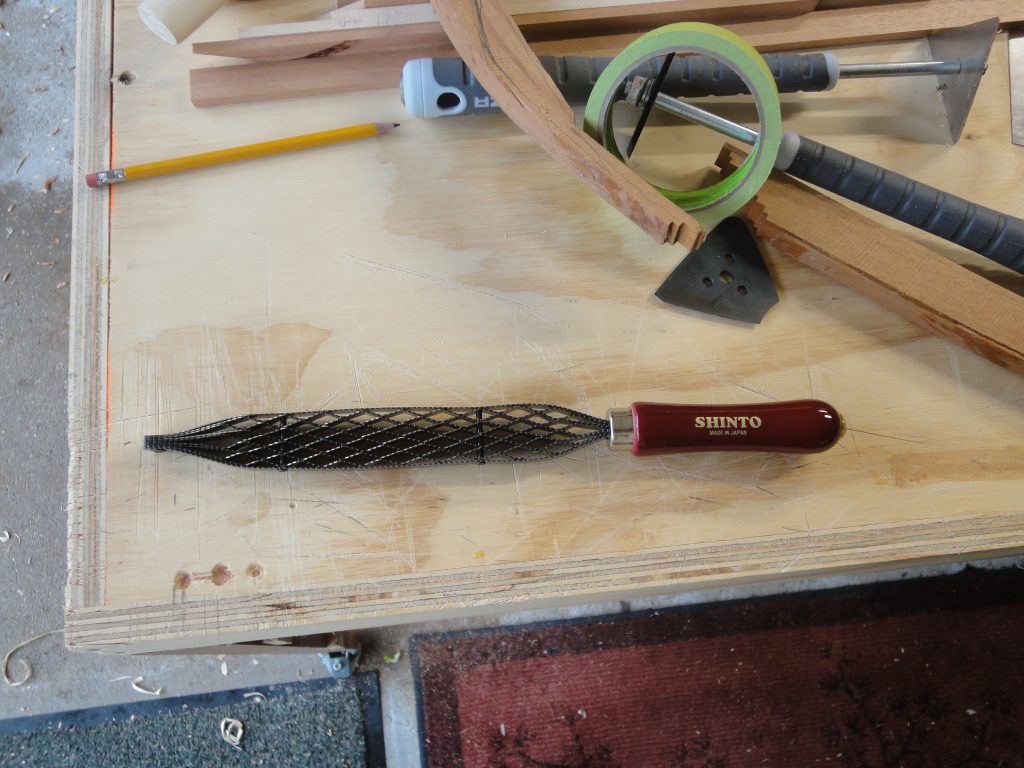
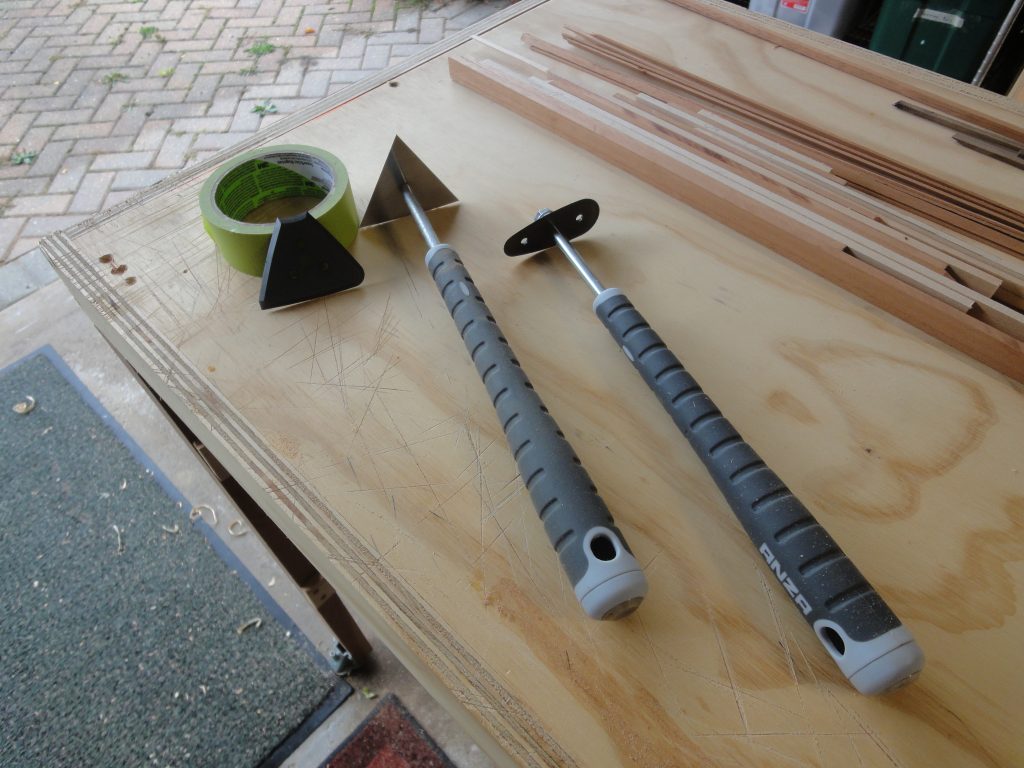
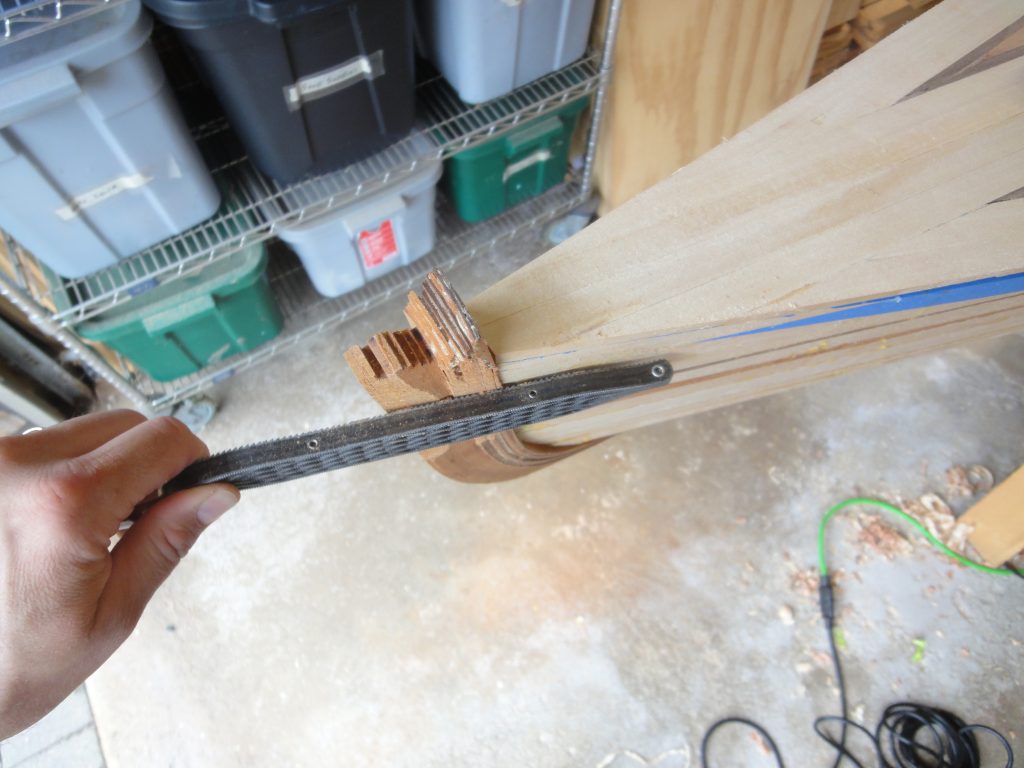
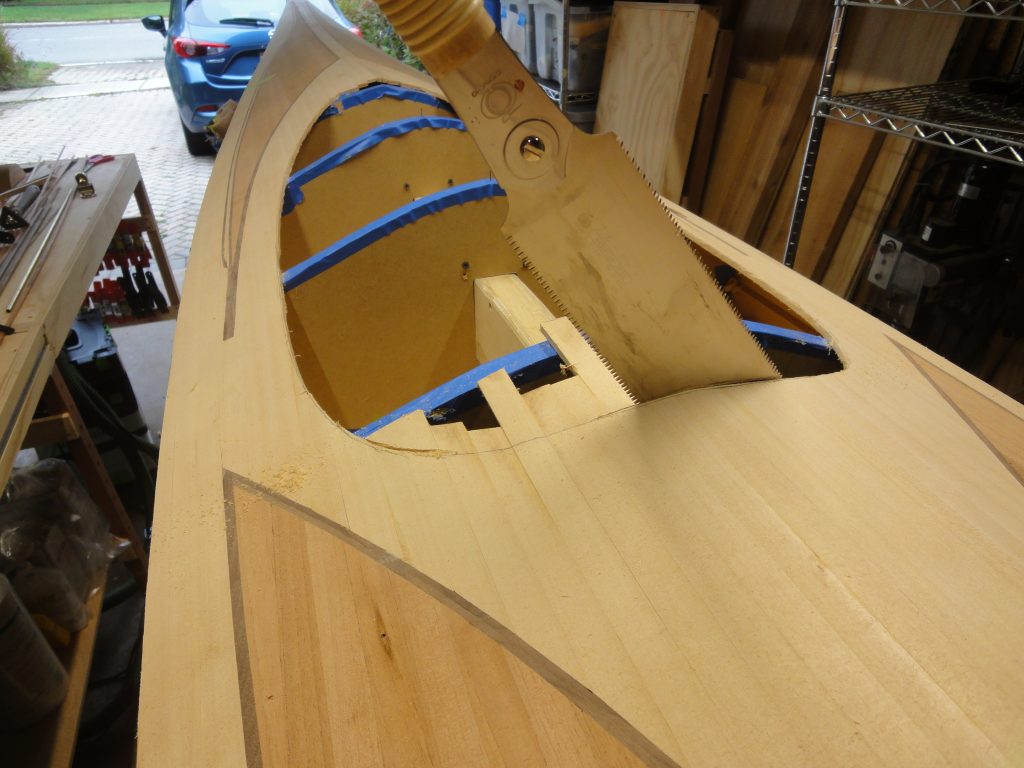
The cutting could have been done with a jig saw or perhaps with a few other power tools, but ultimately I settled on hand cutting it. It really did not take that long and I figured with a hand cut I couldn’t slip and end up with a major oops requiring the deck to be rebuilt. I worked in from the middle with the saw and fairly easily made the straight cuts. It was a little harder going over the forms as I had to change to a shallow angle, but it did work. The curves were more of a challenge, but as you can see from the picture below, the saw was more than up to the task of following the curve.

So I now have a cockpit opening. Looking at the next steps, and the weather during fall in the midwest, I have to decide if I want to move on to final prep, sanding and fiber glassing of the outer deck or if I want to save fiber glassing for the spring and flip the kayak over and continue working on the scraping and sanding on the outer hull. Ideally the weather (temperatures) will cooperate long enough to scrape, sand and fiberglass both outer surfaces, at which point I can remove the forms and put the kayak in “storage” for winter when the temperature finally drops and stays cold. With the fiberglass on at least one side, the hull and deck will retain their shapes. Without it I’m inclined to keep them on the forms until I can resume work in spring.

Of course right now this is all just musing as I could have a good couple of months yet, or just a few weeks. Either way I’ll work for as long as I can. Even longer if any of my readers want to donate a garage heater and insulation… Hey, I gotta try!

Scraping, Sanding and Stems

More work in the same areas. Scraping and sanding of the deck and since the large stem pieces were now dried, they were fitted and glued on.

To start with the scraping on the last parts of the deck was completed along with a bit of plane work. I then moved on to sanding. The video below shows the sanding technique which is horizontal, then vertical. If it looks good, move on. If not, repeat. Worst case, move back a step and do a bit more scraping when necessary.

The results, after sanding, are pretty good and definitely inline with my vision for the overall appearance.

Unfortunately, not every strip was always tight against the neighboring strips or in some cases it may have flexed a bit and opened up a gap. Here area a few obvious ones.

Since the first sanding was completed I thought it would be a good time to start filling some of these gaps. To begin with I got the bag of sawdust I had saved, a plastic tray, glue and a putty knife. Squeeze out a puddle of glue and then start mixing in sawdust. Keep adding until it is a bit tacky but not wet like fresh glue. You should have constancy of somewhere around putty. Use the putty knife to force it into the cracks.

When the walnut was cut I didn’t save any sawdust so I’ll need to make a bit next time to fill in the walnut gaps and then sand all the areas and check how well the fill took.

The final item on the list for today was the stems. I fit both stems using the plane. rasp and a bit of sanding and then glued them in place. Tomorrow I hope to start on the shaping of the stems.

Stems, Scraping and Deck Lines

Multiple areas were worked on today, presented here in no specific order. I went ahead and scraped the front half of the boat. While the scraper was working good for the rough stuff, I was not happy with the results in some areas. I certainly could have sanded it out but this would have taken a lot of sanding so I tried using the block plane and for the most part it worked better than I could have hoped. Next time this area will be reading for sanding.

I cut some thin slices of wider cherry and glued them up to the existing rear stem to account for it not being wide enough to meet up with the strips of the sides. Same process as a few months ago except that I was able to use the stem piece itself as the form to glue to this time.

Another new supply I added is peel and stick sand paper in a roll. I got Dura Gold brand again in the 80 grit and 150 grit. A few minutes tracing a couple of curves on a piece of wood I had laying around and a quick cut and sanding and they were ready to accept the stick on sand paper. Instant curved sanding blocks.

These sanding blocks were used to help shape the front stem piece. I lined it up on the bow, traced a line, then decided I didn’t like the placement, adjusted and traced a second line that I was happier with. This line was cut and the stem piece held in place. As expected some adjusting was needed. The Shinto rasp and plane worked well on the kayak and the sanding block worked for adjusting the tight spots on the stem piece. Ultimately it’s a pretty close fit. Just to ensure no problems later I then glued a couple of extra wider strips on this stem piece too. Both are drying for hopeful attachment next work session.

Looking way ahead, I’ve been thinking about eventual bungee hold downs and deck lines. Some research and I think I have figured out what lines I want to run. While in local small lakes I probably wouldn’t need the deck lines, my eventual plans involve solo trips in remote areas and having a deck line to hold onto, in the case of an overturn, while I prepare for re-entry will be an important safety feature.

In preparation for a prototype concept I went ahead a bought a brass rod through McMaster-Carr. I’ll detail the specifics later if I decide to use this as my final line holder. Some left over strip pieces were also glued together. When dried I cut them into approximately 1 1/2″ long pieces. The strip dimensions resulted in the 3/4″ x 3/4″ for the other sides. I made a few passes with the plane to even the sides and remove the glue squeeze out. The shavings reminded me of “wood bacon” or taffy that I used to buy as a kid many decades ago.

A hole was drilled in one and two holes in another one. I’ve got ideas for both kinds in different areas. The rod was cut to fit and then sanded in place to make it completely flush. Finally I went ahead and sanded two of the corners round. I’m somewhat satisfied with the results. I think a jig will need to be made for consistent hole locations and an actual outline drawn for the sanding, again for consistent shape. I’ll think on this a bit more and do some more internet image searching before making a final decision on these.

Misc Tasks, Scraping and Sanding

Put in some time both days and made a bit more progress. Saturday basically involved completing the deck. The remaining three strips took a few hours due to the extensive amount of fitting required and one ended up just a bit too short so I had to remake it. I also added the final outer strip knowing that a substantial part would be cut off. Sunday I trimmed it. You can see in the pictures below the strip and then the planing off of the excess beyond the edge of the hull.

The other task on Saturday was preparing for the coaming. The riser section will be made of a bunch of small pieces of strips so I figured out the size I need, allowed for some extra and settled on a two inch piece. Calculated about 133 that will be needed so to have a few spares I aimed for 140. After marking one strip, I ganged three together to make the cutting go faster. Unfortunately I ended up with just over 125 so I ended up cutting a fourth strip and now I have plenty.

The stem pieces will eventually need to be added and this seemed like a good time to start on them. I first laid the stern outer stem against the side of the kayak and traced the edge. Since the bottom of the kayak is much wider than than the strip I cut and tapered (somewhat) the stem to make a smooth transition into the keel. The first fit was OK but needed work. Using a Shinto rasp I started to shape the edge of the boat until I had a better fit. It isn’t final yet as I also see that the piece is not wide enough. I need to add 2-3 more layers that are wider before I can perform the final fitting and glue it in place.

Next I moved on to the scraping and sanding. I started with a pair of scrapers and an extra blade. The rounded one will be for the concave inside while the flatter ones will be used on the outside. They are available from Silent Paint Remover aka Viking Sales. Models 1200-3 and 1200-70. The video below shows the scraping process. Basically, higher angle to shear/pry off the hot glue, then more of a vertical position for the blade to start scraping wood shavings off. The goal is to remove the glue, level the surface and in the case of a few boards, remove the burn marks from when I cut them.

After scraping, the next step is an aggressive sanding. I used 60 grit on a random orbit sander. The sander is an old 6″ unit I’ve had for close to a few decades now. I tried a new (to me) brand of sand paper from Dura Gold and, so far with just one disc used, I’m pretty happy with it. I got 60 grit, 80 grit, and 120 grit. As the process evolves eventually all the grits will be used. In the following picture you can see the closer part has been scraped and sanded, while the further part (shinier) has only been scraped so far. The last pictures and the movie reflect the entire quarter section that has been scraped and sanded. You can see in the video where I point out a couple of gaps that will eventually need to be filled.

Both Sides Almost Done

Put in about 5 hours today and basically a repeat of the last two work days. Just filling in the detail panel, the surrounding decking and the edge strips. At this point I have a few last deck strips, a partial edge strip on each side and a few edge filler pieces and the deck itself will be done.

In the first and third pictures you can see the cockpit opening more or less taking shape. So I’m getting to the point of deciding which set of steps to do next.

Depending on which book you read or which videos you watch or which blog you find there are varying approaches now. Pretty much all start with a scraping and sanding to get a smooth and fair surface to work from. After this you have the following approaches:

  • Cut cockpit, install riser, install coaming, fiberglass outer deck
  • Fiberglass outer deck, cut cockpit, install riser, install coaming
  • Cut cockpit, fiberglass outer deck, installer riser, install coaming
  • Put deck aside, sand and scrape hull, fiber glass outer hull, sand and scraper inner hull, fiberglass inner hull, work on deck separately using one of the three above options.

I haven’t decided which set of steps but it will probably be one of the first three. At the moment the third one is in the lead as this approach is used by Nick Schade on his Petrel Play build and the coaming on that build is the closest to the method I’m planning to use. However I’m not planning on a cockpit recess, or at least not a full recess, instead perhaps just a small one at the front which would bring it (as shown on my templates) from the 42″ to 39″ for the actual cockpit opening and provide a flatter front vs. the peaked front that the design currently has.

Next steps will be to finish stripping, ensure the line between the hull and deck is consistent and then scrape and sand. At that point I’ll then have to make up my mind on which approach to go with.