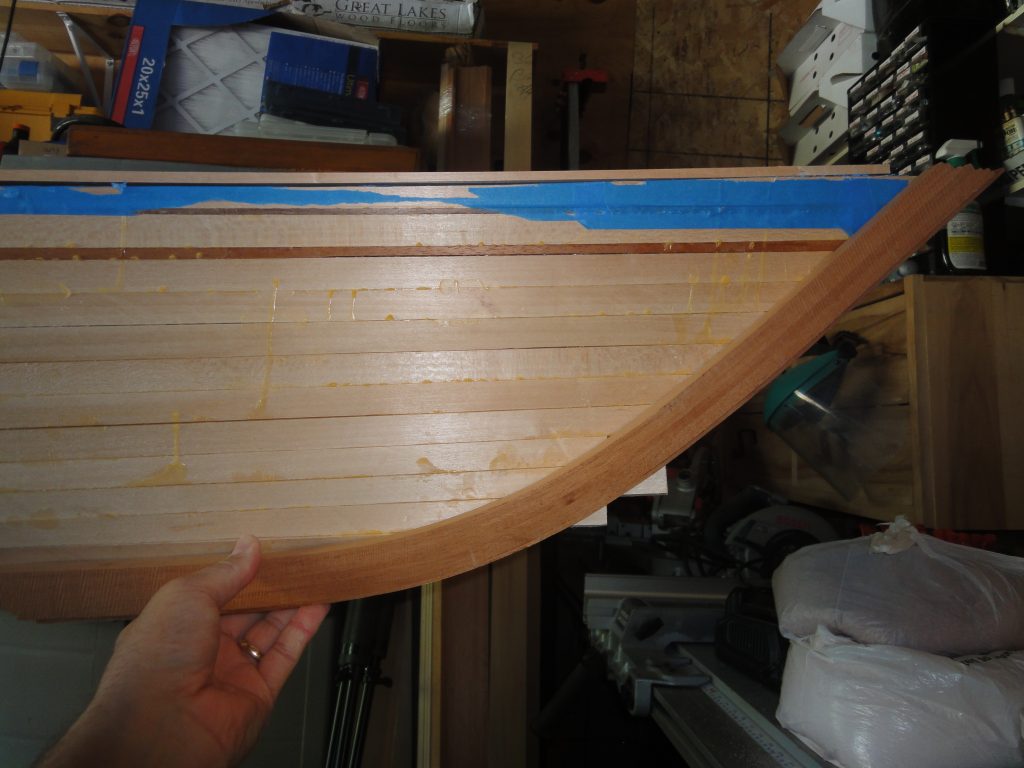
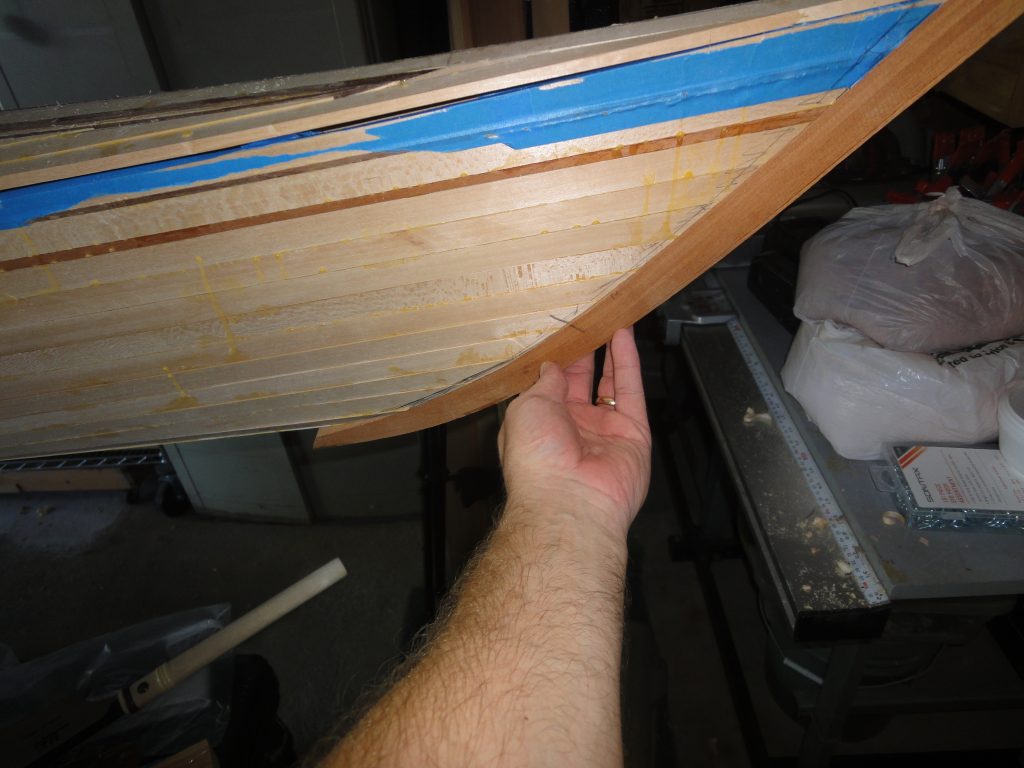
Multiple areas were worked on today, presented here in no specific order. I went ahead and scraped the front half of the boat. While the scraper was working good for the rough stuff, I was not happy with the results in some areas. I certainly could have sanded it out but this would have taken a lot of sanding so I tried using the block plane and for the most part it worked better than I could have hoped. Next time this area will be reading for sanding.
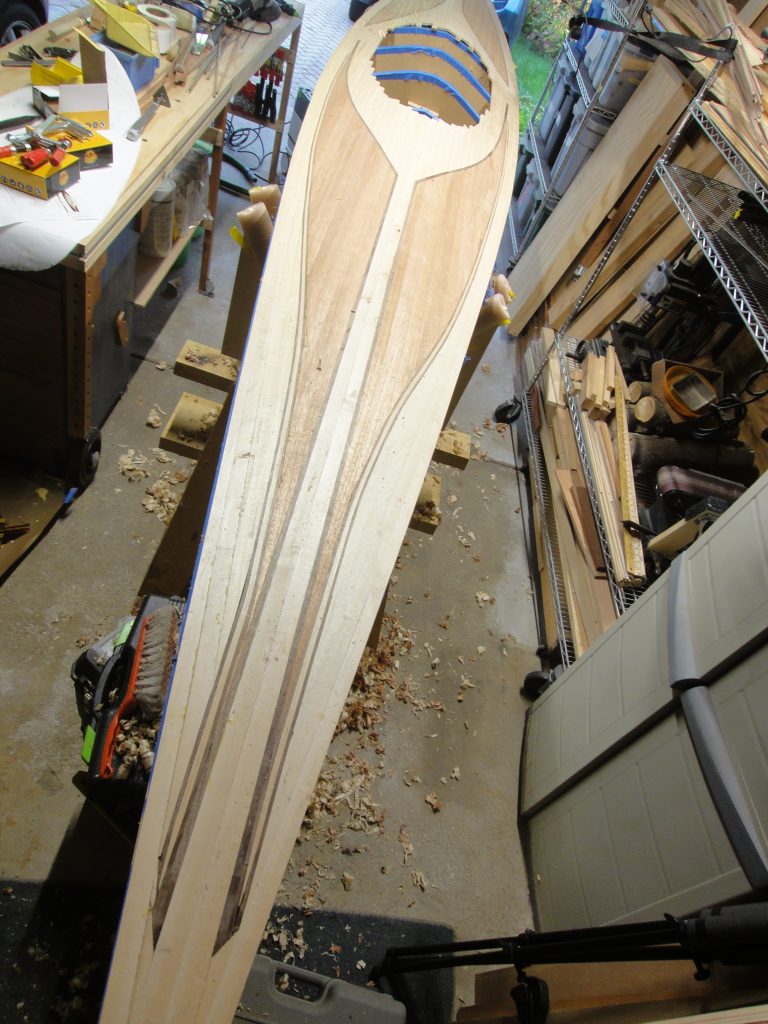
I cut some thin slices of wider cherry and glued them up to the existing rear stem to account for it not being wide enough to meet up with the strips of the sides. Same process as a few months ago except that I was able to use the stem piece itself as the form to glue to this time.
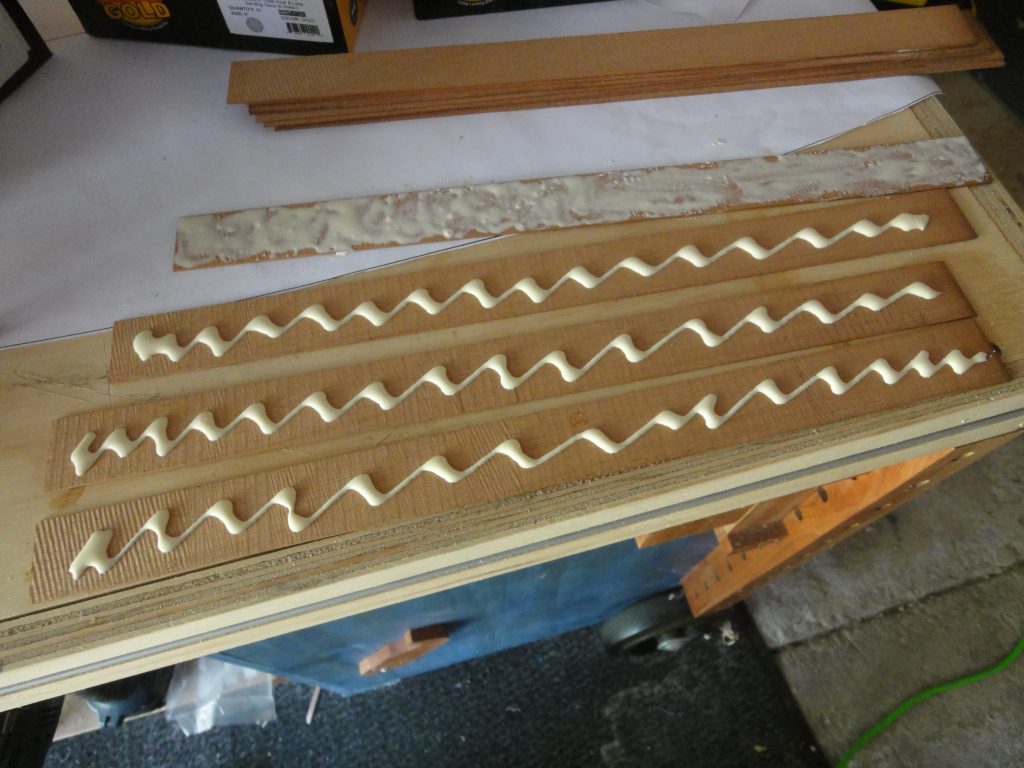
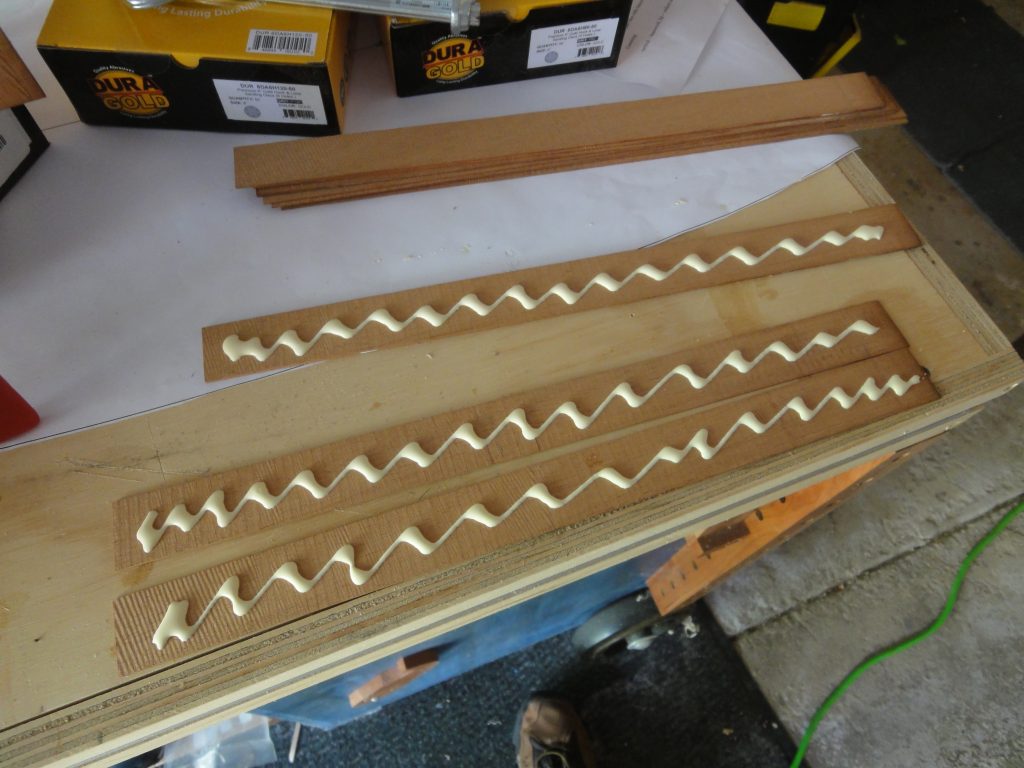
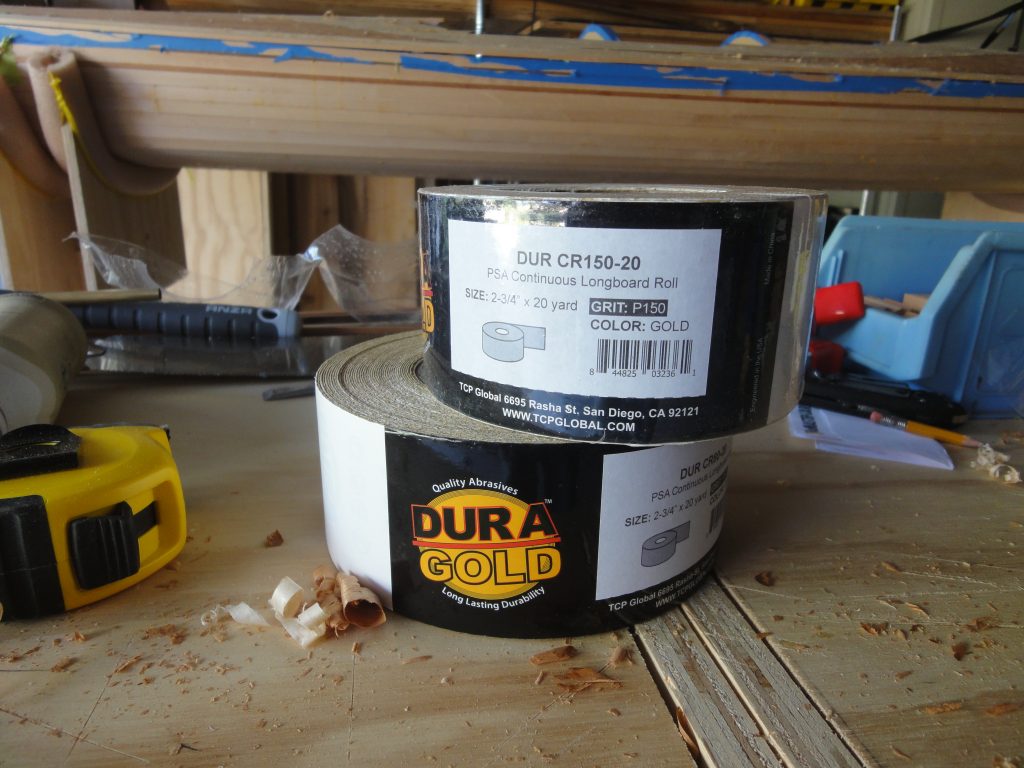
Another new supply I added is peel and stick sand paper in a roll. I got Dura Gold brand again in the 80 grit and 150 grit. A few minutes tracing a couple of curves on a piece of wood I had laying around and a quick cut and sanding and they were ready to accept the stick on sand paper. Instant curved sanding blocks.

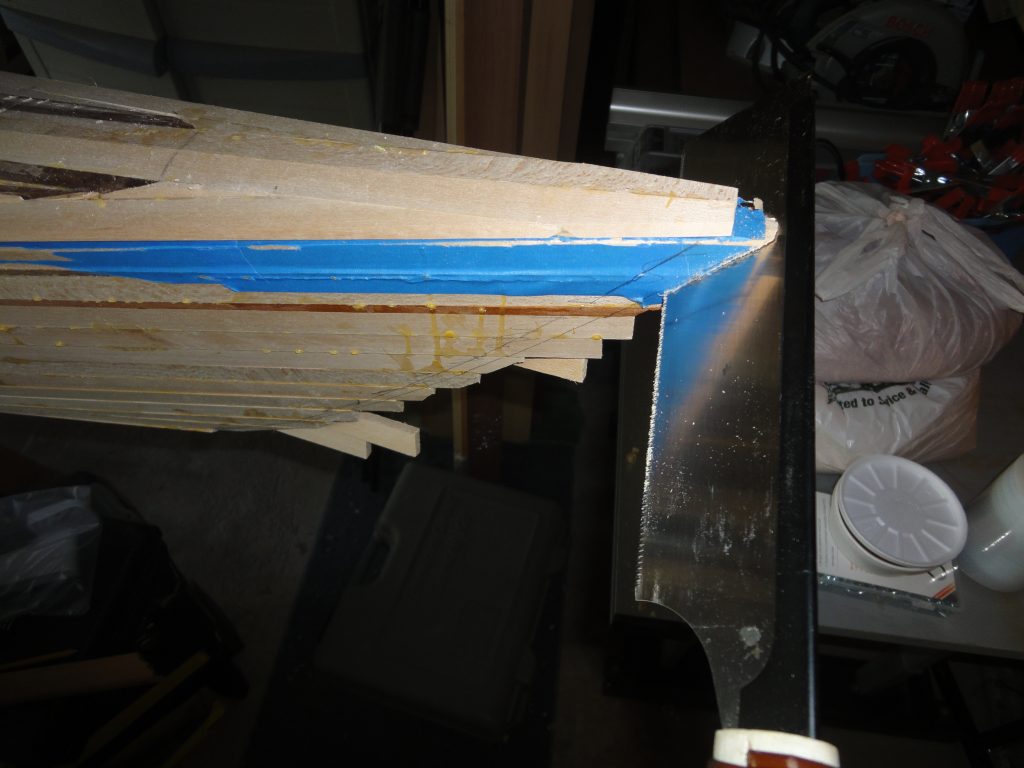
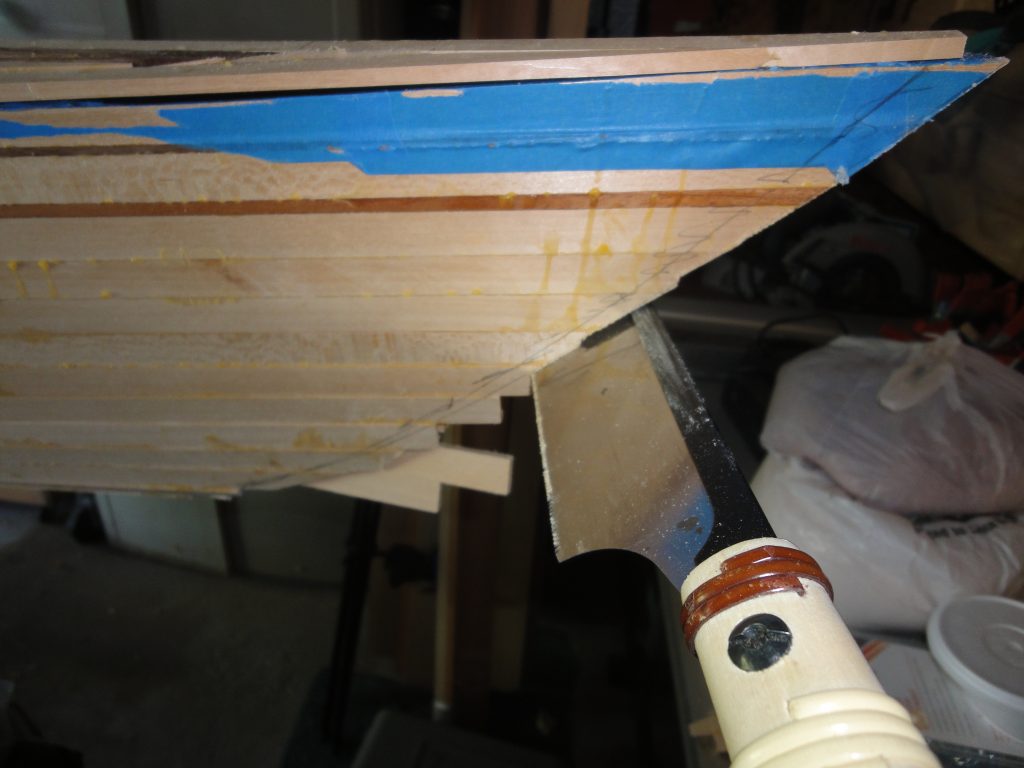
These sanding blocks were used to help shape the front stem piece. I lined it up on the bow, traced a line, then decided I didn’t like the placement, adjusted and traced a second line that I was happier with. This line was cut and the stem piece held in place. As expected some adjusting was needed. The Shinto rasp and plane worked well on the kayak and the sanding block worked for adjusting the tight spots on the stem piece. Ultimately it’s a pretty close fit. Just to ensure no problems later I then glued a couple of extra wider strips on this stem piece too. Both are drying for hopeful attachment next work session.
Looking way ahead, I’ve been thinking about eventual bungee hold downs and deck lines. Some research and I think I have figured out what lines I want to run. While in local small lakes I probably wouldn’t need the deck lines, my eventual plans involve solo trips in remote areas and having a deck line to hold onto, in the case of an overturn, while I prepare for re-entry will be an important safety feature.
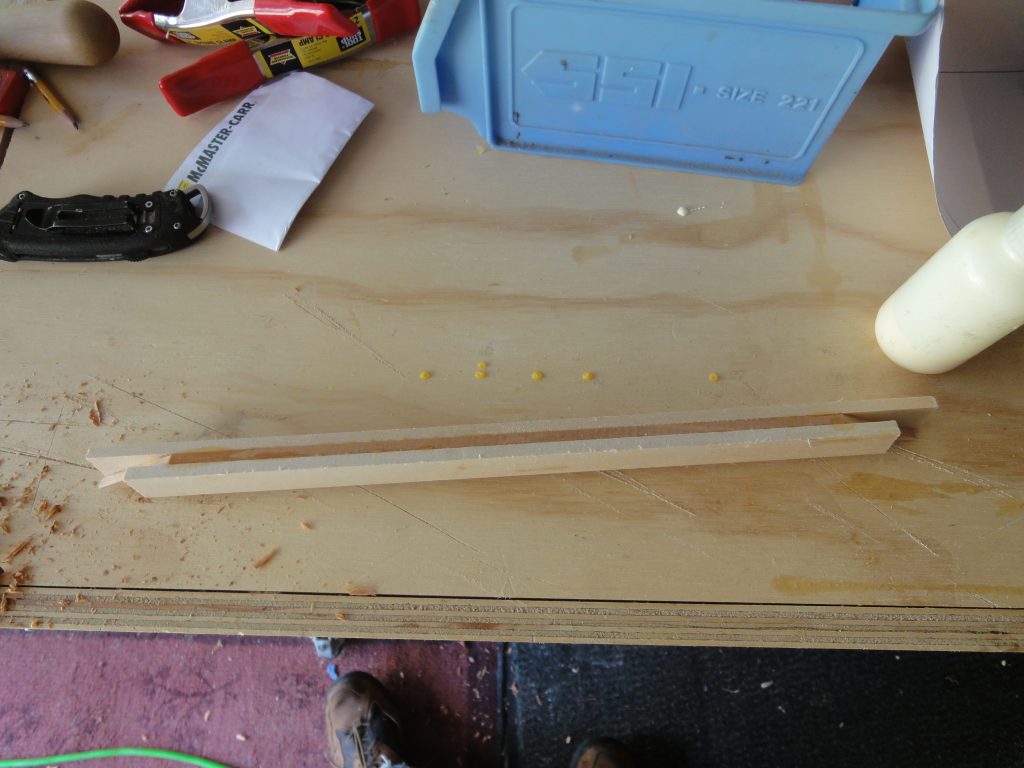
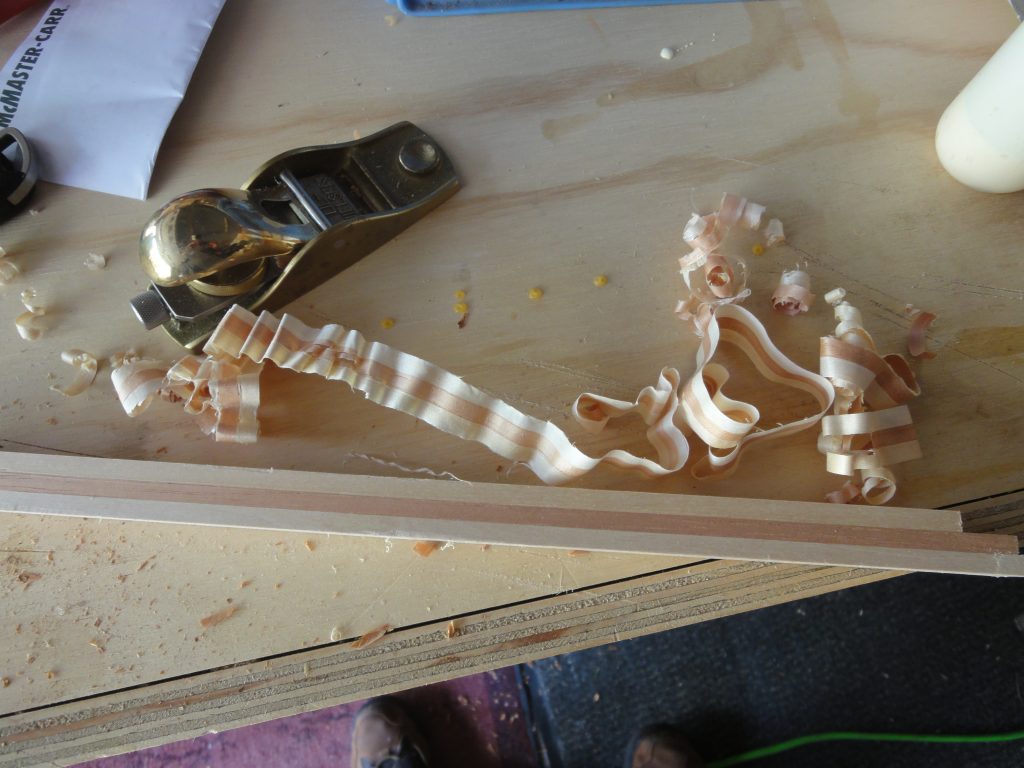
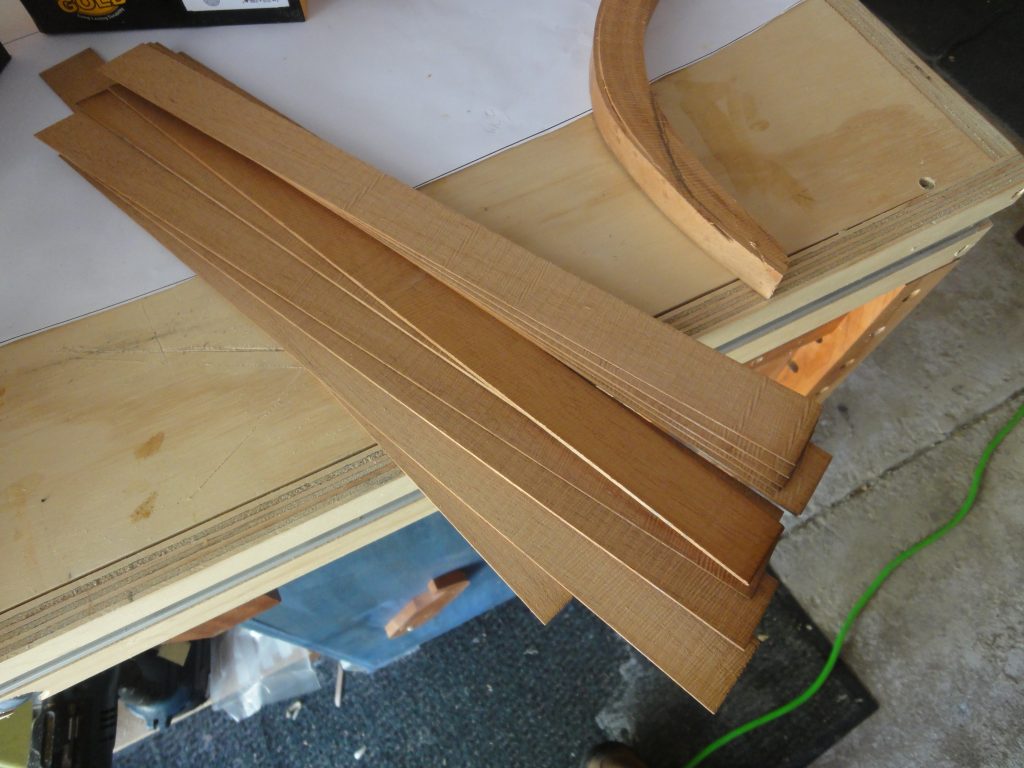
In preparation for a prototype concept I went ahead a bought a brass rod through McMaster-Carr. I’ll detail the specifics later if I decide to use this as my final line holder. Some left over strip pieces were also glued together. When dried I cut them into approximately 1 1/2″ long pieces. The strip dimensions resulted in the 3/4″ x 3/4″ for the other sides. I made a few passes with the plane to even the sides and remove the glue squeeze out. The shavings reminded me of “wood bacon” or taffy that I used to buy as a kid many decades ago.
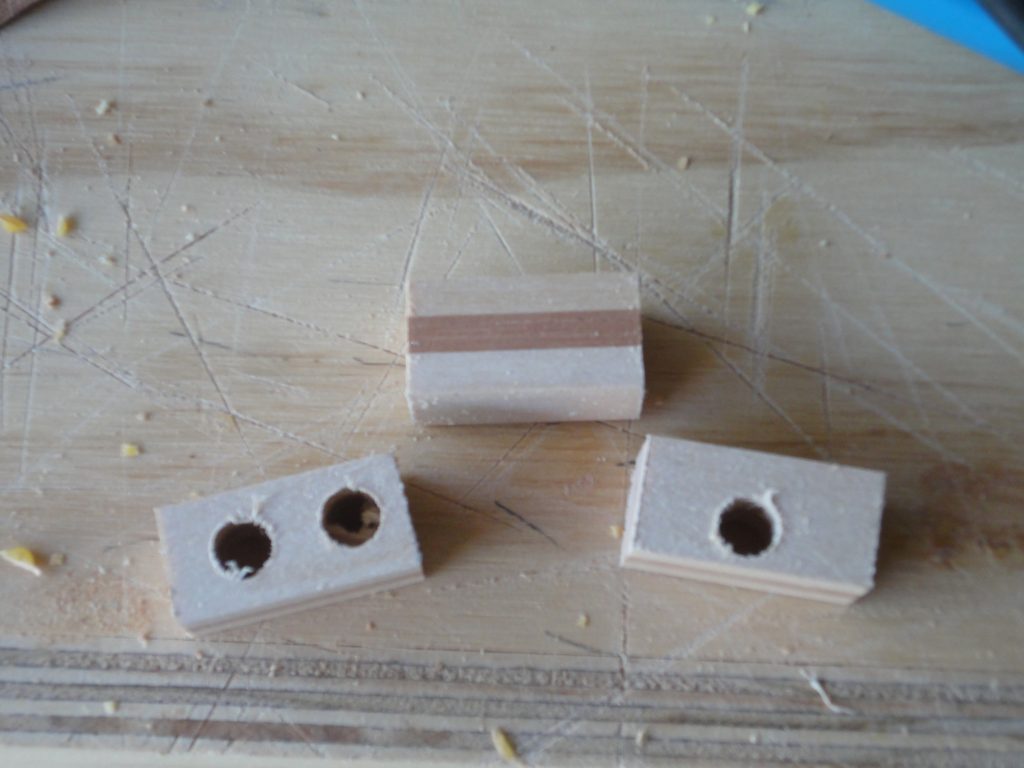
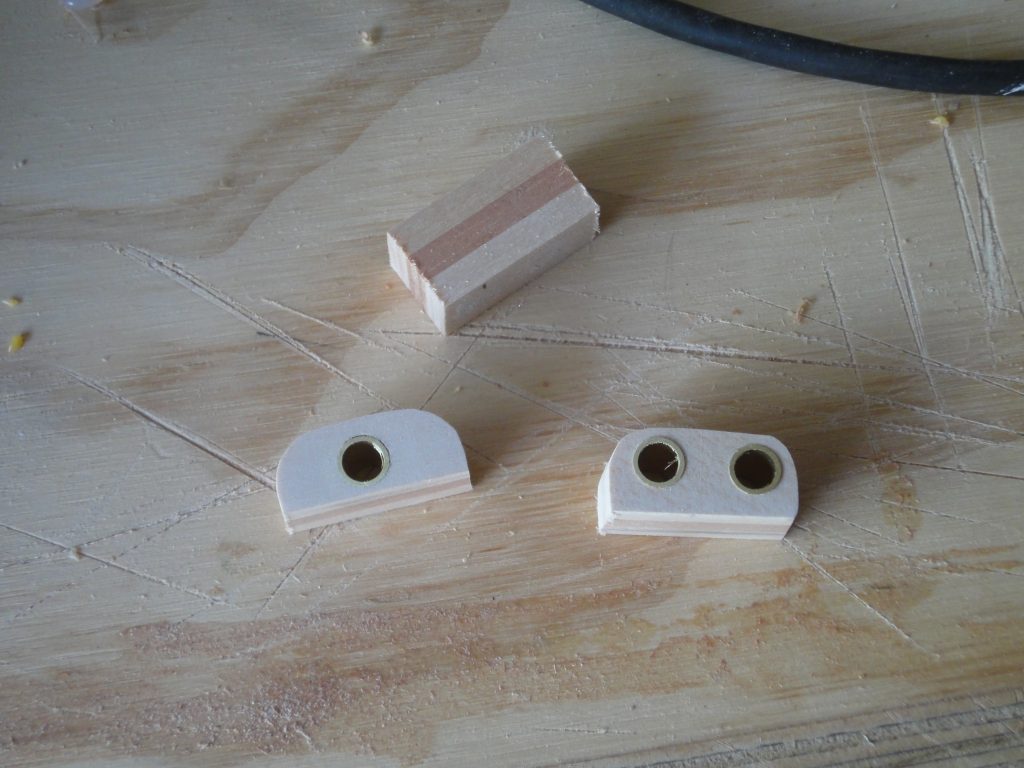
A hole was drilled in one and two holes in another one. I’ve got ideas for both kinds in different areas. The rod was cut to fit and then sanded in place to make it completely flush. Finally I went ahead and sanded two of the corners round. I’m somewhat satisfied with the results. I think a jig will need to be made for consistent hole locations and an actual outline drawn for the sanding, again for consistent shape. I’ll think on this a bit more and do some more internet image searching before making a final decision on these.