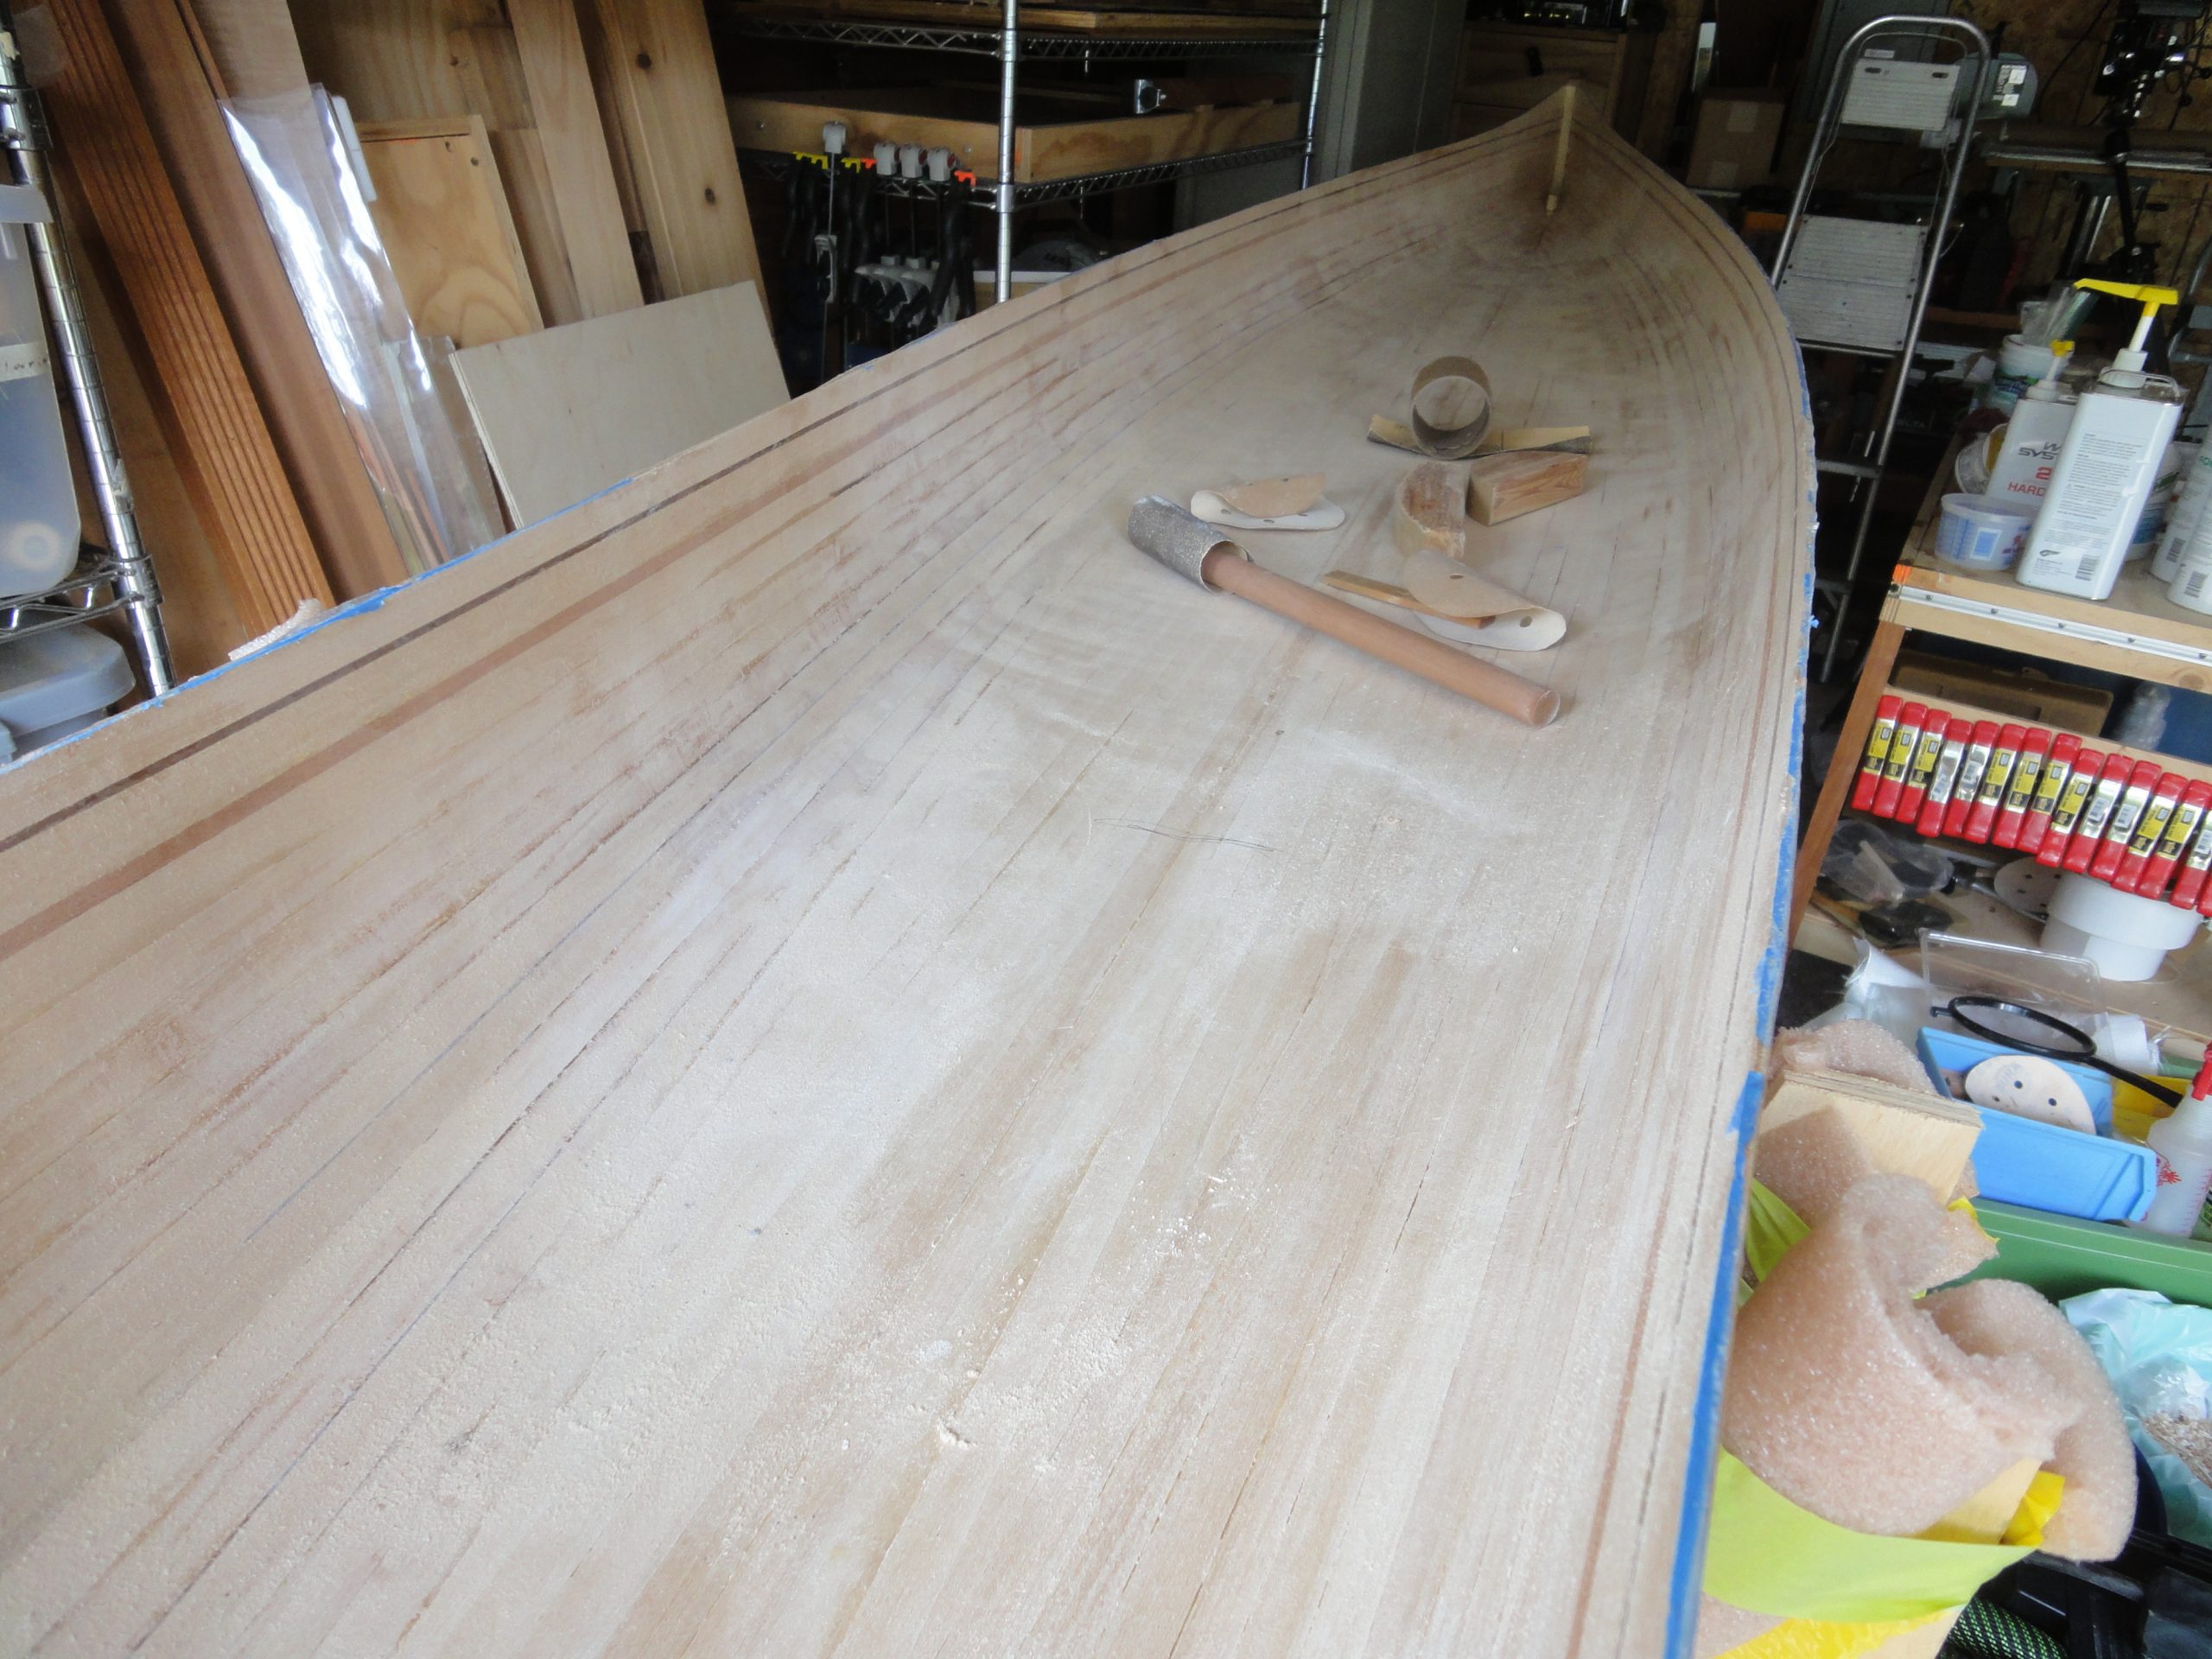
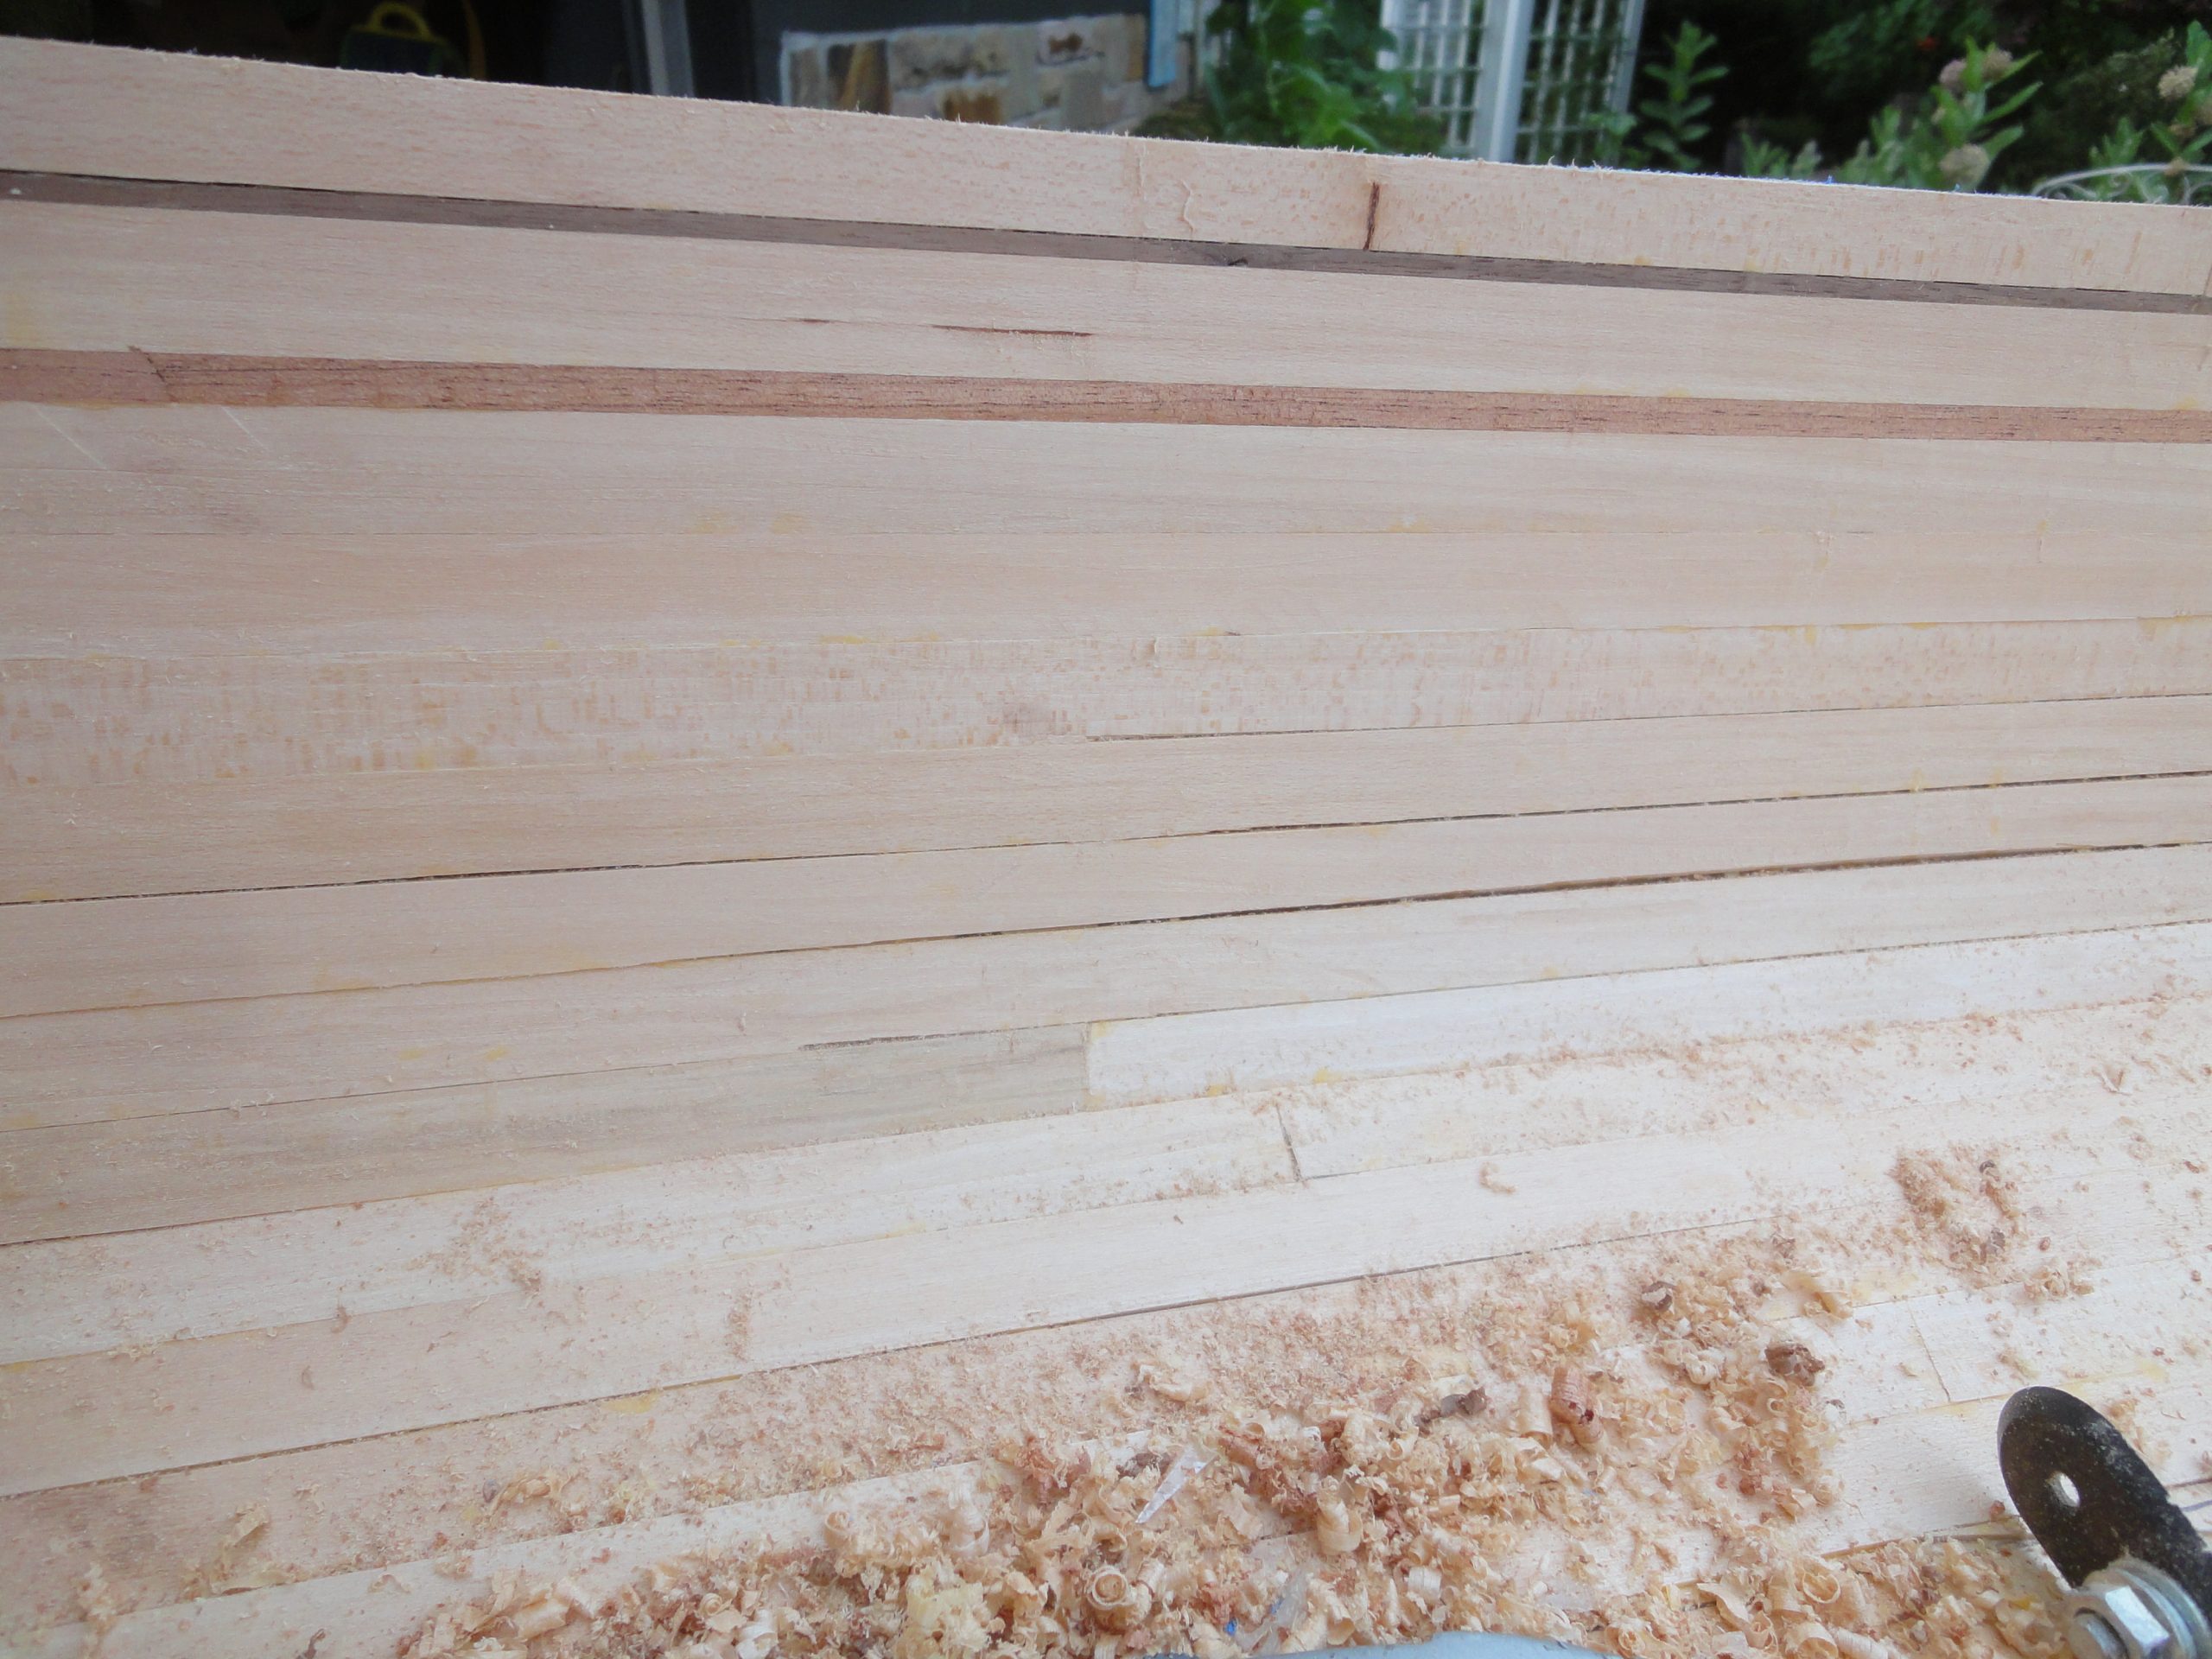
Three different work sessions, somewhere around eight hours in total for a guess to scrape, power sand and hand sand the interior of the hull. I finally have it in pretty good shape and think I’m at the point I can switch out of the coarse grits (40 & 60) and start moving to the finer grits (80 & 120) to further smooth and refine the interior. No new processes or techniques, just more of what was done on the outside. The inside curves do make this more difficult and the ends have to be done by hand as you can’t get a random orbit sander in there.
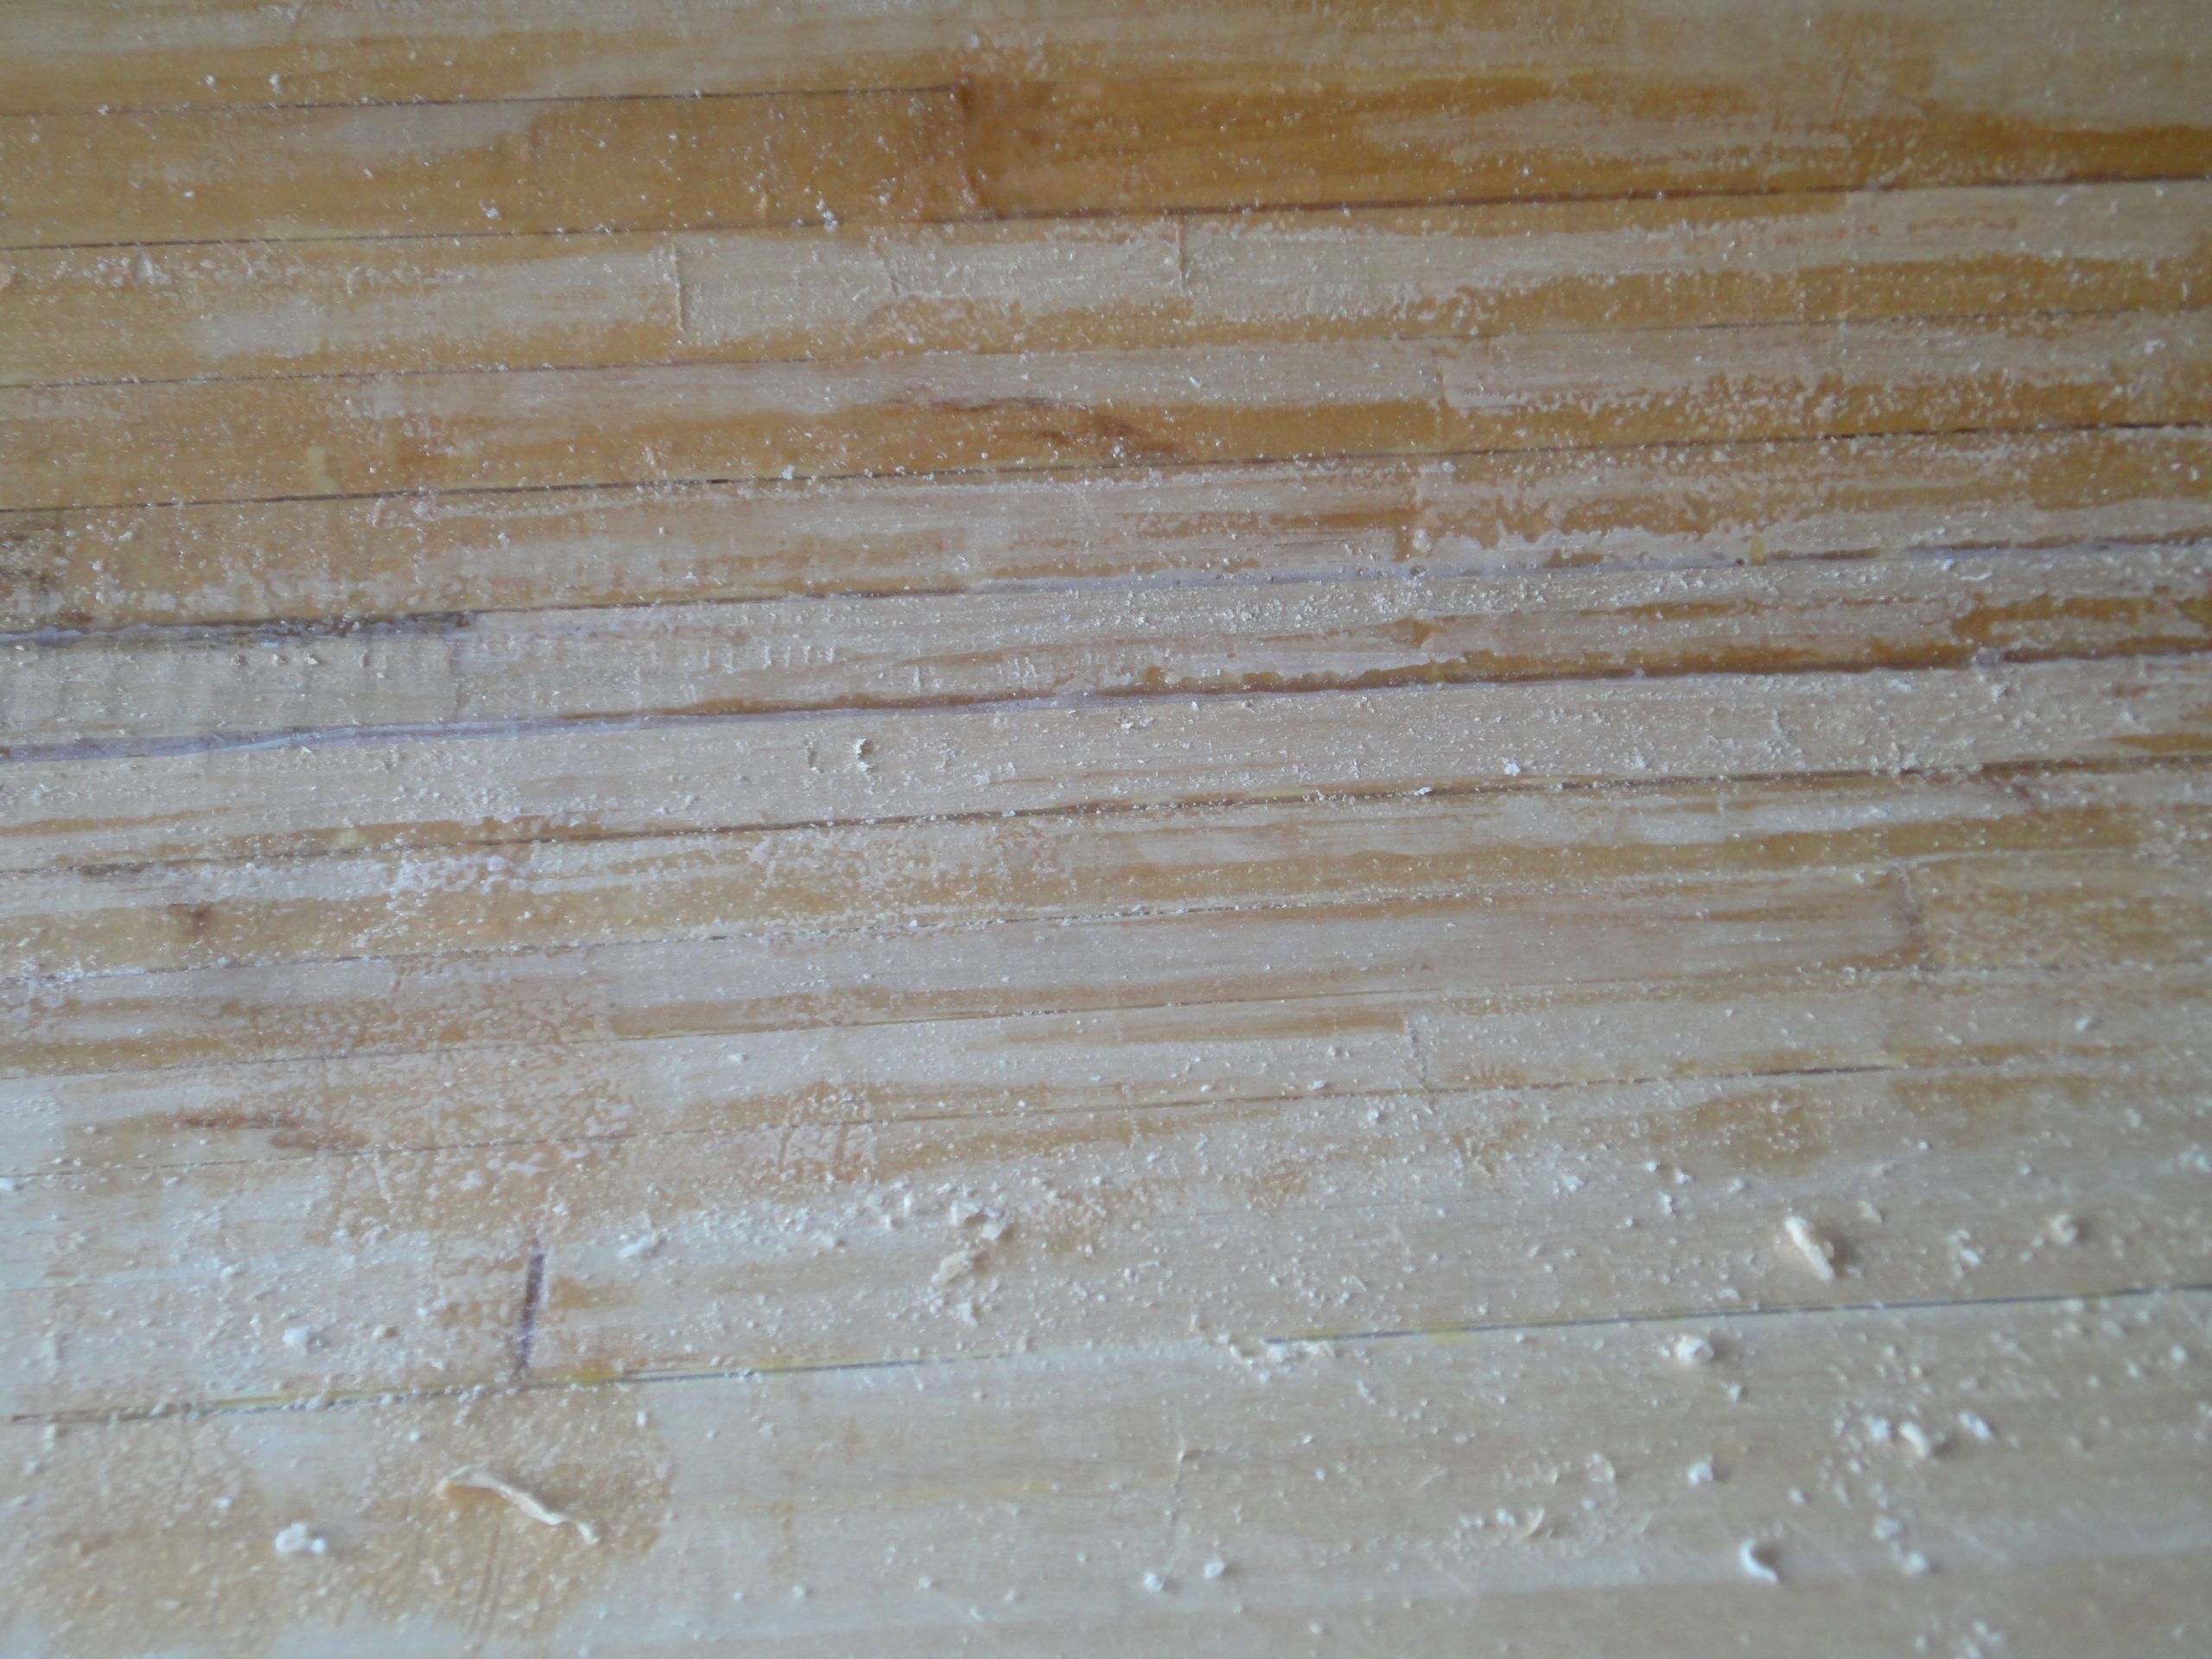
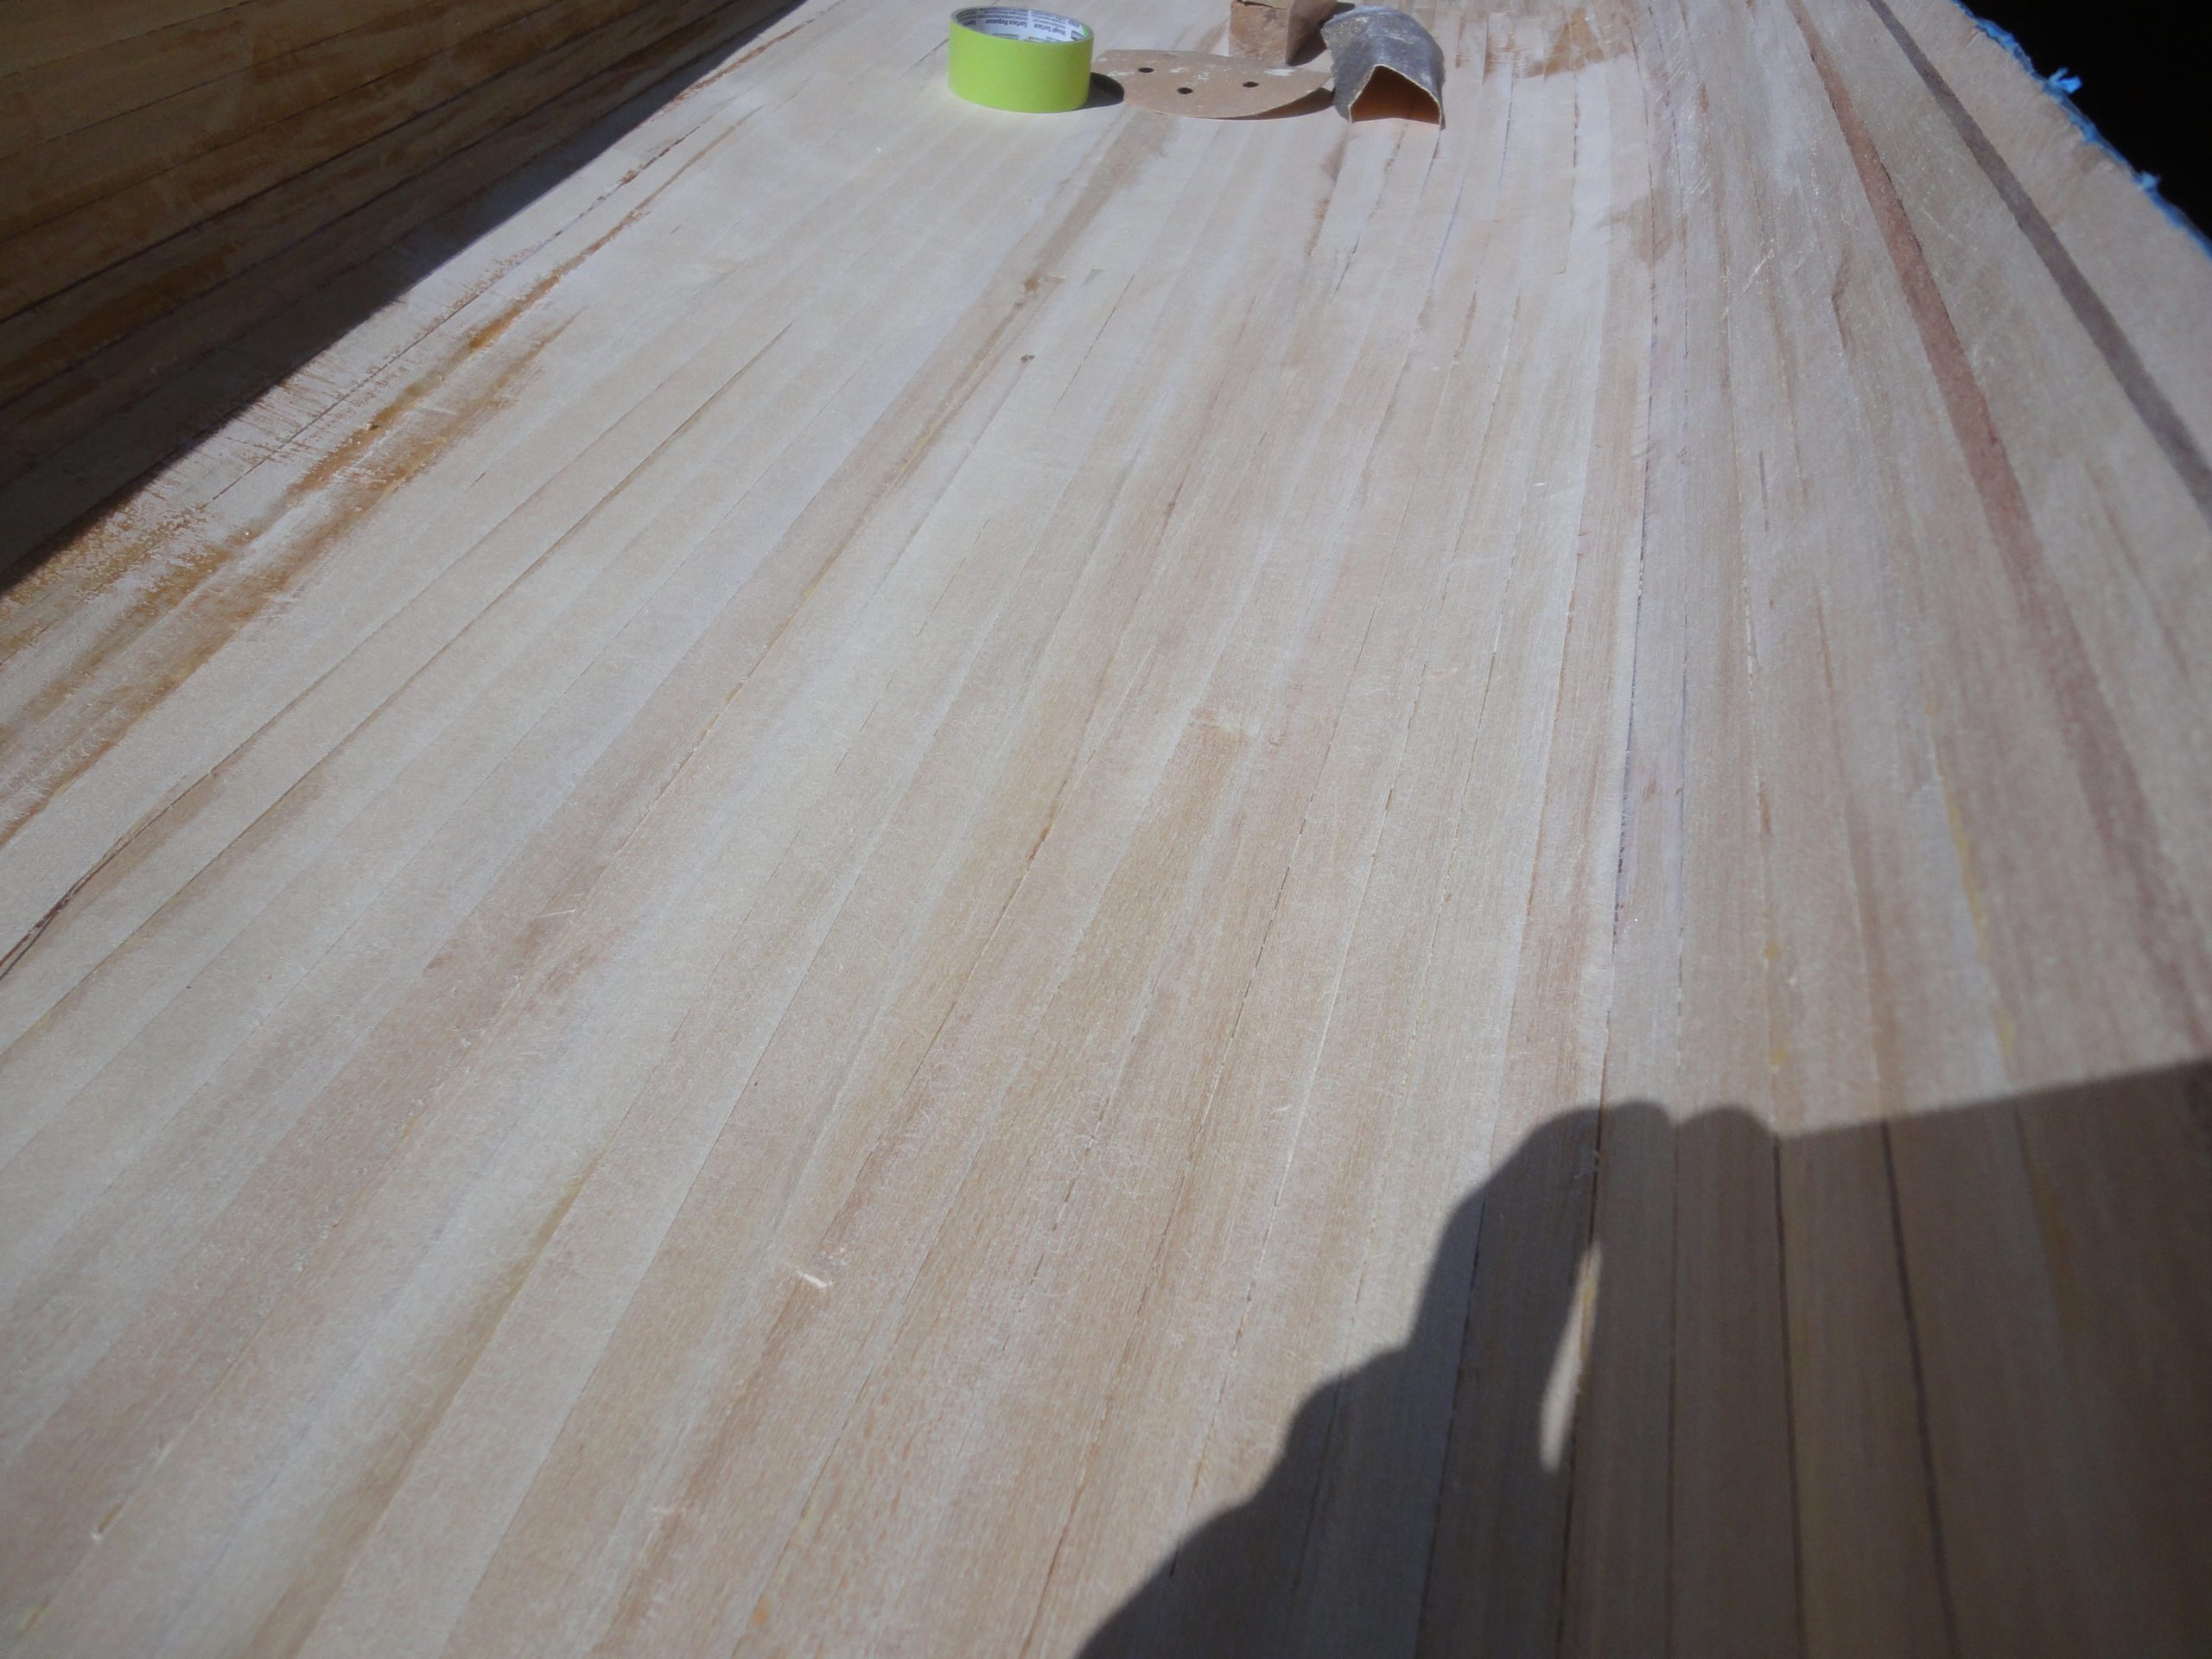
In the above images you can see the progression from rough to fairly well blended with a reasonably smooth surface. In order to sand it adequately I was wrapping sand paper around pretty much any shape I could find to fit the various profiles, including just using my fingers.
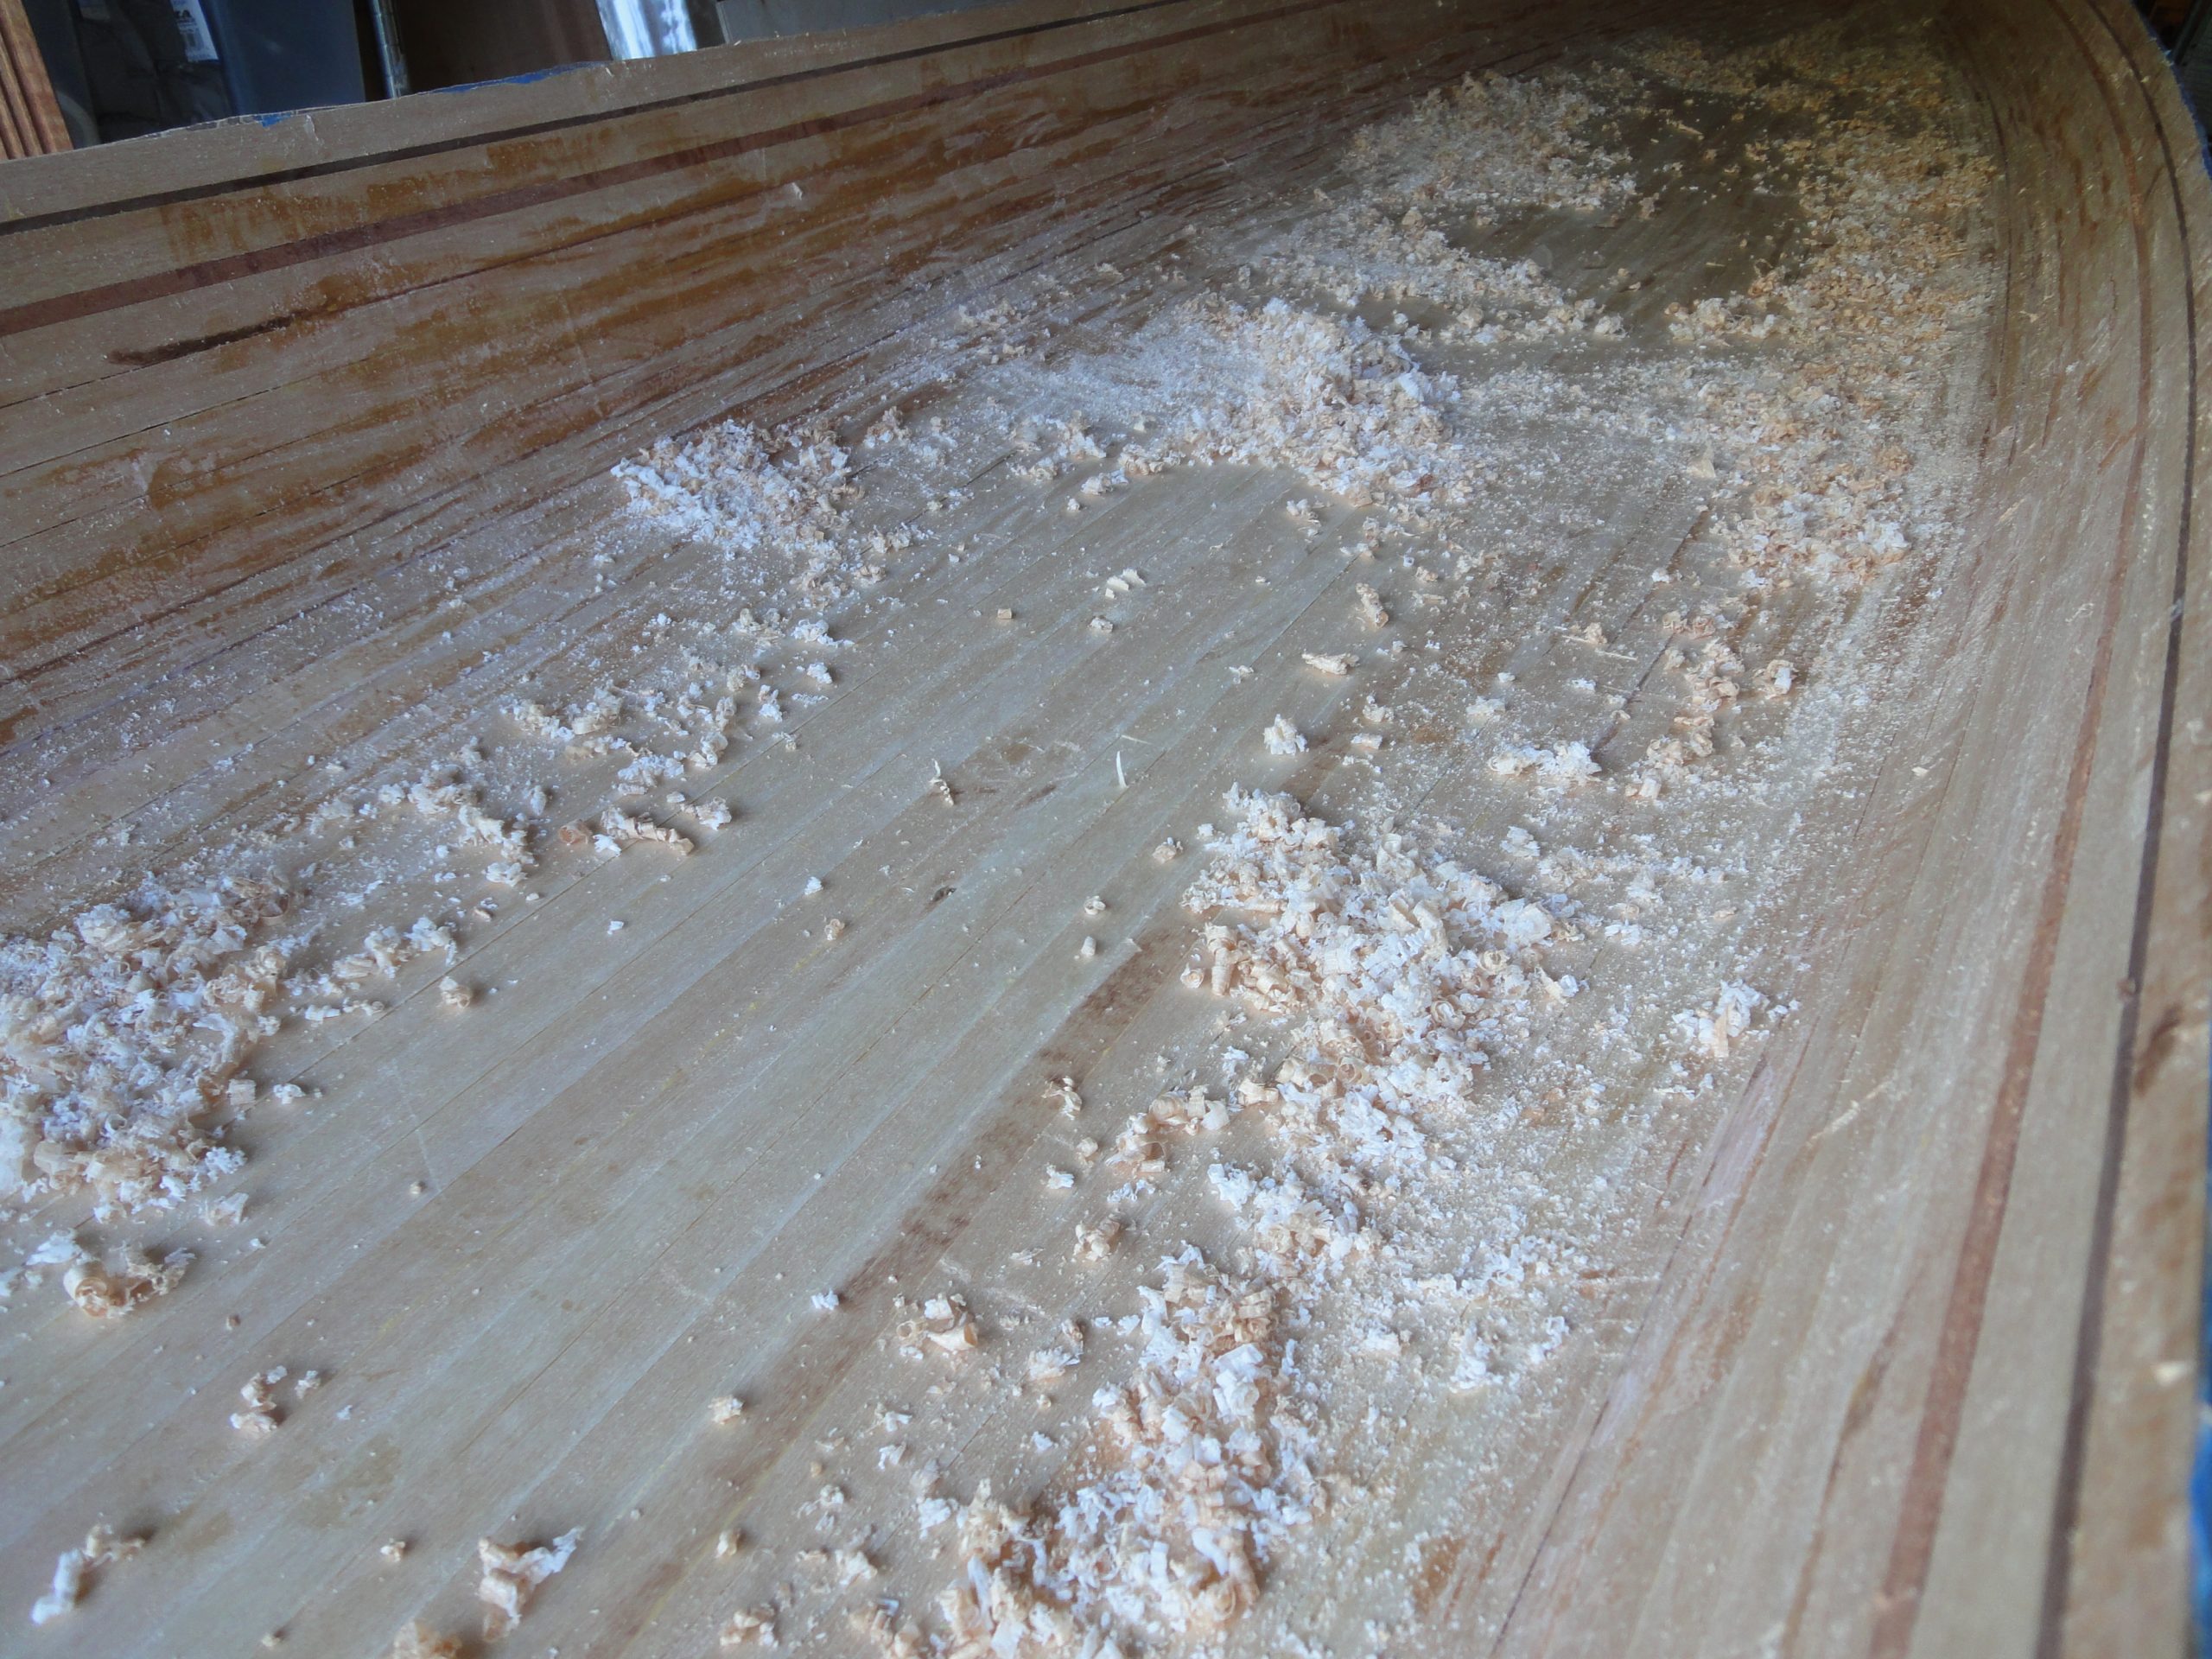
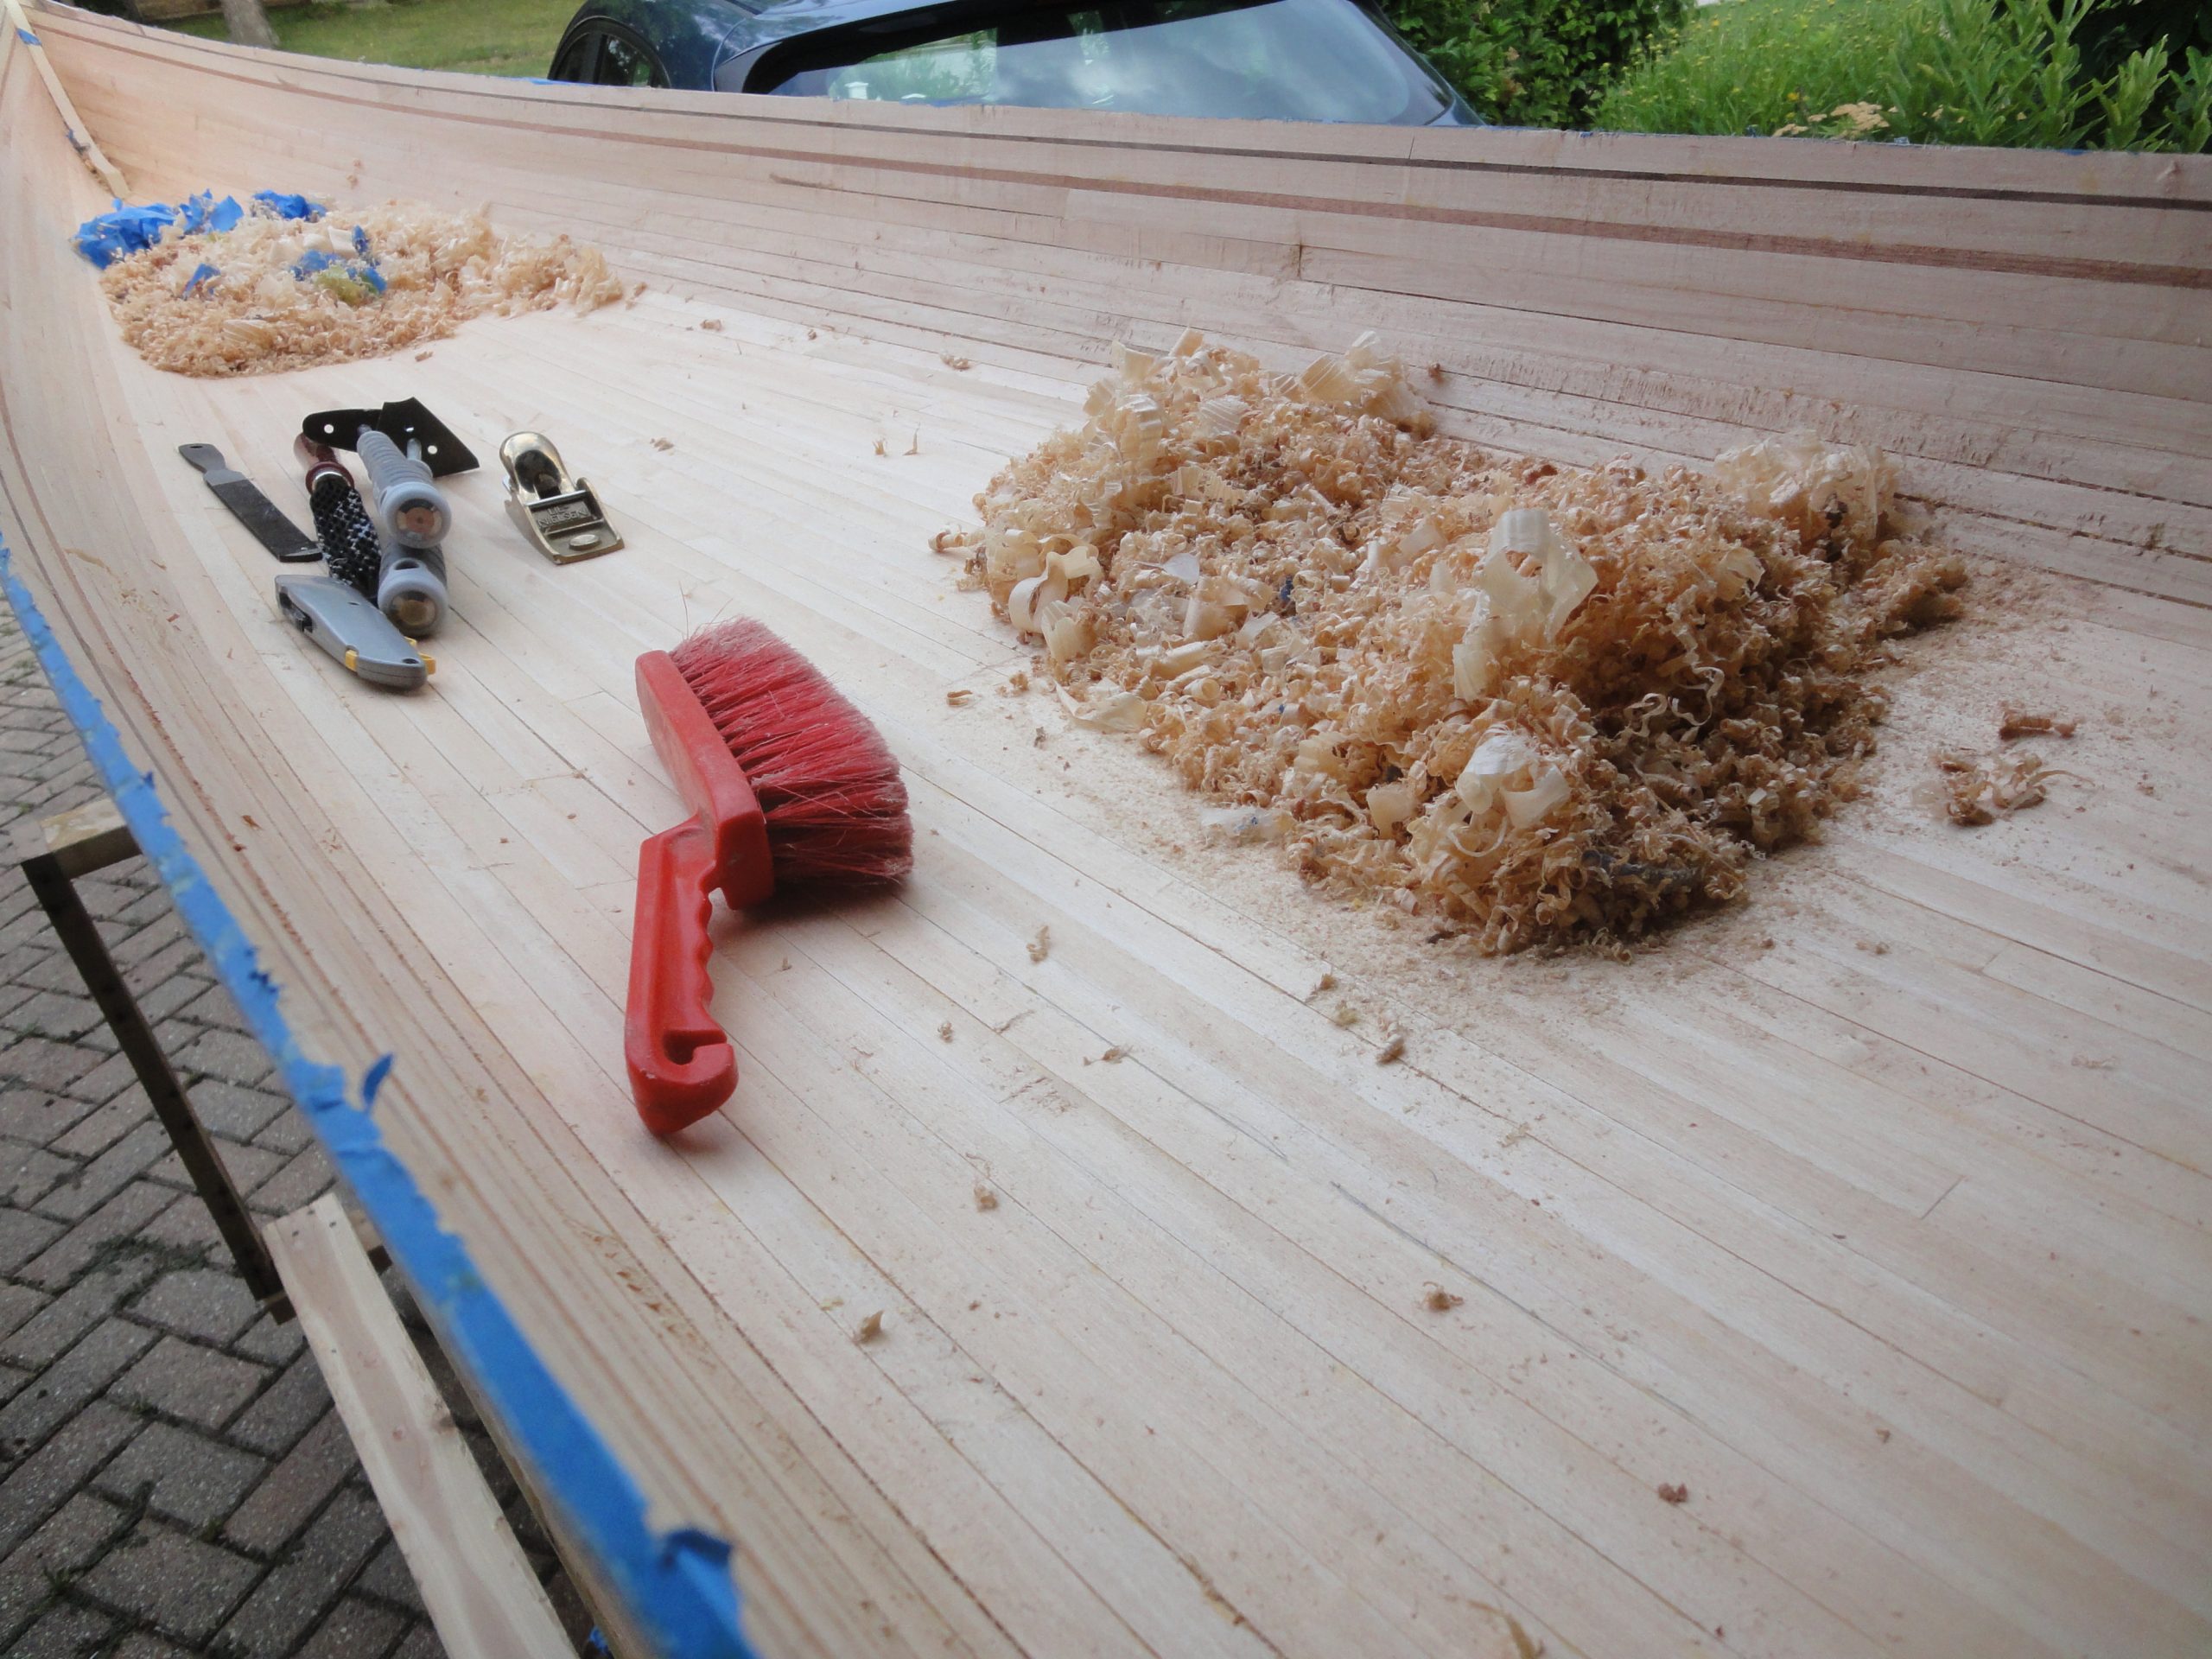
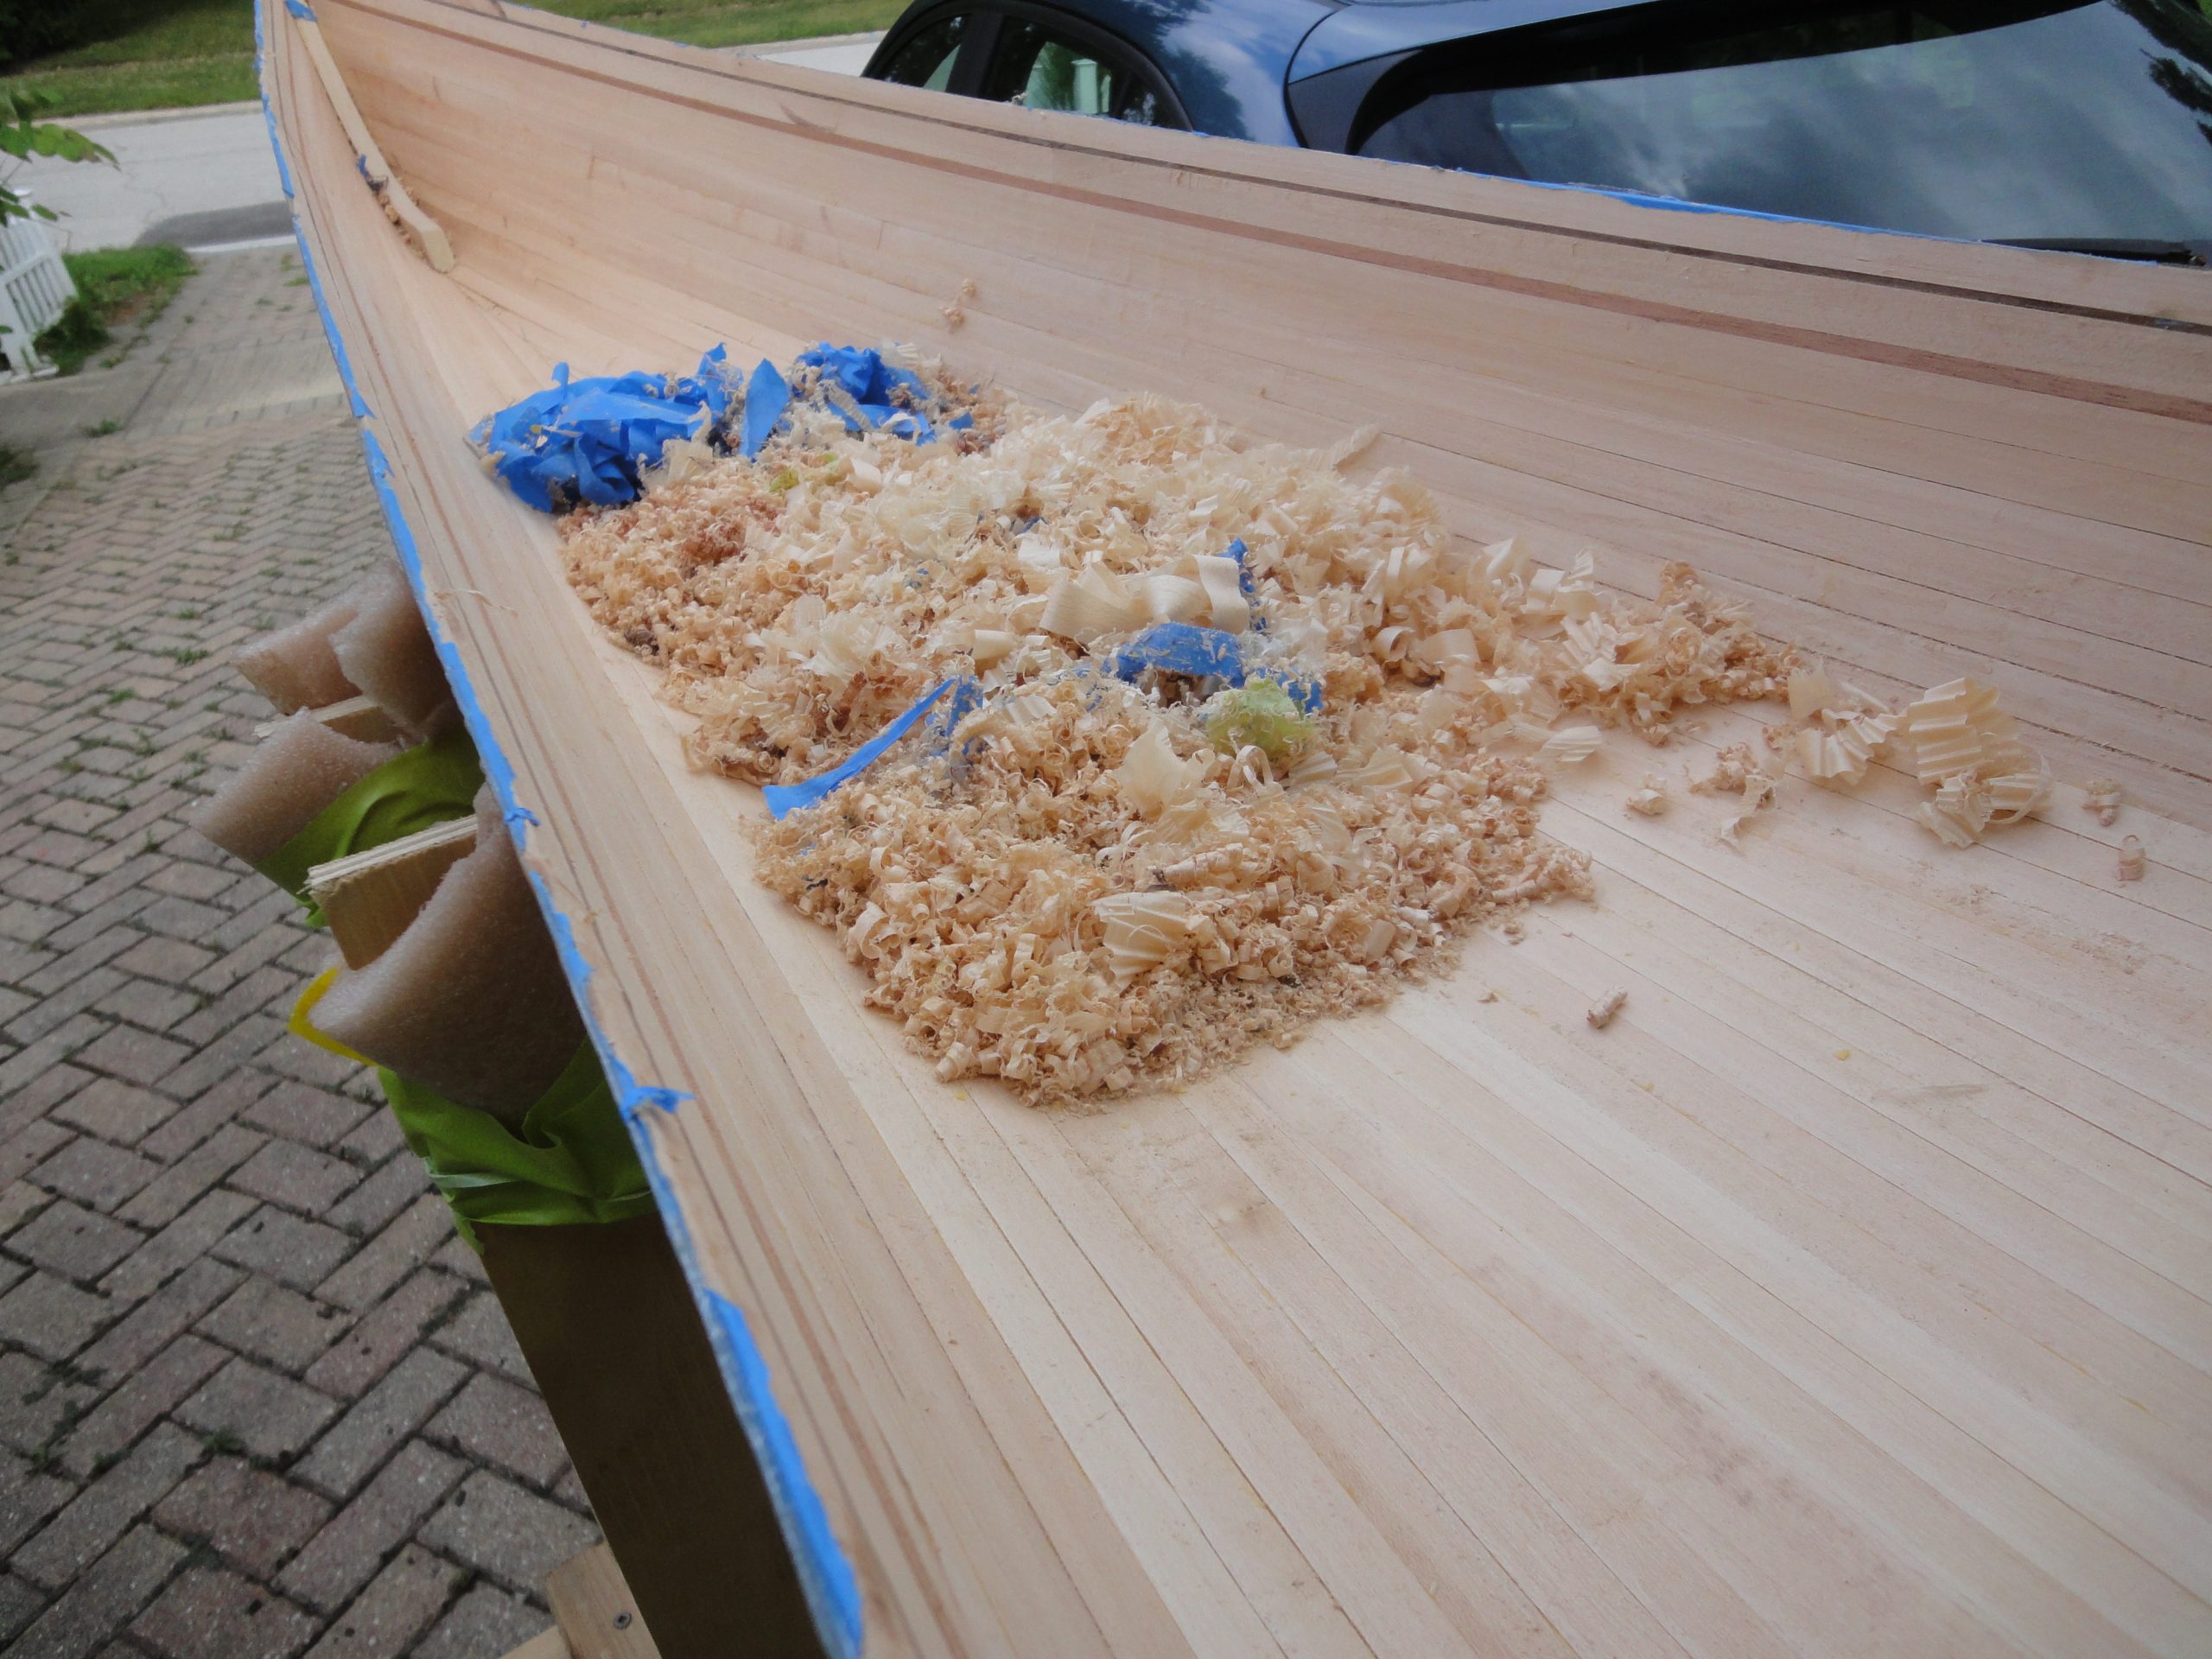
More scraping. And scraping. And scraping. A handful of evenings and weekend time and I finally scraped the entire entire interior from one end to the other. Definitely more difficult on the concave surface. I’d rate this as the most difficult part of the process so far. At the end the result looked passable for now. I need to fill the cracks and then give it one more scraping before moving on to sanding. The piles from the first round were pretty sizable.
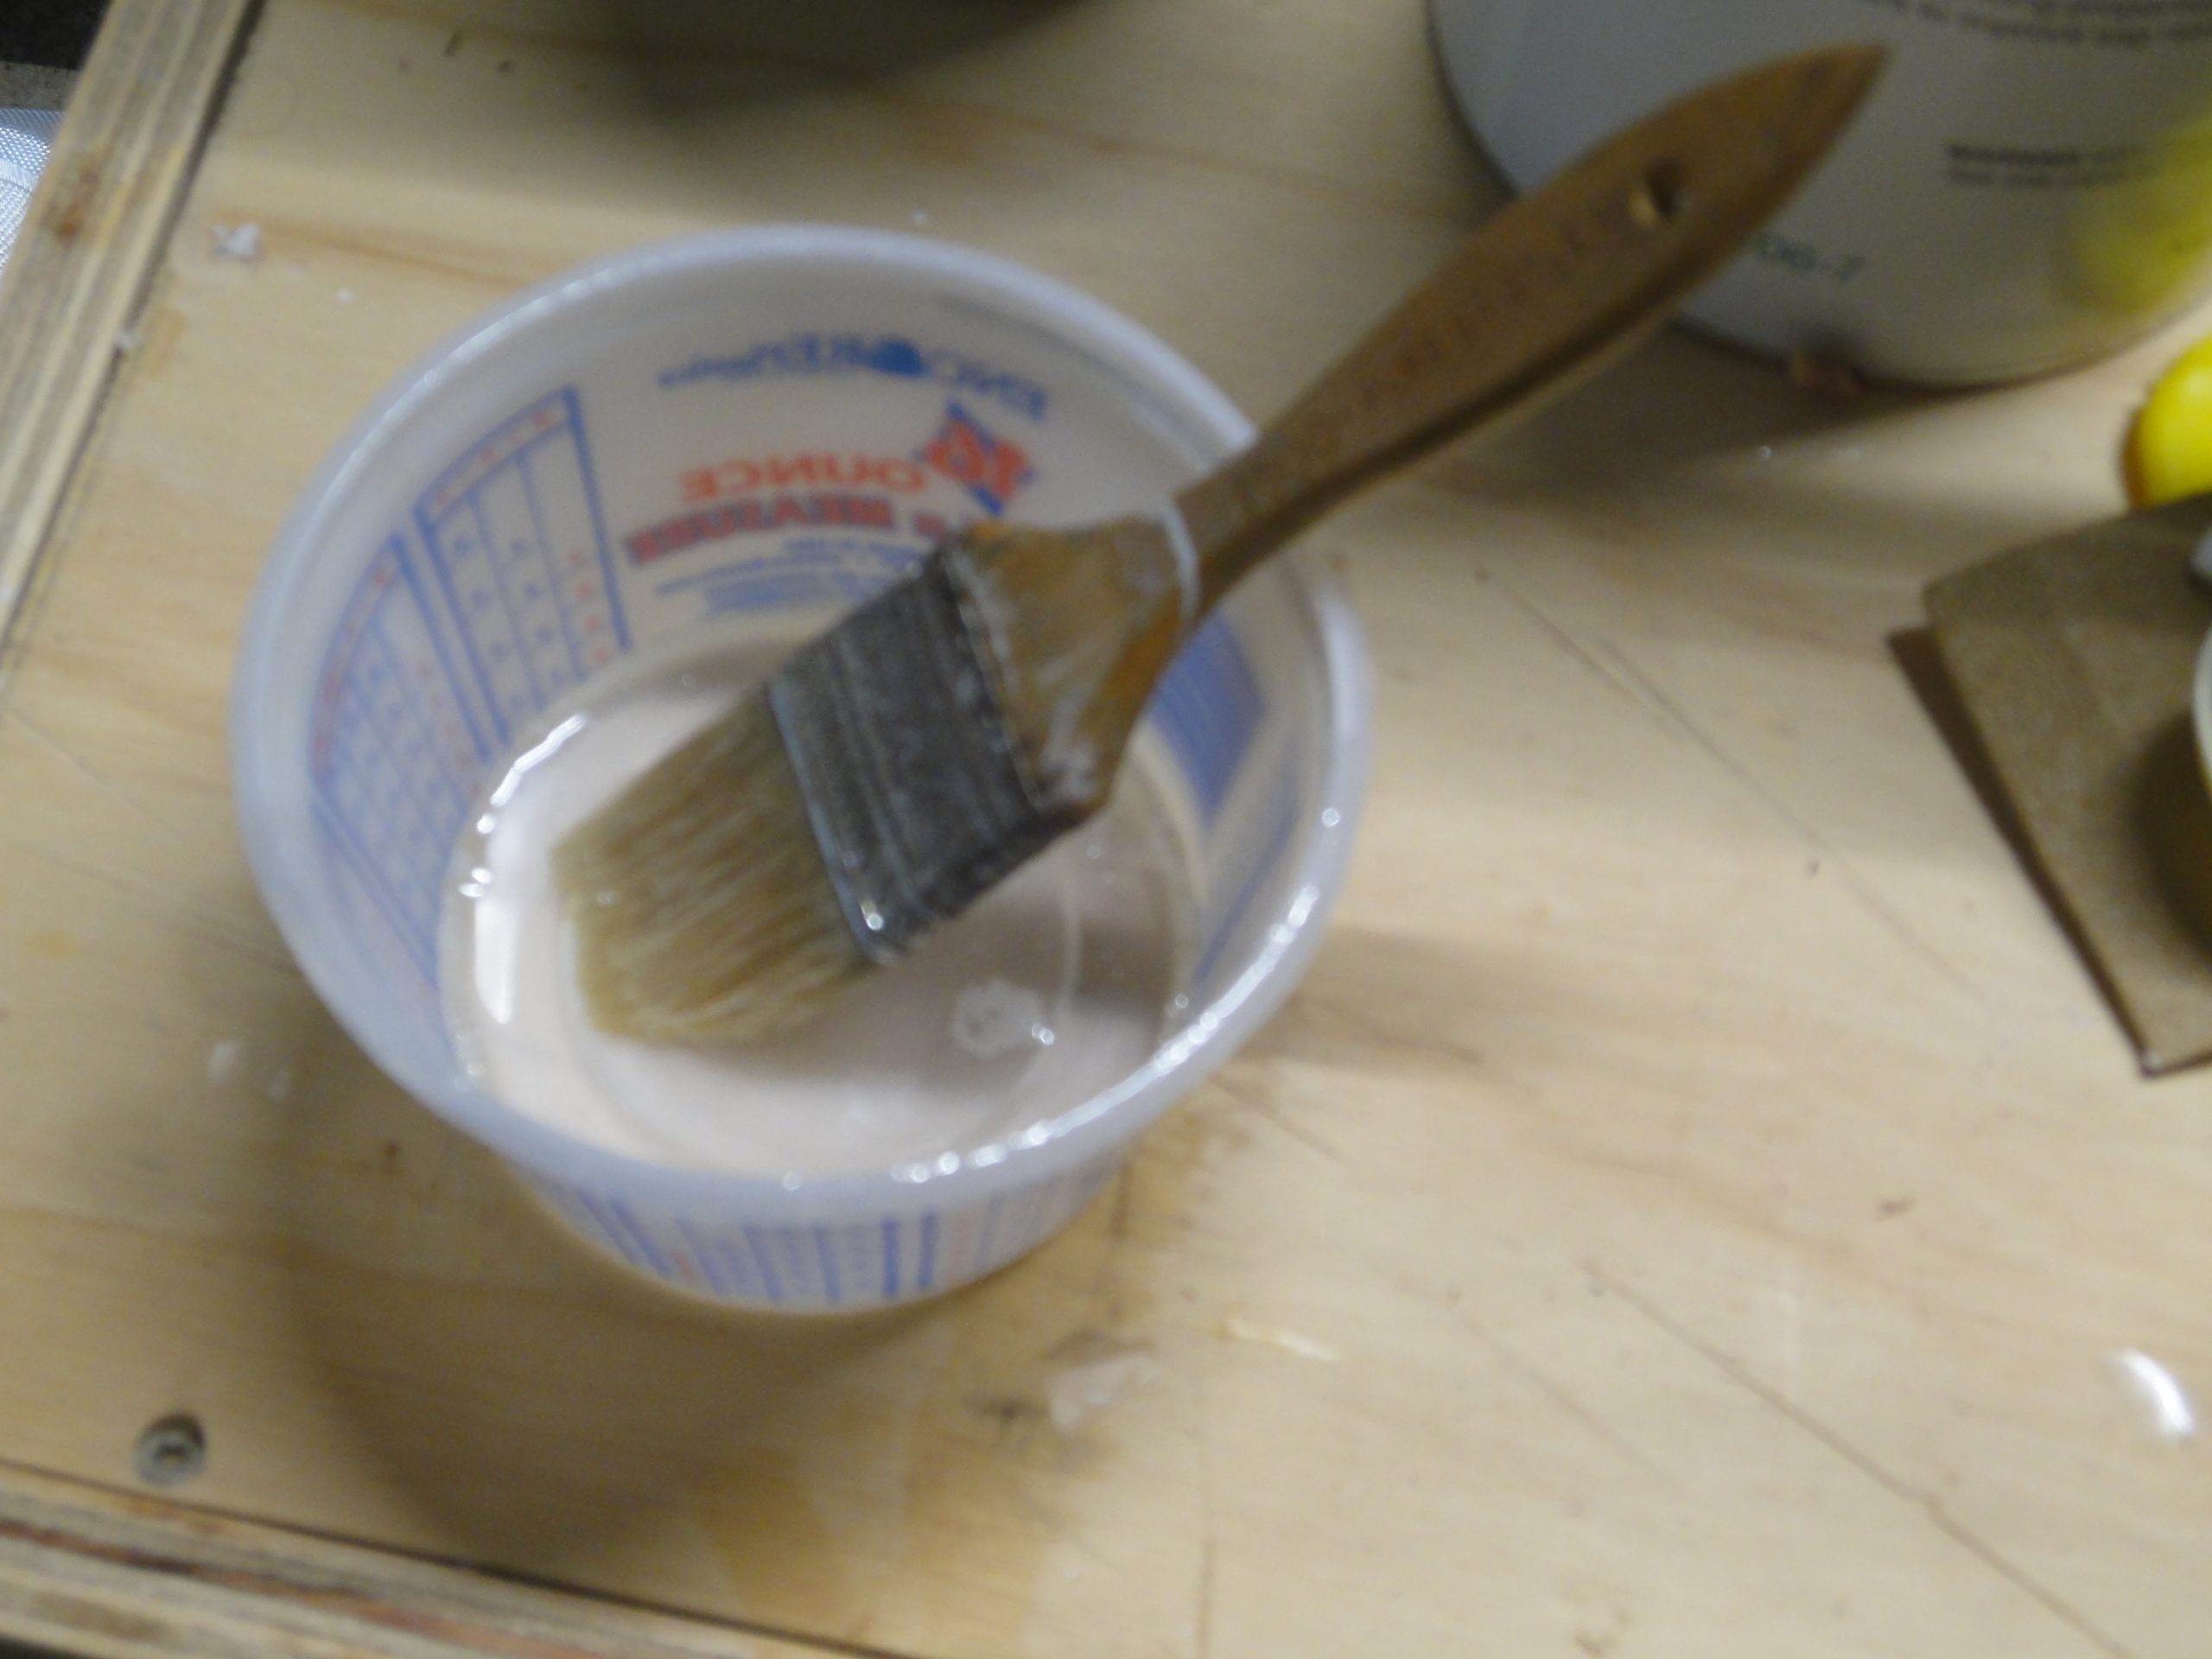
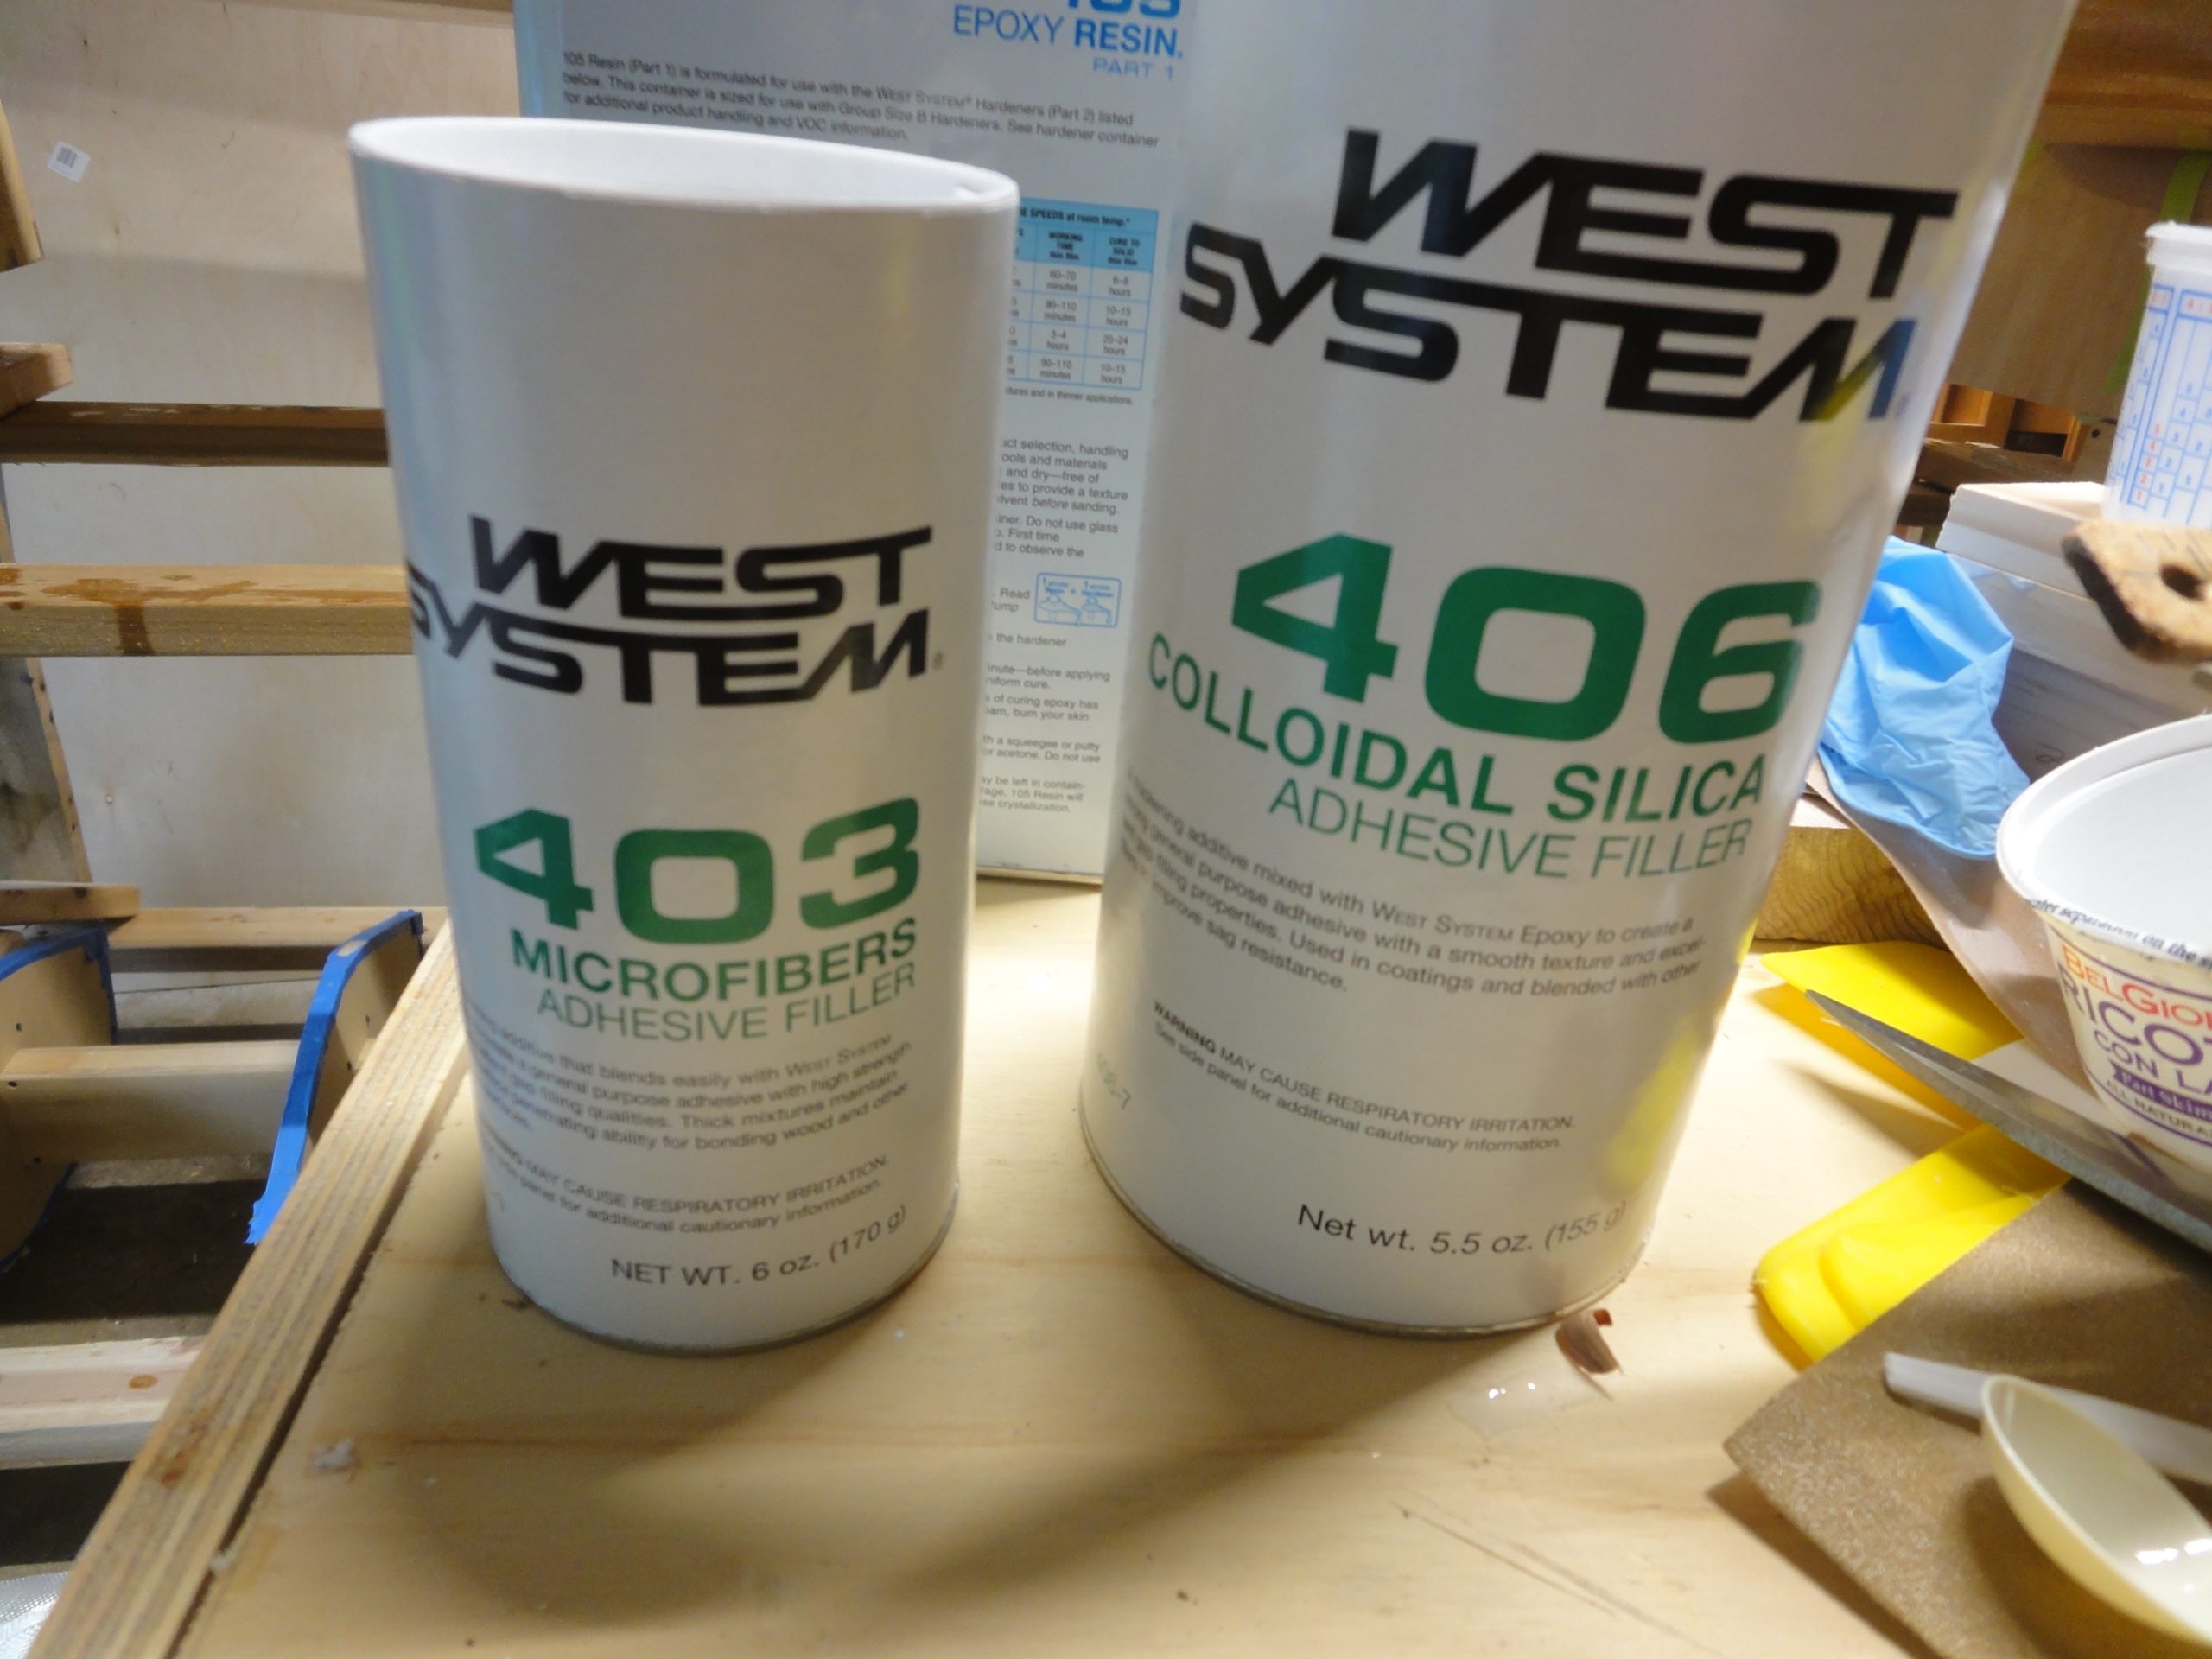
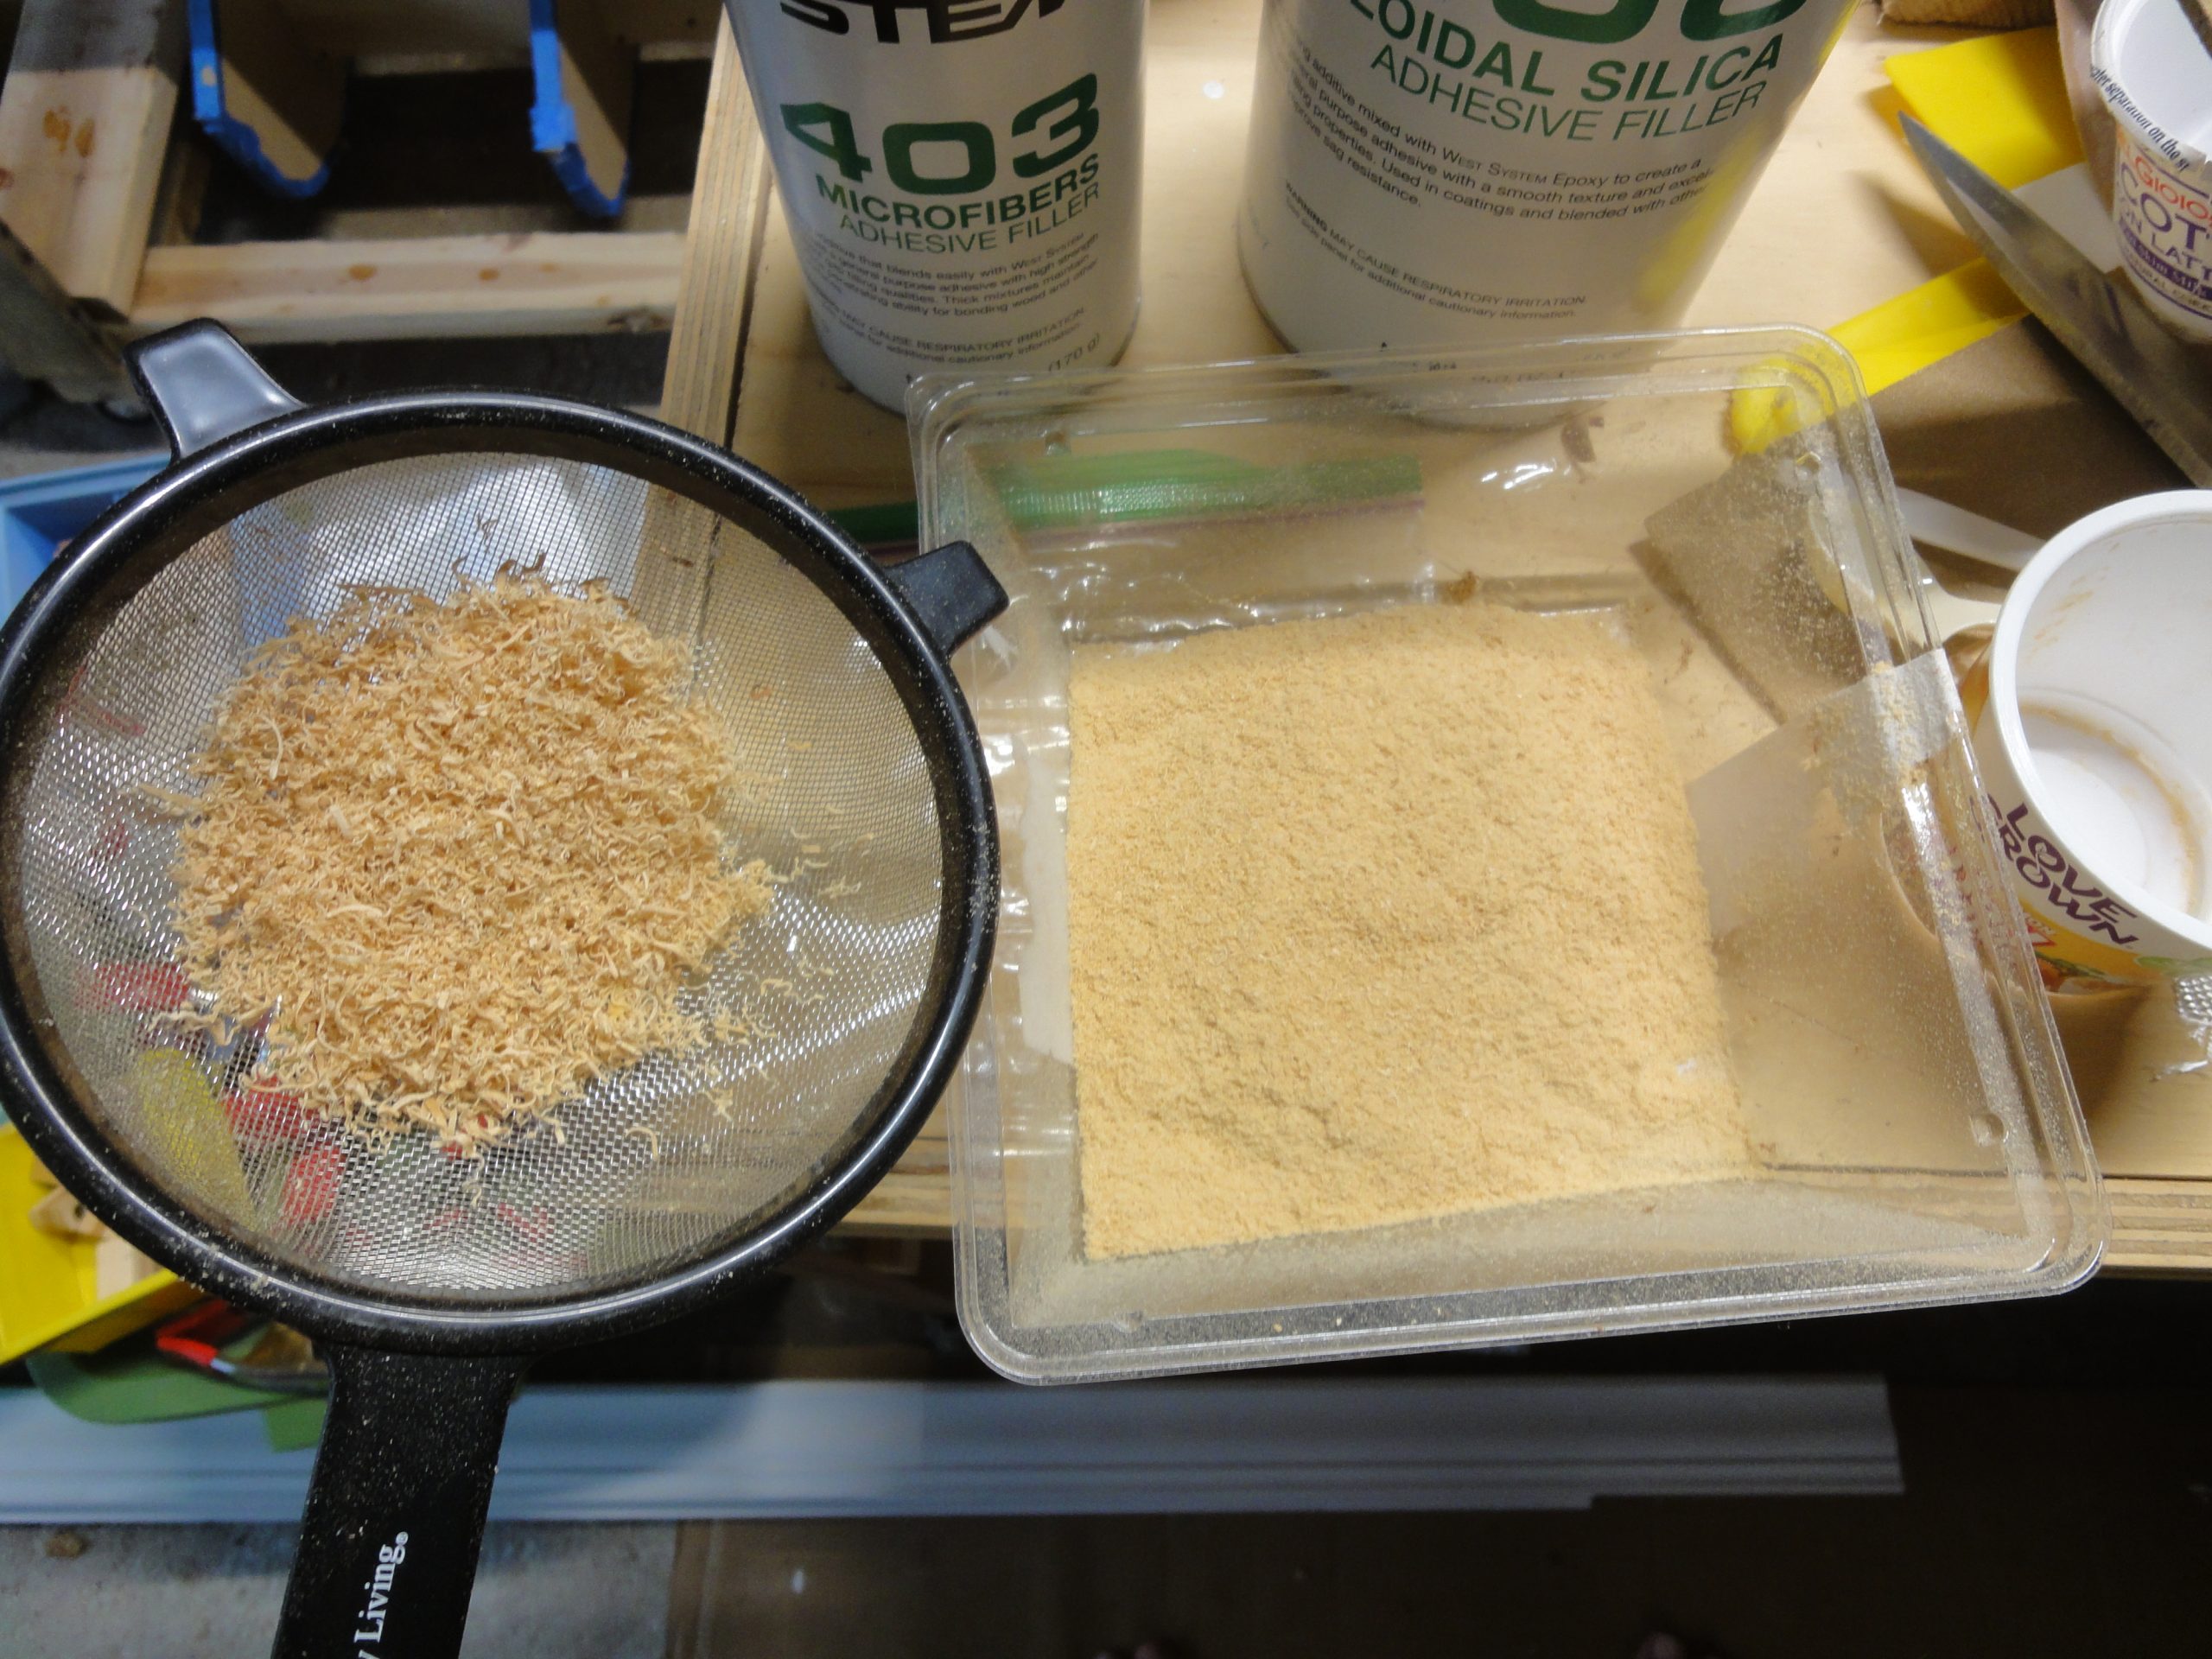
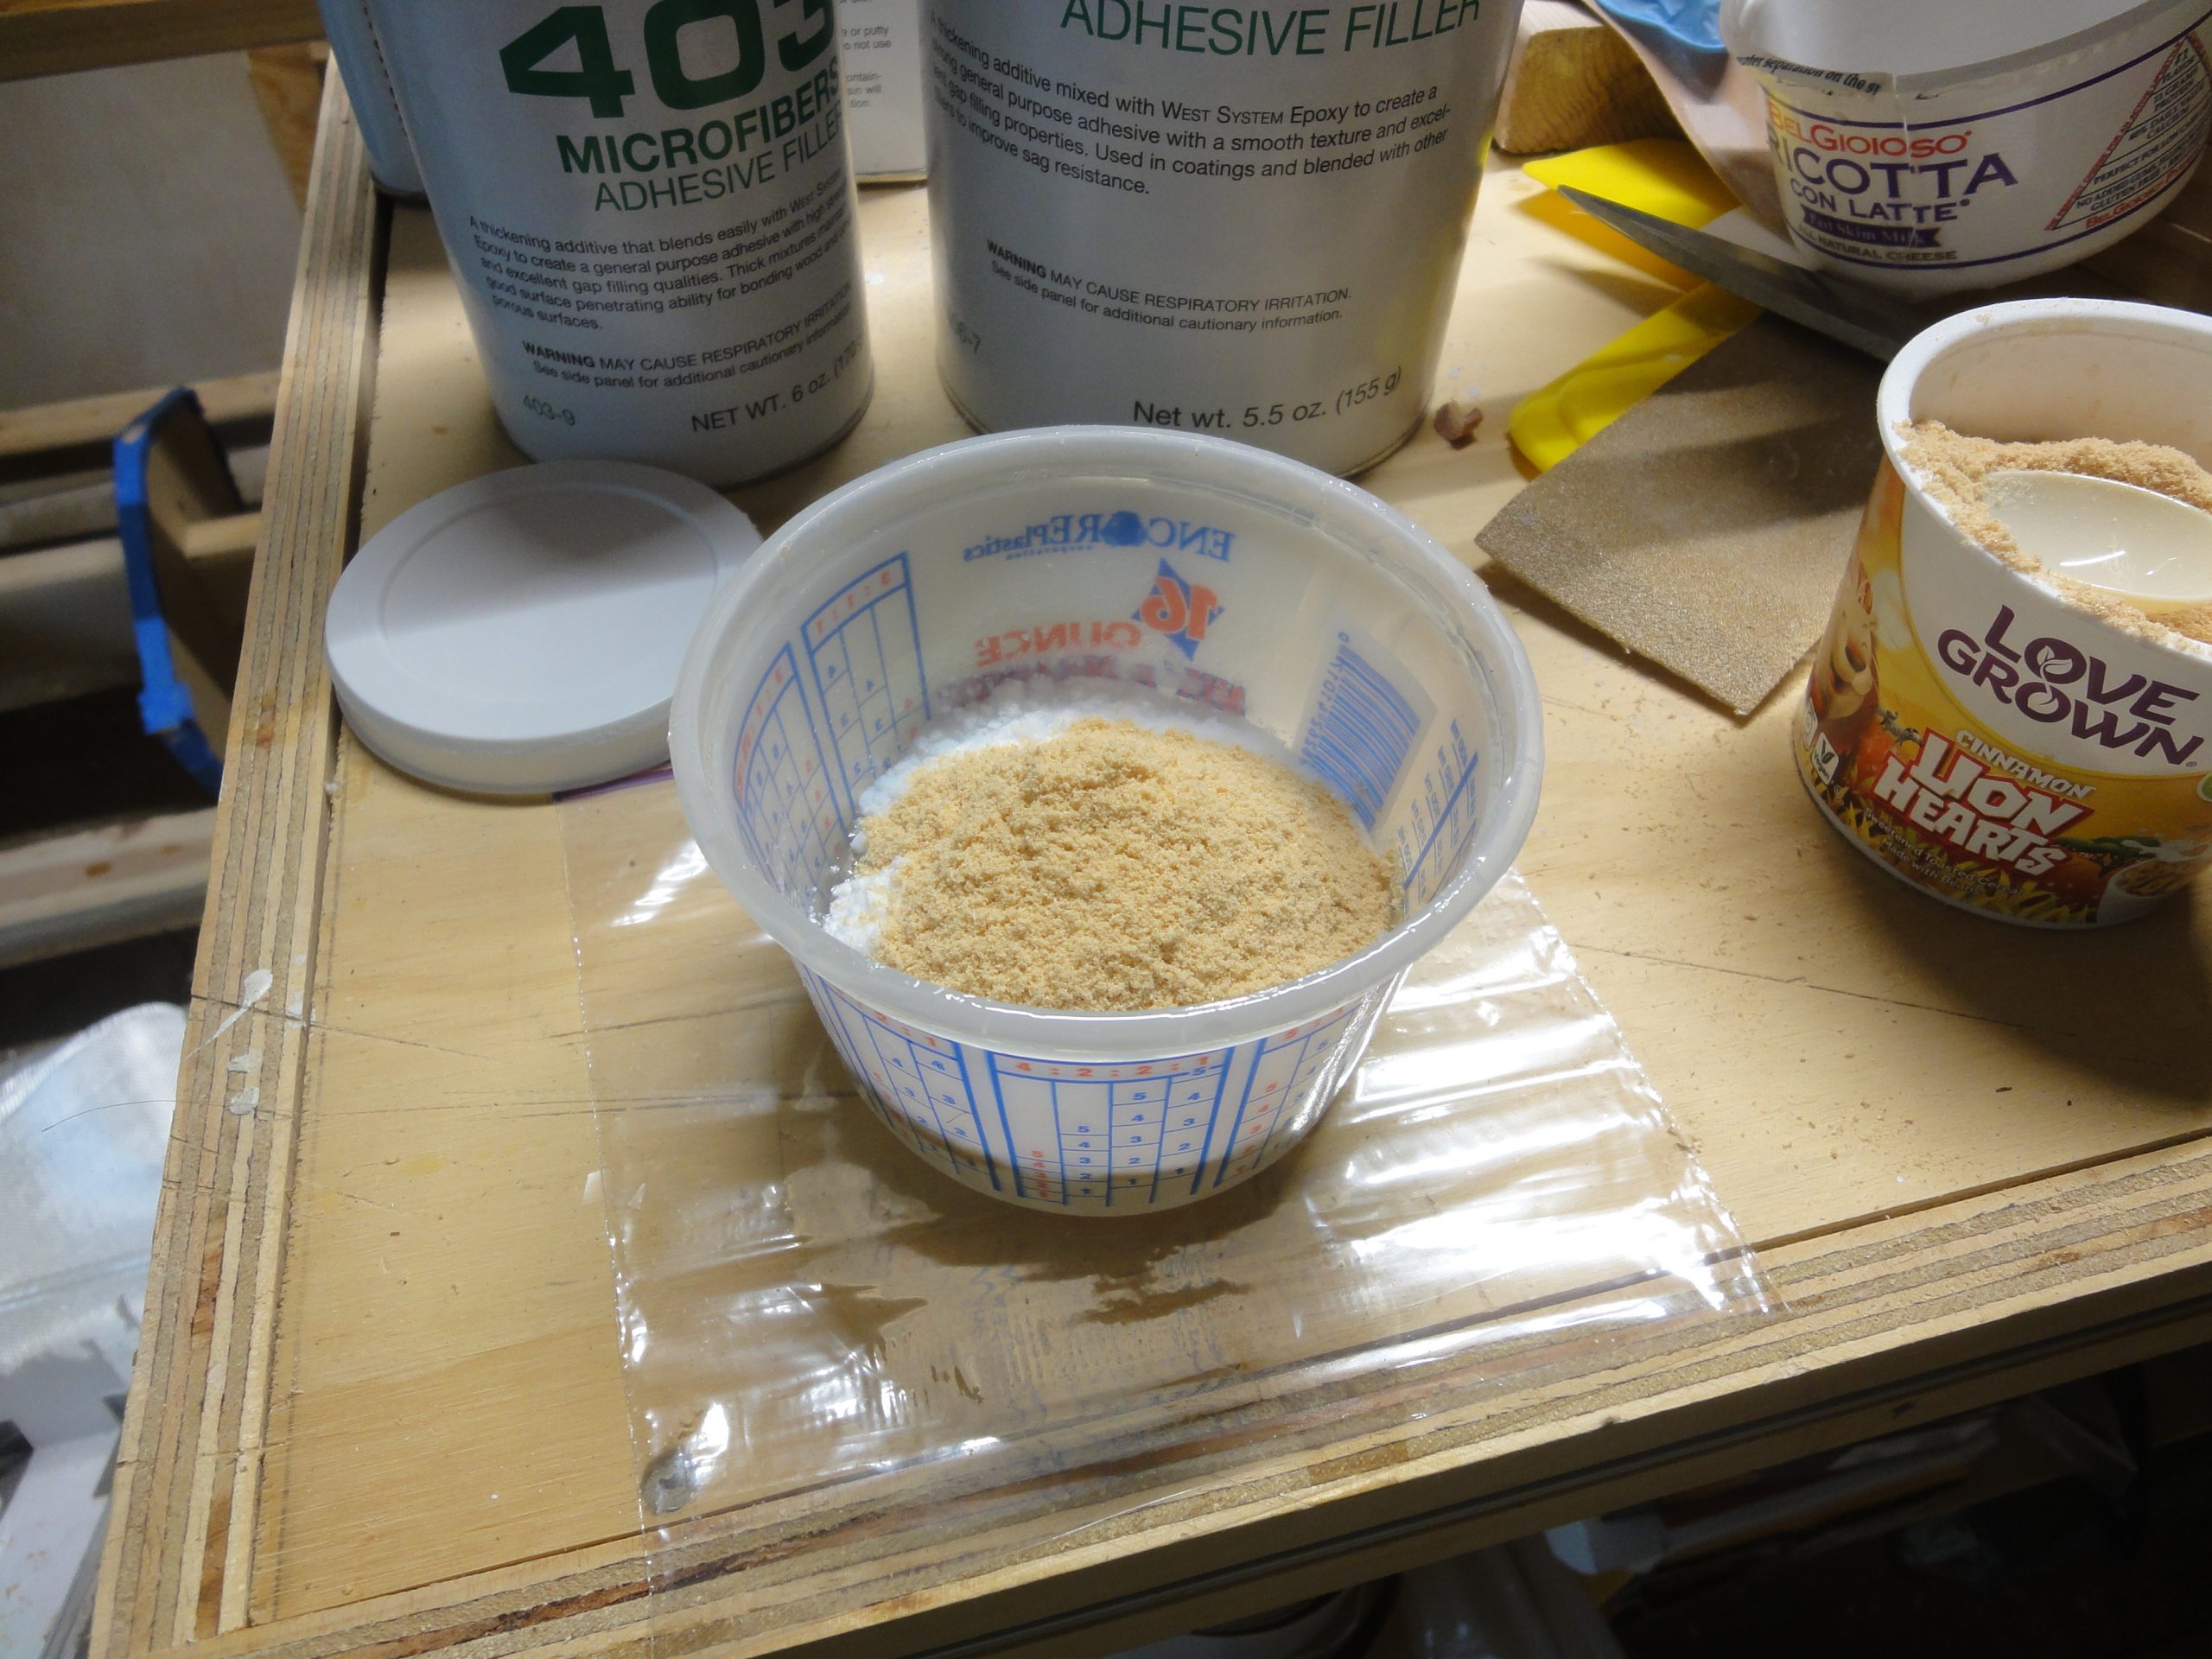
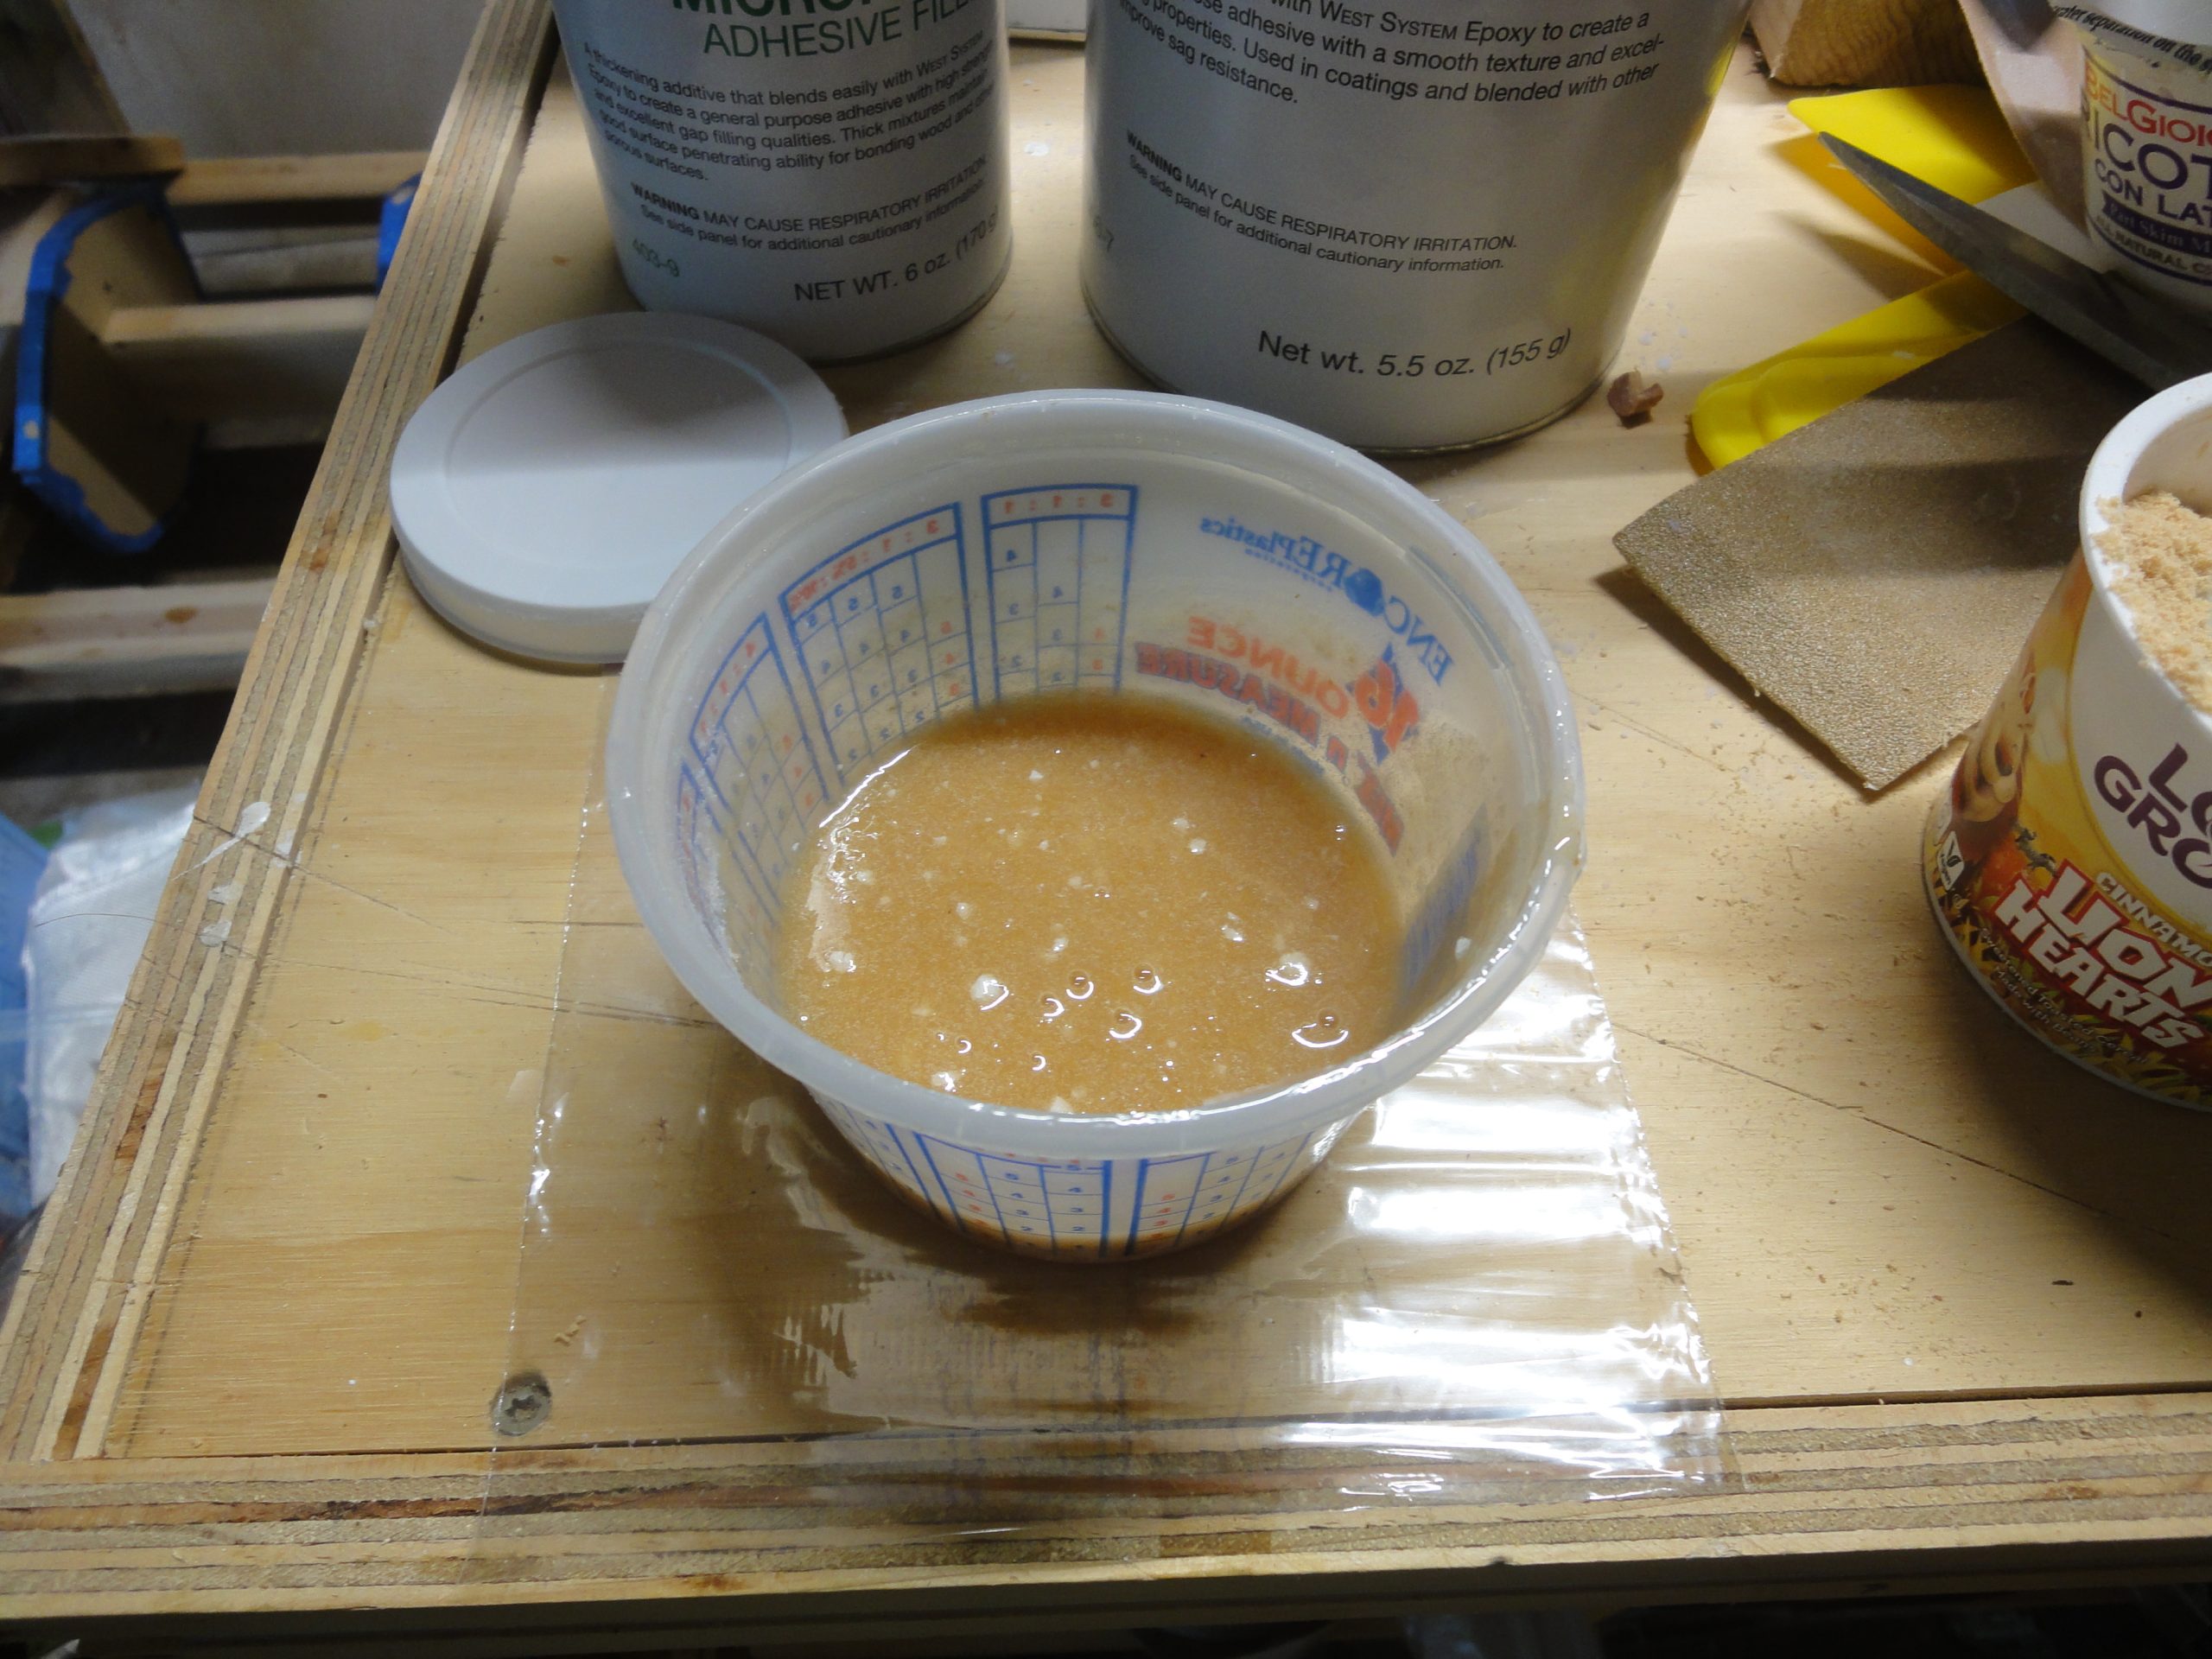
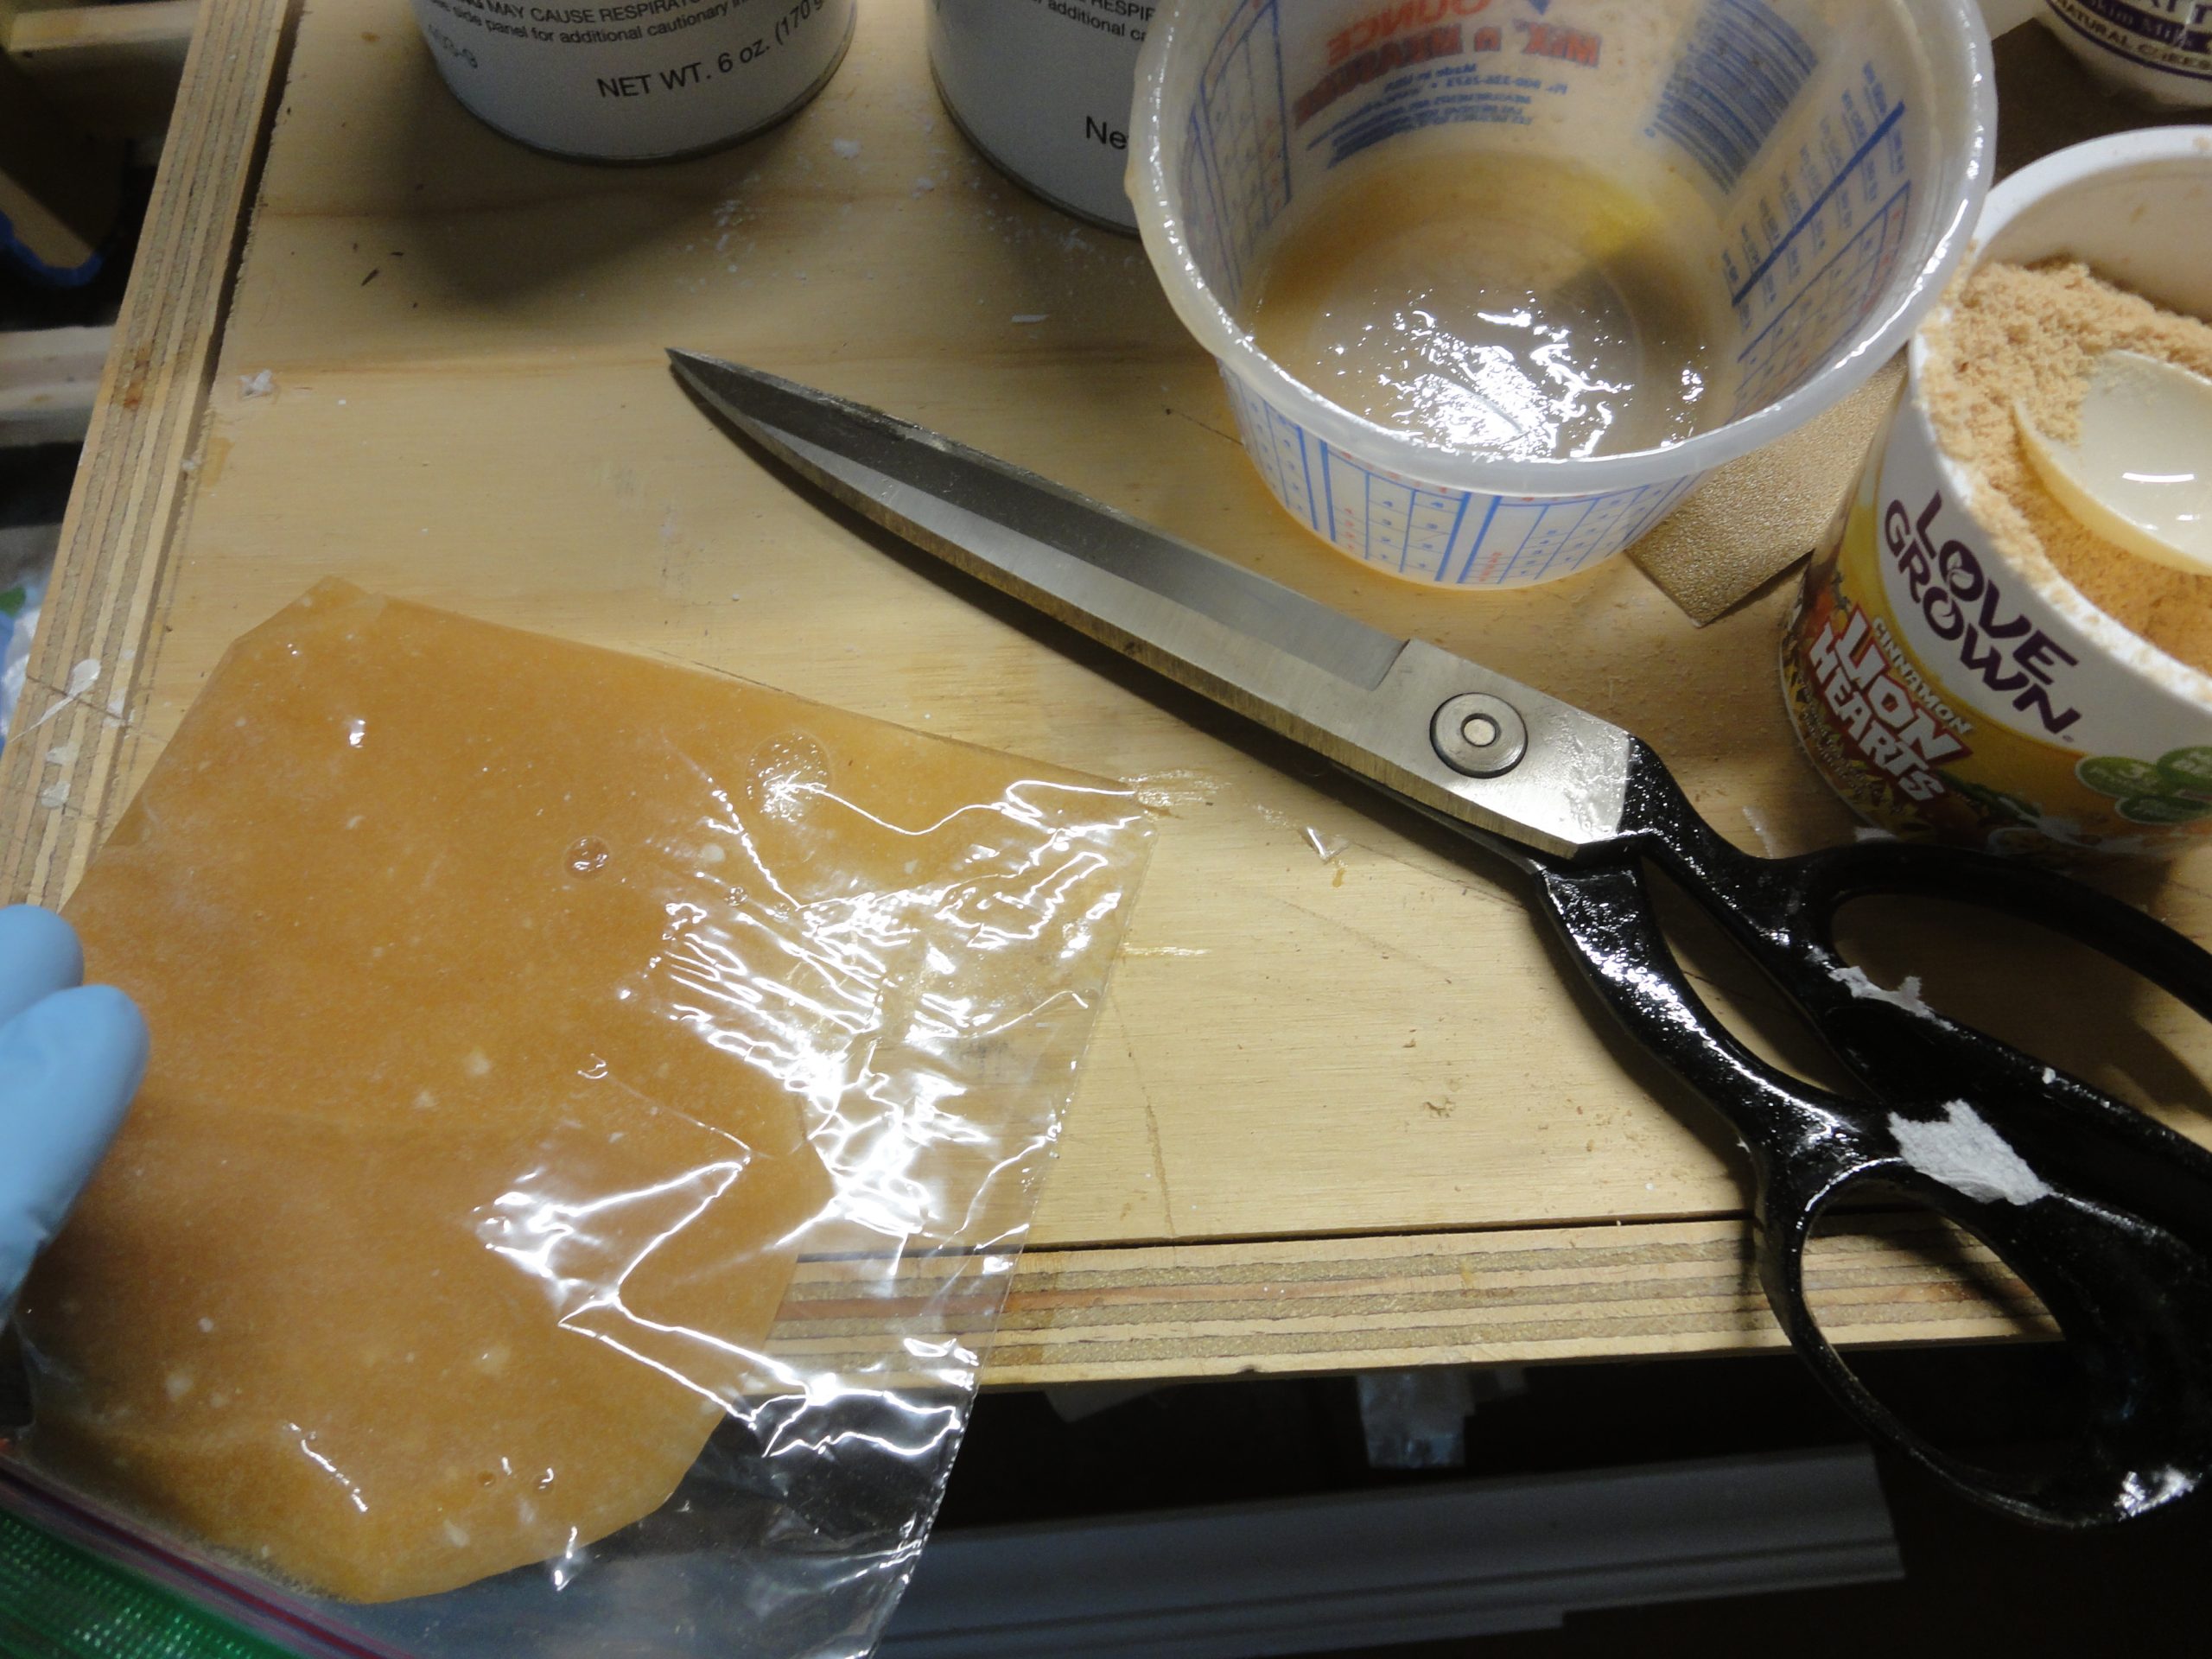
For filling I decided instead of a “putty” filler that I used on the outside I would instead make an epoxy based filler for the inside. This would hopefully add some strength and if there is a color difference, well it’s on the inside and not very noticable. The containers I used last time, had the left over dried epoxy in them. Give a squeeze or two to flex them and it pops right out and the container is ready for reuse. I used the colloidal silica and the microfibers for additional strength along with some sifted sawdust. For a standard 5 pumps (resin and hardener) I used 2 heaping spoons of each of the three additives. At first I mixed just the epoxy, then added the powders and then mixed again. Unfortunately the colloidal silica clumps up and it seems all but impossible to eliminate the white lumps, but with lots of stirring you can eliminate most.
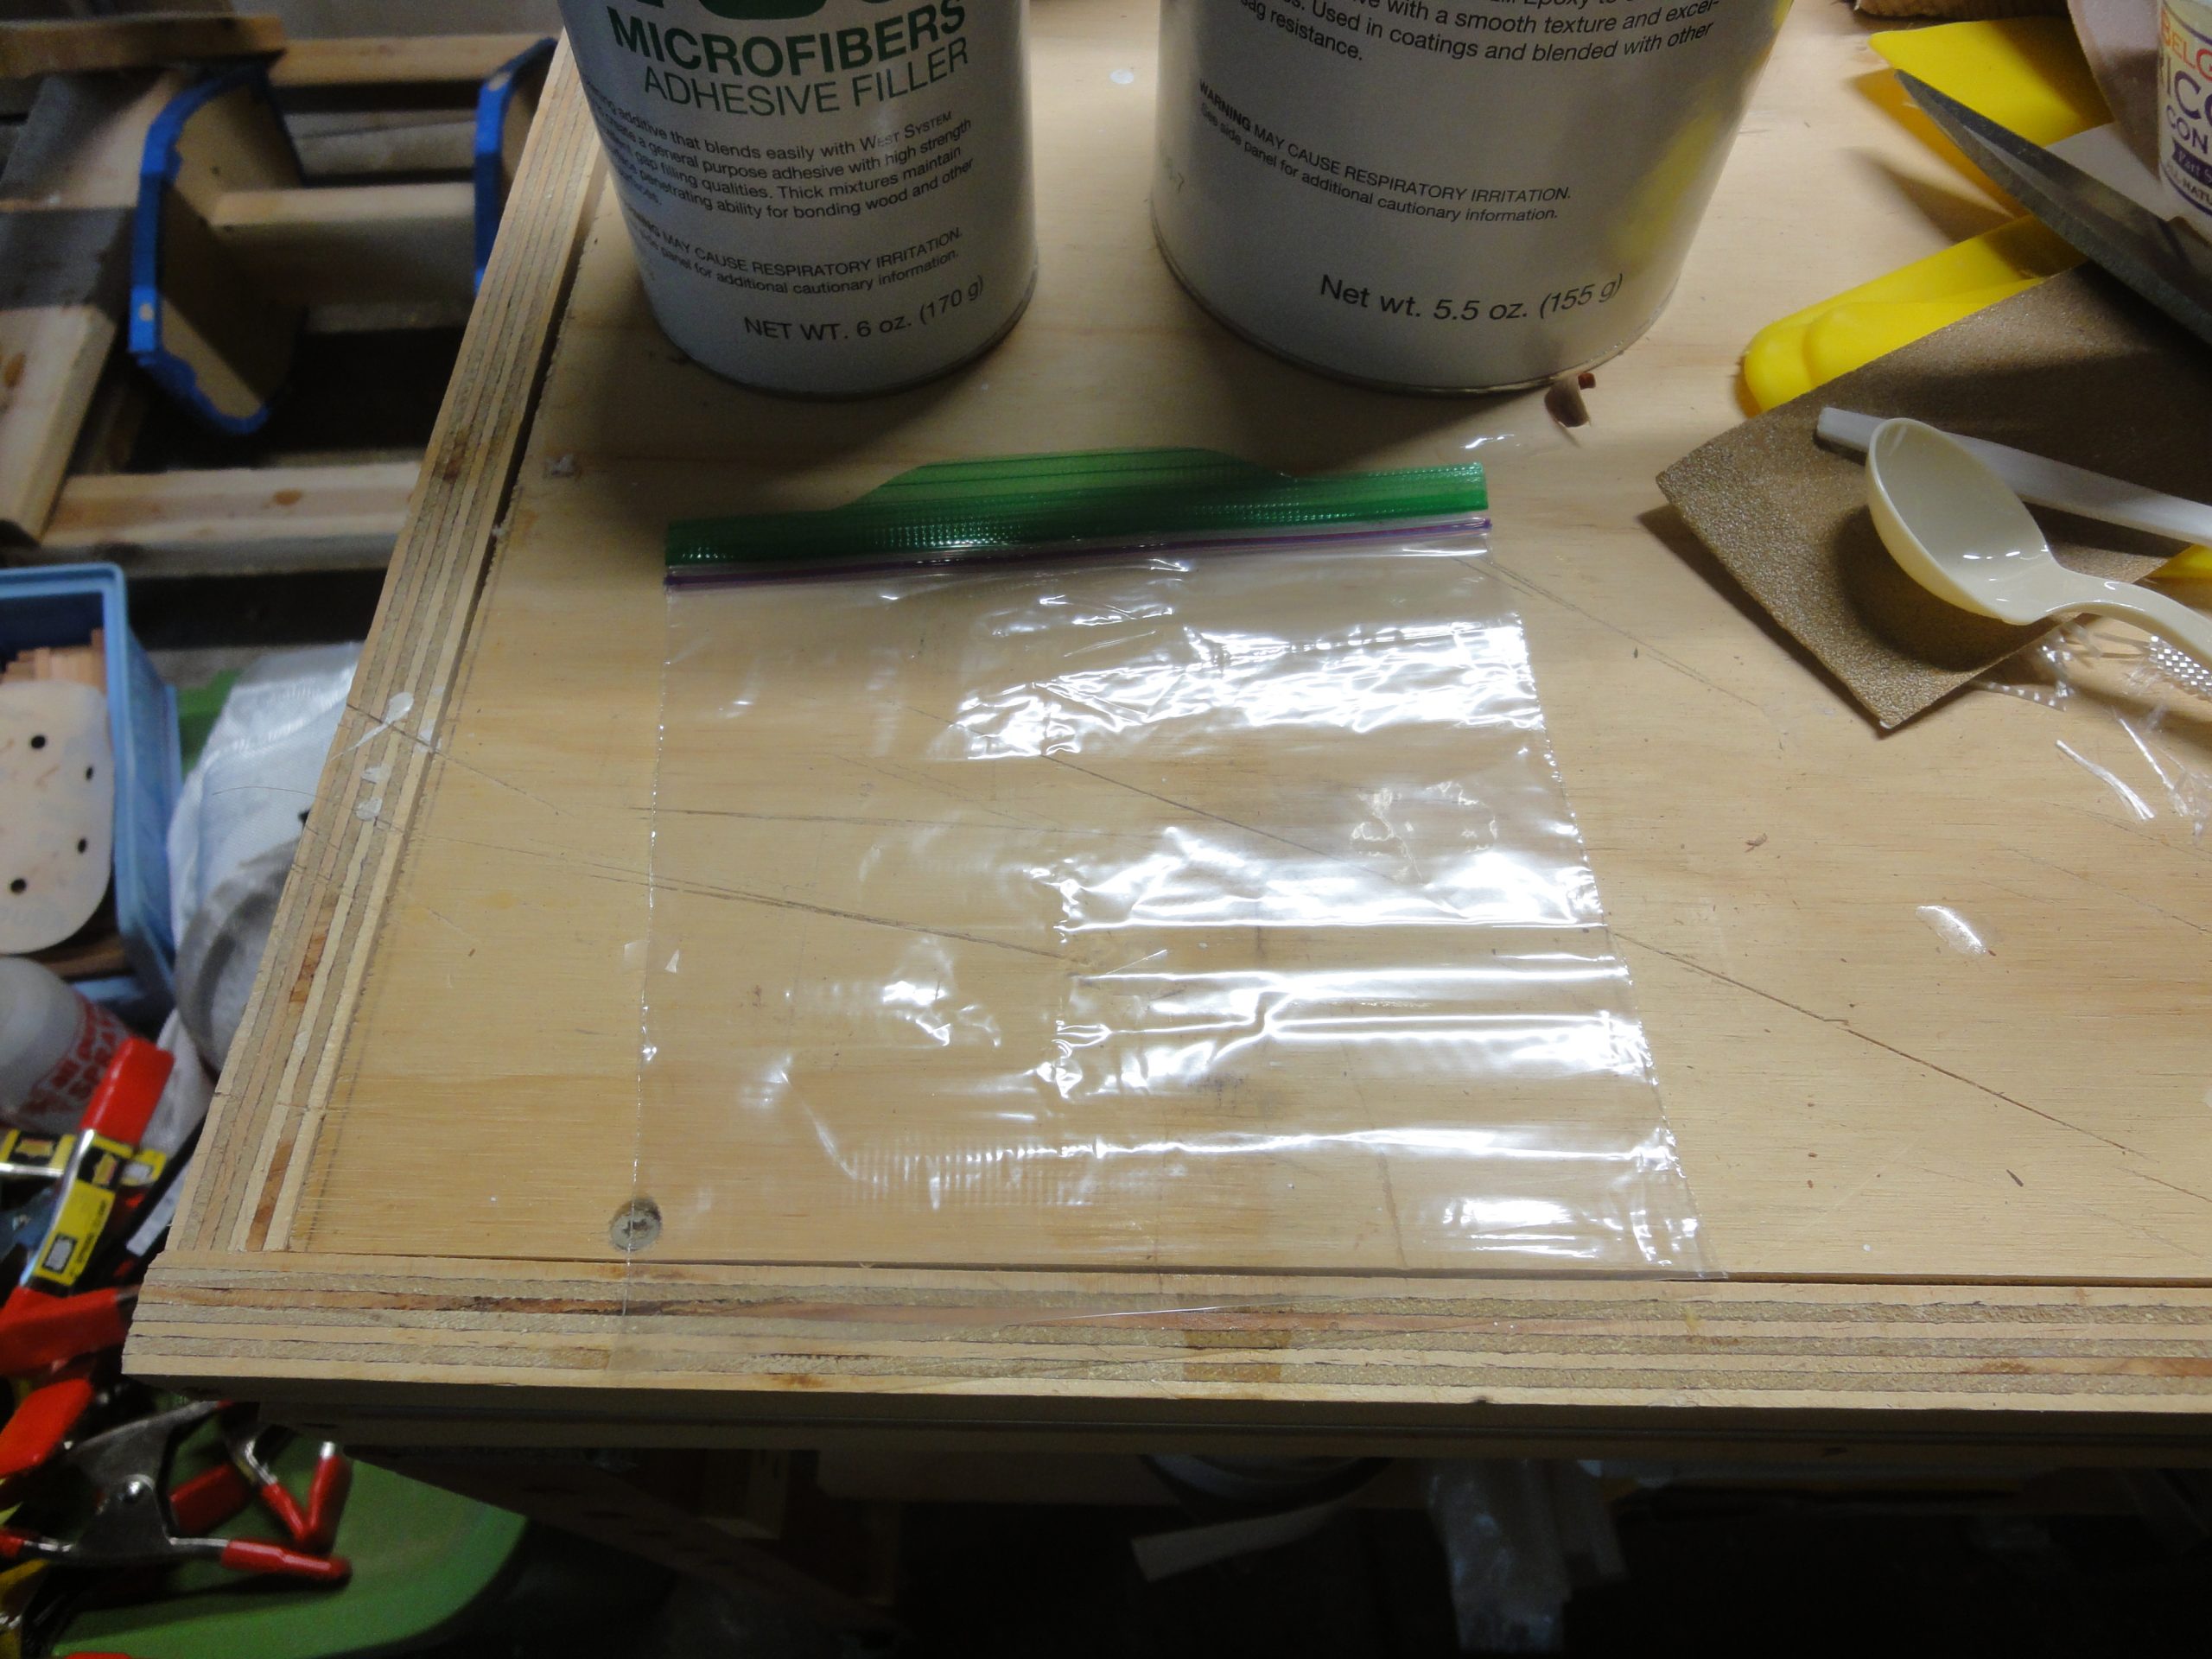
The easiest way to apply the mixture to the cracks is to “pipe” it in. Similar to how a cake is decorated. So I grabbed a ziplock bag, poured in the mixture and then snipped the littlest bit of corner off the bag.
The process to fill the cracks was to pipe on a generous amount right into the crack, and then when I emptied the bag to go back and use the plastic applicator to spread it out and help ensure it is forced all the way into each crack.
Now I need to give it a few days to harden and dry. At that point I will attempt another scraping with the goal of eliminating any ridges between boards. Once that’s completed I can move into the sanding process. But that’s all for another day.
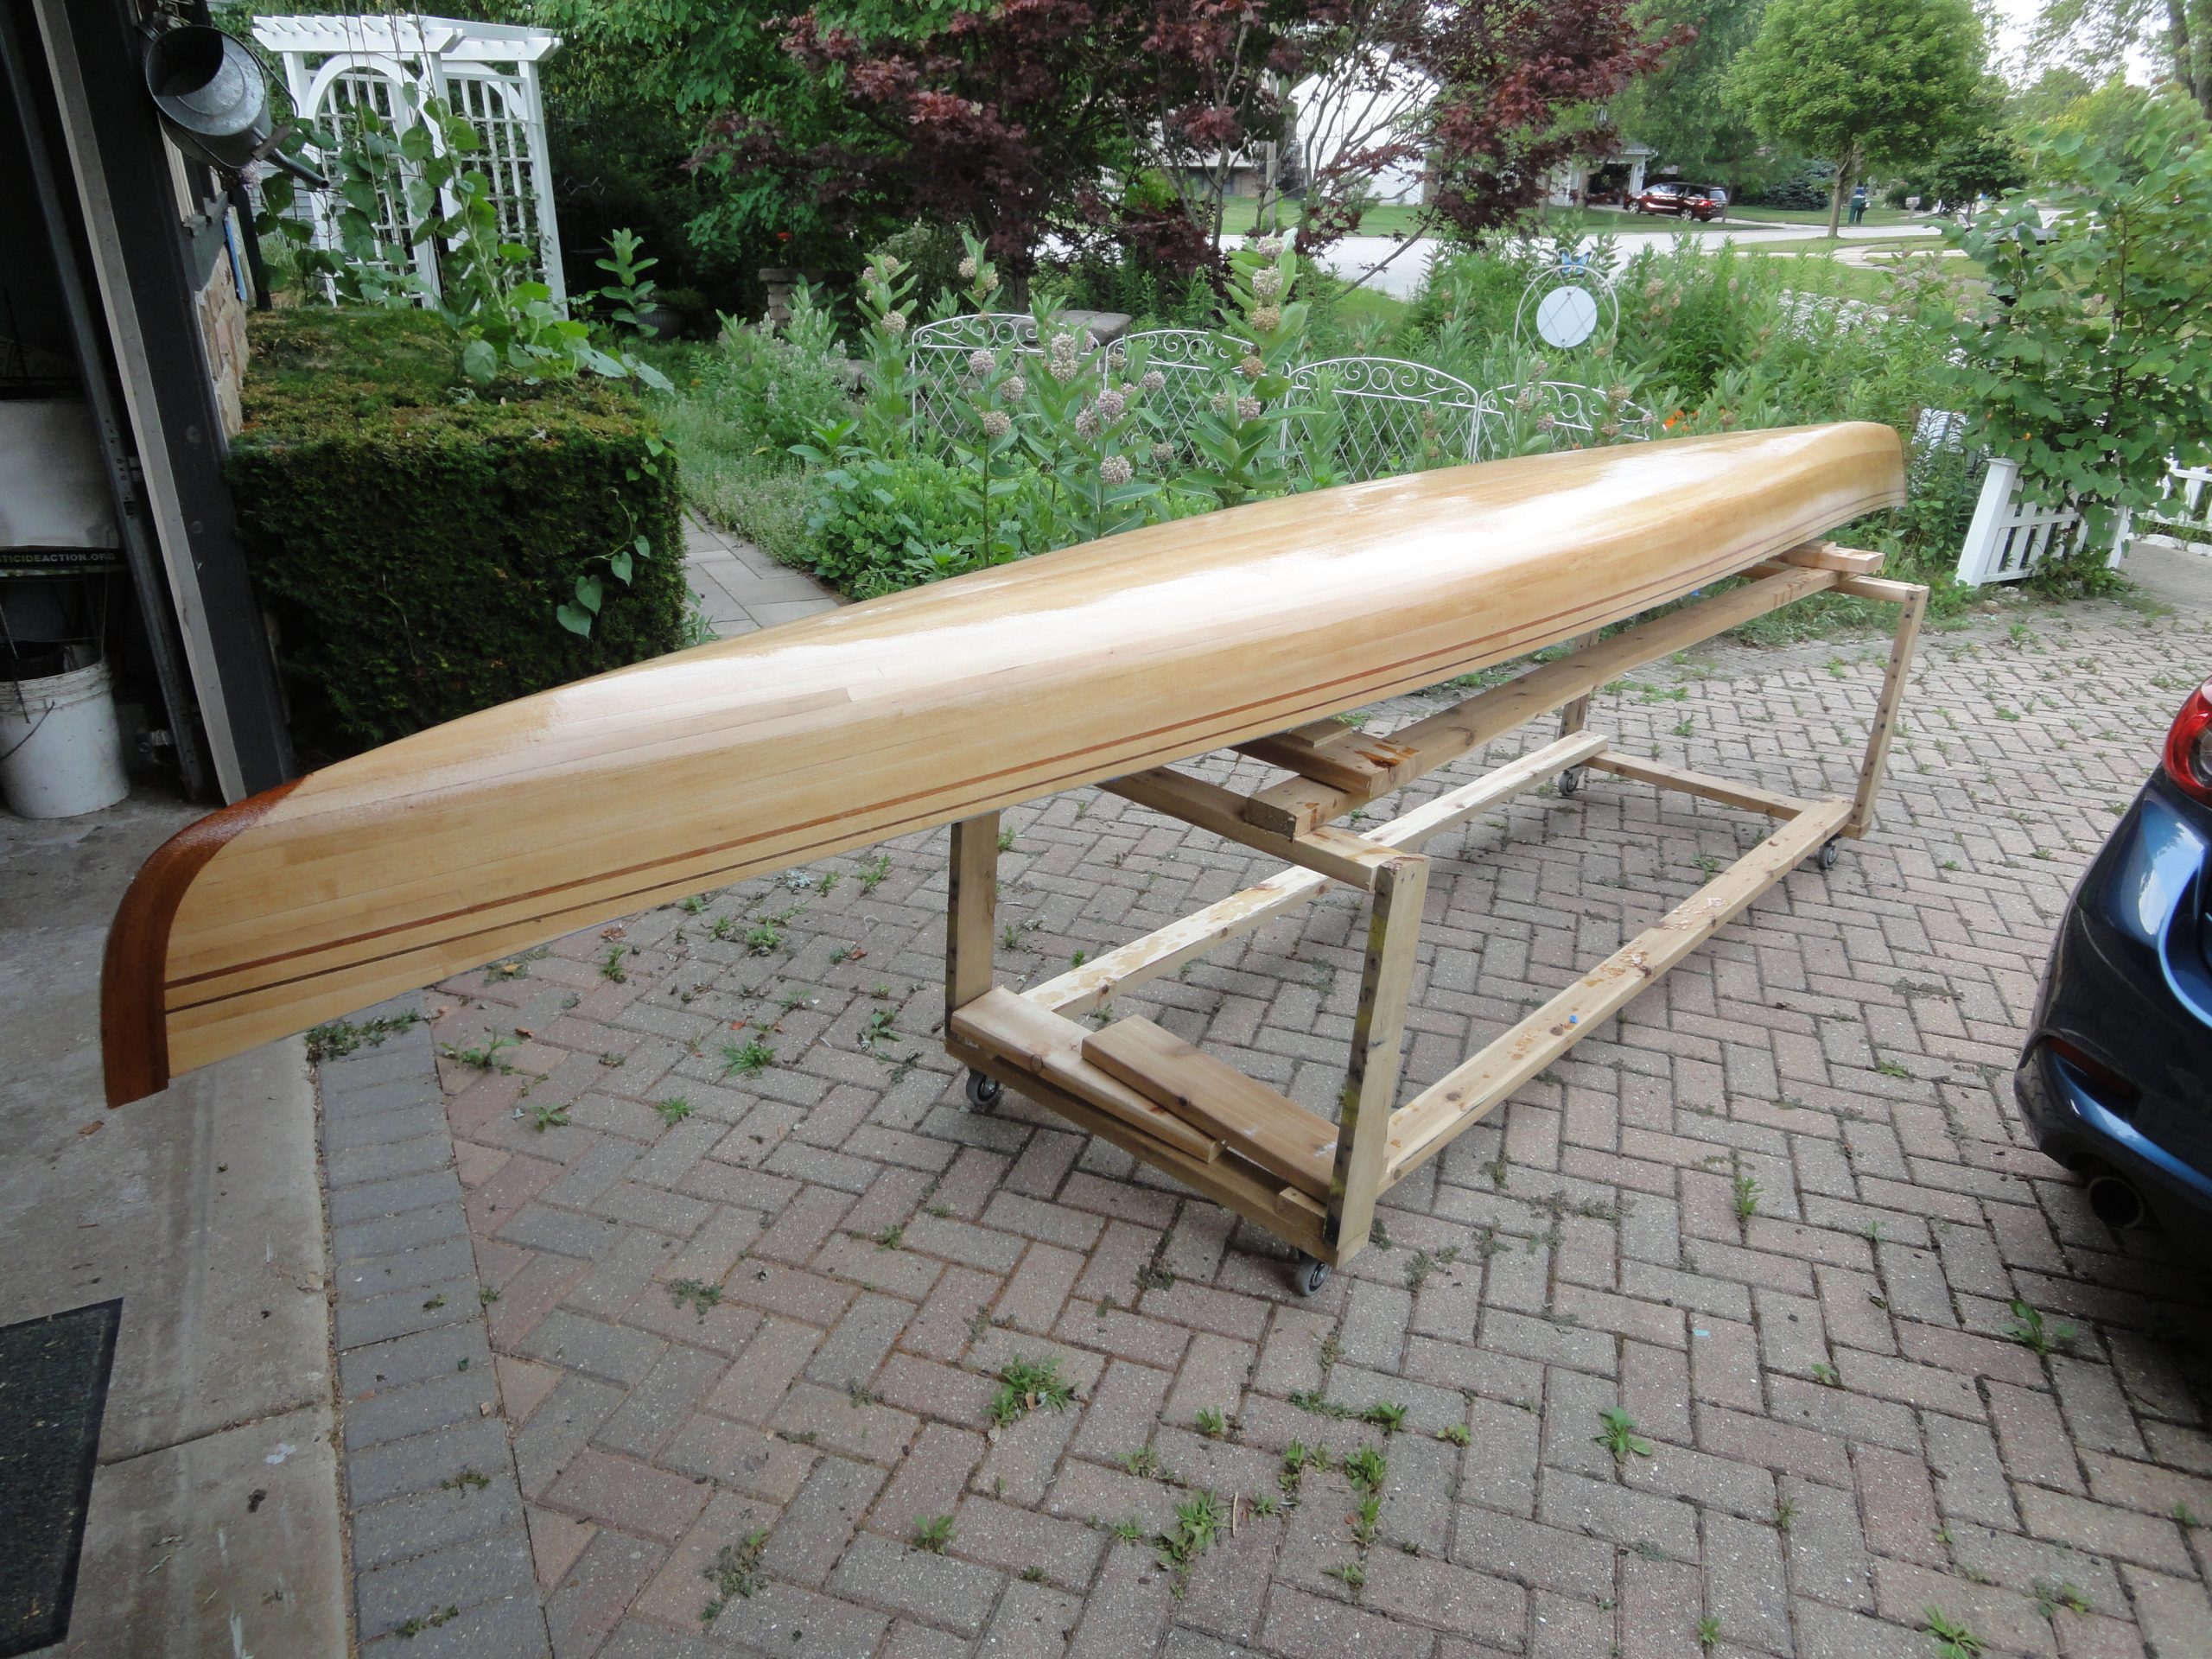
Giving the epoxy 72 hours to cure I checked it and am satisfied with the build up I have so far. One more coat should be enough to finish and I can do that when the whole kayak is assembled. So for now the outside hull is as far along as I can take it. Next step is either the deck or the inside. Since one side is now sealed but the other side isn’t and unsealed wood likes to warp with humidity I feel that working on the inside of the hull is the best next step.
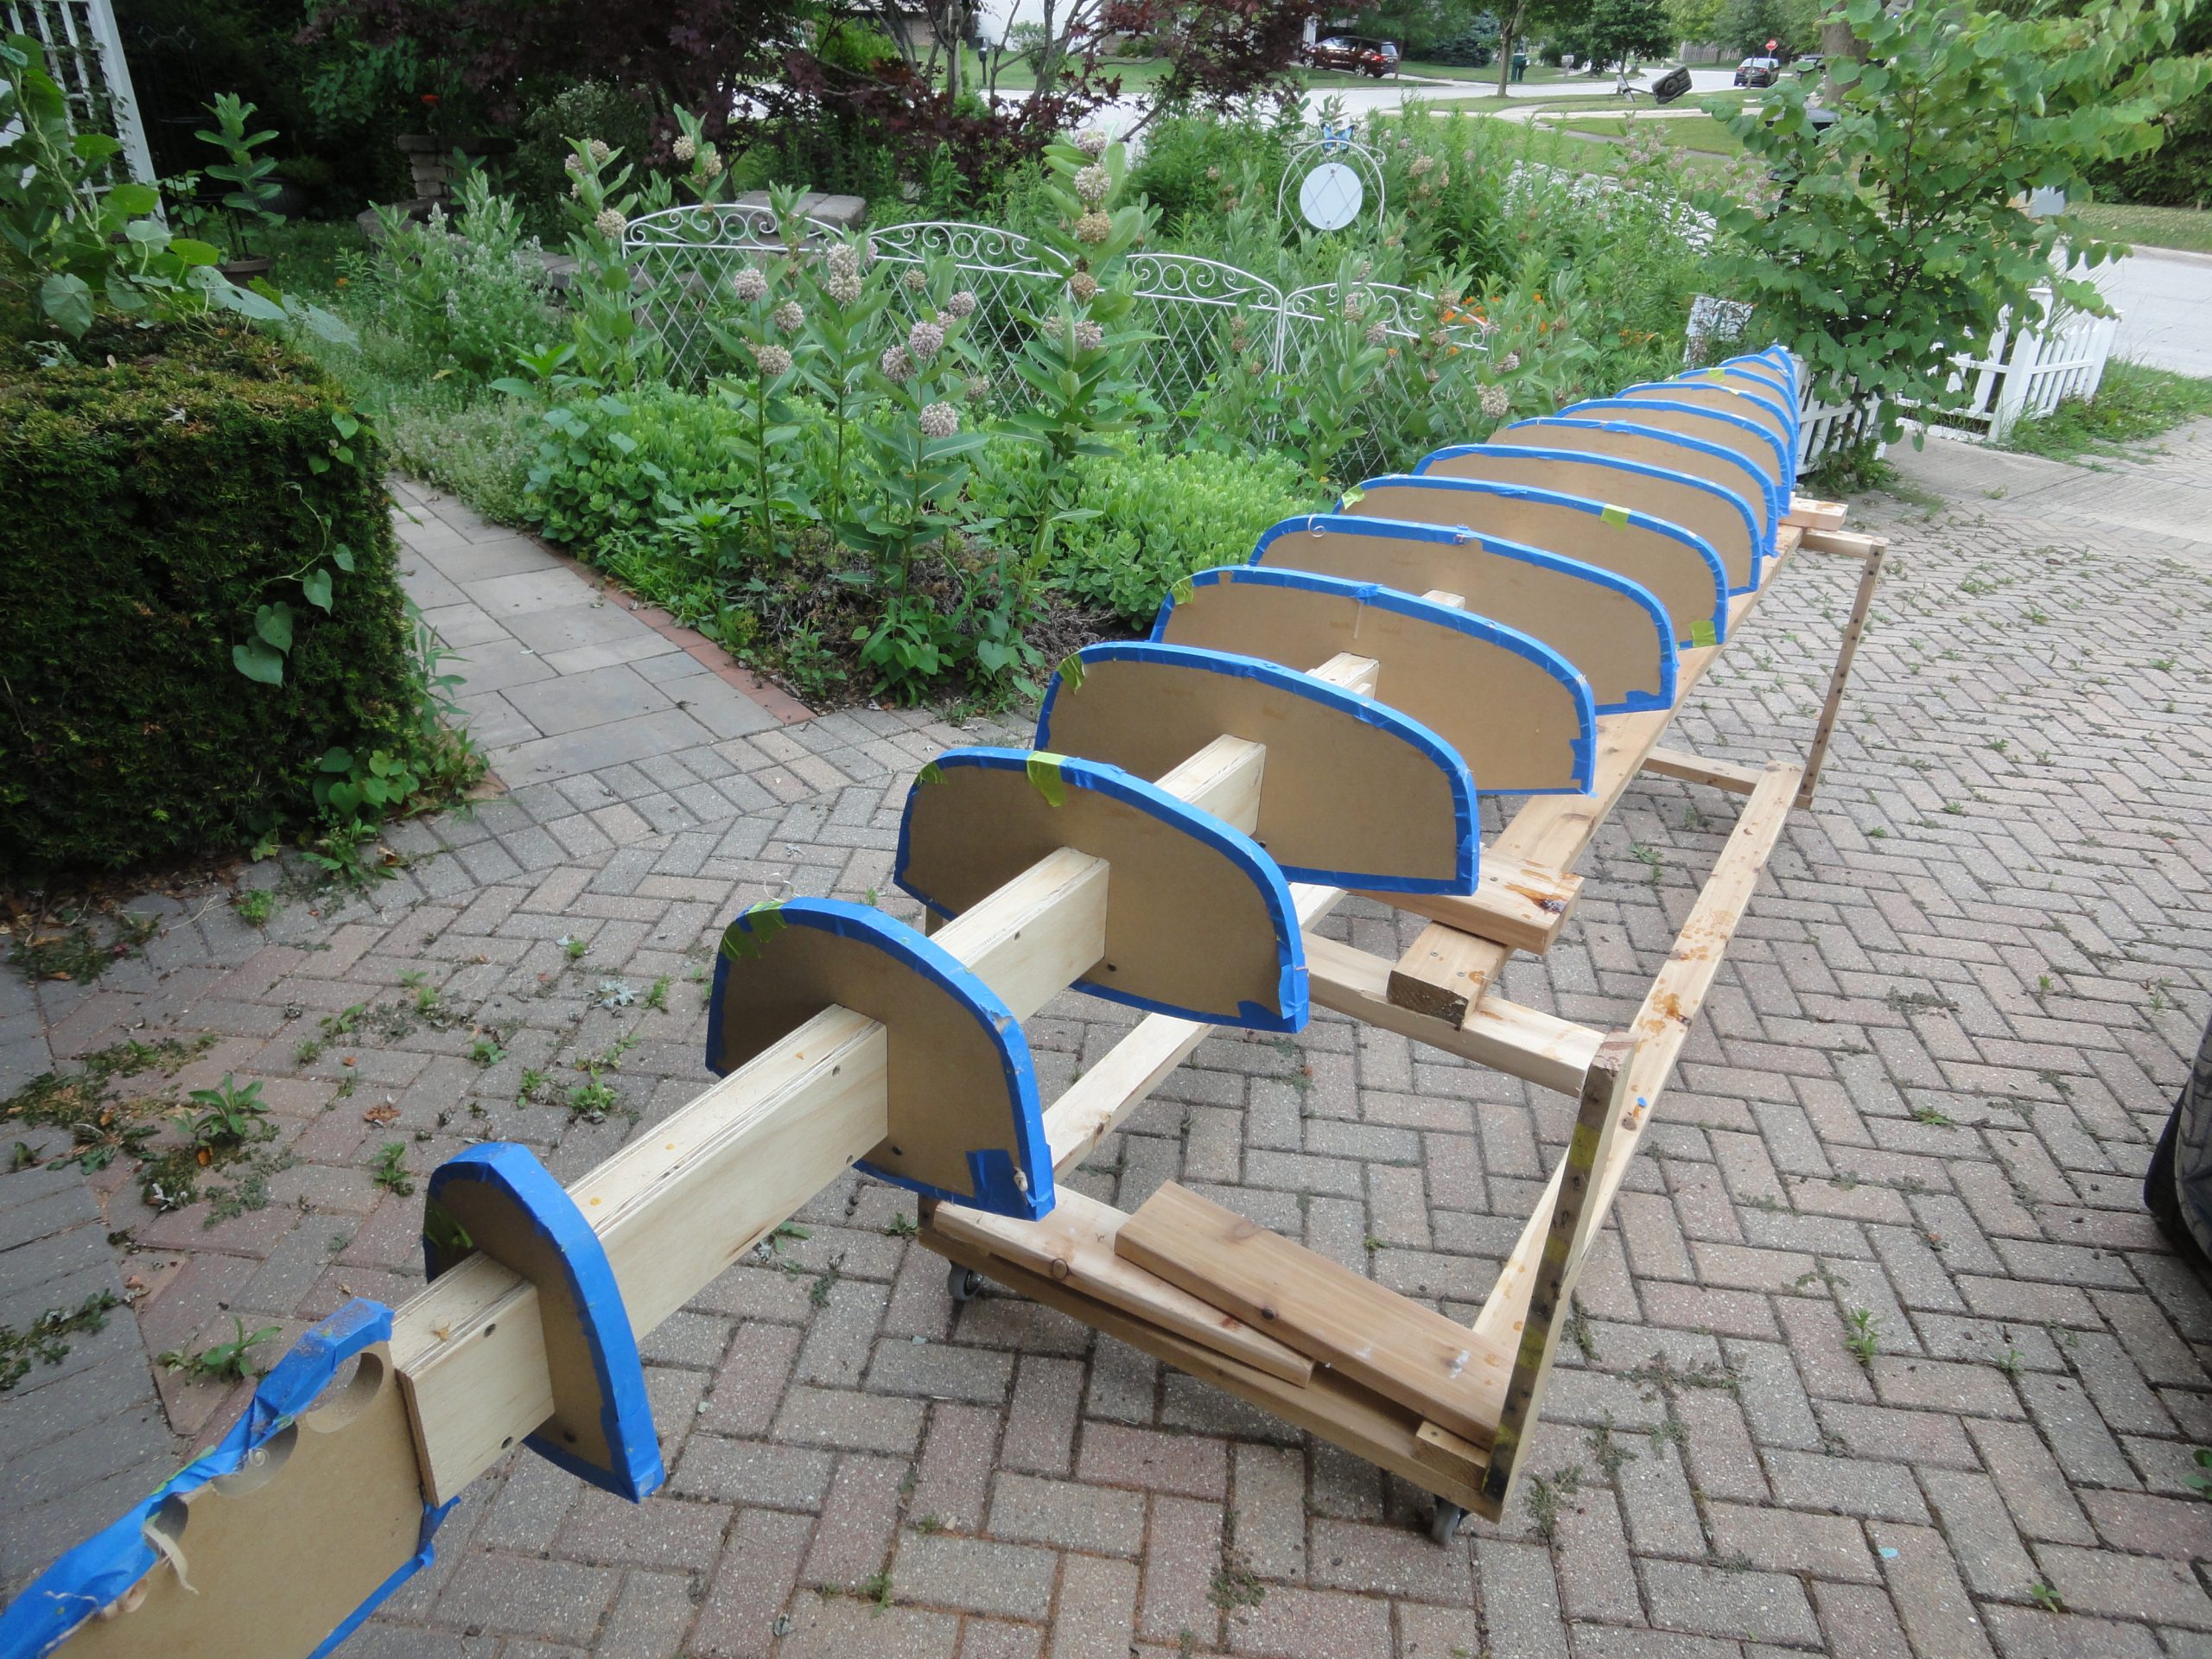
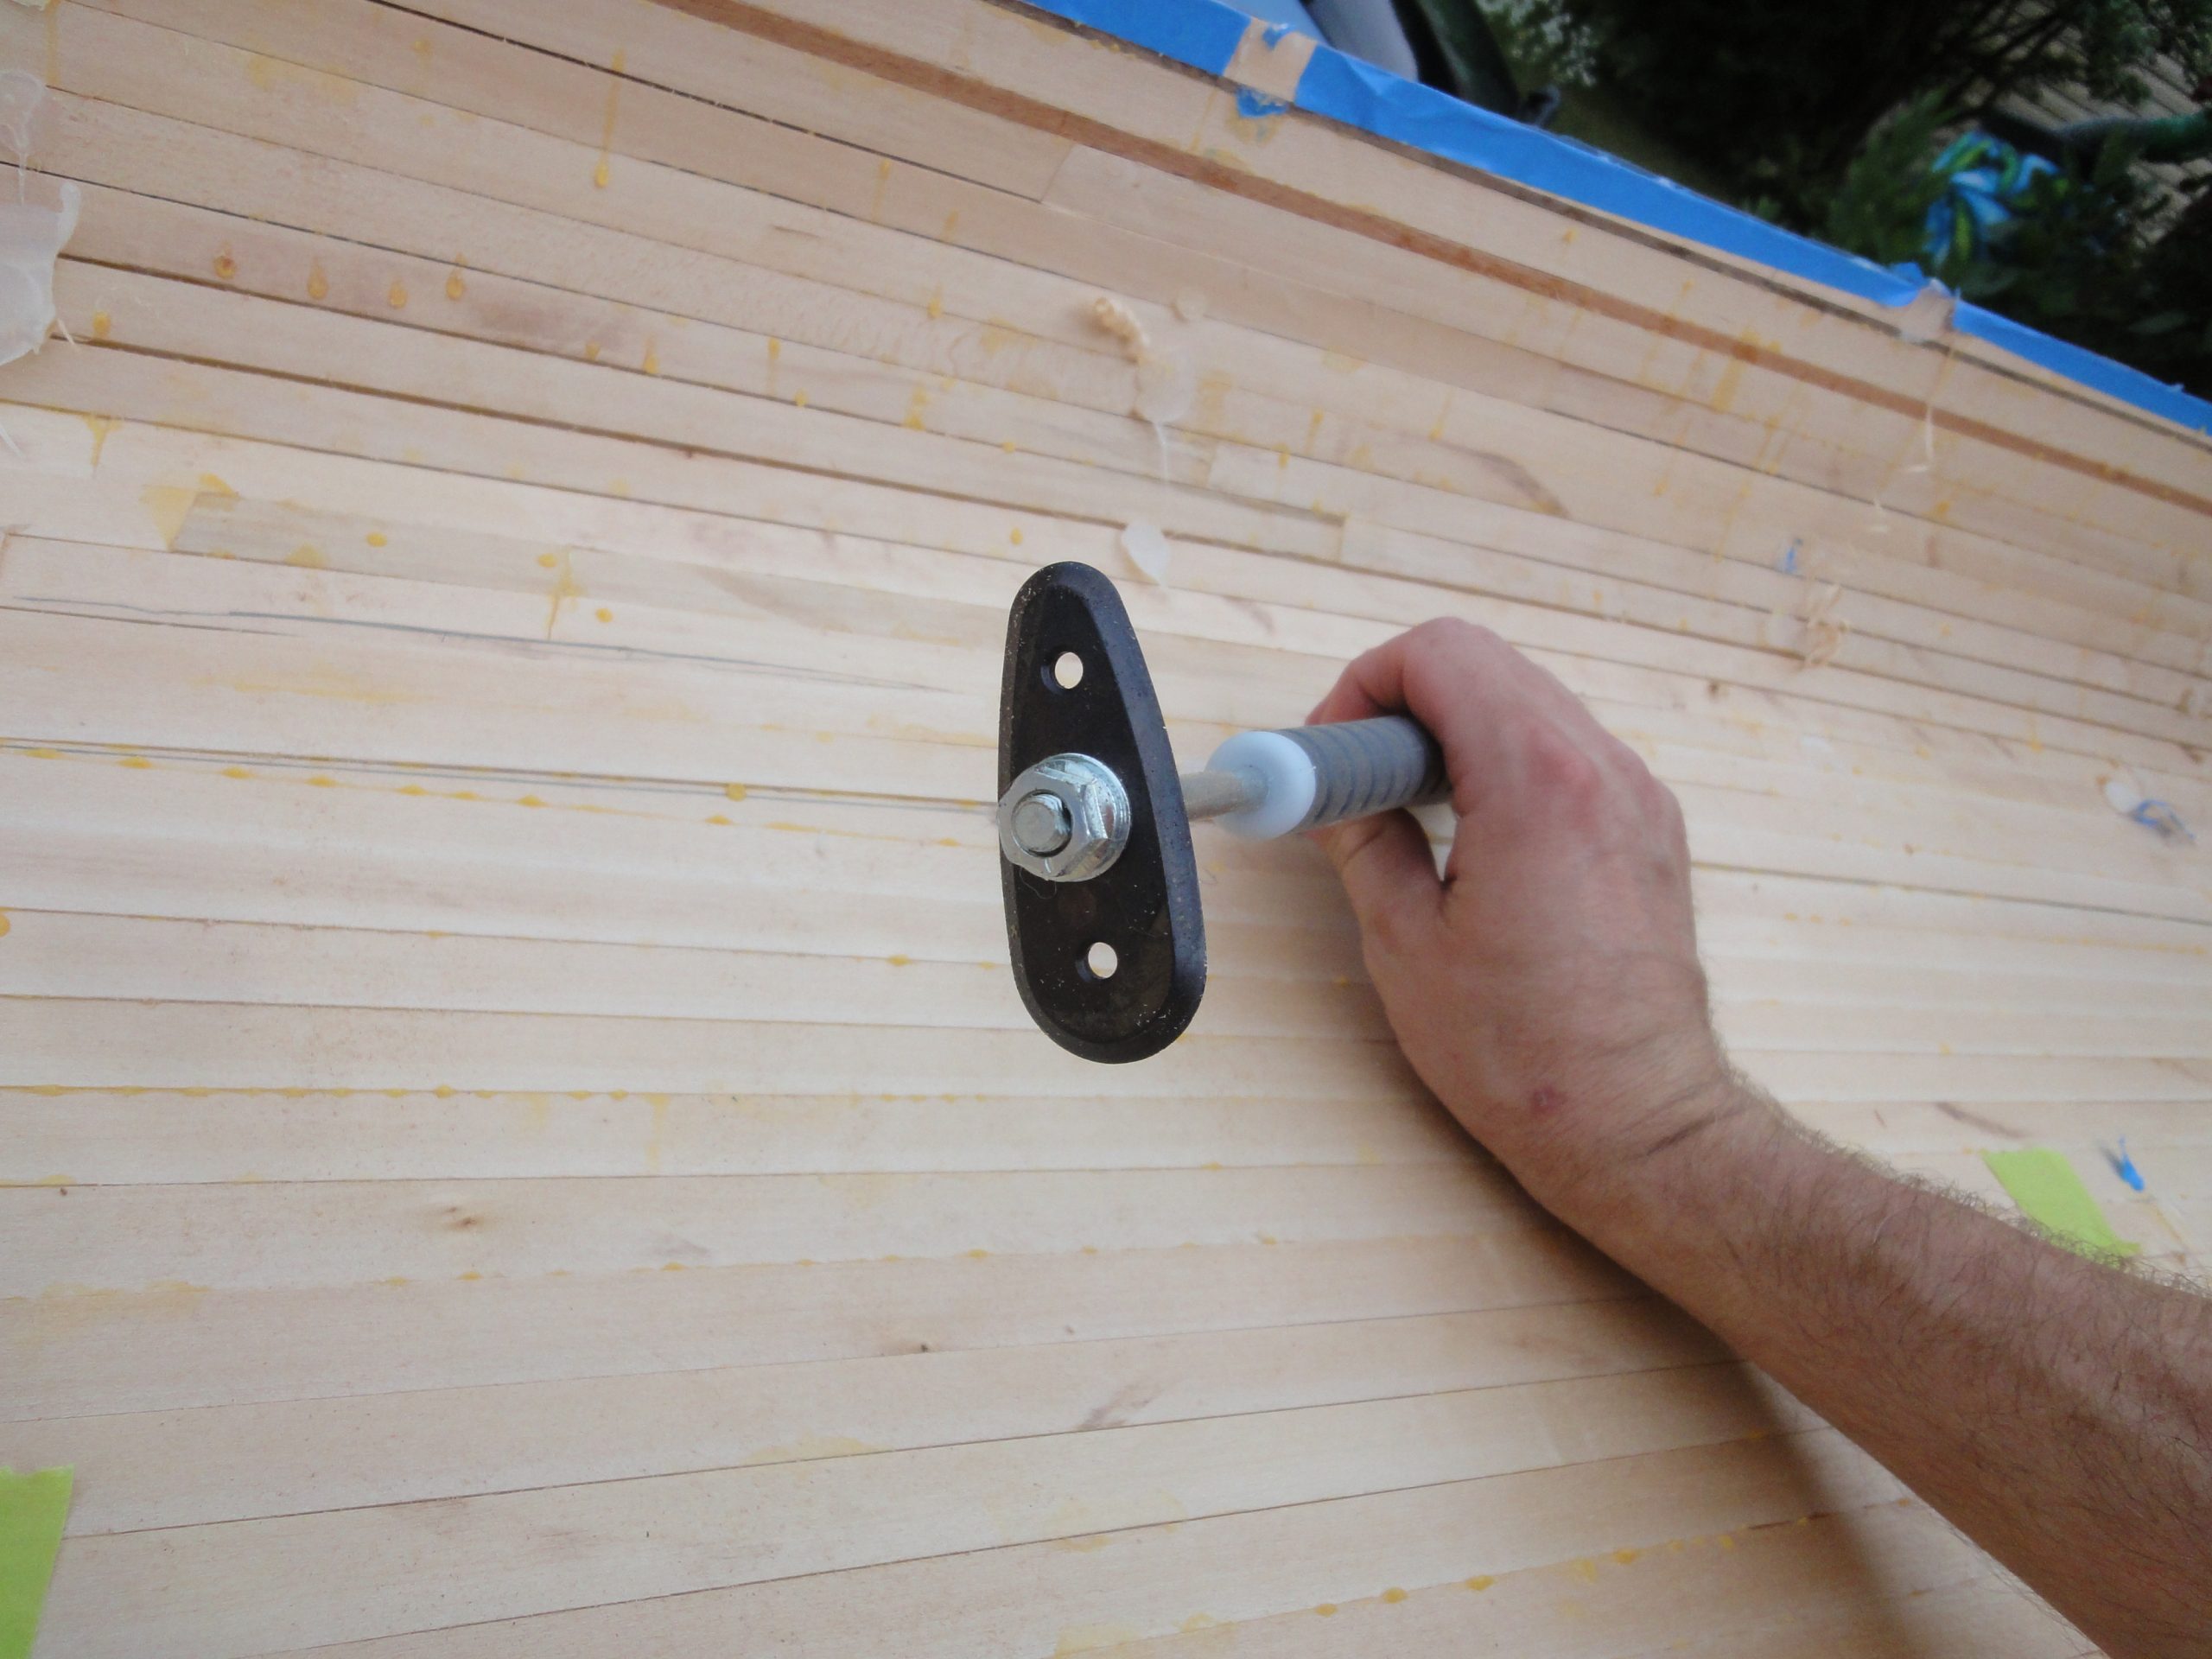
It took about ten minutes of slowly popping the hull away from the strongback where each hot glue spot was holding it. Other then just going slowly and applying only the force necessary it came off with no issues.
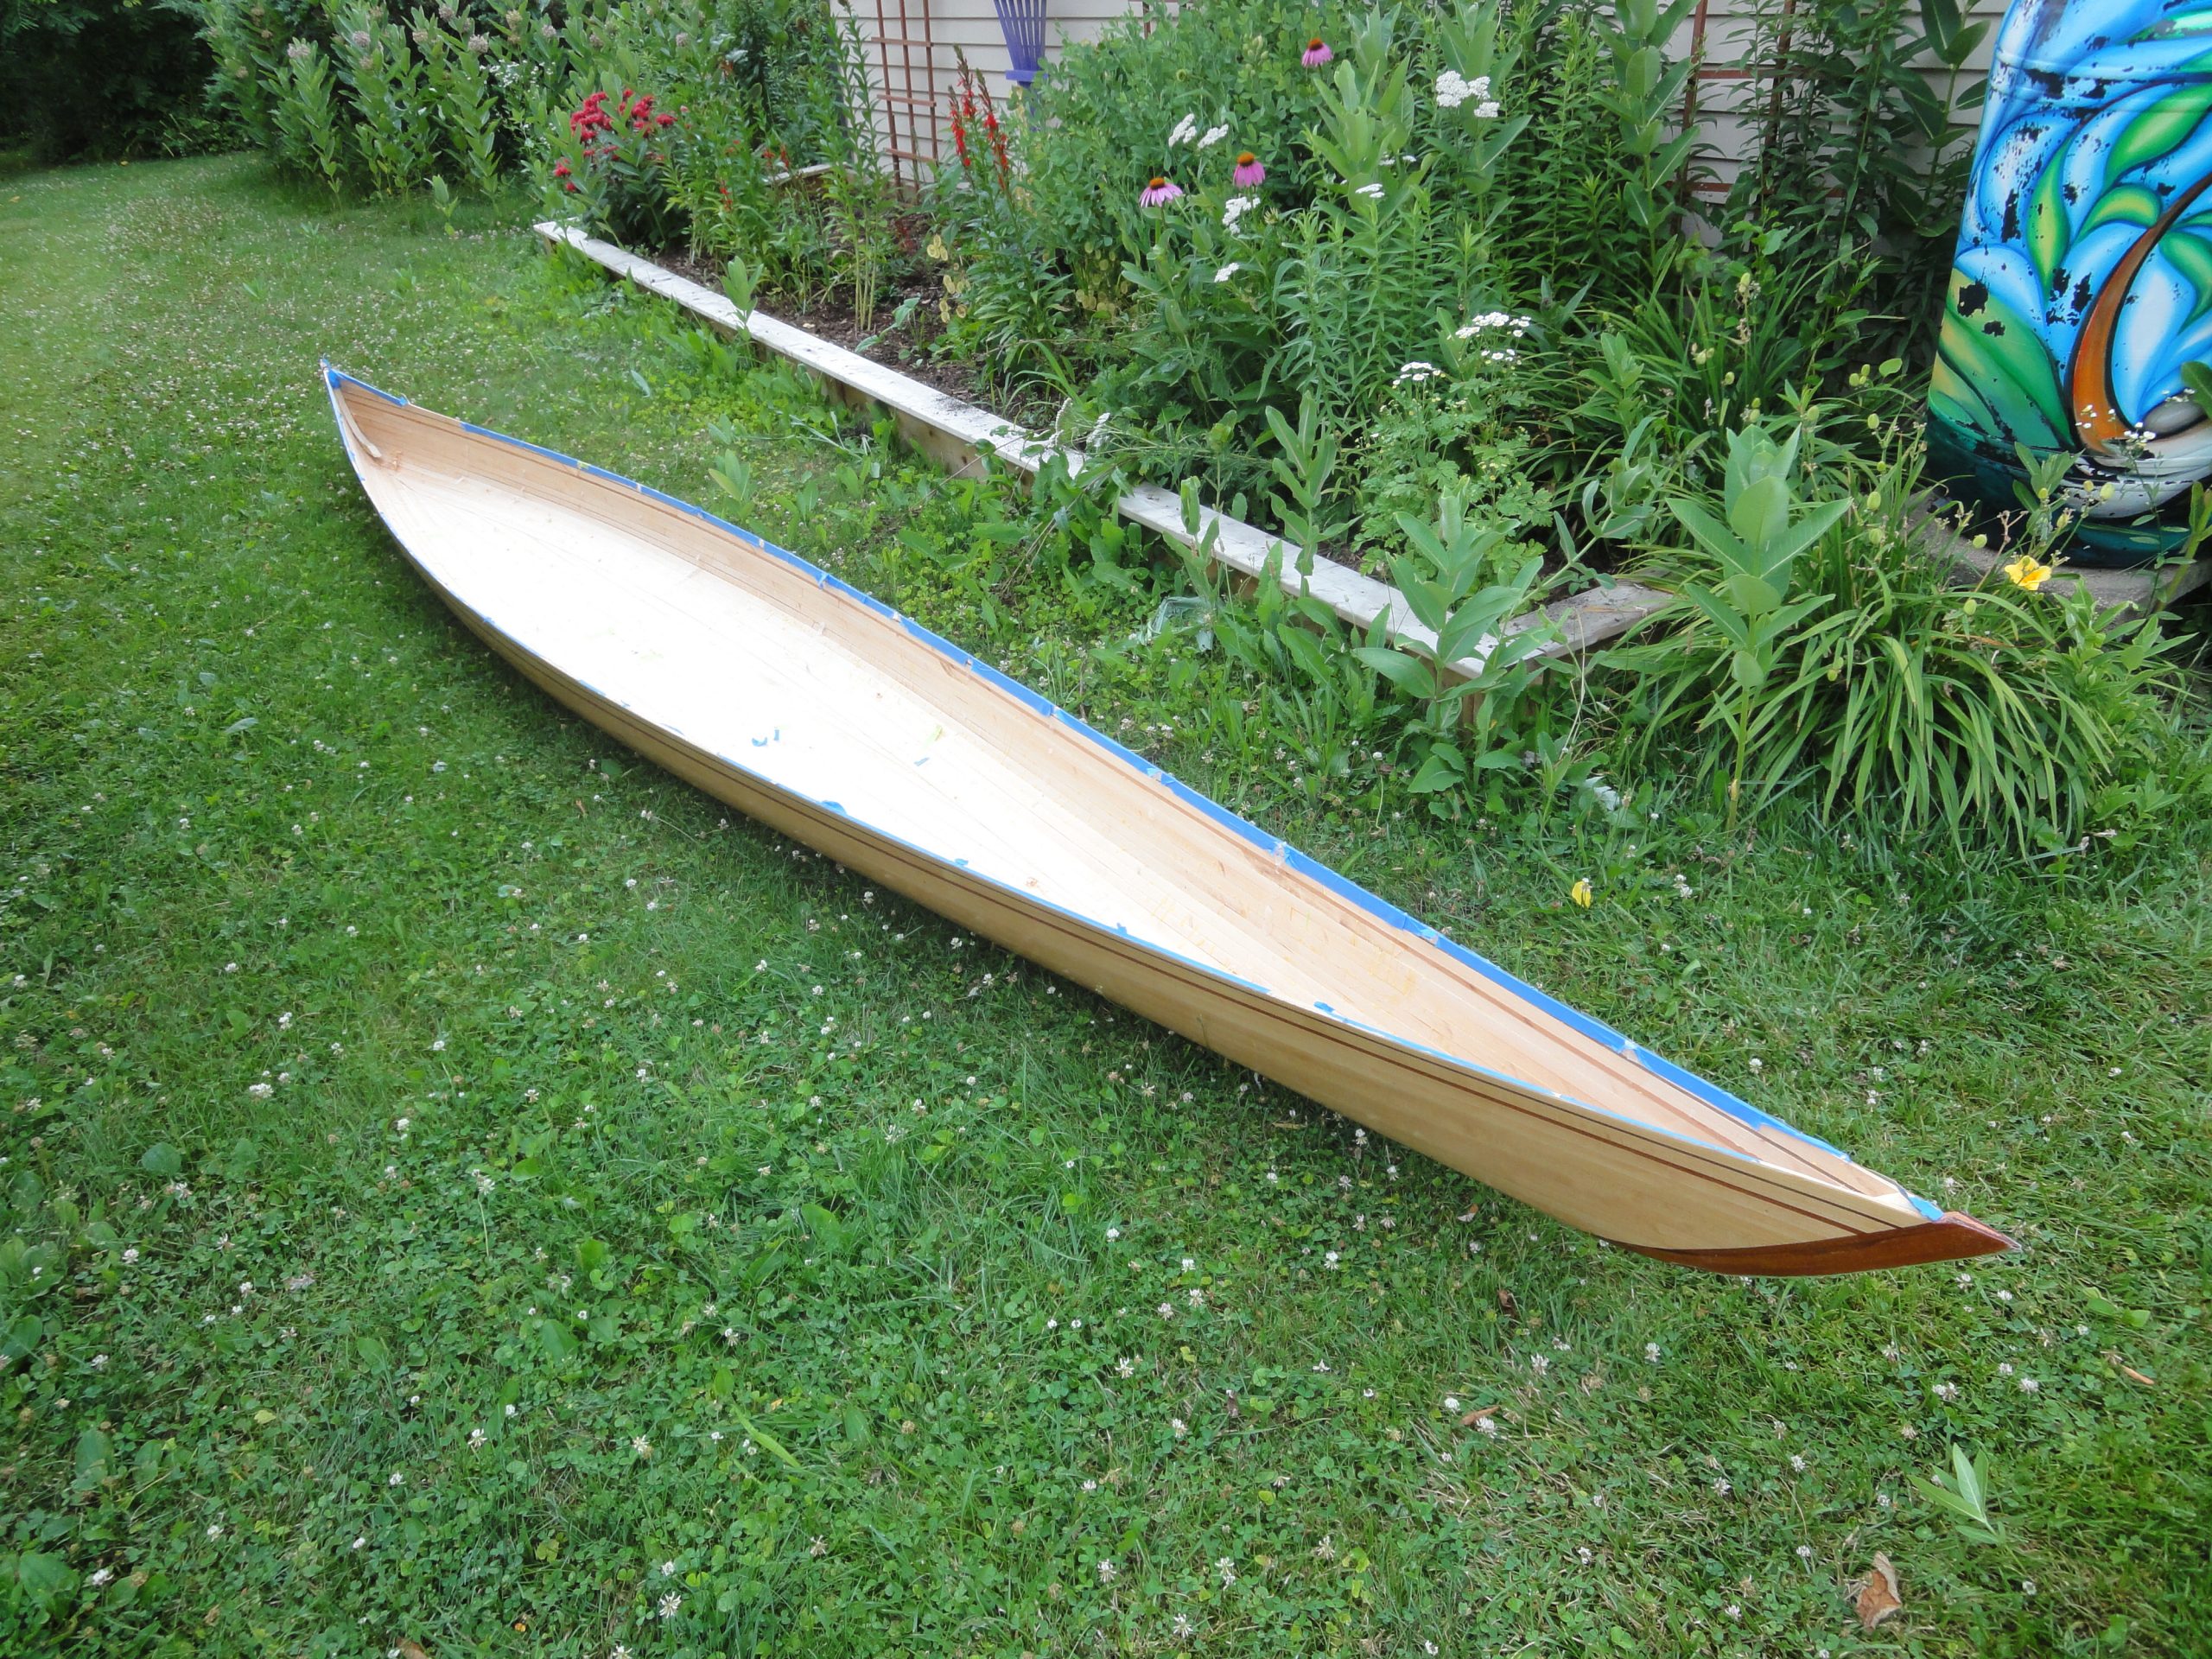
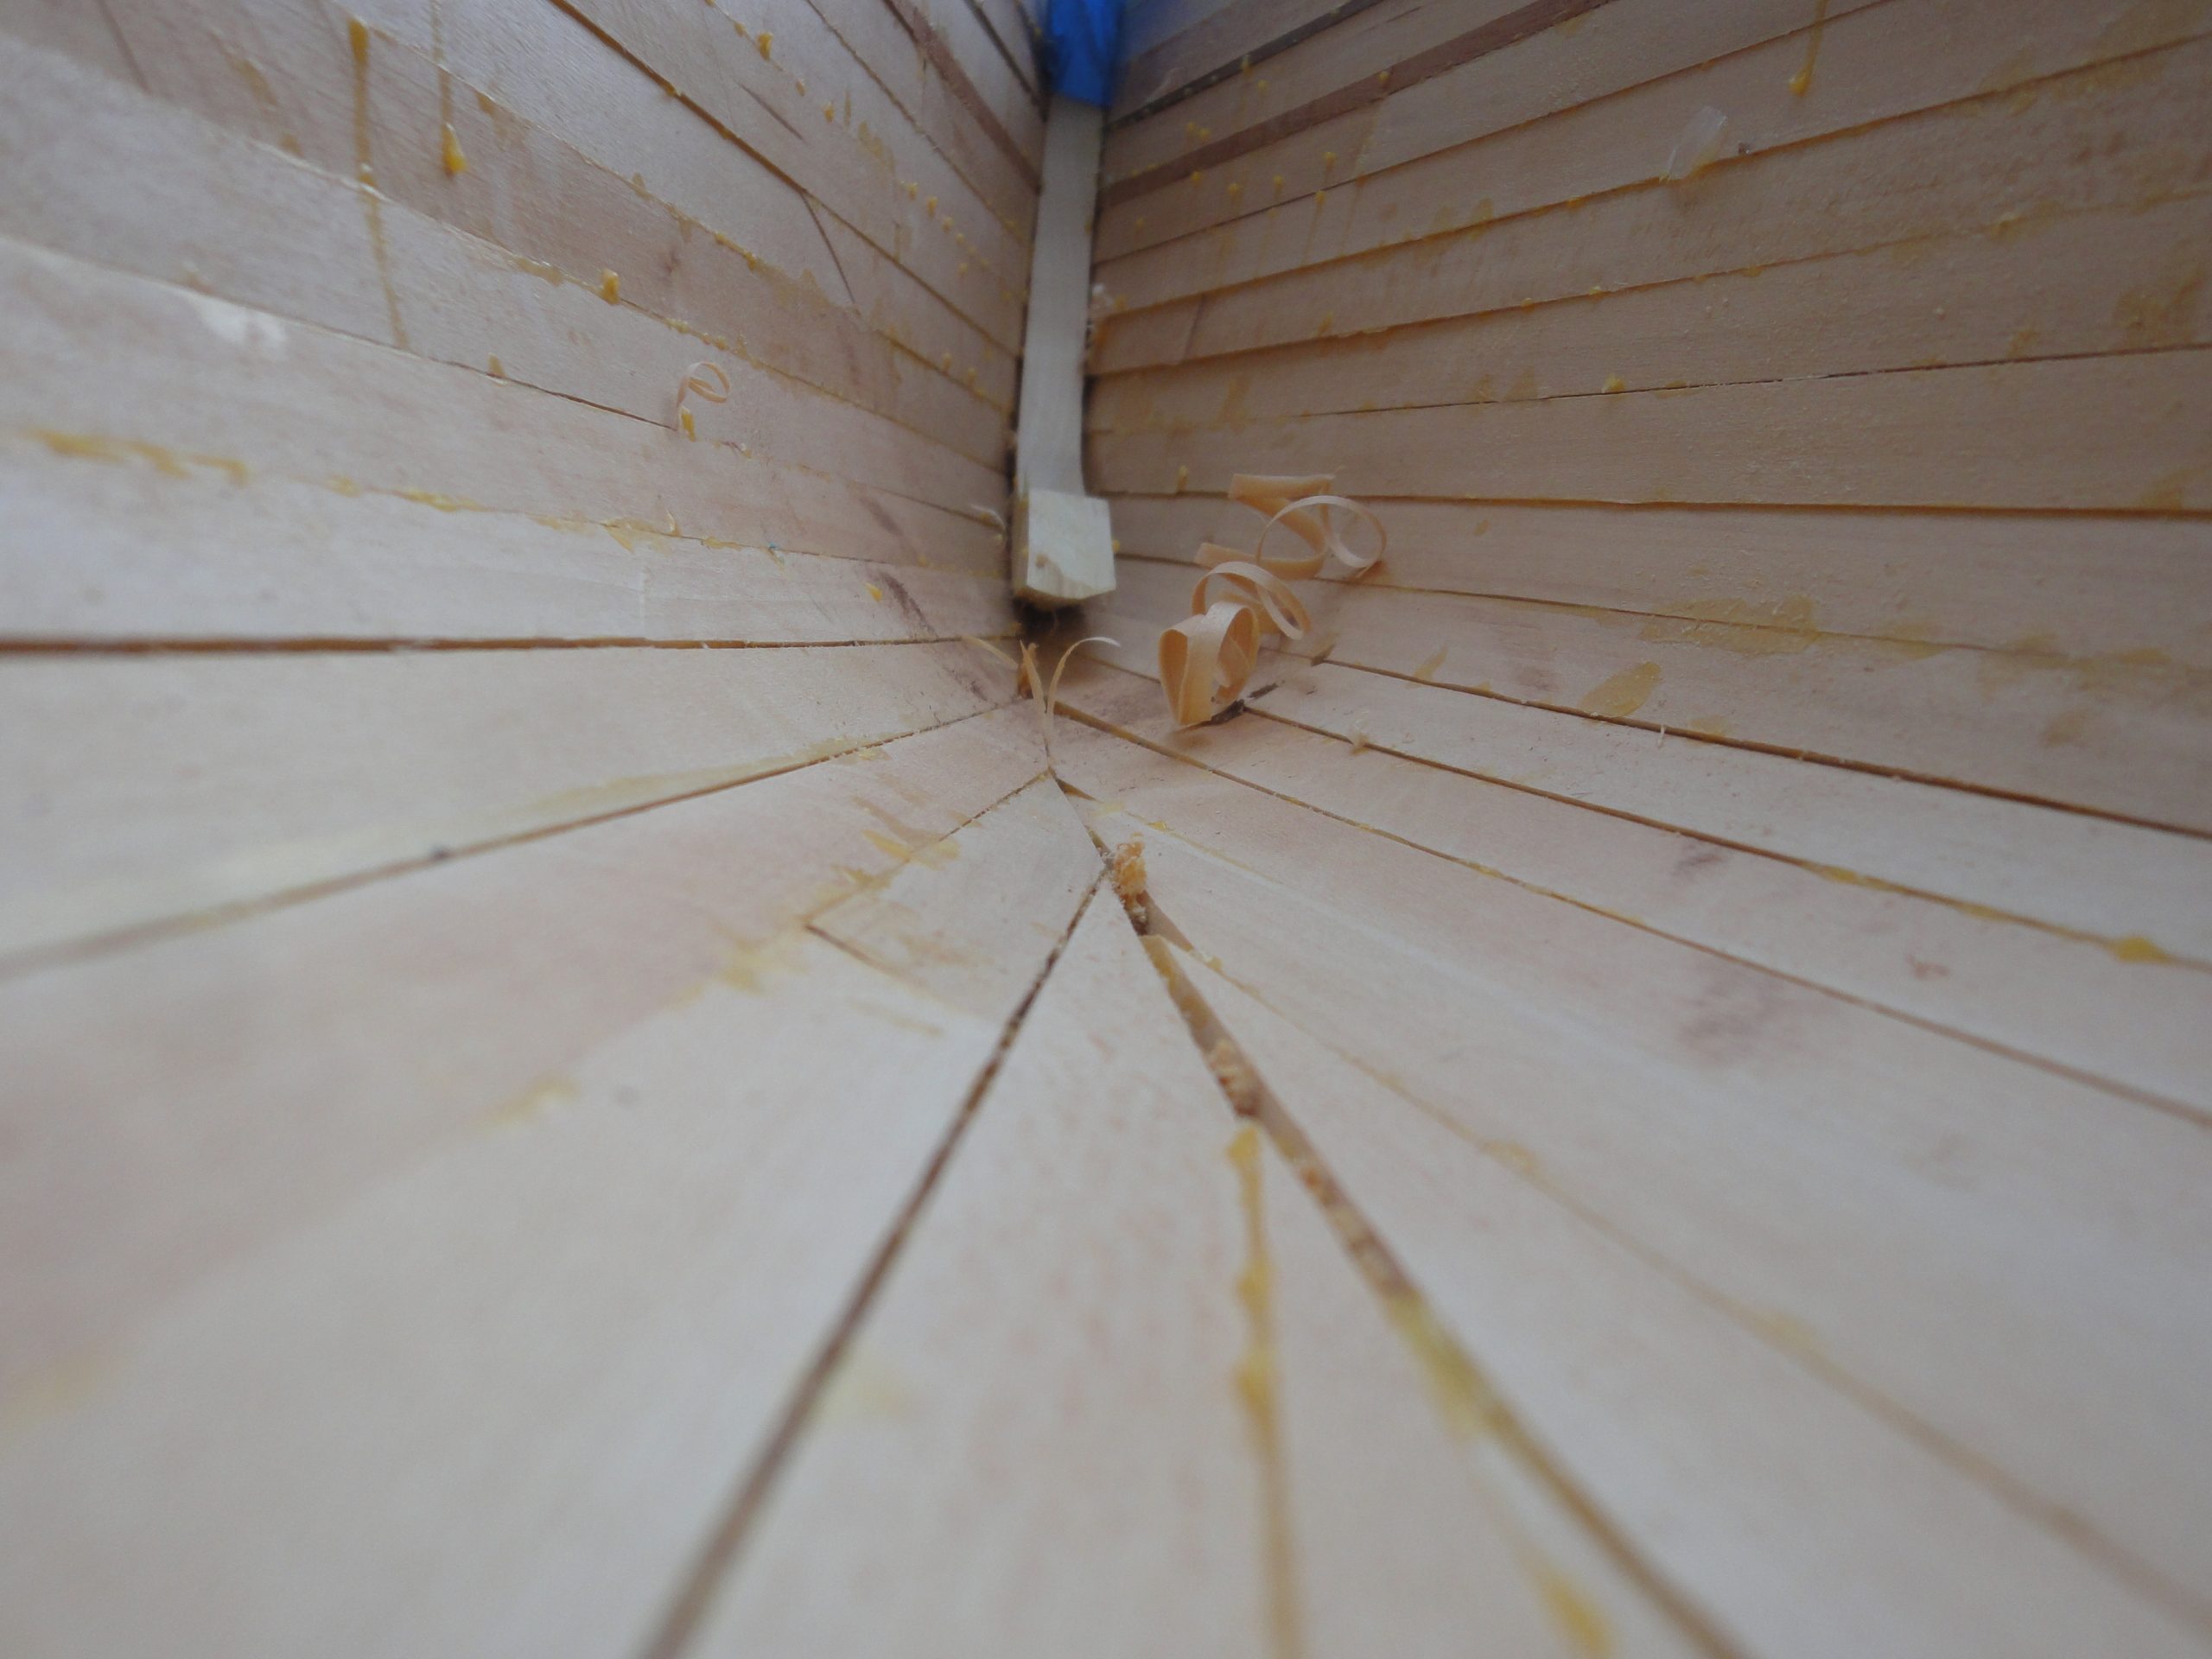
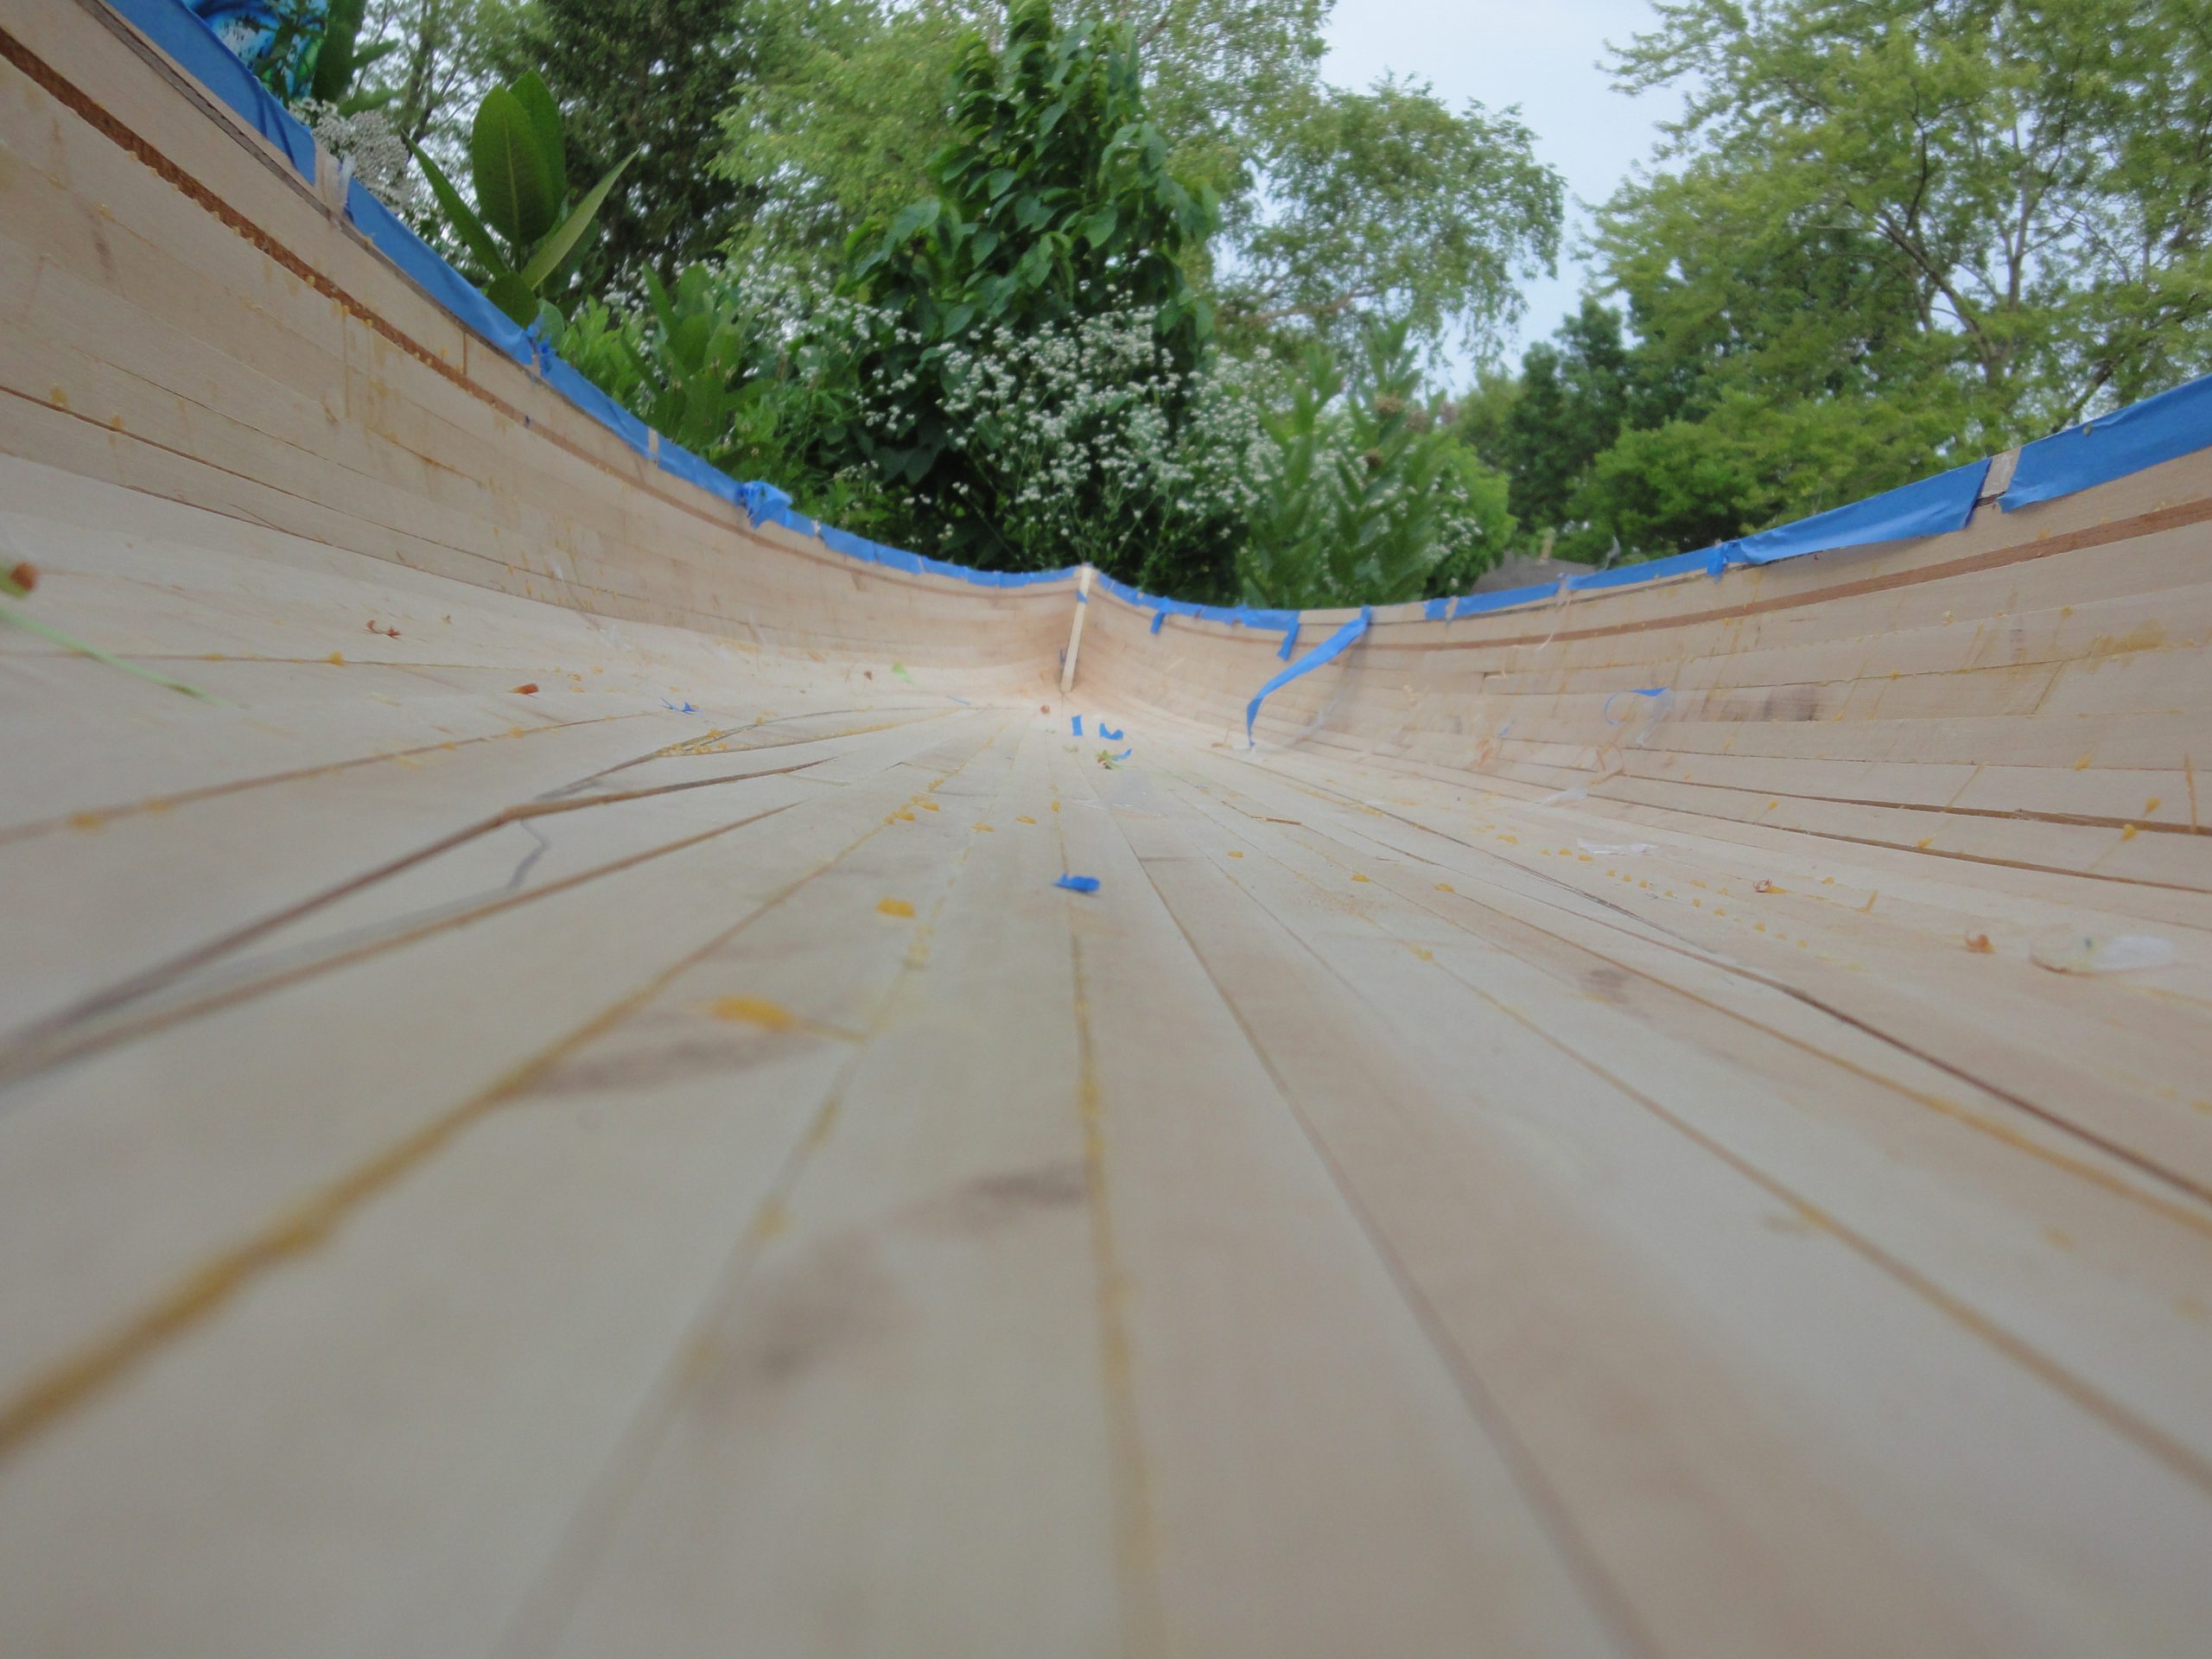
The hull was set aside and for the first time I was able to get a good look at the inside. Yeah, I looked earlier and saw some issues, but this was the first overall view that I was able to get. For the most part it came out in pretty good shape.
However there are some spots that were less than good. For example, the inner stem at the stern separated from the strips sooner than expected and during the curve over on the chine I had a bit of separation on the strips from the forms. I didn’t realize that as a result of this the bevel’s were not correct. From the outside all looked good but on the inside it is a different story.
None of this is a major problem. Just means more work on filling the gaps and then smoothing that out afterwards. Being that this is on the inside, very little of it will actually be visible so if the patches and filler aren’t a perfect color match I’m not concerned. At the ends there will be an epoxy pour also so that should help with the stem. I haven’t decided yet if I’ll cut off the part that’s doing nothing or not. While I can’t get a saw in there a chisel would work well for removing the protruding part.
At the end of the day the inside, for the most part, is actually in really good shape and ready to be worked.
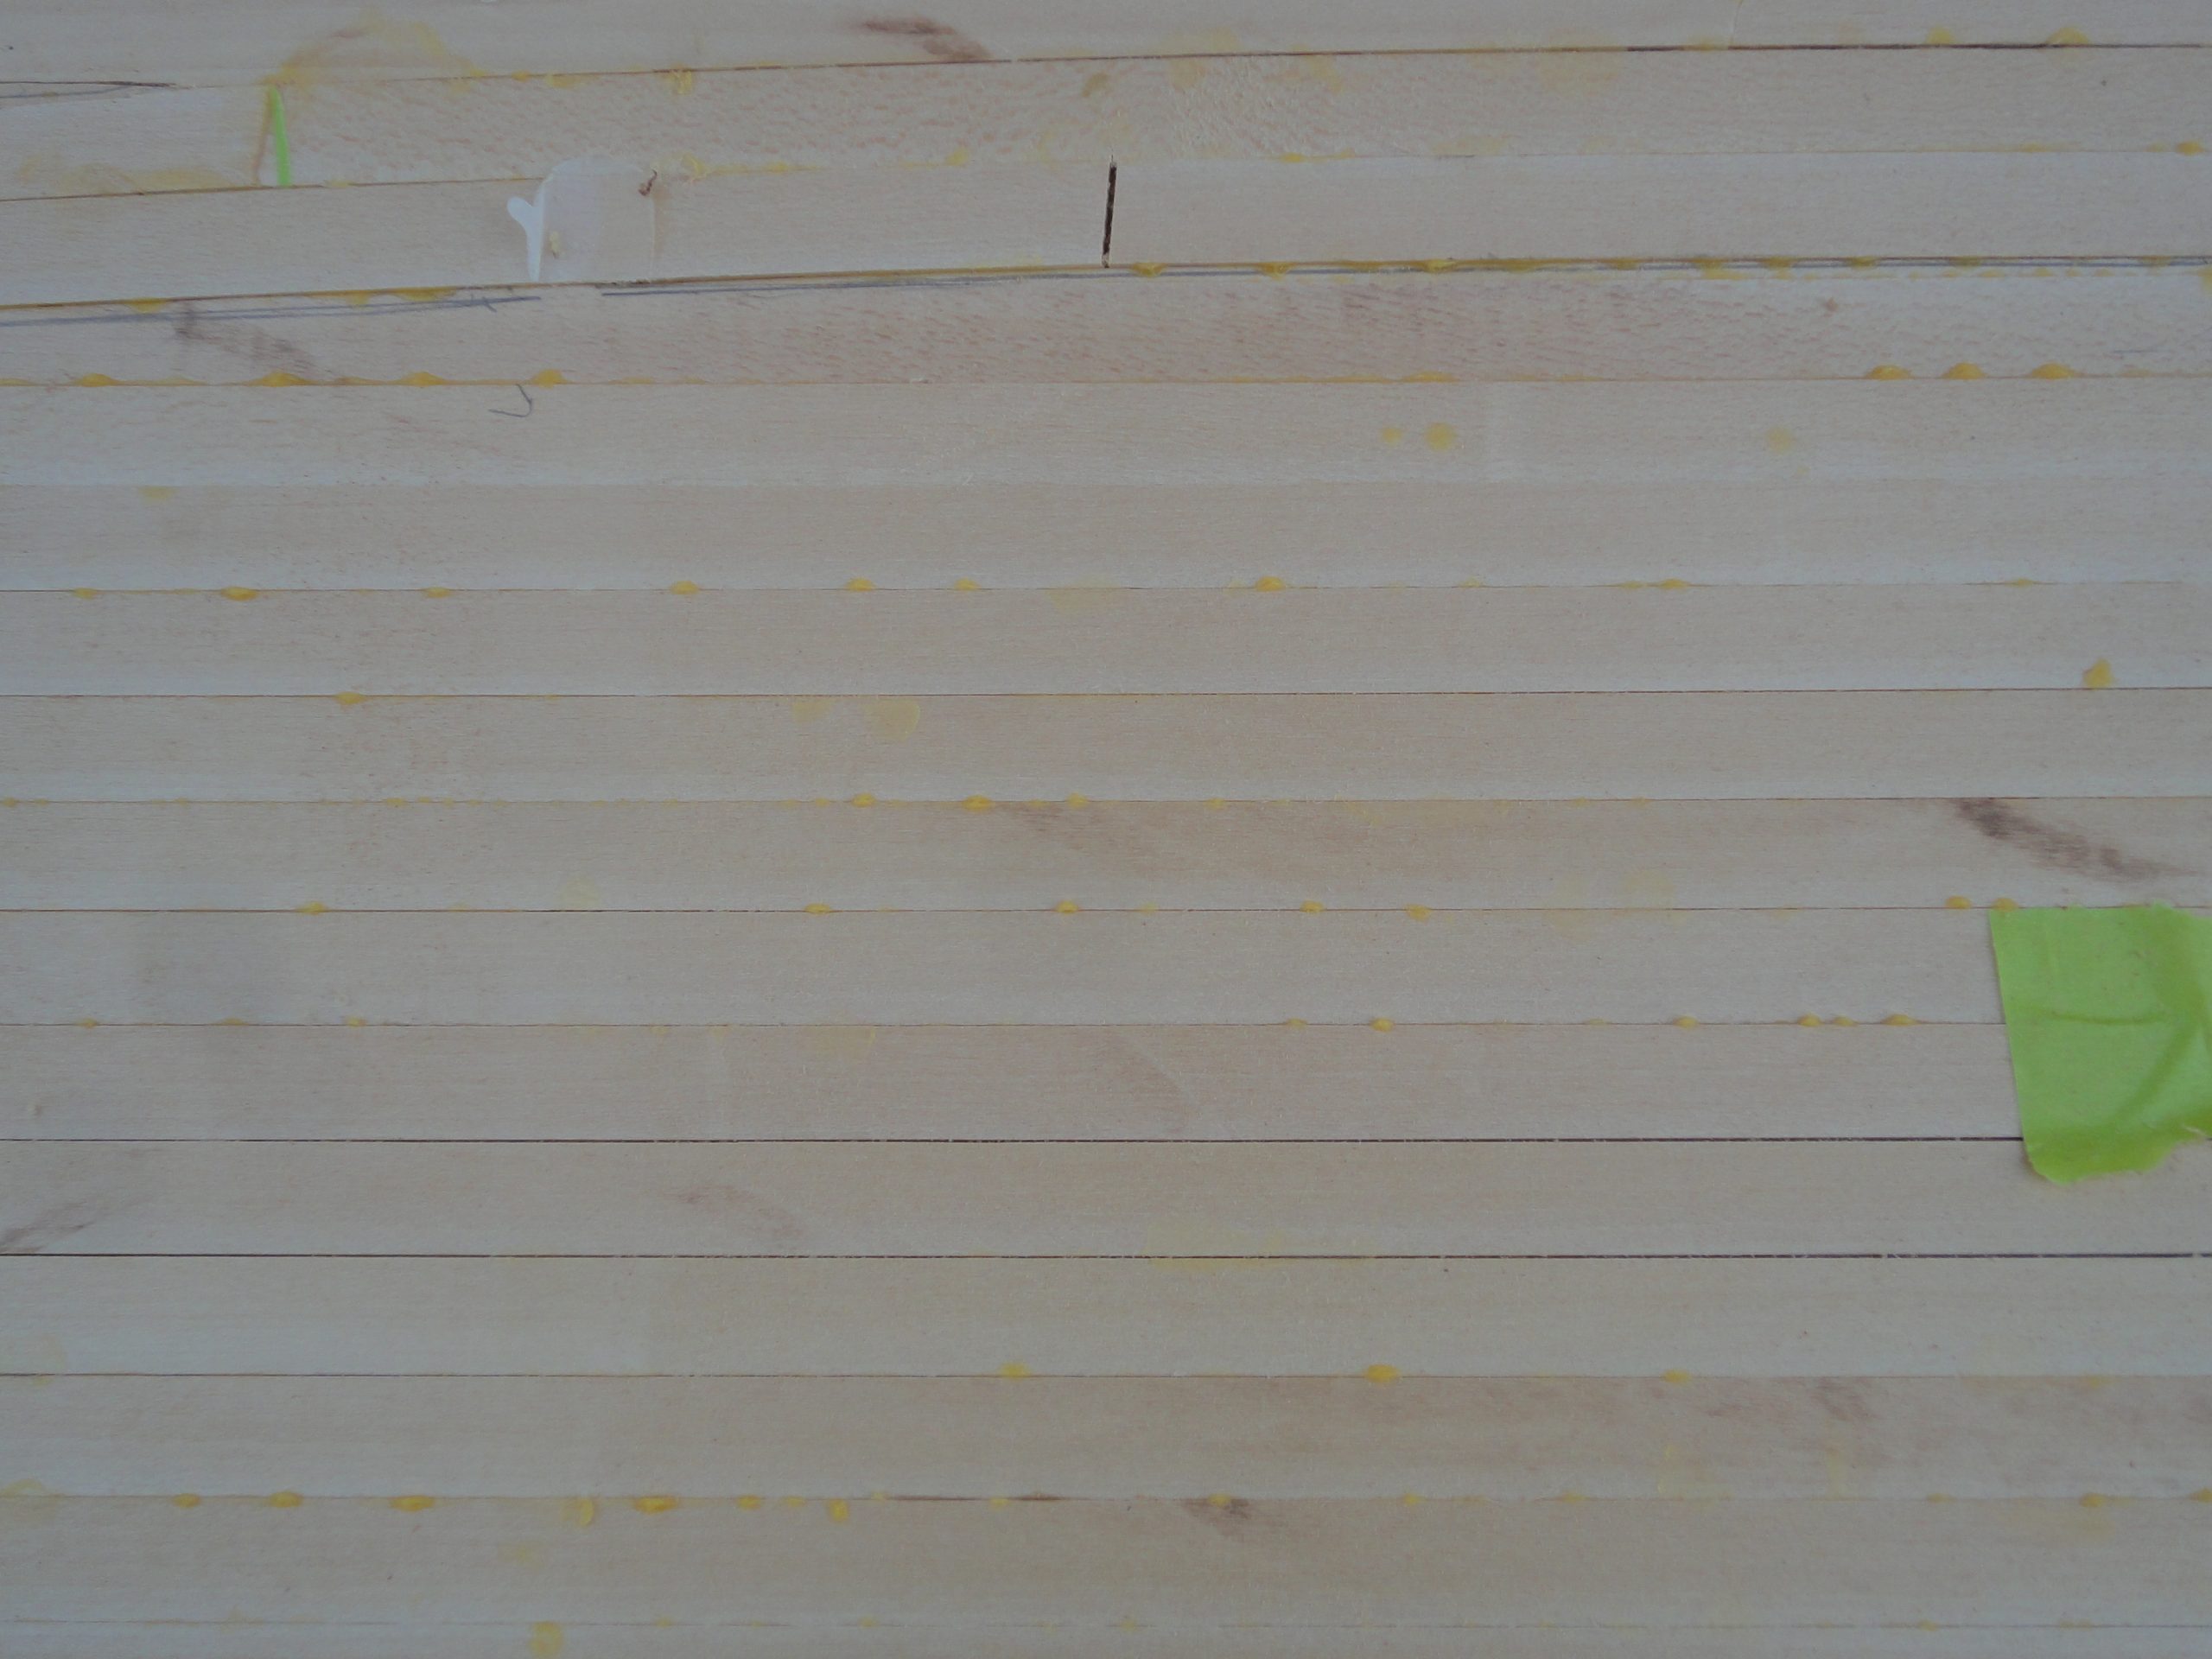
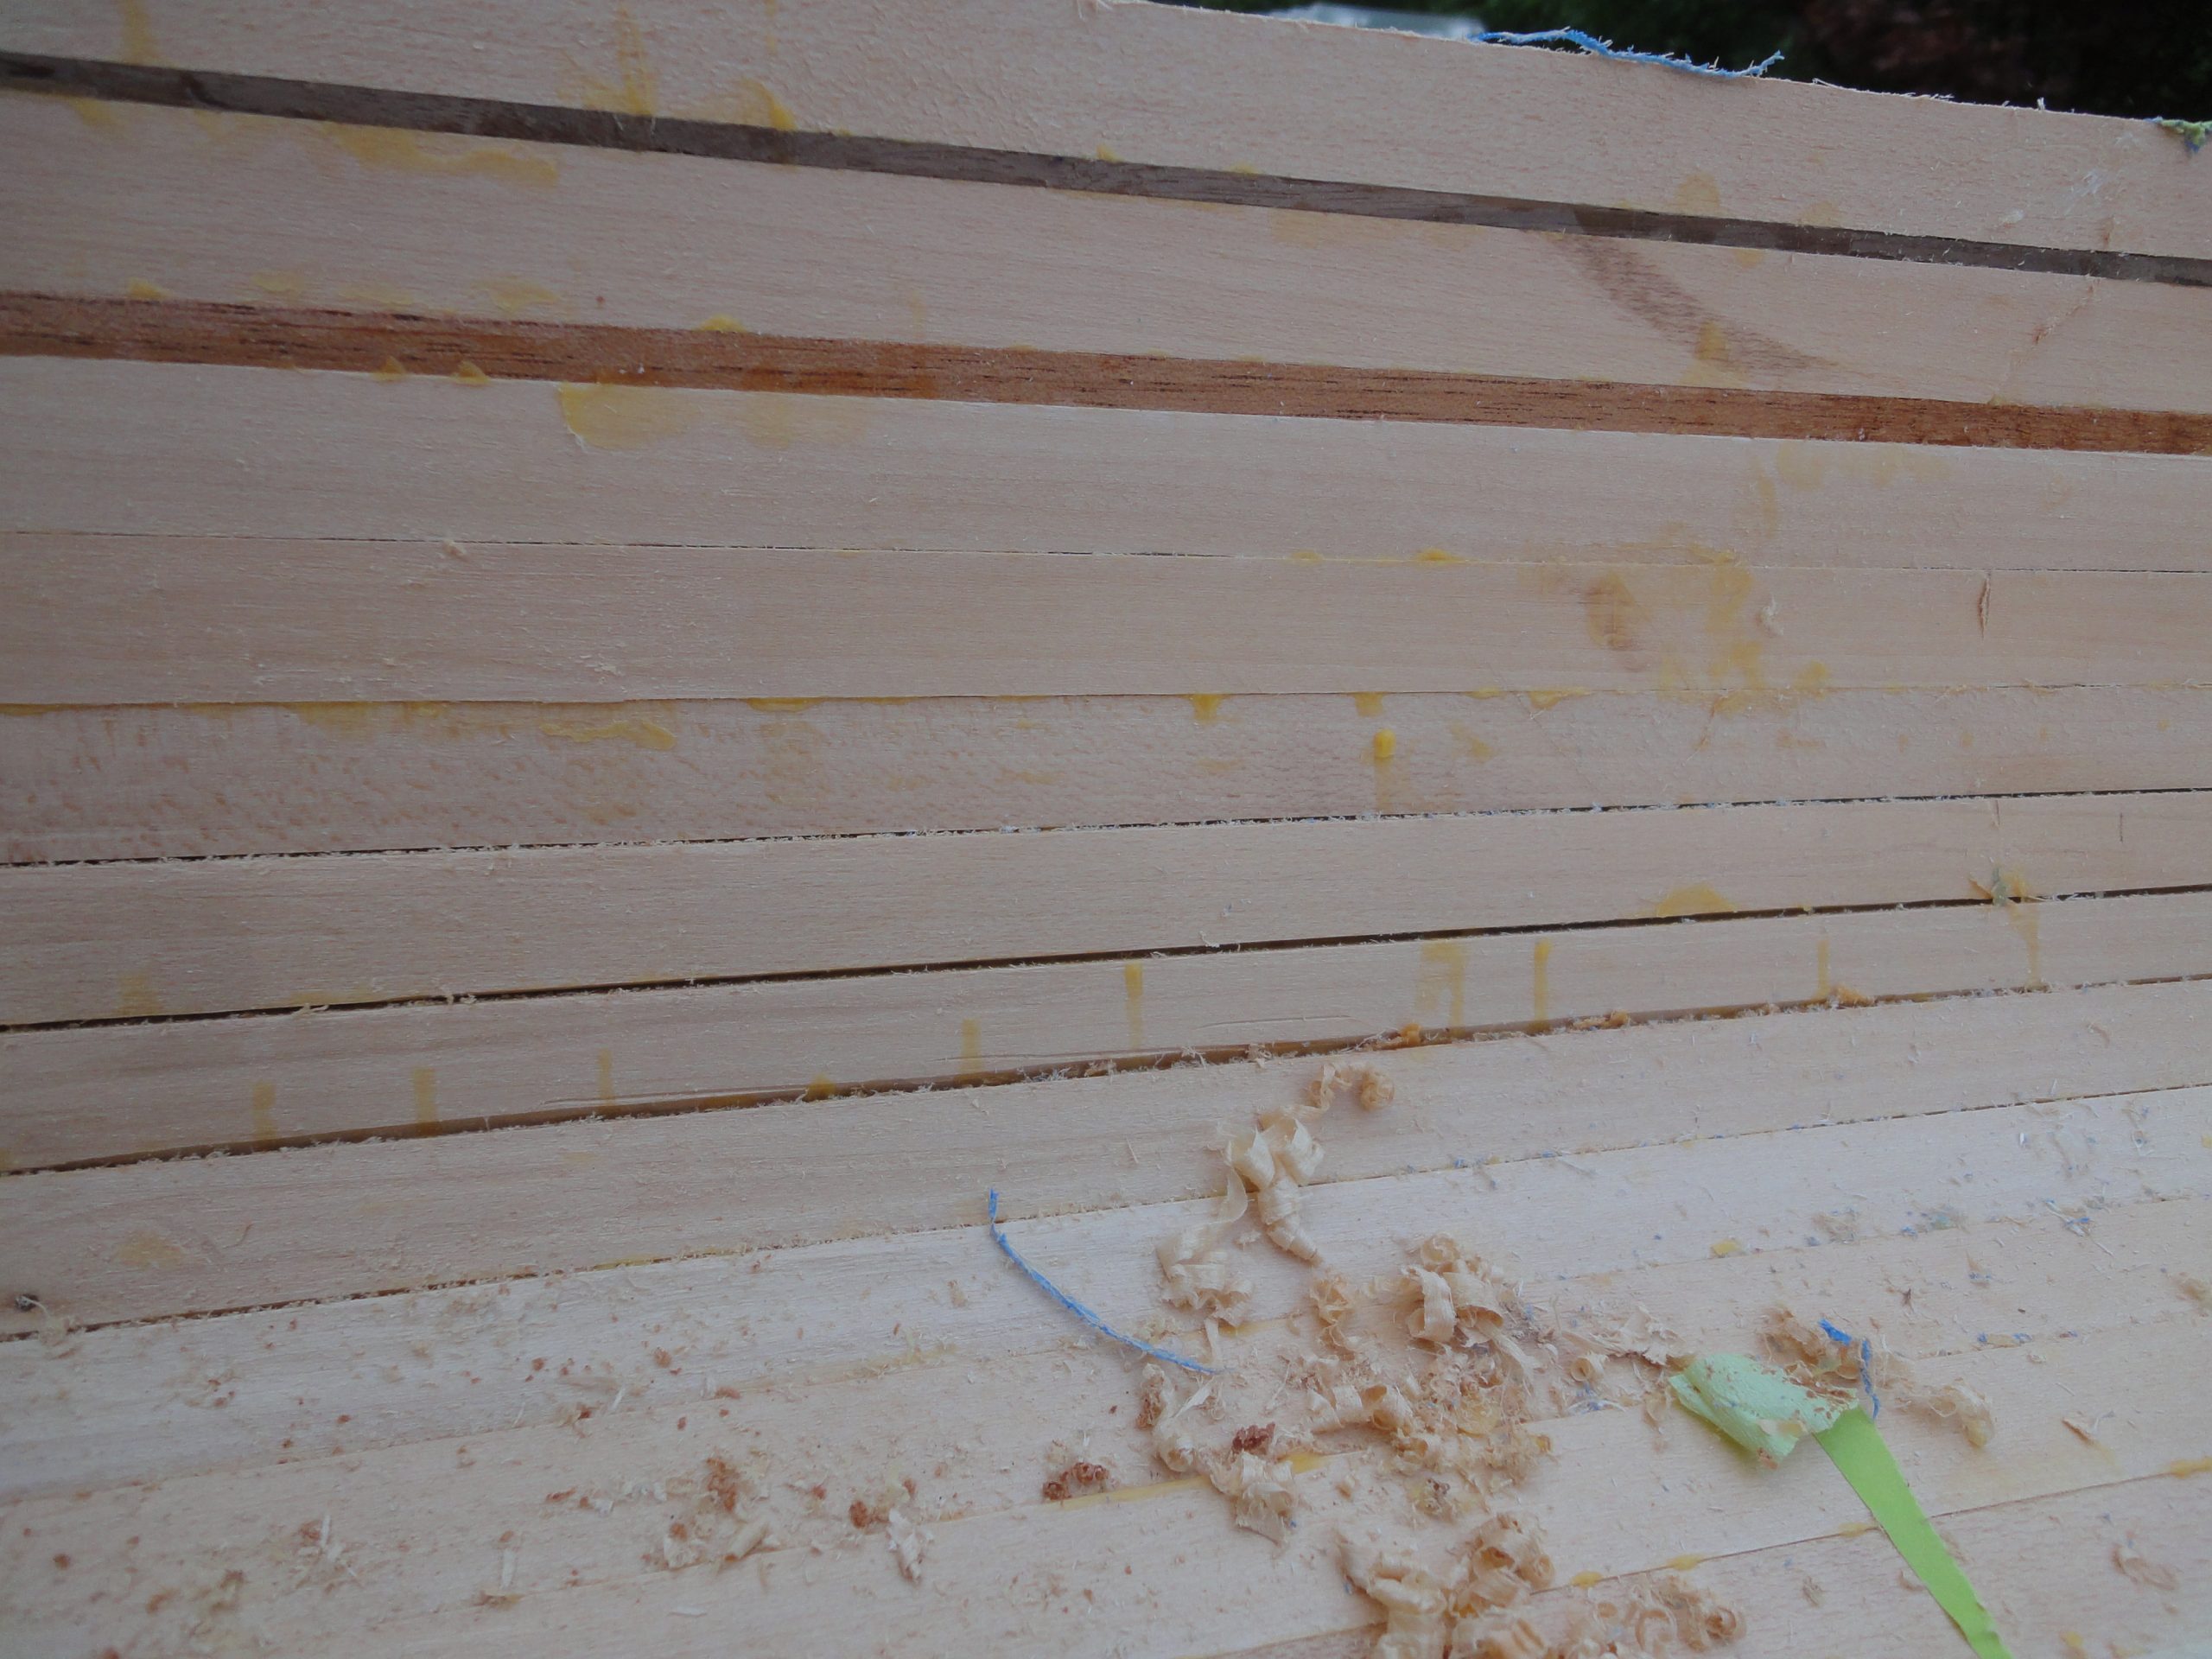
So I’m going to start with the clean up first. Remove the hot glue spots, bits of tape and glue squeeze out blobs. Then start scraping just like I did on the outside. Once again the goal is to level off the boards to make a smooth surface. Being on the inside I’m not striving for as good as I did on the outside, but I’m also not cutting any corners here either. It is still important that the surface be smooth and fair as dips and uneven strips will prevent the fiberglass from bonding to the hull completely. You will end up with bridging over the uneven surfaces resulting in a weaker spot. So the same steps have to be followed including scraping and sanding to get to a consistent surface.
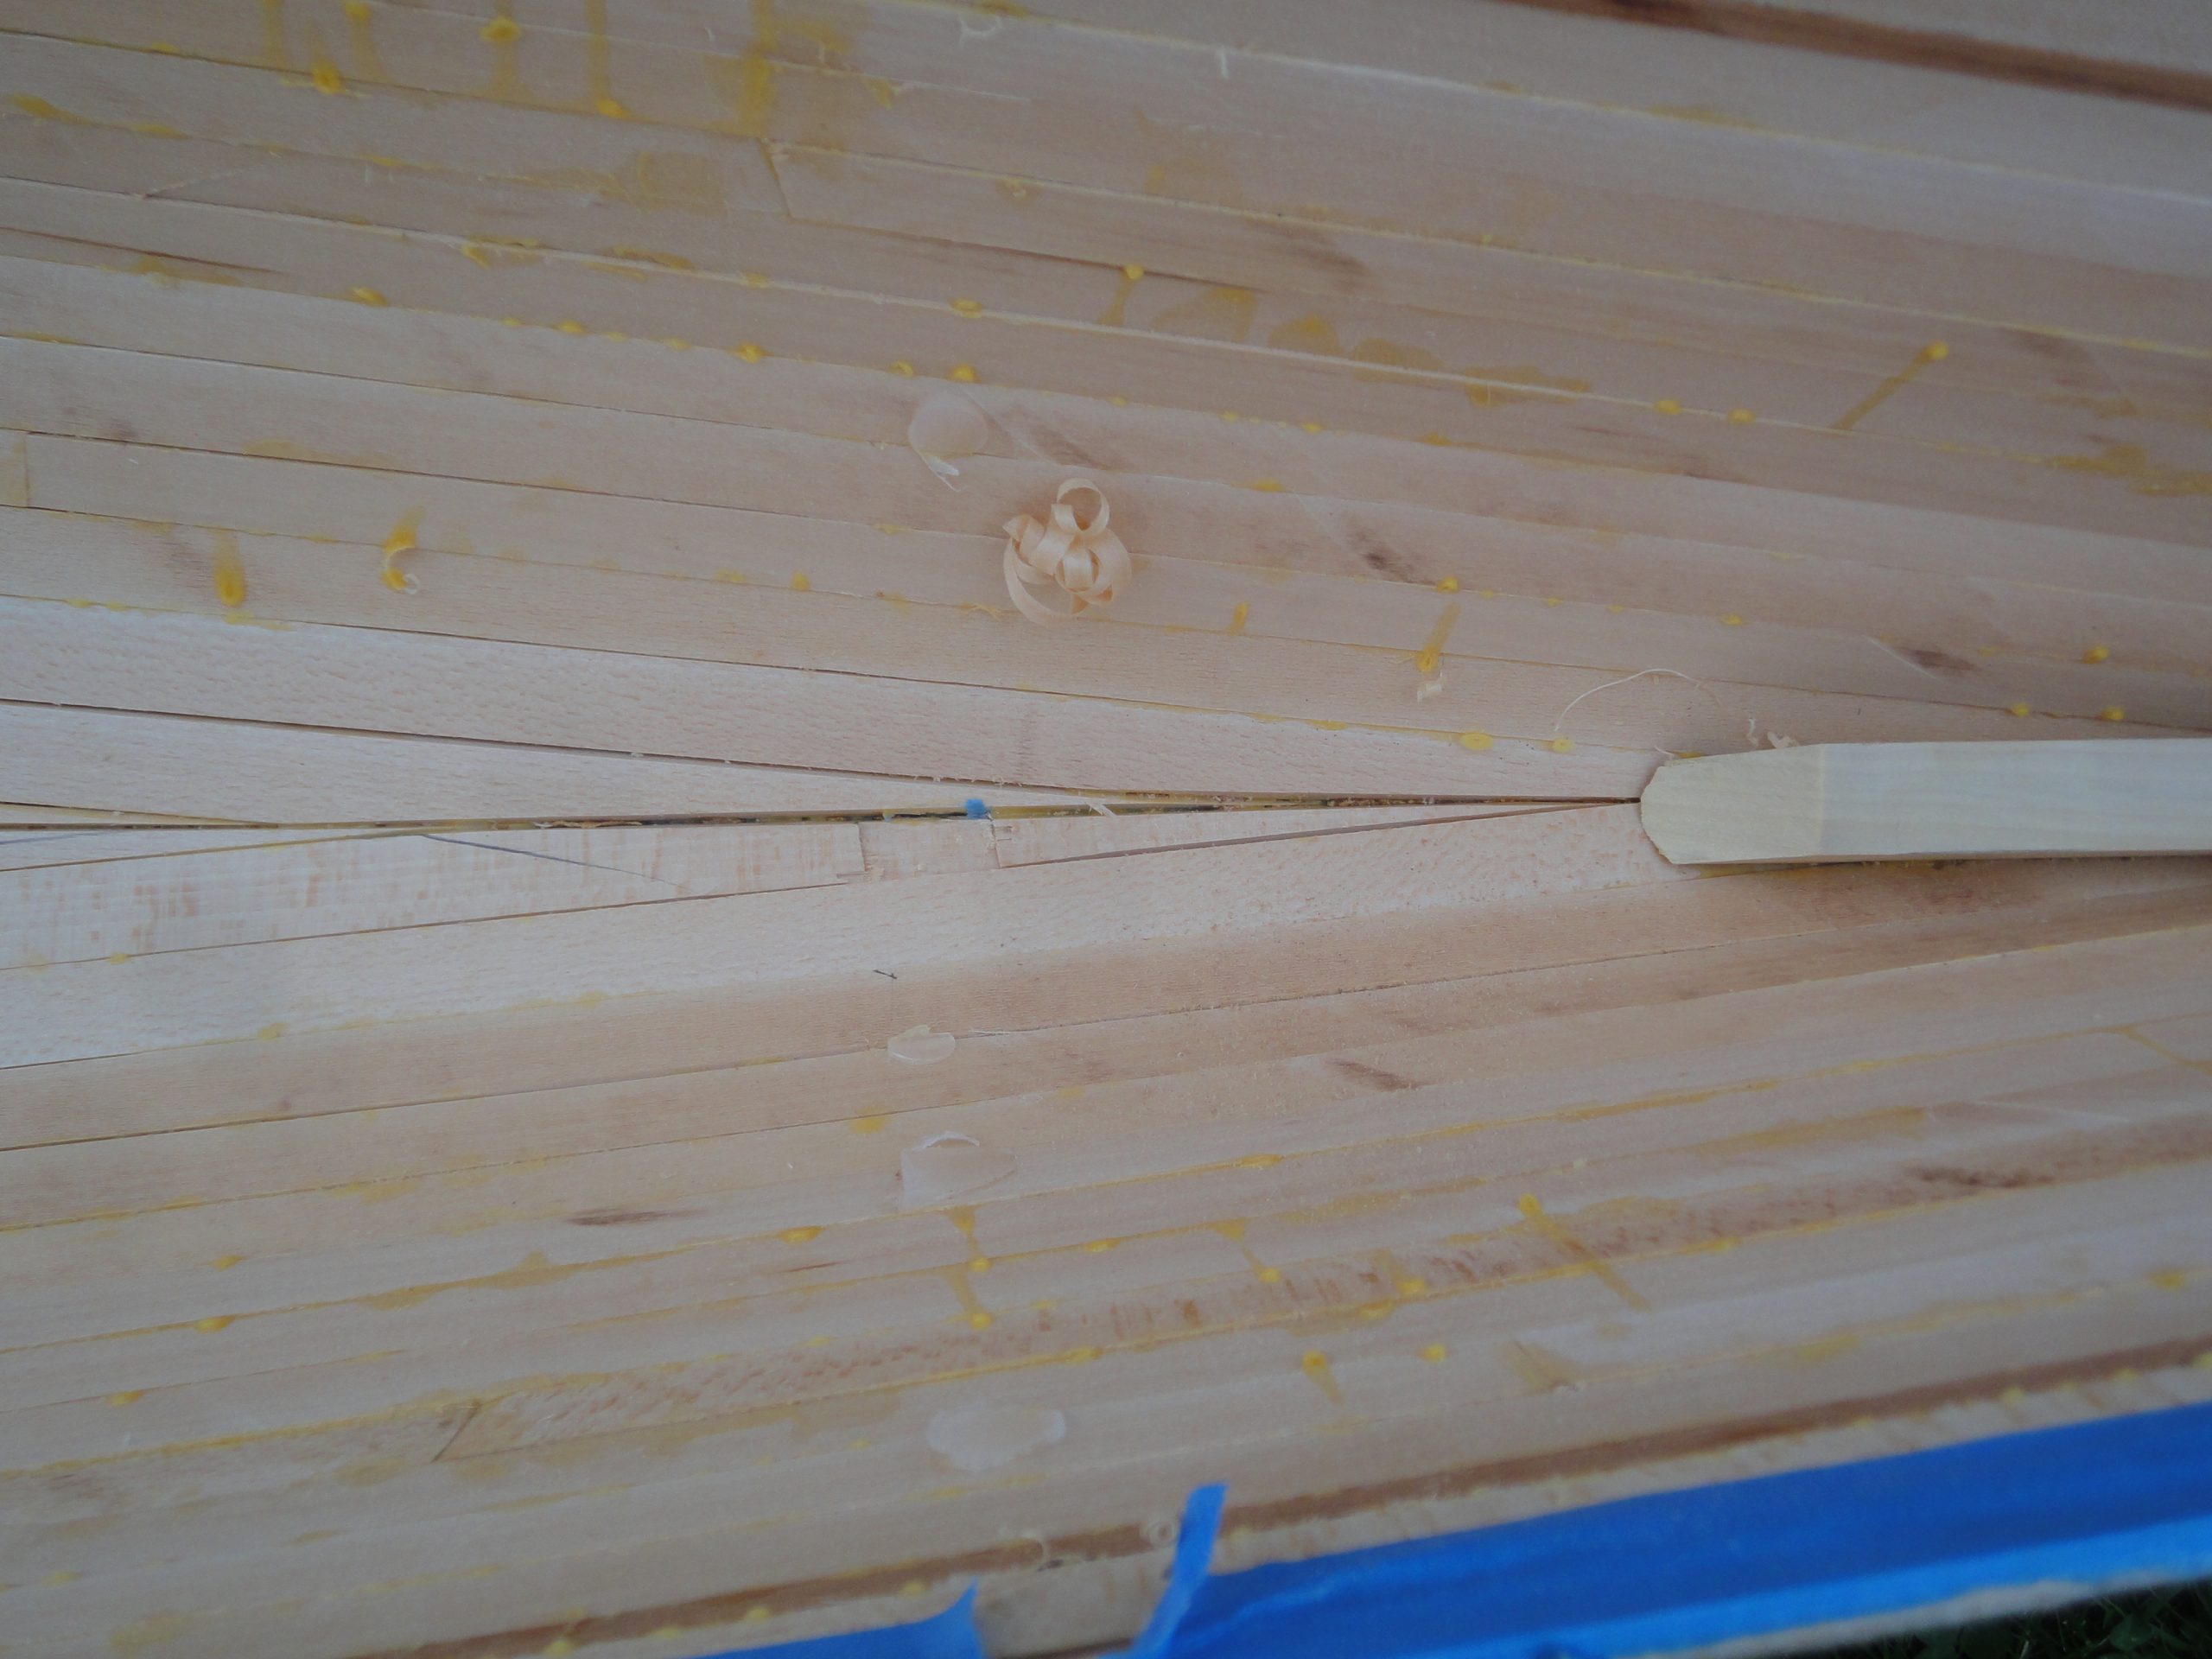
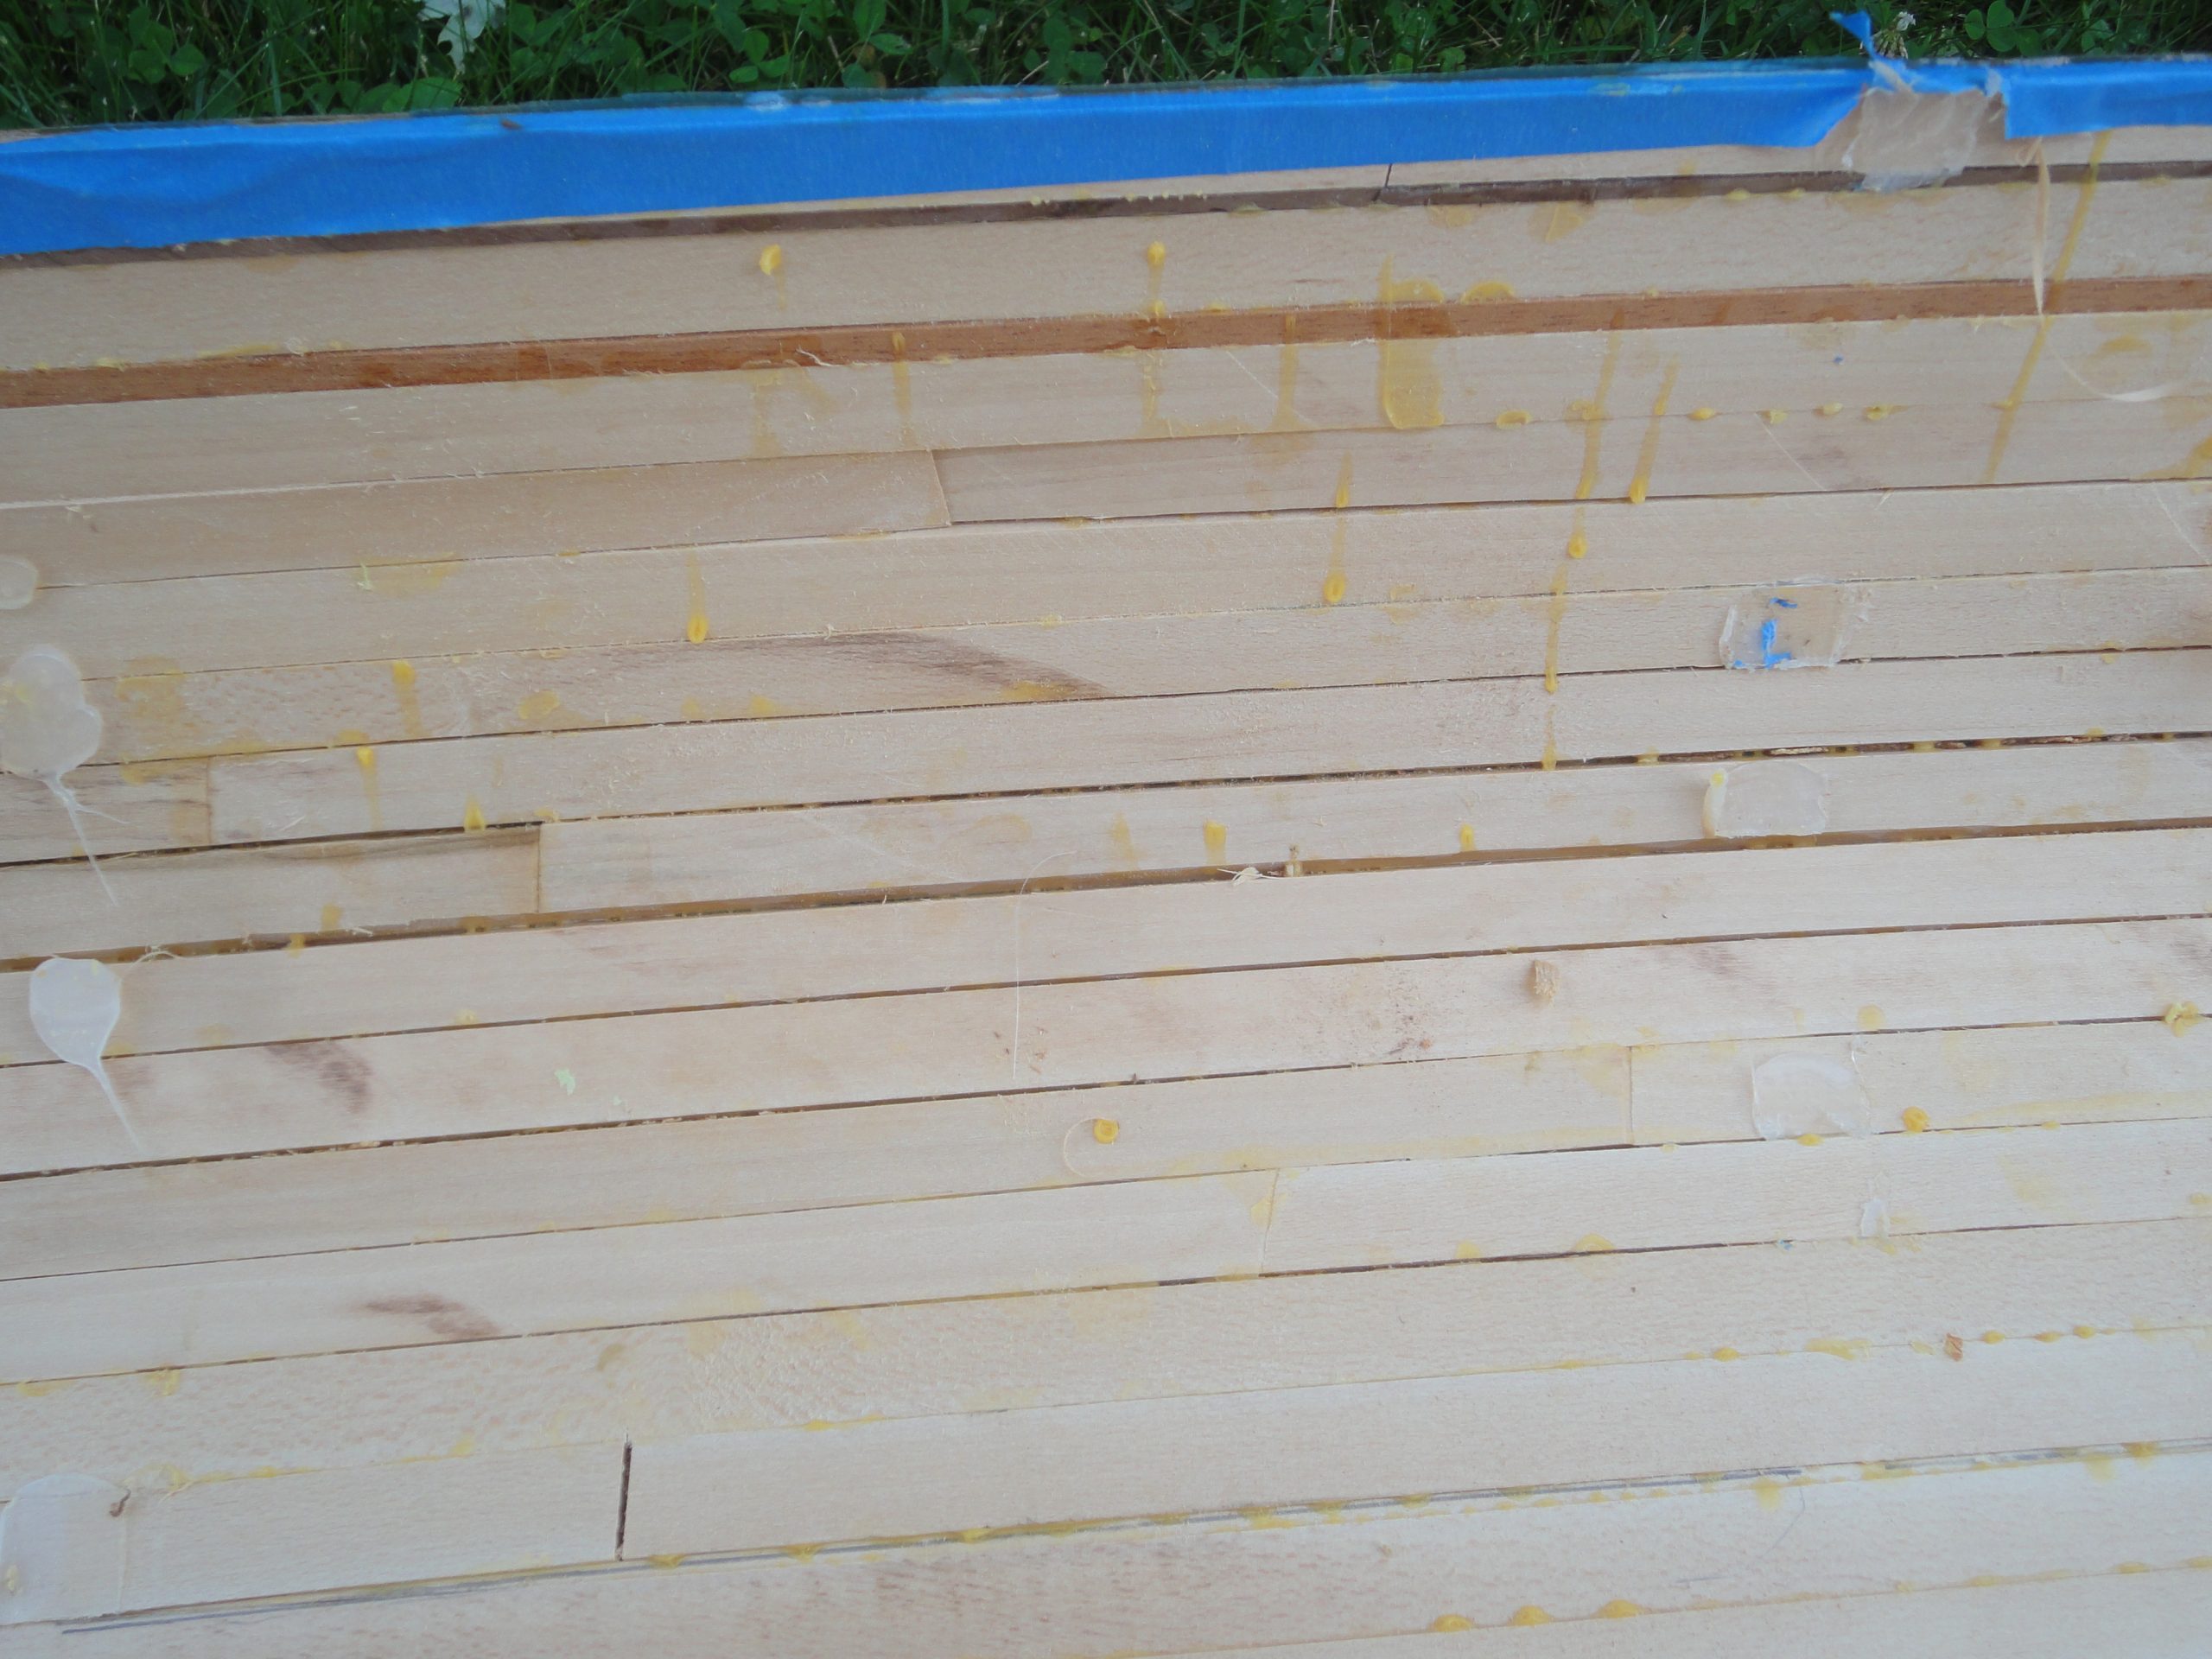
Using mostly the curved end scraper I started on one section and it cleaned up fairly well with a reasonable amount of effort. I expect the next few work sessions will be mostly scraping and smoothing so there won’t really be anything new to see and I may skip a few work session postings until I have something meaningful to share. In these last shots you can see the scraper and the before and after of a section that I started on.
The above work was done on Wednesday. Thursday I spent a bit more time and got about a quarter of the inside completed. With luck I may have all of the scraping done sometime this weekend and can move on to the gap filling.
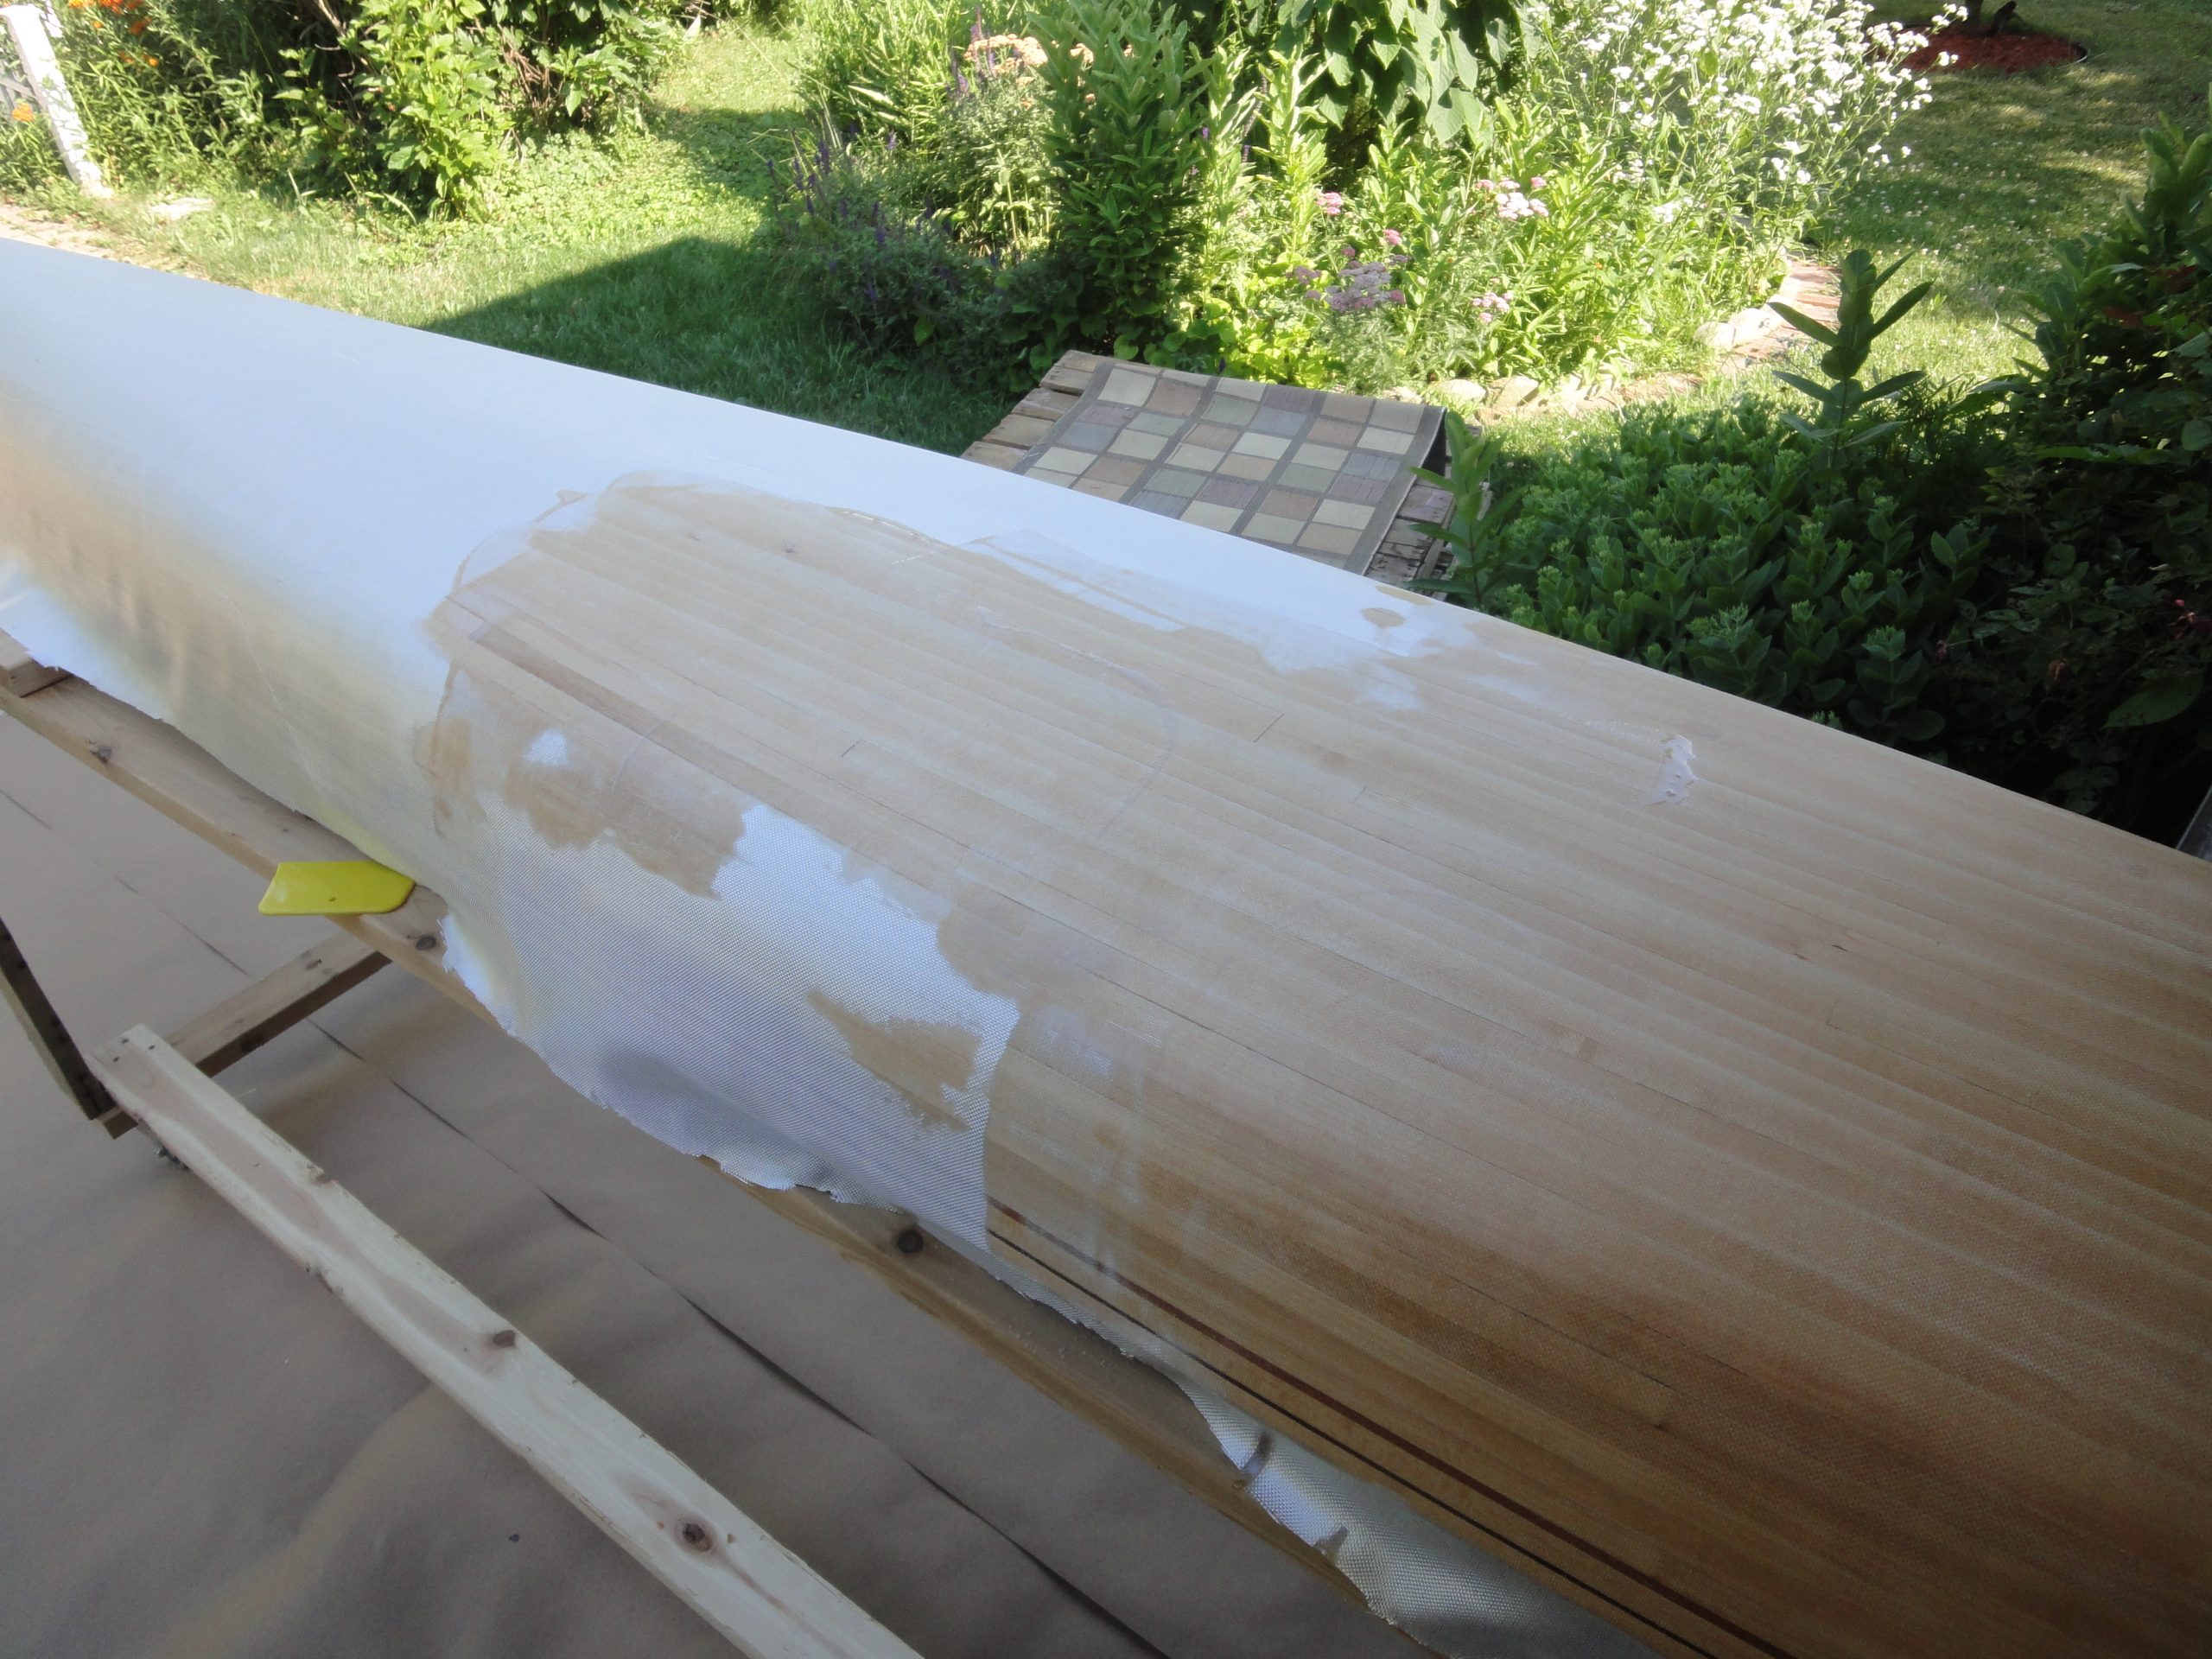
Today was the big day. OK, one of them. I applied the first two coats of epoxy. The first coat was to tack down the fiberglass and the second coat was to start to fill in the weave of the cloth. Following the process on the test piece last time, I mixed and poured on the epoxy and then spread it out with the flexible spreader.
The sides were not as easy to get filled with the spreader and much of them were actually done with a brush. I didn’t paint so much as wet the brush and then dab the epoxy on. It worked quite well and I was able to completed the first coat in right about an hour.
The temperature was in the mid 90s when I started and slowly dropping the whole time I was working. Warmer temperatures allow for the epoxy to be less viscous and helps it to flow more easily. However the warmer it gets the quicker the epoxy sets up. I found a comfortable working amount was 5 pumps. I’d add five full pumps (all the way down and allow it to return all the way up before pumping again) of the resin and five of the hardener. I vigorously mixed for 60 seconds and then applied either by pouring on and spreading or brushing and dabbing.
Gaining some confidence I tried a batch with 7 pumps and I could feel it thickening near the end of the application so I stayed with 5 per batch for just enough working time.
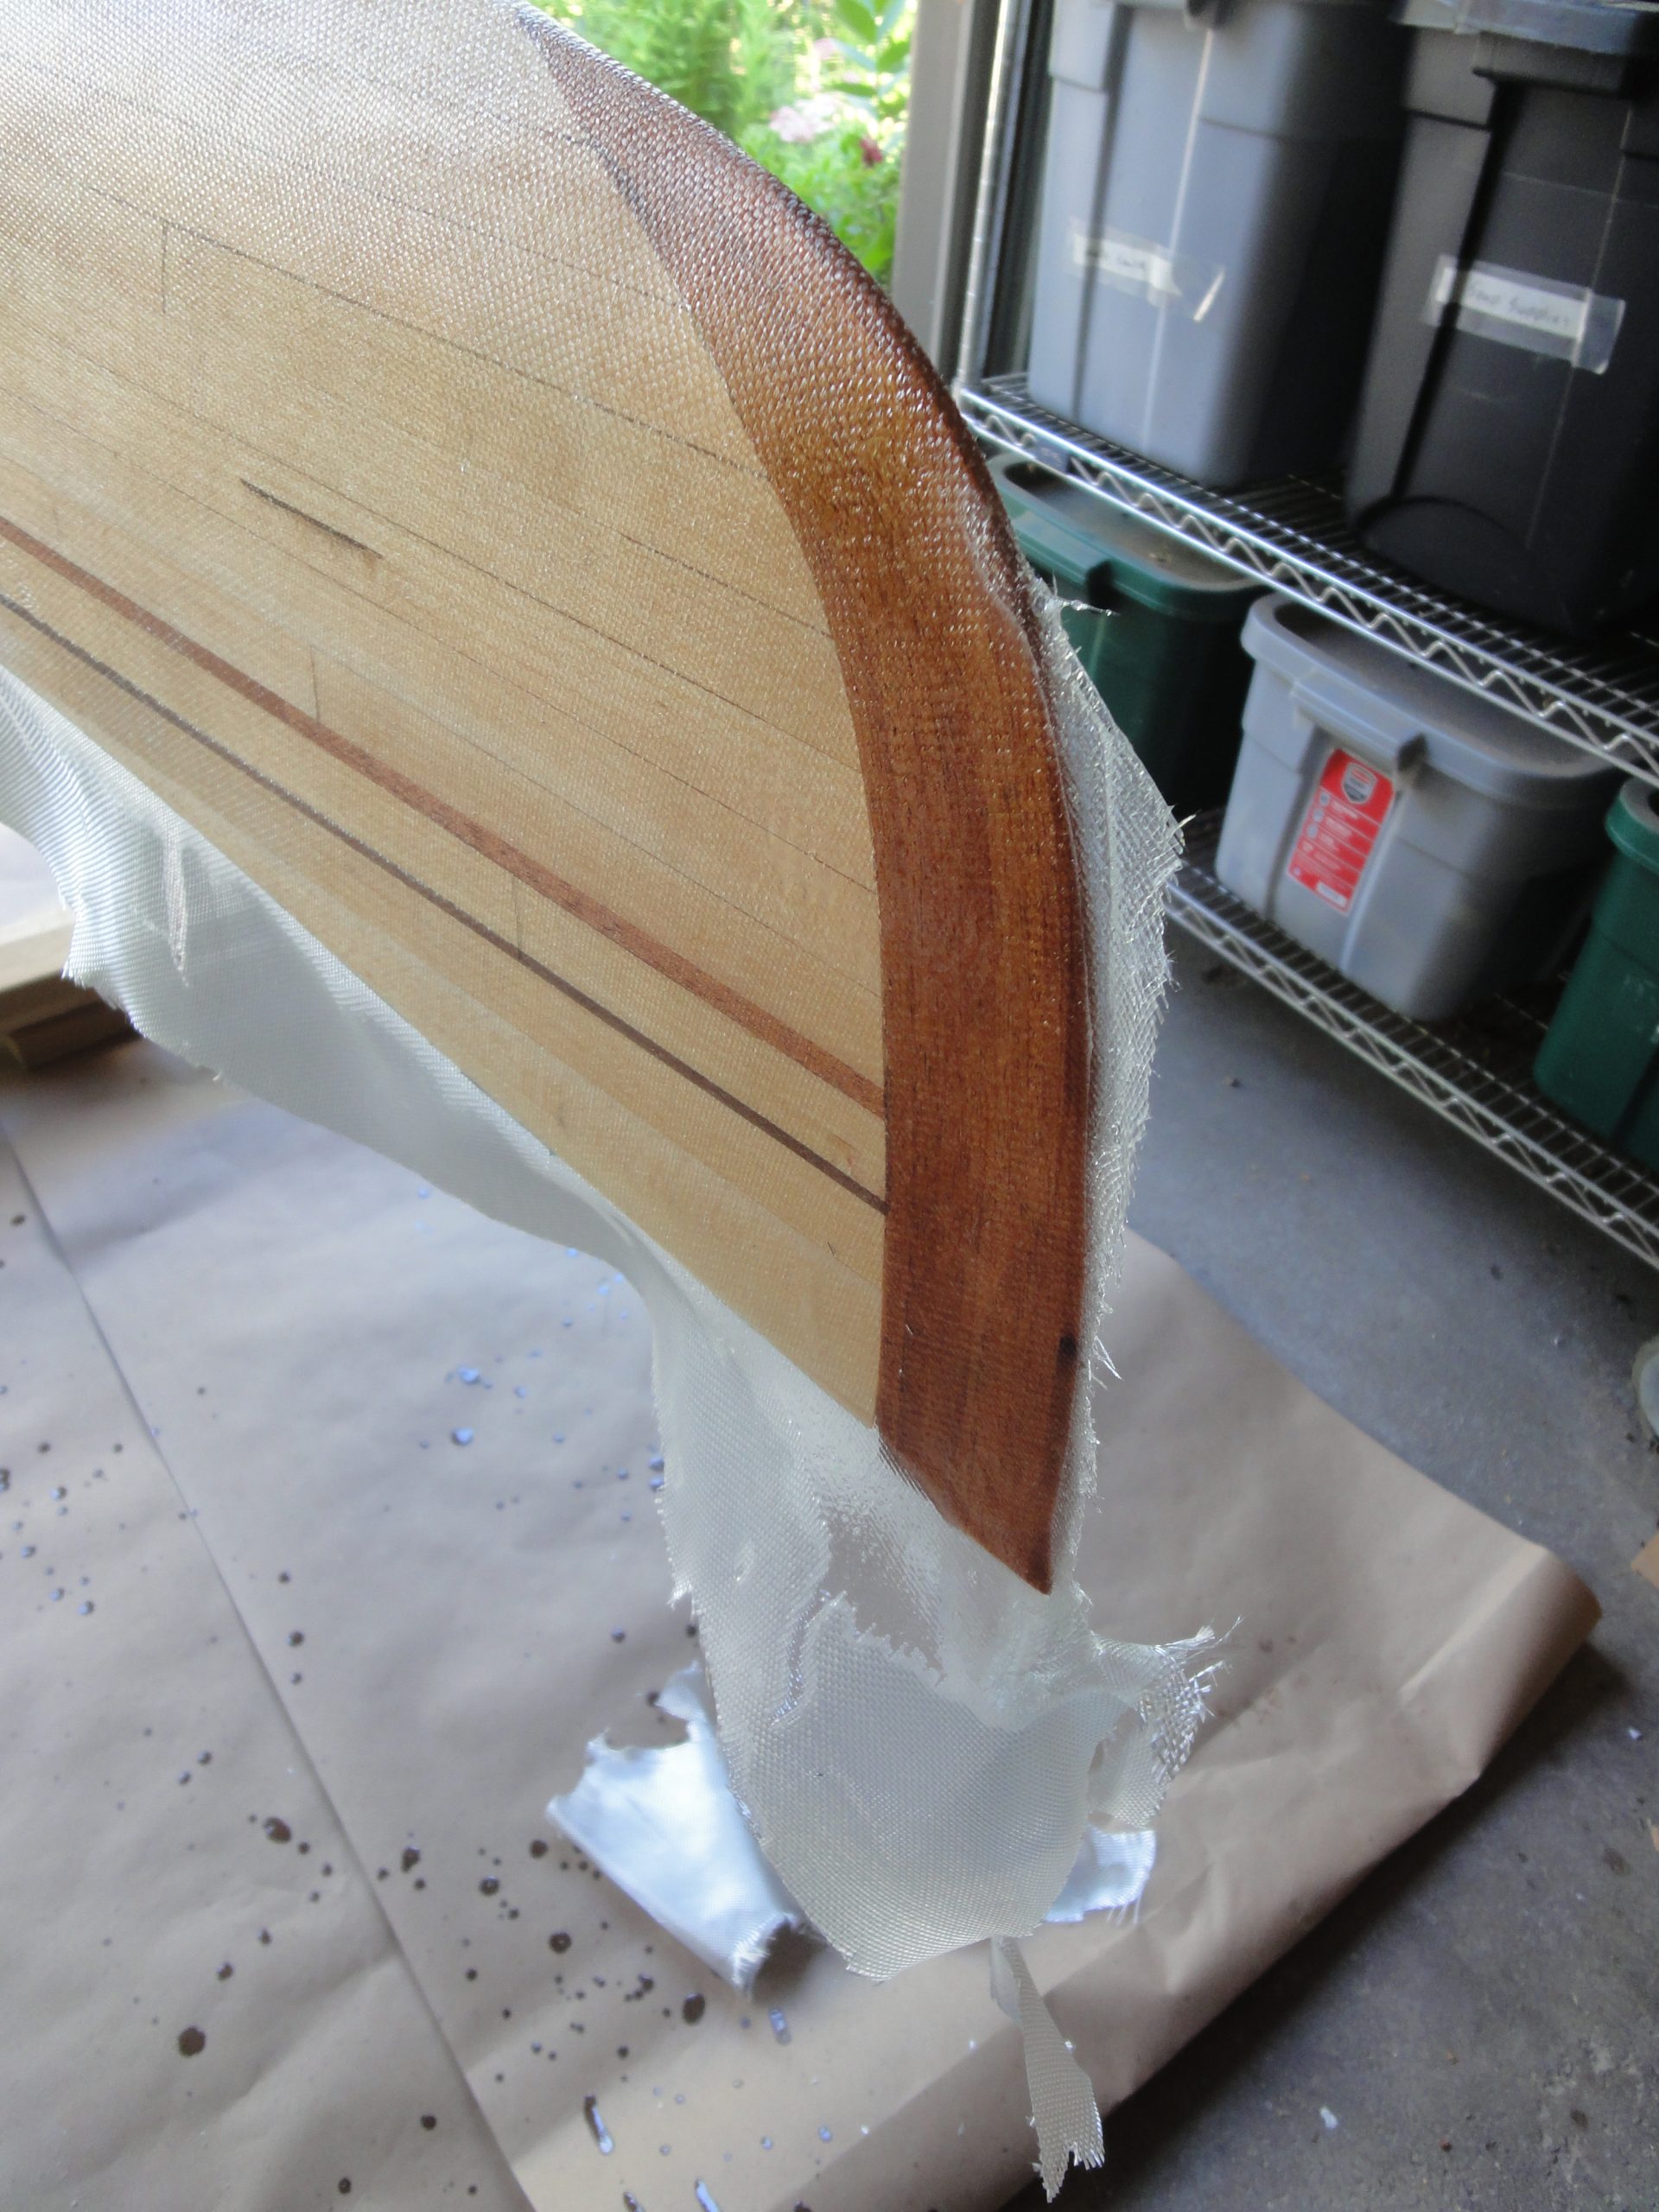
At the bow and stern I got the stems reasonably well and then cut off the excess. I’m not trying to make this perfect as I’ll apply a separate piece just for these later.
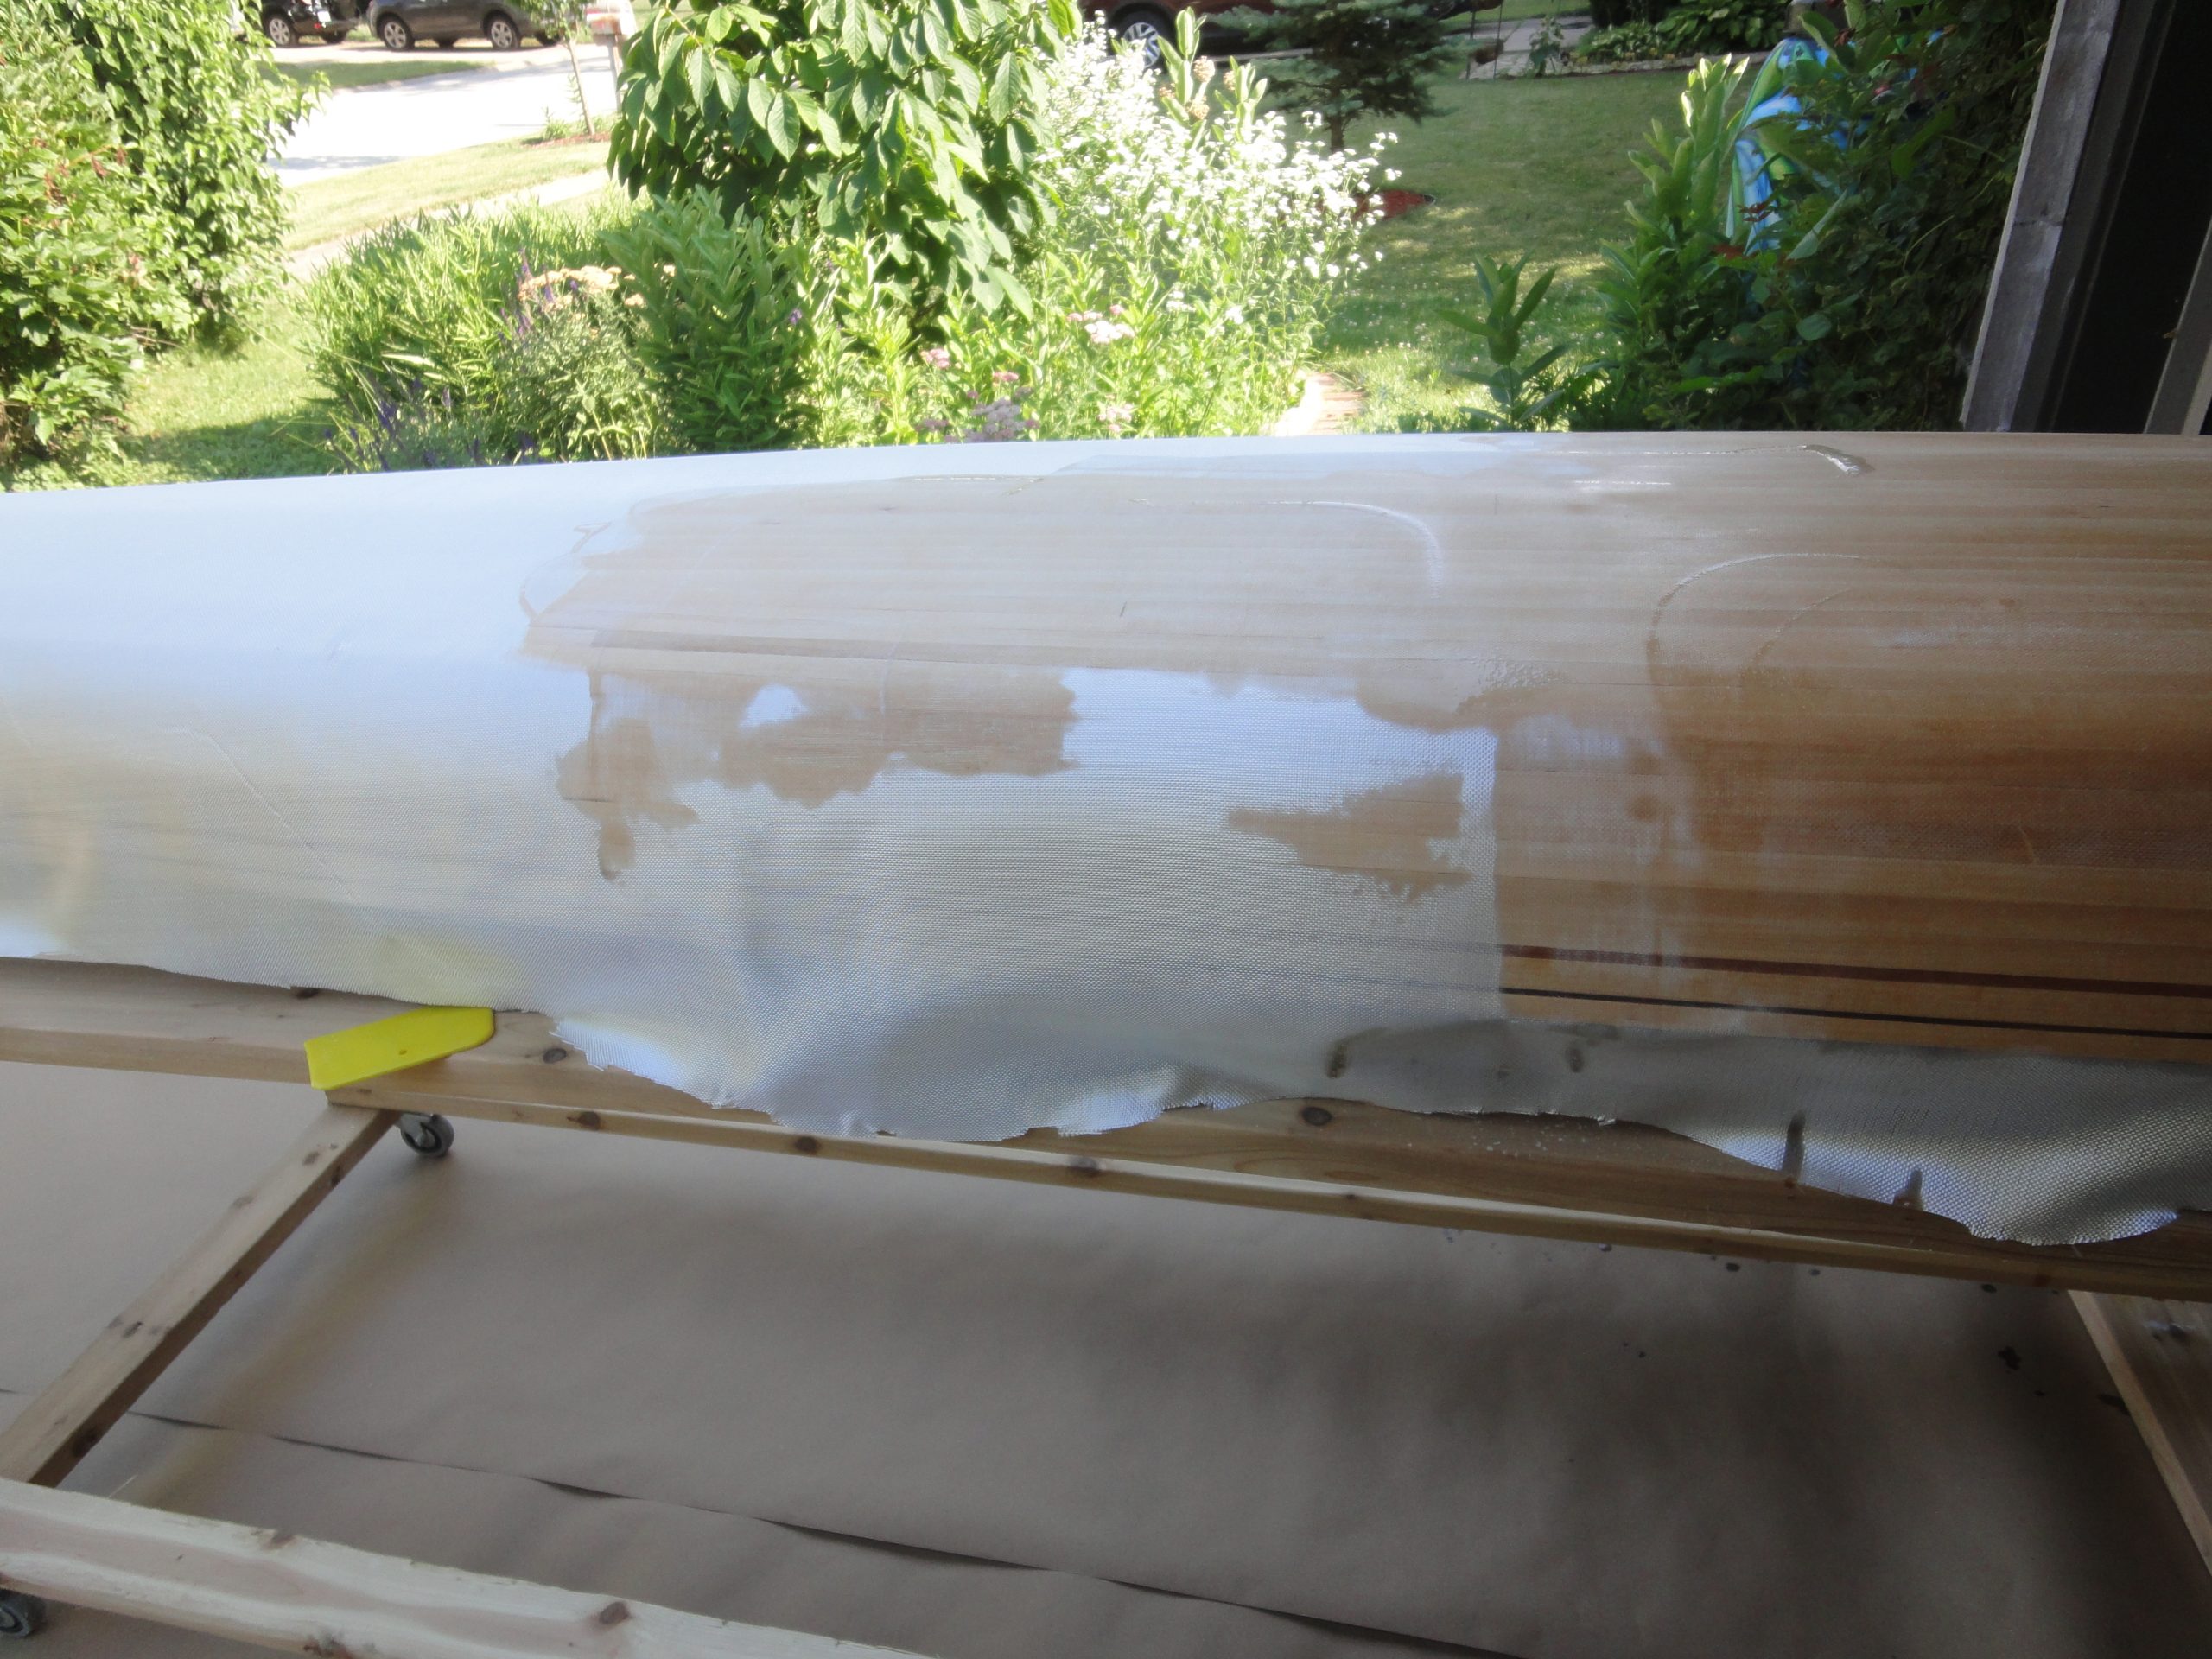
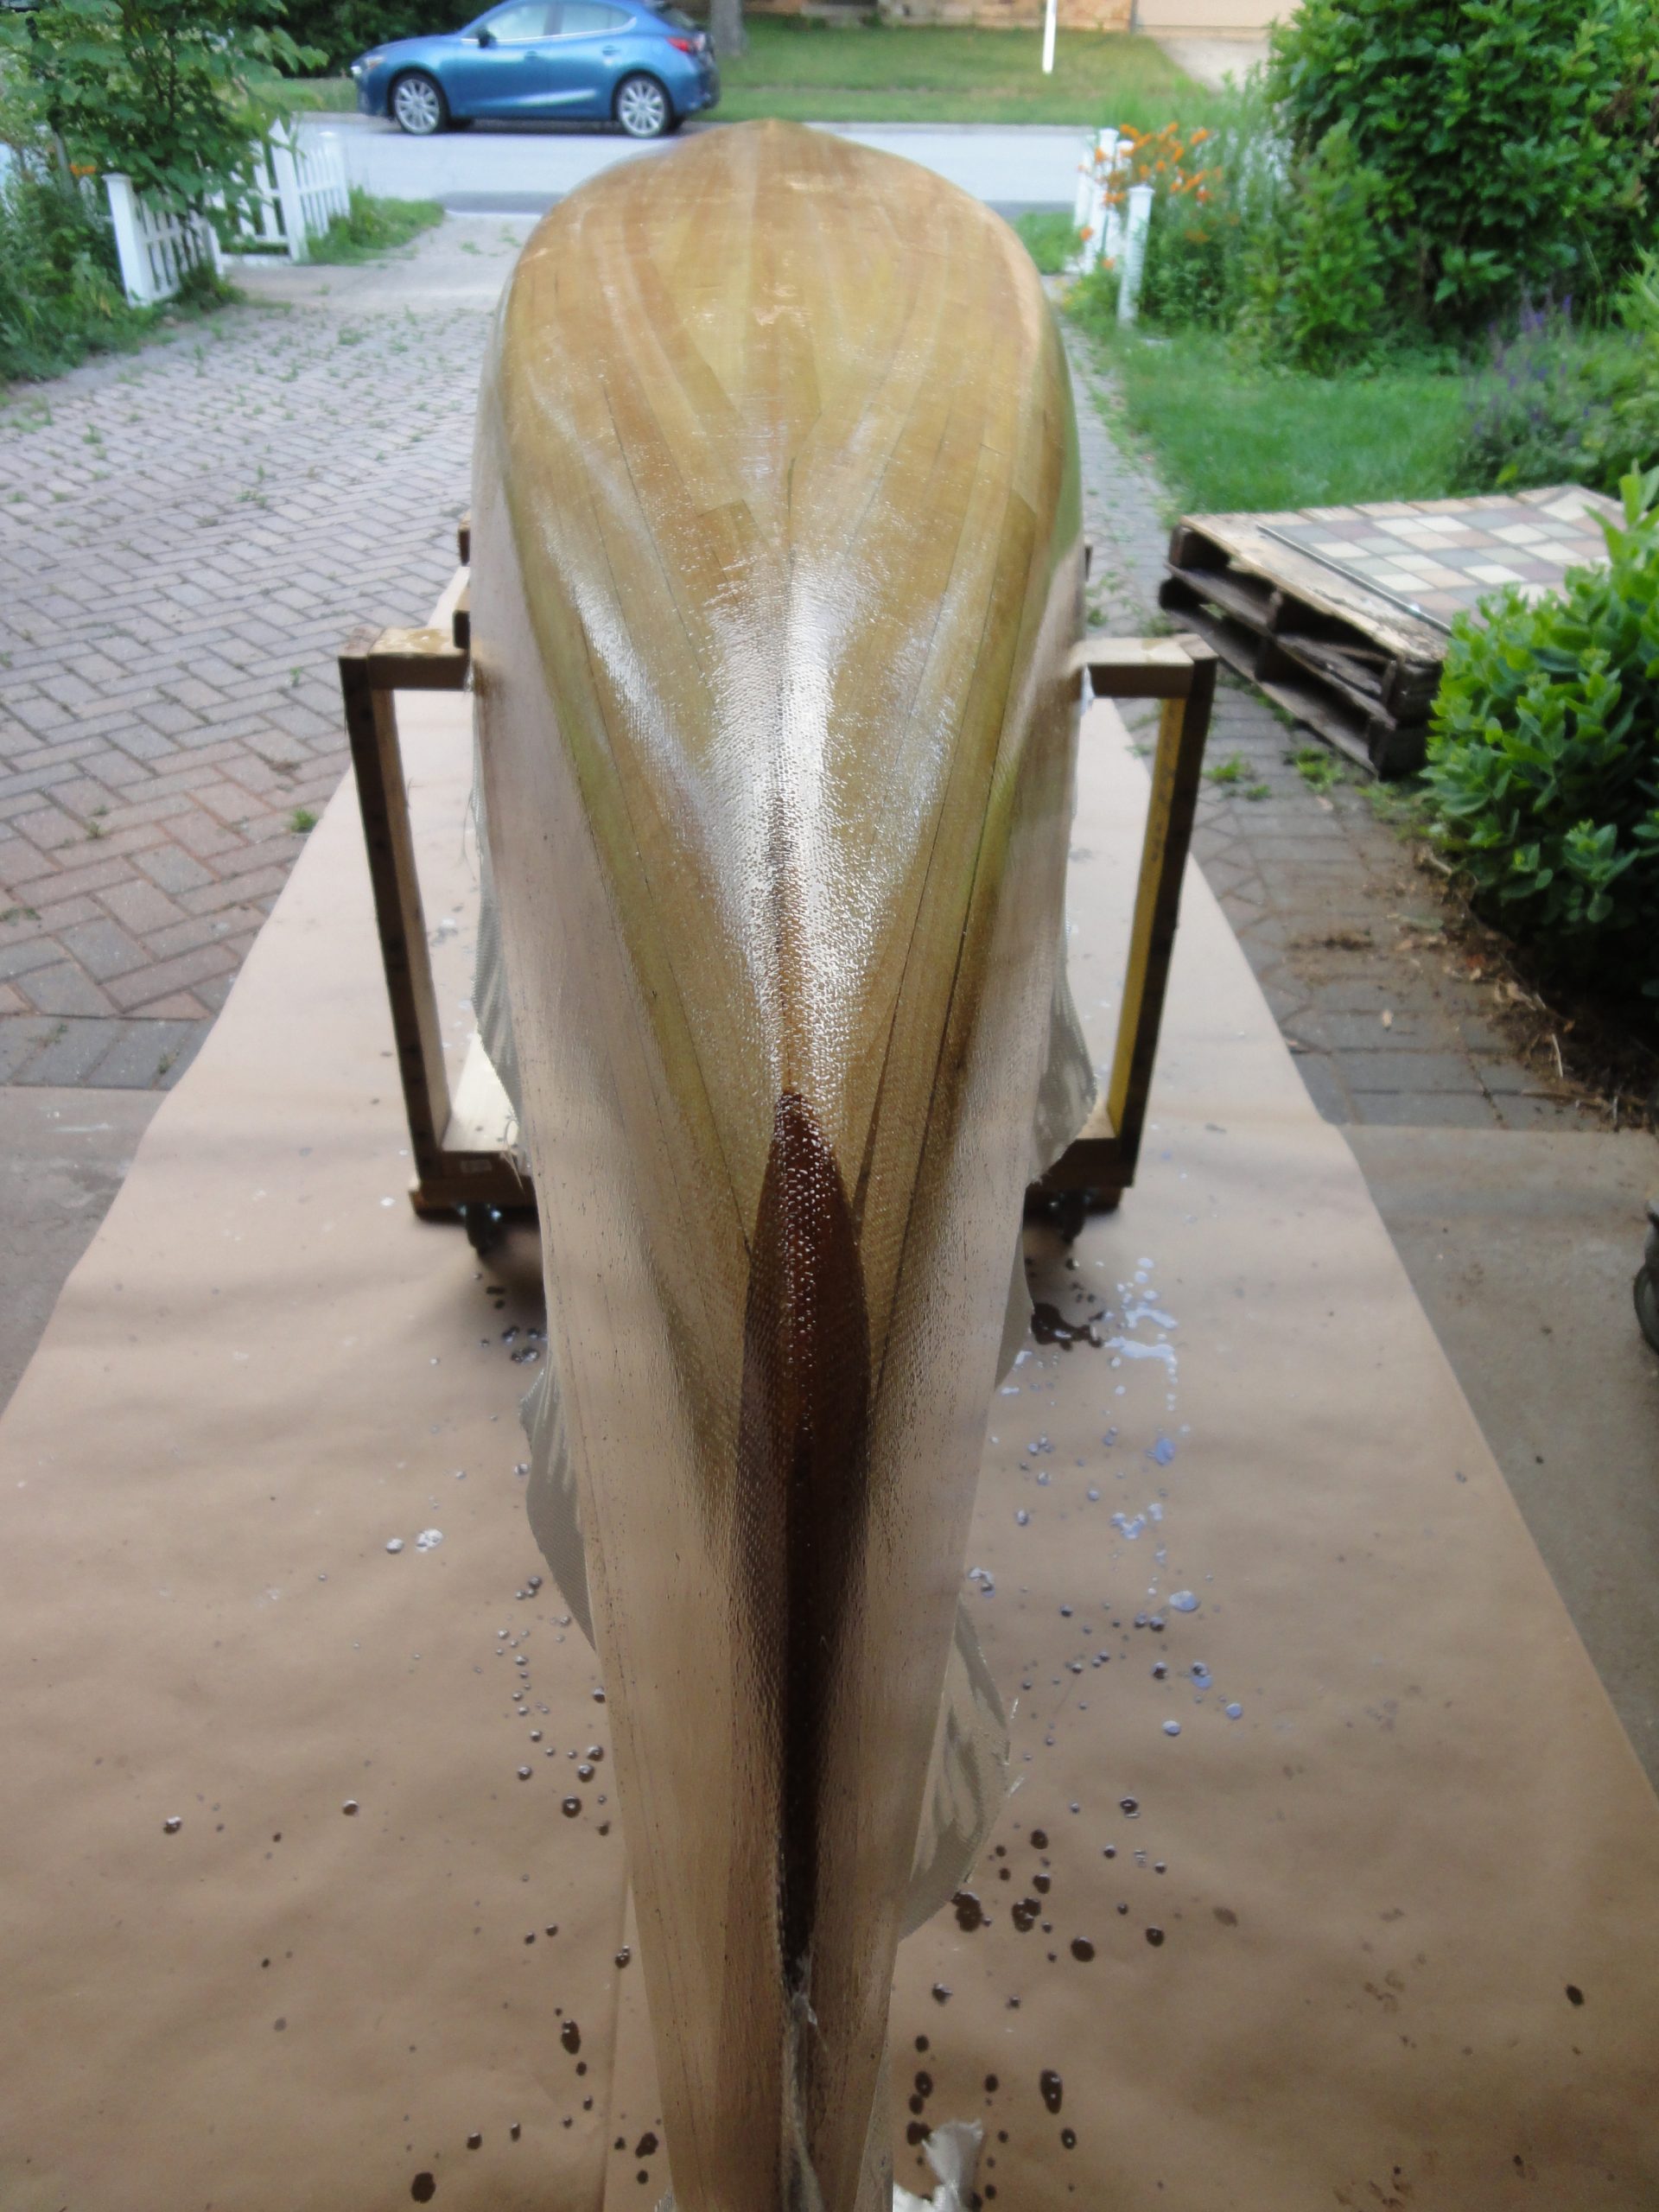
Once the entire cloth was saturated with the epoxy and bonded to the wood, I then took the spreader and squeegeed off the excess. I ran the spreader through a cup with a slit in it to scrape off the excess before making the next pass. At the end I was going for a matte finish. If it was shiny then I potentially had too much epoxy on and risked the cloth not bonding to the wood as it could float up.
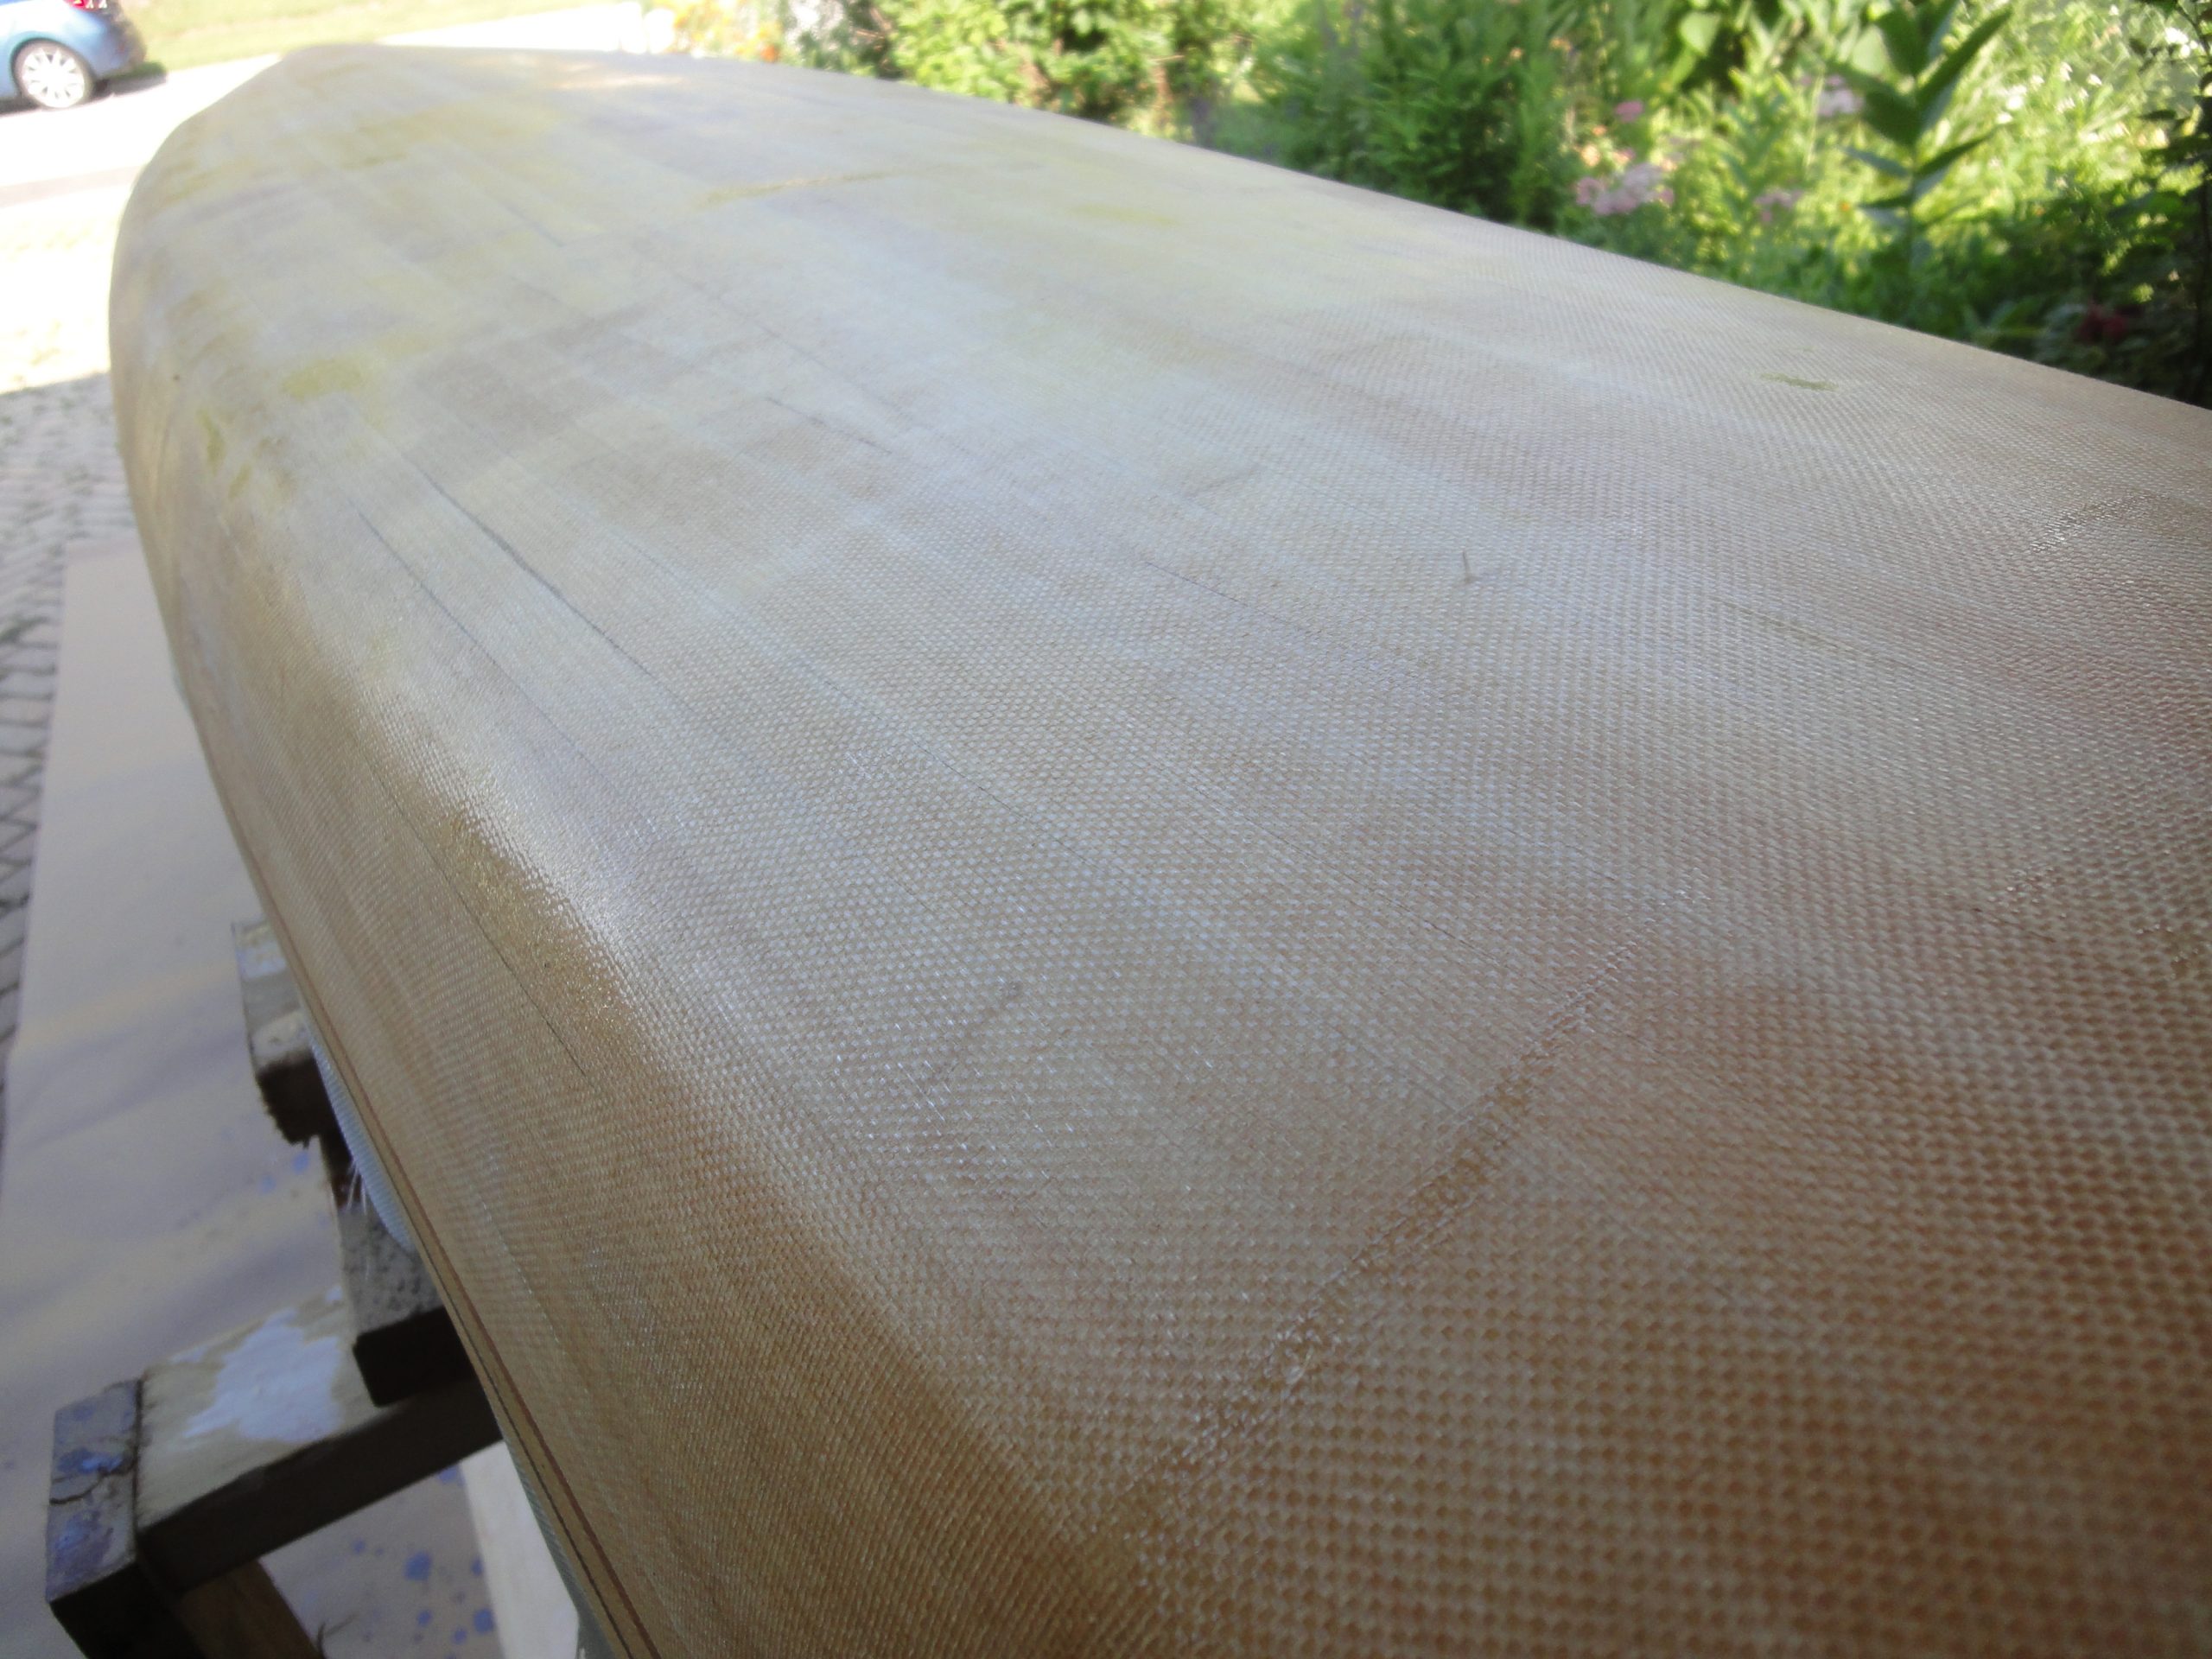
This coat was allowed to dry until just barely the slightest tack feeling to it. Too wet and it isn’t ready, too dry and you won’t get a good bond between coats. With it ready to go I moved on to the first fill coat. Fiberglass has a mesh like grid texture. When bonded down you can see the tiny squares of the fibers. This is pretty obvious in the previous picture.
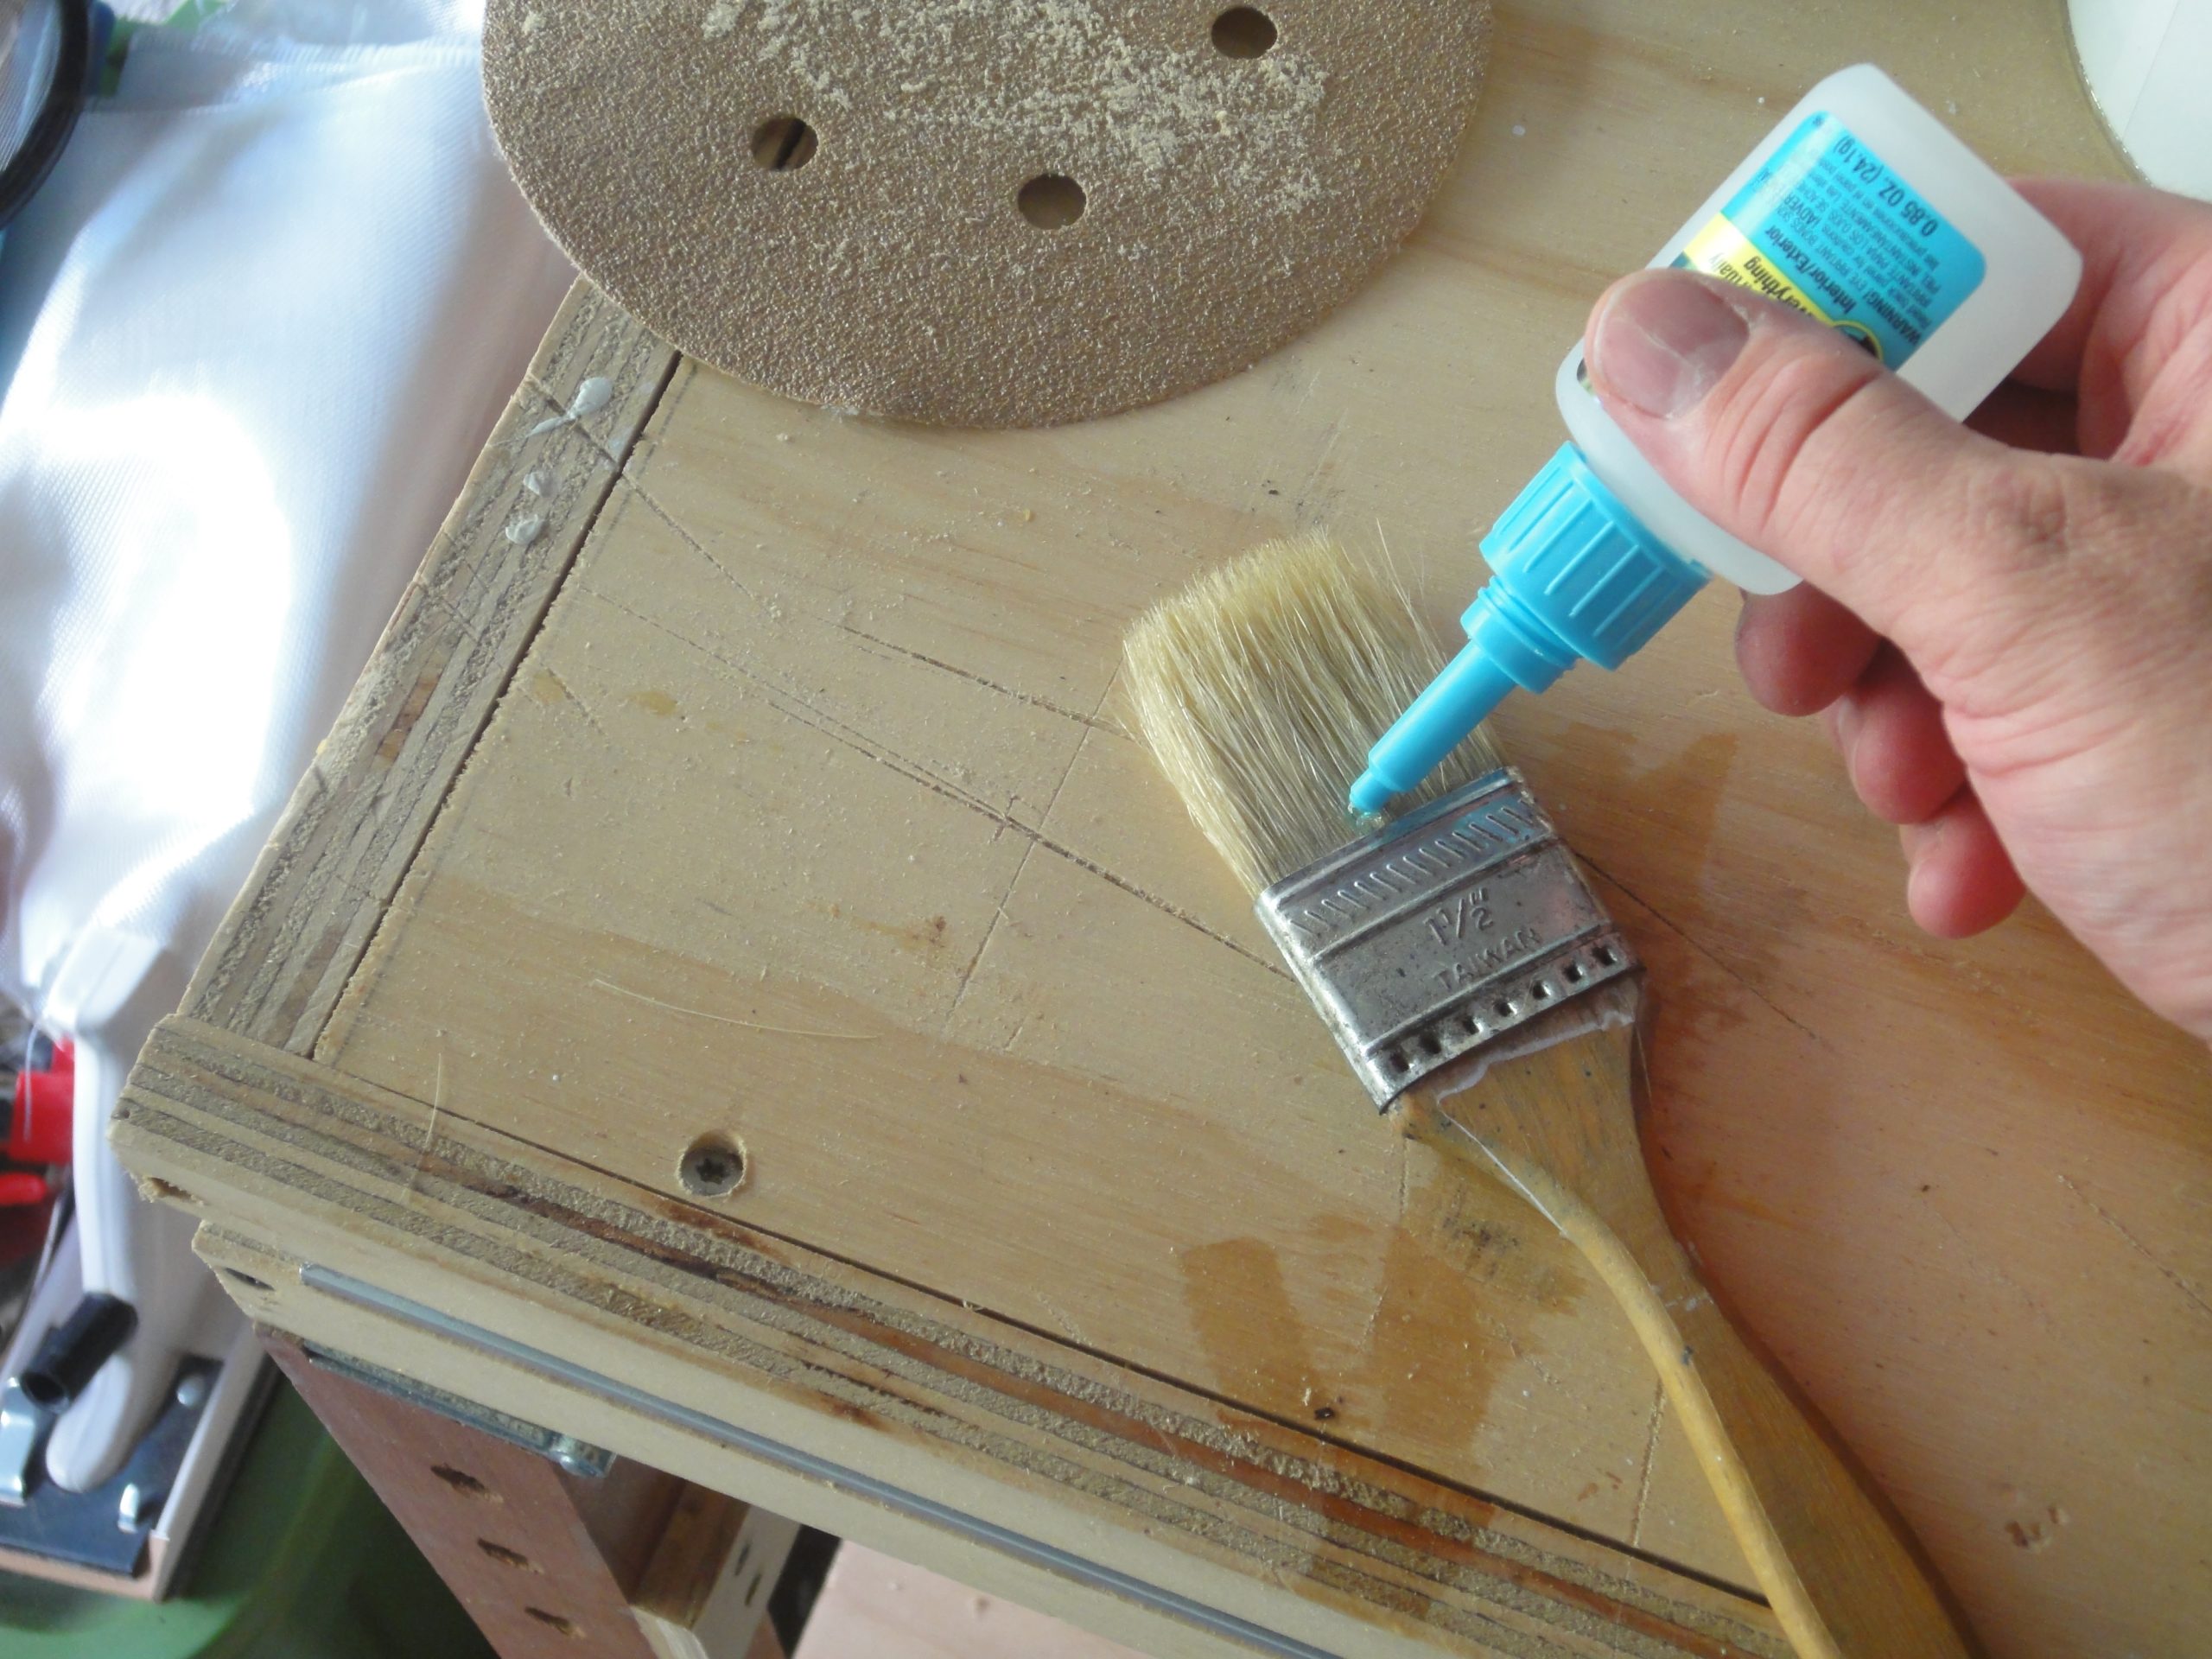
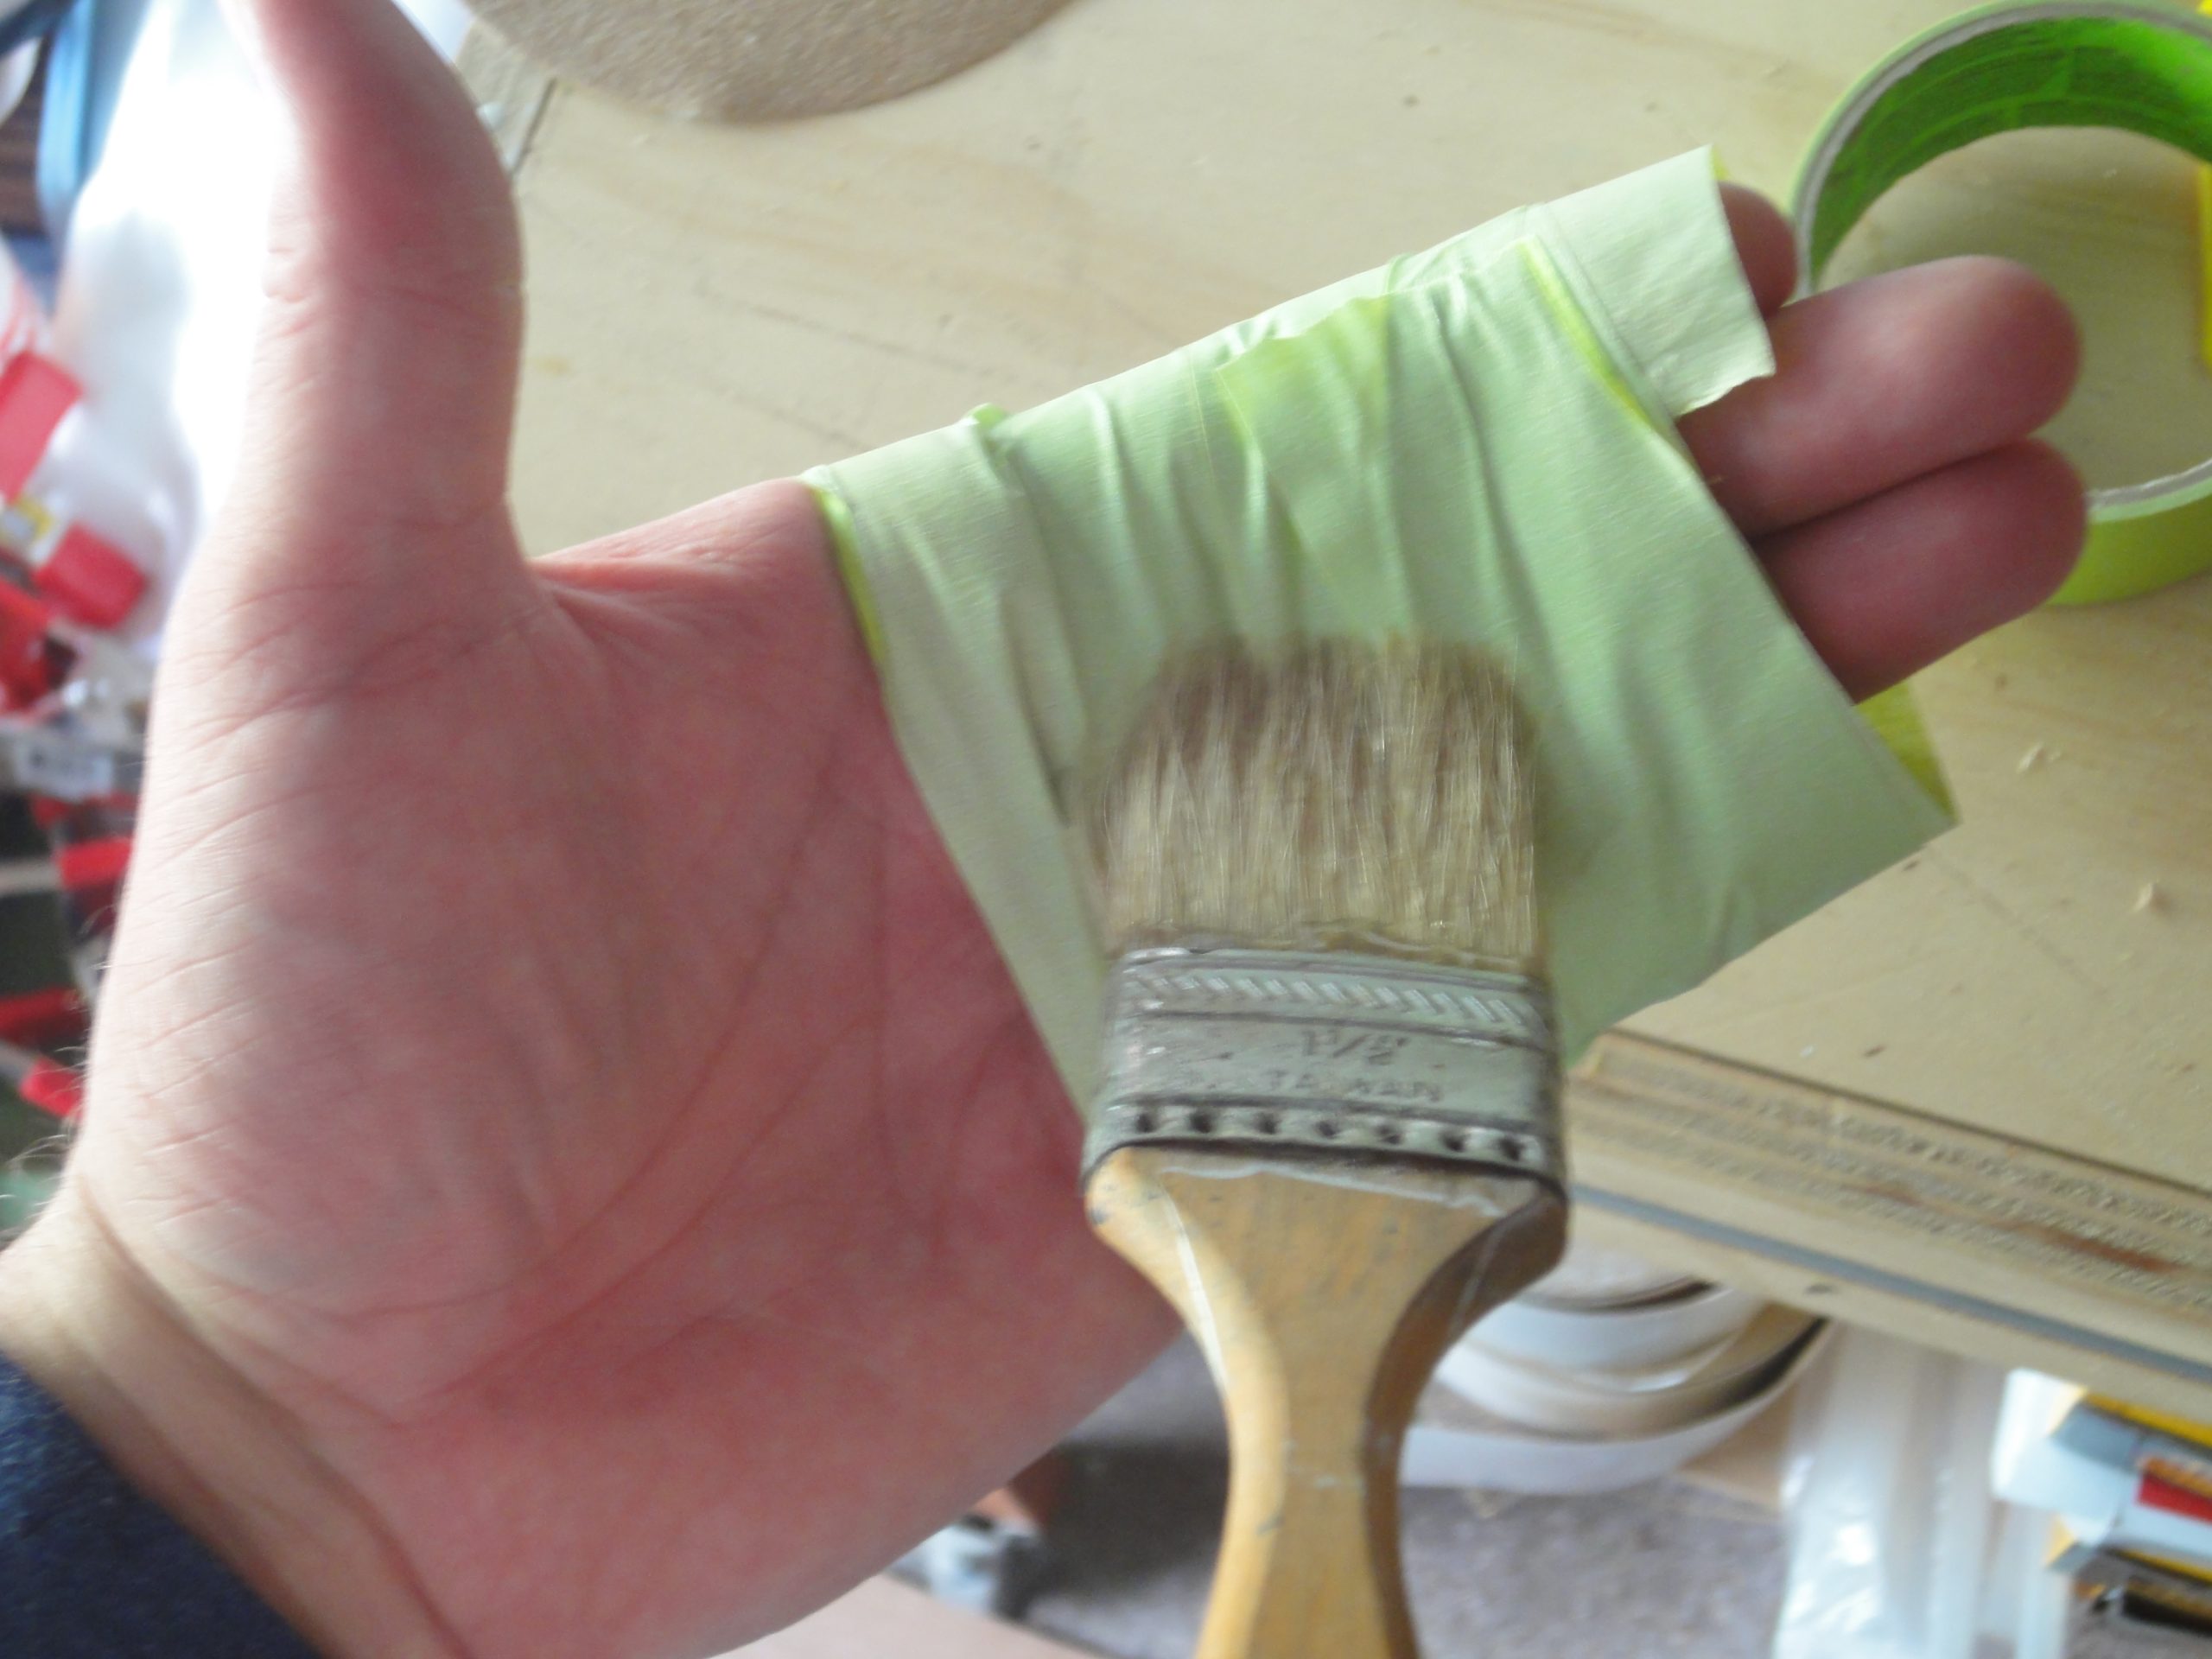
The fill coat would be applied a bit more thickly with a brush. However I found when I did the first coat with the dabbing brush that I was picking out bristles a number of times. In an attempt to minimize this I used a trick I’ve seen in Nick’s videos and super-glued the bristles to the ferule and then wrapped my hand in tape, sticky side out, and dabbed the brush repeatedly against the tape to pull out the bristles. This actually worked quite well.
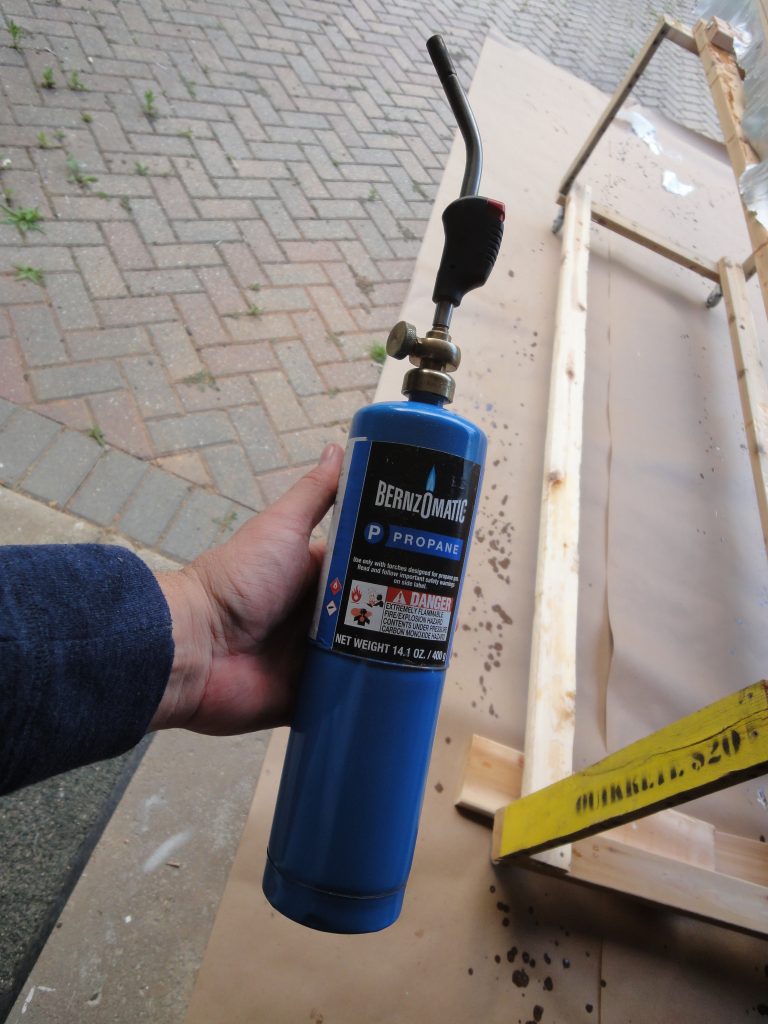
The sequence was to work in about a 12-18inch section and liberally apply the epoxy side to side, then brush up and down and then one more time side to side going from dry into wet. Once done I moved on to the next section, then switched sides and did two sections, then switched back, etc. Applying in this fashion ensured that I was always working with a wet edge. Once done I got out my plumbing torch.
A torch? For what purpose you might ask? Again, something I’ve seen Nick do in his videos. I’m not sure if this is really required, but when I was using it I believe I did see a bit of a difference in the finish. The idea is that you pass the flame fairly quickly over the surface. It briefly heats the epoxy a bit causing it to become more liquid and settle a bit nicer while at the same time heating any trapped air bubbles and causing them to pop. I definitely saw some bubbles pop and I feel the surface appeared s a bit smoother afterwards. Here’s a brief video of the technique.
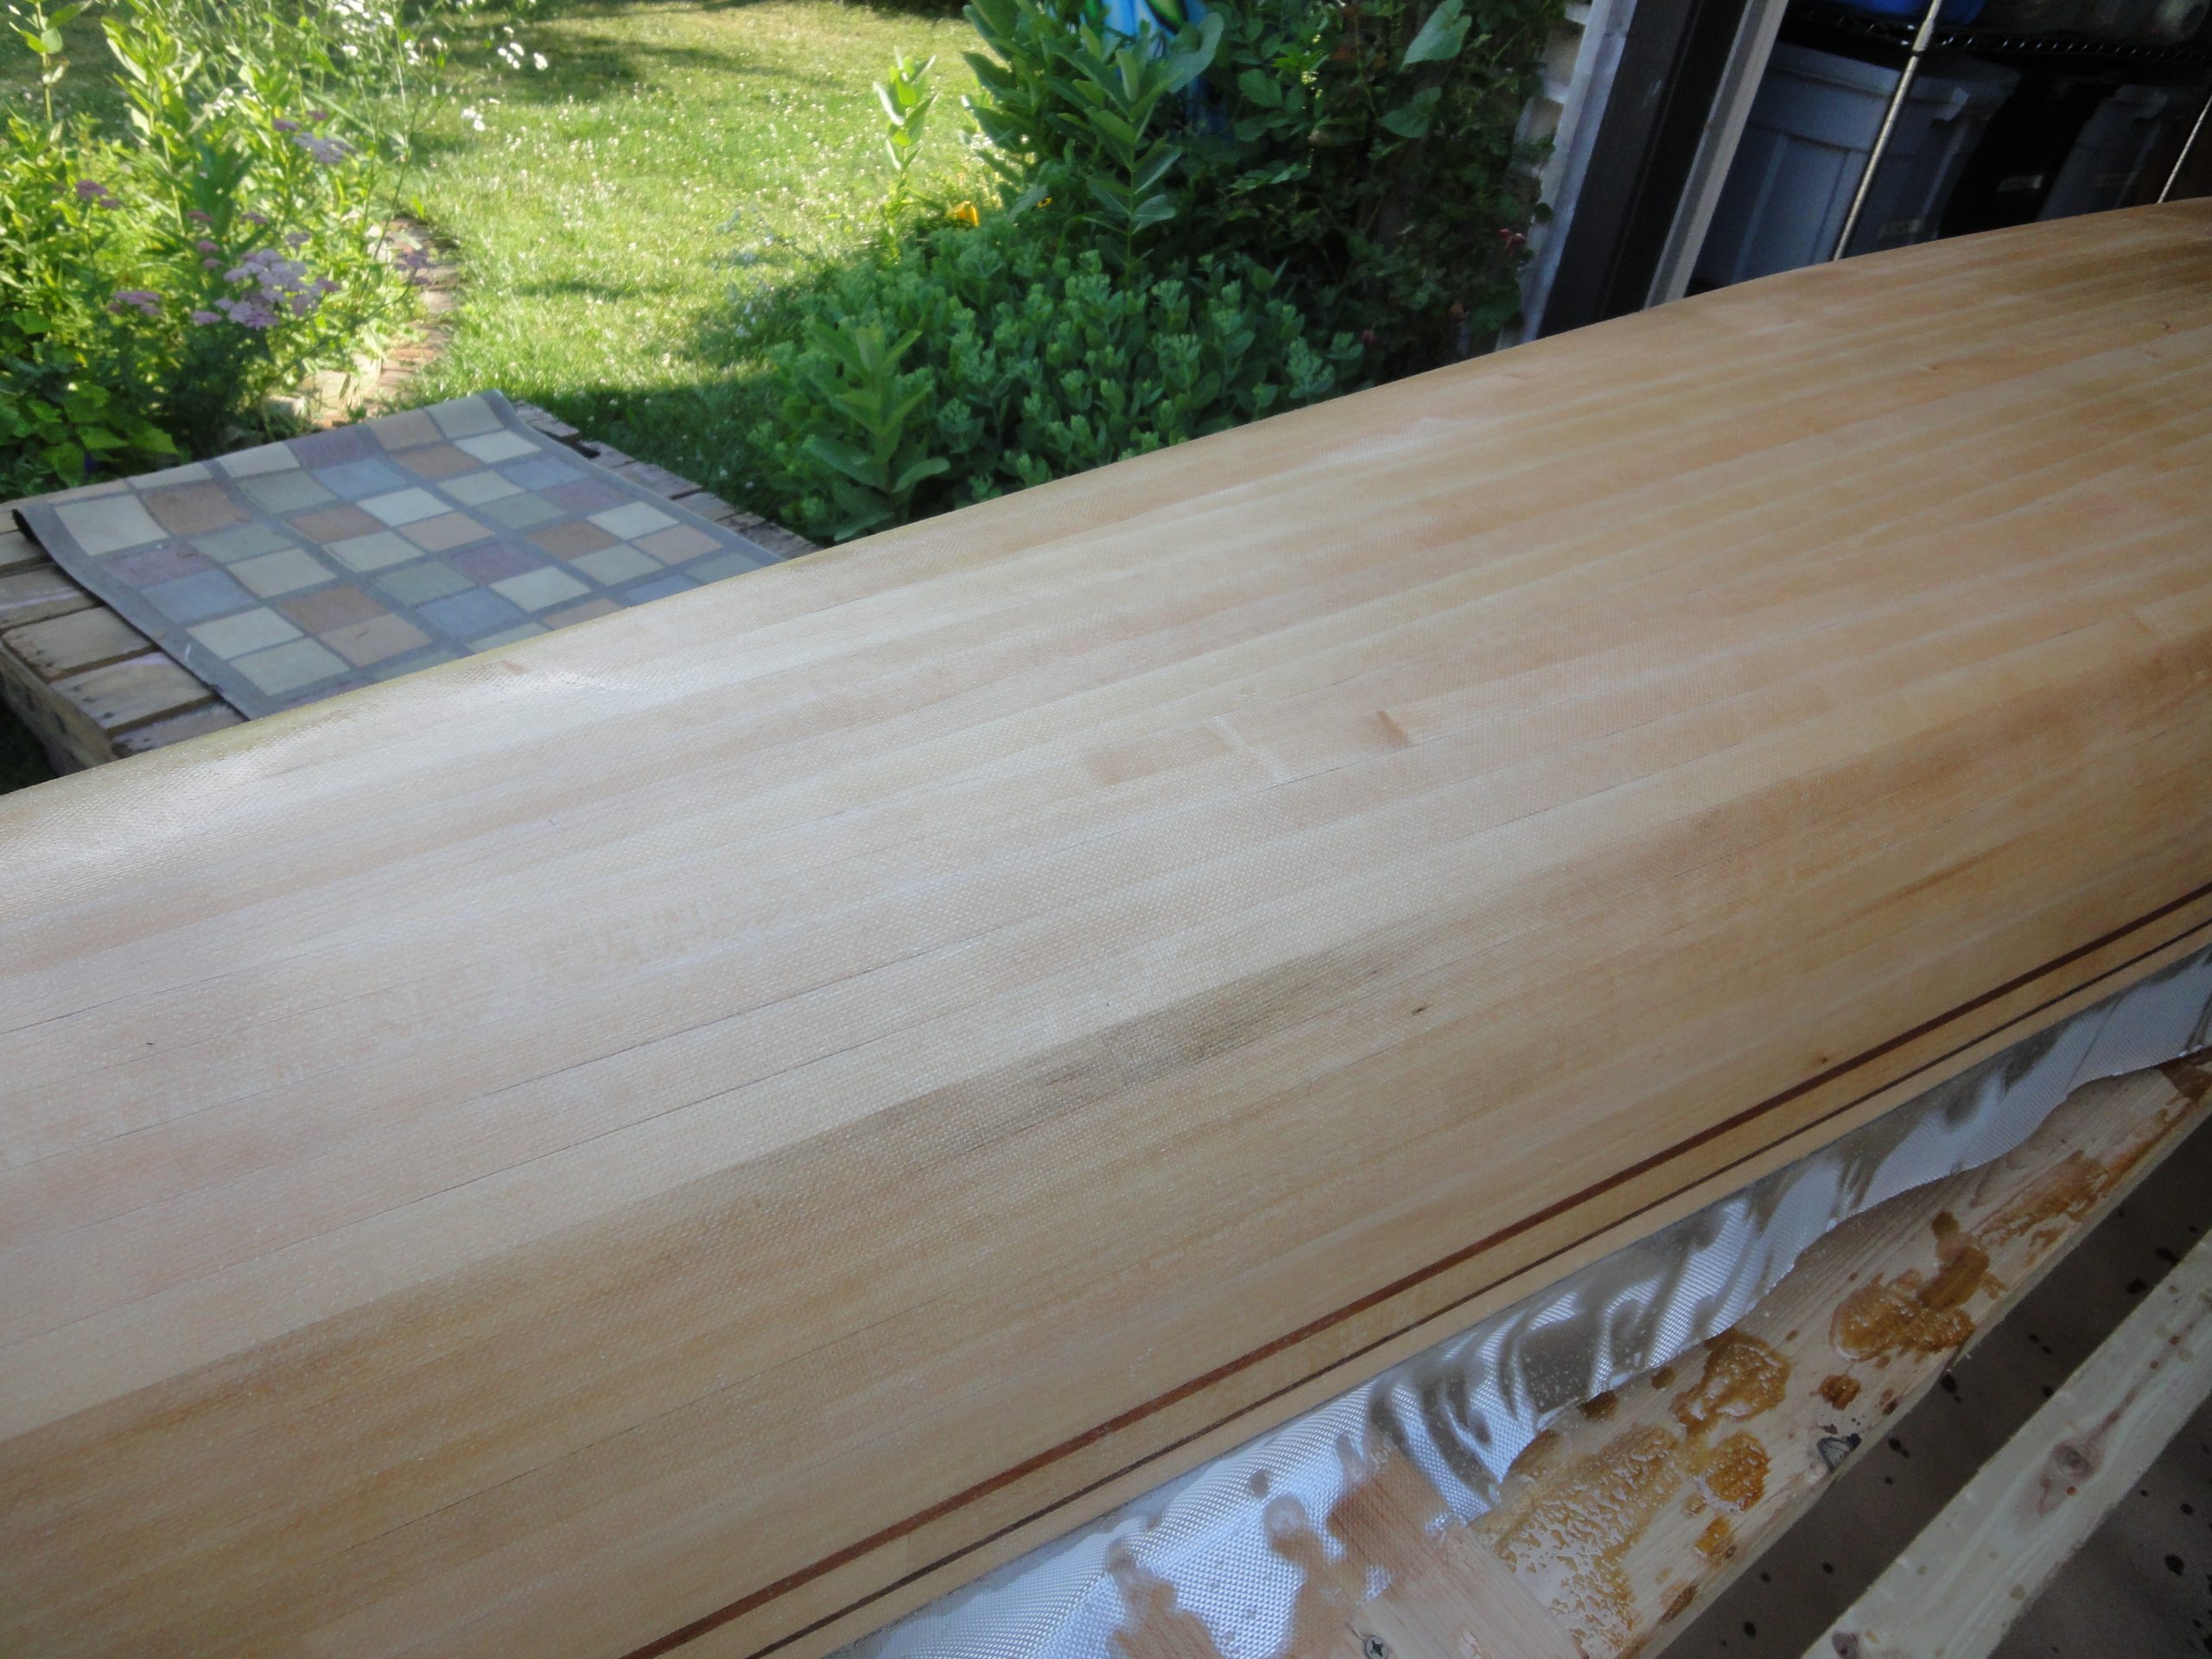
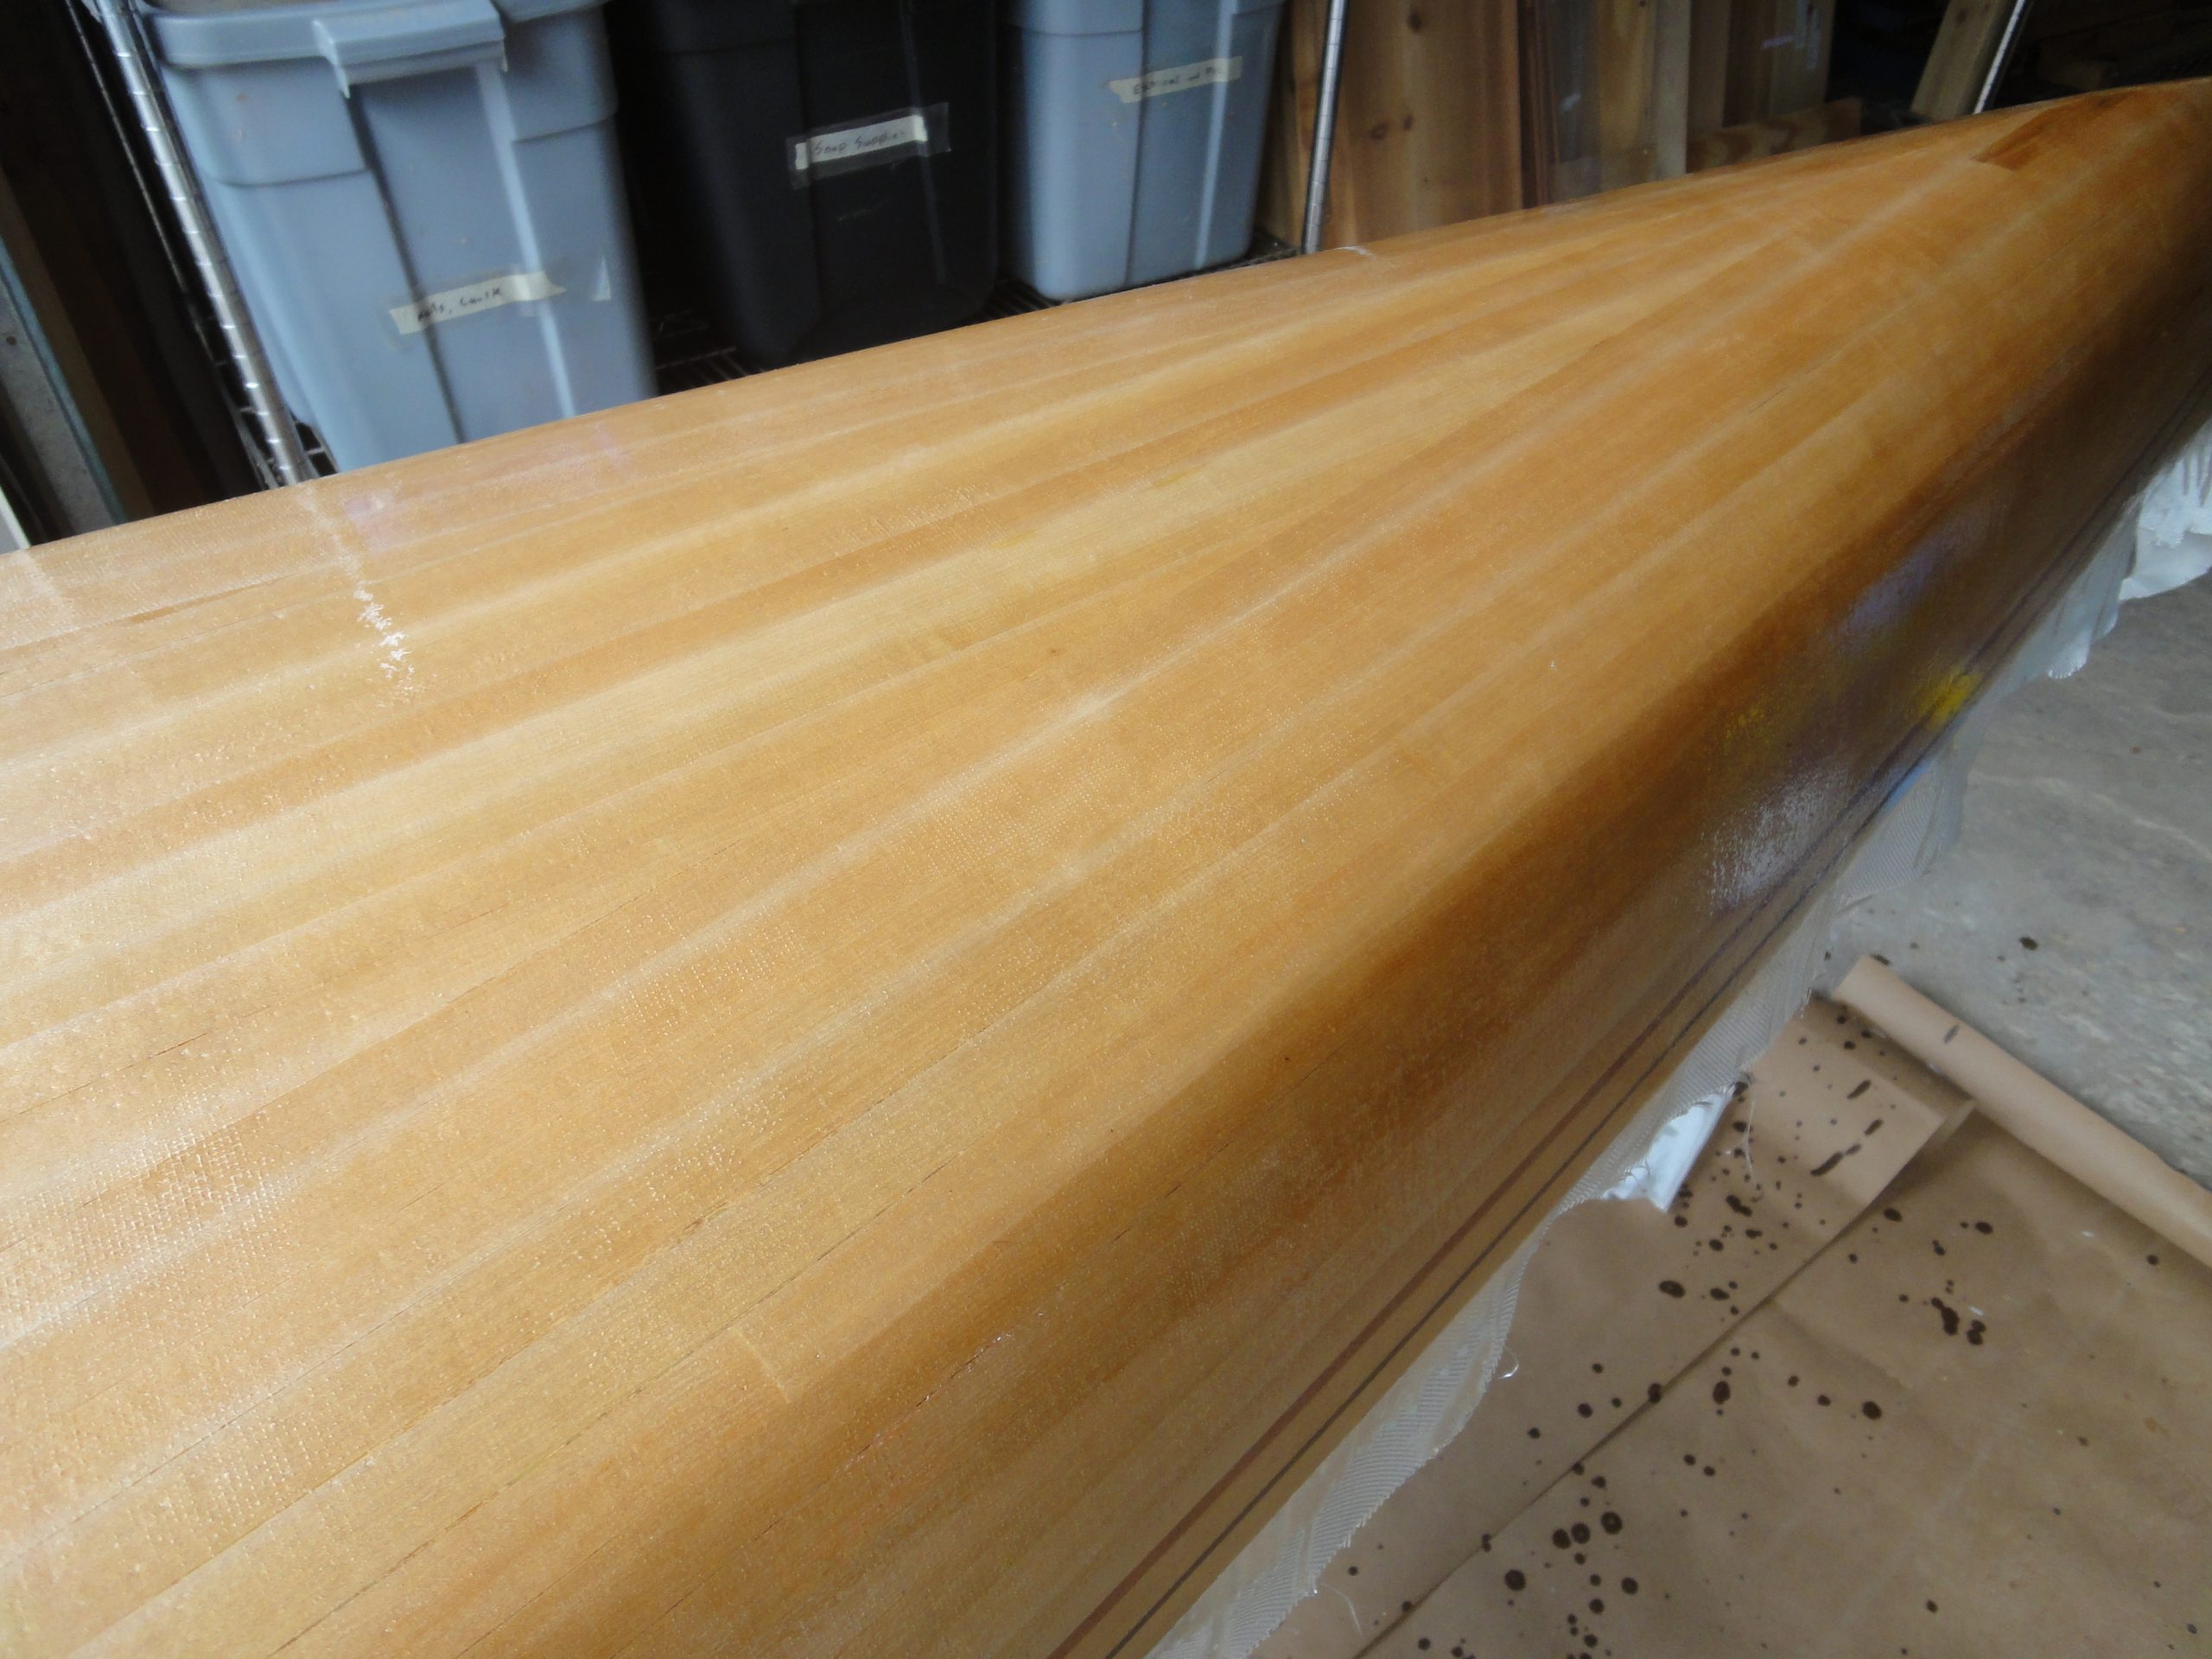
At this point I just need to let this fill coat dry. Ideally probably around 72 hours or so before giving a light sanding and then brushing on (hopefully) one more top coat. I took a few shots after this fill coat application and then one more after trimming off the hanging fiberglass. In one you can see a bit of the book matching of the wood coloration. The basswood is fairly consistent but even so there is enough variation for the book matching to show through a little which confirms to me the tracking I did of the boards way back at the beginning was worth the time.
It’s almost the big day. The day that is pretty much the point of no return. Once the fiberglass and epoxy goes on, well what’s there is what I get. I watched a half dozen of Nick’s videos on fiberglassing (again) in the last few days as a refresher and I’m prepared to move forward.
To start with, a bunch of new materials and a few simple tools are going to be necessary. All are listed below and on the right with links for most. I actually ordered most of this from Chesapeake Light Craft‘s web site last summer in anticipation of getting to the fiberglassing before fall but if you’ve been following this work log you know that didn’t happen. So I brought all the supplies (still sealed) into the house for the winter so they would be stored at room temperature.
I selected the West Systems Epoxy using the 105 Resin and 207 Hardener, pretty much standards, if you’re going with West Systems, for kayak and canoe fiberglass applications. I also purchased some Collodial Adhesive filler and some Microfibers. Neither will be used at first but as I progress with the work they will come into play.
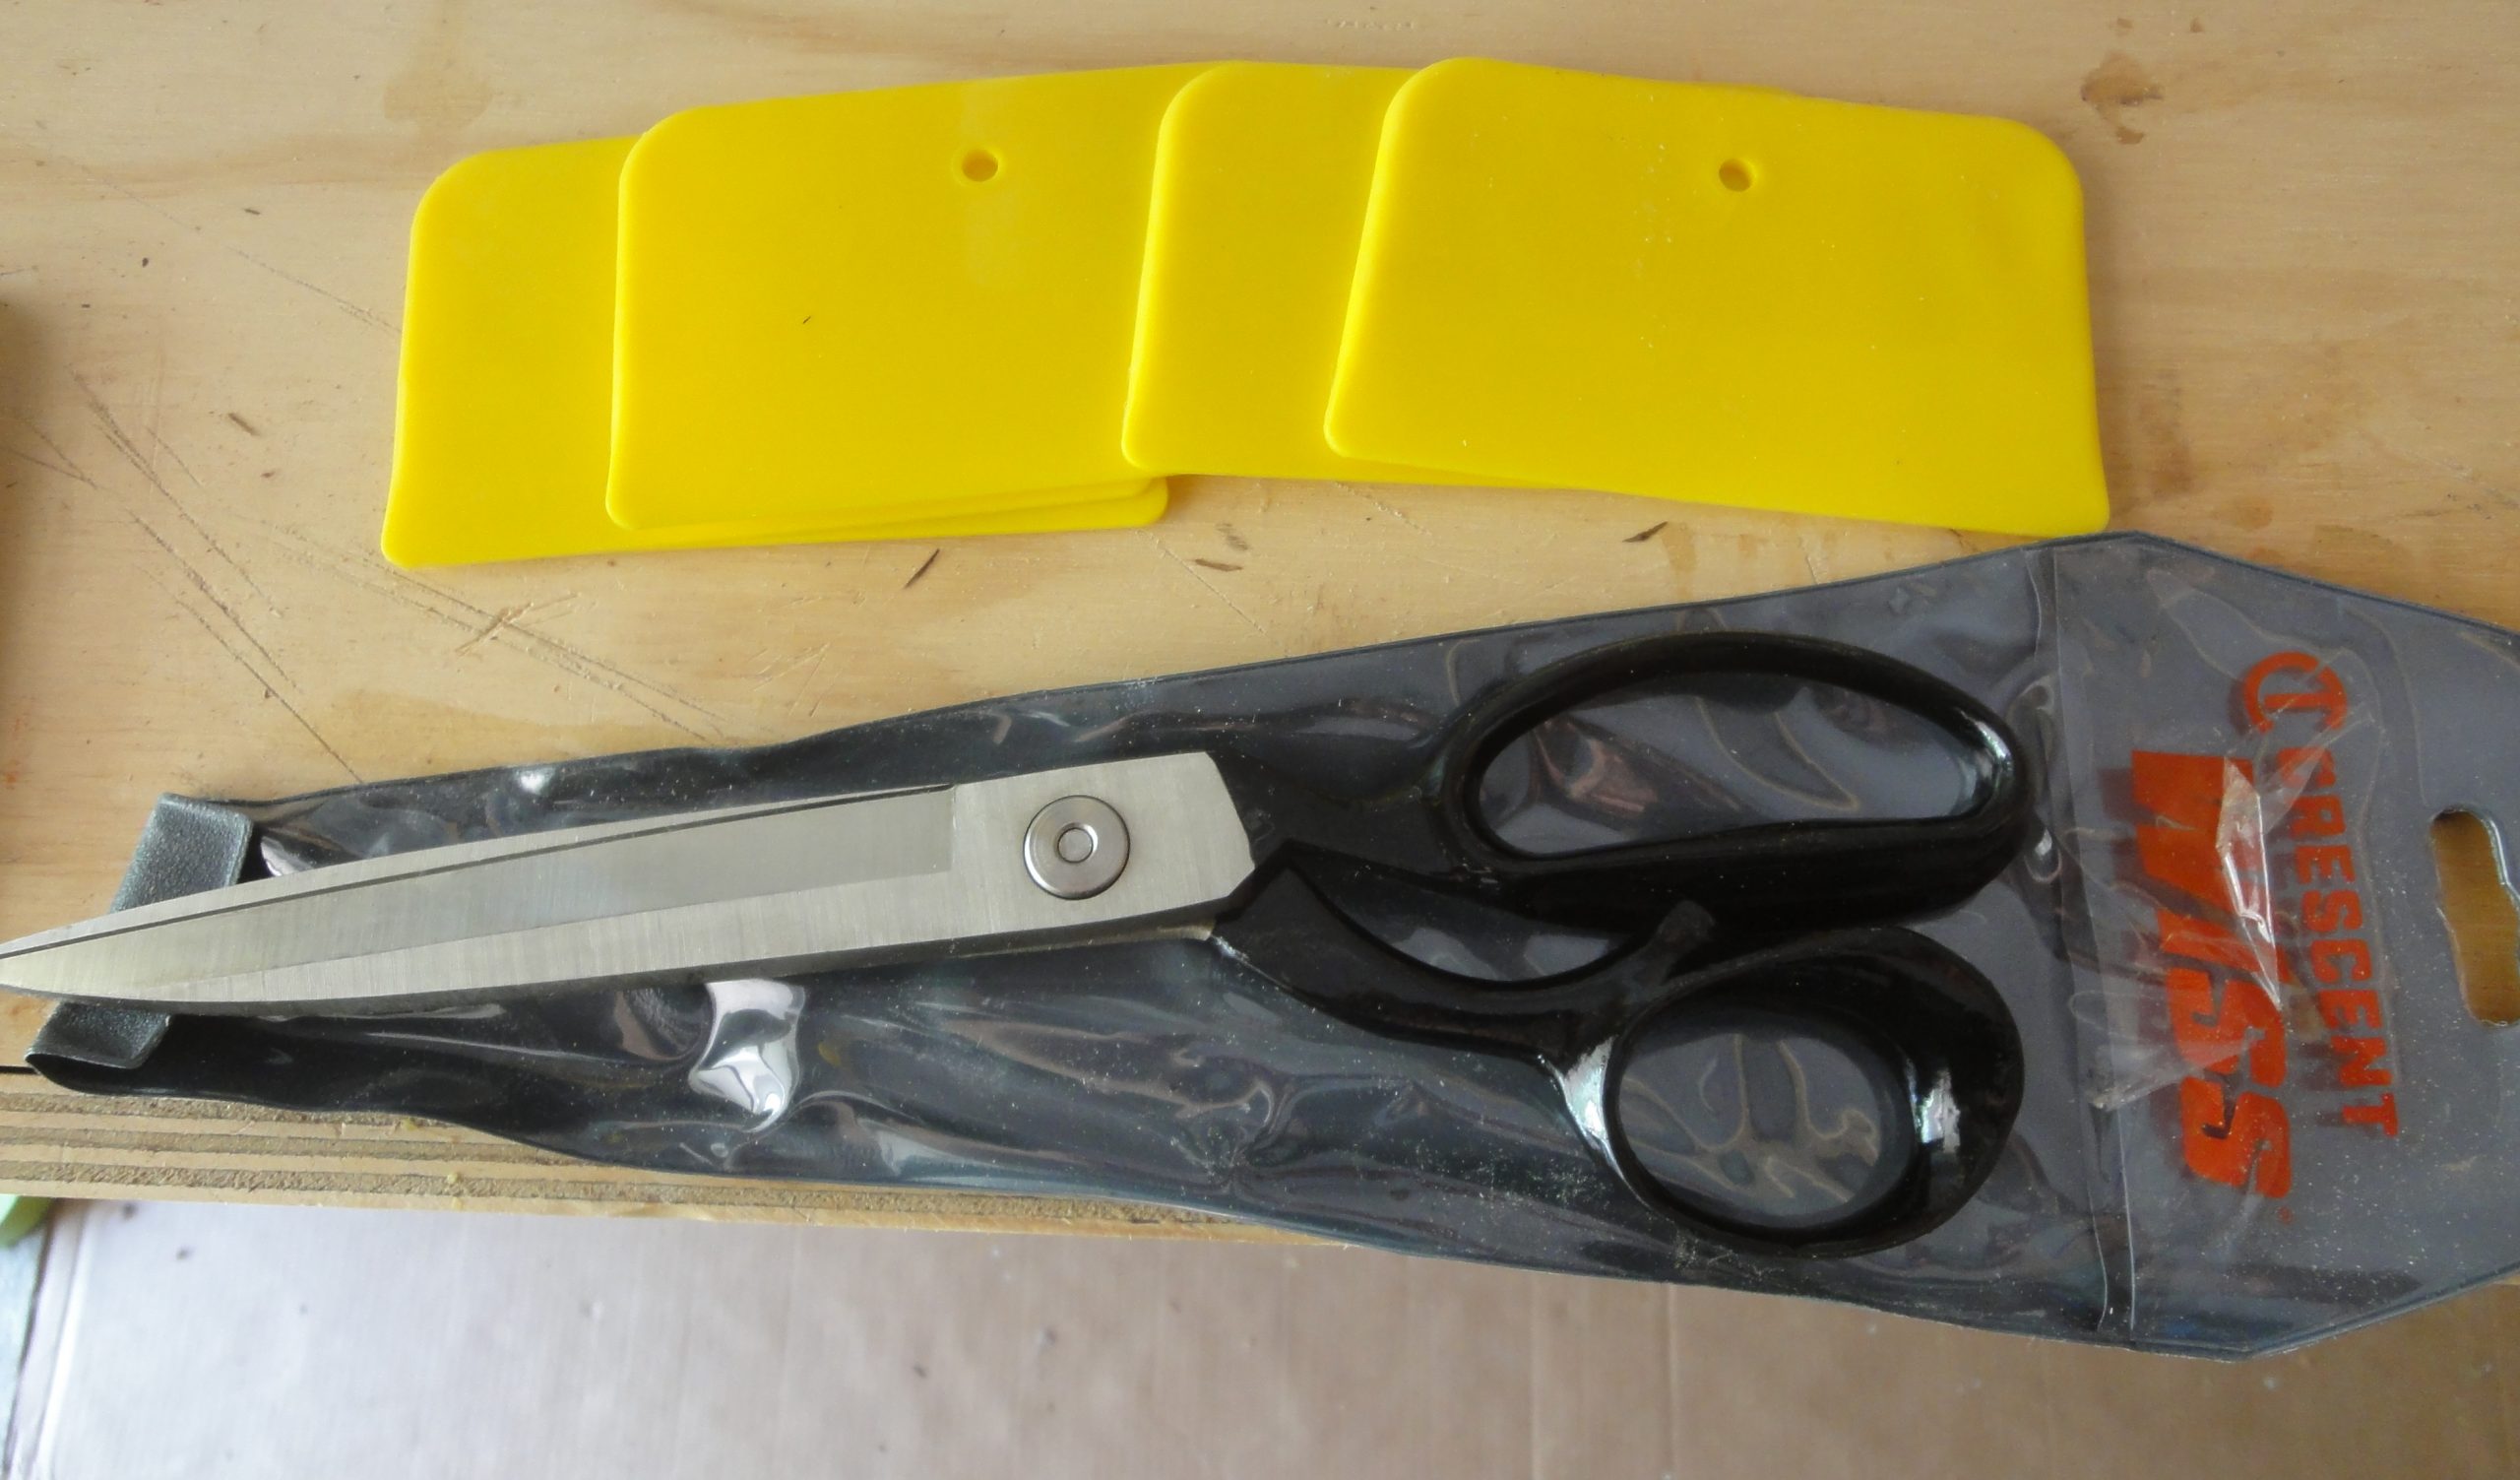
For the fiberglass I went with a 6 ounce cloth. I could have saved a bit of weight going with 4 ounce but then would have probably needed two pieces on the outside hull negating some of the savings. At 16’6″ (let’s say 17′) in length and I need hull and deck, inside and outside, that’s 17*4 or 68′. To be safe and have some cushion I got 26 yards or about 78′. This way if I wanted an extra application over part of the kayak or run into some other use I didn’t think of I should be covered. In addition I purchased the pre-cut 3″ roll which will be used on the seam (inside and out) between the deck and hull. For cutting the fiberglass I bought a pair of industrial shears (big, heavy fancy named scissors). Best not to use the kitchen scissors for this.
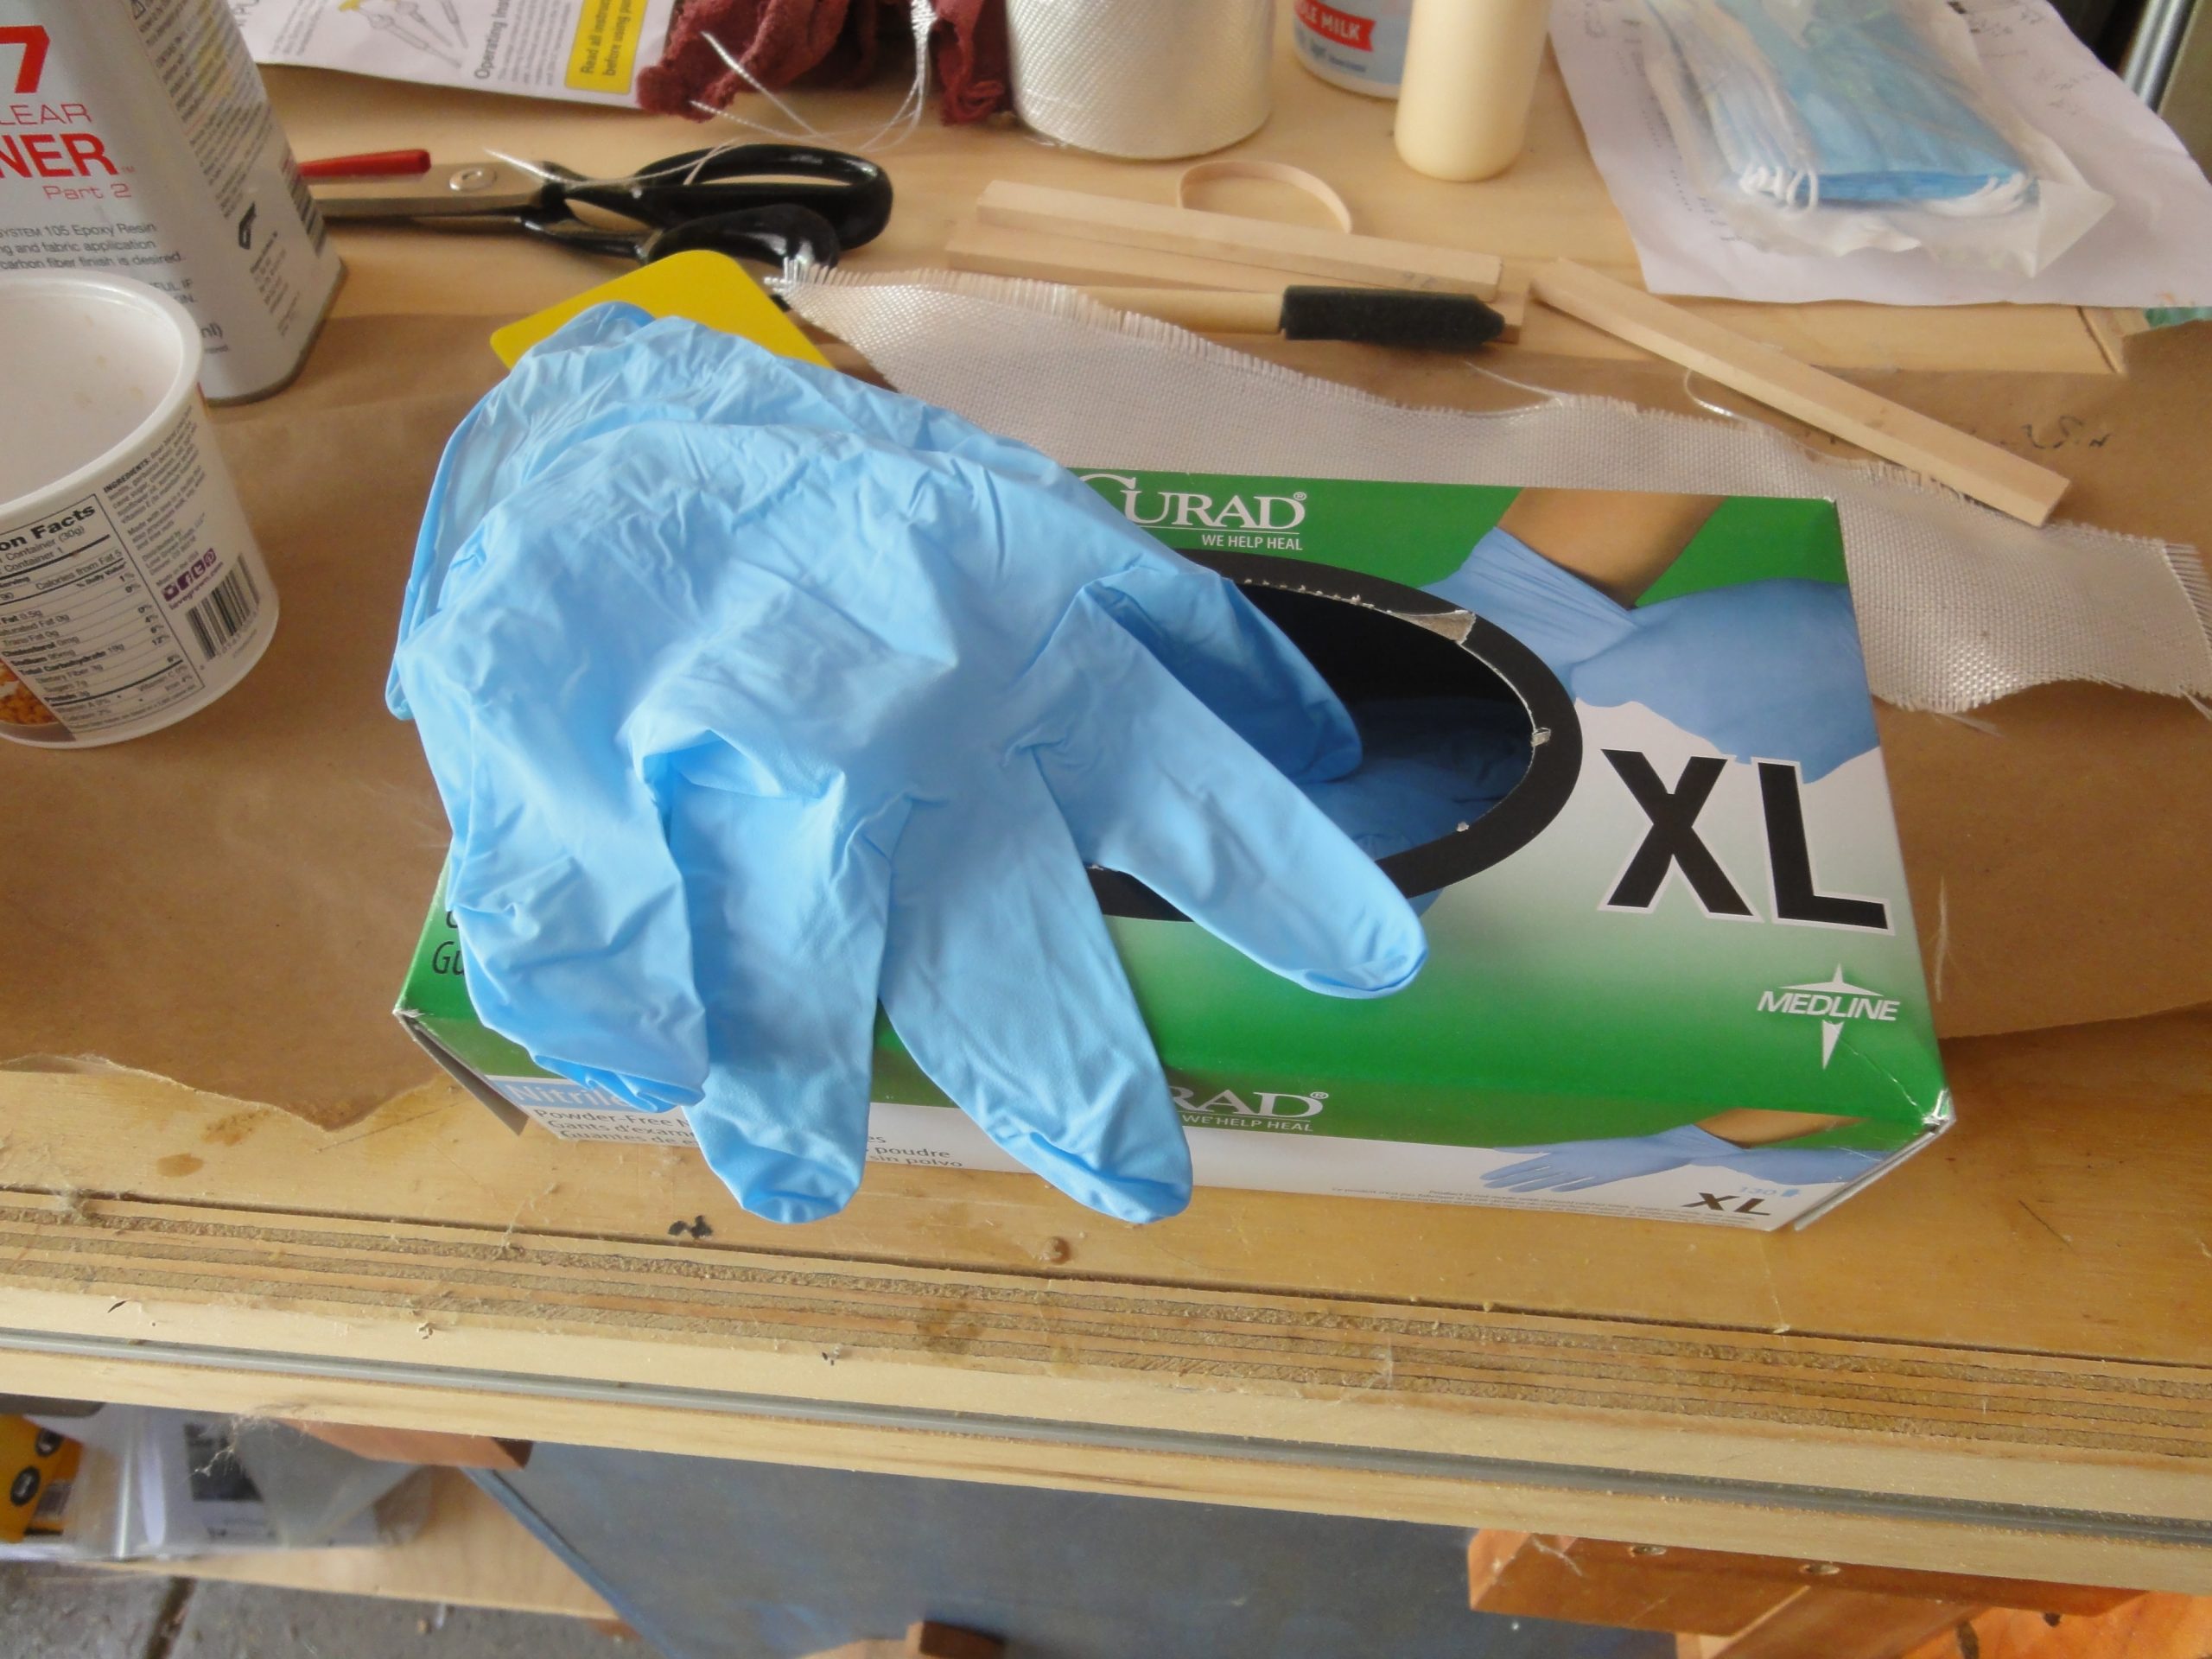
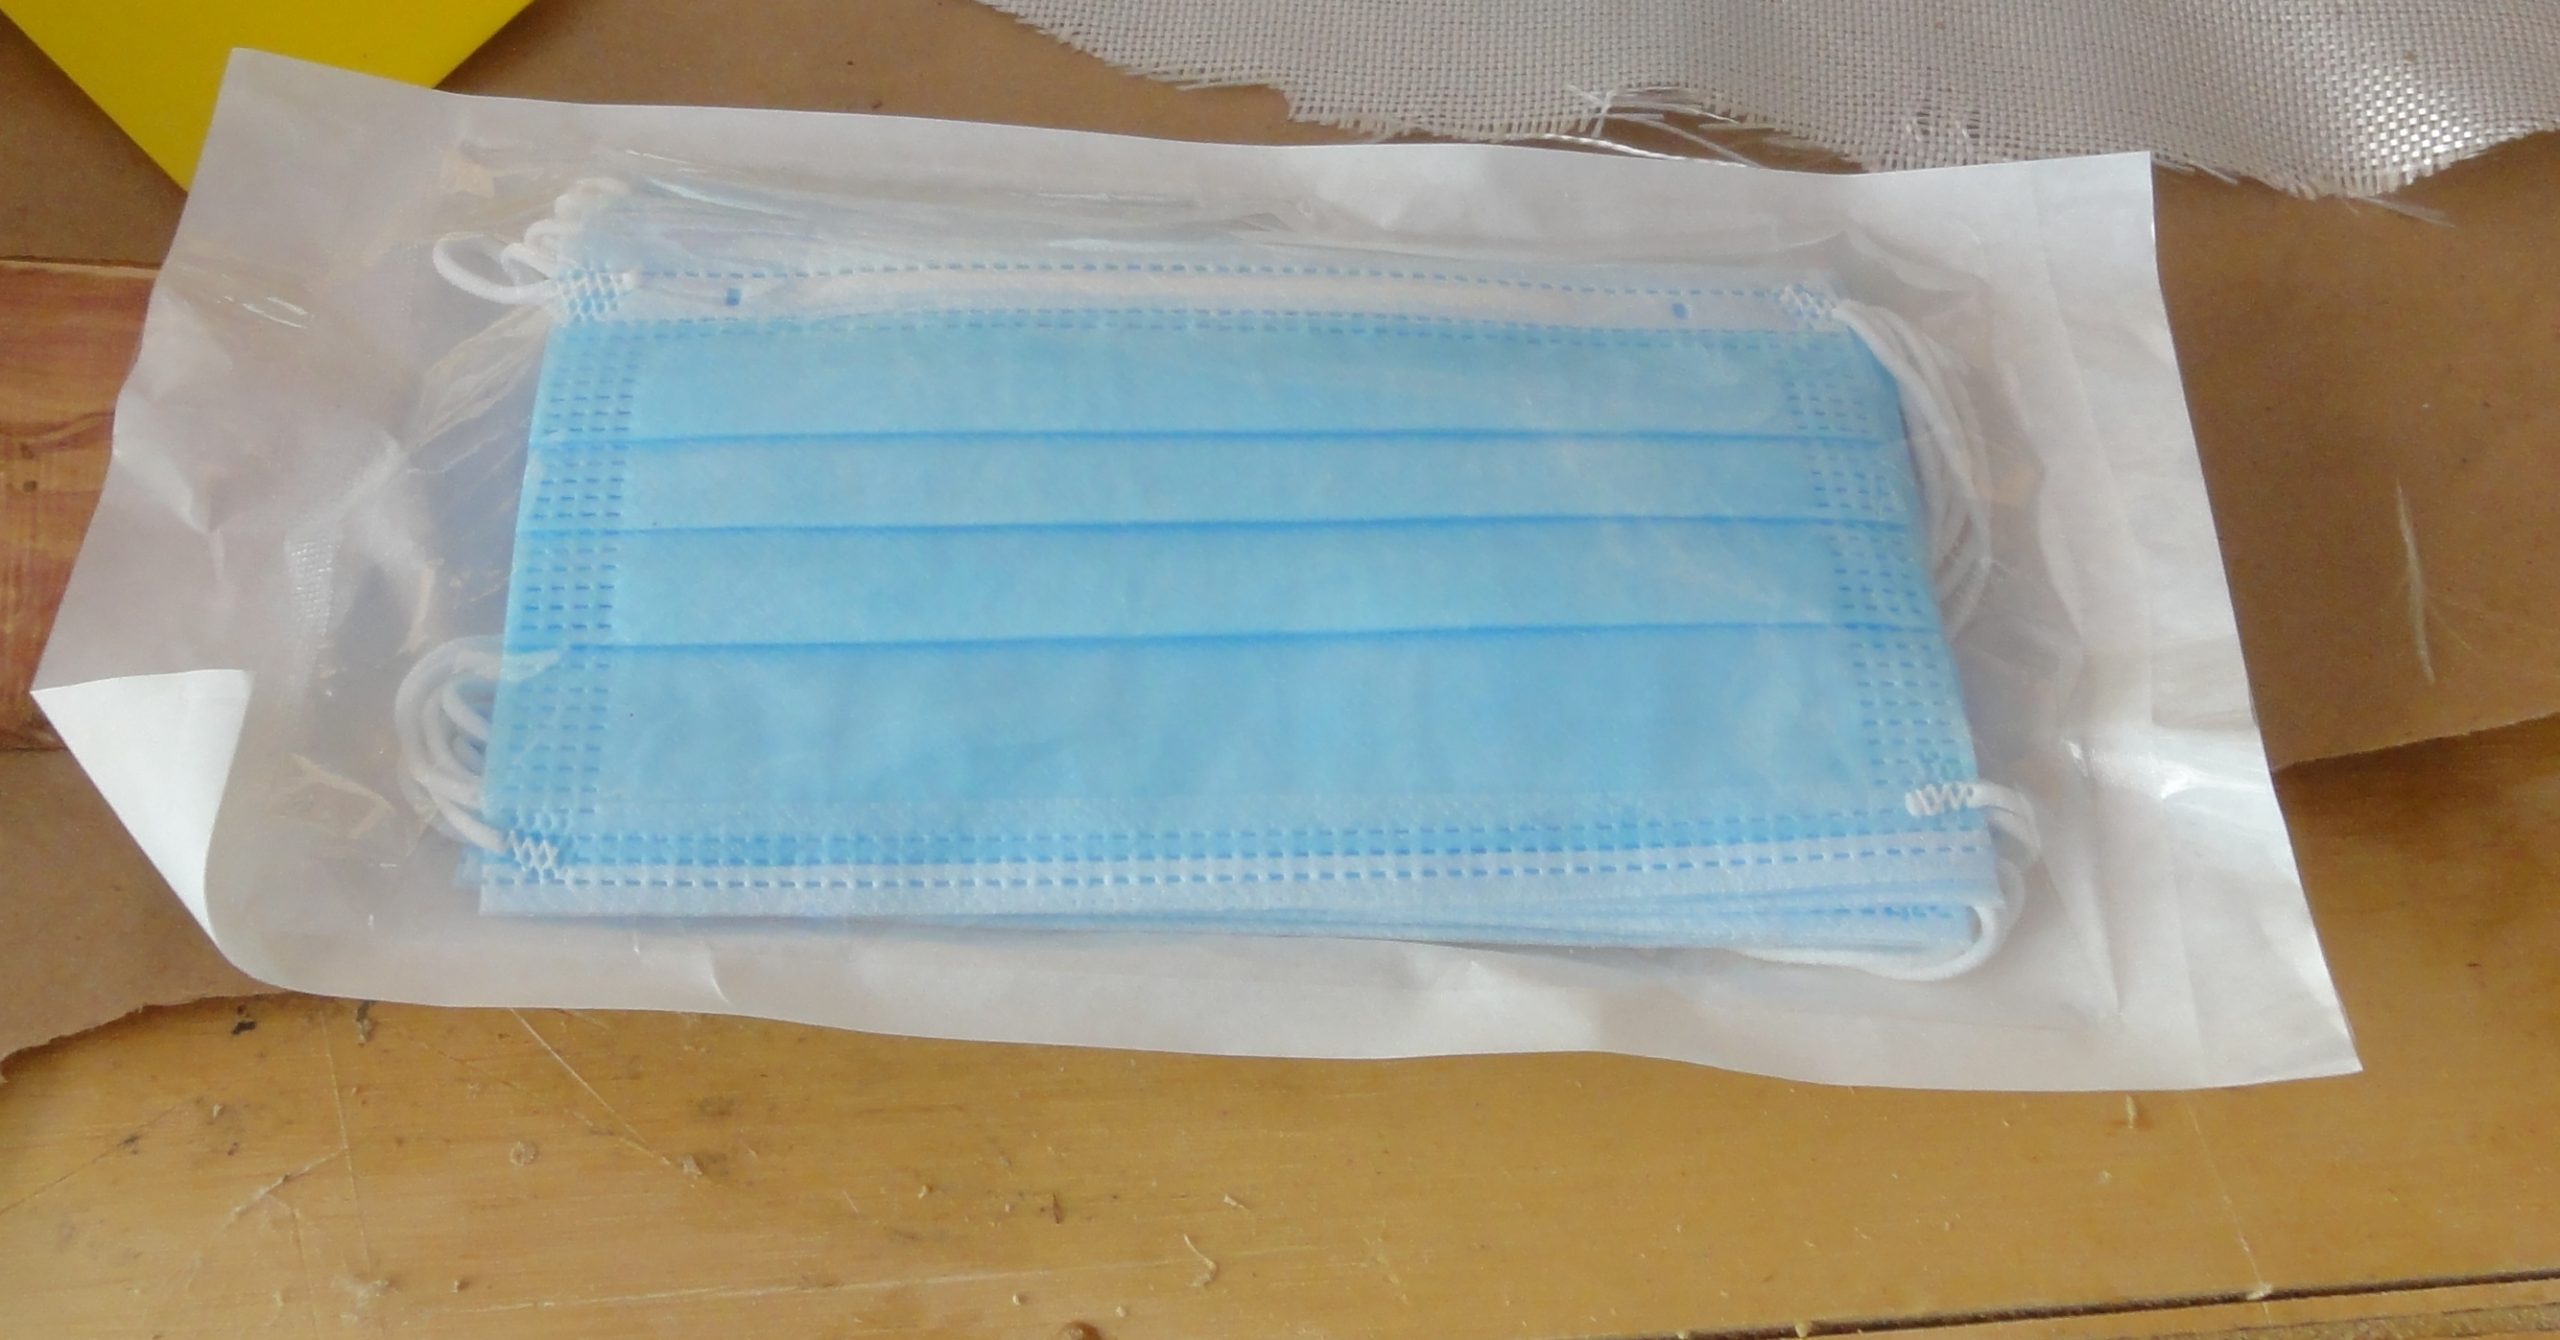
Finally I got some cups for mixing, plus I saved a bunch of left over yogurt and sour cream containers too, some spreaders, disposable gloves and dust masks. I would have preferred the respirator option but during this time of Covid, getting a hold of things like that are all but impossible. The masks weren’t cheap but not as bad as I expected and the gloves were bought last year so they were quite cheap and readily available (at that time). As to the fumes, the masks aren’t going to do much, but will help a lot during epoxy sanding later on.
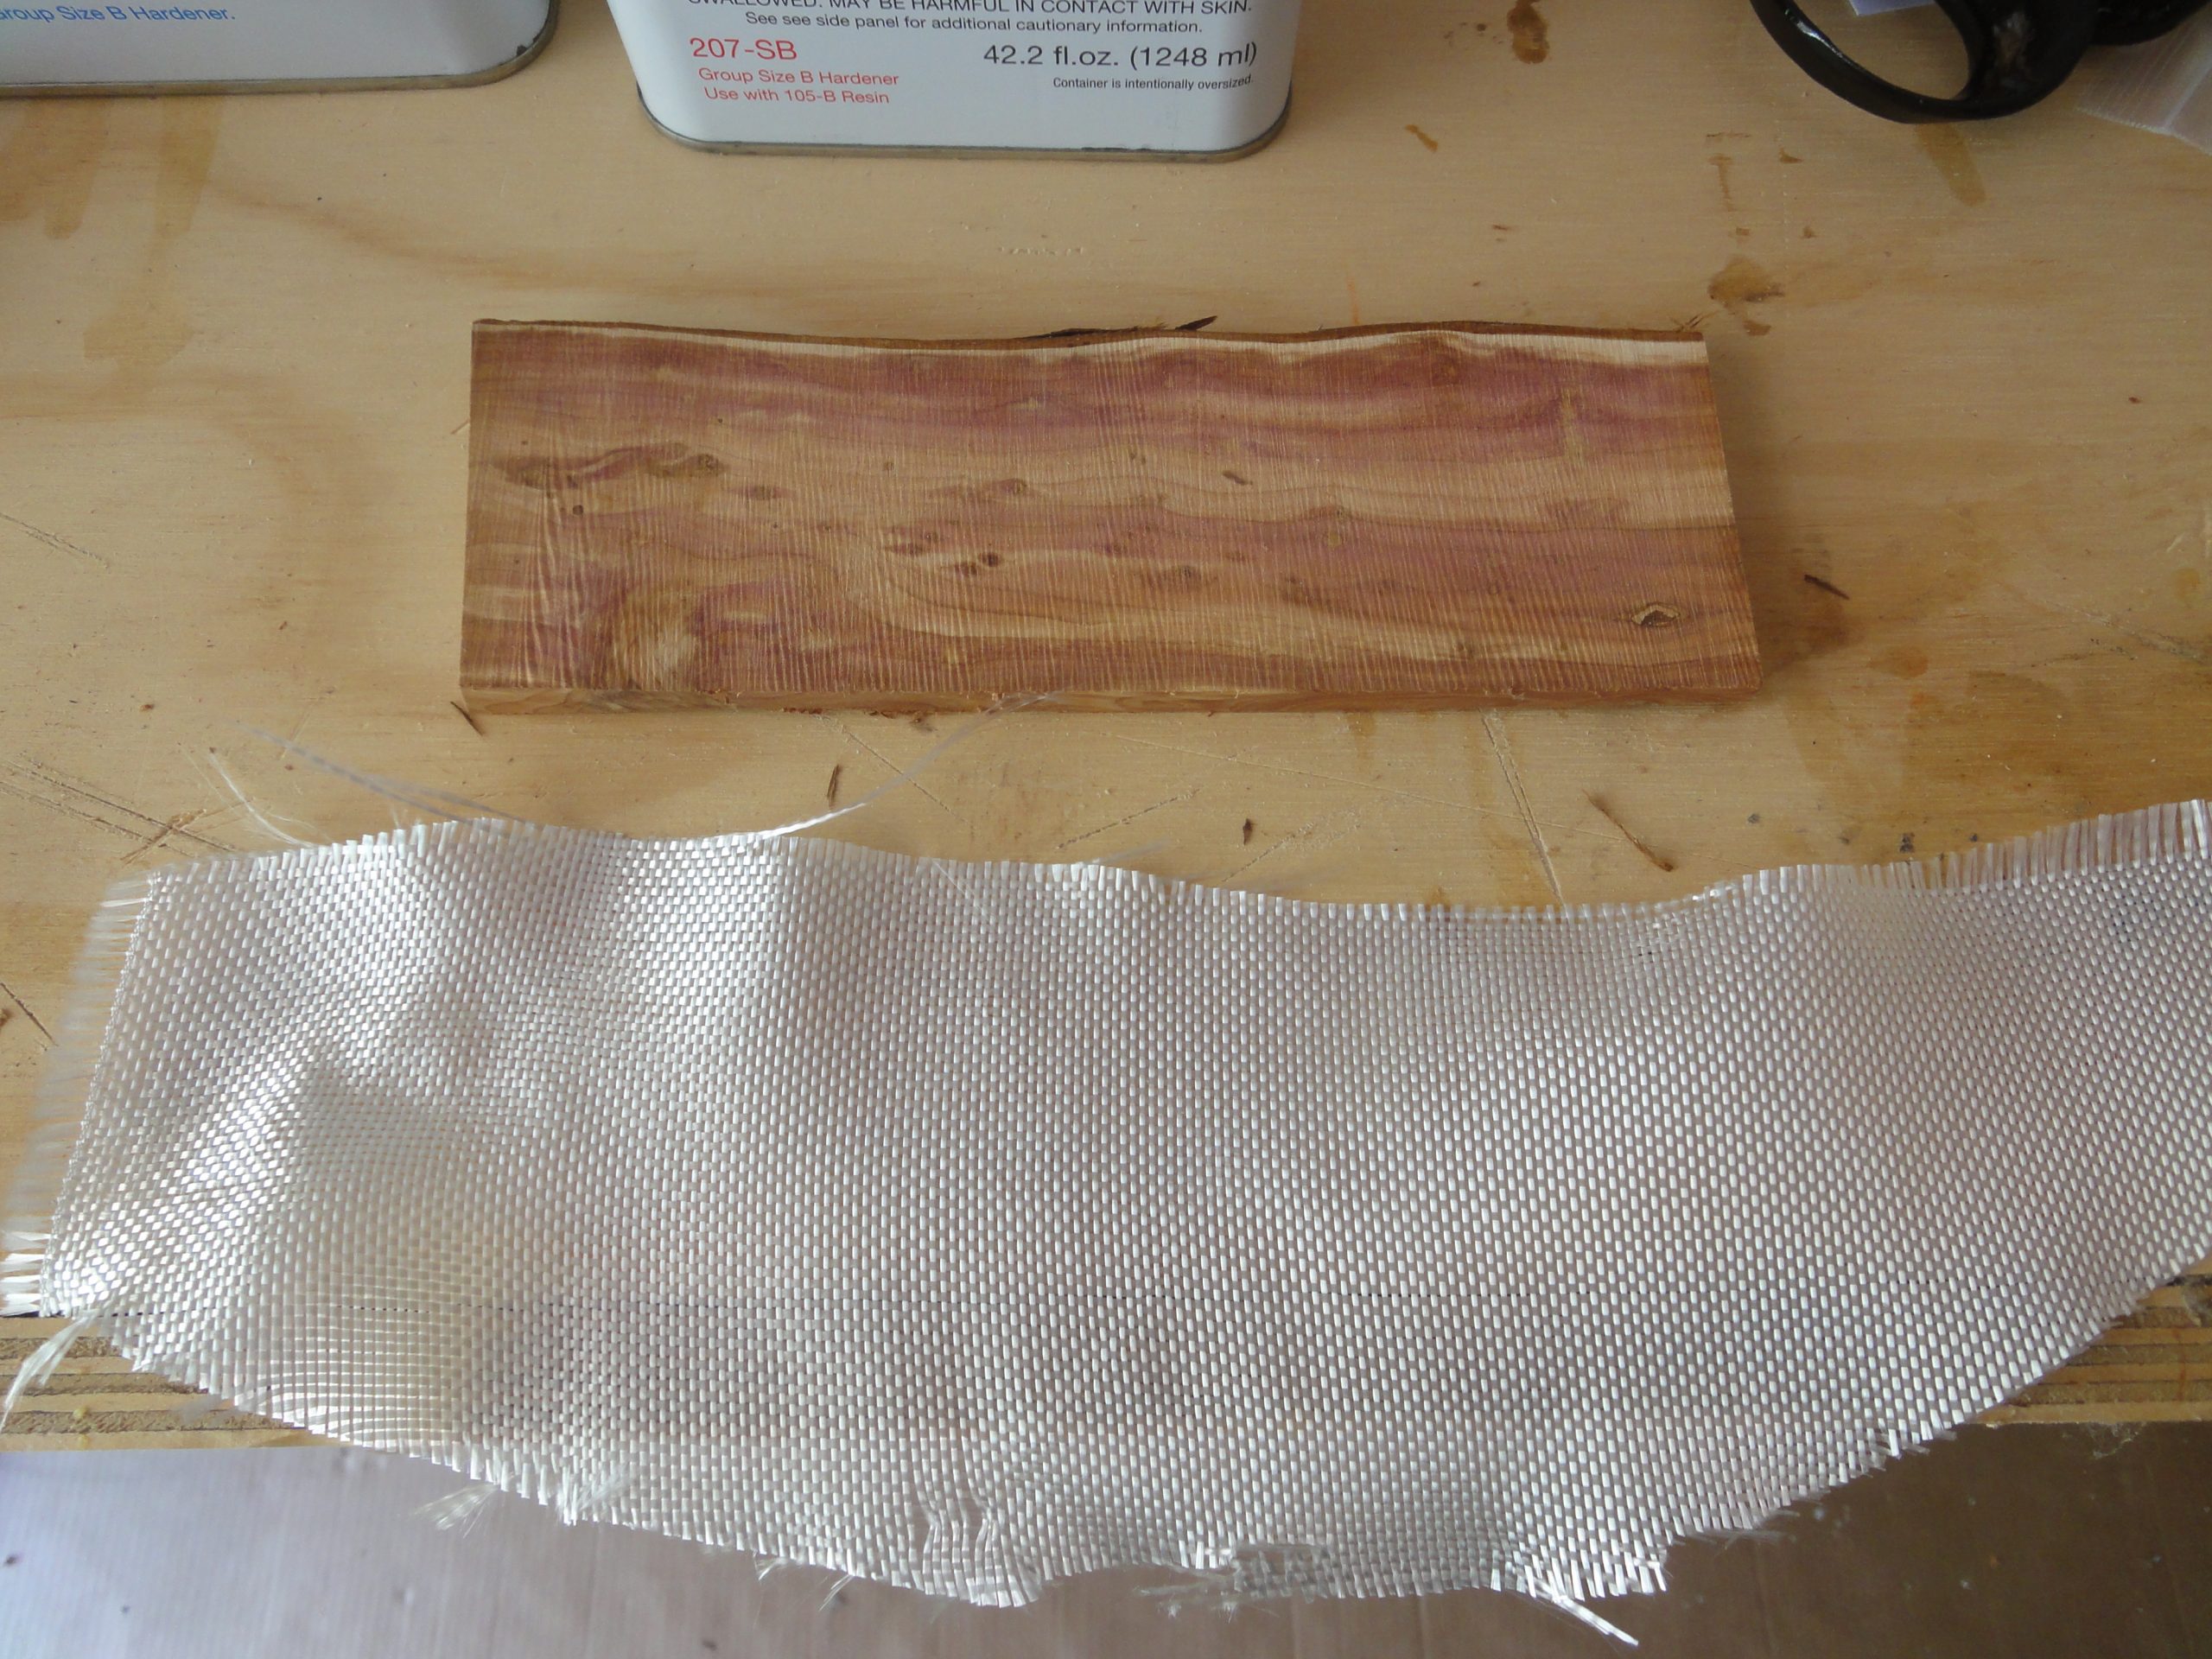
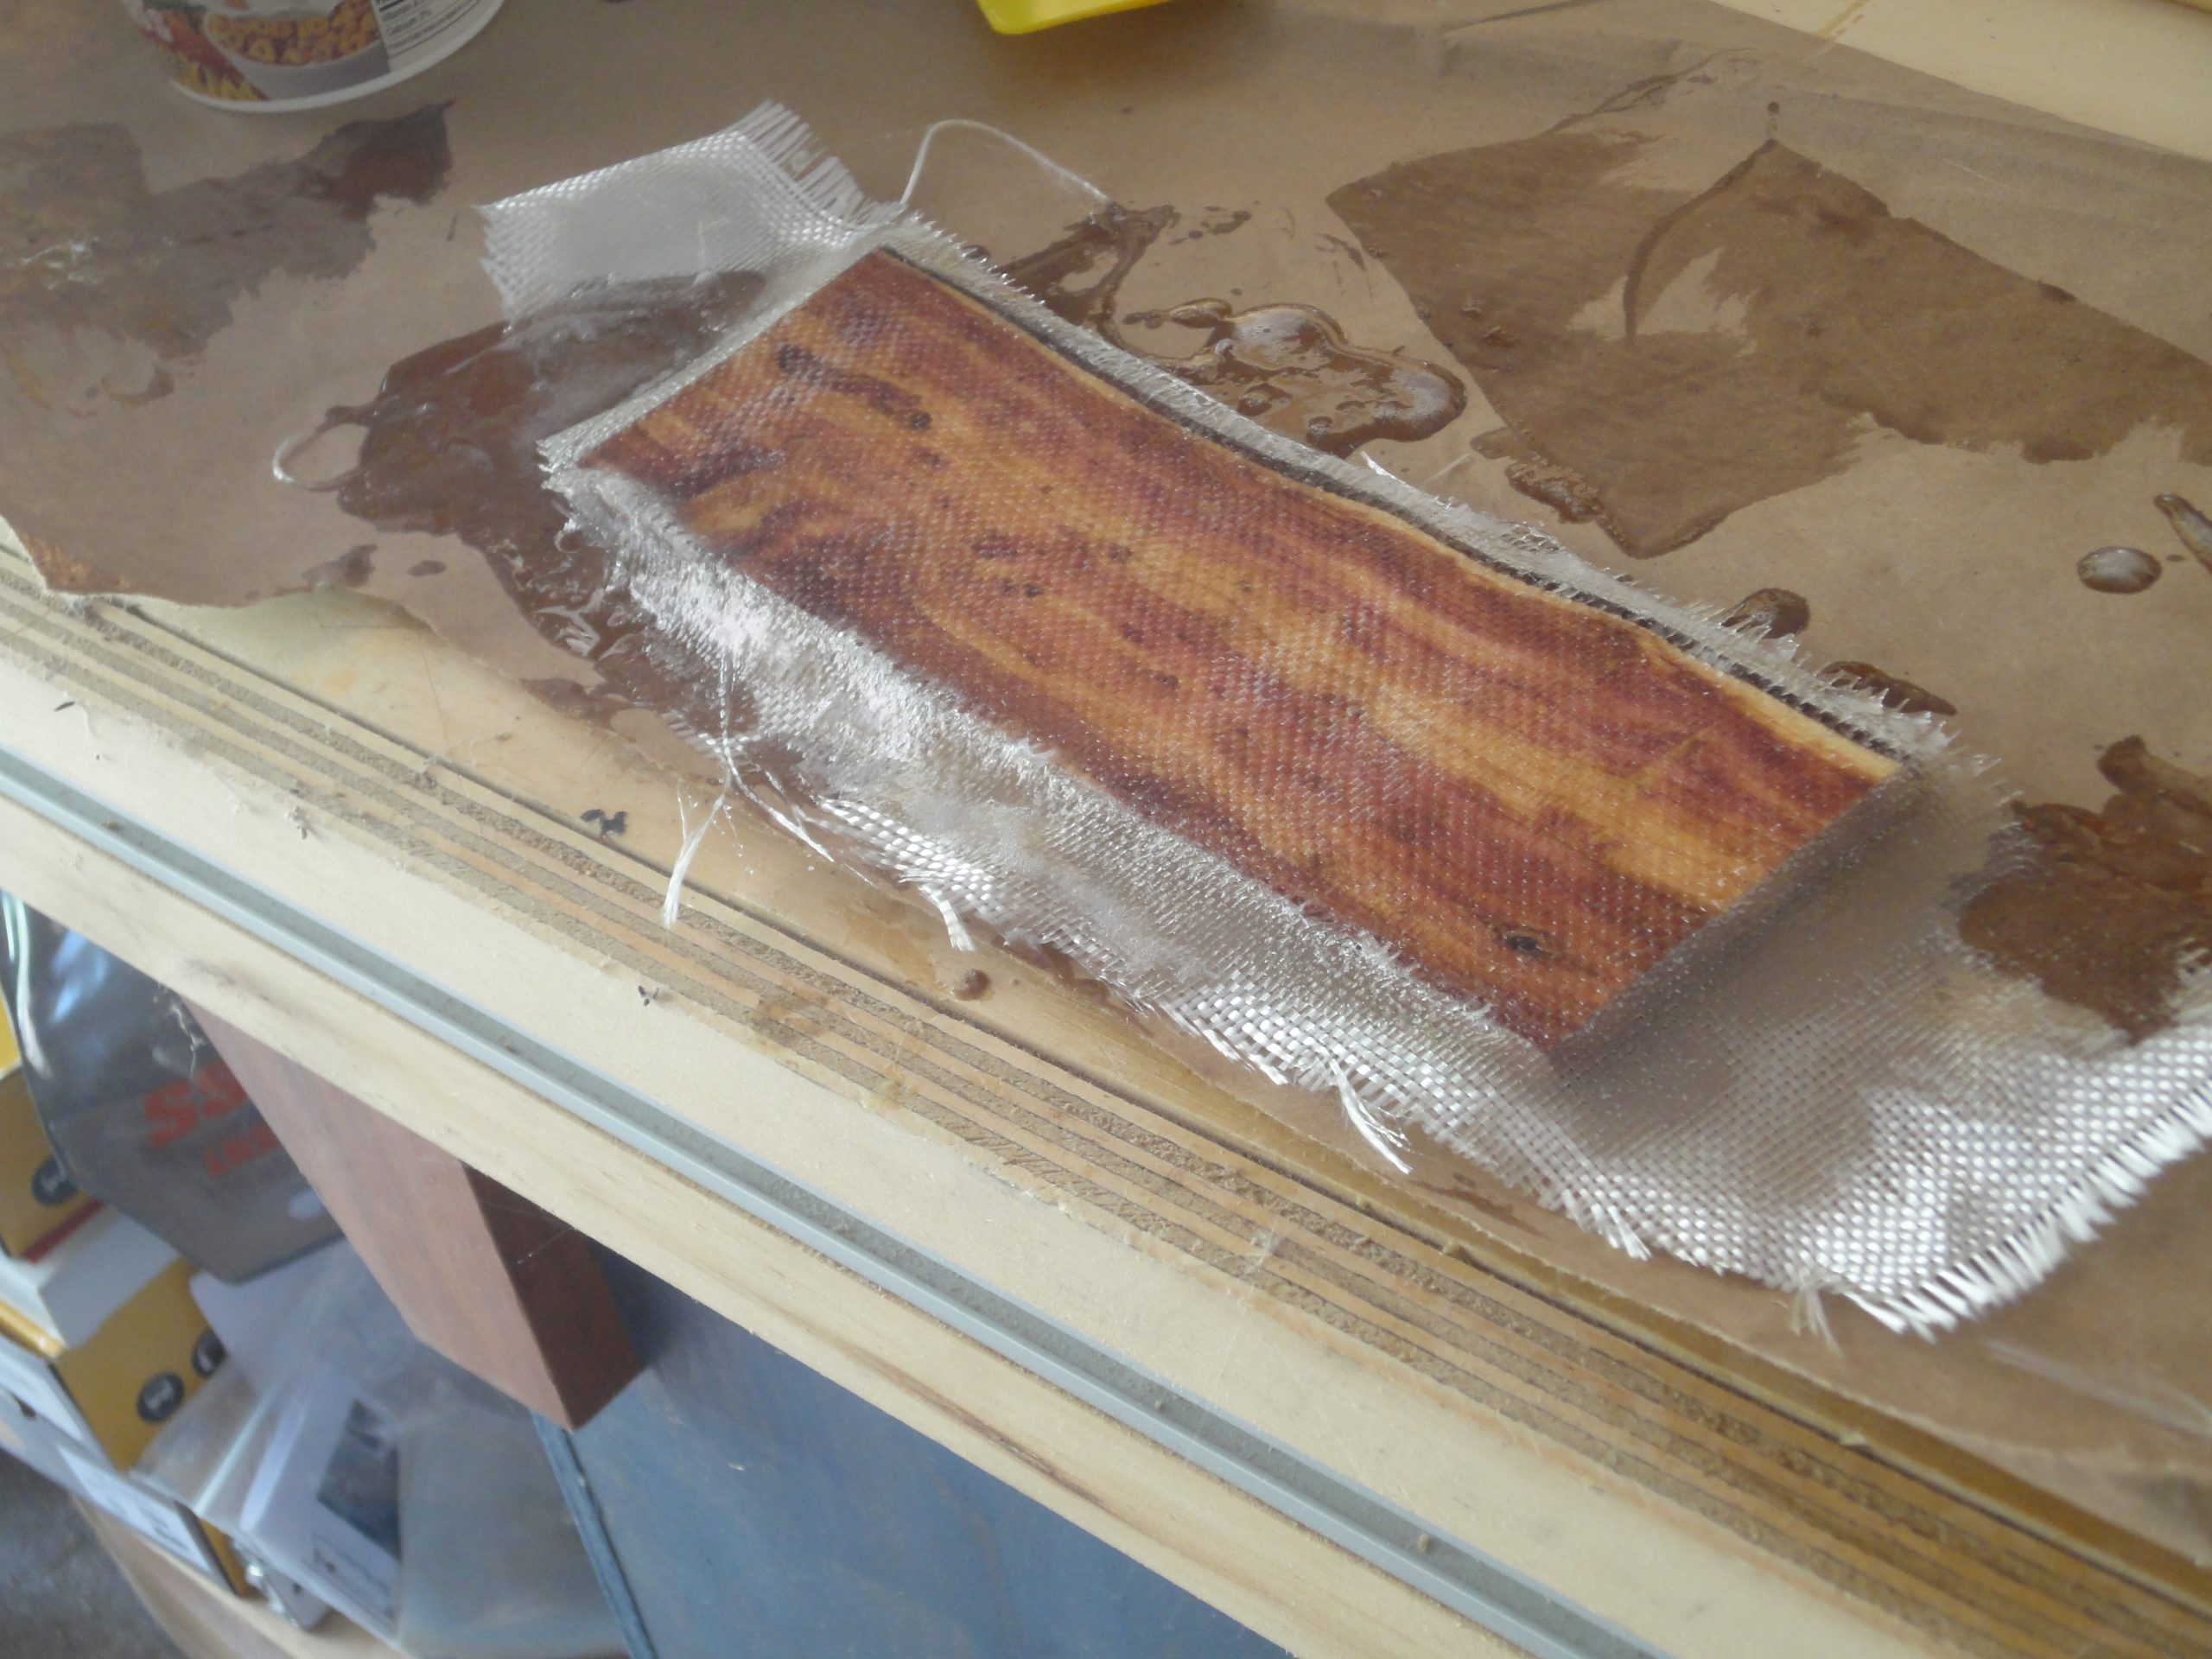
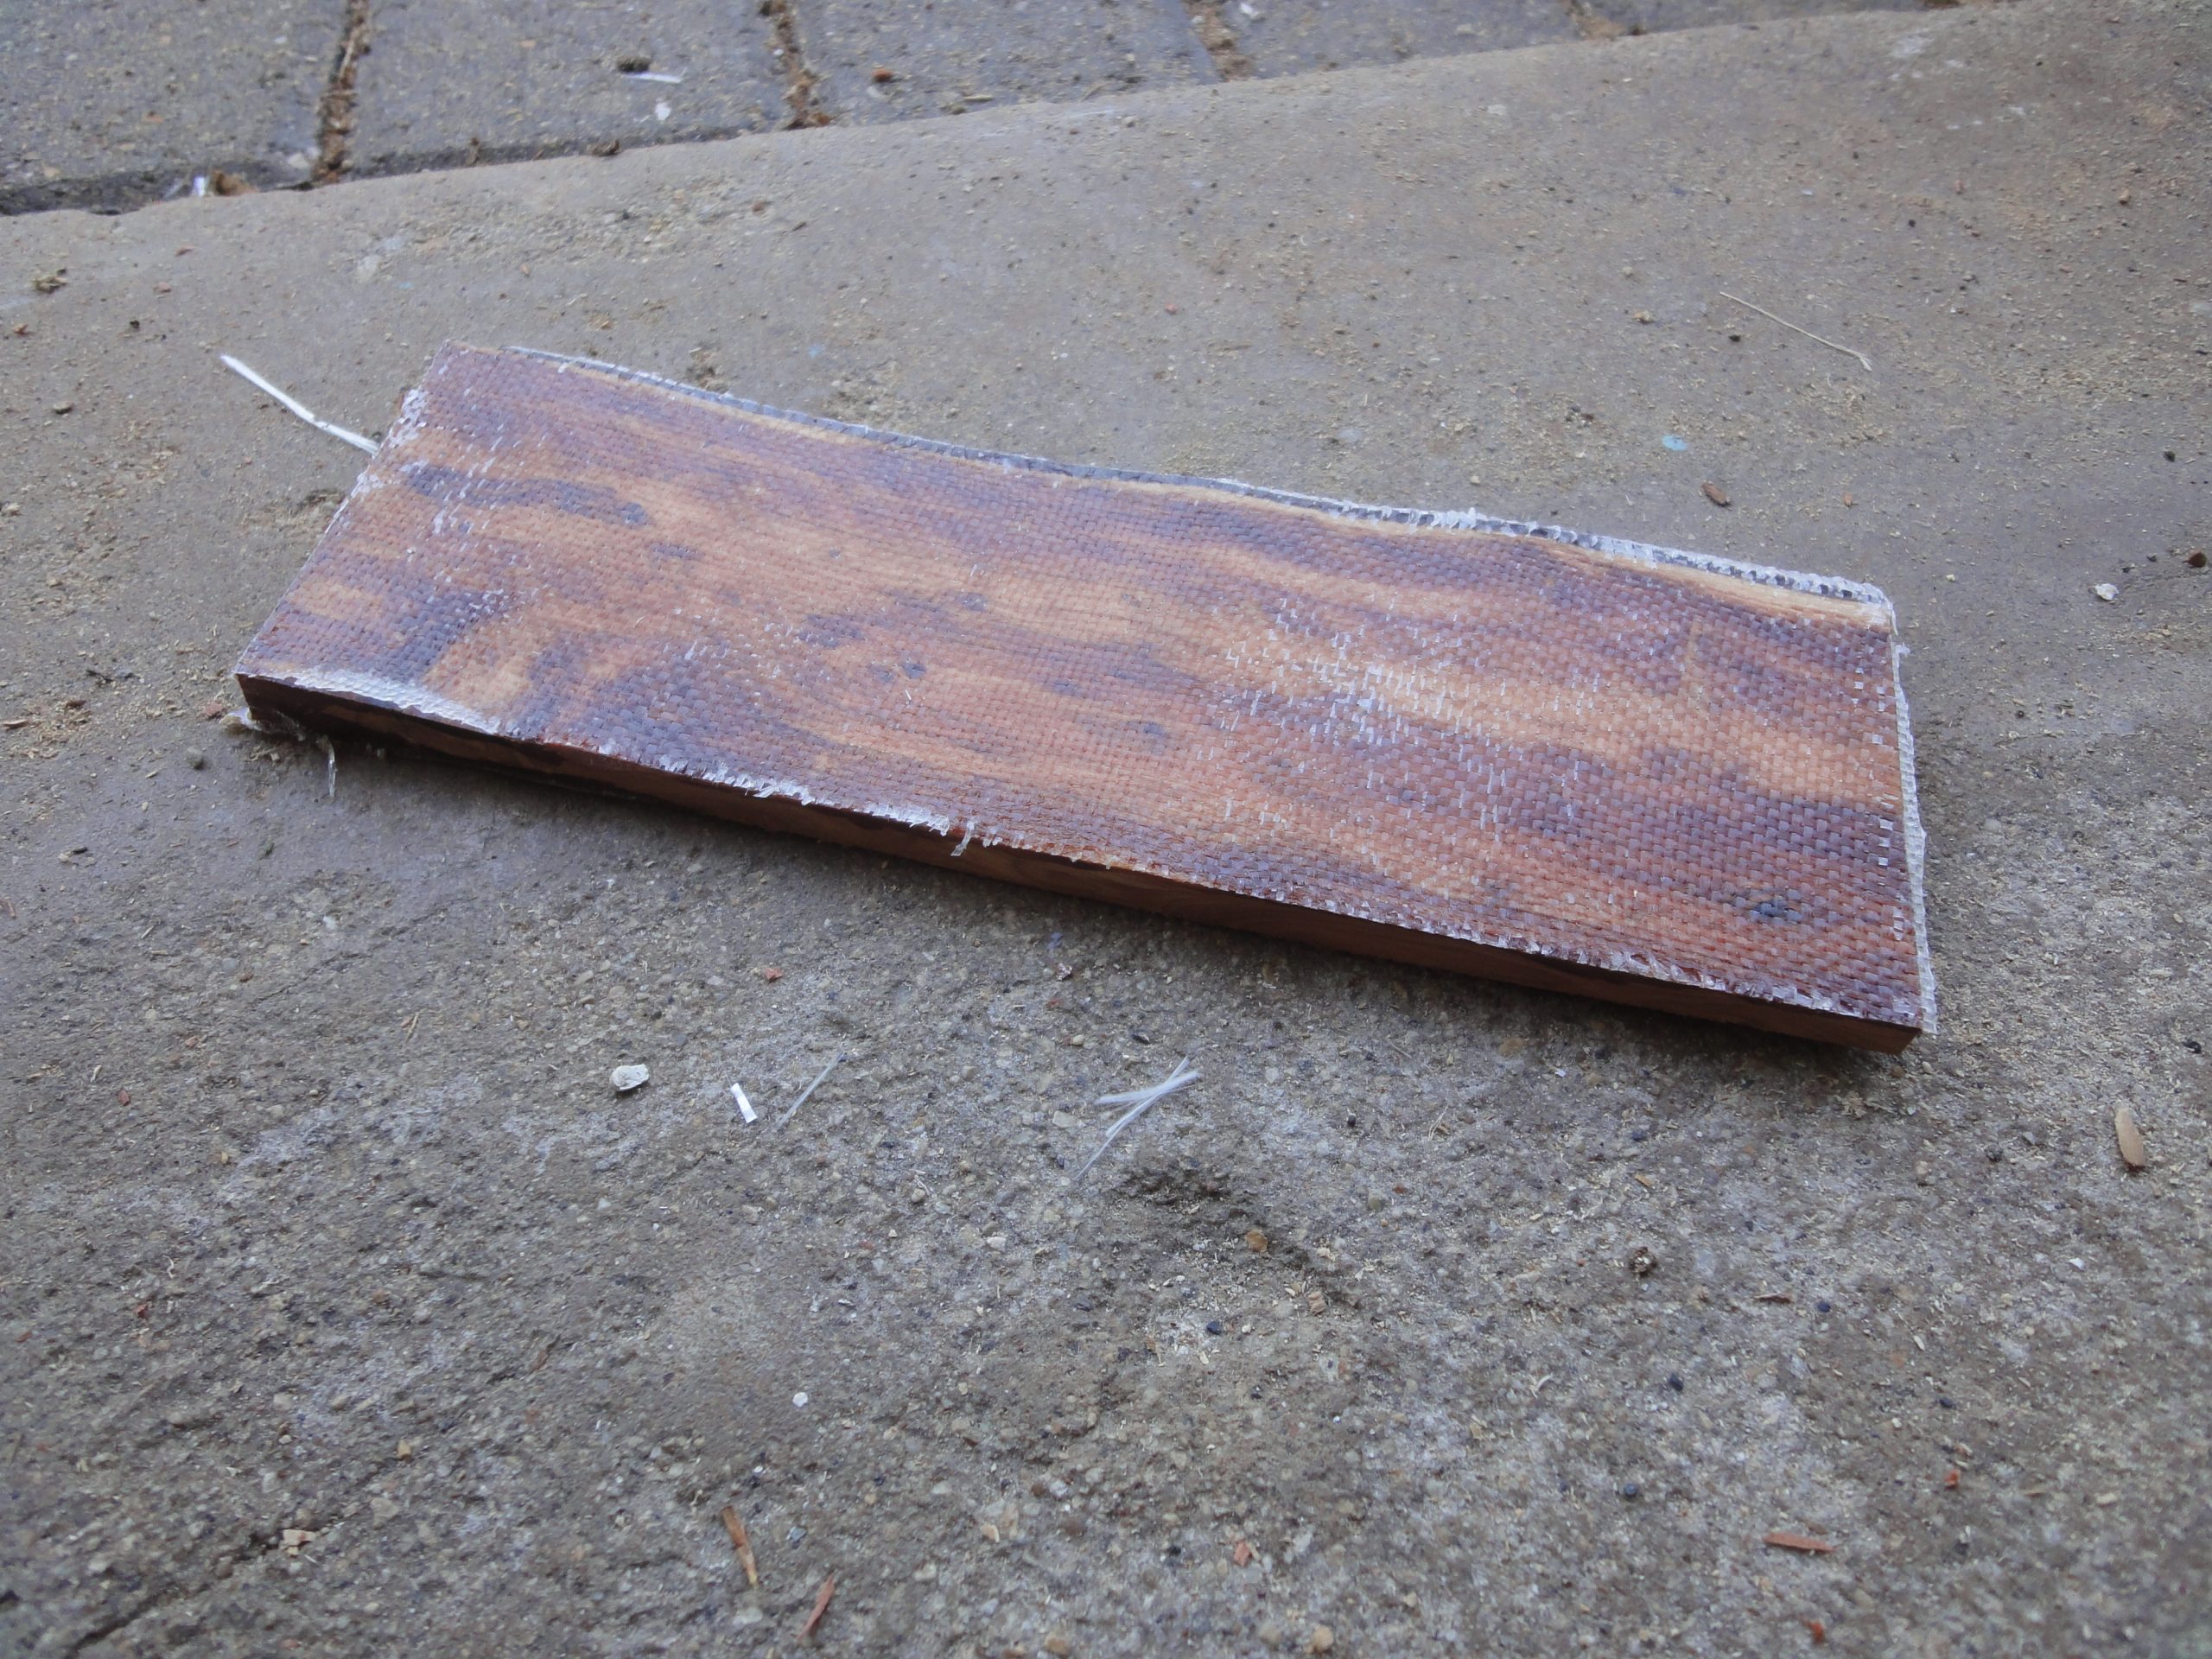
As I have never done fiberglass work before I thought it would be good to try it out first. I had a scrap piece of wood and cut a bit of fiberglass from the corner of the roll. The process, for the first coat, is to mix the epoxy after putting equal numbers of pumps of the resin and hardener into a cup. Give it a good 30-60 seconds of vigorous mixing. Next would be to pour (or in vertical areas brush) it on to the kayak and then use the spreader to move if over the fiberglass ensuring the cloth becomes thoroughly saturated. This is obvious as it goes from white to clear when this is achieved. This process also tacks down the fiberglass to the boat. At the end you actually then go over it with the goal of removing excess epoxy. The resulting work should be matte, not shiny.
I tested this on my scrap and while even with one pump I had way more epoxy mix than I needed, I was able to get a feel for it and after a few hours the resulting board came out just about exactly as I expected.
Since a picture is worth a 1000 words, well a video has got to be worth a whole bunch of pictures so here’s the video of the epoxy process (on the sample) from start to finish.
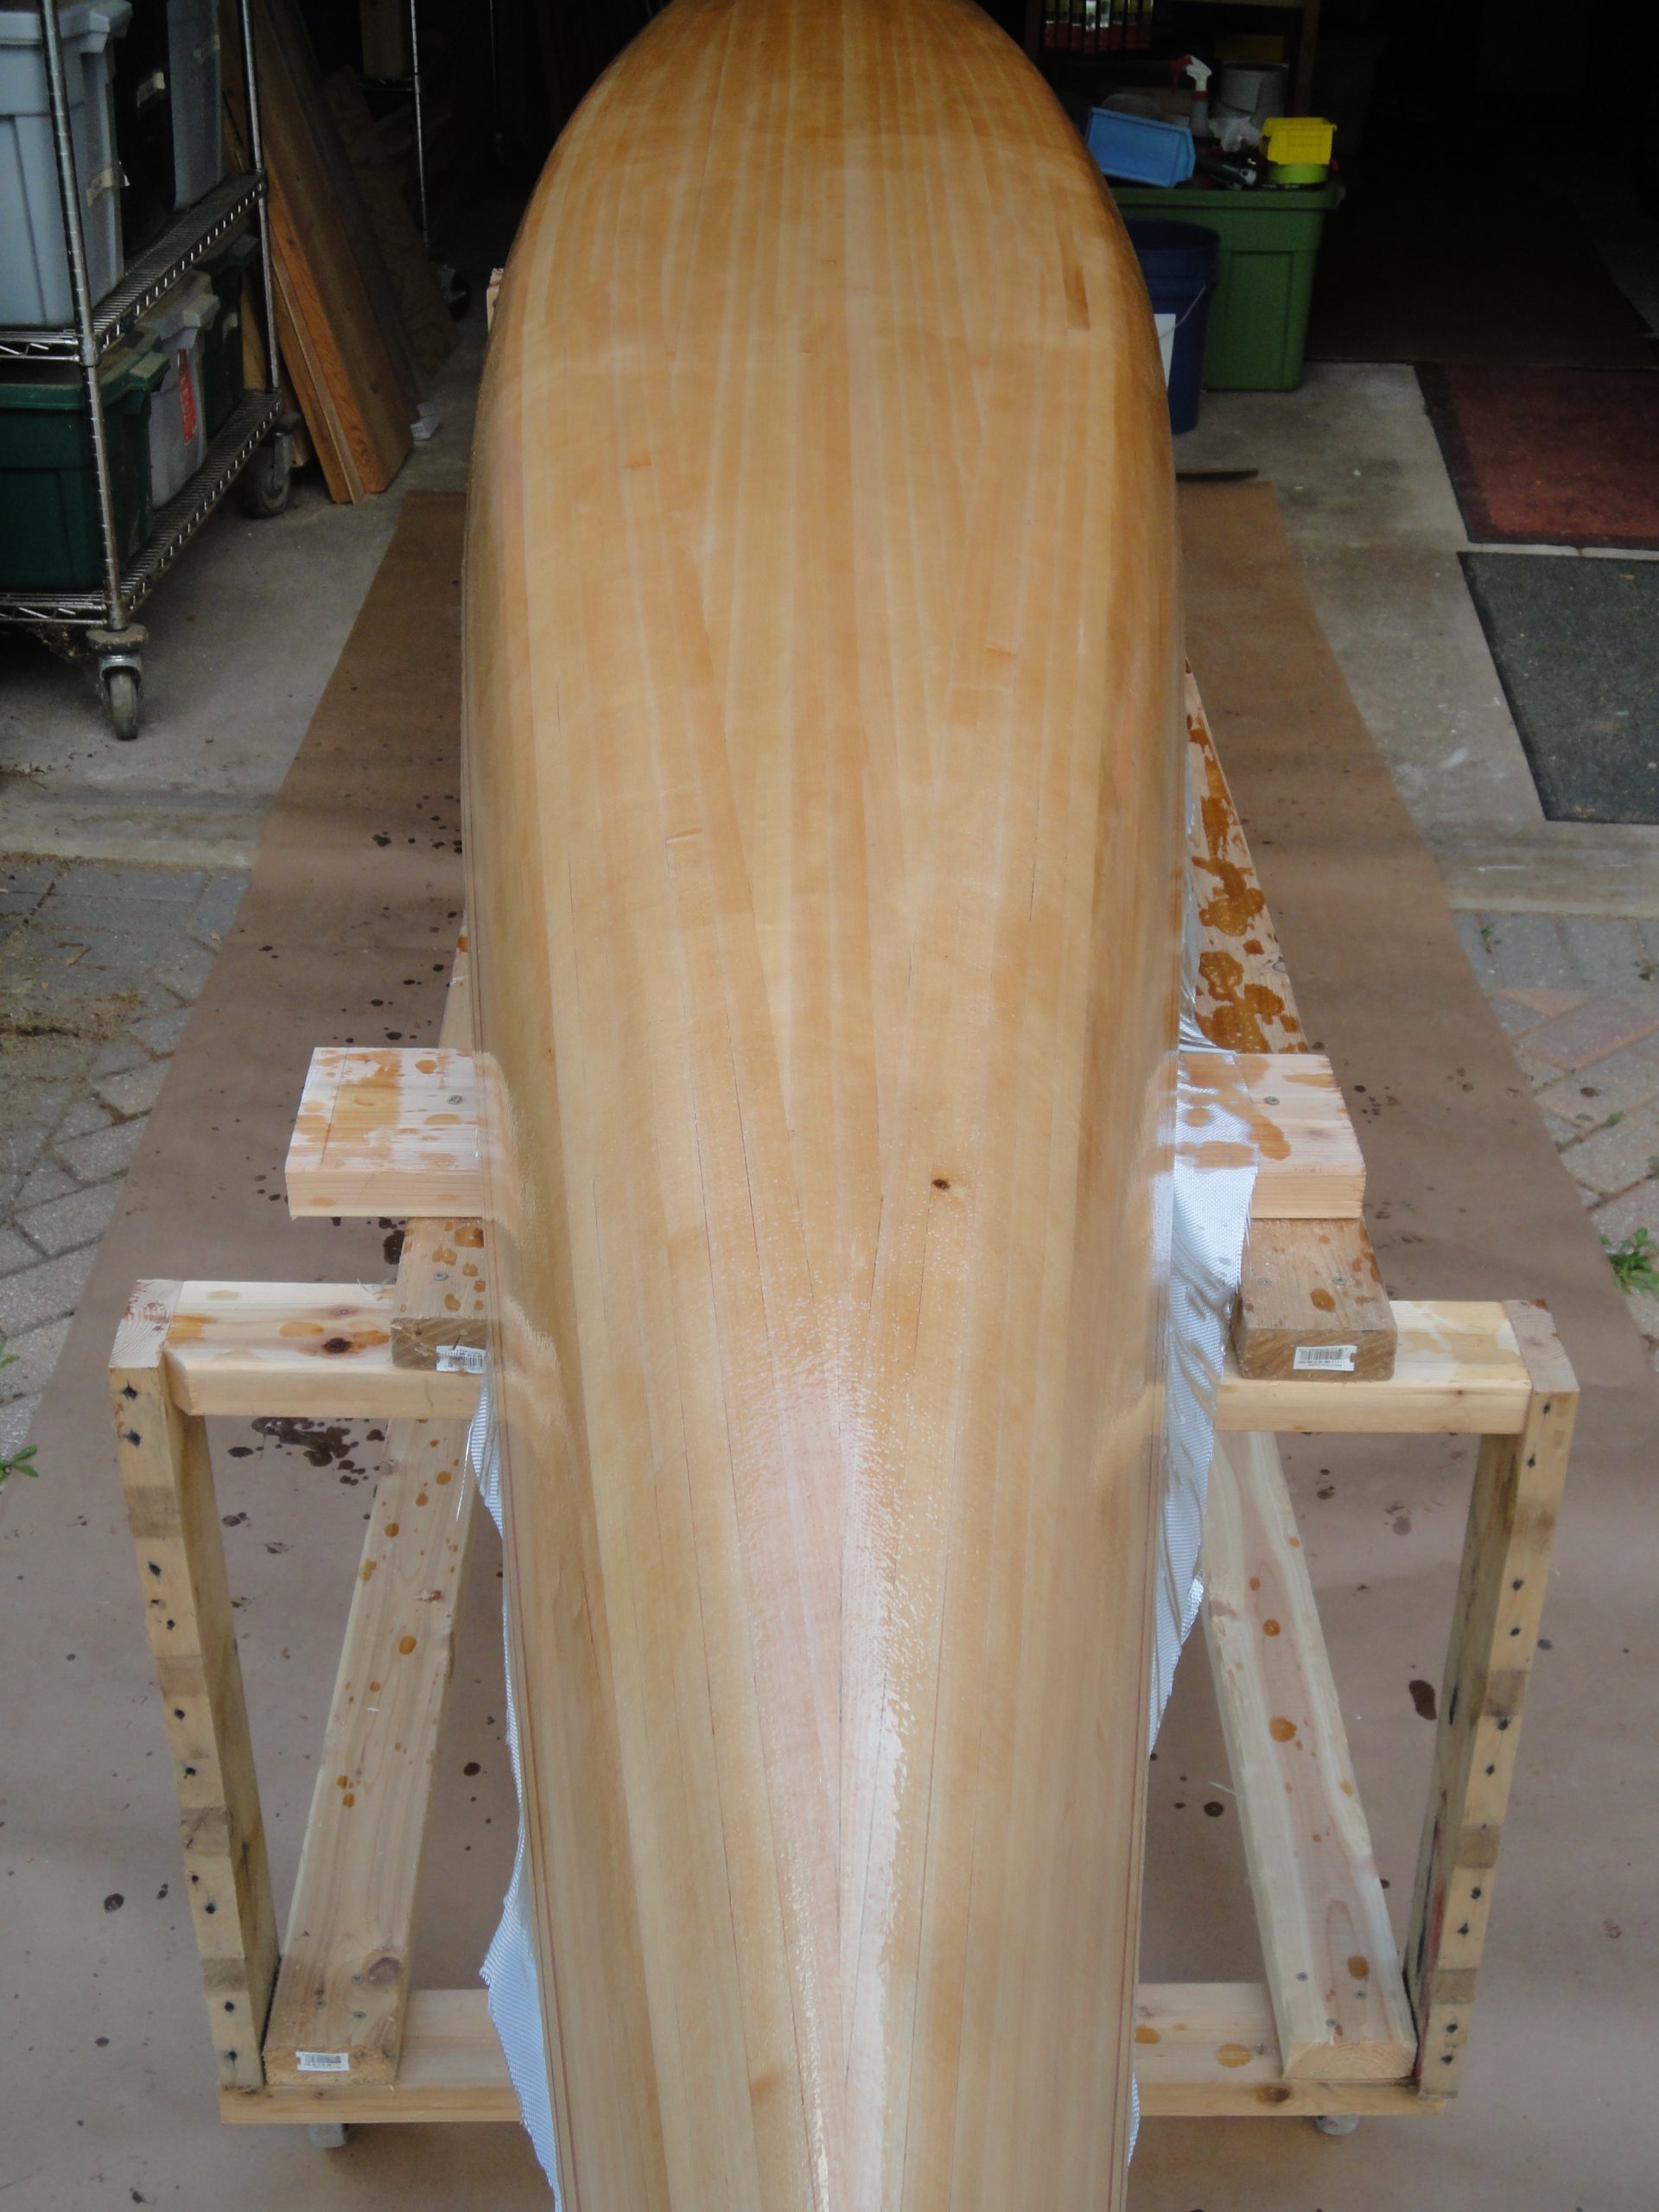
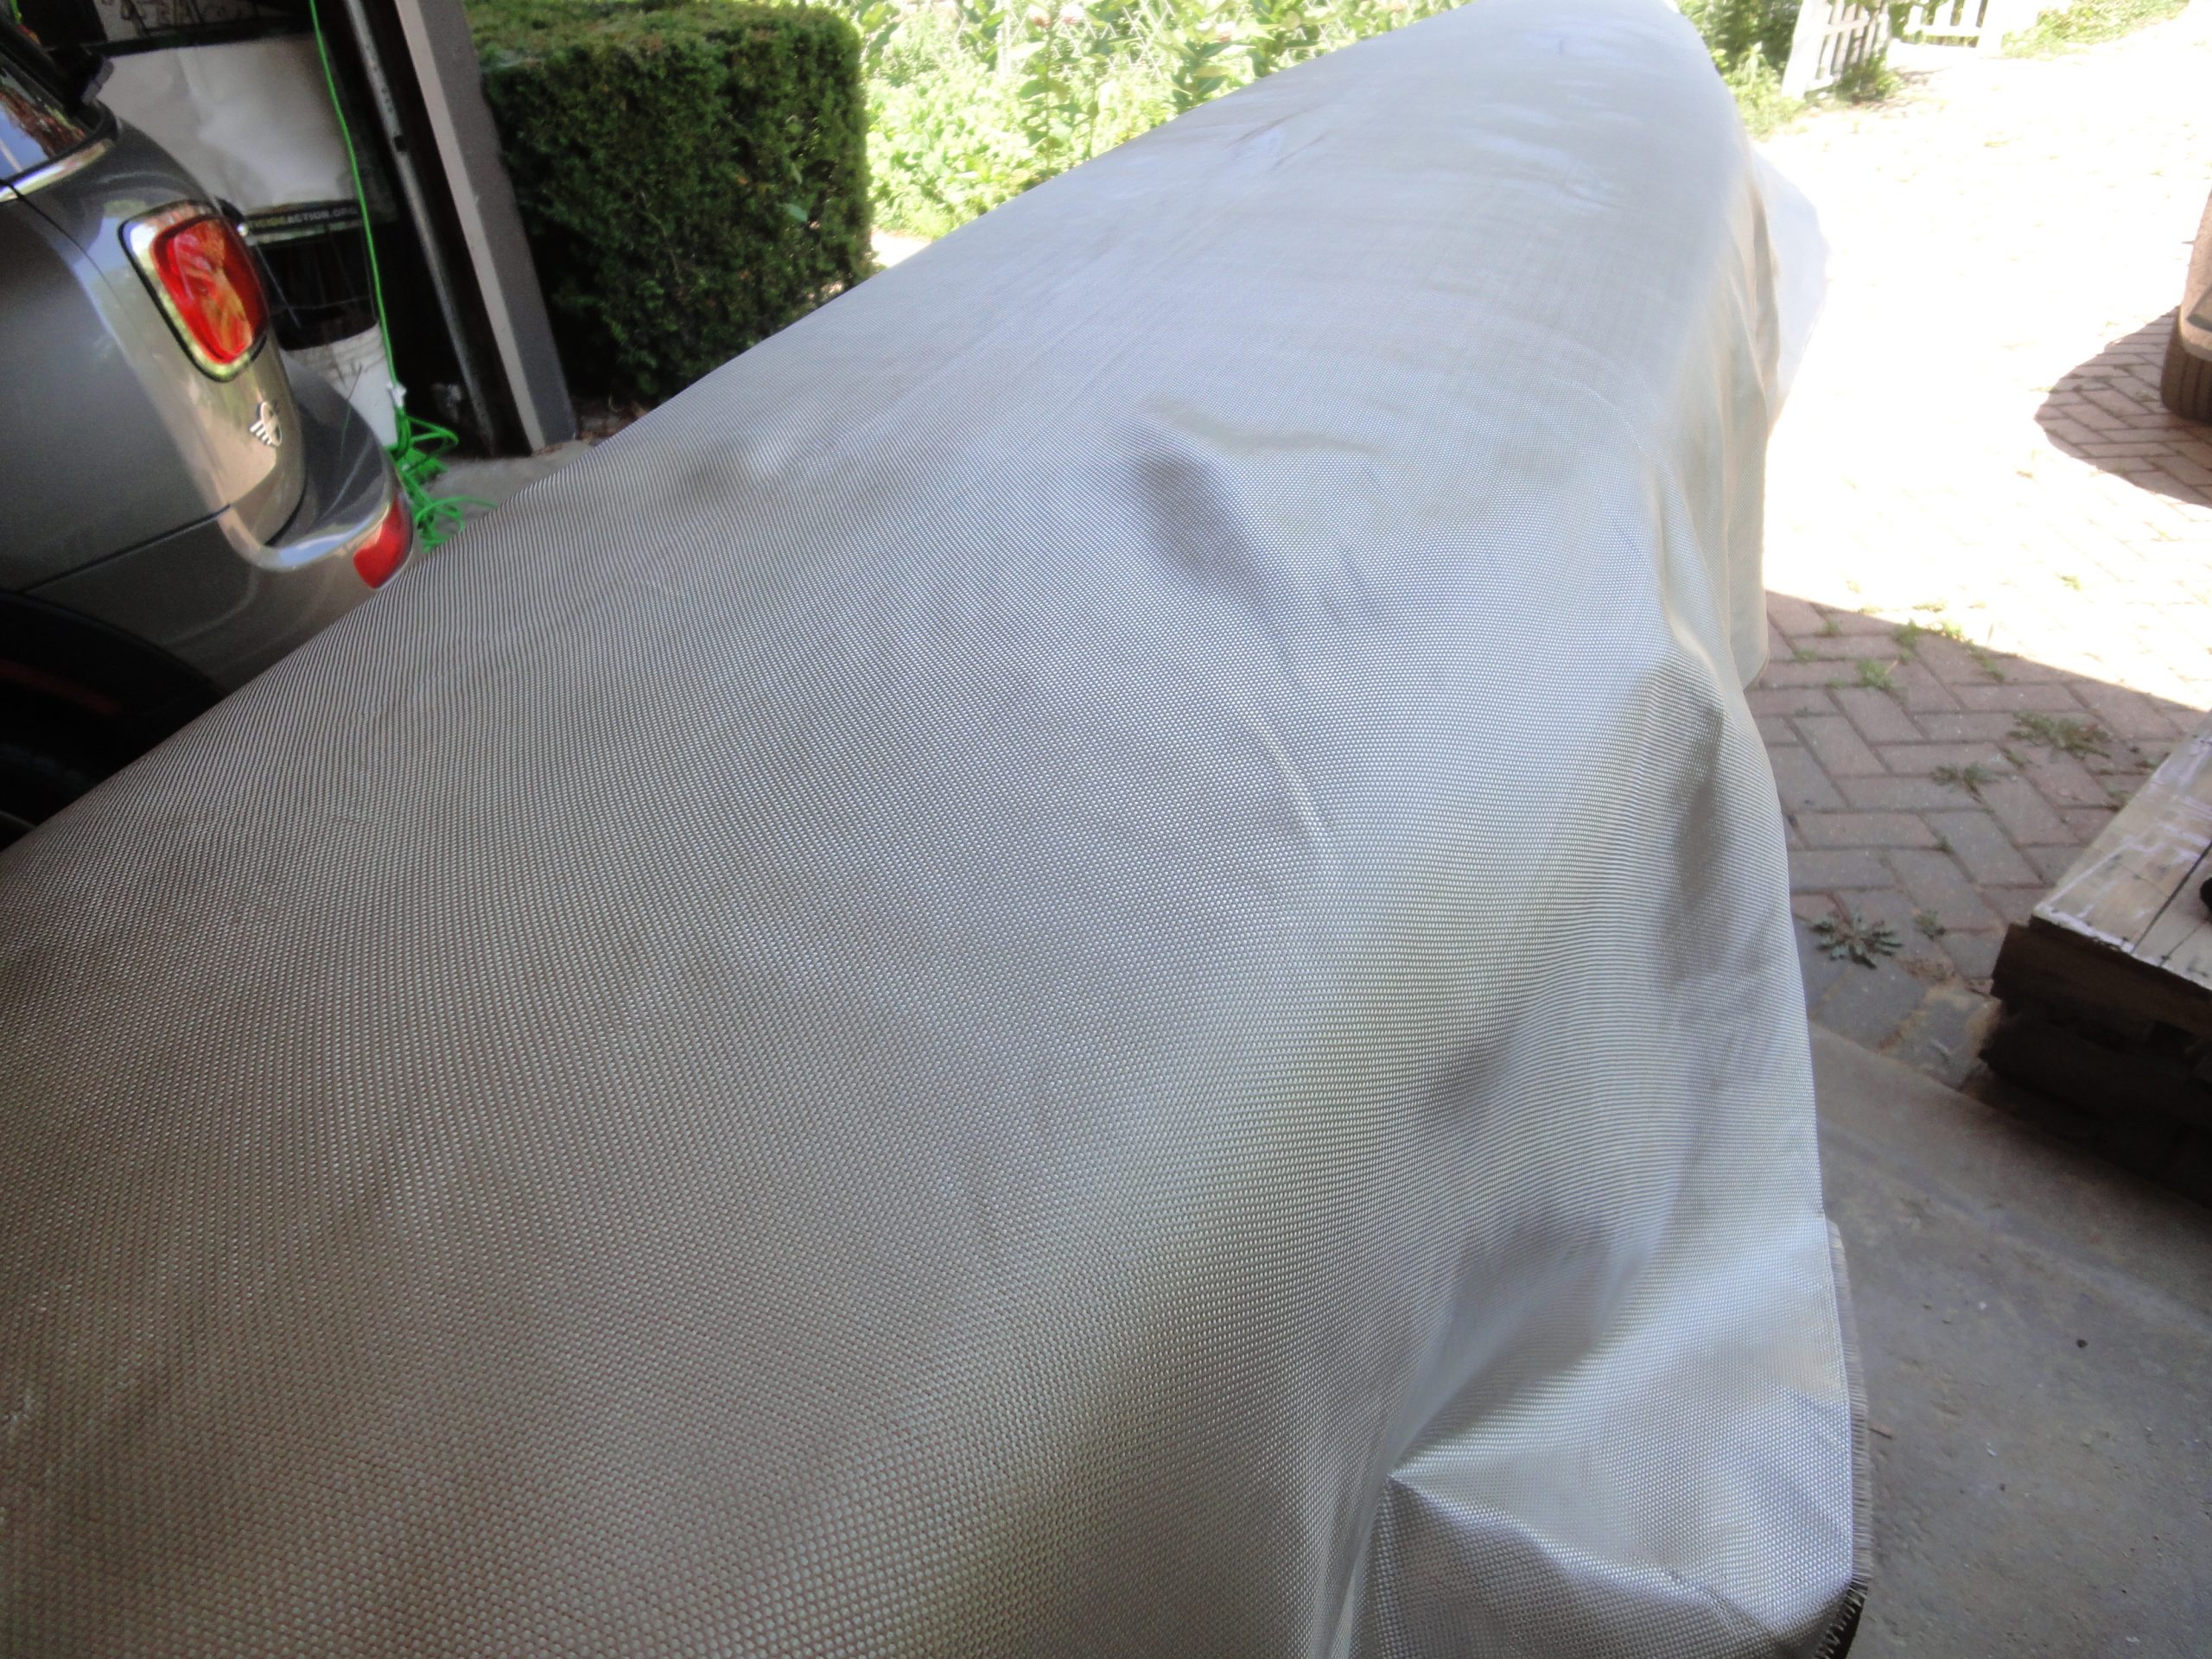
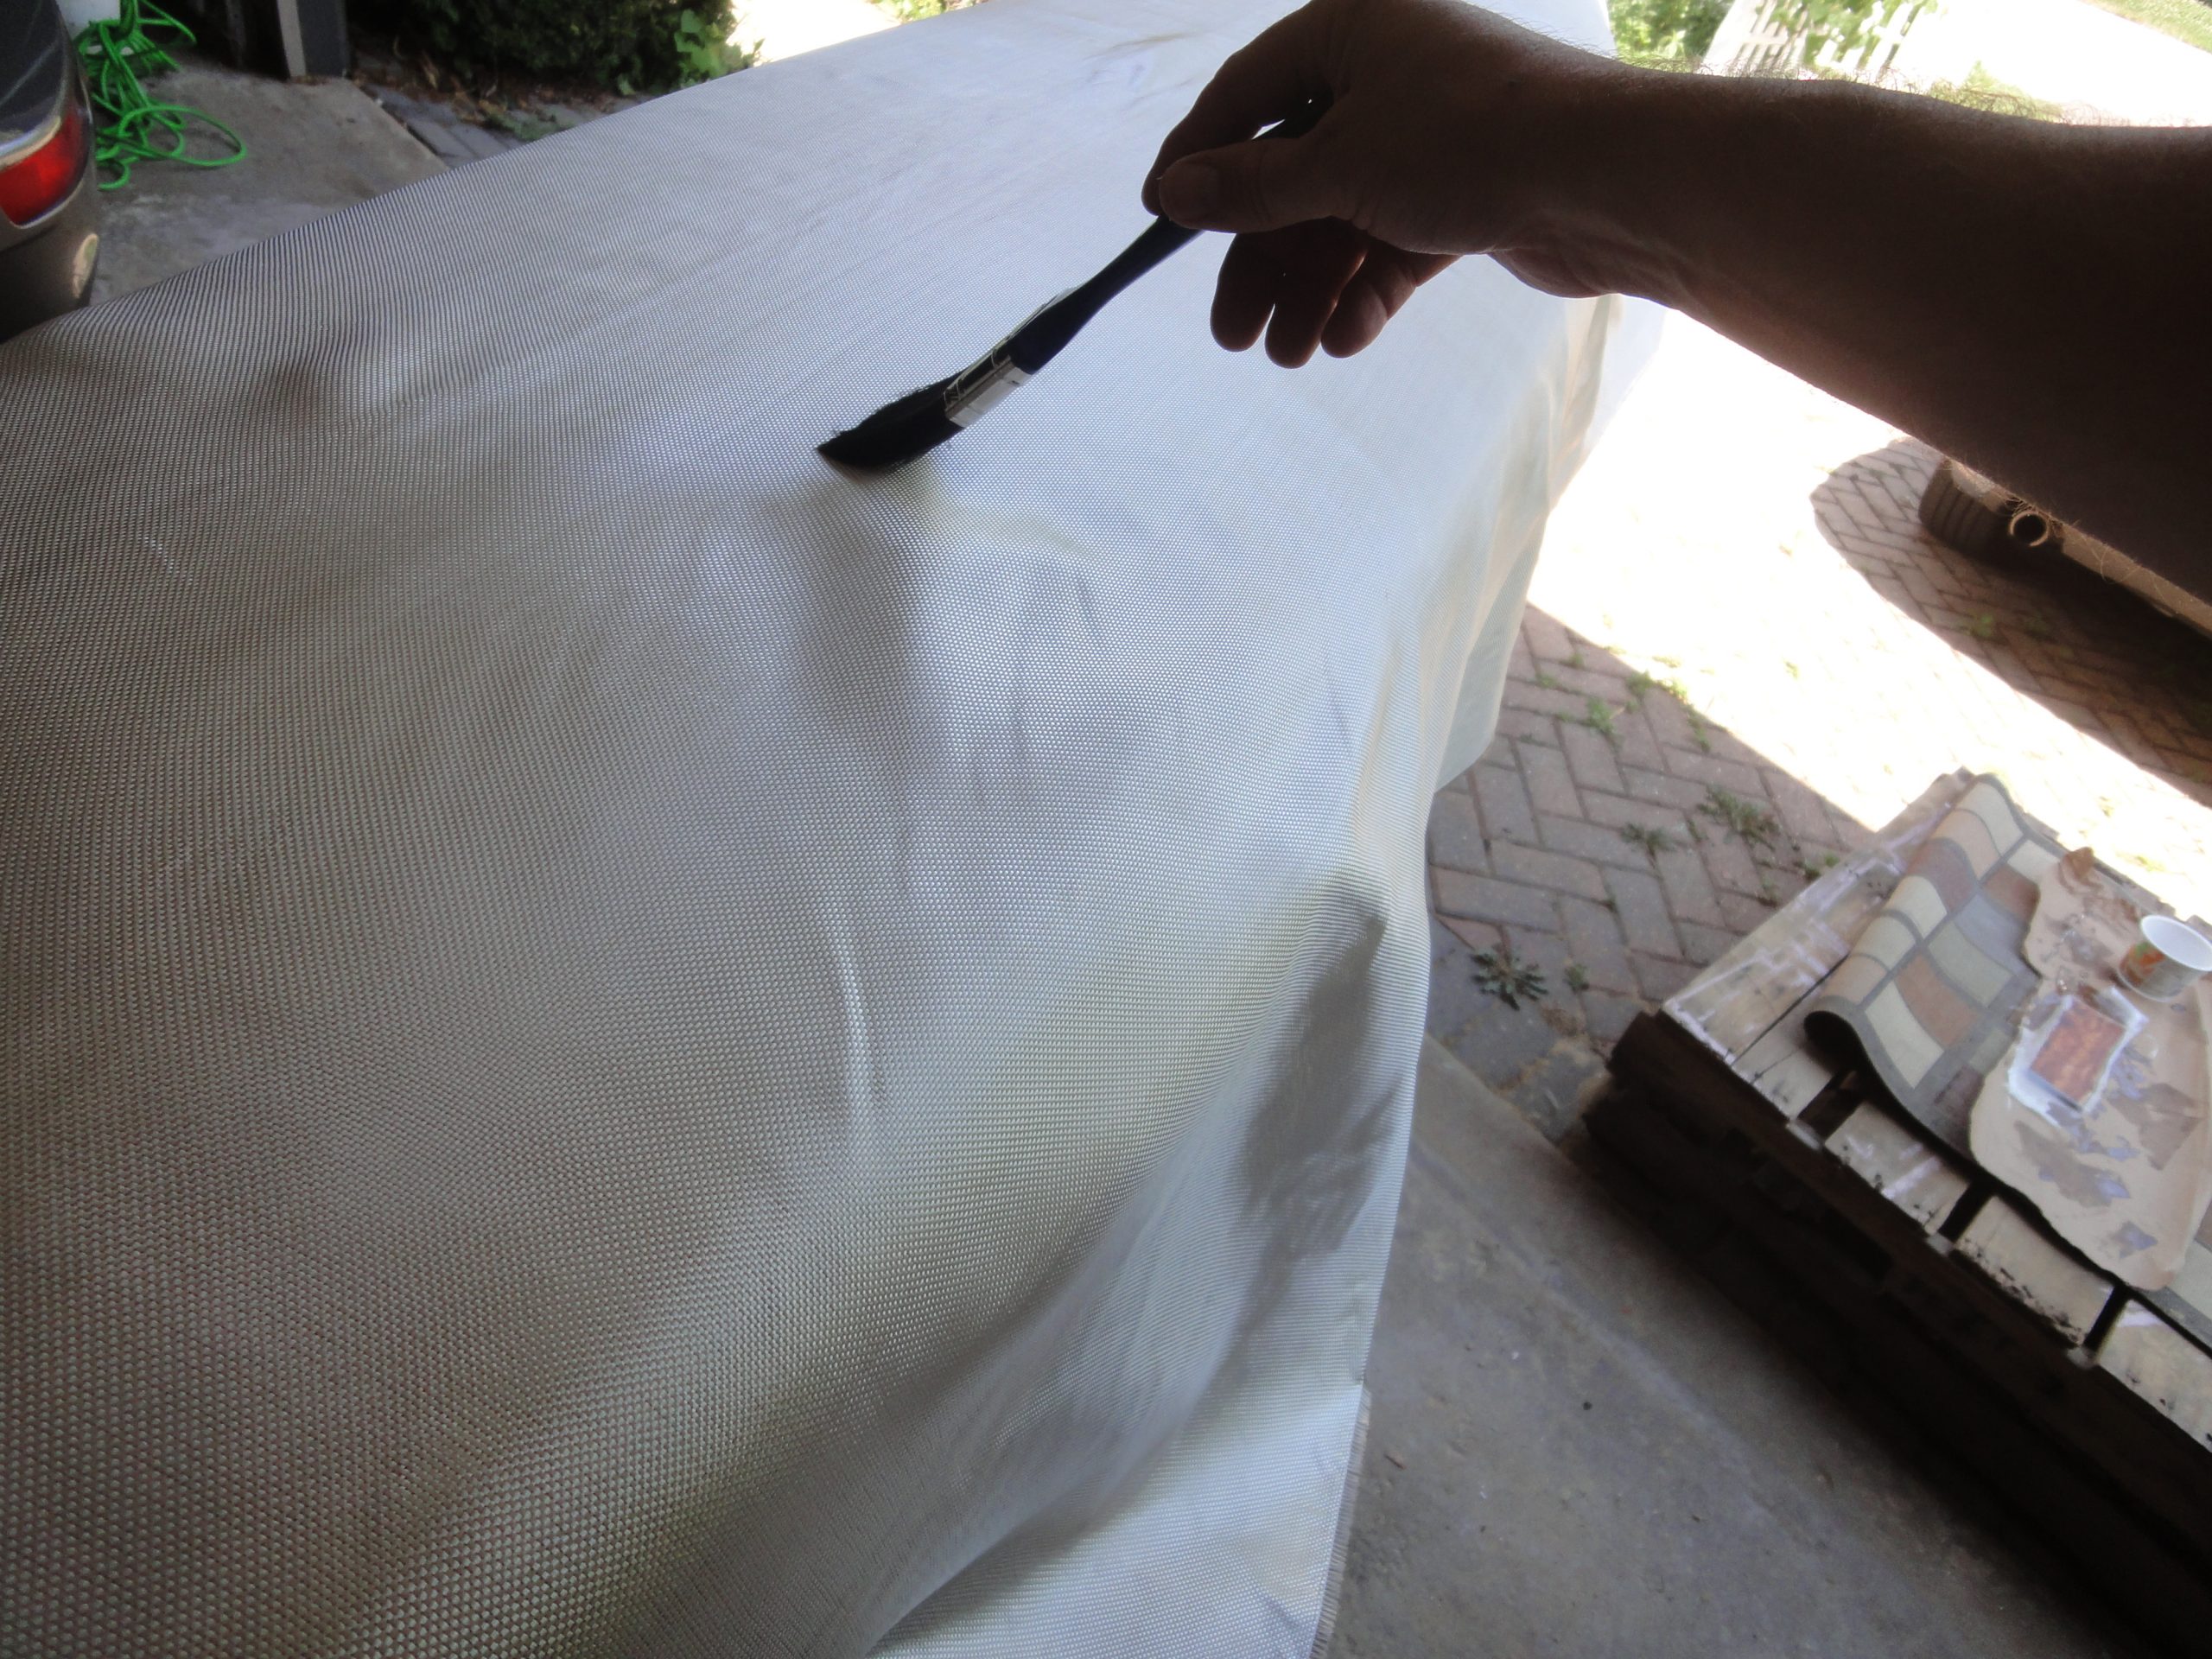
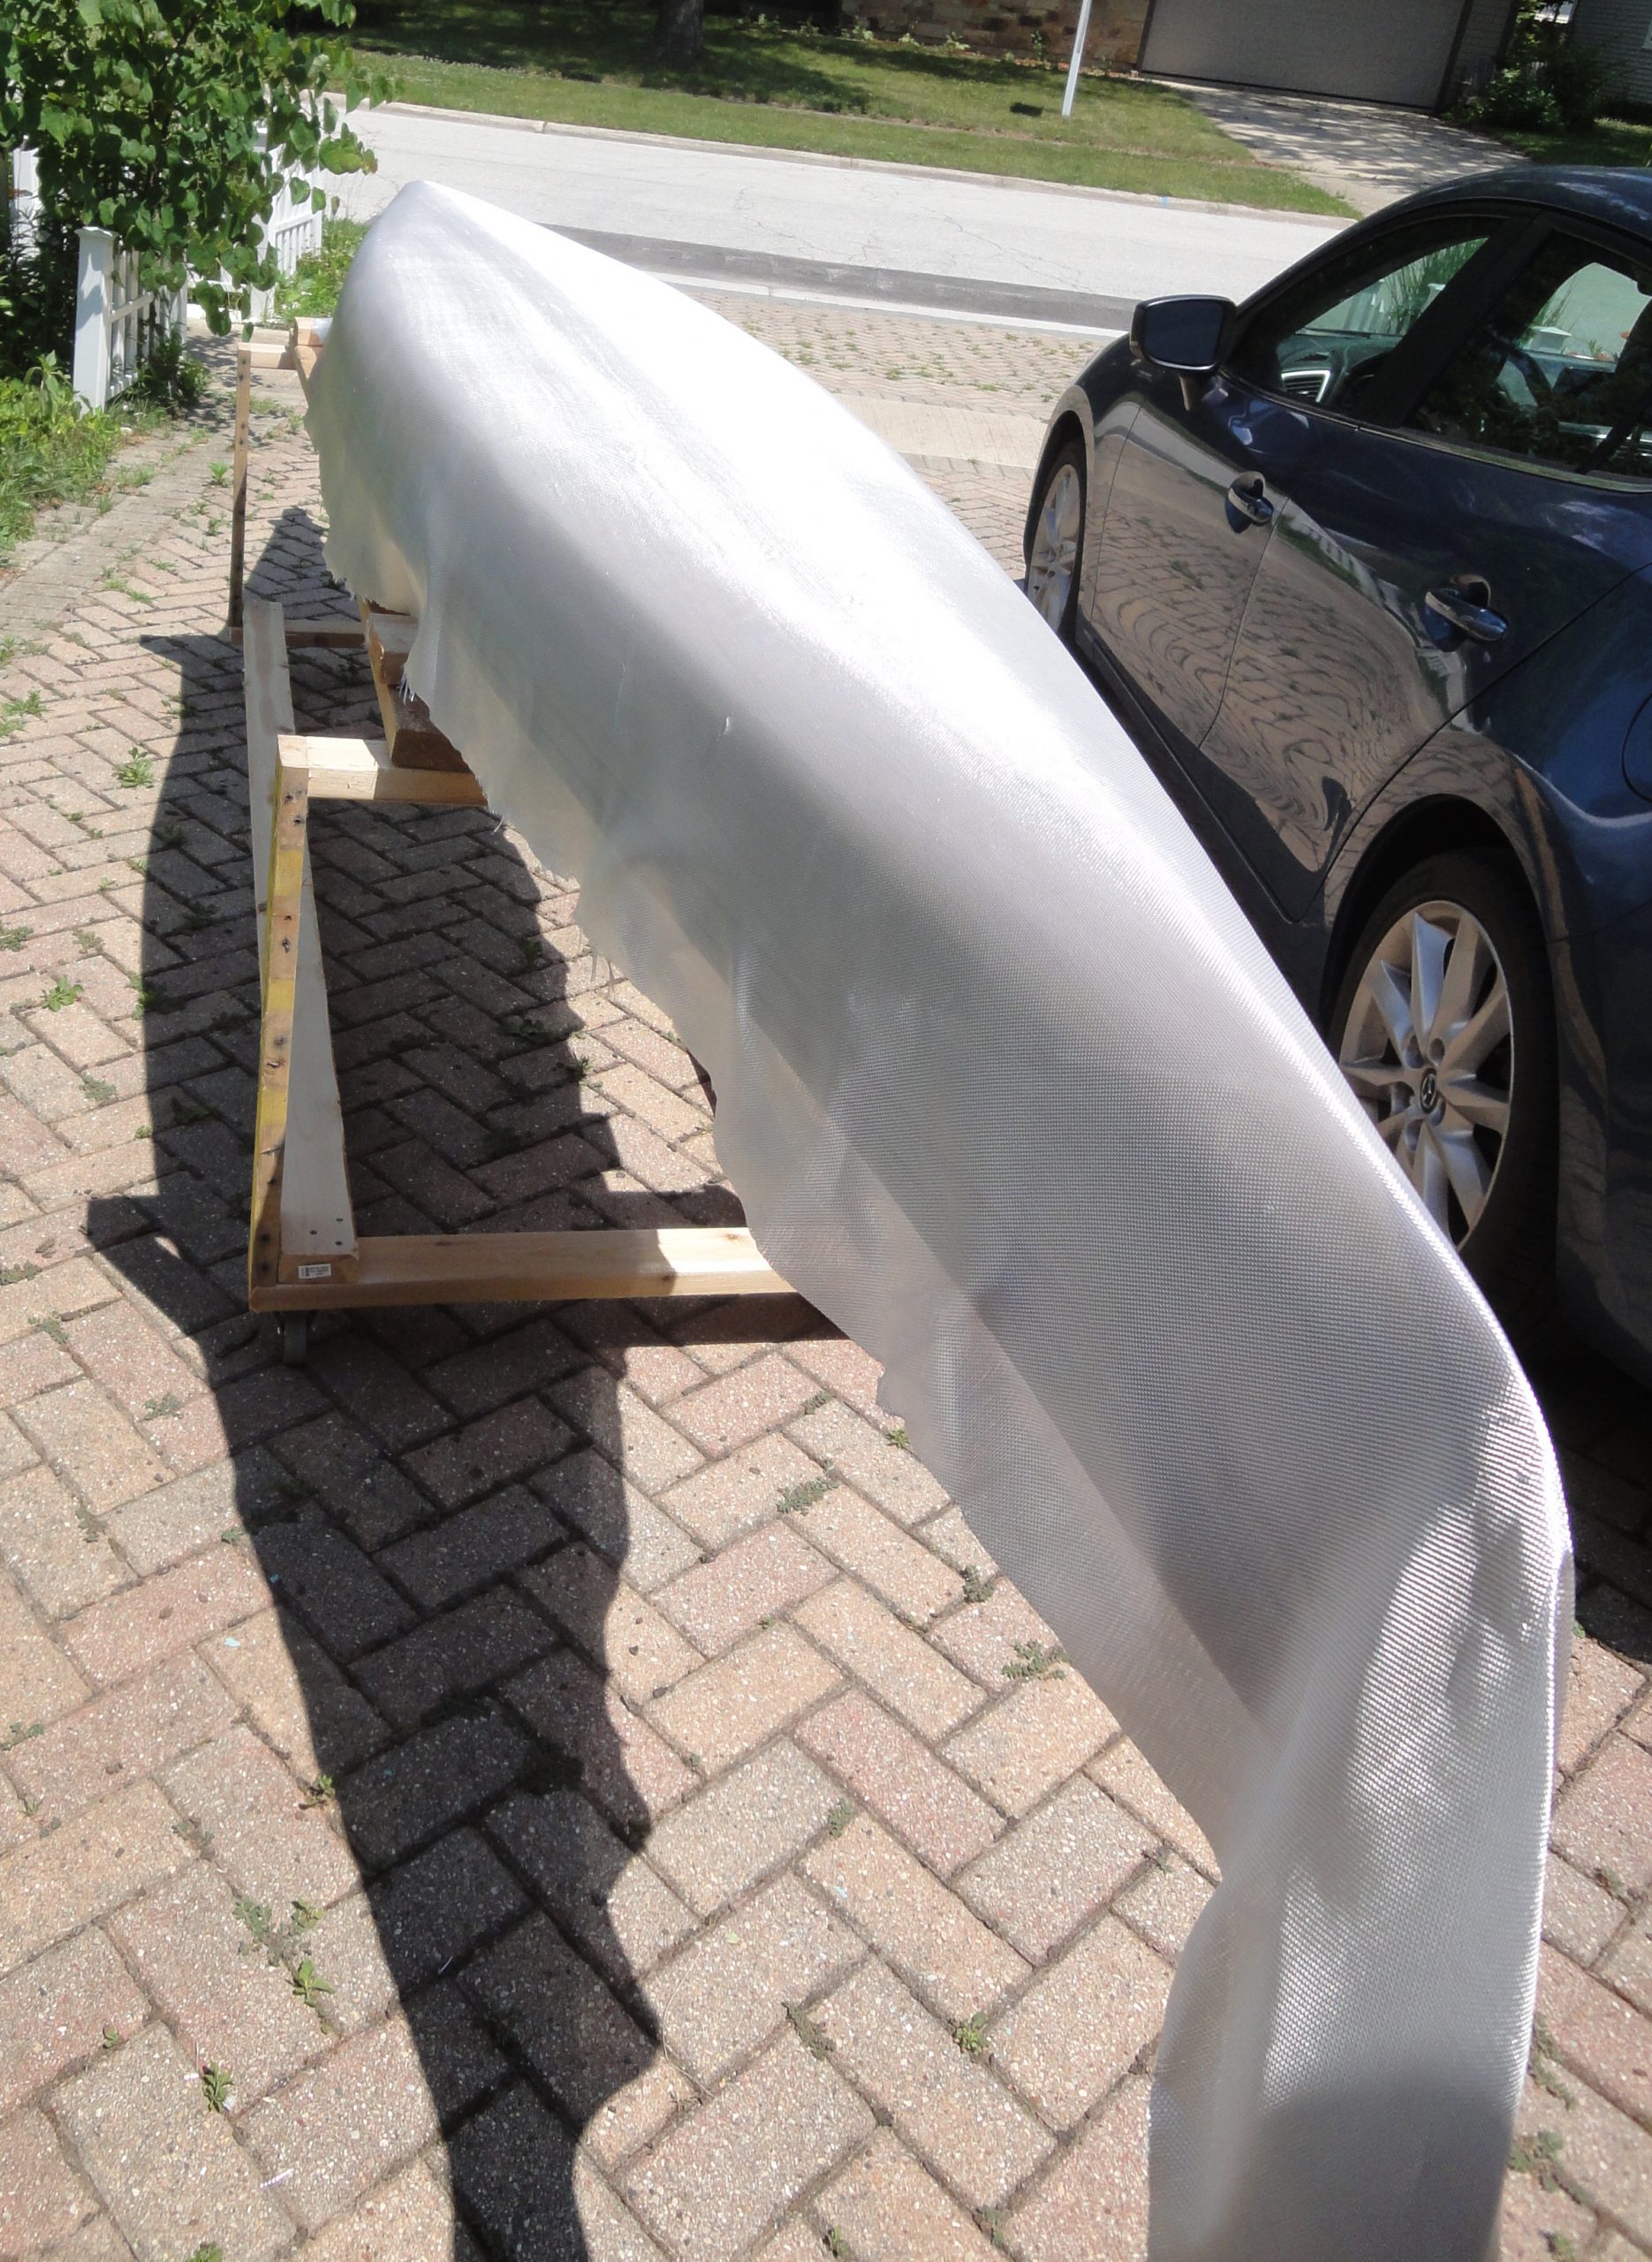
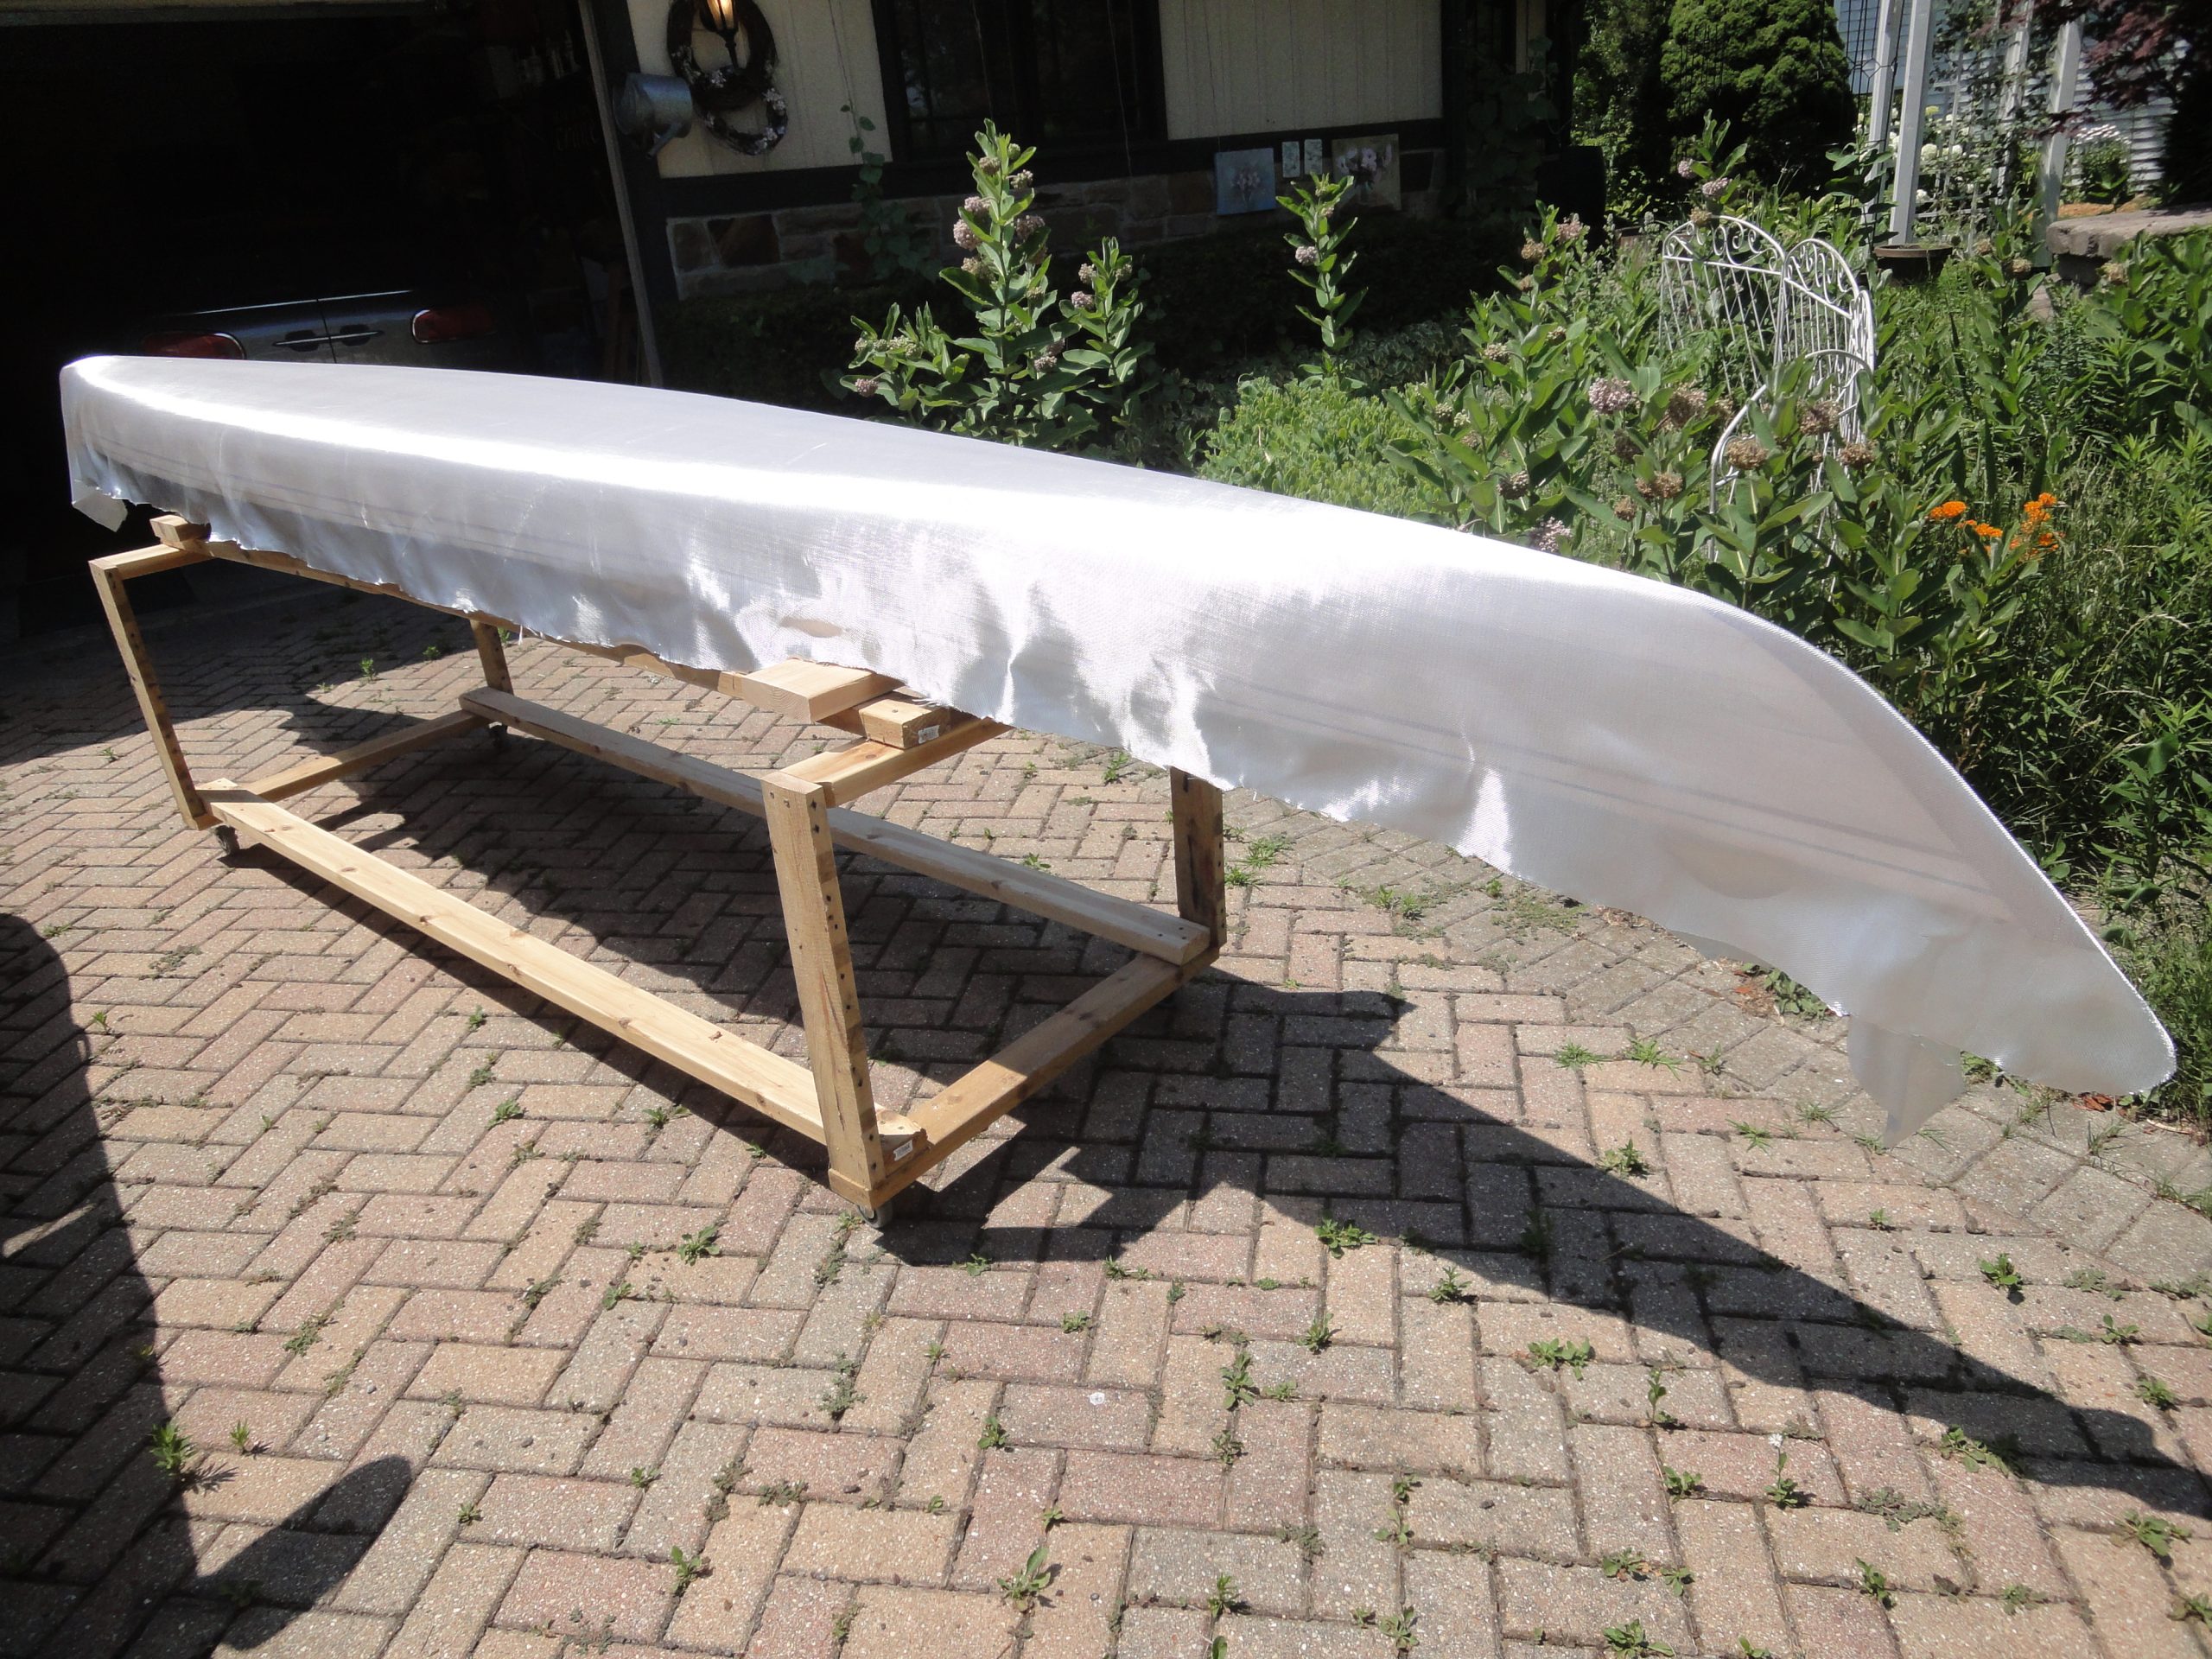
Next is to prep the fiberglass on the kayak. I went ahead and unrolled the fiberglass on top of the hull and cut it off allowing for a little extra on each end. While the initial laying out wasn’t too bad, there were bubbles and wrinkles that need to be removed before the epoxy can go on. I went ahead and adjusted carefully with my hands and then used a brush to literally brush out the wrinkles and bumps. Simply brush them to the edge, gently with occasional tweaks of the fiberglass itself.
I did cut off much over the overhang on each side (and saved the pieces in case I need them later, although at this point they are effectively scraps. This helped it to lay better in the middle. After a full brushing out it seemed in pretty good condition but I decided to give it at least 24 hours to just sit and relax in place so most likely tomorrow I will start the actual epoxy application. The goal is two to three coats. The initial coat will be to bond the cloth to the surface. The second will be to fill the weave and possibly a third if necessary. I’m probably looking at 90-120 minutes between coats and it should be done during after the peak heat point when the temperature is starting to drop as this will help prevent bubbles in the finish. I could wait longer between coats but then instead of a chemical bonding between coats I would have to do a bit of sanding to get a mechanical bond between the coats. At this point the less sanding the better.
Finally, here are a few shots of it ready for the epoxy application.