
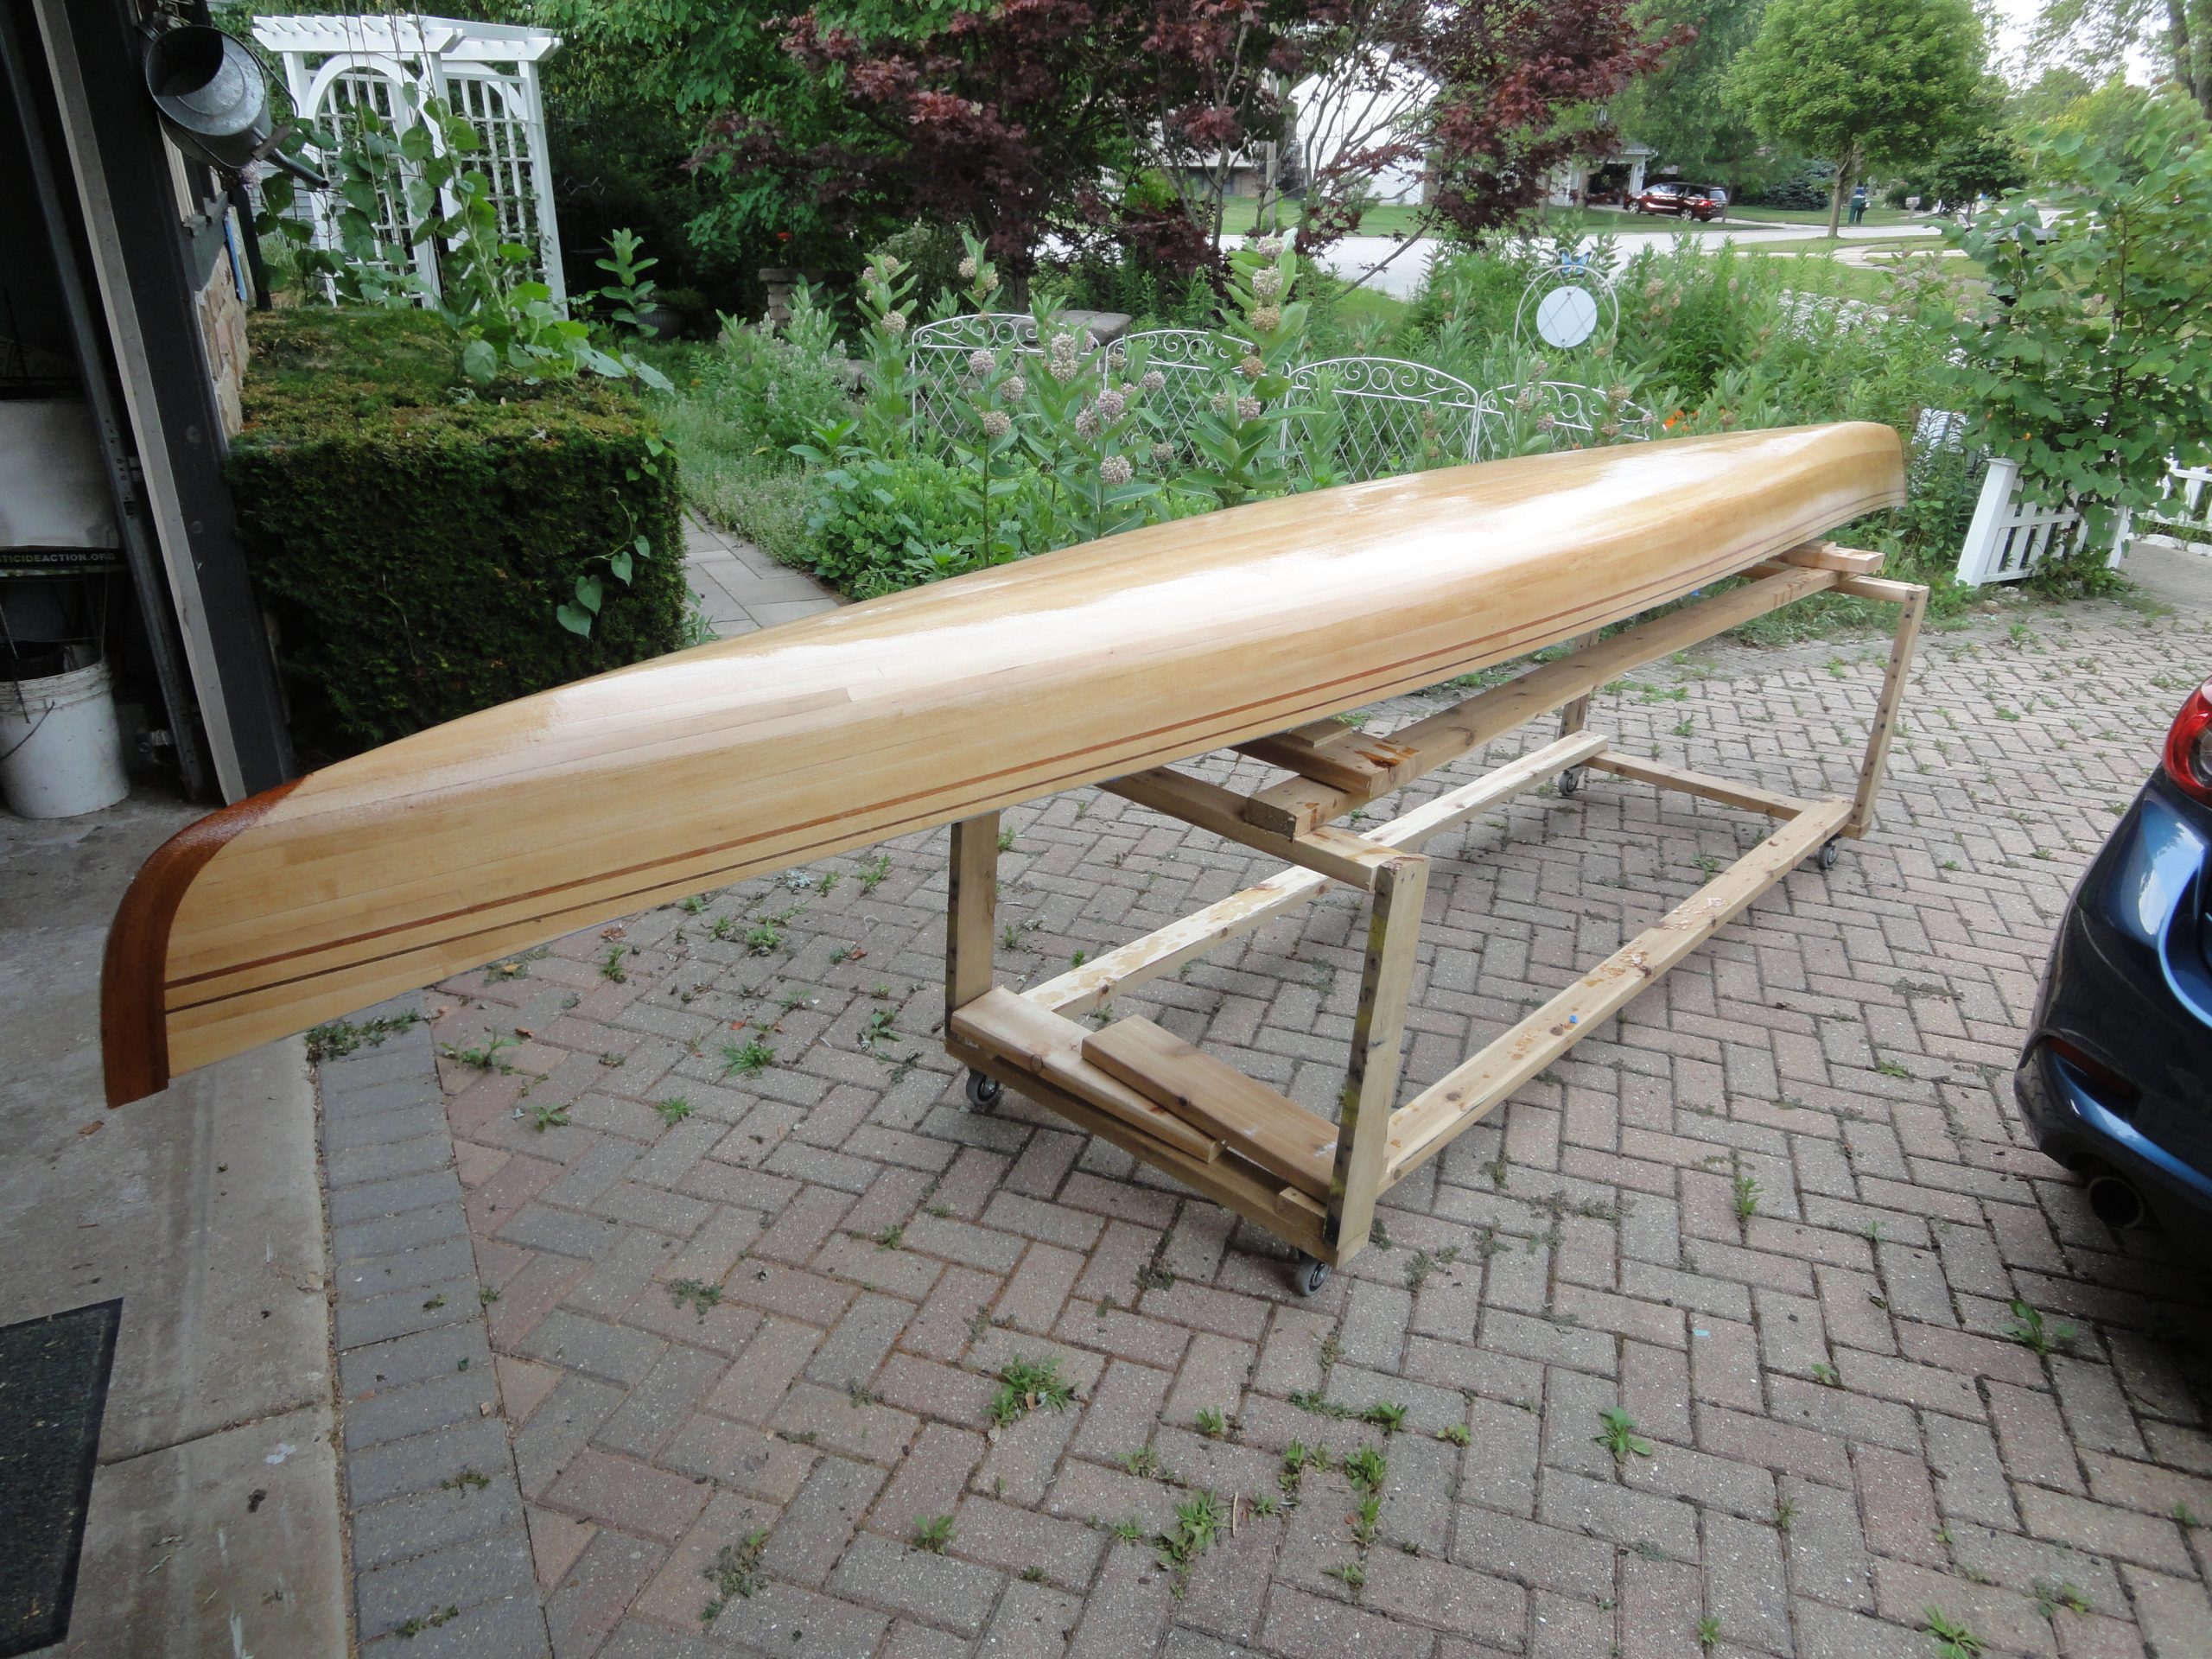
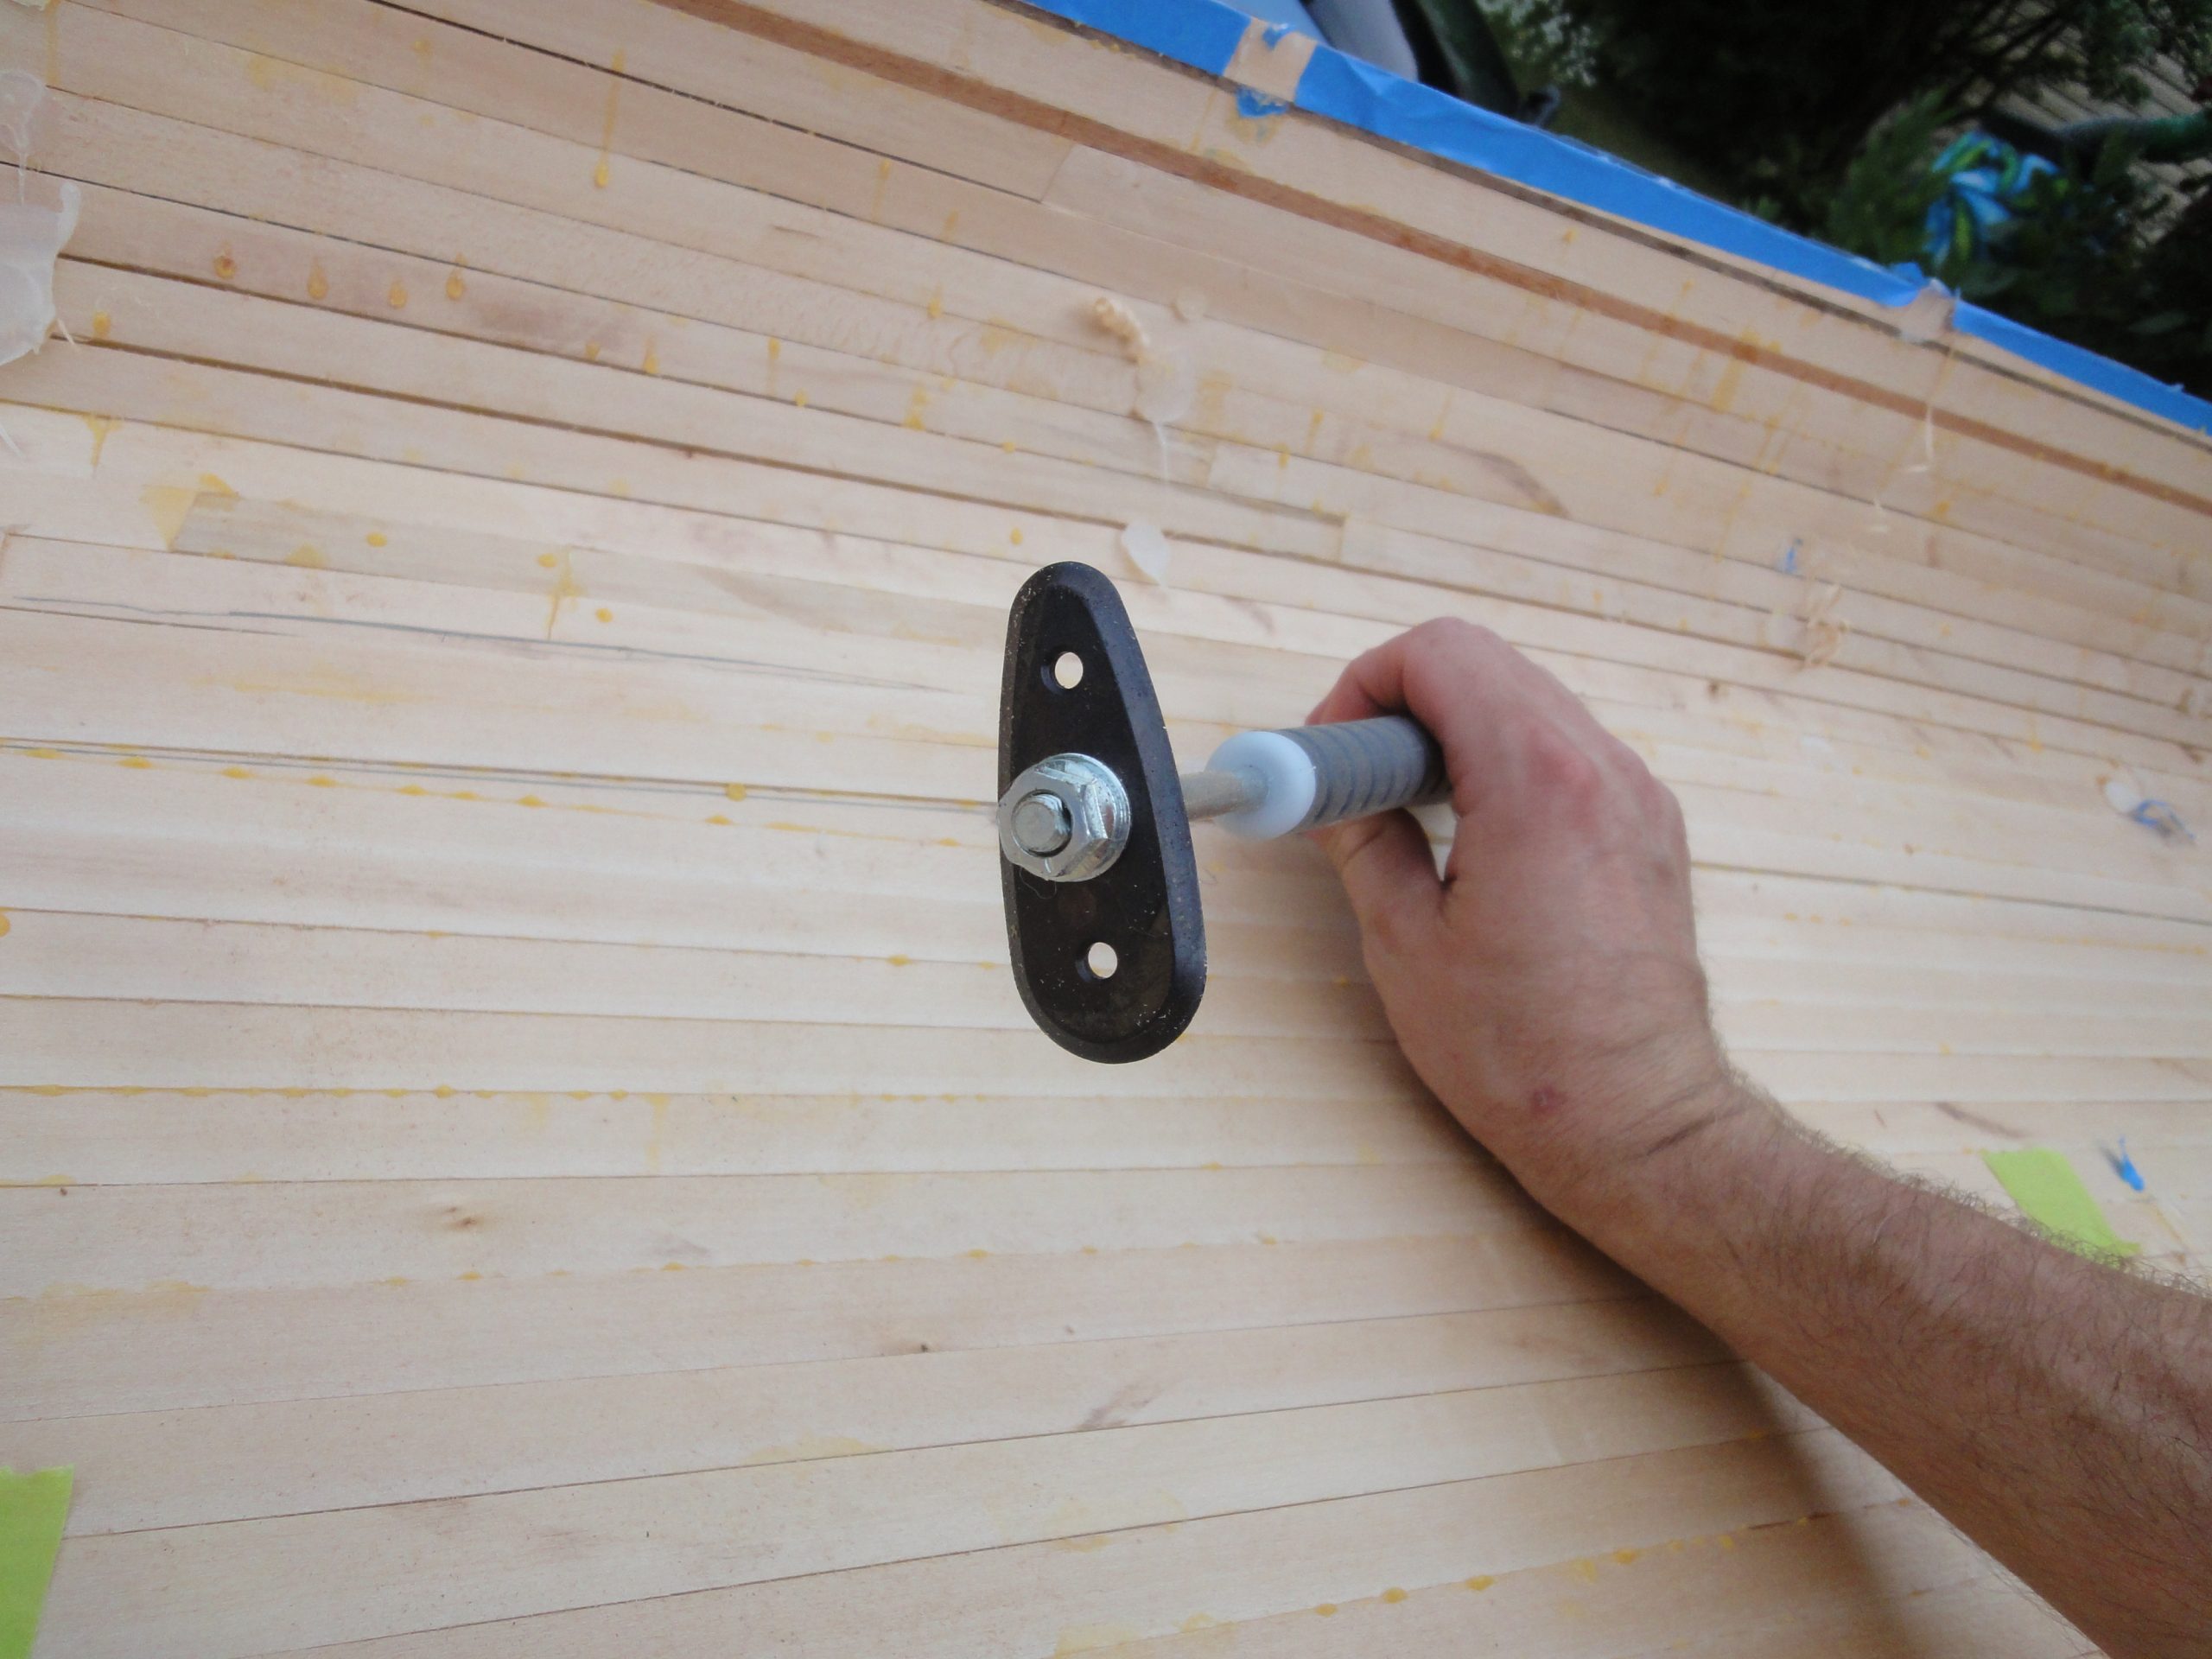
Giving the epoxy 72 hours to cure I checked it and am satisfied with the build up I have so far. One more coat should be enough to finish and I can do that when the whole kayak is assembled. So for now the outside hull is as far along as I can take it. Next step is either the deck or the inside. Since one side is now sealed but the other side isn’t and unsealed wood likes to warp with humidity I feel that working on the inside of the hull is the best next step.
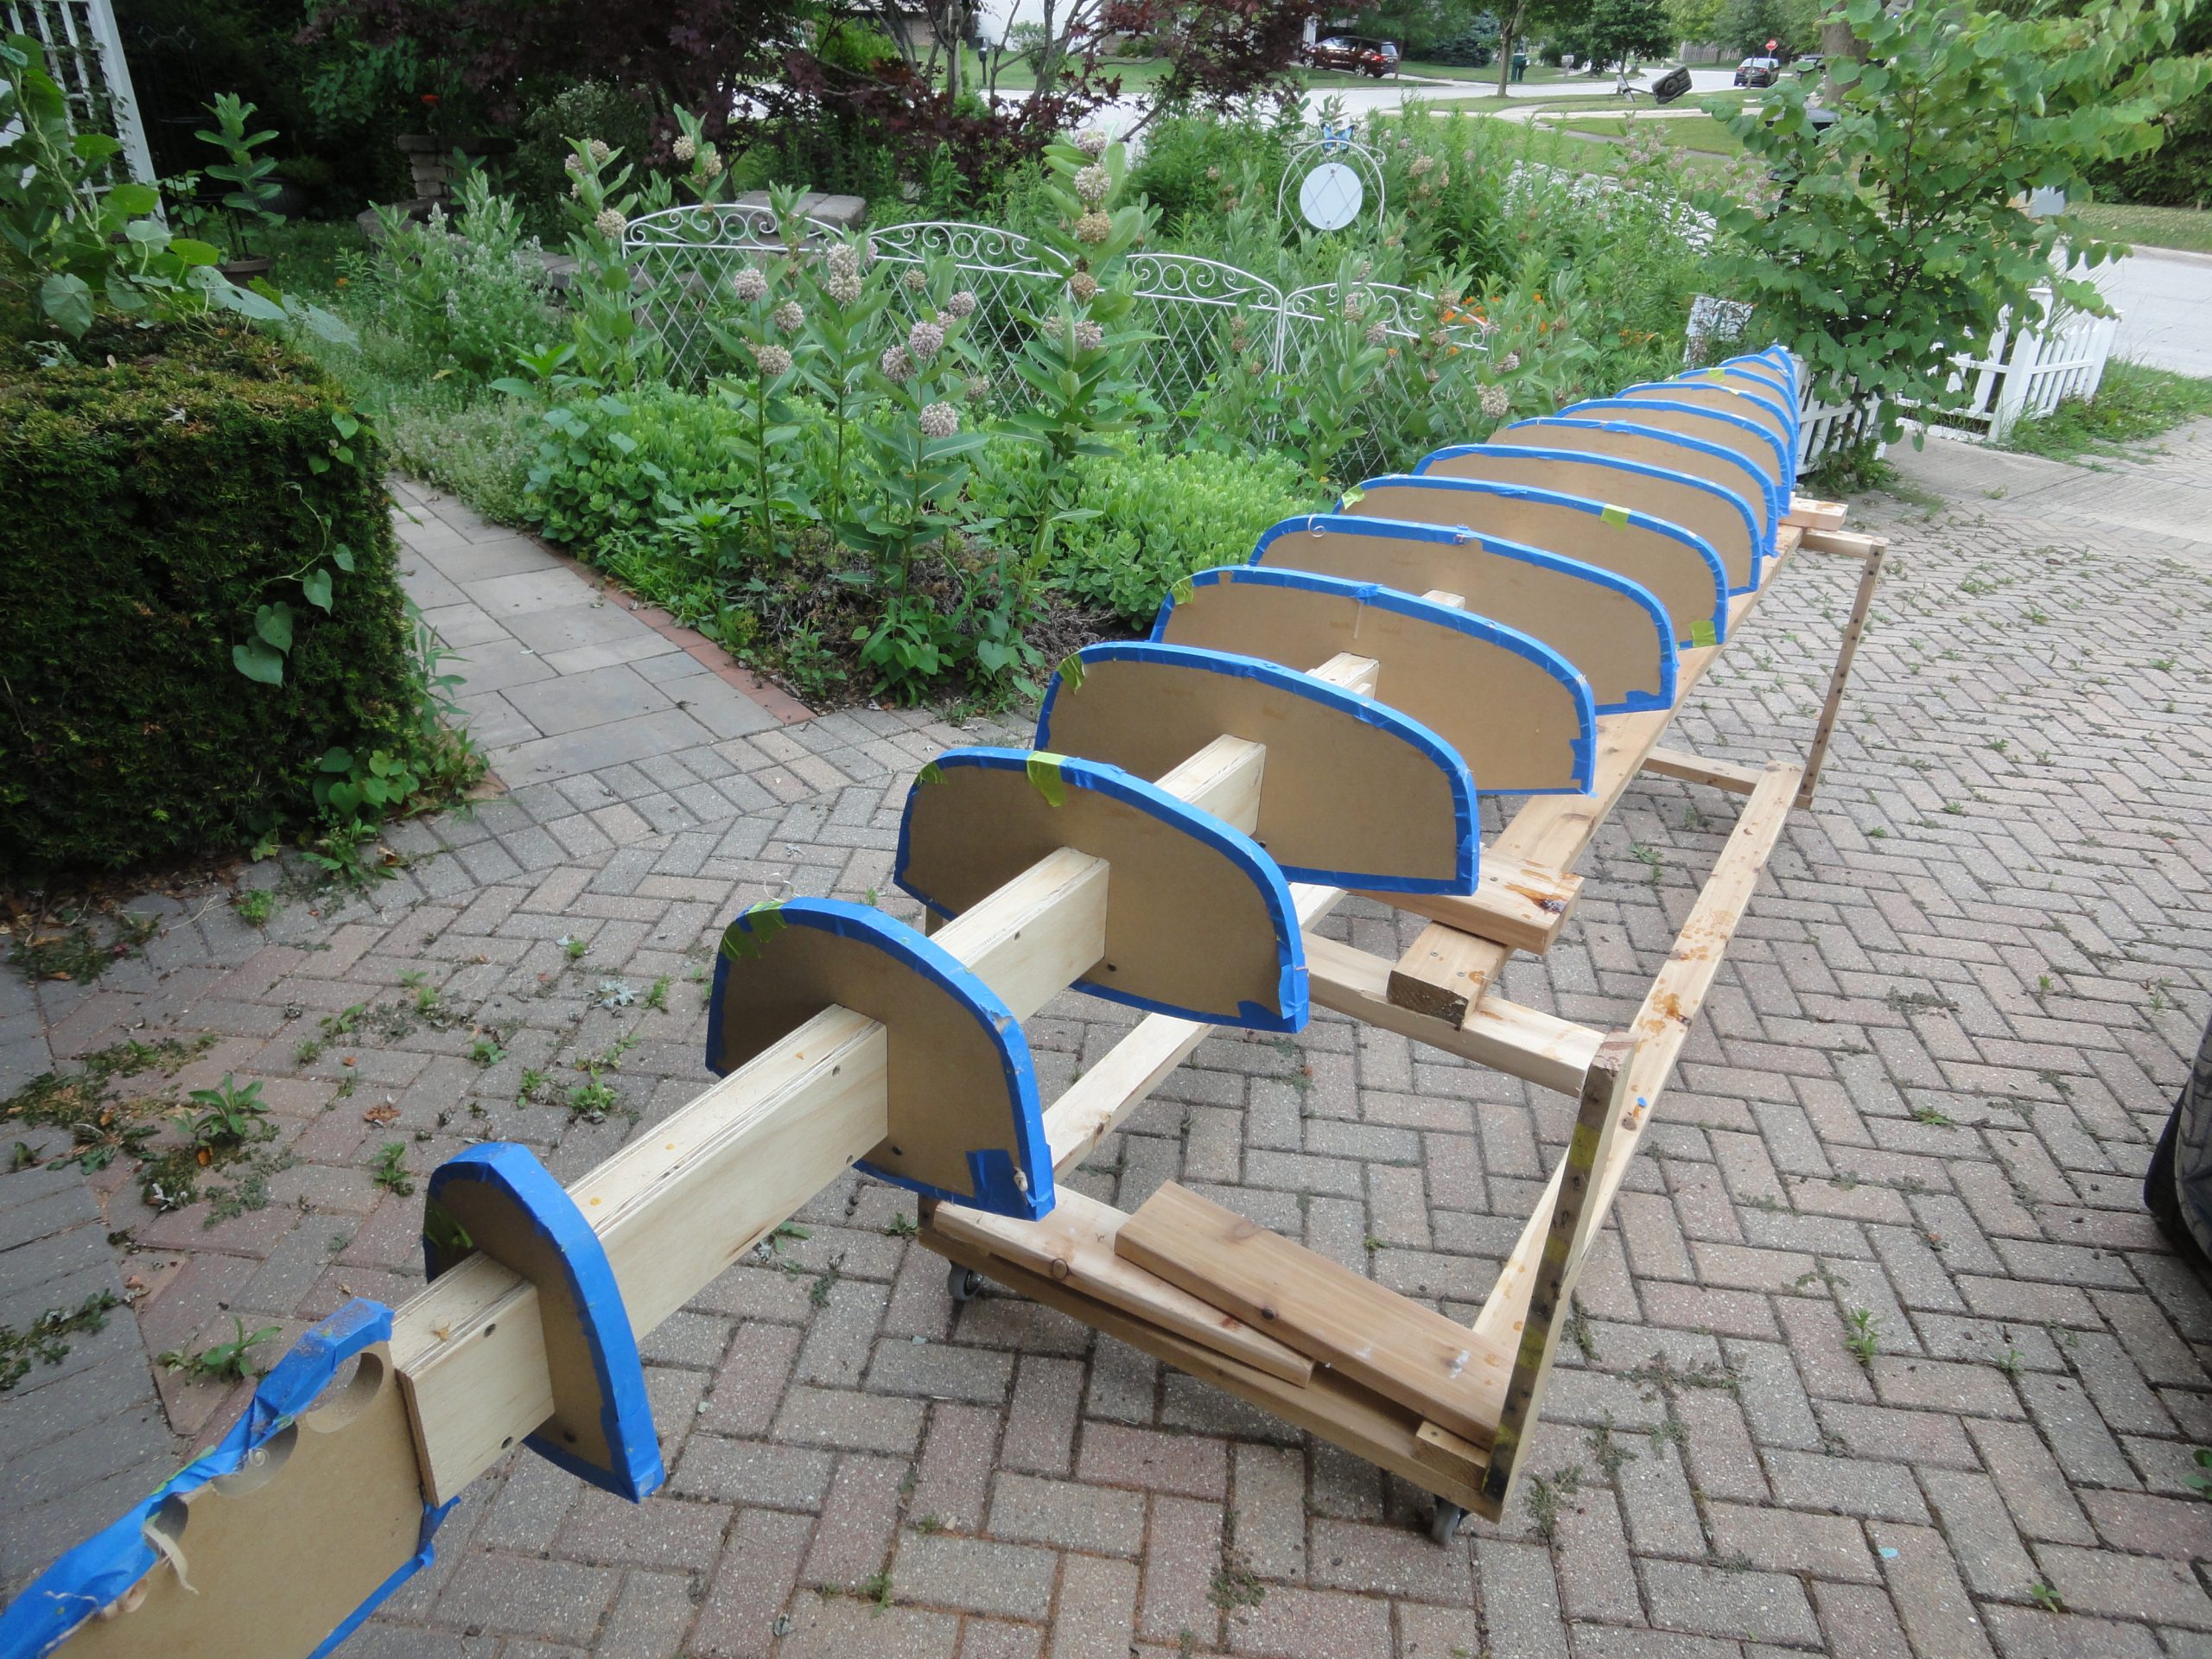
It took about ten minutes of slowly popping the hull away from the strongback where each hot glue spot was holding it. Other then just going slowly and applying only the force necessary it came off with no issues.
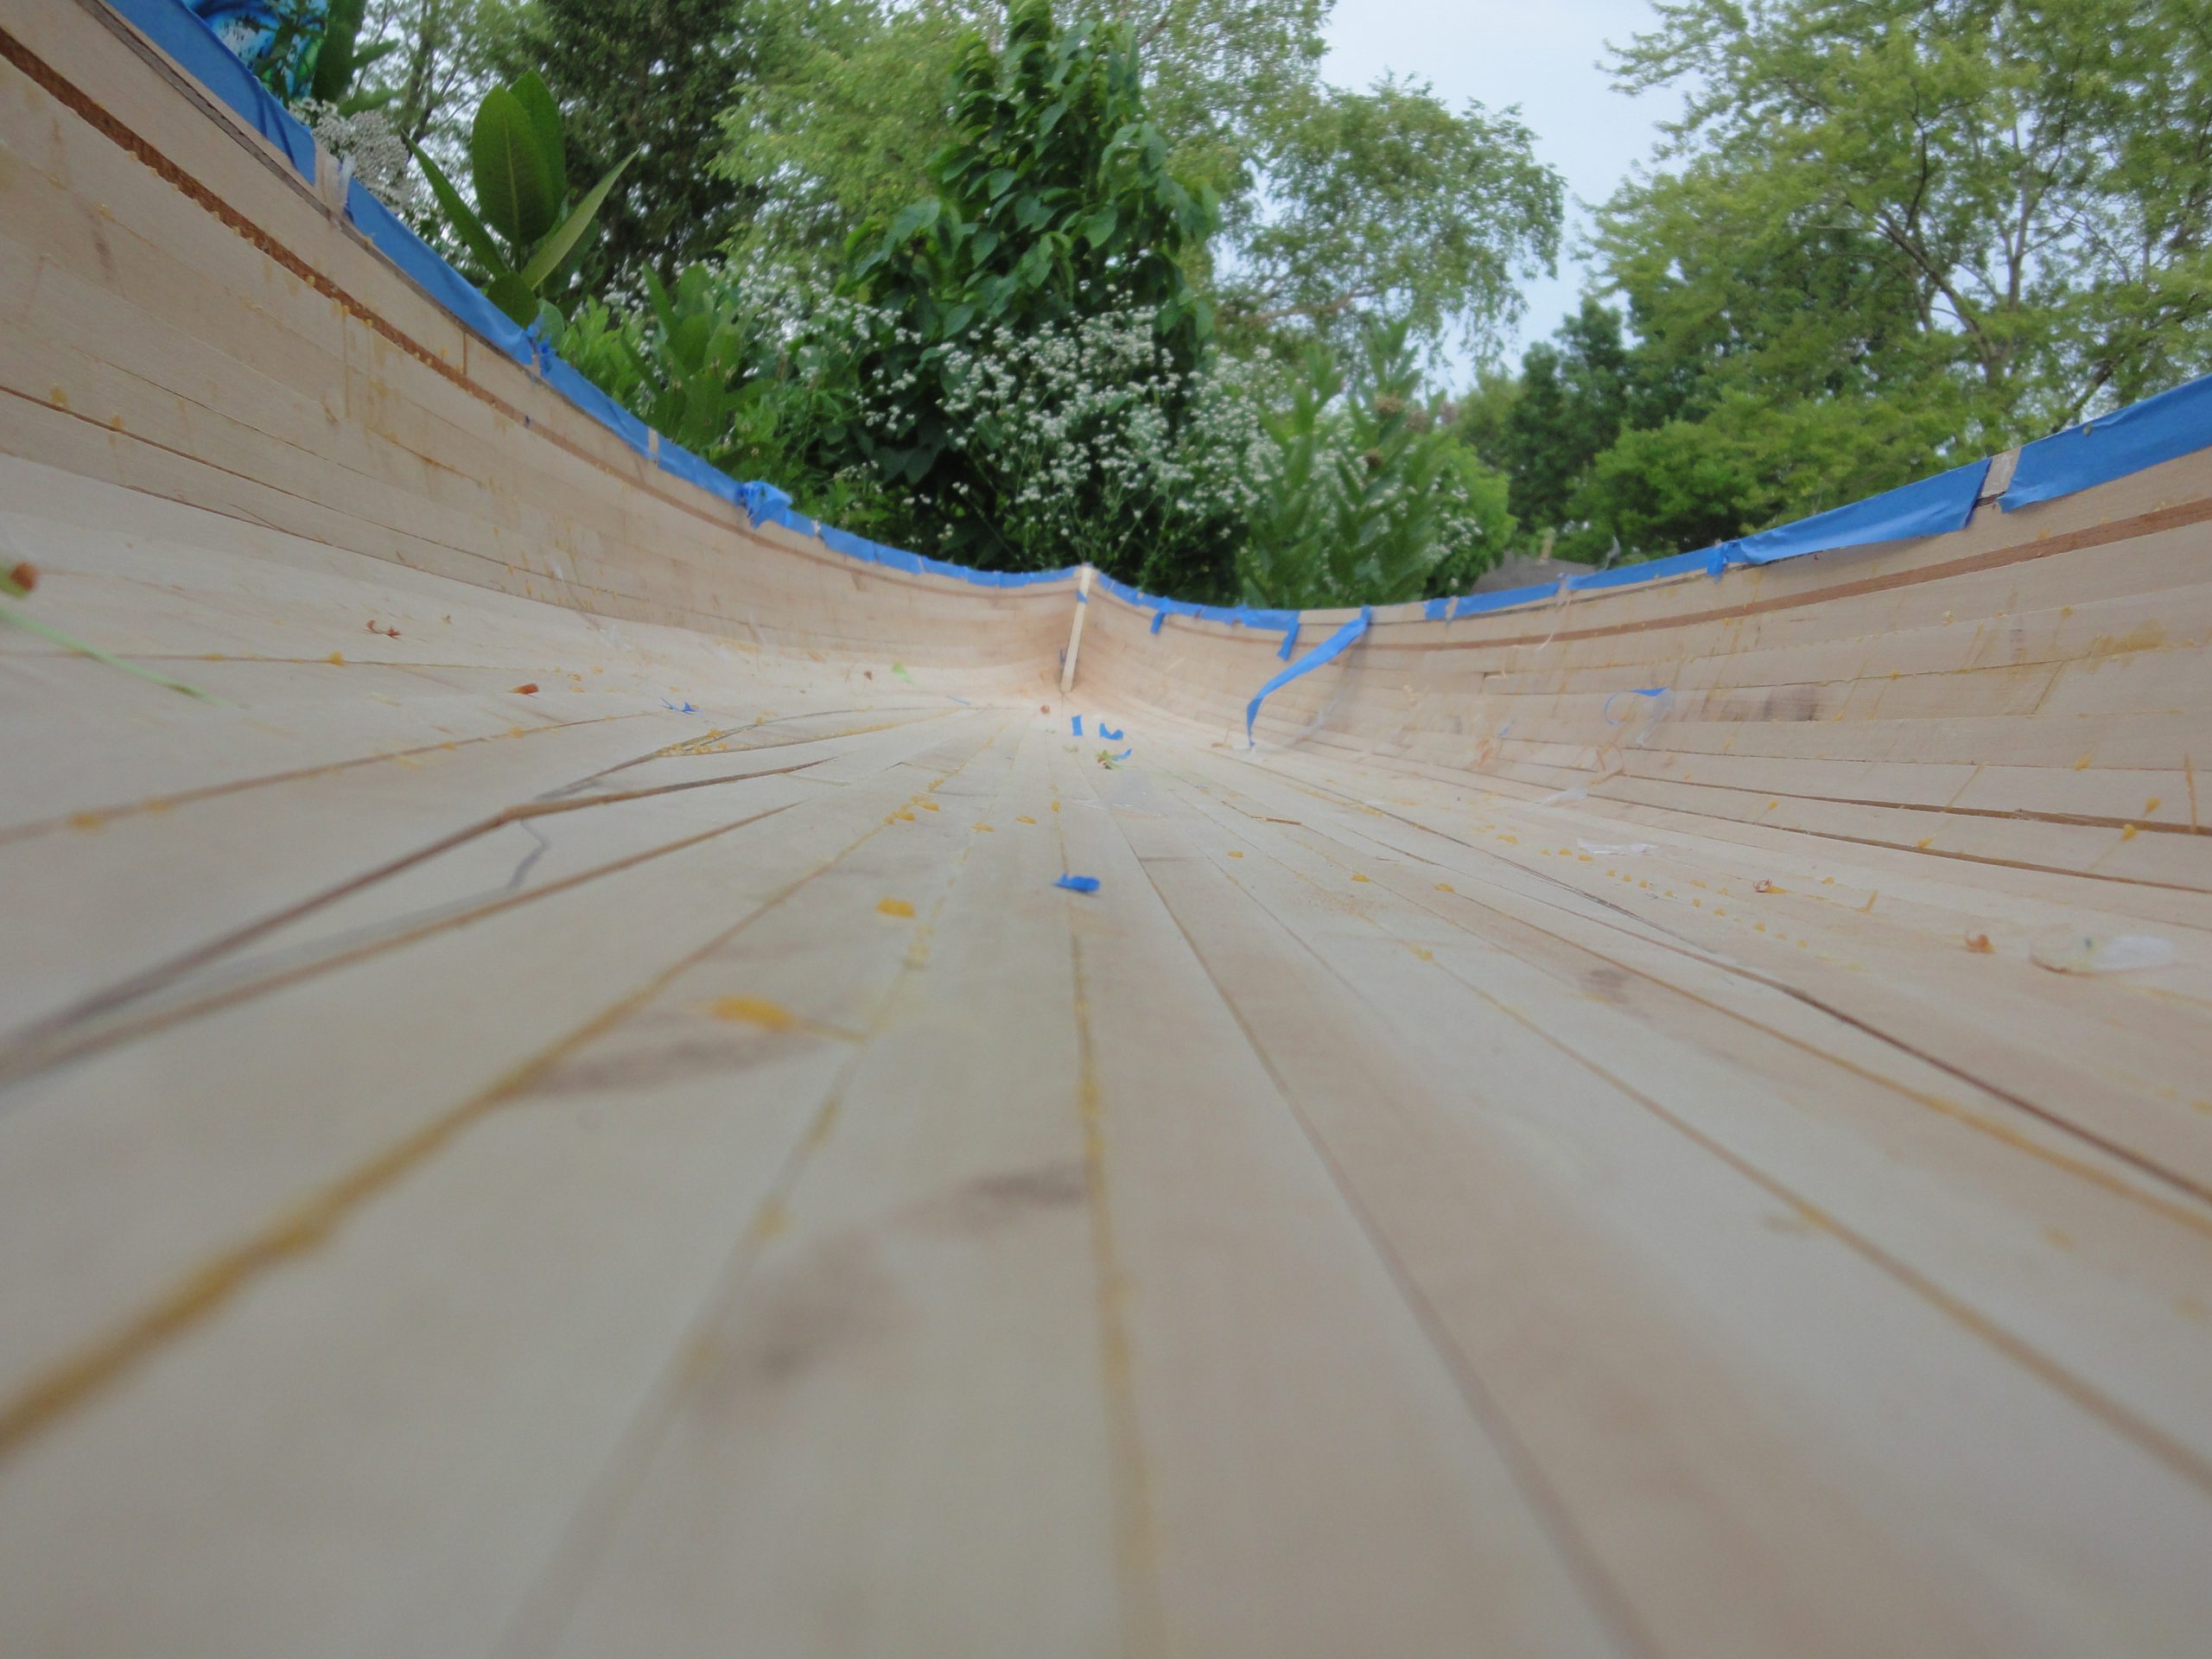
The hull was set aside and for the first time I was able to get a good look at the inside. Yeah, I looked earlier and saw some issues, but this was the first overall view that I was able to get. For the most part it came out in pretty good shape.
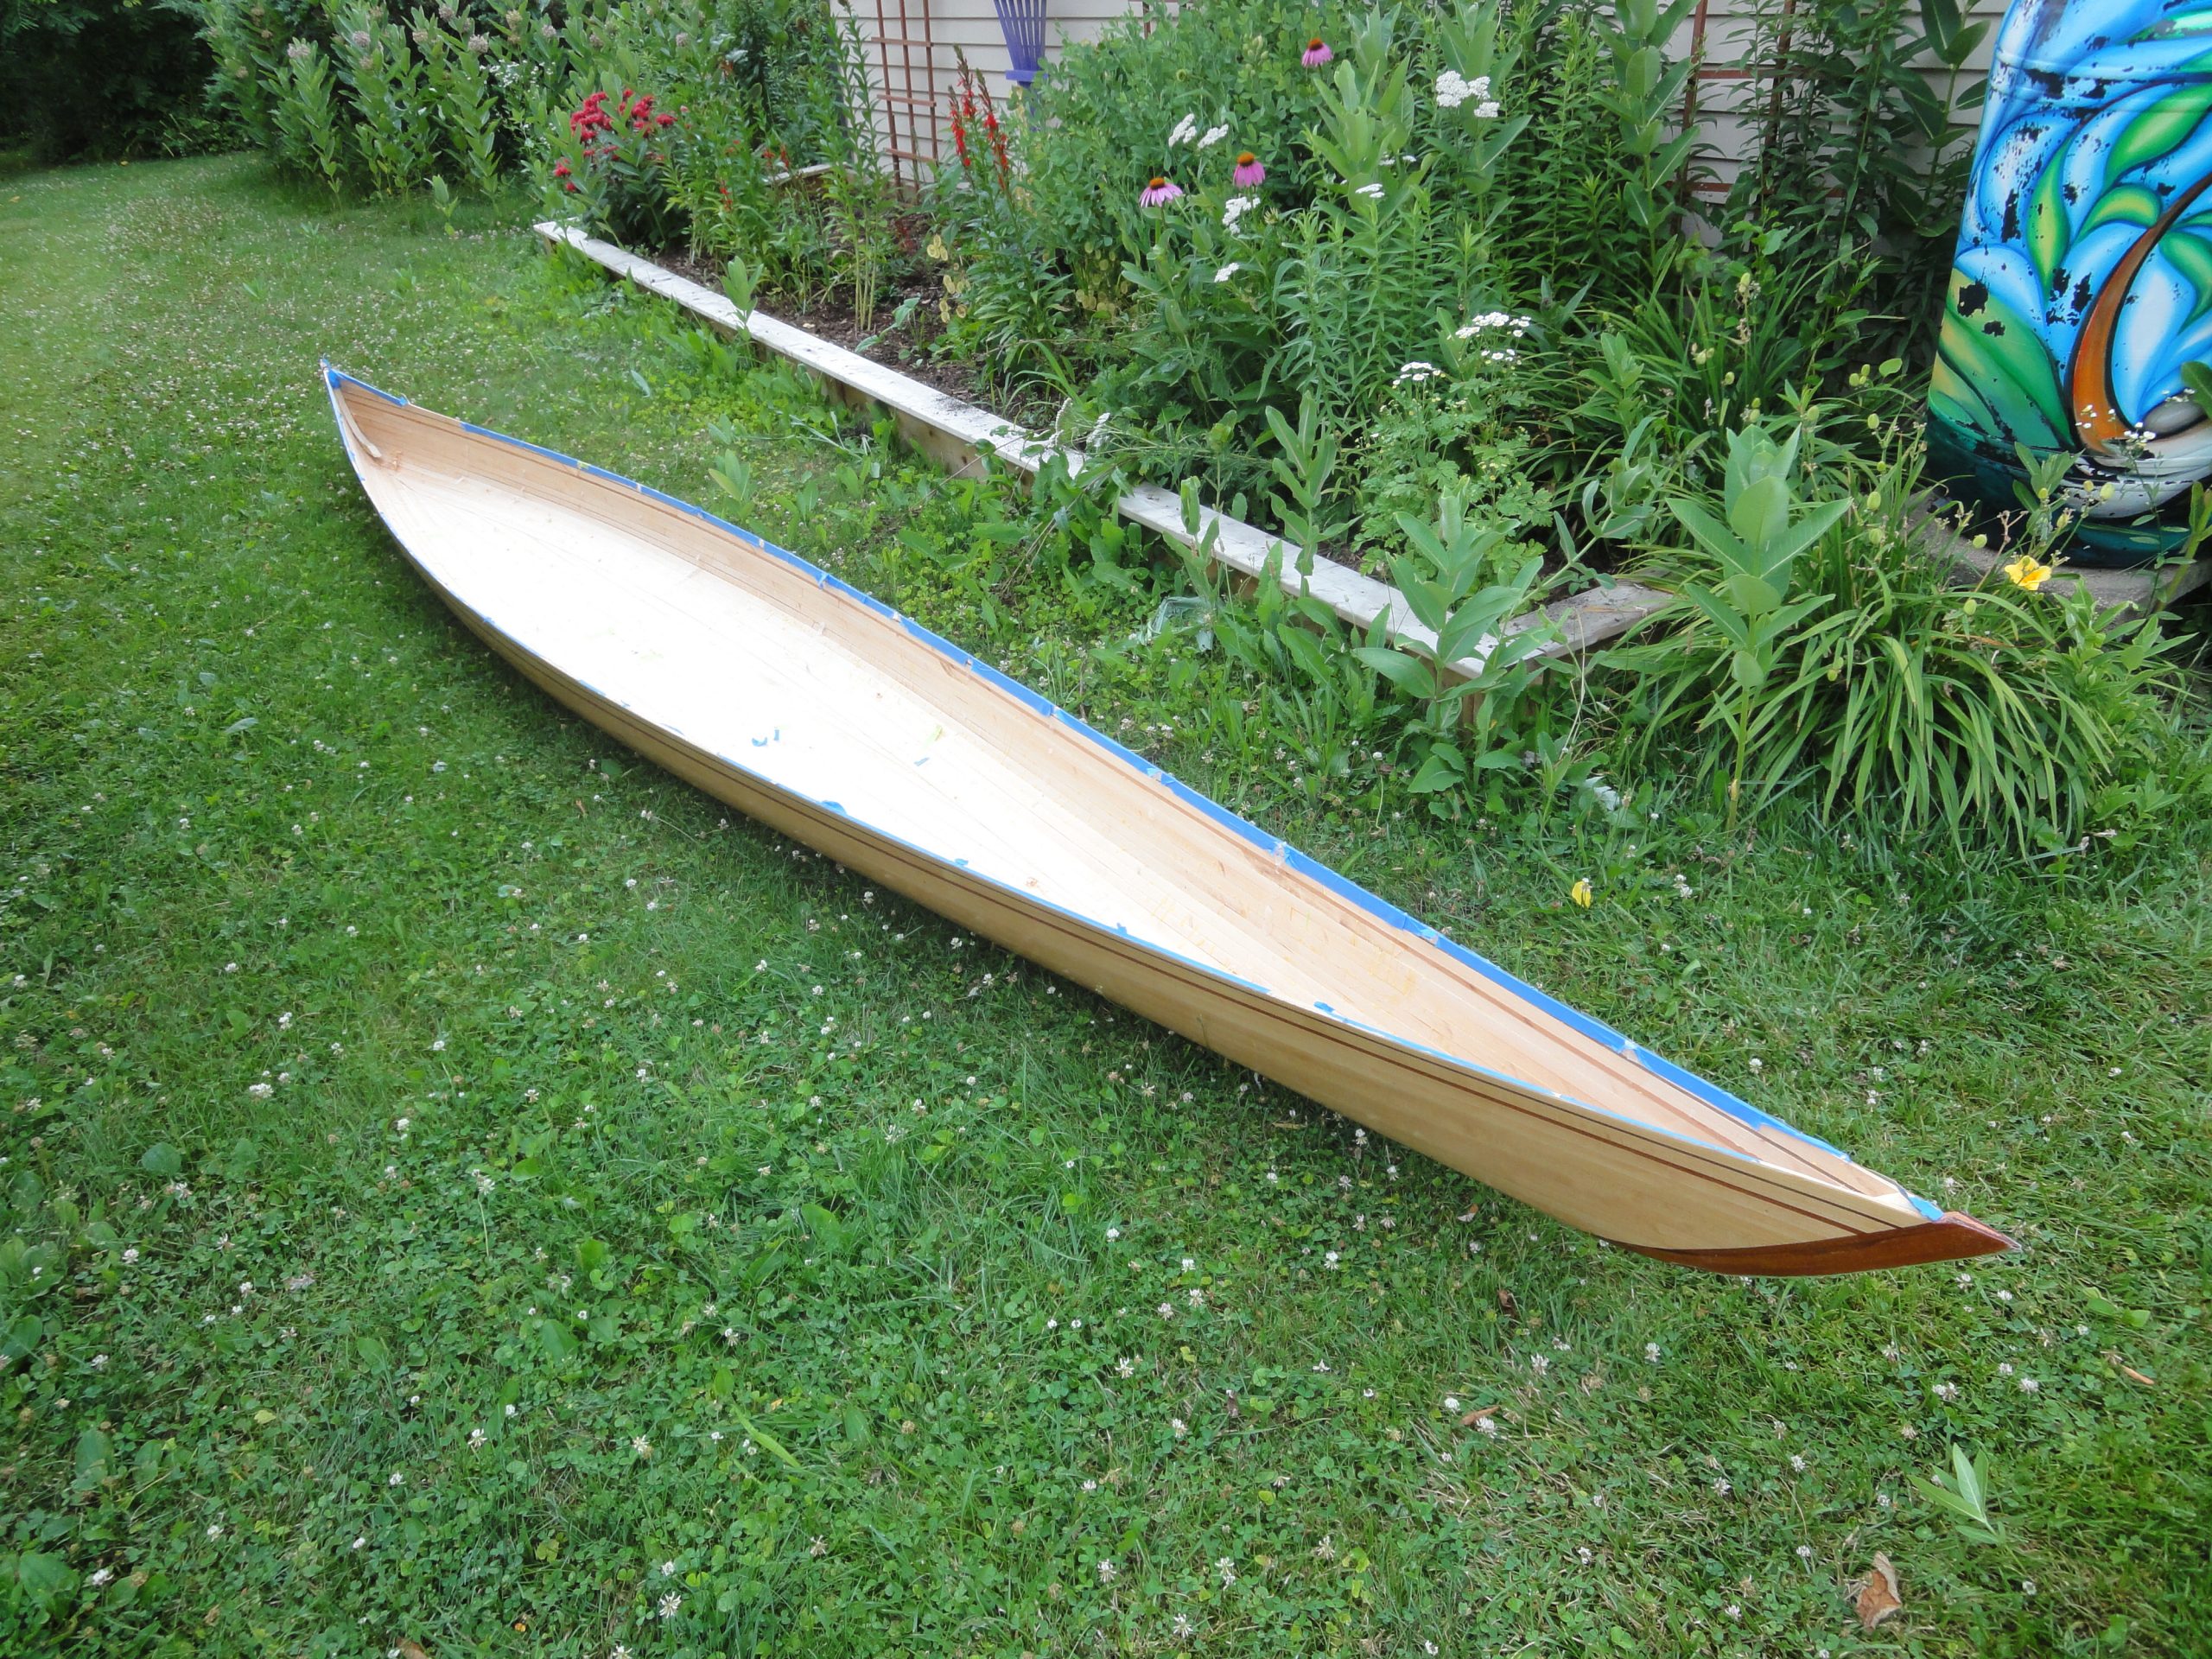
However there are some spots that were less than good. For example, the inner stem at the stern separated from the strips sooner than expected and during the curve over on the chine I had a bit of separation on the strips from the forms. I didn’t realize that as a result of this the bevel’s were not correct. From the outside all looked good but on the inside it is a different story.
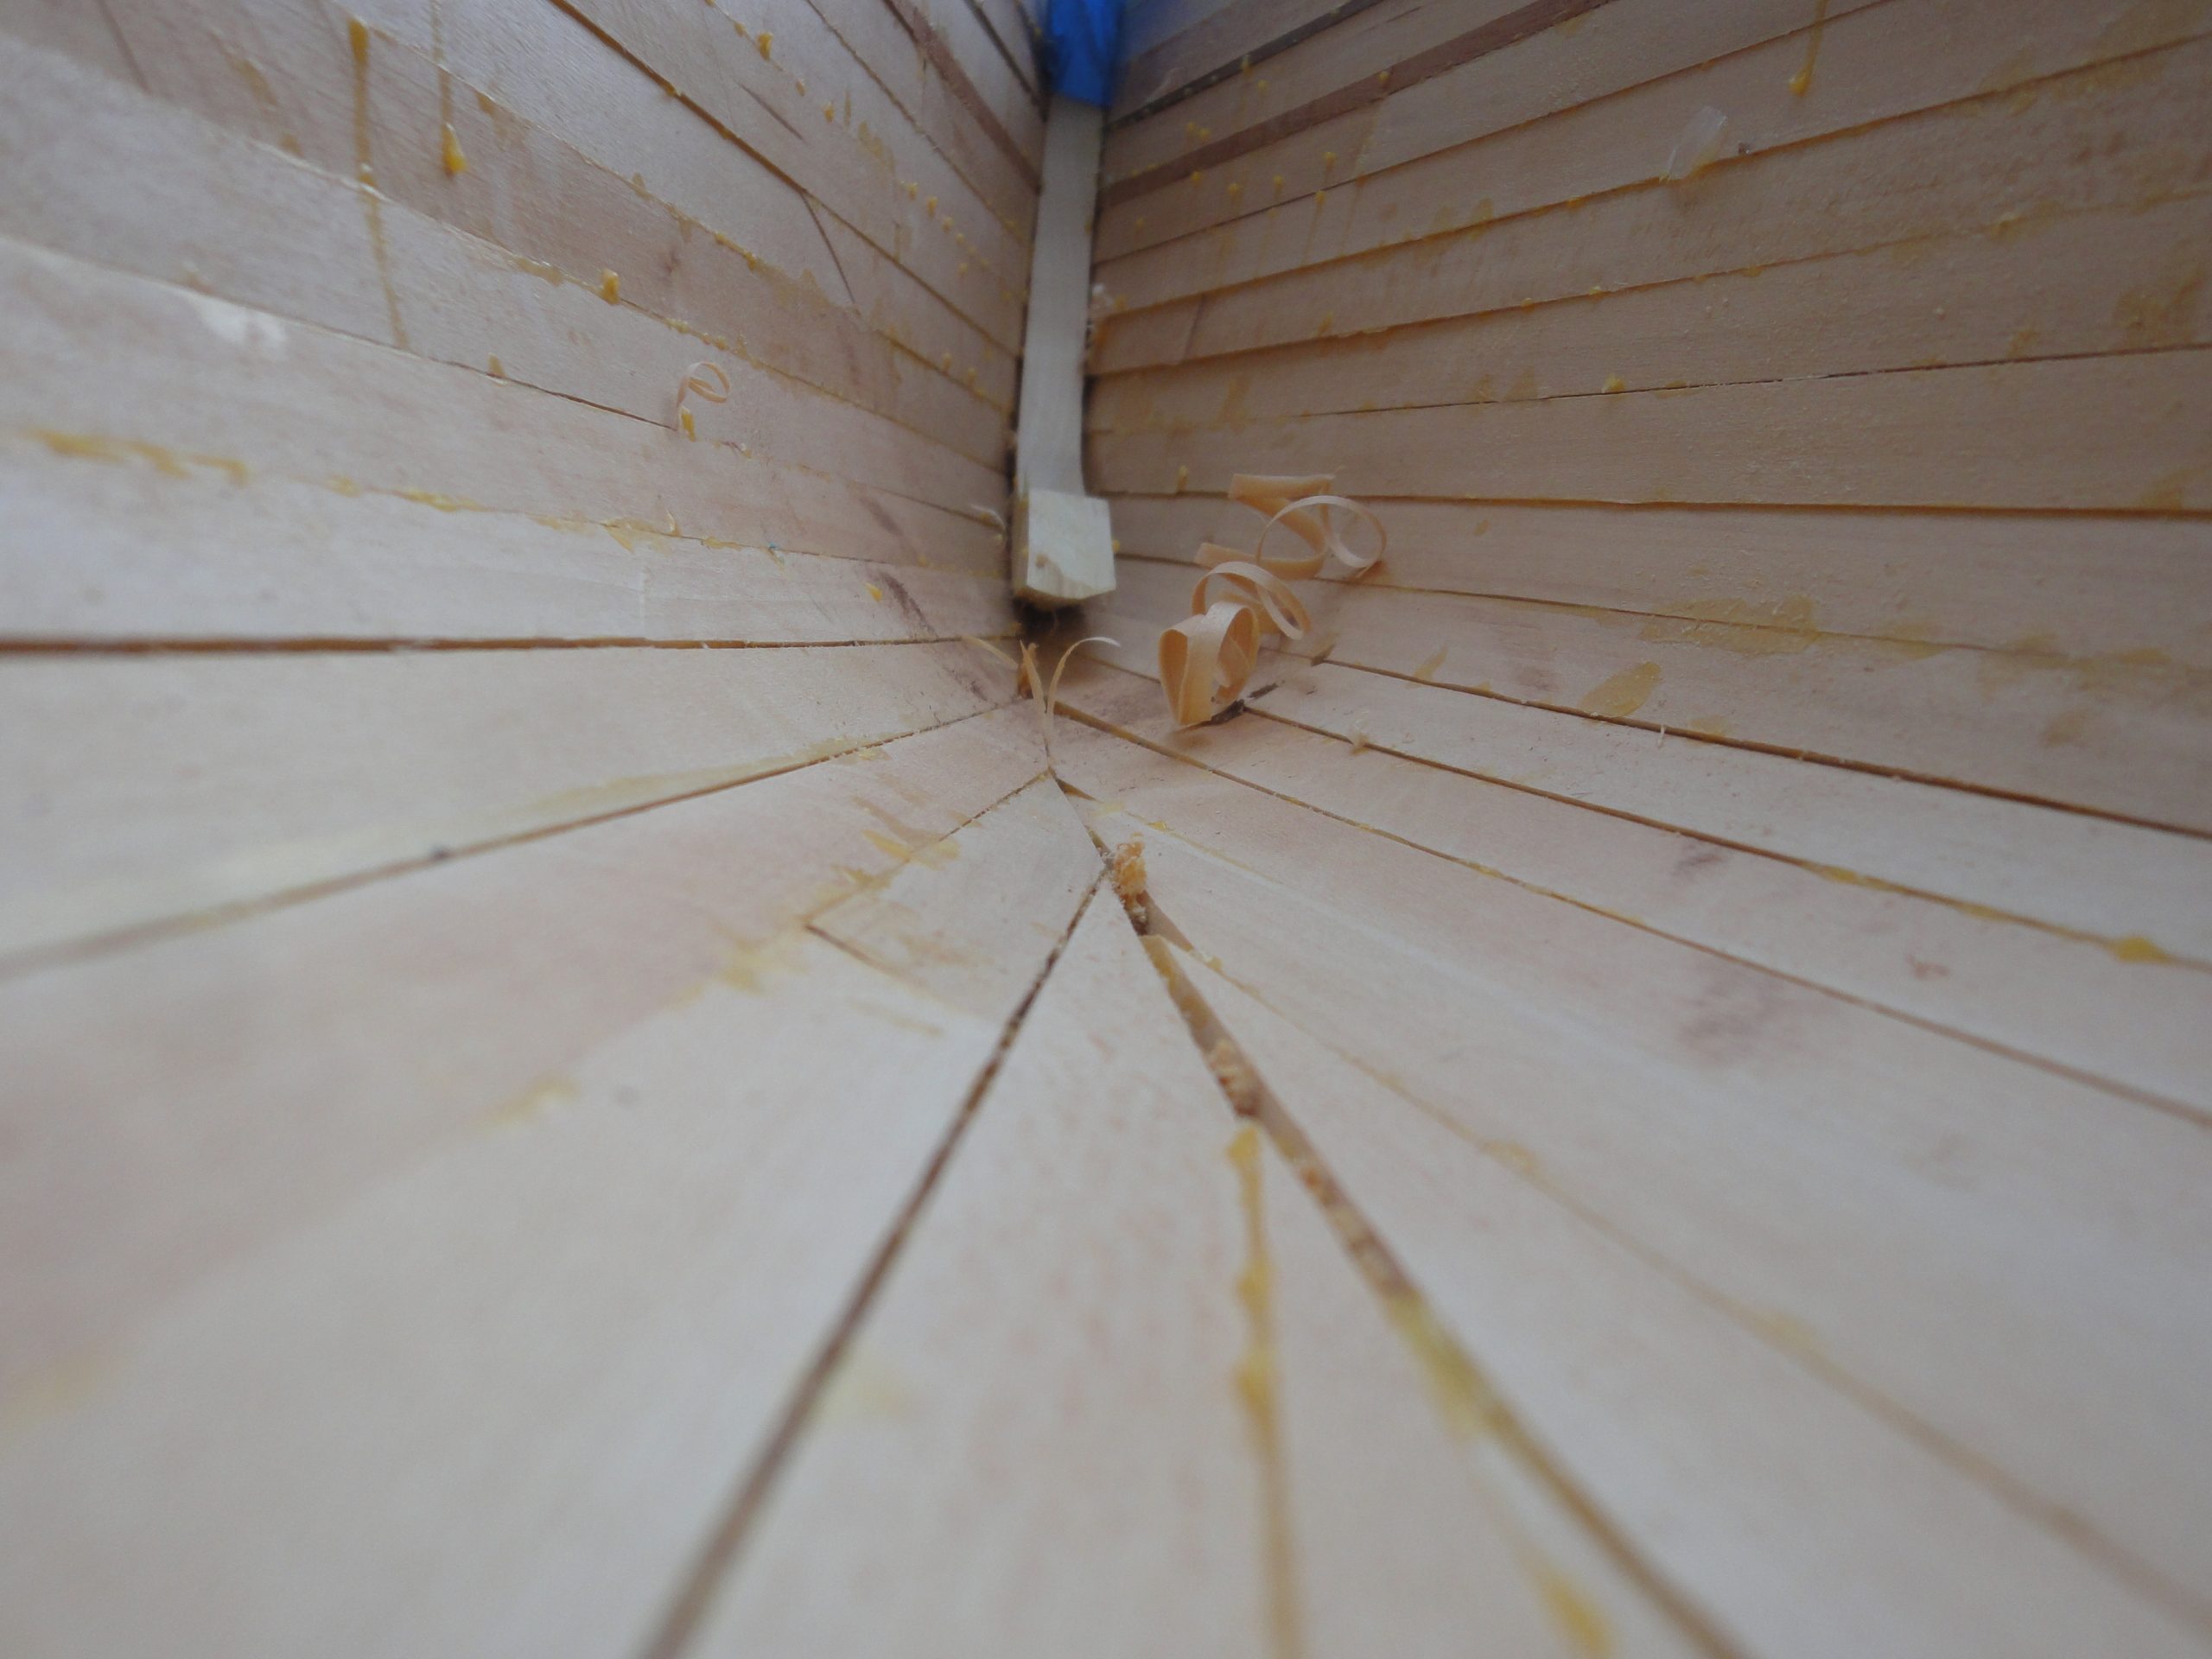
None of this is a major problem. Just means more work on filling the gaps and then smoothing that out afterwards. Being that this is on the inside, very little of it will actually be visible so if the patches and filler aren’t a perfect color match I’m not concerned. At the ends there will be an epoxy pour also so that should help with the stem. I haven’t decided yet if I’ll cut off the part that’s doing nothing or not. While I can’t get a saw in there a chisel would work well for removing the protruding part.
At the end of the day the inside, for the most part, is actually in really good shape and ready to be worked.
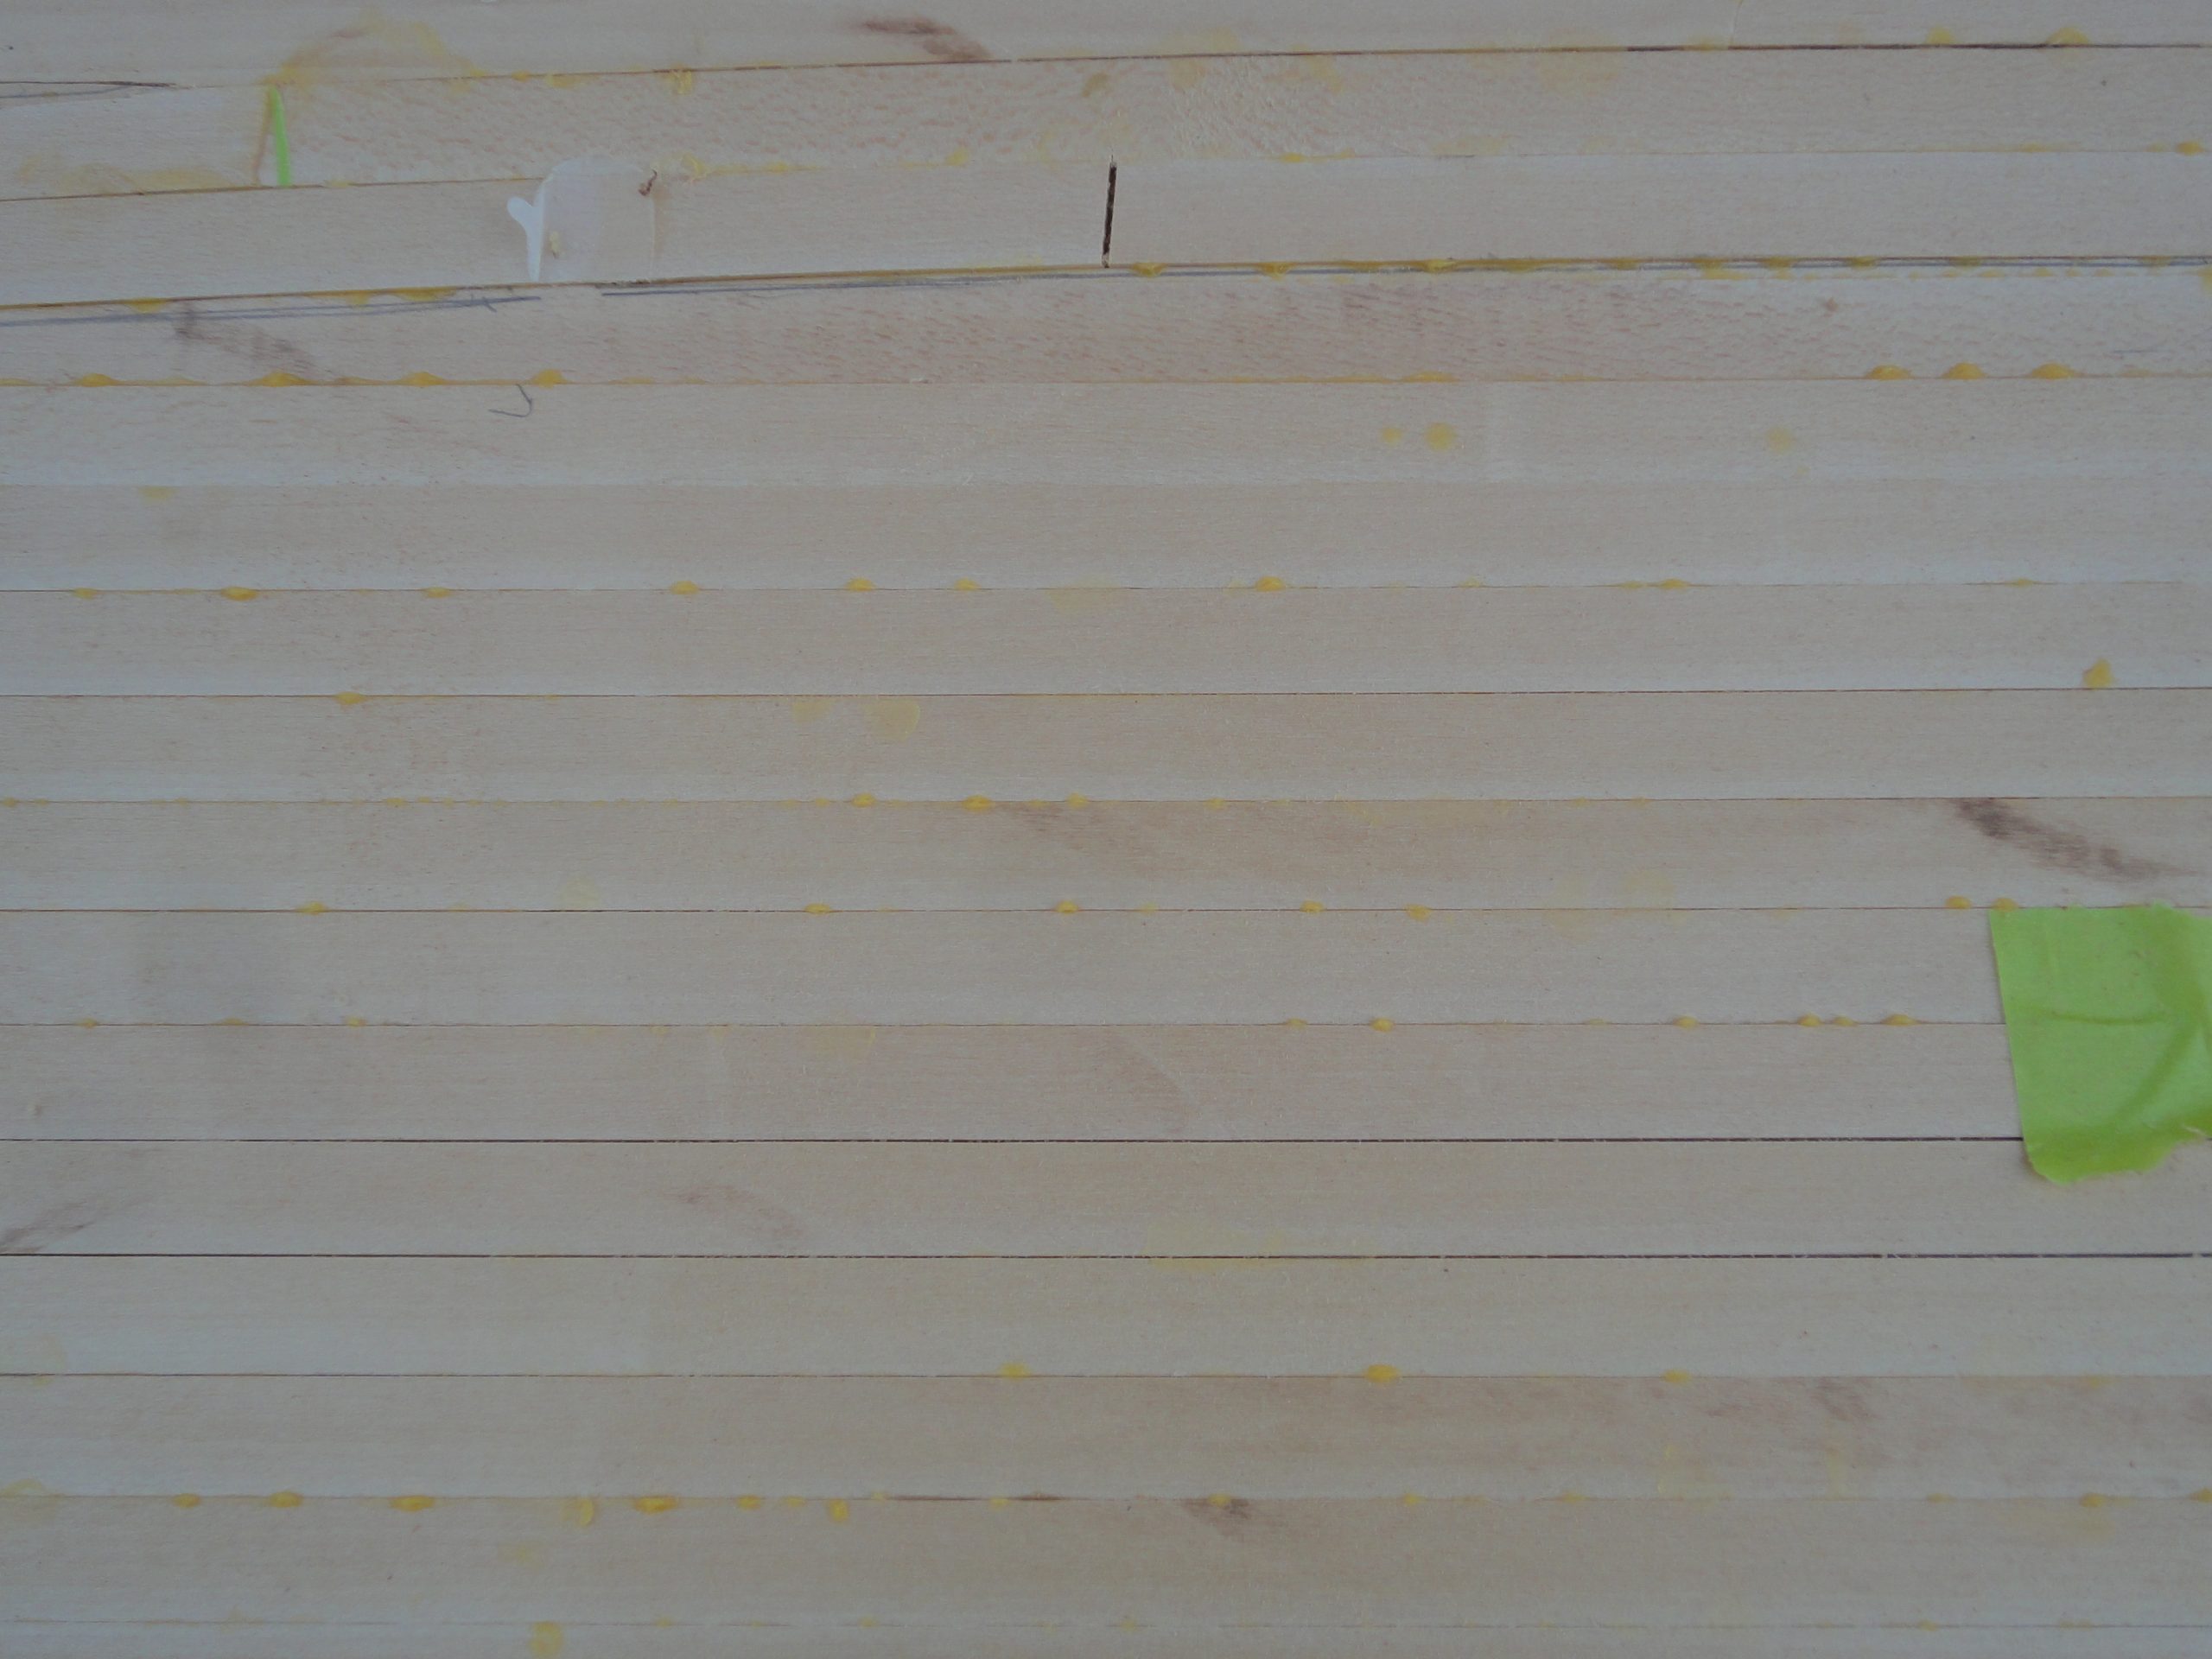
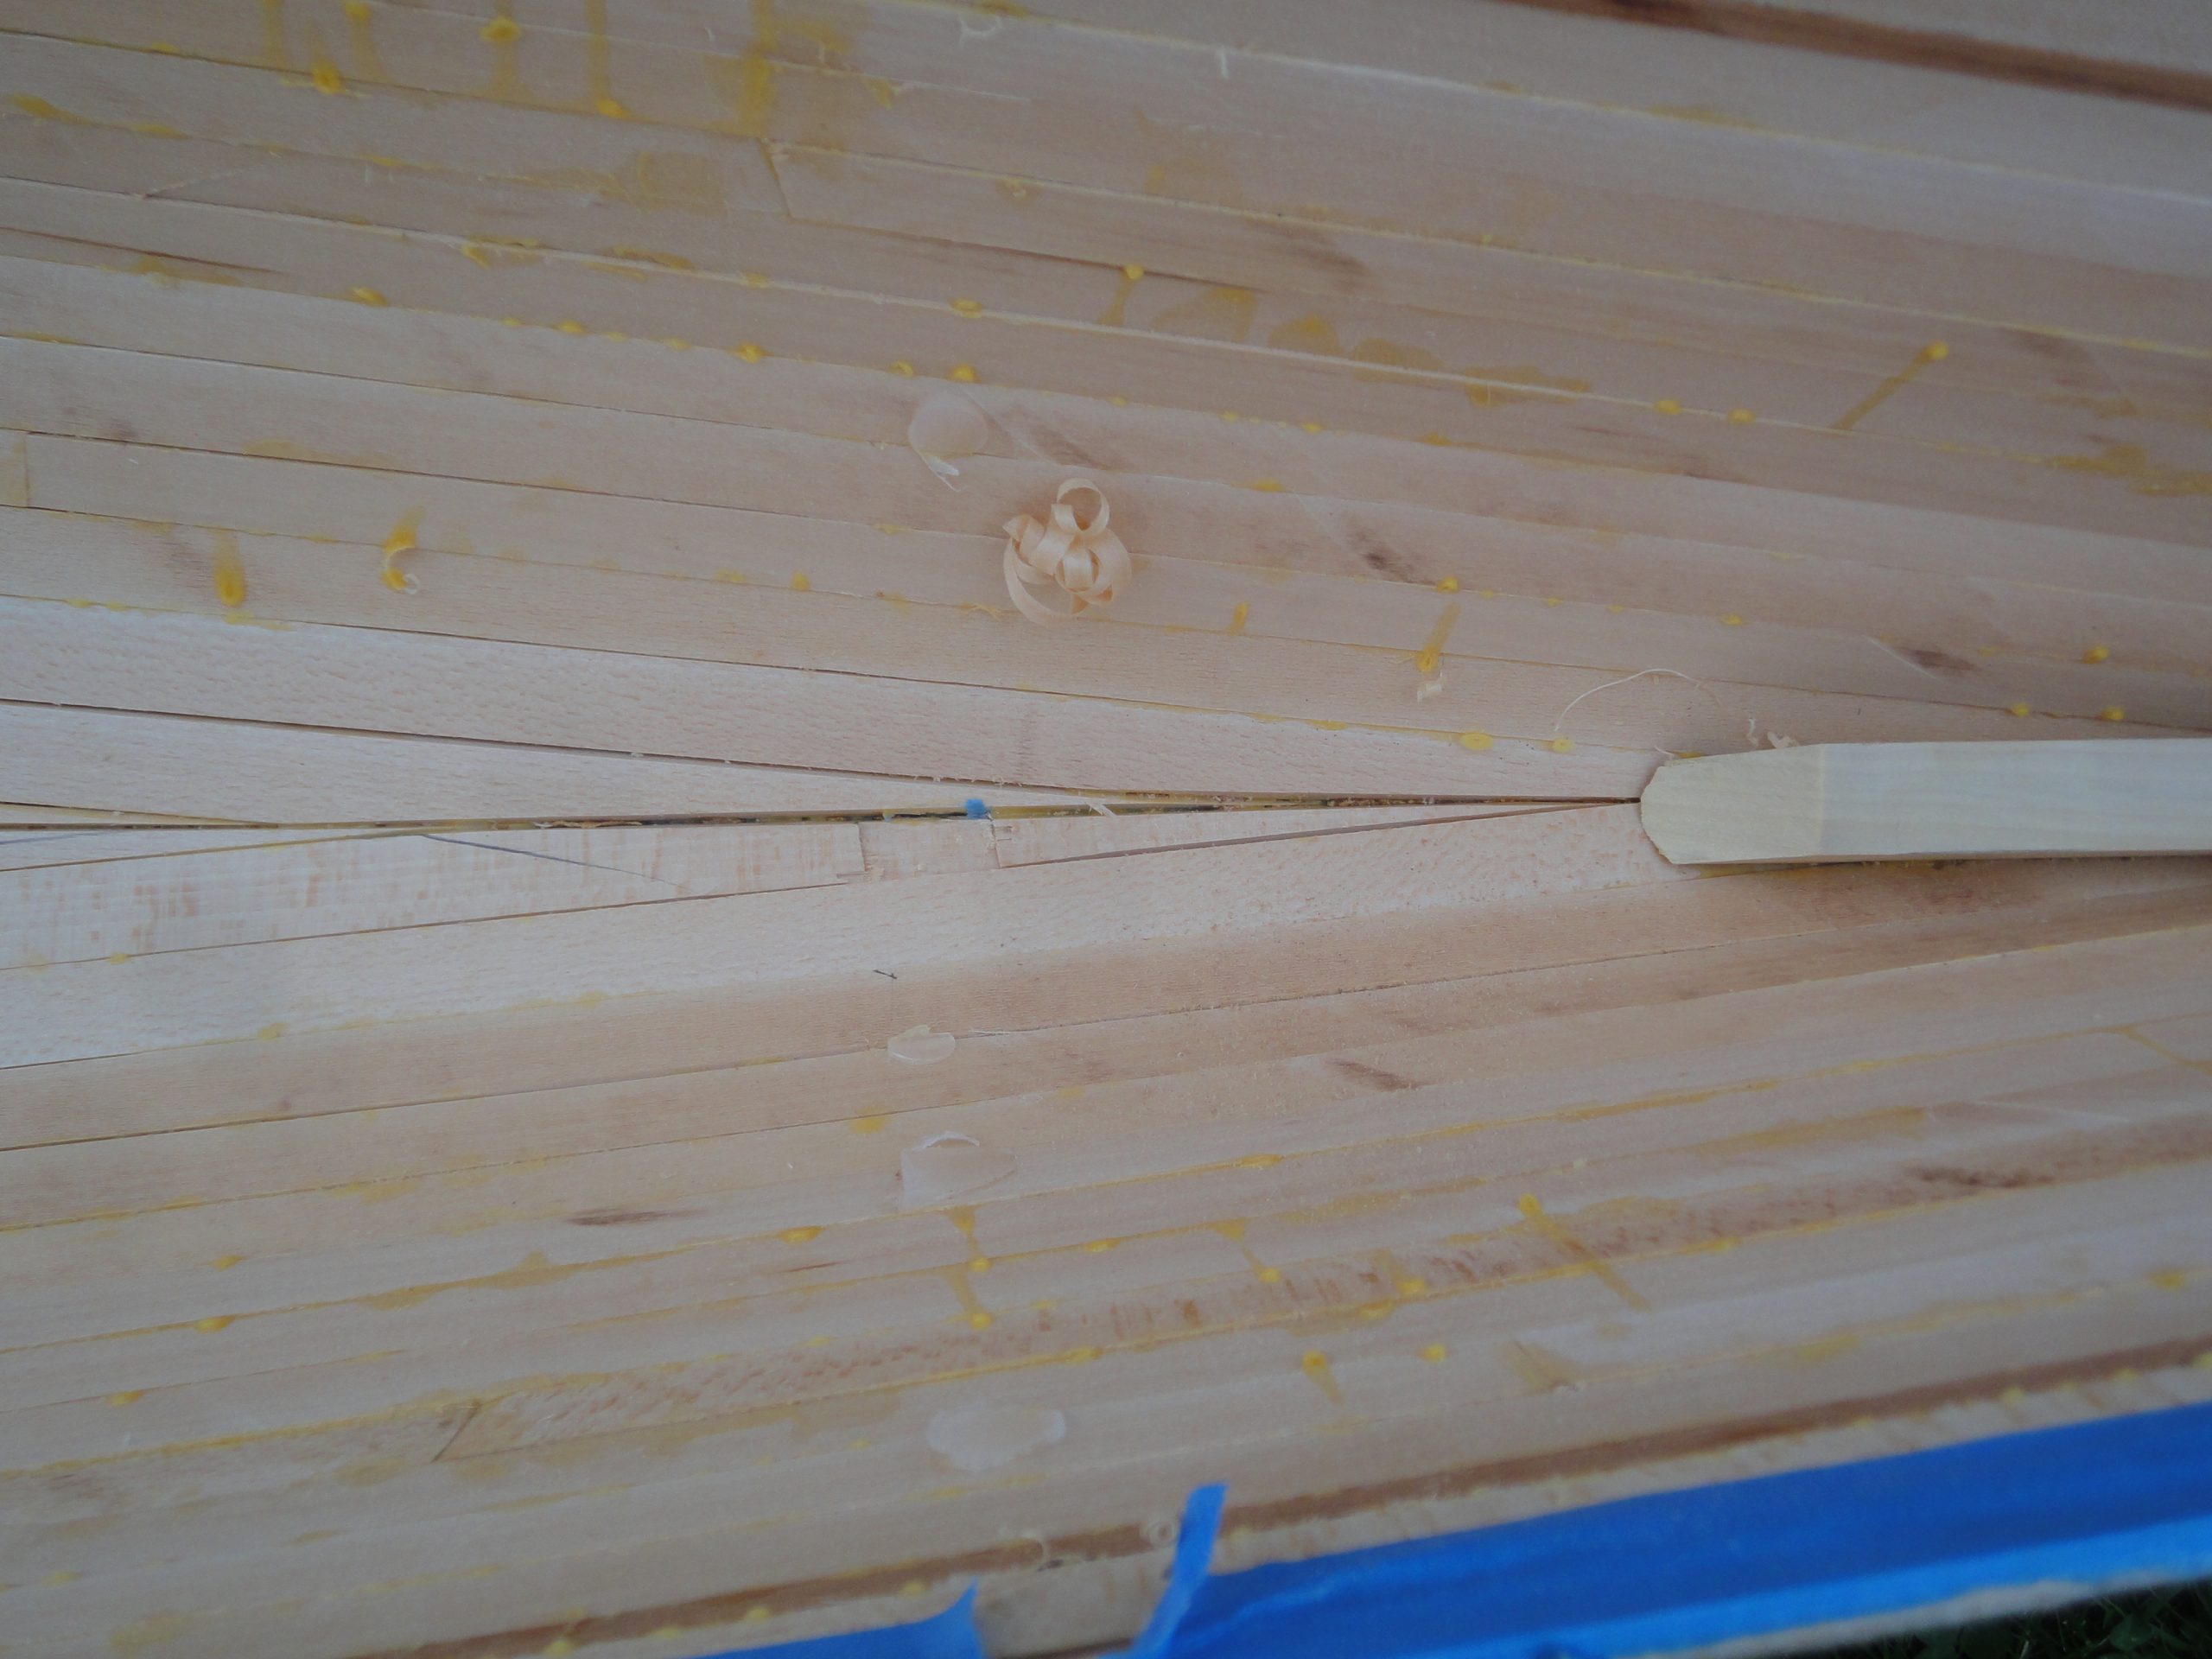
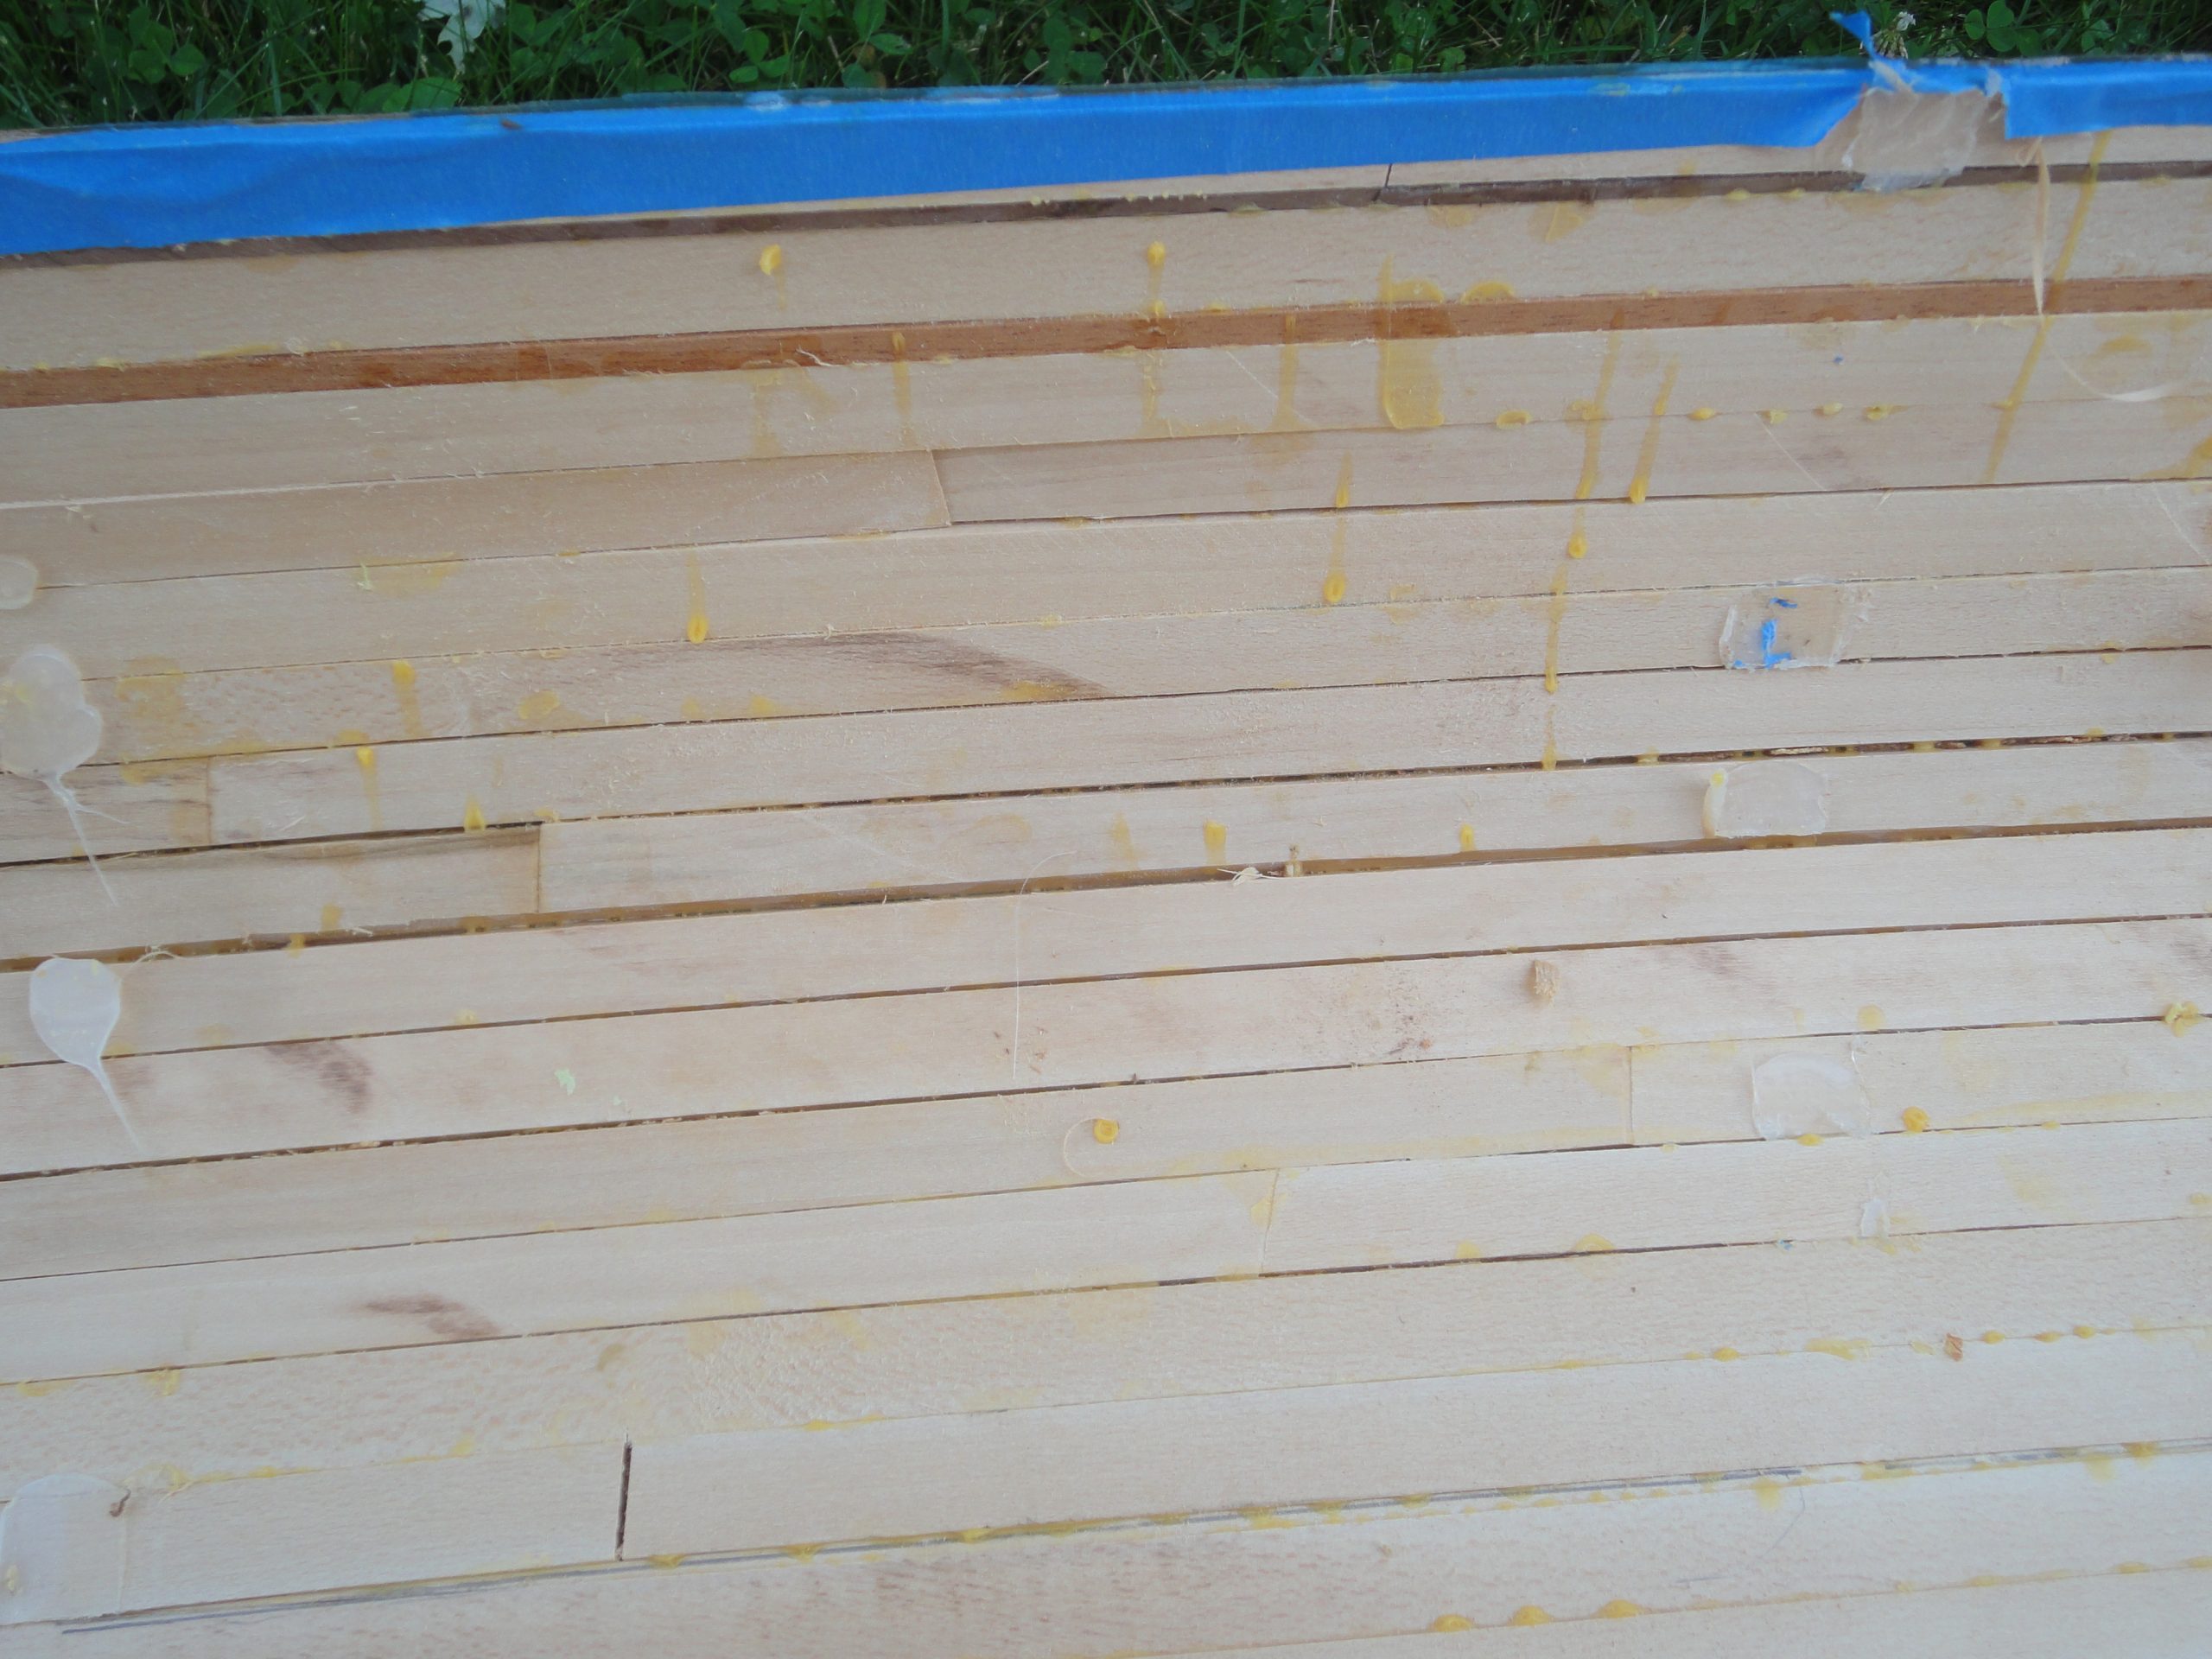
So I’m going to start with the clean up first. Remove the hot glue spots, bits of tape and glue squeeze out blobs. Then start scraping just like I did on the outside. Once again the goal is to level off the boards to make a smooth surface. Being on the inside I’m not striving for as good as I did on the outside, but I’m also not cutting any corners here either. It is still important that the surface be smooth and fair as dips and uneven strips will prevent the fiberglass from bonding to the hull completely. You will end up with bridging over the uneven surfaces resulting in a weaker spot. So the same steps have to be followed including scraping and sanding to get to a consistent surface.
Using mostly the curved end scraper I started on one section and it cleaned up fairly well with a reasonable amount of effort. I expect the next few work sessions will be mostly scraping and smoothing so there won’t really be anything new to see and I may skip a few work session postings until I have something meaningful to share. In these last shots you can see the scraper and the before and after of a section that I started on.

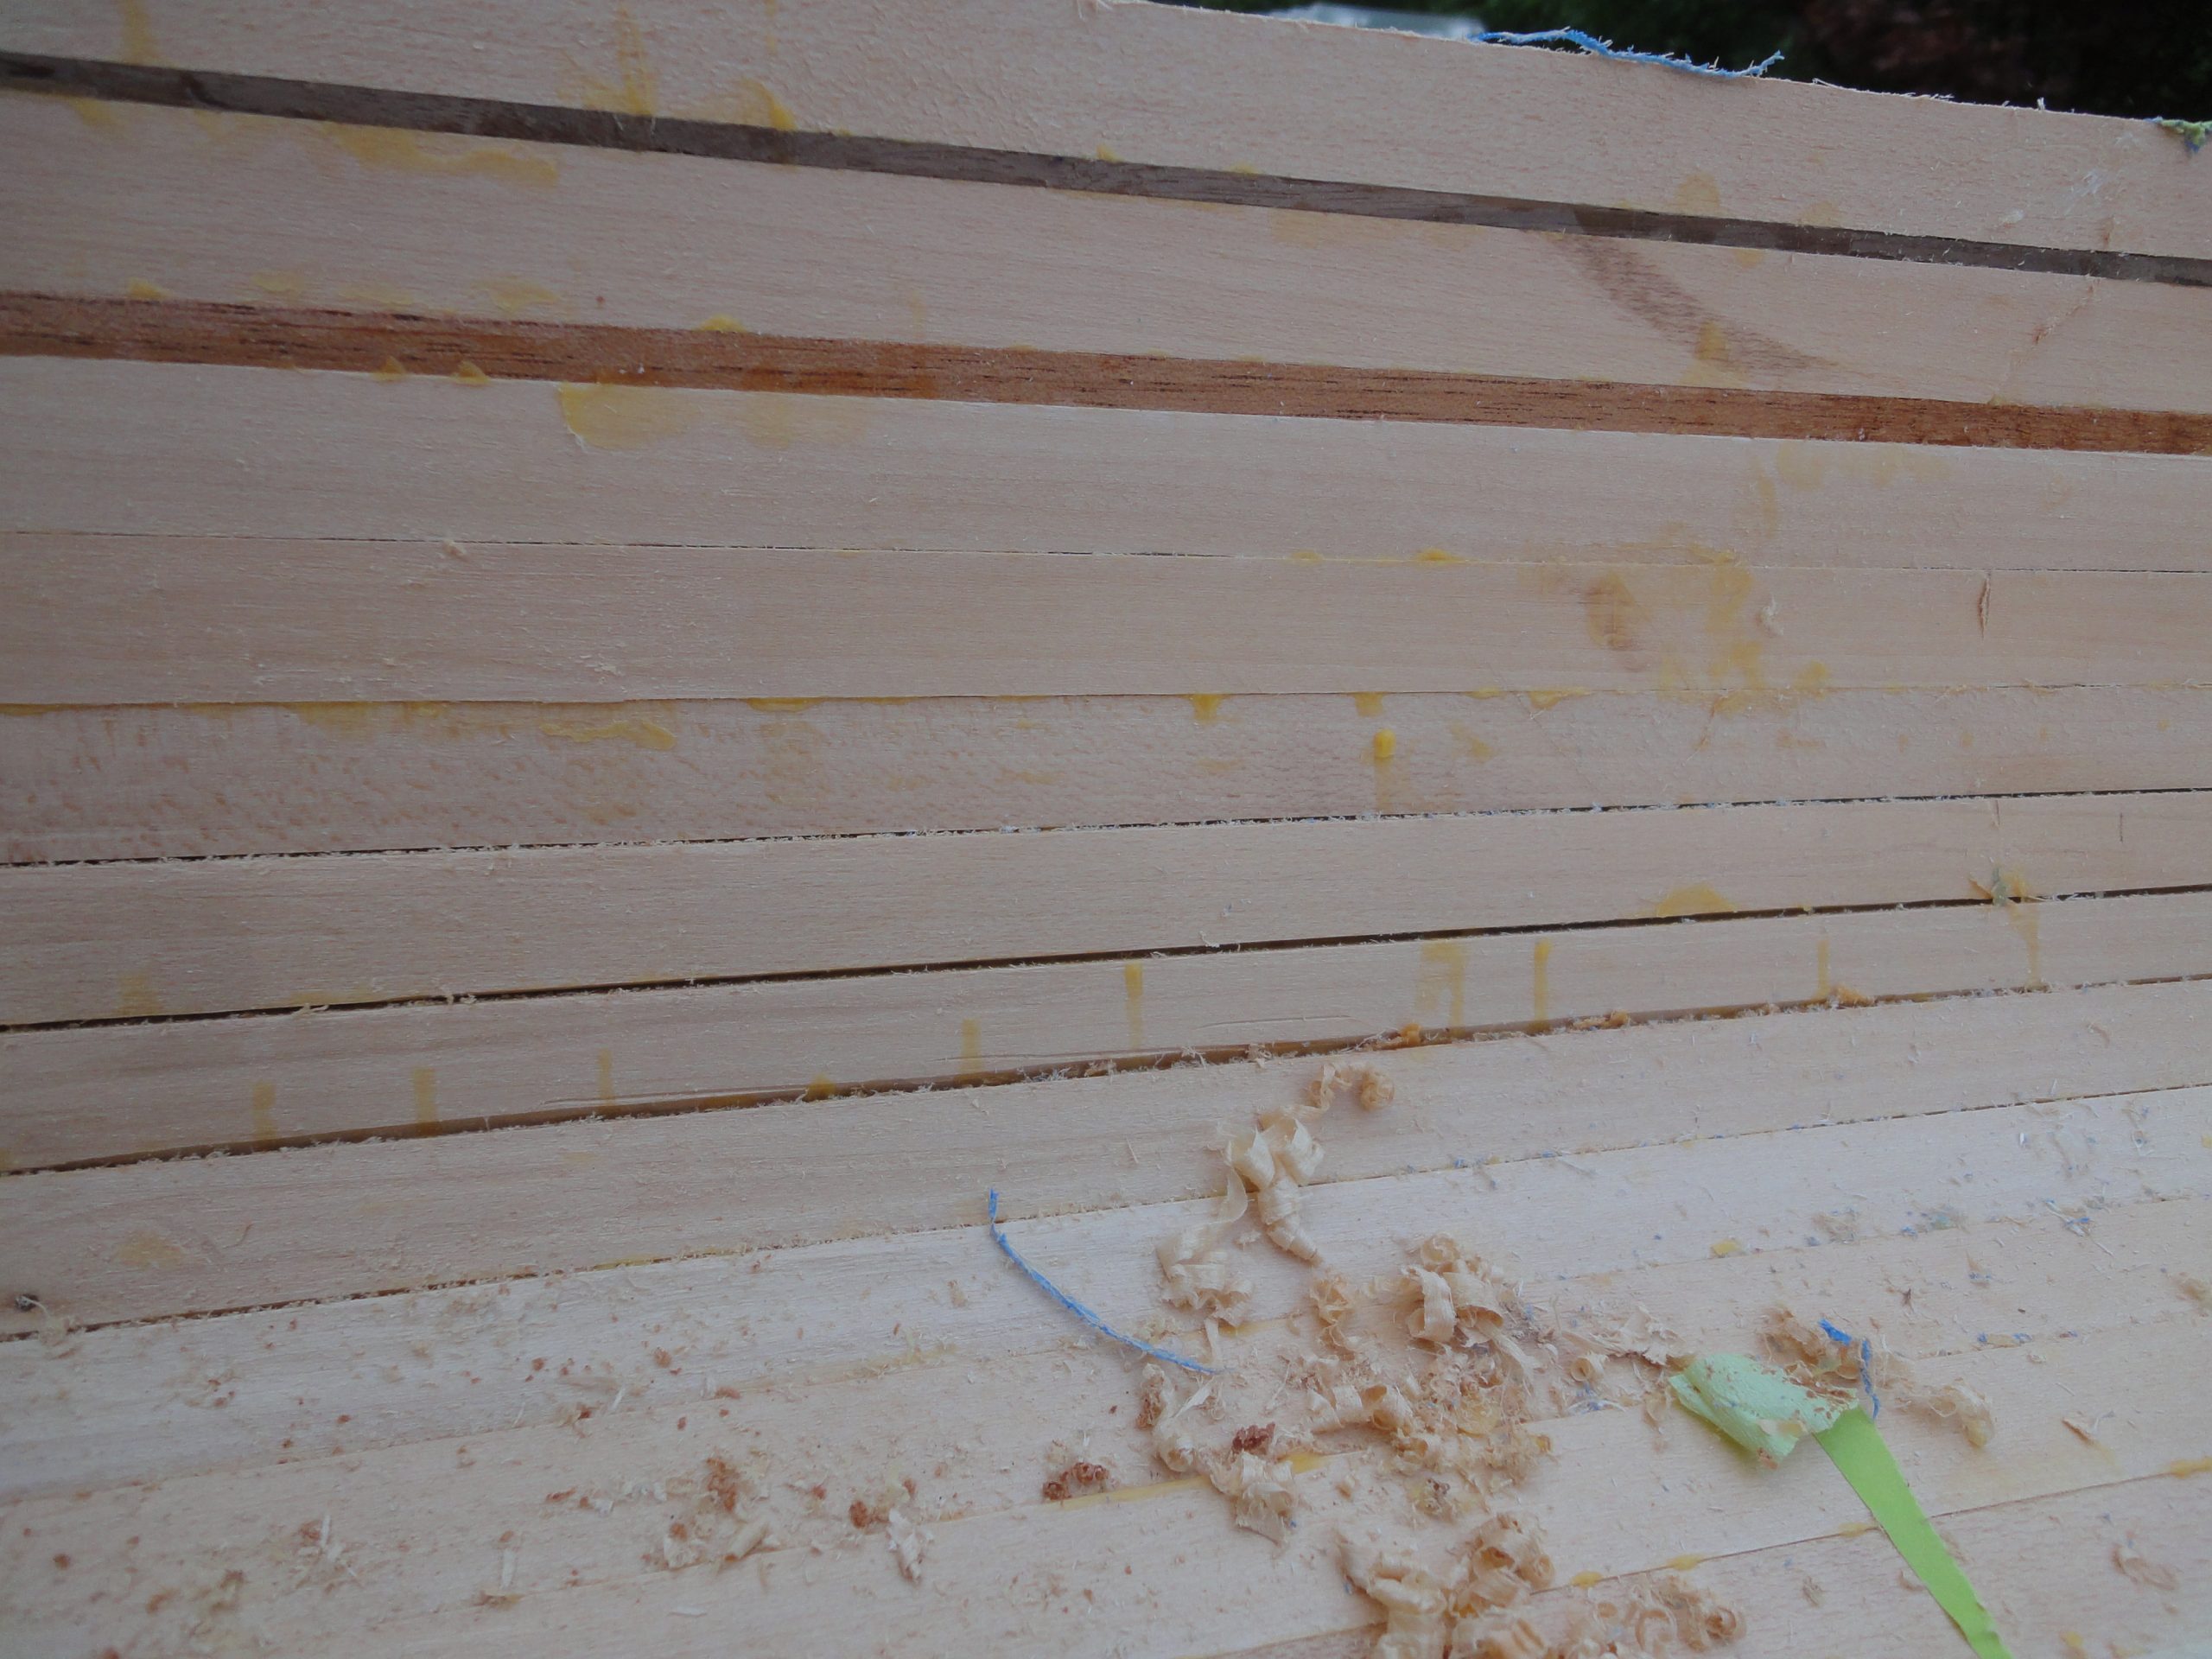
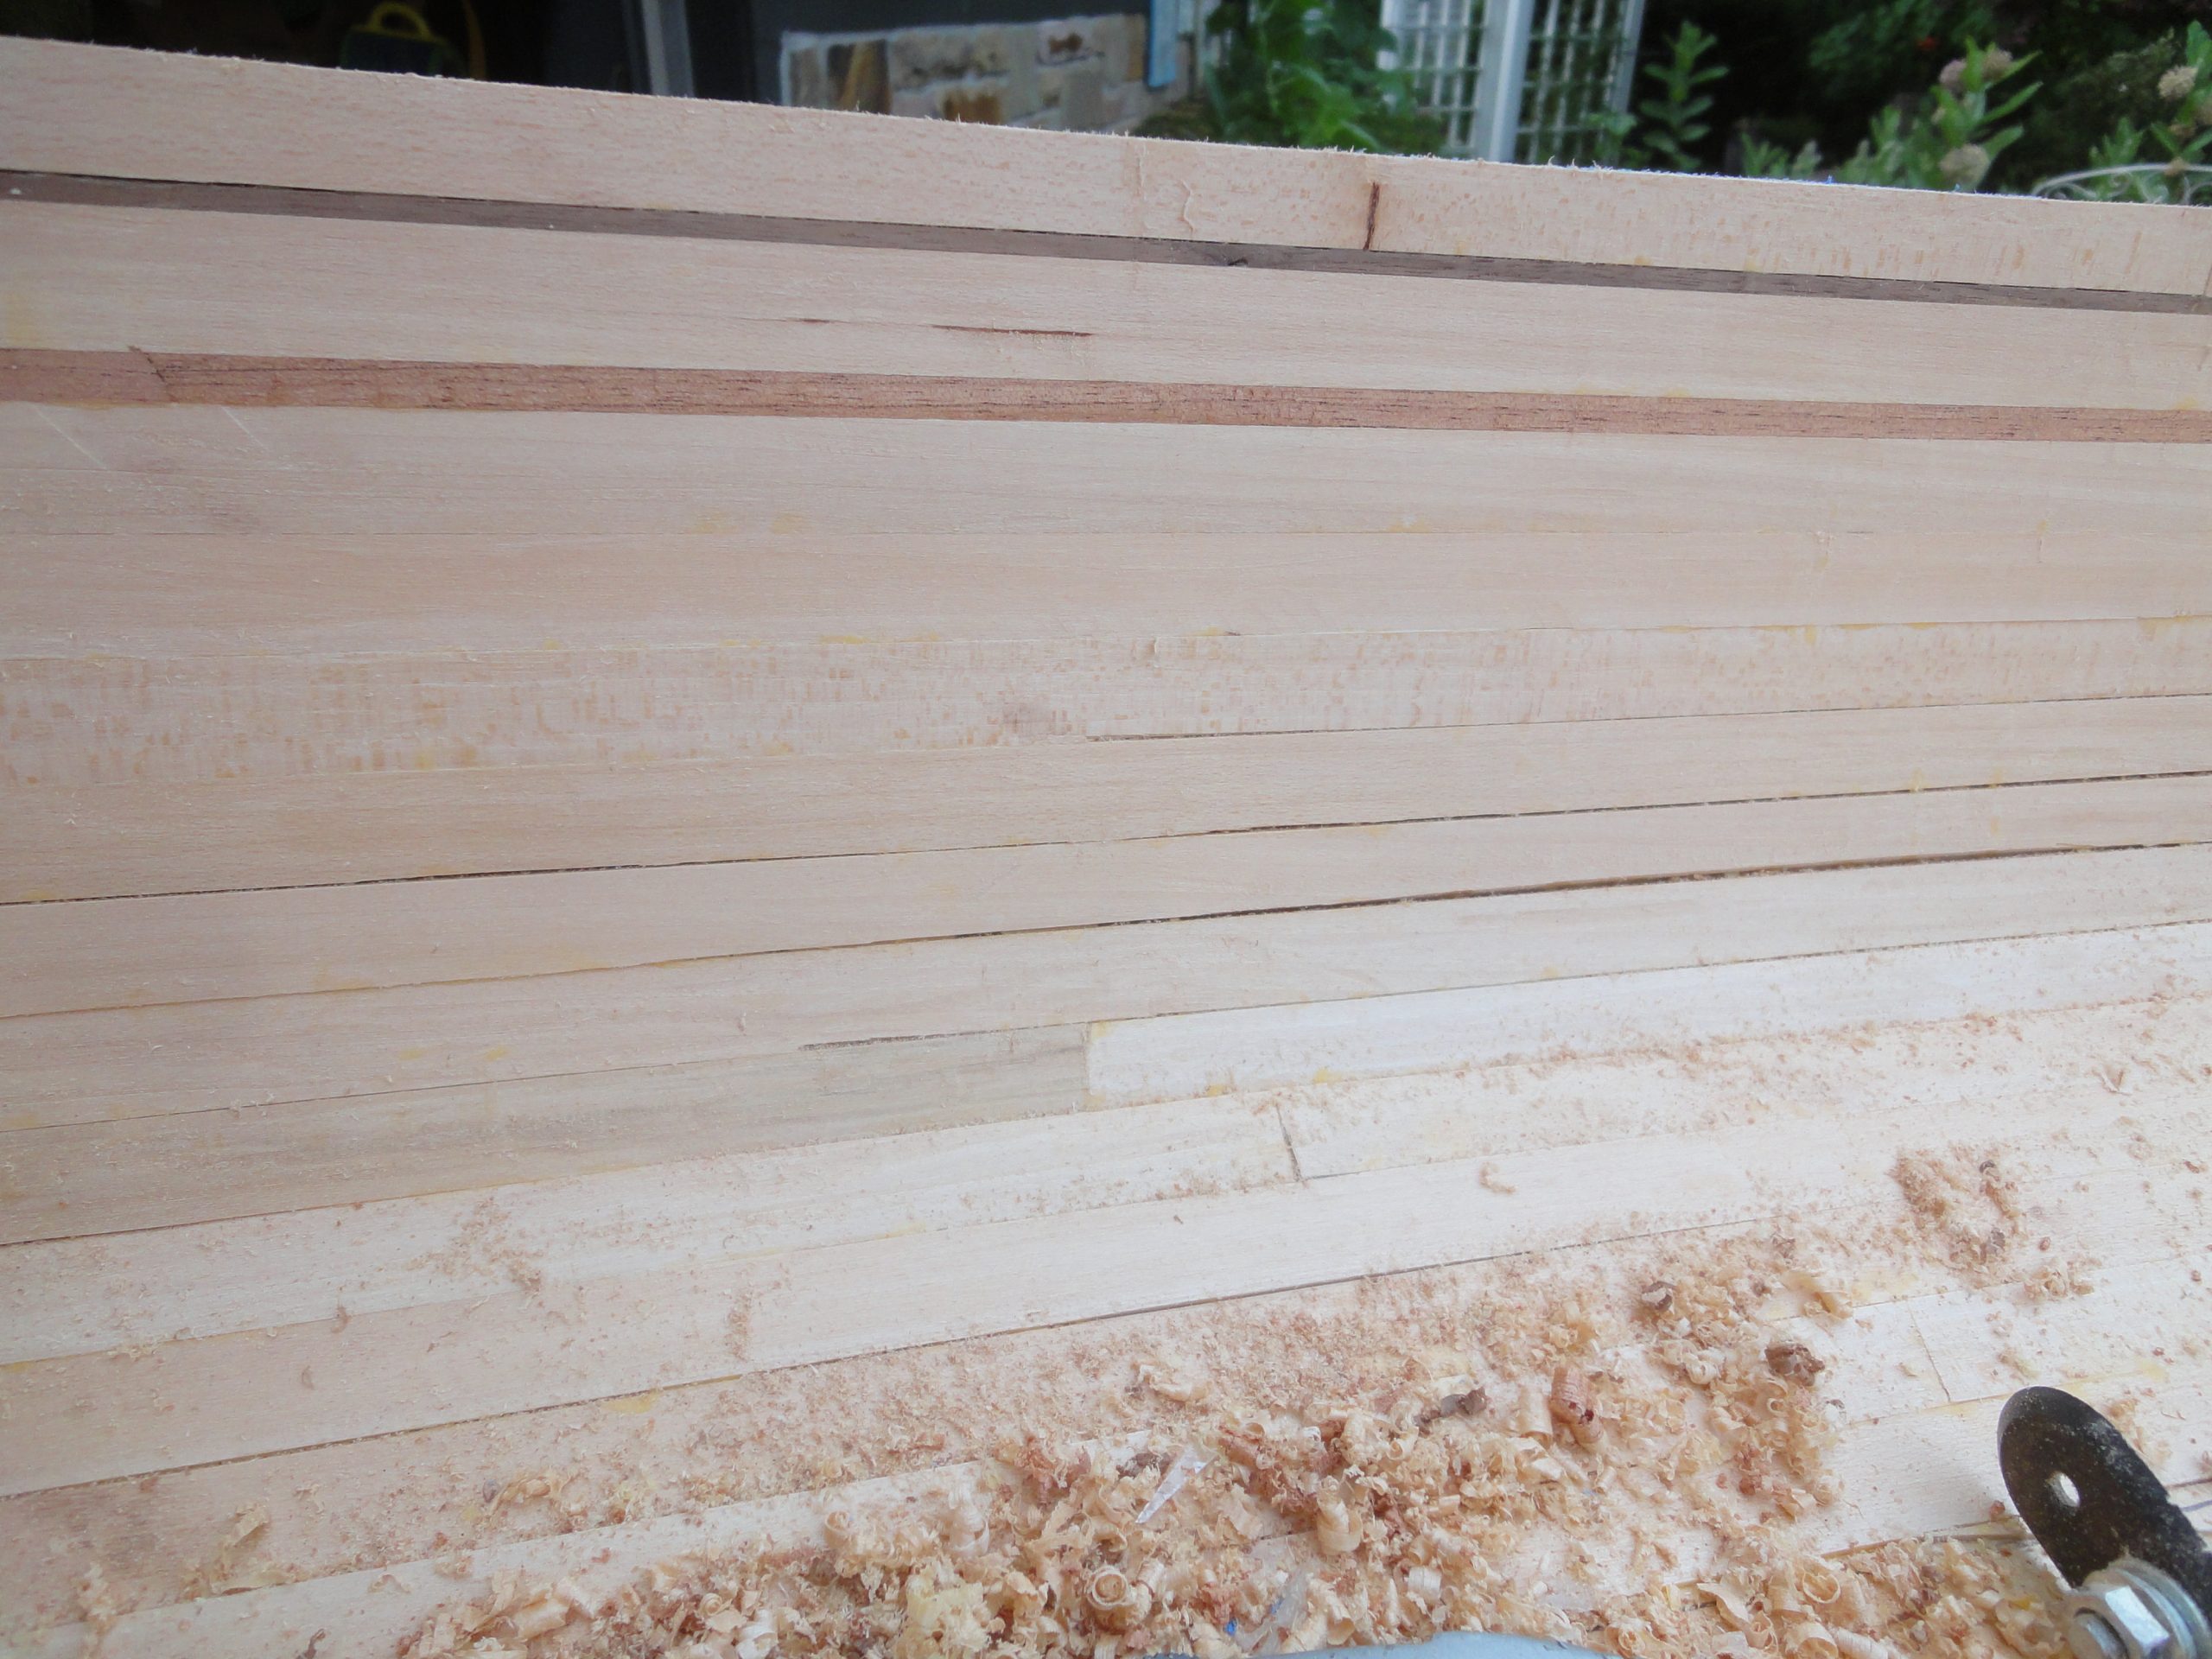
The above work was done on Wednesday. Thursday I spent a bit more time and got about a quarter of the inside completed. With luck I may have all of the scraping done sometime this weekend and can move on to the gap filling.