Long Weekend Wrap Up

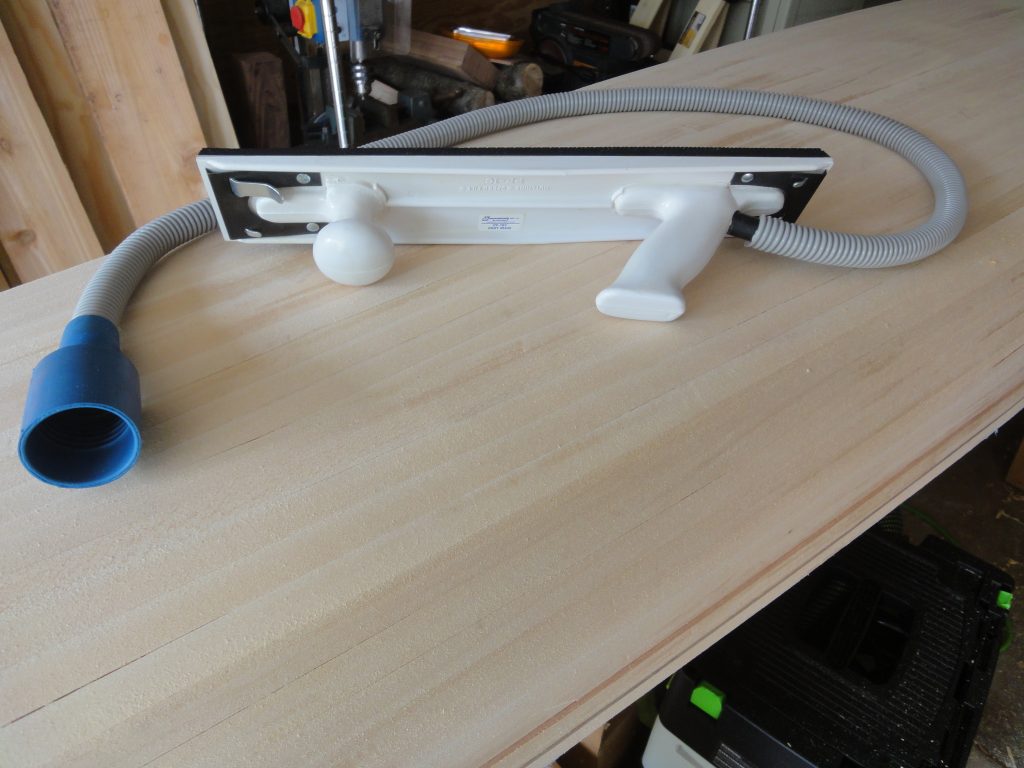
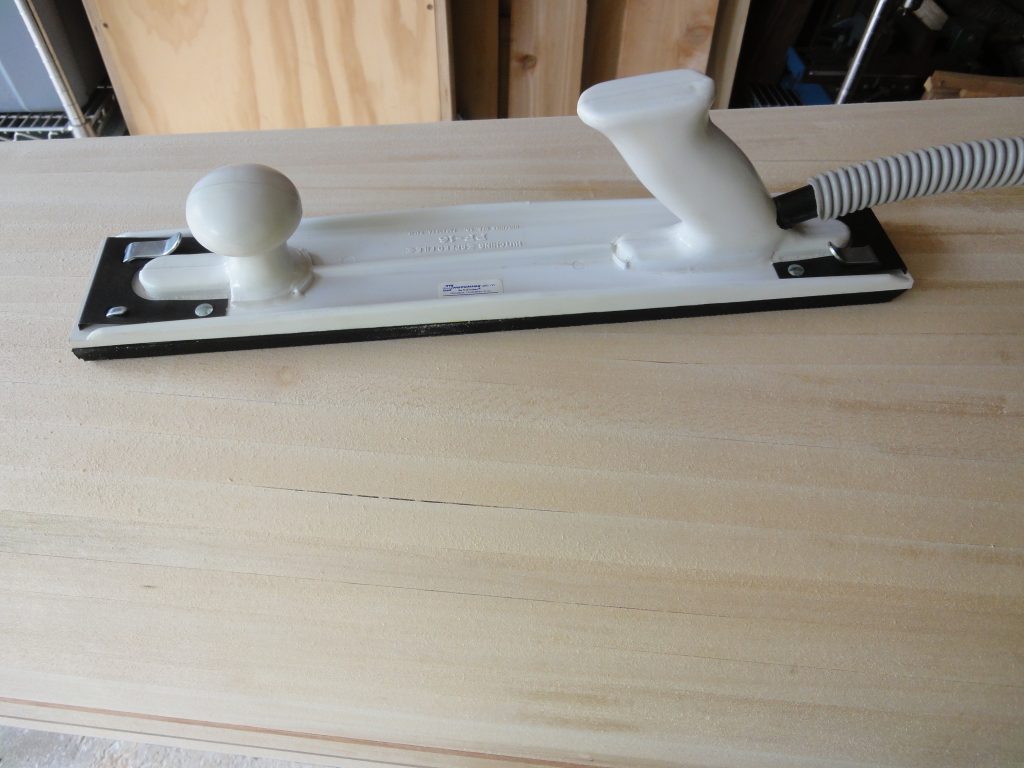
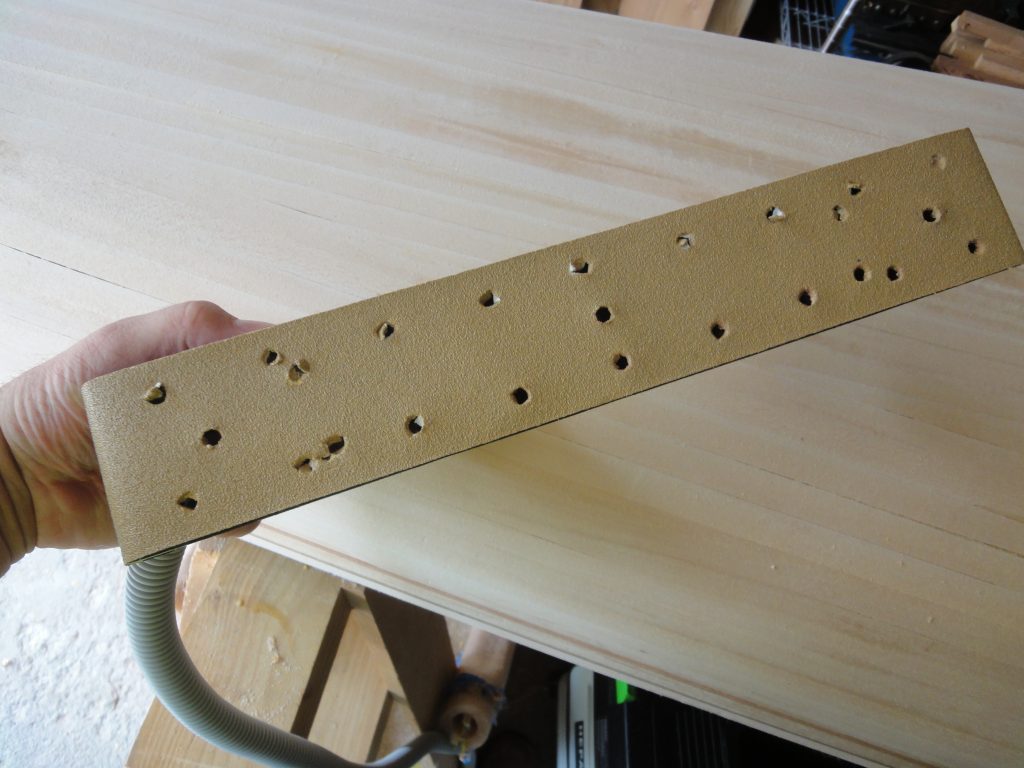
Using up some vacation time, I had a long weekend although the weather didn’t cooperate as much as I would have liked. With the exception of a new tool, it was pretty much more of the same. Sand, patch cracks, sand more. The new tool is a long board sander which is available without dust collection or with if you buy direct from Hutchins (model 5540 or PF-16). Mine has the dust port and tube. I attached the Dura Gold 60 grit paper to the bottom and then punched out the holes to allow the dust to be sucked in.

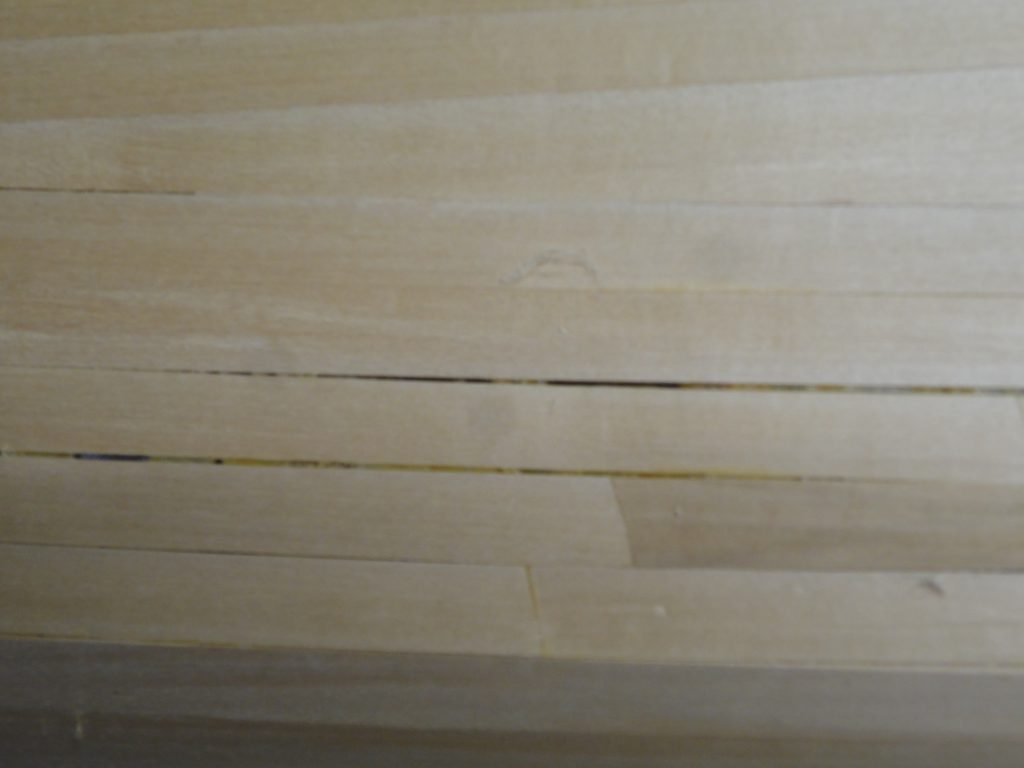
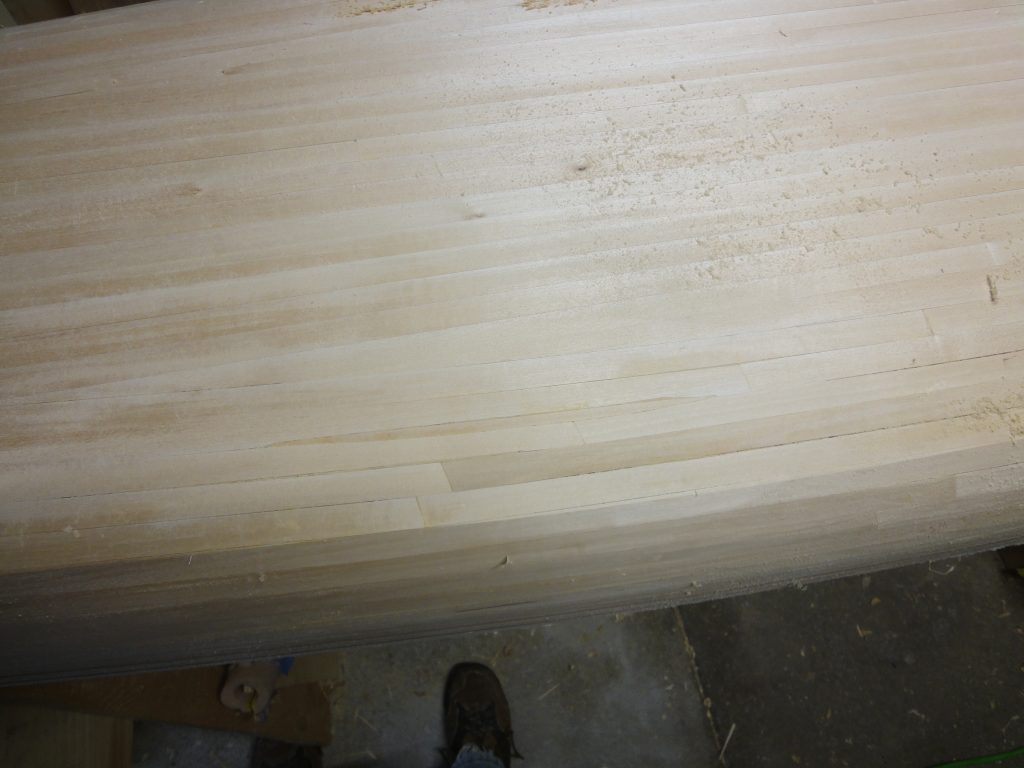
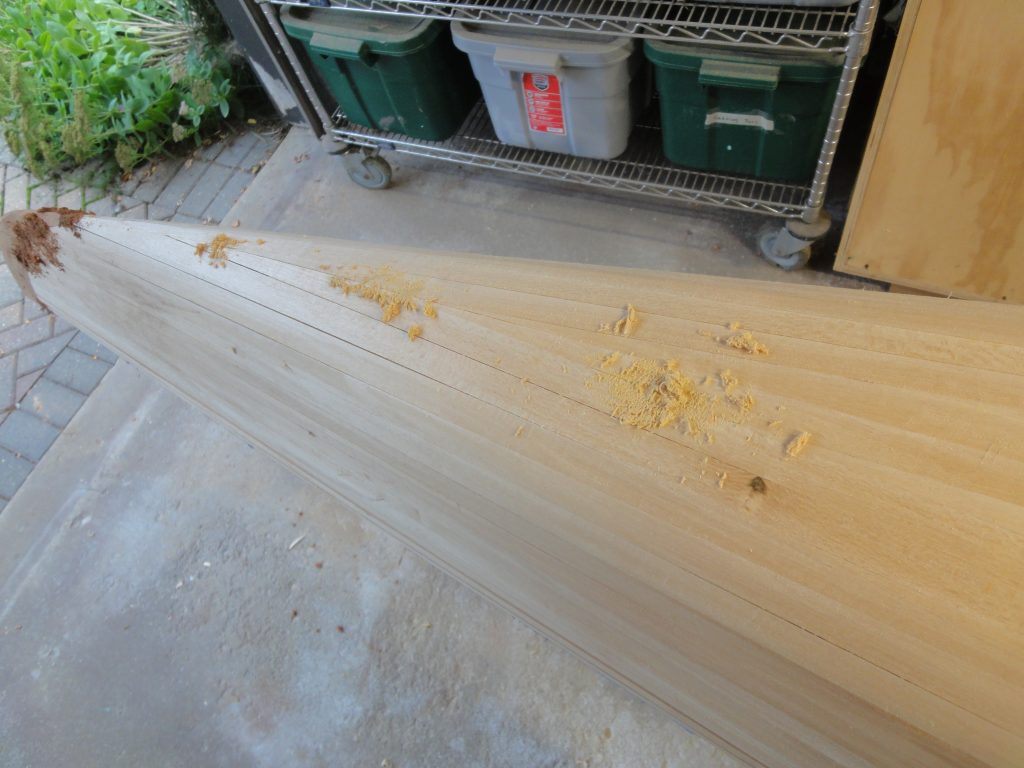
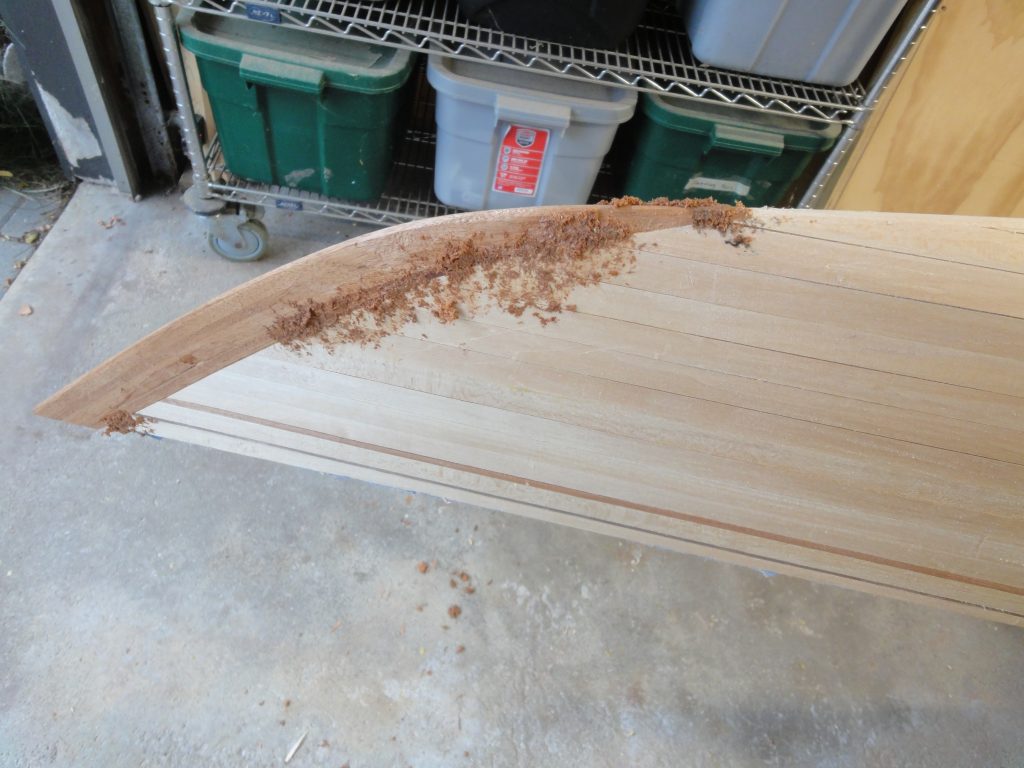
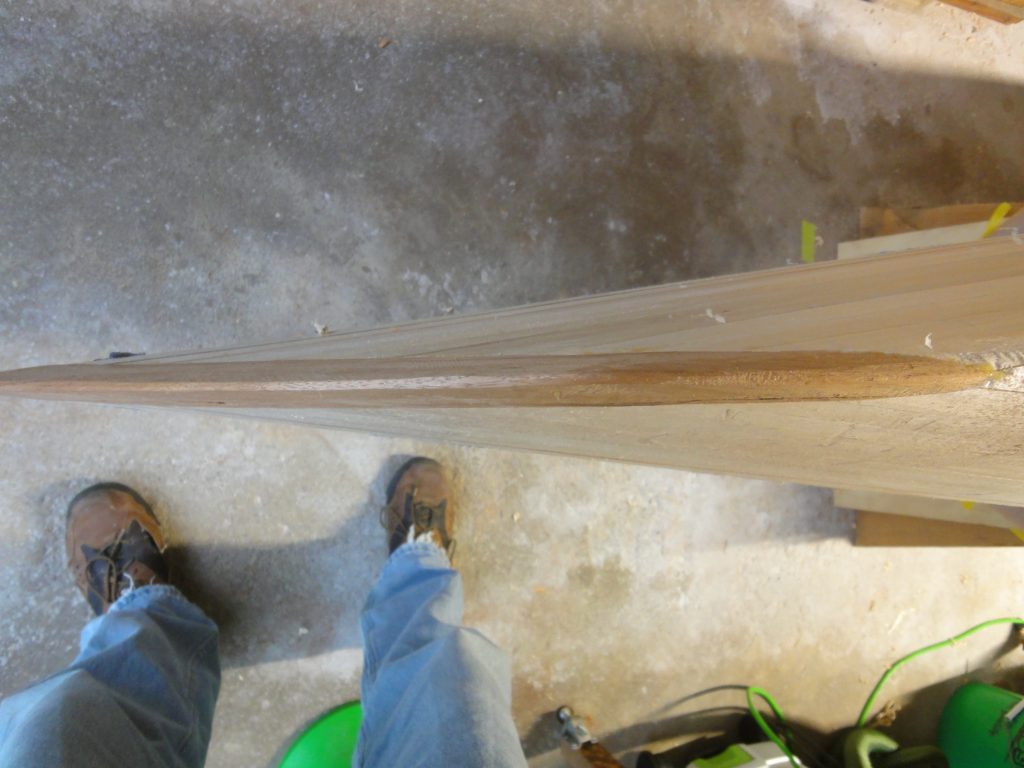
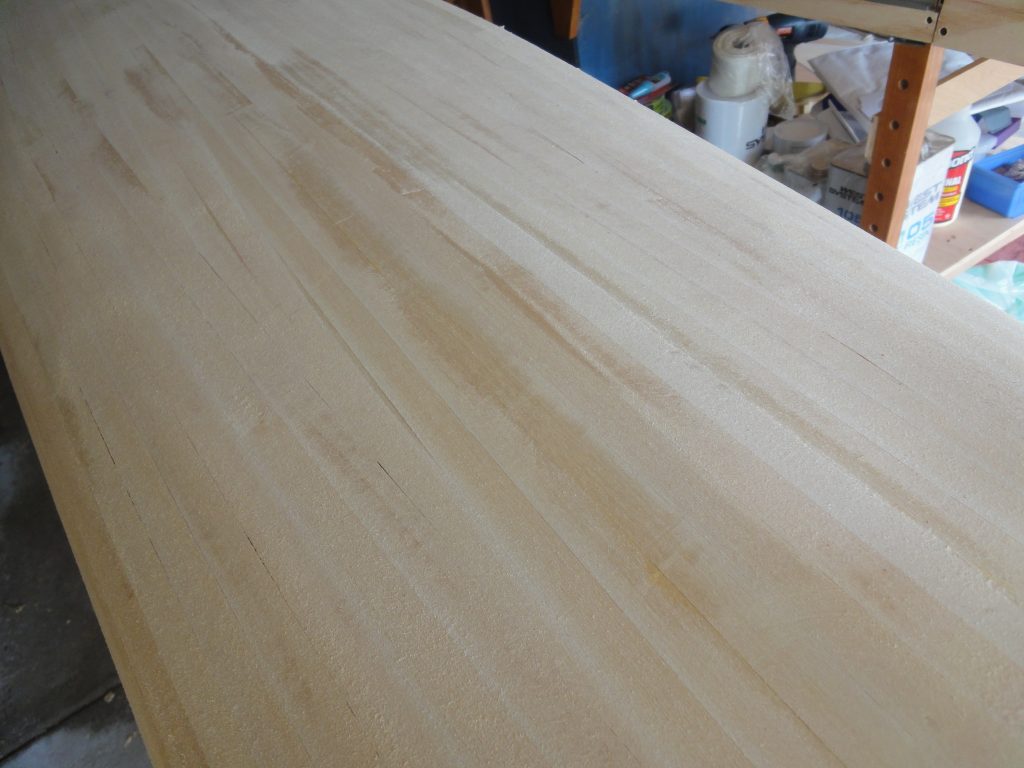
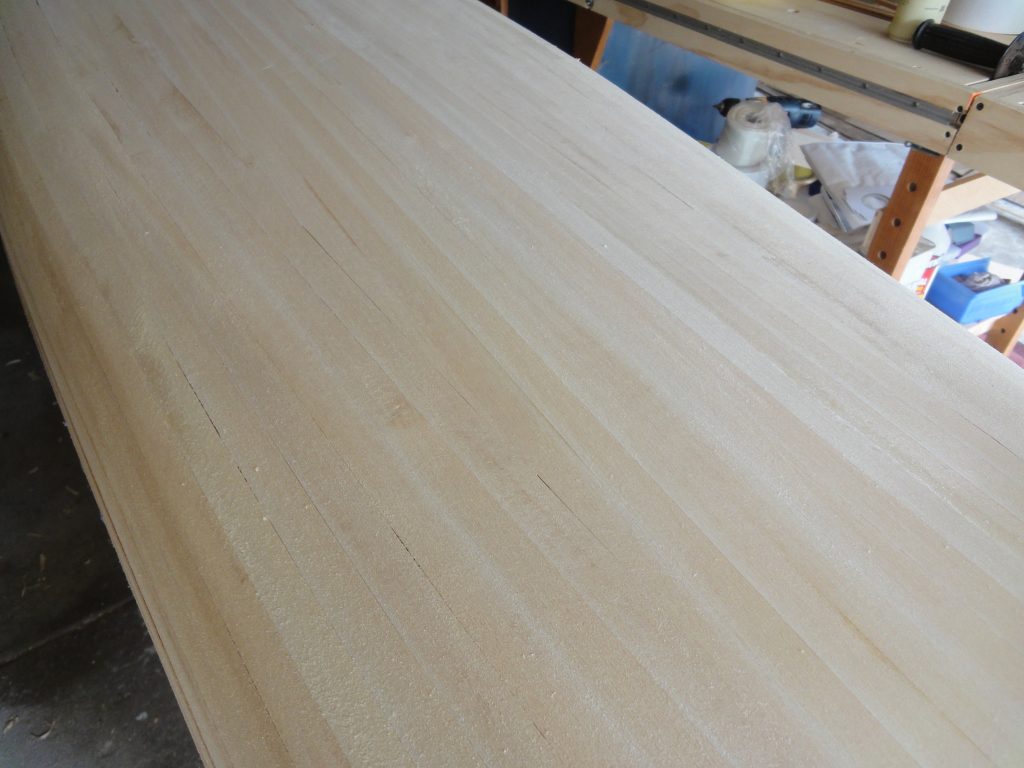
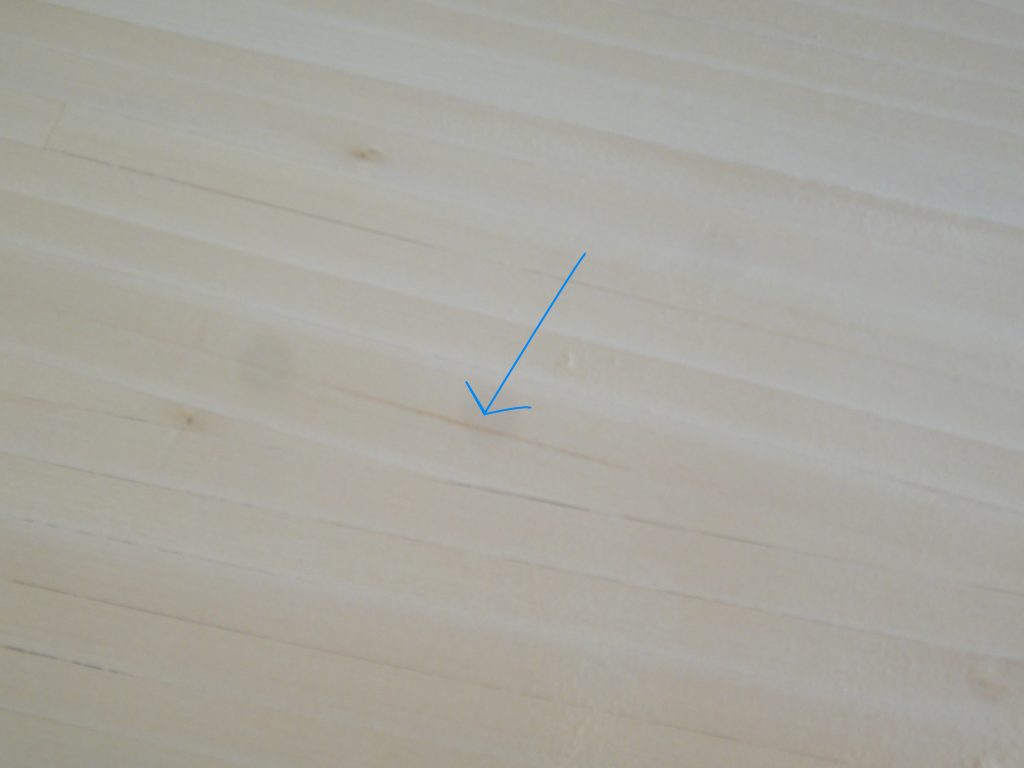
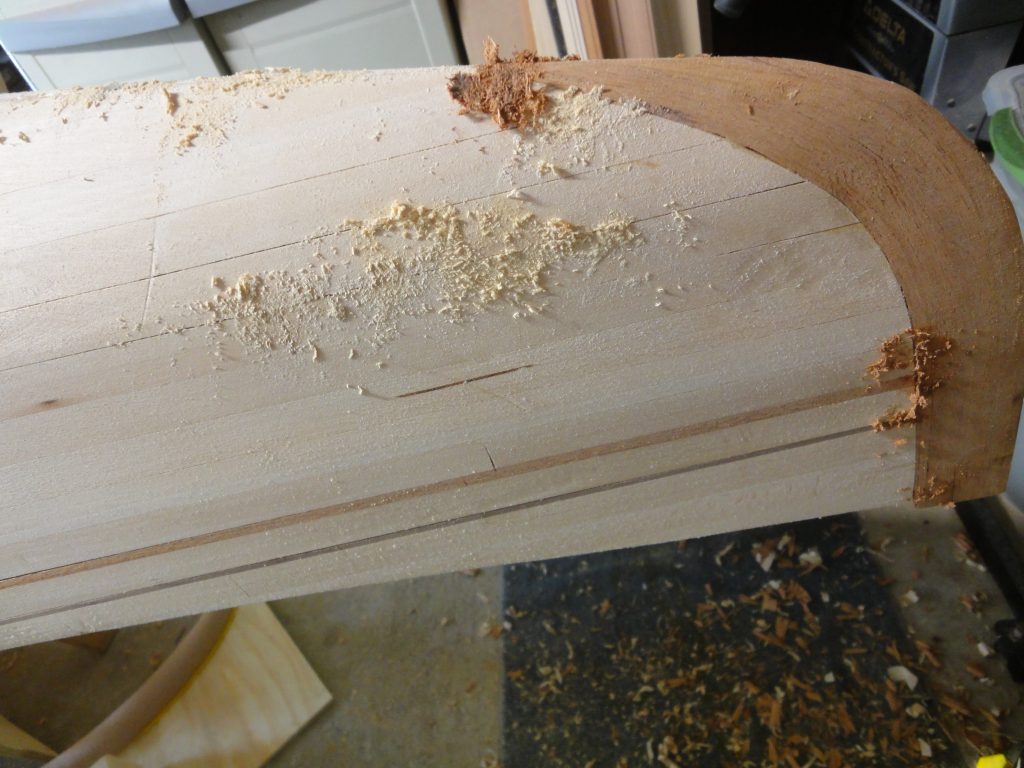
Using the long board has an advantage over the random orbit sander. As it is long and rigid, it will bridge over any low spots and stand down the high spots. As you continue to sand over the high spots, eventually they come down to the level of the low spot creating a smooth and fair surface and eliminates low spots. In the following images you can see a shiny area which are low spots that are mostly missed with the scraper and random orbit. Sure I could tilt it up and dig in and get them sanded but then I’ve made a low spot lower. Instead with the long board, some muscle and patience I work my way back and forth over the whole area eventually bringing everything down nice and even. You can see the smooth, no shine, as a result in the second image.

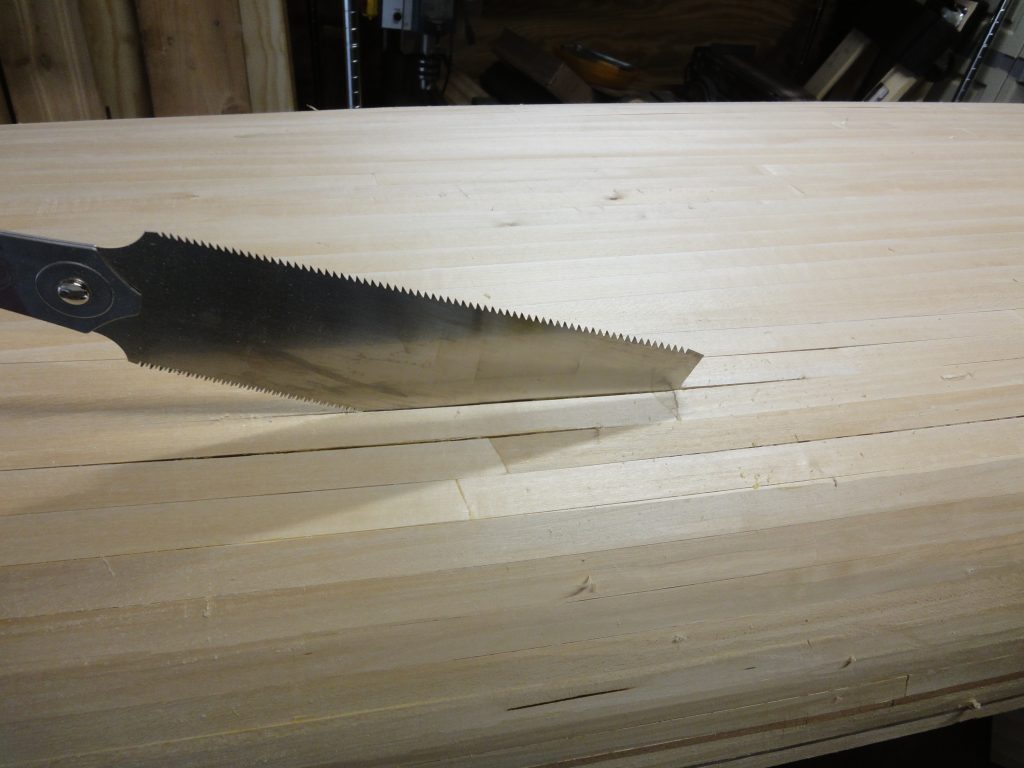
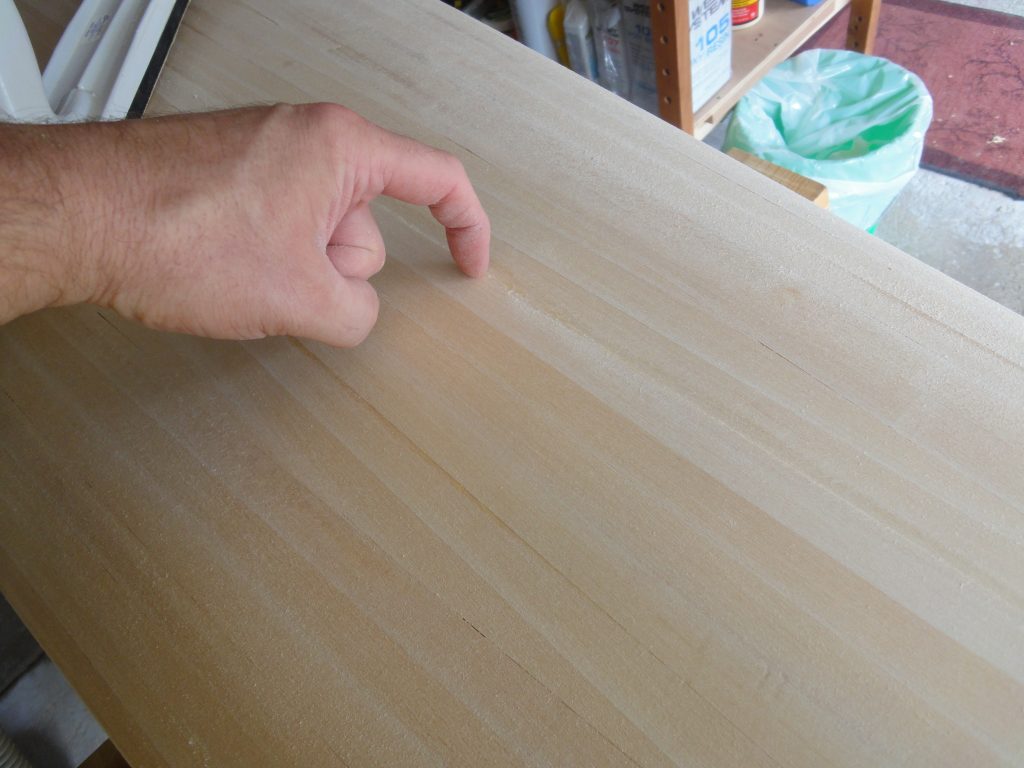
Simply using your hand and/or a finger nail, you can find areas where there is still a step from one board to another. Again, some long board work will bring down the high spot. Sometimes it’s so subtle that you have to again look for a shine or a glue smudge to realize that a small area has been missed and needs further attention.

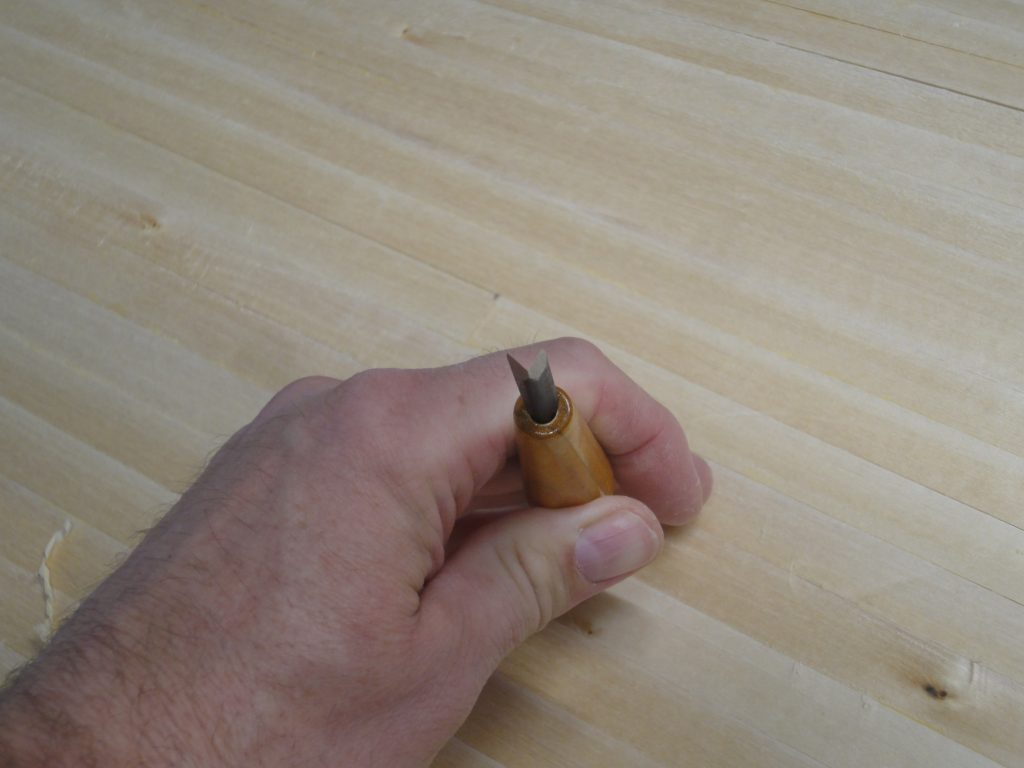
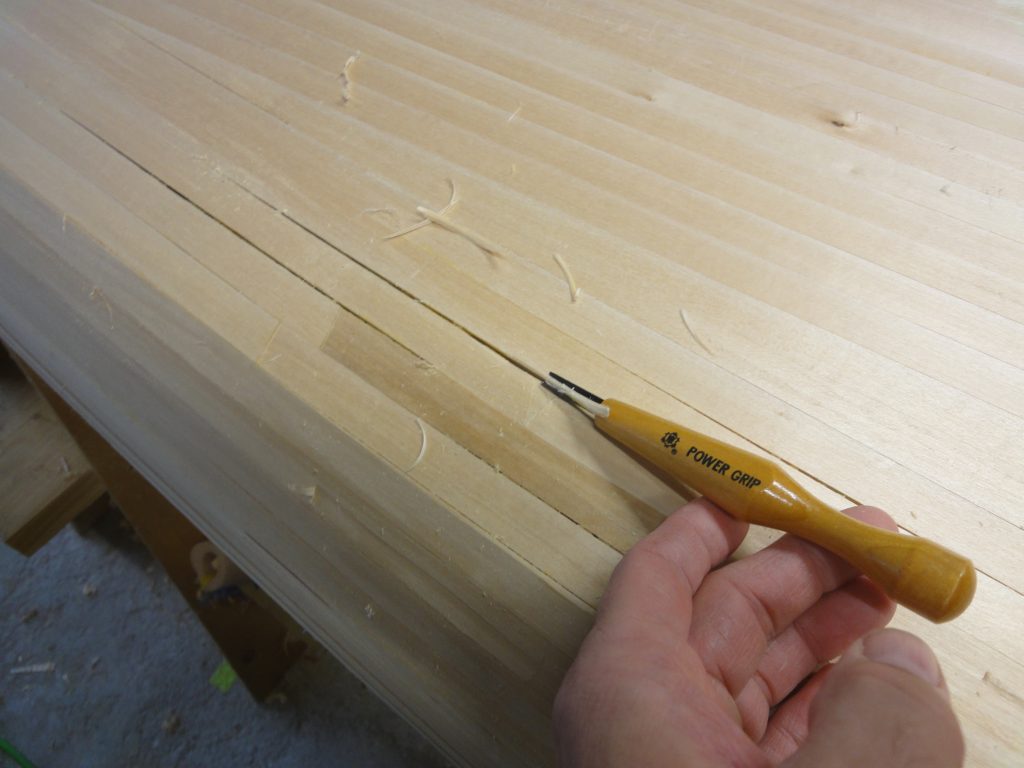
Of course just when you think all is good more cracks jump out. I did one more round of crack filling and then of course the follow up sanding with long board 60 grit and then random orbit 80 grit. I supposed I could be obsessive about this and keep repeating, but at this point all the major cracks are filled and the tiny hairline ones are something I can live with and a reminder to ensure the detail to tight fitting joints on my next kayak (assuming there is another… yeah, there probably will be.)

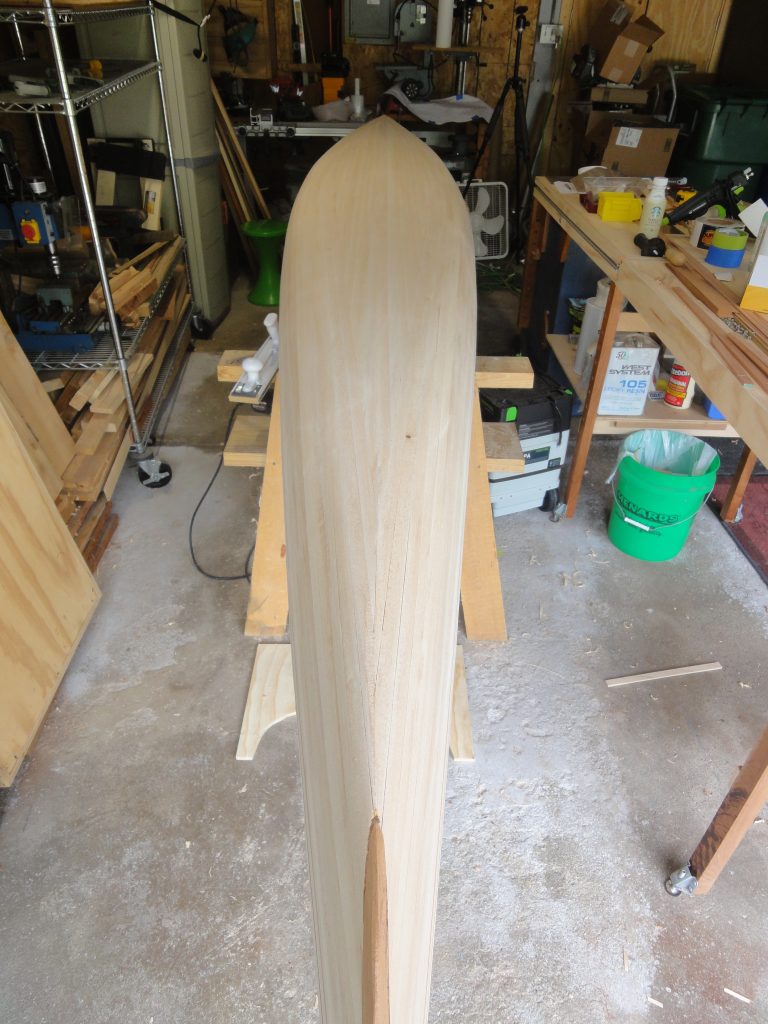
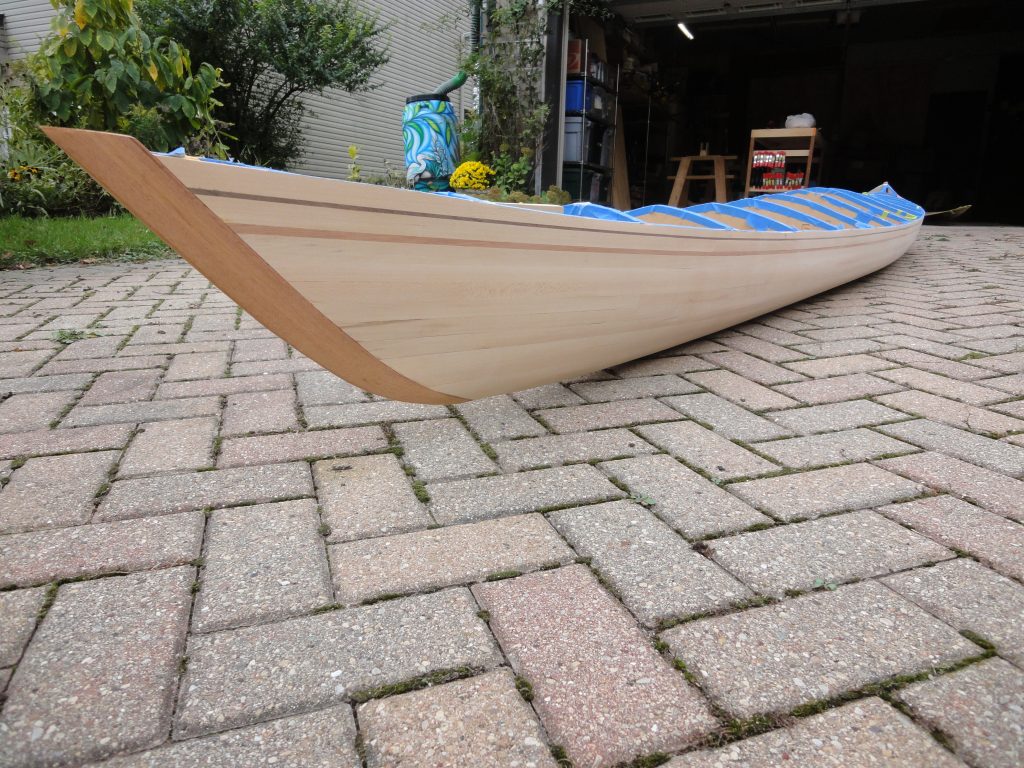
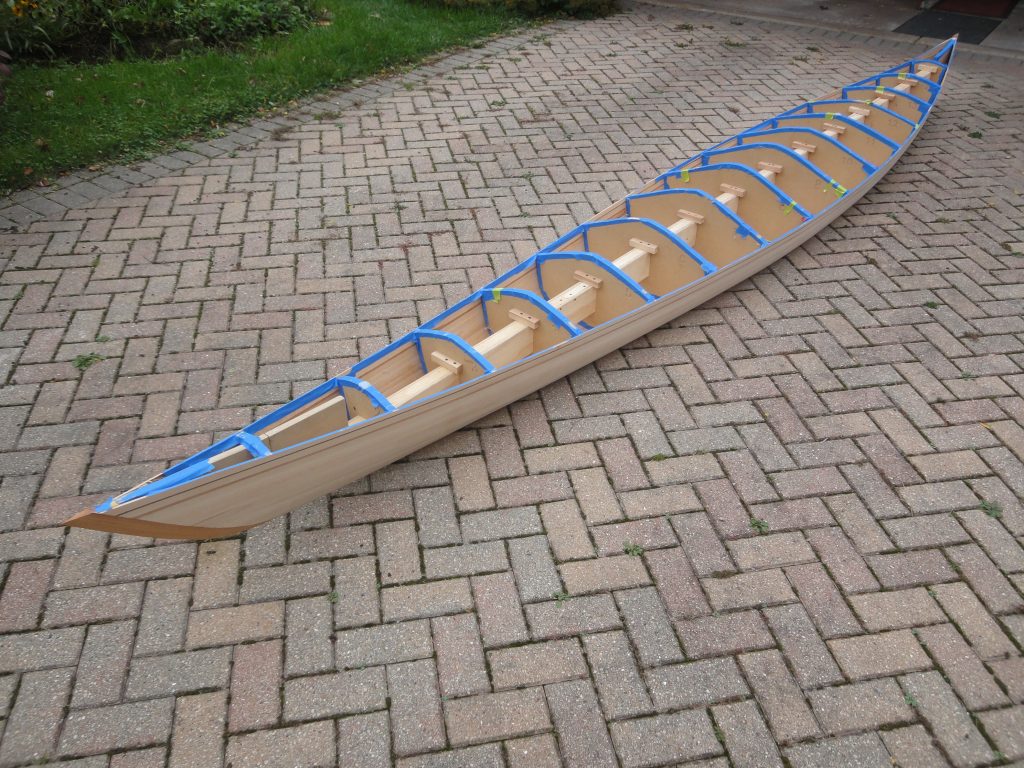
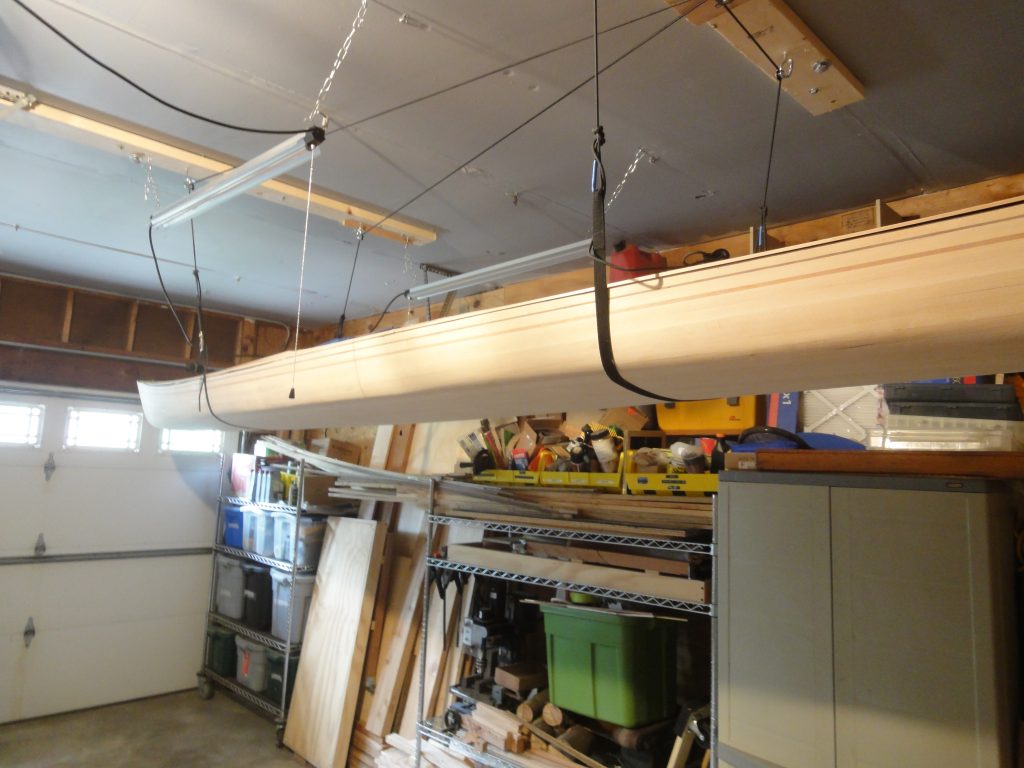
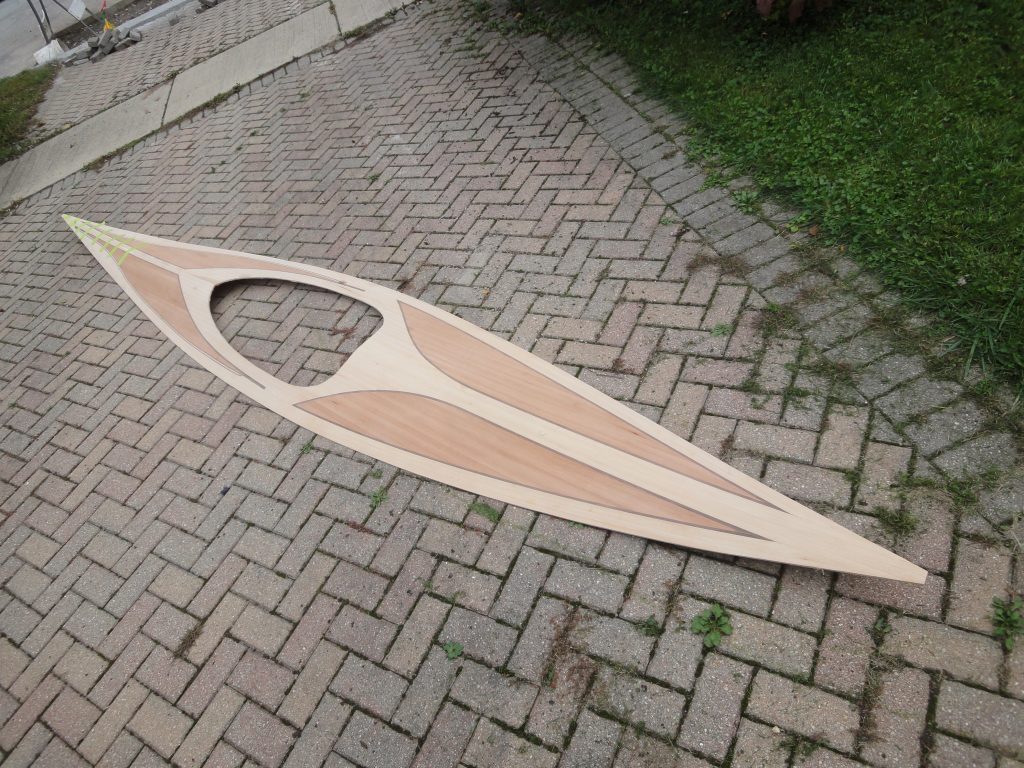
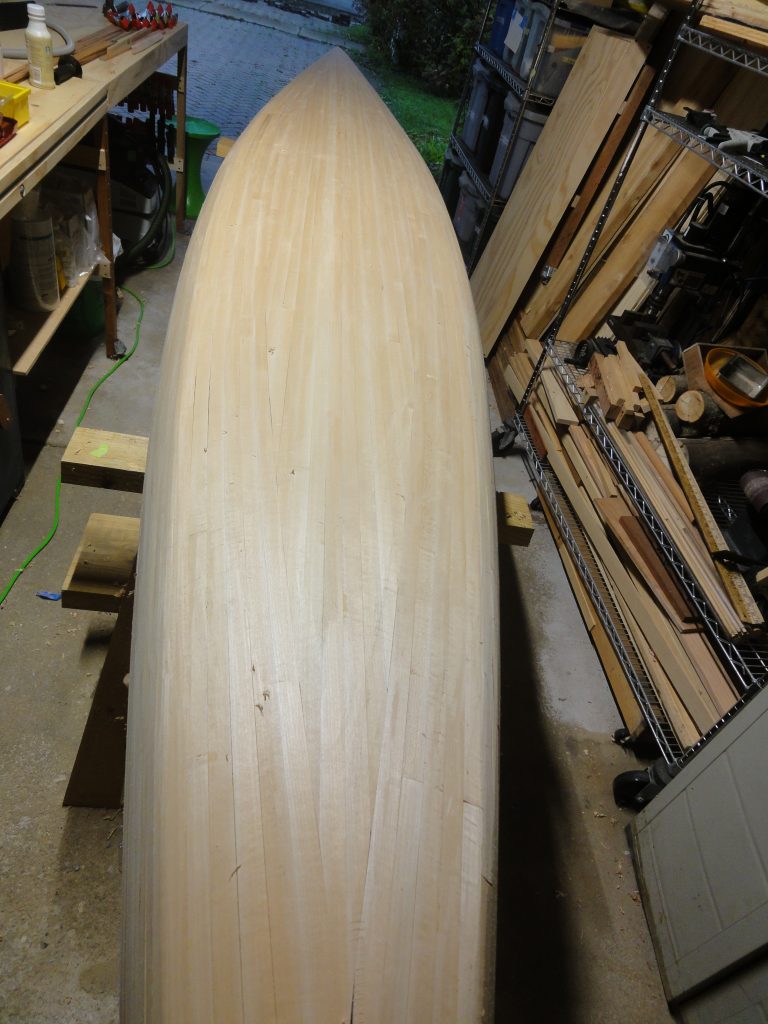
Eventually I’ll follow up with a random orbit 120 grit and end with a long board 150 grit. Another advantage of the long board is that you are sanding with the grain and by following the random orbit you remove any inadvertent sanding swirls or marks. I say eventually as the weather is simply not going to allow for any fiberglass work or epoxying so at the end of the weekend I set the kayak in the driveway, took a few shots and the hoisted it up for the winter.

Once the weather starts to look promising in spring I’ll bring it down, take care of the last hull sanding and then get it fiberglassed. When done I can remove the forms and then get to work on the inside repeating the process. When both sides are completed I’ll turn back to the deck and repeat the process getting the outside fiberglassed and then clean up and fiberglass the inside.

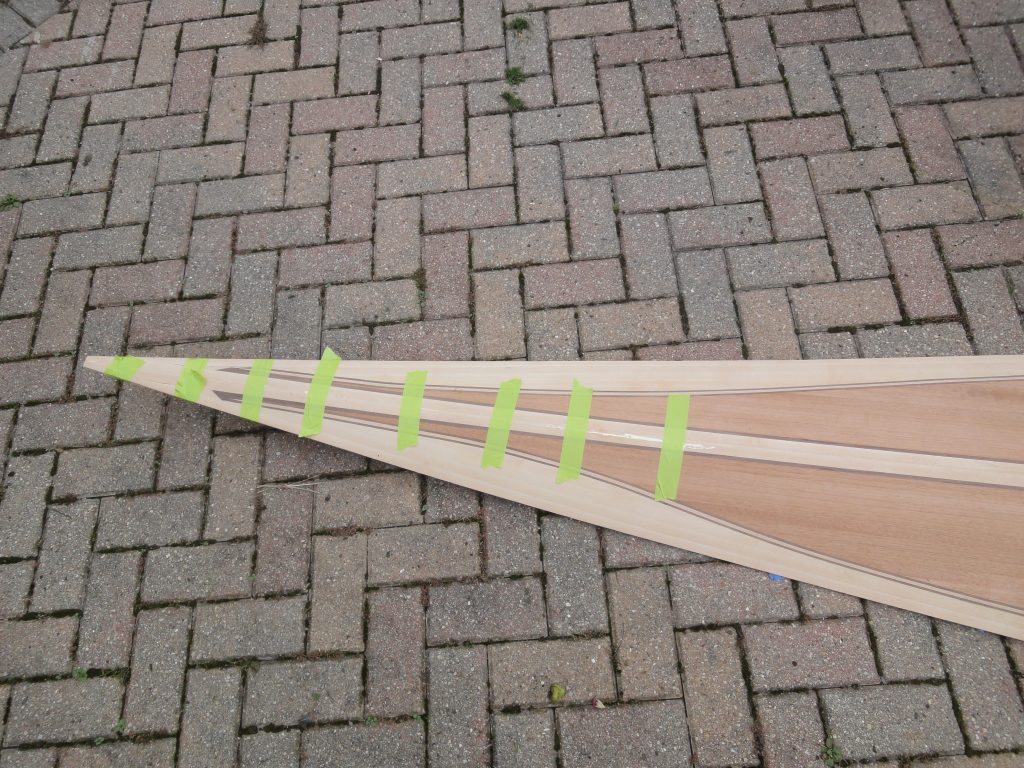
Until spring this blog will probably be on hiatus. Look for the next postings to be around early April for a guess. Until then I’ll leave you with a few final pics.

A Few Patches

Only got a few hours of time to work today but I made some good progress on patches and filler. In one area I had a couple of substantial gaps. Look at it from underneath (blurry pics, sorry), it was obvious that the bevel angle was wrong. I think this section was beveled when it was not tight to the form, but the next strip was attached and pushed tight to the form. This would result in an incorrect angle that would then open up when glued to the form. While the surface could have been filled in with “putty”, the gap underneath would end up using a lot when I got to the inside.

I decided the best way to fix this was to open up the gap even more and then glue in a short fitted strip. First the glue was cut with the saw, then I used a V grove chisel I had to further widen the gap. I was hoping to eventually have it meet up with the other side of the board but ultimately I just used the saw again and a regular chisel to even up the sides.

The patch was fitted as I’ve done with hundreds of other strips and then glued in palce. While I was working in this area I mixed up some filler and filled the smaller gaps. A few spots may need a second applicaiton but after sending it already look much better. Sure the patch isn’t invisible, but unless you are looking for it, it’s also not as obvious as a big gap. Since it’s on the bottom it will be even less likely to ever be spotted.

Finally, while I had some filler mixed I went ahead and took care of most of the other minor gaps and then mixed a second batch from the cherry saw dust that I saved when shaping the stems. This was filled in by the stems and all was left to dry.

I should have the vacuum bags in a day or two and be able to start sanding again. Also, I’ve got a long weekend coming up (using up vacation days) so I hope to get most of the outside completed. At that point I’ll have to see if the weather will provide an opportunity to glass up the deck or not. Justin, one of my readers, strongly urged me to not glass just one side but if I do one side, once done, flip it, prep and get glass on the second side as soon as reasonably possible. Days apart, not months apart was my take away from his suggestion. Since Justin is also building kayaks (and selling them) I have to consider that he knows what he’s doing. If you have chance, check out his site, http://www.bespokekayak.com/ as he has some pretty nice work on his projects link.

Fixing the Deck, Scraping the Hull

Today’s work was planned to remove the deck, flip the form over and start working on the outside of the hull. Half the deck popped off the forms pretty easily. The front half started to separate at the center seam.

Working carefully I was able to fully remove it. So, first task was to now fix the Deck which was pretty much tape and glue. At a future date I’ll have to re-scrape and sand this area.

Scraping was performed pretty much as discussed before. First a high angle scrape to remove the hot glue spots, then a low angle to scrape to shave off the wood glue and the high spots on the strips. Excessive height differences were hit with a few passes of the plane first. Over all it was a little over two hours of scraping. Next work session I’ll probably do a little touch up, but essentially it’s ready for the first sanding. I would have considered starting this but I found my HEPA vacuum bag was filled and I don’t want to just throw a bunch of dust in the air. More bags ordered. I’ll have to find something else to work on tomorrow if I can get out there.

At the ends I scraped the hull right into the stems and the stems into the hull. Once I got both at about the same height I was able to scrape across and get a nice flow between them. The very edge was rounded over a bit. I considered keeping it sharper but am worried about the fiberglass folding over it and the likelihood of damaging it if or when a bow bumps into something (dock, rock, etc). By rounding it over there won’t be a point driving the fiberglass into whatever was bumped. The round over is small so it’s not going to create any problems cutting through the water.

I did find a few substantial gaps in the strips. Unlike the smaller ones on the deck which were easily filled with the “putty” I made up, these are a bit bigger and I think I will try a different approach on them.