
Today was the big day. OK, one of them. I applied the first two coats of epoxy. The first coat was to tack down the fiberglass and the second coat was to start to fill in the weave of the cloth. Following the process on the test piece last time, I mixed and poured on the epoxy and then spread it out with the flexible spreader.
The sides were not as easy to get filled with the spreader and much of them were actually done with a brush. I didn’t paint so much as wet the brush and then dab the epoxy on. It worked quite well and I was able to completed the first coat in right about an hour.
The temperature was in the mid 90s when I started and slowly dropping the whole time I was working. Warmer temperatures allow for the epoxy to be less viscous and helps it to flow more easily. However the warmer it gets the quicker the epoxy sets up. I found a comfortable working amount was 5 pumps. I’d add five full pumps (all the way down and allow it to return all the way up before pumping again) of the resin and five of the hardener. I vigorously mixed for 60 seconds and then applied either by pouring on and spreading or brushing and dabbing.
Gaining some confidence I tried a batch with 7 pumps and I could feel it thickening near the end of the application so I stayed with 5 per batch for just enough working time.
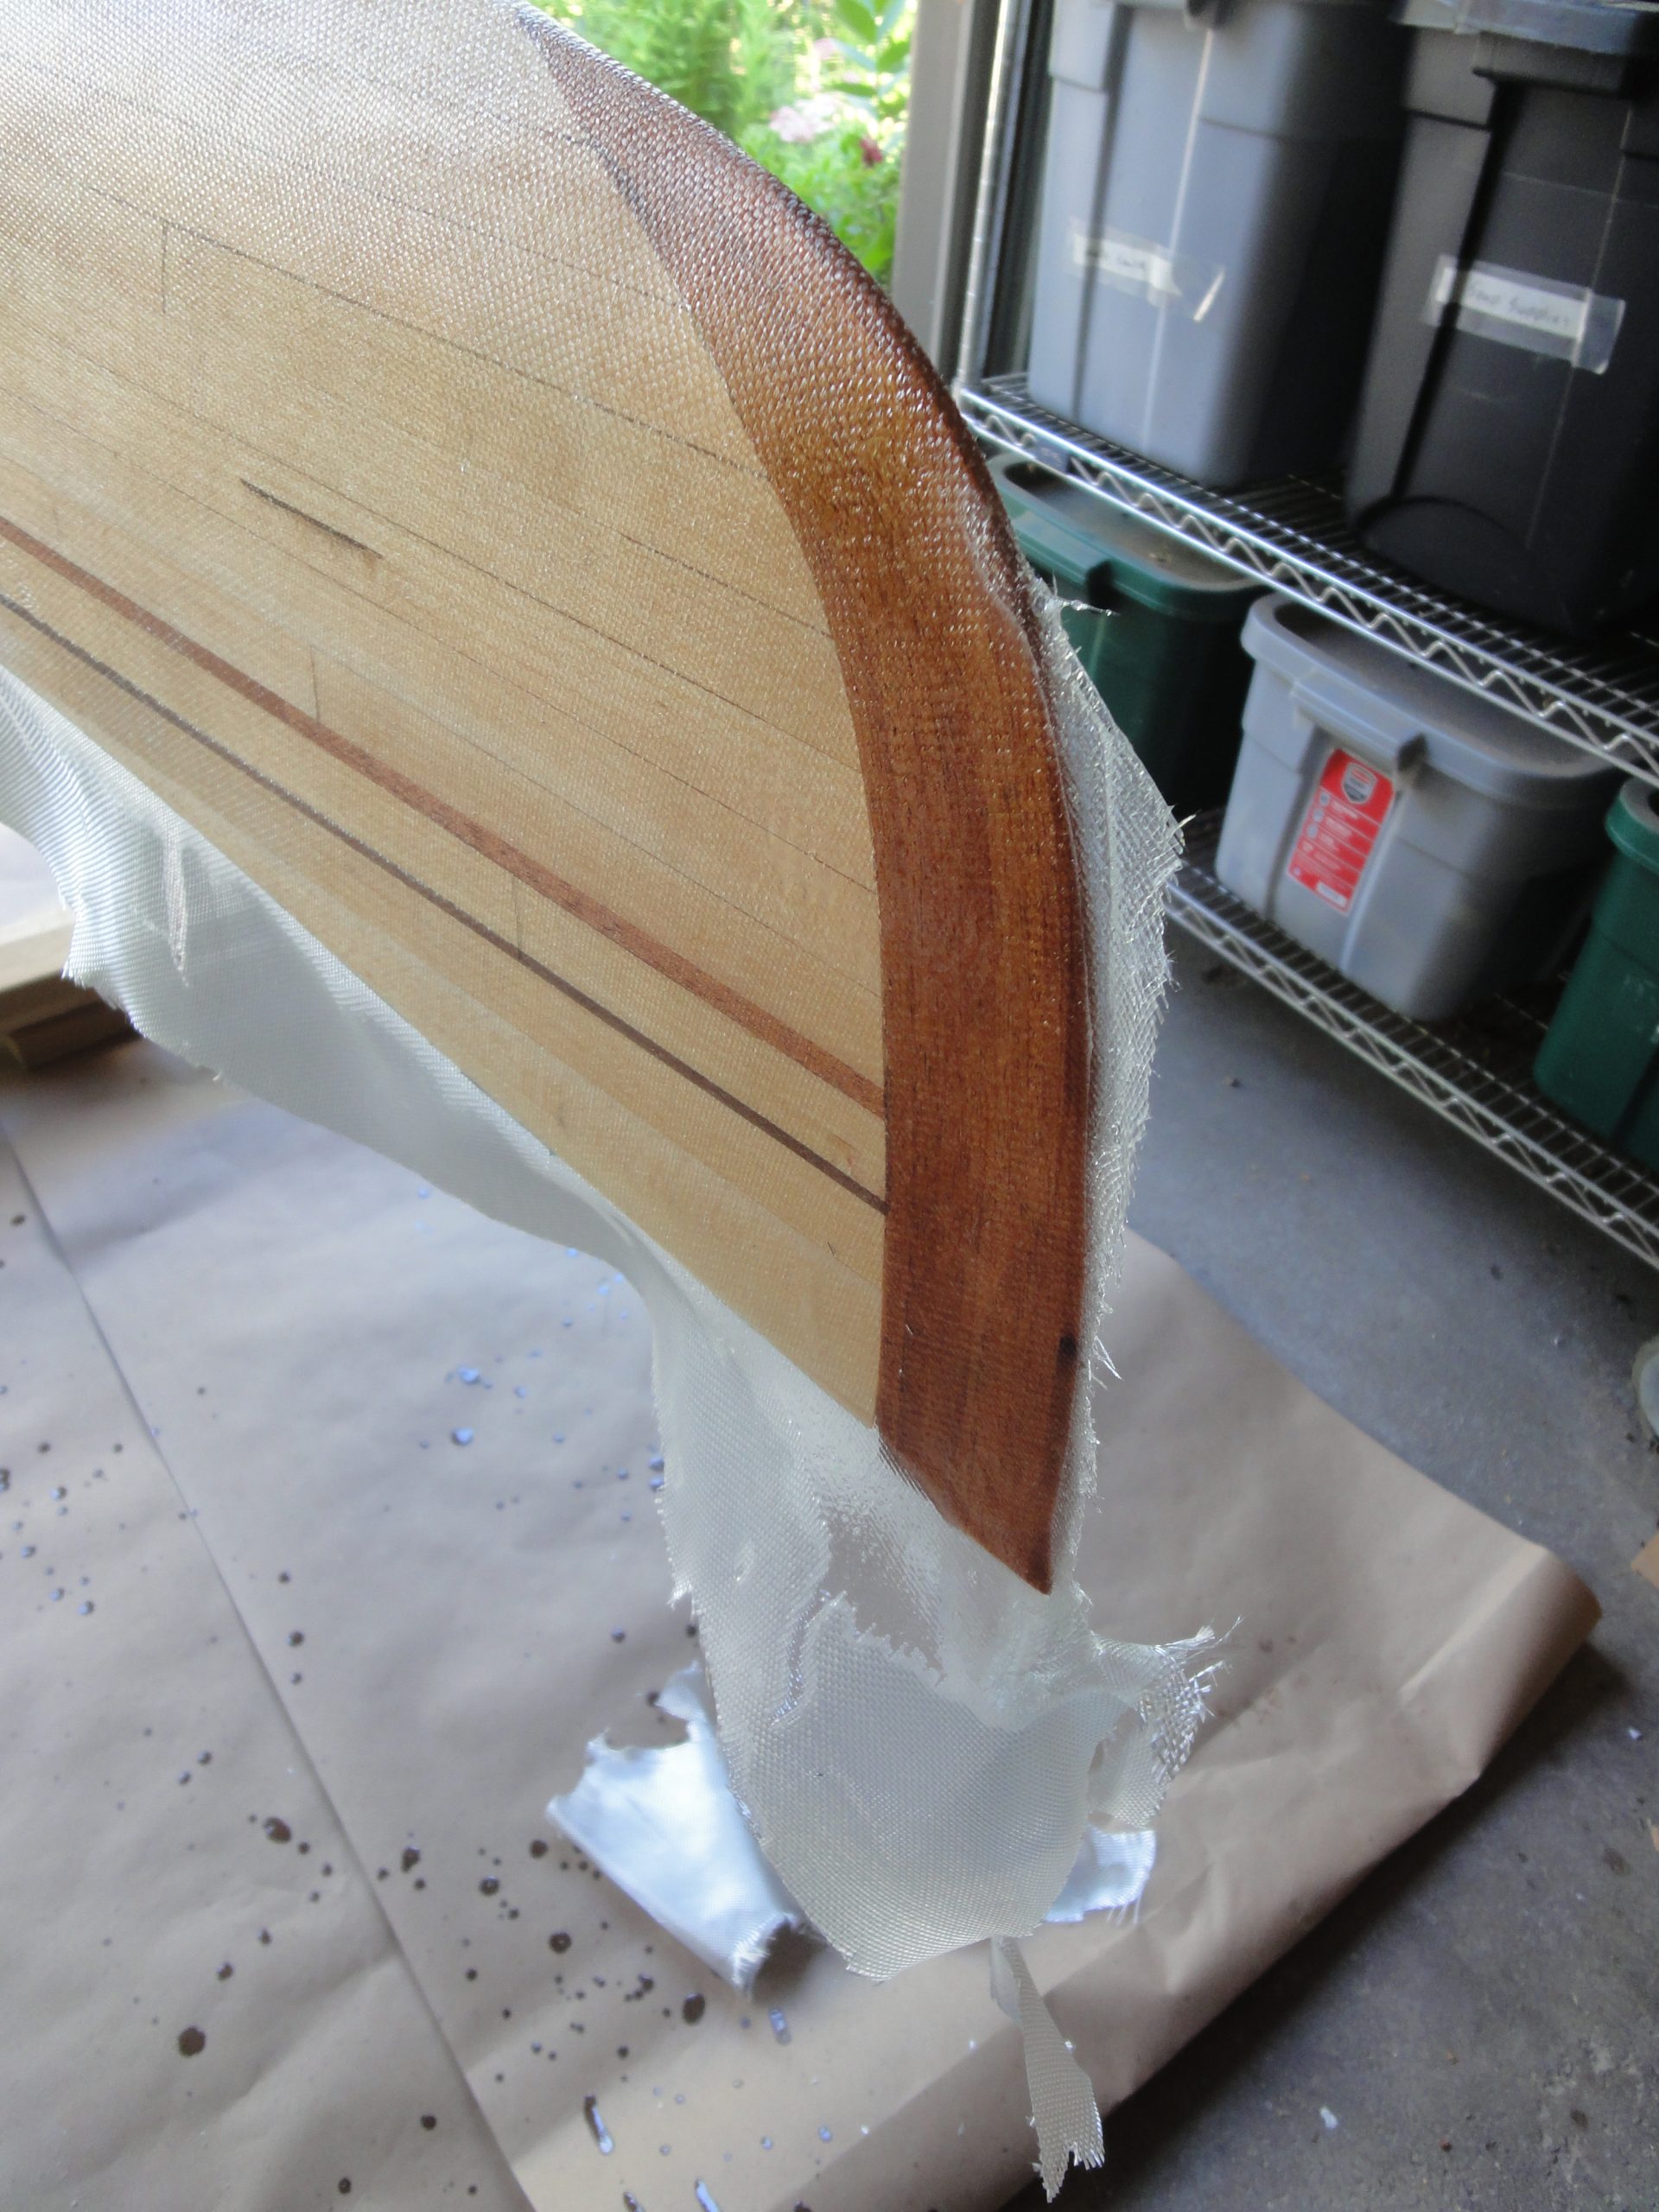
At the bow and stern I got the stems reasonably well and then cut off the excess. I’m not trying to make this perfect as I’ll apply a separate piece just for these later.
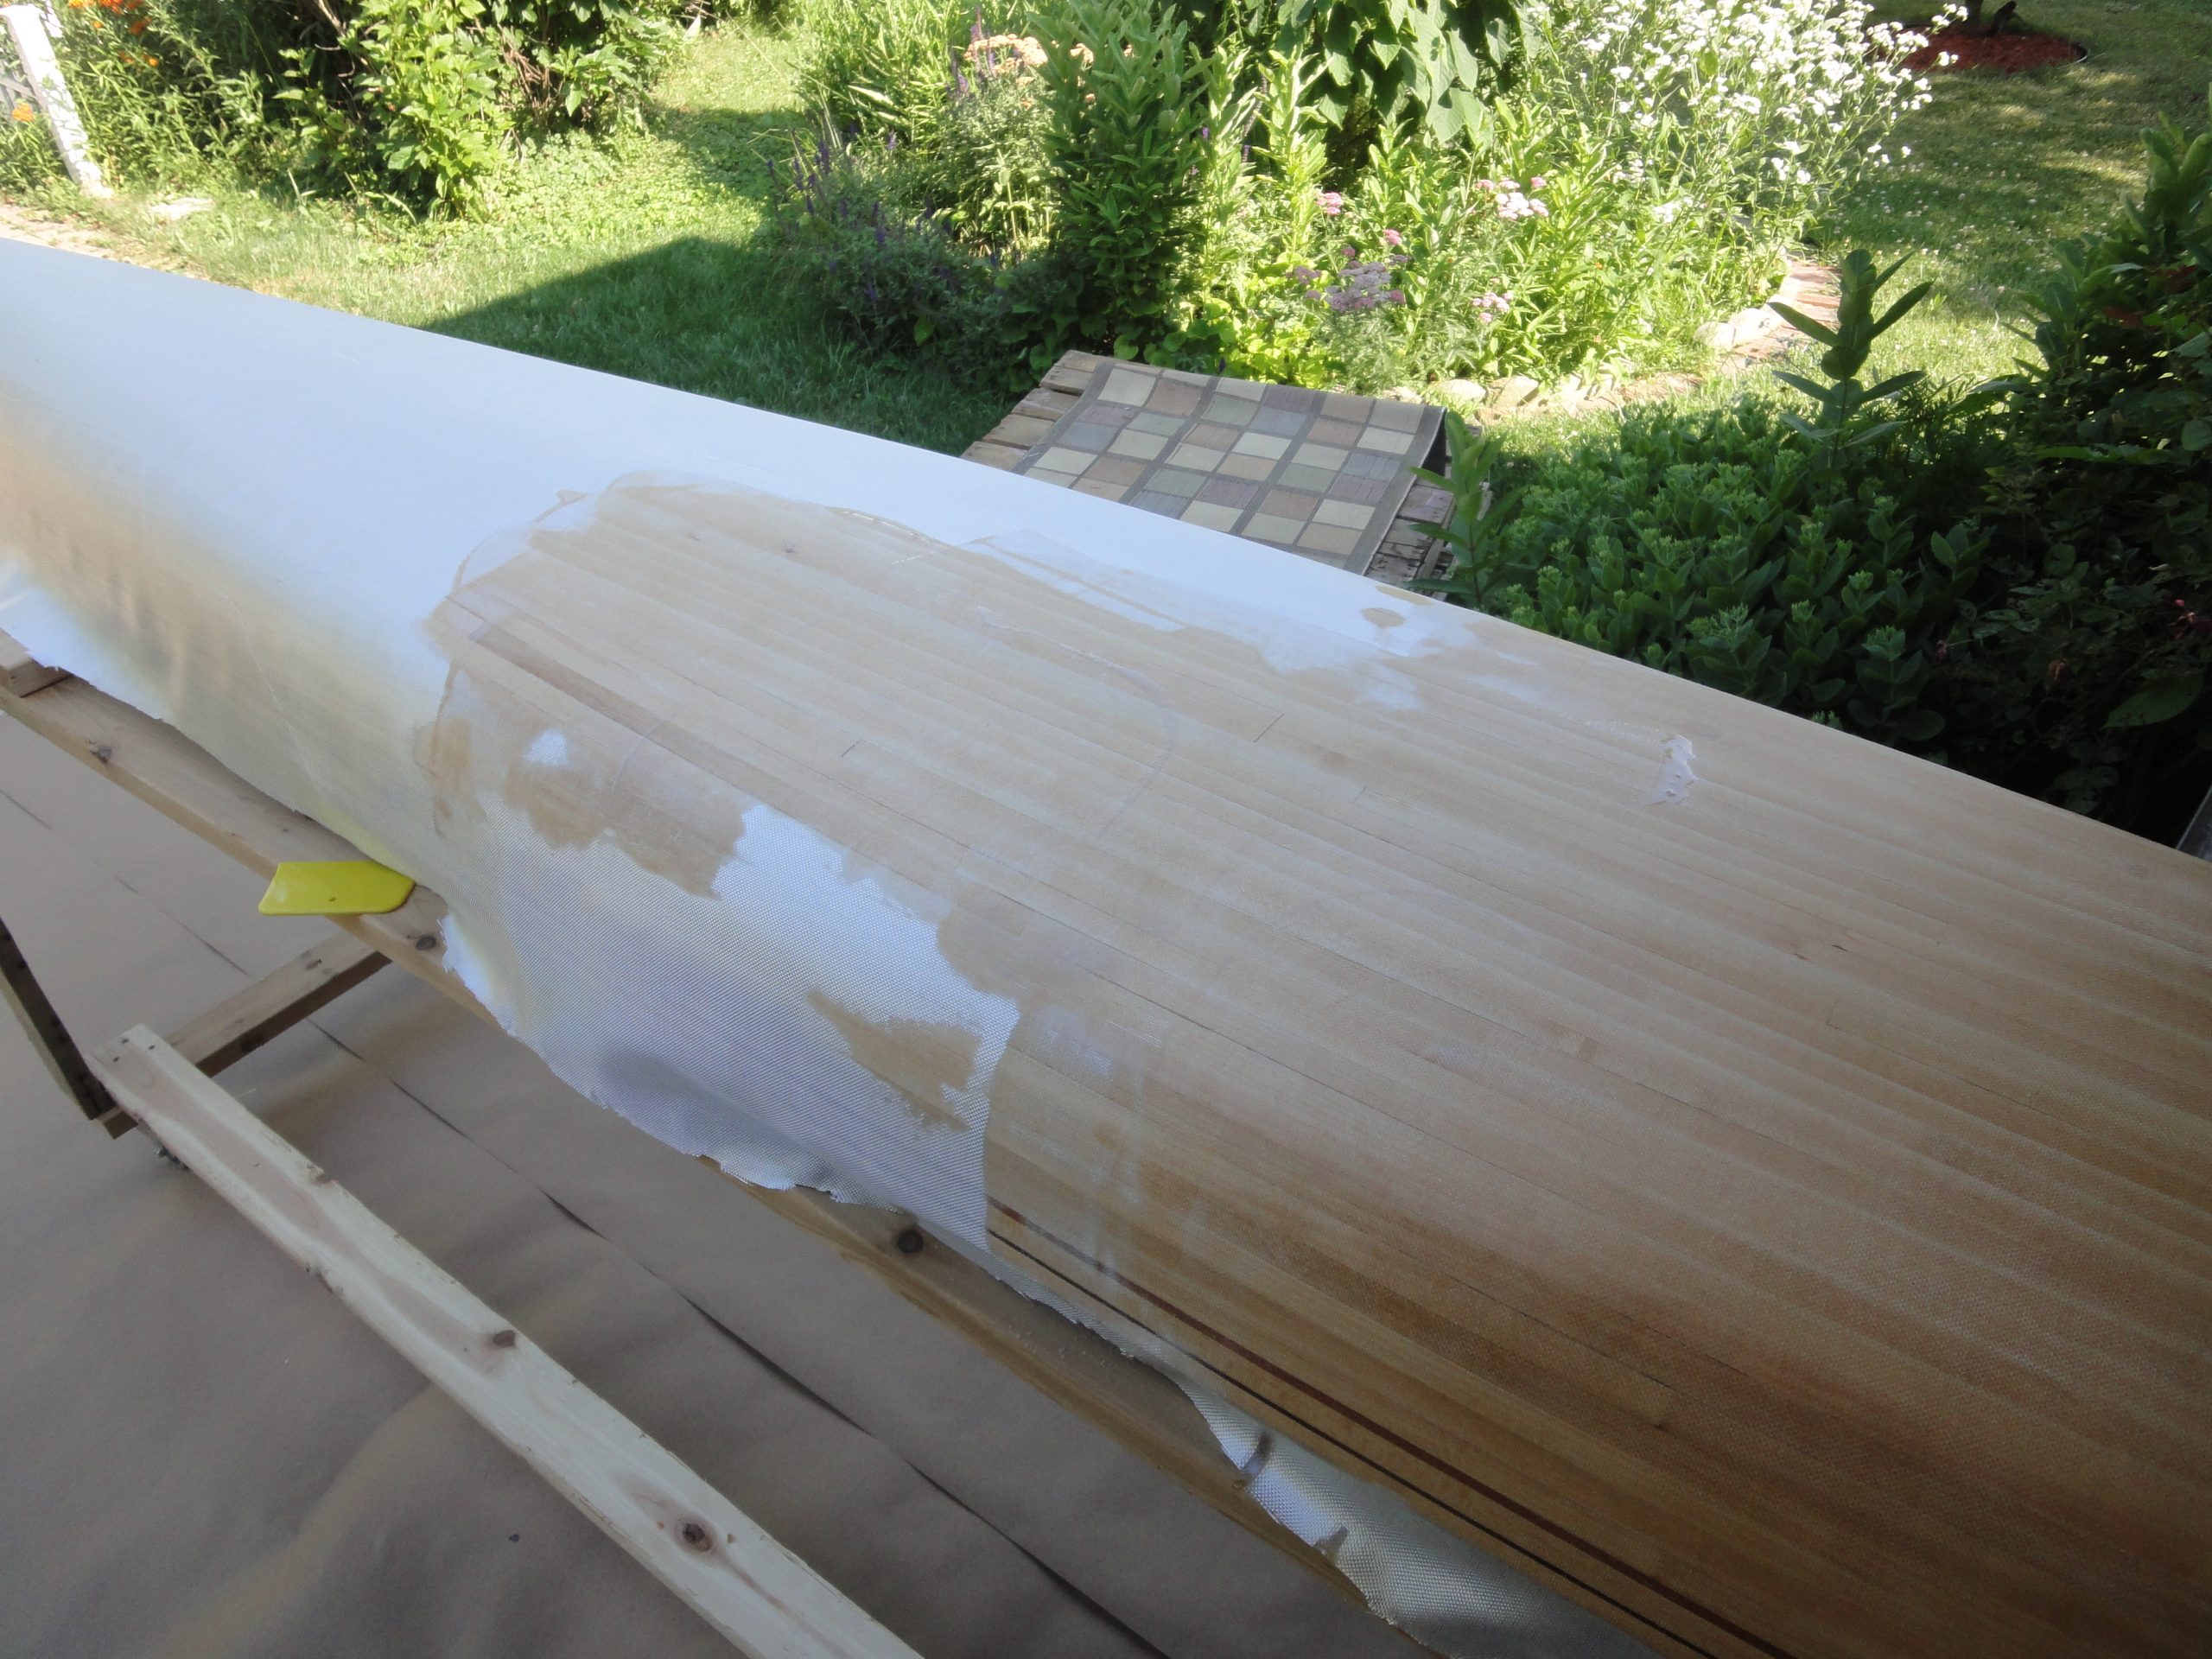
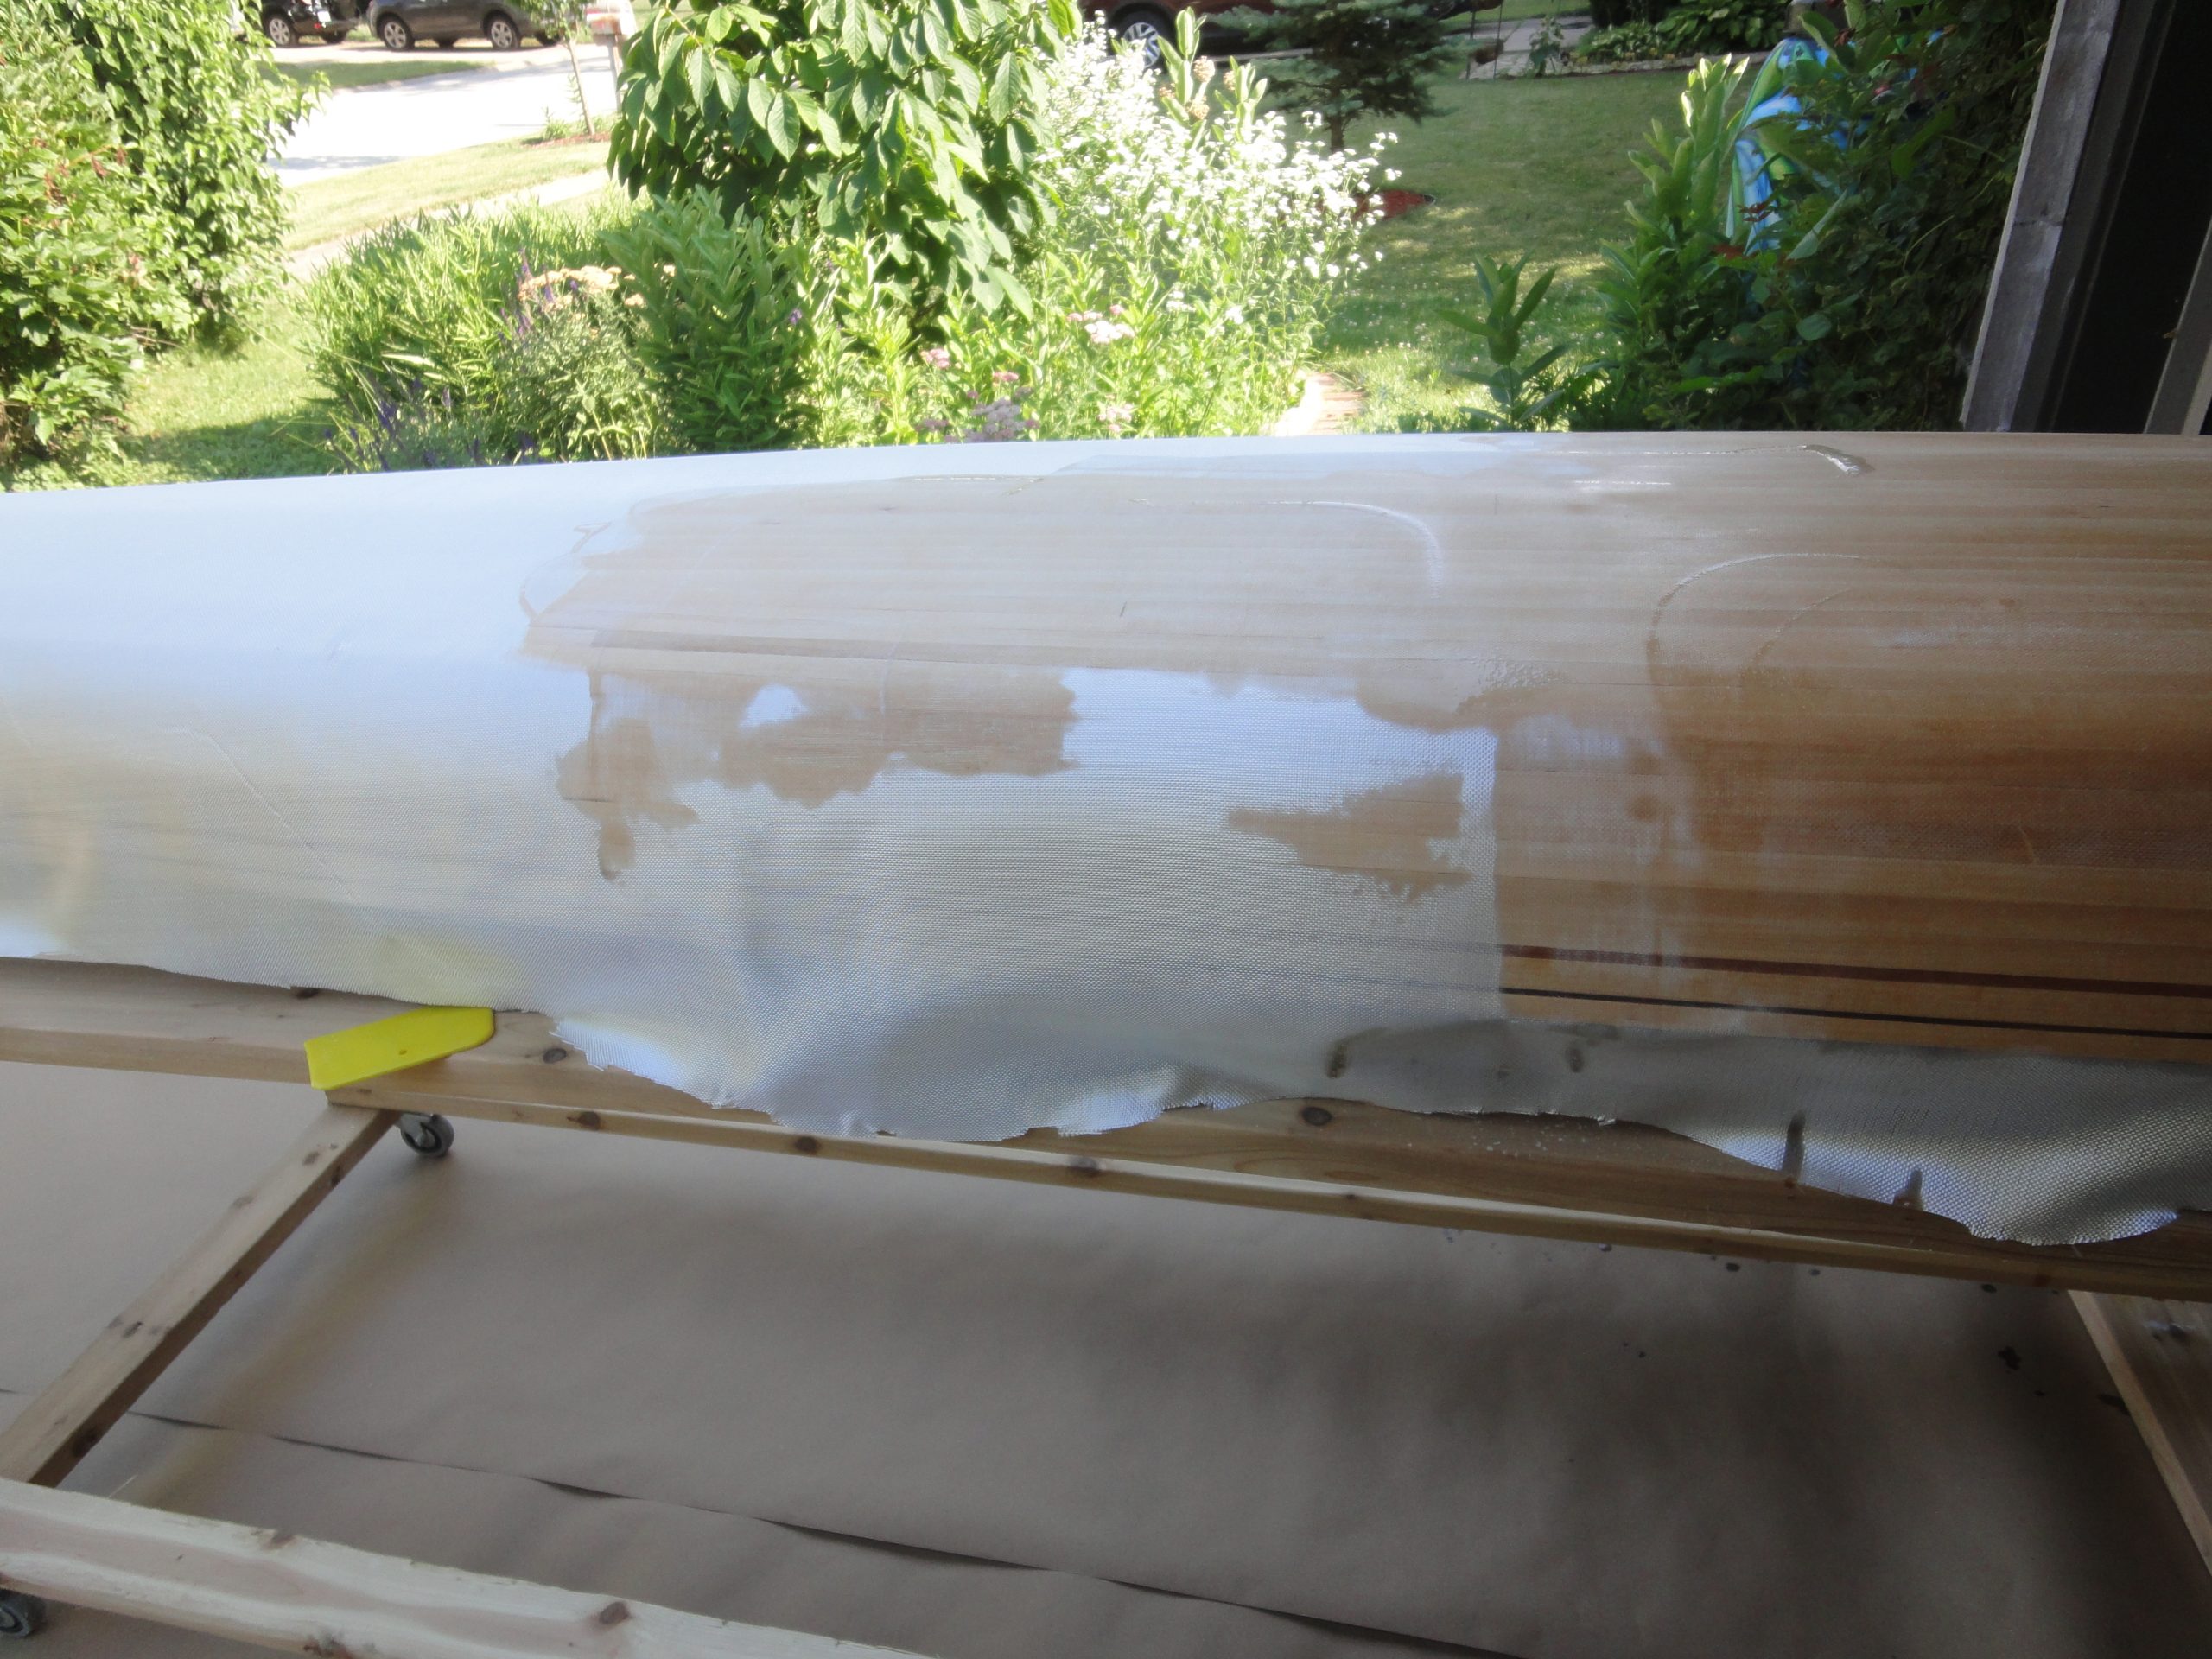

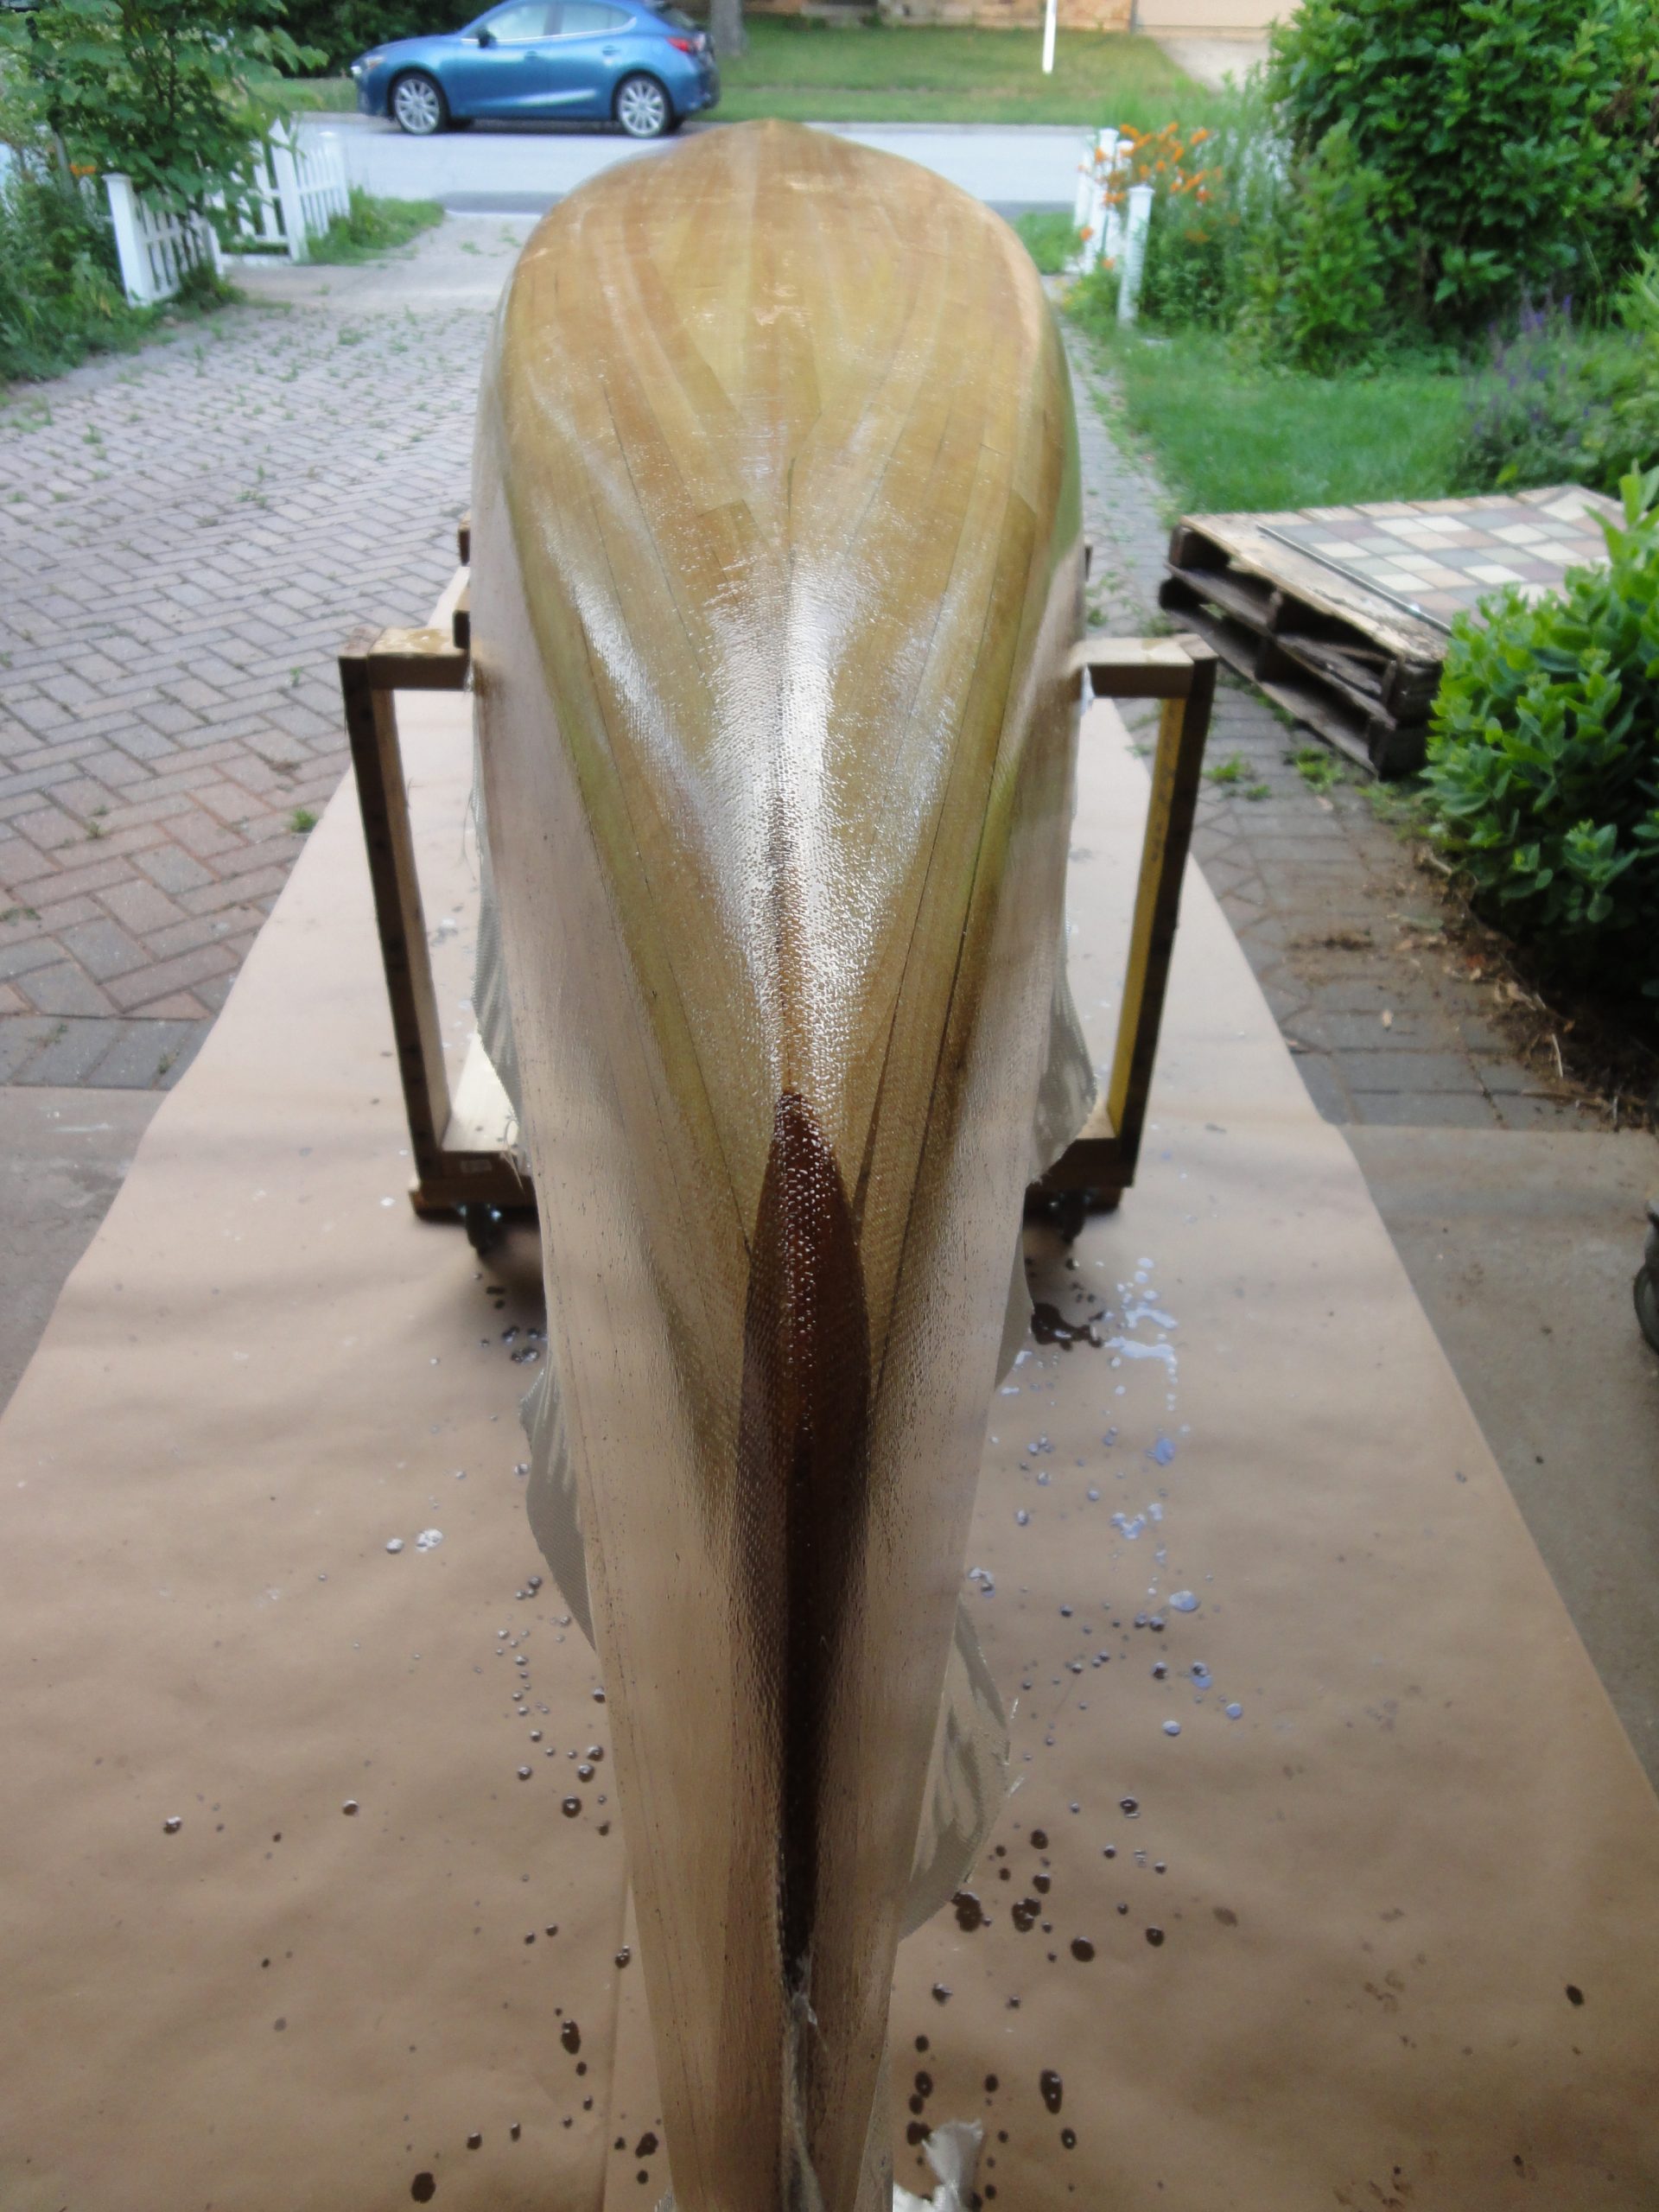
Once the entire cloth was saturated with the epoxy and bonded to the wood, I then took the spreader and squeegeed off the excess. I ran the spreader through a cup with a slit in it to scrape off the excess before making the next pass. At the end I was going for a matte finish. If it was shiny then I potentially had too much epoxy on and risked the cloth not bonding to the wood as it could float up.
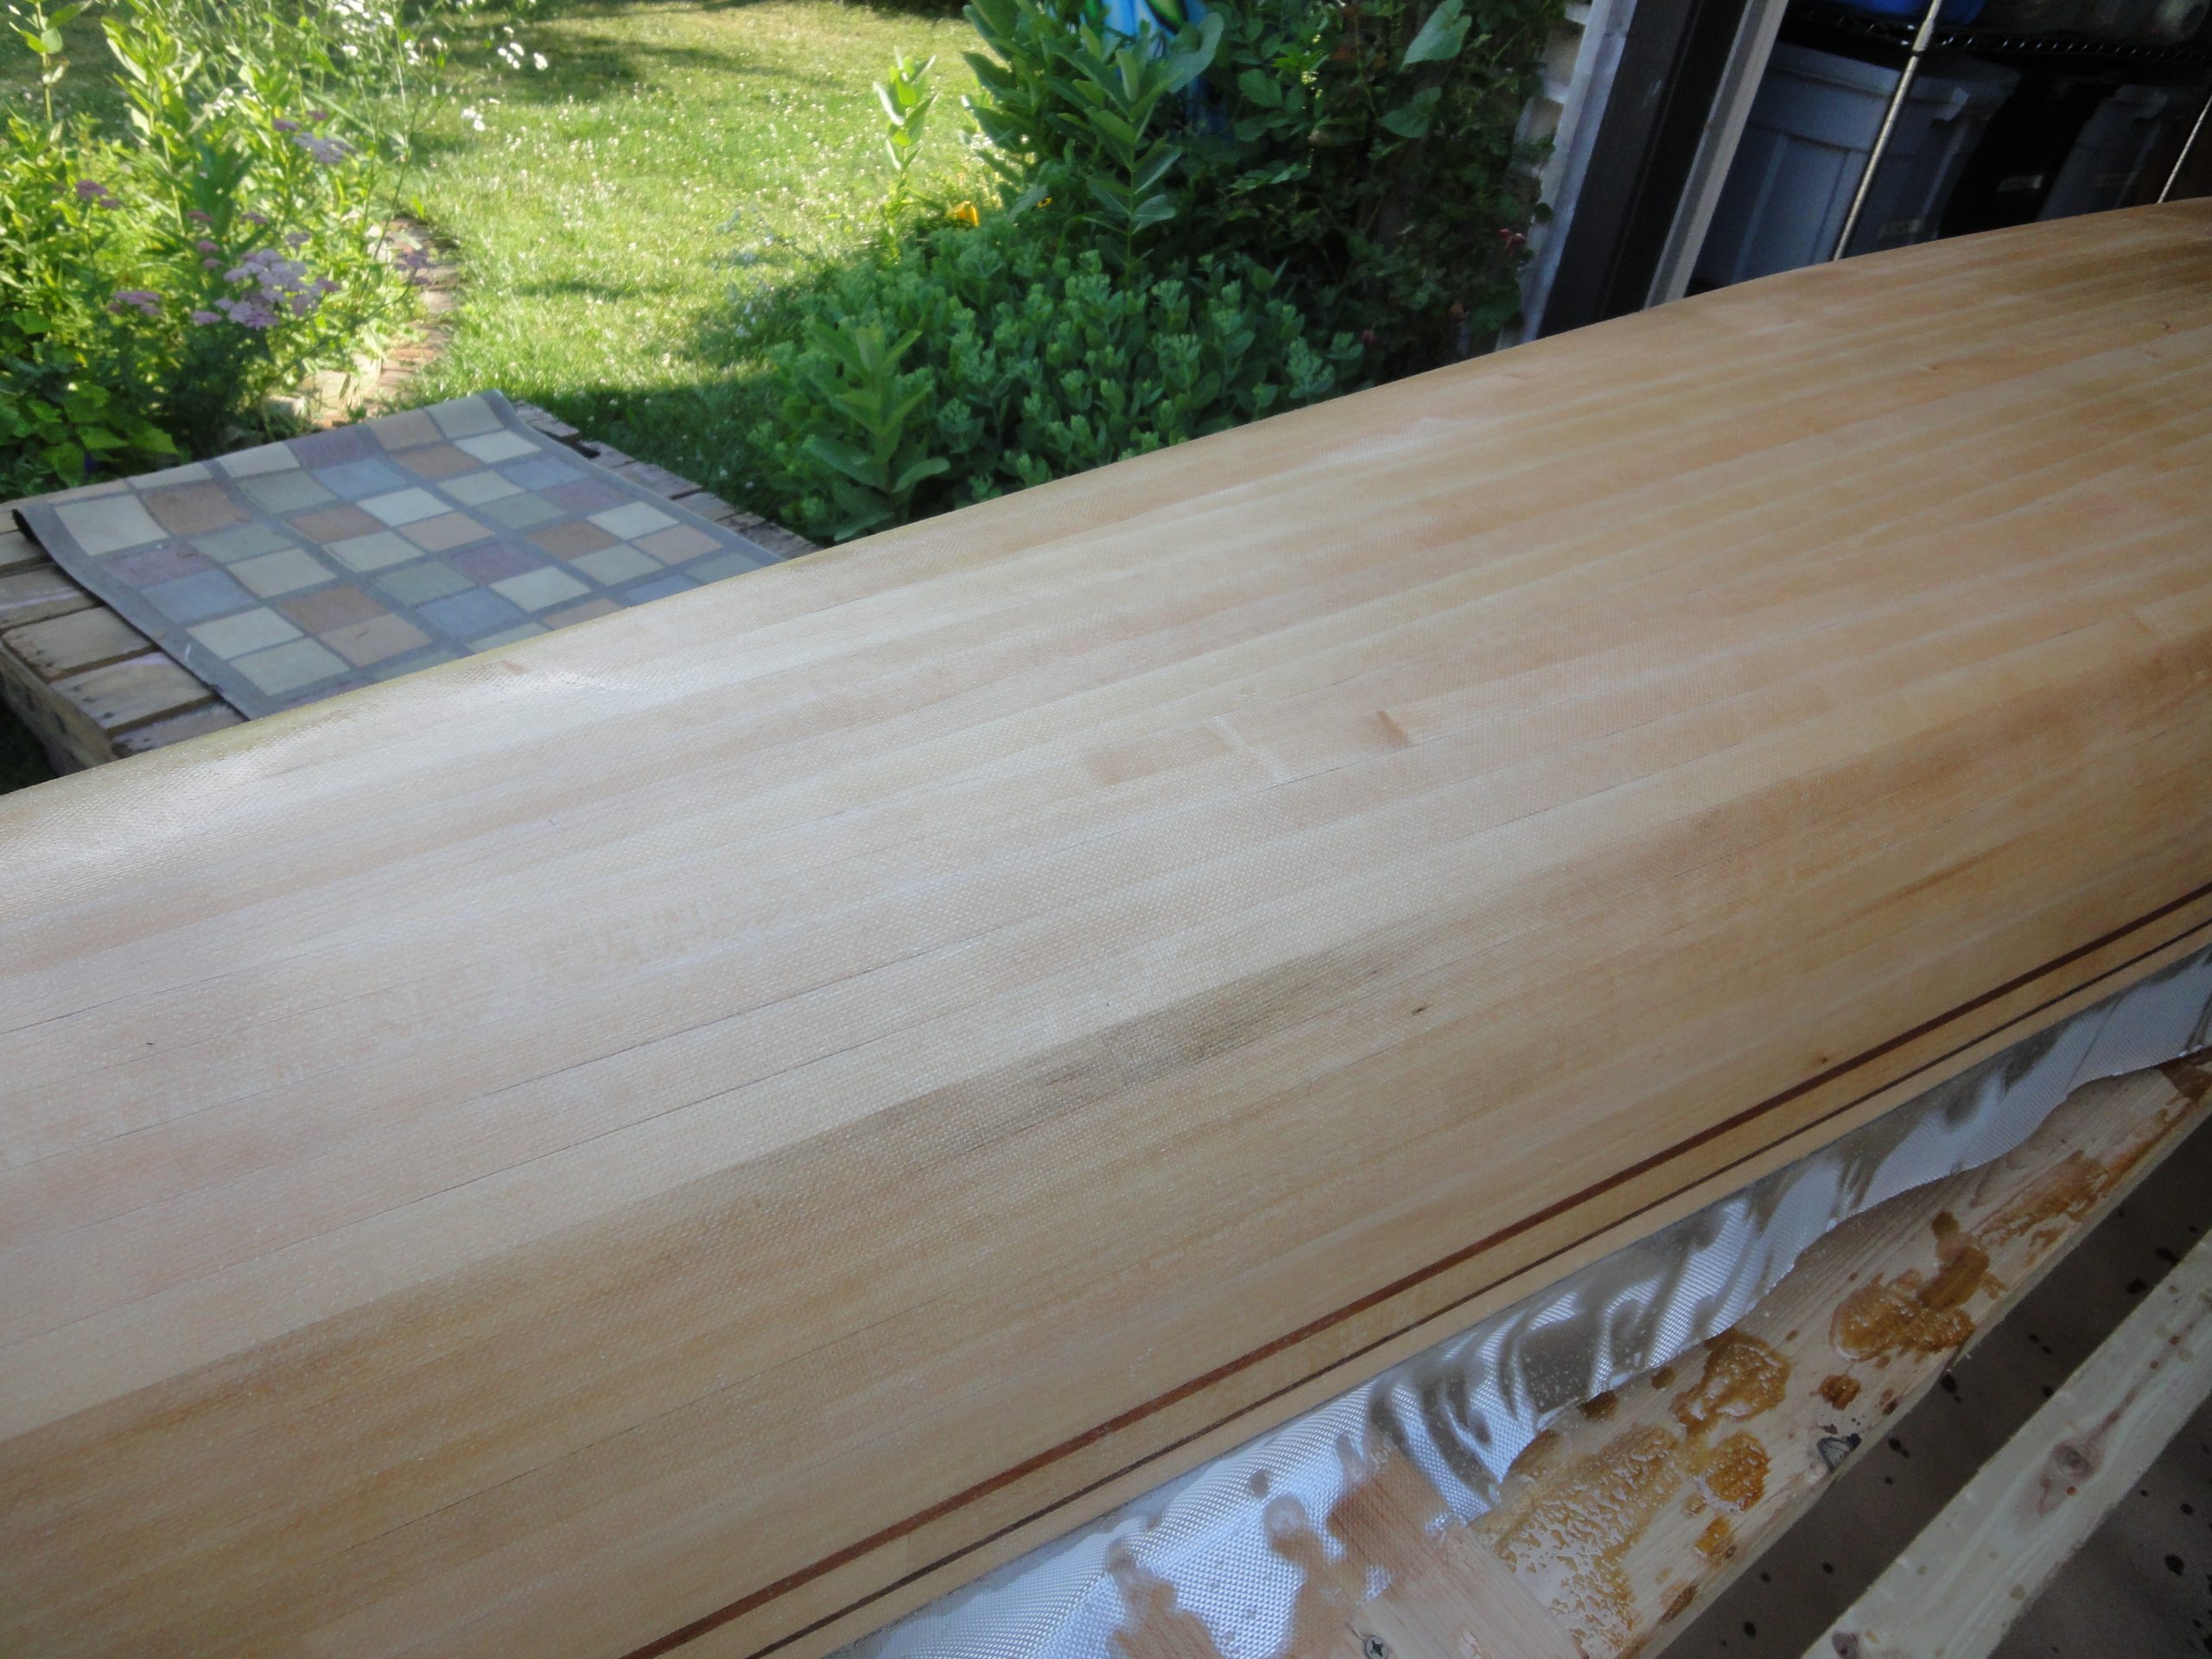
This coat was allowed to dry until just barely the slightest tack feeling to it. Too wet and it isn’t ready, too dry and you won’t get a good bond between coats. With it ready to go I moved on to the first fill coat. Fiberglass has a mesh like grid texture. When bonded down you can see the tiny squares of the fibers. This is pretty obvious in the previous picture.
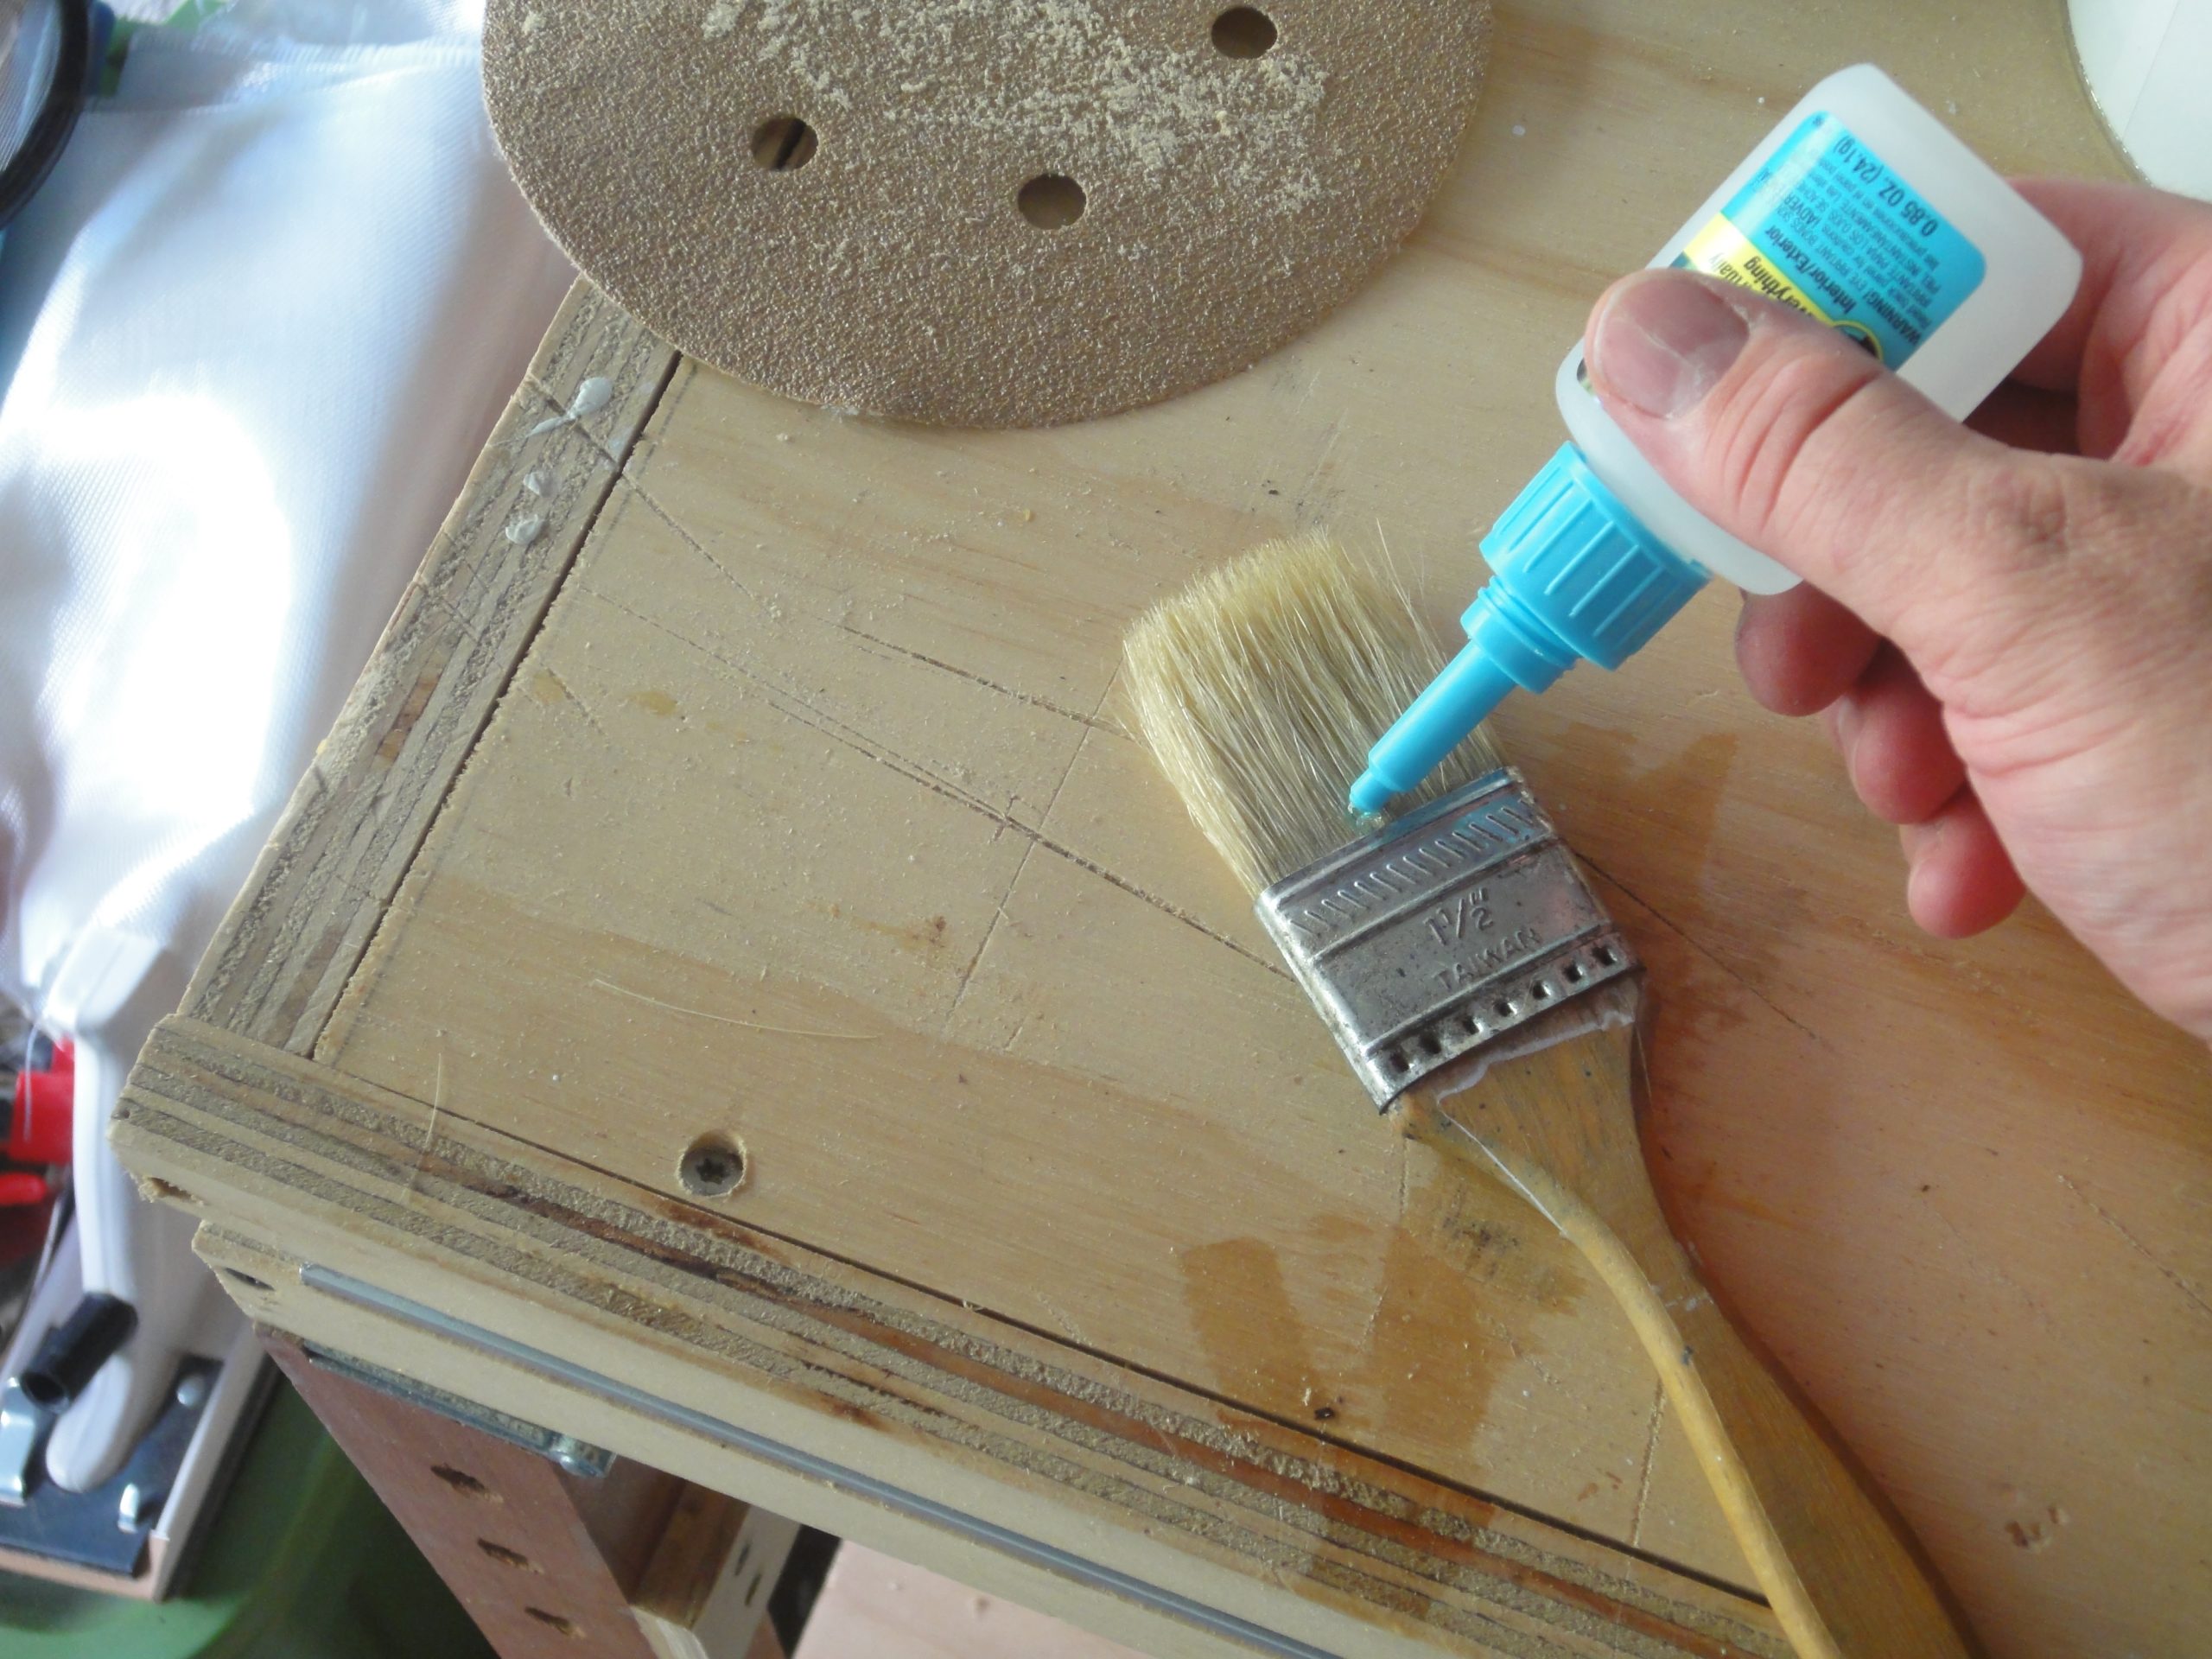
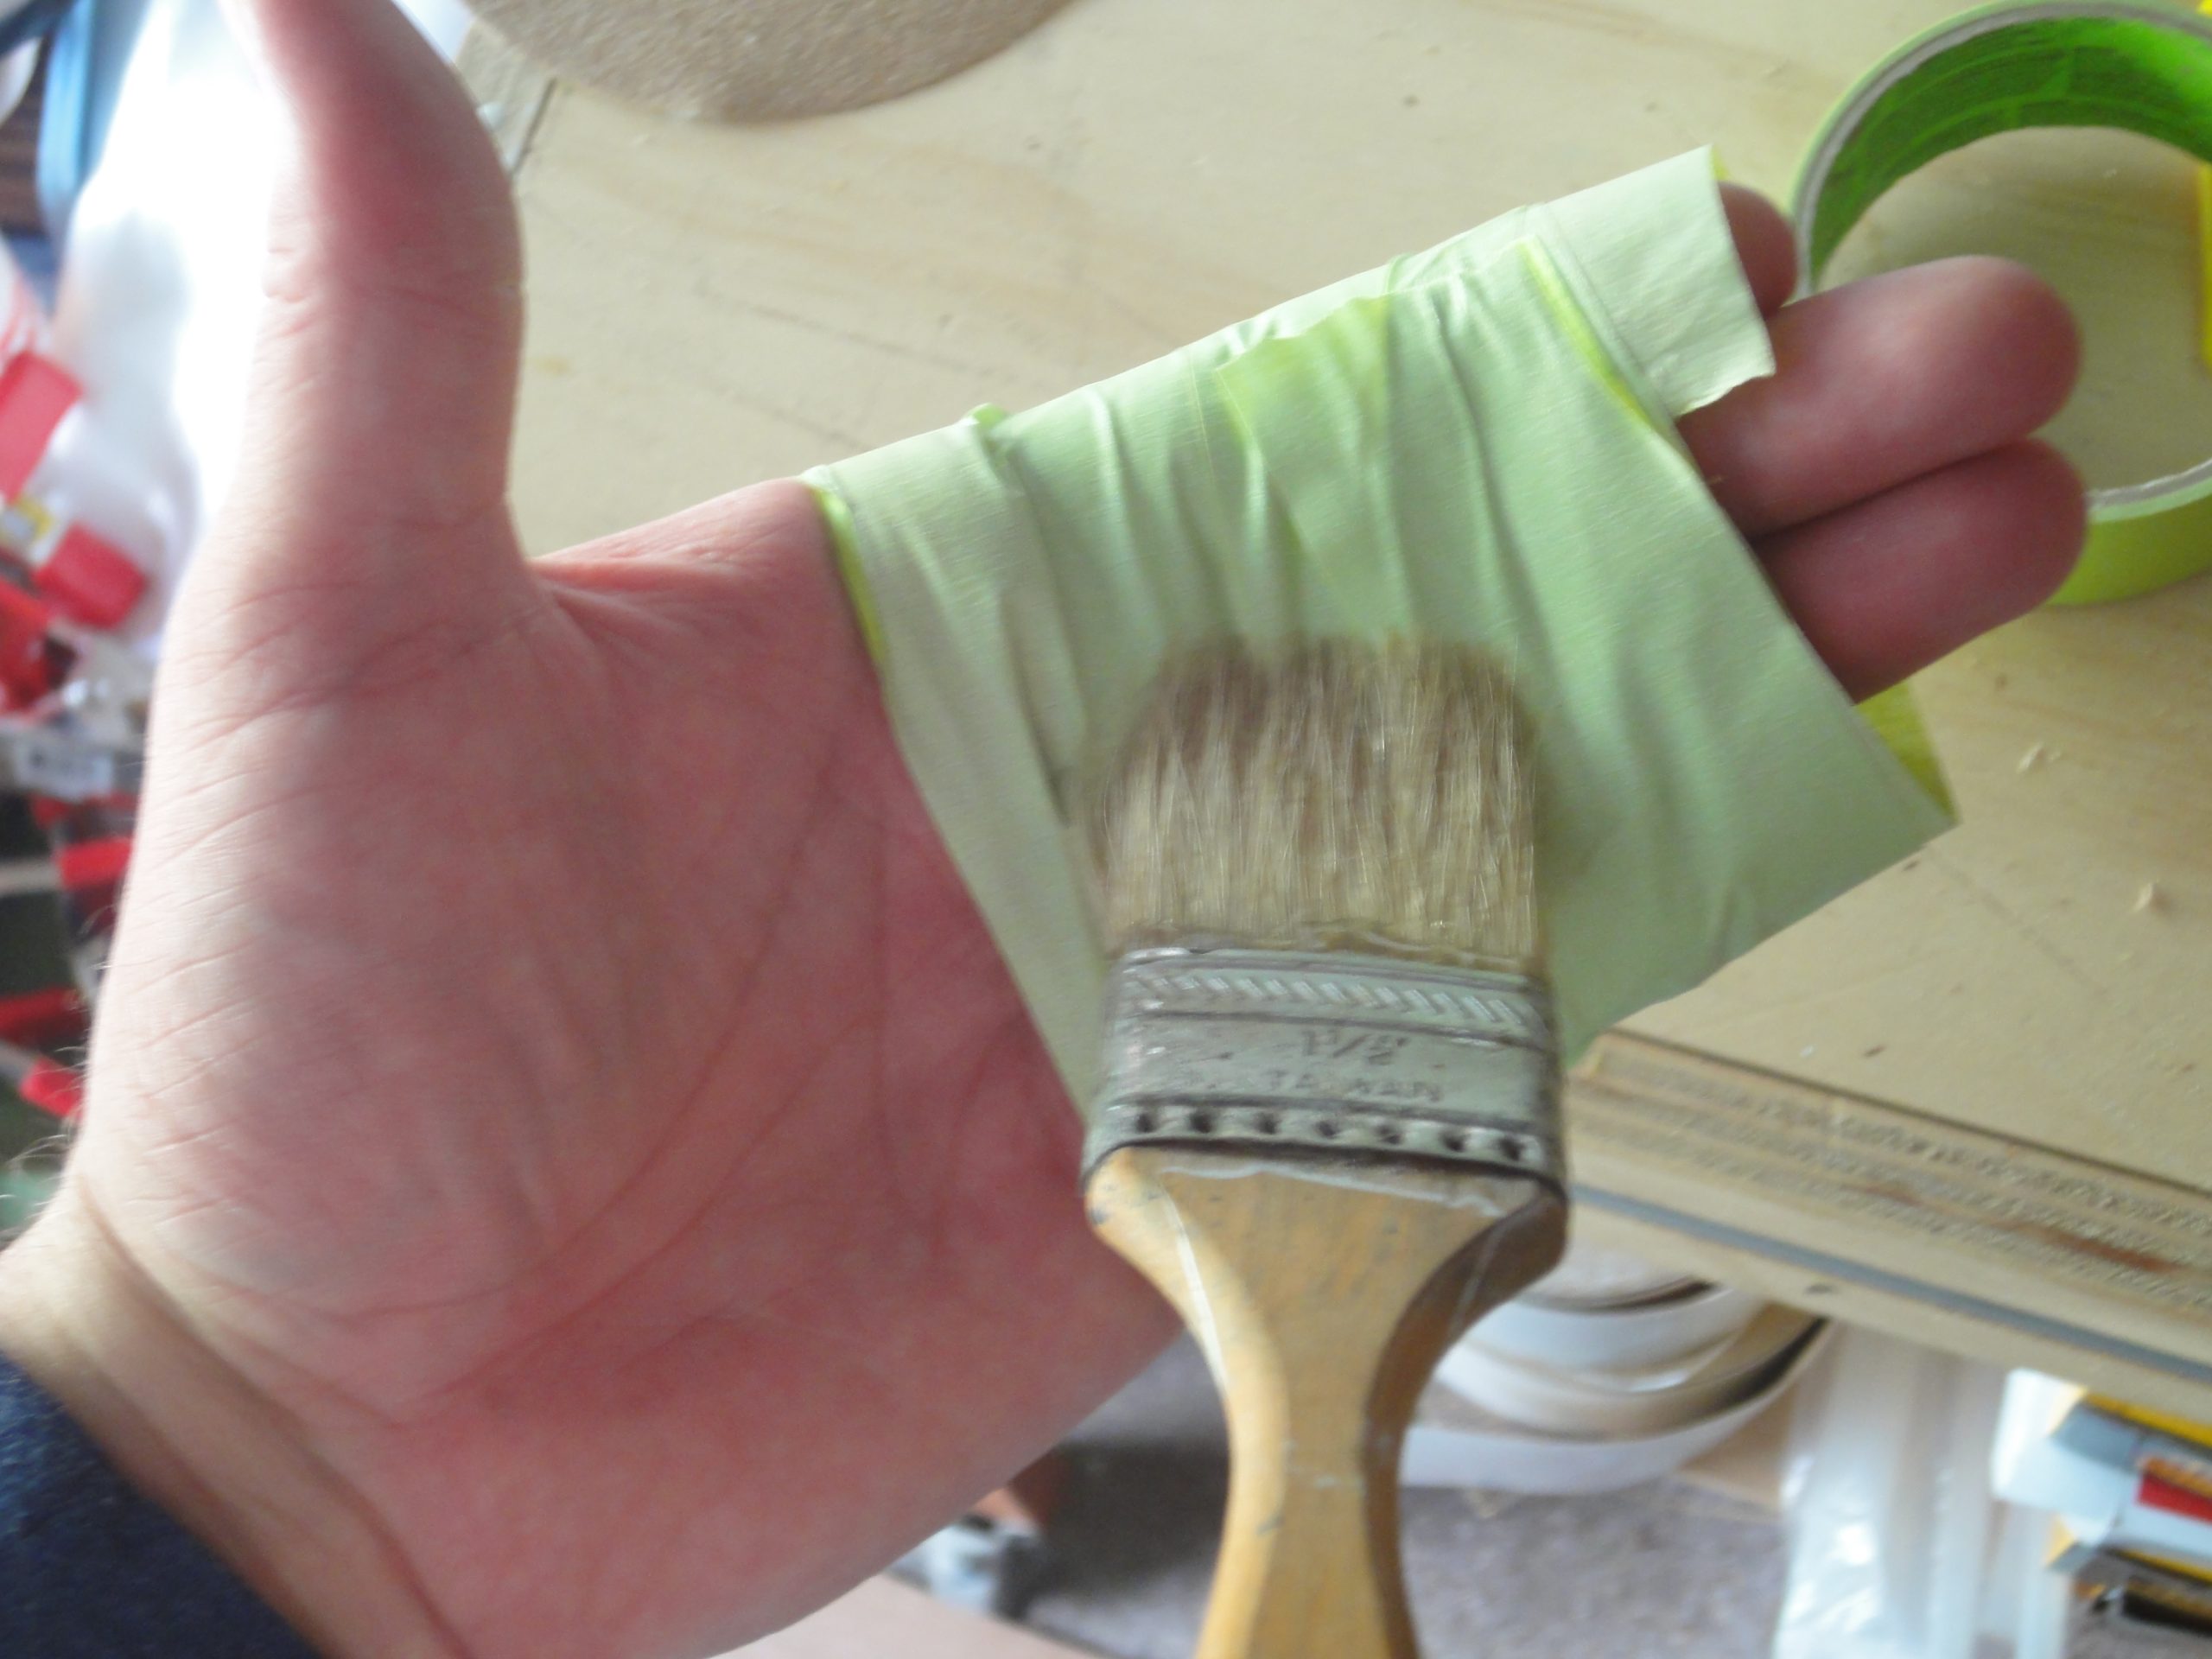
The fill coat would be applied a bit more thickly with a brush. However I found when I did the first coat with the dabbing brush that I was picking out bristles a number of times. In an attempt to minimize this I used a trick I’ve seen in Nick’s videos and super-glued the bristles to the ferule and then wrapped my hand in tape, sticky side out, and dabbed the brush repeatedly against the tape to pull out the bristles. This actually worked quite well.


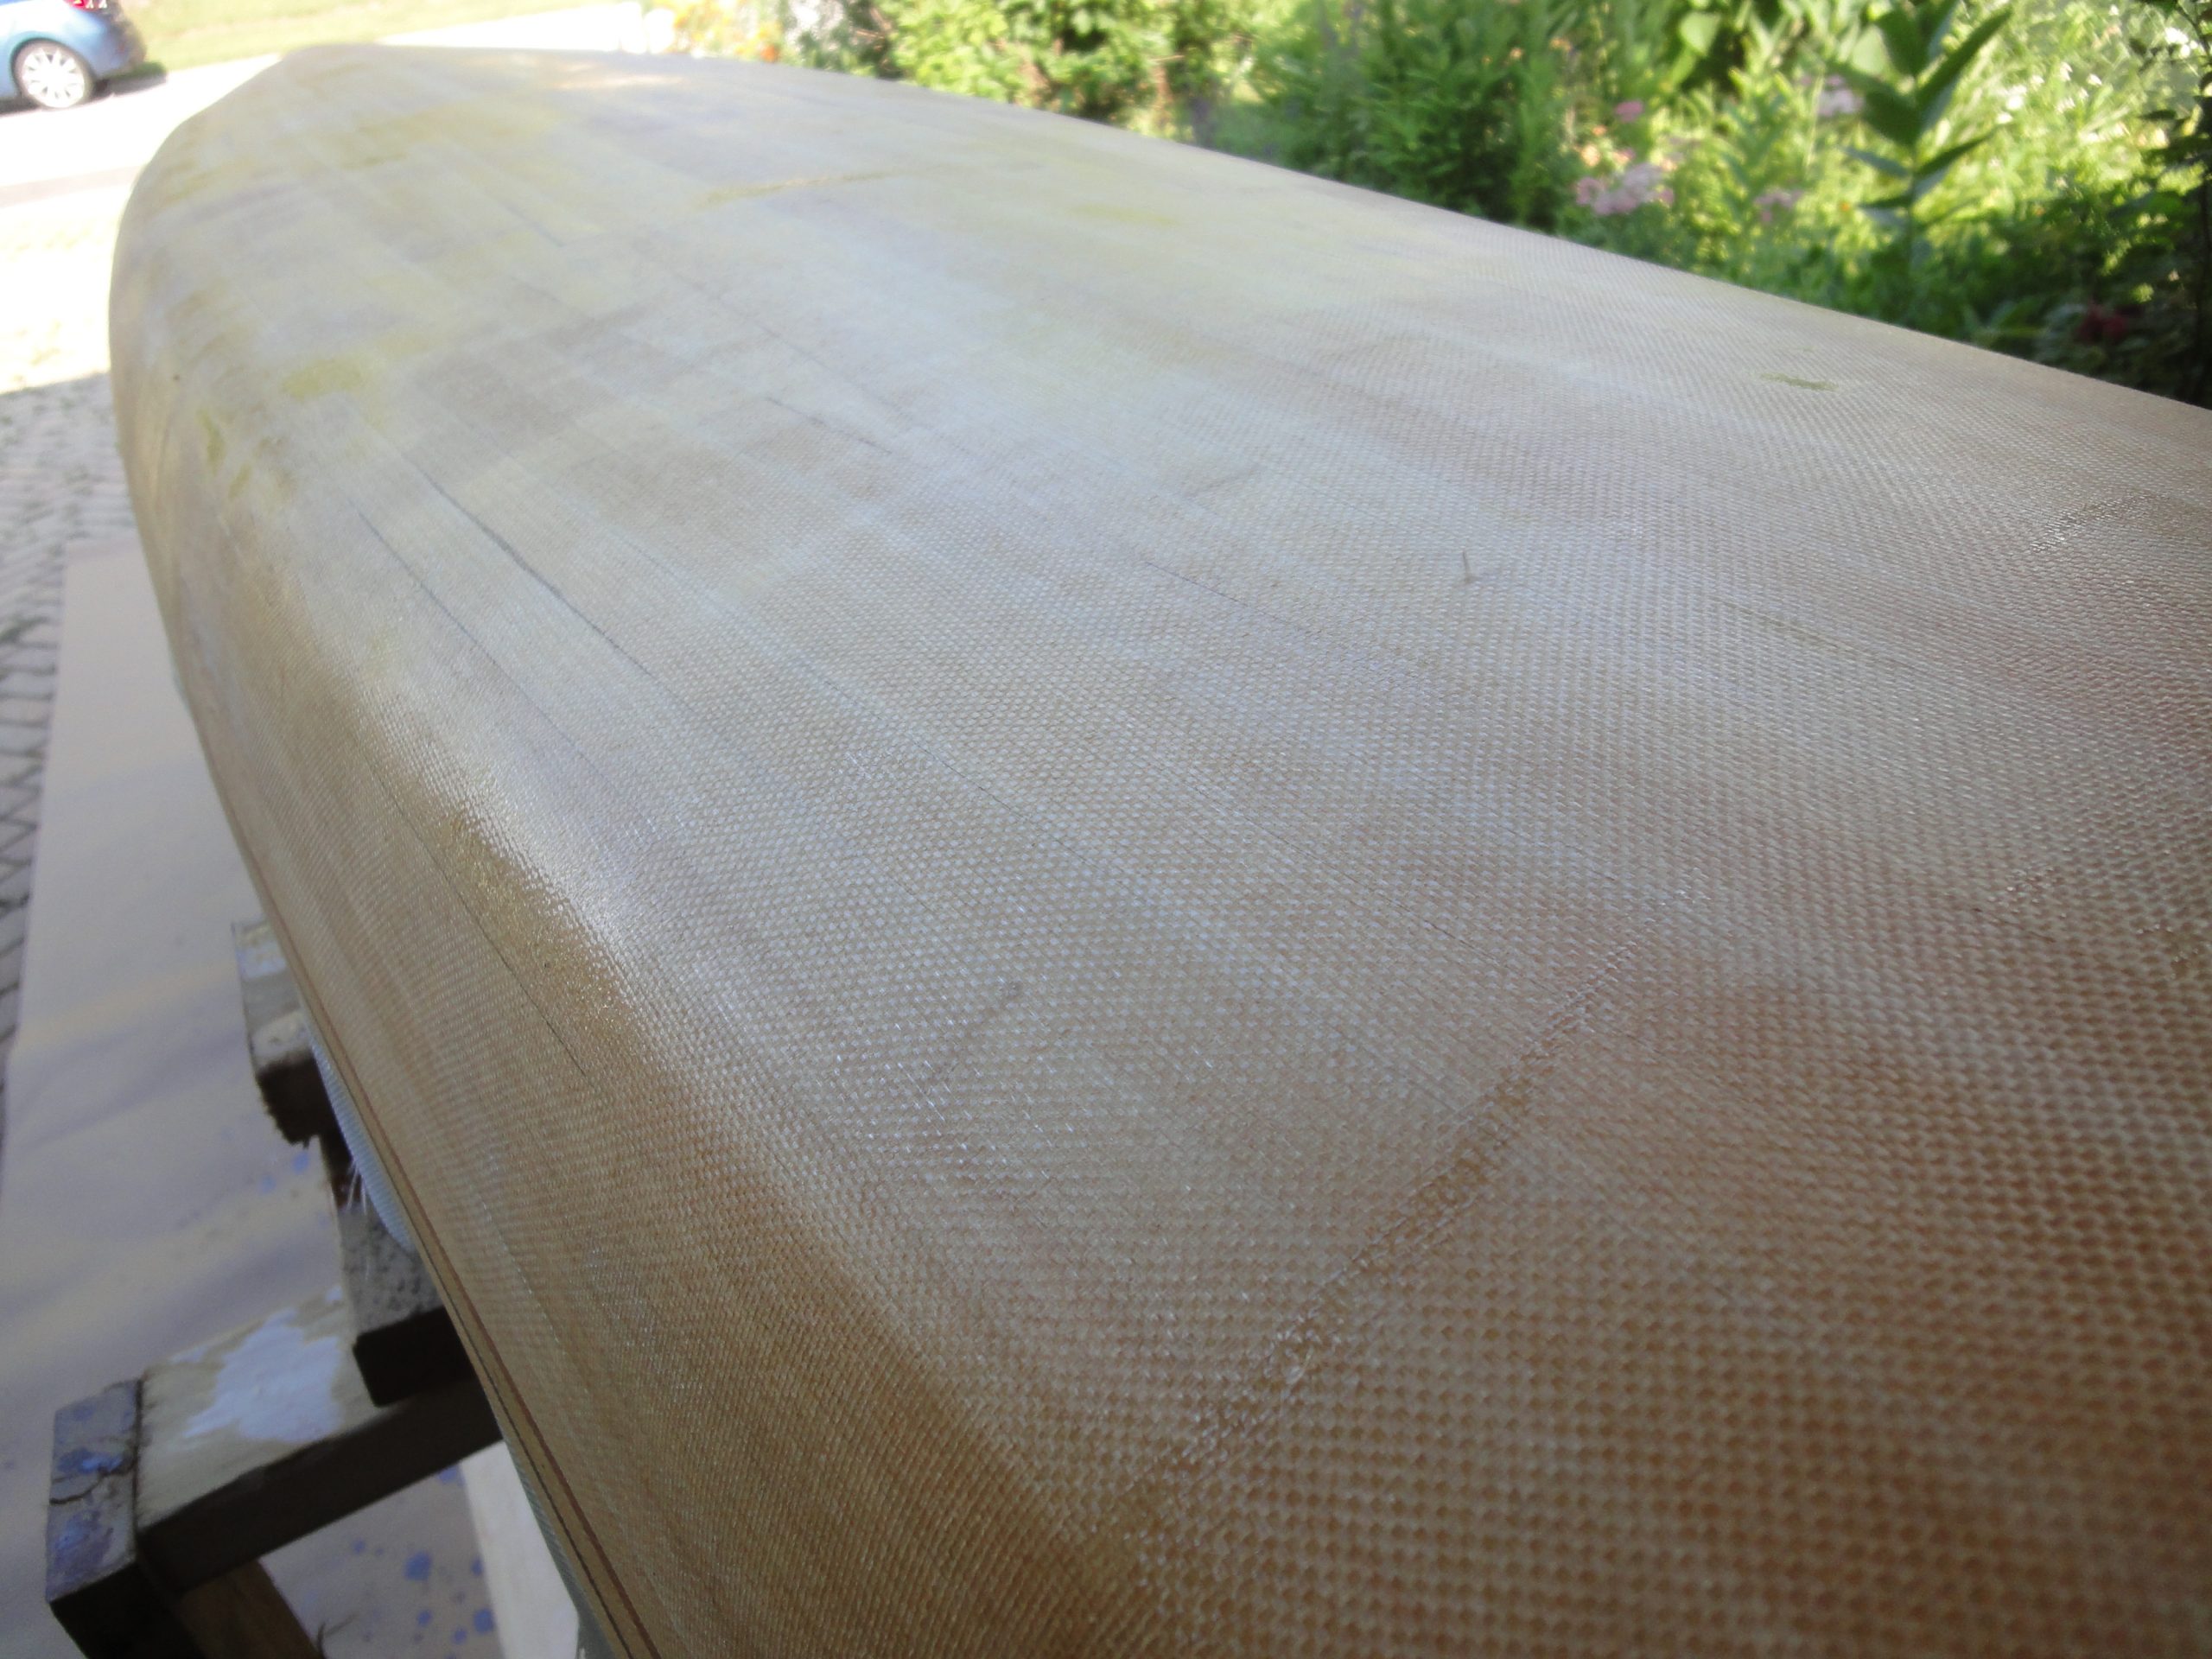
The sequence was to work in about a 12-18inch section and liberally apply the epoxy side to side, then brush up and down and then one more time side to side going from dry into wet. Once done I moved on to the next section, then switched sides and did two sections, then switched back, etc. Applying in this fashion ensured that I was always working with a wet edge. Once done I got out my plumbing torch.
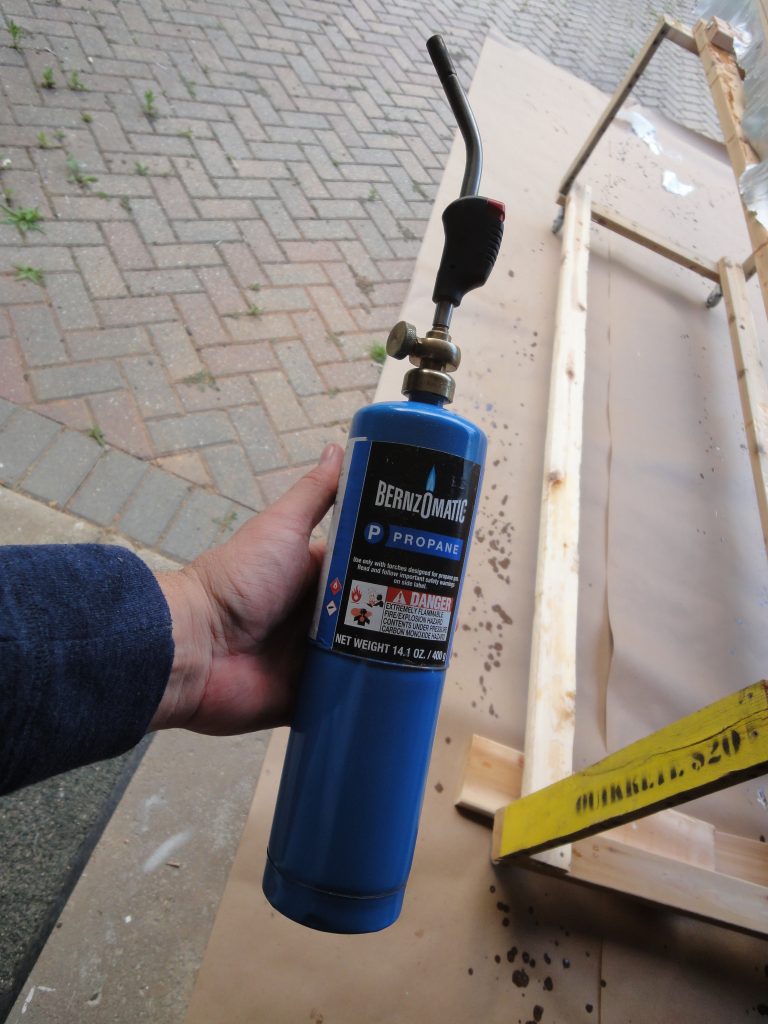
A torch? For what purpose you might ask? Again, something I’ve seen Nick do in his videos. I’m not sure if this is really required, but when I was using it I believe I did see a bit of a difference in the finish. The idea is that you pass the flame fairly quickly over the surface. It briefly heats the epoxy a bit causing it to become more liquid and settle a bit nicer while at the same time heating any trapped air bubbles and causing them to pop. I definitely saw some bubbles pop and I feel the surface appeared s a bit smoother afterwards. Here’s a brief video of the technique.
At this point I just need to let this fill coat dry. Ideally probably around 72 hours or so before giving a light sanding and then brushing on (hopefully) one more top coat. I took a few shots after this fill coat application and then one more after trimming off the hanging fiberglass. In one you can see a bit of the book matching of the wood coloration. The basswood is fairly consistent but even so there is enough variation for the book matching to show through a little which confirms to me the tracking I did of the boards way back at the beginning was worth the time.
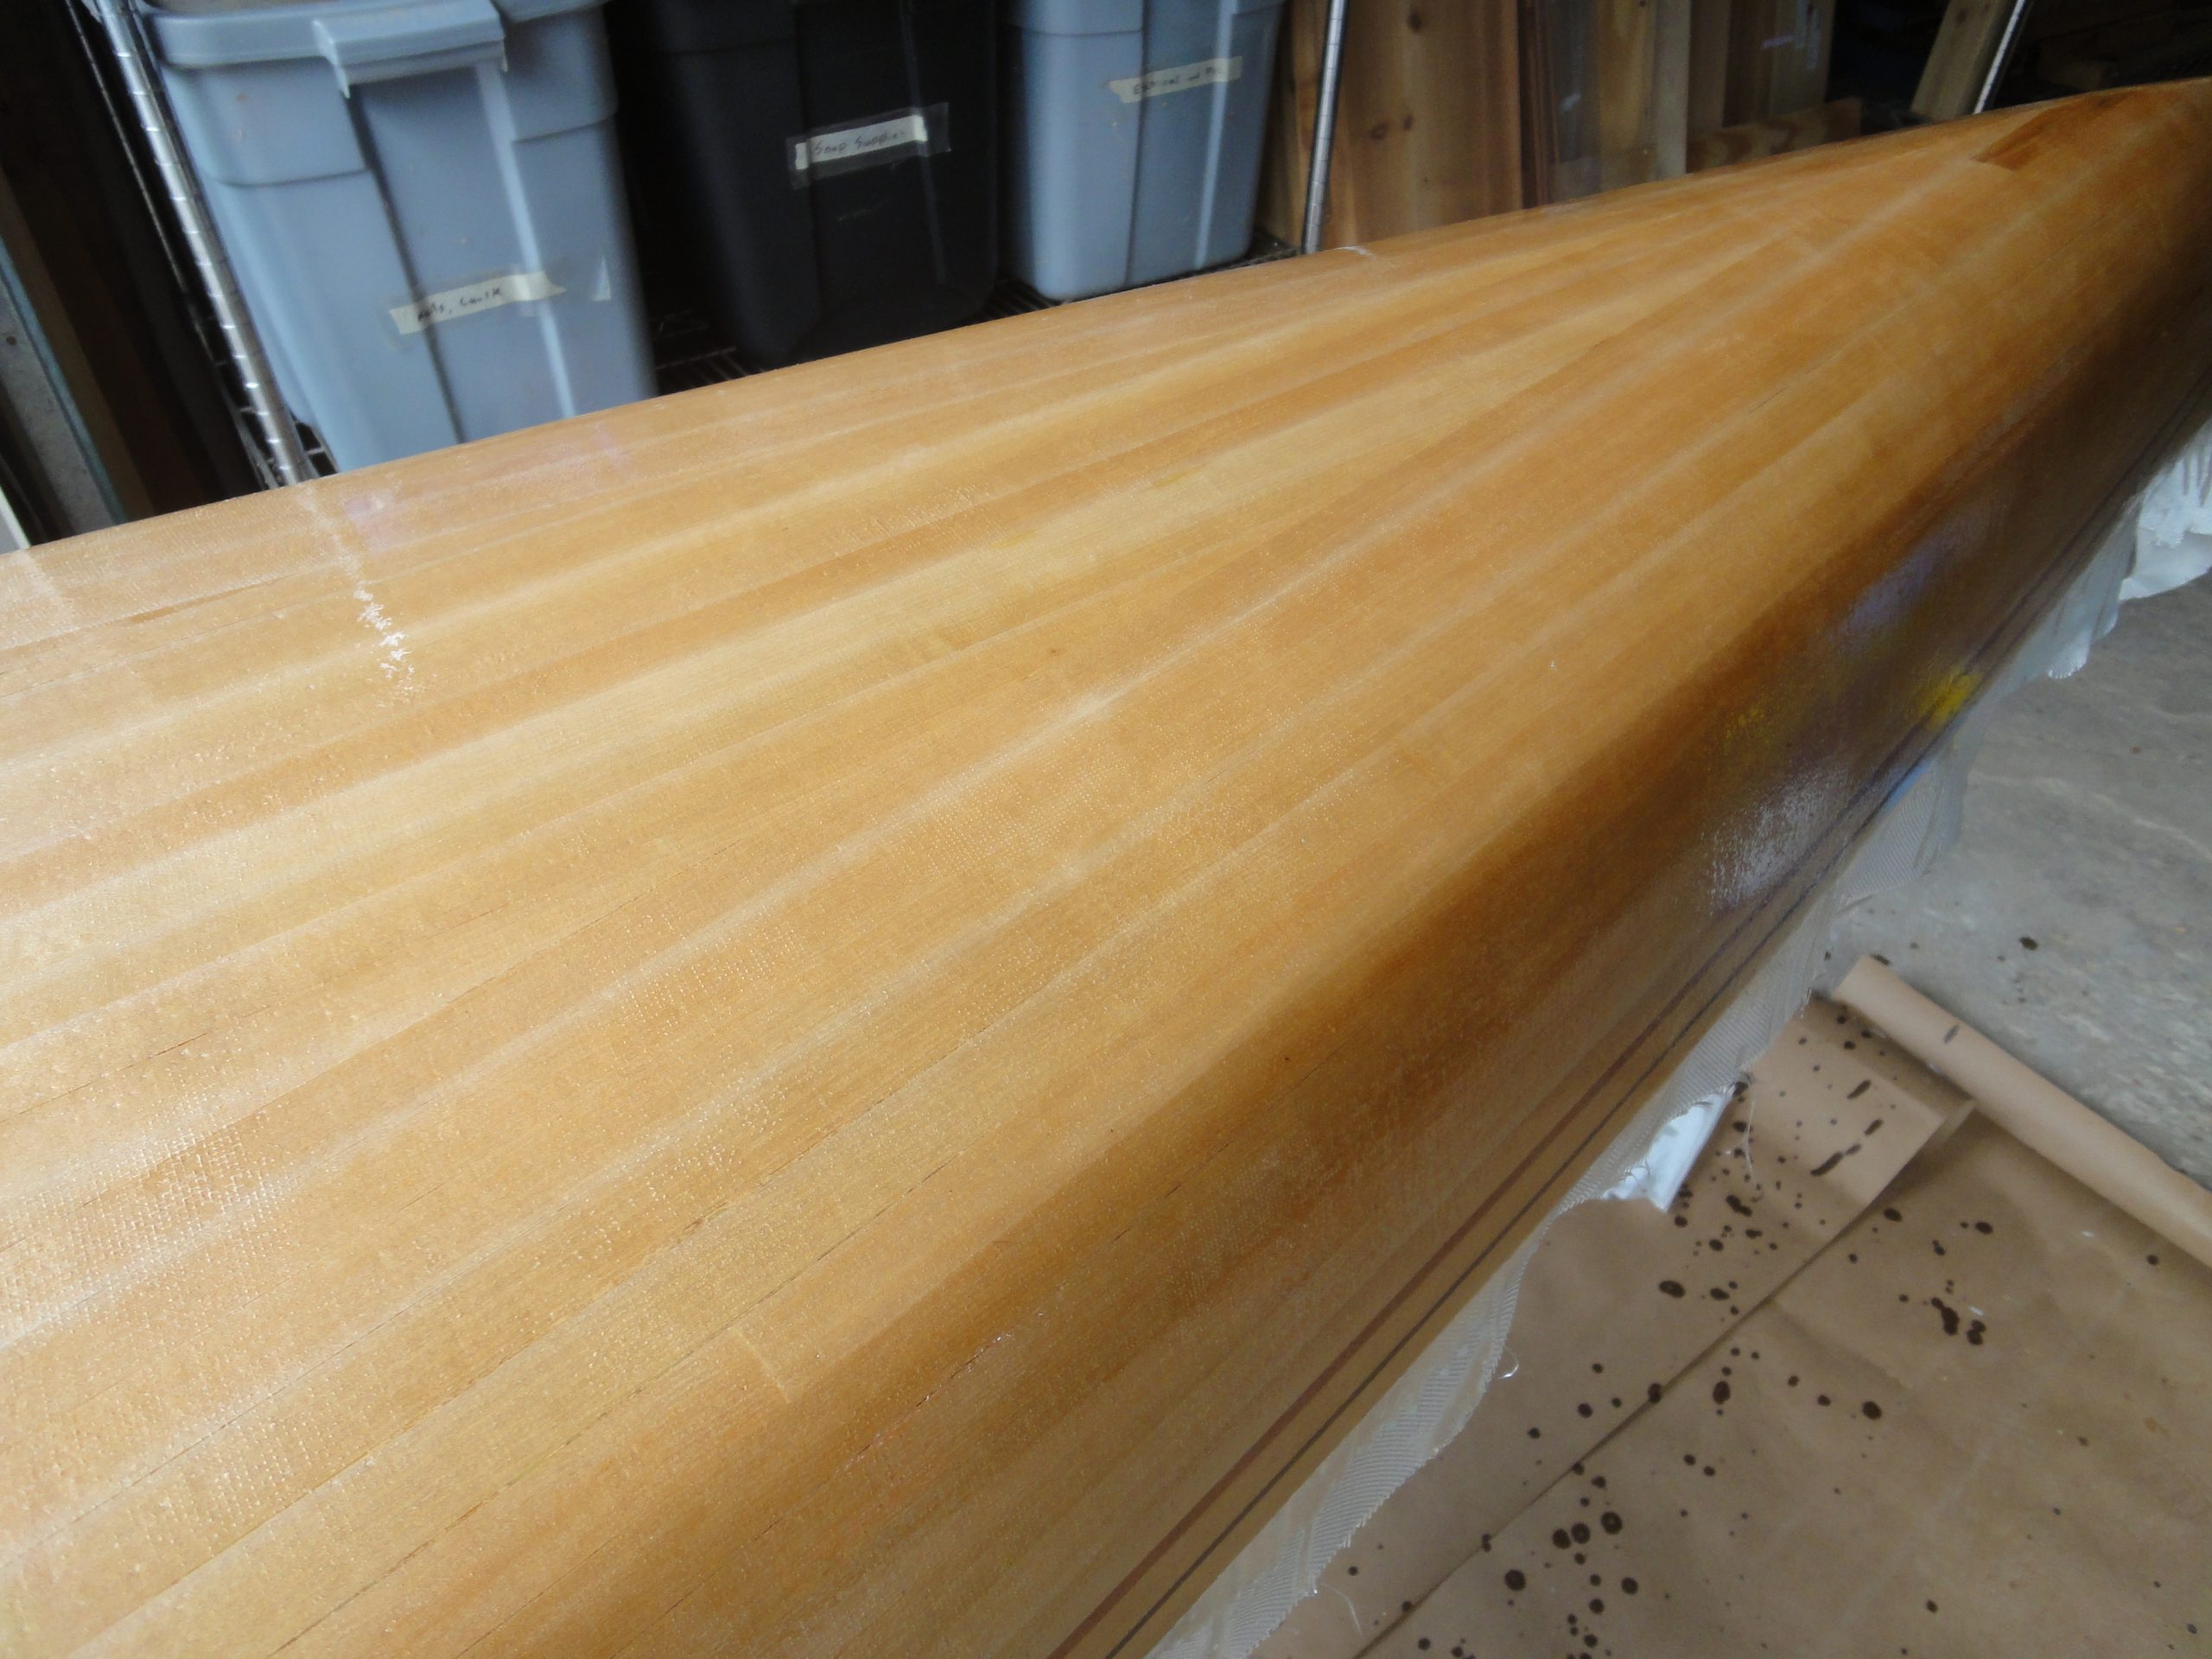
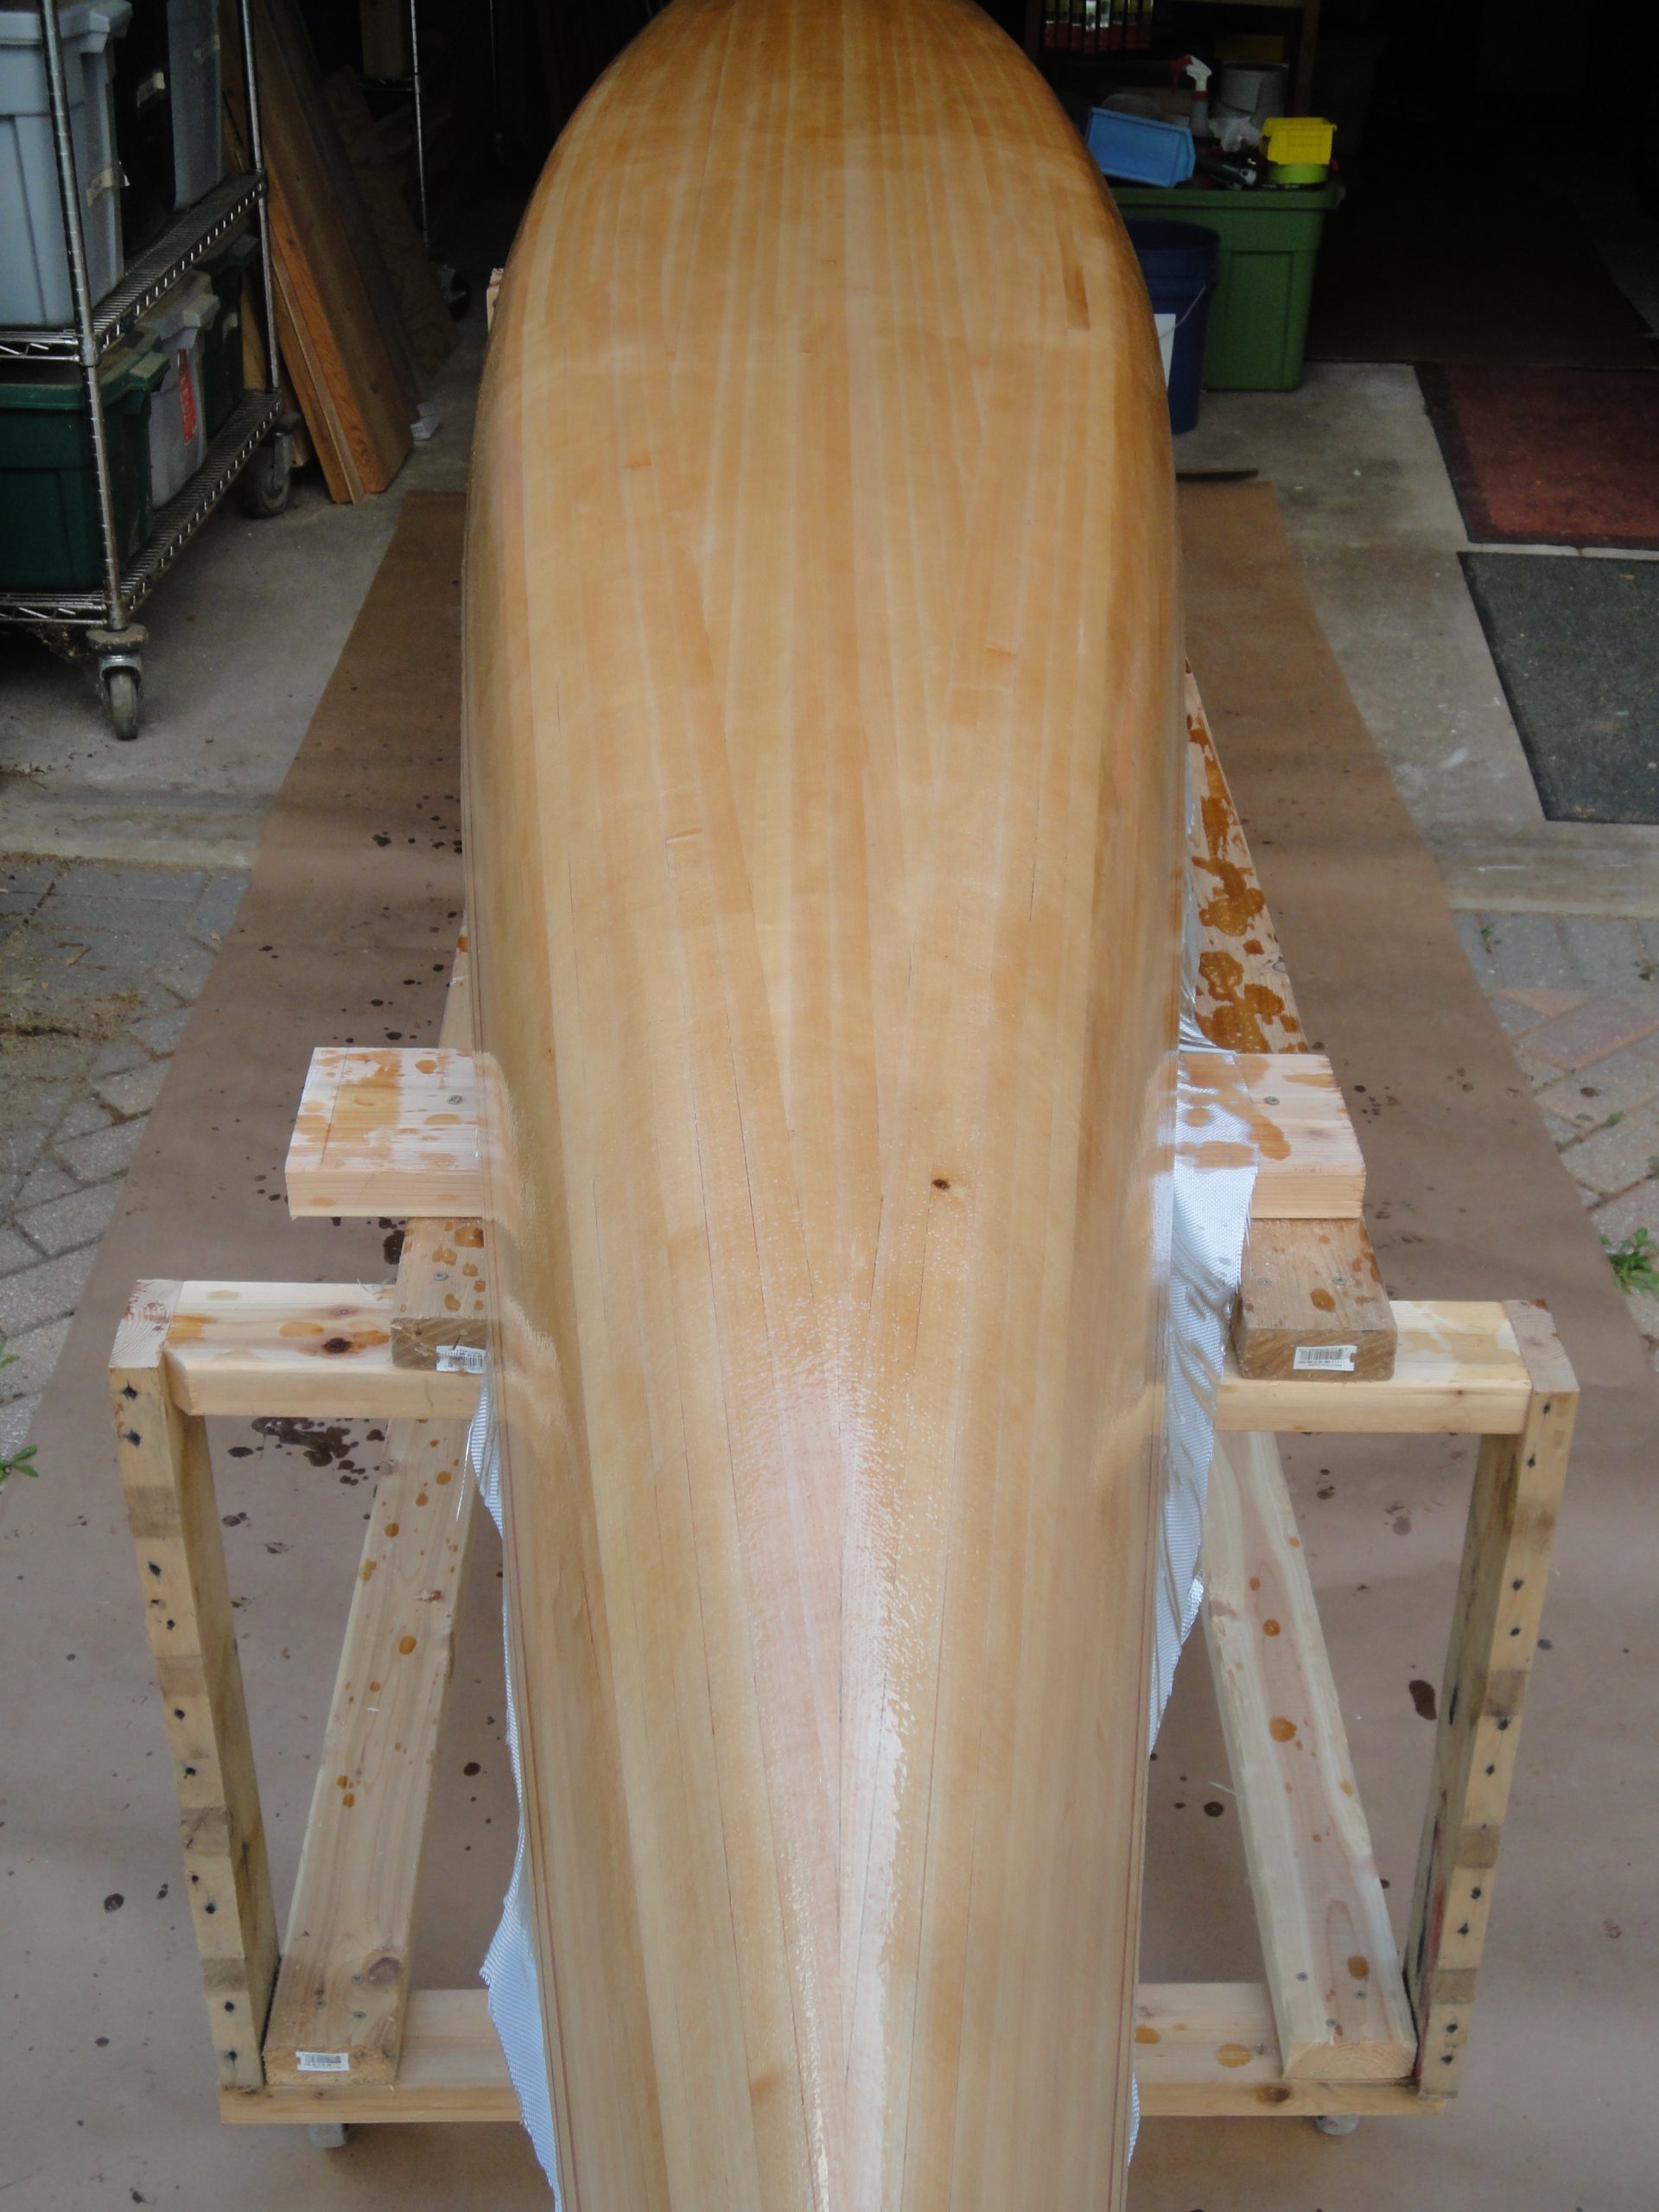


Looks great. The wood is starting to come alive with fiberglass and epoxy.
Good tip on dabbing paint brush on tape . Will have to try that on my next paint job.