More work in the same areas. Scraping and sanding of the deck and since the large stem pieces were now dried, they were fitted and glued on.
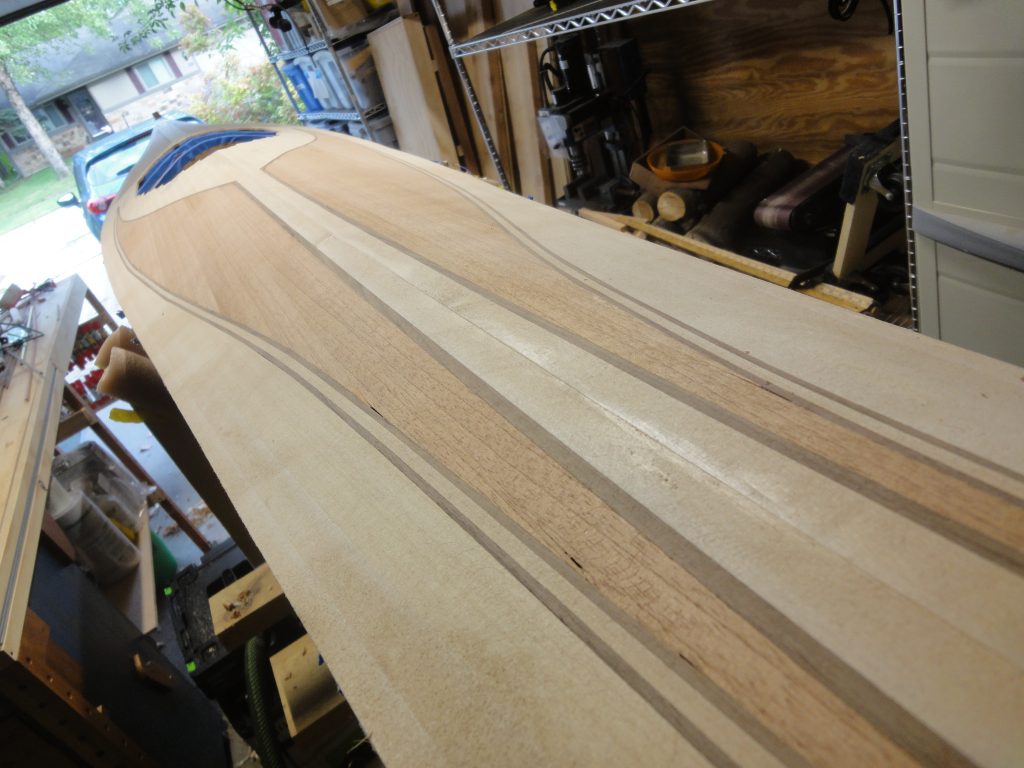
To start with the scraping on the last parts of the deck was completed along with a bit of plane work. I then moved on to sanding. The video below shows the sanding technique which is horizontal, then vertical. If it looks good, move on. If not, repeat. Worst case, move back a step and do a bit more scraping when necessary.
The results, after sanding, are pretty good and definitely inline with my vision for the overall appearance.
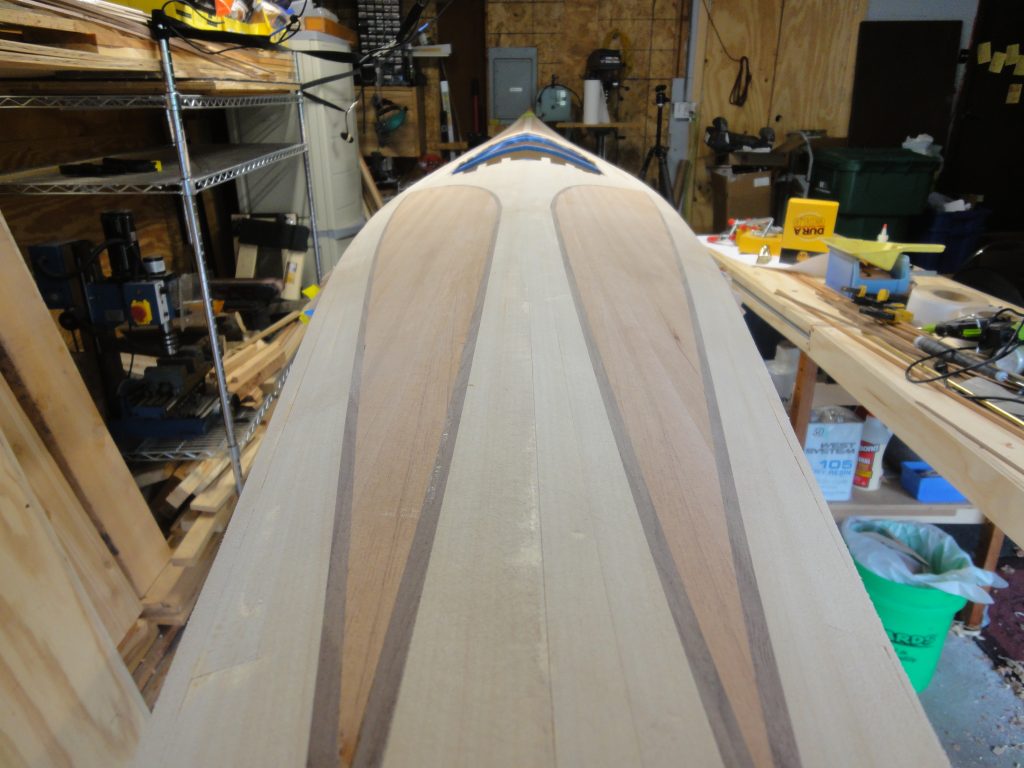
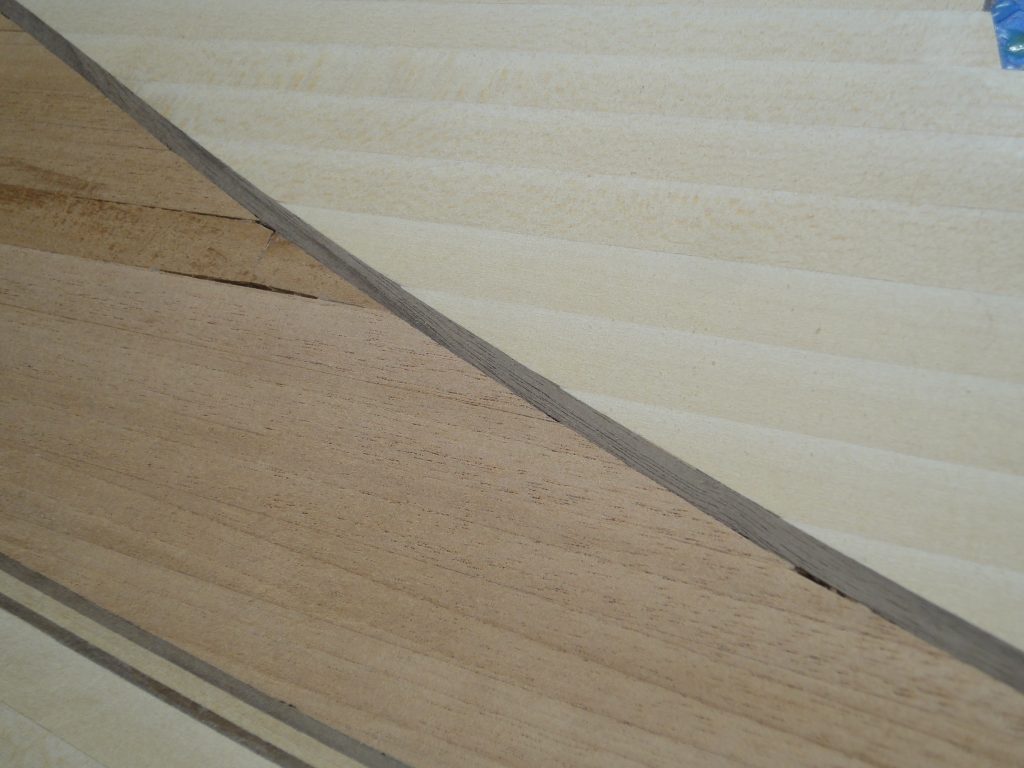
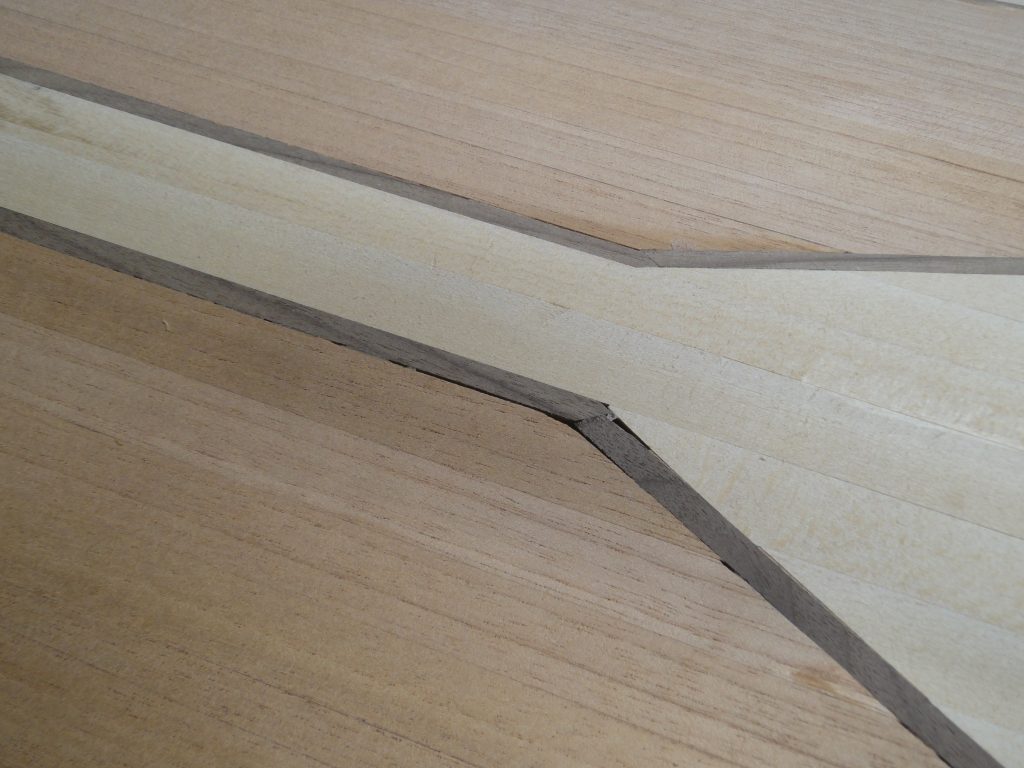
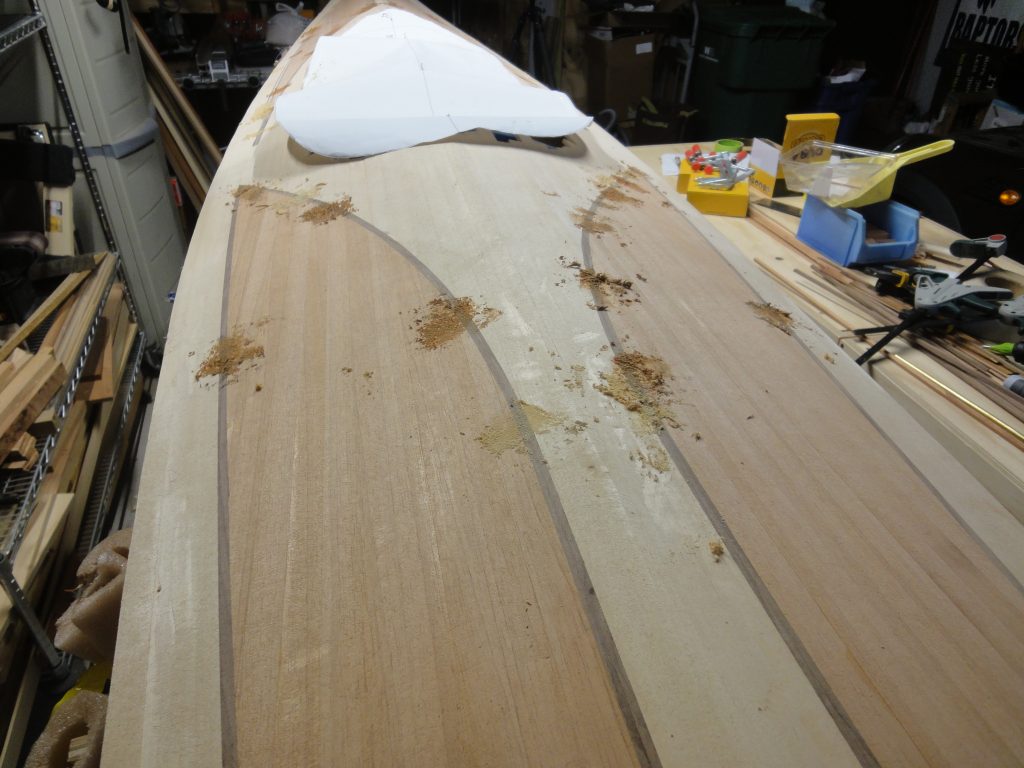
Unfortunately, not every strip was always tight against the neighboring strips or in some cases it may have flexed a bit and opened up a gap. Here area a few obvious ones.
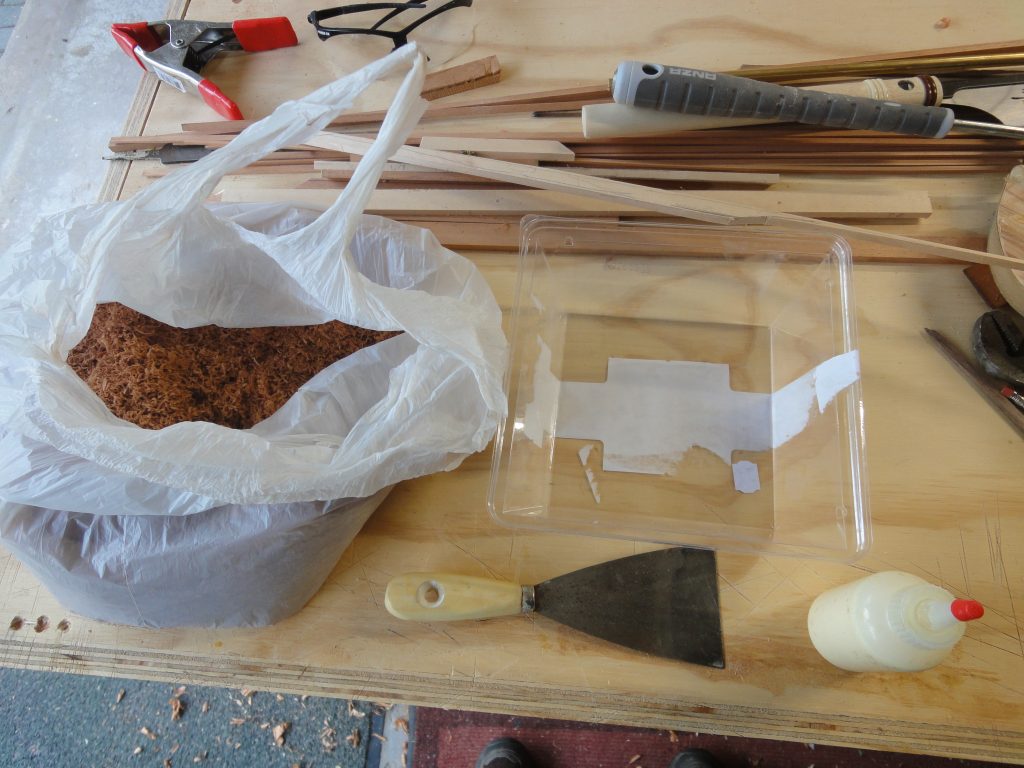
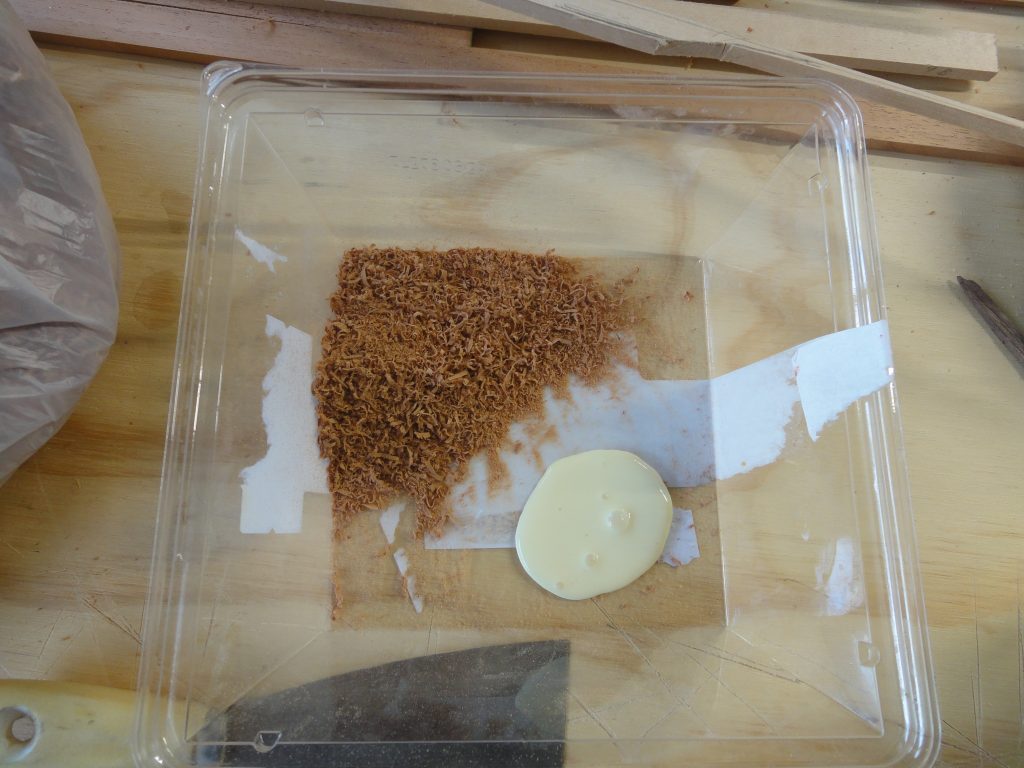
Since the first sanding was completed I thought it would be a good time to start filling some of these gaps. To begin with I got the bag of sawdust I had saved, a plastic tray, glue and a putty knife. Squeeze out a puddle of glue and then start mixing in sawdust. Keep adding until it is a bit tacky but not wet like fresh glue. You should have constancy of somewhere around putty. Use the putty knife to force it into the cracks.
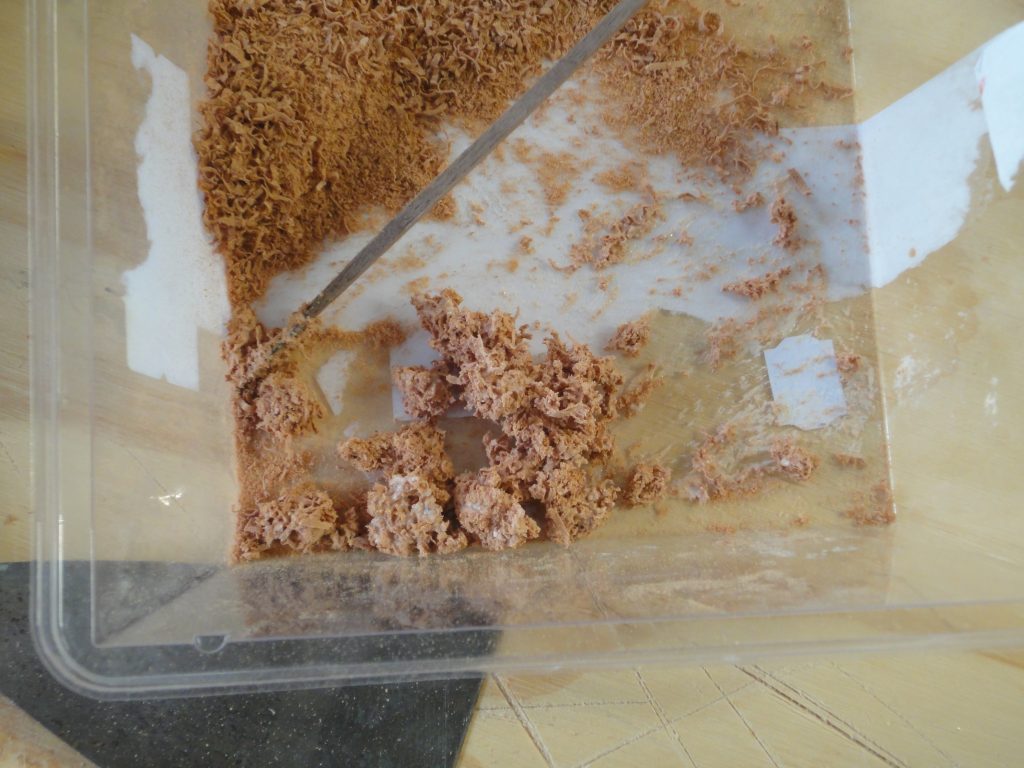
When the walnut was cut I didn’t save any sawdust so I’ll need to make a bit next time to fill in the walnut gaps and then sand all the areas and check how well the fill took.
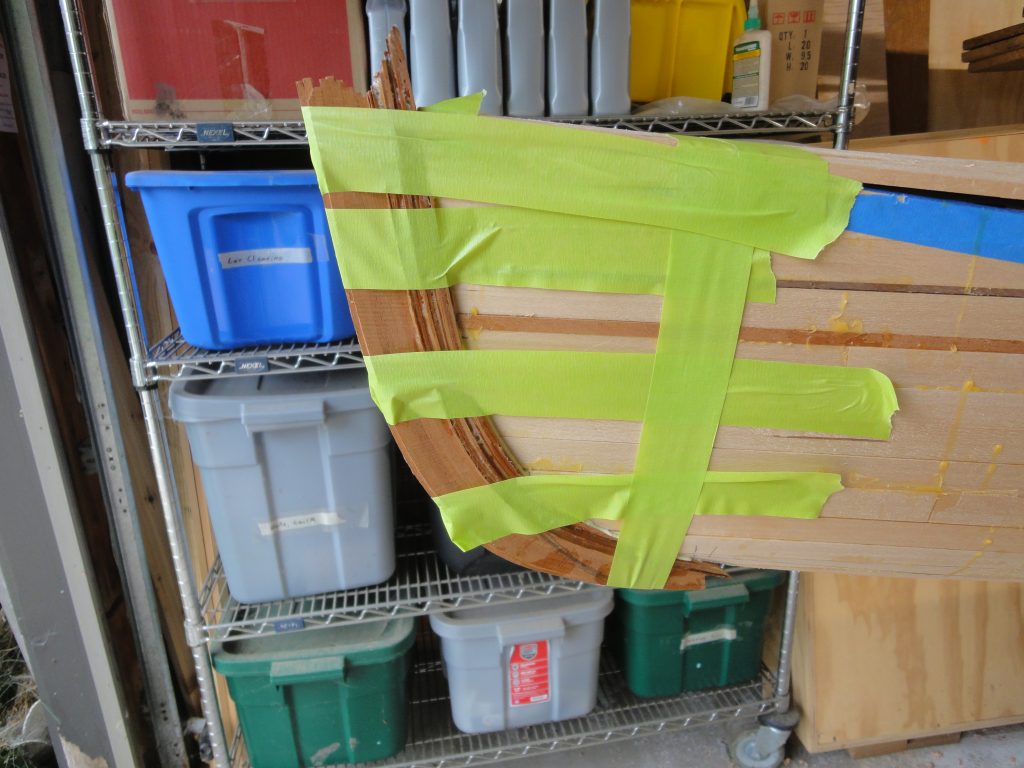
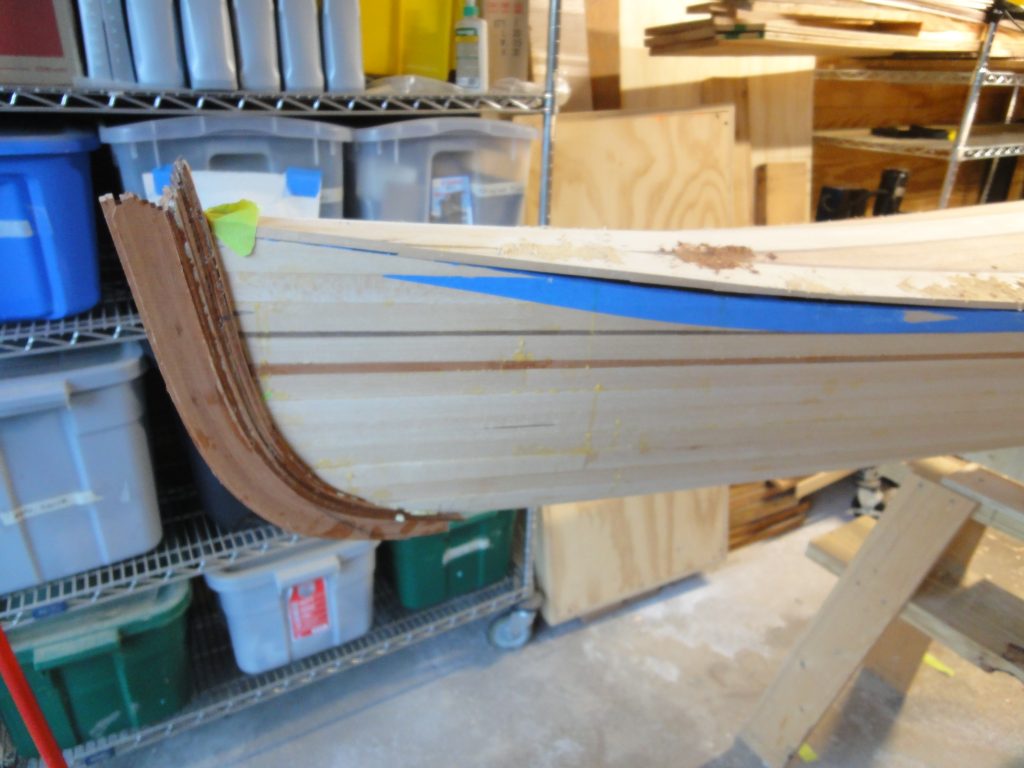
The final item on the list for today was the stems. I fit both stems using the plane. rasp and a bit of sanding and then glued them in place. Tomorrow I hope to start on the shaping of the stems.