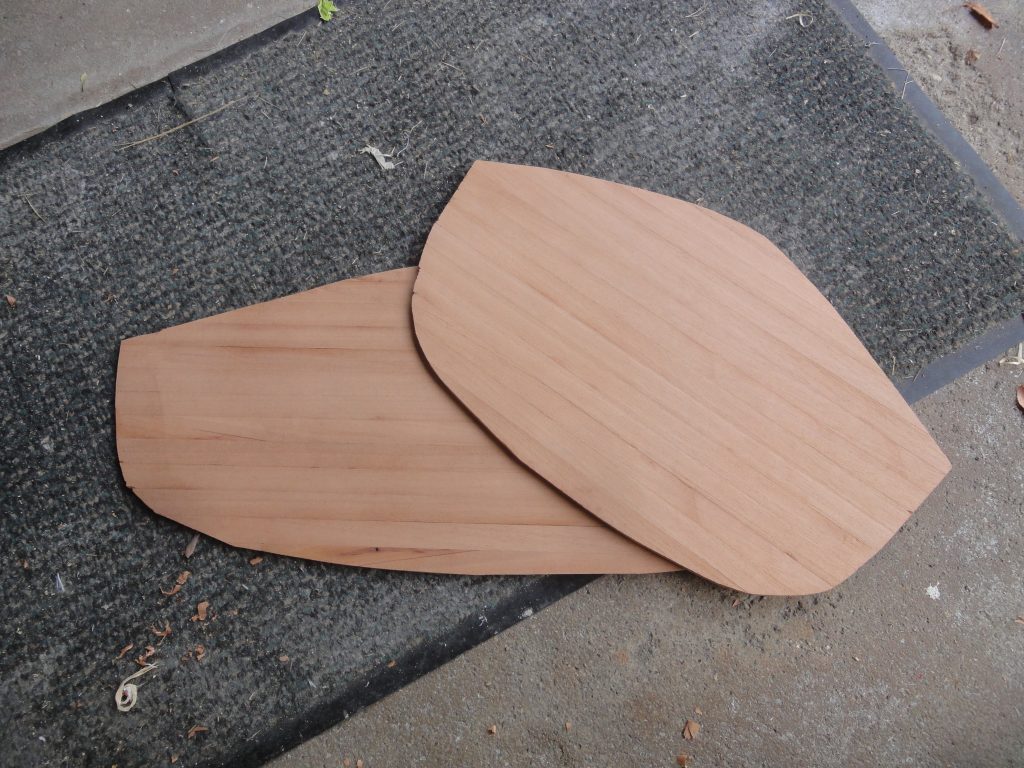
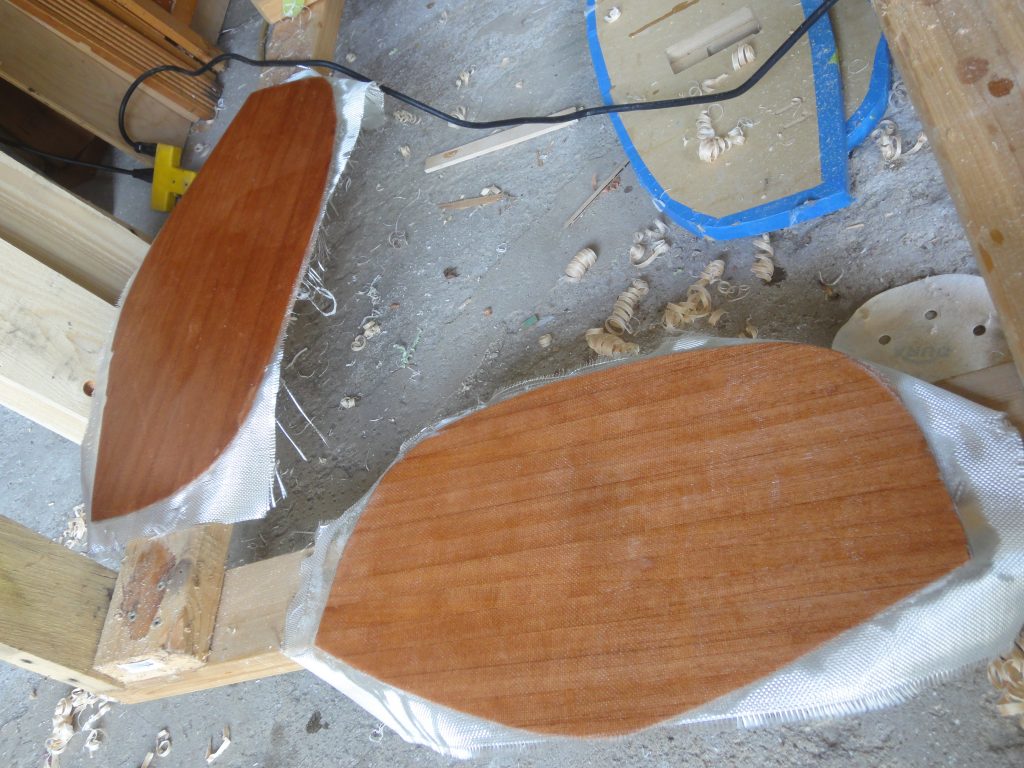
And so the sanding starts…

Next few entries are going to be kind of boring. Well, maybe. It’s time to sand and sand and sand and… Well you get the idea.

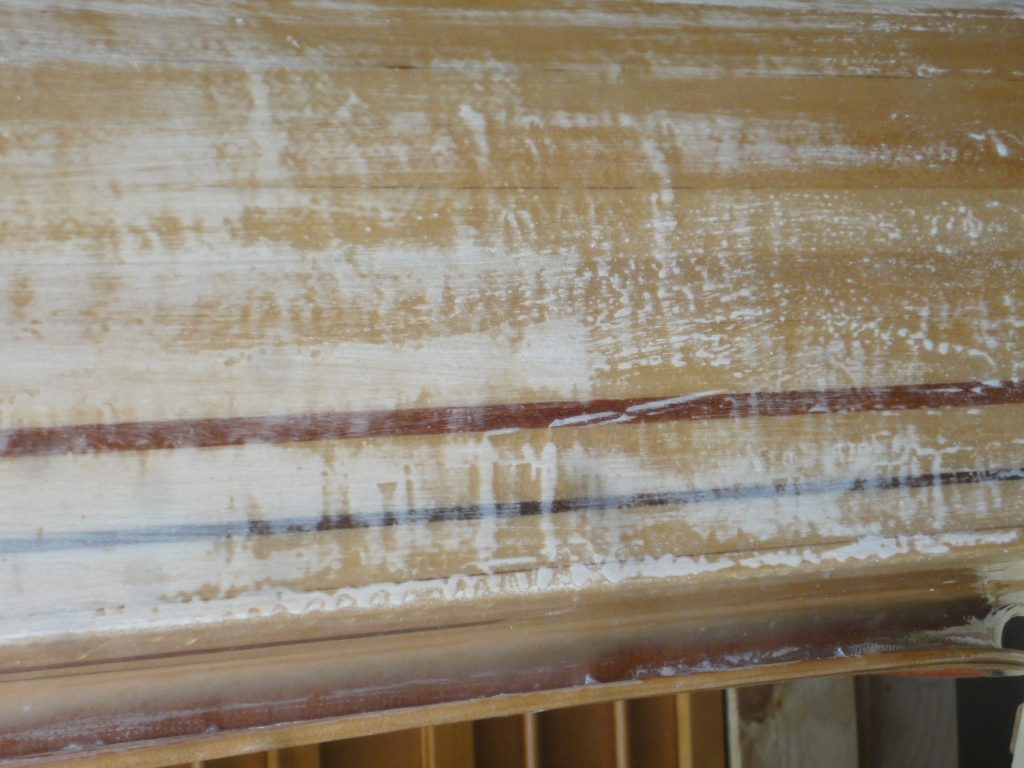
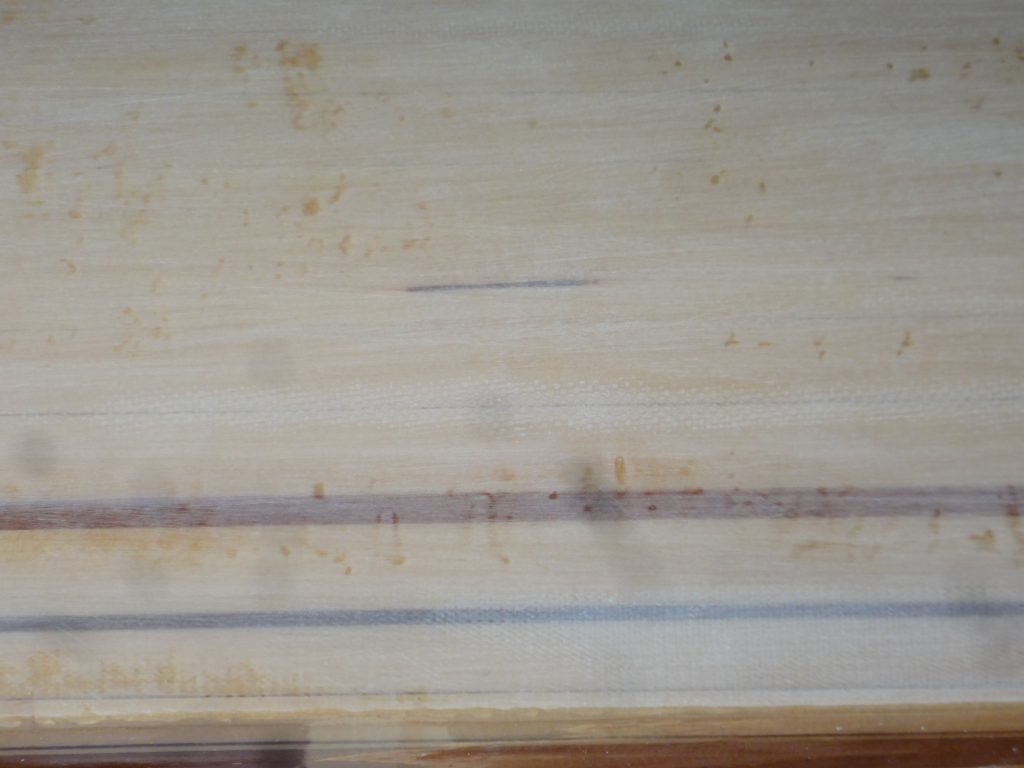
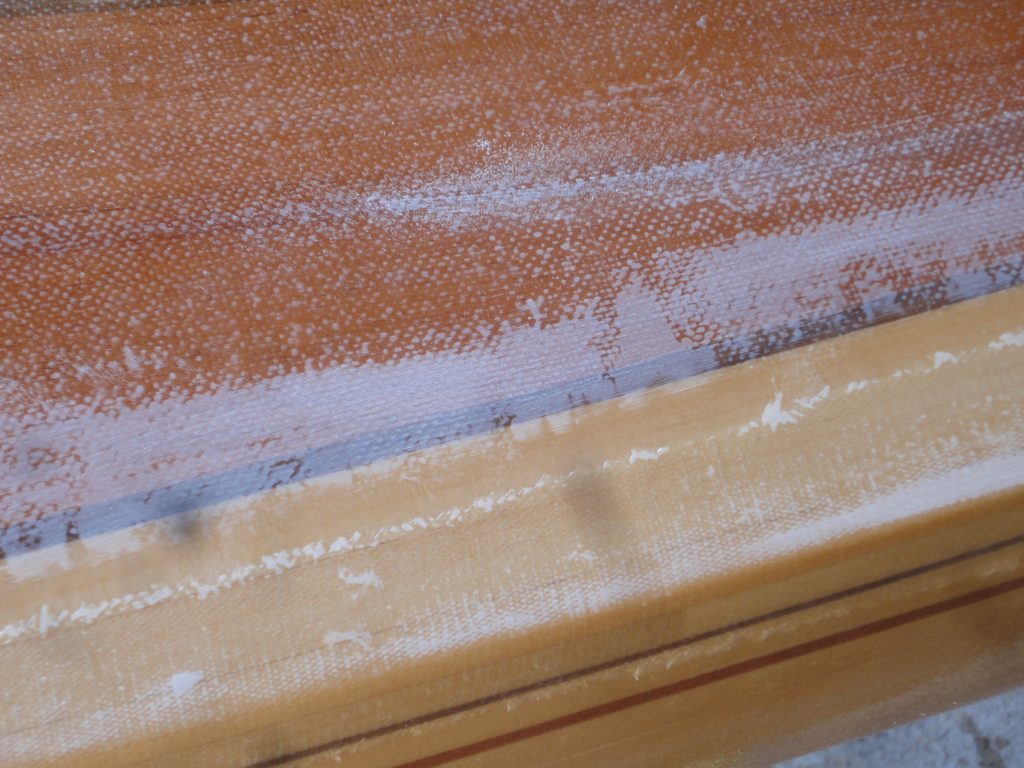
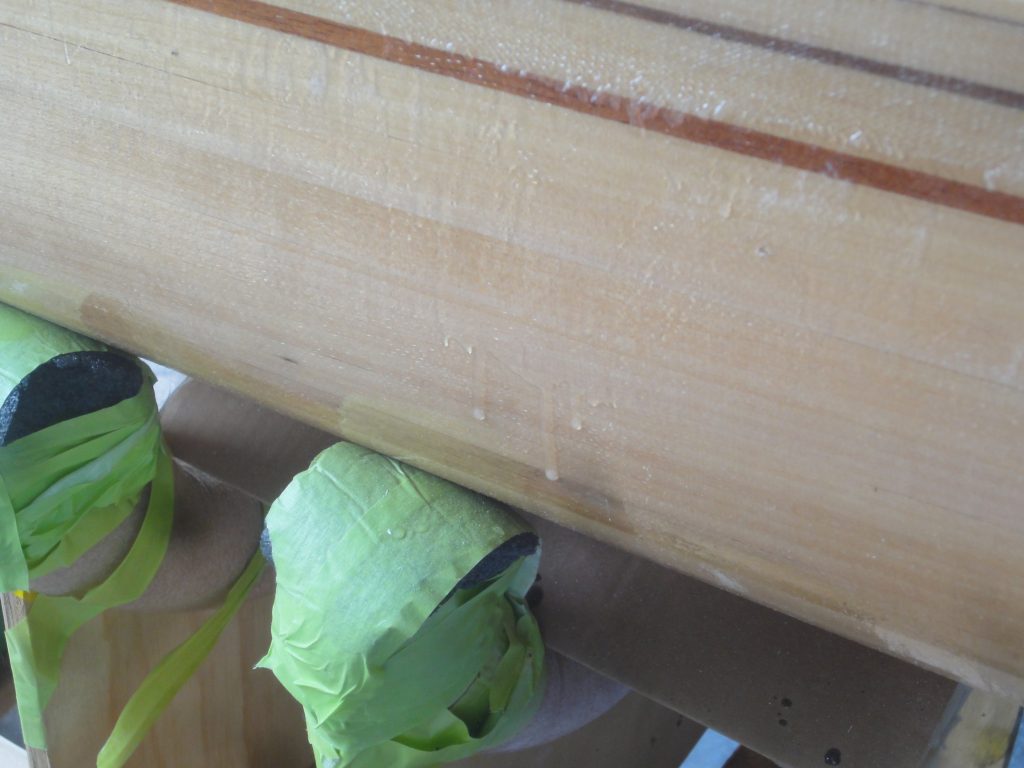
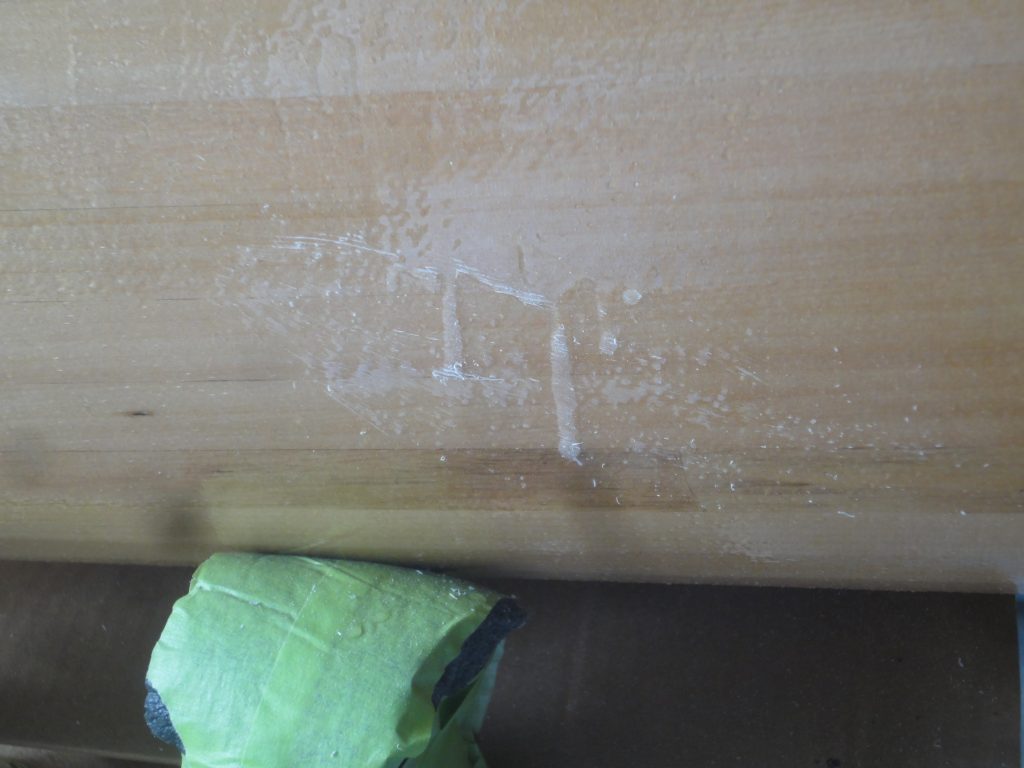
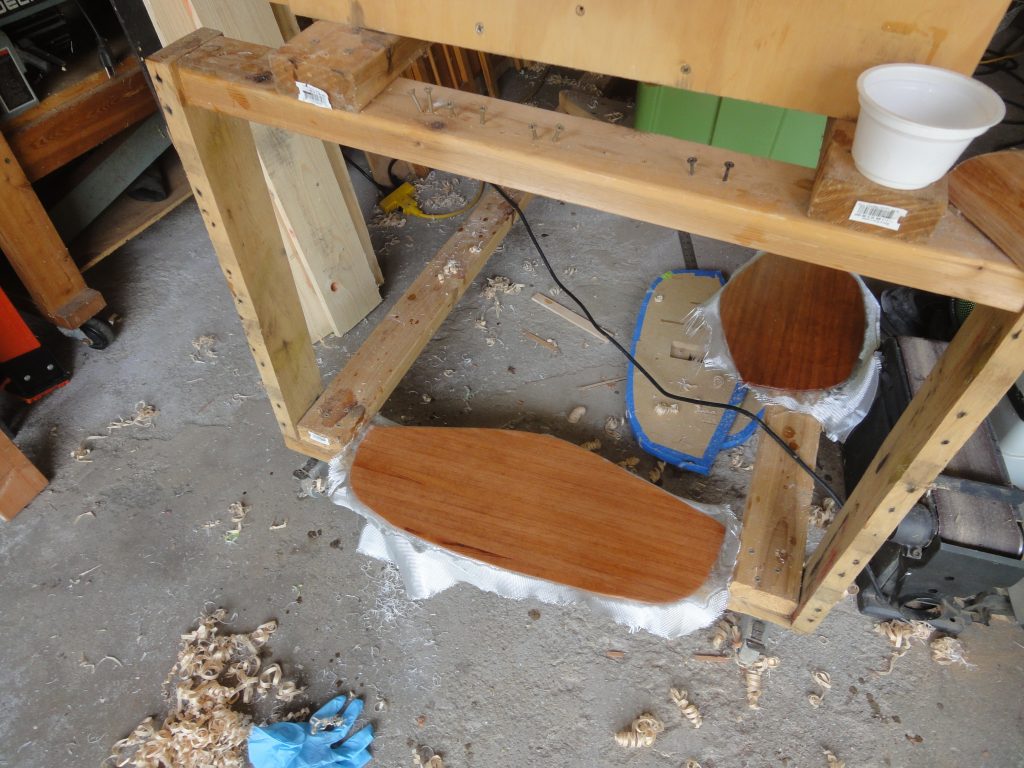
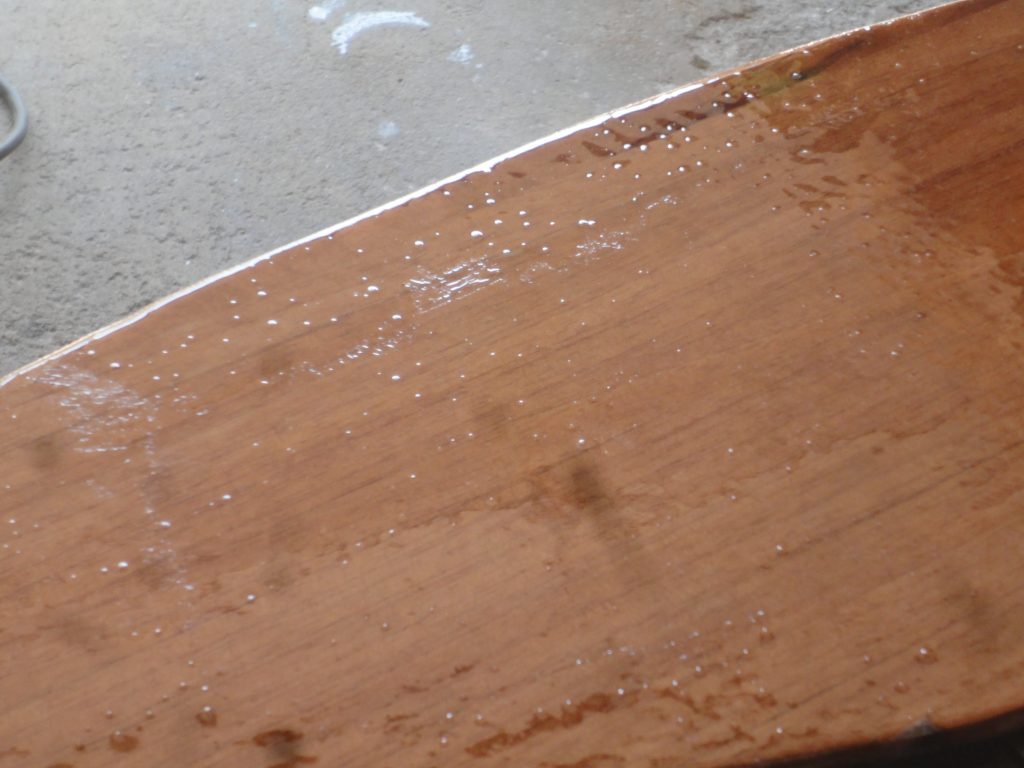
Looking at the photo of a bulkhead illustrates the reason to sand. To the touch this feels very smooth with just the occasional little nib or bump sticking up, barely felt. But with a zoom in you can see in the photo all the bubbles, specs of dust, brush marks and other contaminates in the surface.

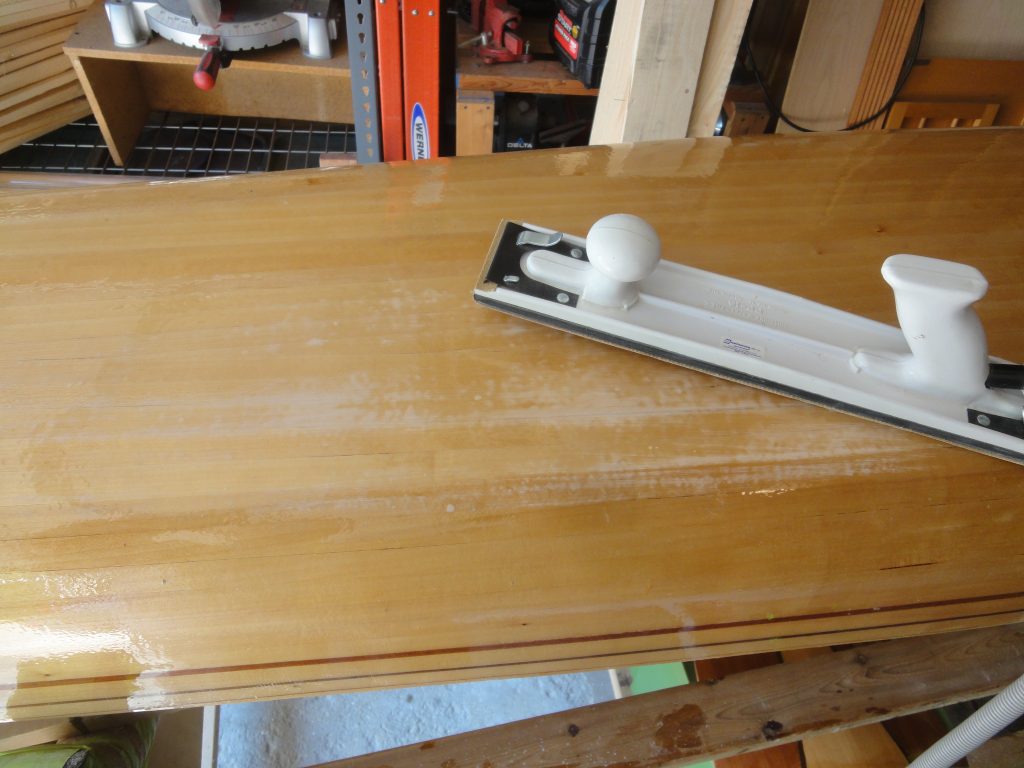
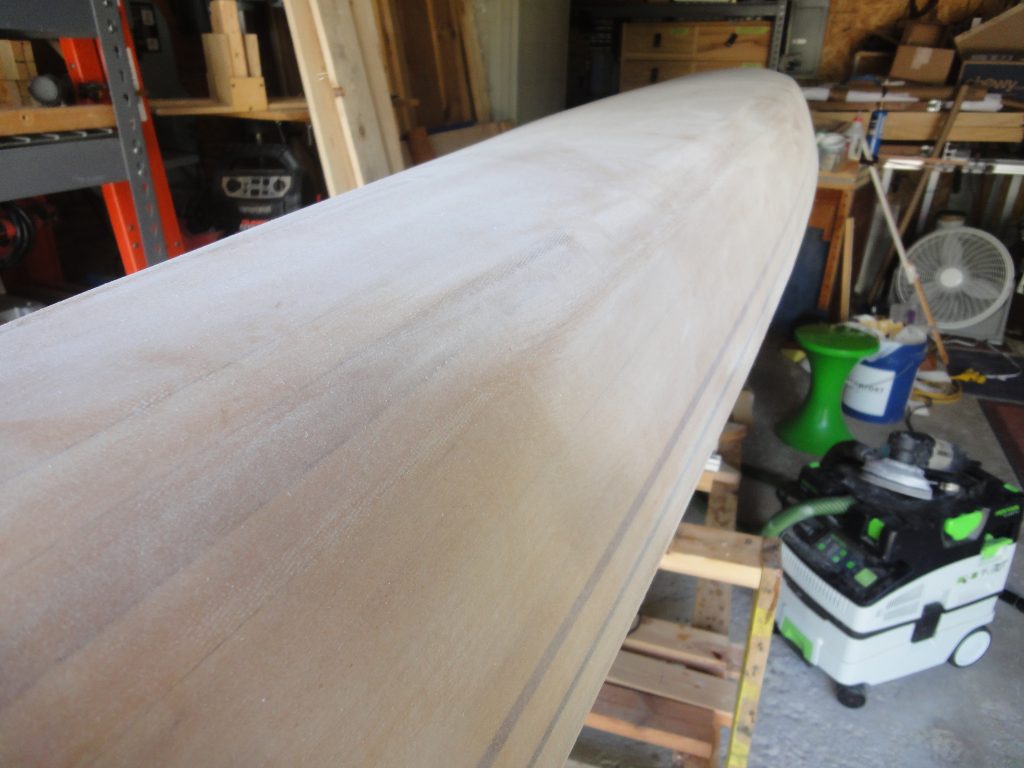
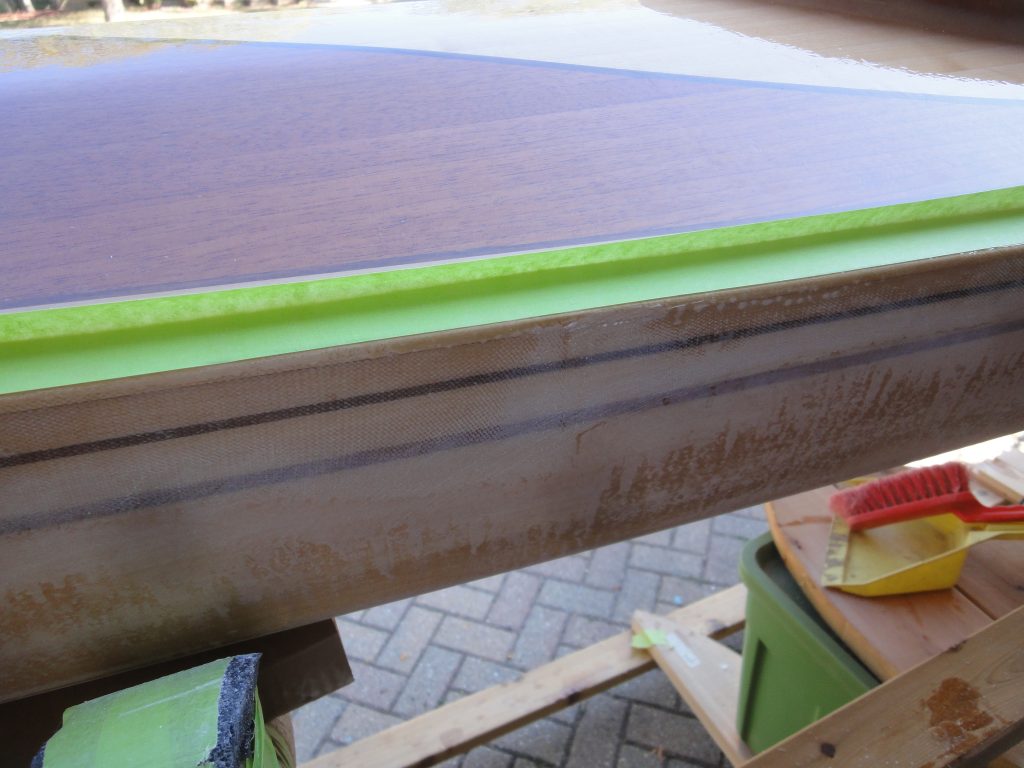
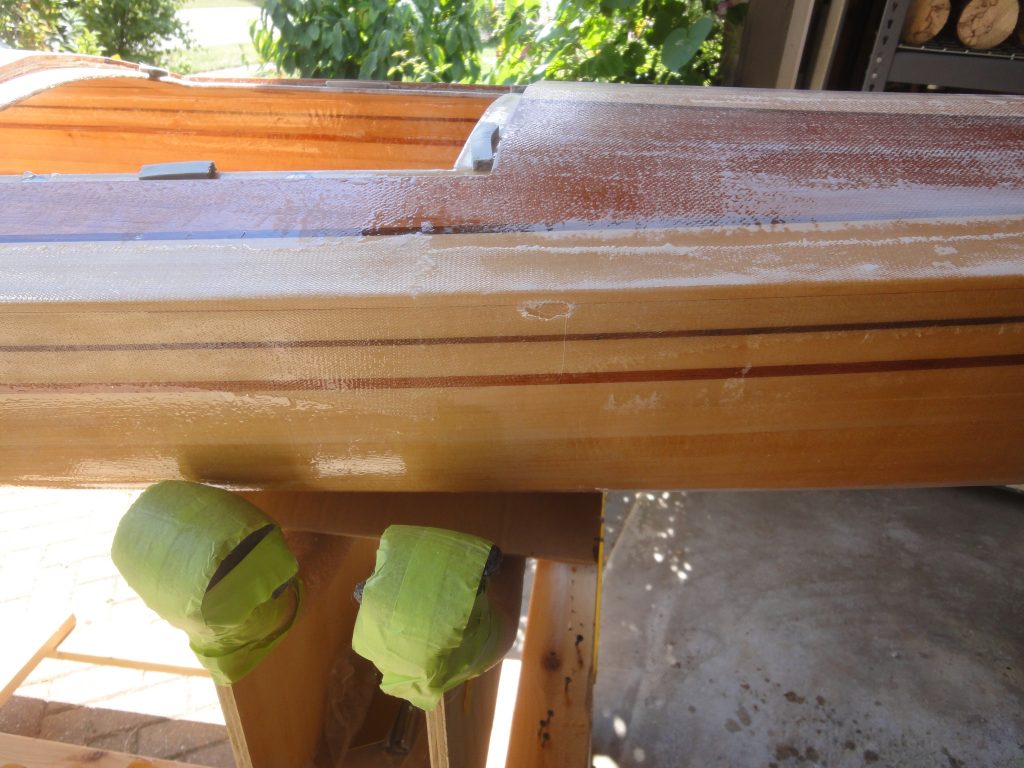
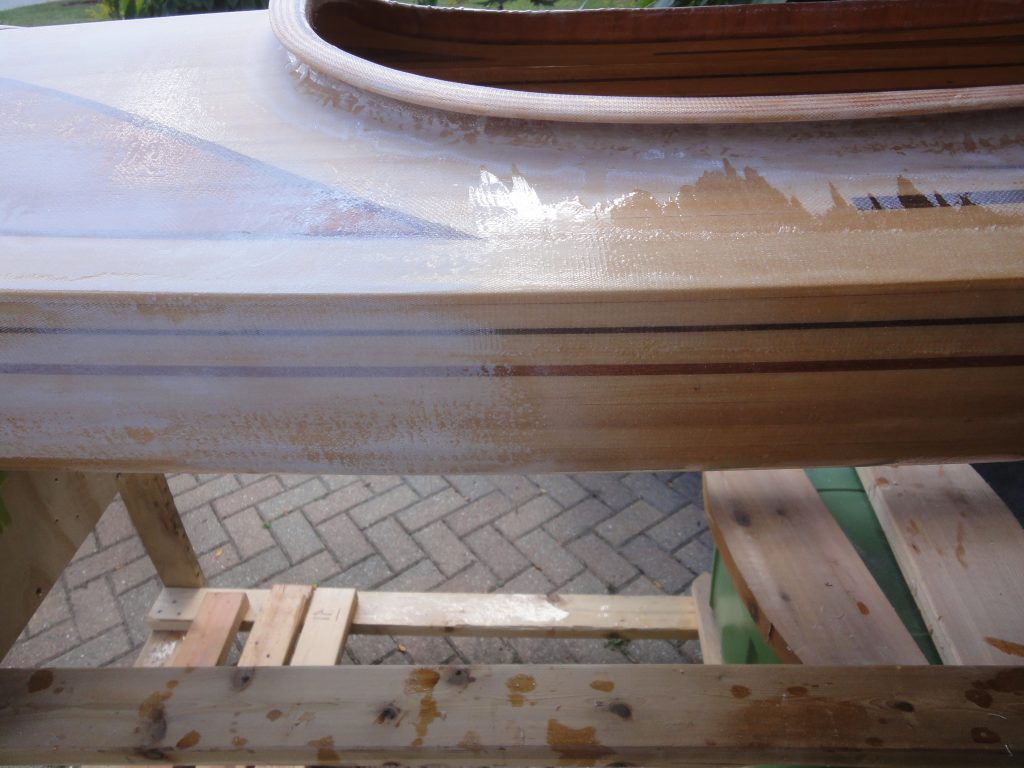
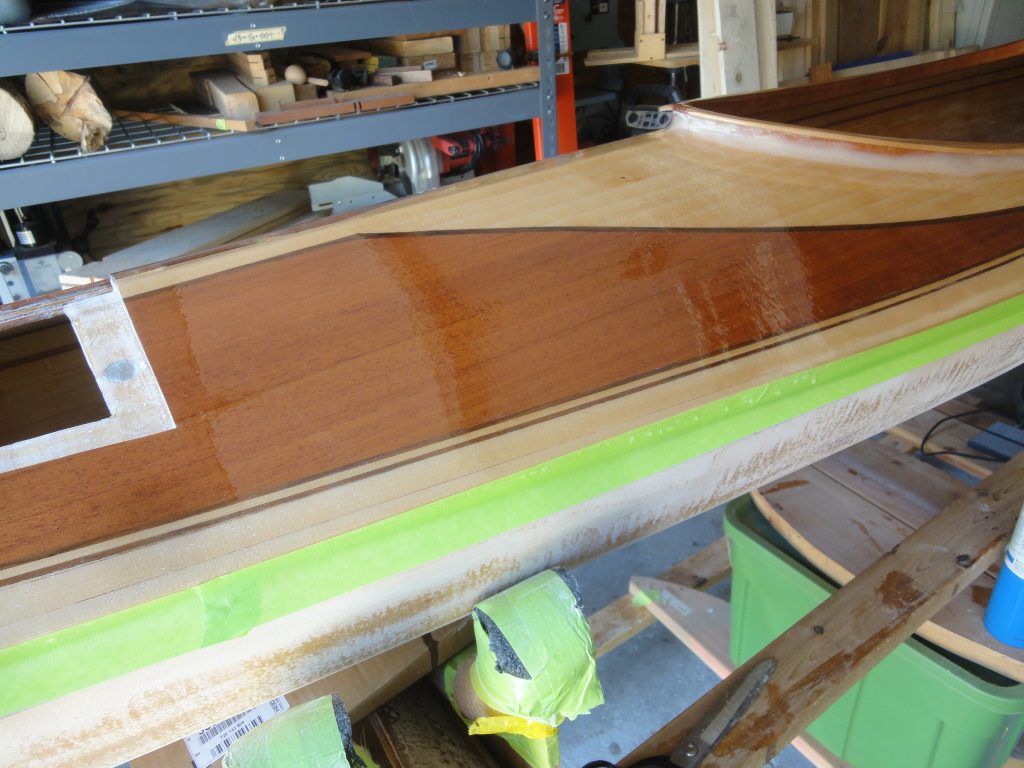
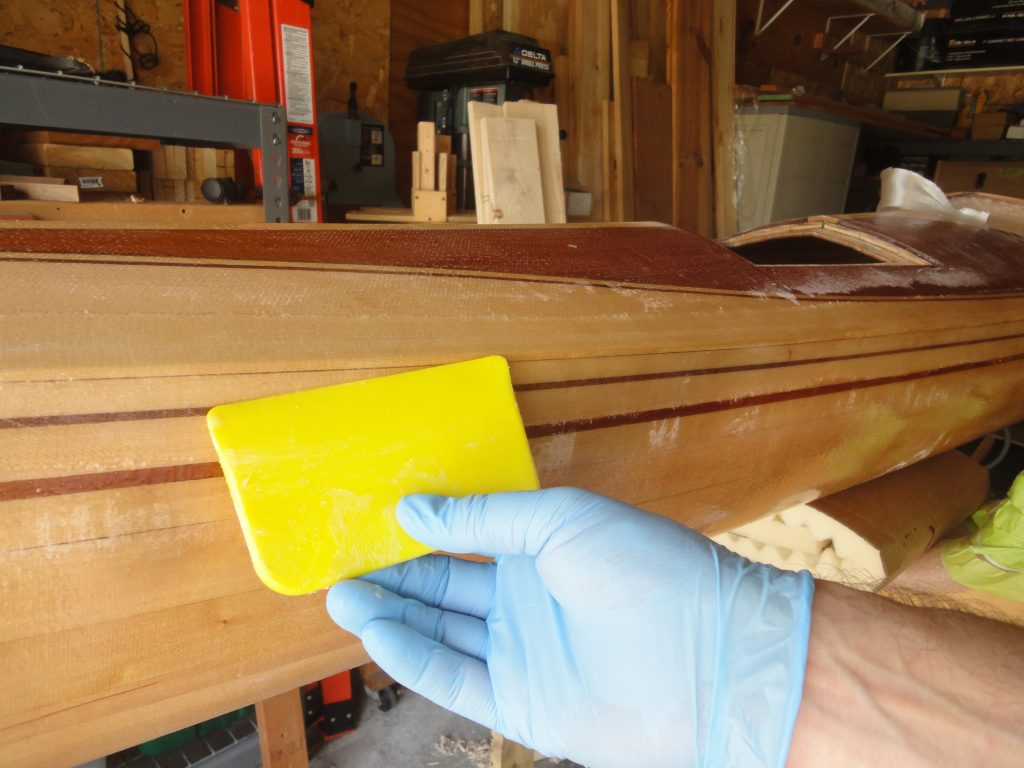
So back to the exterior of the kayak. It’s very similar to the bulkhead sample above in terms of feel and appearance. Not much I can do when my work shop is a garage with an open door. I started with the long board using 80 grit paper. Back and forth, mostly with the grain. The goal is to get a uniform surface. In the process I’m knocking off all the surface contaminates and lowering the high spots.

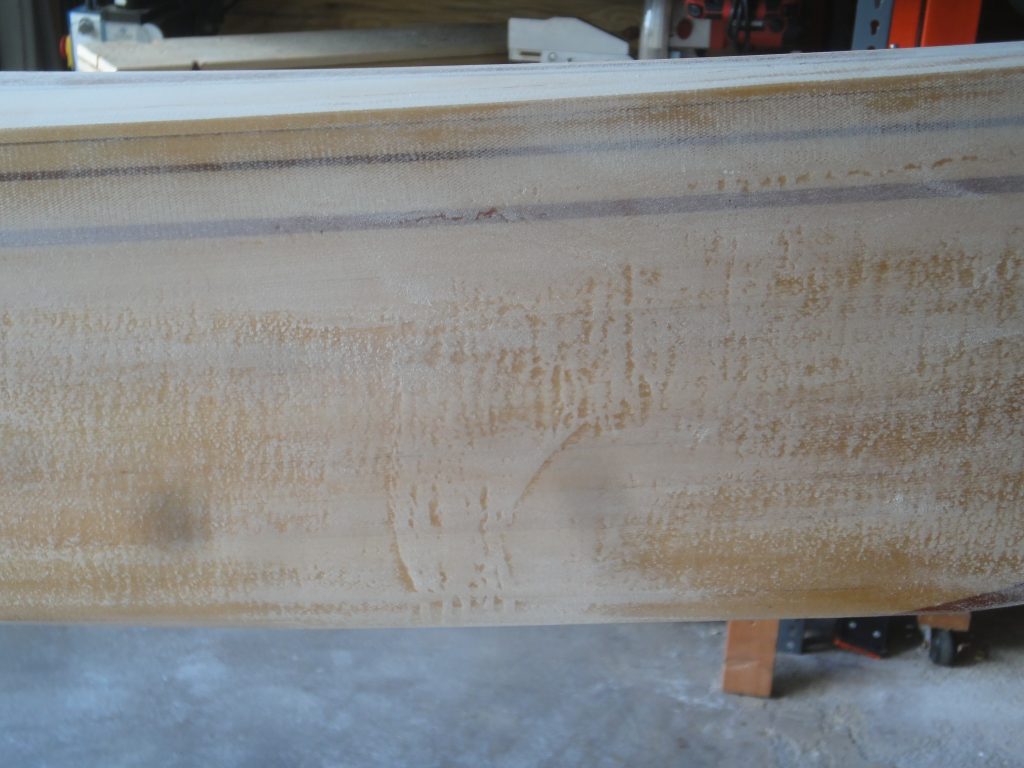
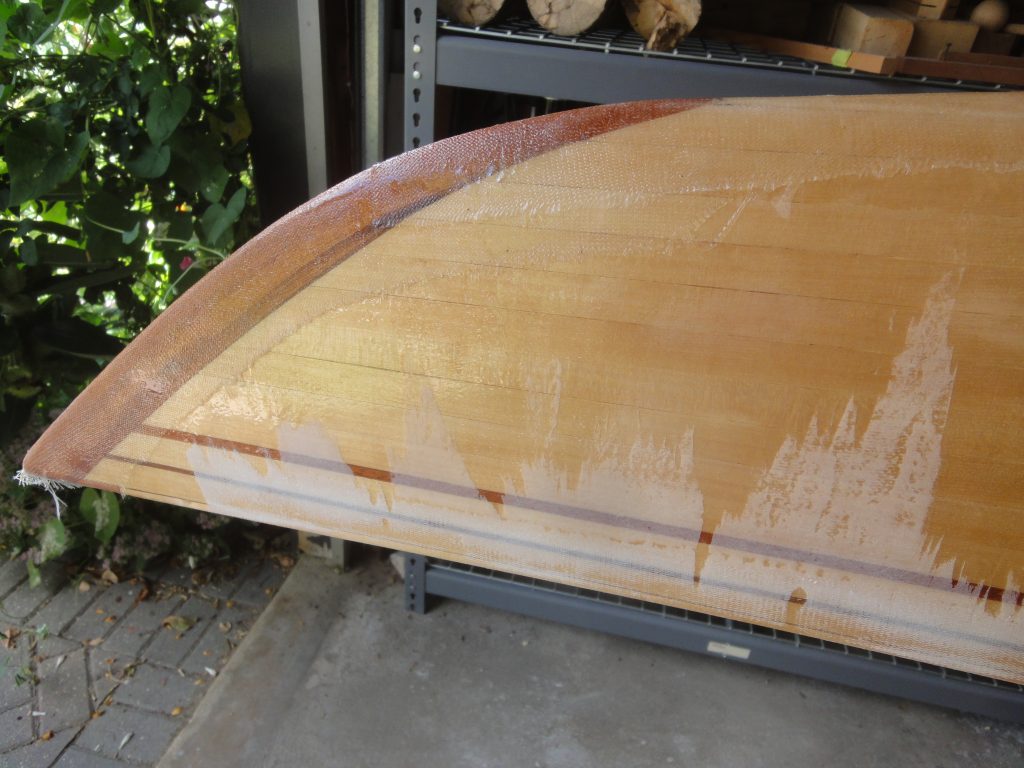
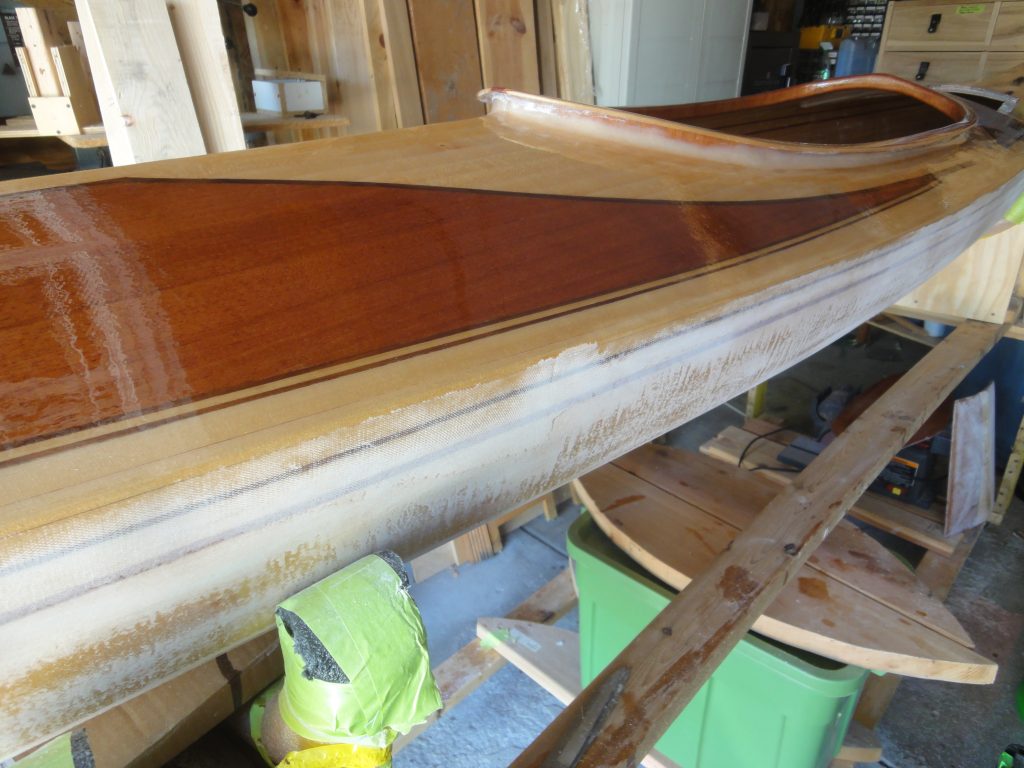
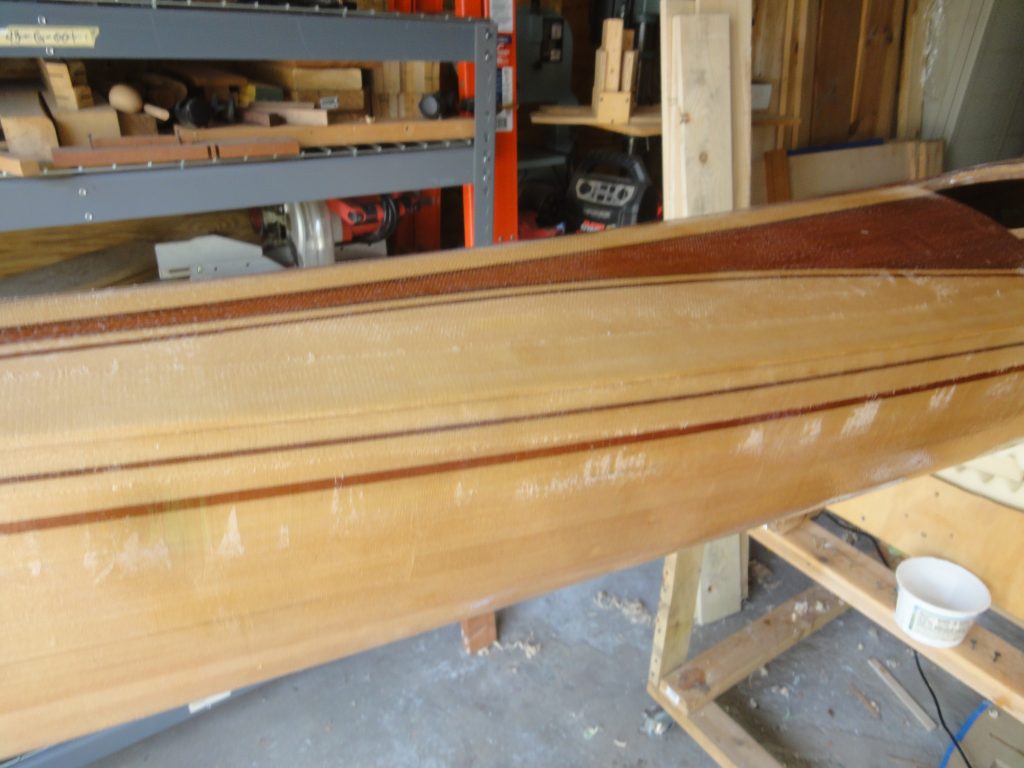
As the sanding continues it quickly reveals the high spots (sanded) and the low spots (untouched). Keep in mind to the touch many of these high/low differences are barely felt if at all. Very minor drips or runs, sags in the epoxy as it setup and even brush marks all manifest in the surface.

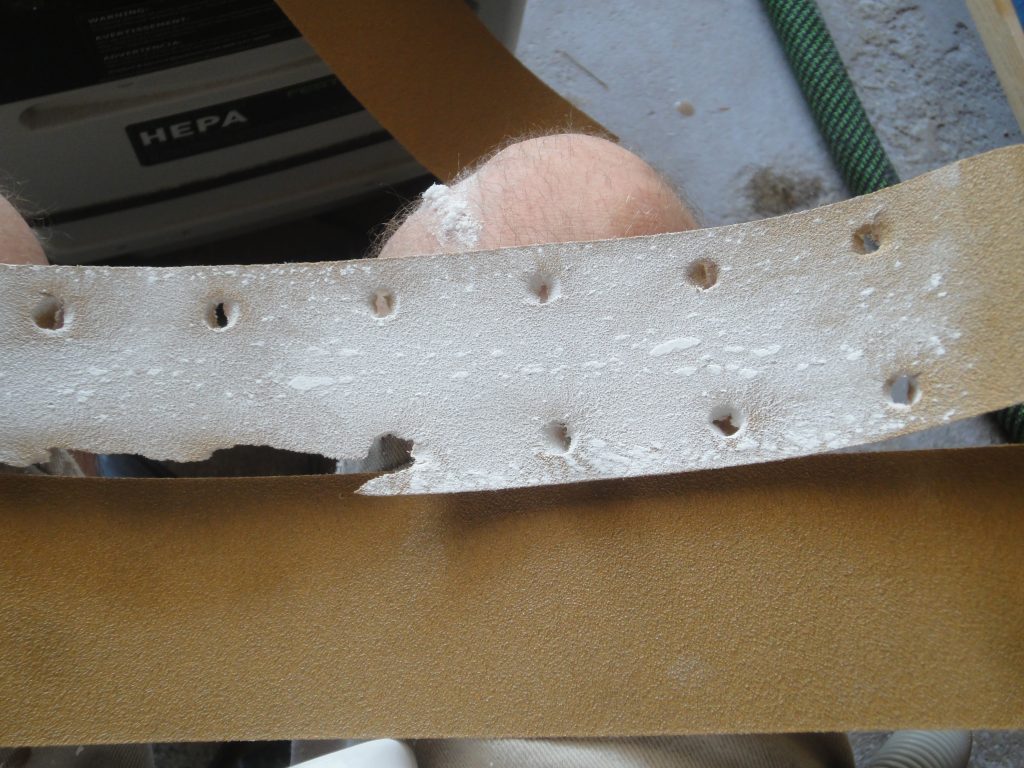
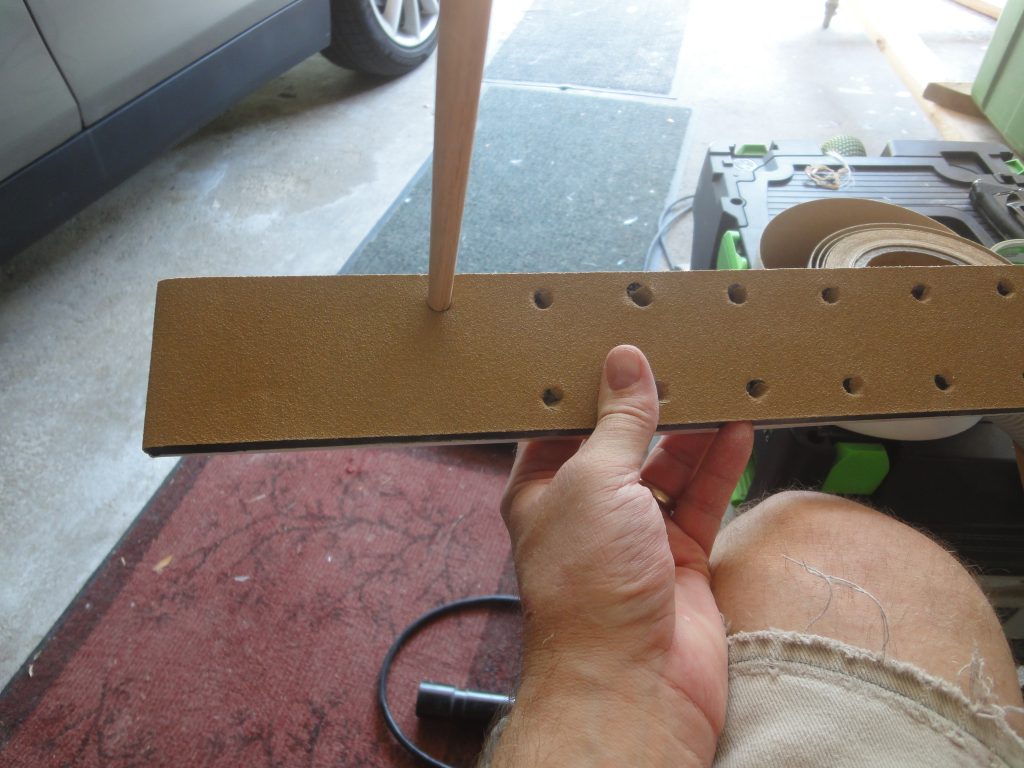
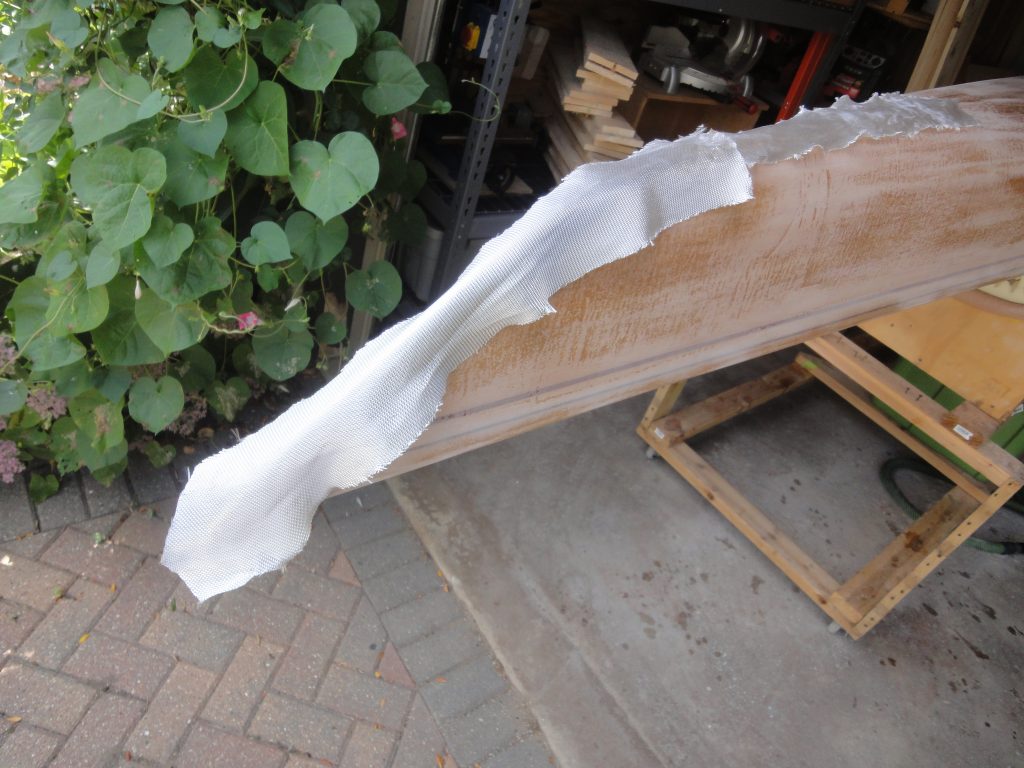
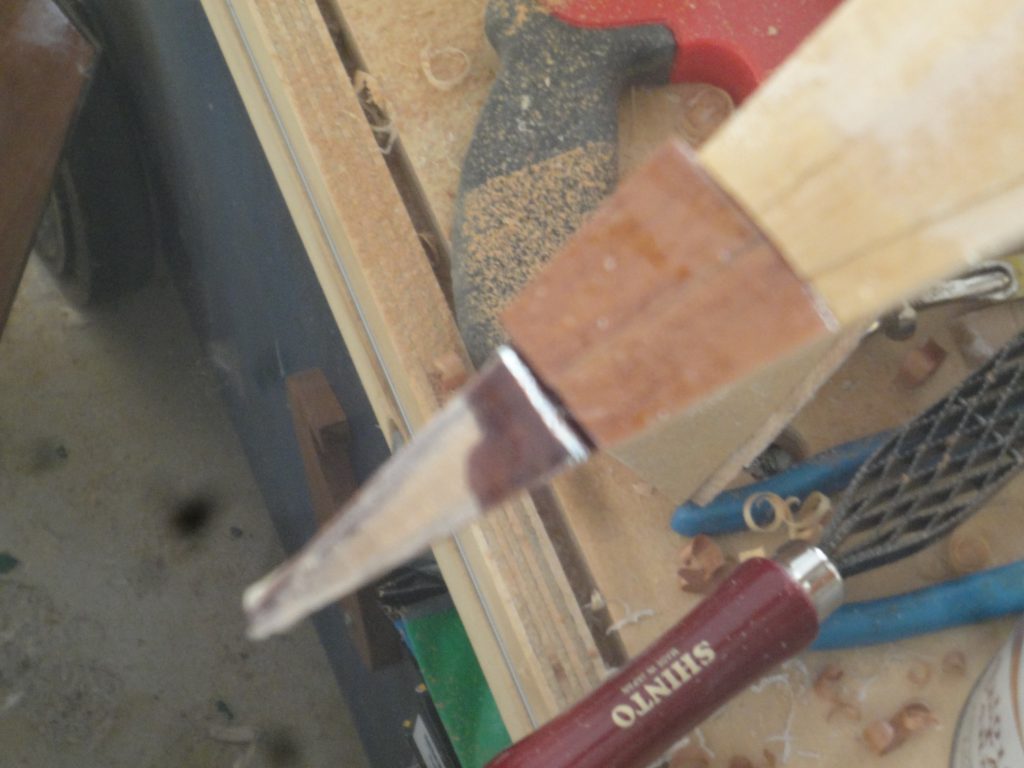
The epoxy fairly quickly ground down the sand paper so at most I’d get about 10 minutes out of a piece, sometimes less. Here you can see one that is used up (and it tore as I removed it from the long board) compared to a new piece. Once attached to the long board I used a simple dowel to poke holes at the hole locations to allow the dust collection feature to work. This made a very big contribution to keep the dust to a minimum. In total, for the hull I went through 18 sheets, all cut from one of the rolls I bought earlier.

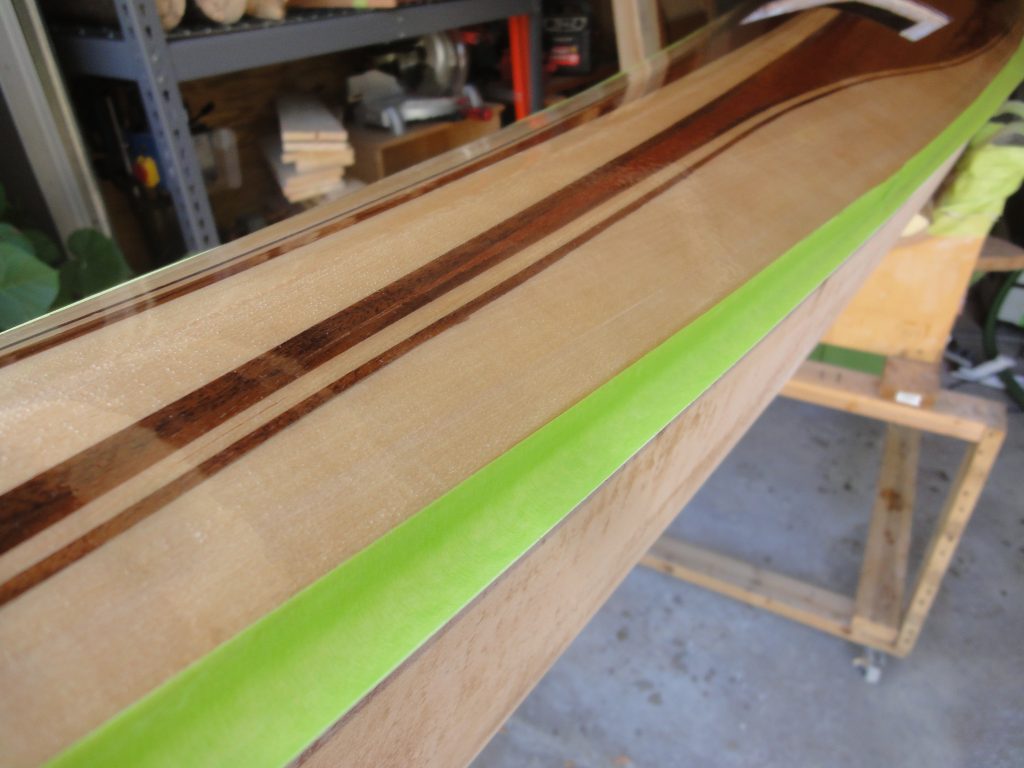
After sanding the entire hull with the long board the results were pretty good. I could have kept going and eventually eliminated every little shiny spot (low spot) but at this point it felt dead flat, the shiny spots were undetectable and I felt comfortable moving on to the next step.

Using the same 80 grit on a the random orbit sander with a contour pad I gave the entire hull a once over to help eliminate any sanding marks from the long board. In the process the remaining shiny spots disappeared as I expected them to. Most areas were covered with both a left-right movement and then a forward-backward movement (90 degrees to the left-right) to ensure total coverage. I think the results speak for themselves. A nice even flat finish.

I did almost 50% of the hull with the random orbit before I was getting tired and decided to stop before I made a mistake. Next opportunity I have to work on it I’ll finish the hull, flip it over and start on the deck with the long board and then finish with the random orbit.

If I find any defects, bubbles in the cloth, etc. those will then need to be fixed before I can move on to the next grits. The smooth and consistent finish will allow for a fairly quick pass with the higher grits. After that I’ll finish up and install the deck line mounts, with a few epoxy applications and sanding afterwards until those areas meet the same level as the rest of the deck.

As to actually using it, well lots of good news. My seat already shipped. I ordered my paddle and that already shipped along with a few safety items. Still very promising that this could be done in time to try it out this year… or at least get it wet and verify it floats.

Filling the Hull

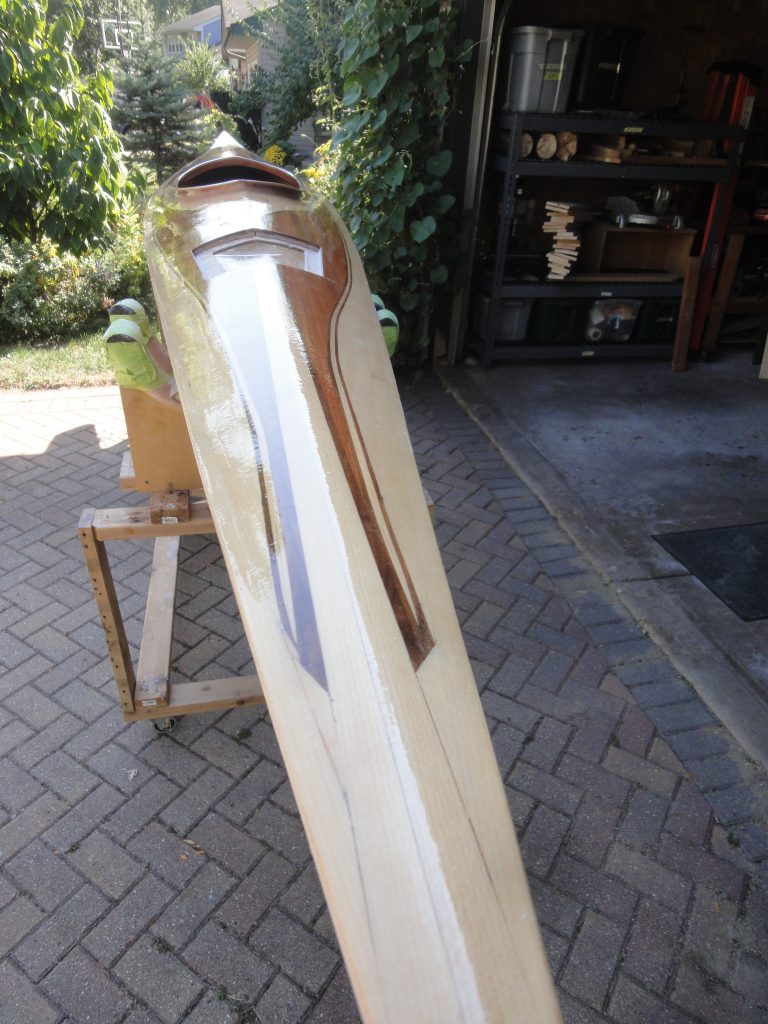
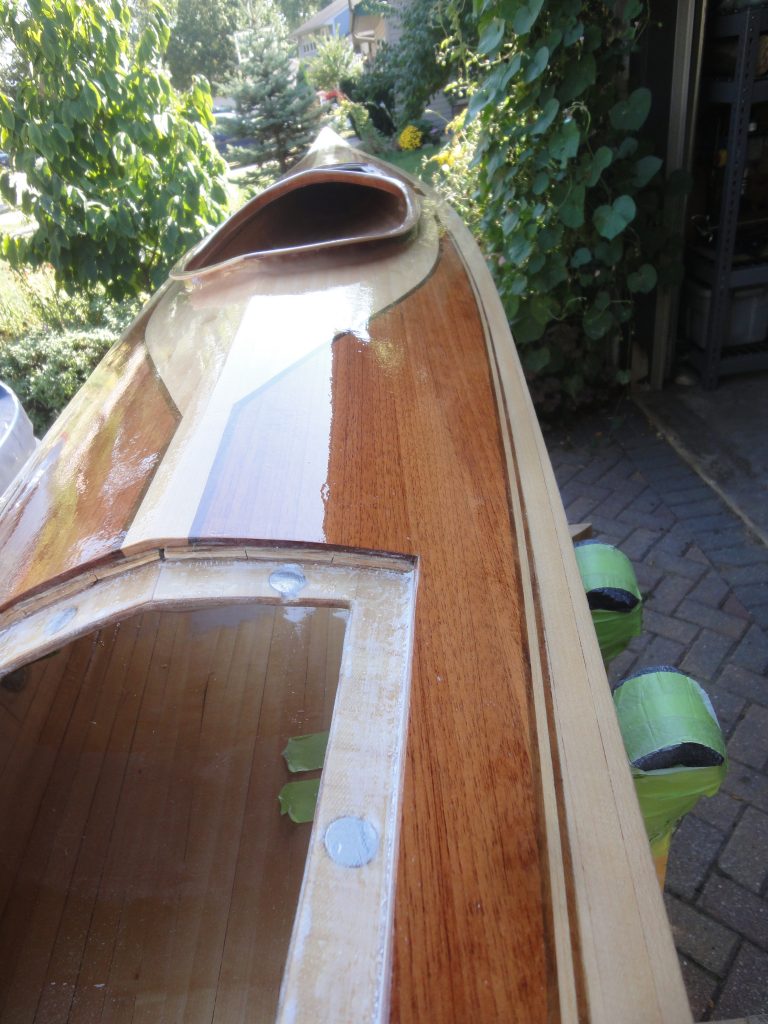
The deck came out fantastic… at least to me. With a filled weave the deck looks just… Wow! Running your hand over it and it’s mostly smooth, a few dust spots, but nothing that won’t disappear with the next rounds of sanding. Zooming in and you see a bunch of “fuzz” along the reflections but this is pretty much just brush strokes. Sanding with the long board should eliminate these pretty quick.
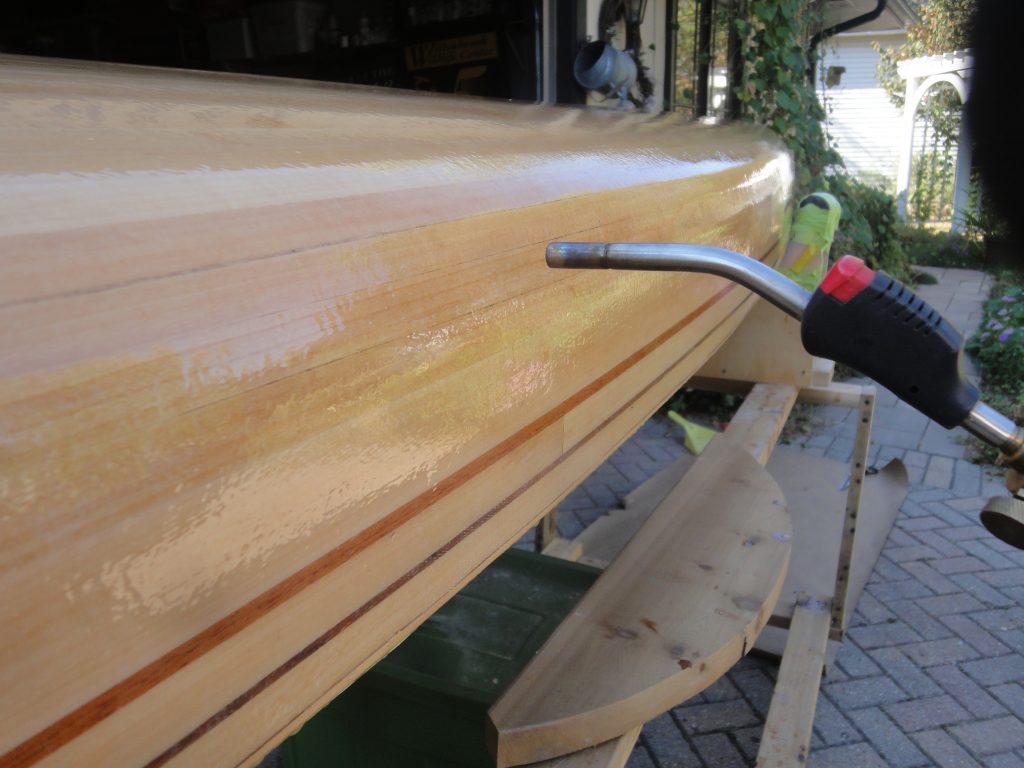
So I put a drip edge on the deck, flipped it over and epoxied the hull. When done I passed the torch quickly over the surface to pop any bubbles. Let’s hope the hull comes out as good.

Today was mostly about letting the epoxy dry so hopefully this weekend I can start the final sanding passes.

Sanding, Seaming and Filling

A few days off of work and weather that decided to cooperate. Not too hot to work, not too cold for epoxy application. Nice….

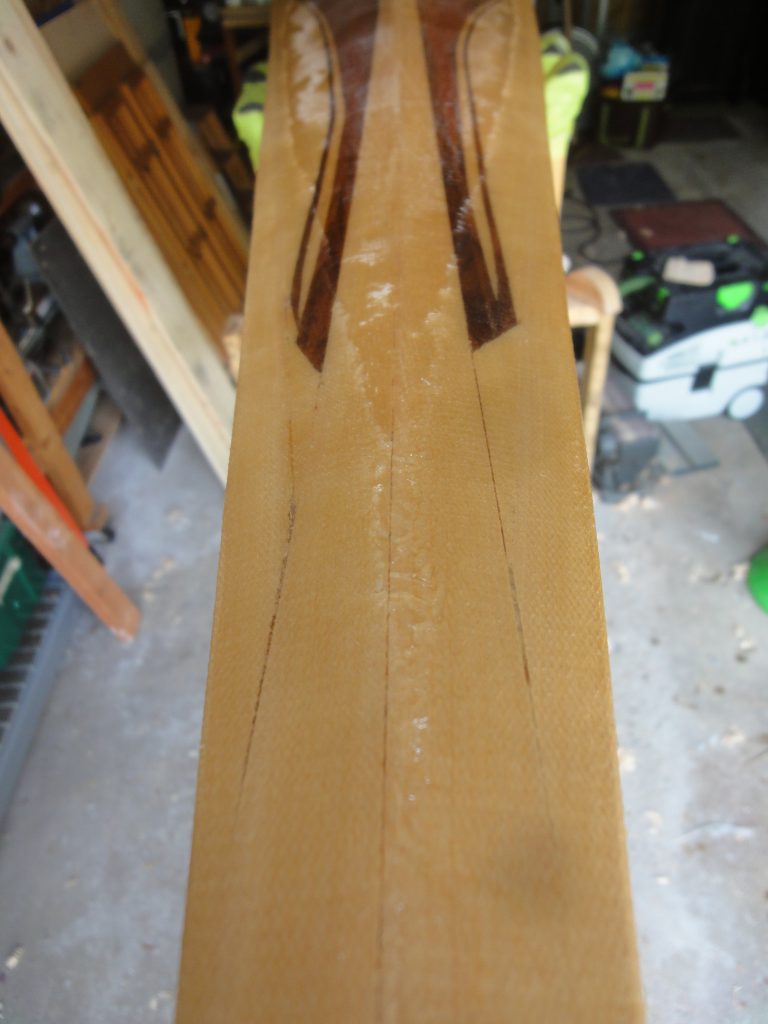
So I started with sanding down the outside seam and more or less got carried away and sanded the entire kayak. There were a few goals. One was to make it a smooth transition which you can see in the first picture it is not but by the third one (on the left half) it is. I also found a bubble in the seam which I cut out and then sanded smooth to blend it.

The goal was not a perfectly smooth finish, but to minimize any bumps as next will be an epoxy fill coat which should help to fill any cloth weave that is still there. In the last image you can see it isn’t smooth, but when running your hand over it the visible valleys are pretty much undetectable.

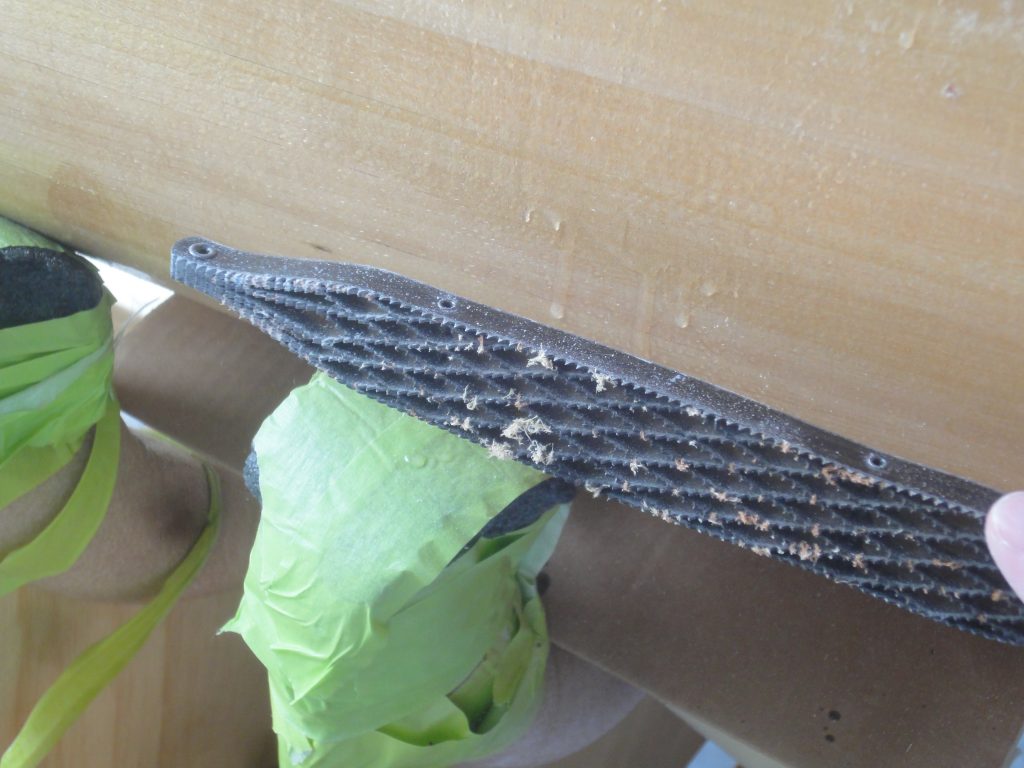
As I moved along the hull I found some larger drips. These were best taken down first before sanding to avoid creating divots in the surrounding area. The rasp worked well for this with any surrounding scratches eliminated when sanded.

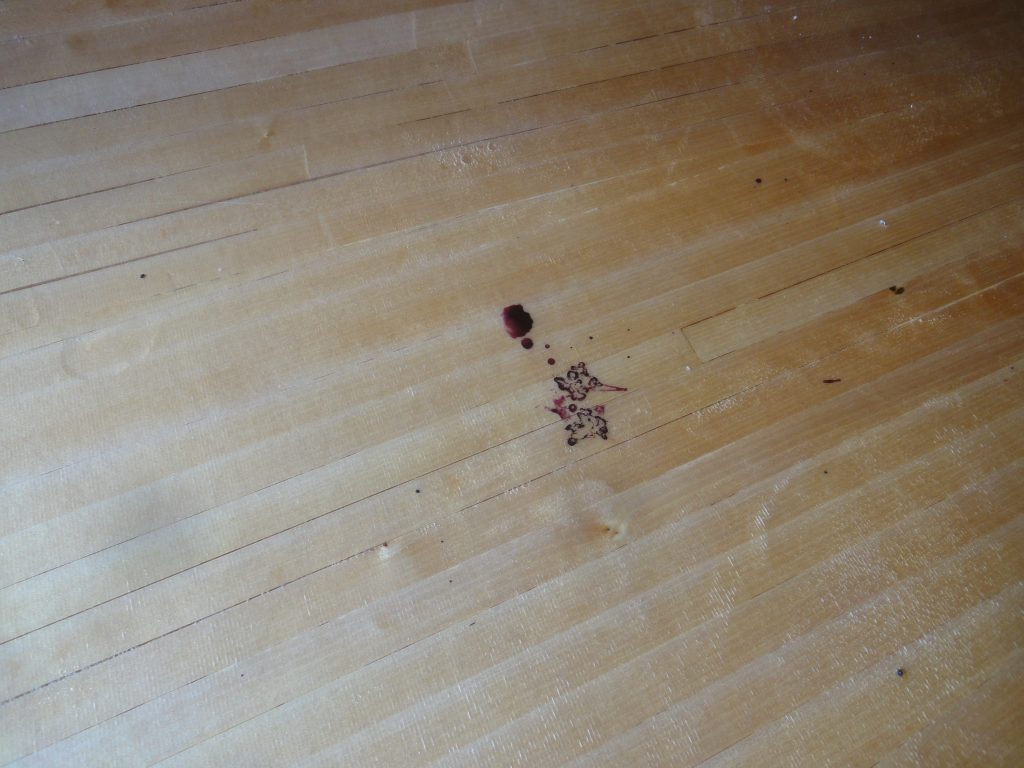
I had the kayak partially in the garage and partially out of the garage. At one point I looked in side and saw that a bird must have flown over and left a dropping filled with pokeweed berry residuals. It was already pretty well dried. Some cleaners and solvents did not remove it so I had to resort to sanding it out. My wife thought this was a good sign that nature was blessing the boat. If it floats and works, who am I to argue.

Once the sanding was done I took some of the spare bias strips I cut last time and applied them to the front and back. On the bow (front) I did a double layer over the part that would most likely contact an underwater hazard, rock, shoreline or in general impact something first. Standard process. Dab on epoxy to thoroughly wet it out and bias cut to conform to the curves. Squeegeed it afterwards.

Today I checked and the epoxy was hard and dried. Following the same methods I sanded down to a smooth transition, took off any drips, etc. When finished I went ahead and taped up a drip edge along the hull and then applied a brushed on epoxy coat to the deck. After applying I went over it with the propane torch to help smooth it and pop any bubbles. This was a thick coat but didn’t include any fillers. The goal here is to allow it to settle and hopefully be sufficient to fully enclose all of the cloth. No weave patterning through, etc. If so then I’ll be able to move onto final sanding. If not then it’ll need a light sanding and another fill coat.

Just before applying the epoxy I took measurements as required by Redfish as I’m intending to purchase a seat from them. They’re not cheap, but do come strongly recommended from many sources and quite frankly the cost to purchase vs cost/time to make is worth it to me. That might sound strange as I’ve got hundreds of hours into making a kayak… but I wanted to make a kayak, not so much a seat. Maybe down the road I might swap it out if I ever make one, but for now I think I will be quite happy with the foam one.

So the remaining to do list is:

  • End pours
  • Order seat & maybe skirt & maybe cover – in progress
  • Install bulkheads
  • Drill/fit carry handle/tie down holes
  • Outside final fill coat(s) – in progress
  • Outside final sanding(s)
  • Install line guides
  • Line guide fill and sanding
  • Varnish, varnish, varnish

Outer Seam

Today saw the final step in making the boat water tight. The outer seam. To start with, the “patches” applied yesterday were trimmed down and shaped to blend in with the existing curves of the deck and sides.

This involved mostly planing, hand sanding, some shaping with the rasp and finally a quick hit with the random orbit sander. I then ran down the deck and side scuffing up and smoothing out any bumps or drips in order to make a good surface for the seam fiberglass.

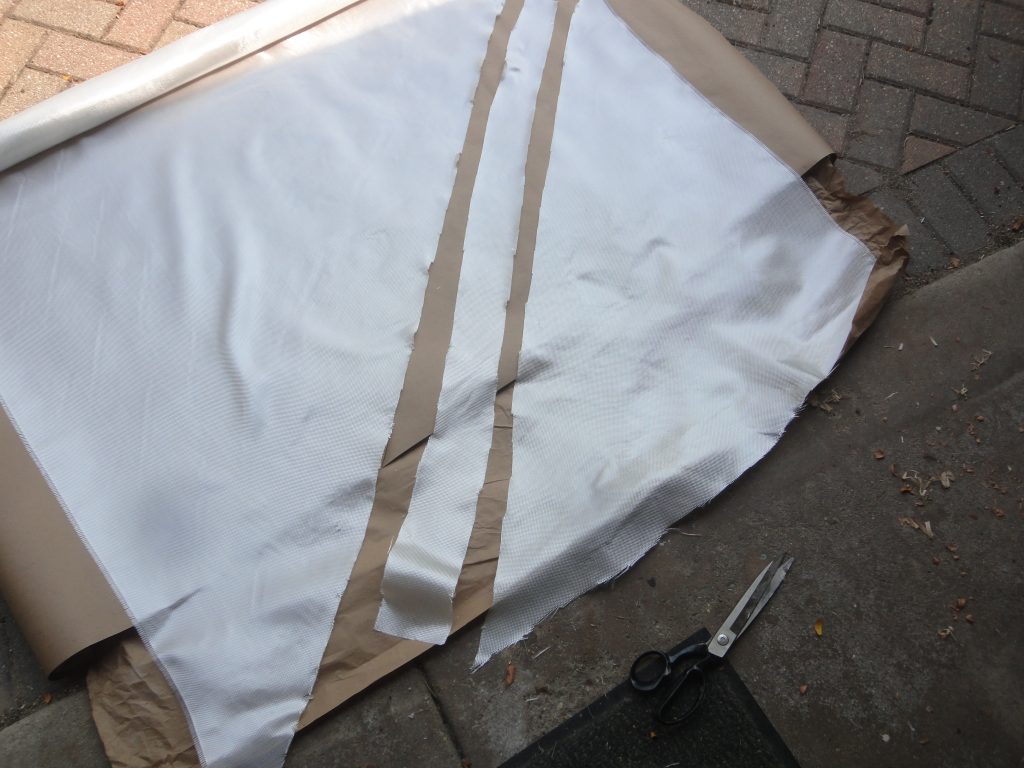
Instead of using the roll fiberglass on the outside I saw a well timed “tip” in the Kayak Building Facebook group suggesting the use of bias cut cloth instead since it doesn’t have the thick edge like the roll does. So I had just enough scrap pieces and about a 6′ length of the original roll left. I trimmed out some bias (diagonal) cut pieces from it and laid along the edge of kayak until I had enough. A few extras were cut for later bow and stern use.

Being bias cut they contour much more easily to bends. I helped them along by easing the sharp edge of the deck with a few passes with a sanding block to round it over slightly. This will help the fiberglass not have to turn so abruptly and also not be a sharp point hitting my shins or any other part of me if I have to do a wet entrance in the future.

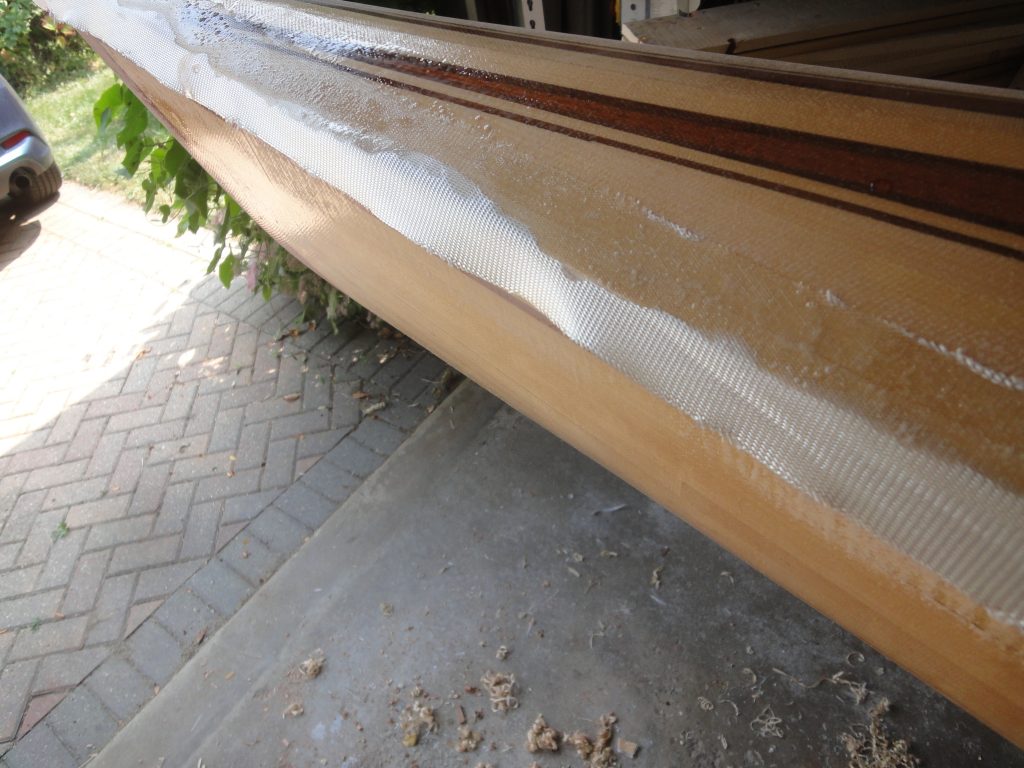
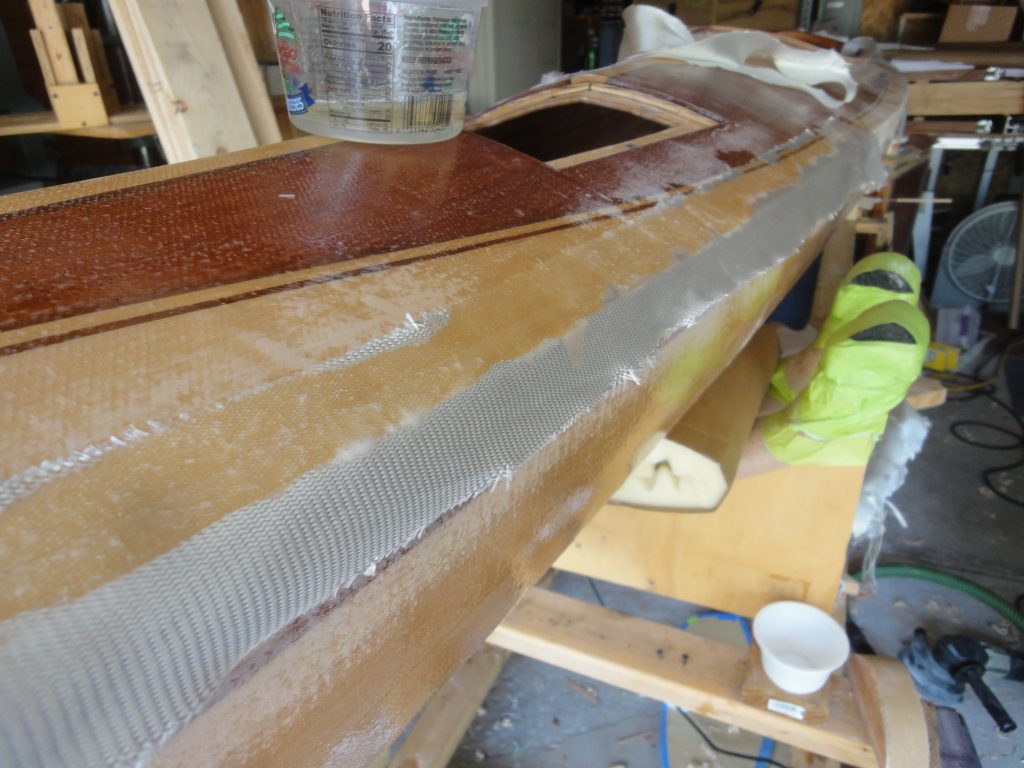
The installation process is no different than any other fiberglass application I’ve done before. Place tape, dab on epoxy with a disposable brush to anchor it in place and then go back and saturate it. After a few minutes follow up with the squeegee to remove any excess. When done the seam all but disappears. Later. after it dries, the edge of the tape will be sanded and blended with the rest of the deck. Had I used the roll this edge would be much more pronounced and harder to sand out.

The other accomplishment today was to glass the other side of the bulkheads. Same process as last time.

To do list:

  • Keel work (strip (or two) over front and back stems, filler pieces
  • End pours
  • Order seat & maybe skirt & maybe cover
  • Install bulkheads
  • Drill/fit carry handle/tie down holes
  • Outside final fill coat(s)
  • Outside final sanding(s)
  • Install line guides
  • Line guide fill and sanding
  • Varnish, varnish, varnish

Bow, Stern & Bulkheads

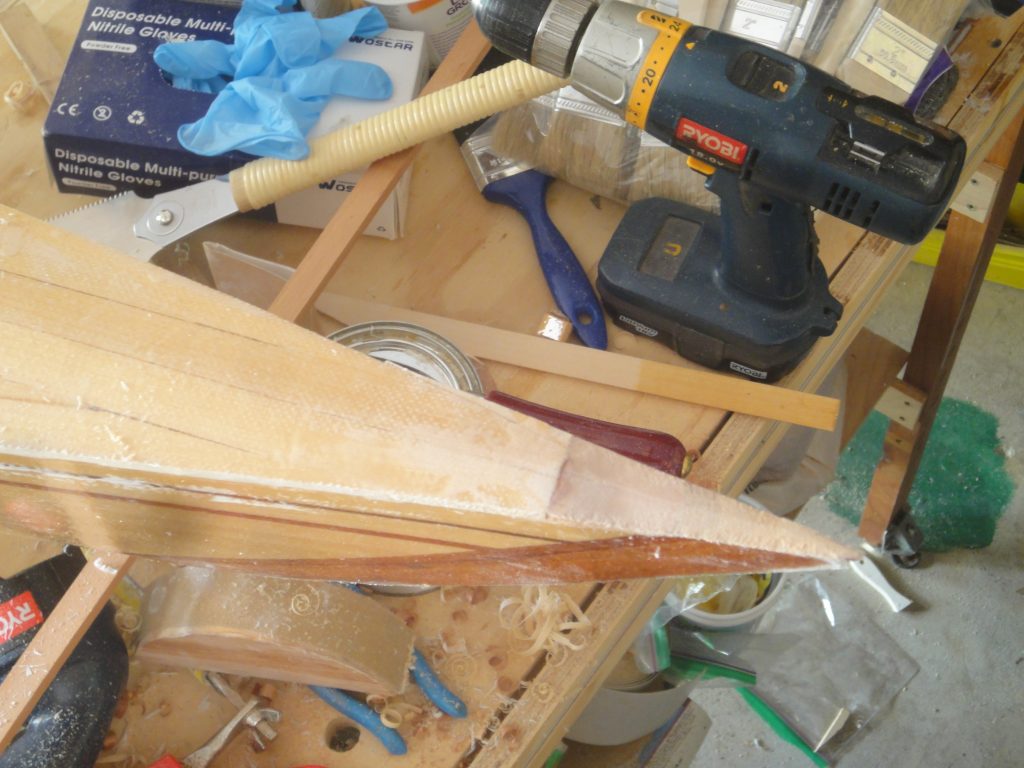
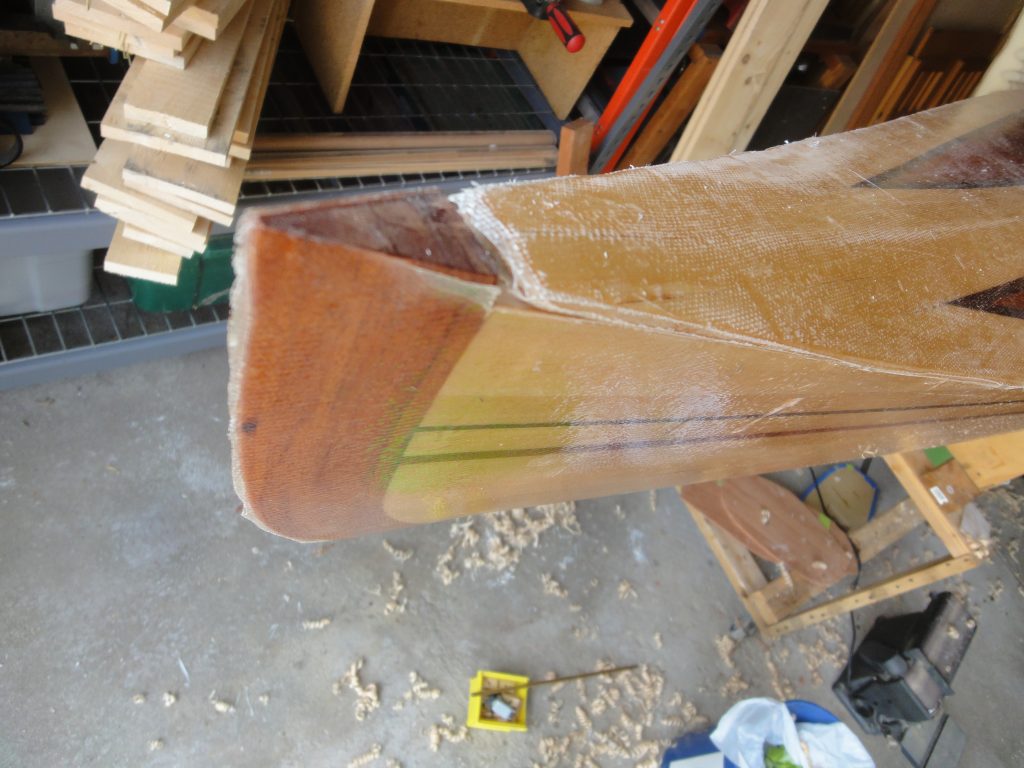
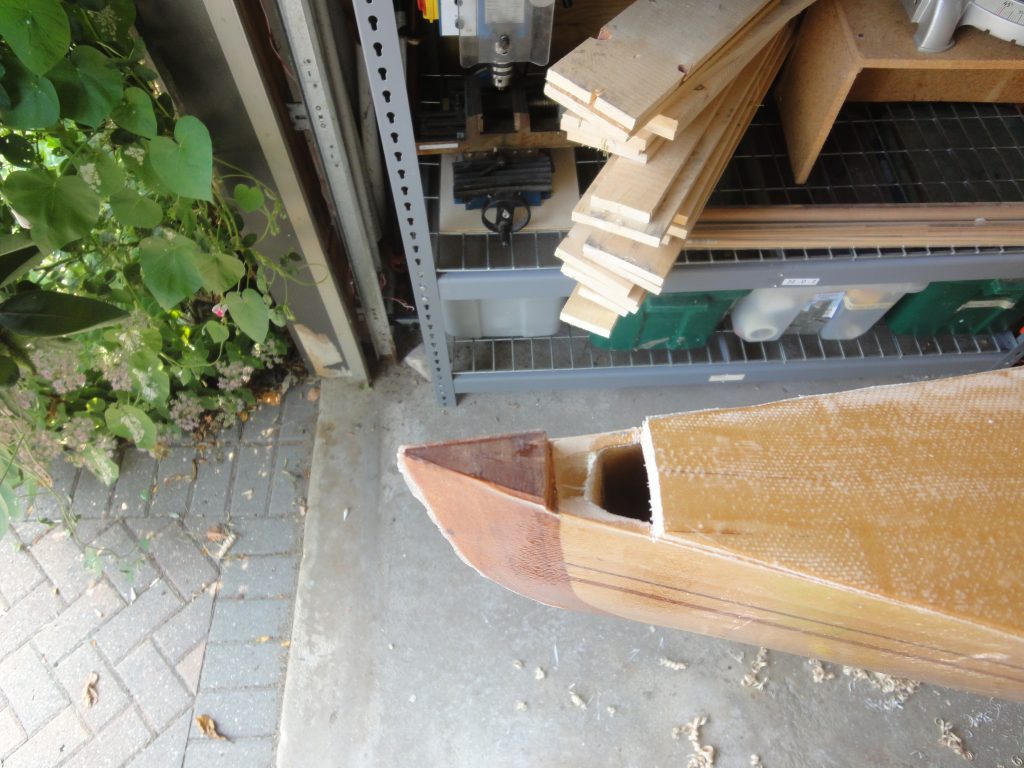
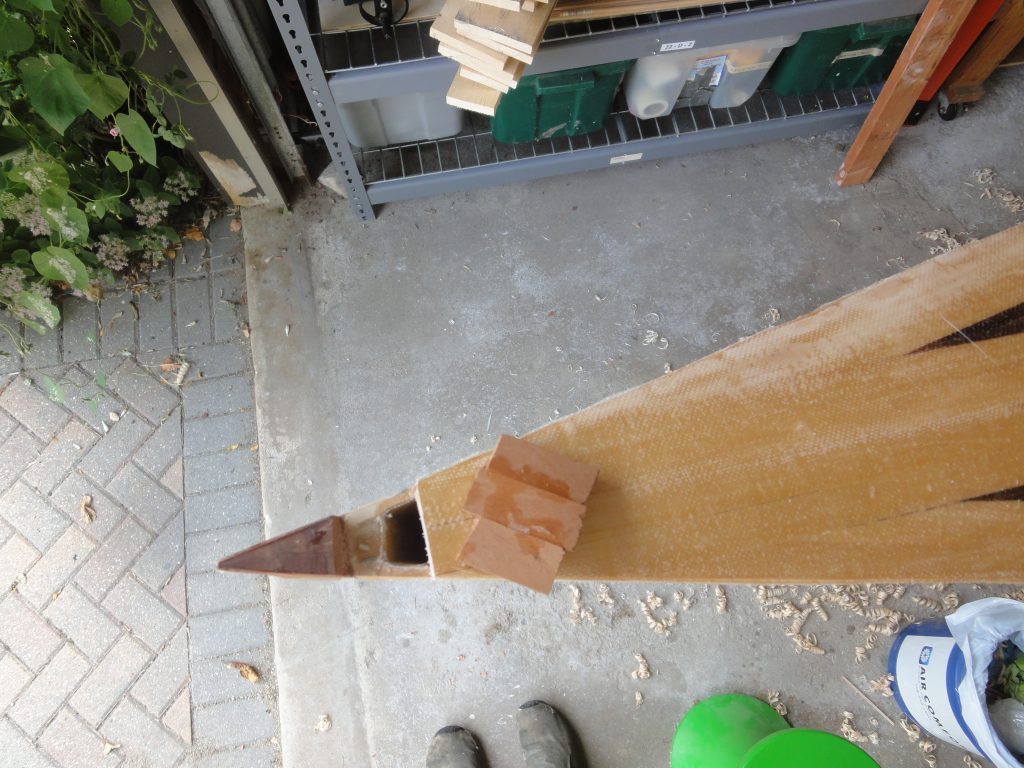
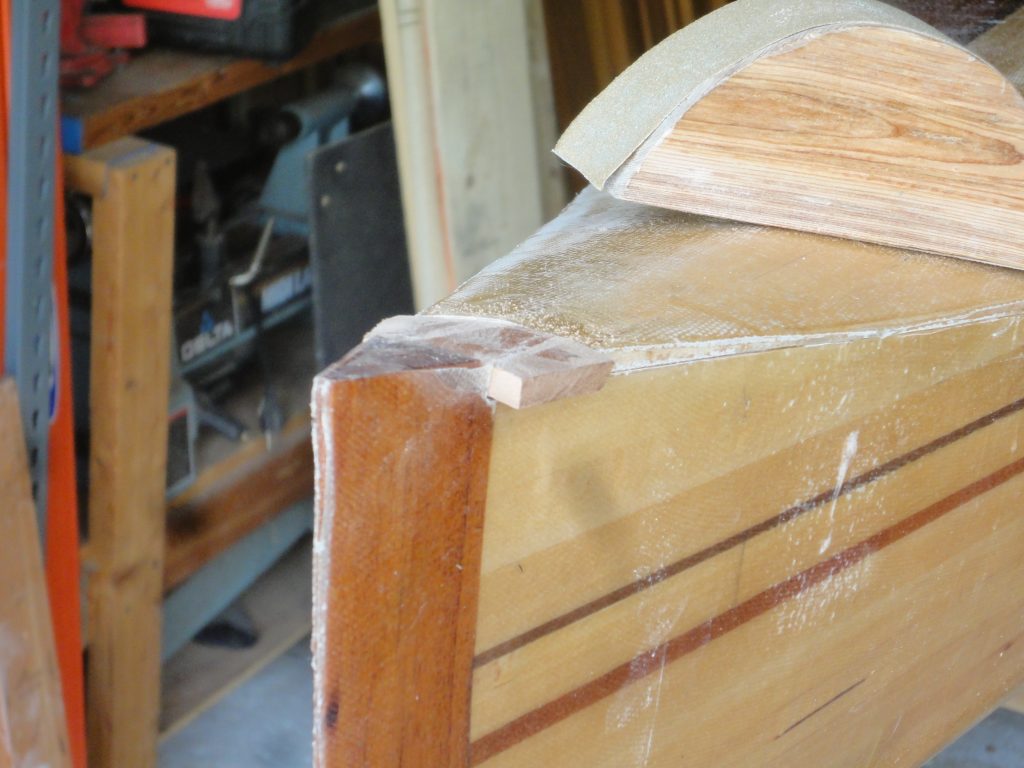
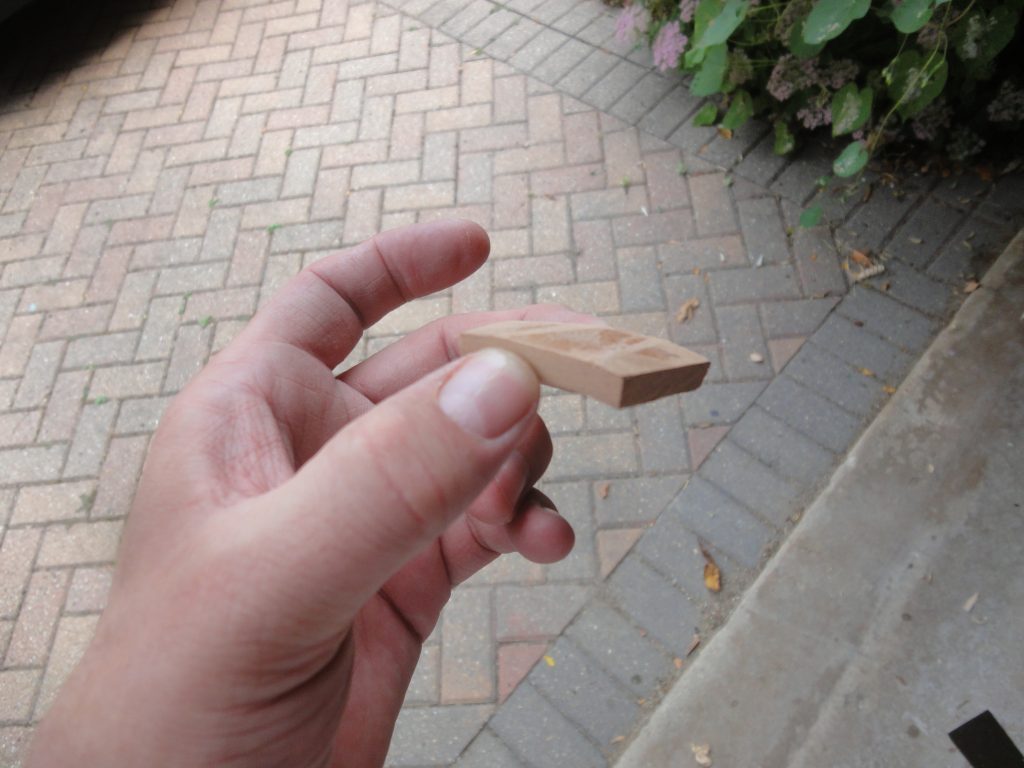
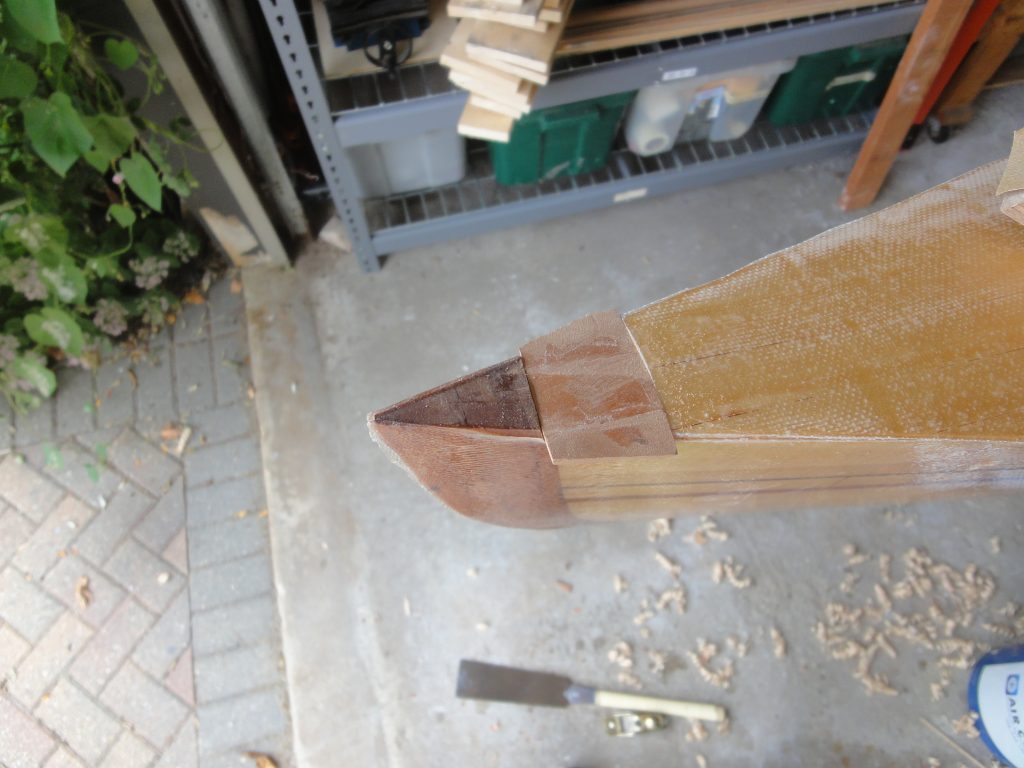
The bow and stern where the deck meets the keel was never fitted perfectly as I had planned to do final fitting only after joining the two pieces. While it’s close there still is a gap that needs to be filled. Instead of trying to get a little piece in there I cut back the deck a bit to create a larger opening. I want this piece to match to the keel so I used the Spanish cedar to fill it in. A few small strips were cut and glued. Once dried I slowly planed and sanded until I had a snug fit.

I repeated the same process at the front, the pictures above are the back, and then saturated them with epoxy to “glue” them in place.

Since these need to dry before I can trim and do the final shaping I turned to the bulkheads. Some final fitting was done to ensure they could be put in (now that the boat is assembled) and a bit of sanding and tweaking until I was happy with the fit. I then ran the random orbit over the entire surface to smooth it out, remove any remaining glue and pencil marks and prep it for fiberglassing.

A few pieces of scrap material were cut to size and mixing up a small batch, dabbing it on with a brush and then using the squeegee to remove the excess I got one side of each done. Hopefully they’ll dry sufficiently overnight (they should actually be dried to the touch in a few hours) that I can epoxy up the other side tomorrow.