
Next few entries are going to be kind of boring. Well, maybe. It’s time to sand and sand and sand and… Well you get the idea.
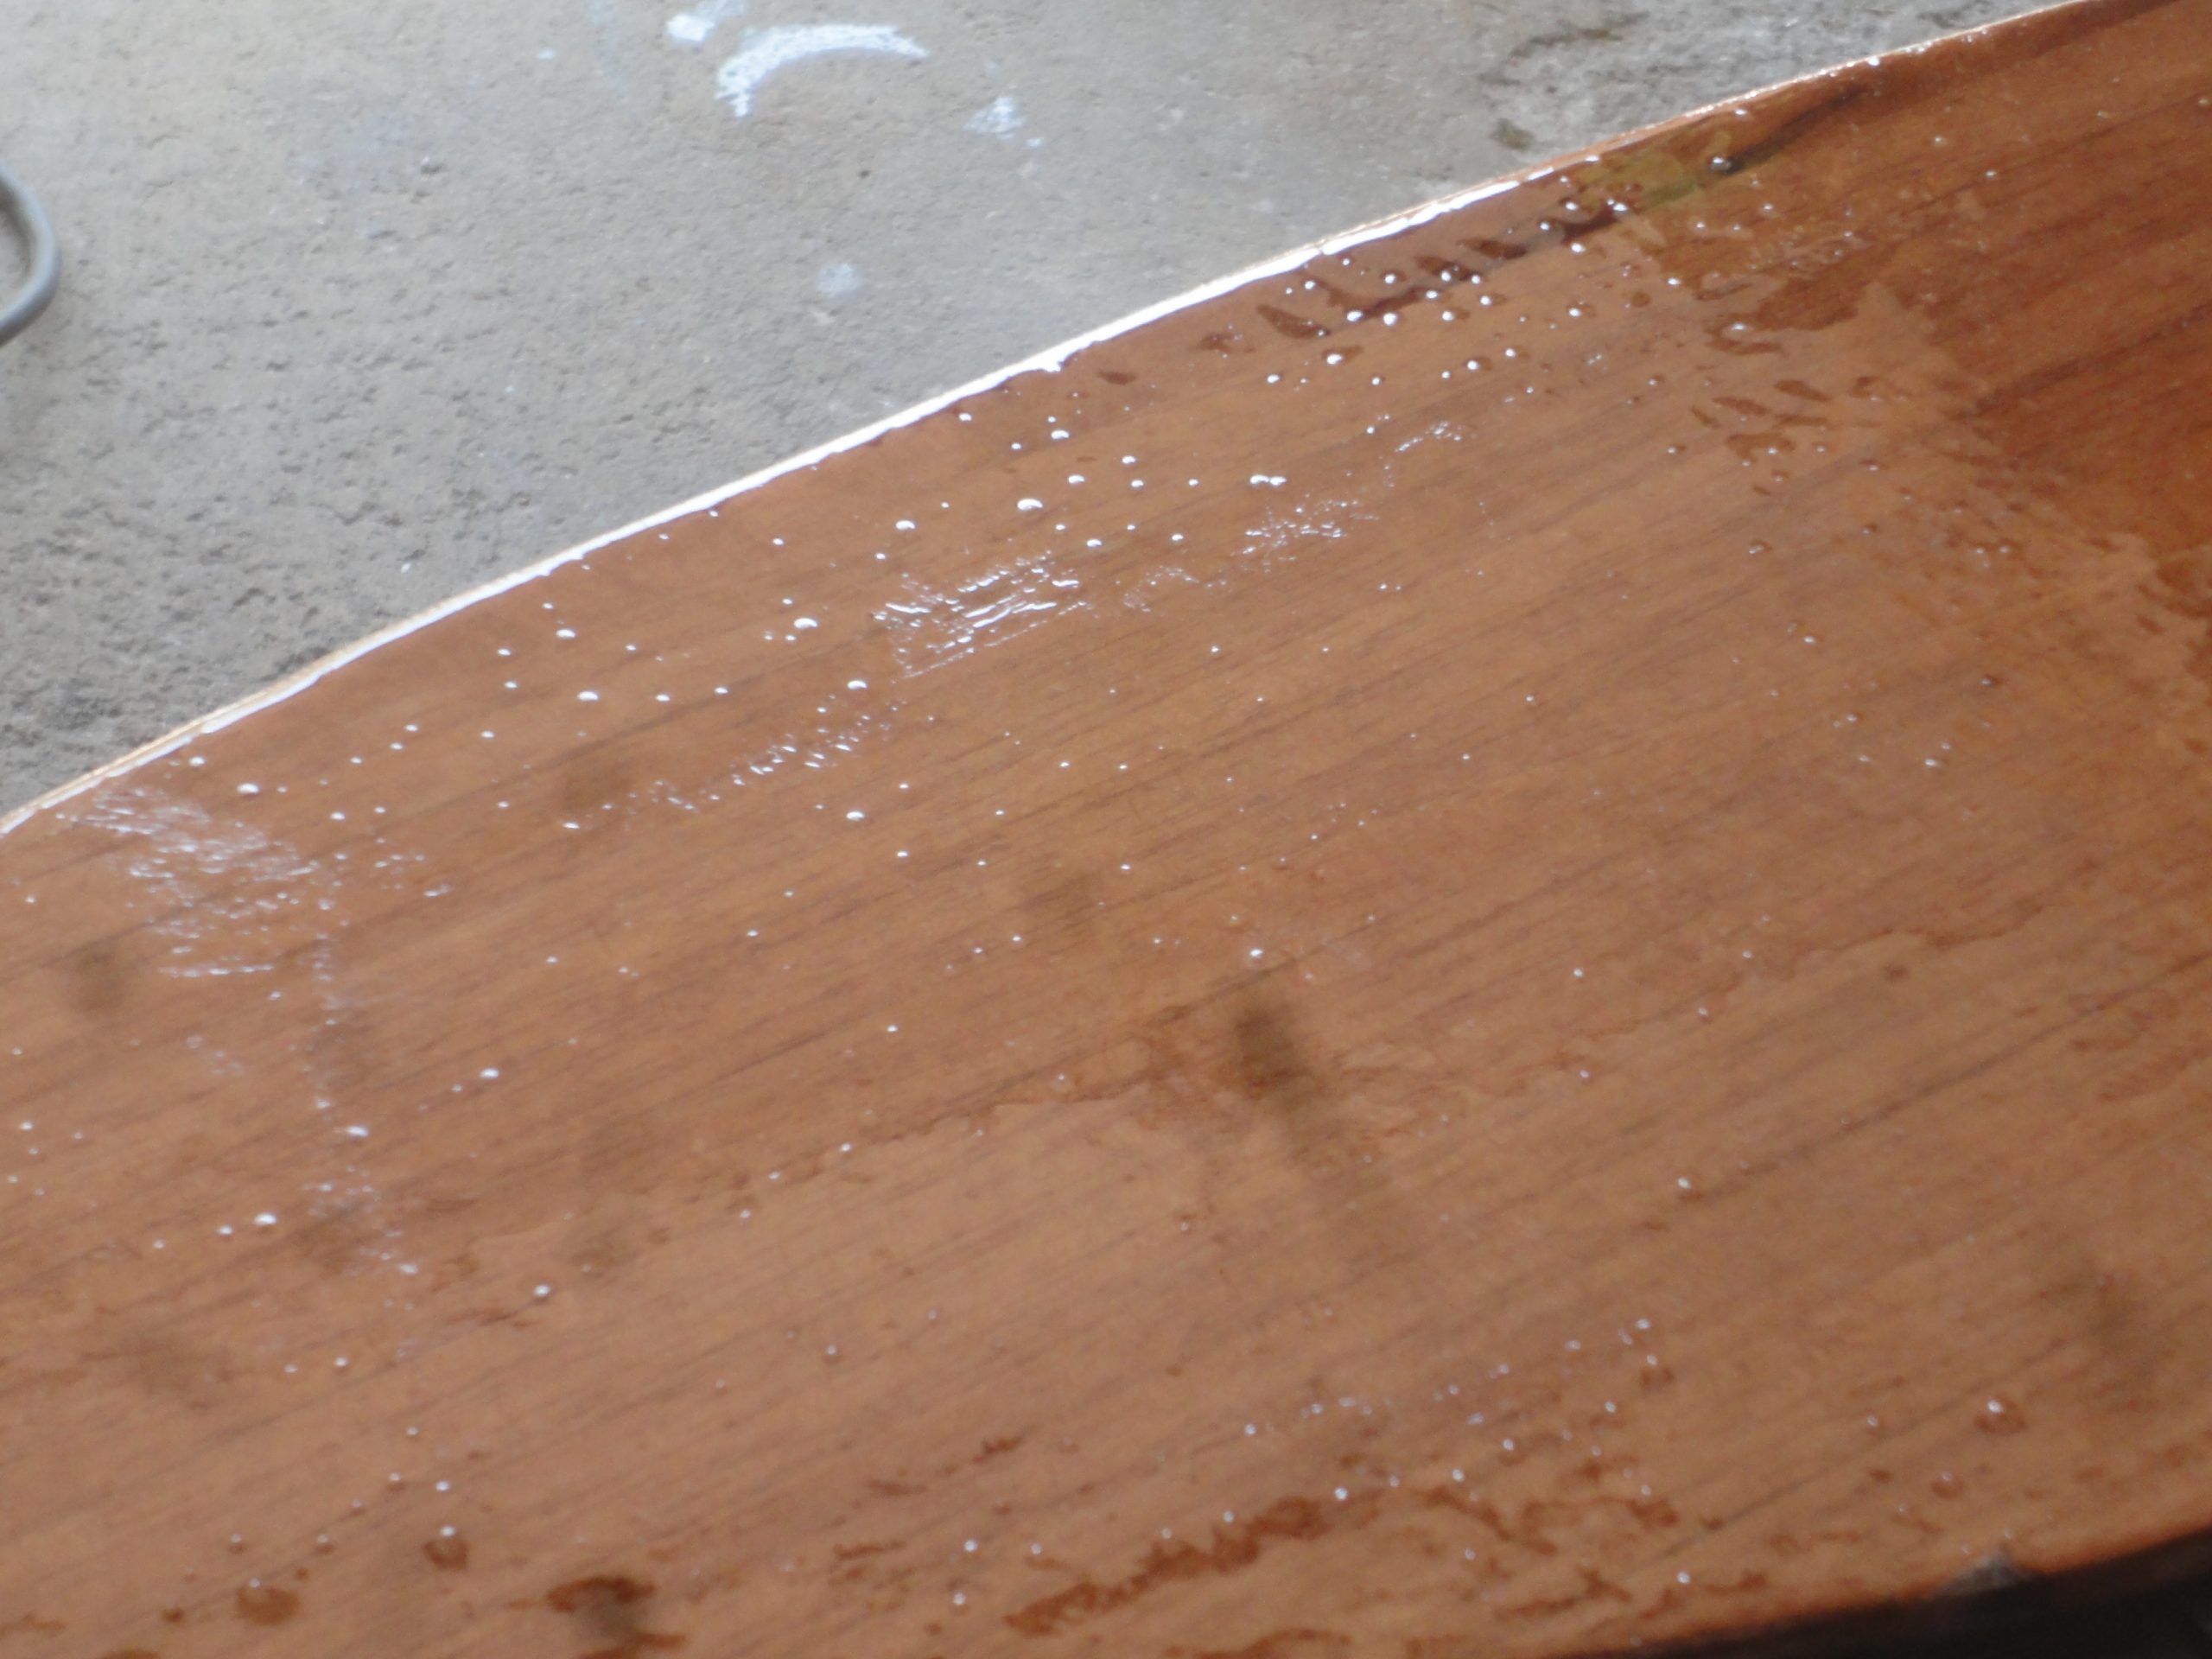
Looking at the photo of a bulkhead illustrates the reason to sand. To the touch this feels very smooth with just the occasional little nib or bump sticking up, barely felt. But with a zoom in you can see in the photo all the bubbles, specs of dust, brush marks and other contaminates in the surface.
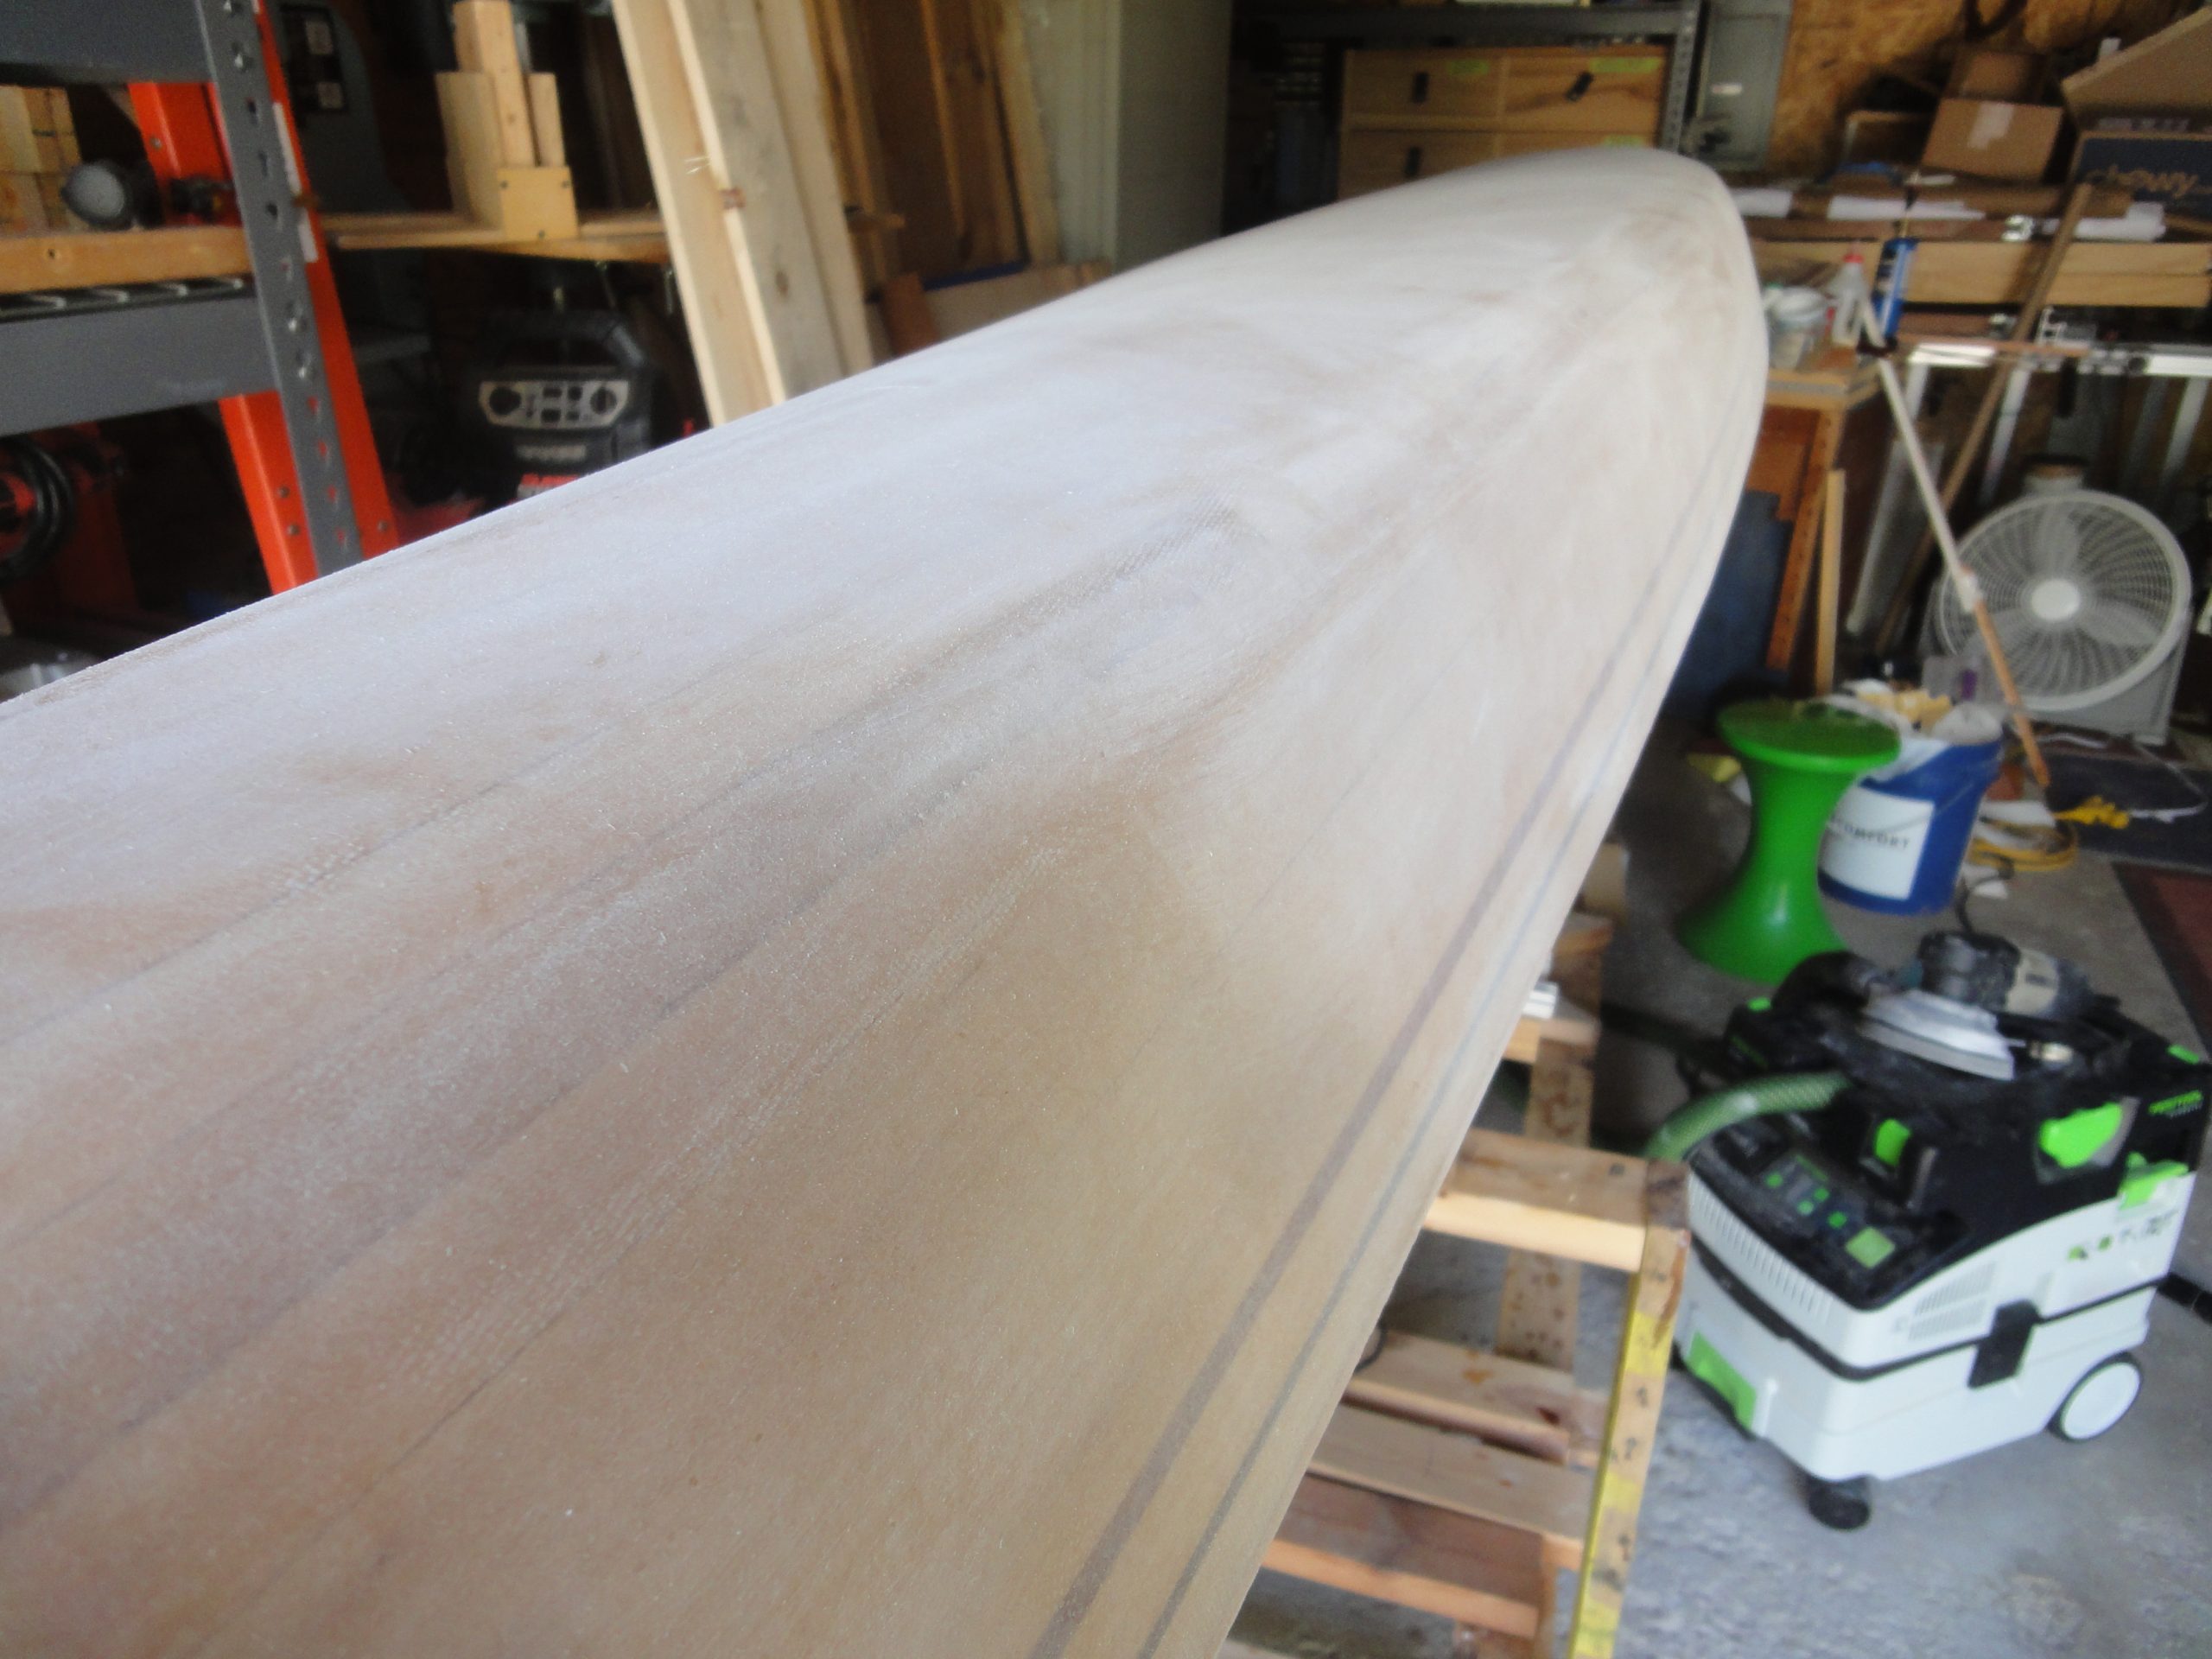
So back to the exterior of the kayak. It’s very similar to the bulkhead sample above in terms of feel and appearance. Not much I can do when my work shop is a garage with an open door. I started with the long board using 80 grit paper. Back and forth, mostly with the grain. The goal is to get a uniform surface. In the process I’m knocking off all the surface contaminates and lowering the high spots.

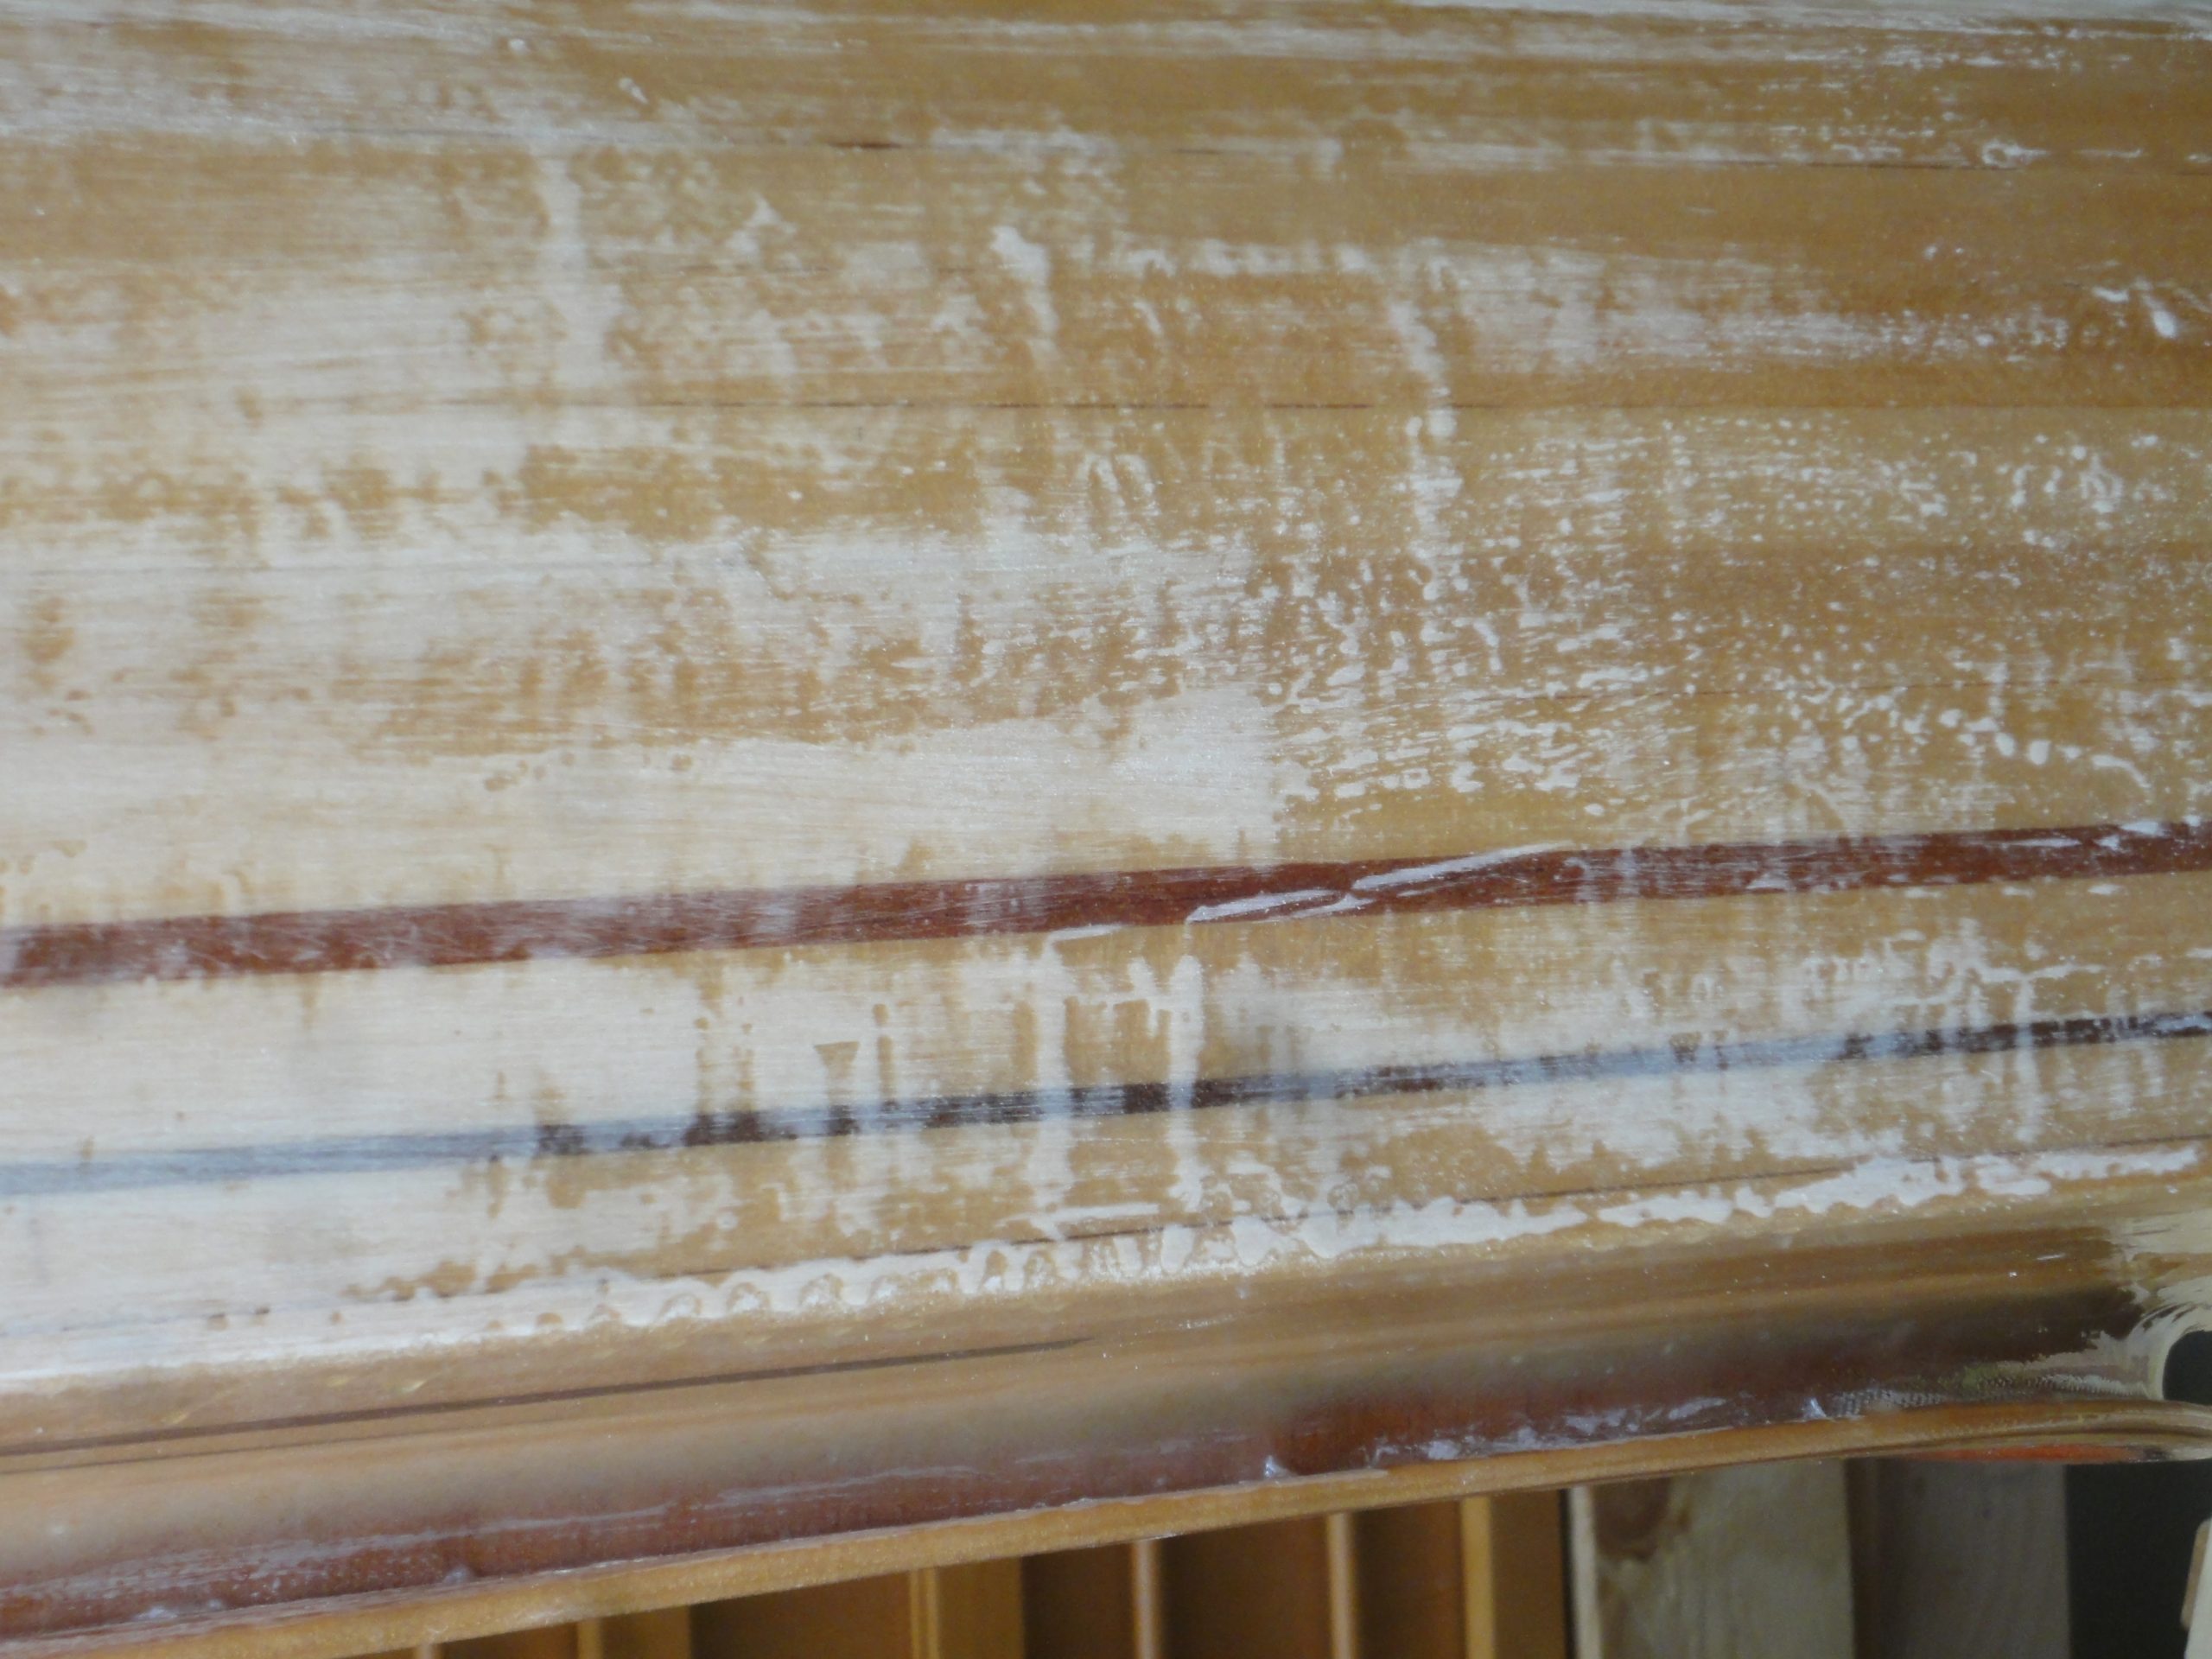
As the sanding continues it quickly reveals the high spots (sanded) and the low spots (untouched). Keep in mind to the touch many of these high/low differences are barely felt if at all. Very minor drips or runs, sags in the epoxy as it setup and even brush marks all manifest in the surface.
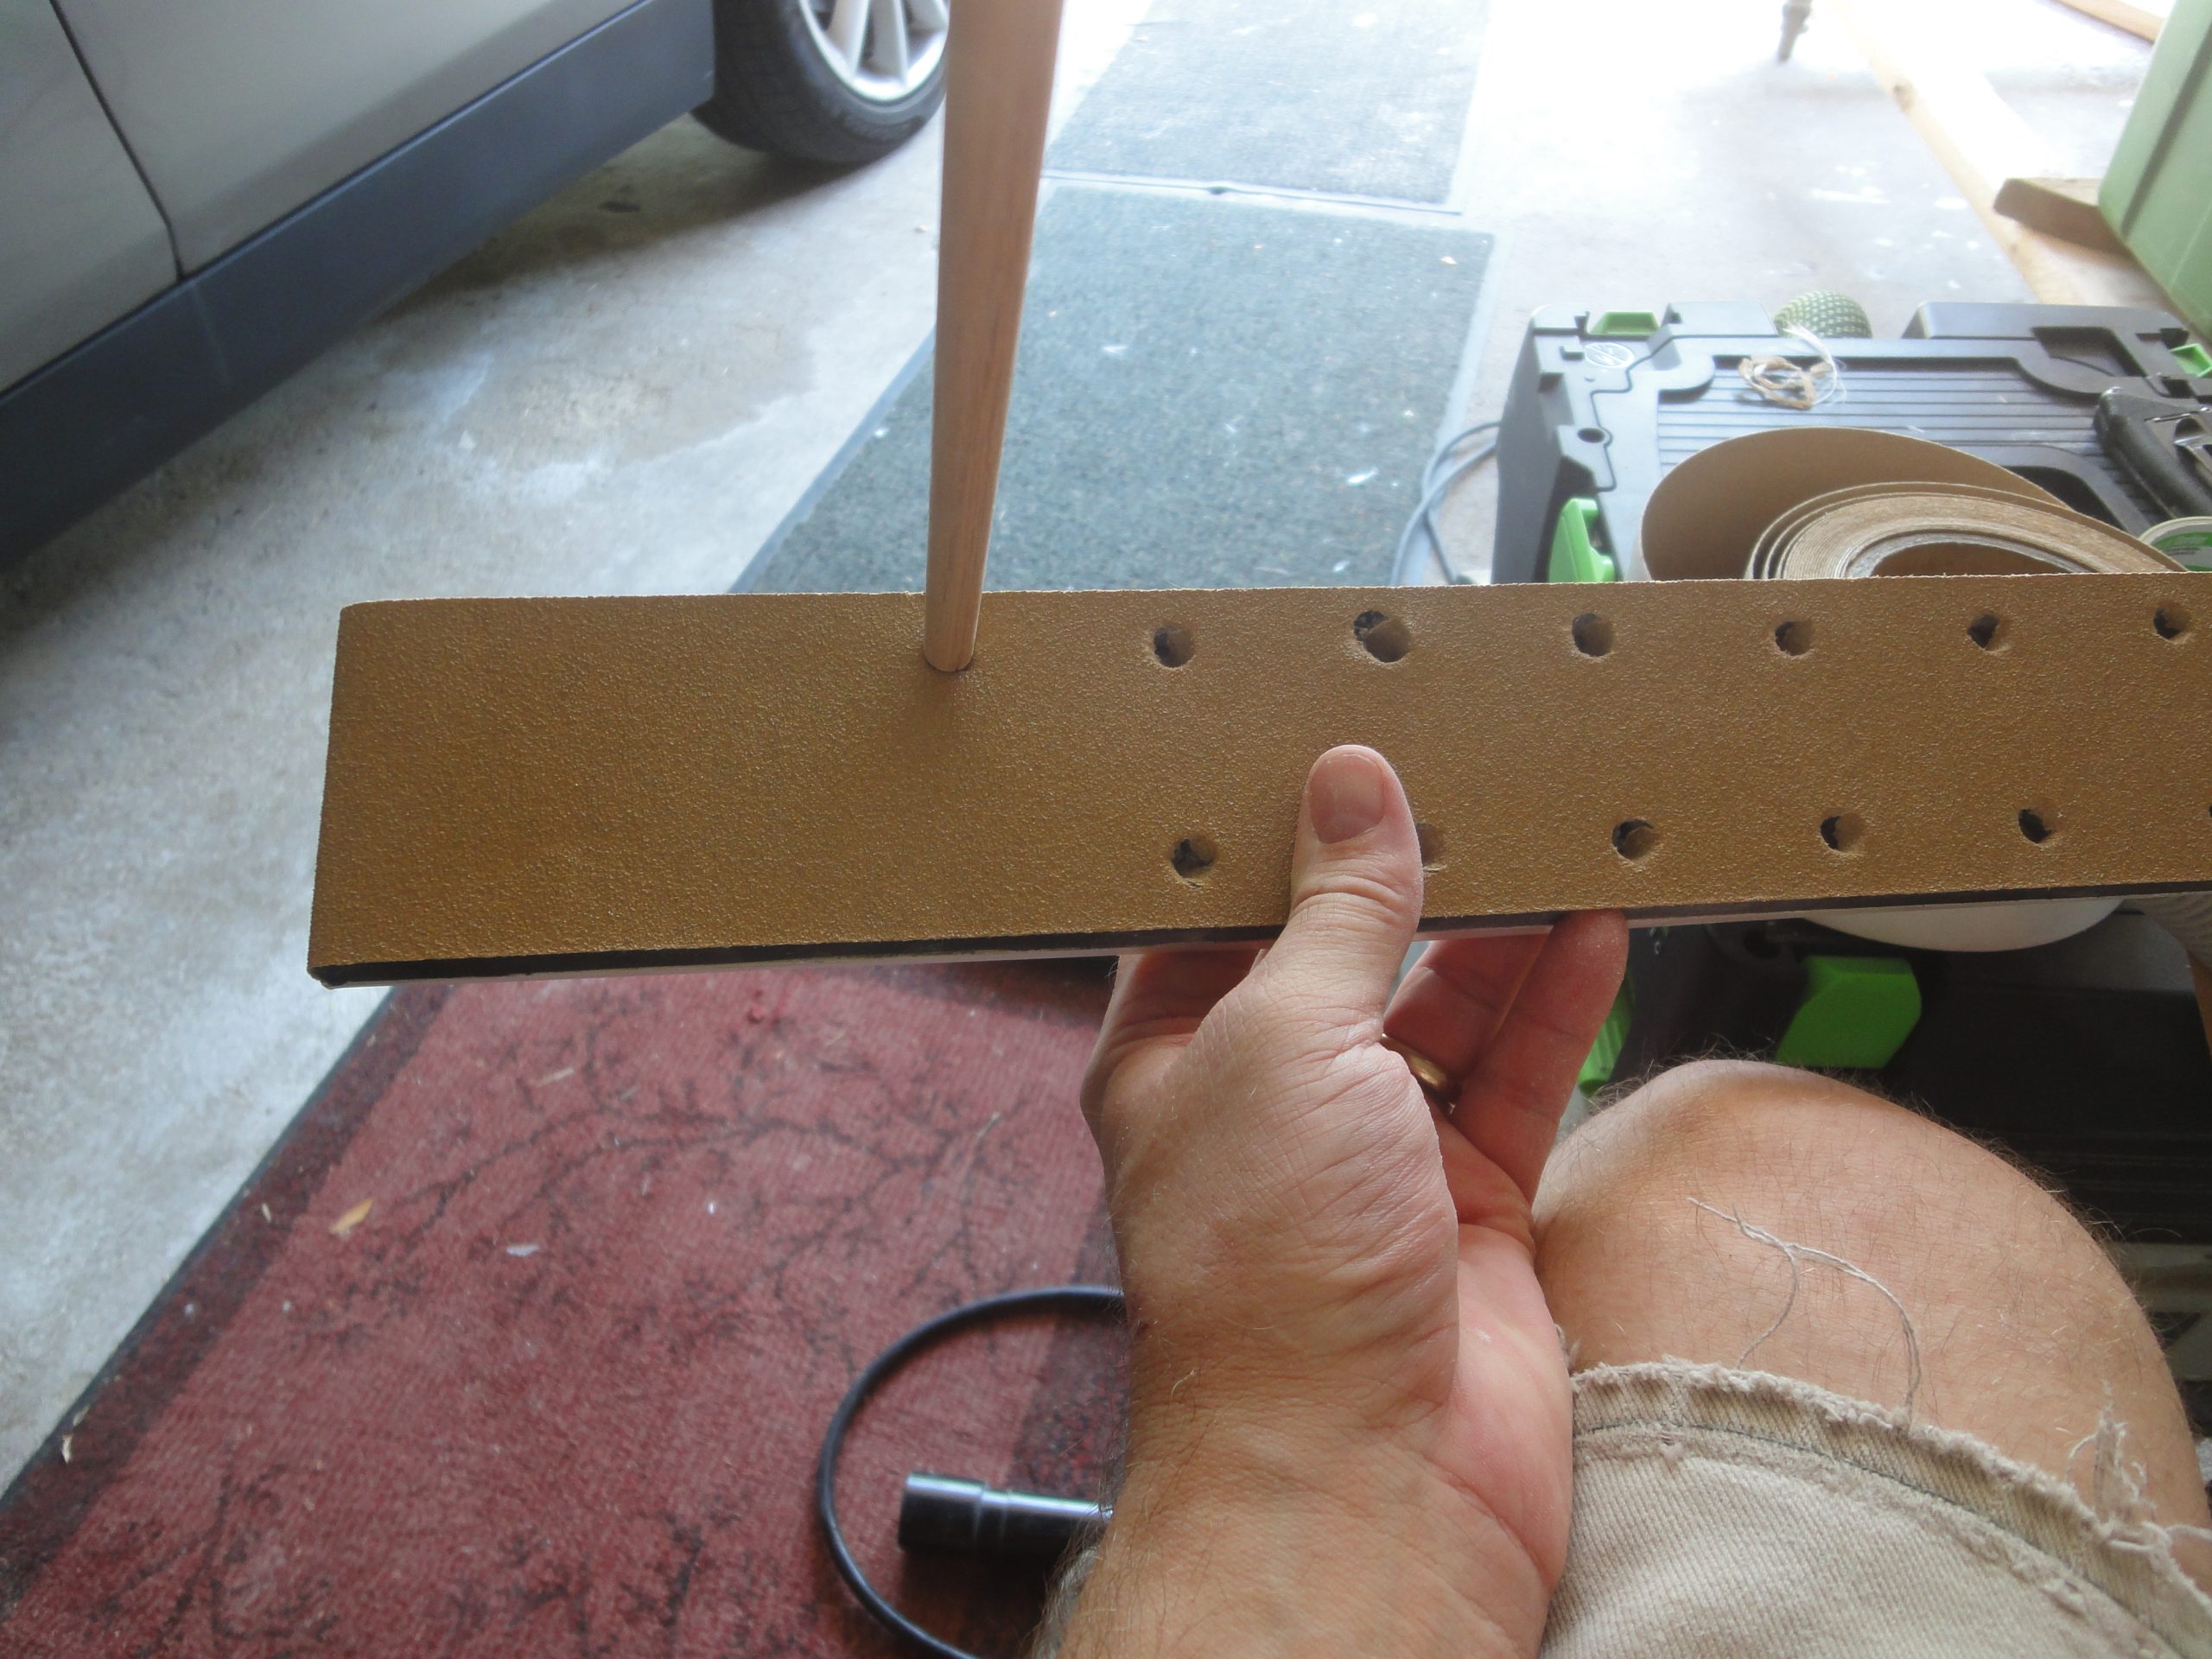
The epoxy fairly quickly ground down the sand paper so at most I’d get about 10 minutes out of a piece, sometimes less. Here you can see one that is used up (and it tore as I removed it from the long board) compared to a new piece. Once attached to the long board I used a simple dowel to poke holes at the hole locations to allow the dust collection feature to work. This made a very big contribution to keep the dust to a minimum. In total, for the hull I went through 18 sheets, all cut from one of the rolls I bought earlier.

After sanding the entire hull with the long board the results were pretty good. I could have kept going and eventually eliminated every little shiny spot (low spot) but at this point it felt dead flat, the shiny spots were undetectable and I felt comfortable moving on to the next step.
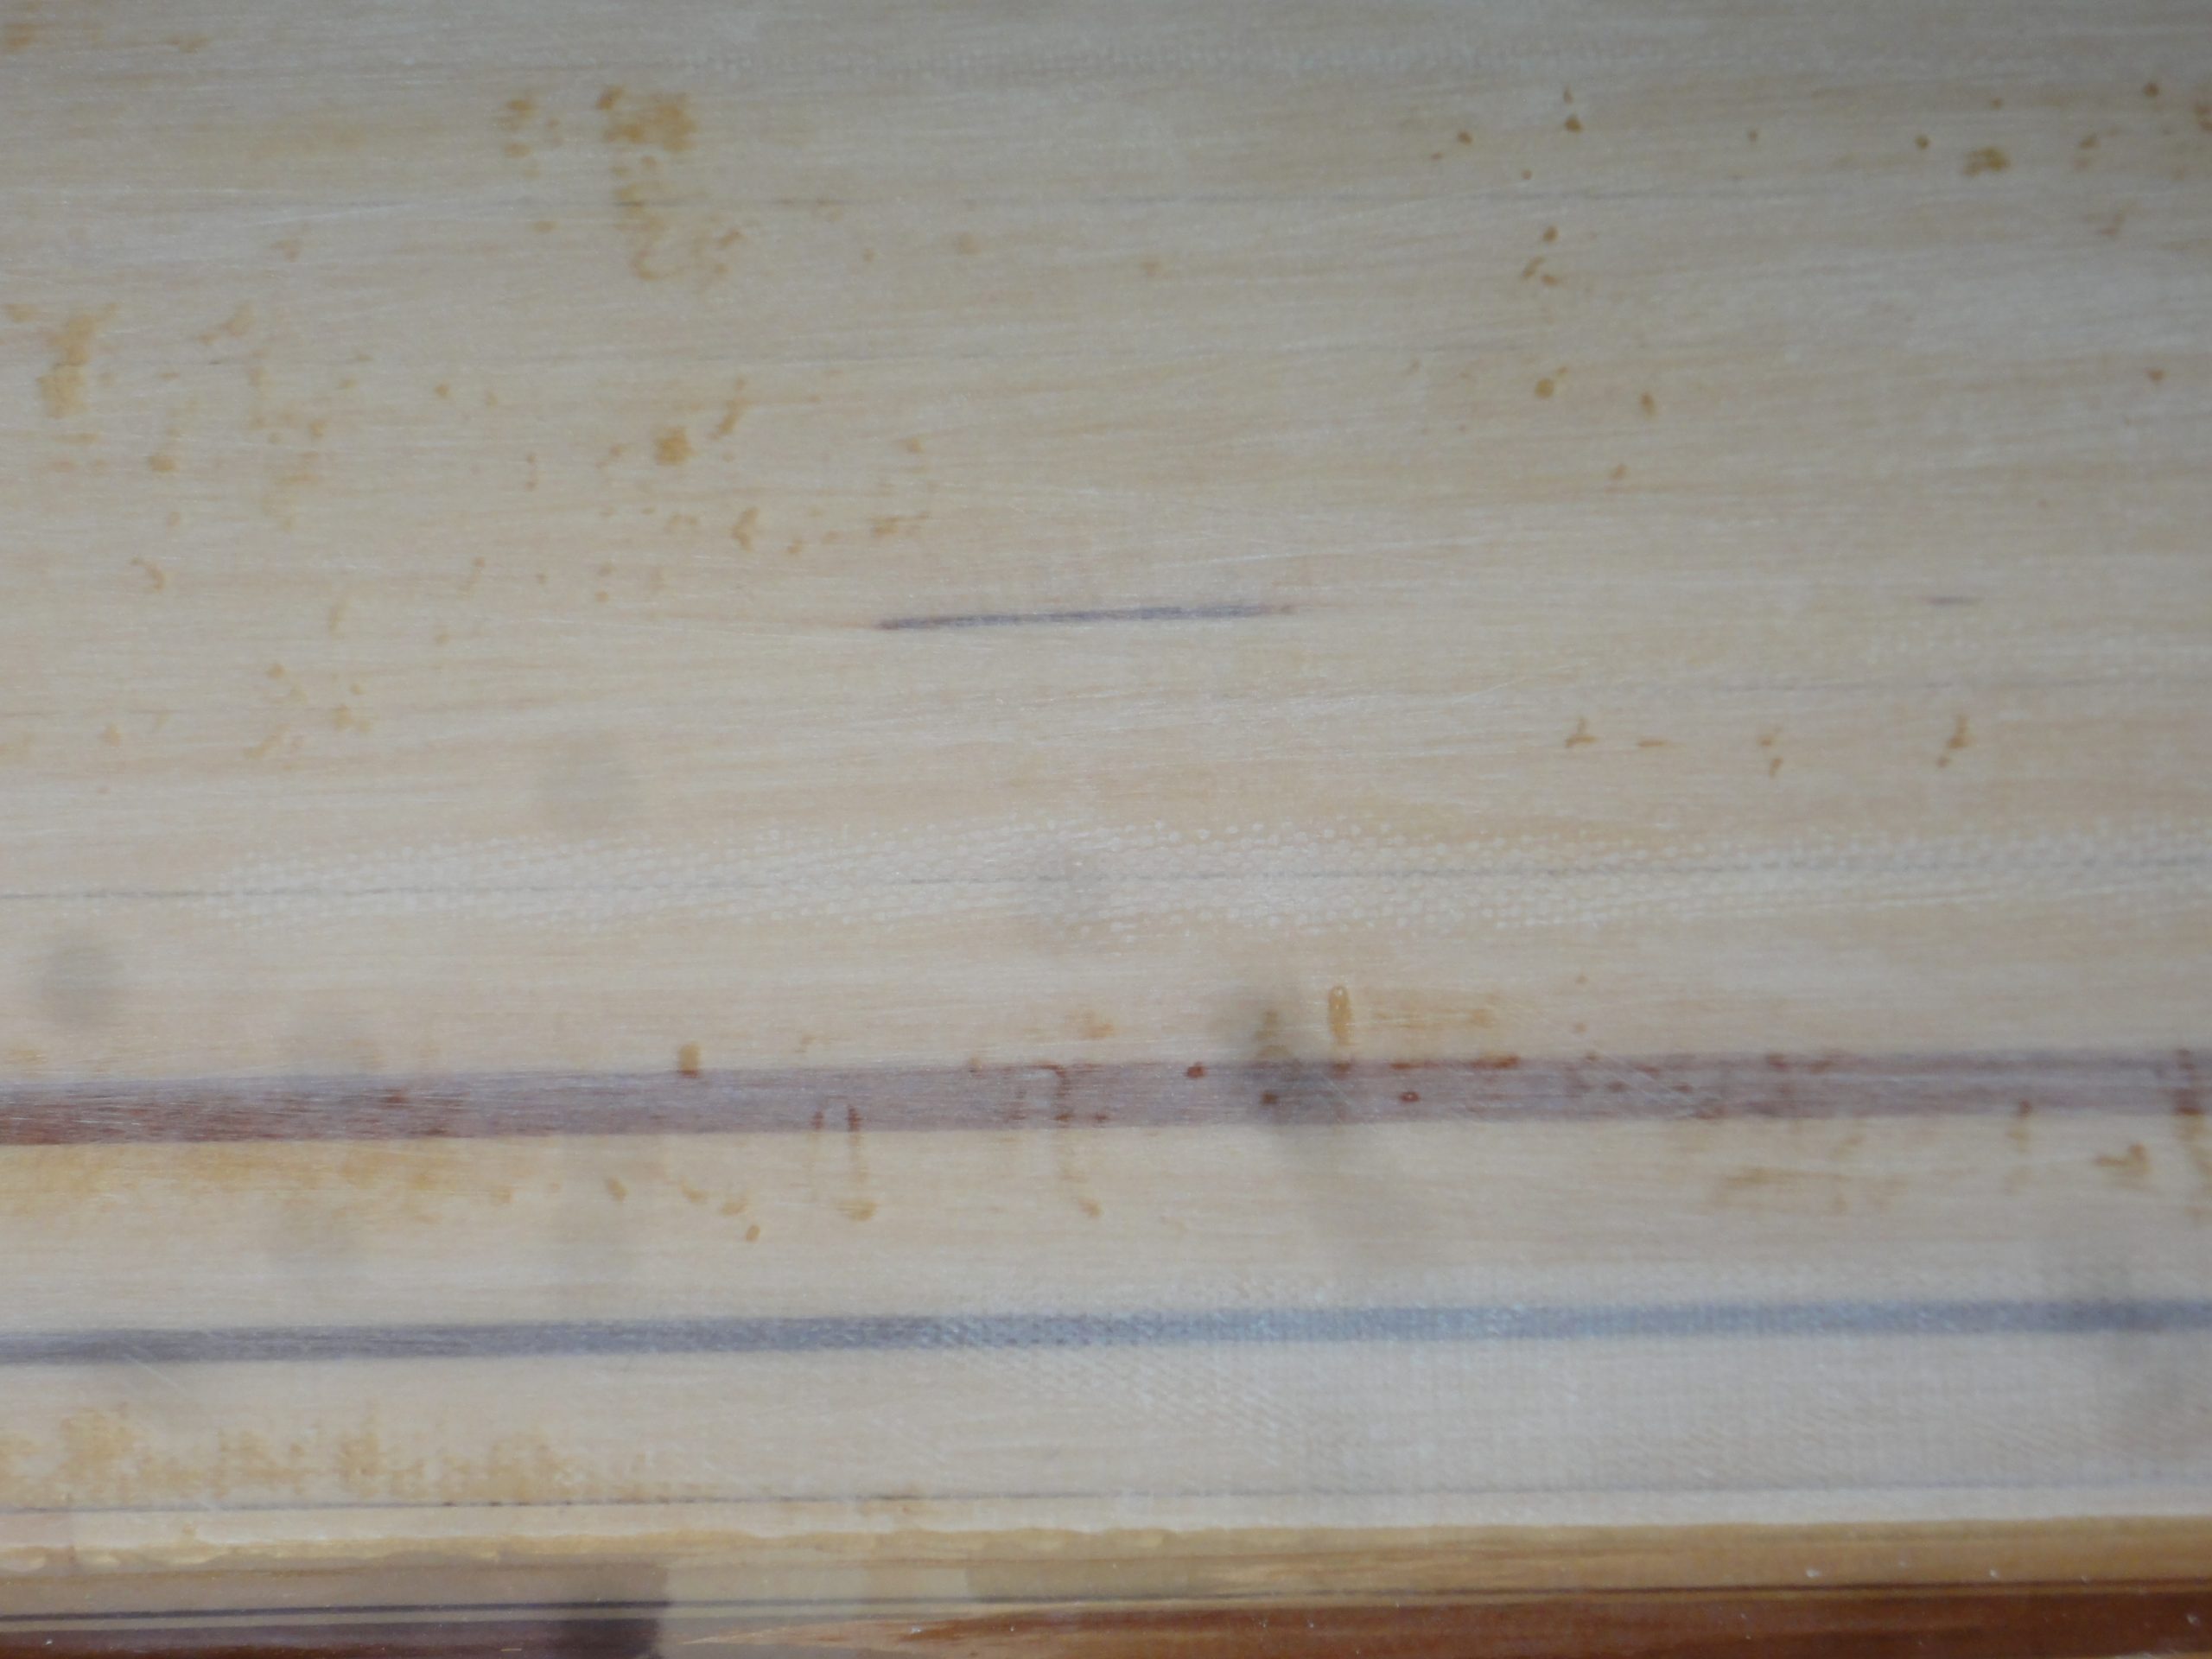
Using the same 80 grit on a the random orbit sander with a contour pad I gave the entire hull a once over to help eliminate any sanding marks from the long board. In the process the remaining shiny spots disappeared as I expected them to. Most areas were covered with both a left-right movement and then a forward-backward movement (90 degrees to the left-right) to ensure total coverage. I think the results speak for themselves. A nice even flat finish.
I did almost 50% of the hull with the random orbit before I was getting tired and decided to stop before I made a mistake. Next opportunity I have to work on it I’ll finish the hull, flip it over and start on the deck with the long board and then finish with the random orbit.
If I find any defects, bubbles in the cloth, etc. those will then need to be fixed before I can move on to the next grits. The smooth and consistent finish will allow for a fairly quick pass with the higher grits. After that I’ll finish up and install the deck line mounts, with a few epoxy applications and sanding afterwards until those areas meet the same level as the rest of the deck.
As to actually using it, well lots of good news. My seat already shipped. I ordered my paddle and that already shipped along with a few safety items. Still very promising that this could be done in time to try it out this year… or at least get it wet and verify it floats.