
Actually I’m just about done with it, after today that is. Most of the rest of the sanding left will be on the hatches, bulkheads and when I install the deck line guides.
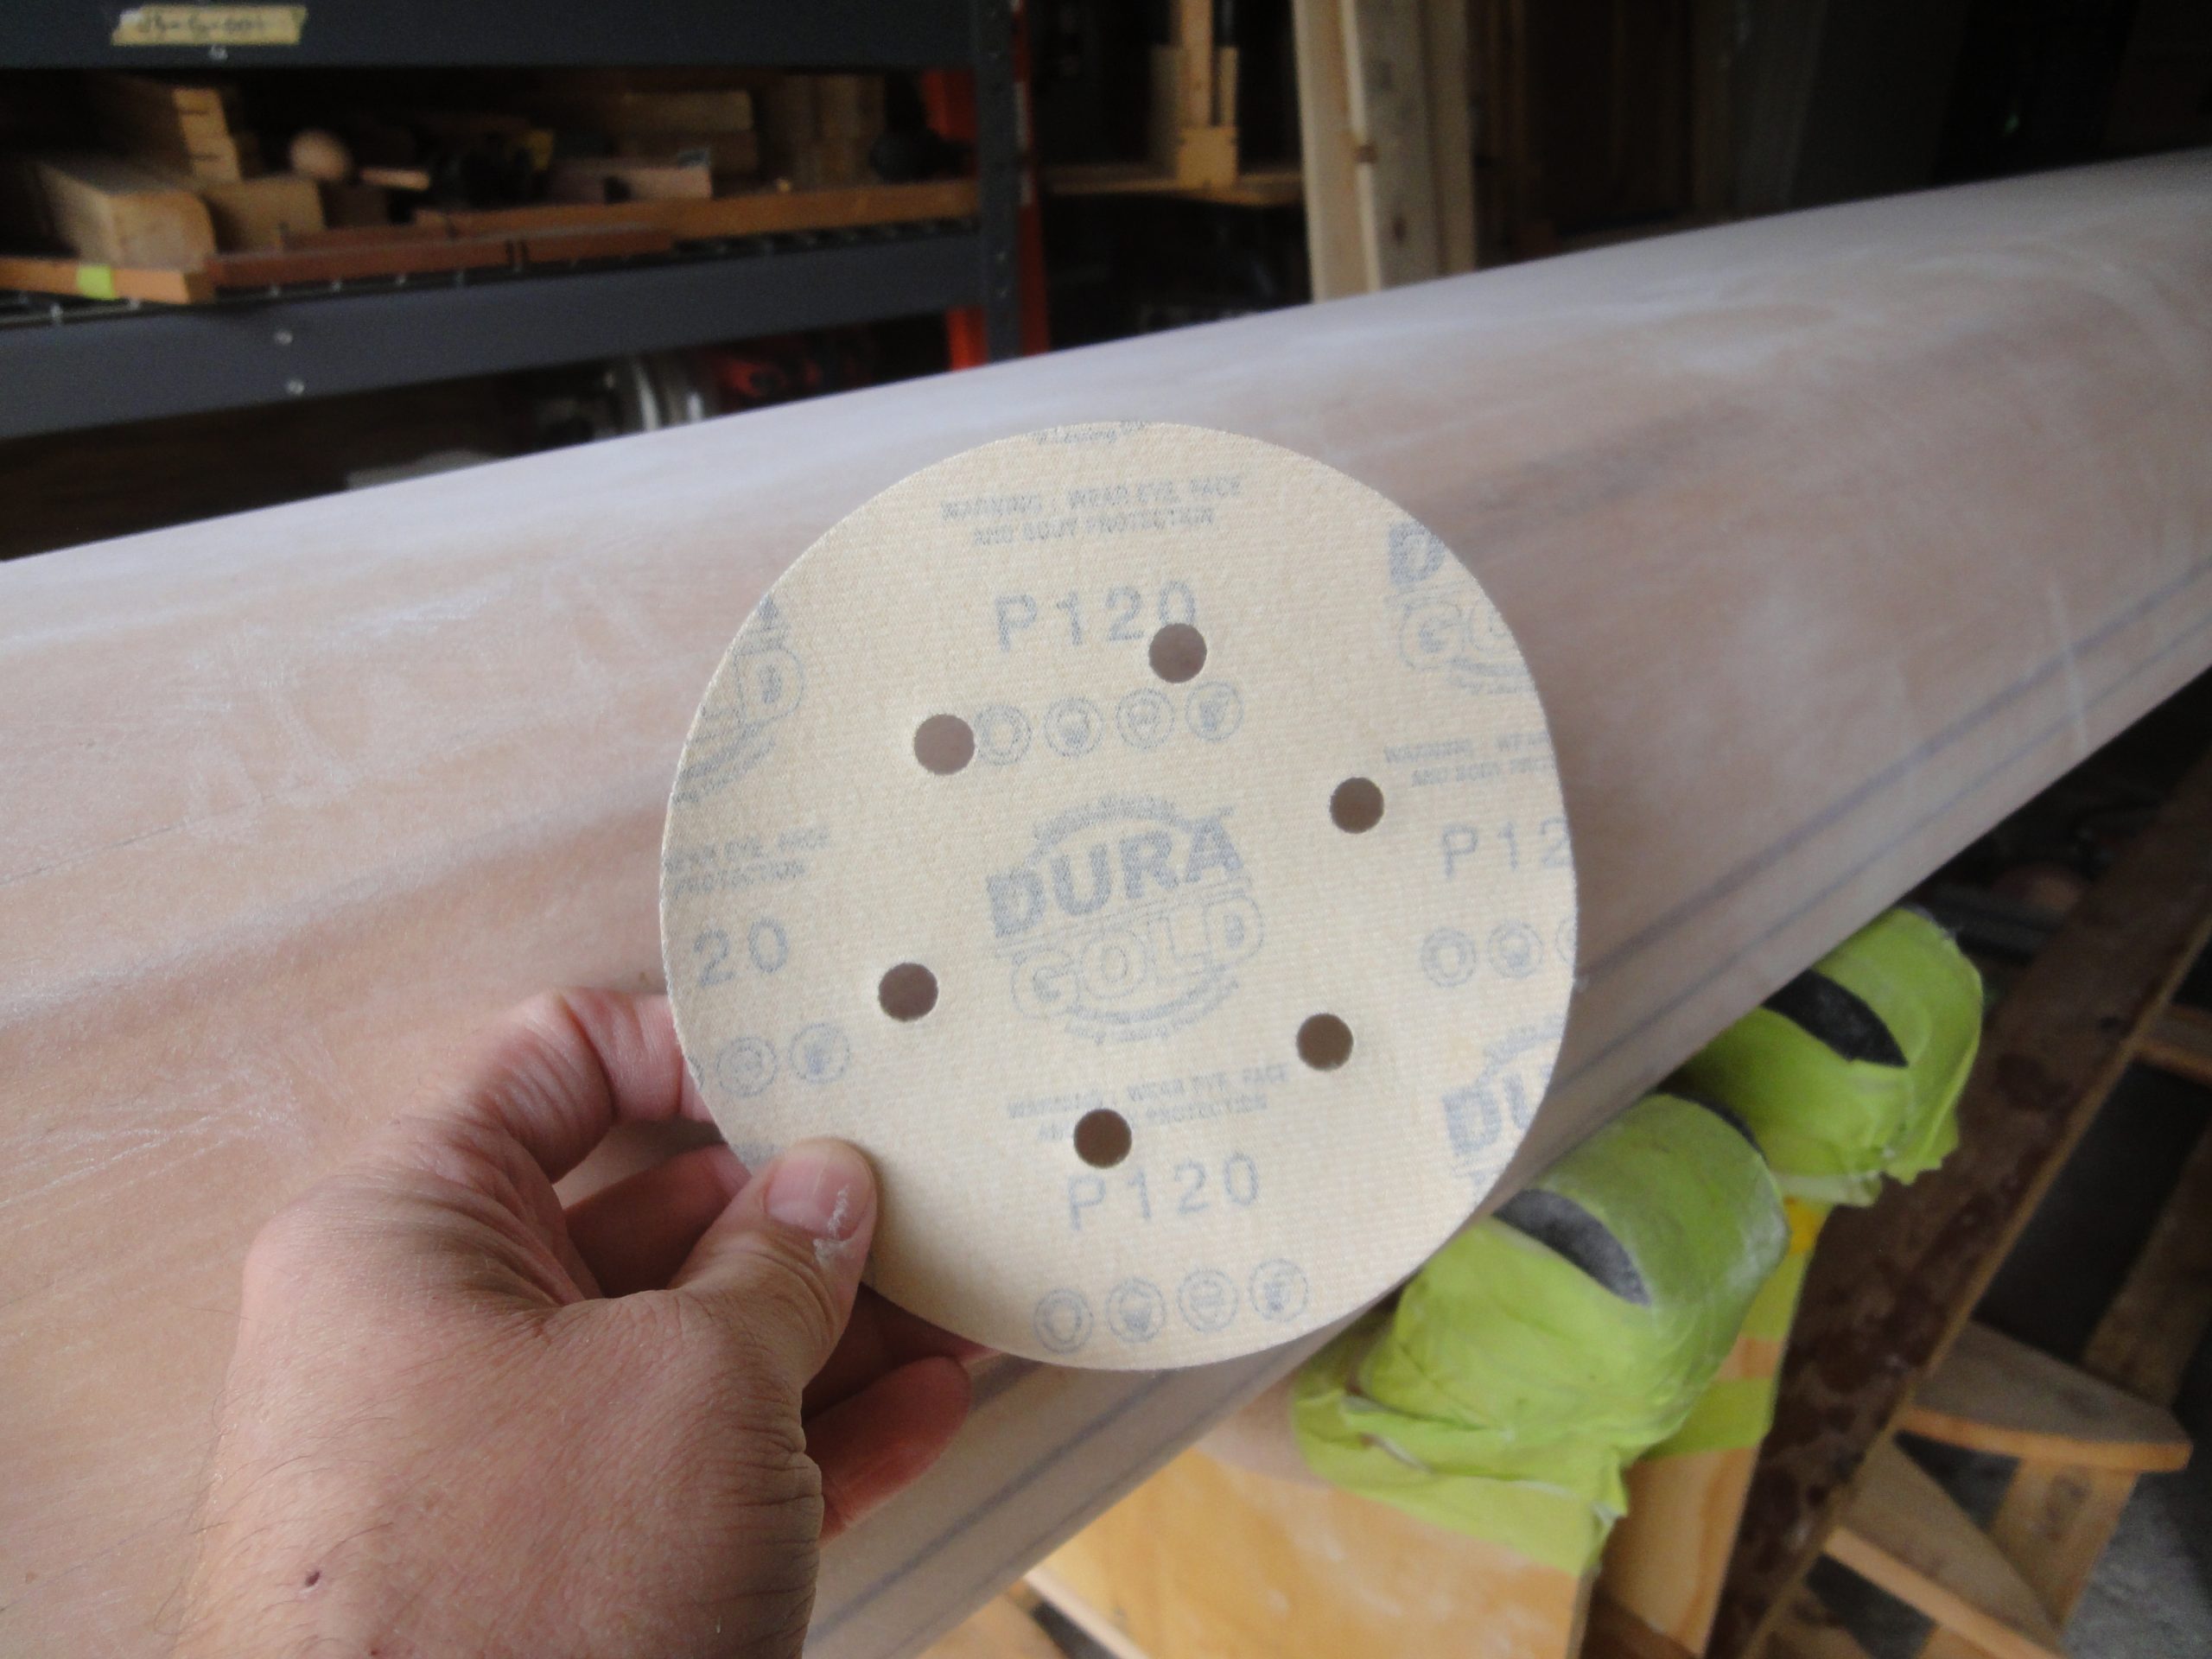
The finish felt nice and smooth after 80 grit. After 120, wow! After working up to 220… It felt like glass! Just amazing the difference. I wish there was a way this blog could share the feel at each stage. At each point you think it’s great, then after the next grit you realize just how “poor” the previous level of surface prep was.
Basically I finished random orbit sanding with 80, then vacuumed it off and used a tack cloth over the whole hull before moving to 120, again on the random orbit. I kept repeating ending at 220.
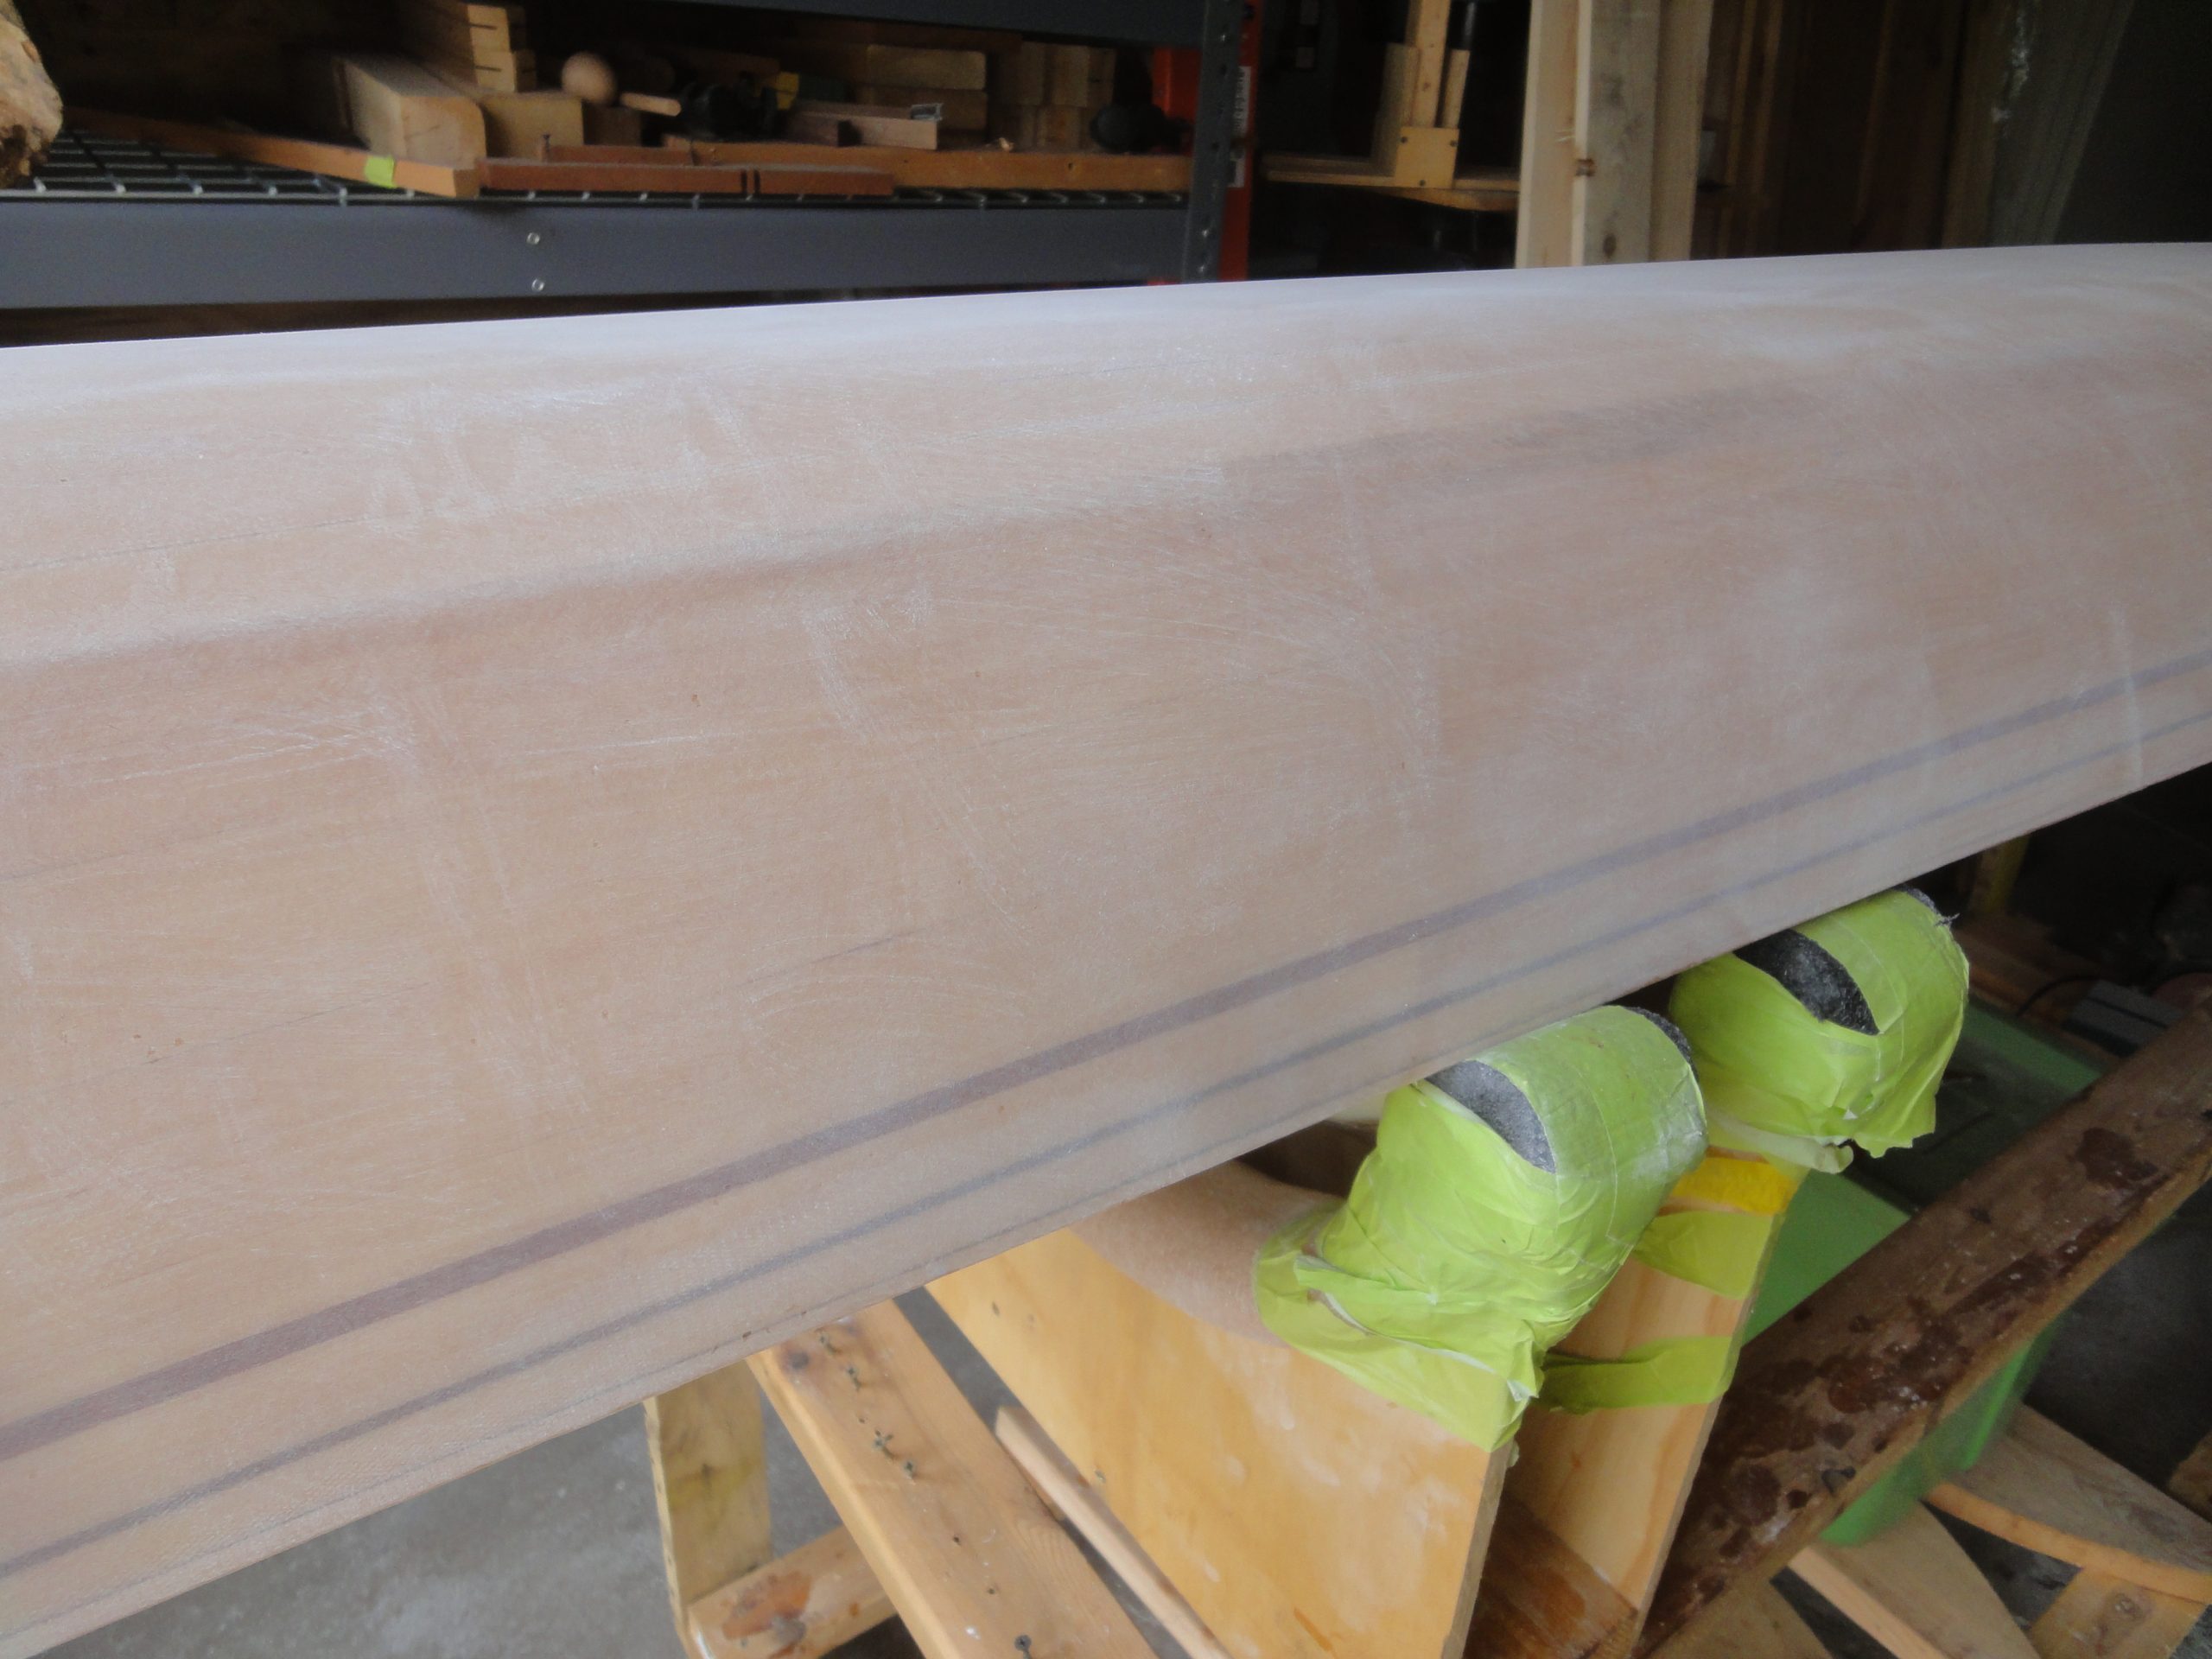

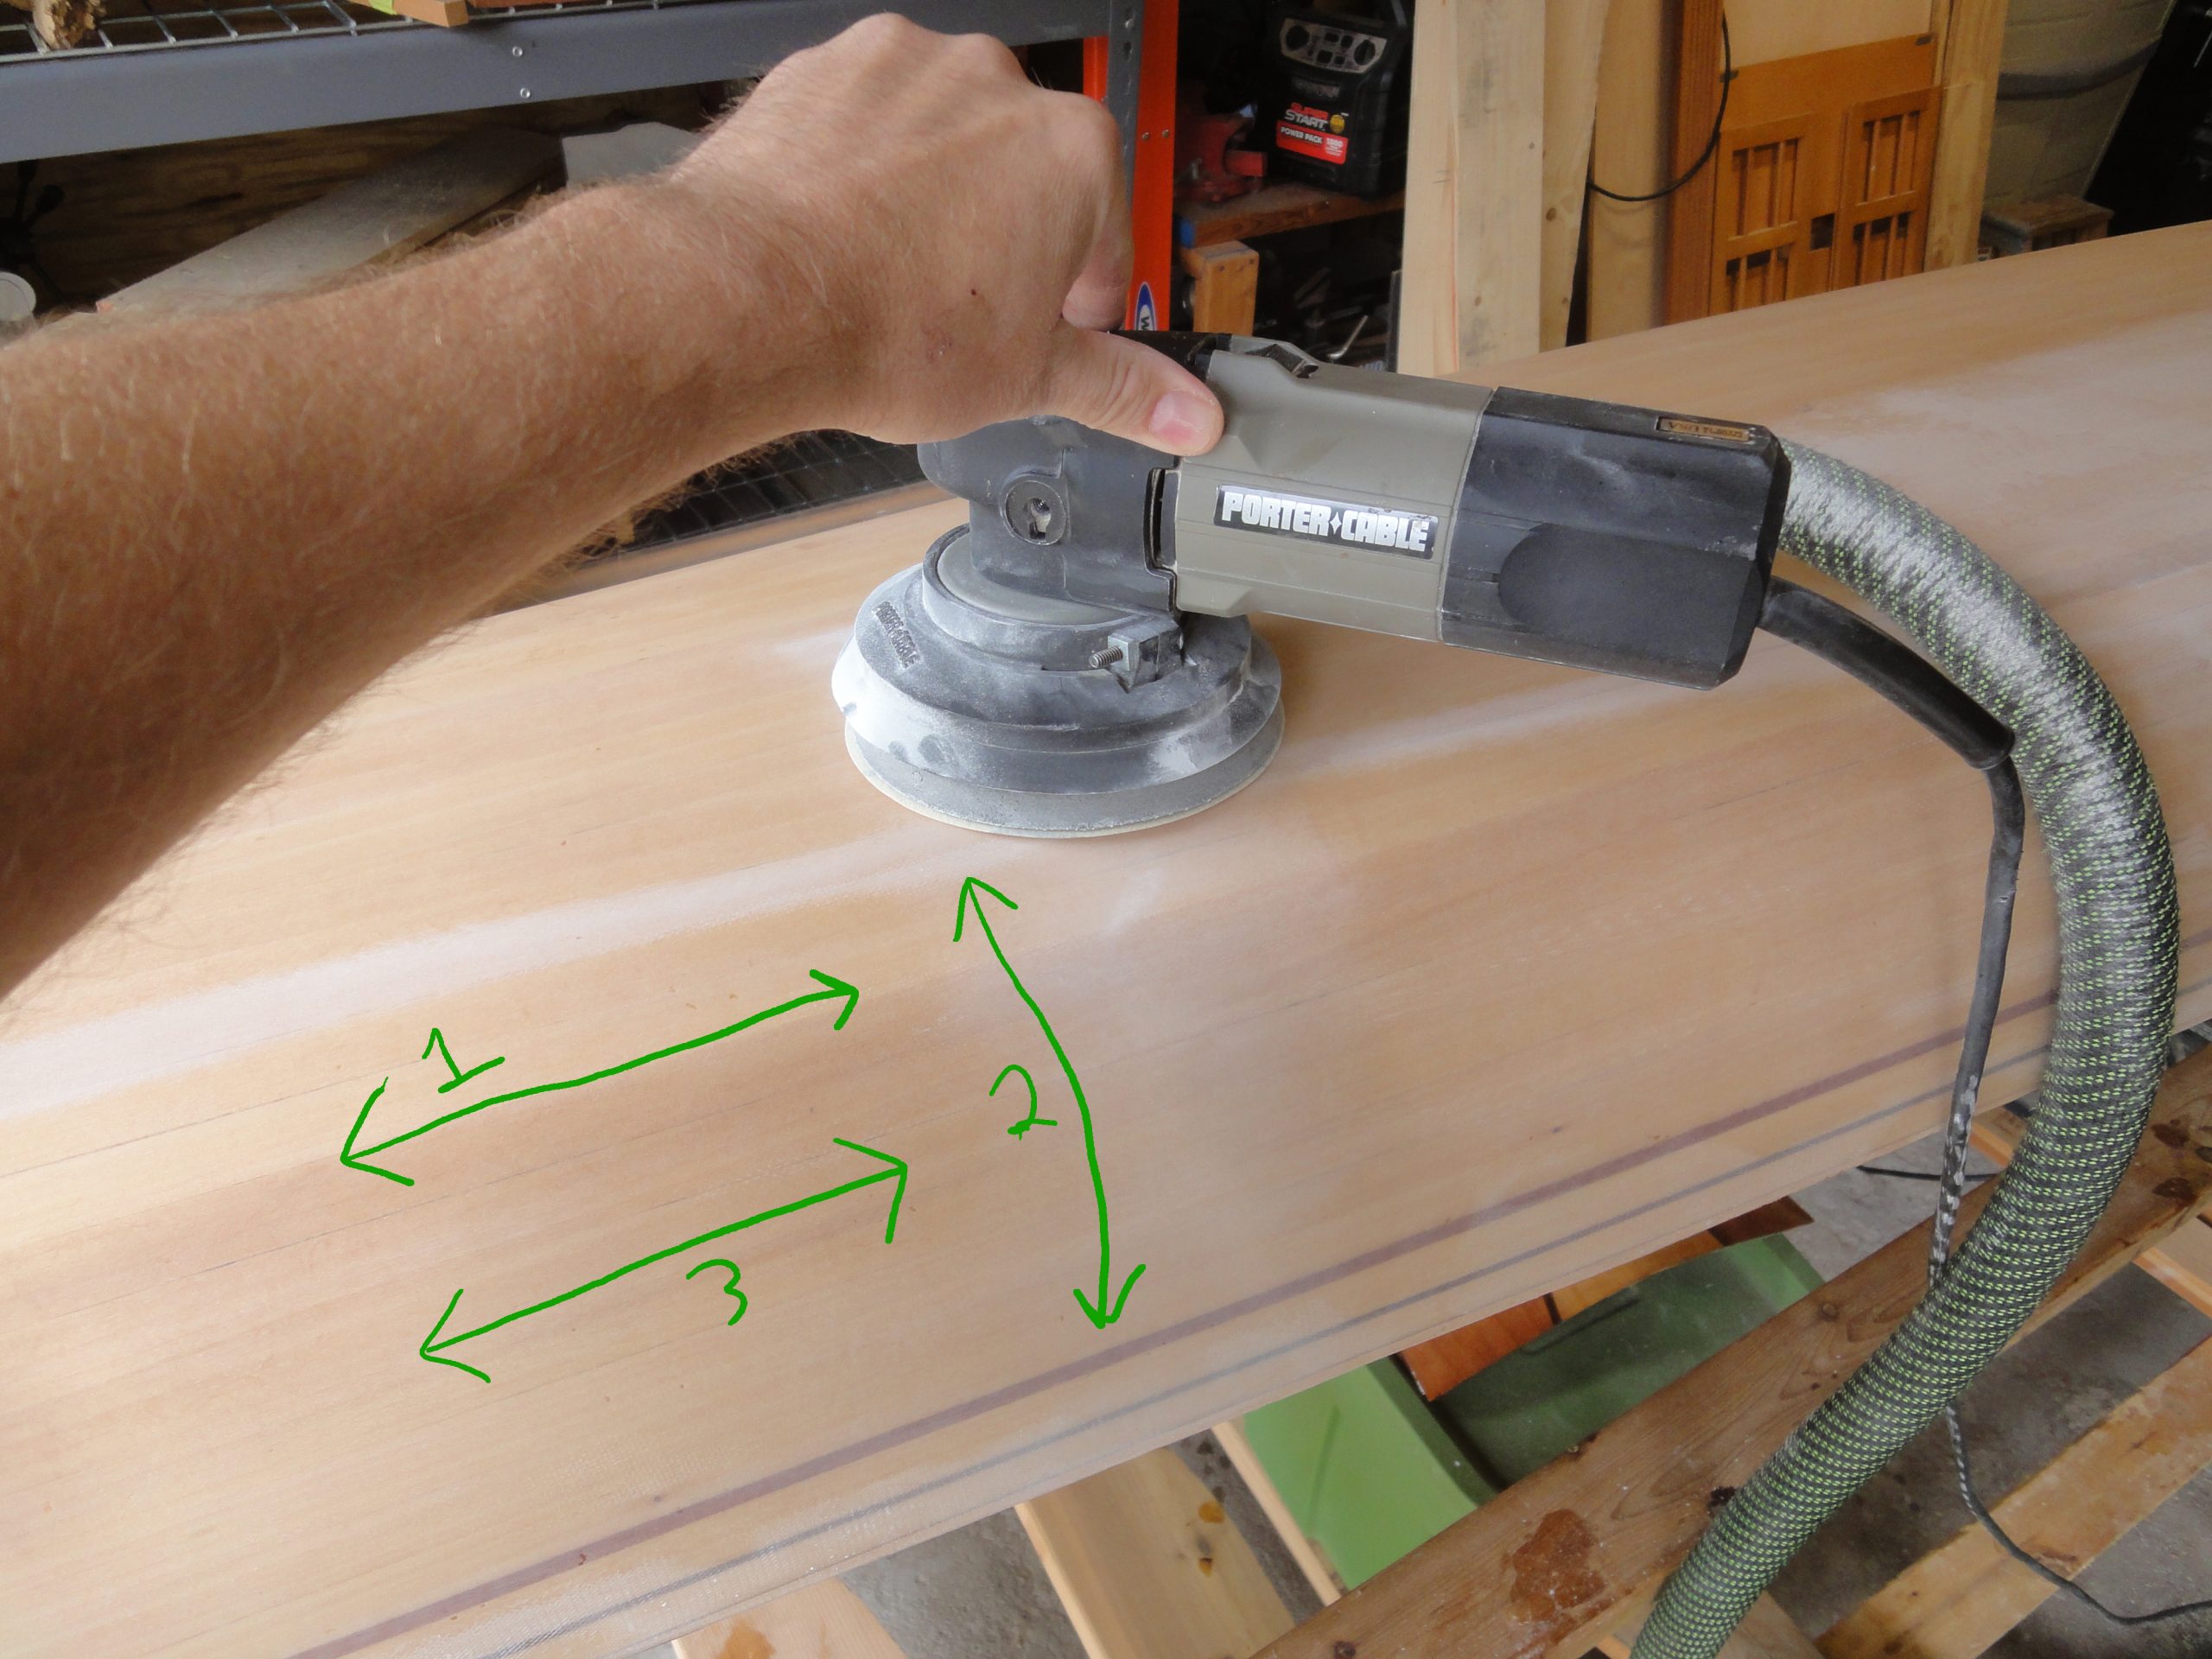
When sanding I used a back and forth, then up and down, then back and forth once again pattern over an area about 2′ wide. It’s really obvious when you compare to a non sanded area.
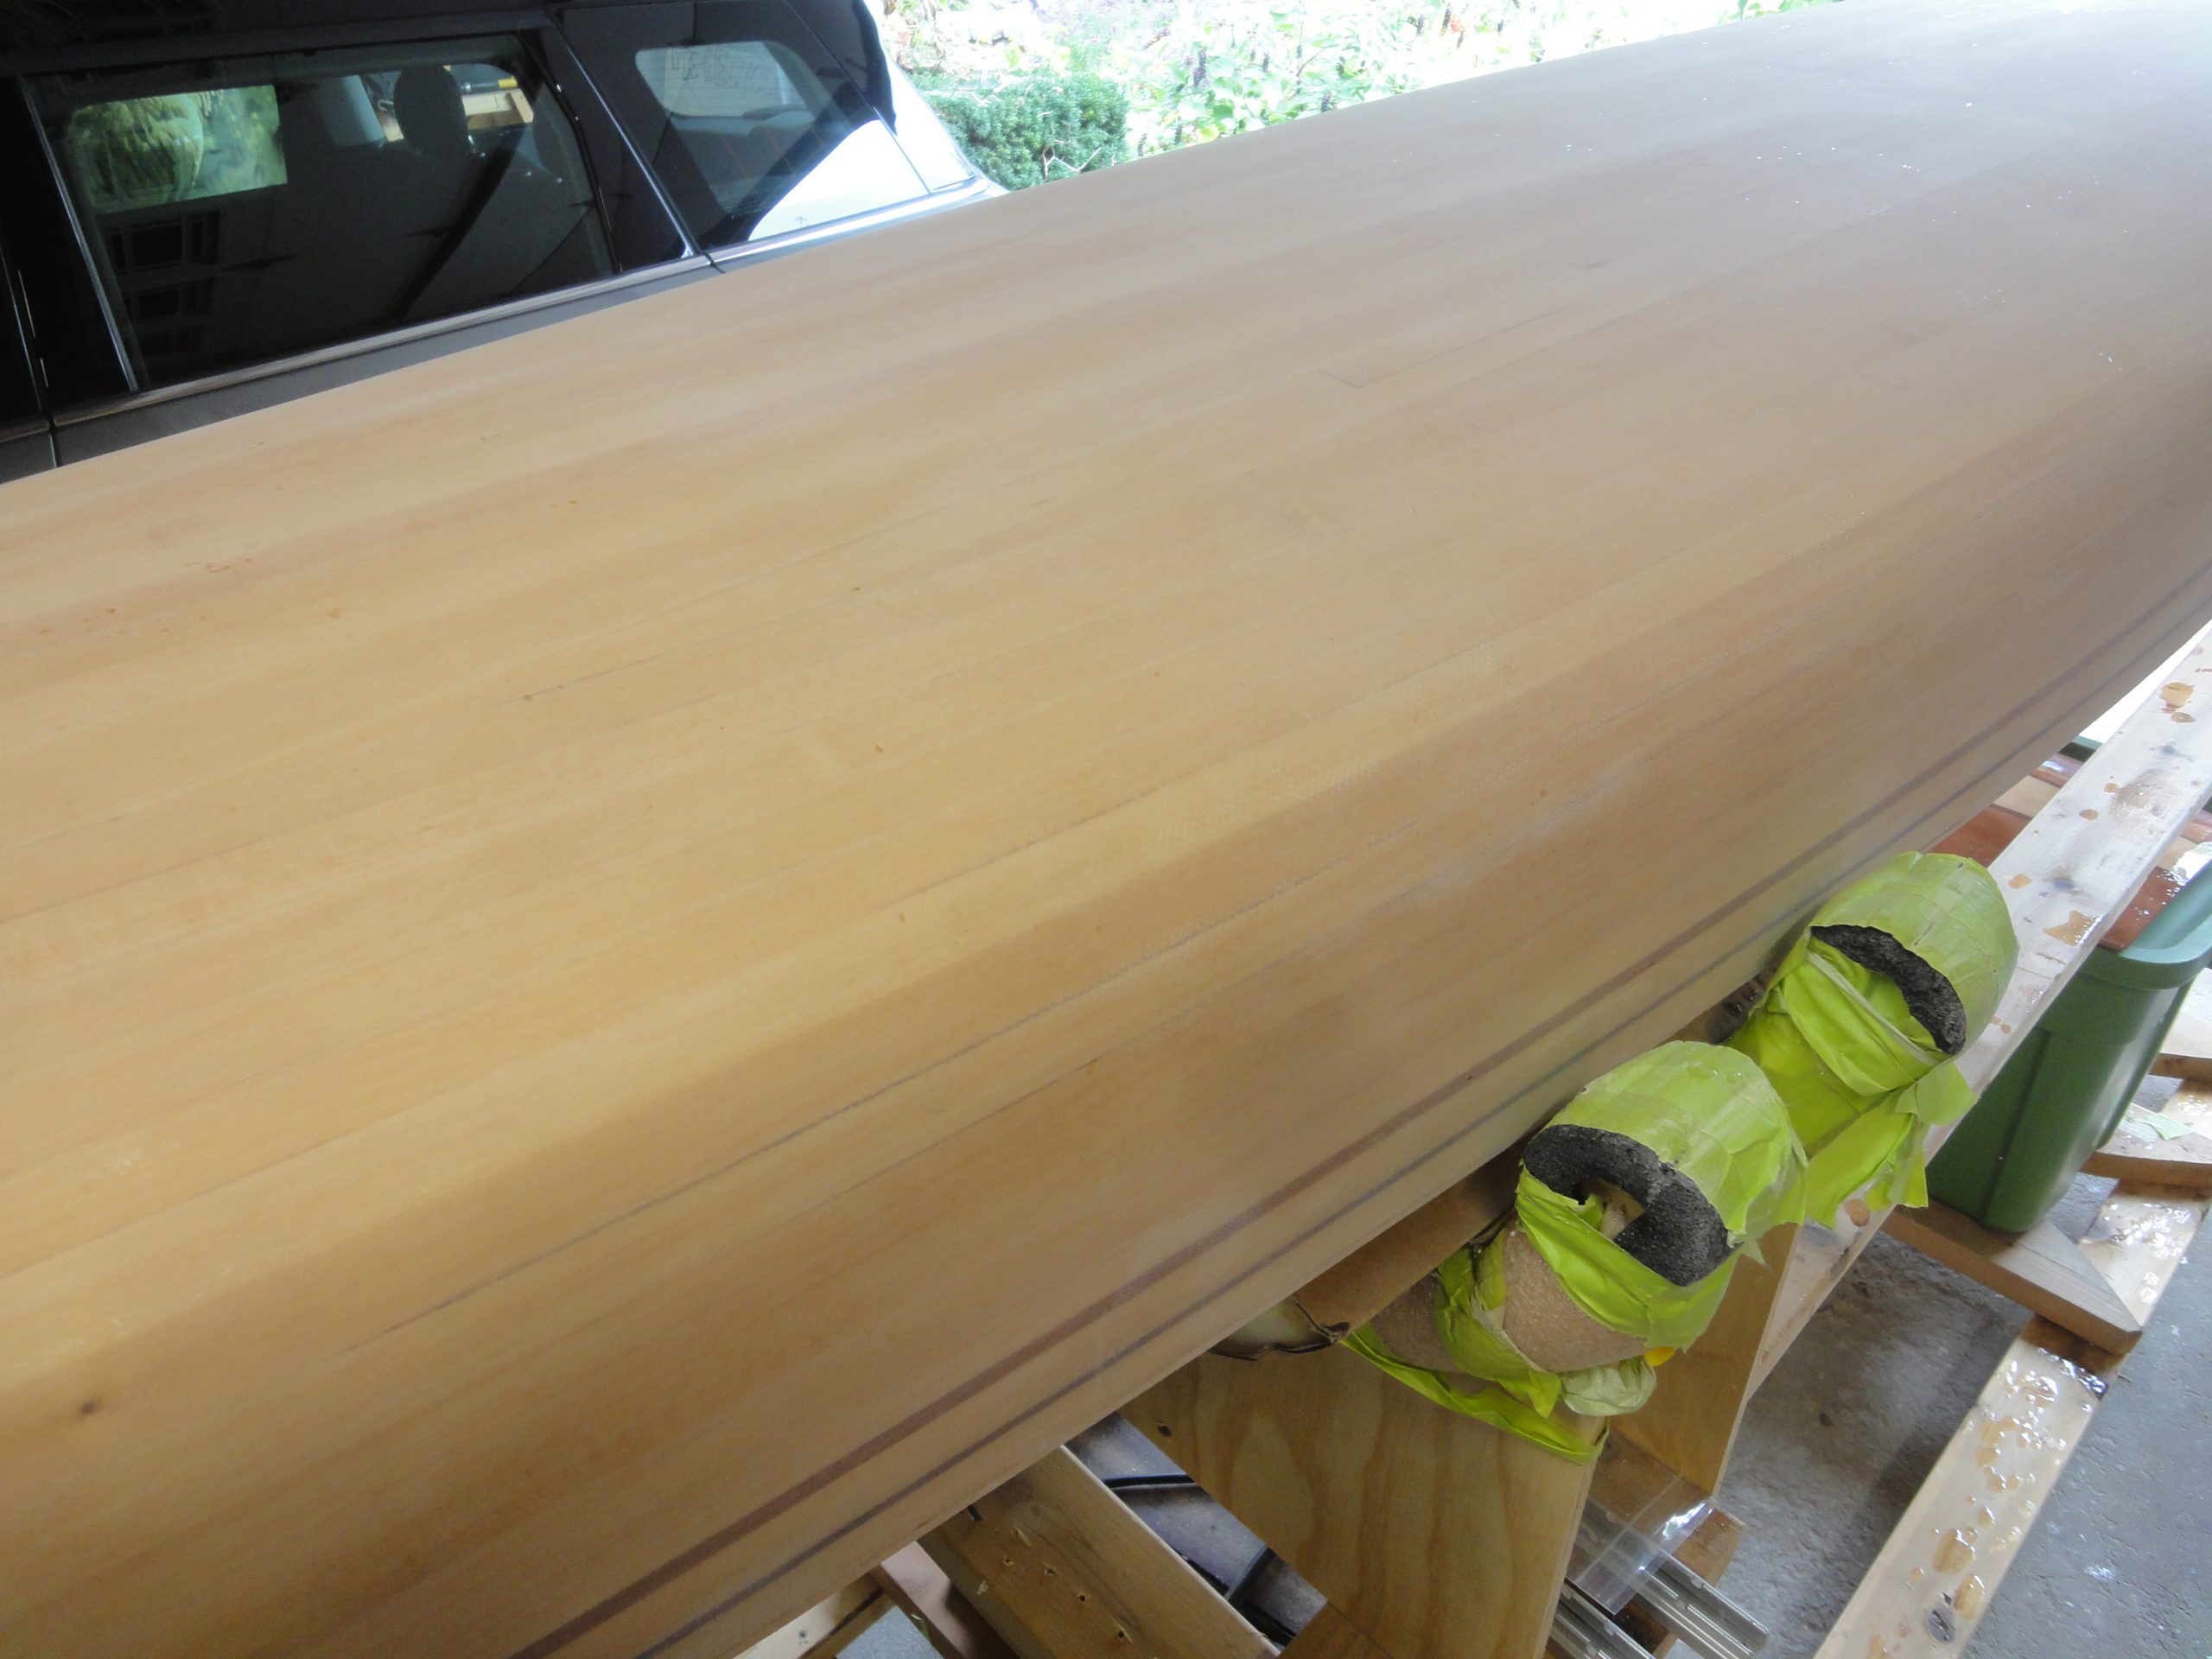
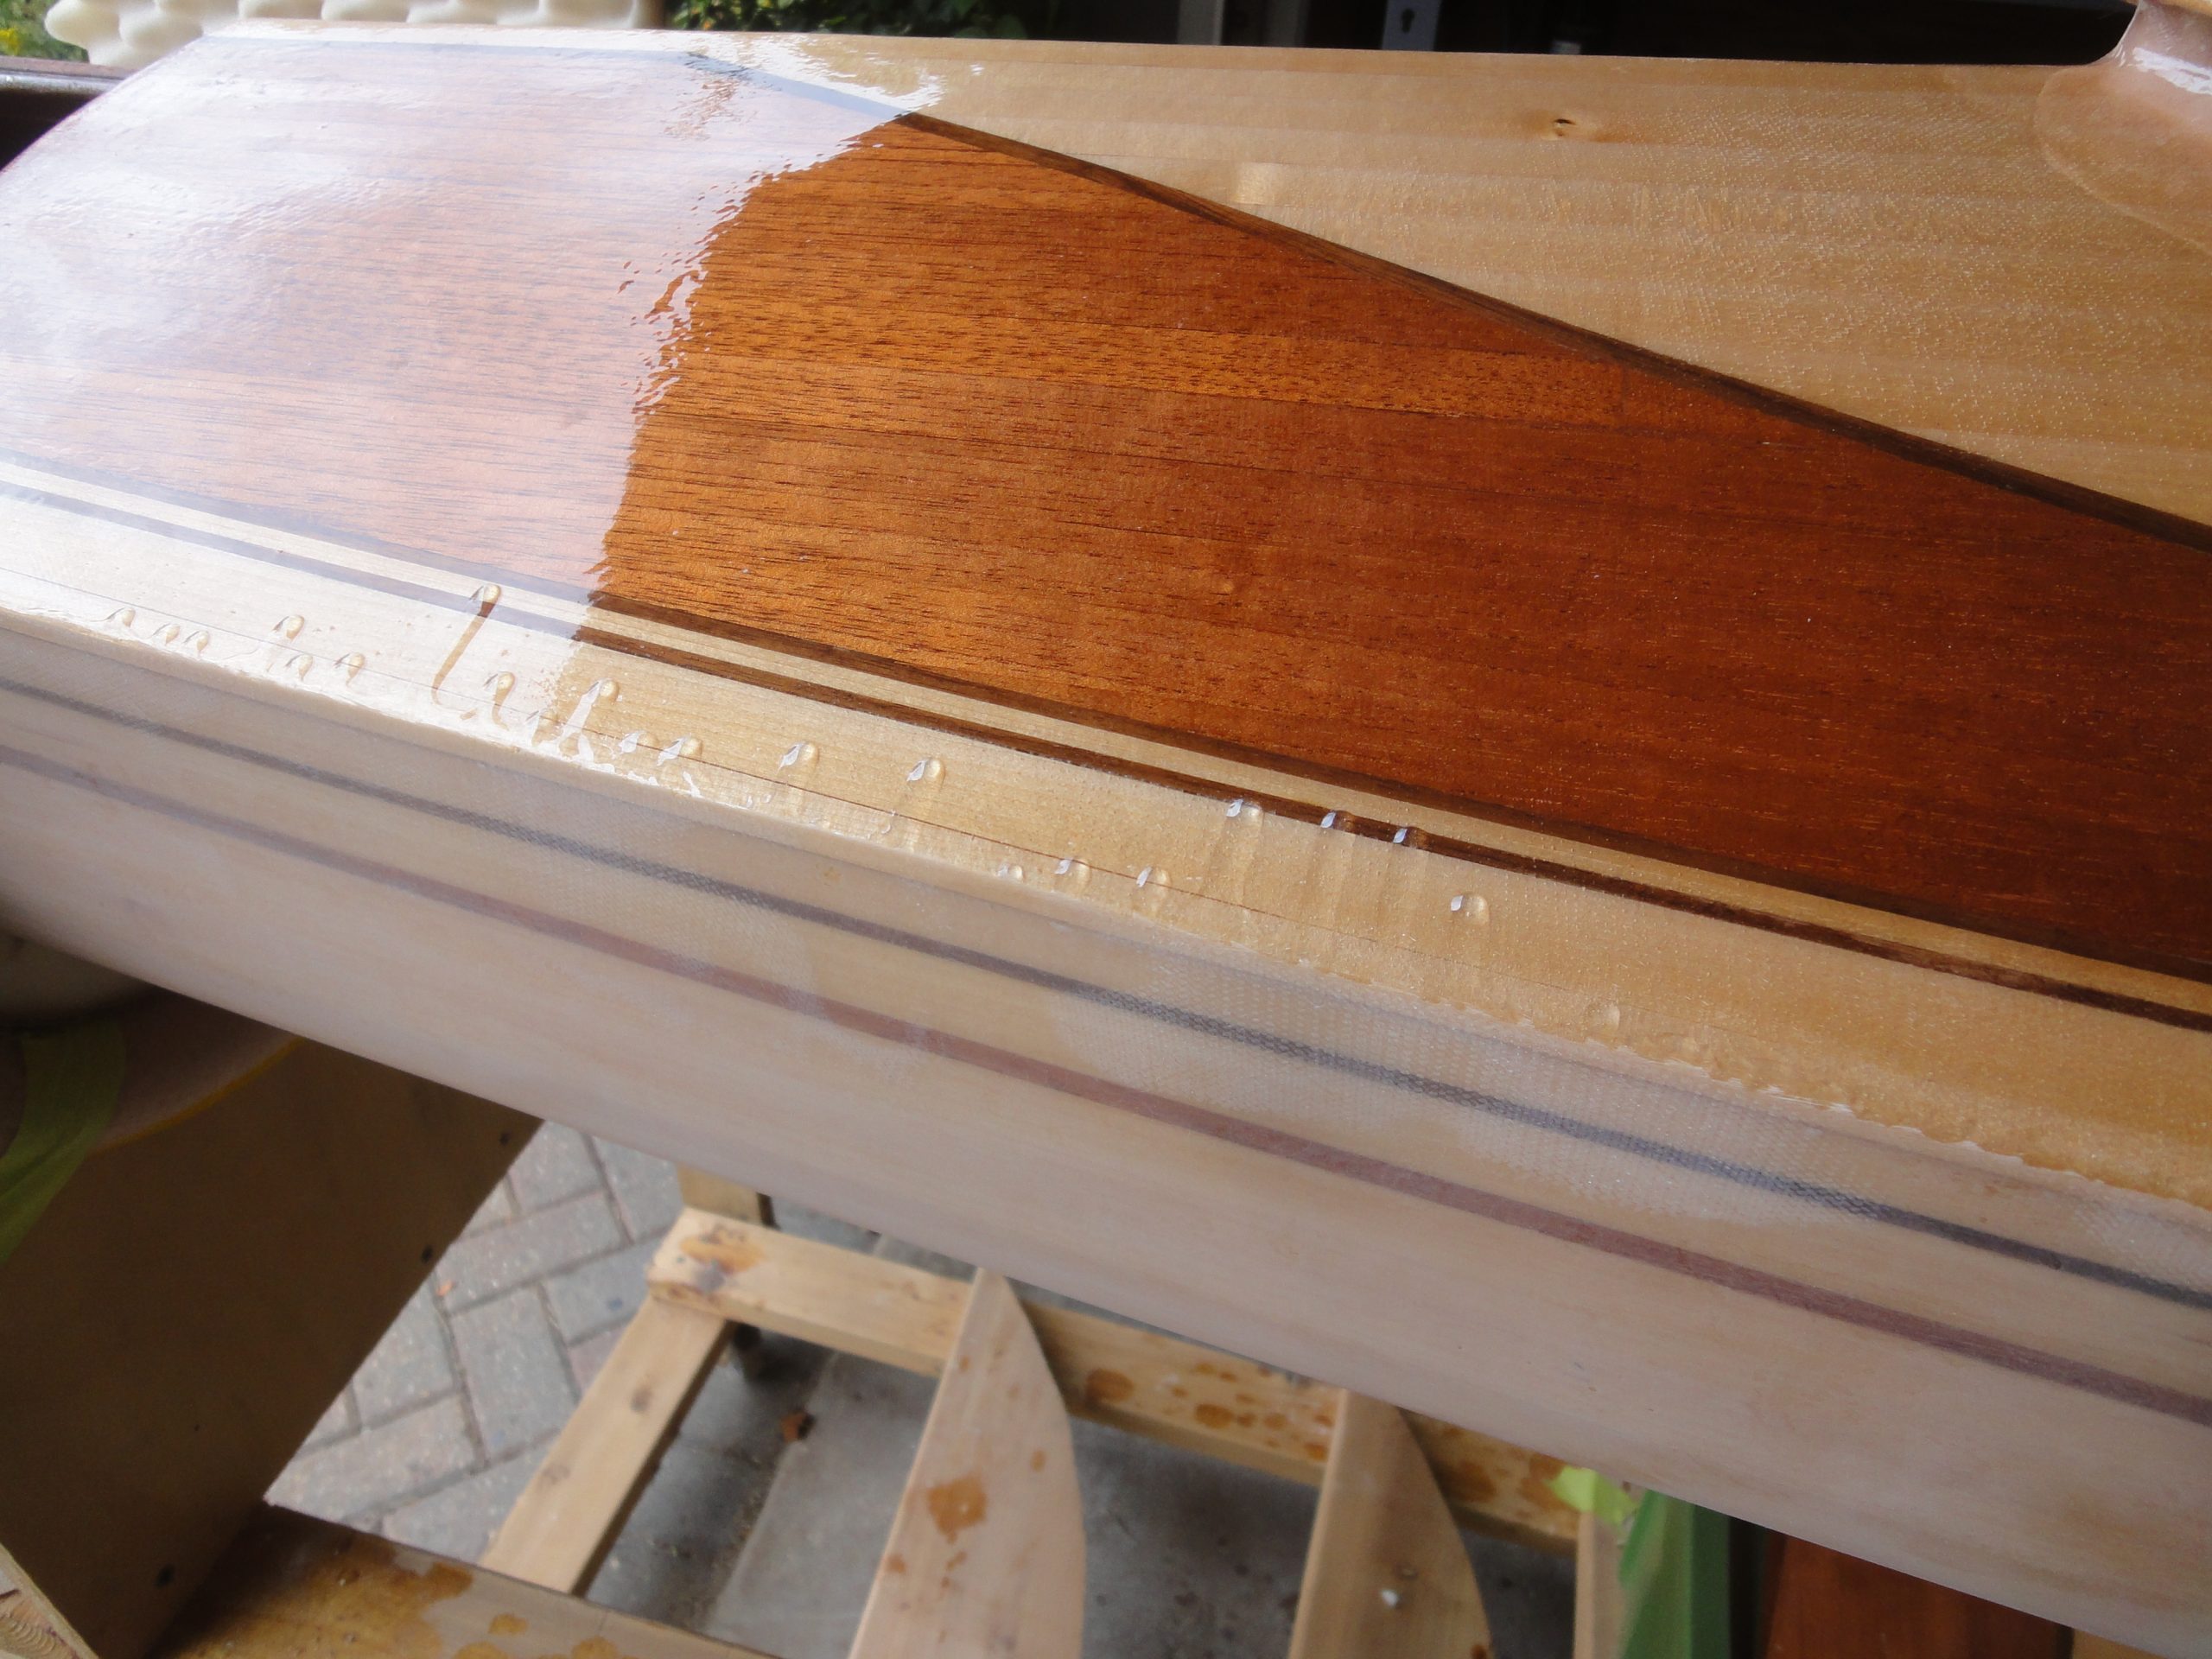
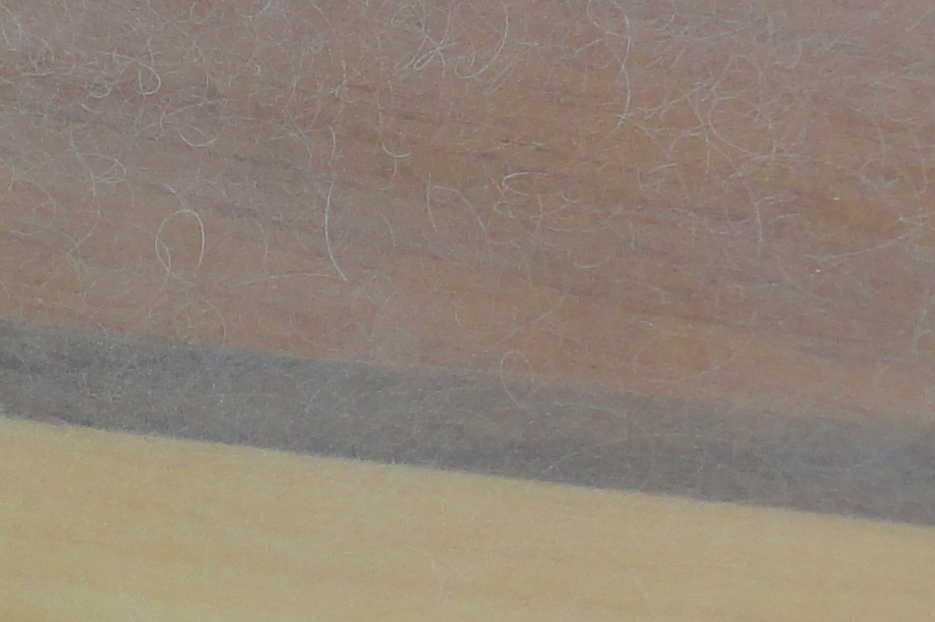
Once the 220 was finished I flipped it over to start on the deck. Even with the drip edge of tape I had on there there were still a number of runs. The surface felt mostly smooth to the hand with just a hint of texture, but with a zoom in you can see just how rough the “smooth” epoxy is. Thus the need for sanding.

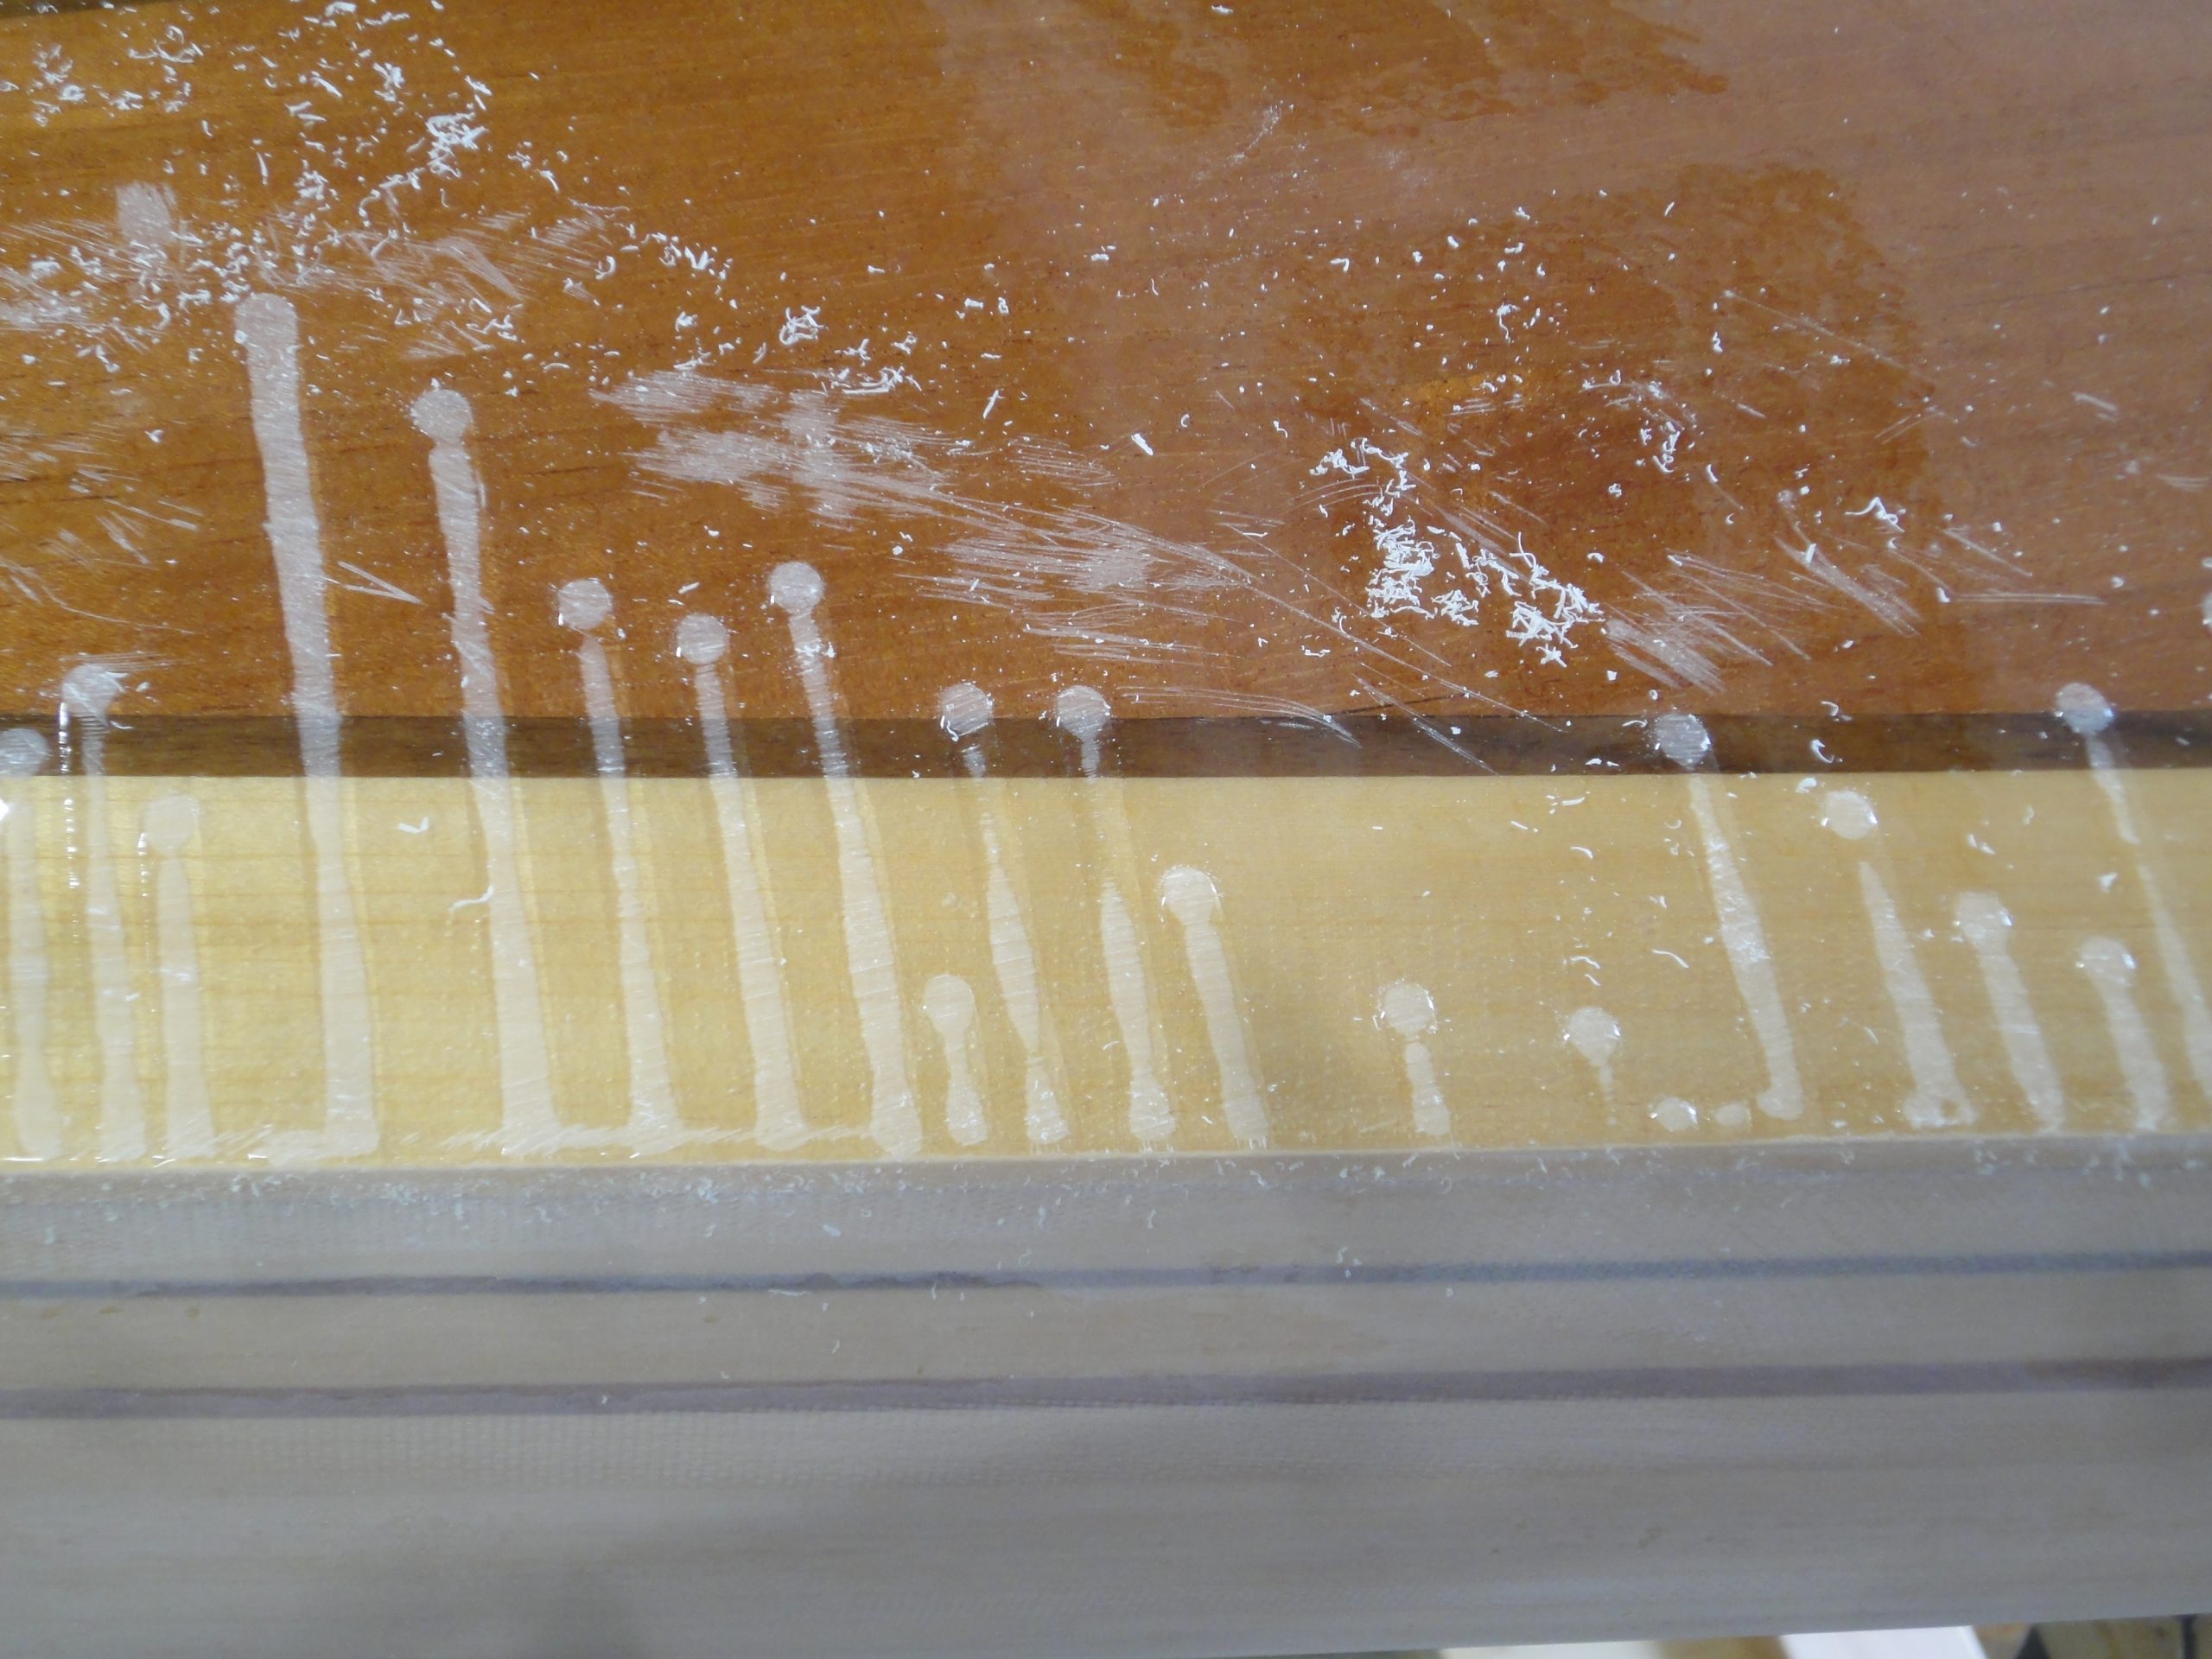
The Shinto rasp made quick work of the drips and the long board evened everything out.
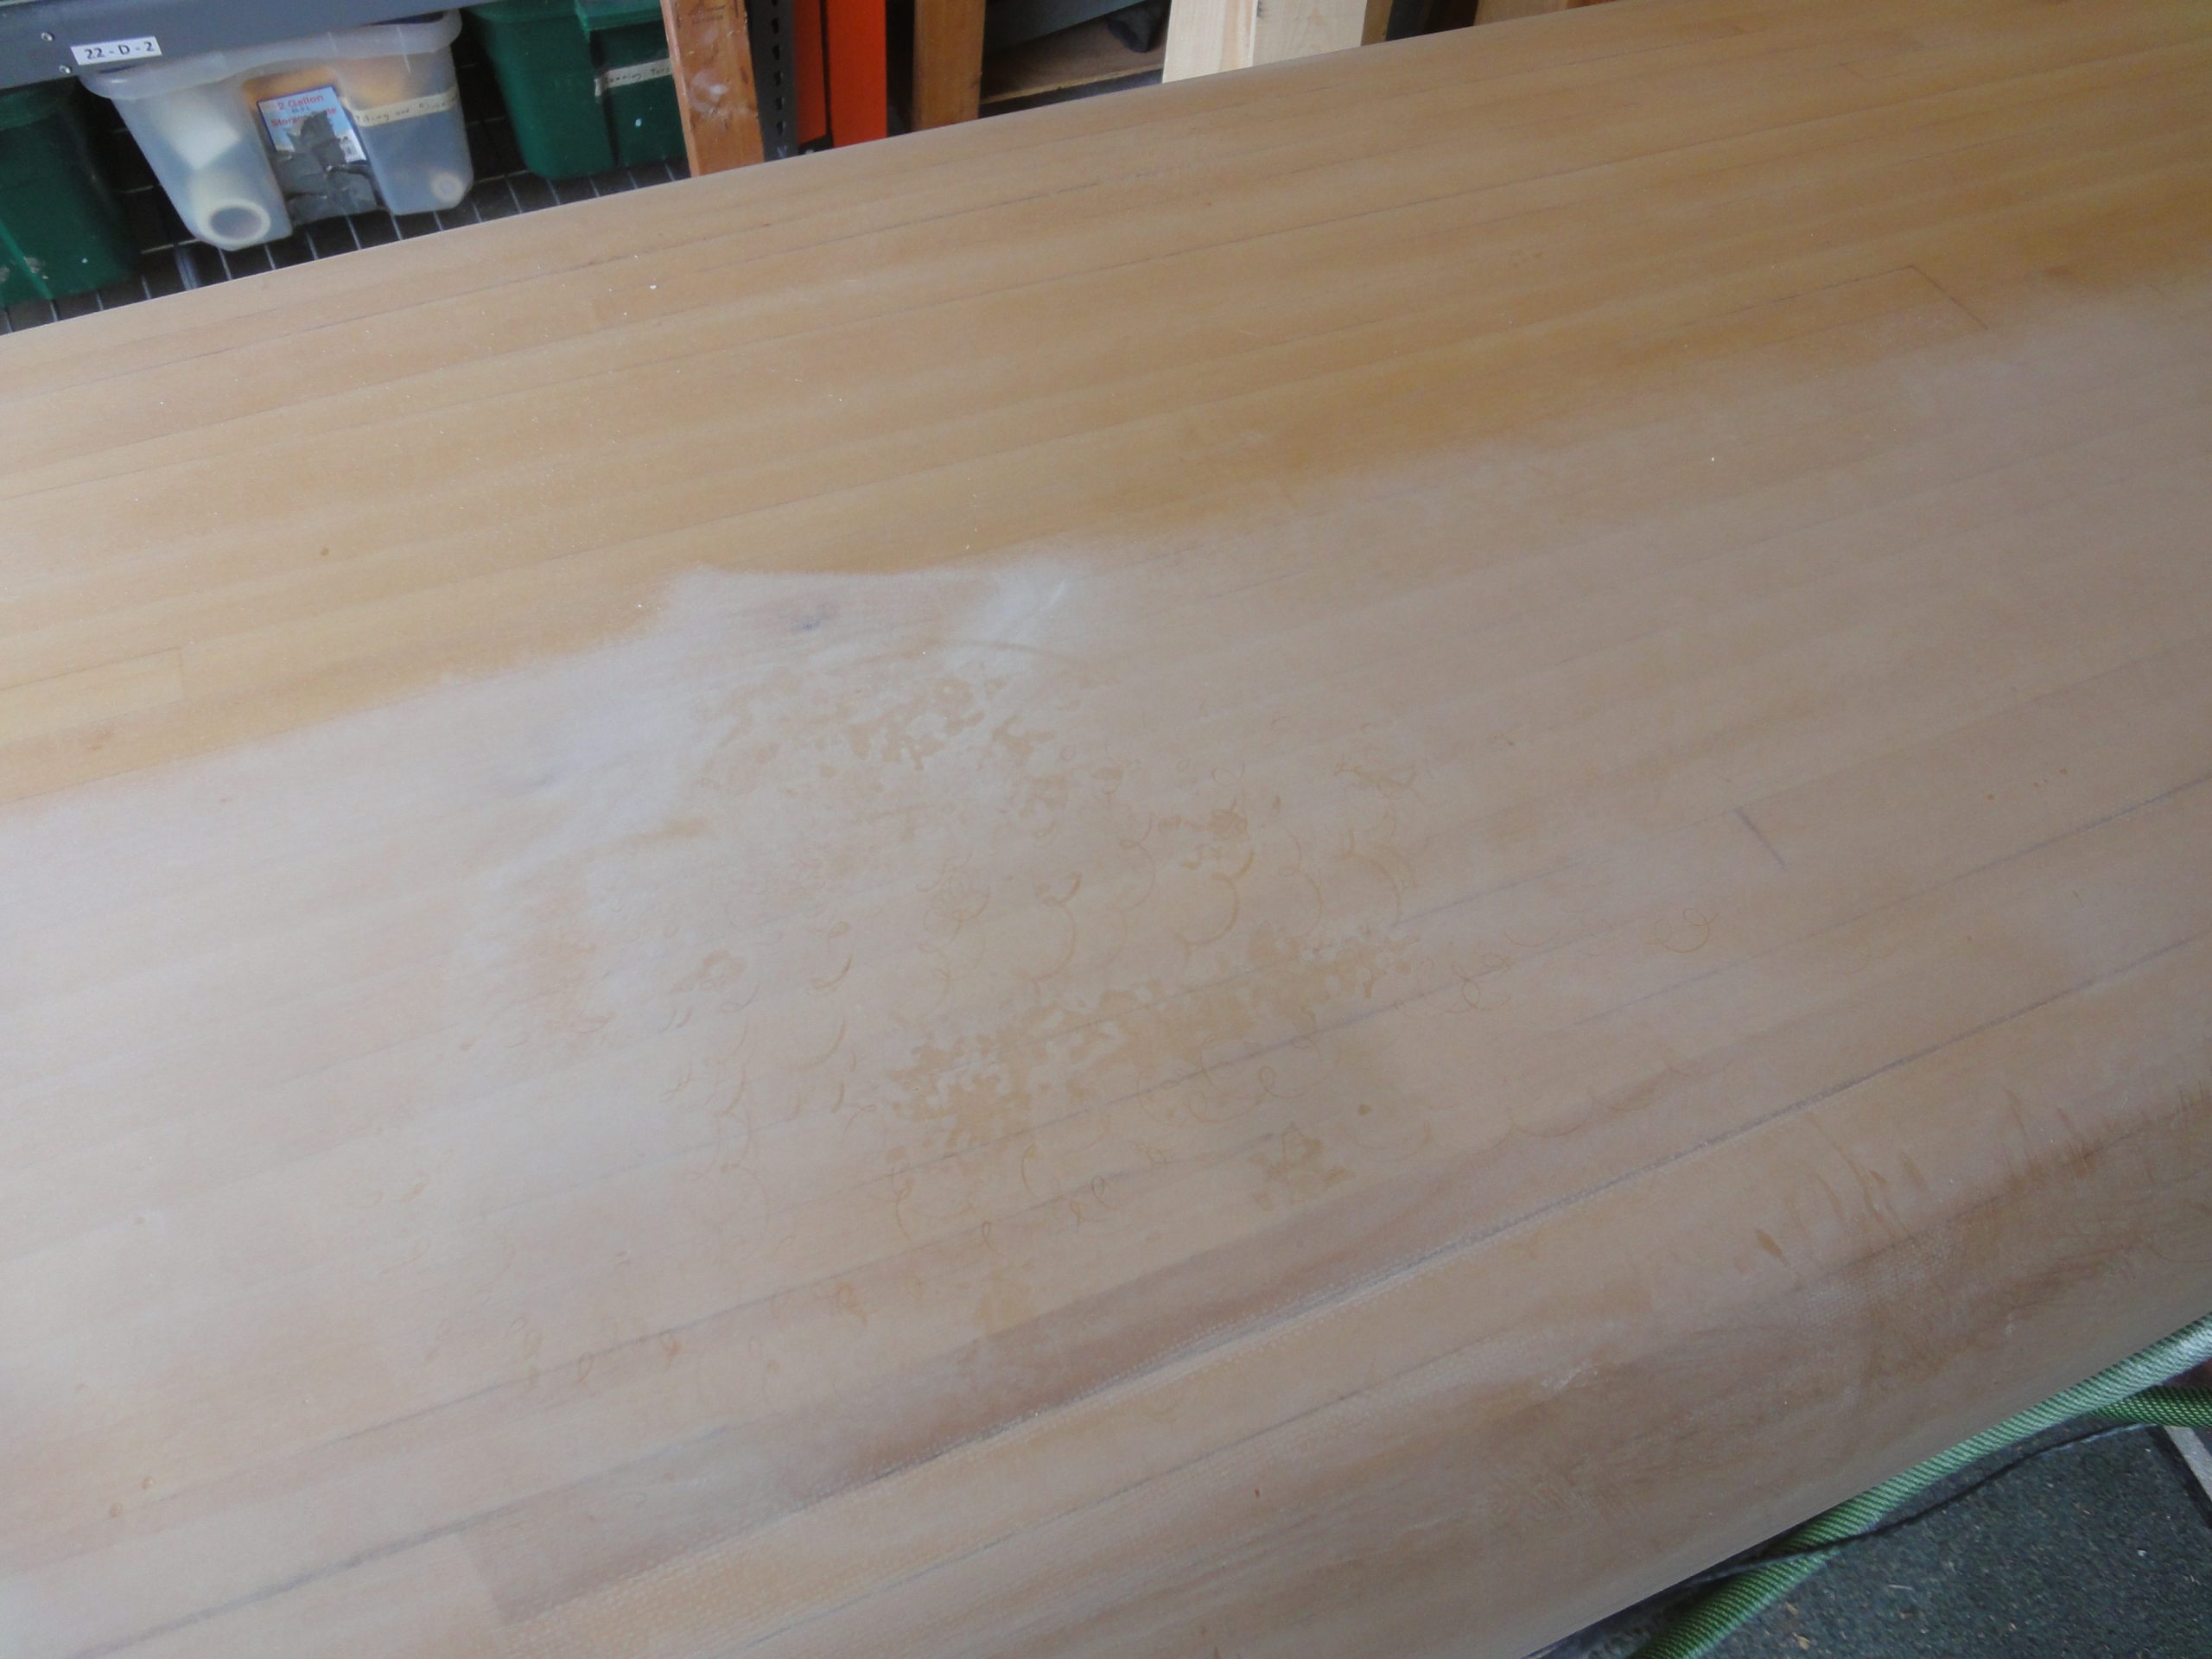
Again between each grit the surface was vacuumed and wiped with a tack cloth. Even after the vacuum it’s surprising how much a simple wipe across still takes up from the surface. Normally when sanding with the random orbit it leaves scratches that are almost invisible, however if there is a contaminate in the surface (larger grit from a previous sanding for example) then you get a very obvious swirl. As soon as I noticed the image in the third picture I immediately wiped this area down again and changed to a fresh sanding disc.


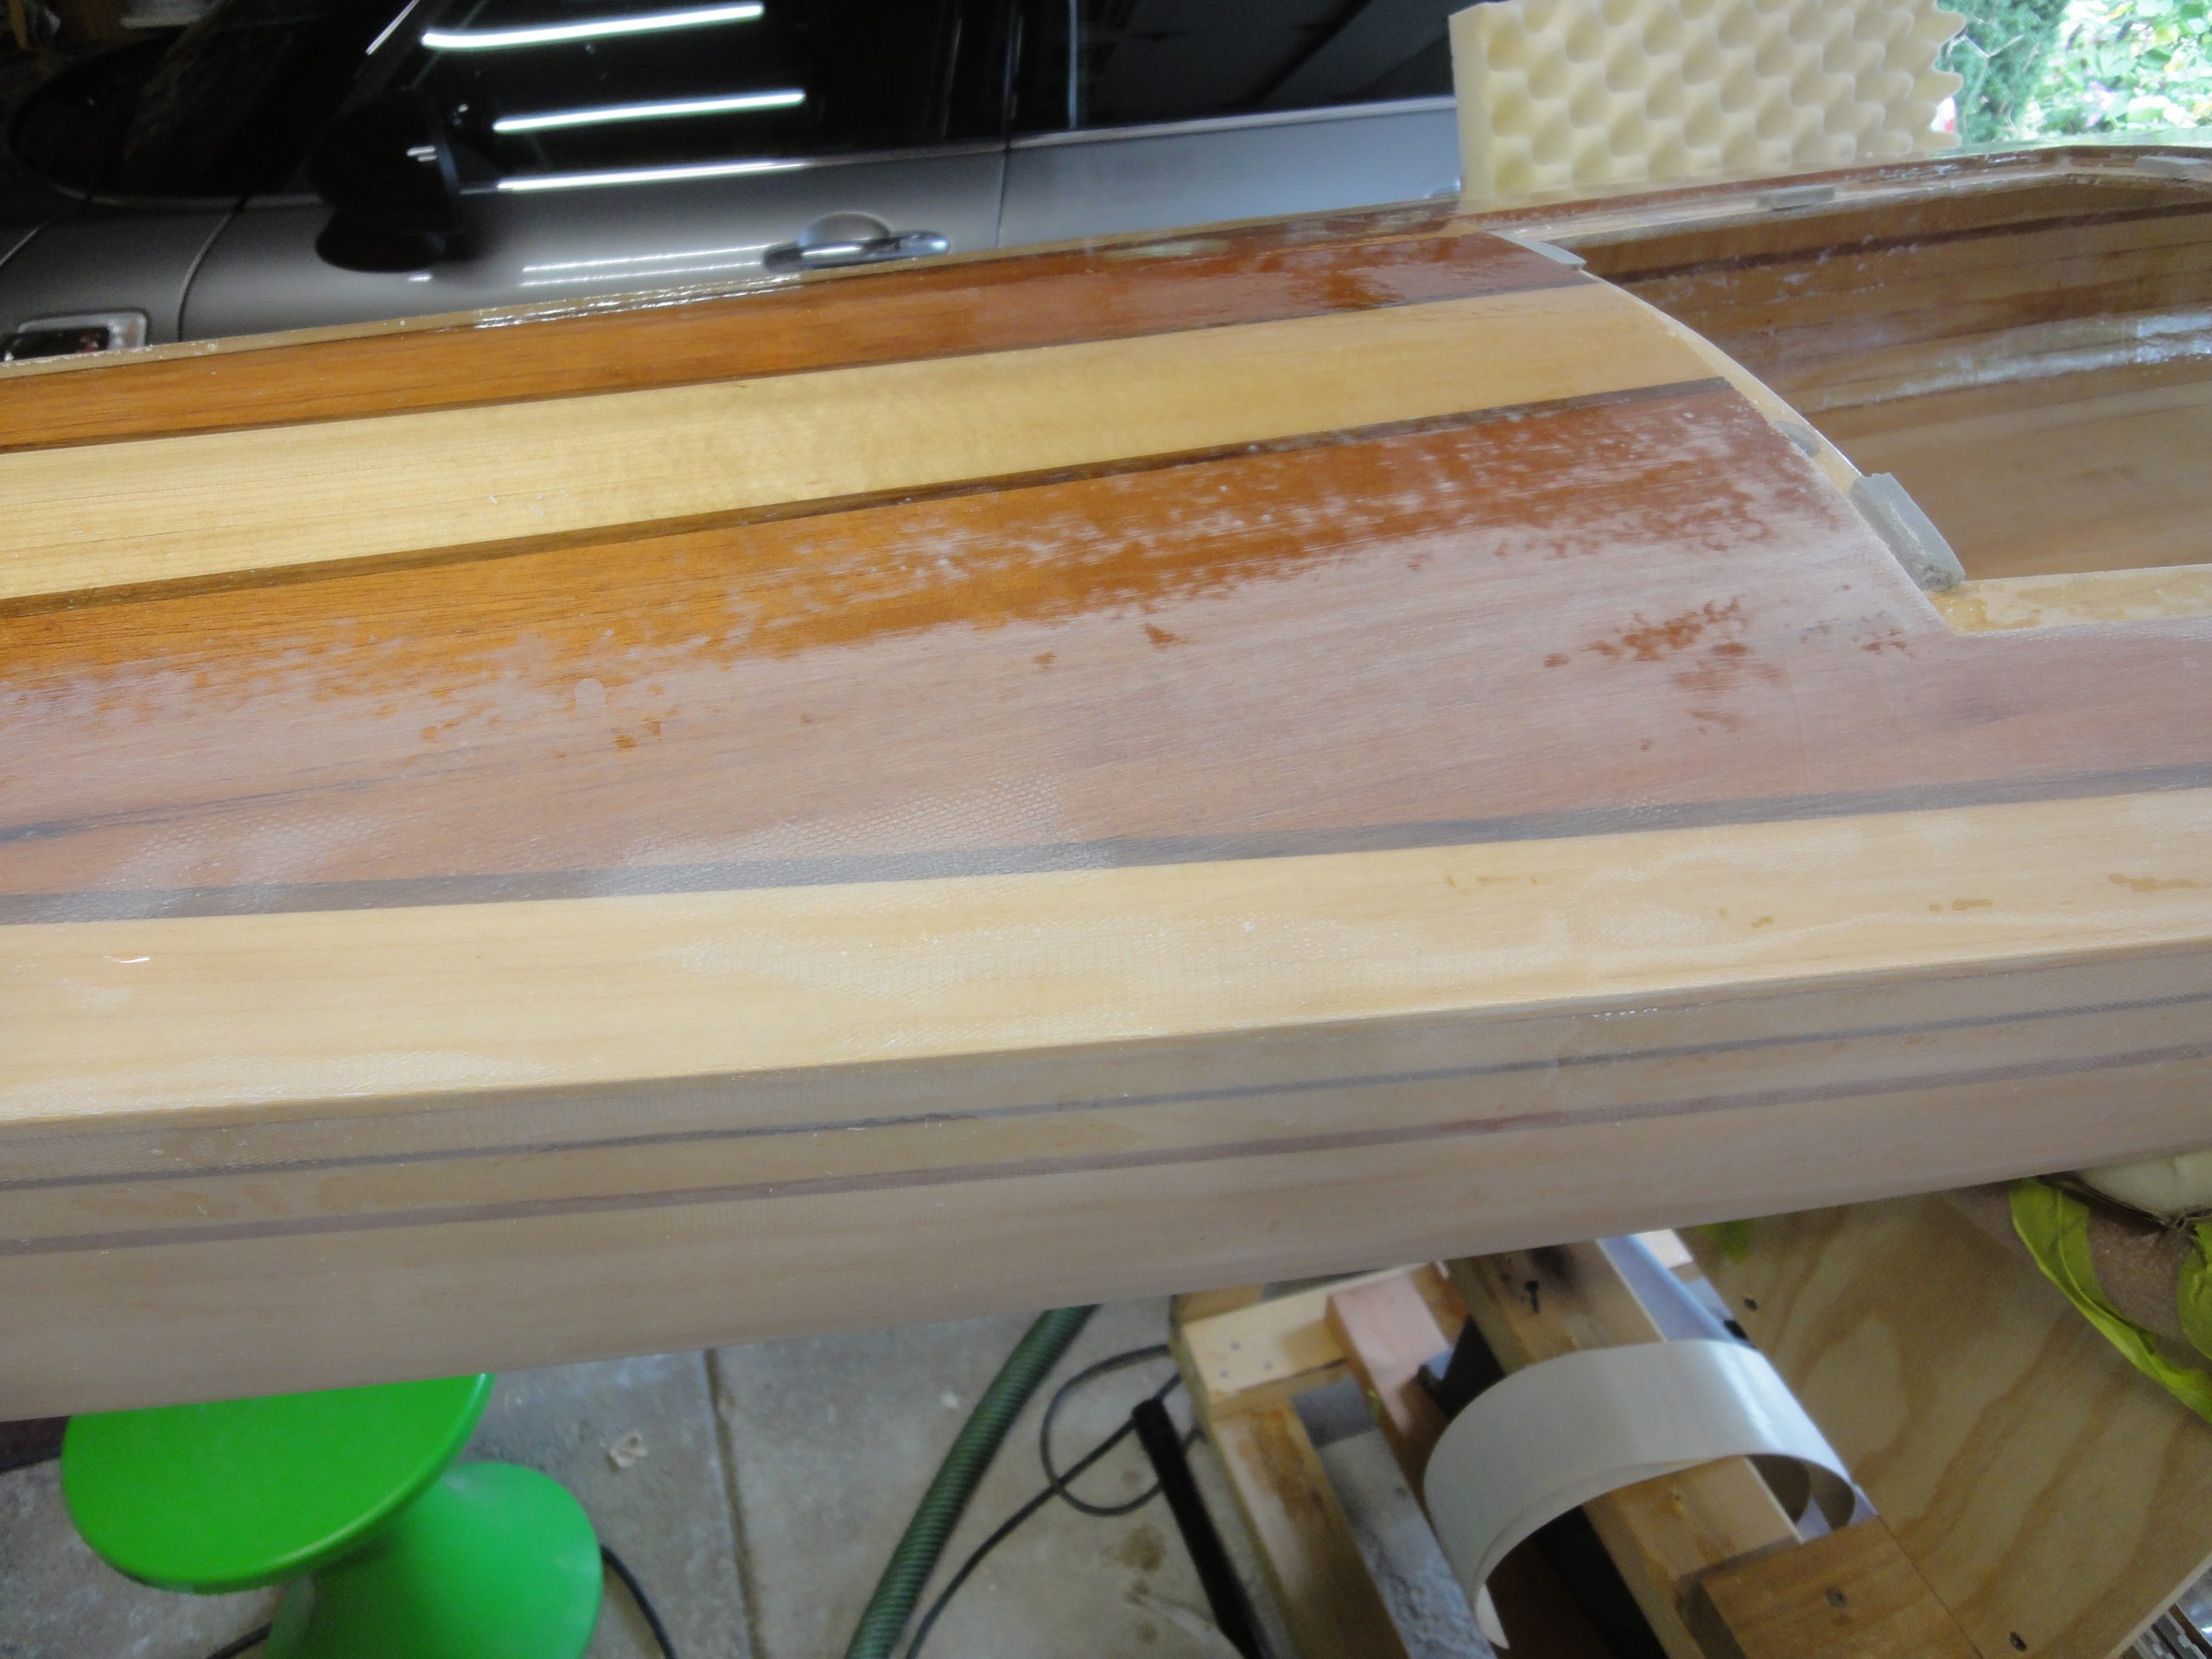
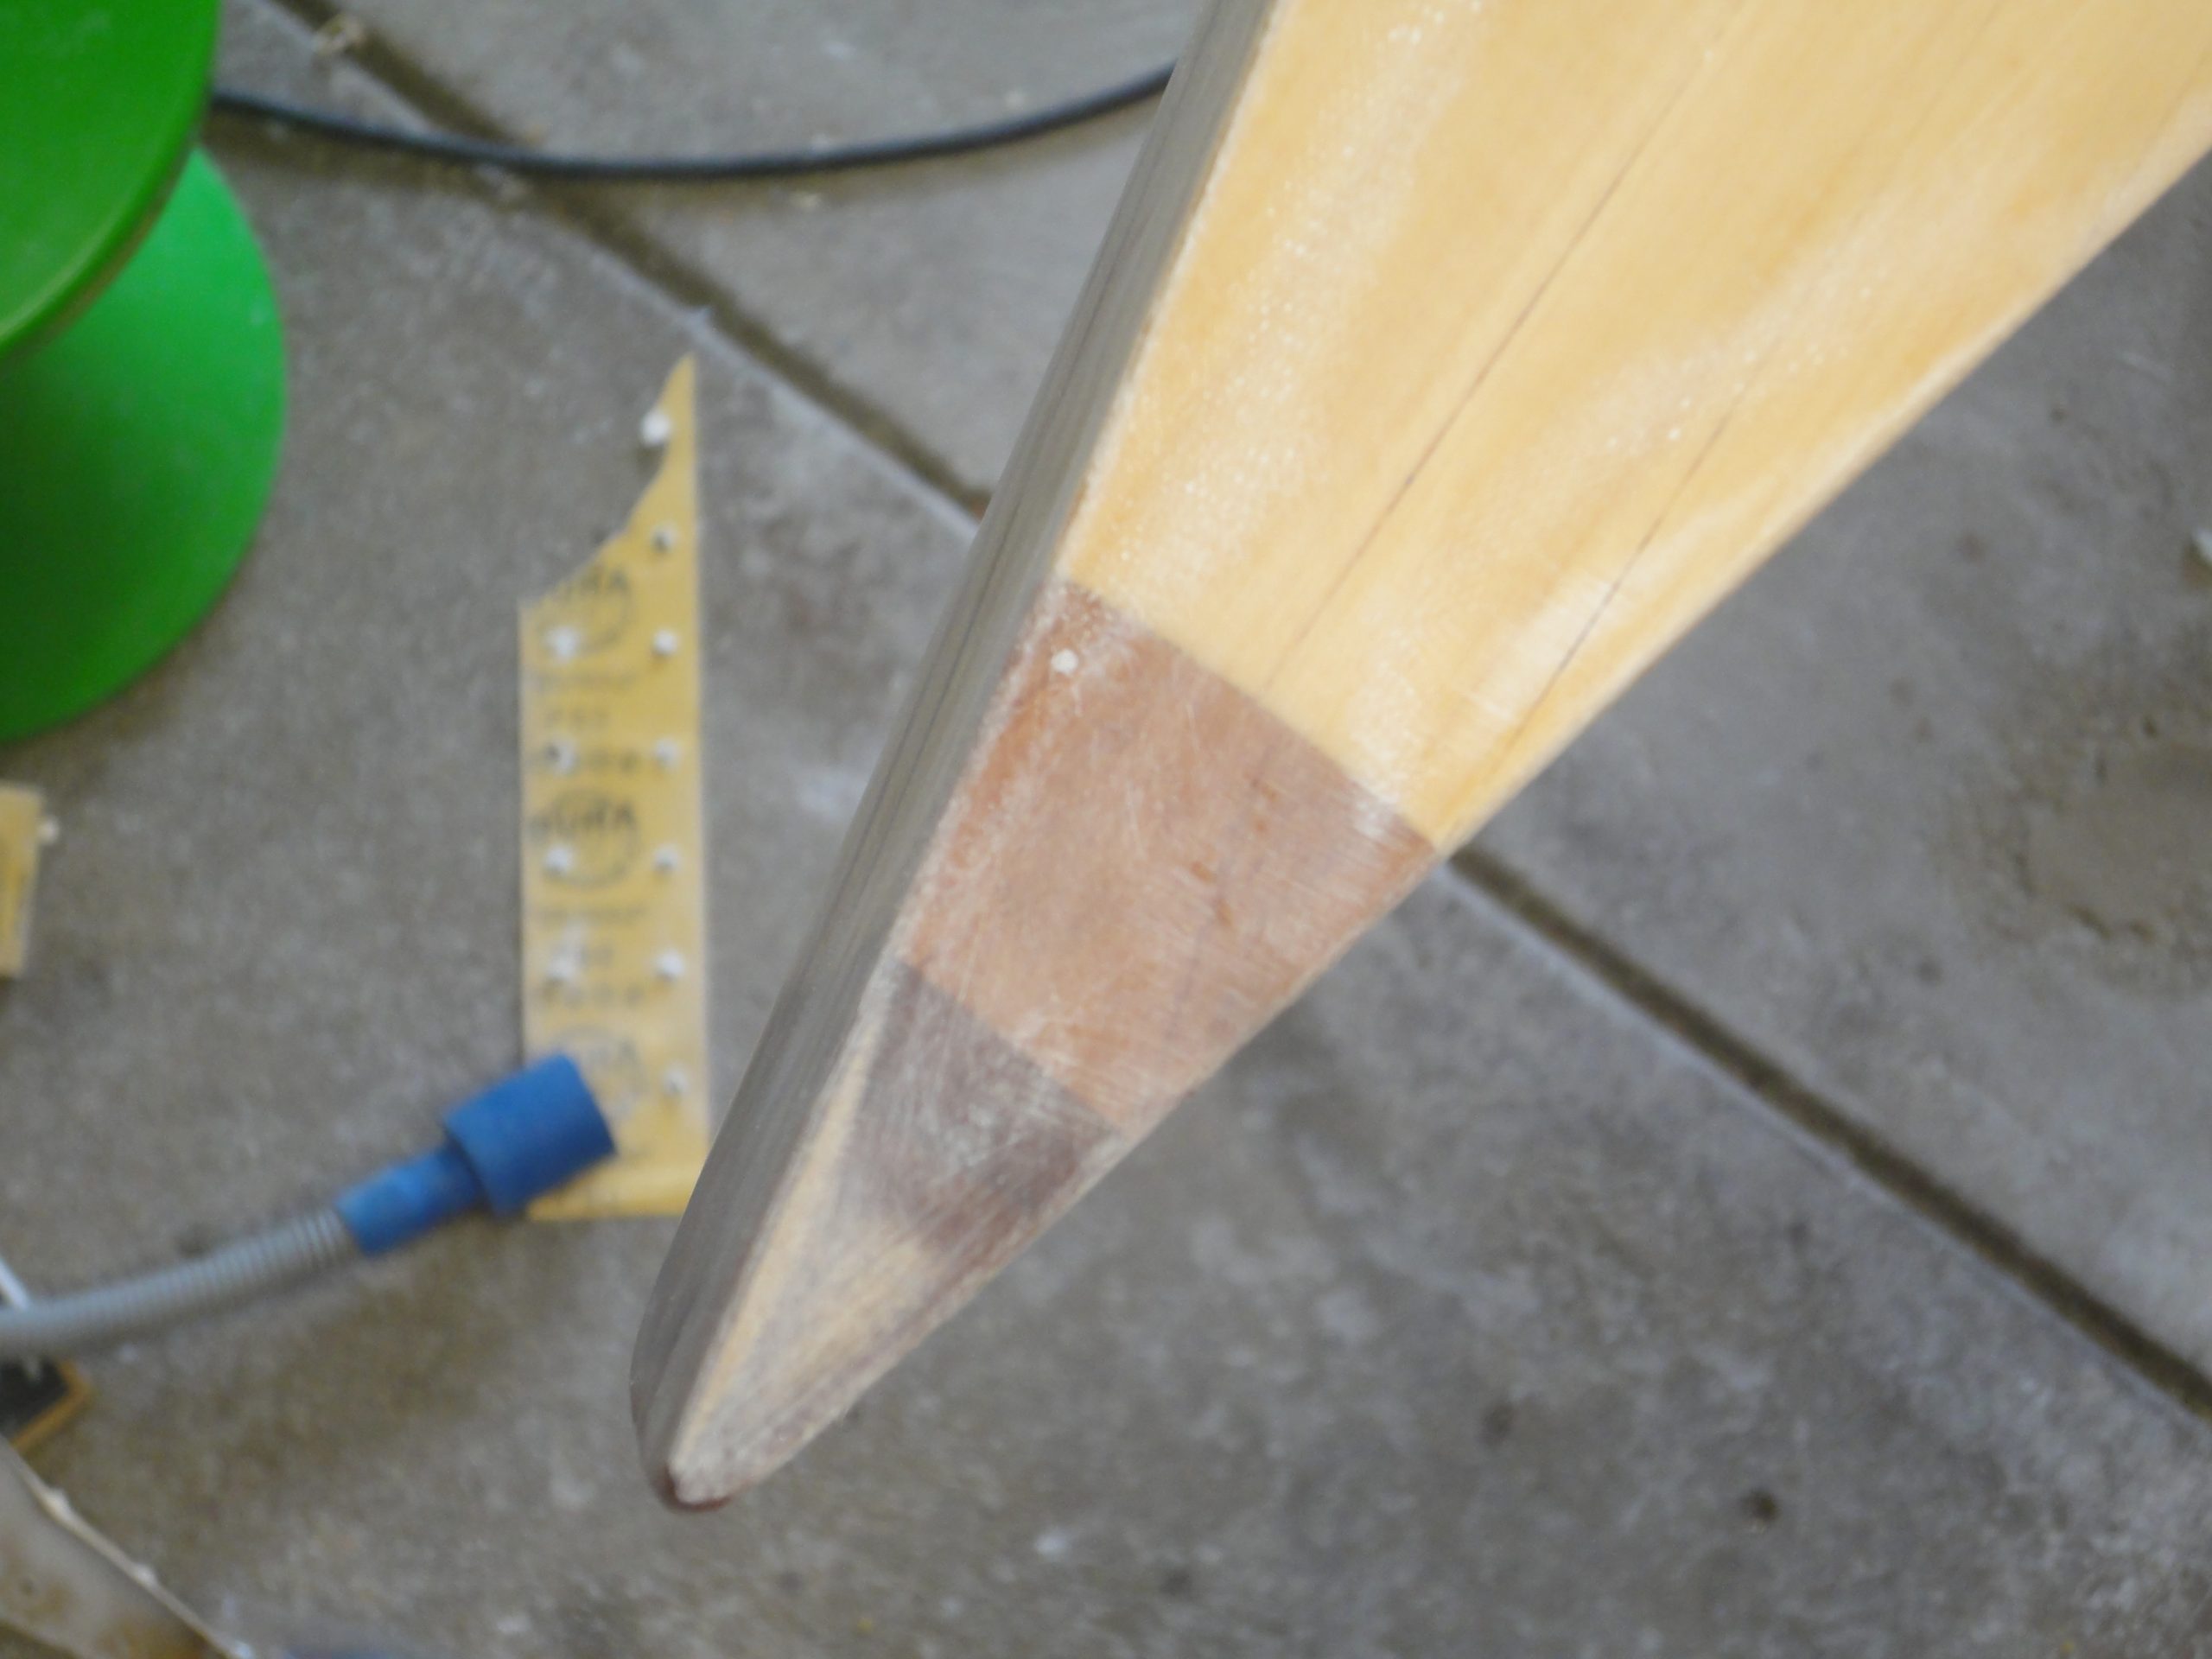
A delicate hand is also required. On the back I held the sander there just a moment too long and went right through the epoxy and into bare wood. I’ll need to touch this up later with at least epoxy if not a bit of cloth too.
I went ahead and sanded the hatches and applied the final fill coat on the inside of the smaller one which still needed this. The second side of each bulkhead also received a final fill coat.
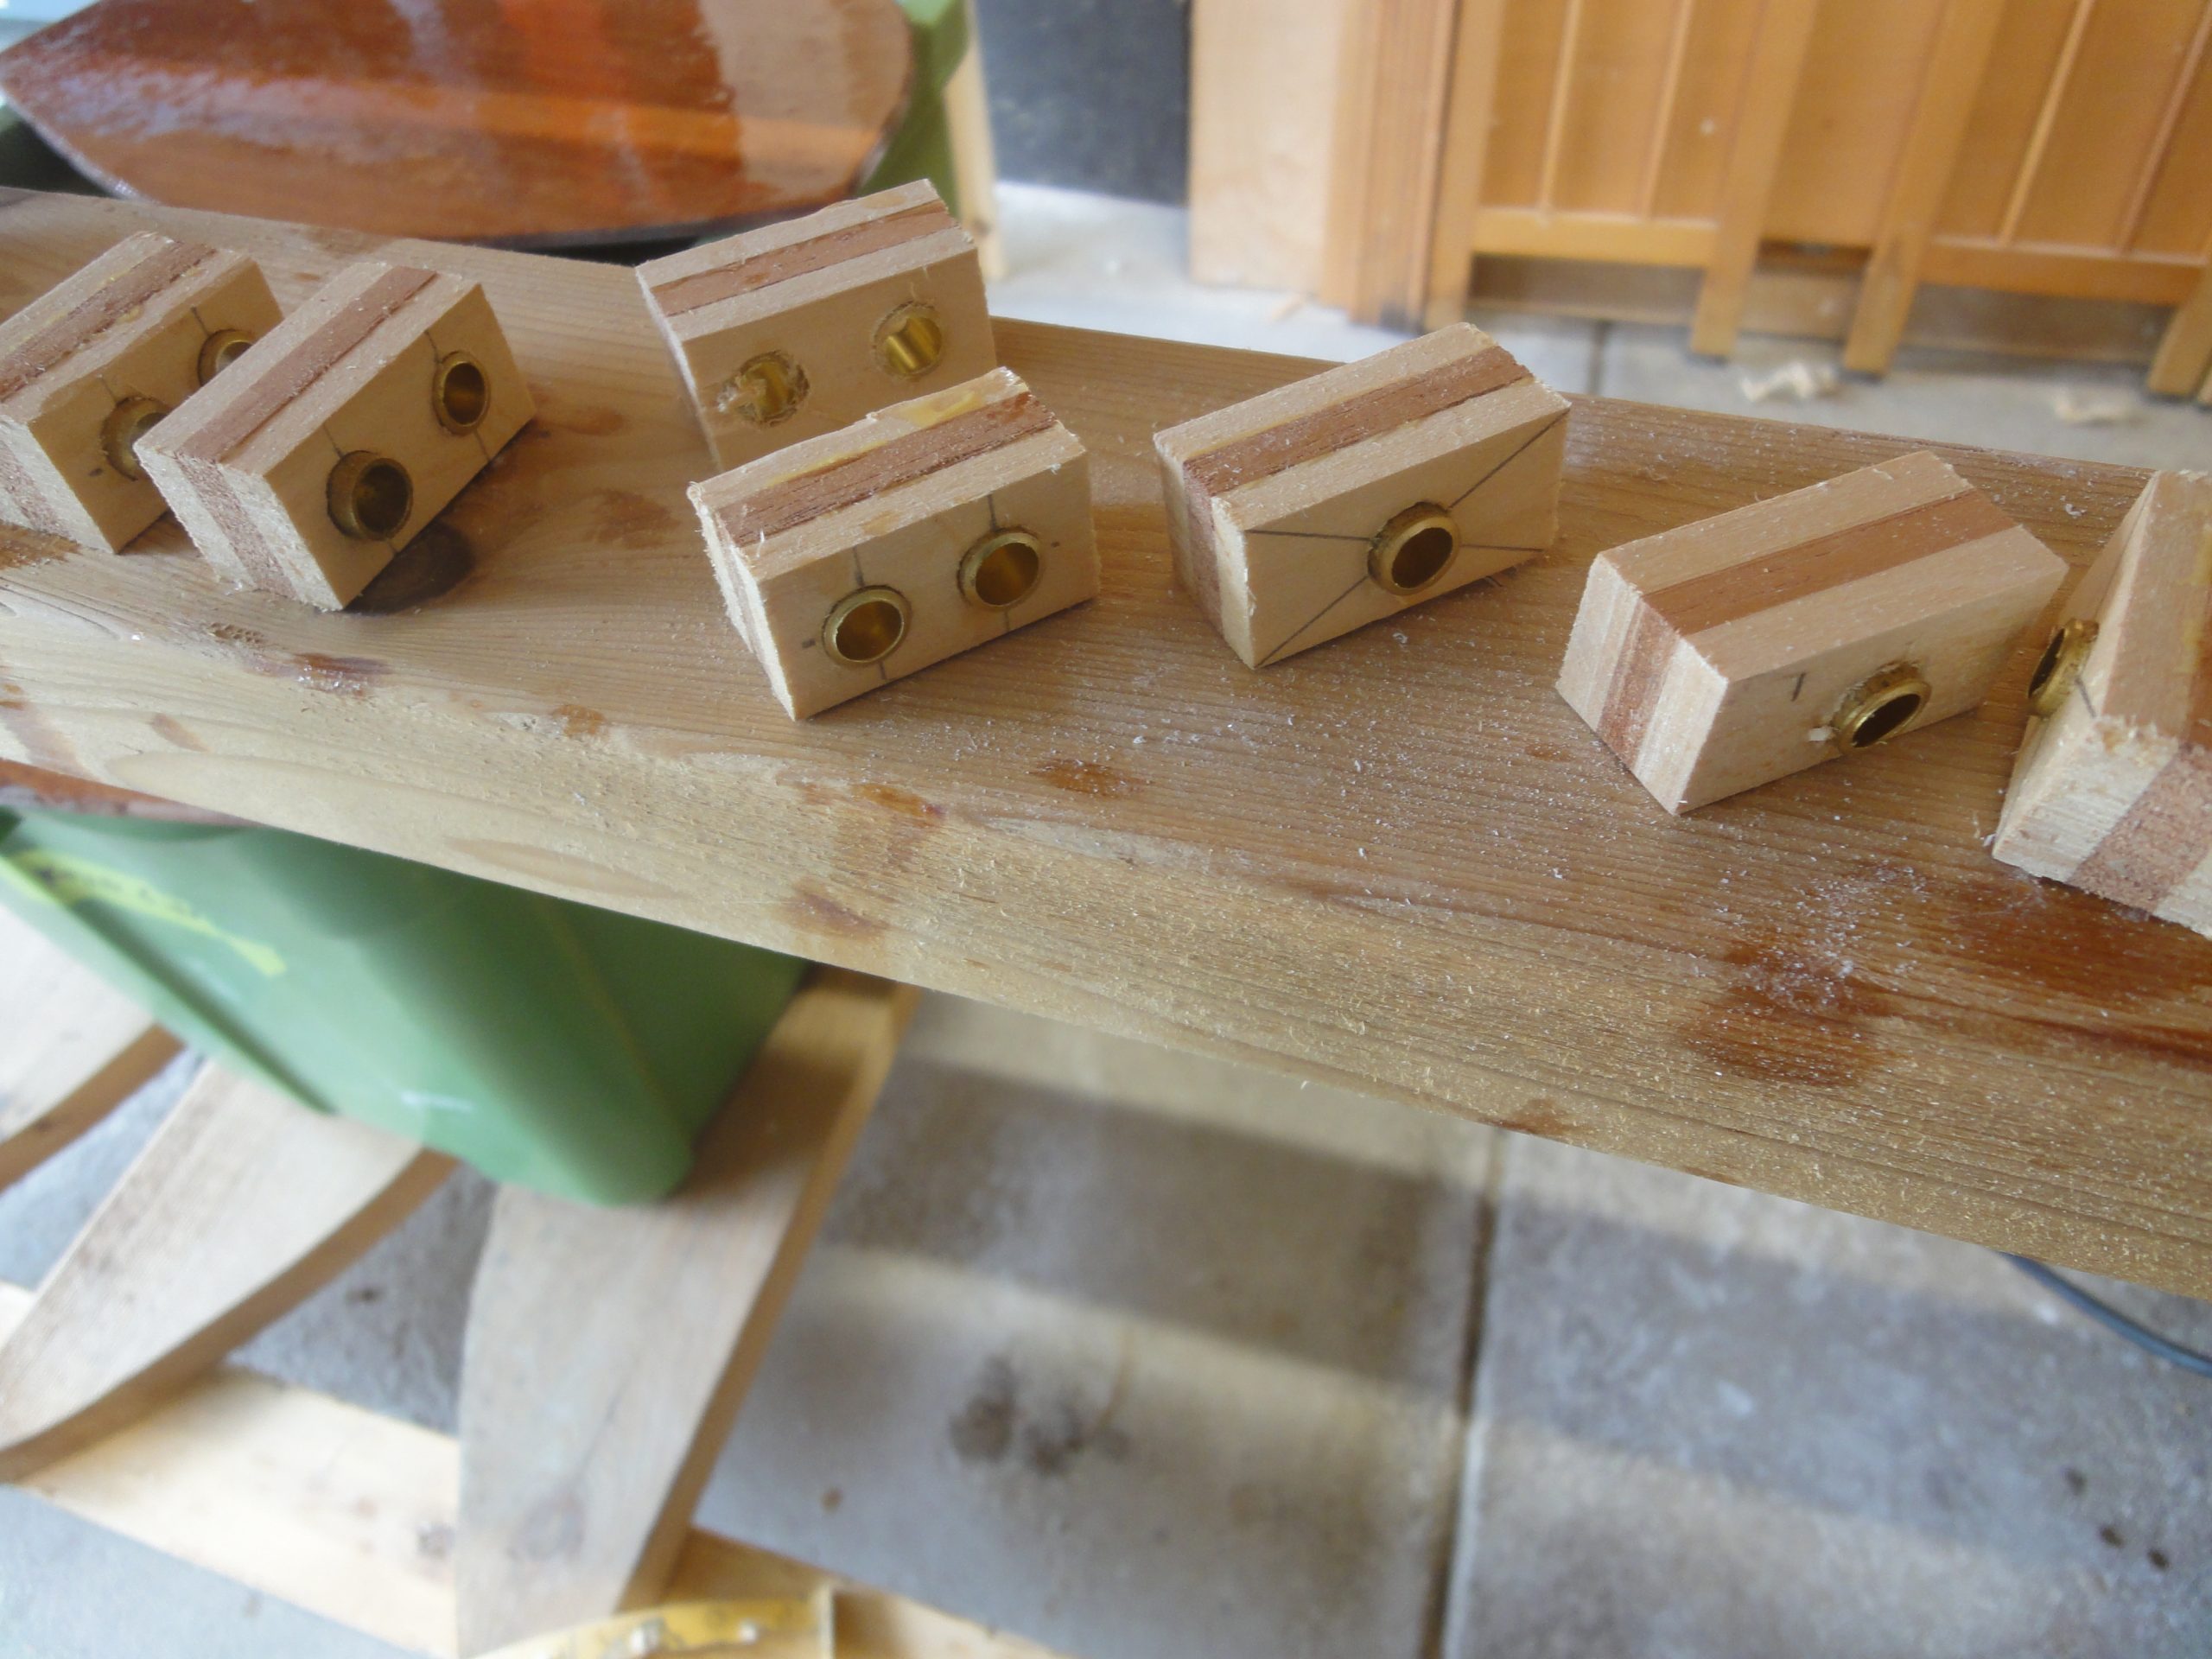
Finally, in preparation for the deck lines I went ahead and glued in the brass tubes into the wood blocks. Even though the super glue will set almost instantly I was done for the day and will save the sanding and shaping for next time.
This brings the to do list down to:
- End pours
- Order seat – done, already shipped, just waiting for it to arrive.
- Install bulkheads
- Drill/fit carry handle/tie down holes
- Install line guides
- Line guide fill and sanding
- Varnish, varnish, varnish
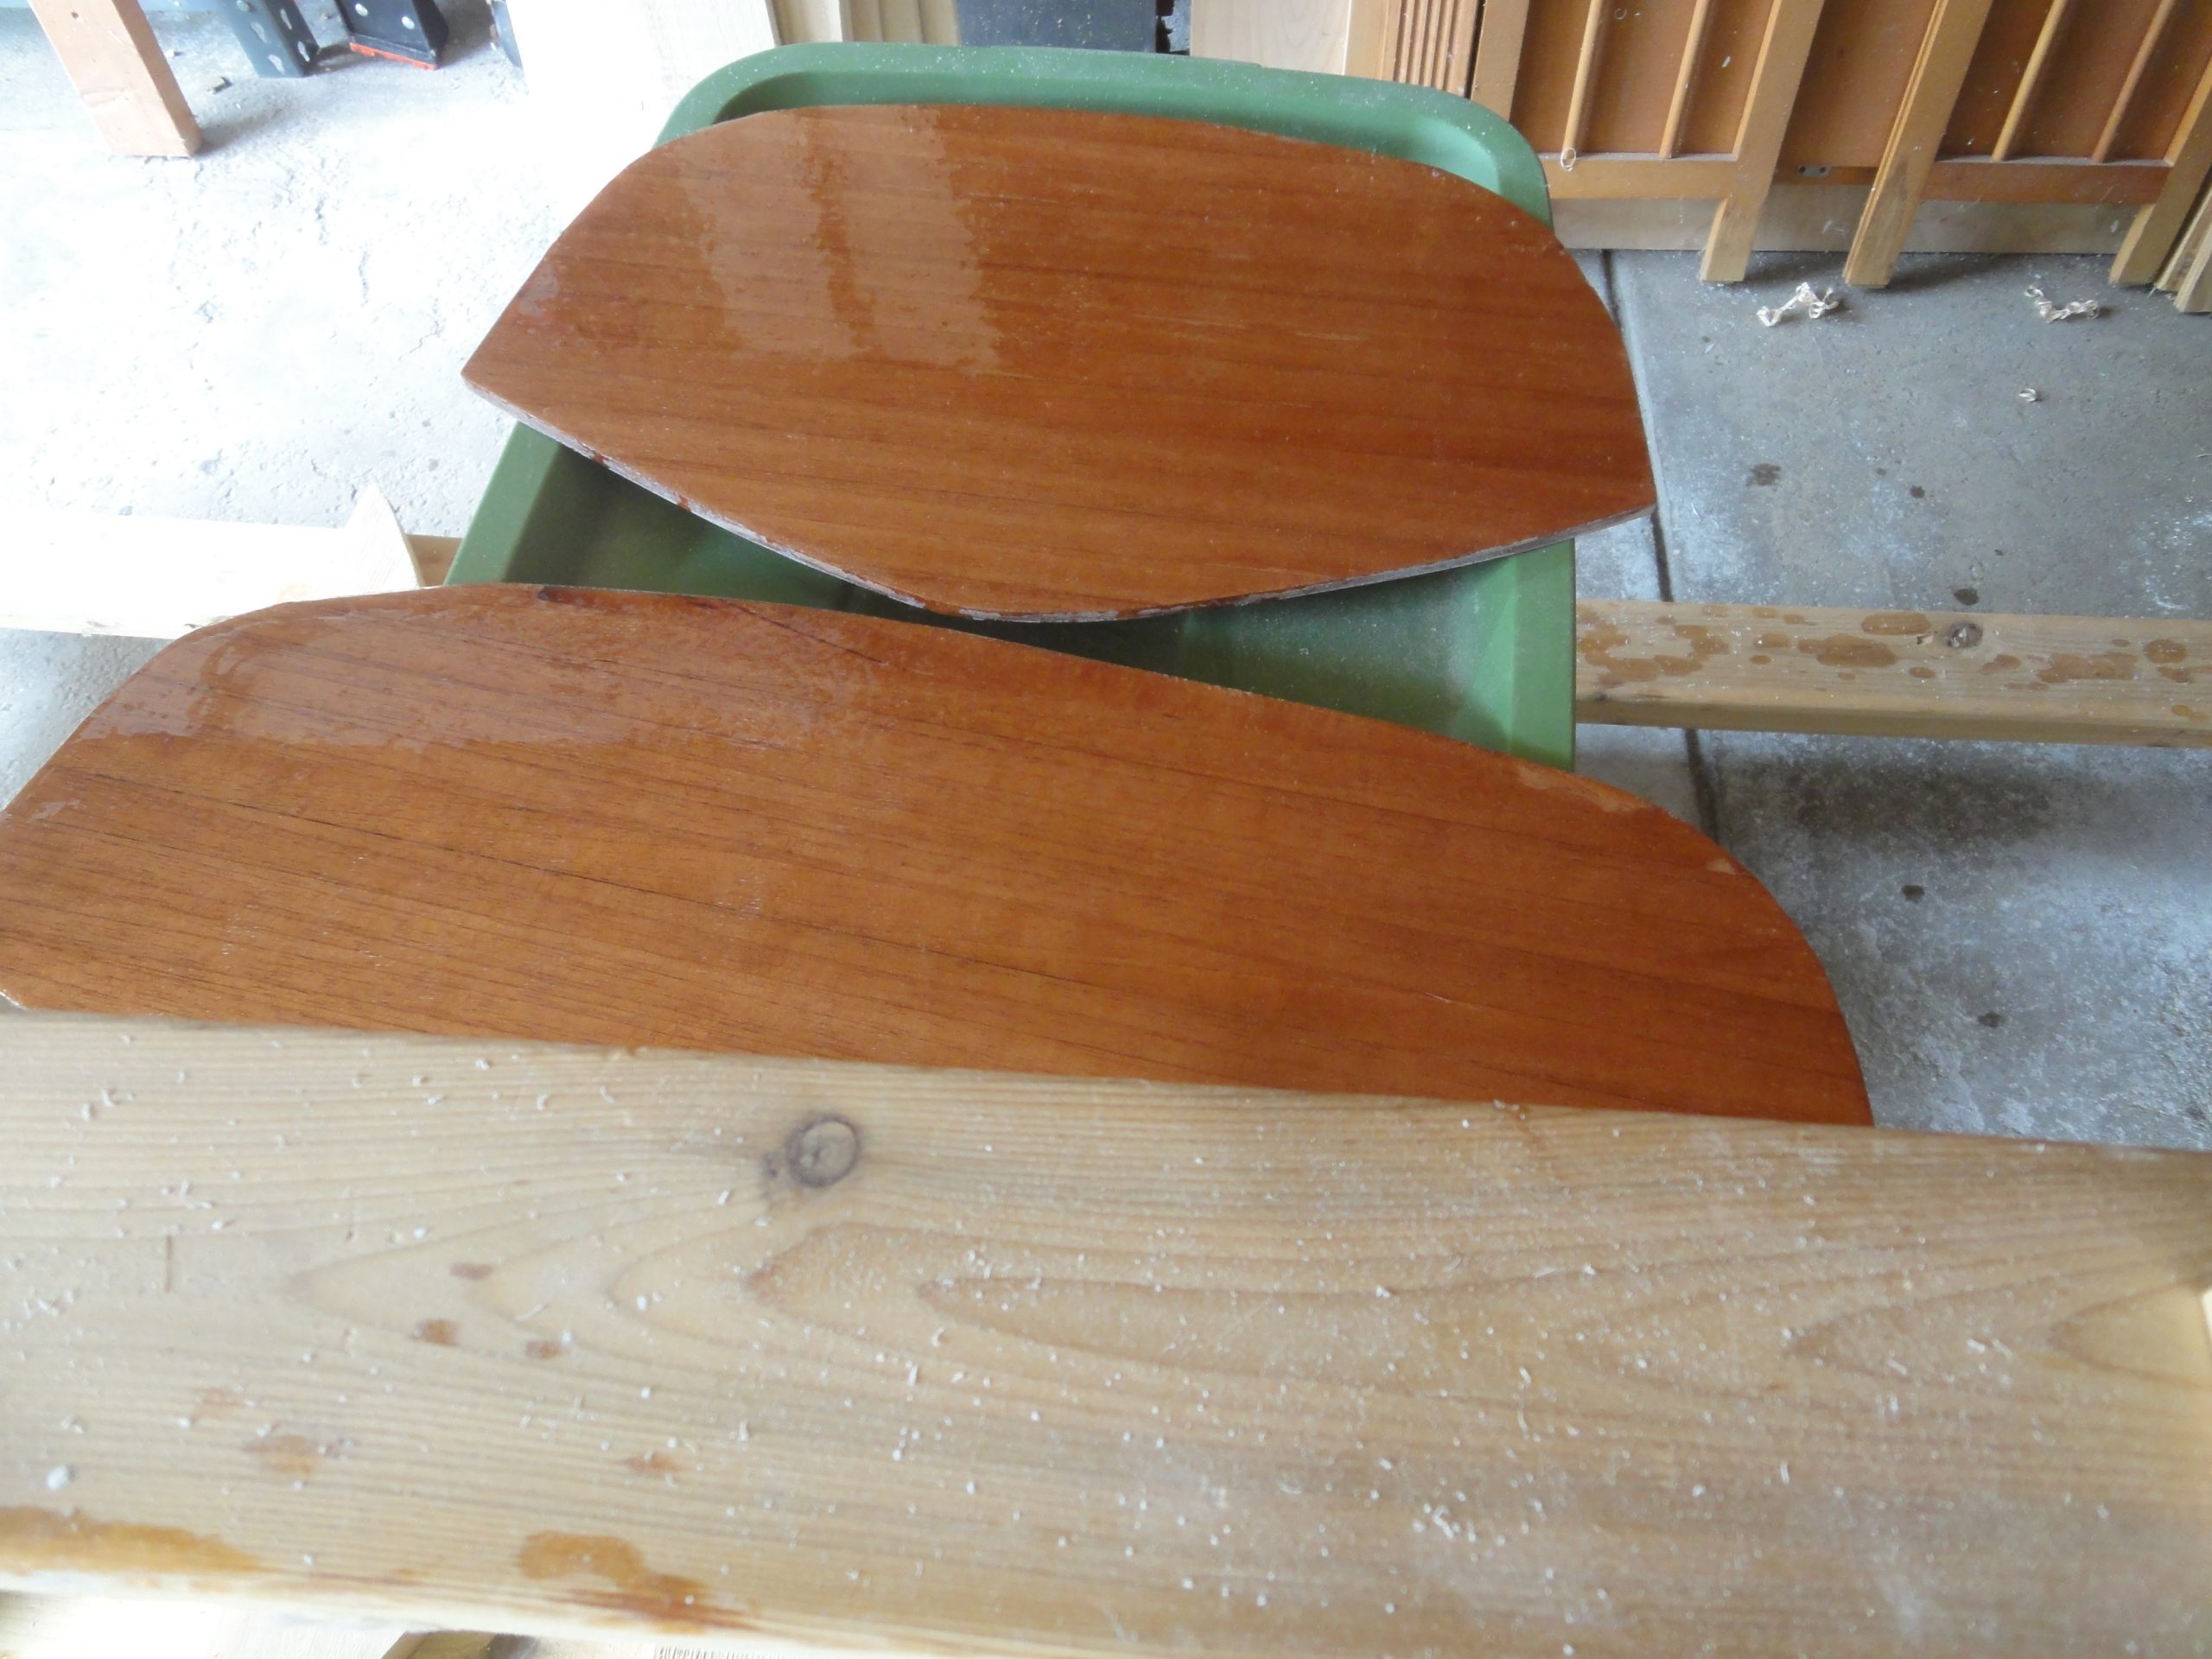
I also ordered a paddle which arrived today. The project is finally approaching the finish line.