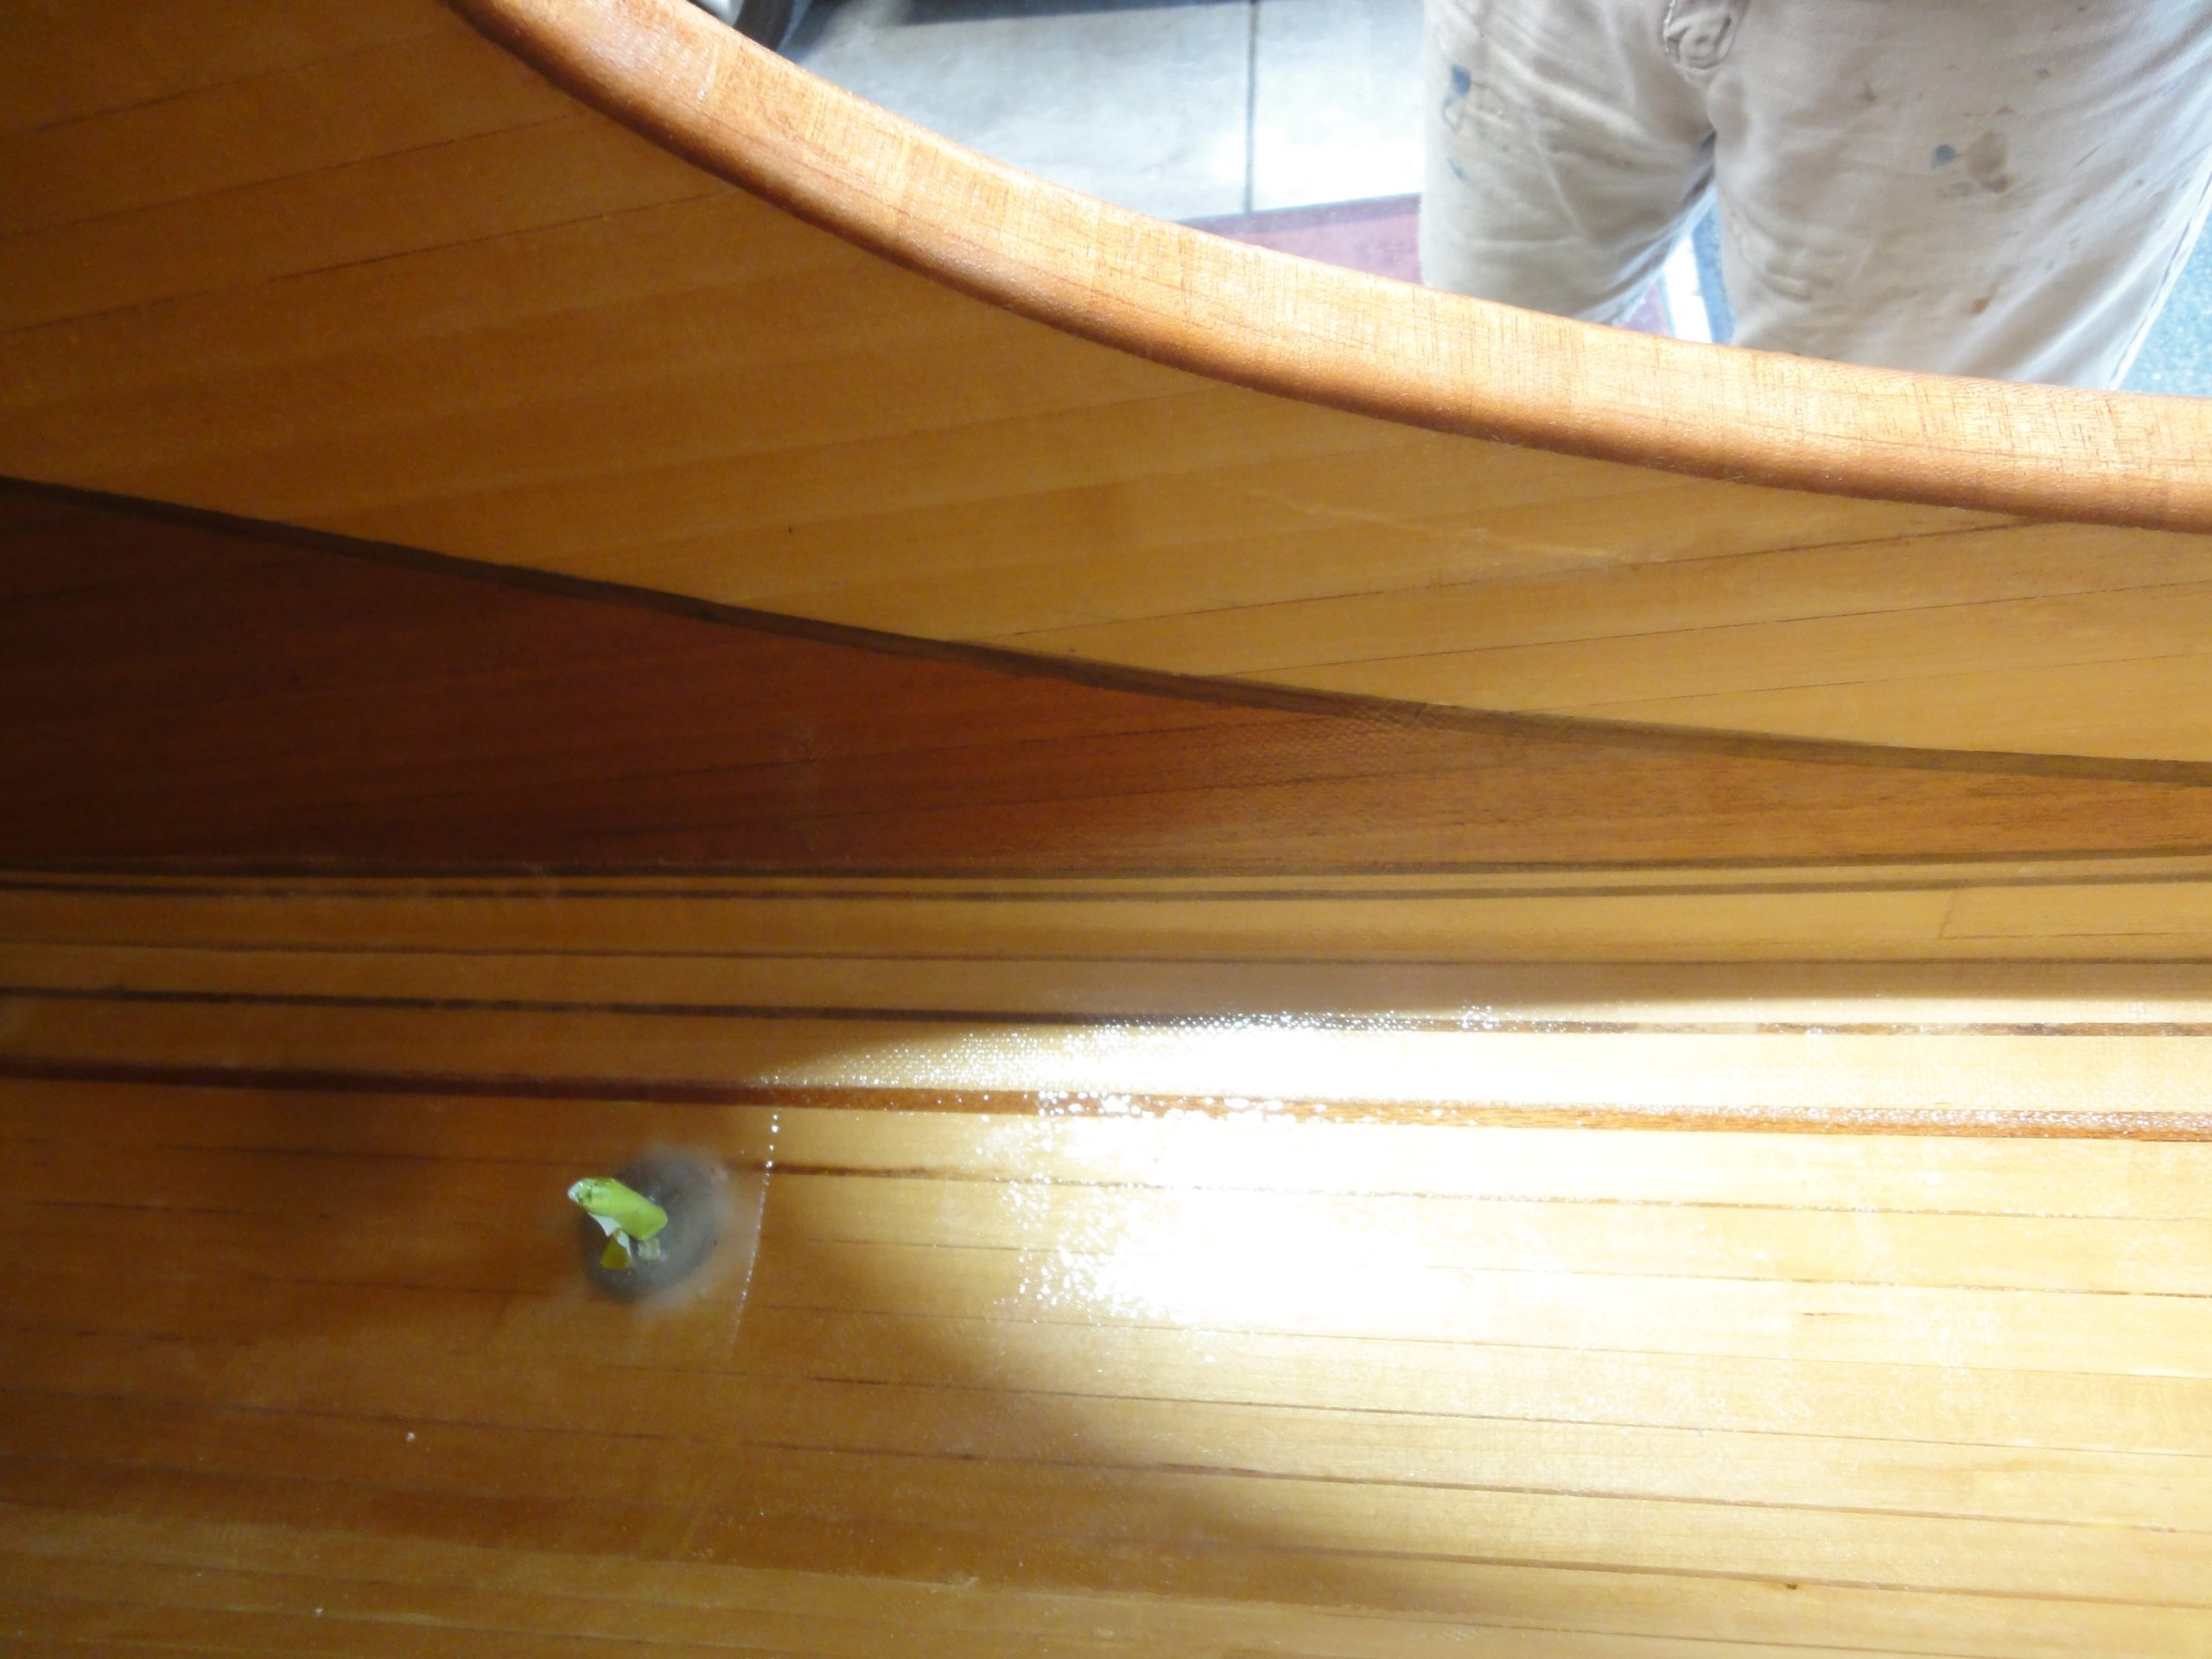
Over the labor day weekend I was able to finish the inside seams. The kayak was flipped onto the other side and following the same steps as last time I completed the seam. With a second coat of epoxy to help fill the weave, after sanding the edges it’s barely visible and in a normal orientation it’s not something that will ever be visible.
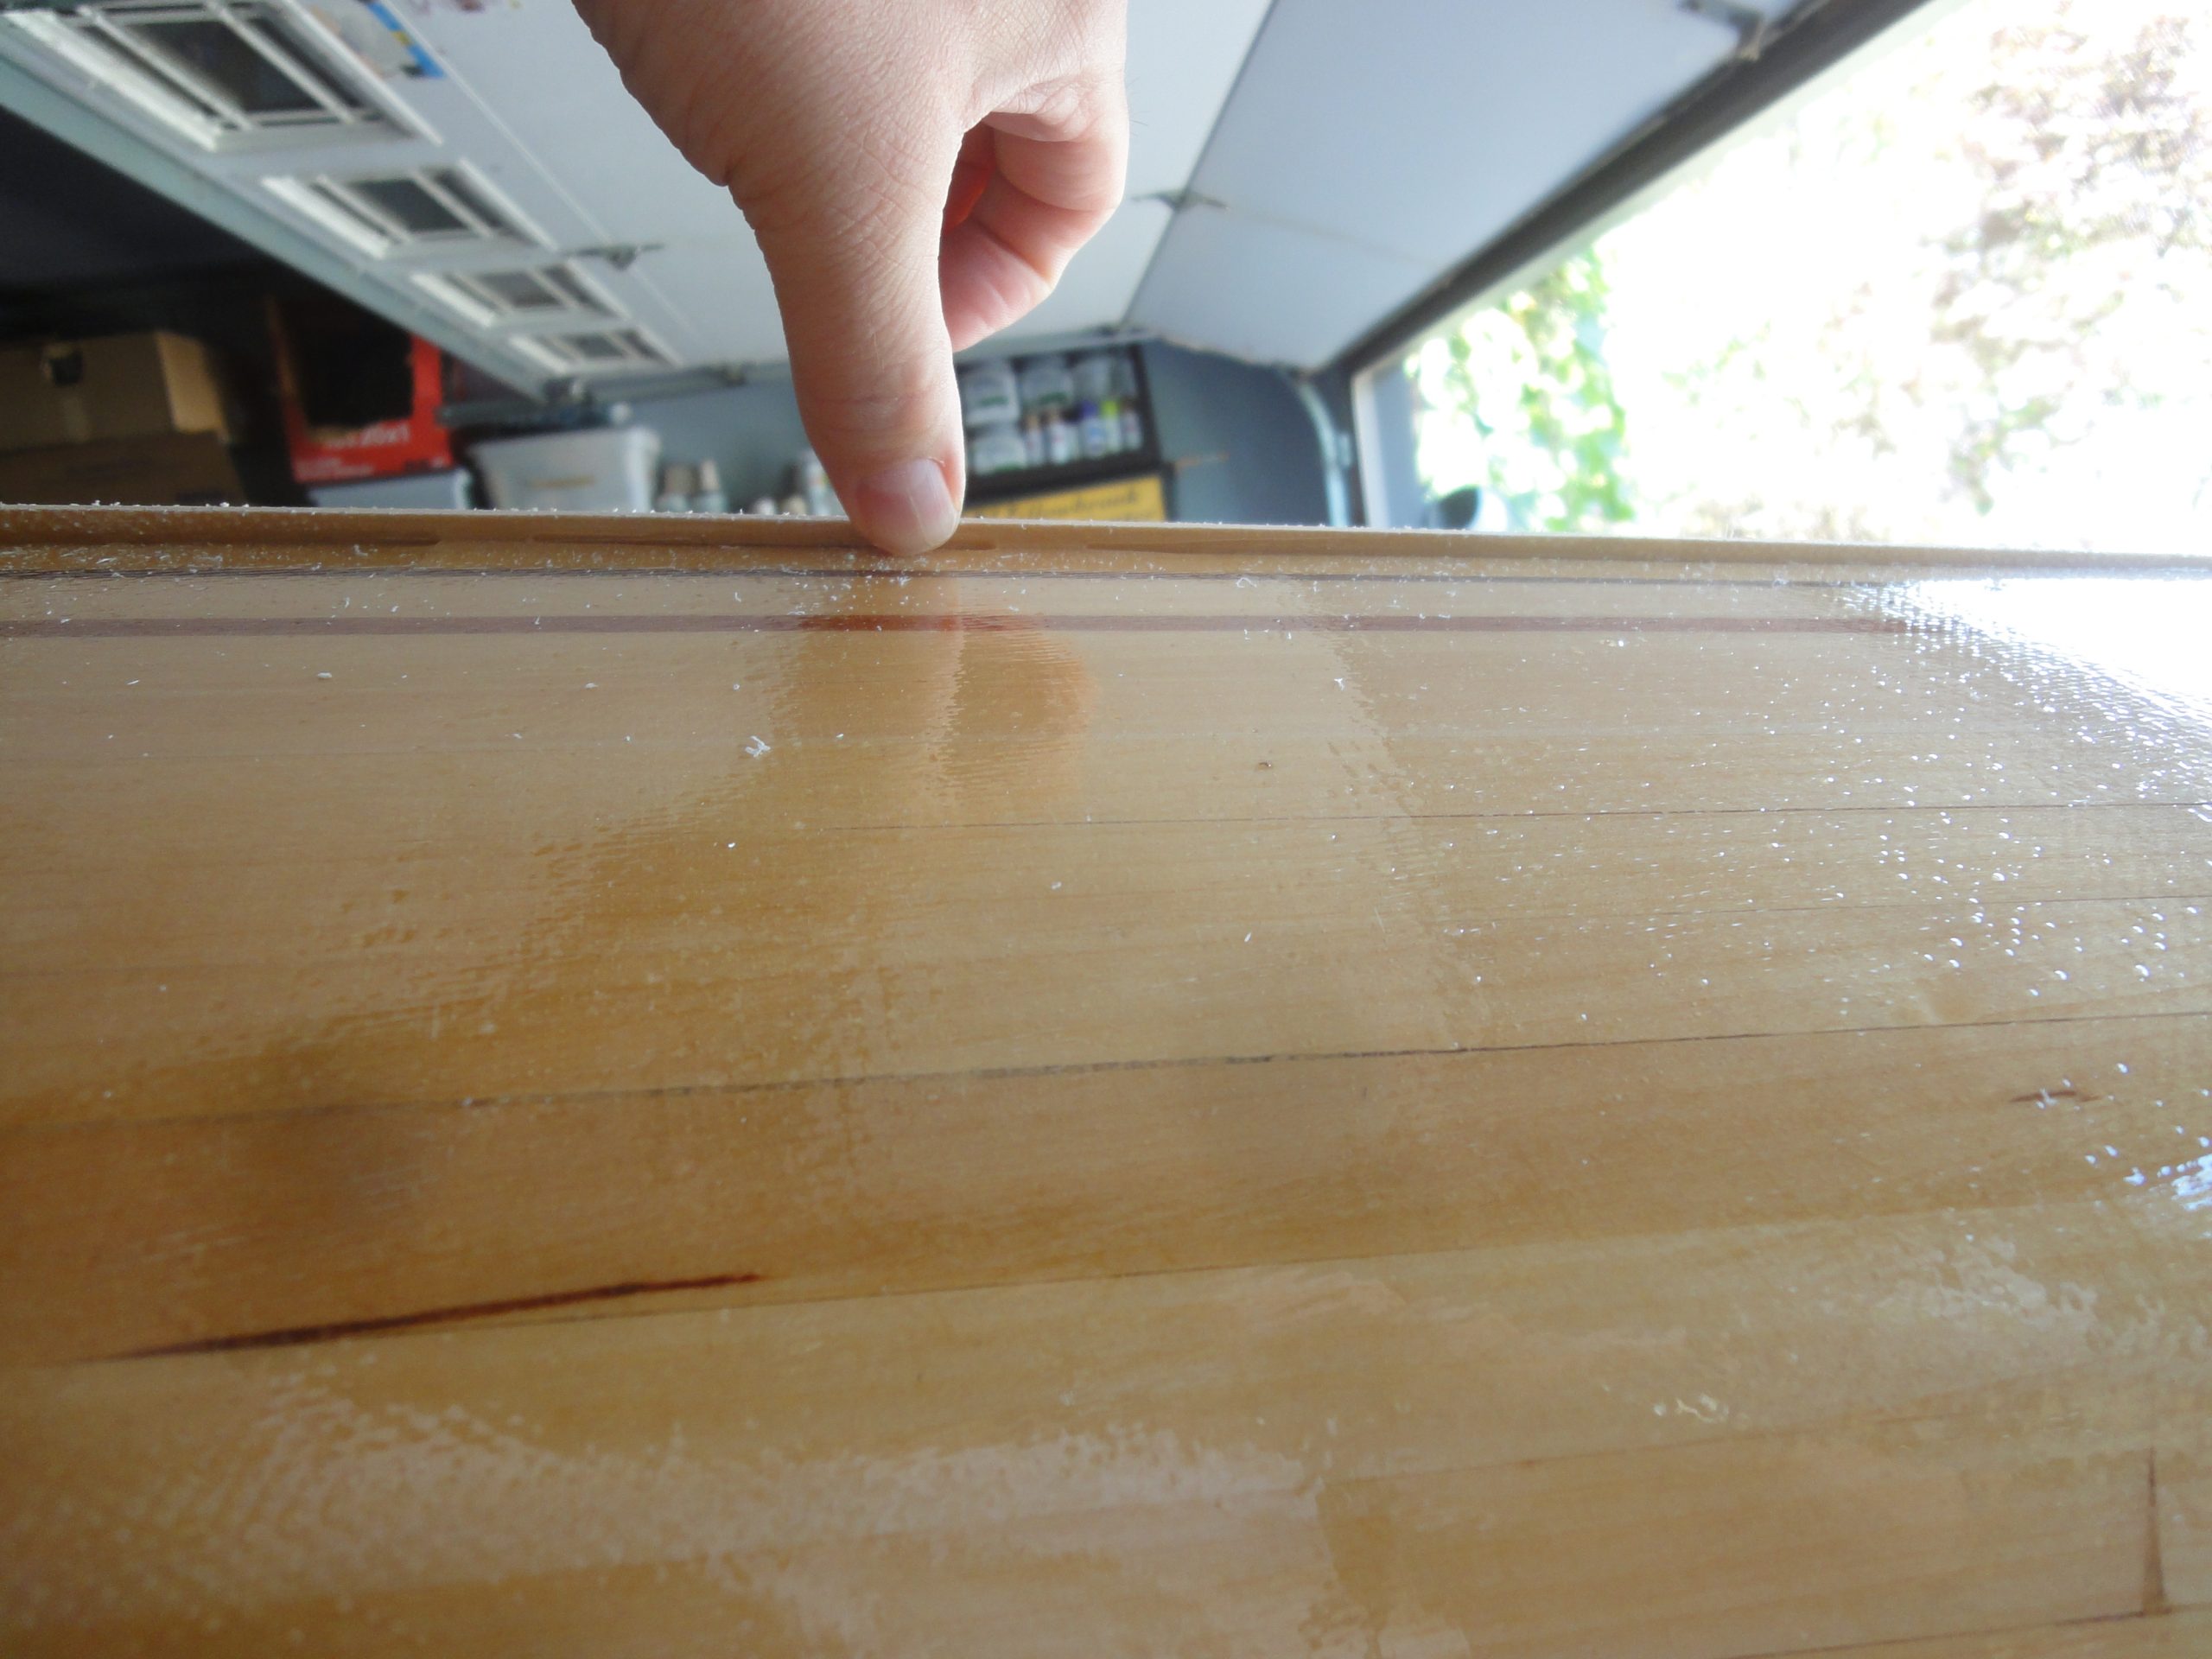
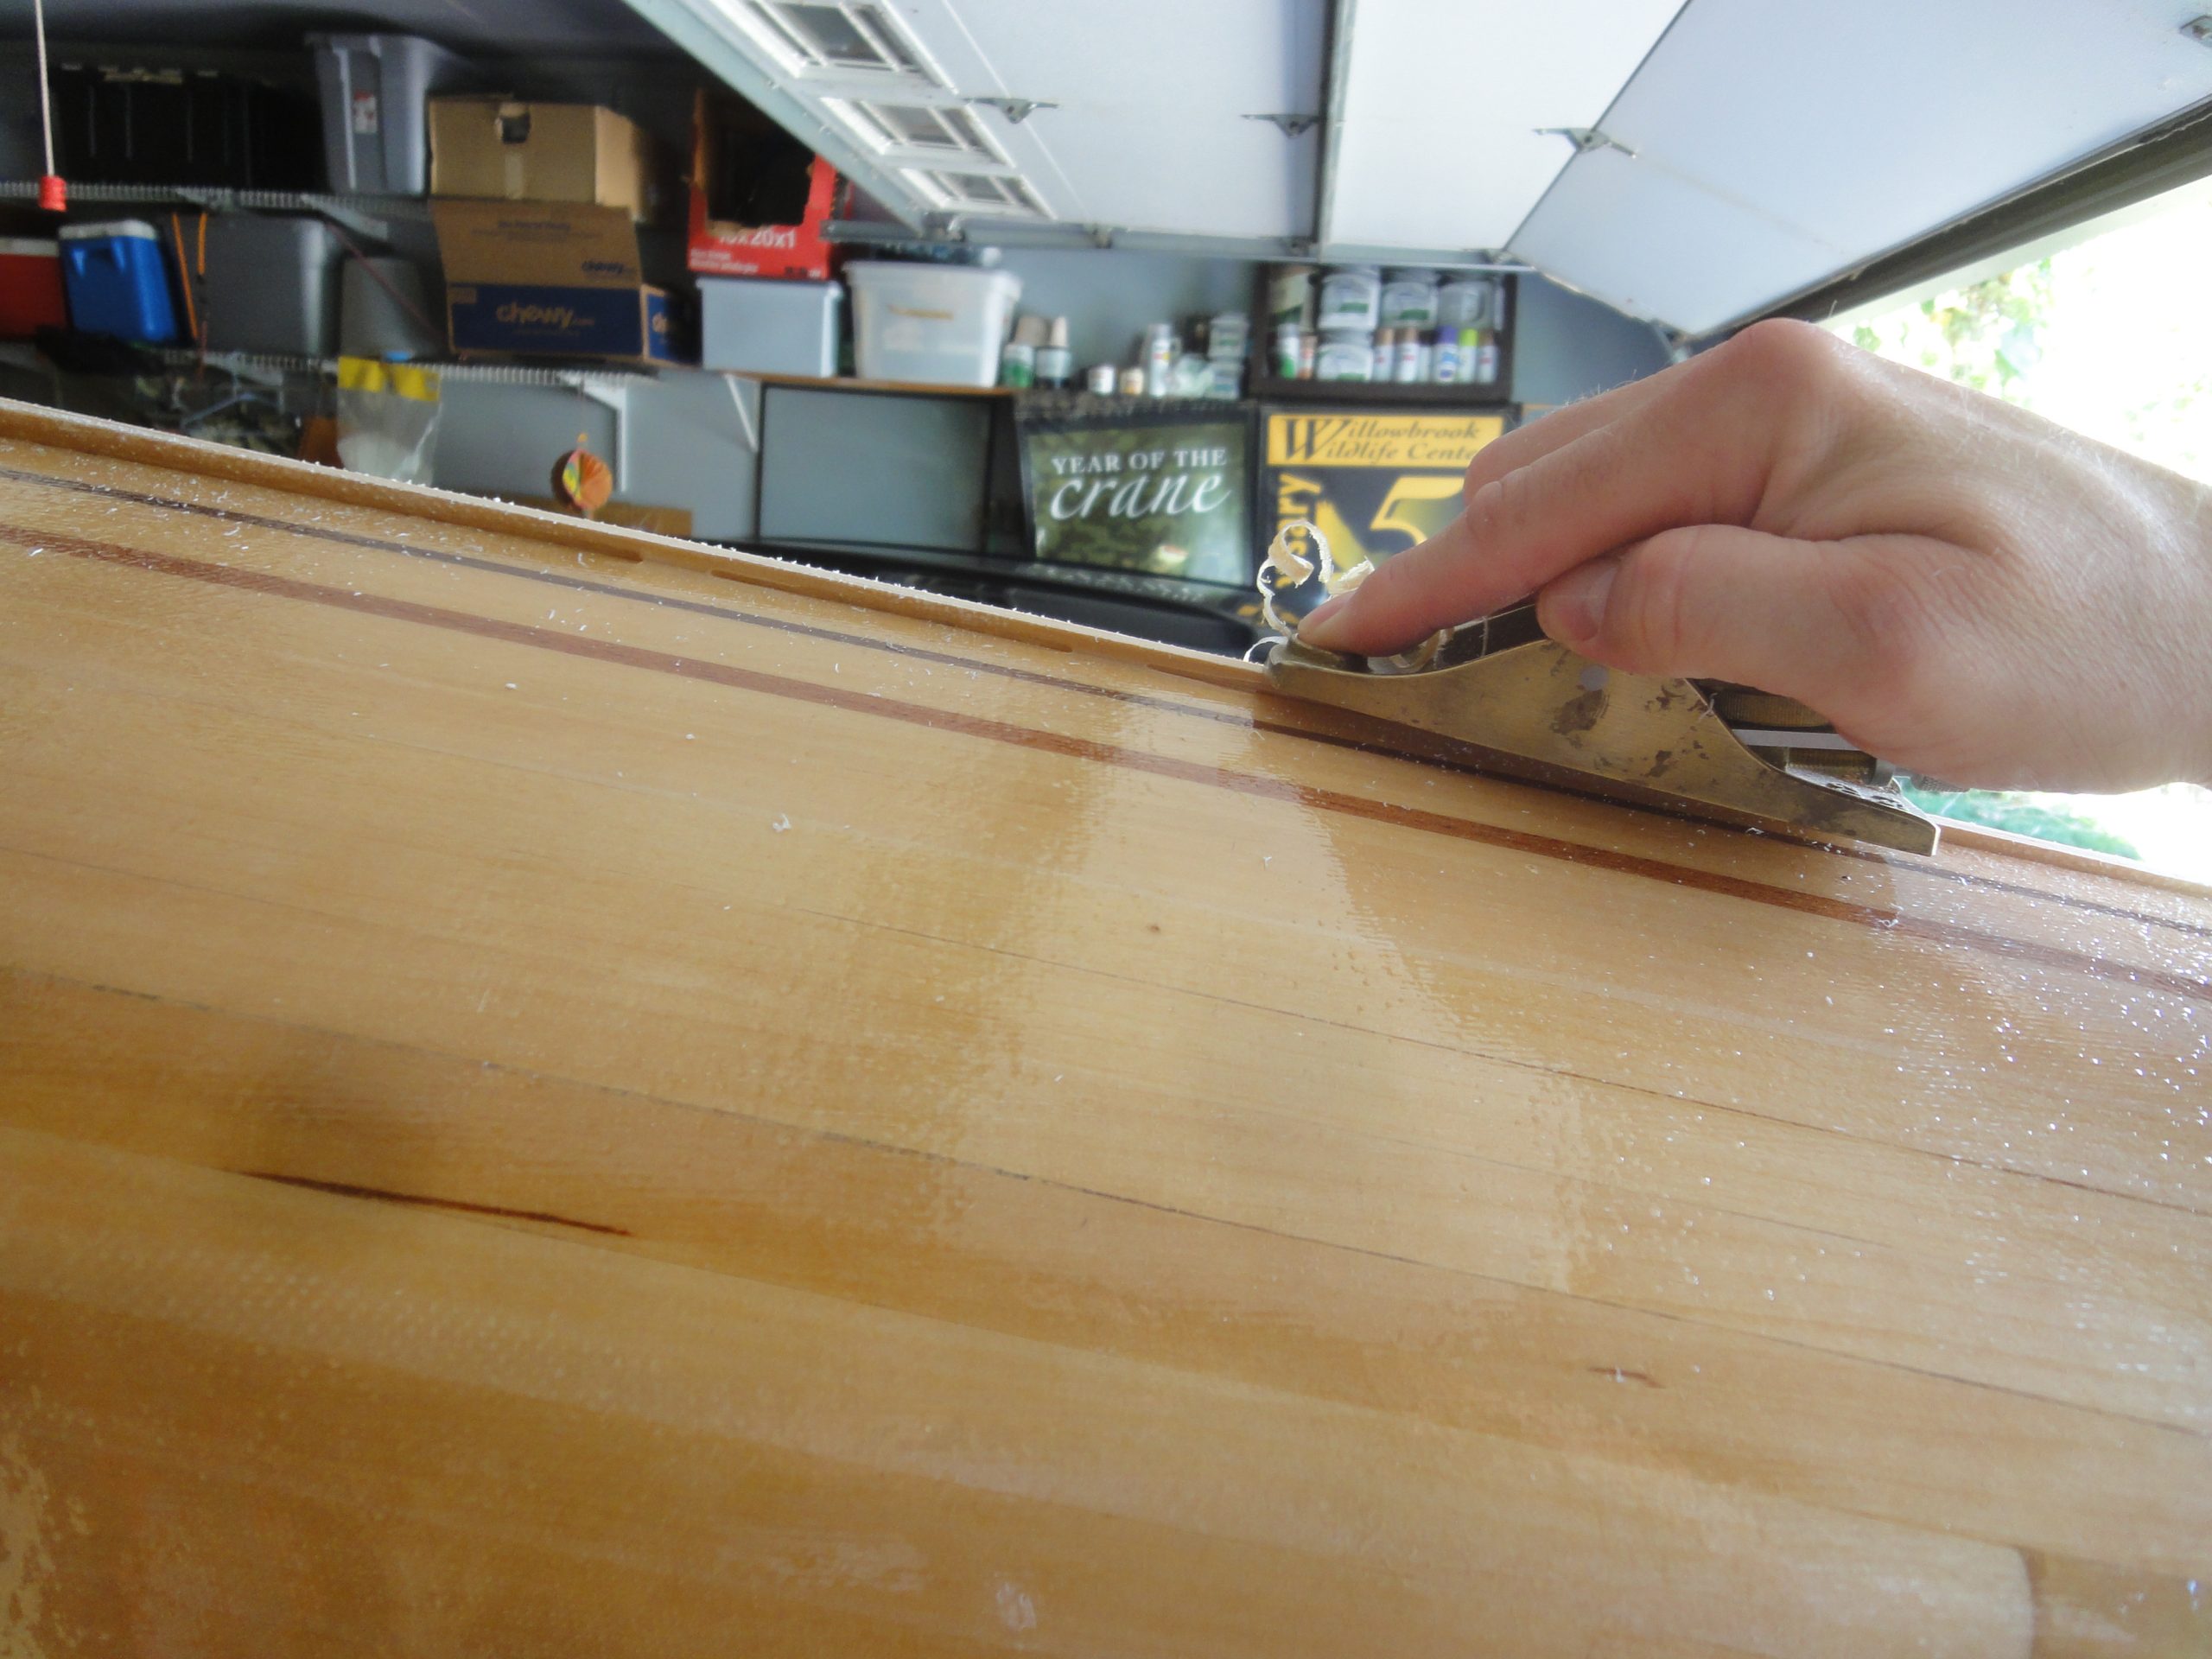
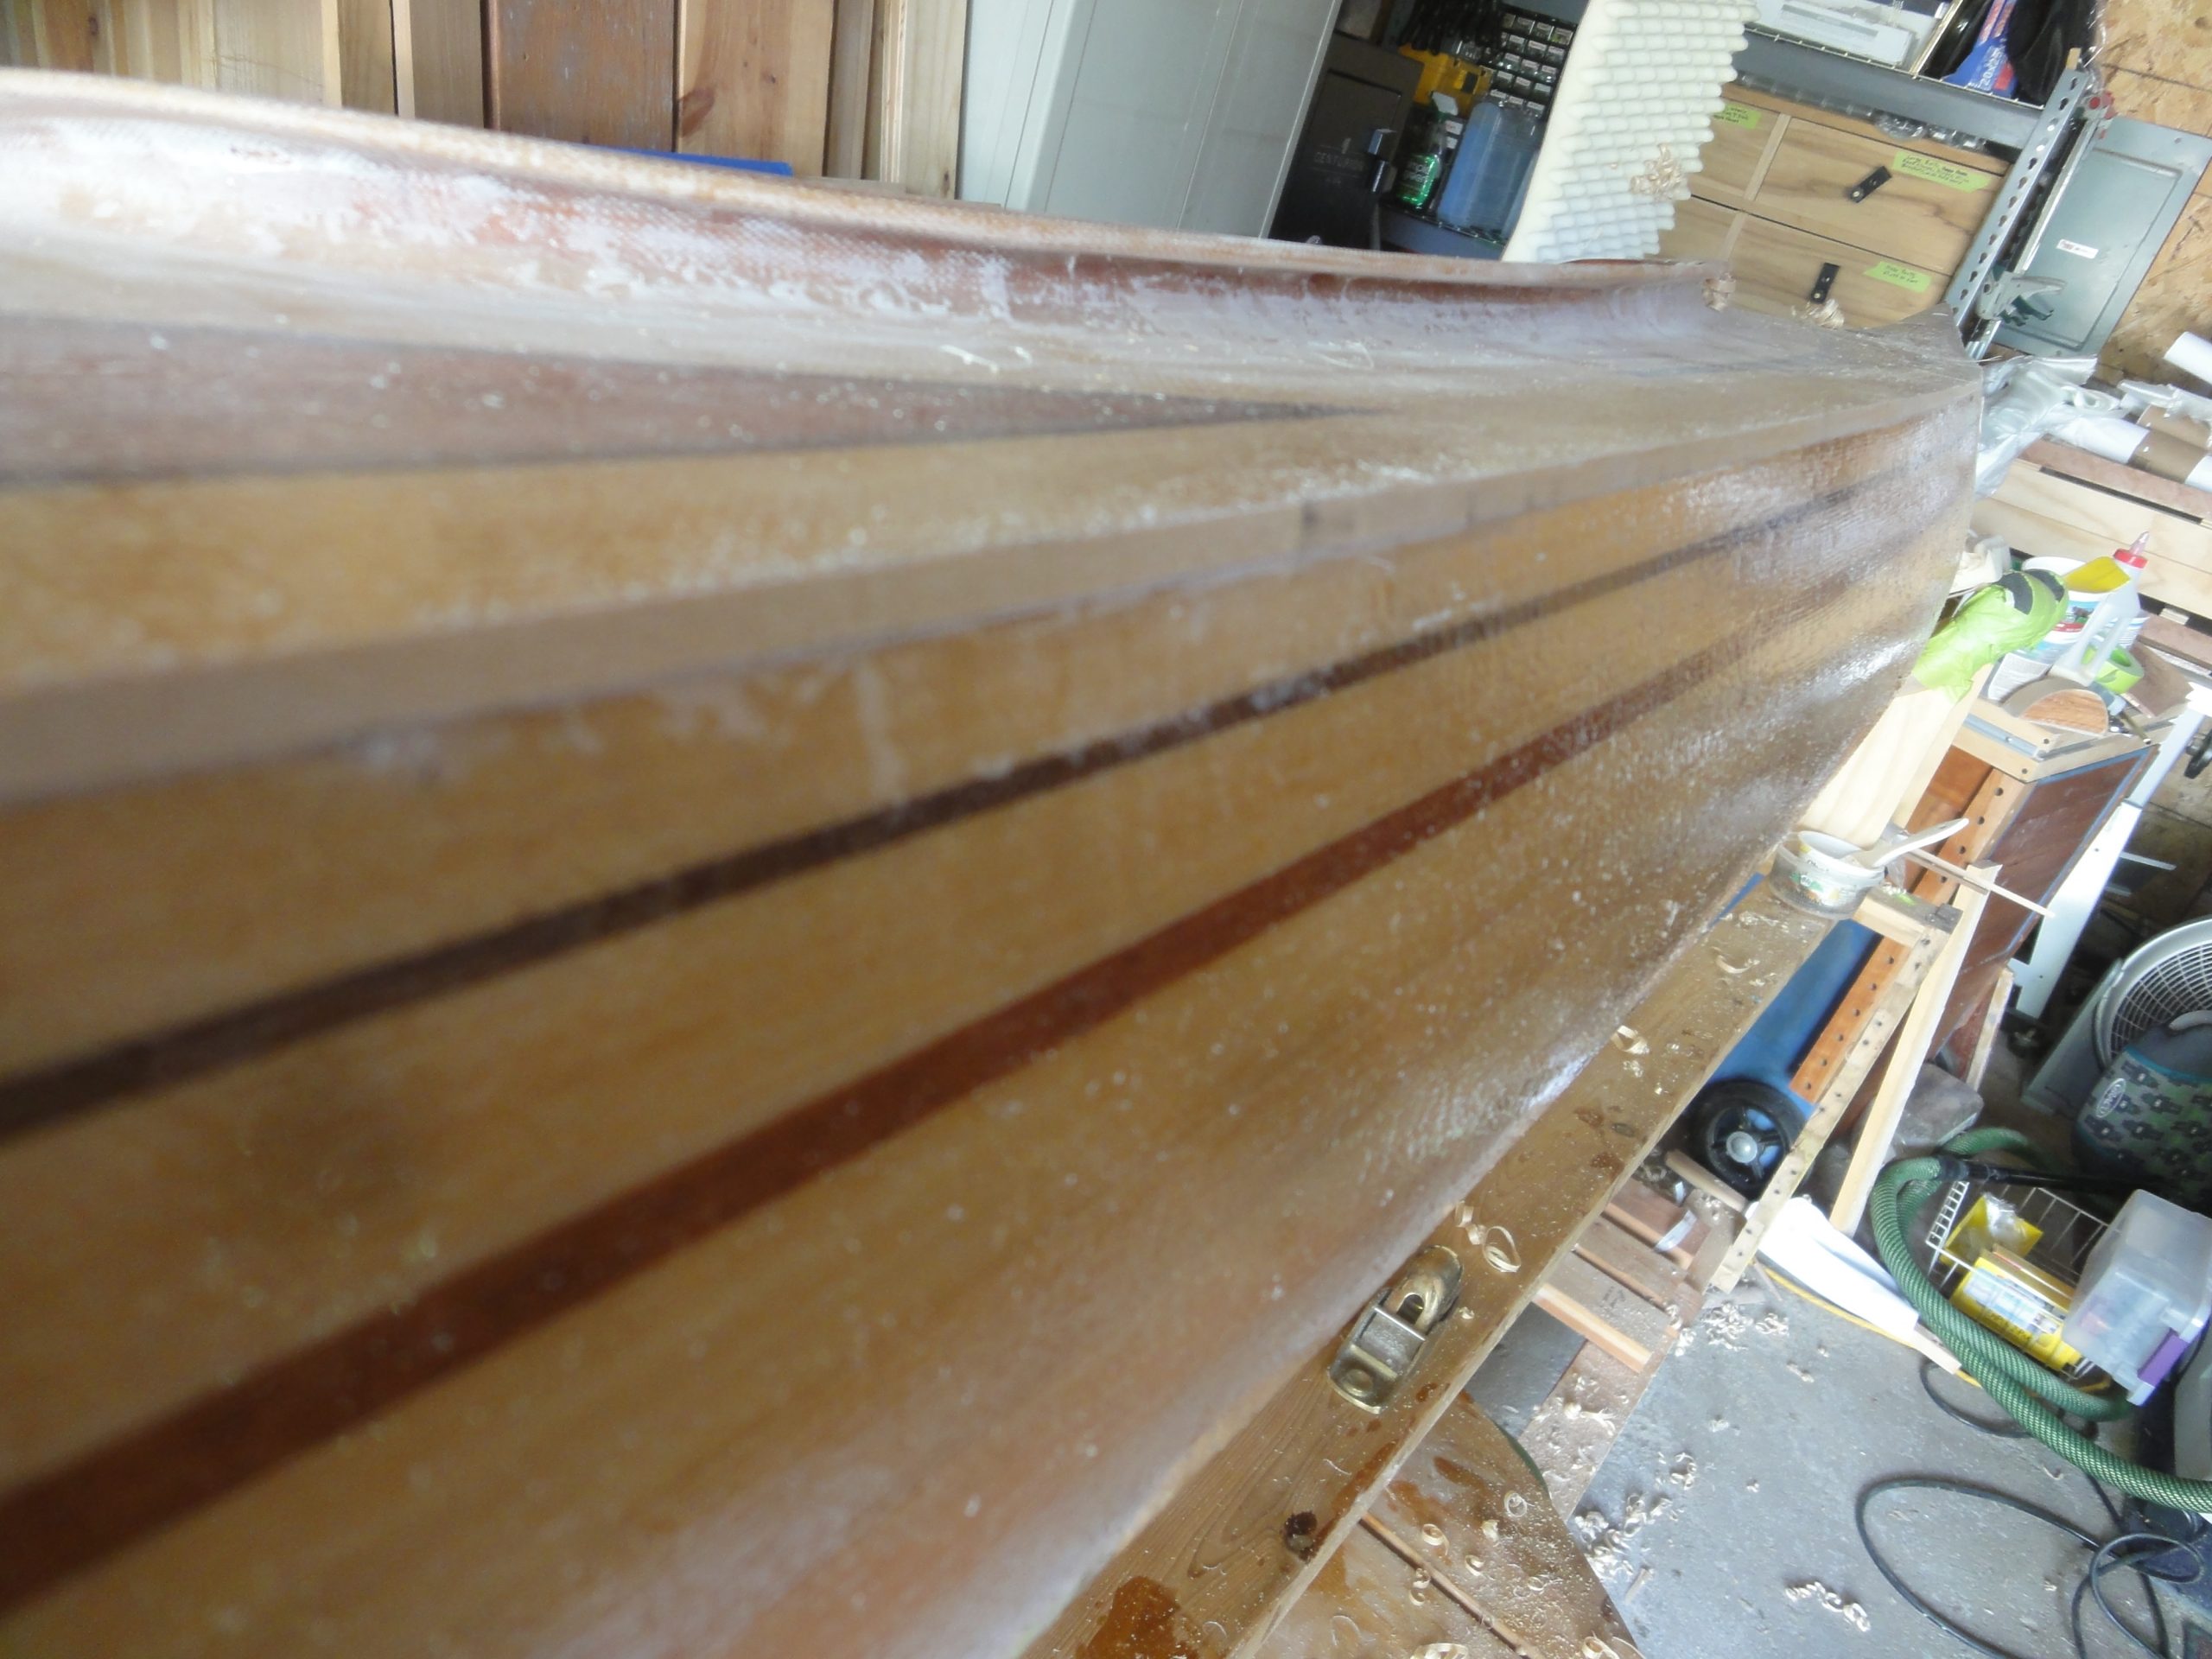
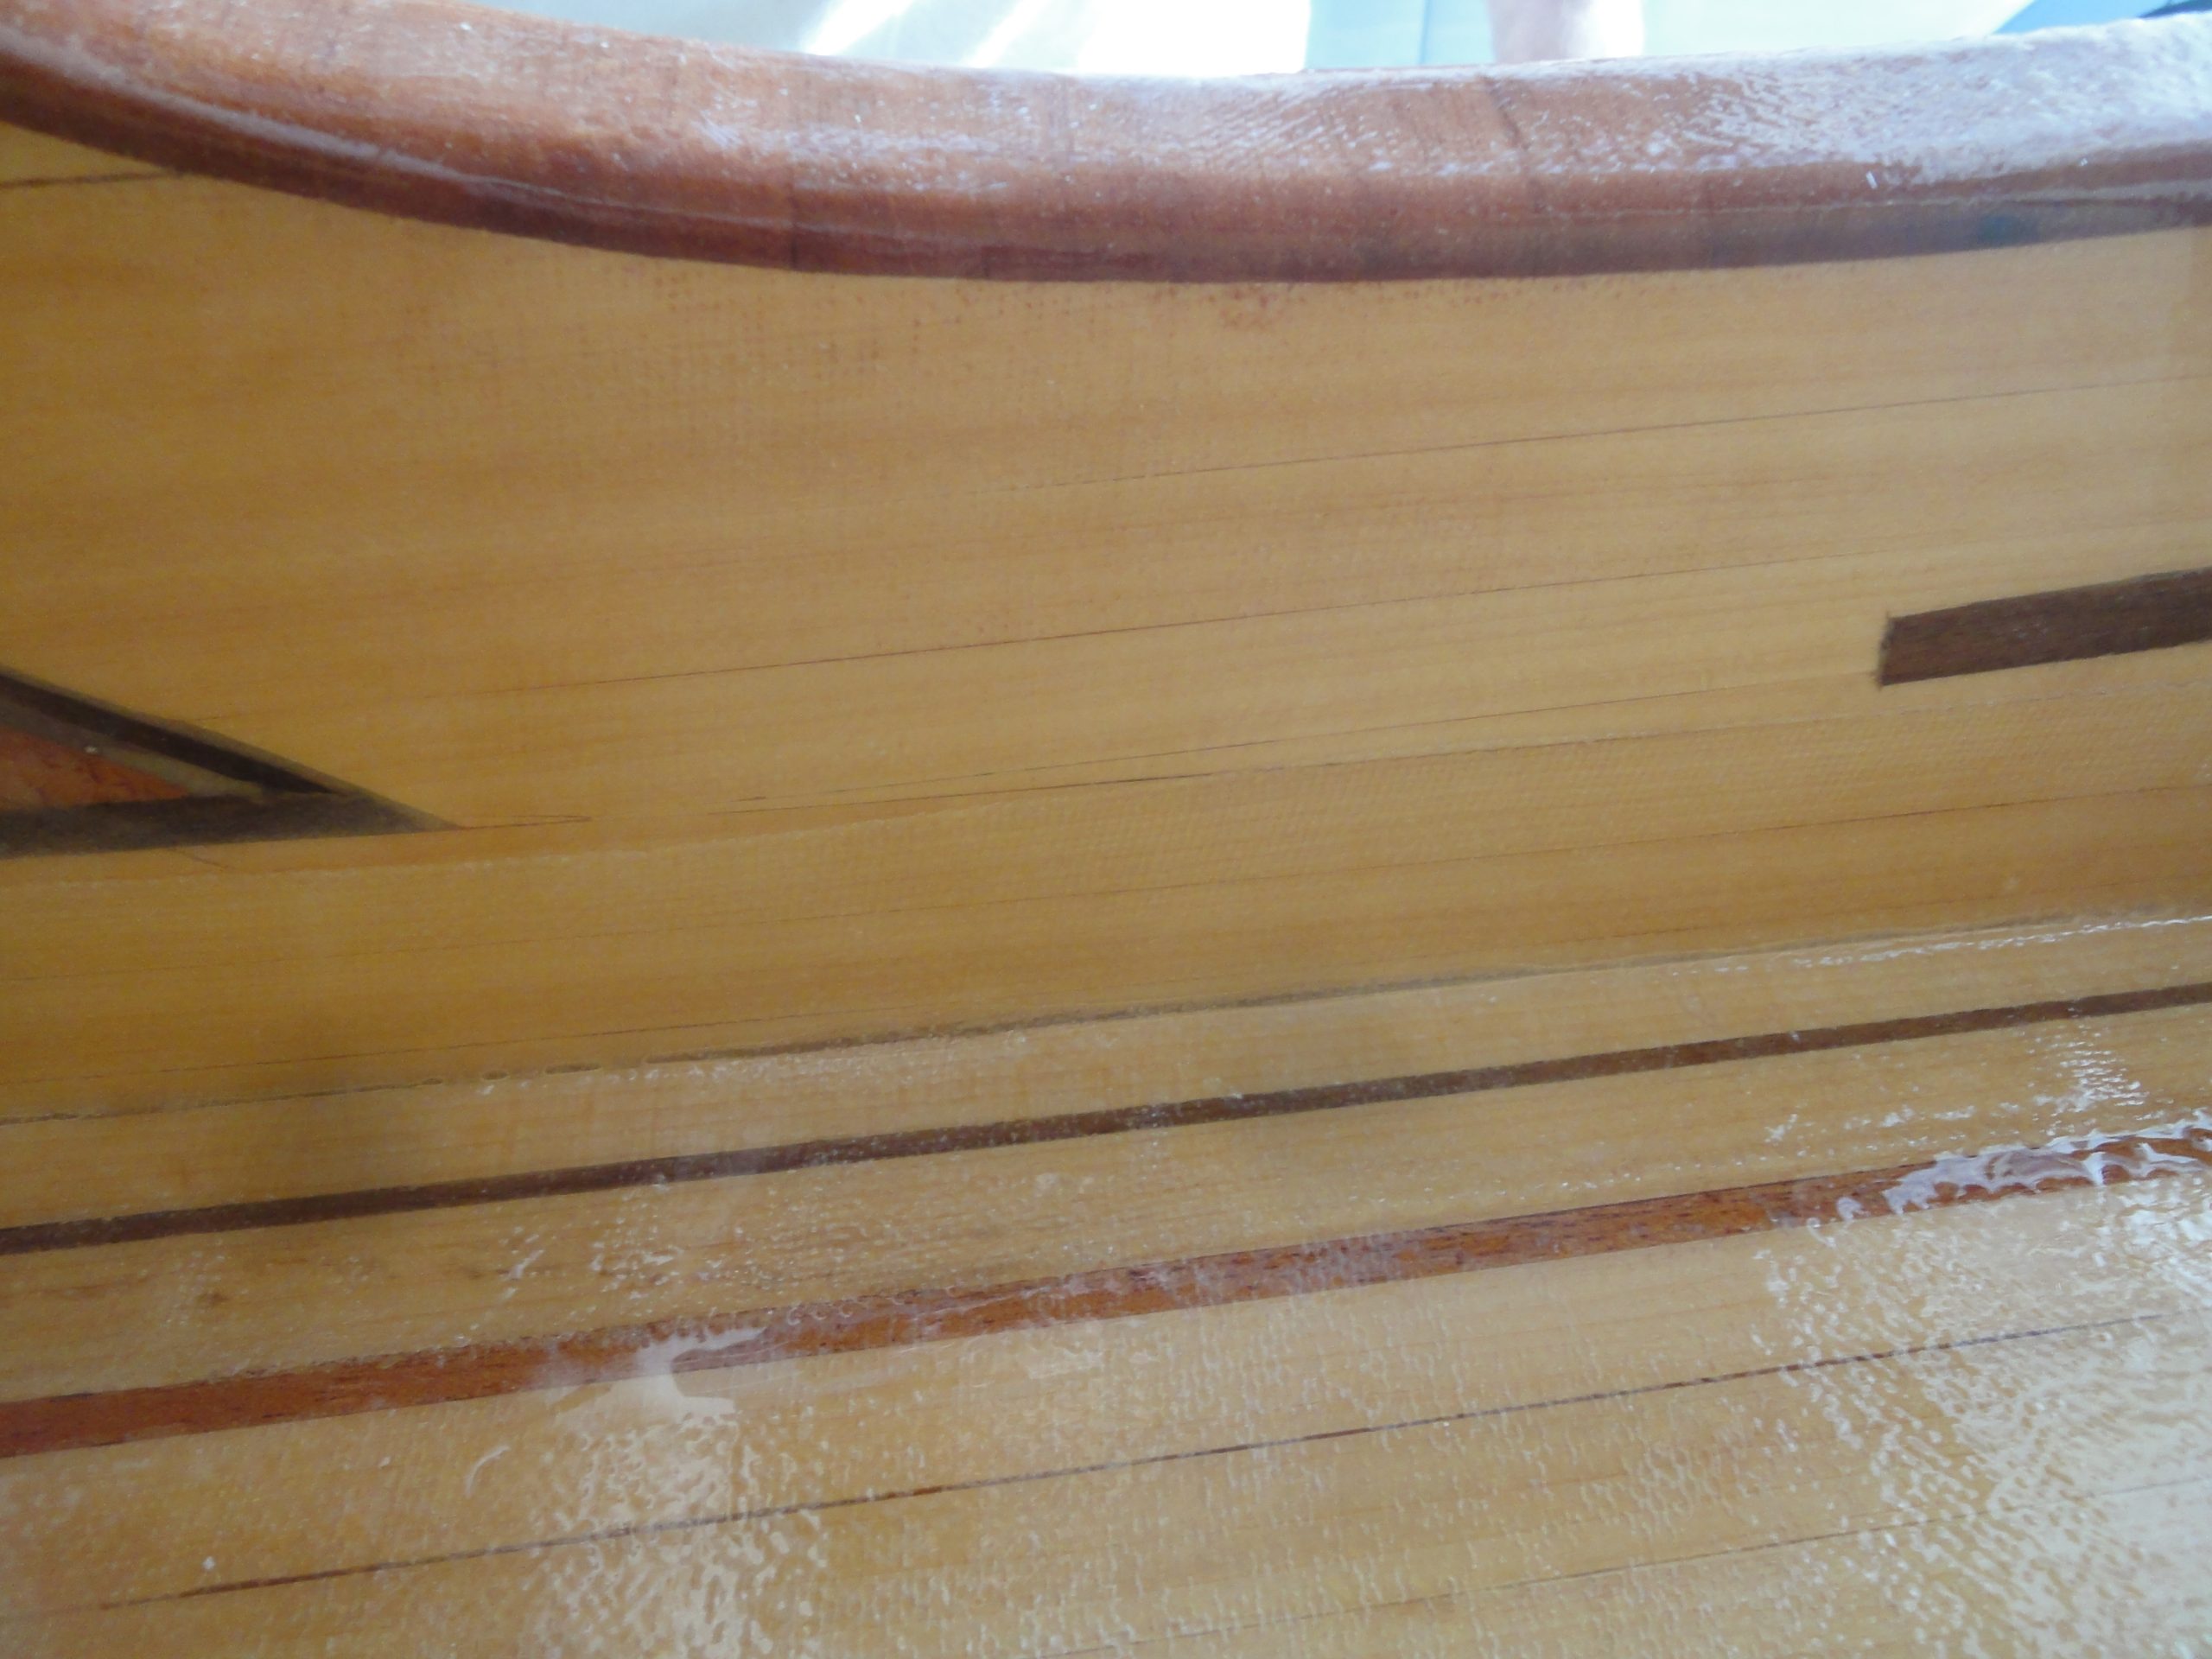
After the seam was setup and dried I turned to the outside. Despite my best efforts at stretching the hull to match the deck it was still a bit off. This ranged from barely noticeable to about a quarter of an inch at the worst point. A long hour + with the block plane easily shaved off the extra resulting in a nice smooth edge. I could have probably used a power saw or sander but didn’t want to accidentally damage something. Taking my time with the hand tool allowed for much greater control.
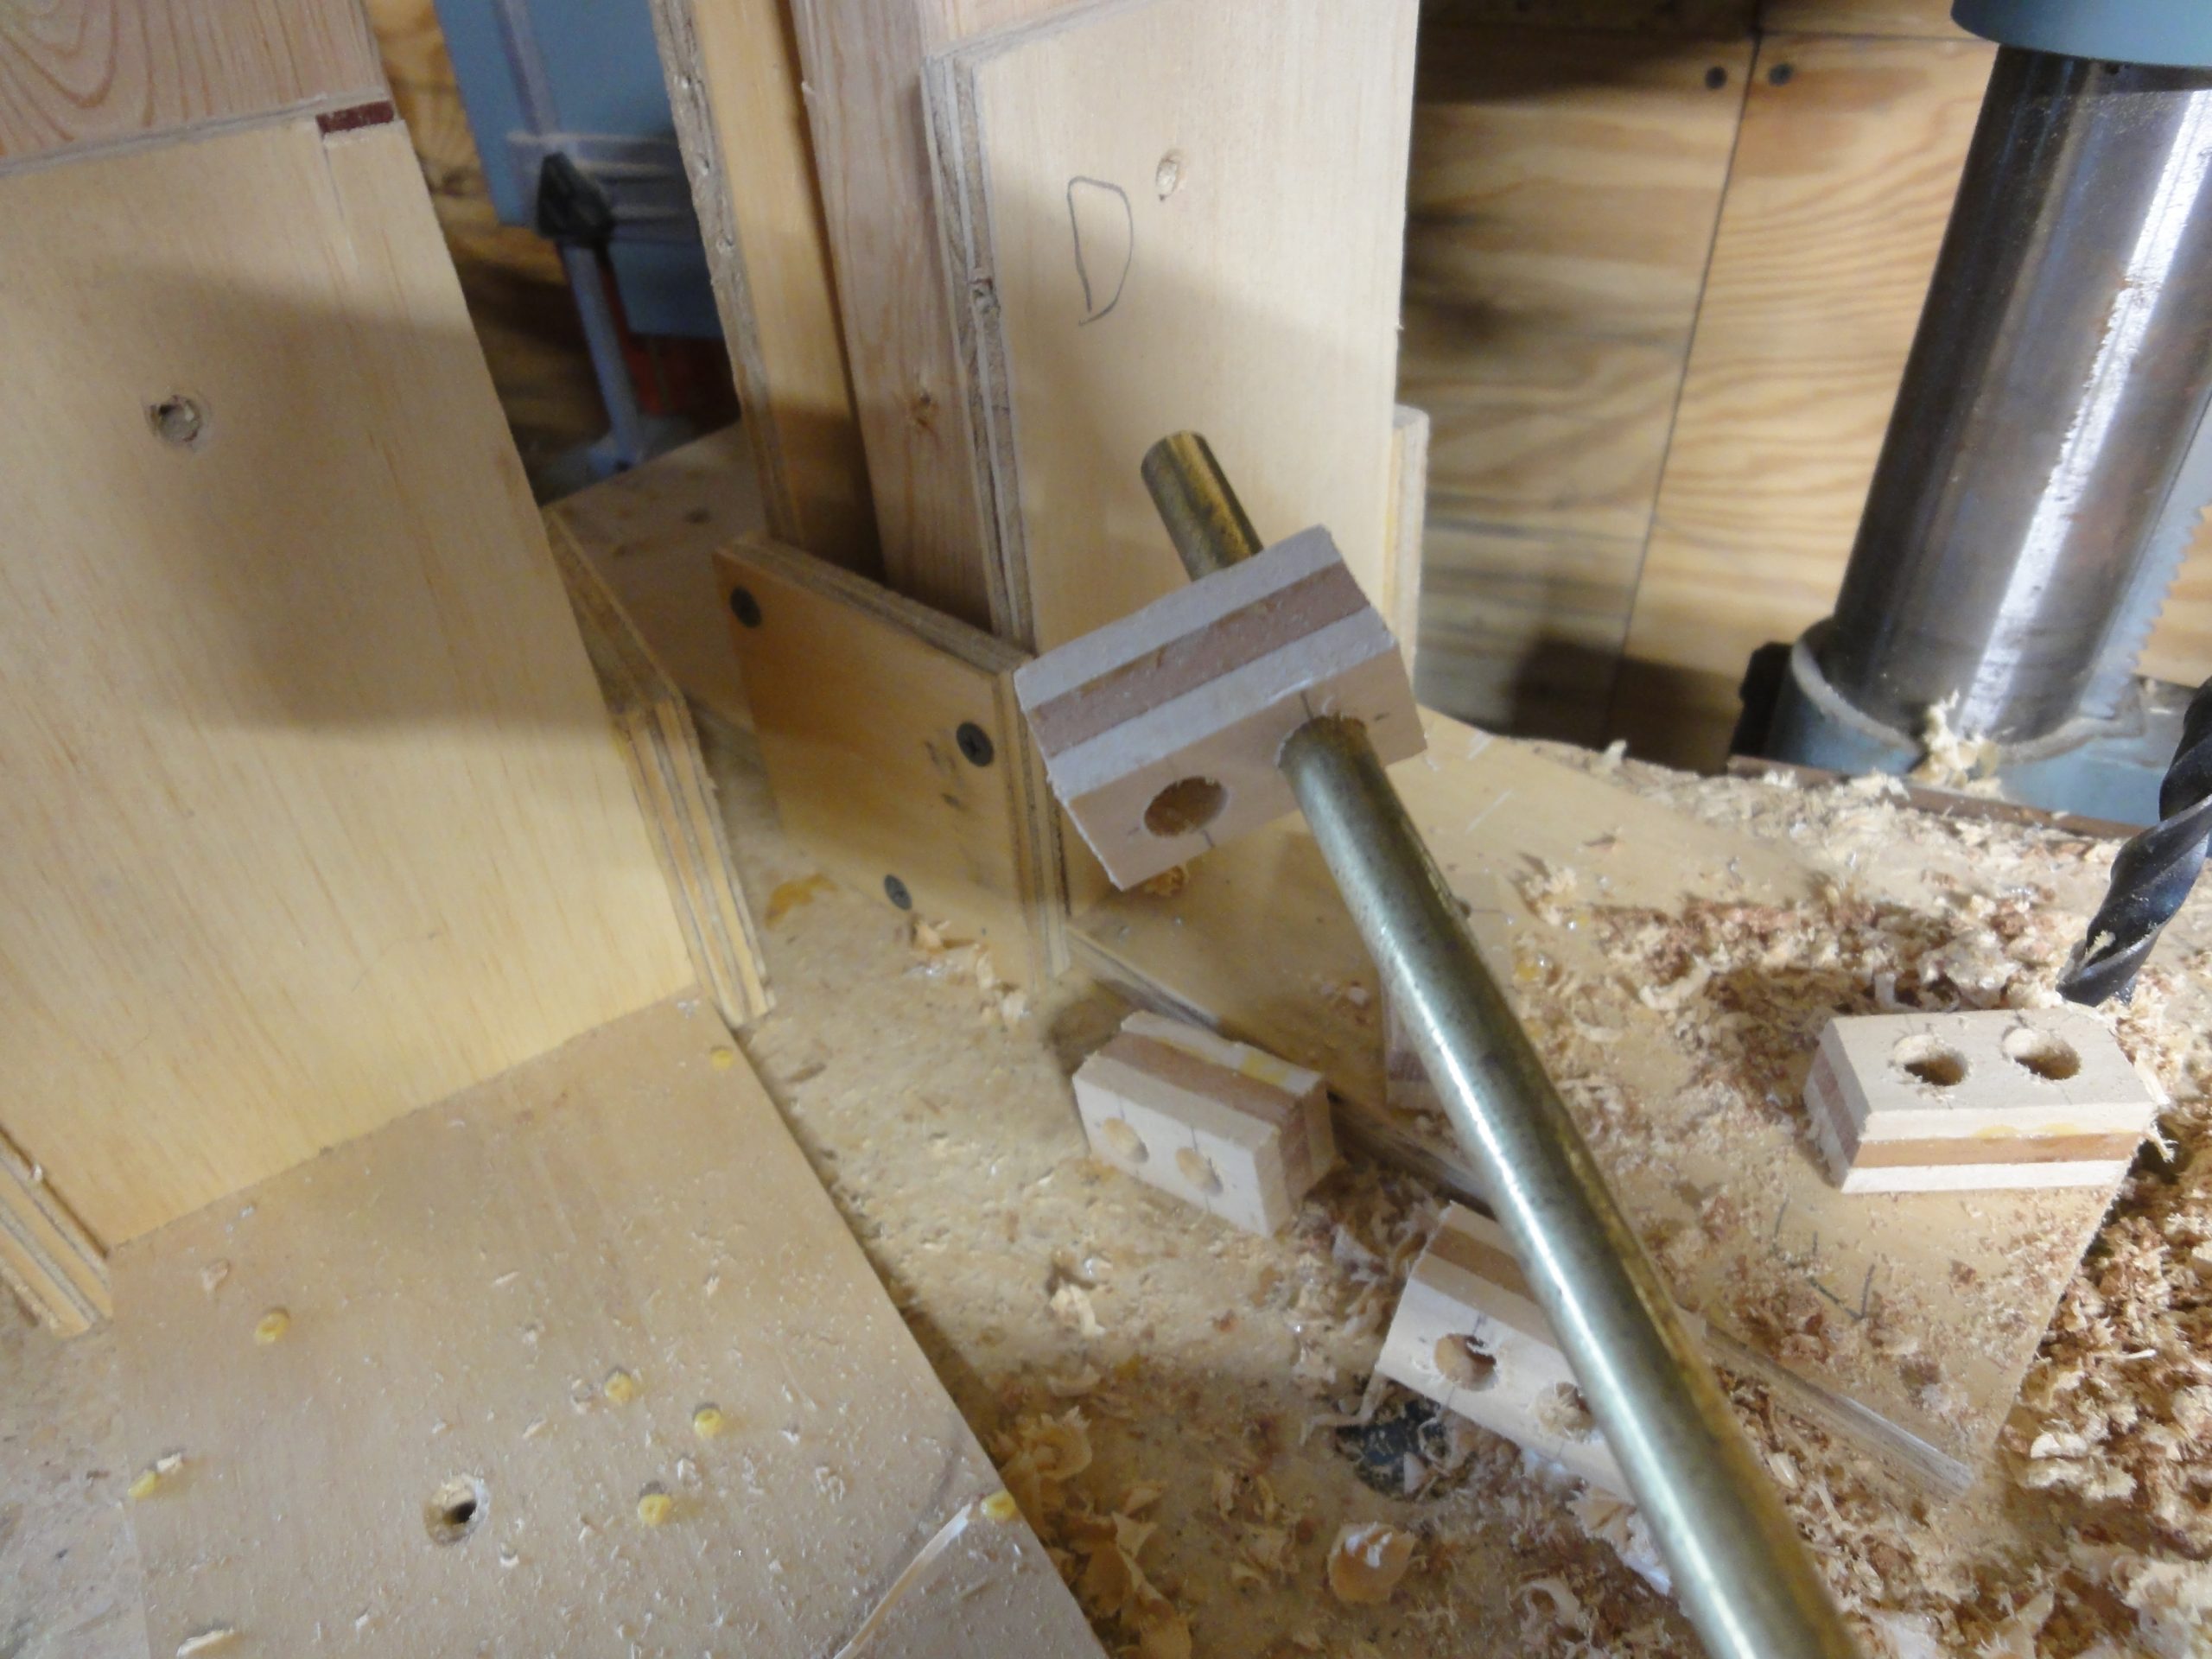
While this may not seem like much for the long weekend, I had limited work I could do as I had to wait for epoxy to dry. The next goal will be the remaining fiberglass seams (outer hull to deck and the keels at the stem and stern) along with a bit of fitting at the stem and stern. I also purchased a 1′ long by 1″ diameter brass pipe which will be put in the front and back to allow for carrying handles and tie down points when transporting. It arrived yesterday.
So the list is slowly shrinking, although I also added one item too.
Attach hull/deck on outside
Keel work (strip (or two) over front and back stems, filler pieces
It’s been quite warm but the humidity has been nearly unbearable. Coupled with a busy schedule and I’ve not made a tremendous amount of progress until recently but I’m finally getting going again.
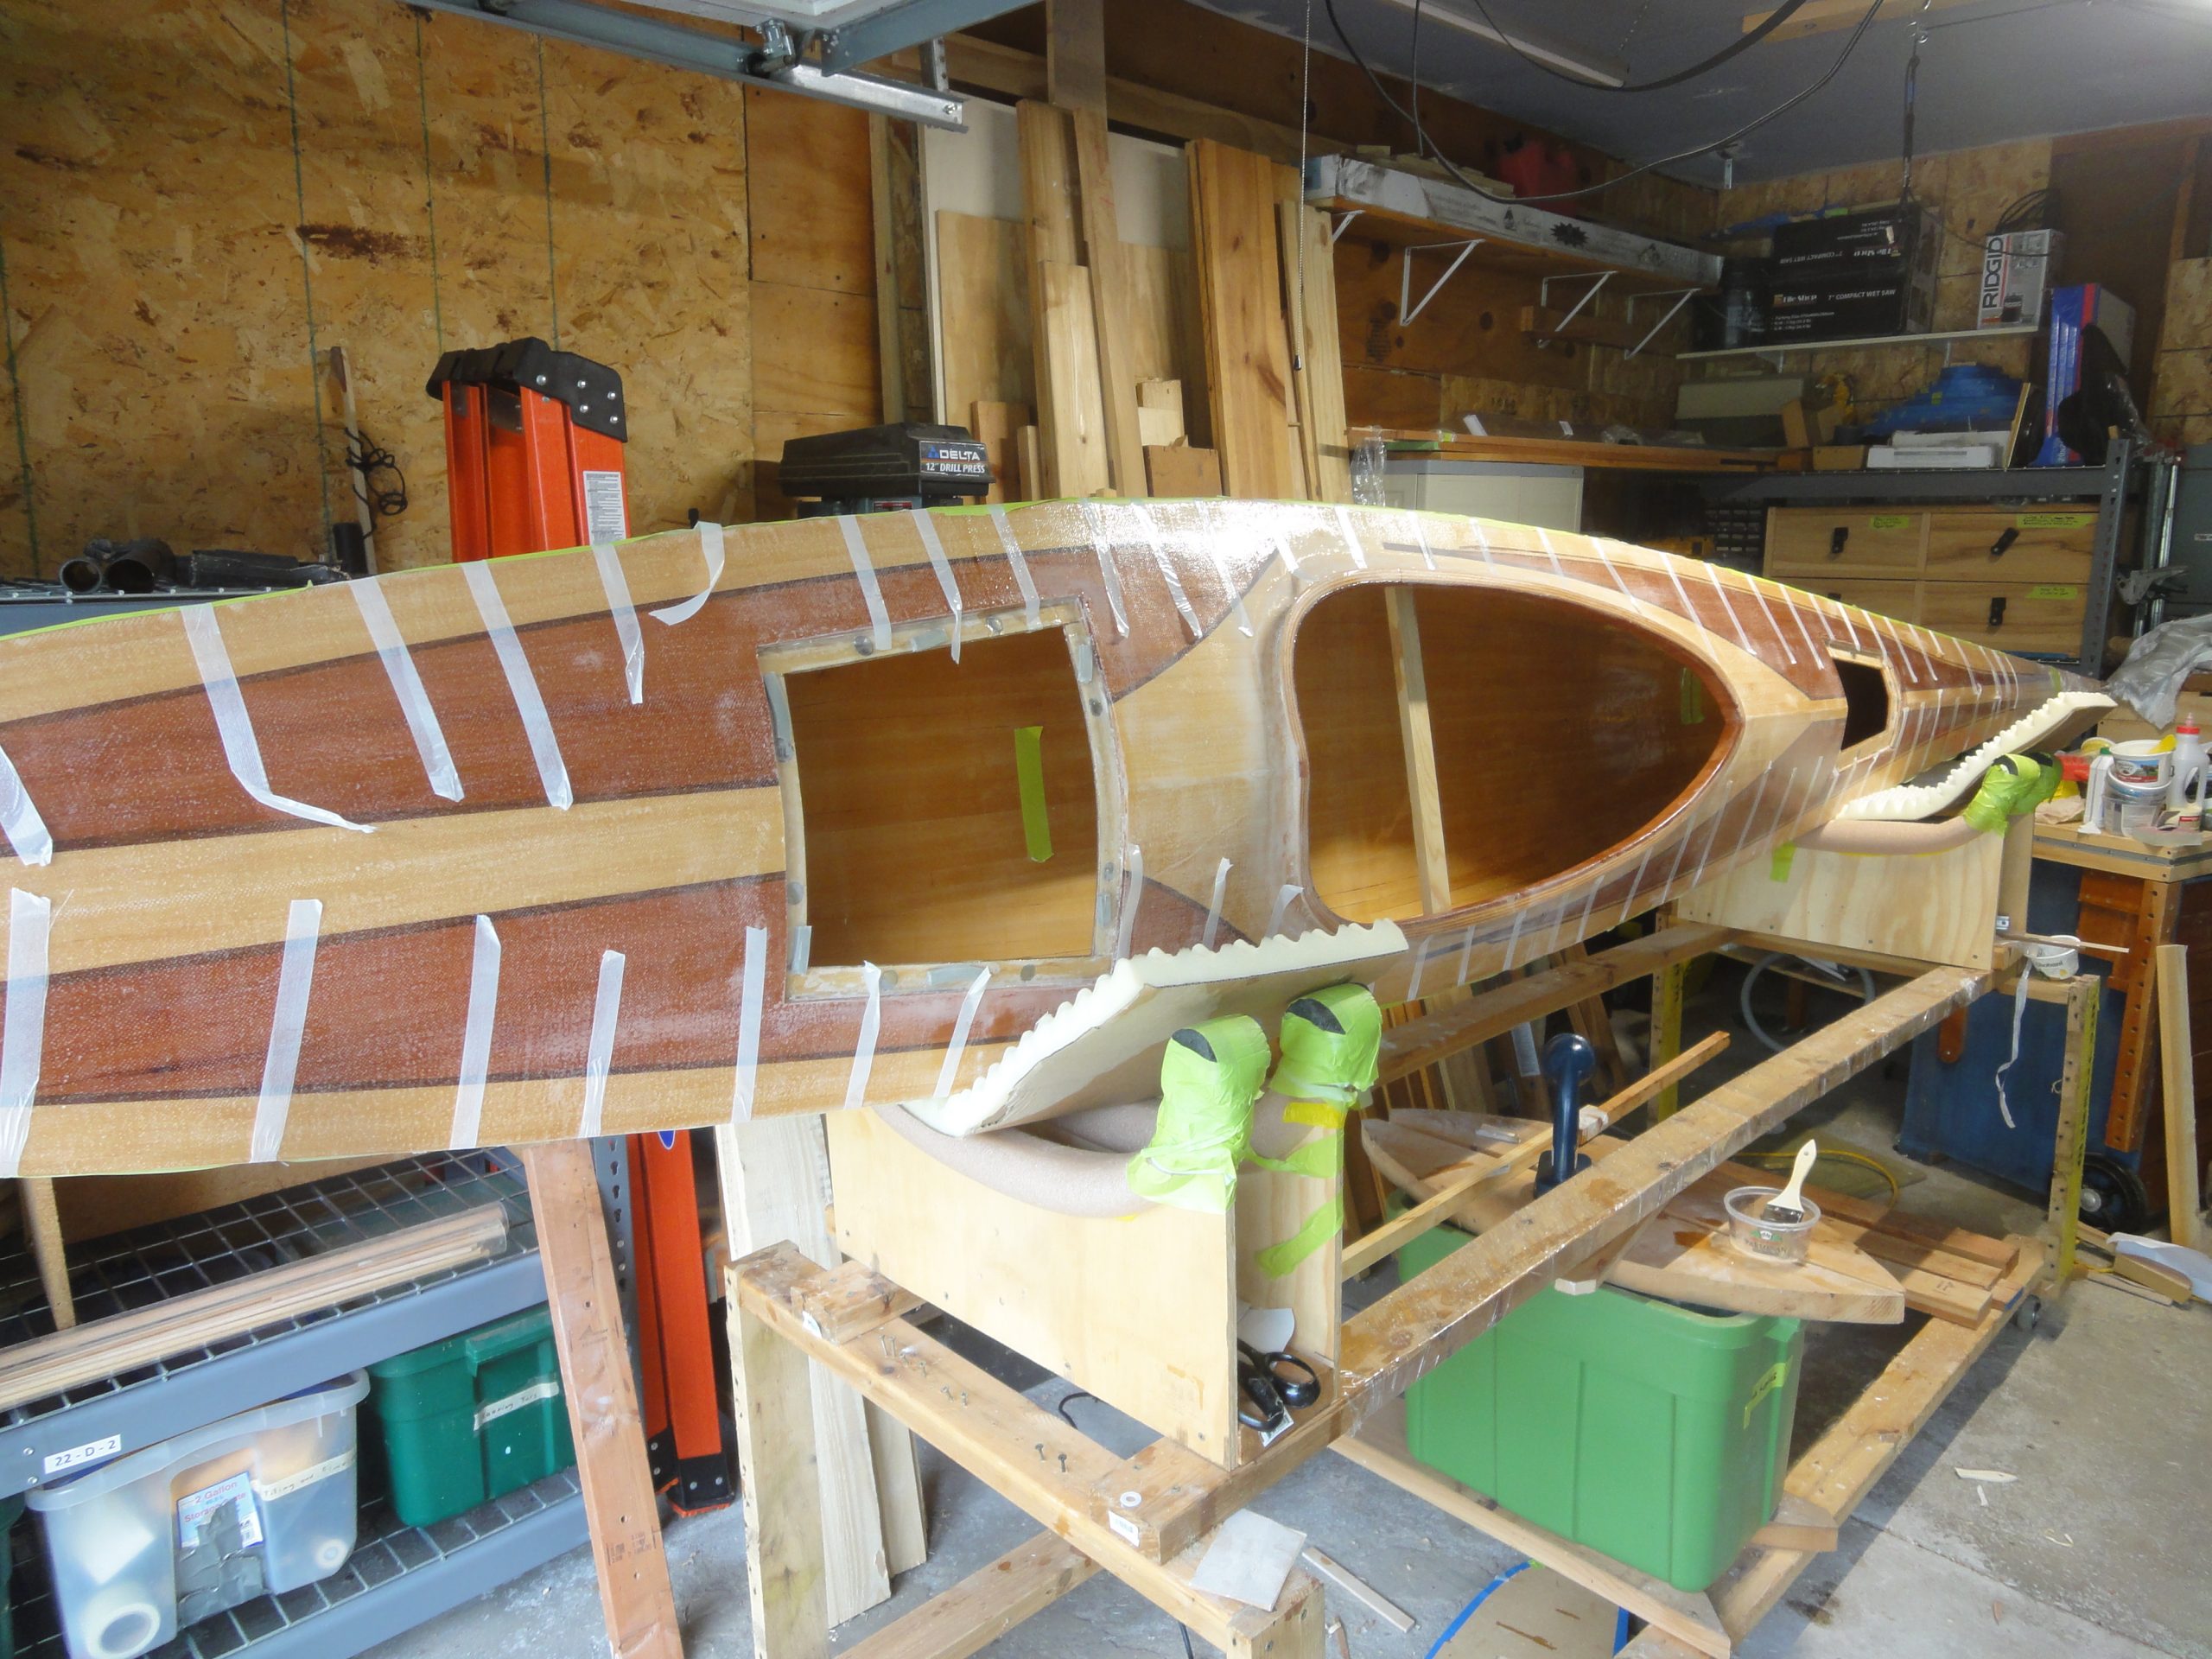
I started with some additional prep work including beginning to tape the deck and hull together, in a few spots, to test the fit. Without the tape there is a gap in some areas but once taped down the gap disappears.
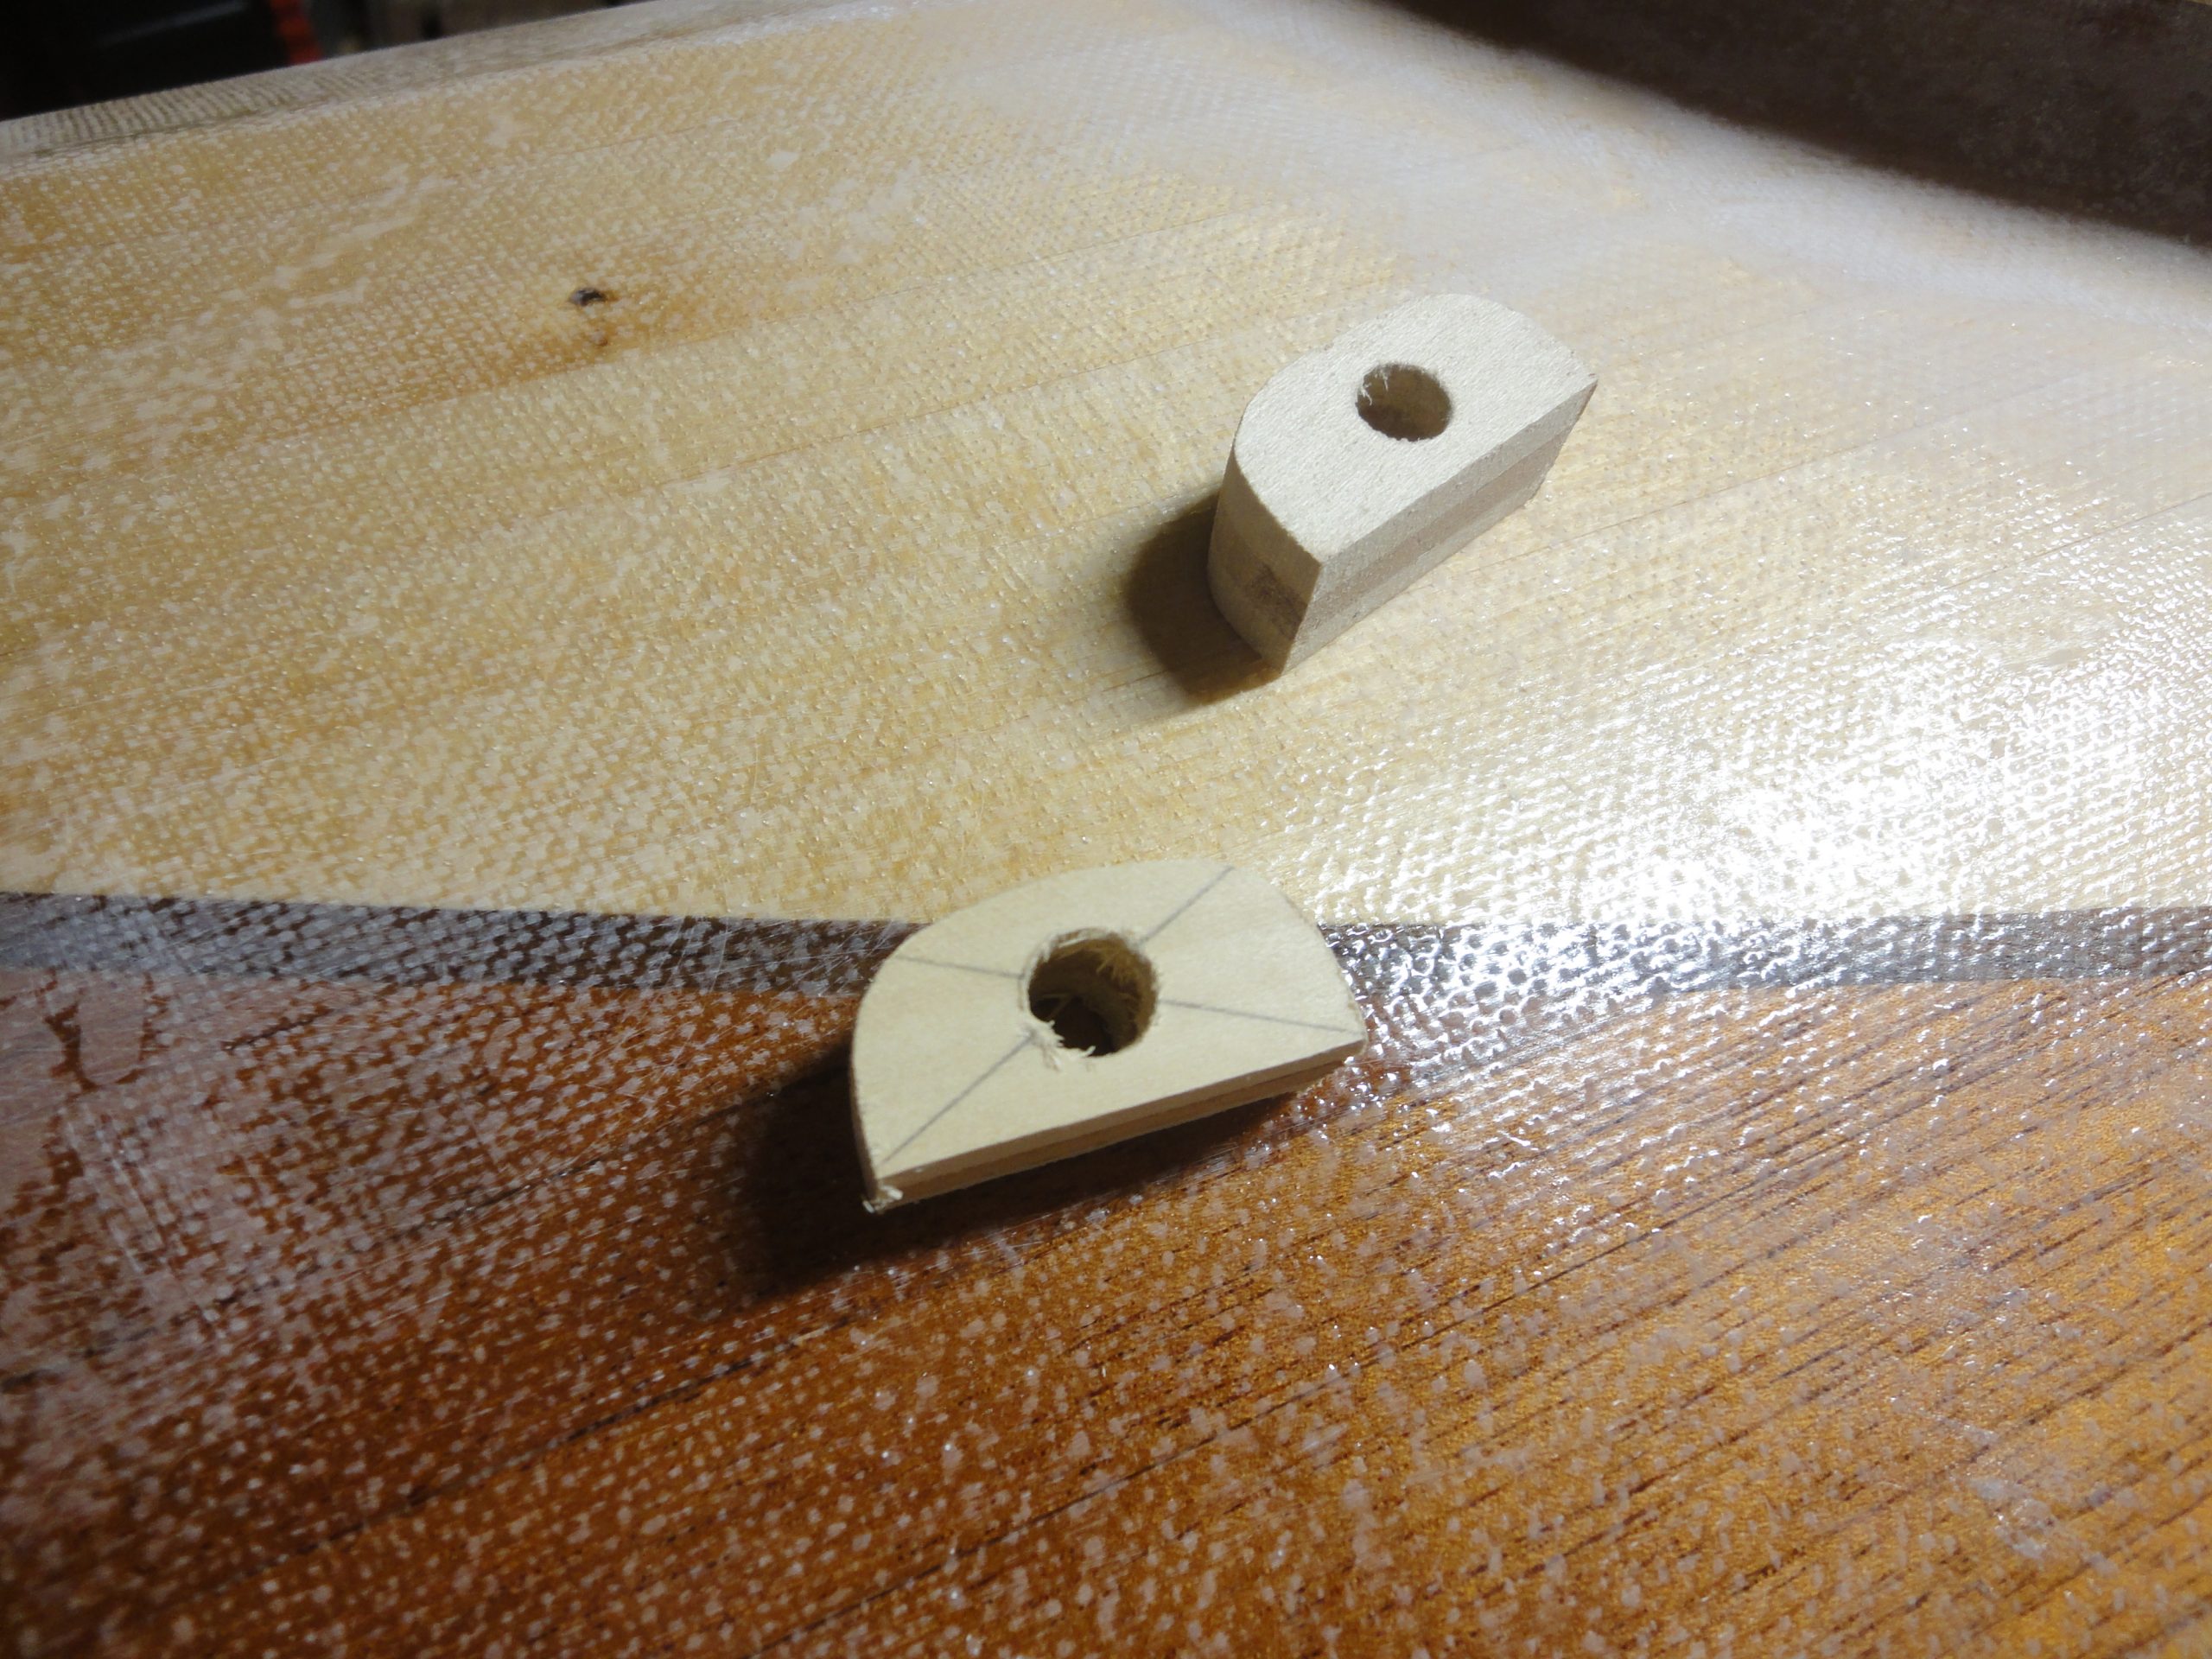
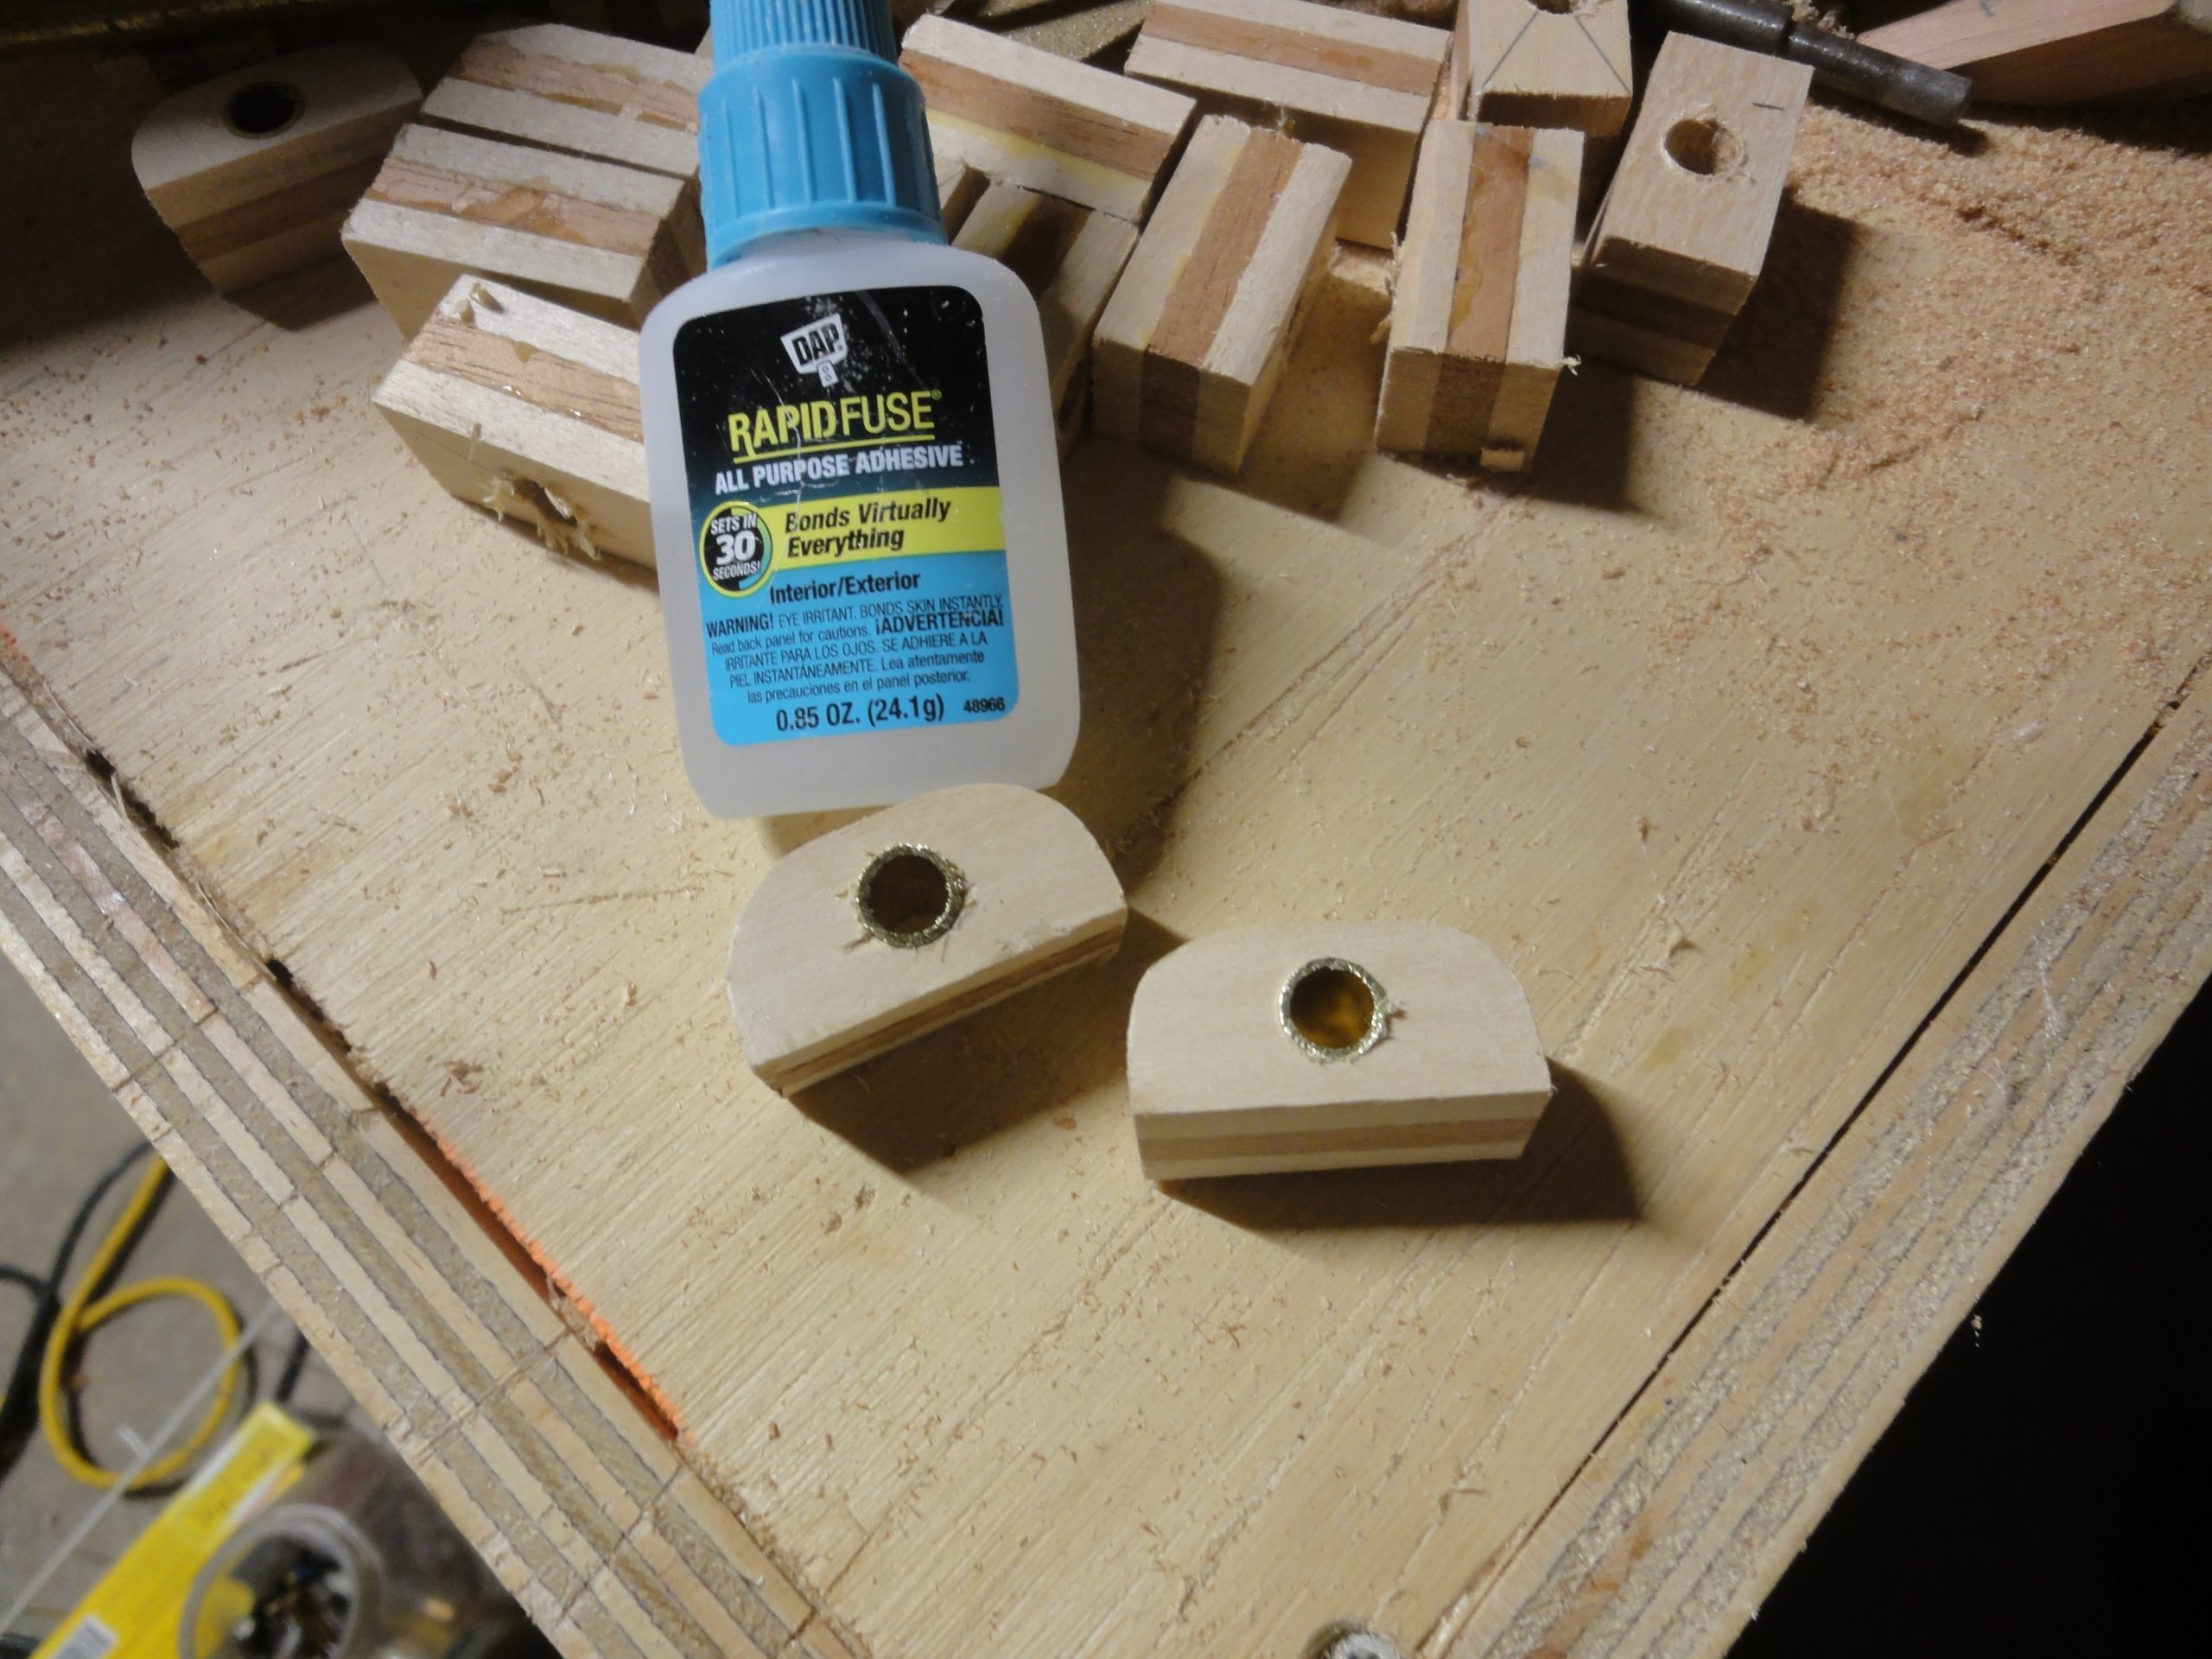
I was about to progress to final taping when I remembered that I wanted a tie down on the inside to hold a strap that would attach to the underside of each hatch. This was basically meant to be an “oh crap I dropped it” safety device to avoid losing a hatch if it was opened while on the water. So I started making more of my deck line holders.
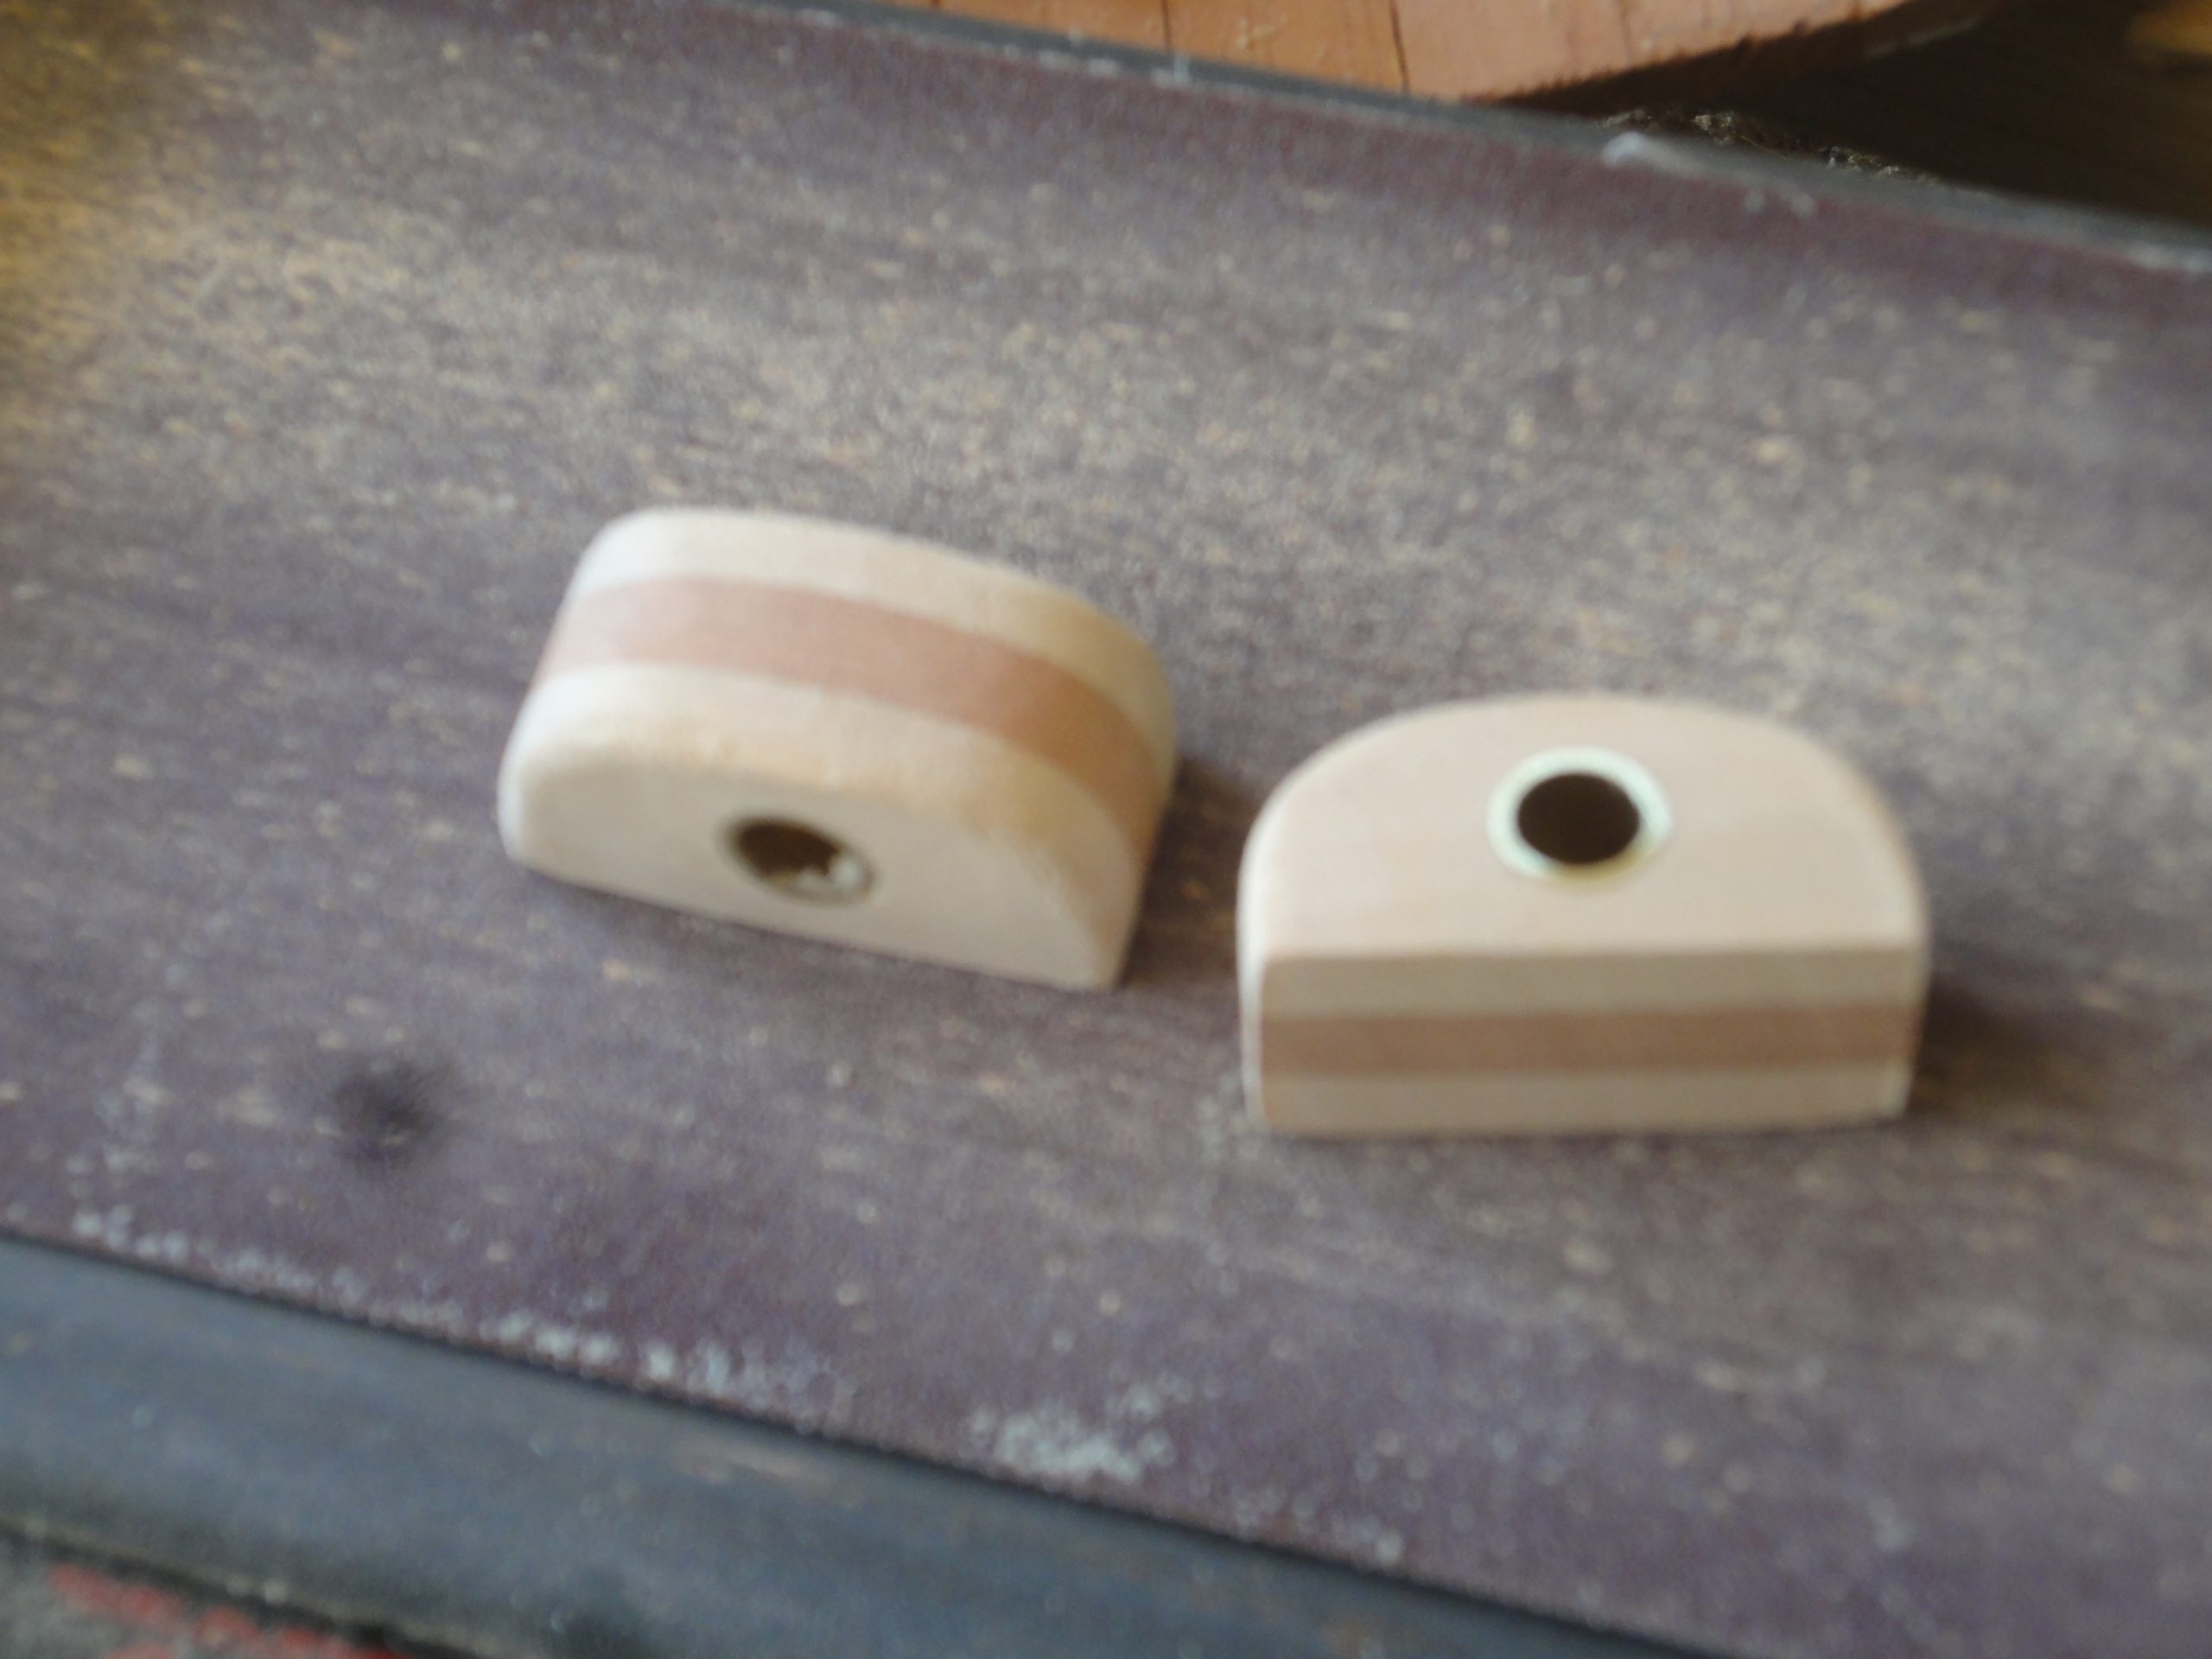
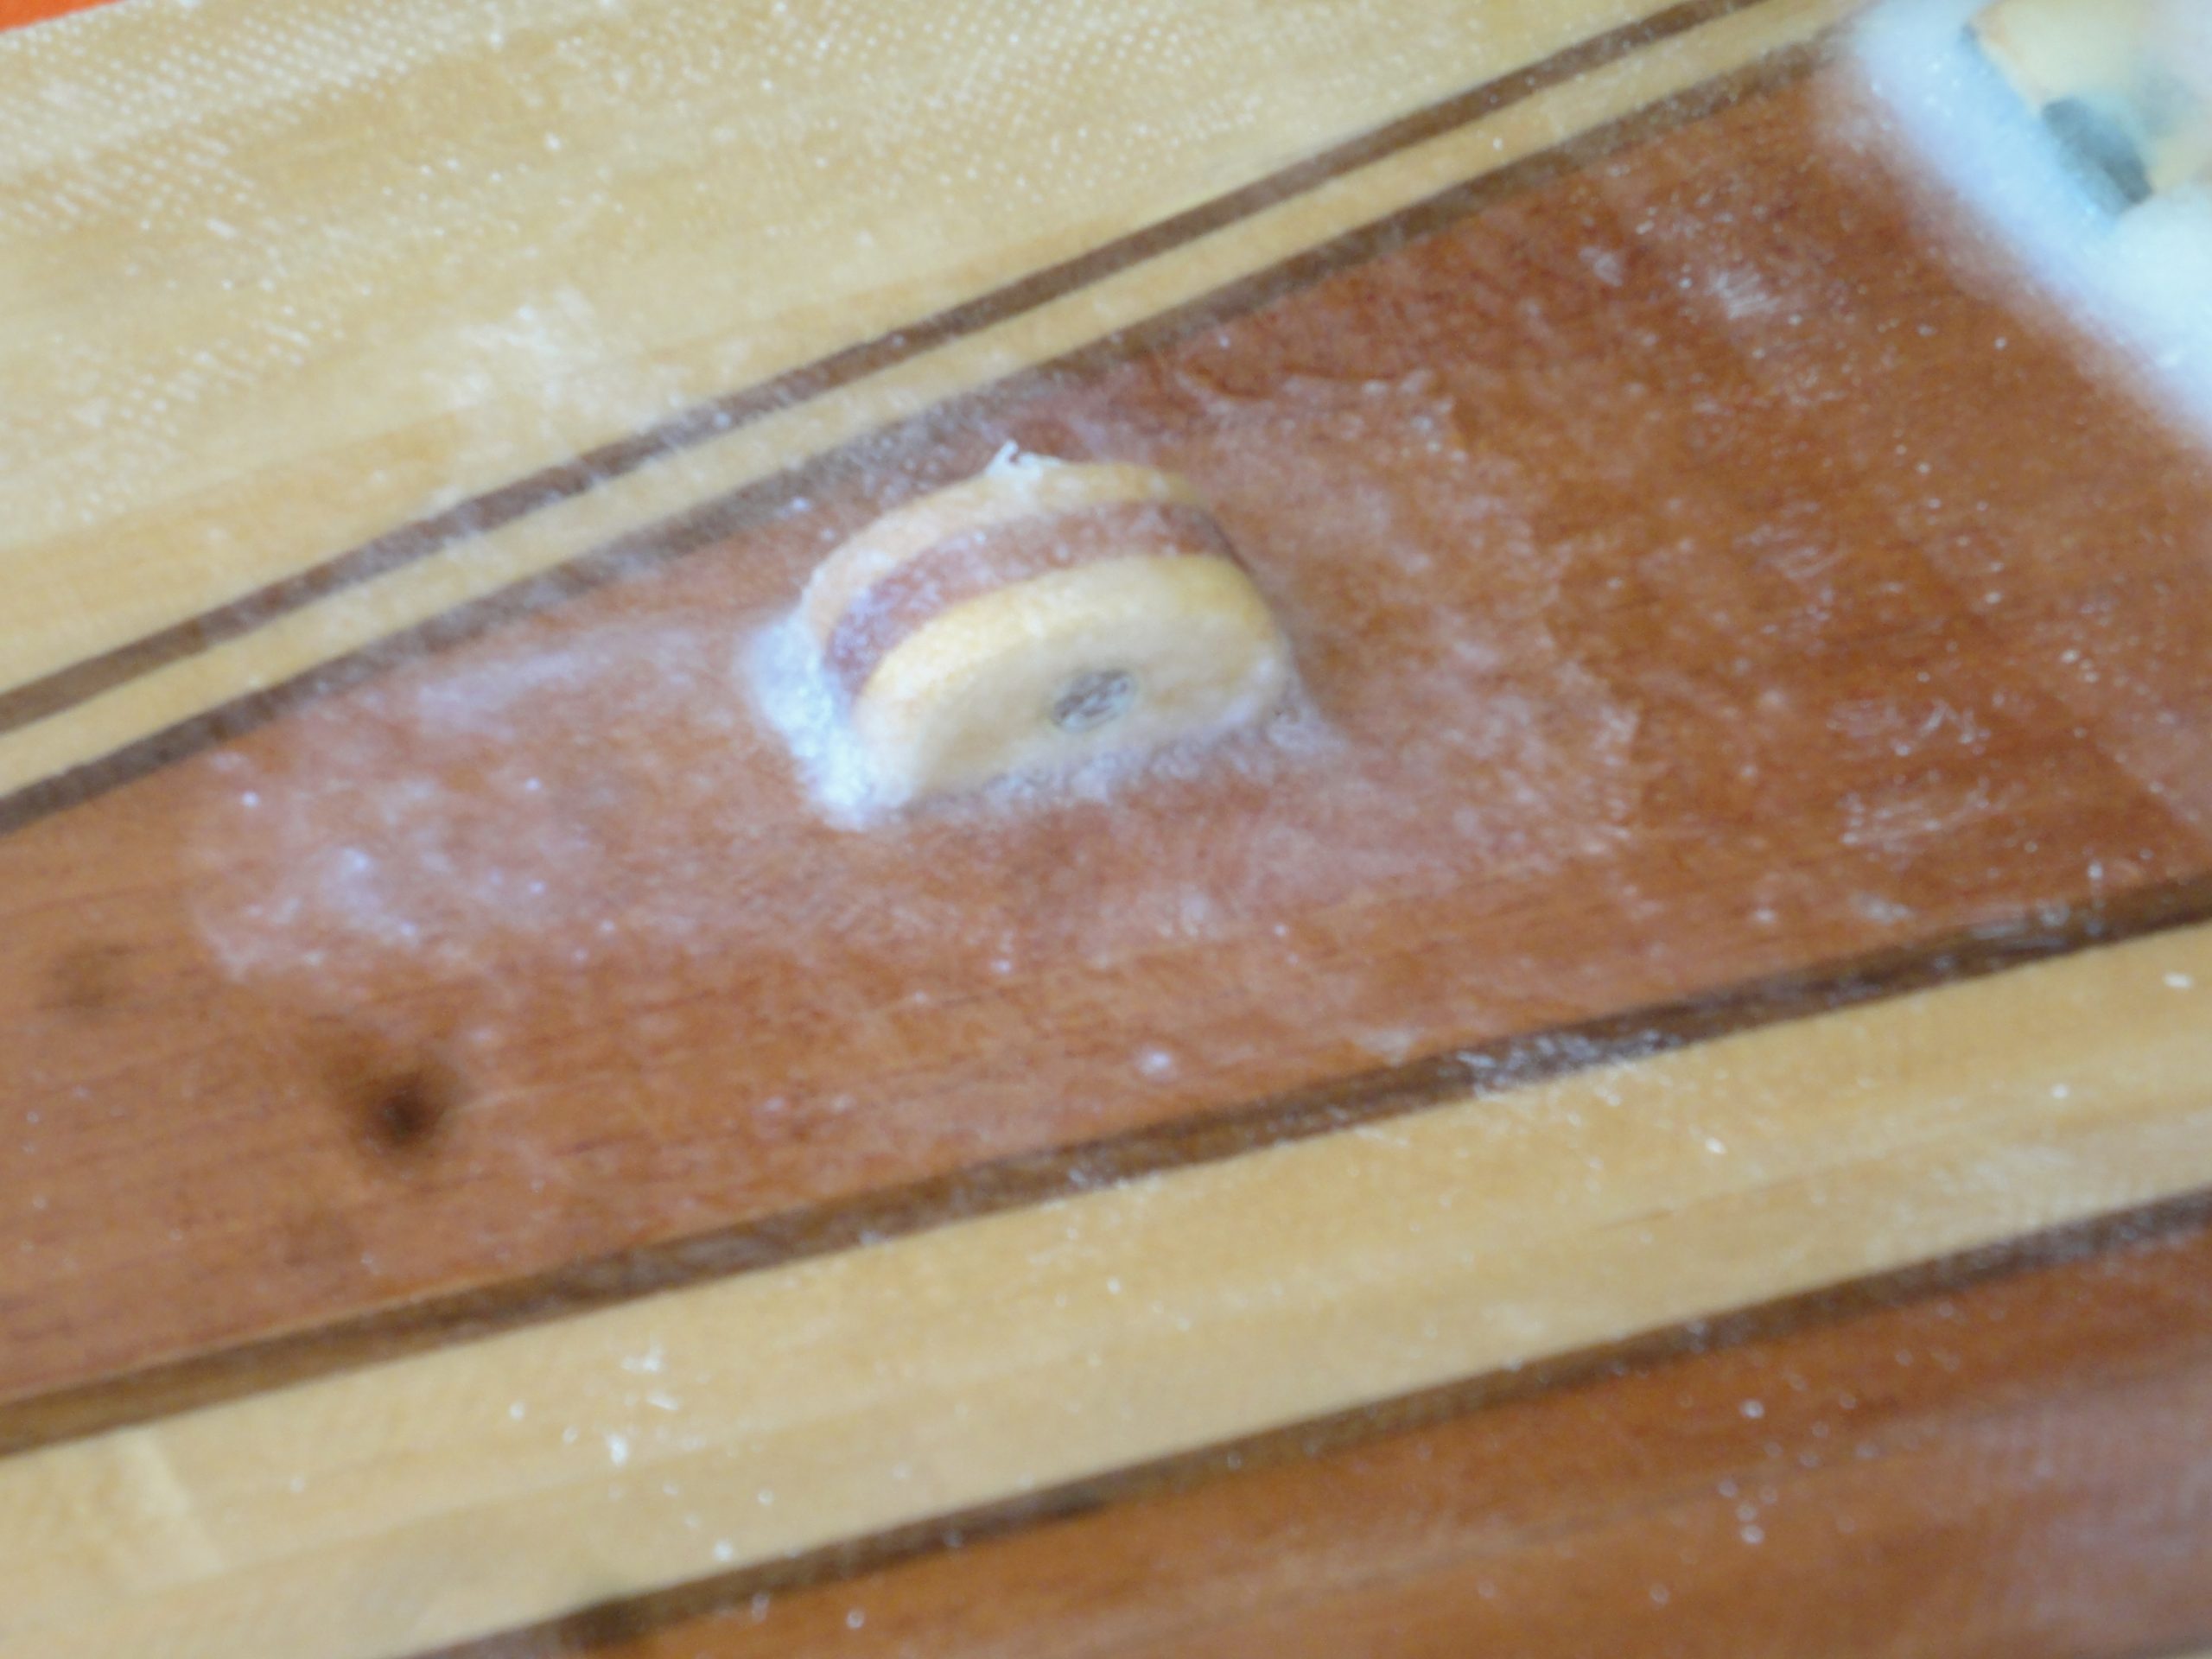
Checking the plan I figured where I would use single holes and where I’d want double holes and cut and drilled the glued up assembly I made last time. The brass tube was cut slightly oversize and inserted and attached with super glue. A sanding both by hand and by the stationary disk/belt sander quickly softened the final shape and took the sharp edges off the tub and brought it down flush to the wood.
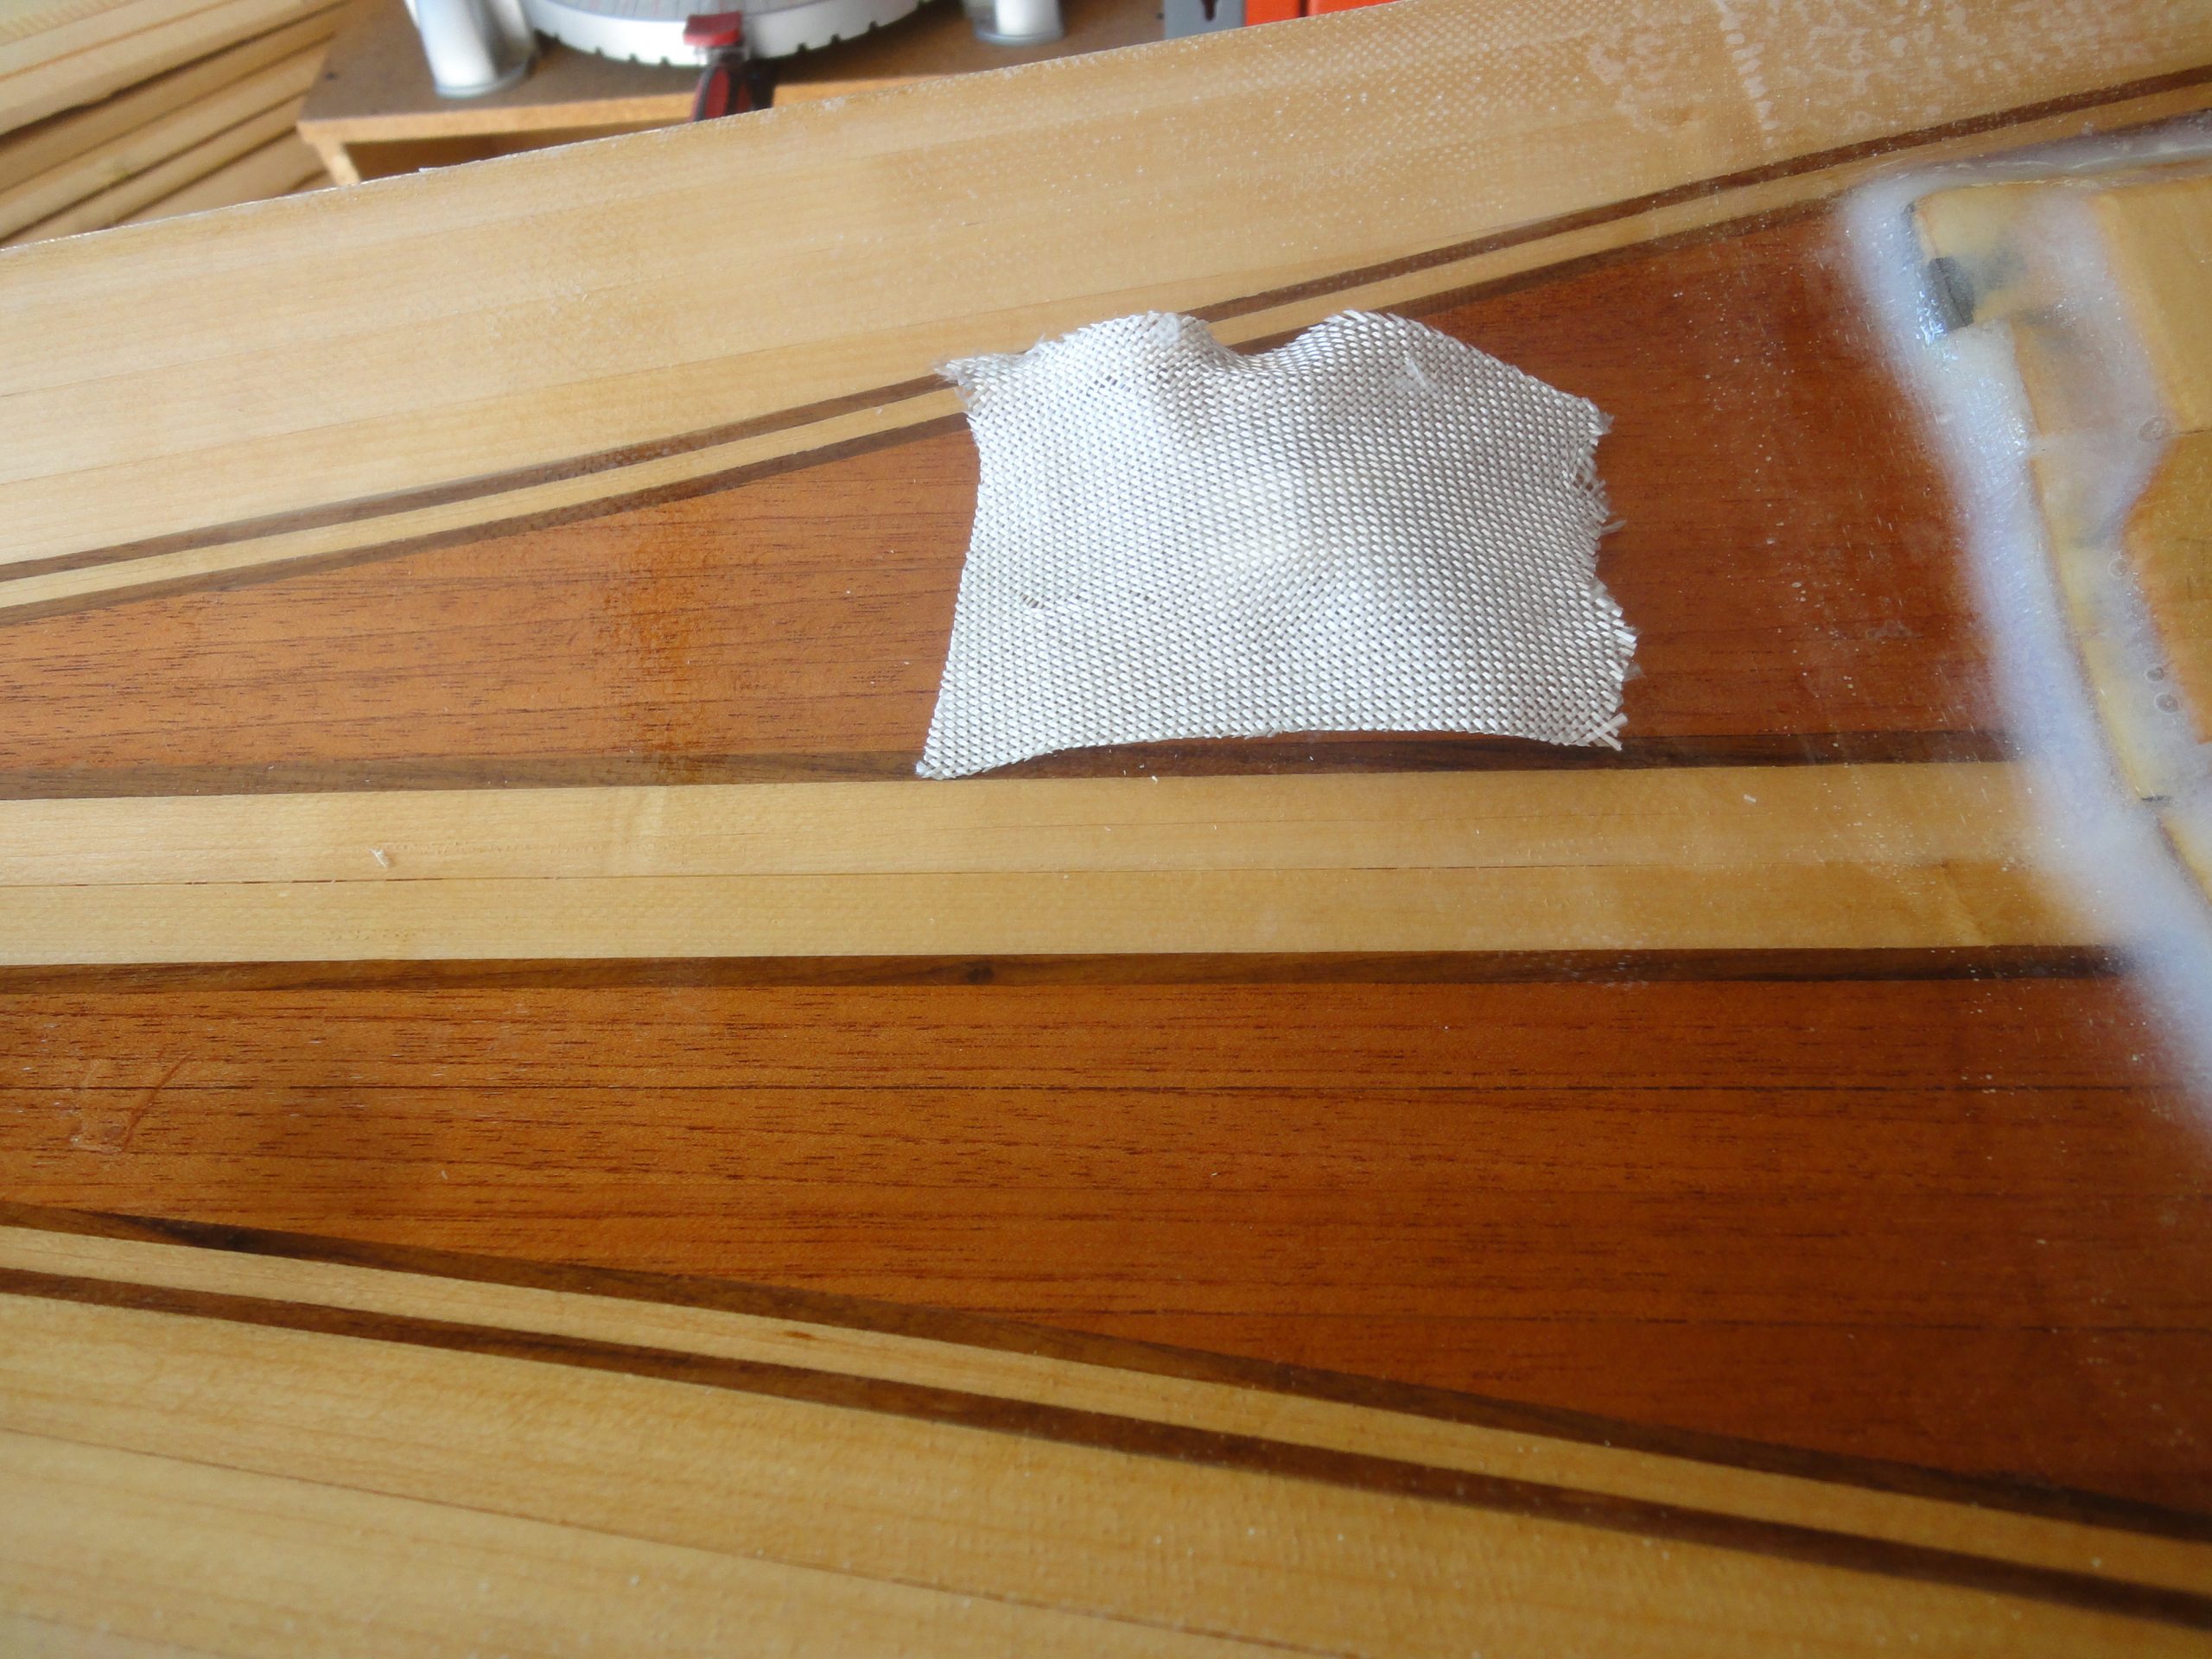
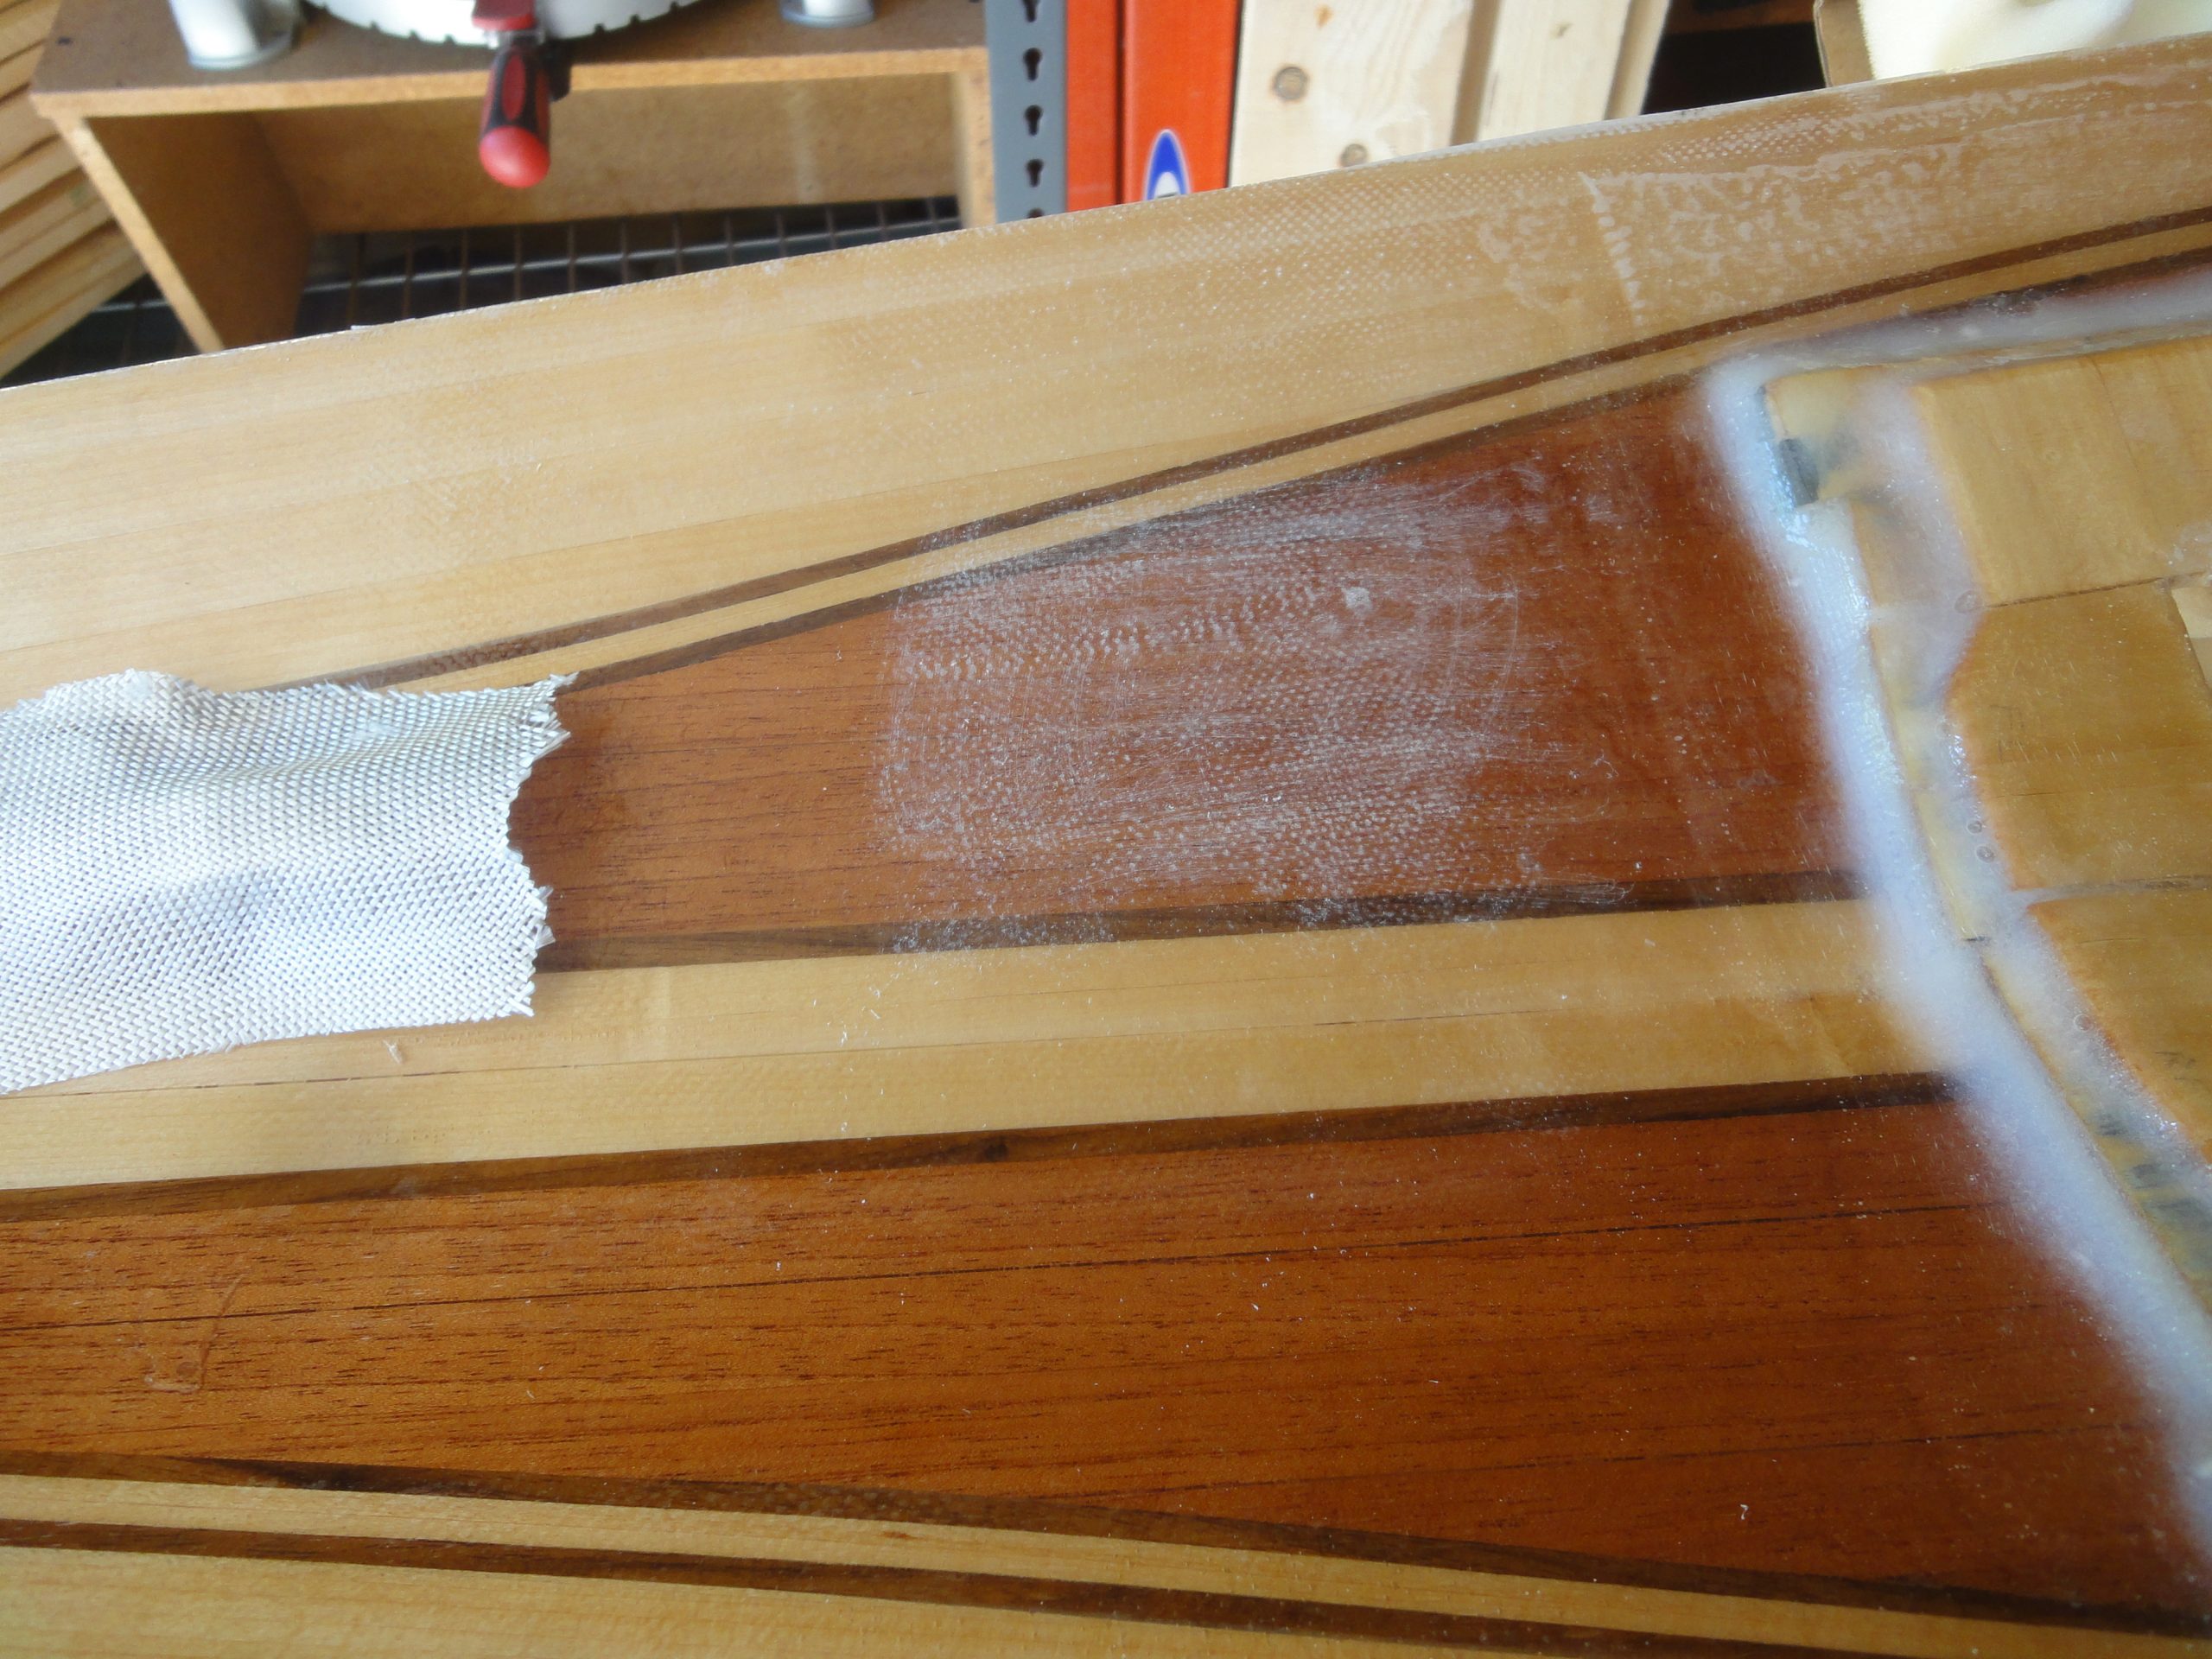
To attach them to the underside of the deck, given that there wouldn’t be any significant stress or strain applied to them, was easy. I used a small patch of fiberglass to reinforce the “glue” I attached them with. First the deck was roughed up, then the holder was “glued” down with epoxy. The patch was put over it and saturated to help it conform to the shape. Once dried I cut out the fiberglass covering the hole and then sanded and applied a second layer of epoxy. Worked well although my in progress images didn’t come out so good.
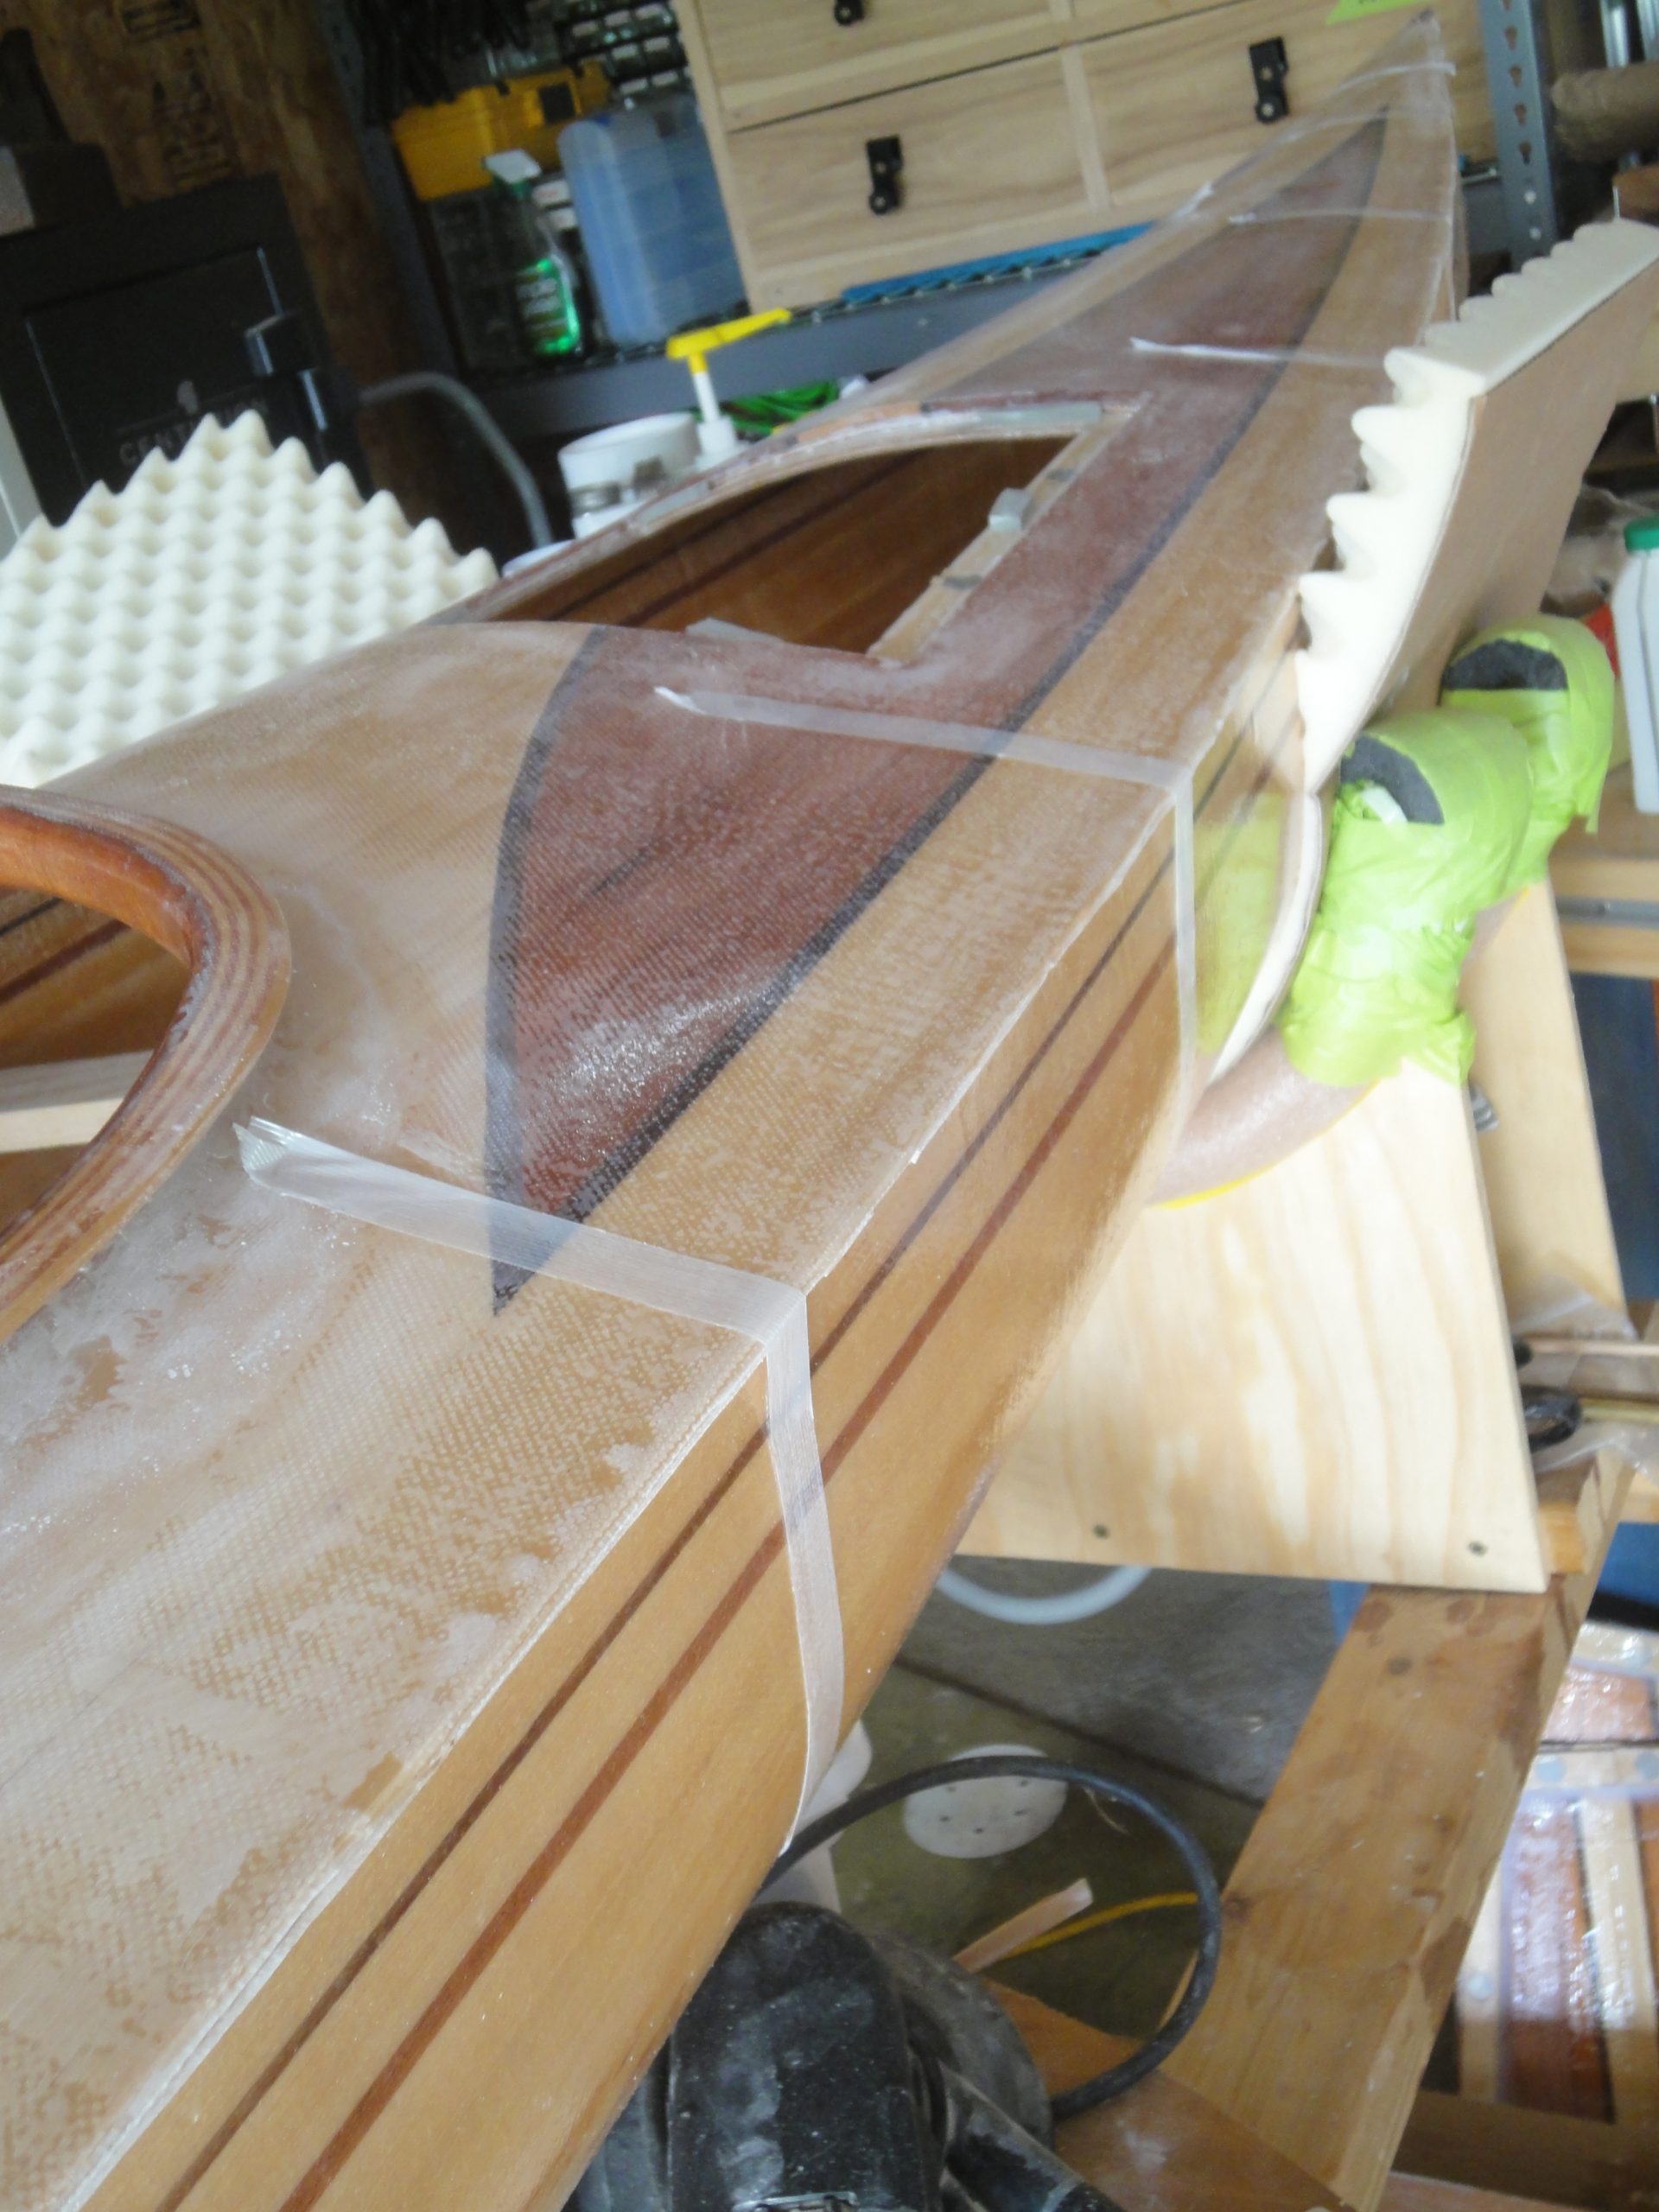
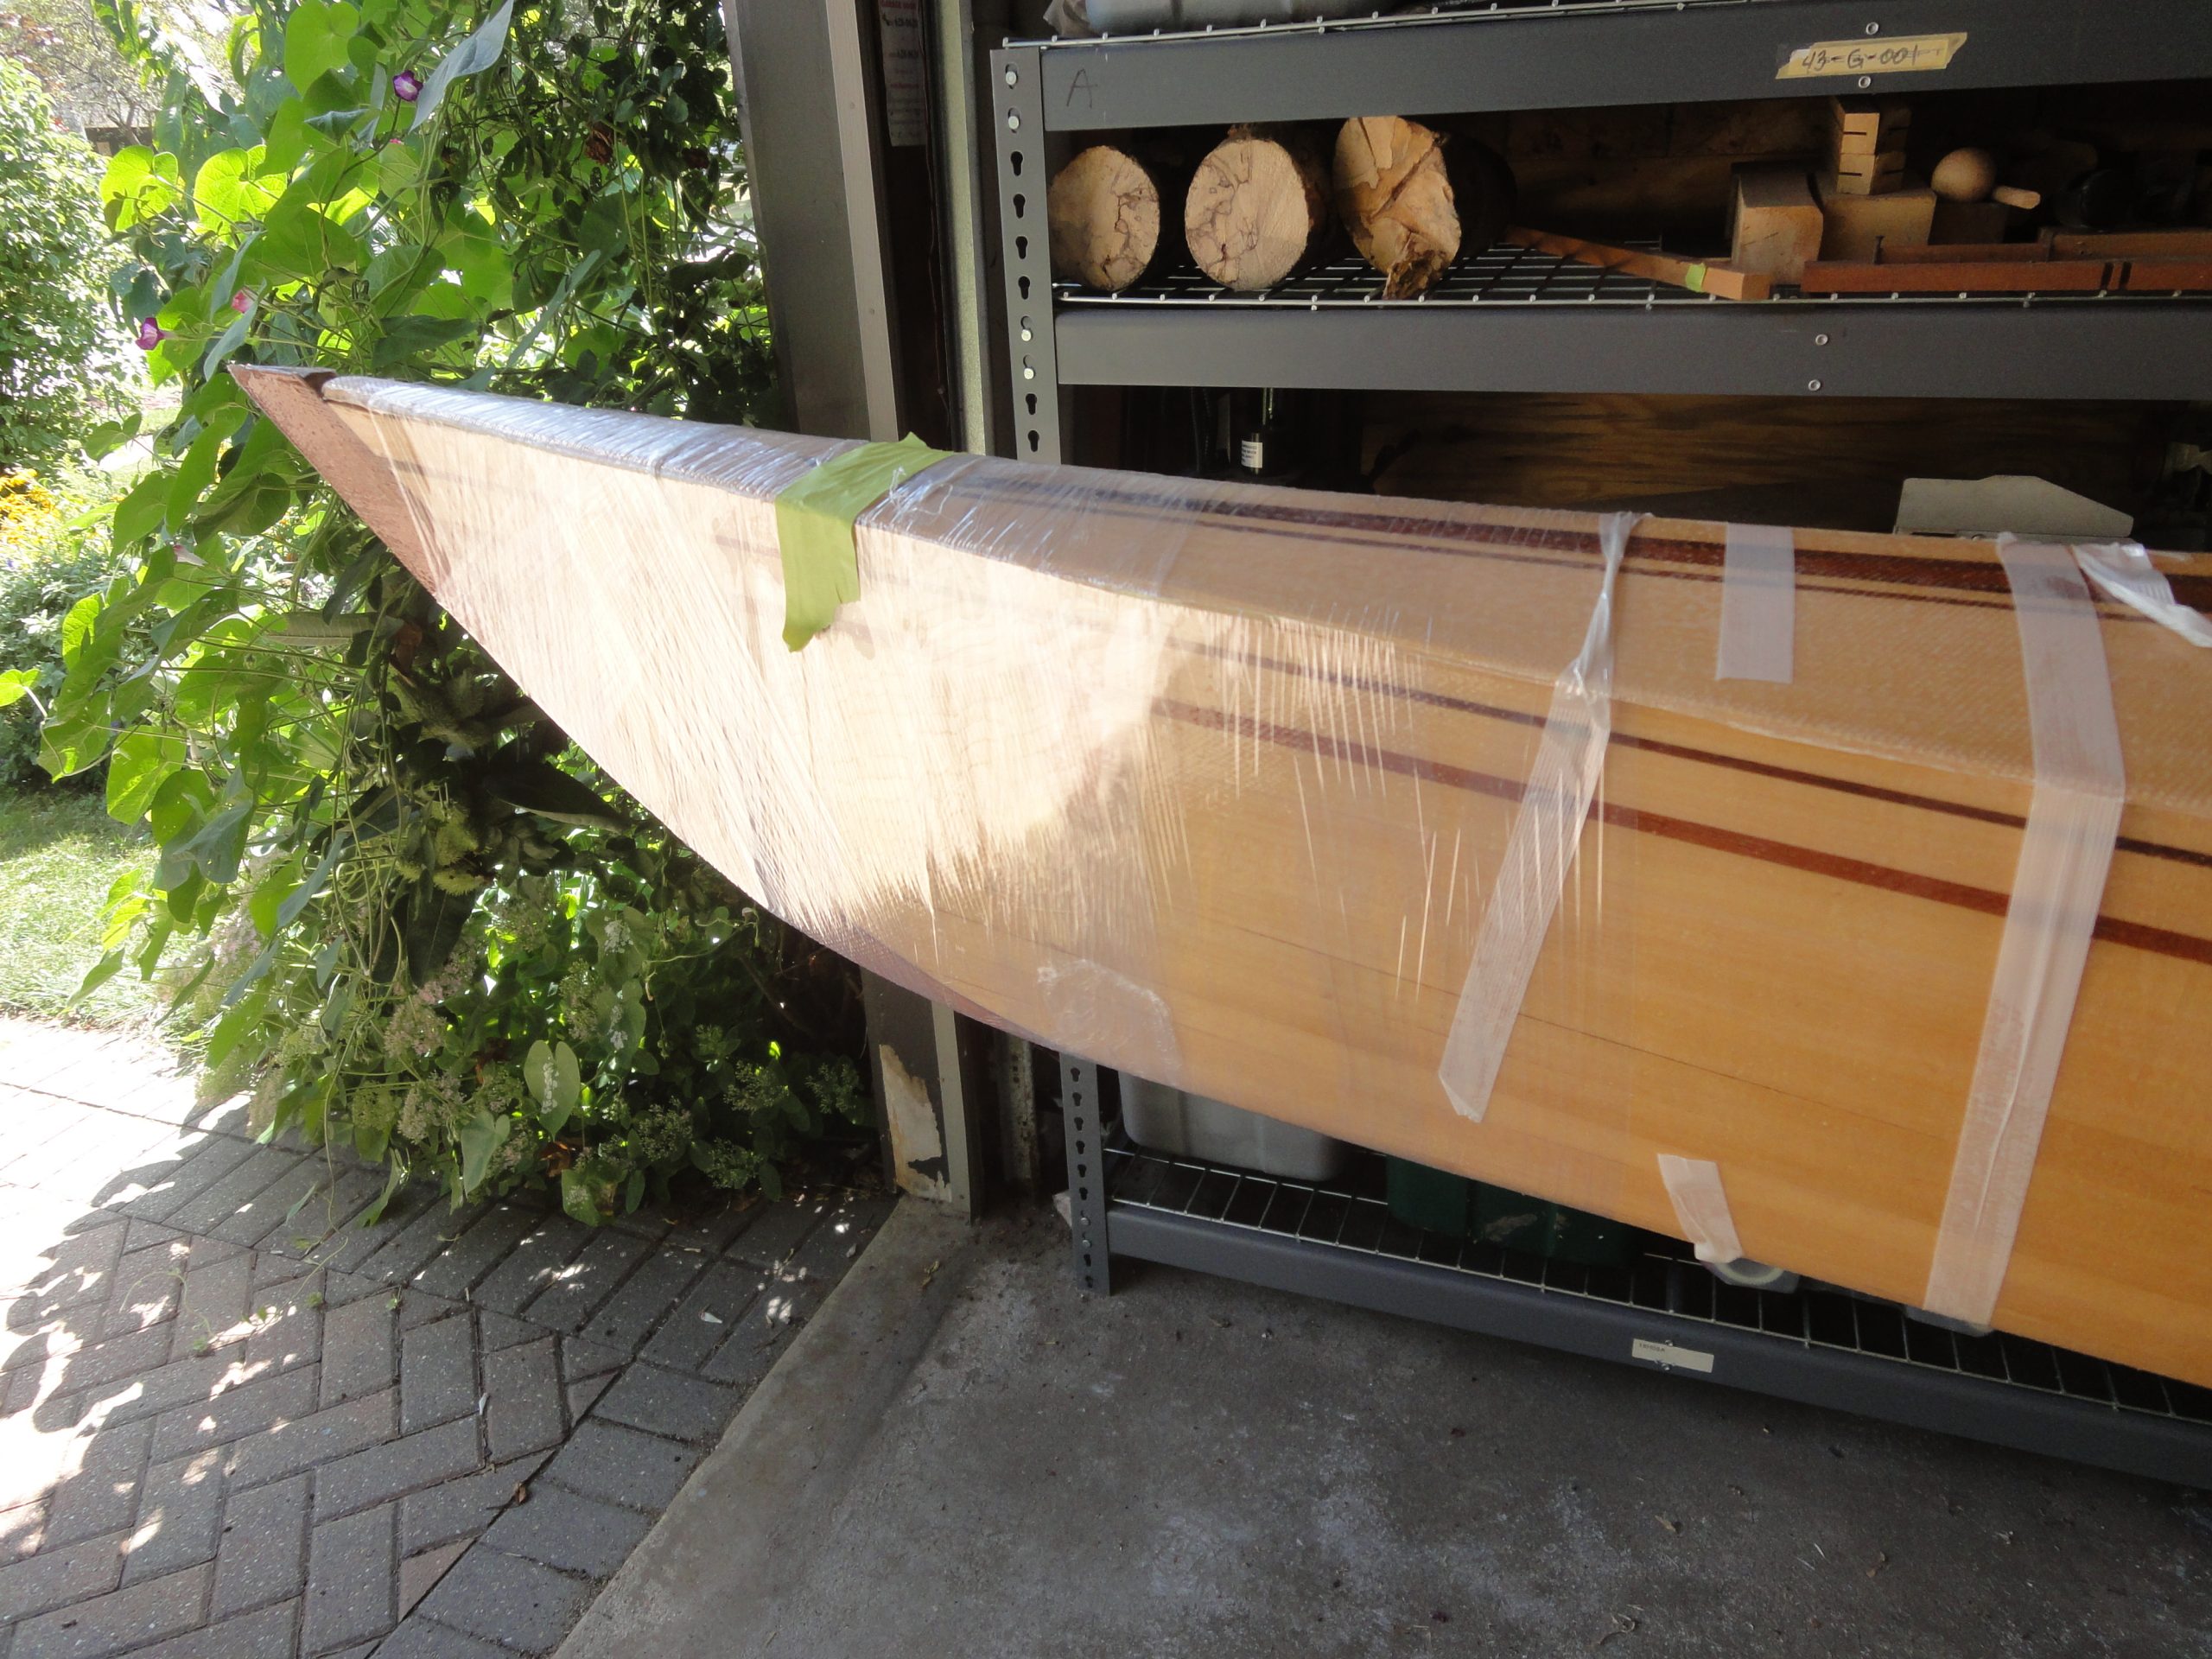
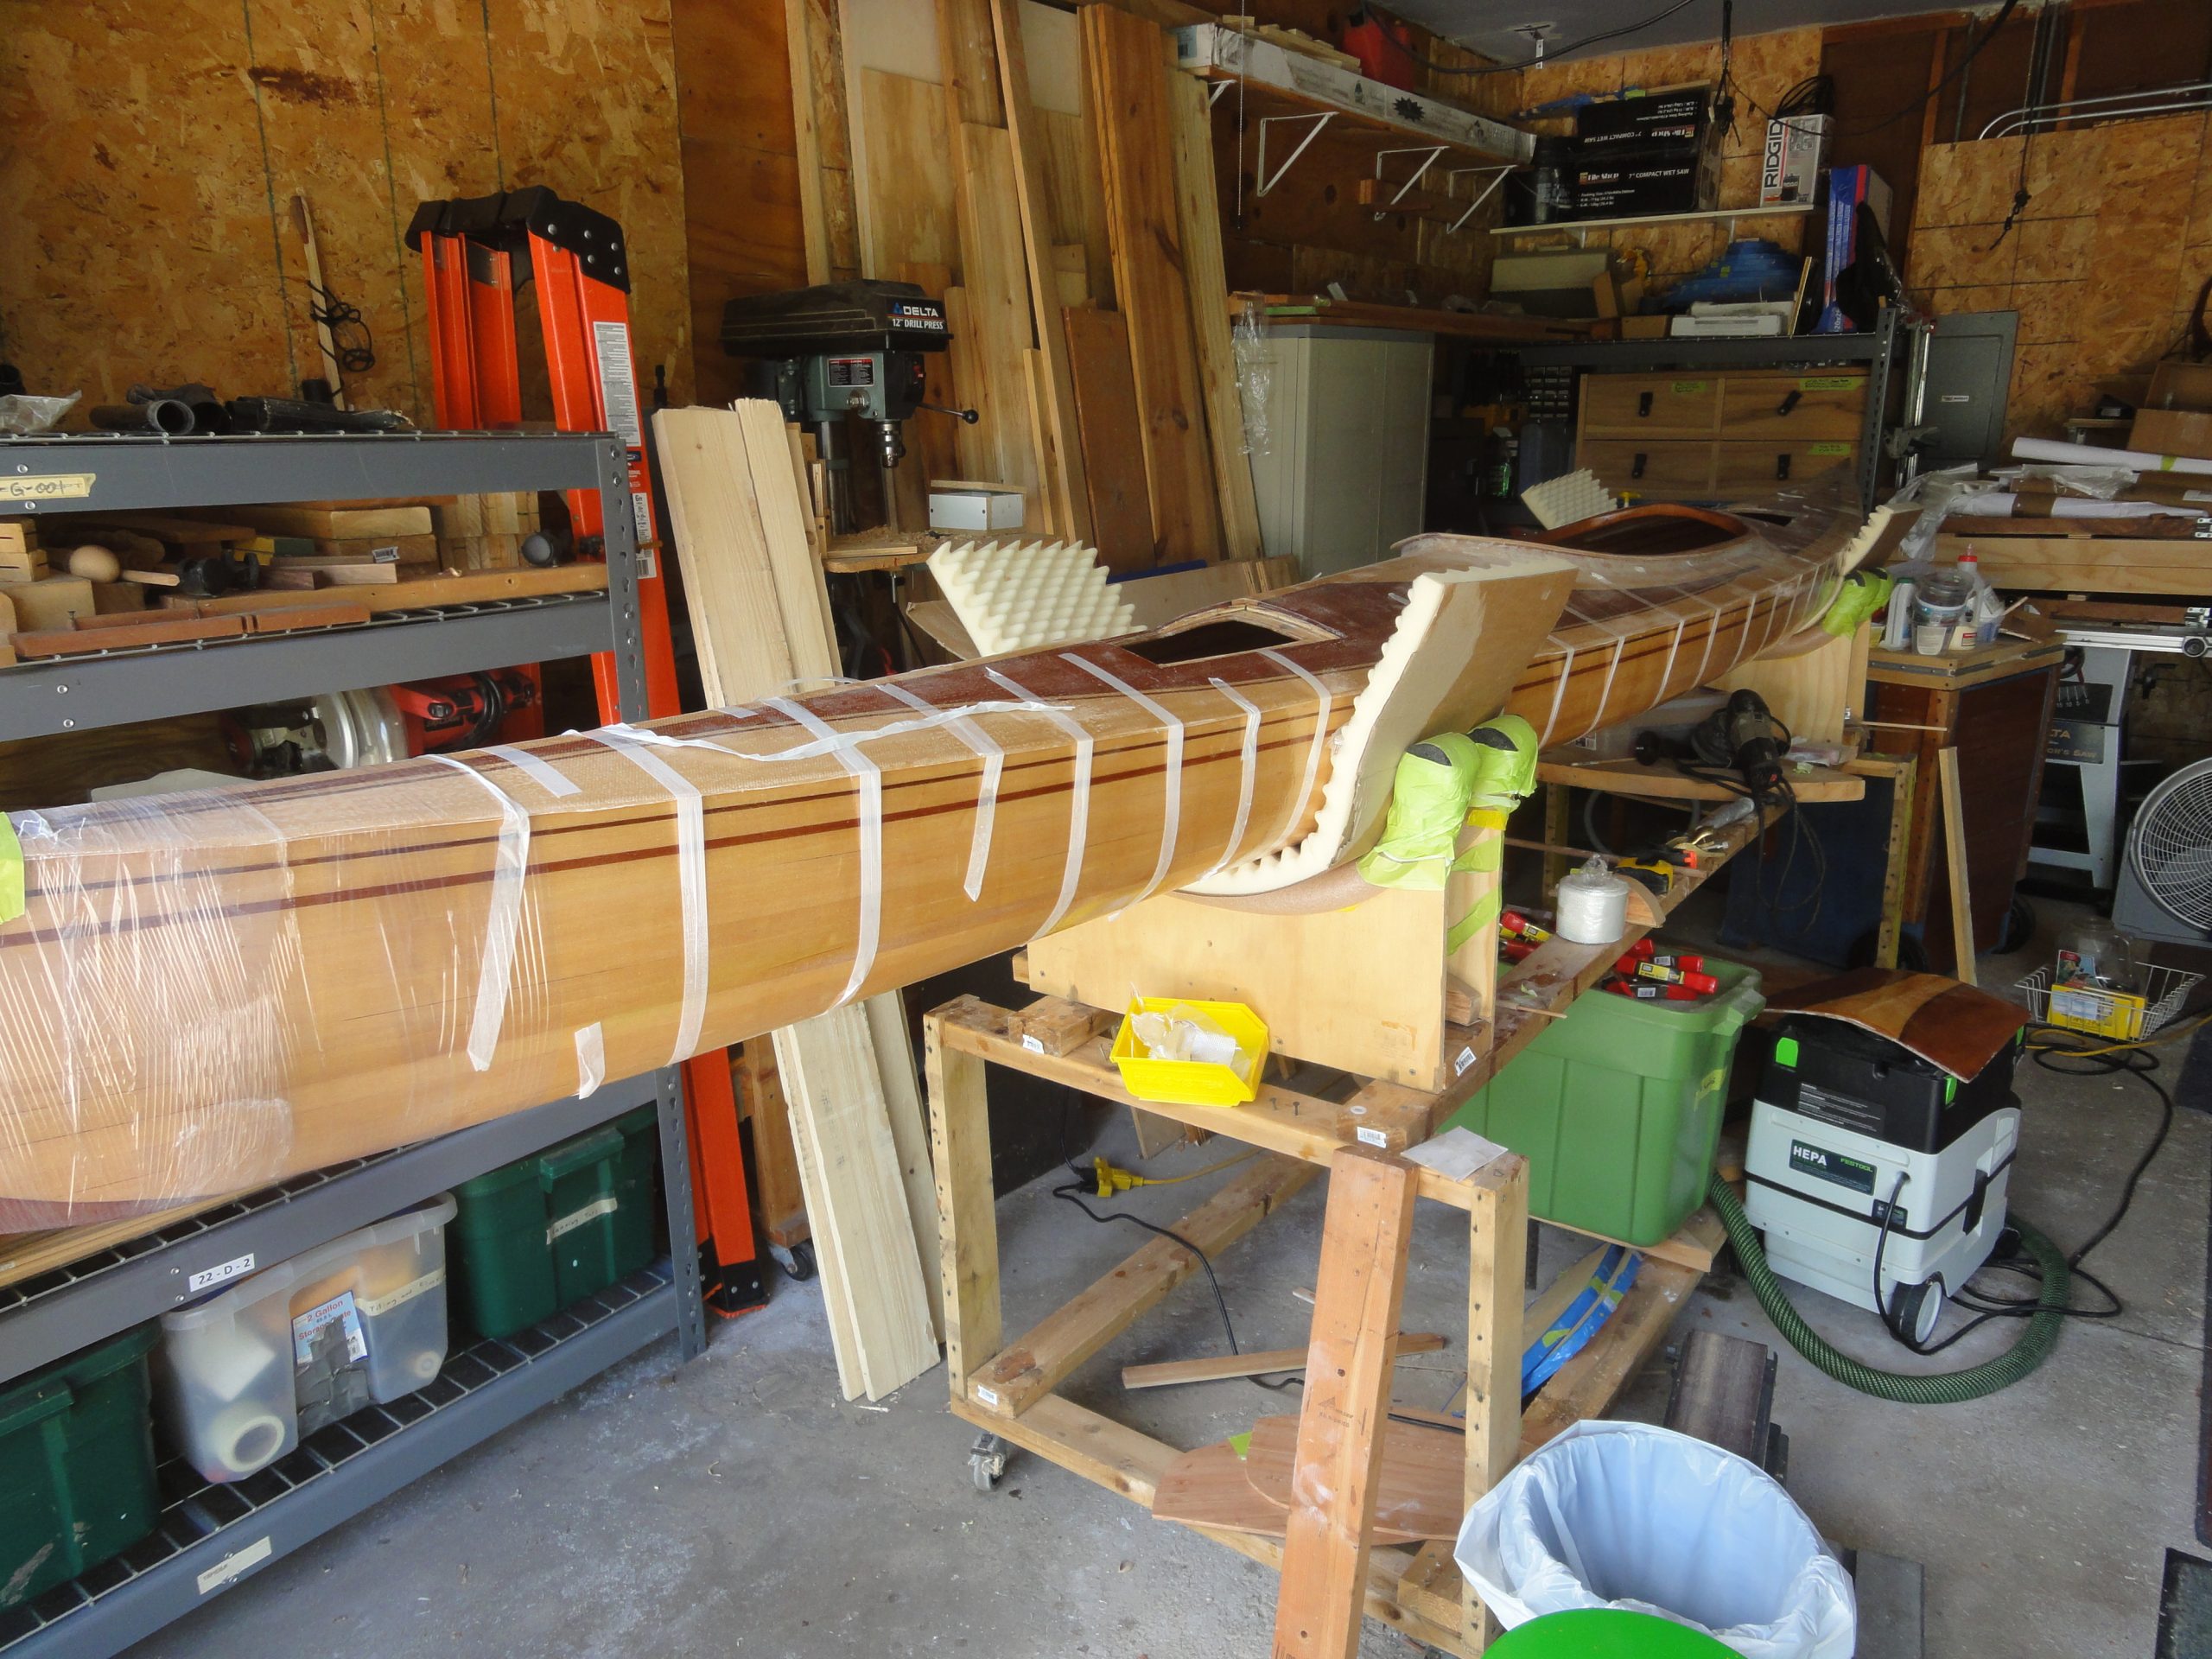
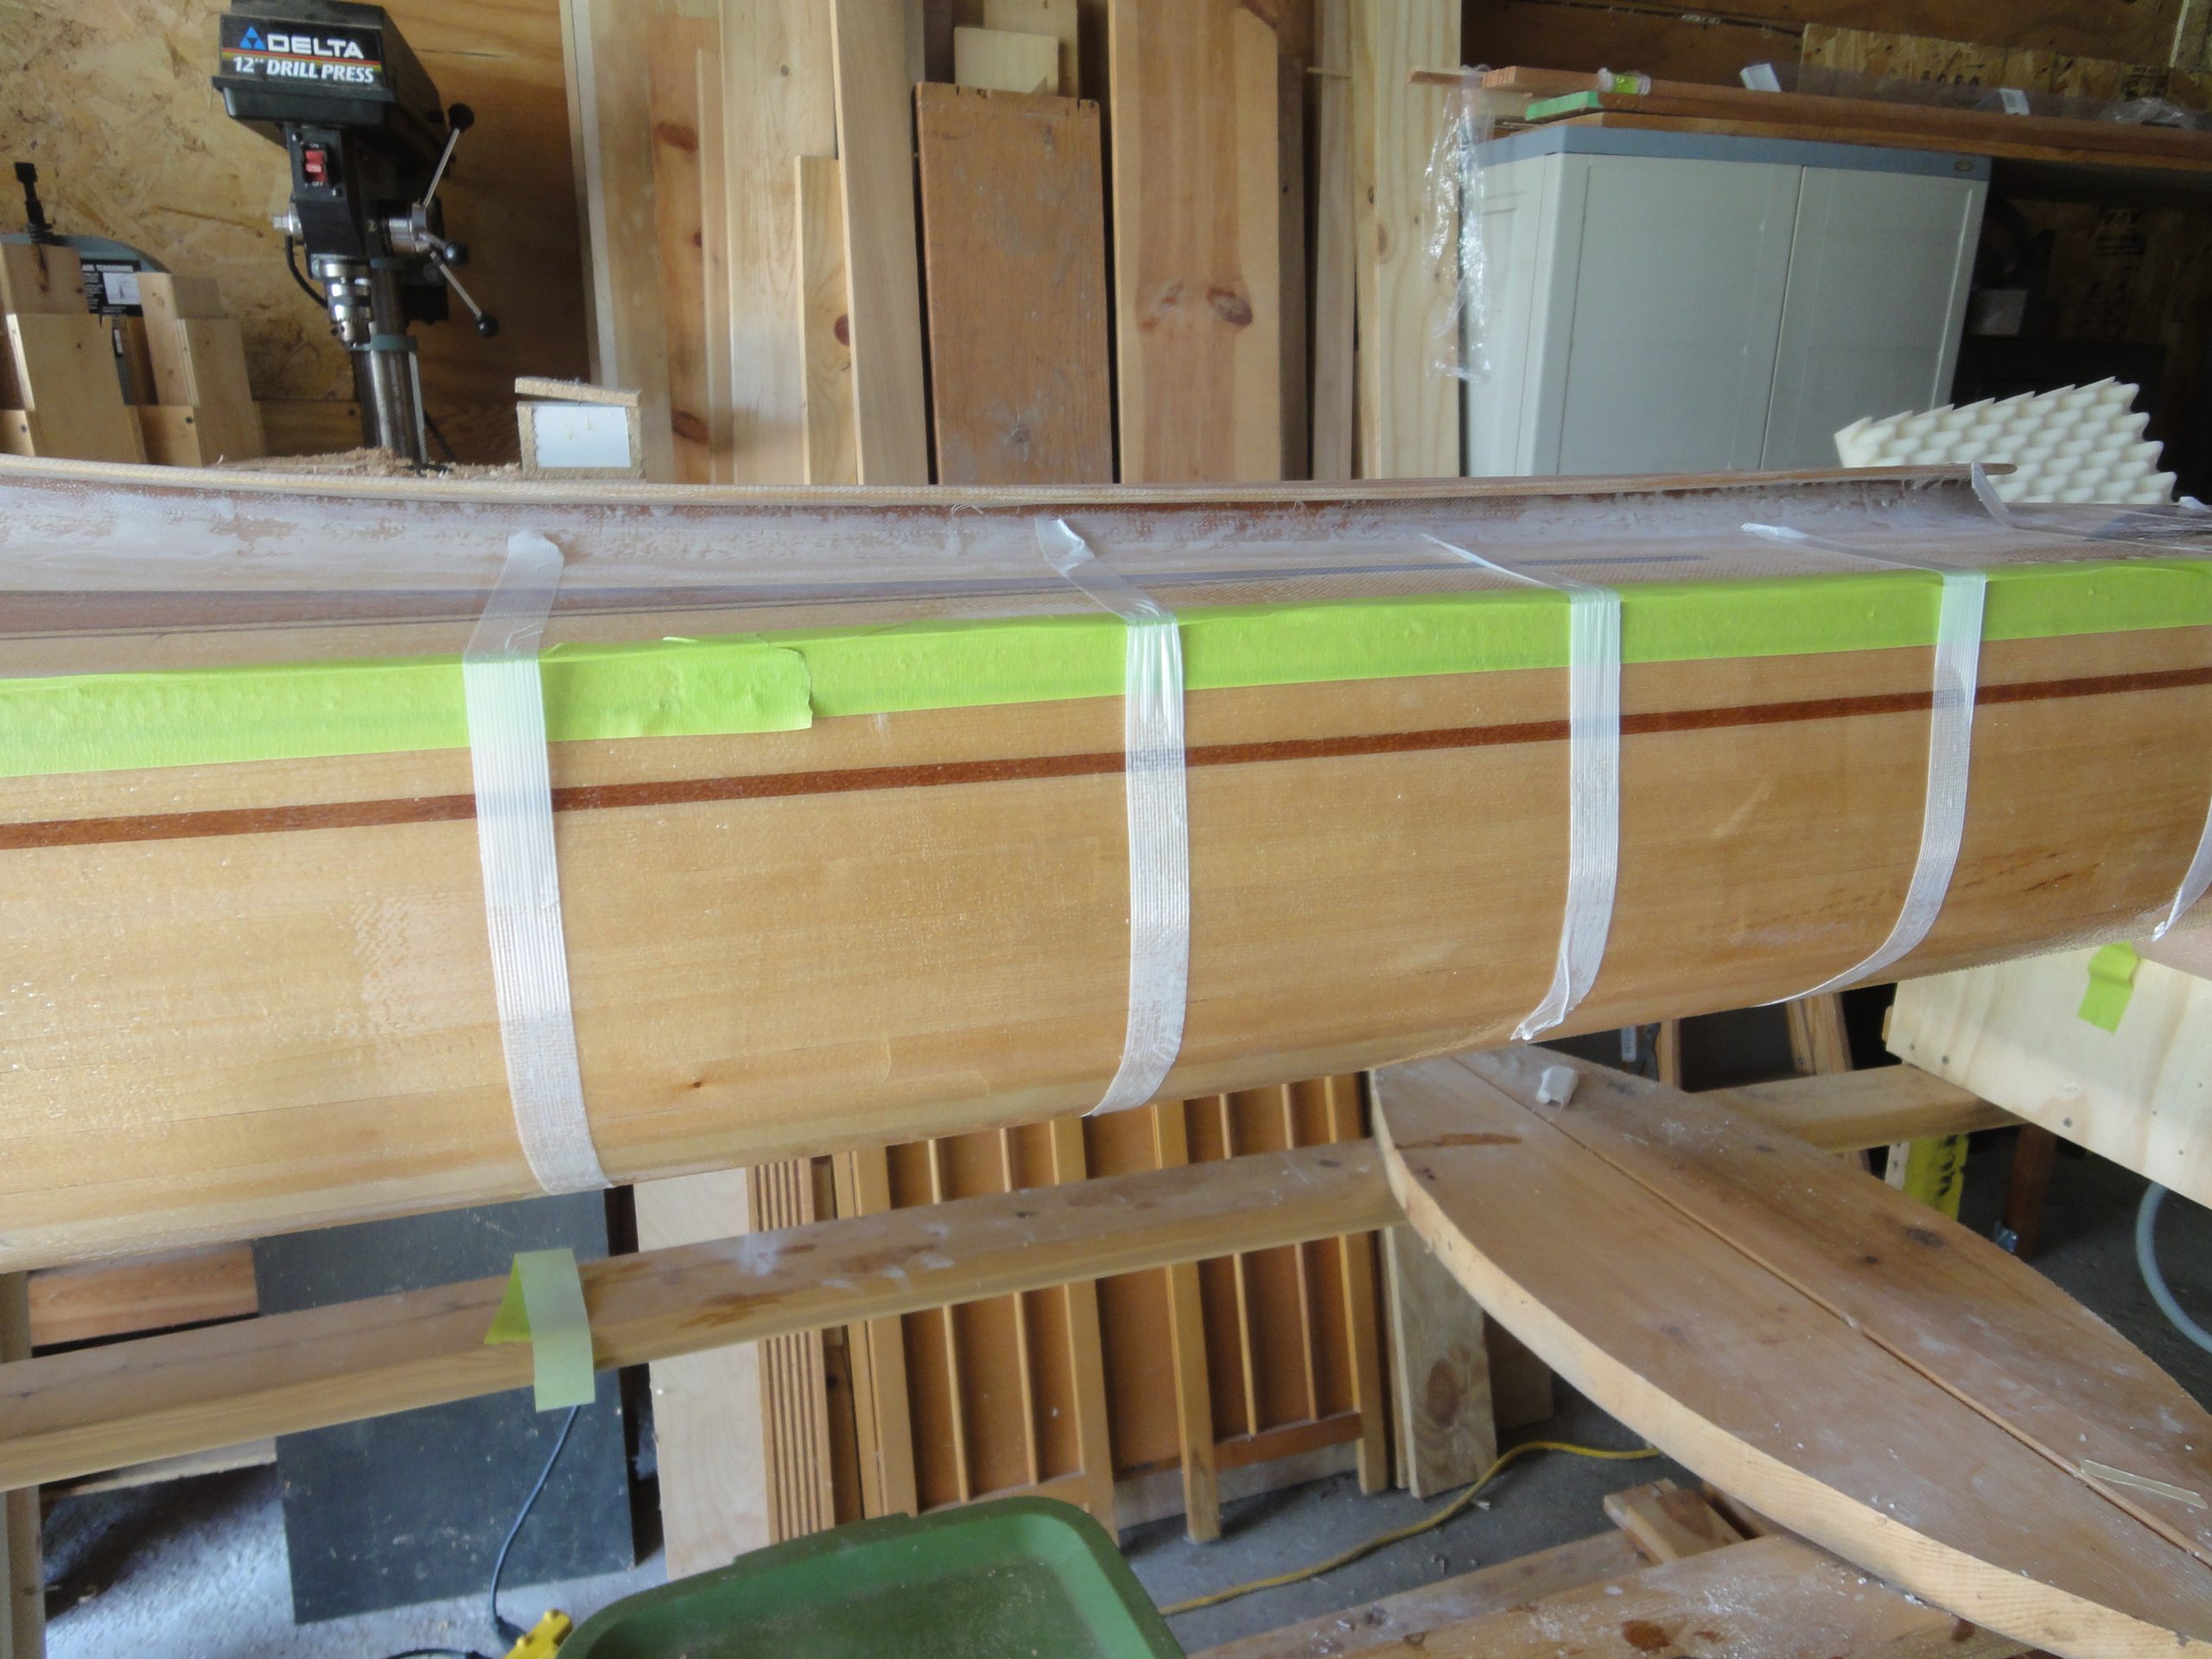
The proceeding was completed over the last two weeks or so. Today I flipped the deck back over and mounted it to they hull. I started to tape it then realized the seam needed something to stop any tiny gaps or leaks so I went ahead and taped the seam to prevent any epoxy drip out and then reapplied the strapping tape every so often. The strapping tape has reinforcing strings in it and good stretching properties. I applied to the deck, then pulled down quite forcefully and pushed it against the hull. When it was well anchored I’d then cut it from the roll. Once they were attached I went back and ensure the two pieces were tight and then applied more and more tape, about every 6 inches or so for further reinforcement and tightening. To help keep the bow and stern tight I used stretch plastic wrap and wound it around and around pulling it tight as I went along. The more I applied the tighter it got.
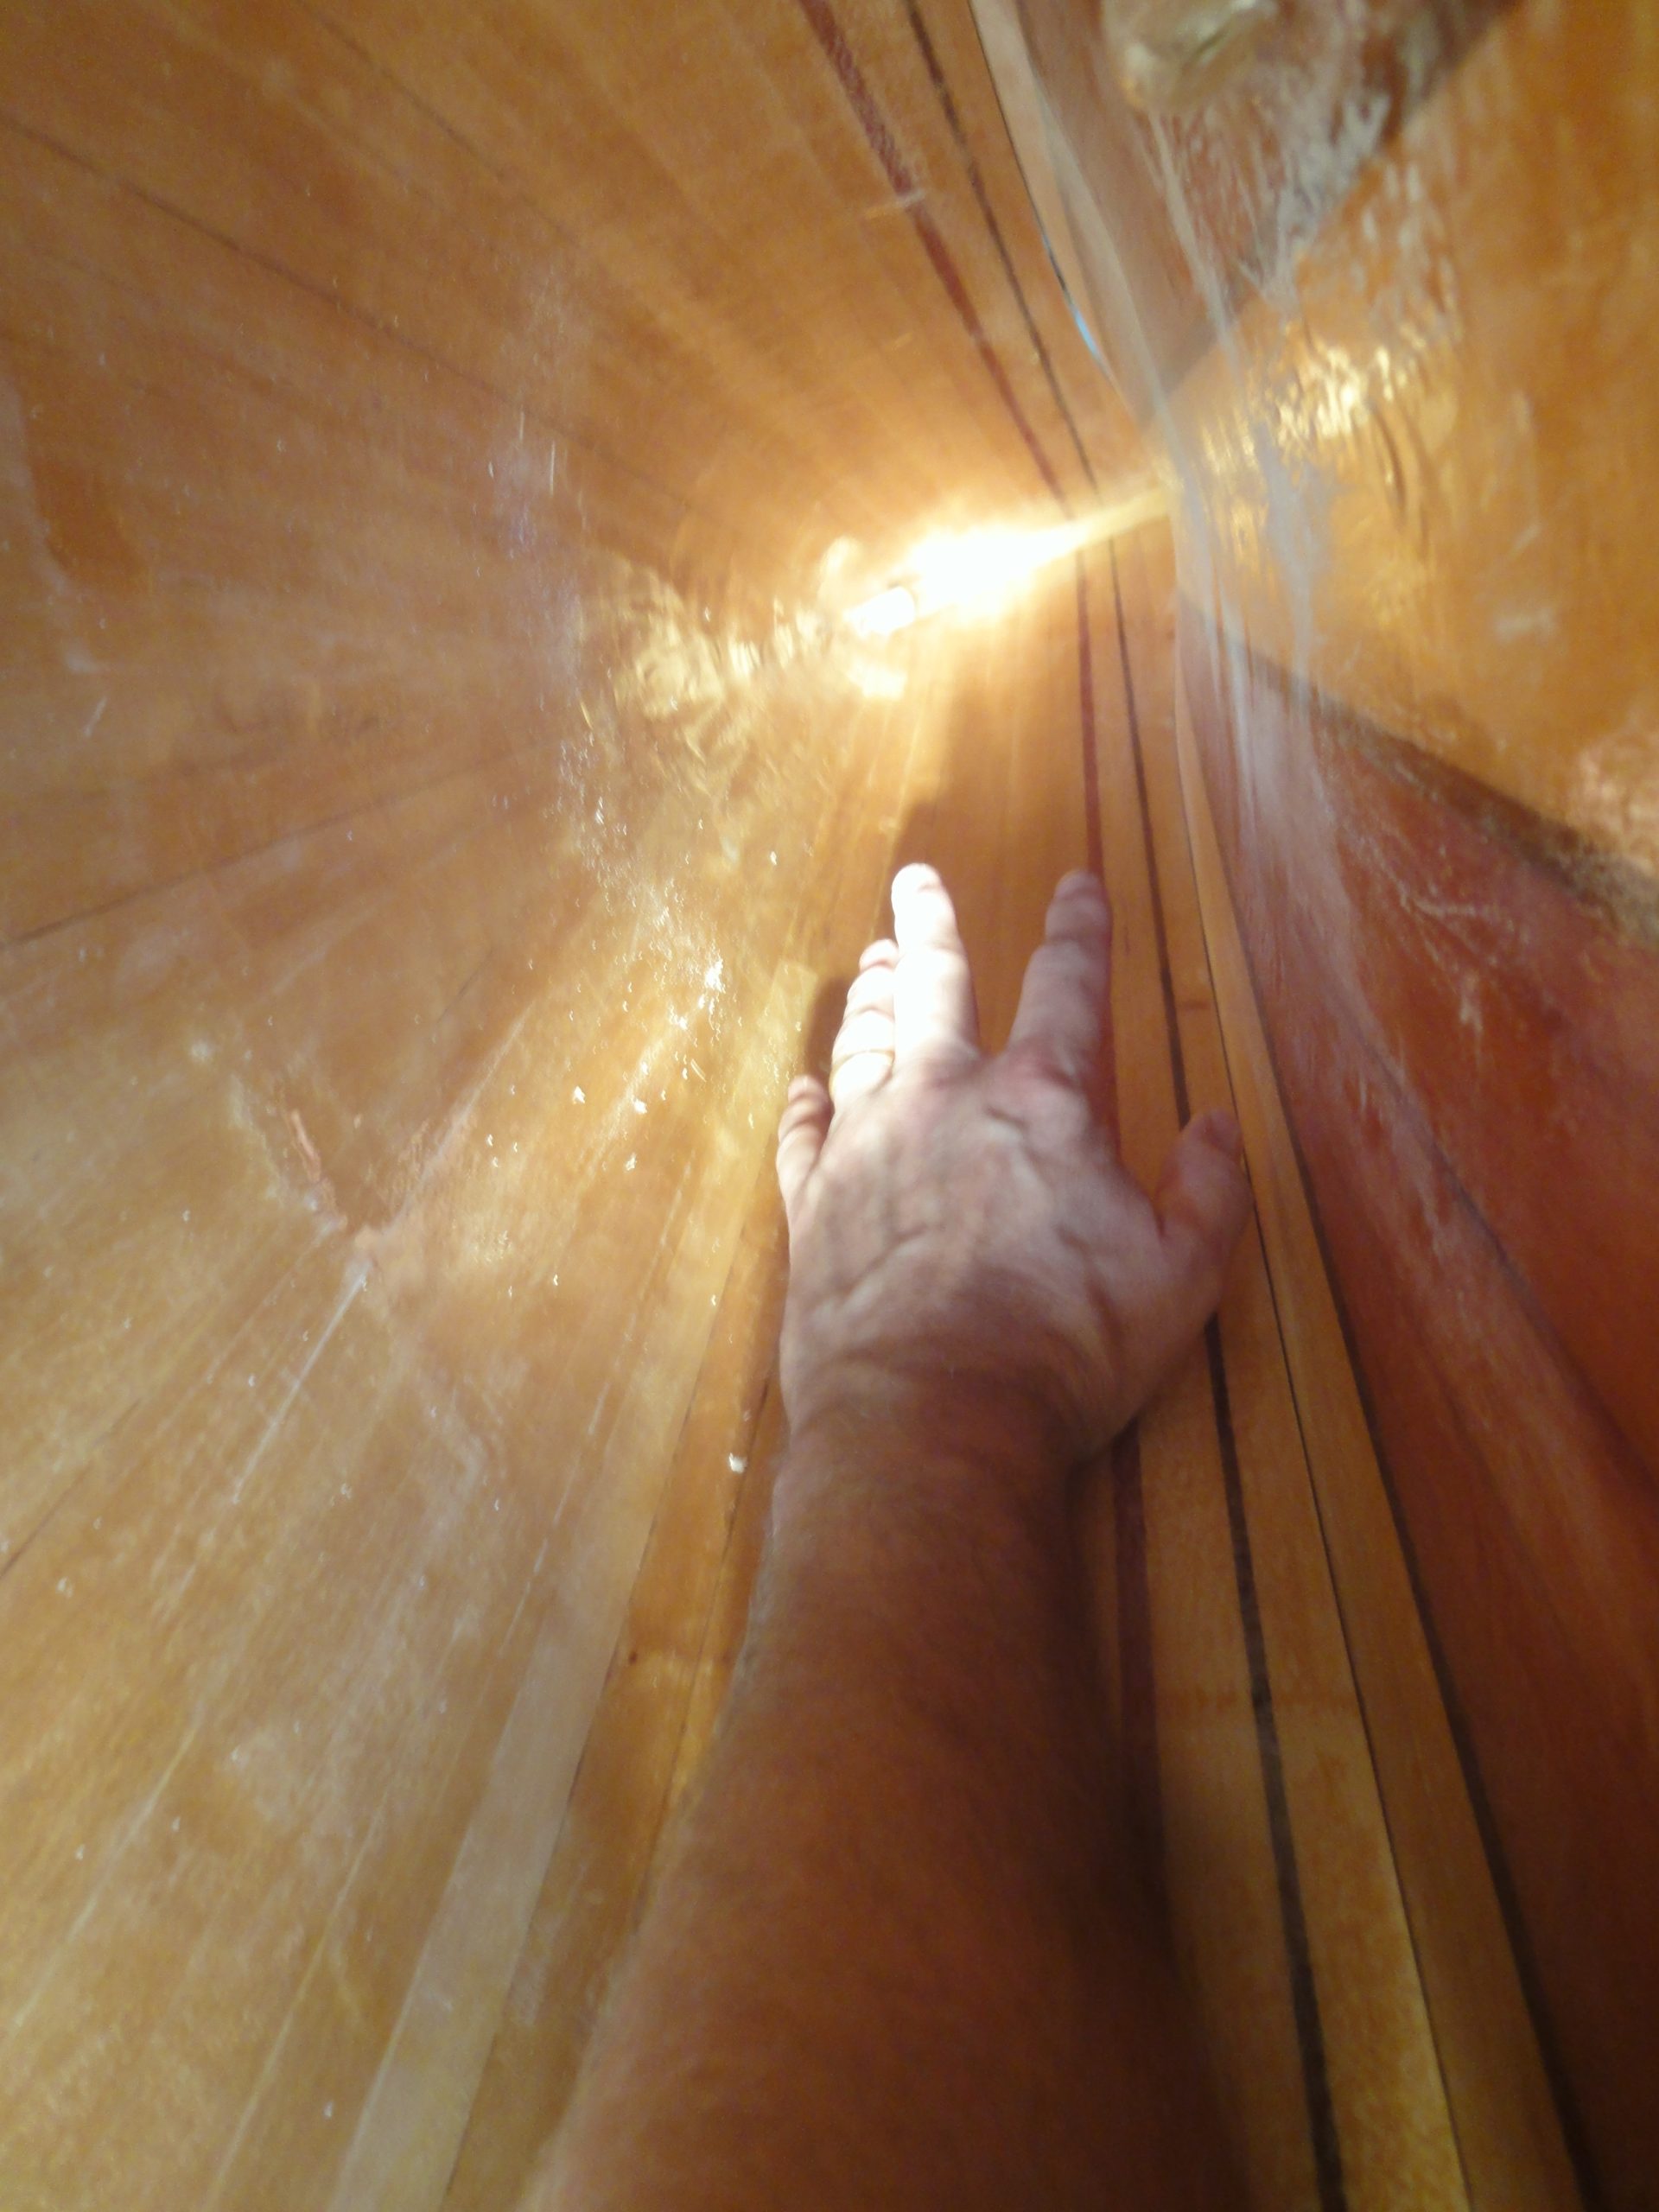
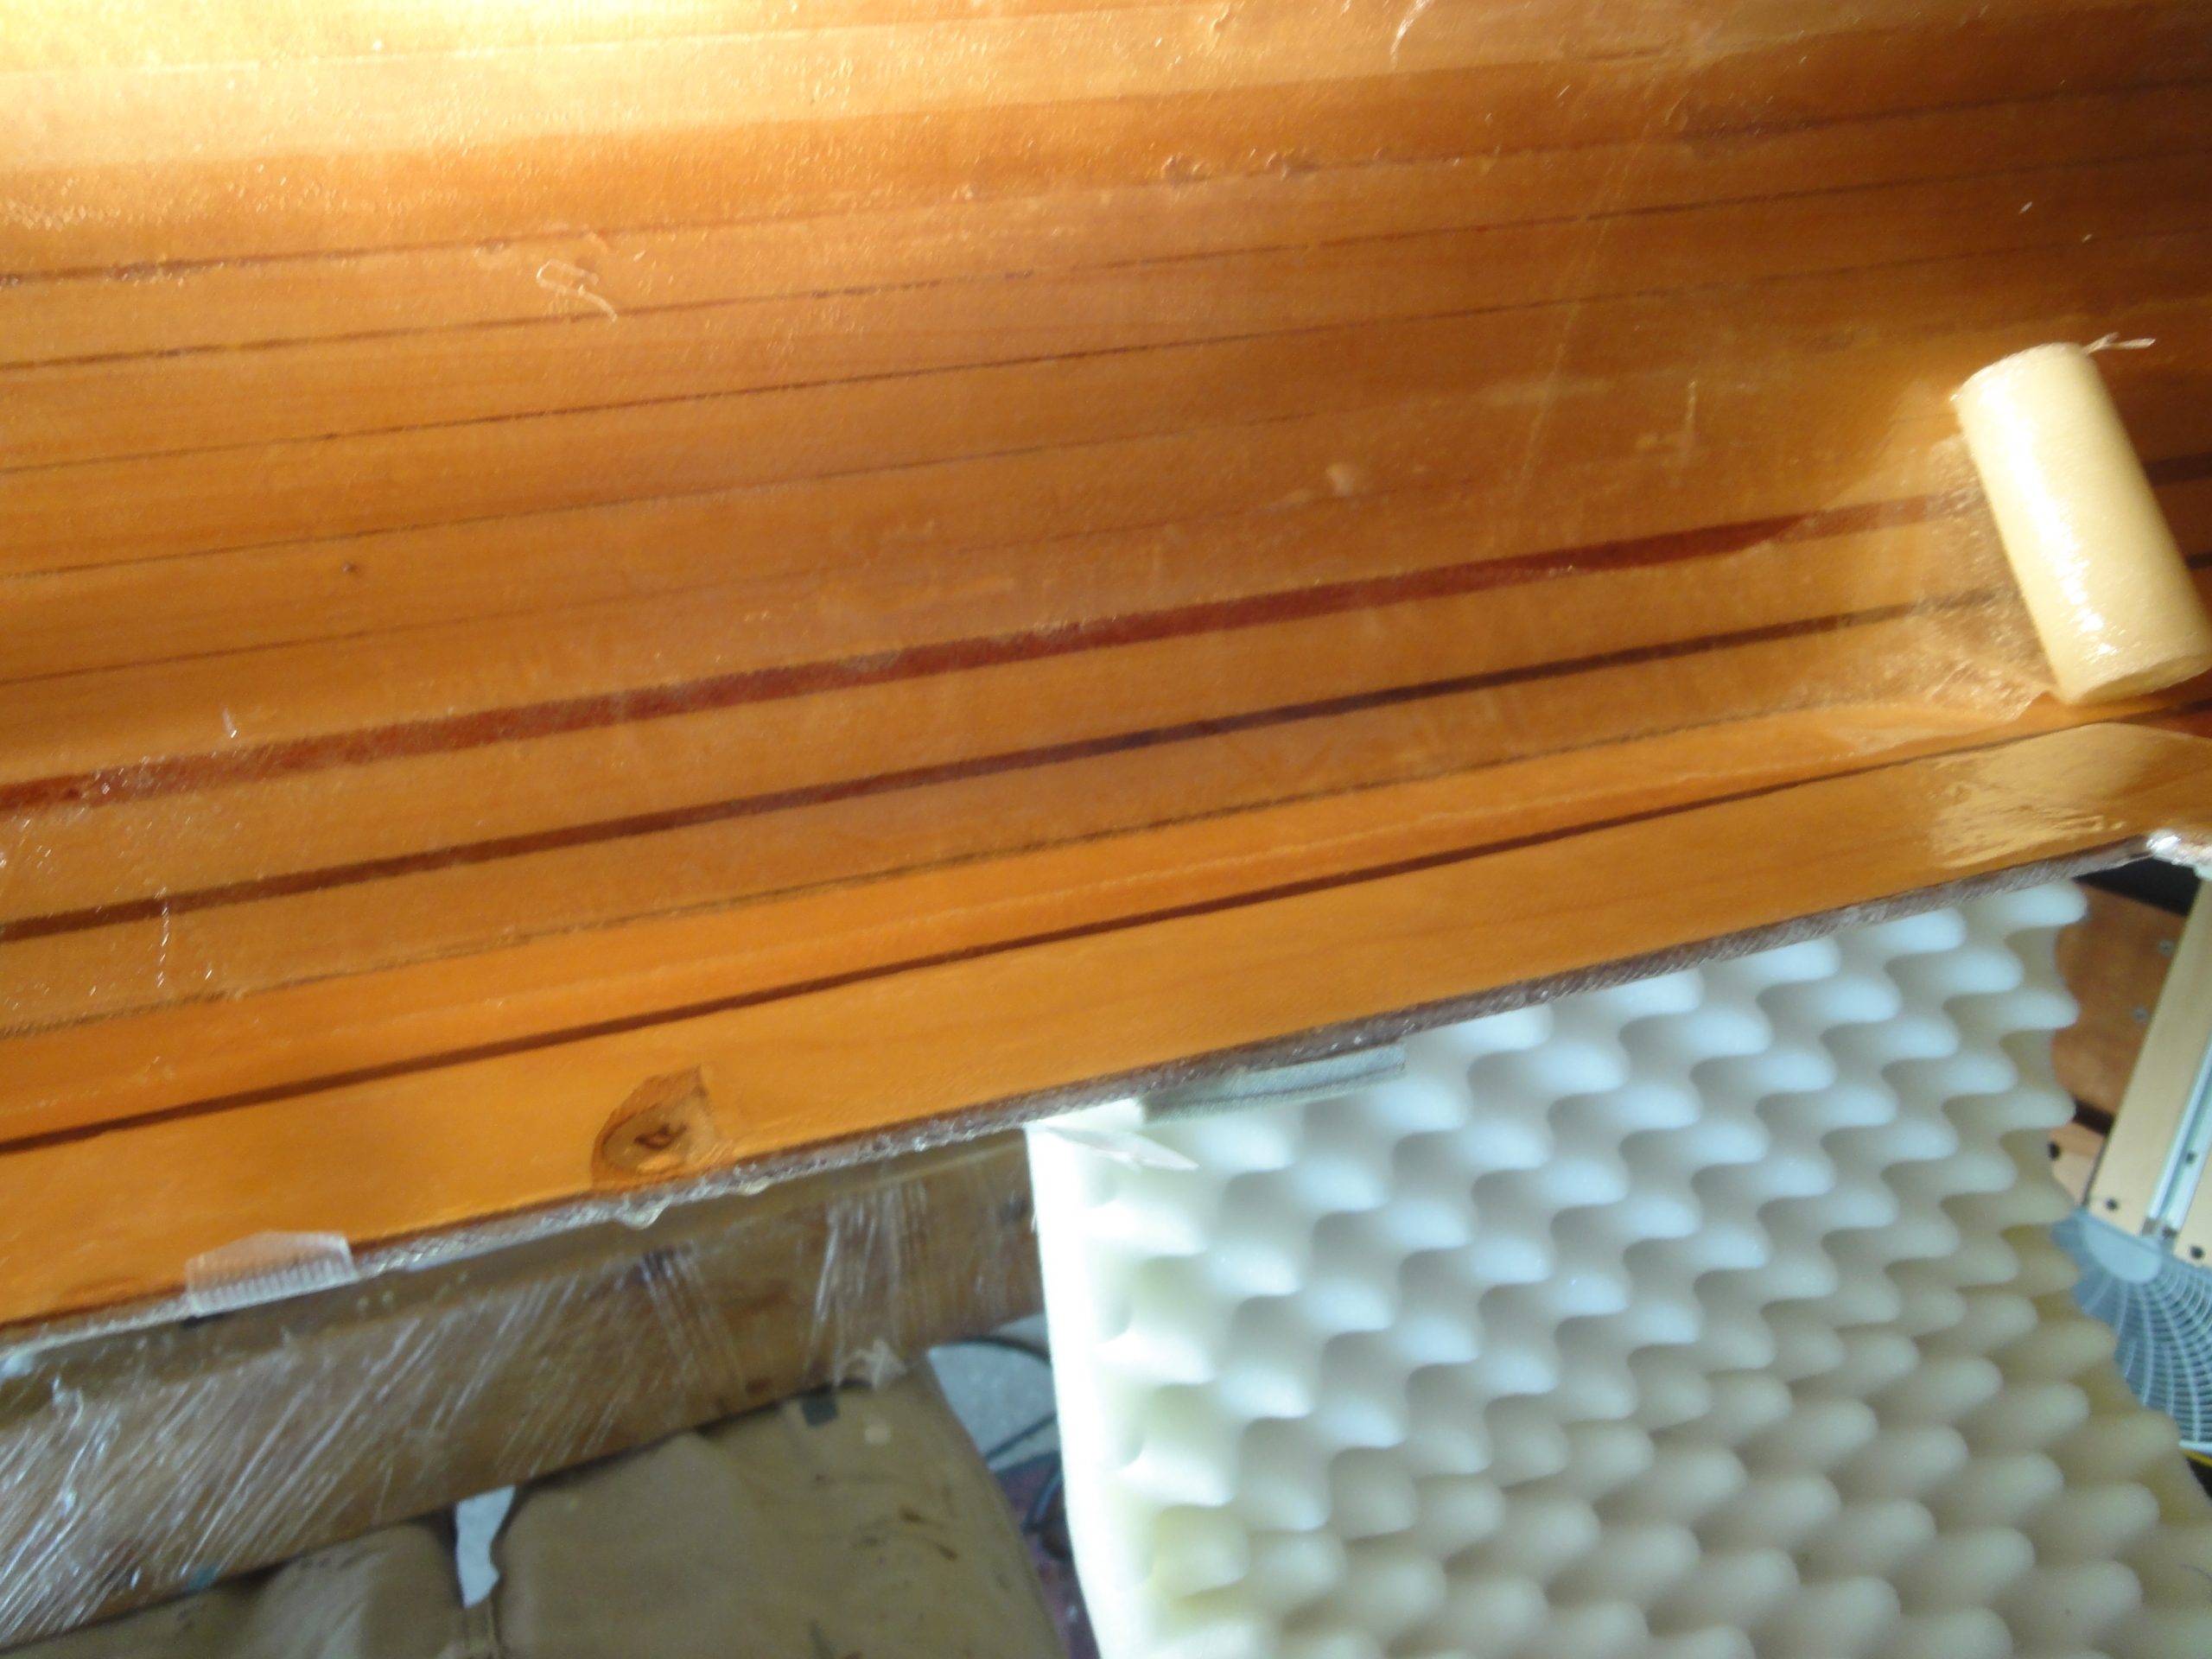
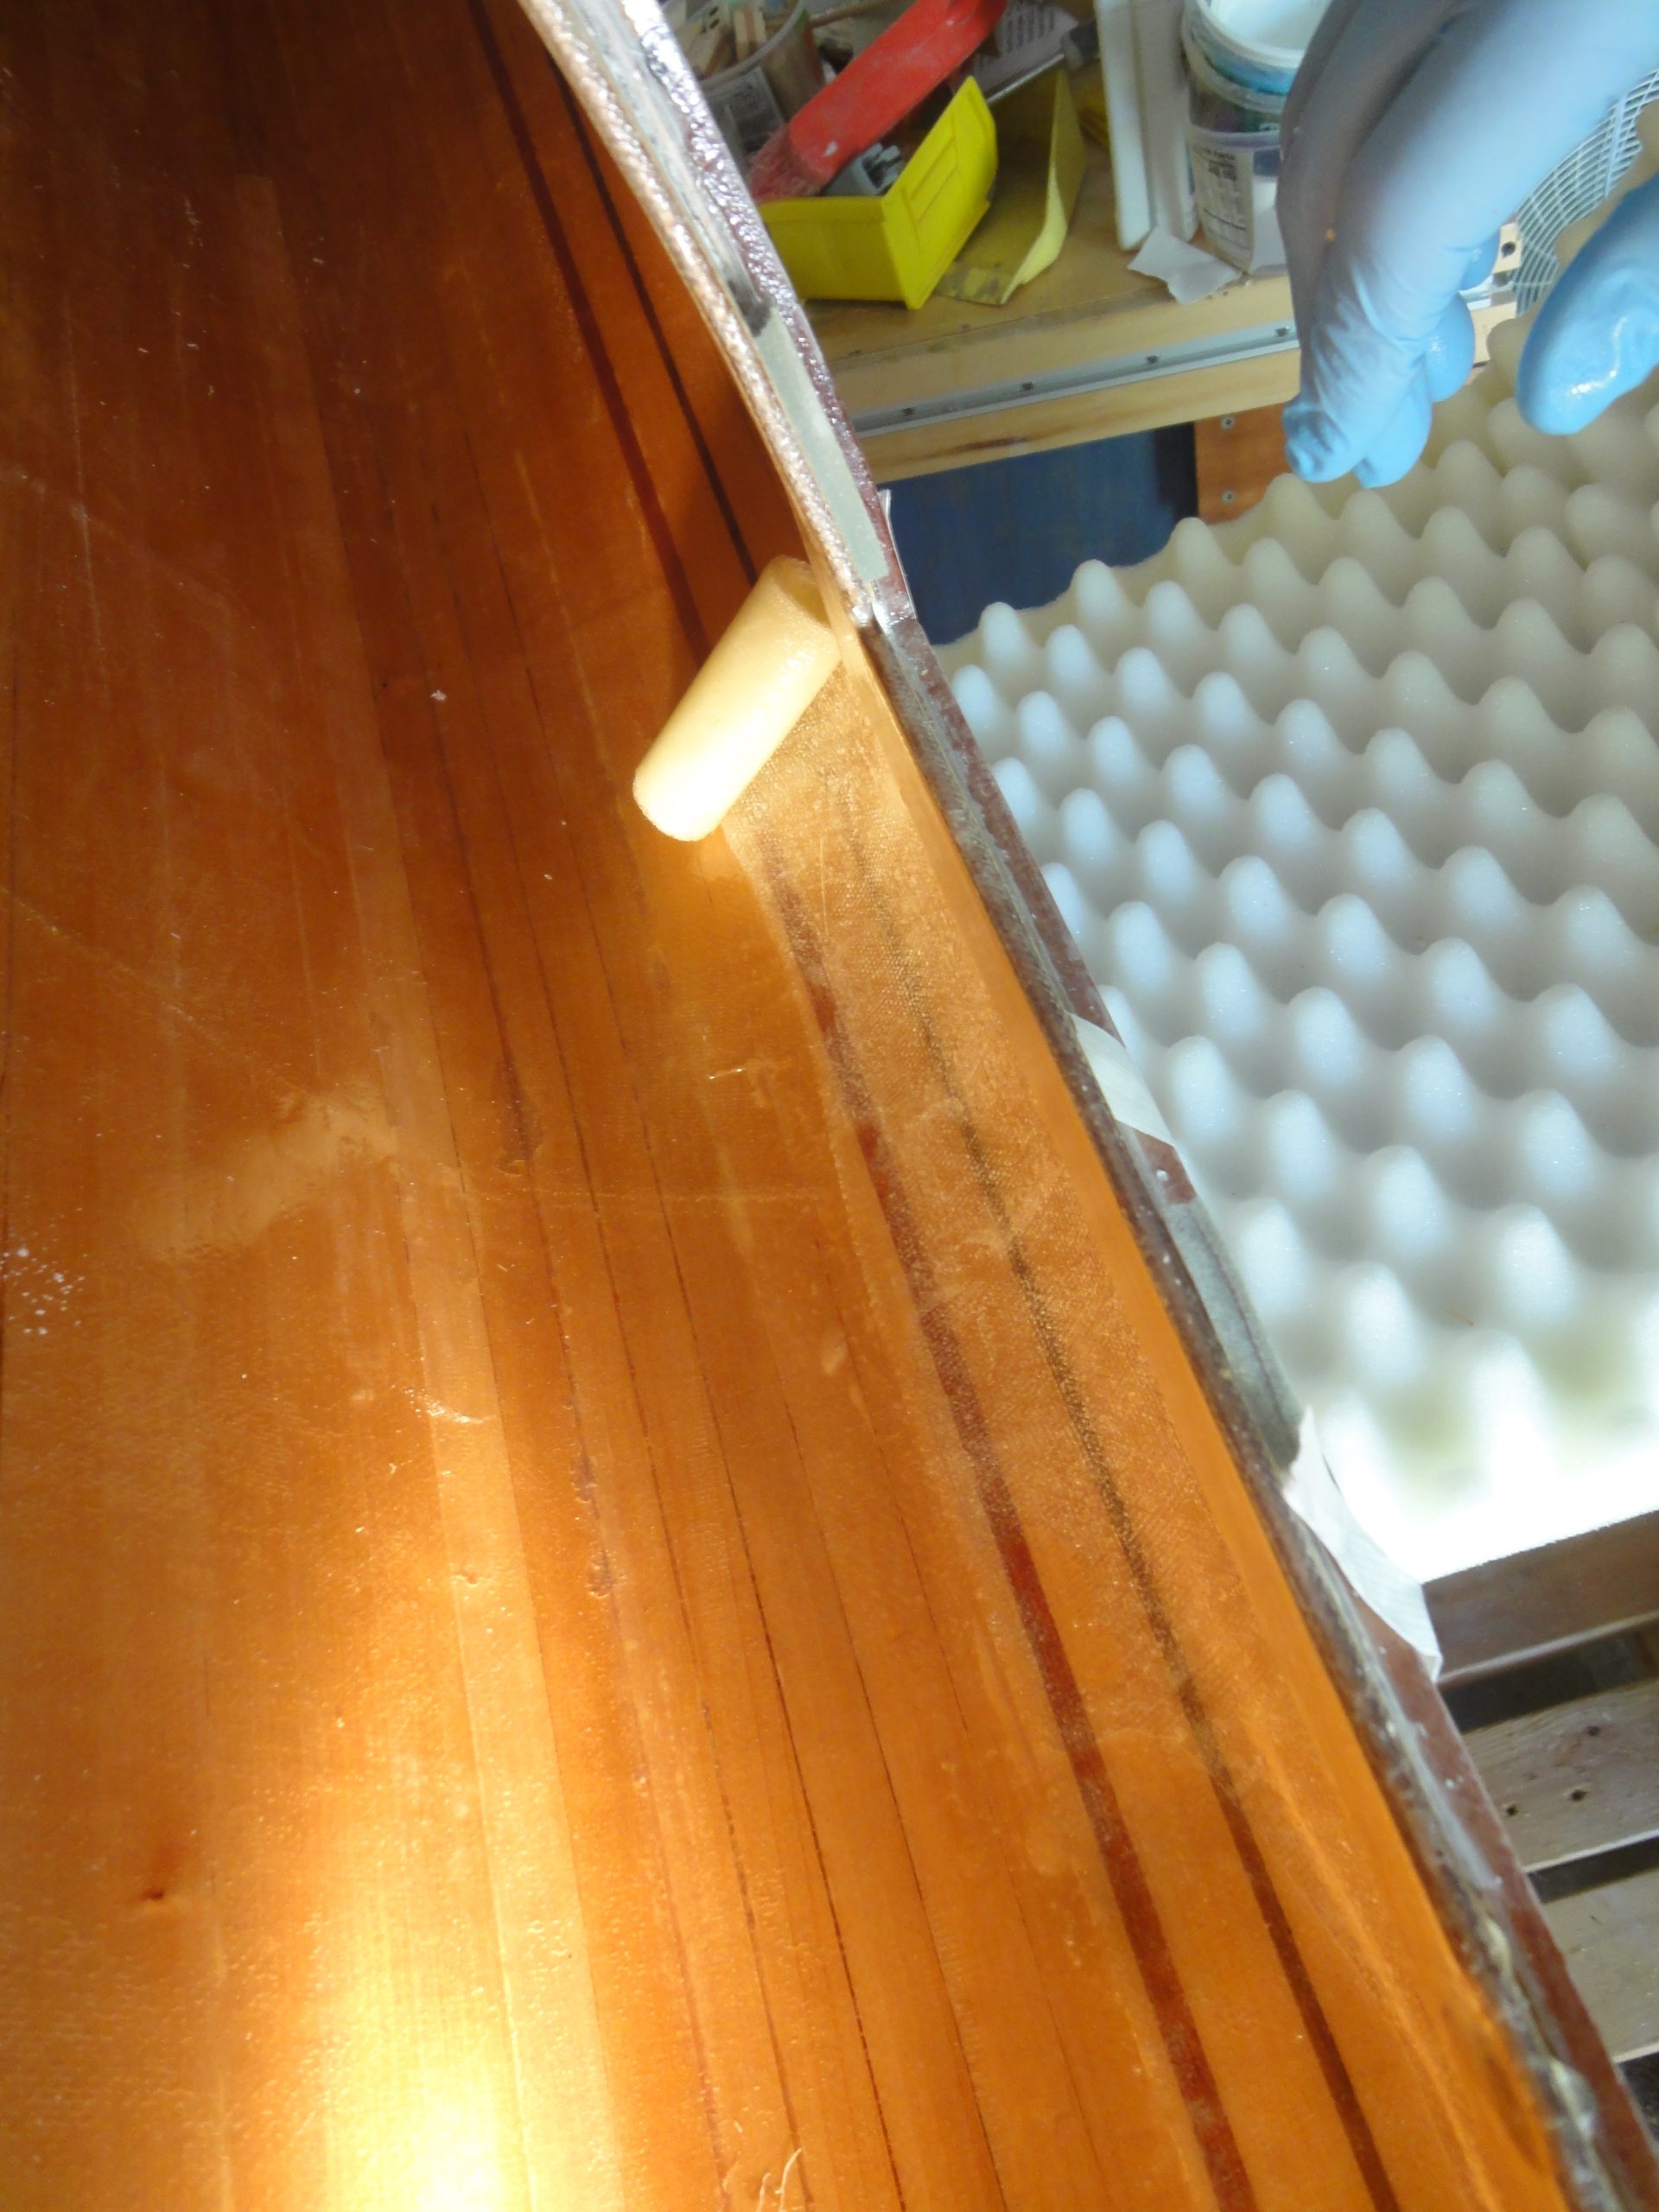
To fasten the two pieces together I’m using a roll of fiberglass. It’s about 3″ wide and bends quite easily and holds the shape so it would fit in the corner nicely. I turned the kayak on it’s side and while the hatches provide for a lot more access my arms simply aren’t long enough to reach the front or back. I need at least a few more feet of reach. A few quick cuts to a stick and a brush coupled with a predrilled hole and a screw and instant (almost) brush on a stick. I’ll need to replace the brush when I do the seem on the other side and will follow the same process using the stick.
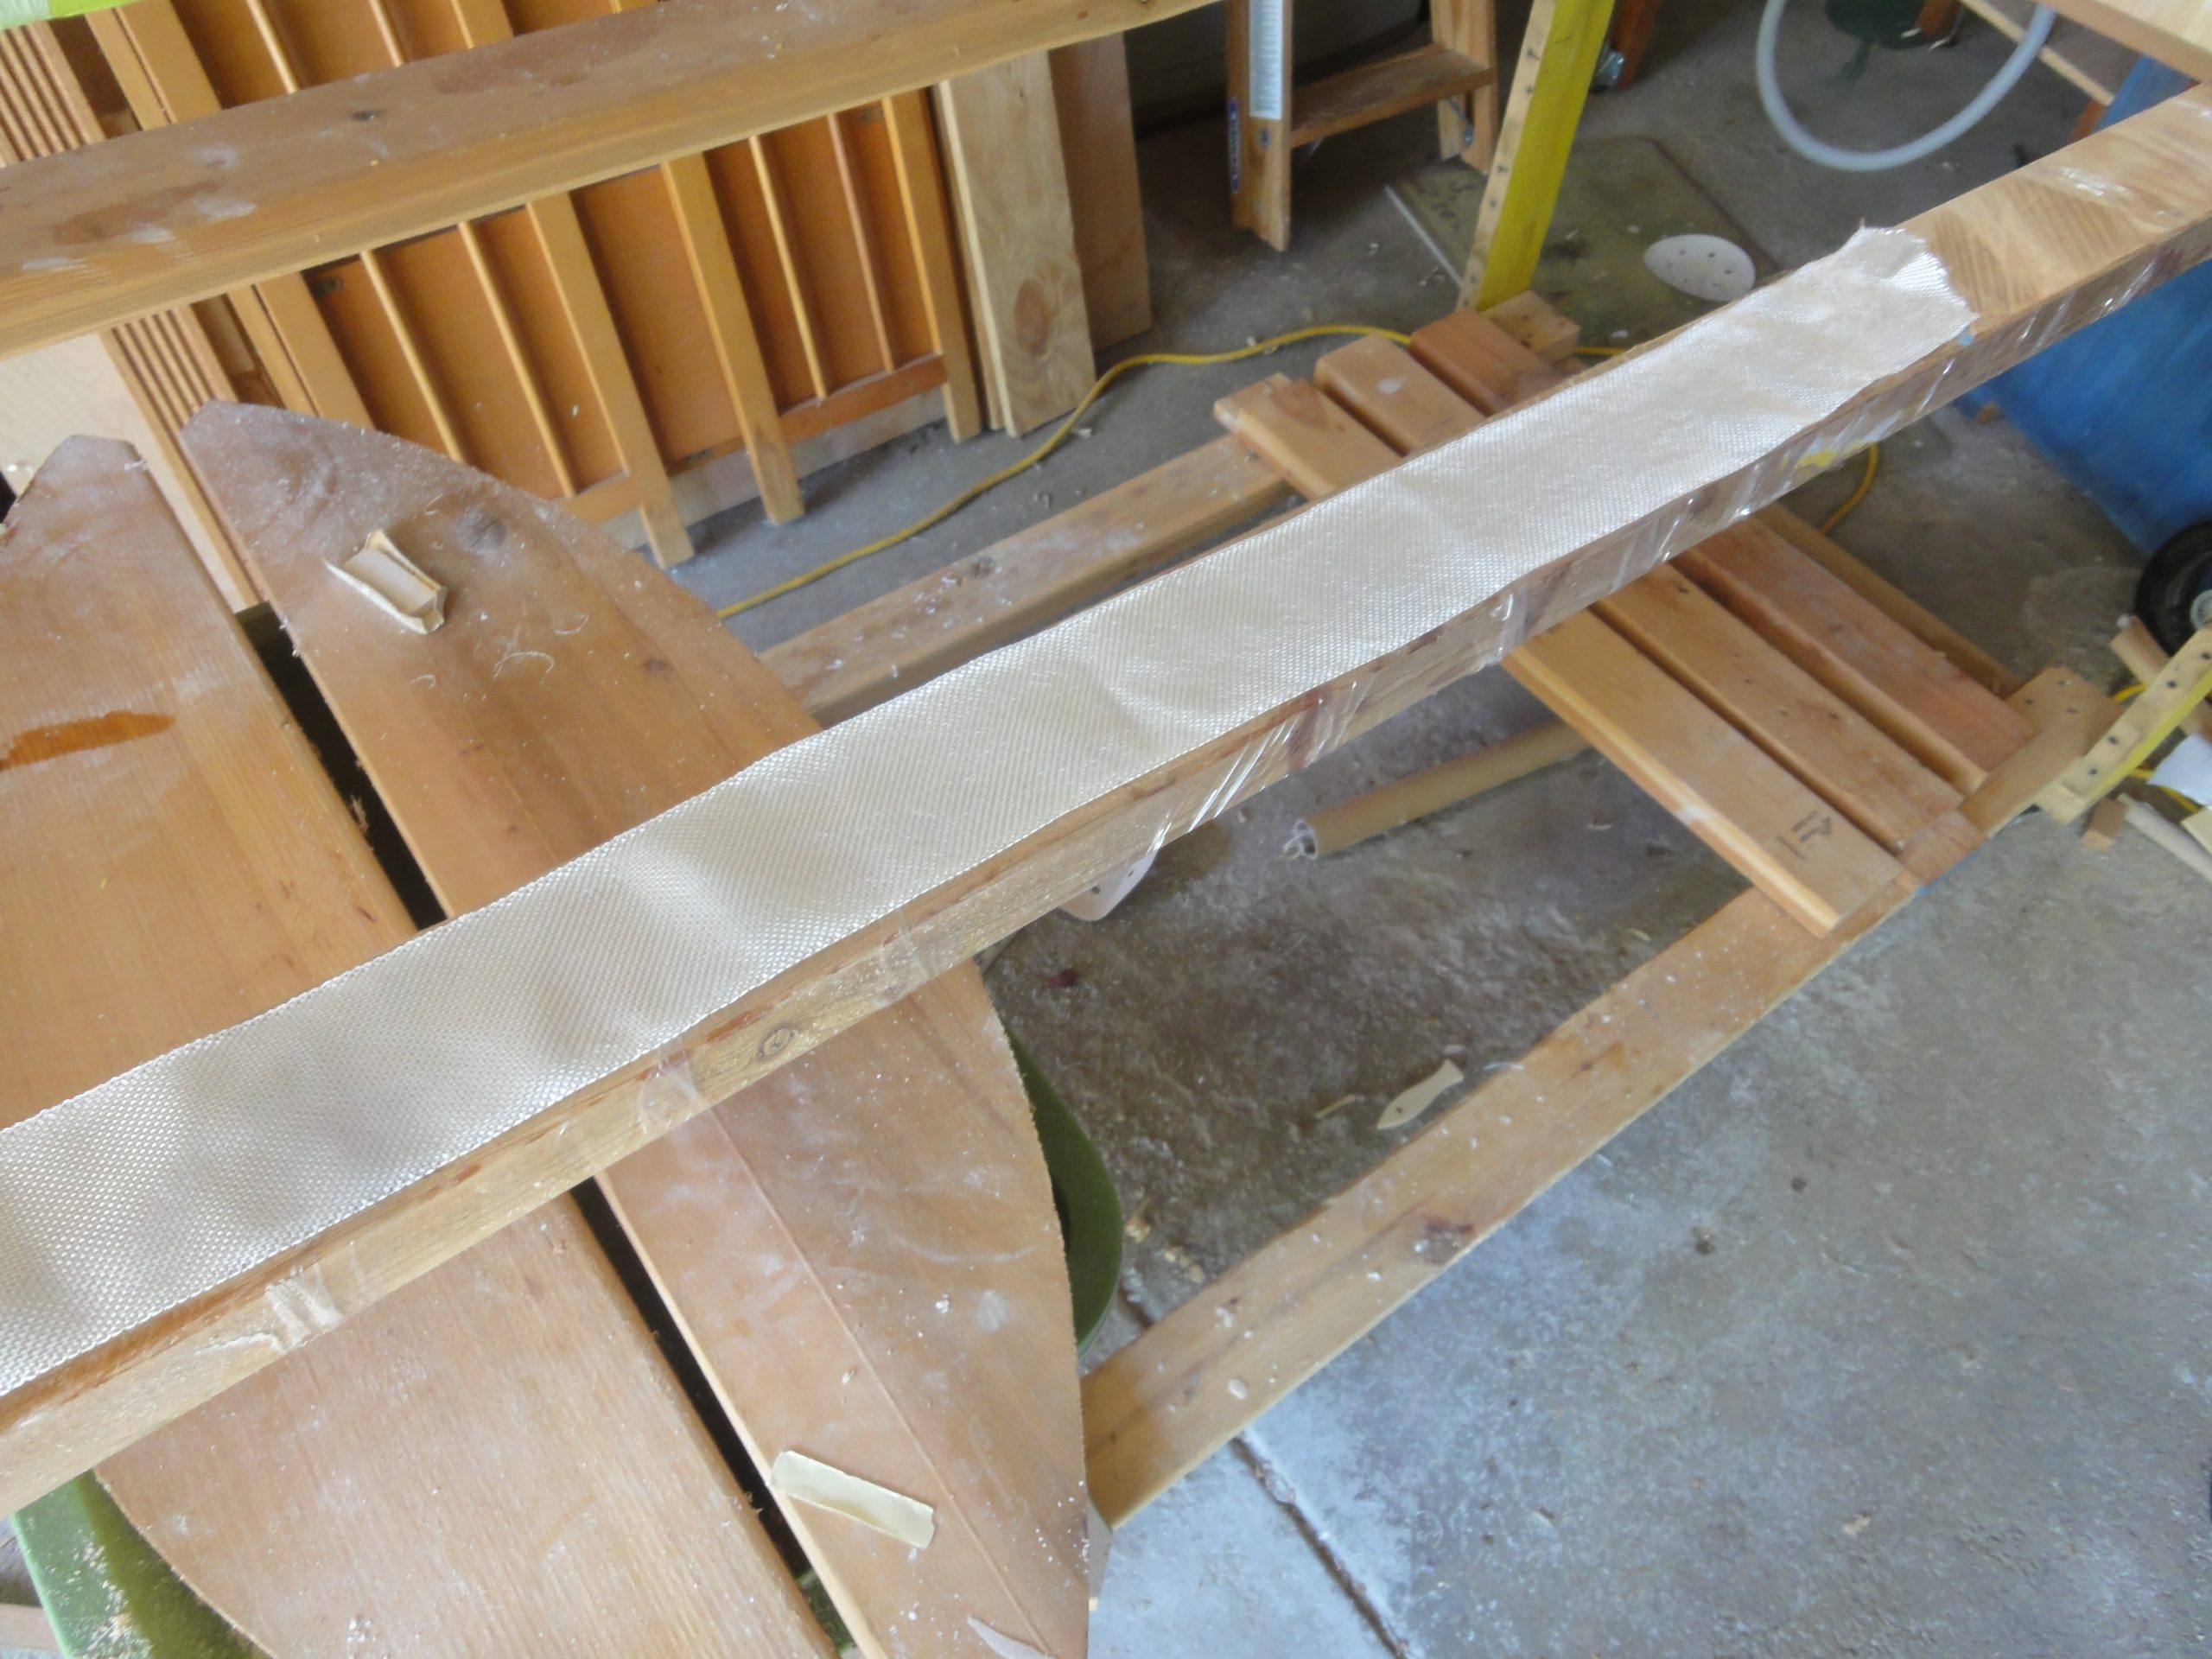
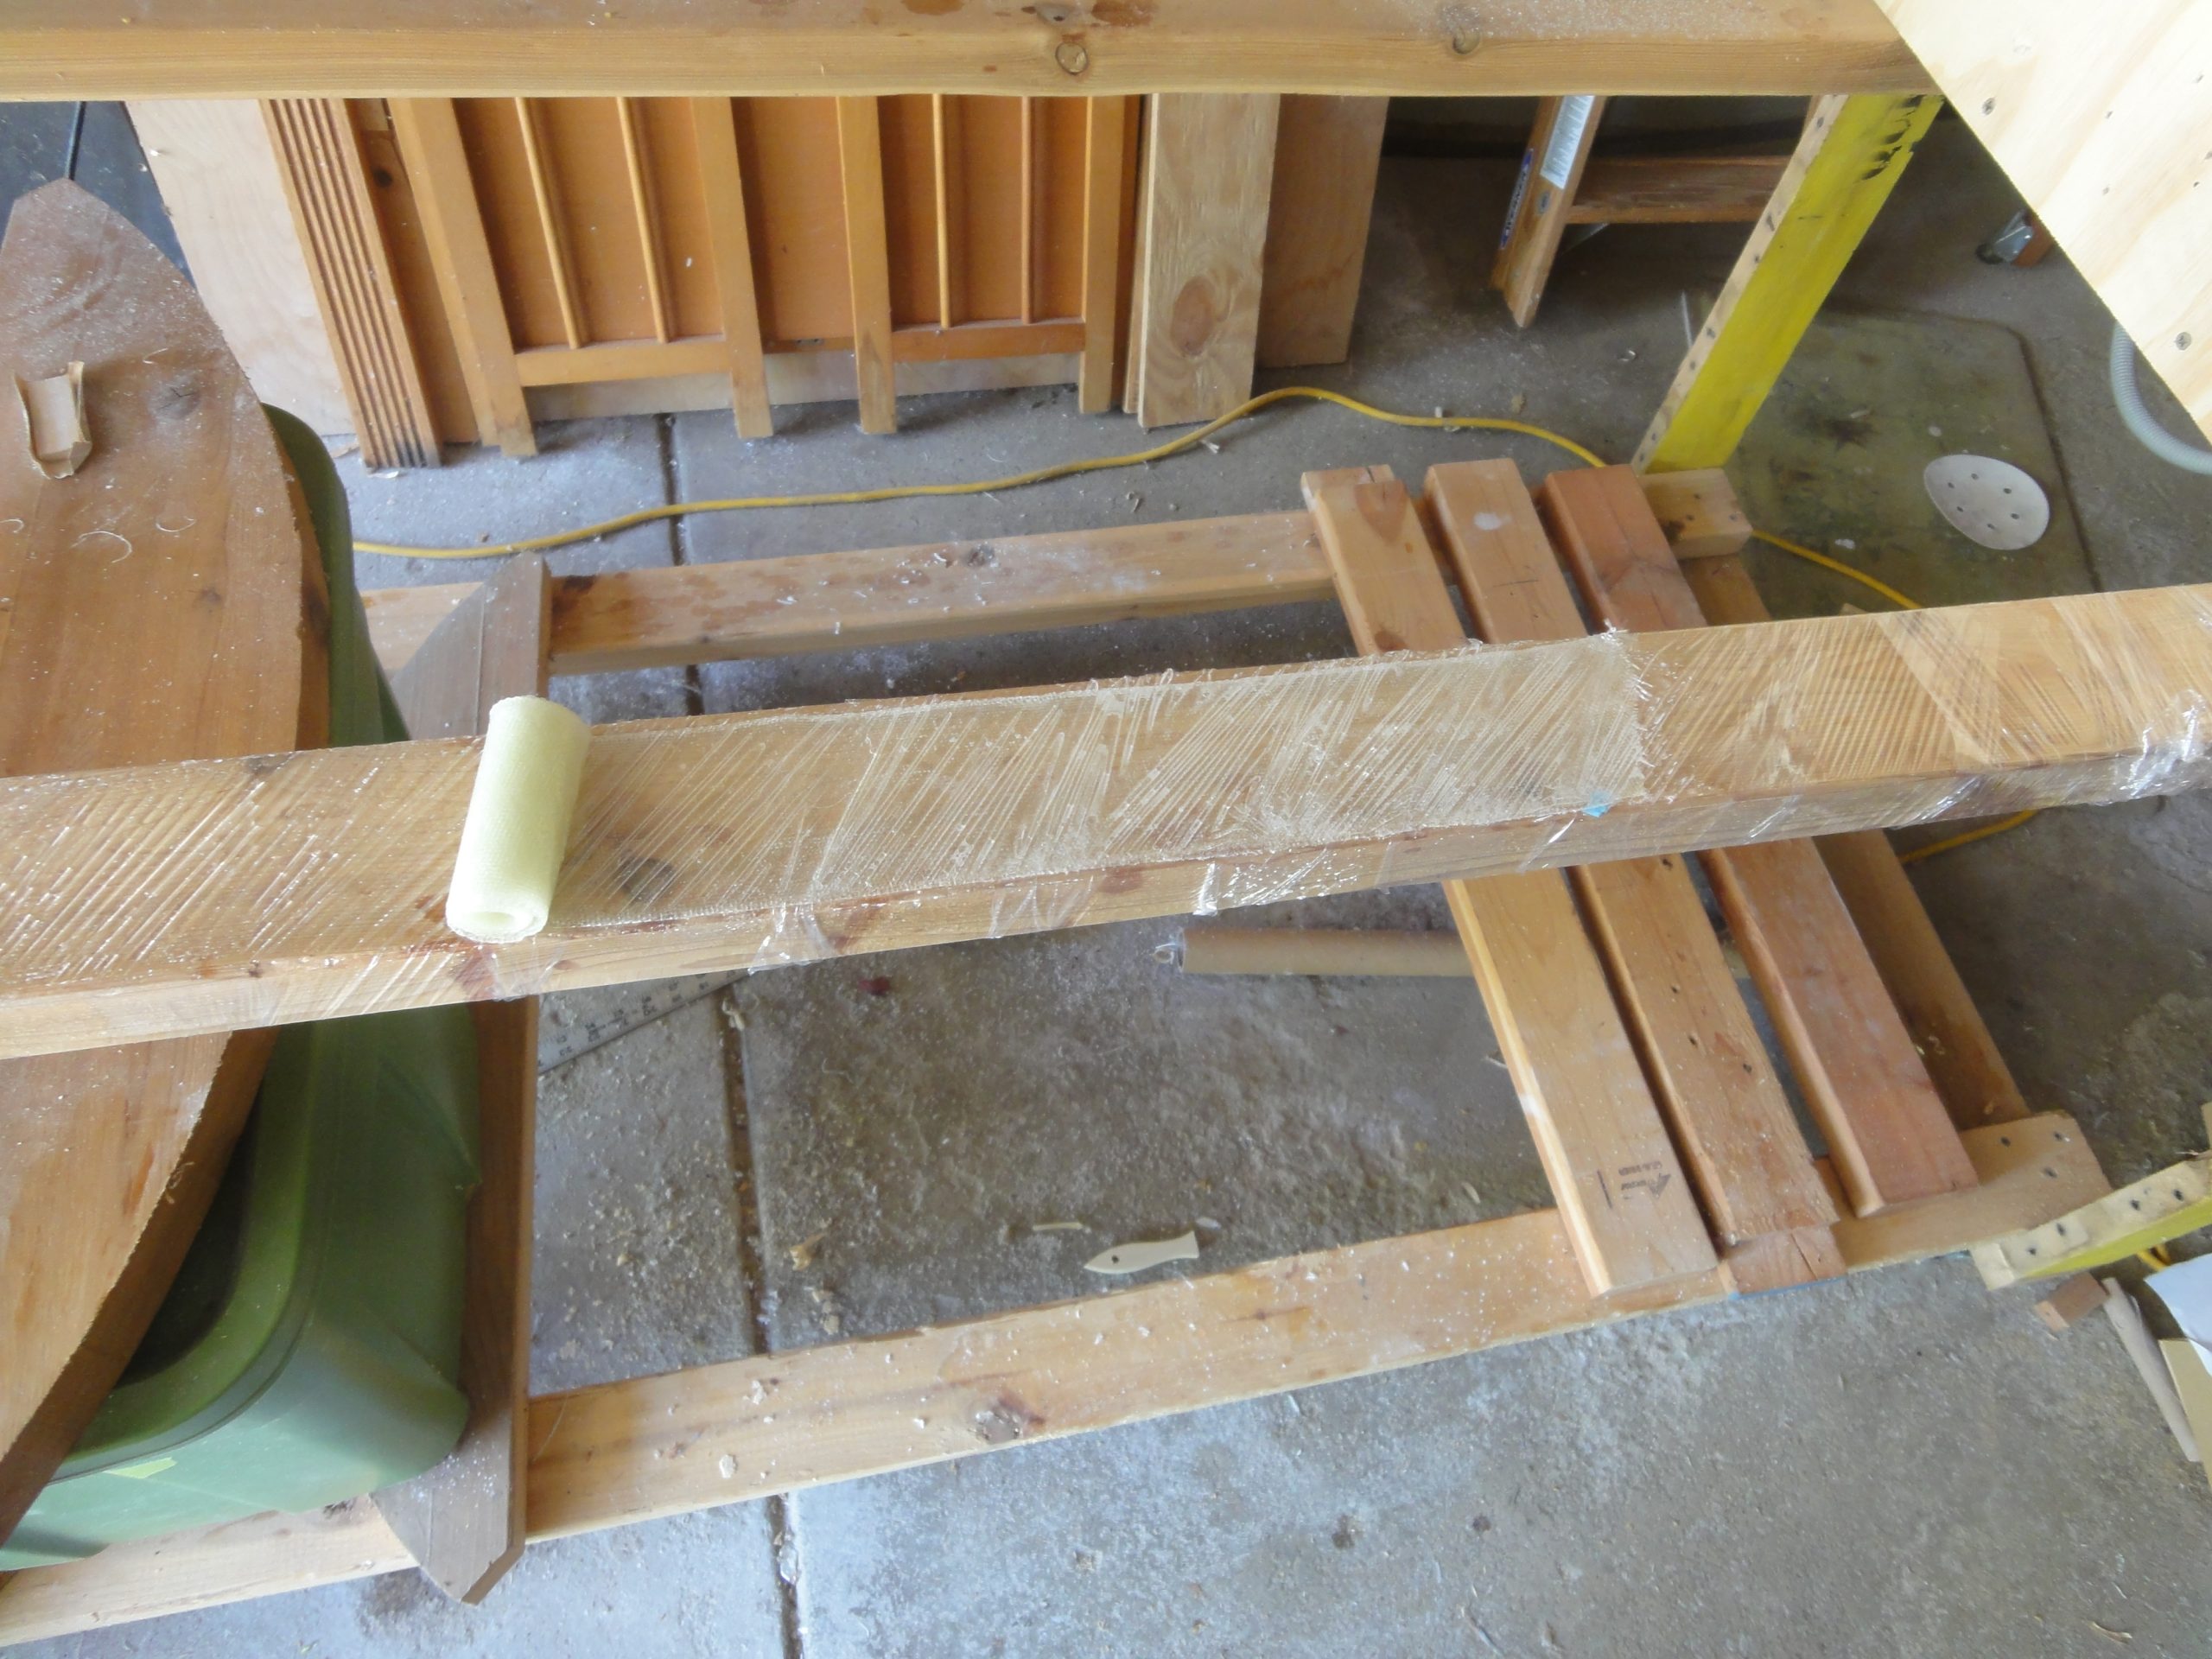
I would be installing the strip in pieces instead of one long roll. Three running from the front hatch to the front, the middle to about the rear hatch and then from the rear hatch to the back. Starting with the hardest one, the front (due to the small hatch severely limiting access), I cut the fiberglass to length. Using more plastic wrap I wound it around my kayak “bench” to create a non stick surface and laid out the wrap on the surface. The wrap will be saturated with epoxy here along with a coat on both sides of the seam inside the kayak. It was then mostly rolled up.
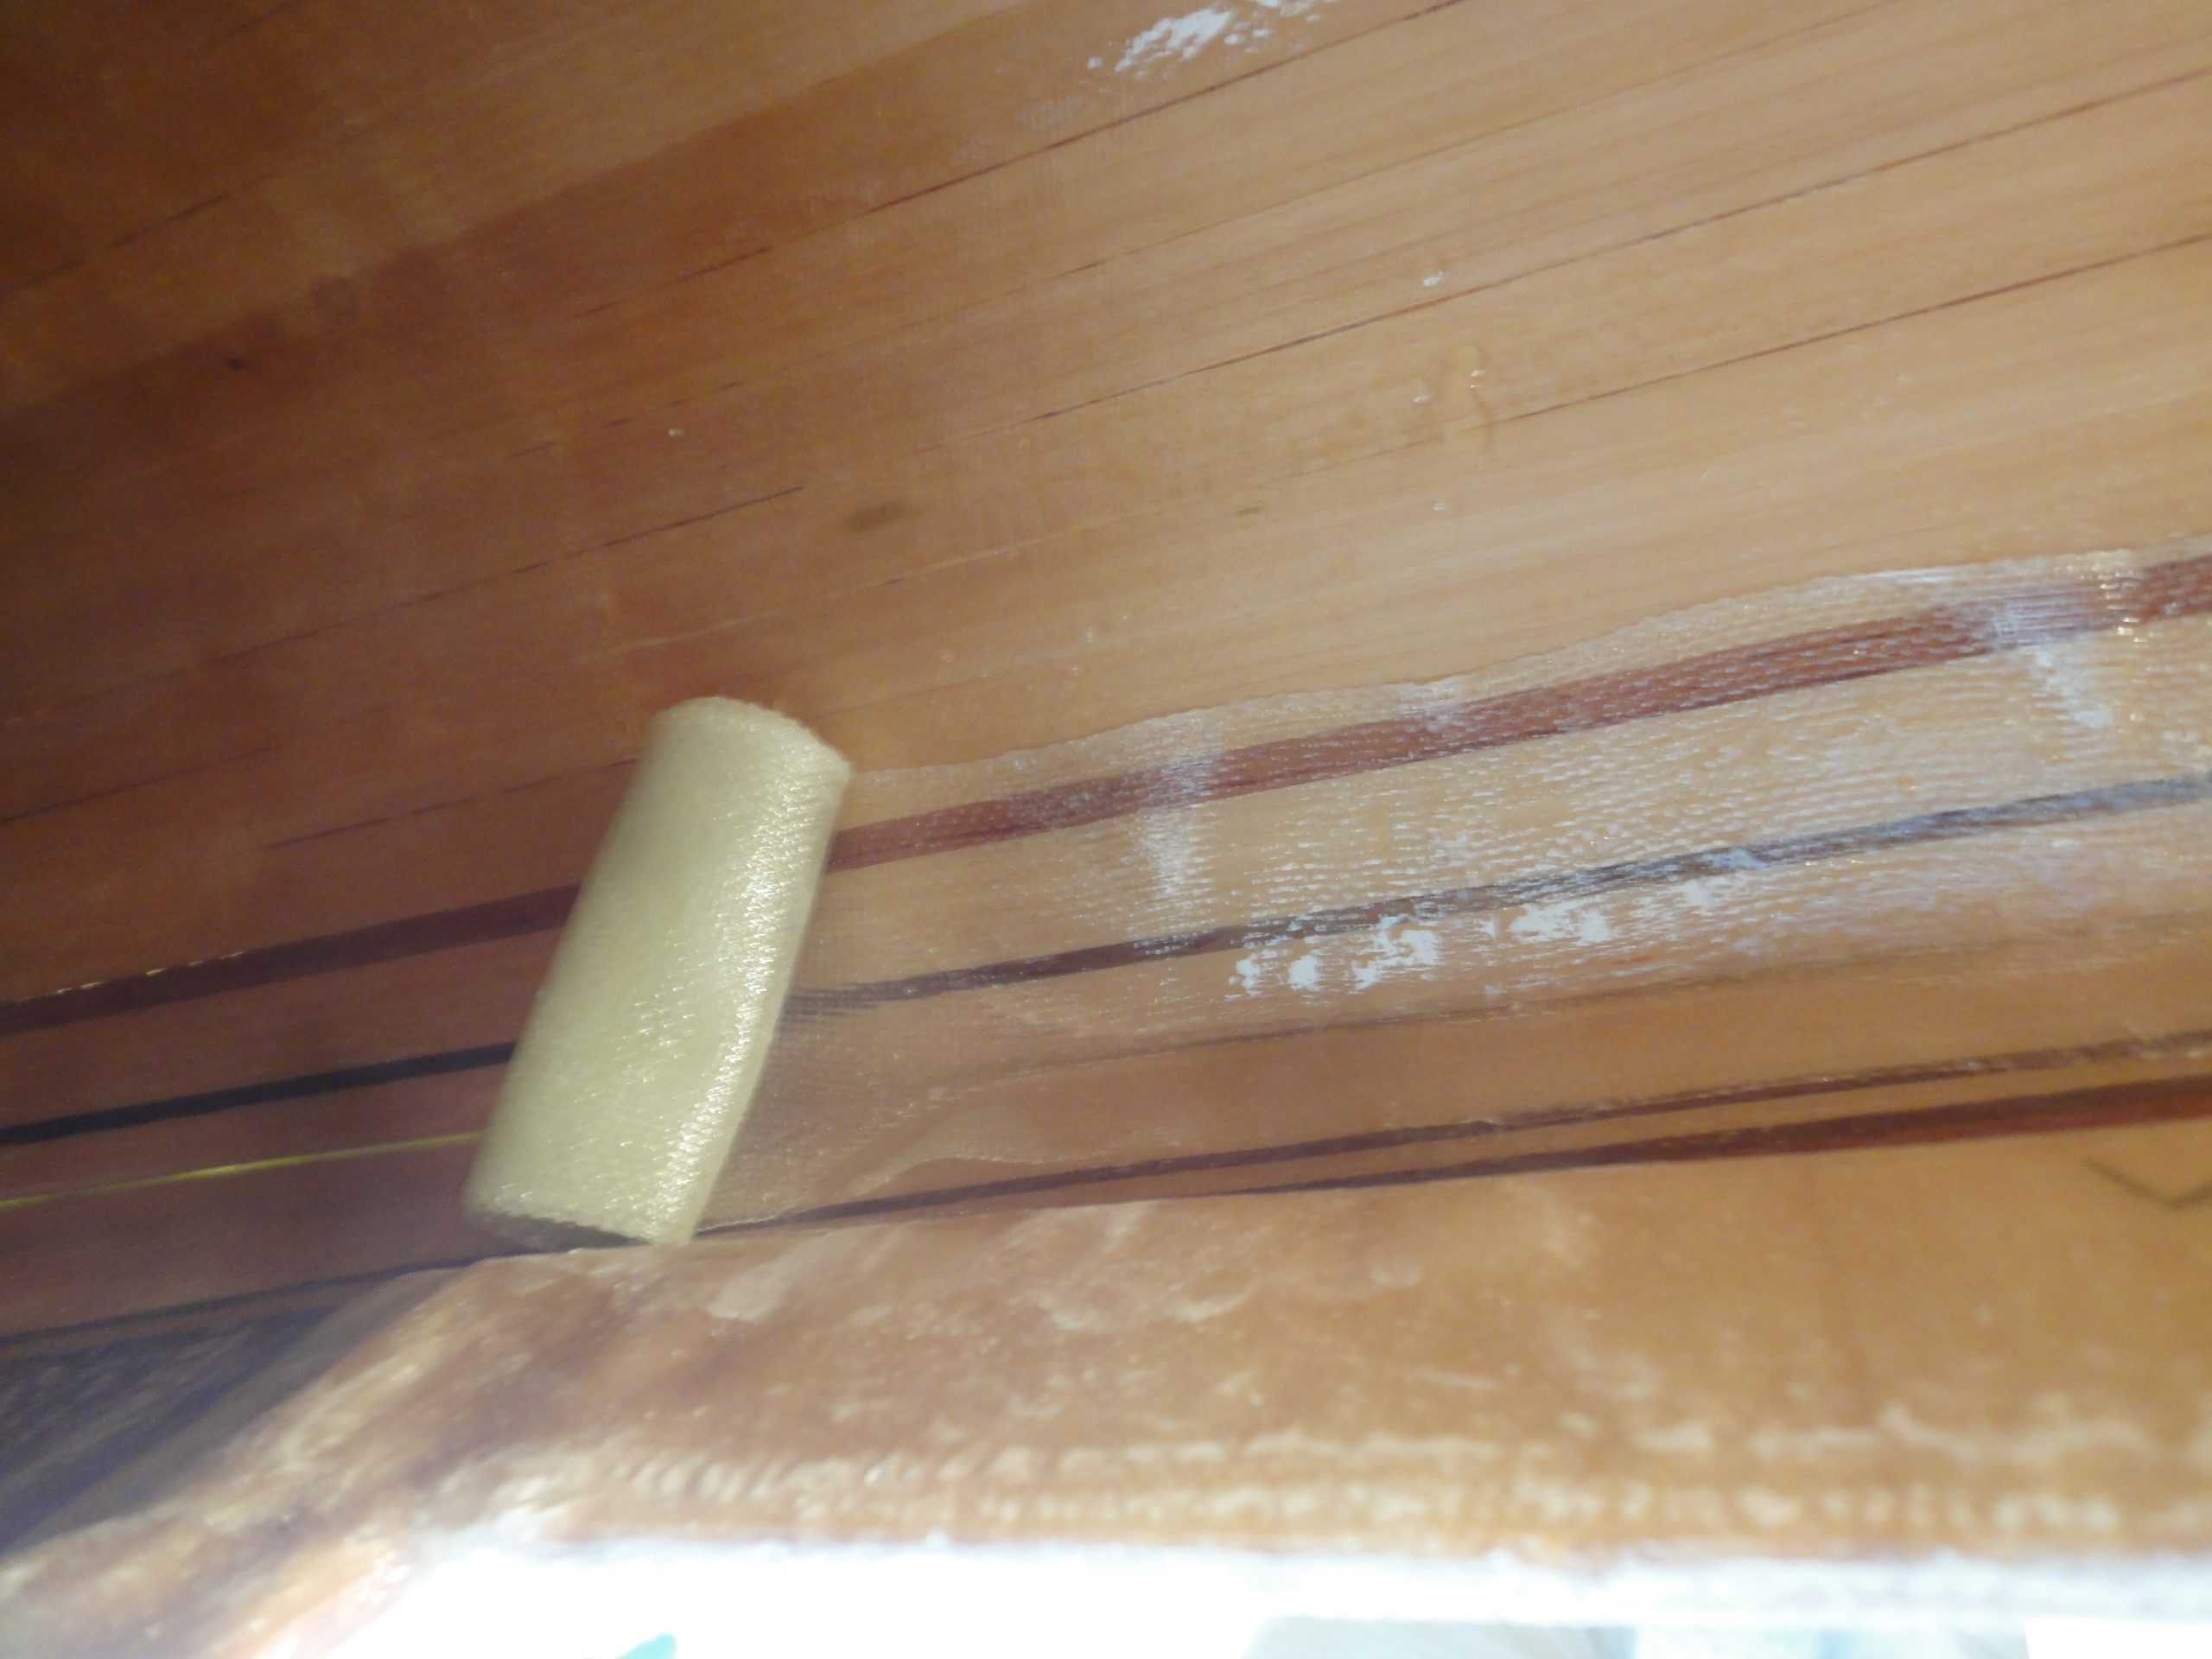
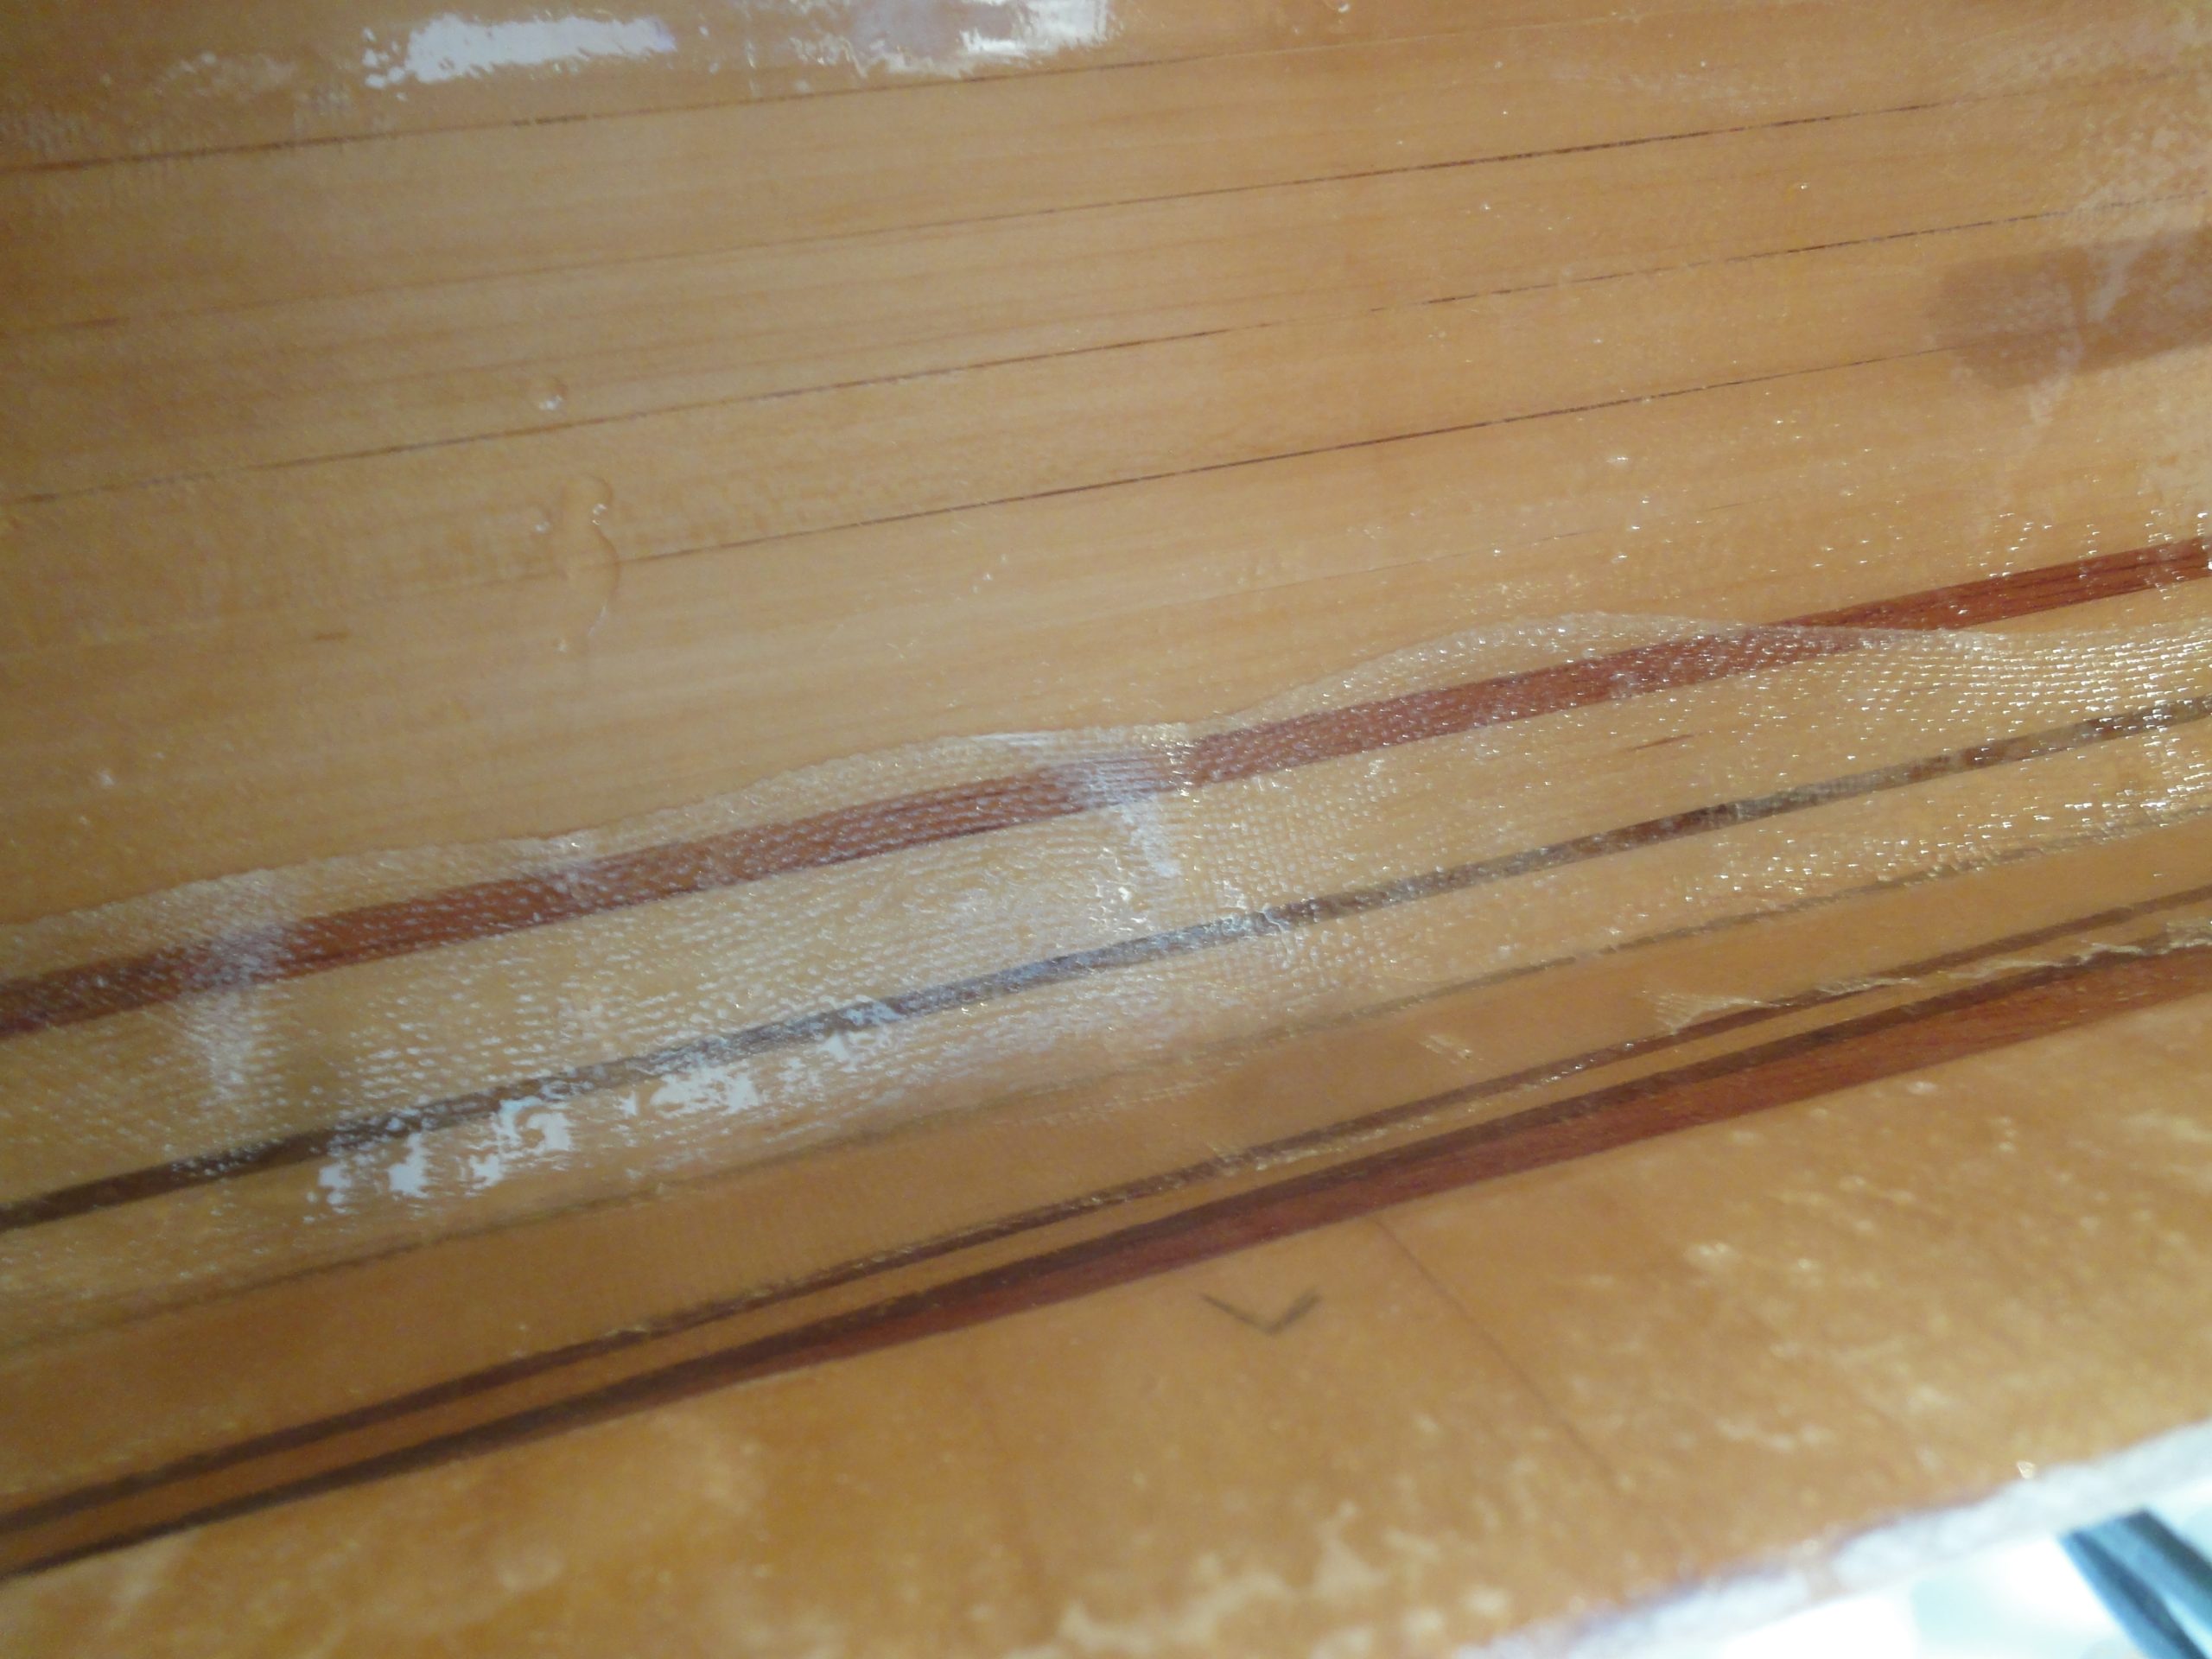
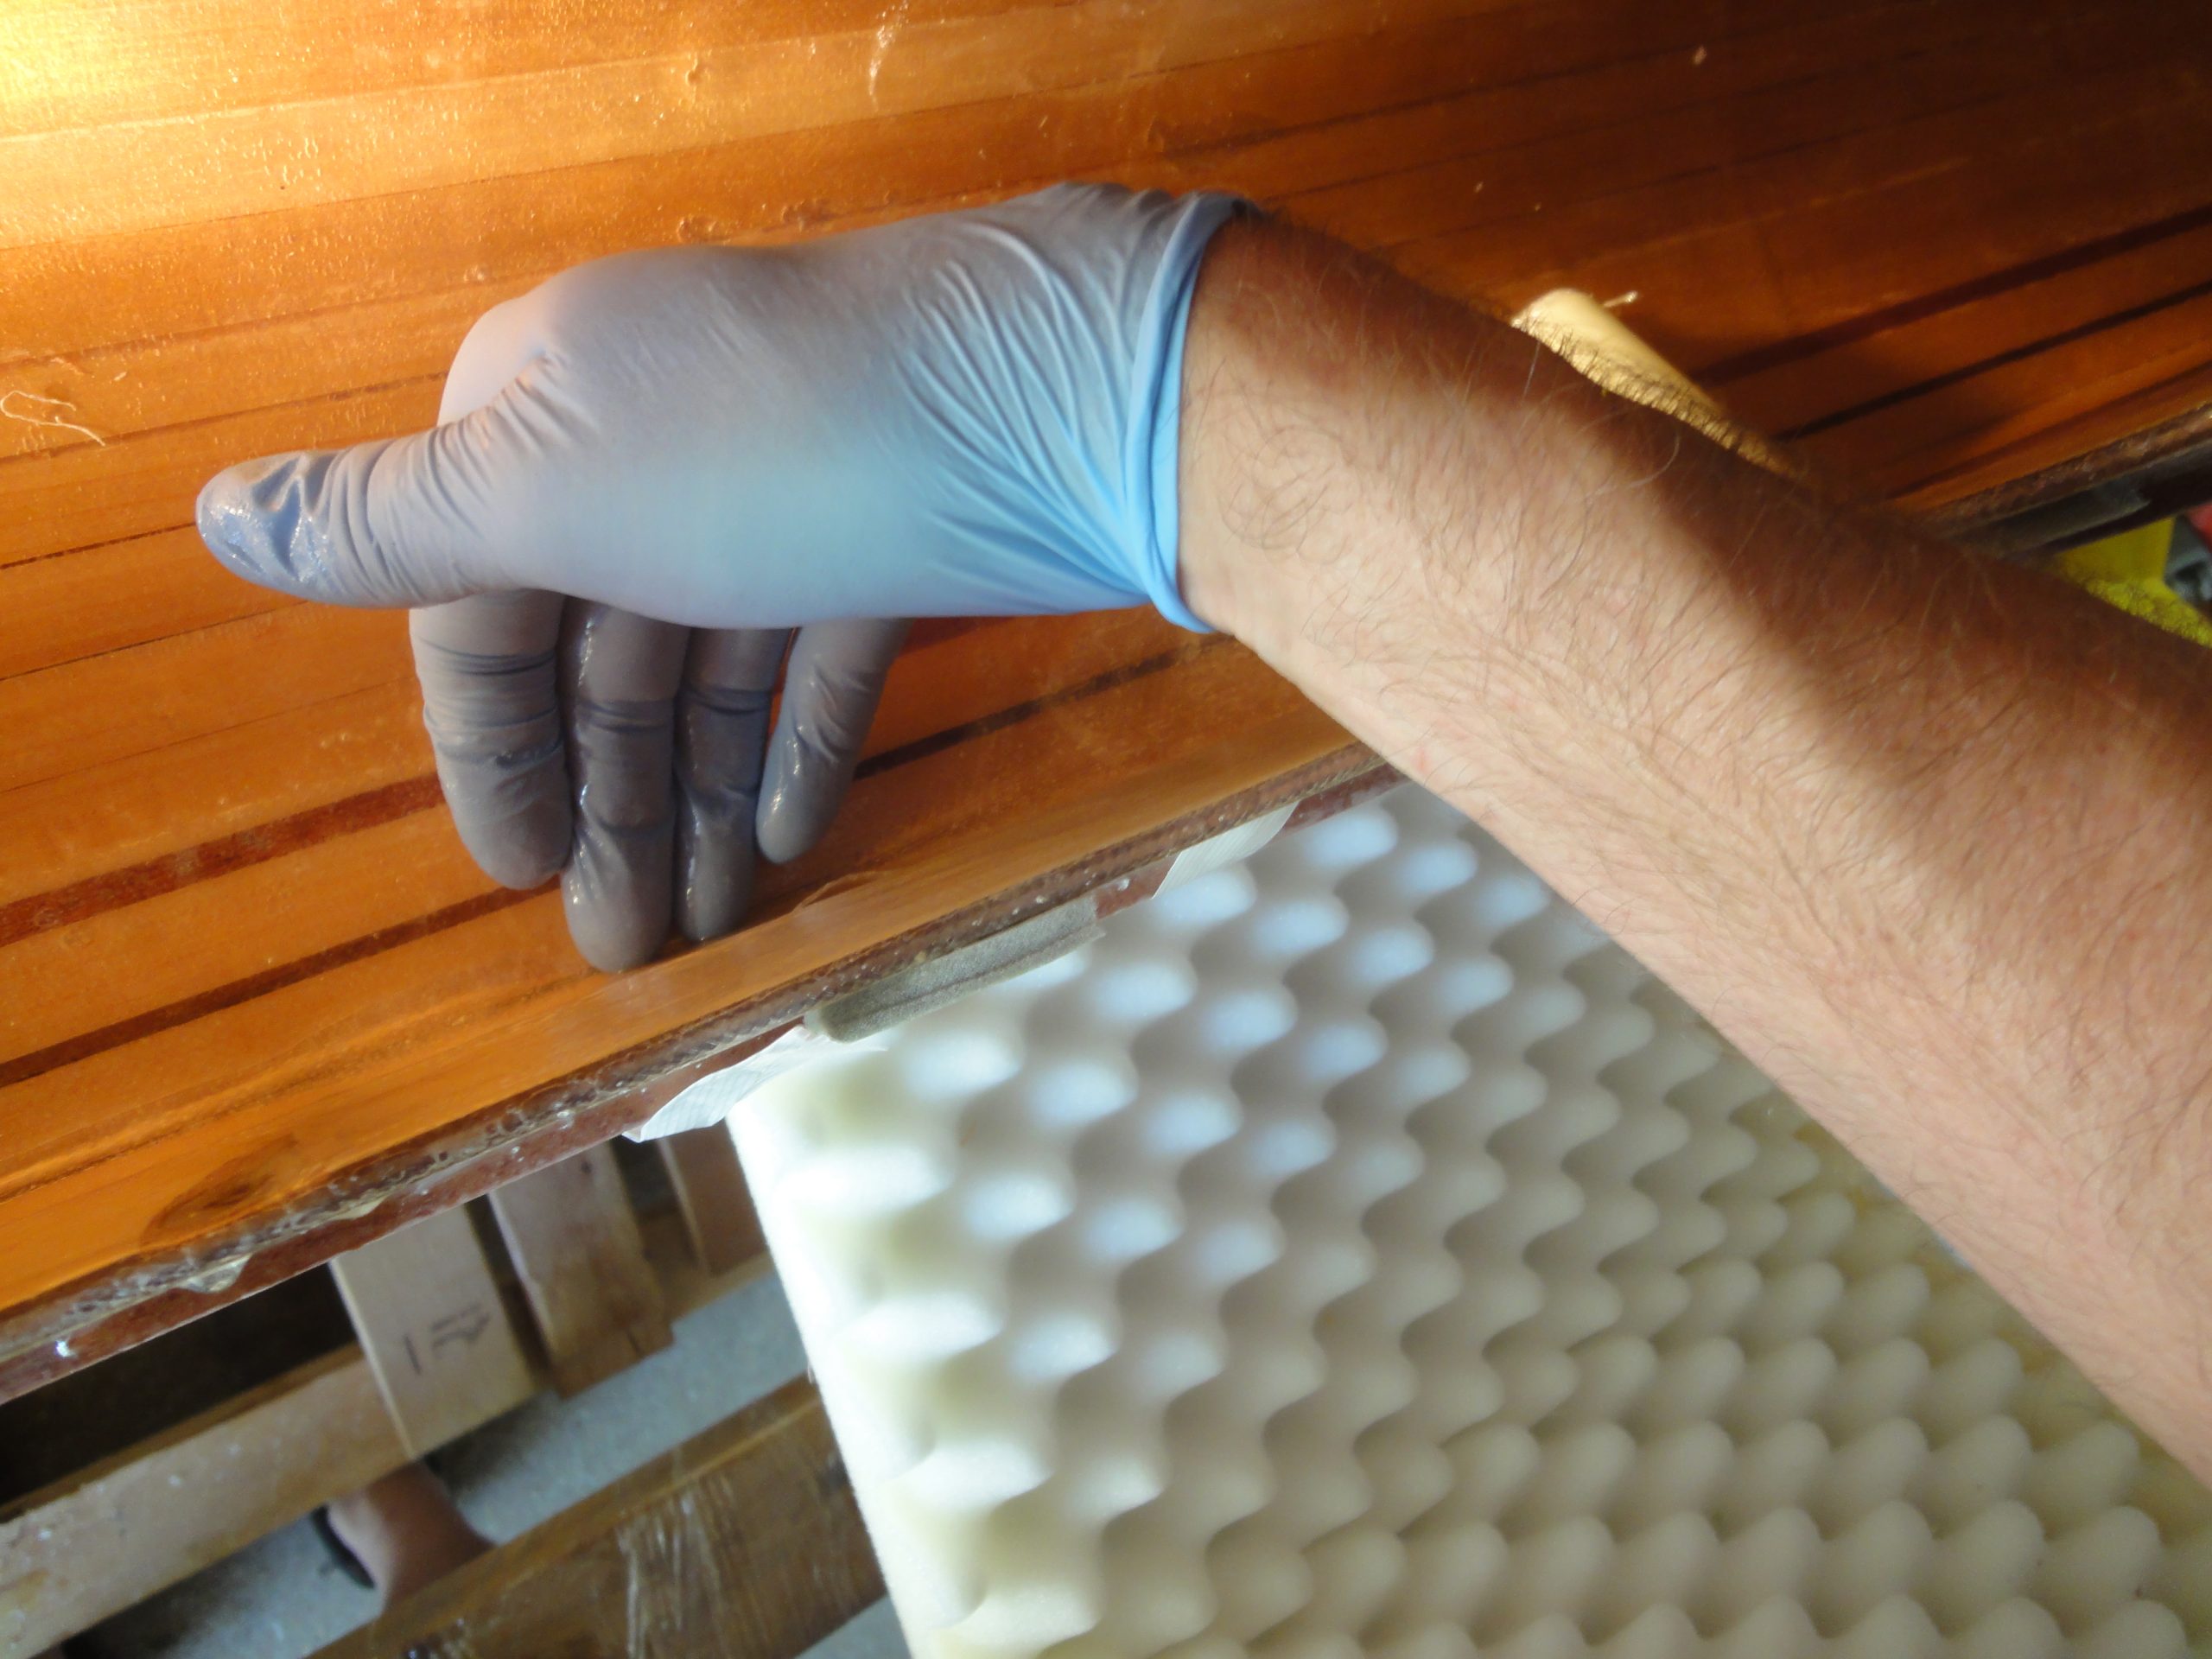
The small bundle was placed into position and unrolled by hand as far as I could reach before then using the brush/stick to further unroll it. Using my hand, again where I could reach, I ensured it was tucked tightly into the corner and that both sides were smooth. With the stick I did the same for the further away spots. A good flashlight with a moveable end helped to ensure I had the light pointed where I needed it. Repeating this process two more times I installed the other strips.
The rest of the left over epoxy, not much, was applied at the over laps and in general over the strips before leaving it all alone to dry. I’ll give this at least a day or two before doing a thorough check and then flipping it over to do the other side. With any luck by the end of labor day weekend I’ll have the inside completed and be starting on the final outside finishing. My goal of getting it in the water this year still looks possible.
My to do list is down to:
Attach hull and deck on inside (half done)
Trim outside of deck as needed
Attach hull/deck on outside
Keel work (strip (or two) over front and back stems, filler pieces