
Over the labor day weekend I was able to finish the inside seams. The kayak was flipped onto the other side and following the same steps as last time I completed the seam. With a second coat of epoxy to help fill the weave, after sanding the edges it’s barely visible and in a normal orientation it’s not something that will ever be visible.
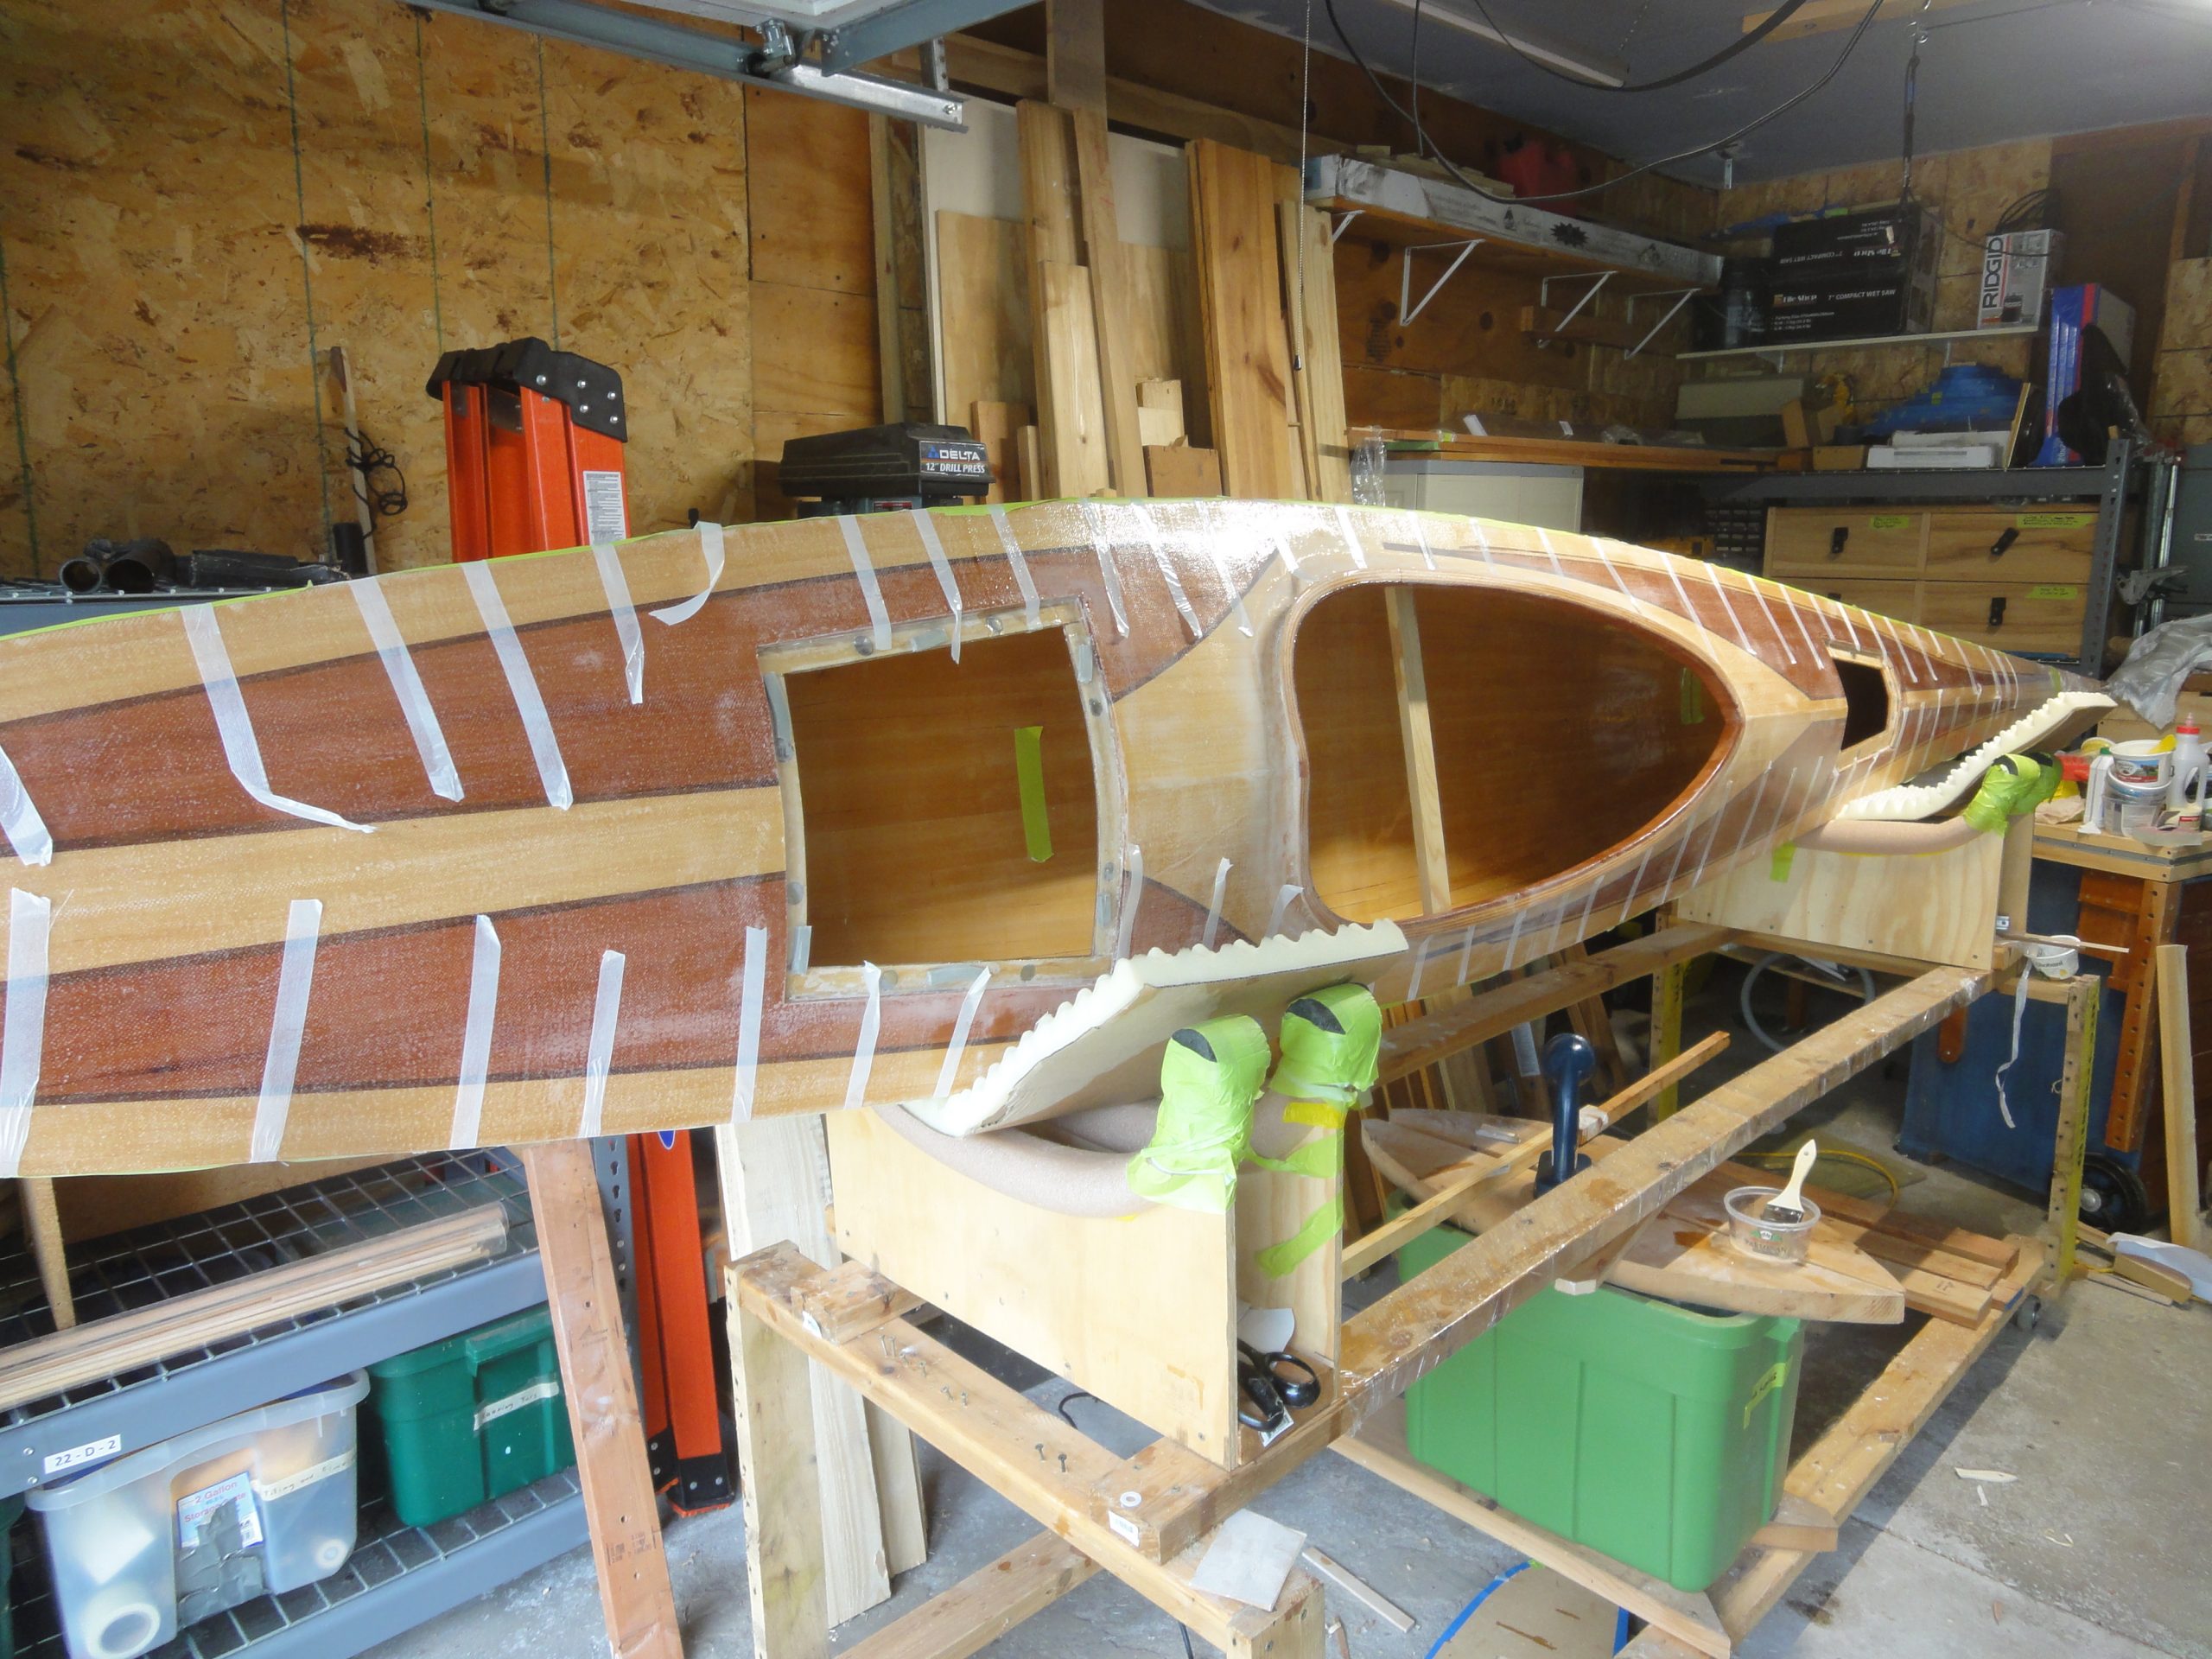
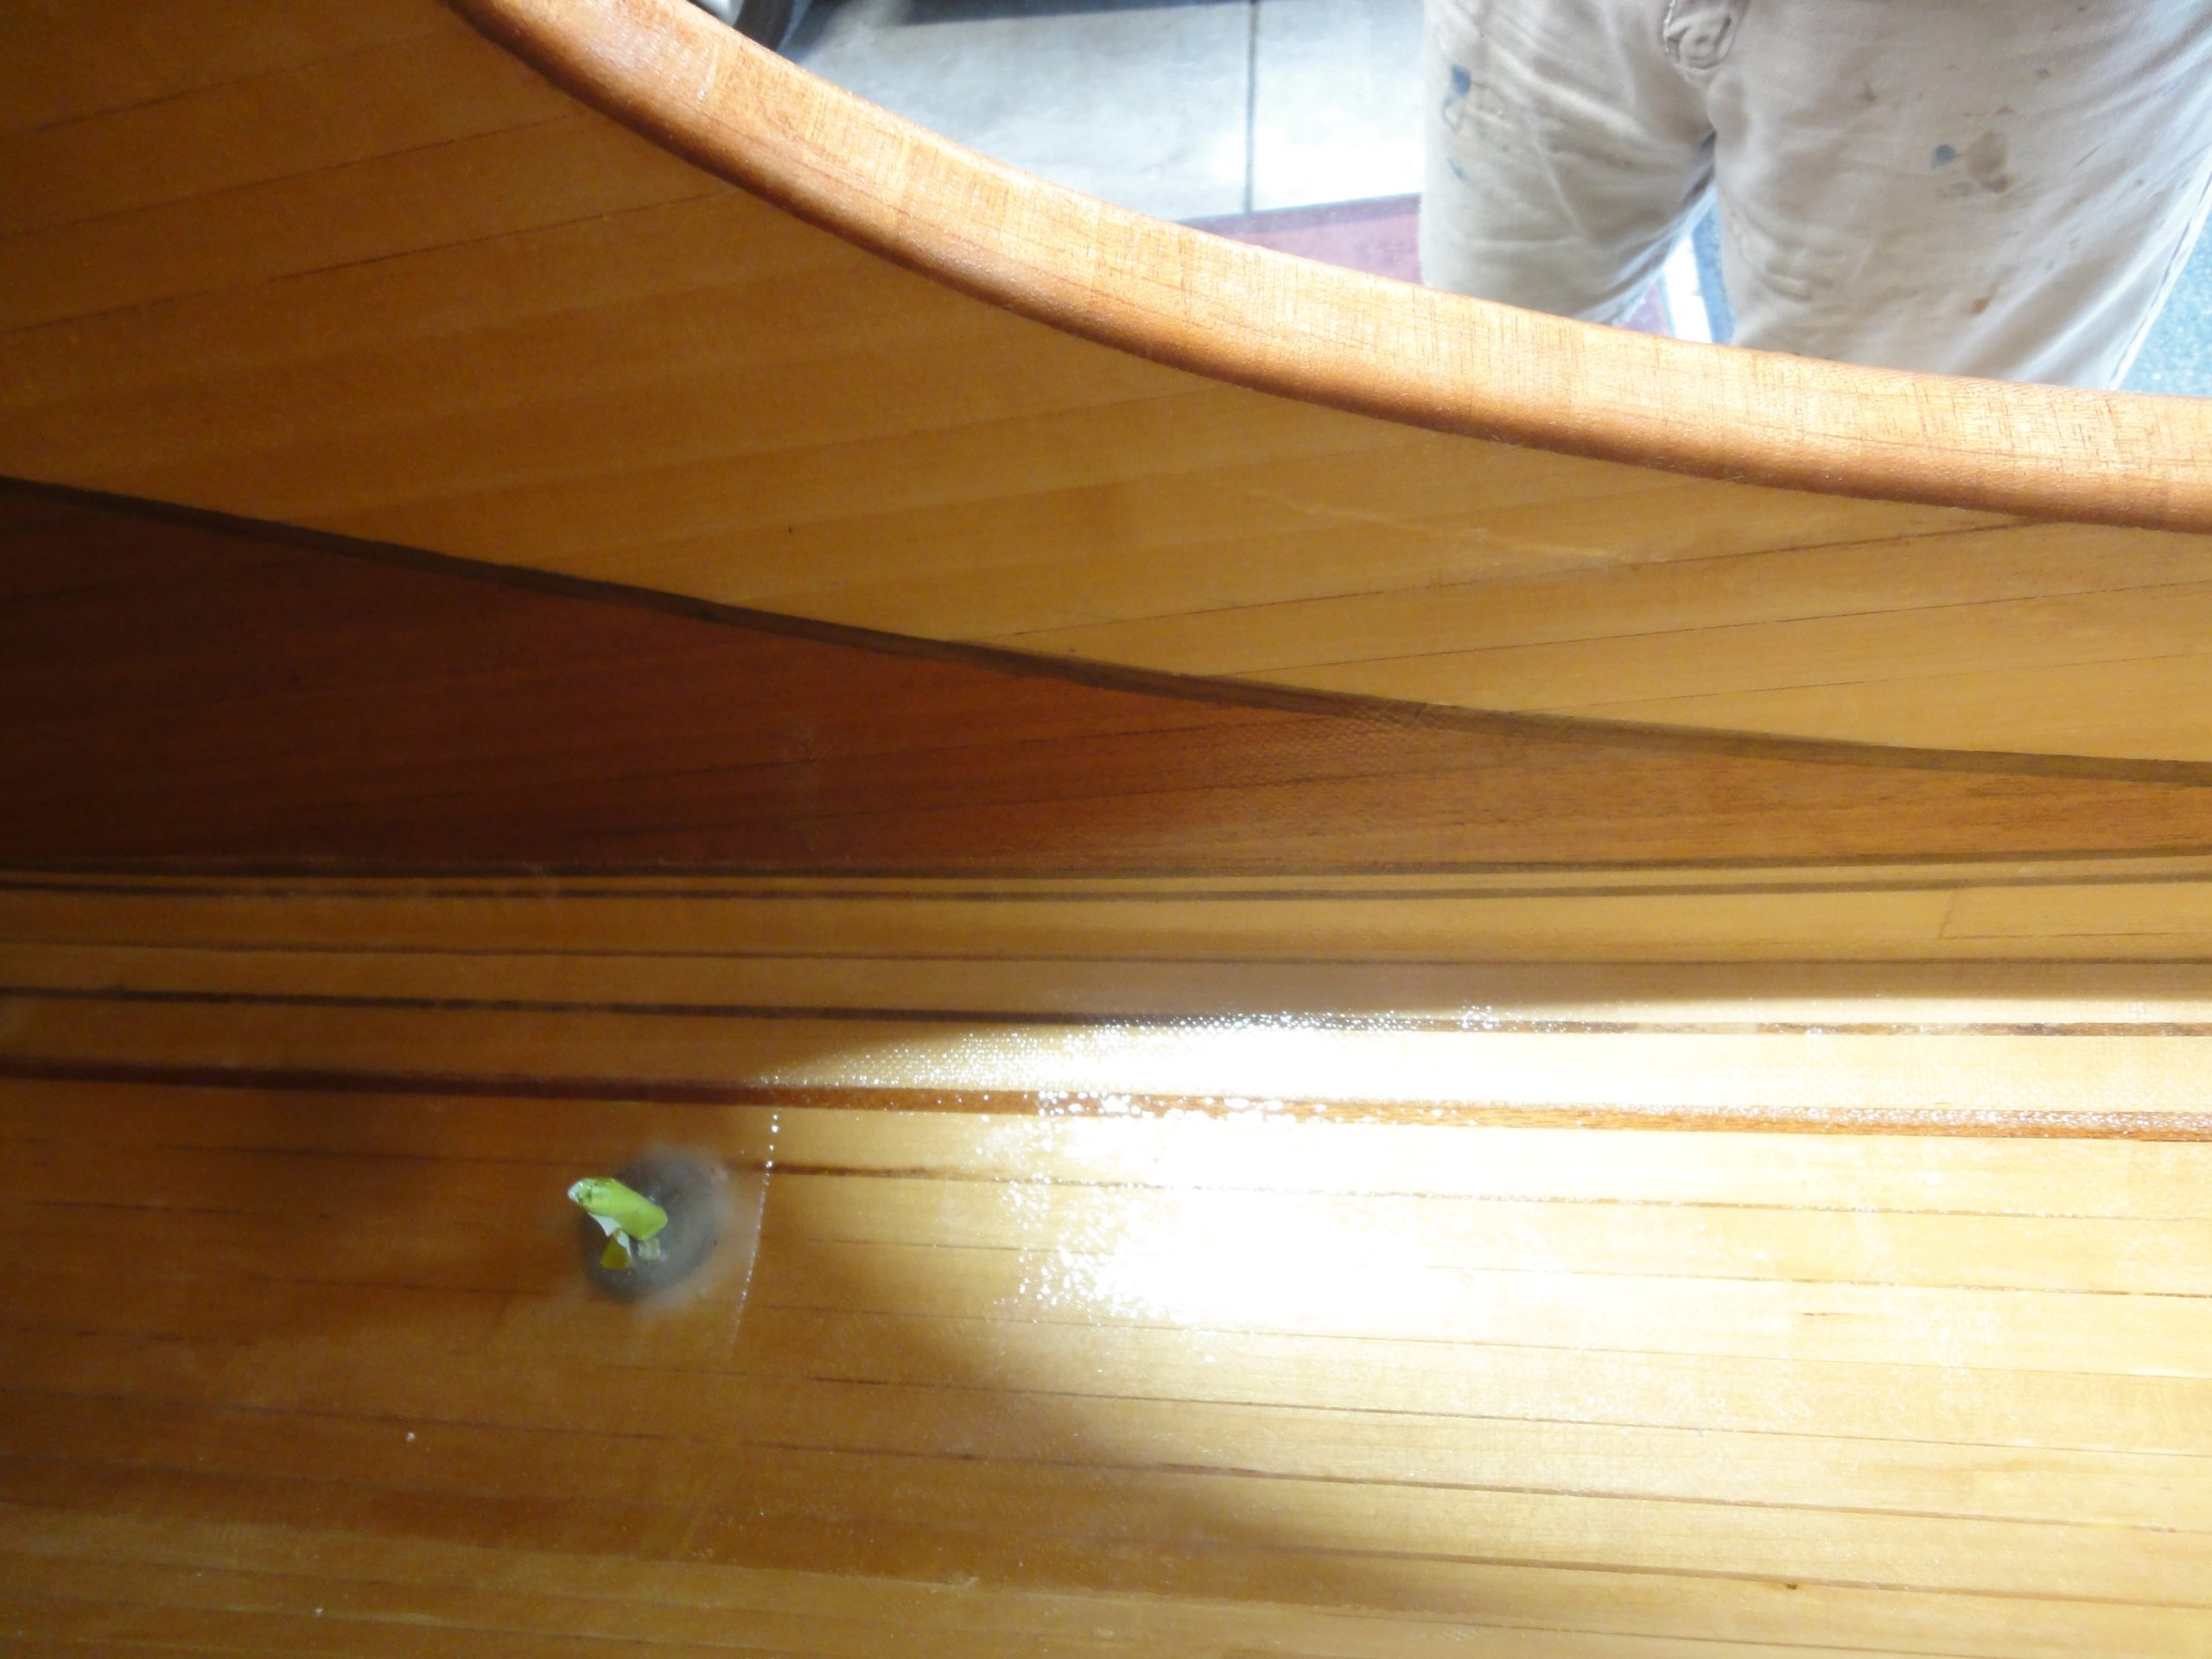
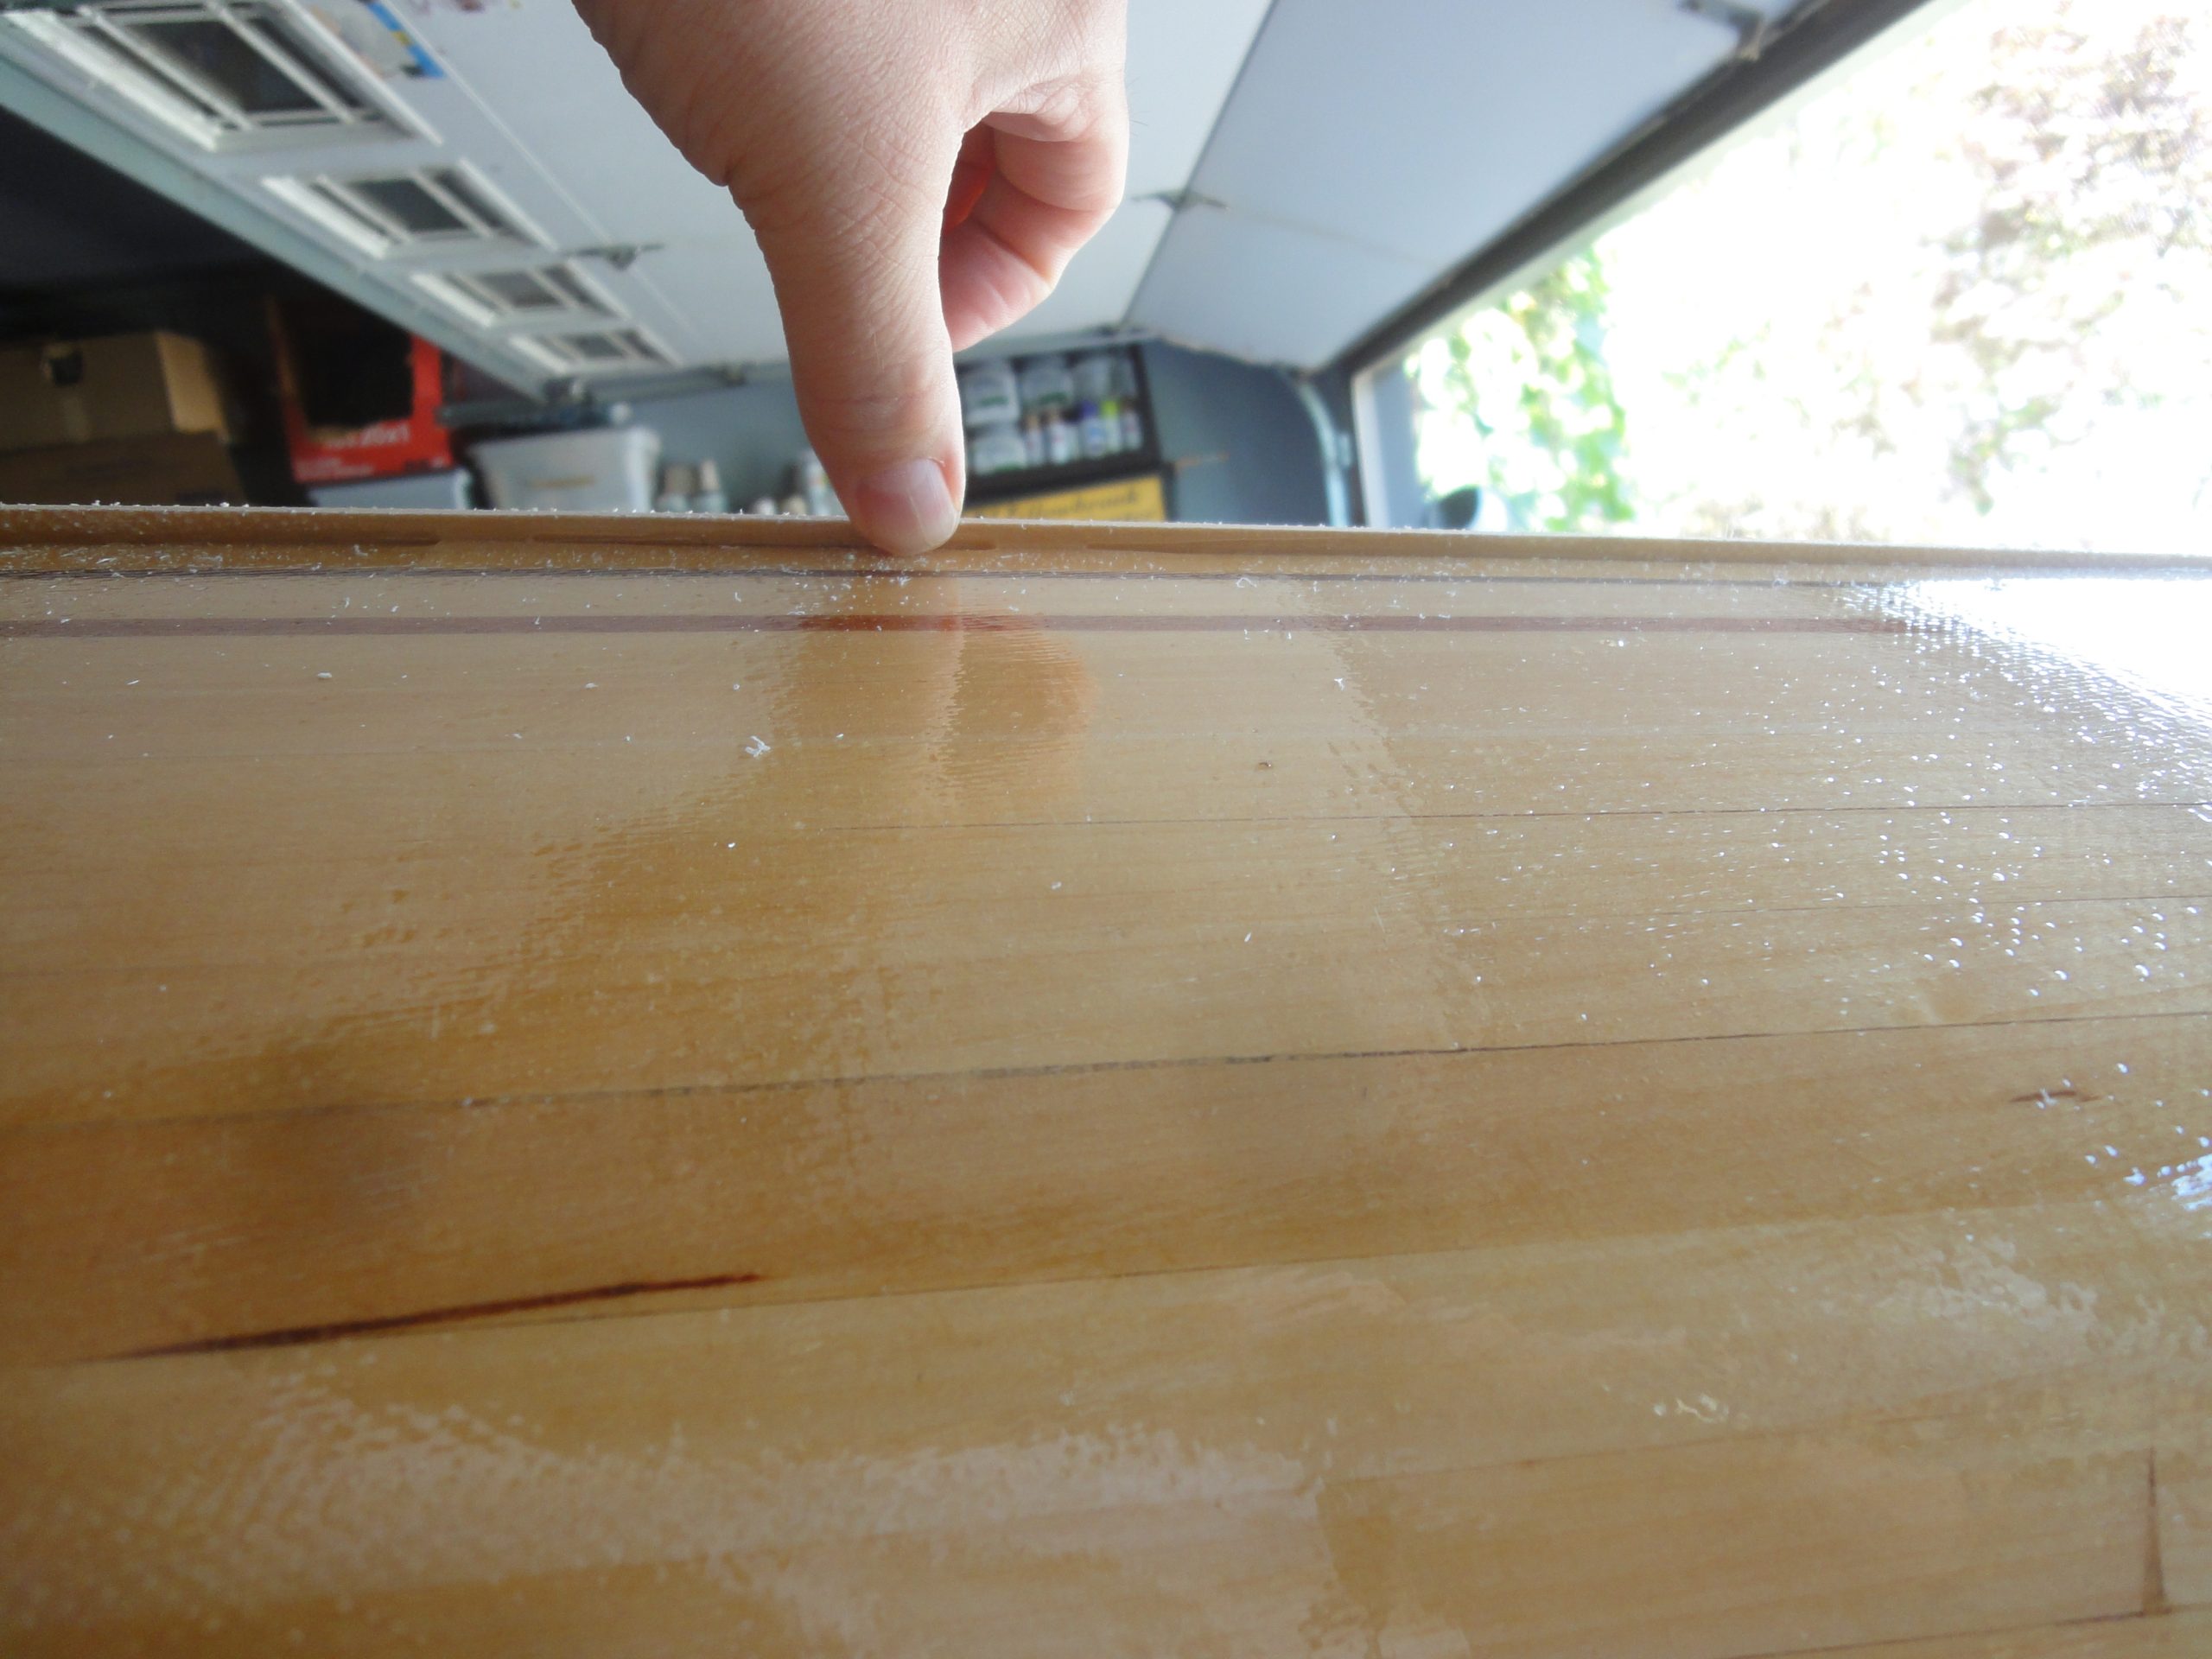
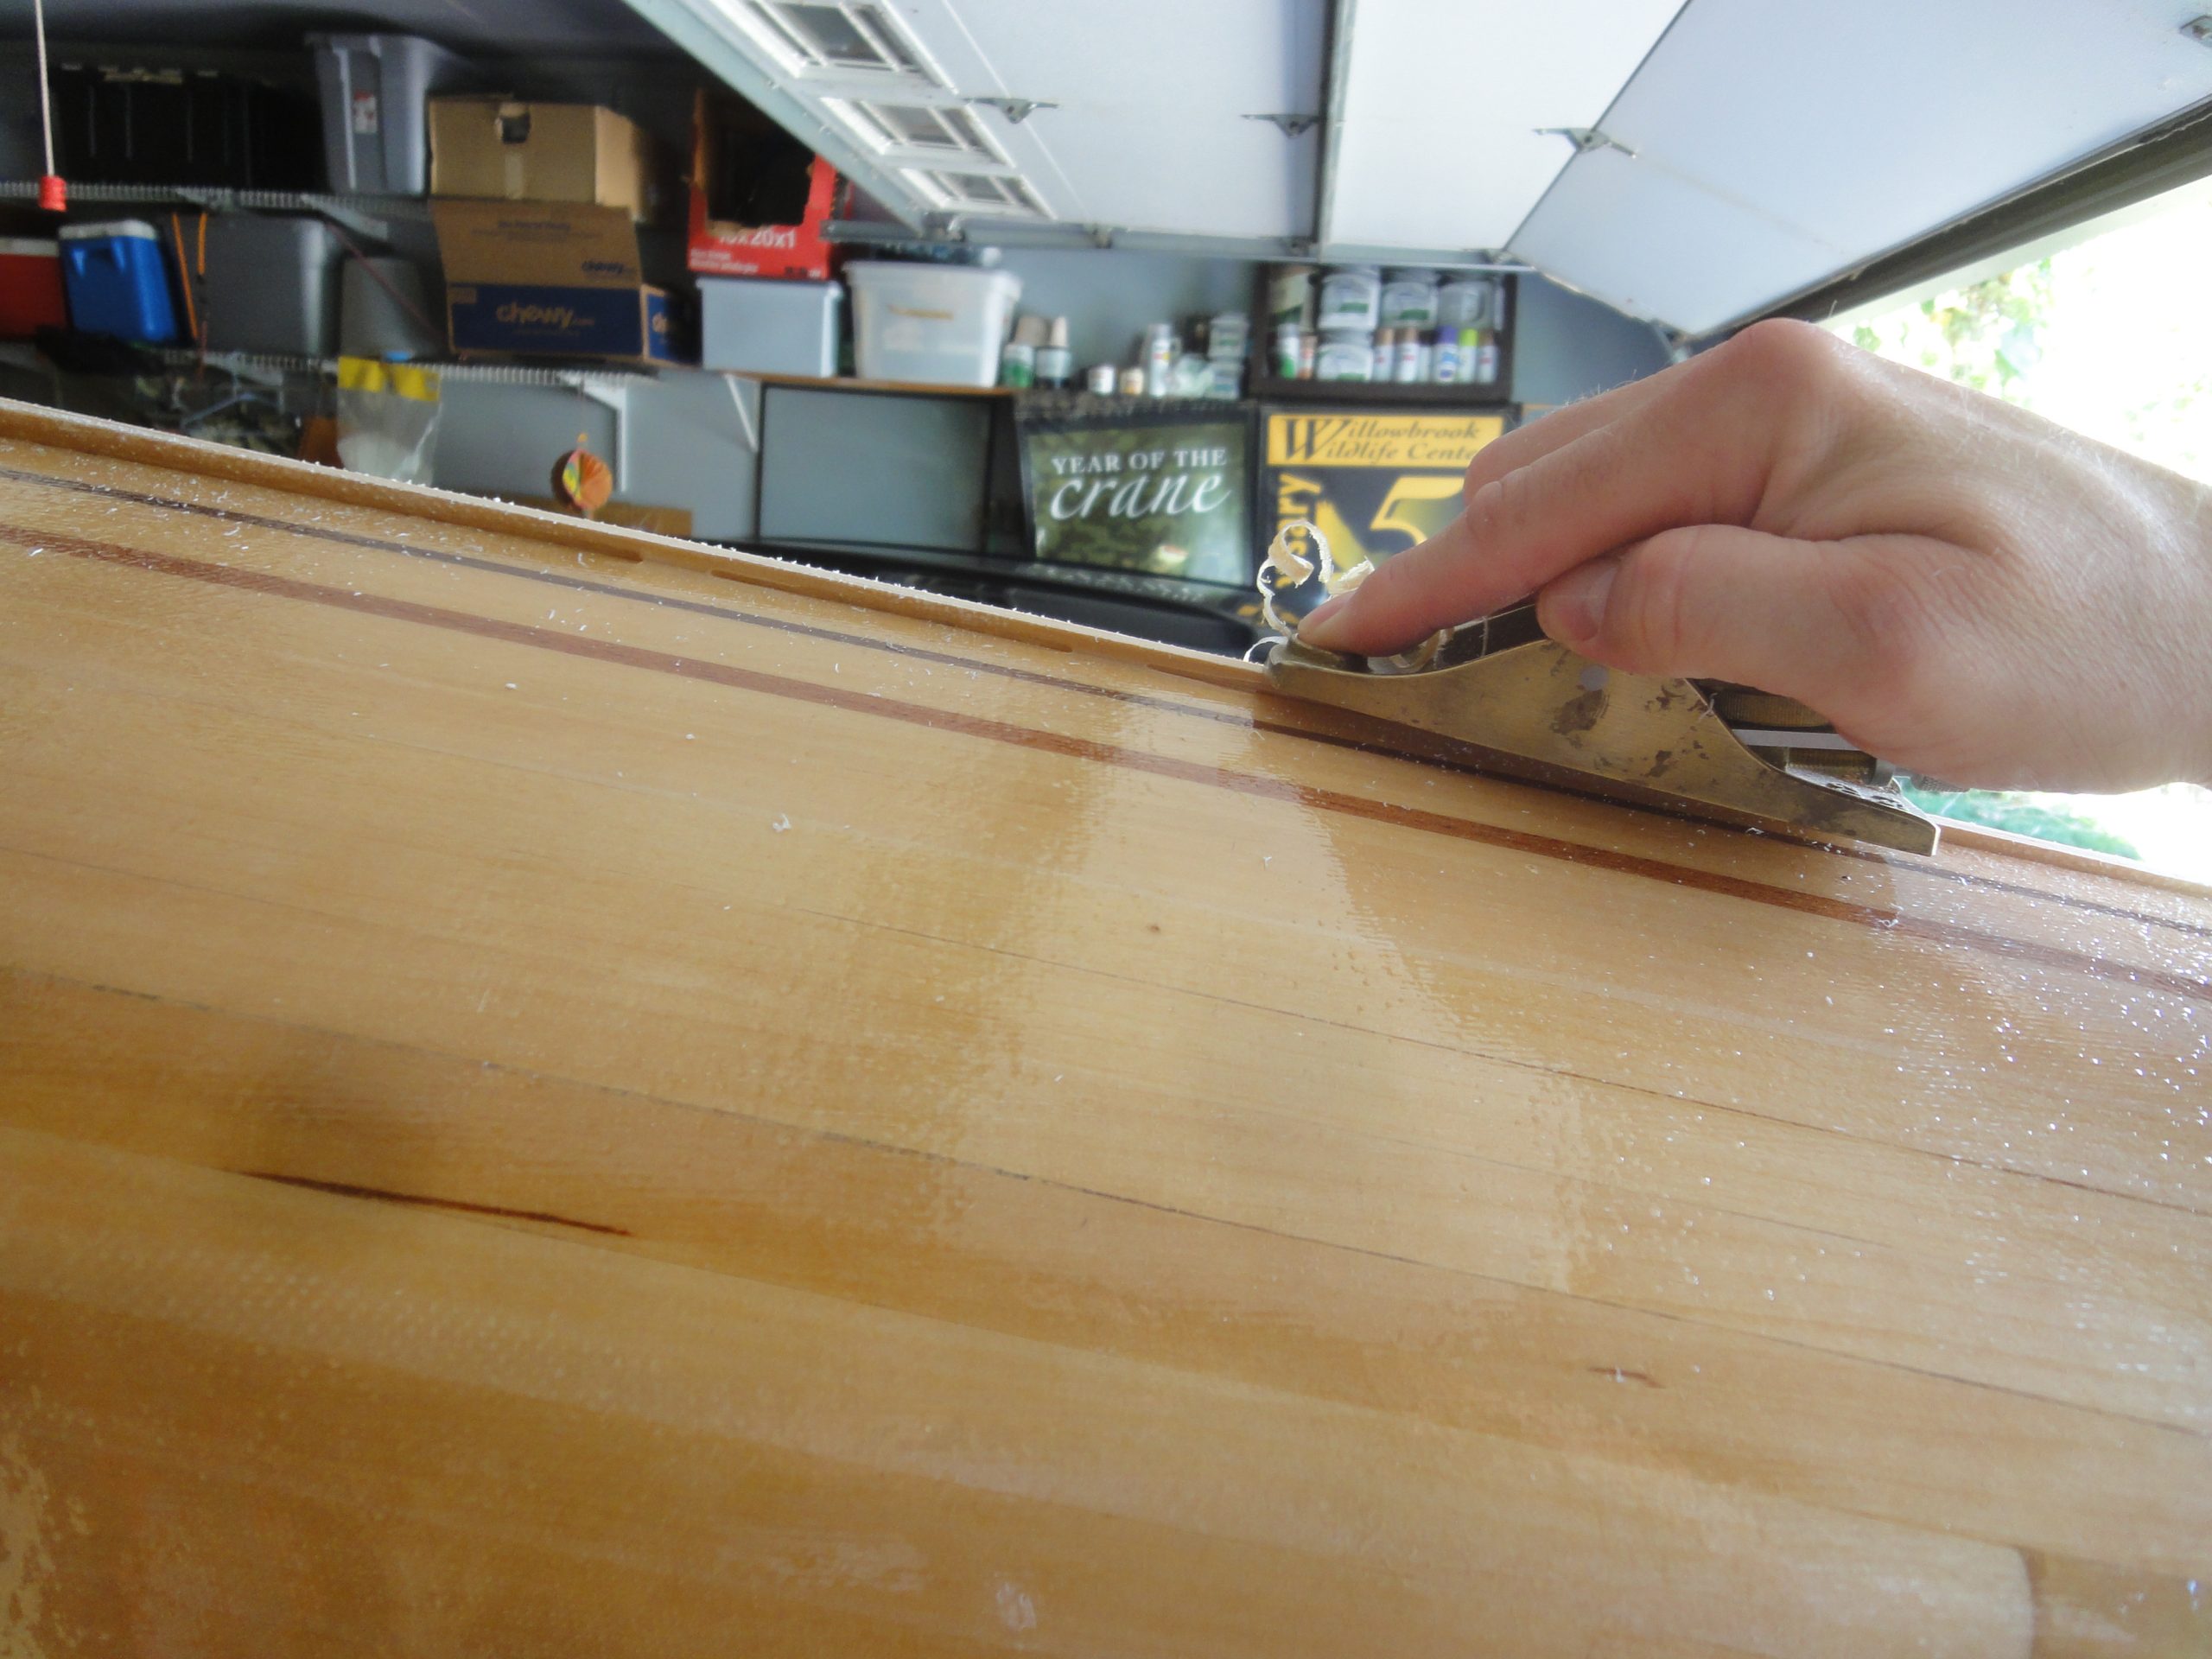
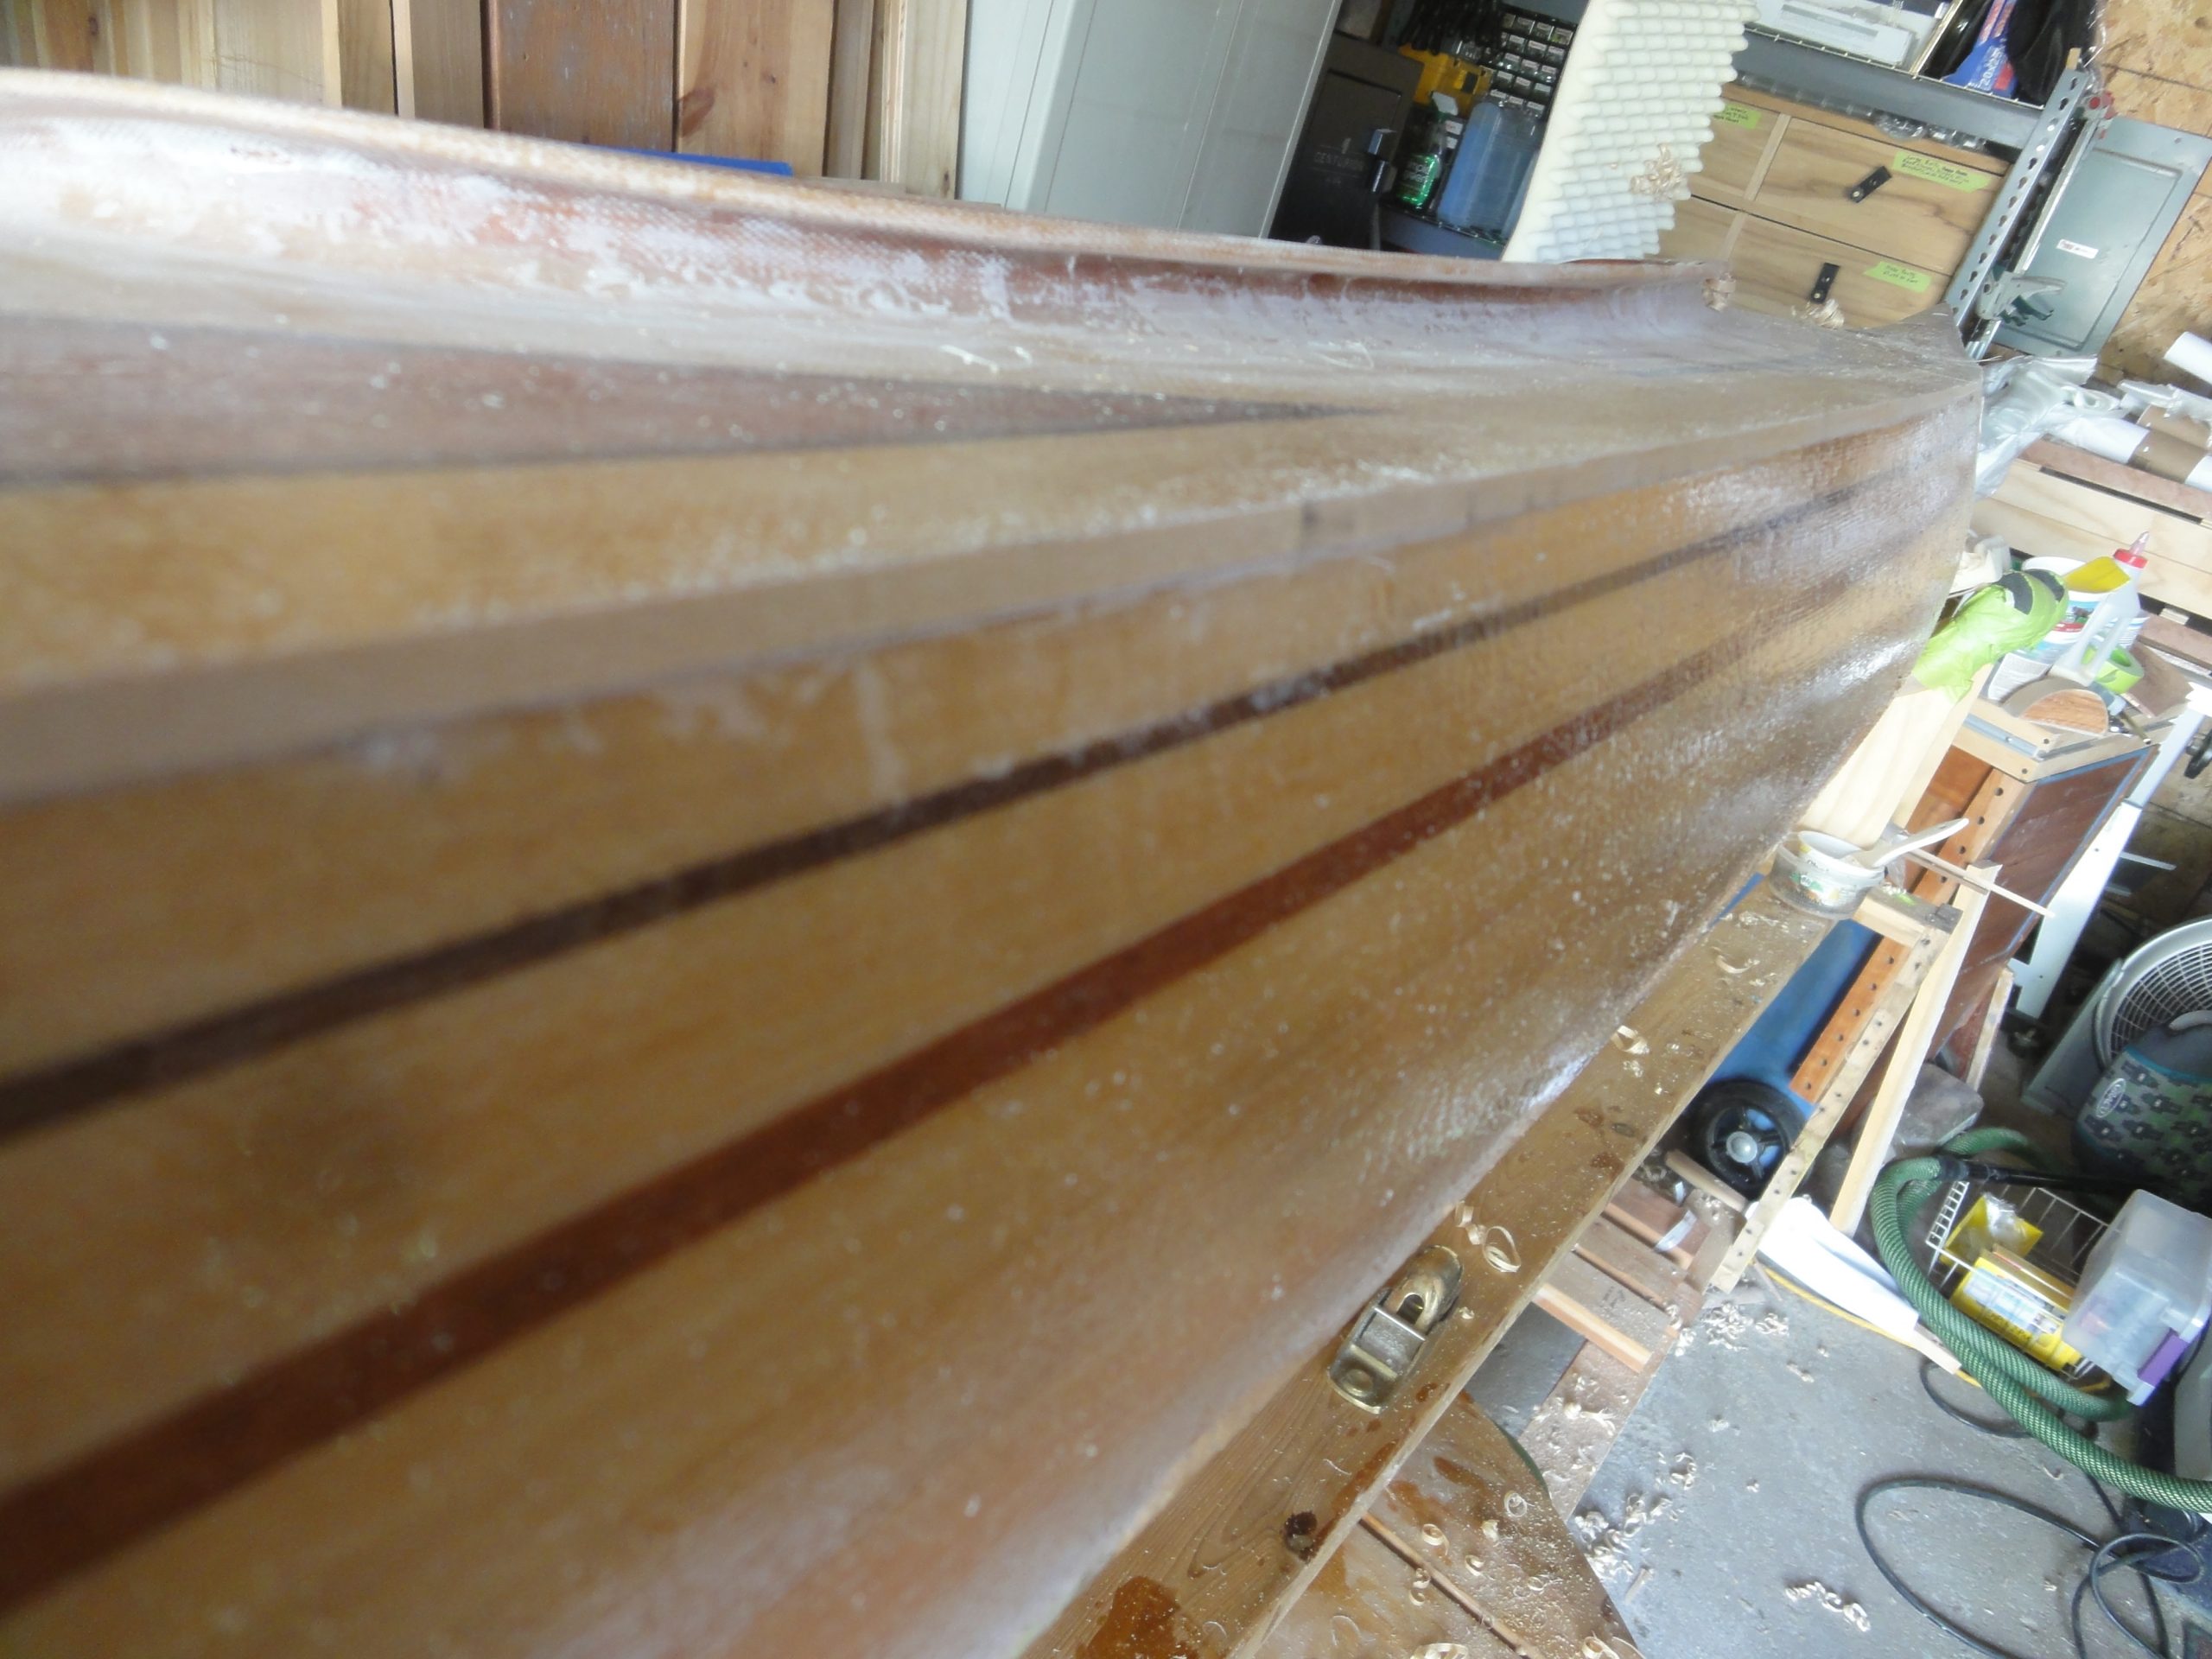
After the seam was setup and dried I turned to the outside. Despite my best efforts at stretching the hull to match the deck it was still a bit off. This ranged from barely noticeable to about a quarter of an inch at the worst point. A long hour + with the block plane easily shaved off the extra resulting in a nice smooth edge. I could have probably used a power saw or sander but didn’t want to accidentally damage something. Taking my time with the hand tool allowed for much greater control.
While this may not seem like much for the long weekend, I had limited work I could do as I had to wait for epoxy to dry. The next goal will be the remaining fiberglass seams (outer hull to deck and the keels at the stem and stern) along with a bit of fitting at the stem and stern. I also purchased a 1′ long by 1″ diameter brass pipe which will be put in the front and back to allow for carrying handles and tie down points when transporting. It arrived yesterday.
So the list is slowly shrinking, although I also added one item too.
- Attach hull/deck on outside
- Keel work (strip (or two) over front and back stems, filler pieces
- End pours
- Order seat & maybe skirt & maybe cover
- Install bulkheads
- Drill/fit carry handle/tie down holes
- Outside final fill coat(s)
- Outside final sanding(s)
- Install line guides
- Line guide fill and sanding
- Varnish, varnish, varnish