
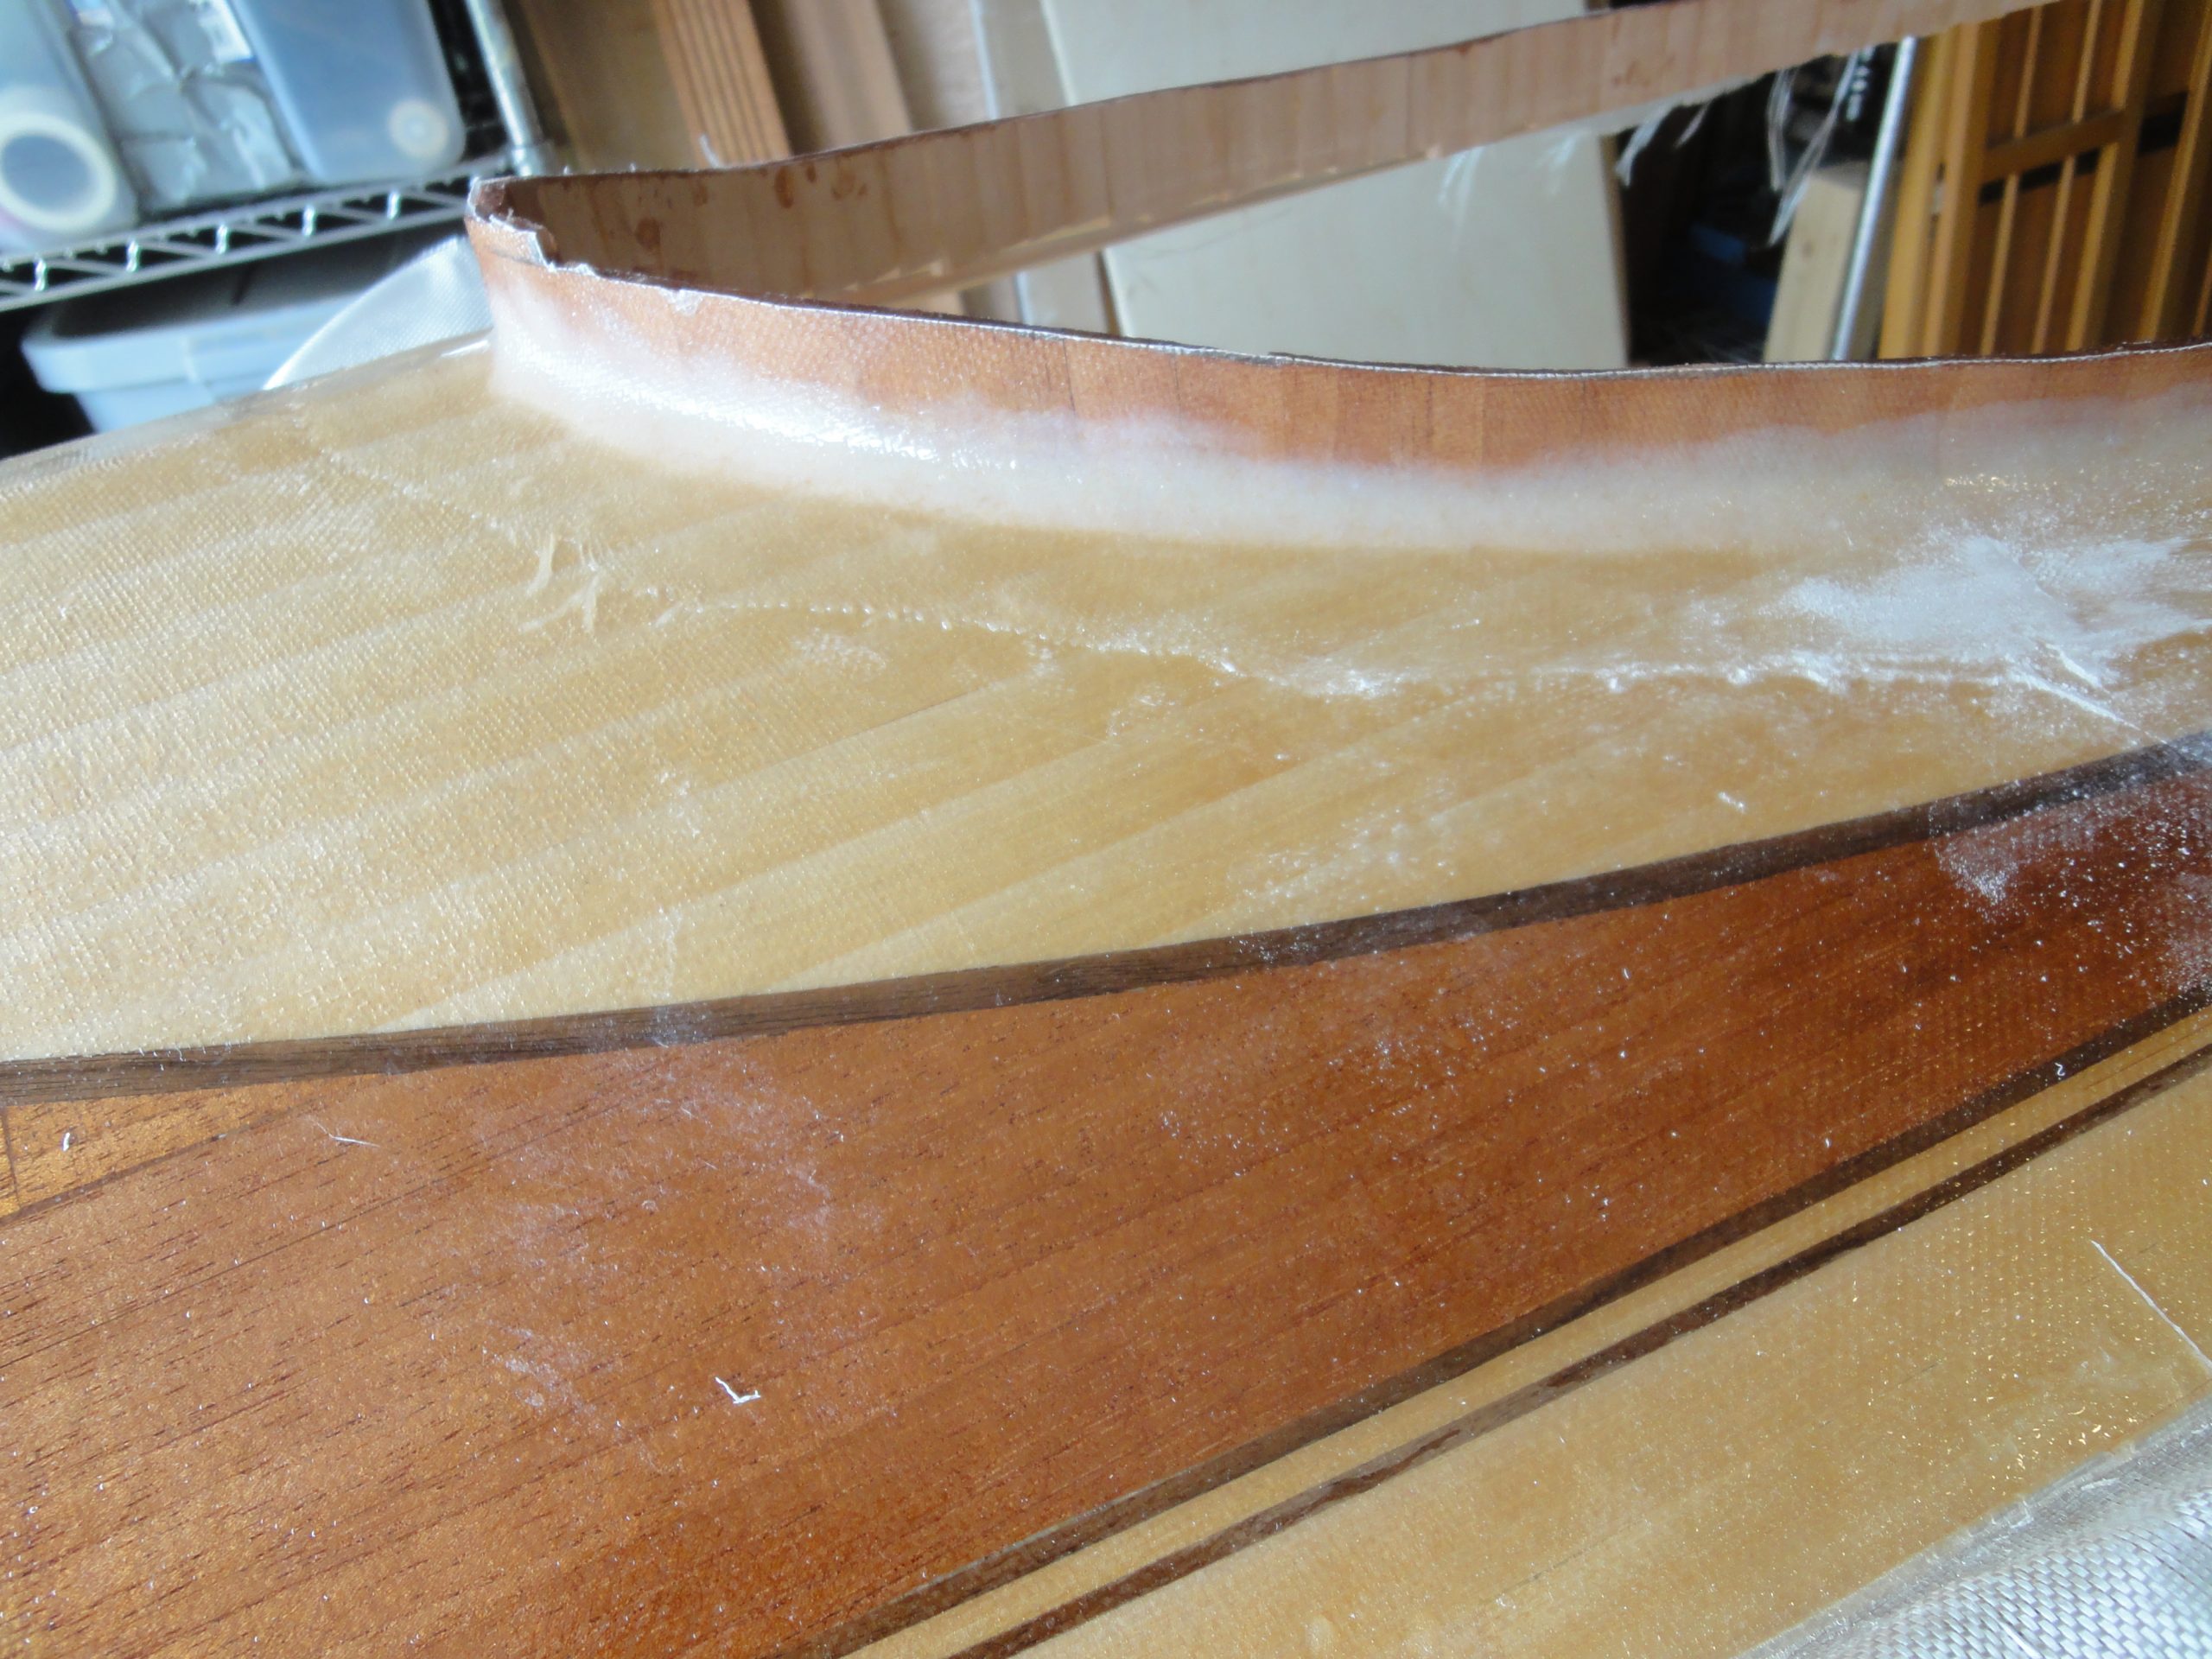
This work was performed over three days. After completing the riser portion and letting it dry I was very happy with the results. In hind sight I might have put it on a bit thicker and larger than necessary, but as this is my first build I’m not complaining. The picture below shows it whiter and brighter than it appears in person. Lifting the deck by the coaming no longer feels like it’s about the all fall apart but rather is very solid. Where the edge of the fiberglass laid out on the deck there were a few rough spots. I sanded a couple just to remove sharp edges. Note, I think I sliced/stabbed my fingers a half dozen times in less than a minute prior to doing this! Be very careful around fiberglass edges and have extra bandages on hand!
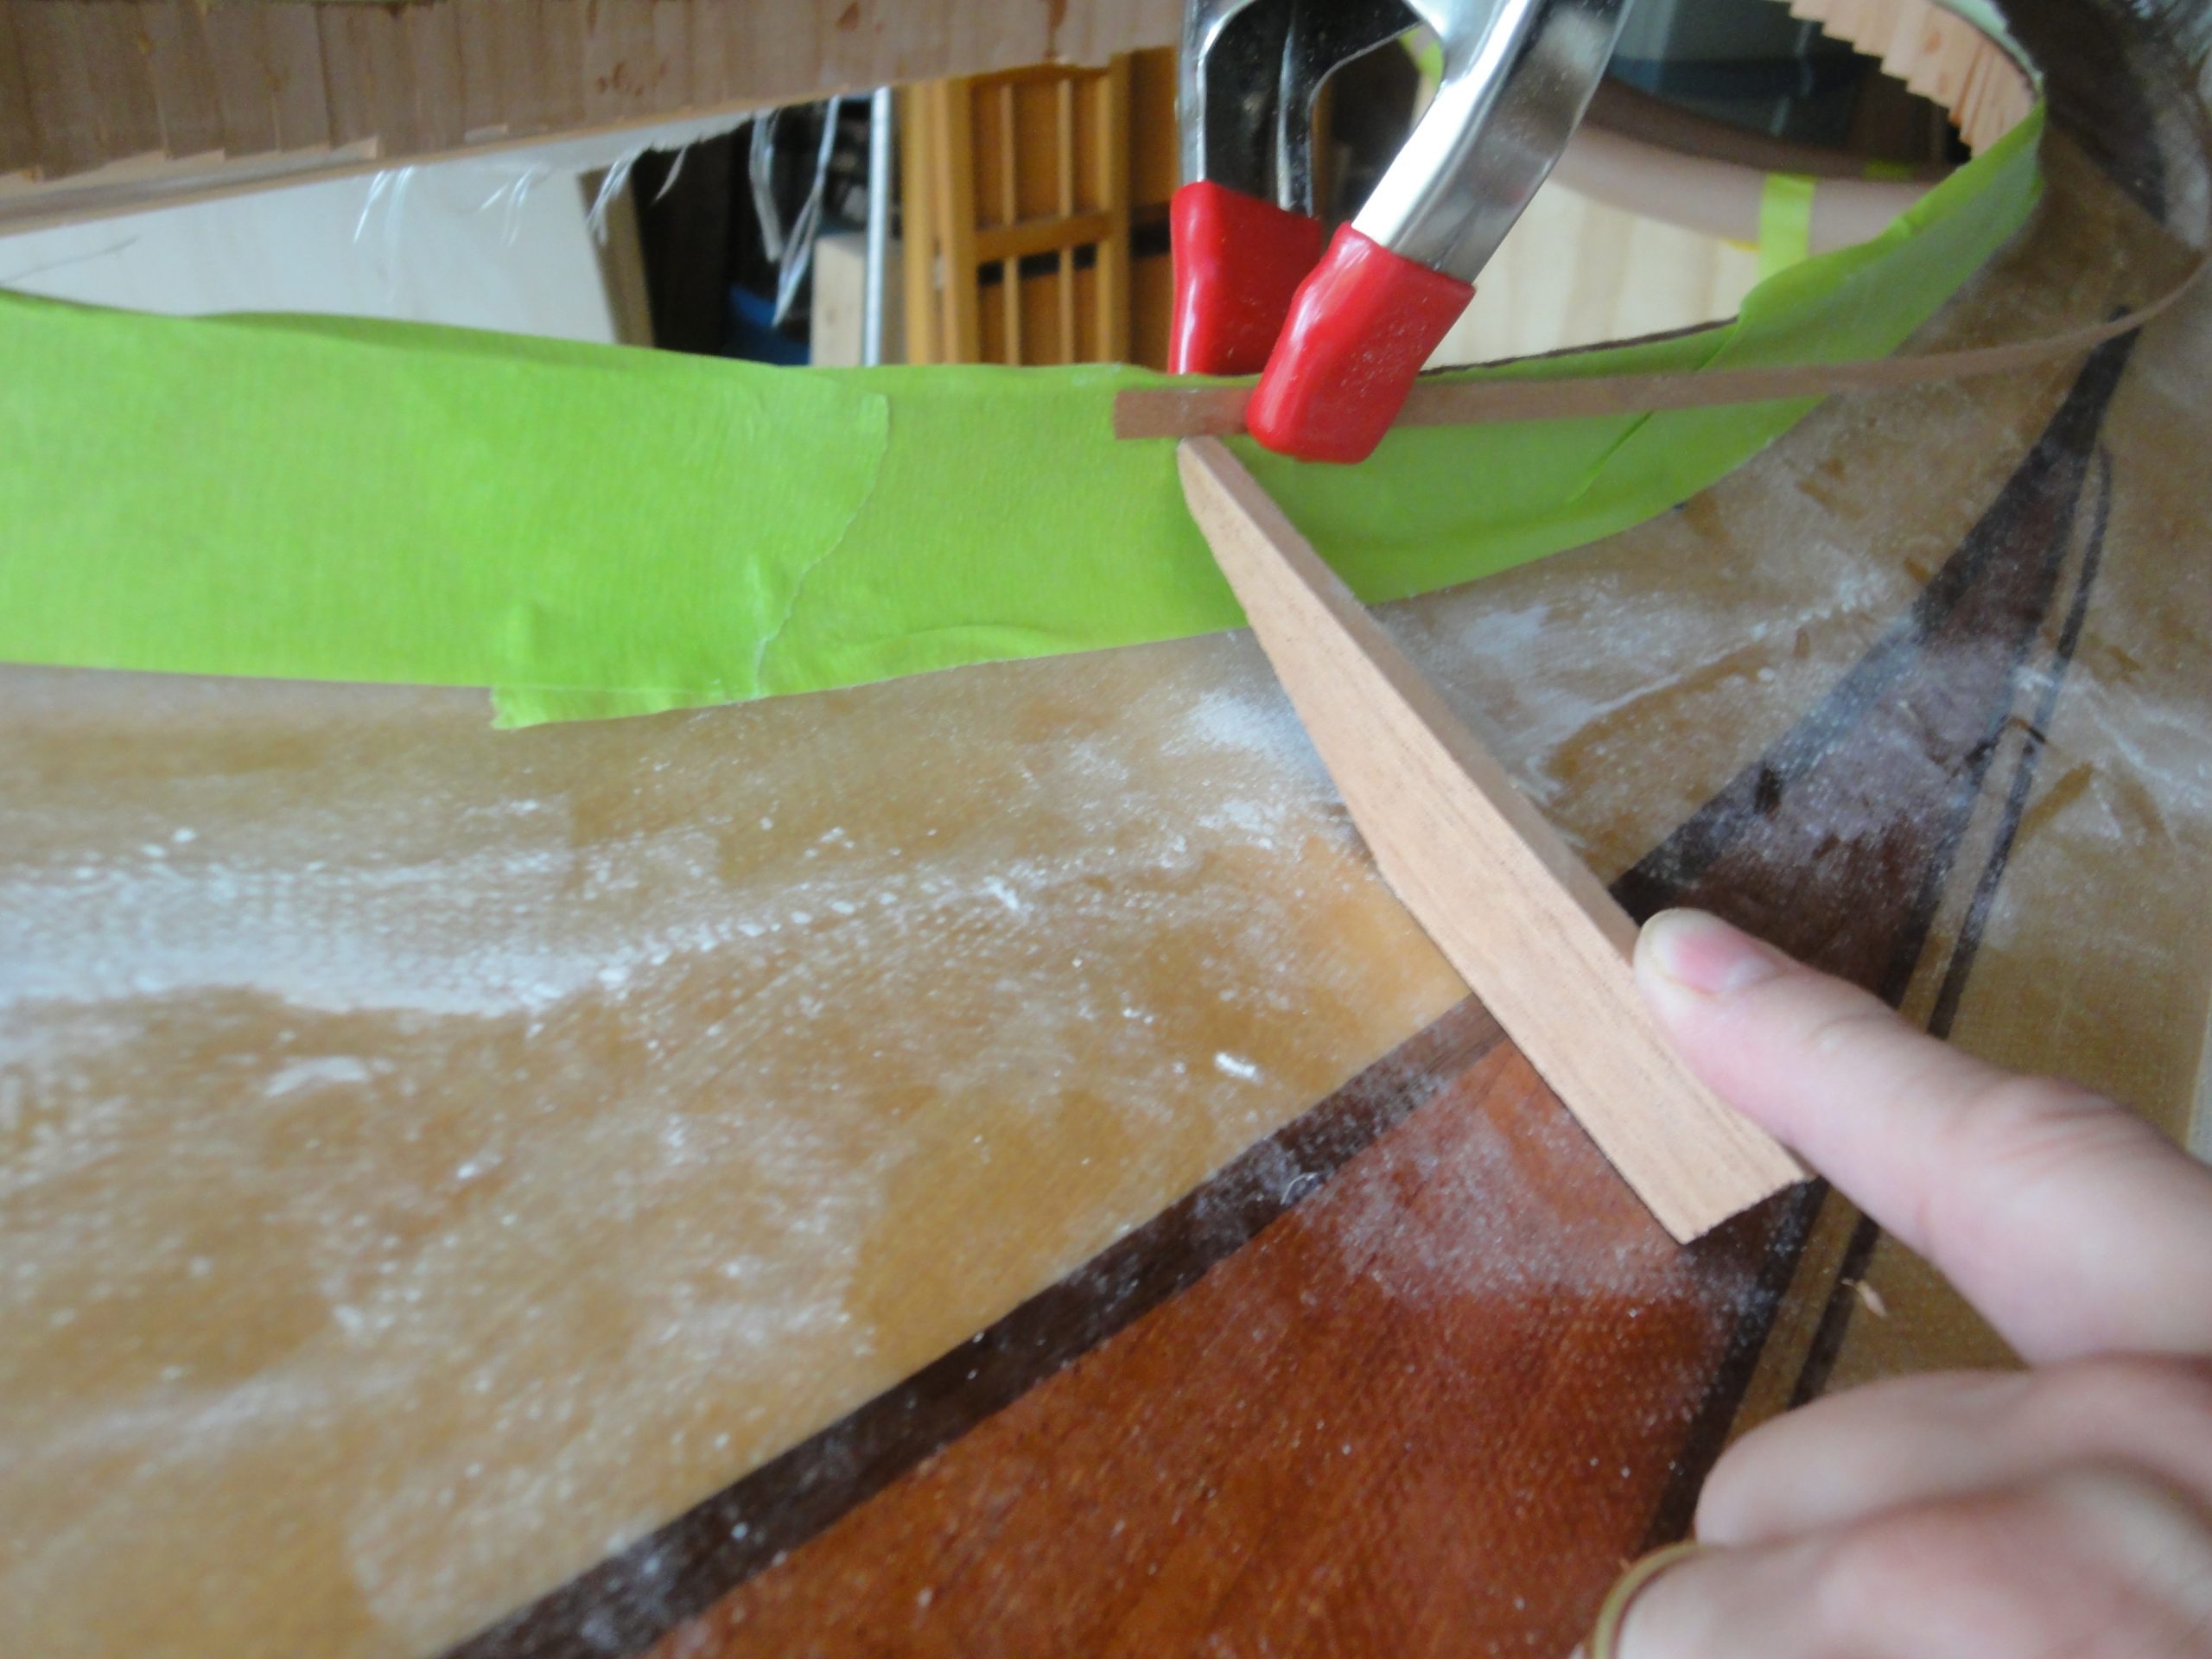
In preparation for the lip I created a little spacer jig that can sit on the deck and project where the bottom of the lip should be. Using this I lined up the first strip and in the process worked out some kinks. Figuratively and literally. The strips I had left over were not long enough to completely circle the cockpit. They also would not going to make a “V” bend at the front. So I decided to start at the point of the V, run half way around and cut off the excess. Then I would repeat on the other side. If I got really lucky I could trim them just right and have both joints meet nicely but I’m not expecting that to happen and already have a plan B in mind that will look intentional and not like covering a mistake. (at least I hope so).

Now I also don’t think I have enough strips of one wood species to make the approximate 3/4″ thickness I am aiming for. Easy solution is to just rip more. But before going through all that setup work I did some experimenting with mixing species.


I really liked the alternating strips and the walnut was a nice touch but it was also thicker and not liking the bends I was asking of it. With just the Spanish Cedar and Basswood I had enough to do the full lip. So I went with the alternating pattern in the middle picture.
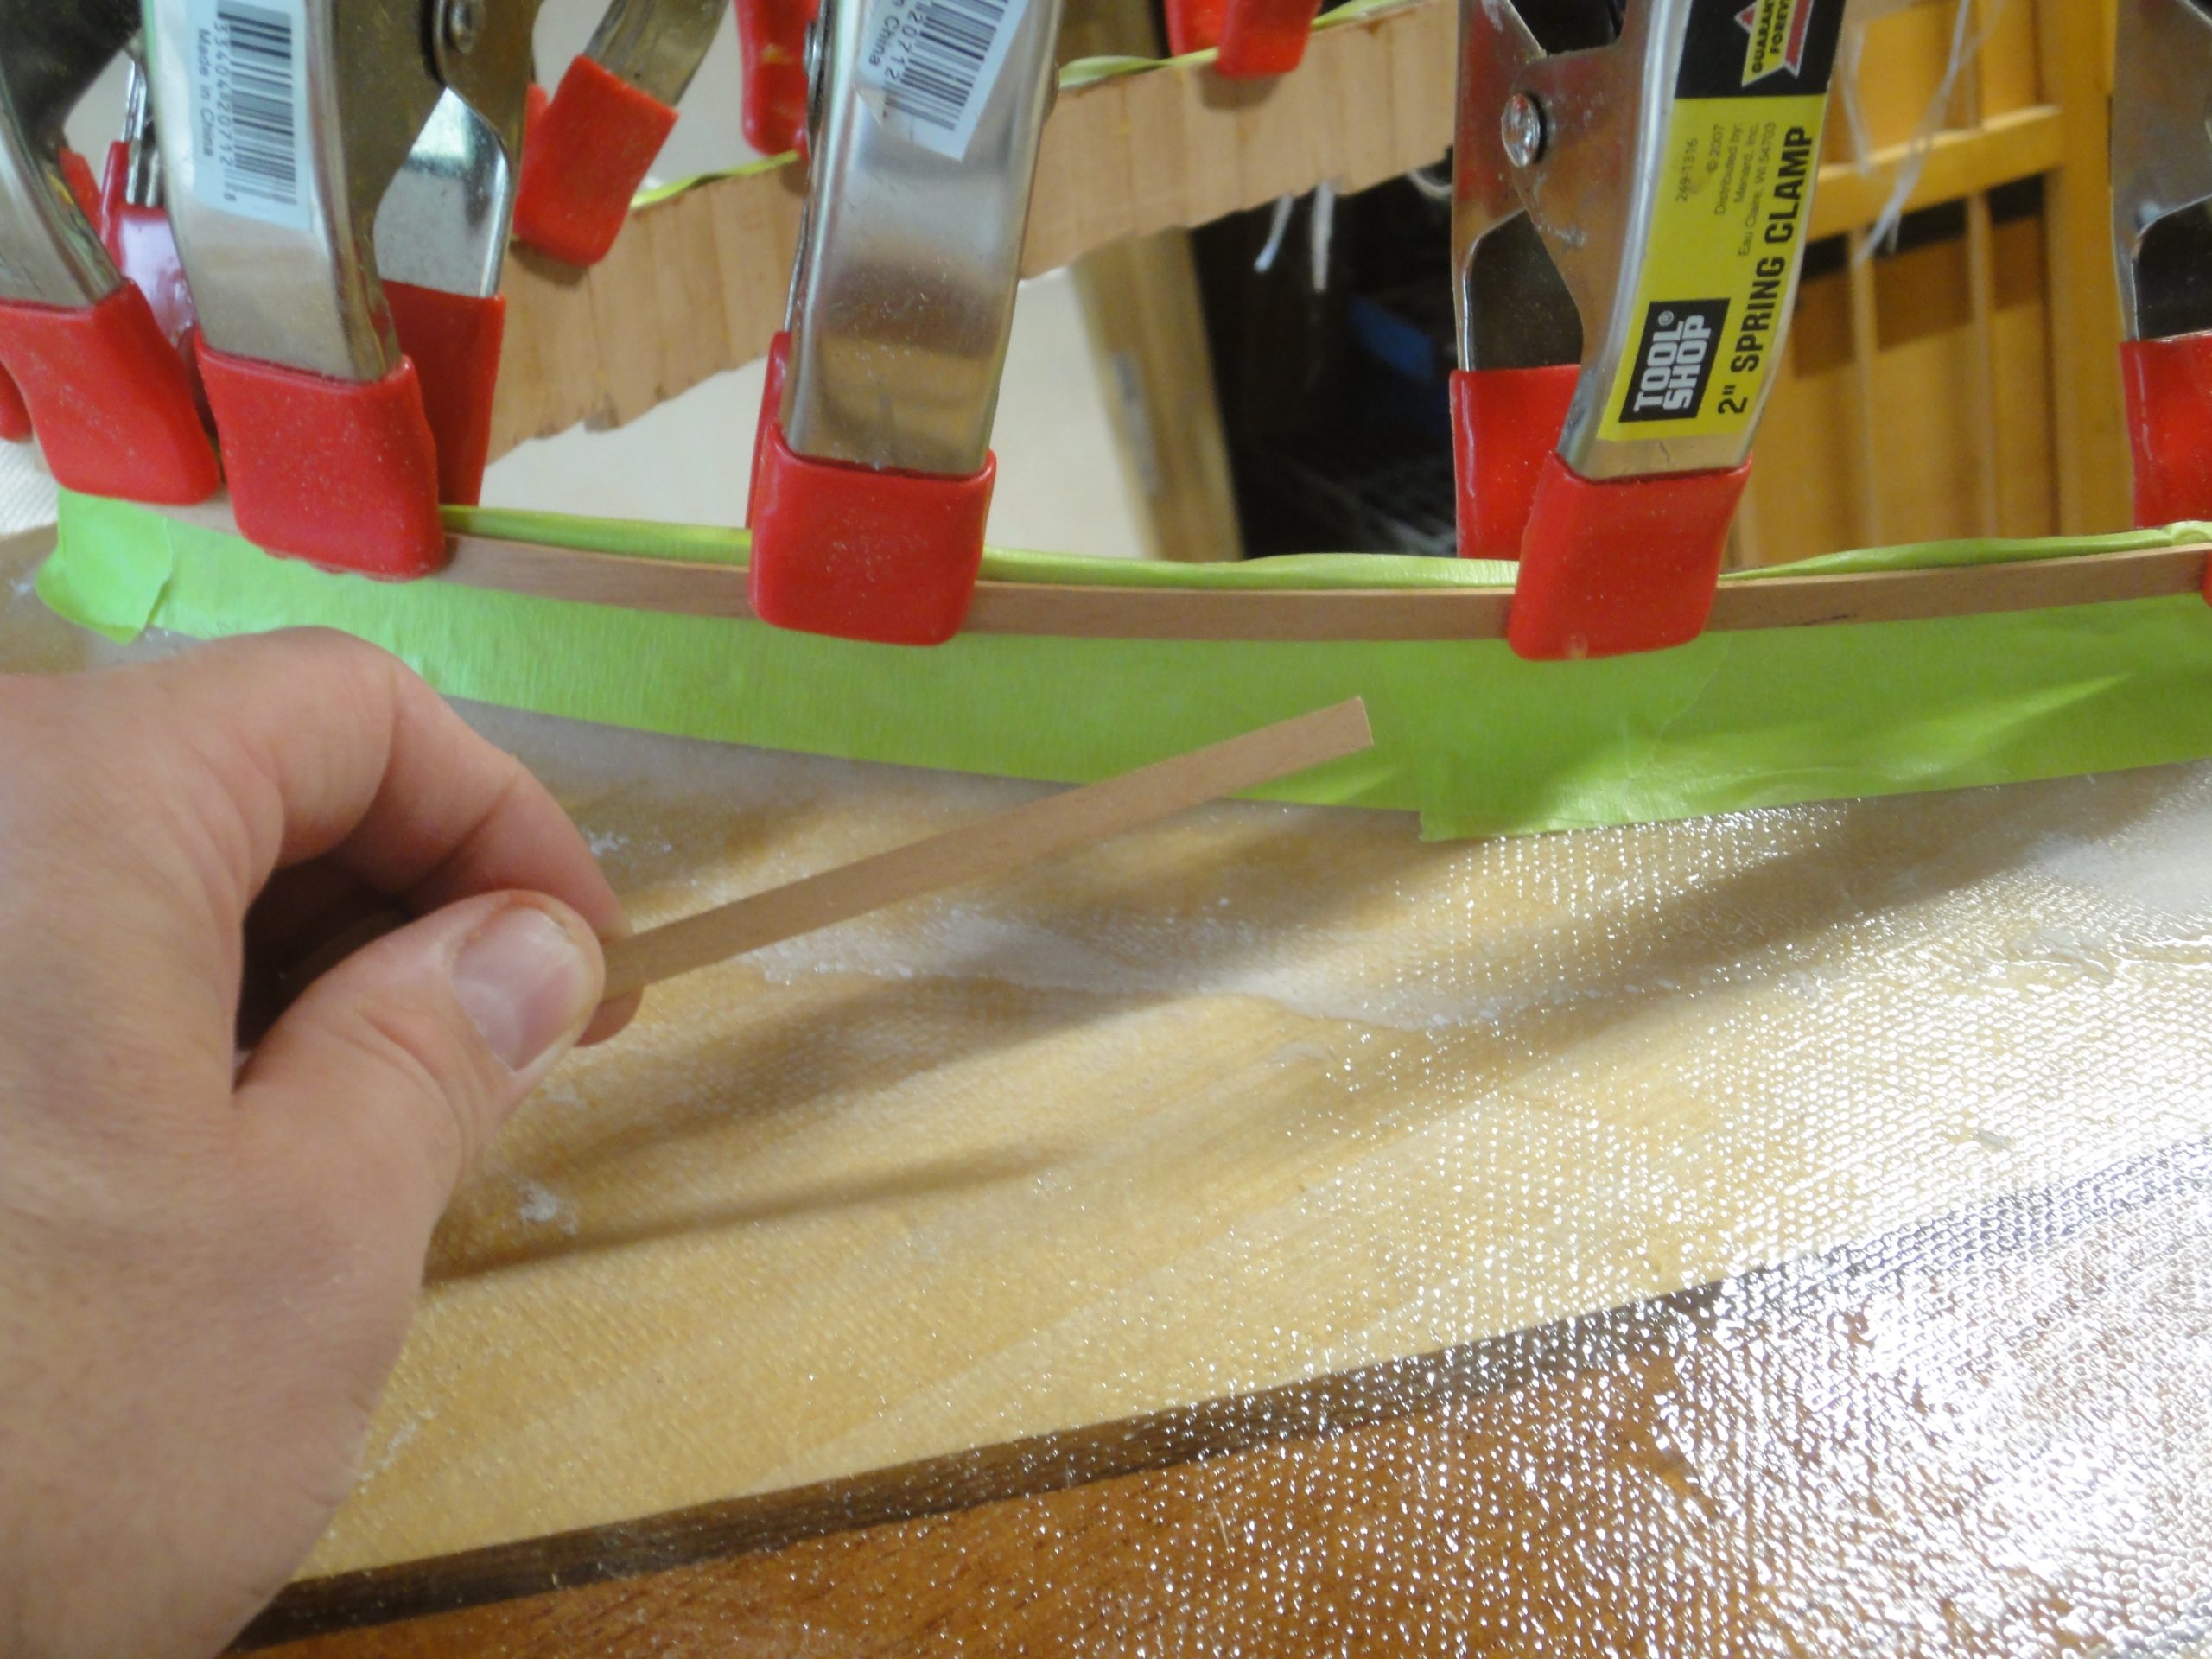
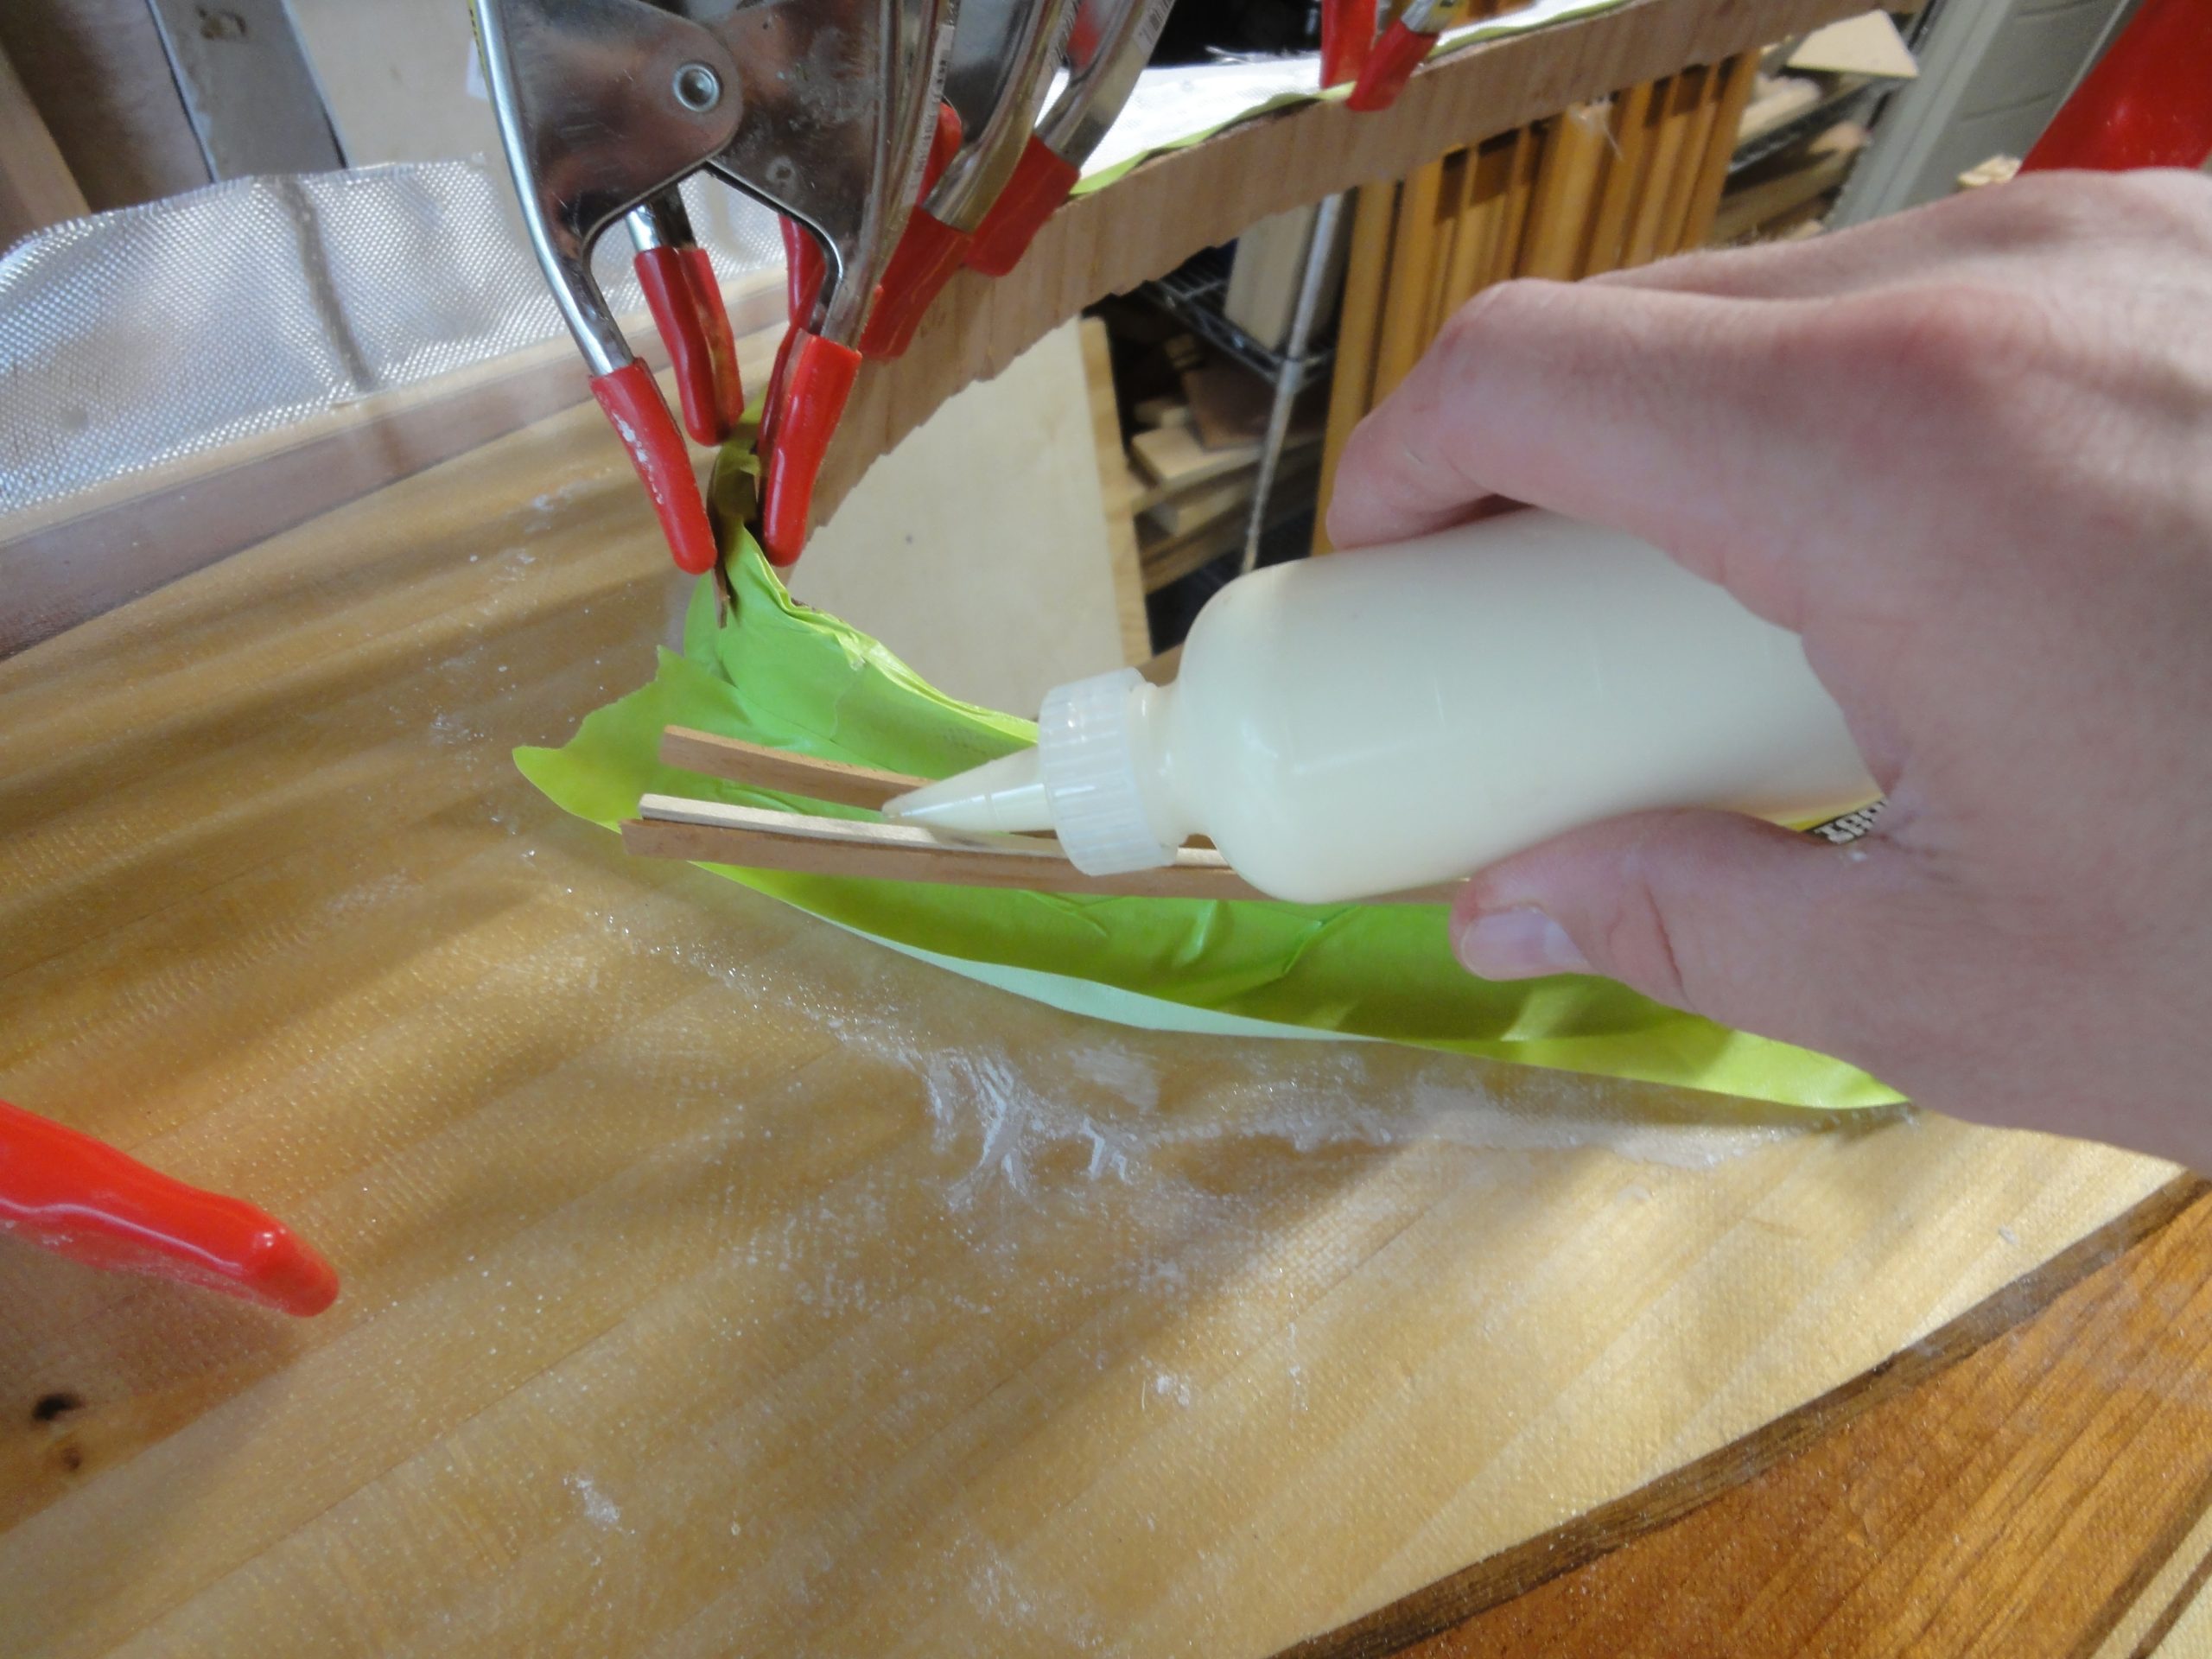
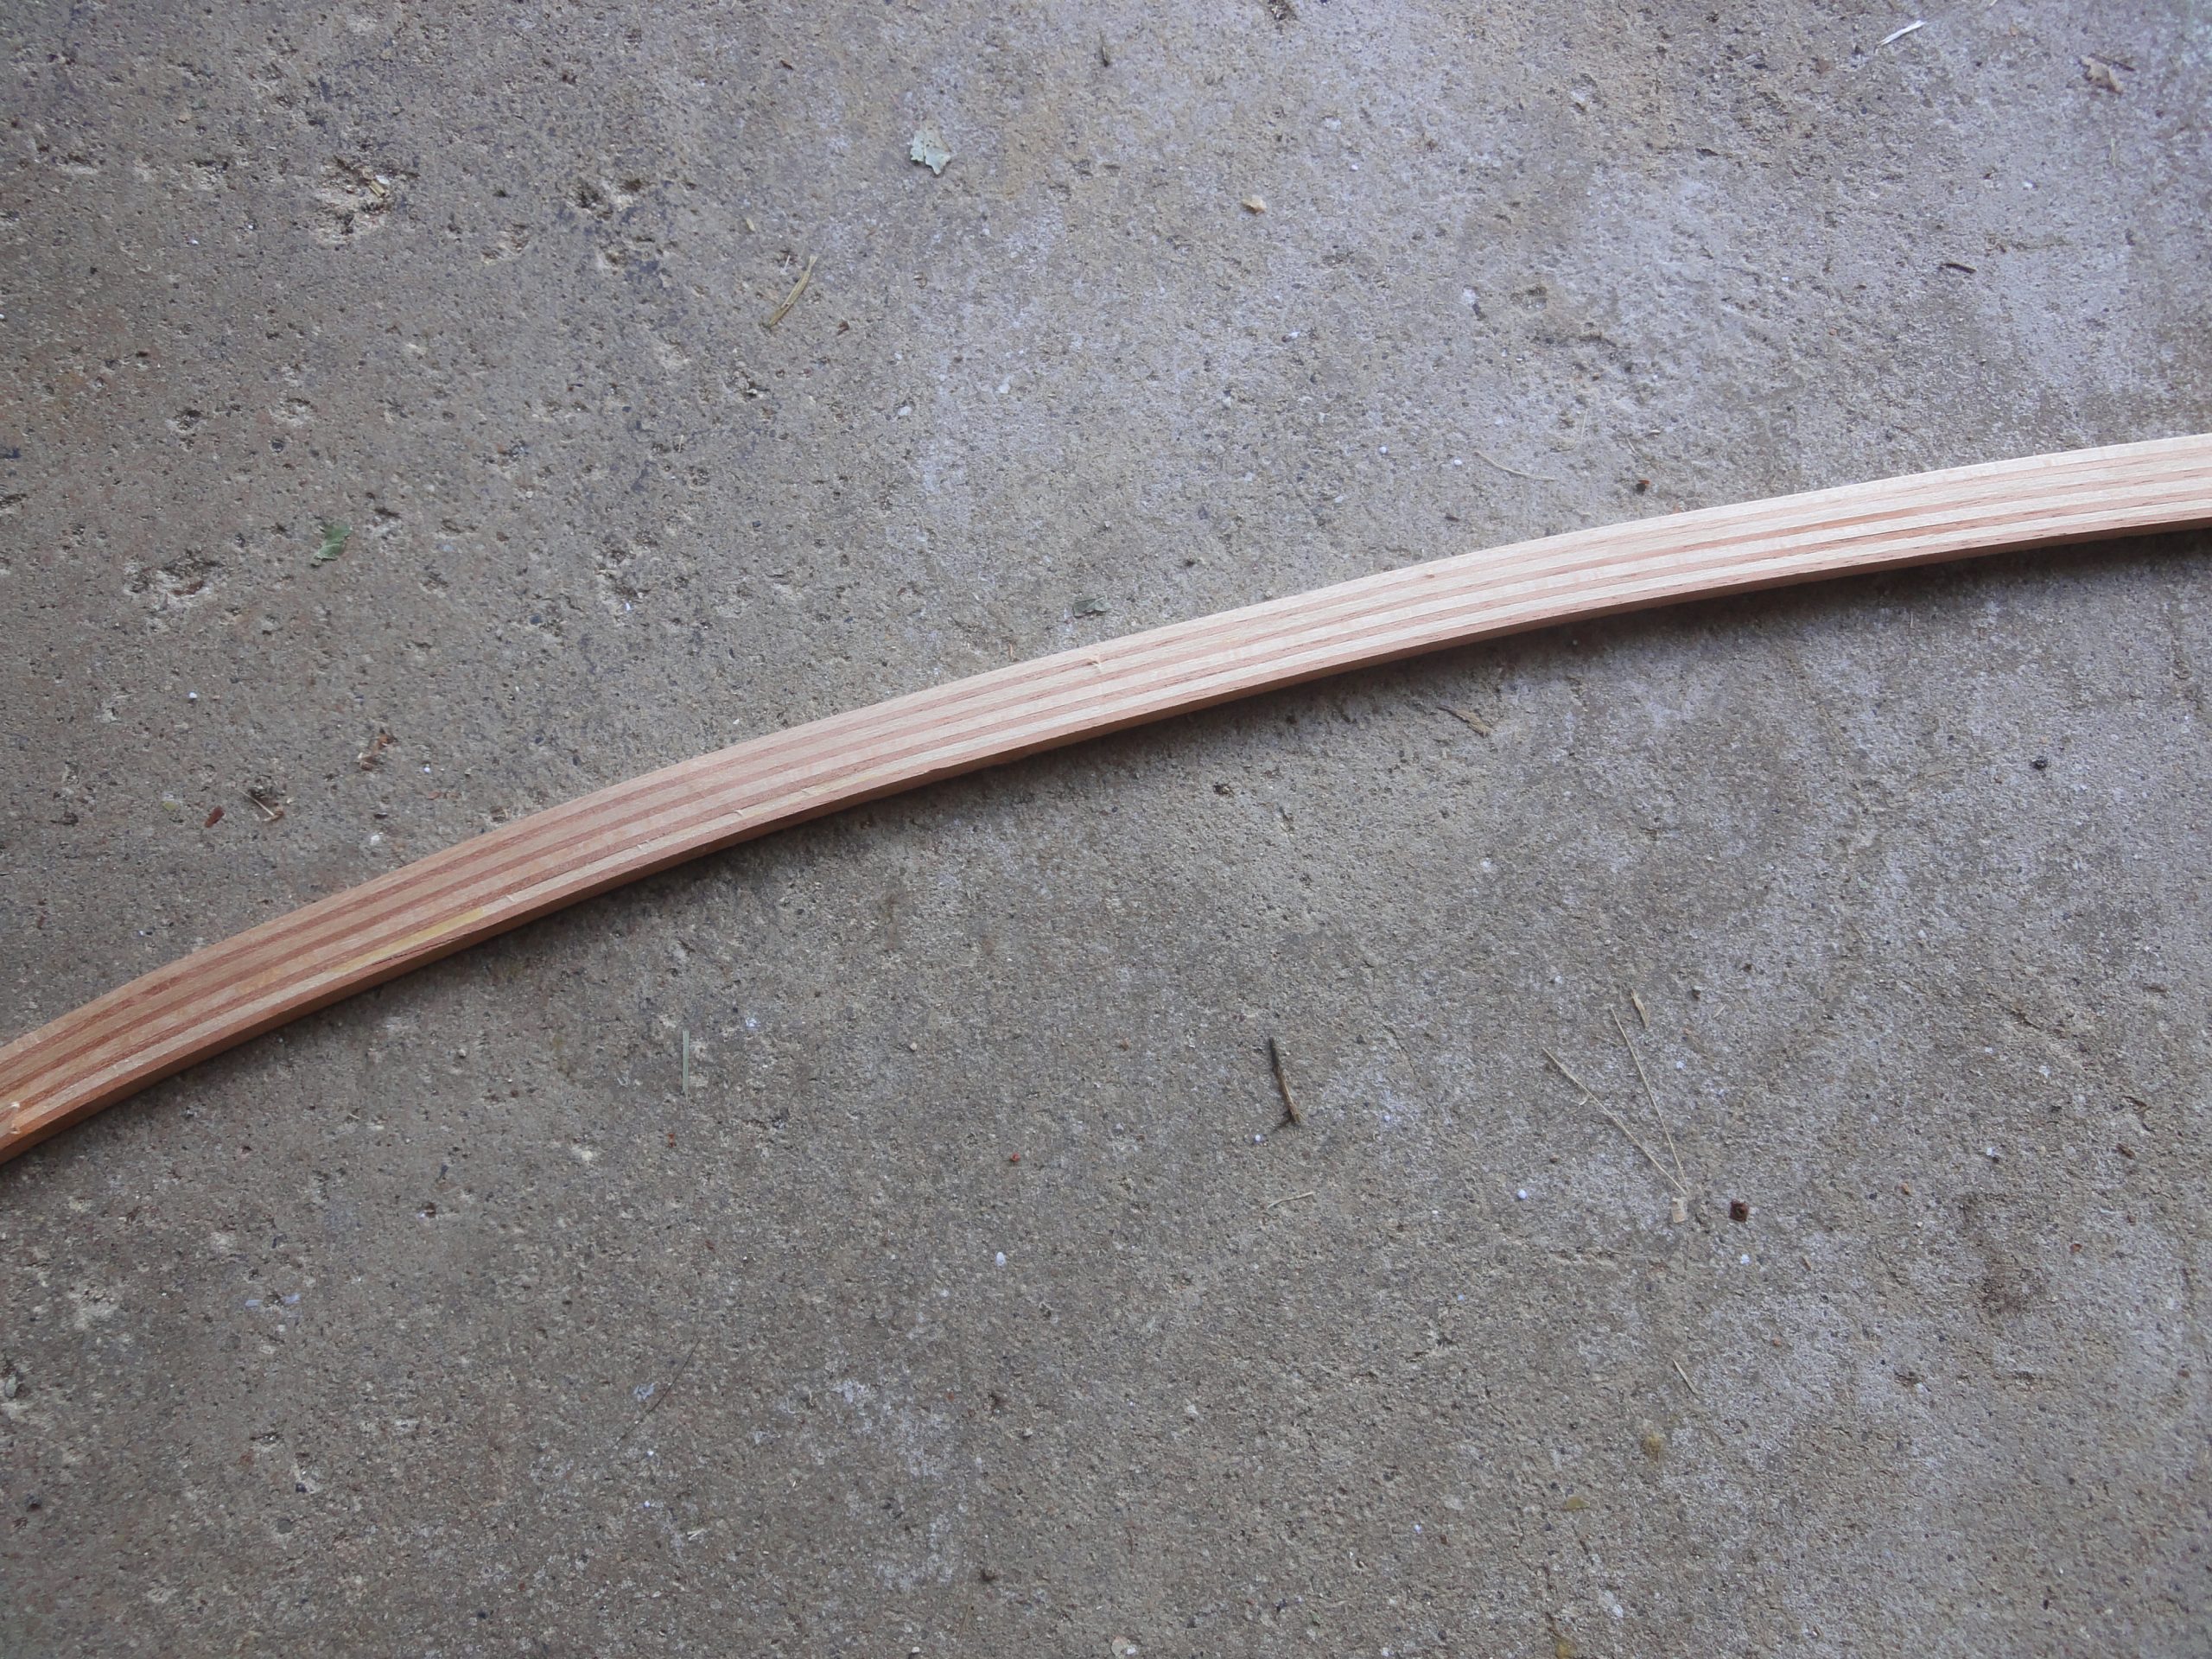
Strips were glued 3-4 at a time with many clamps to keep everything in alignment. So many that I actually ran out trying to do two sides so I just worked on one side at a time. A section would be left clamped while another part was left free. Glue applied between strips and then slowly working around they were clamped into position. The other part was then un-clamped, glued and re-clamped. The wood had to follow the curve around the coaming and also a vertical curve to match the height. Being 1/8″ or less in thickness they followed along nicely.


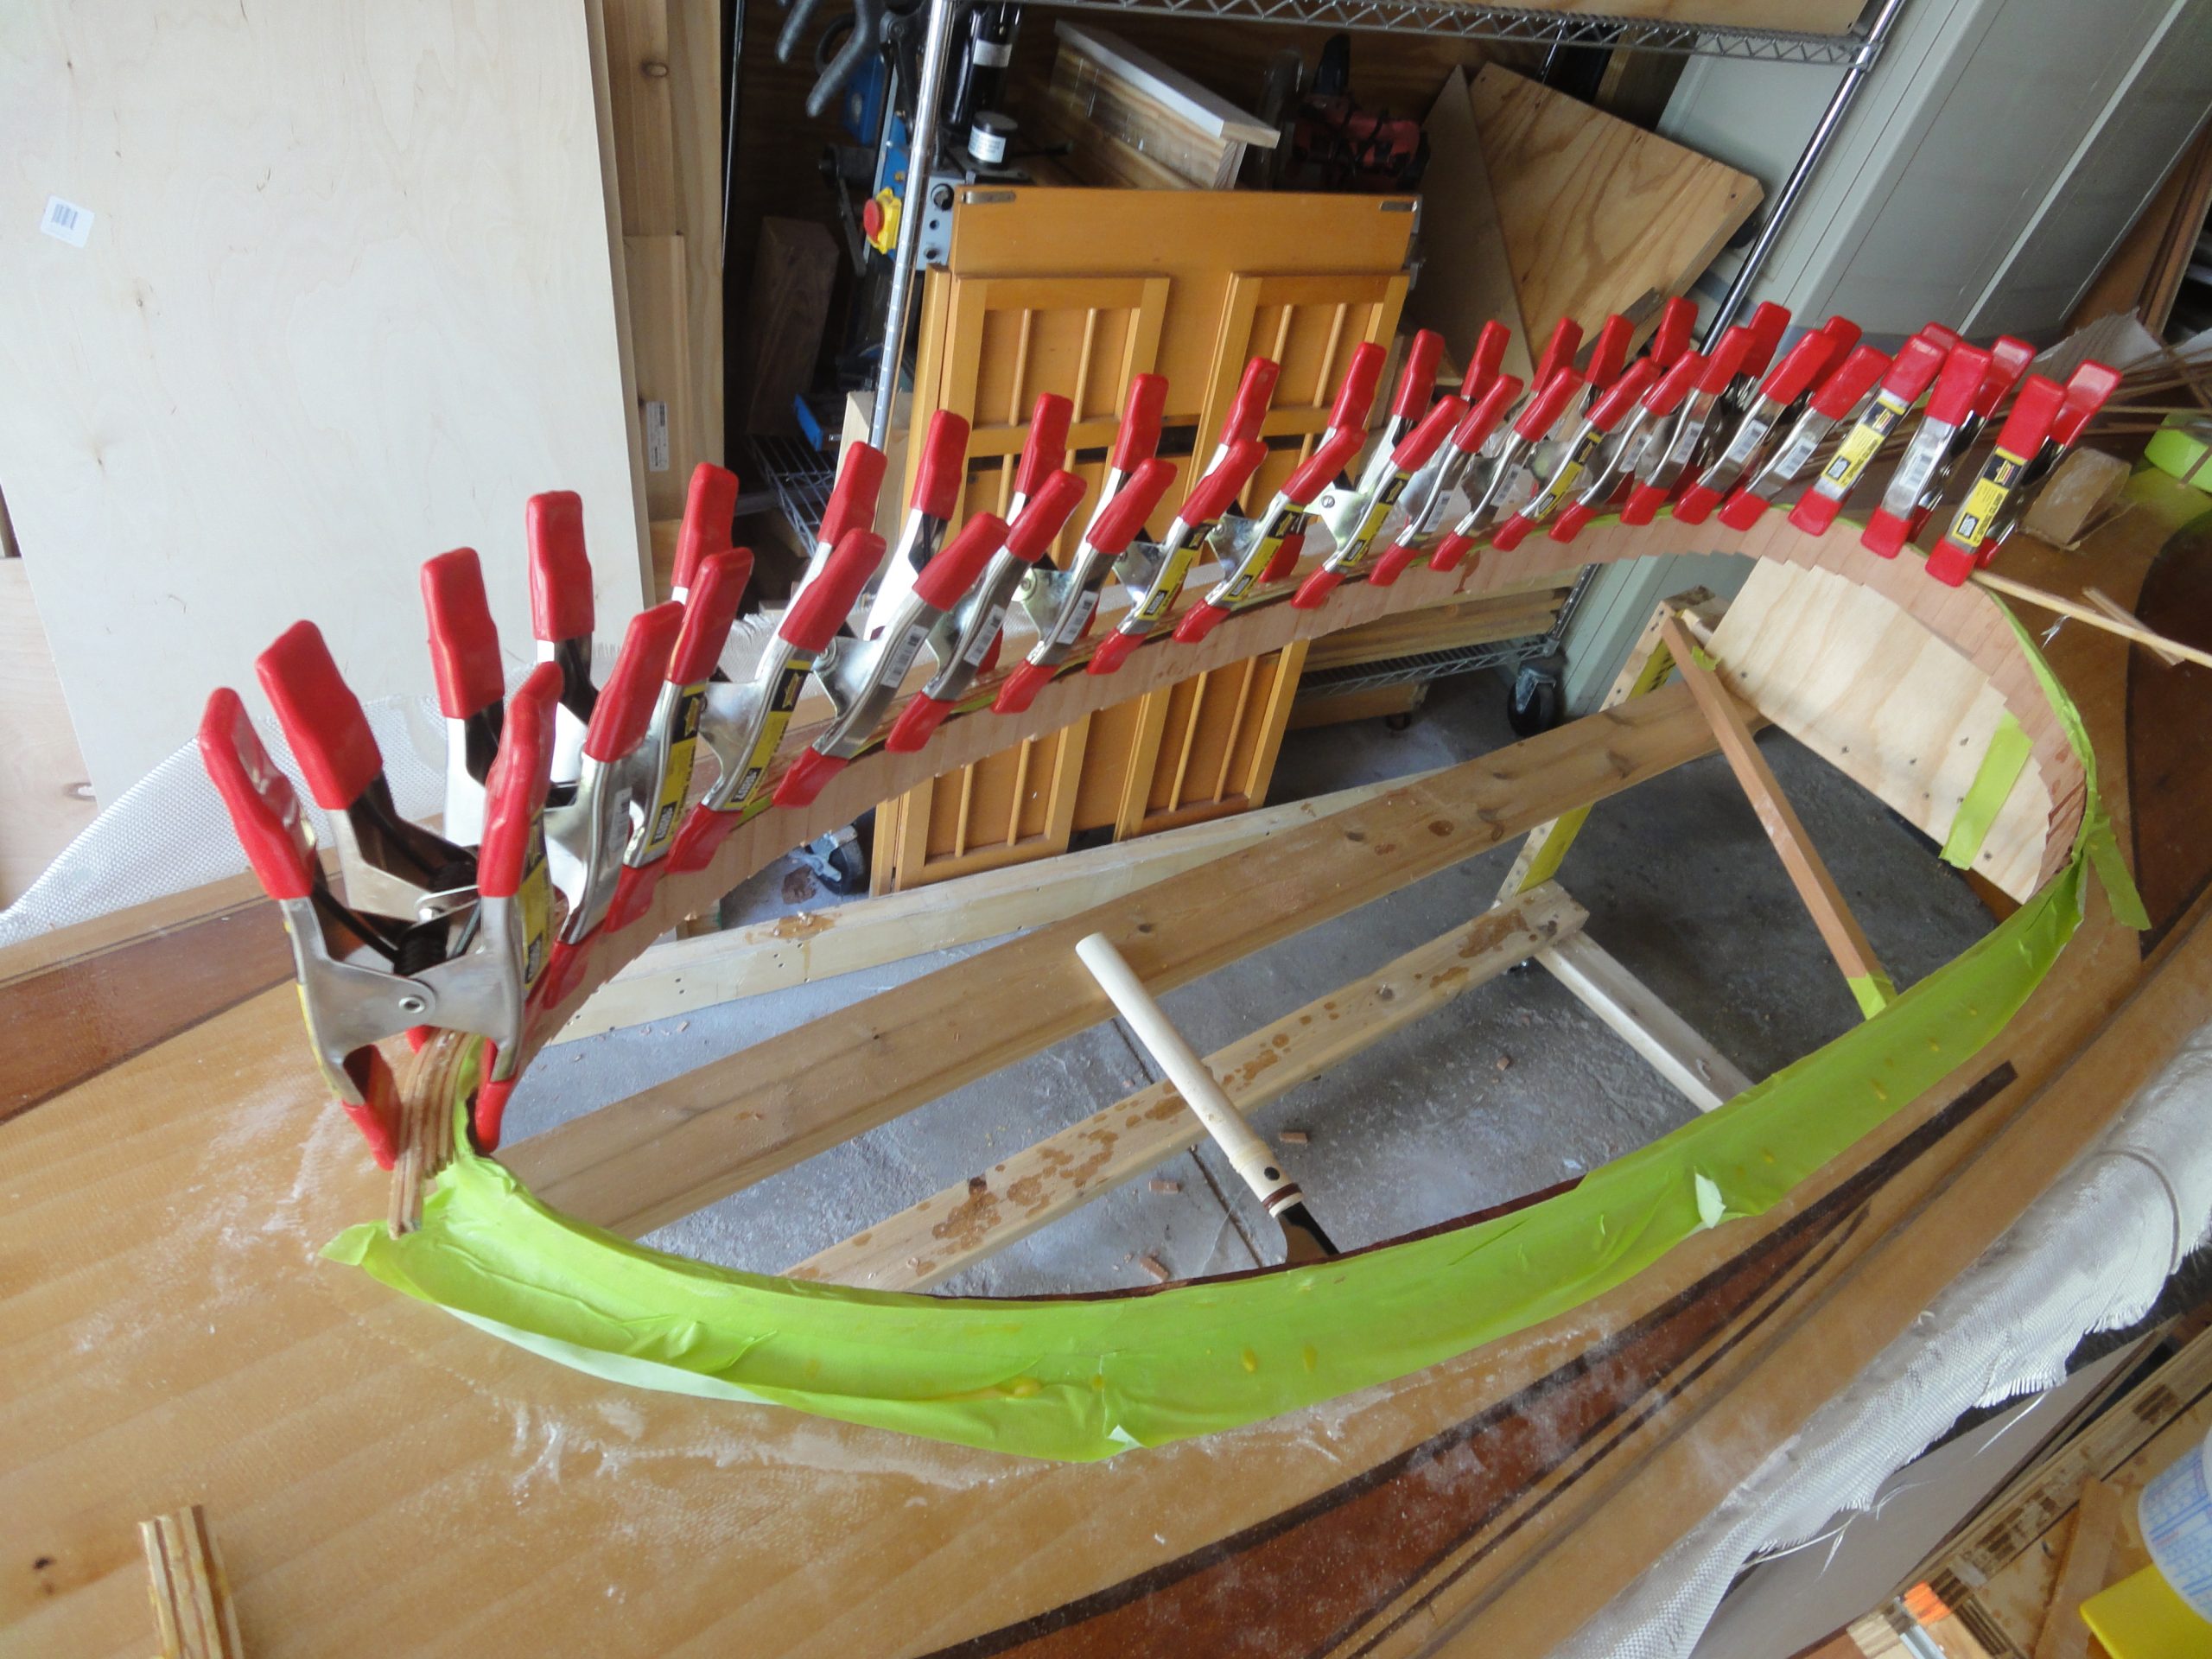
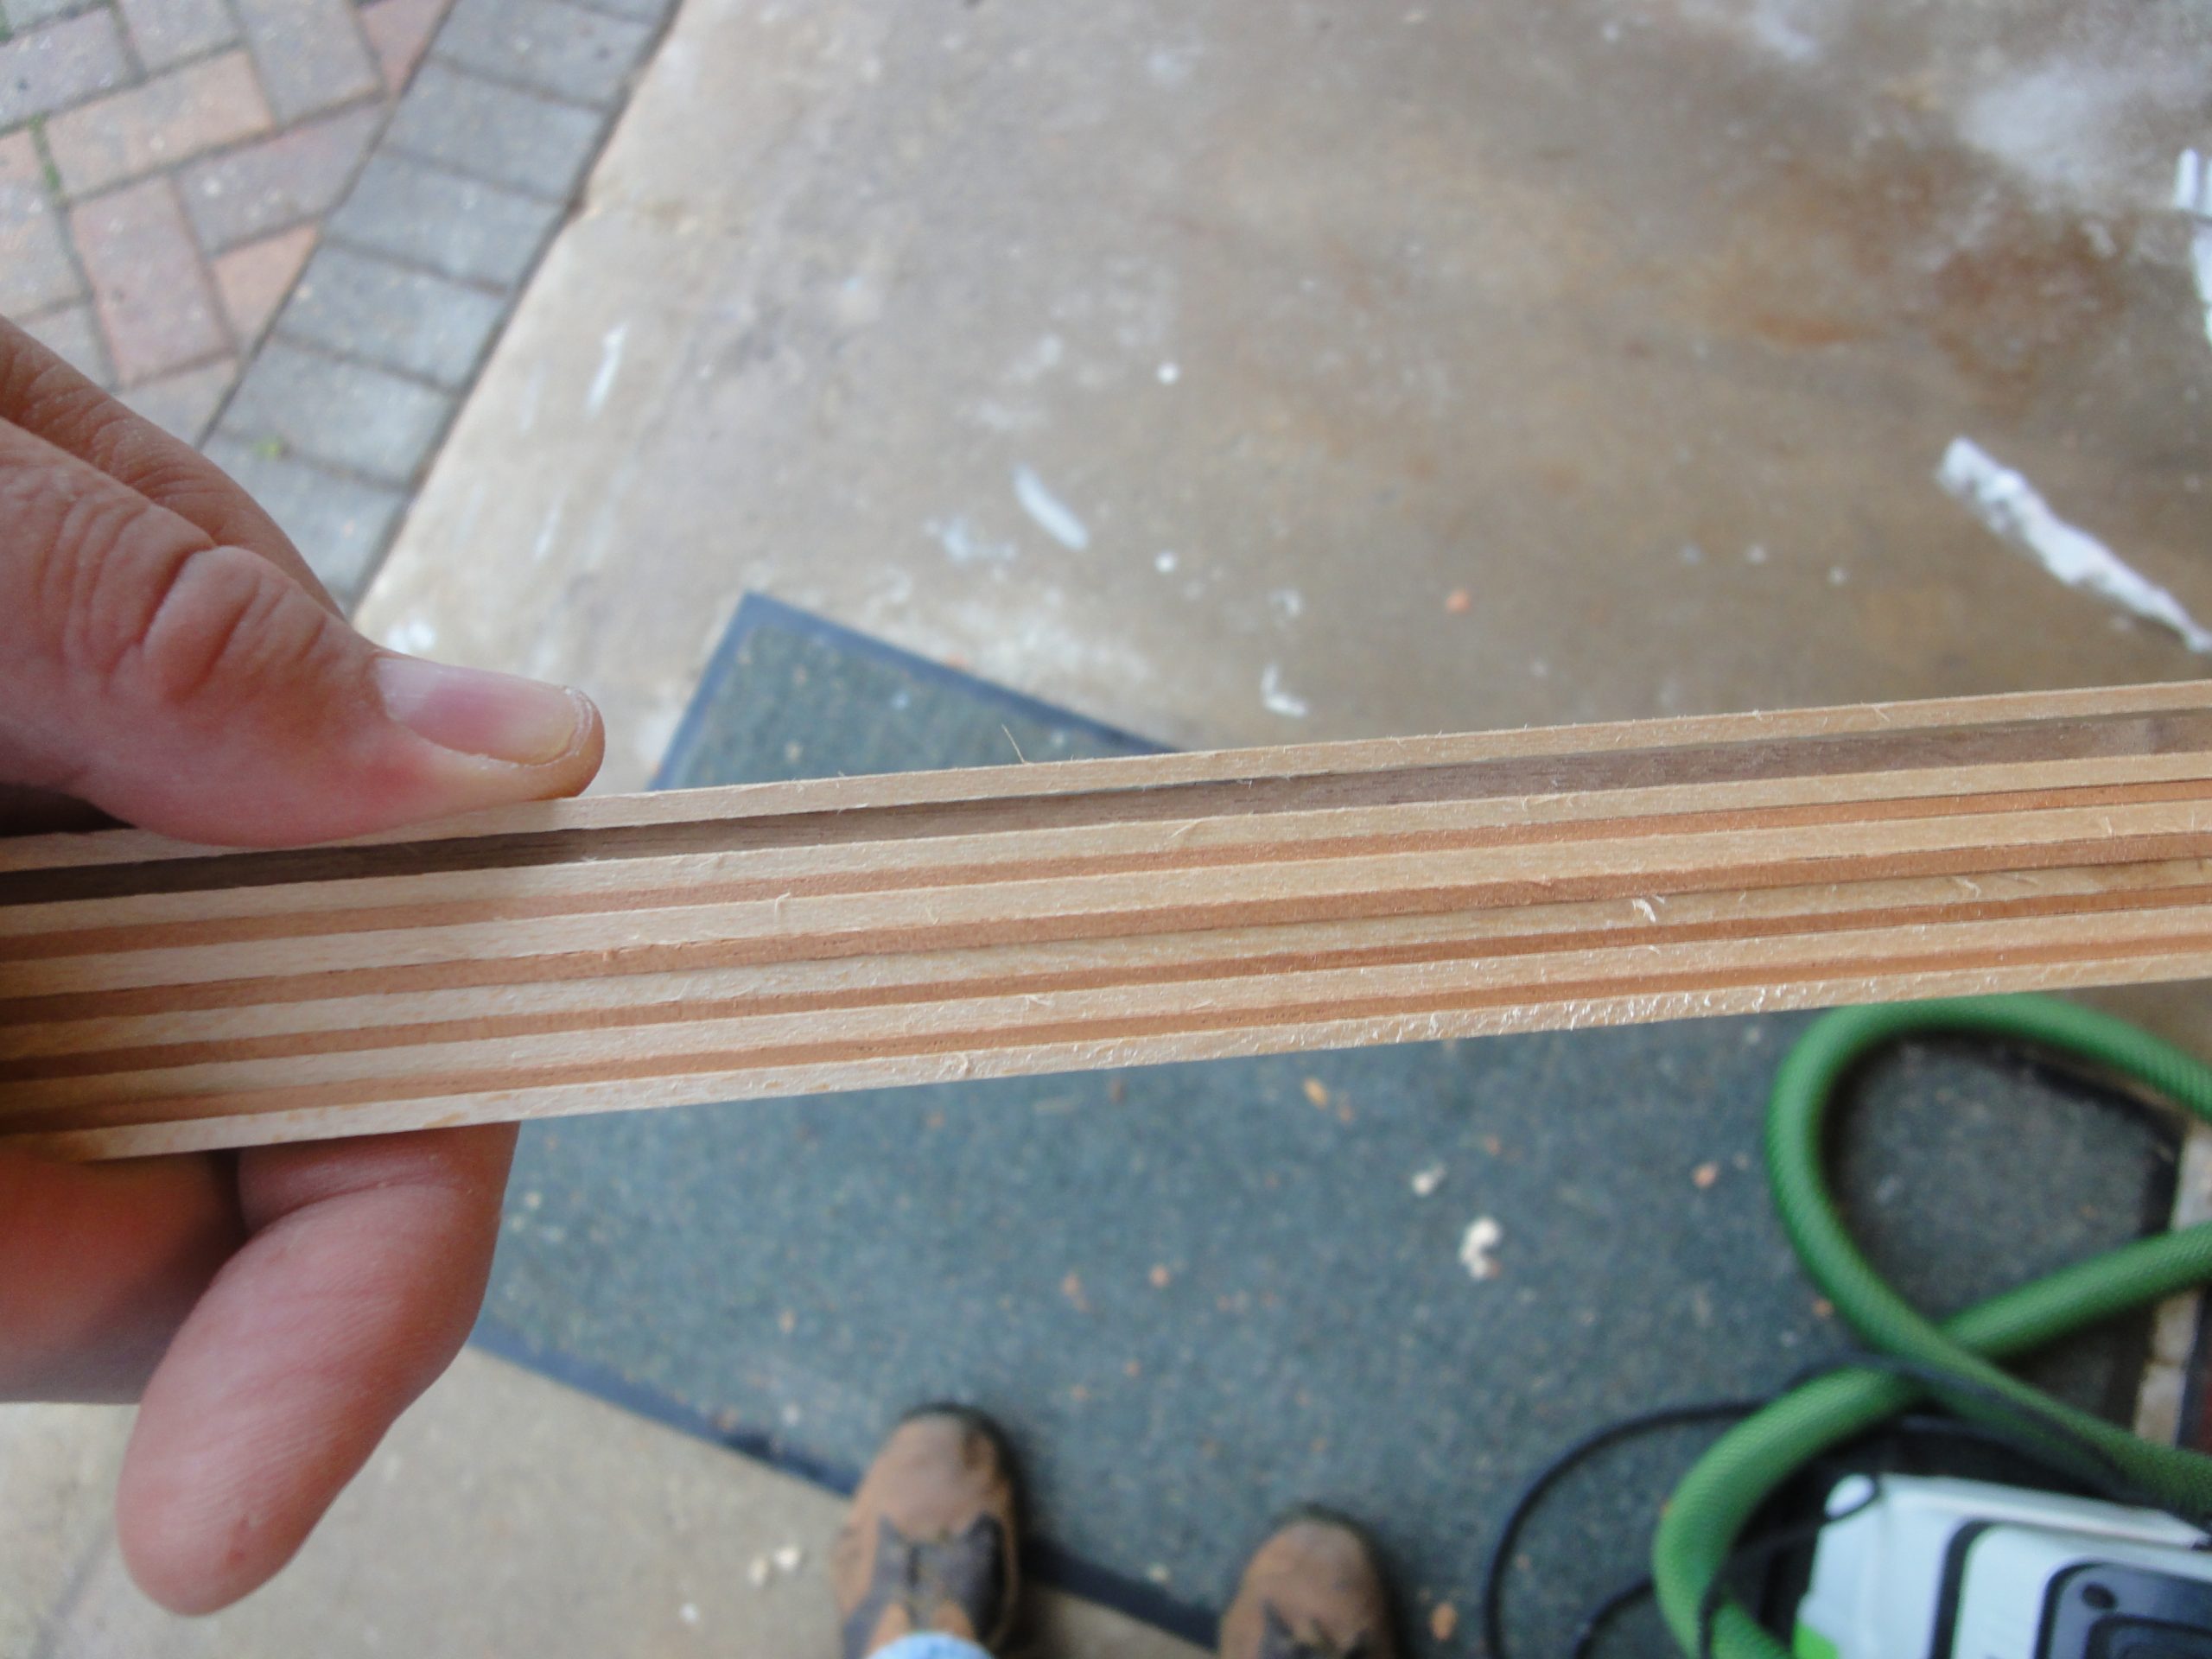
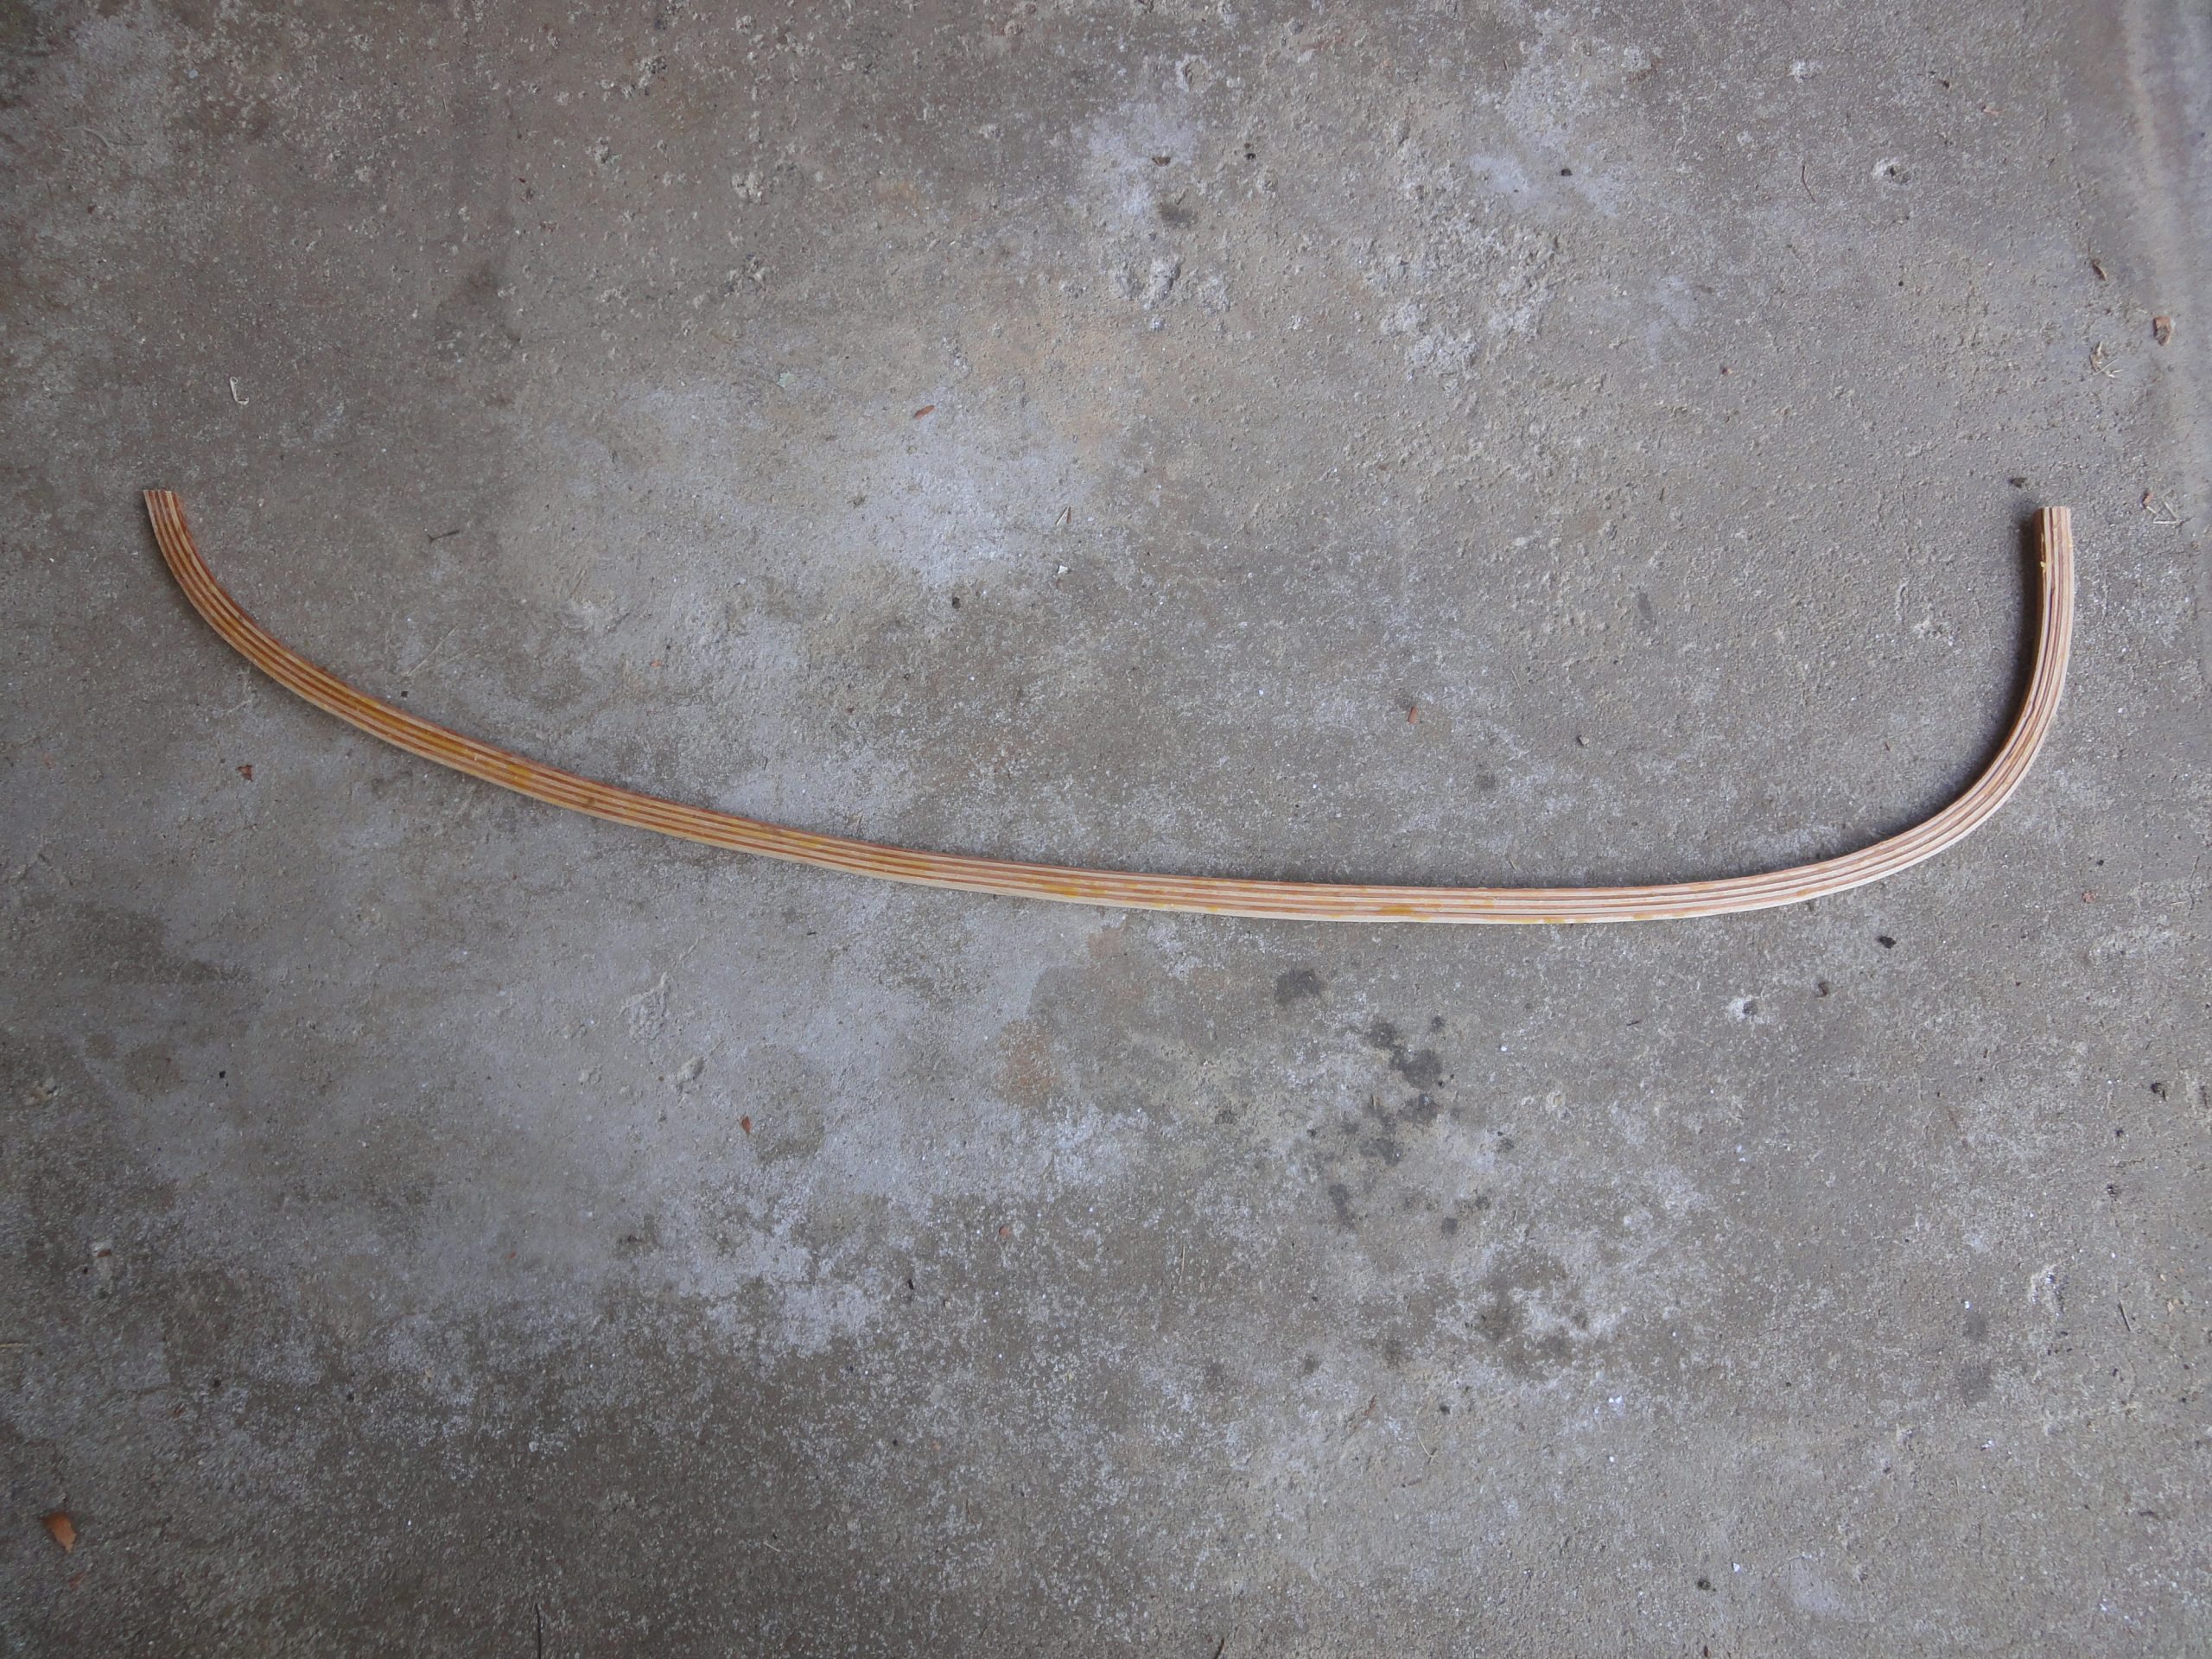
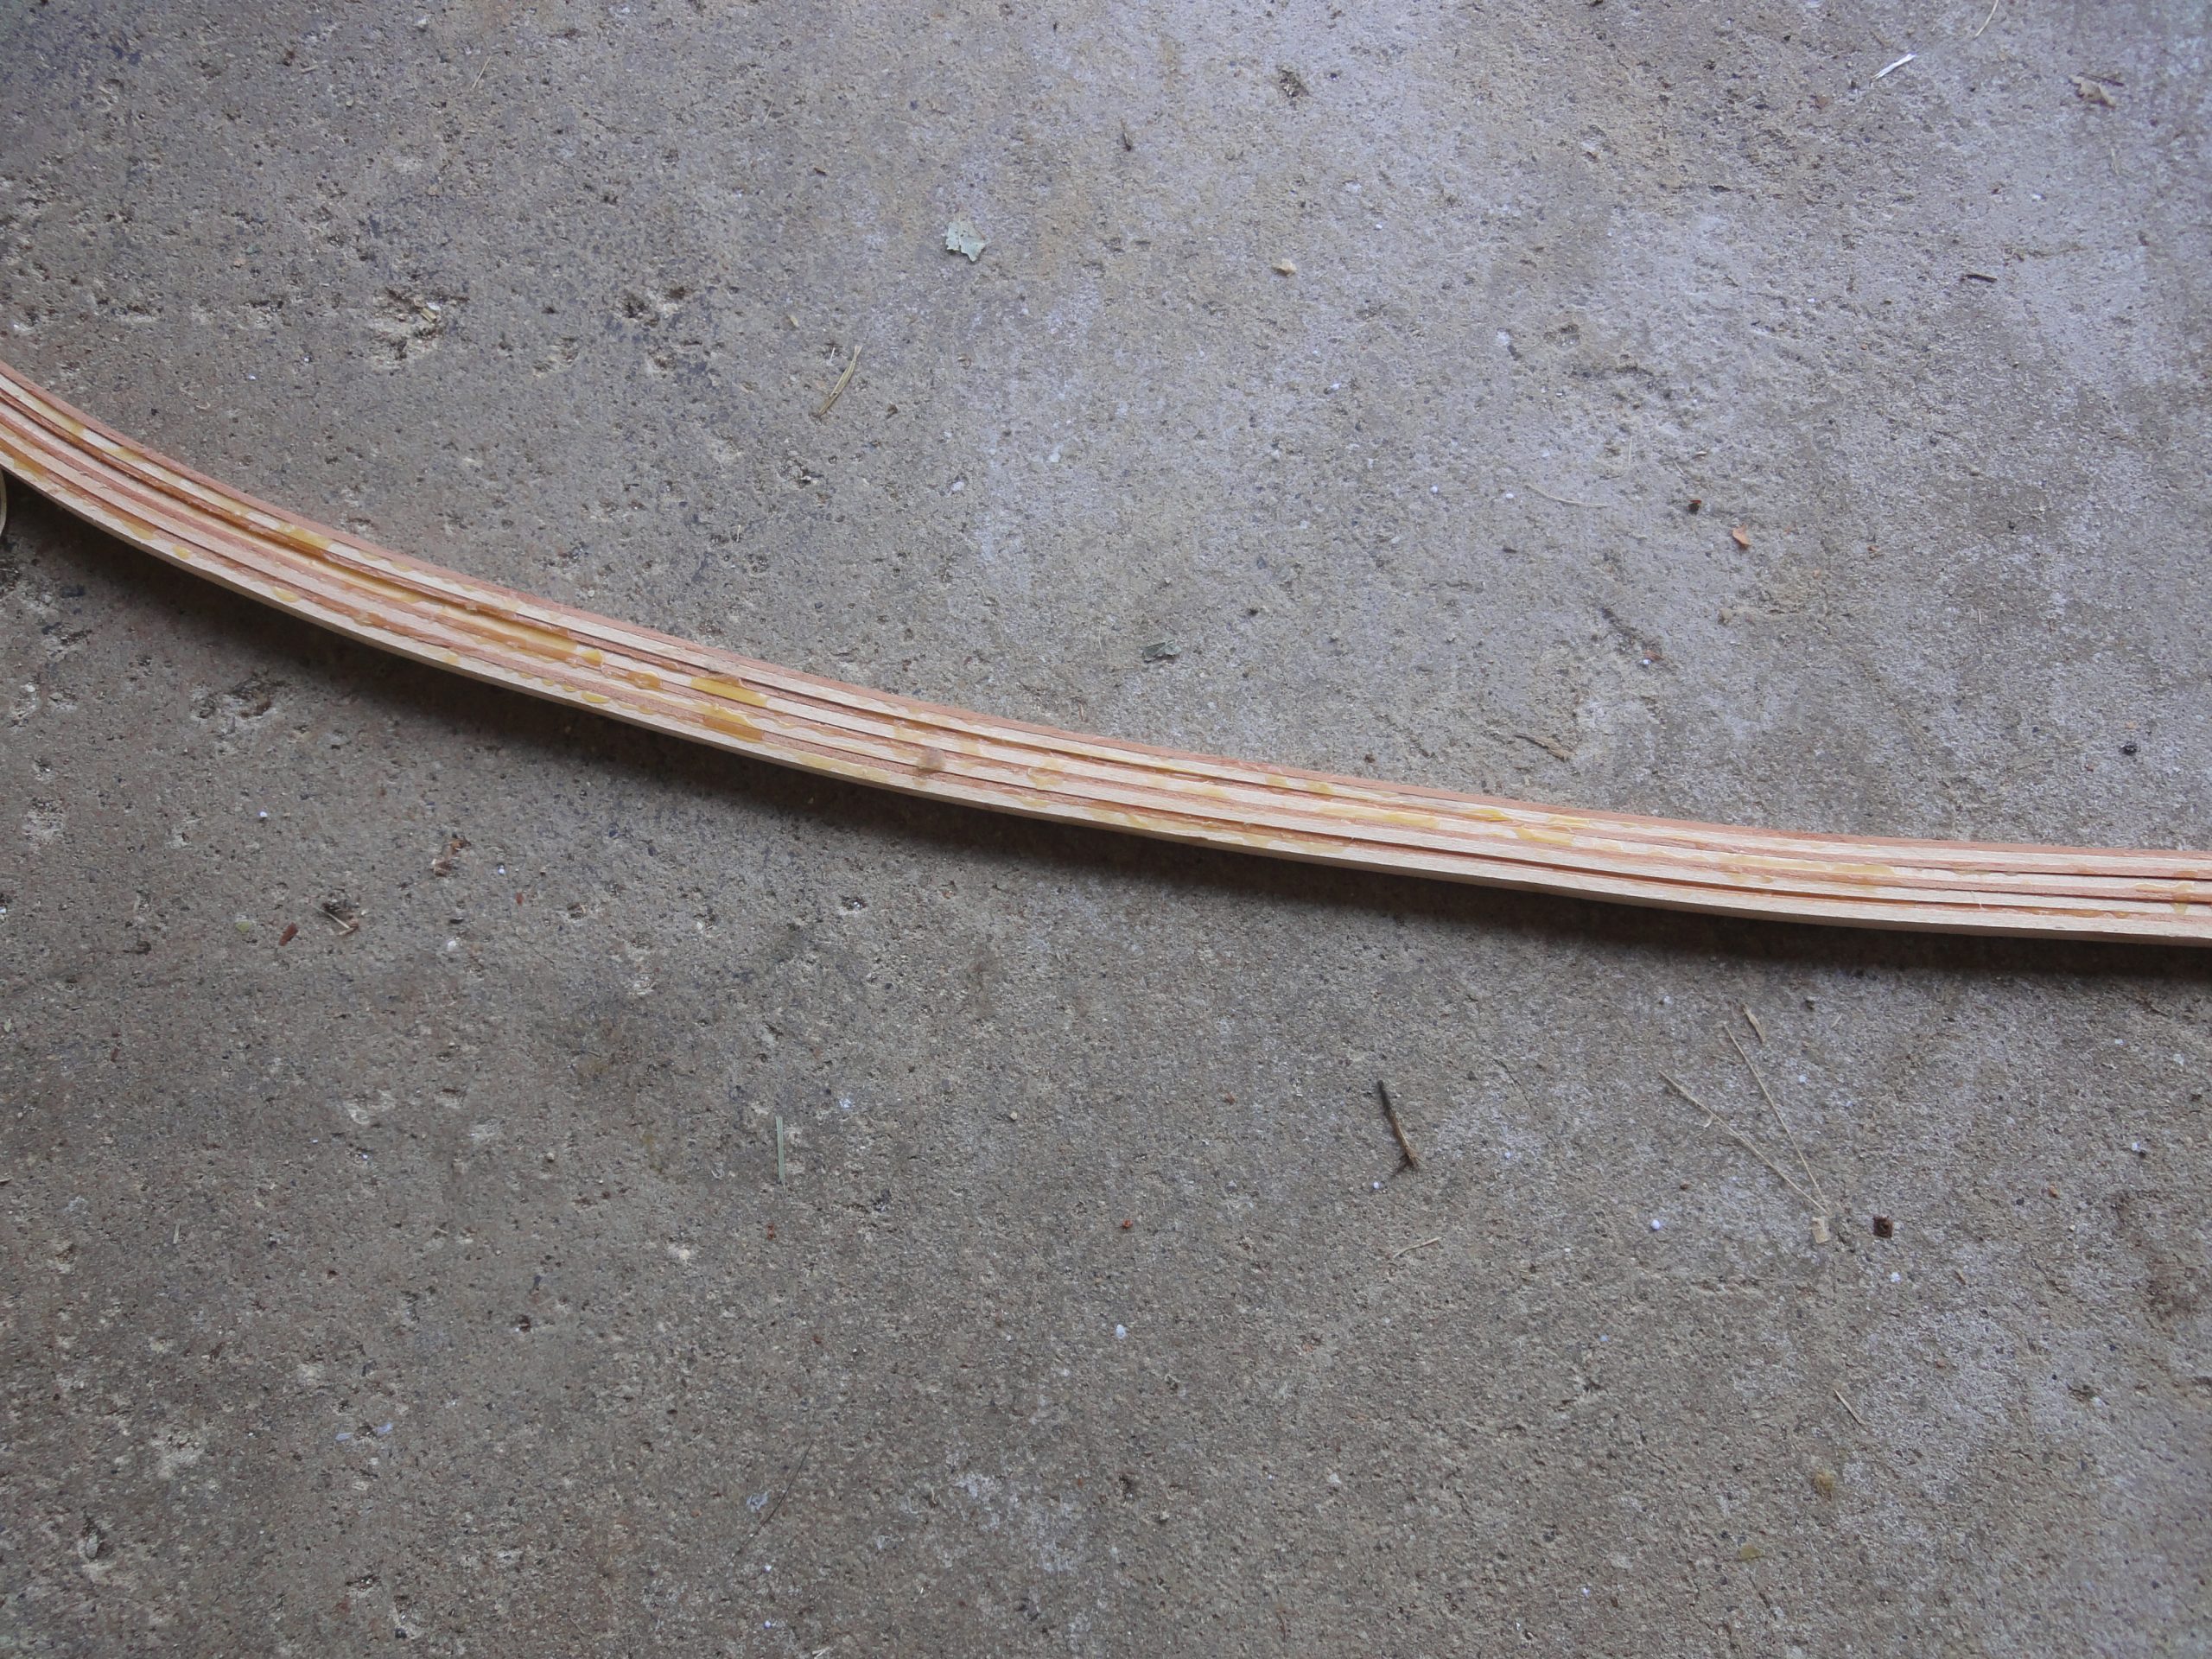
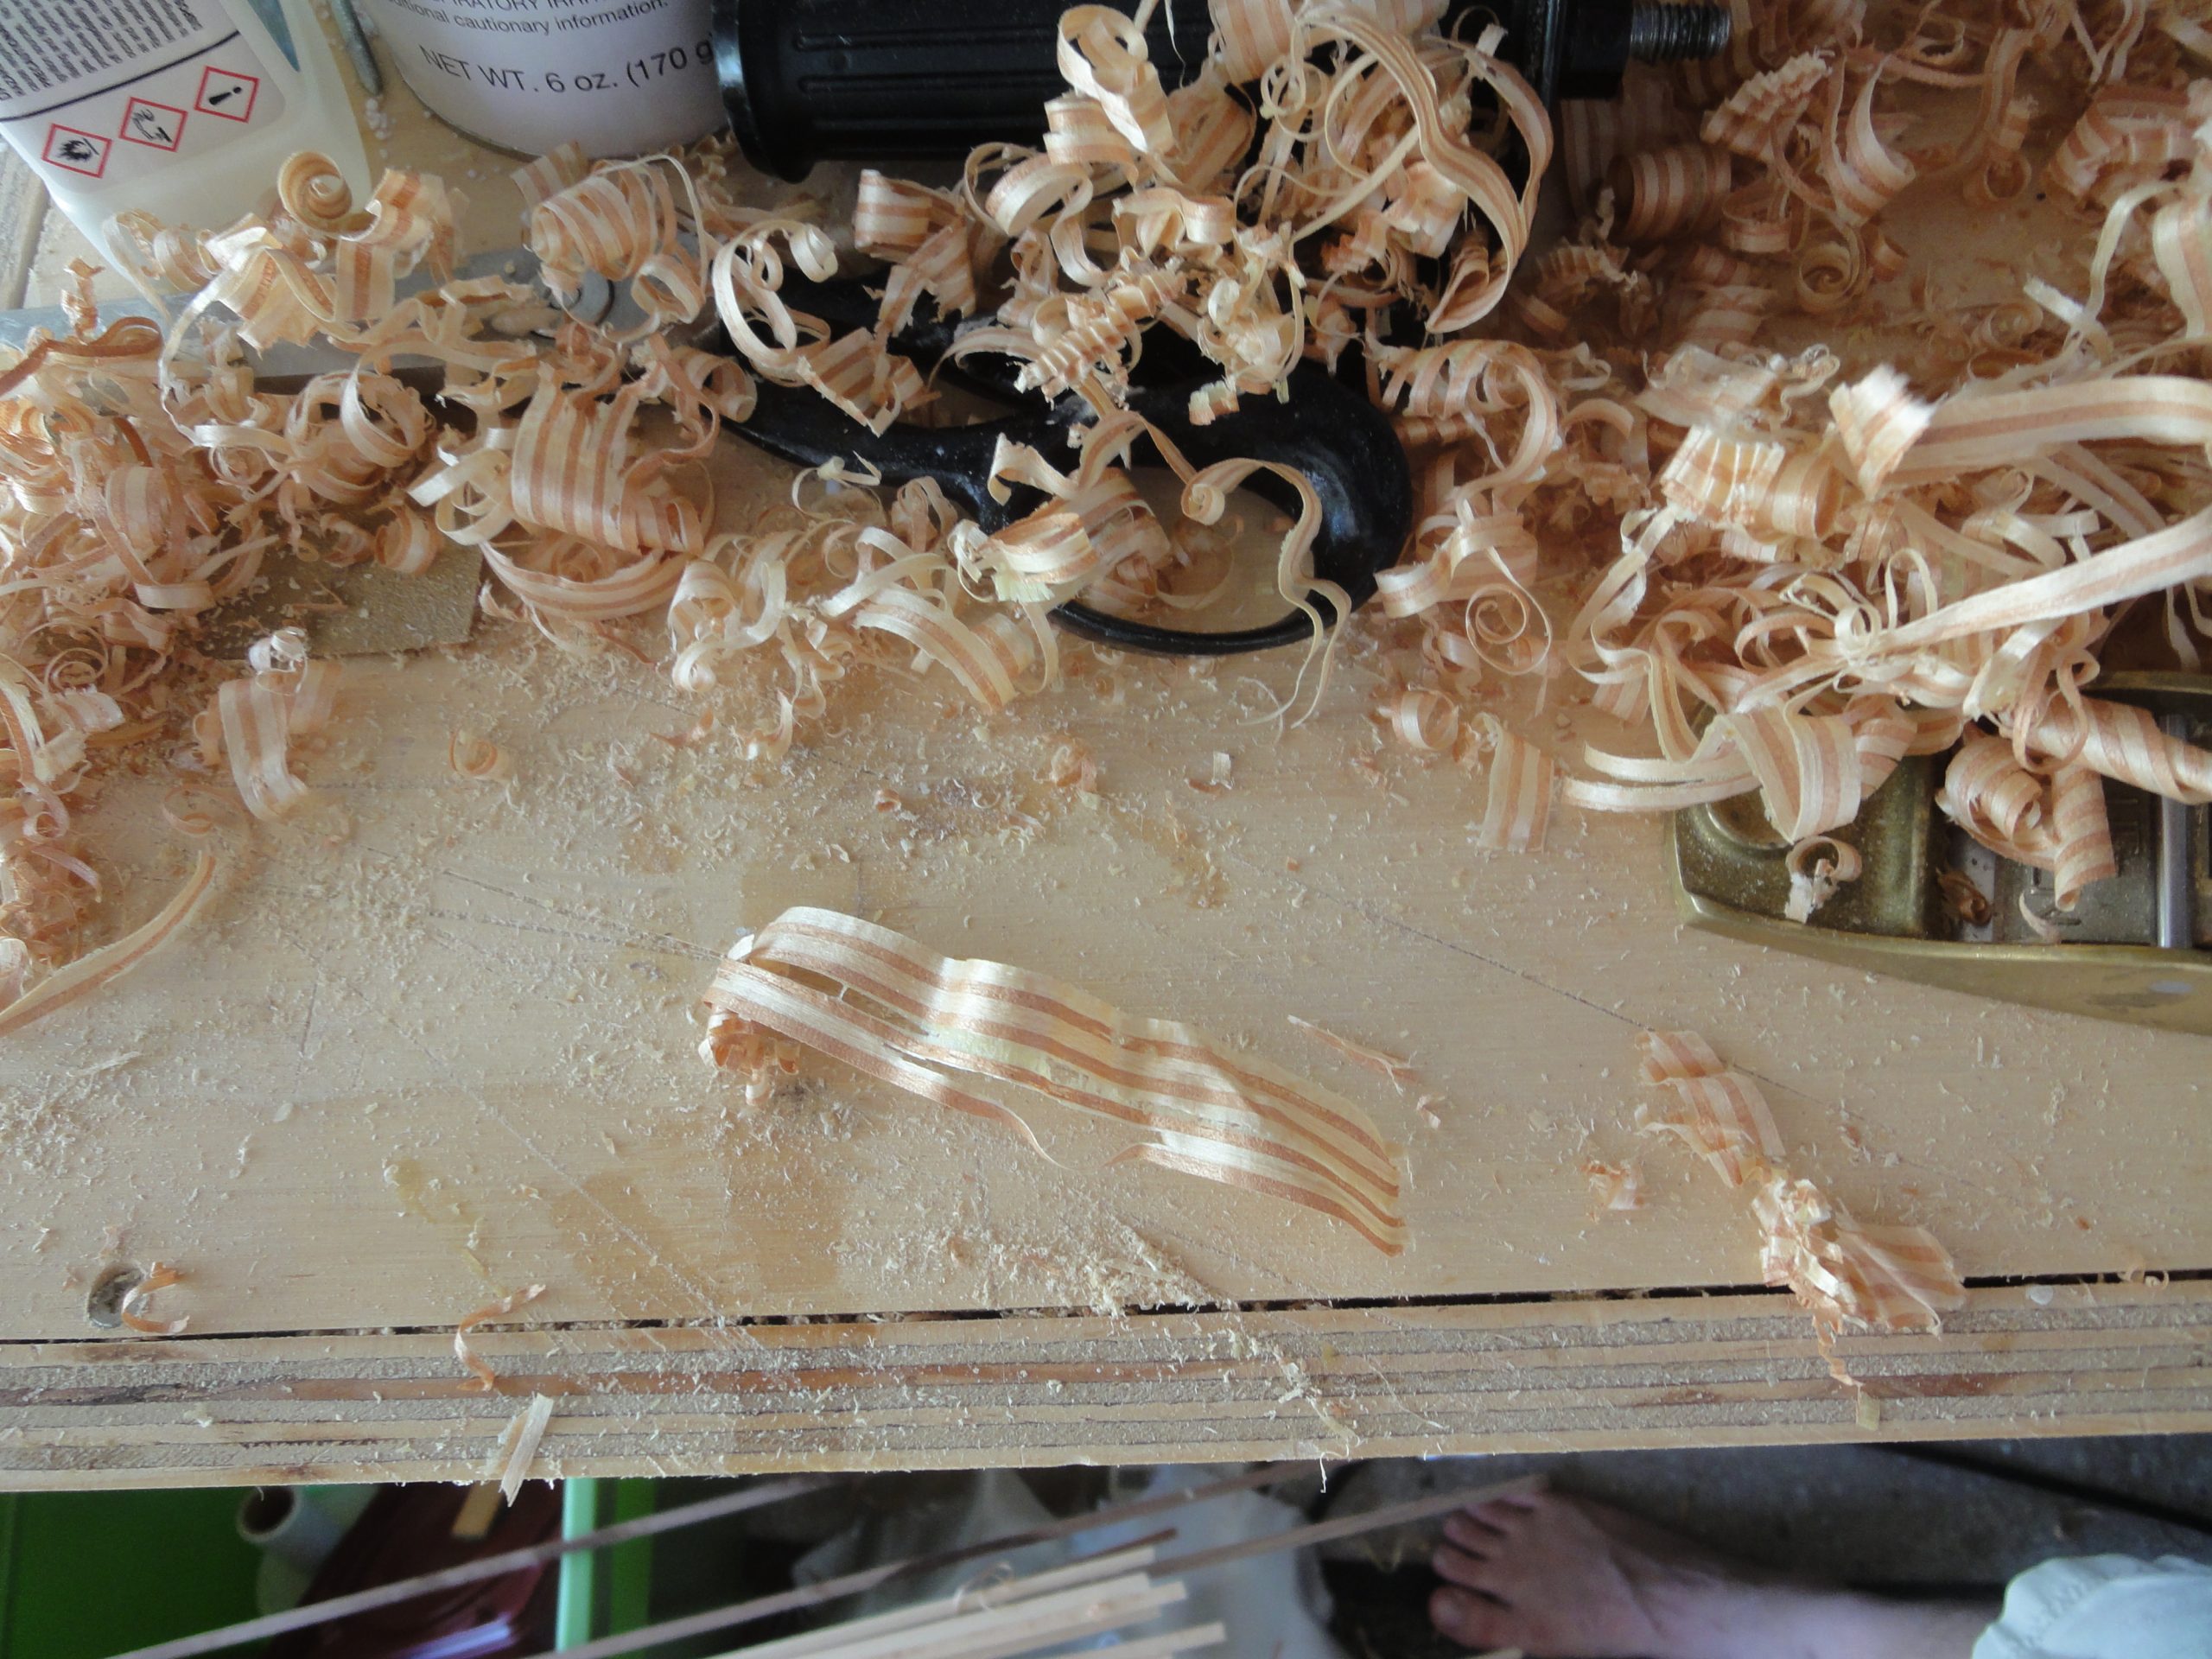
I allowed a full overnight dry just to ensure all would be good. The strips actually held the shape pretty closely after removing the clamps. Of course with all the glue there was some clean up required so I shaved each one lightly with the block plane until both sides were smooth. In the process I created a bunch of wood “bacon” shavings.
Next I’ll need to fiberglass the lip to strengthen it and then fasten it to riser, perform some more clean up and then finally fiberglass over the whole area.