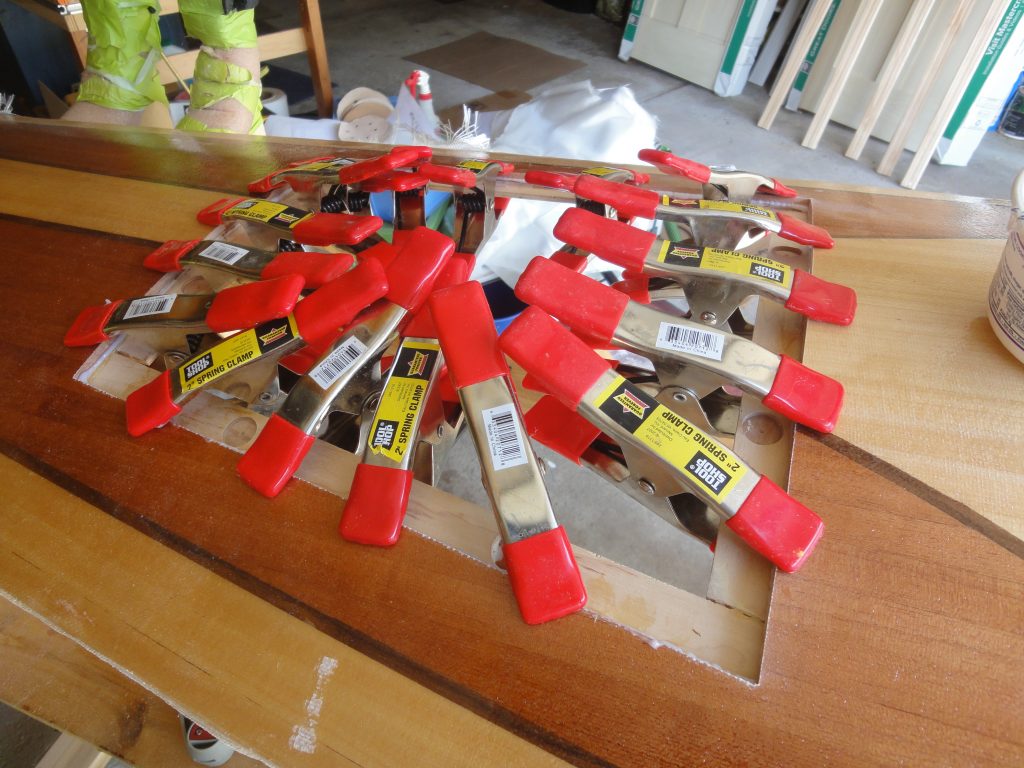
Just a bit of progress today but even that took some time. I took the hatch lip assembly and went ahead and planed/sanded the edges. I also took the time to bevel the outside corners where, on the underside, it goes from vertical to horizontal. The main goal was to avoid a sharp corner as later fiberglass is going to be applied to this.
I also glued on a little thin “patch” over the hole that went all the way through. It will act as a backer to hold the epoxy later and at that time can be sanded down or even sanded off when the epoxy dries.
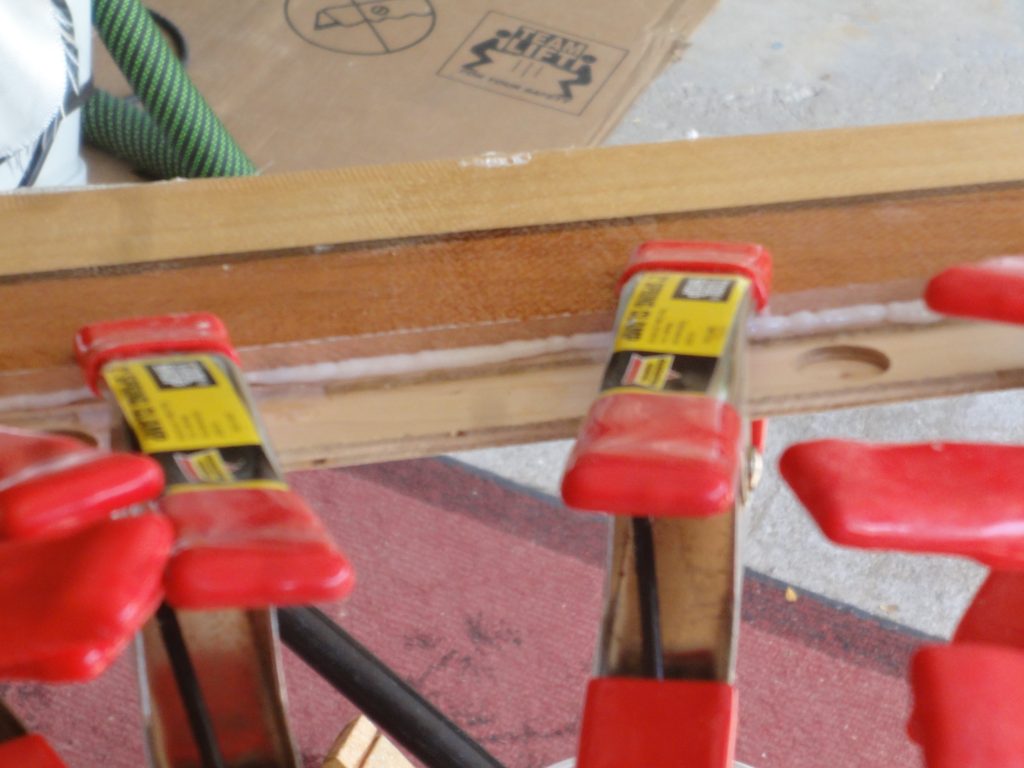
The standard mix of epoxy with silica adhesive filler and microfiber reinforcement was mixed up. I had a jelly-ish consistency and applied it to the part of the lip assembly that would contact the underside of the deck. Everything was carefully aligned as I clamped it in place. You can see a bit of squeeze out at the seam. This was carefully scraped away.
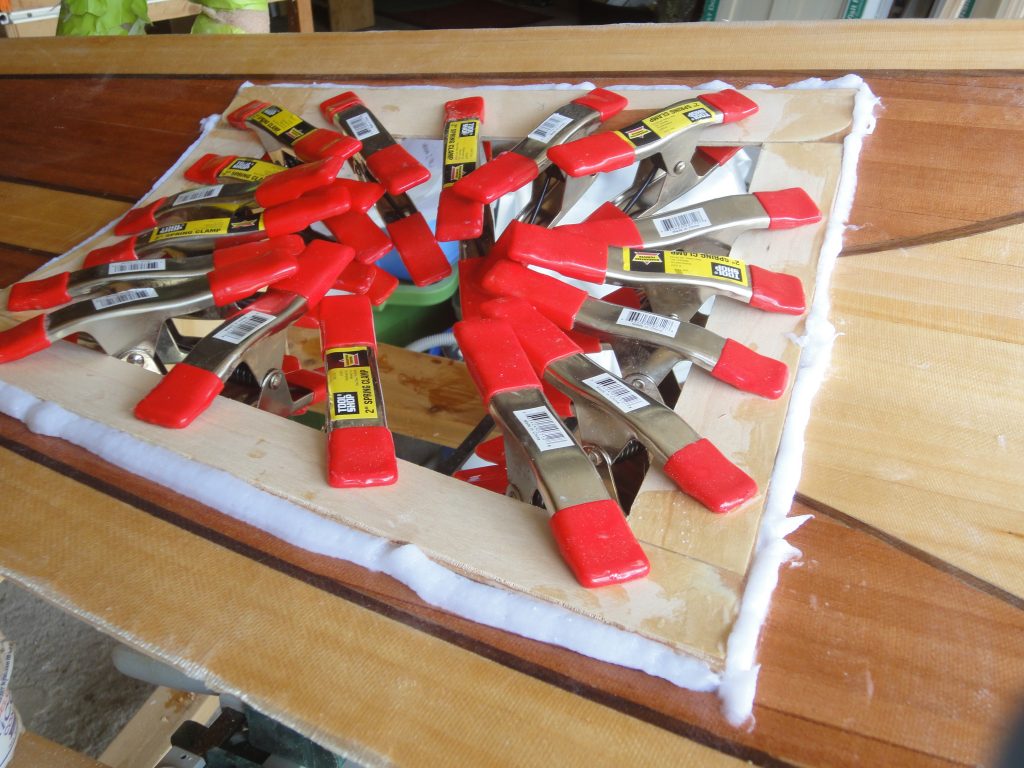
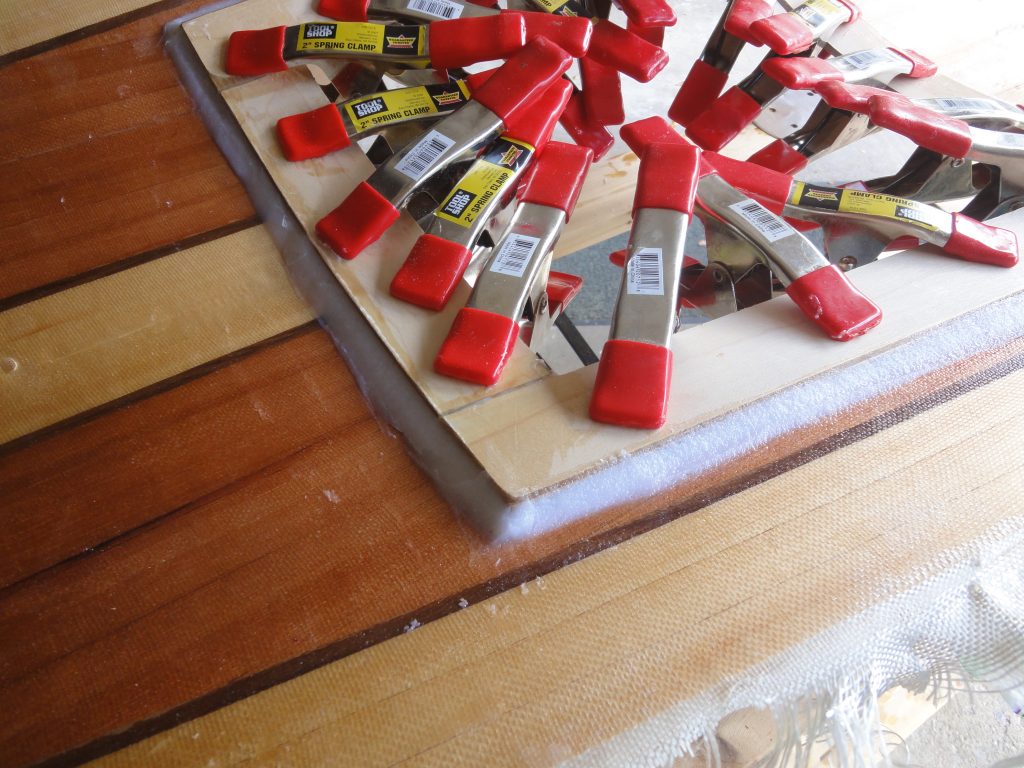
I then flipped the deck over so I could easily work on the underside. A thicker mix of the epoxy was made, similar to peanut butter. (no, I wasn’t wanting a peanut butter and jelly sandwich) This was put in a bag and piped along the underside corner. Using the squeegee and my (gloved) fingers I was able to smooth and shape it into a nice bevel. Directly above the epoxy bevel you can kind of see where I beveled the corner of the wood. This will allow a piece of fiberglass to wrap around and transition to the deck with out having any sharp corners.
While progress is good, it’s pretty obvious the changing of the seasons is going to push completion into 2021. I could maybe try to rush it this year, but then I need an inspection to get a serial number to then get permits, etc. Just not worth it when I won’t even really get to use it this year. I’d rather take my time, do what I still can this year and then wrap it up in the spring.
Off the top of my head I still have the following to do:
- Finish the hatch
- Make two bulkheads (make, sand and fiberglass)
- Put a hatch in one of them
- Order the seat
- Install the foot braces
- Interior: At least 1 more coat of epoxy and probably after sanding that I’ll still need a very light second one.
- End pours
- Carry handles at each end
- Varnish the interior (to protect the epoxy, UV protection only applicable in the cockpit area)
- Attach the deck to the hull
- Install the bulkheads
- Install the seat
- Add extra fiberglass layer to the bow/stern stem areas.
- Exterior: At least 1 more coat of epoxy and probably after sanding that I’ll still need a very light second one.
- Attach deck line assemblies
- Final sanding for varnishing
- 3-5 coats (estimated) varnish on the exterior, sanding between some coats.
- Install deck lines and bungie cords.
- Contact IDNR to come look at it and acknowledge that yes it is a boat. Have them assign me a serial number.
- Attach/engrave/??? the serial number to the hull.
- Go get it wet!
According to the law here, since it’s not a powered craft and under a certain length I don’t technically have to get a serial number. I definitely do not have to register it each year, that requirement was eliminated for craft like this a few years ago. However some of the local jurisdictions require a permit to use it on their lakes and the permit application requires a serial number. Also if I take it out of state (planned to take to the boundary waters in MN) and I don’t have it setup in my home state then technically I have to register it in that other state before use. So just to make it easier for me down the road I’ll jump through the hoops of getting a home built boat setup with an official serial number.
So, the end definitely is in sight, but still a distance off too.


