
This posting covers a handful of days of additional hatch work.
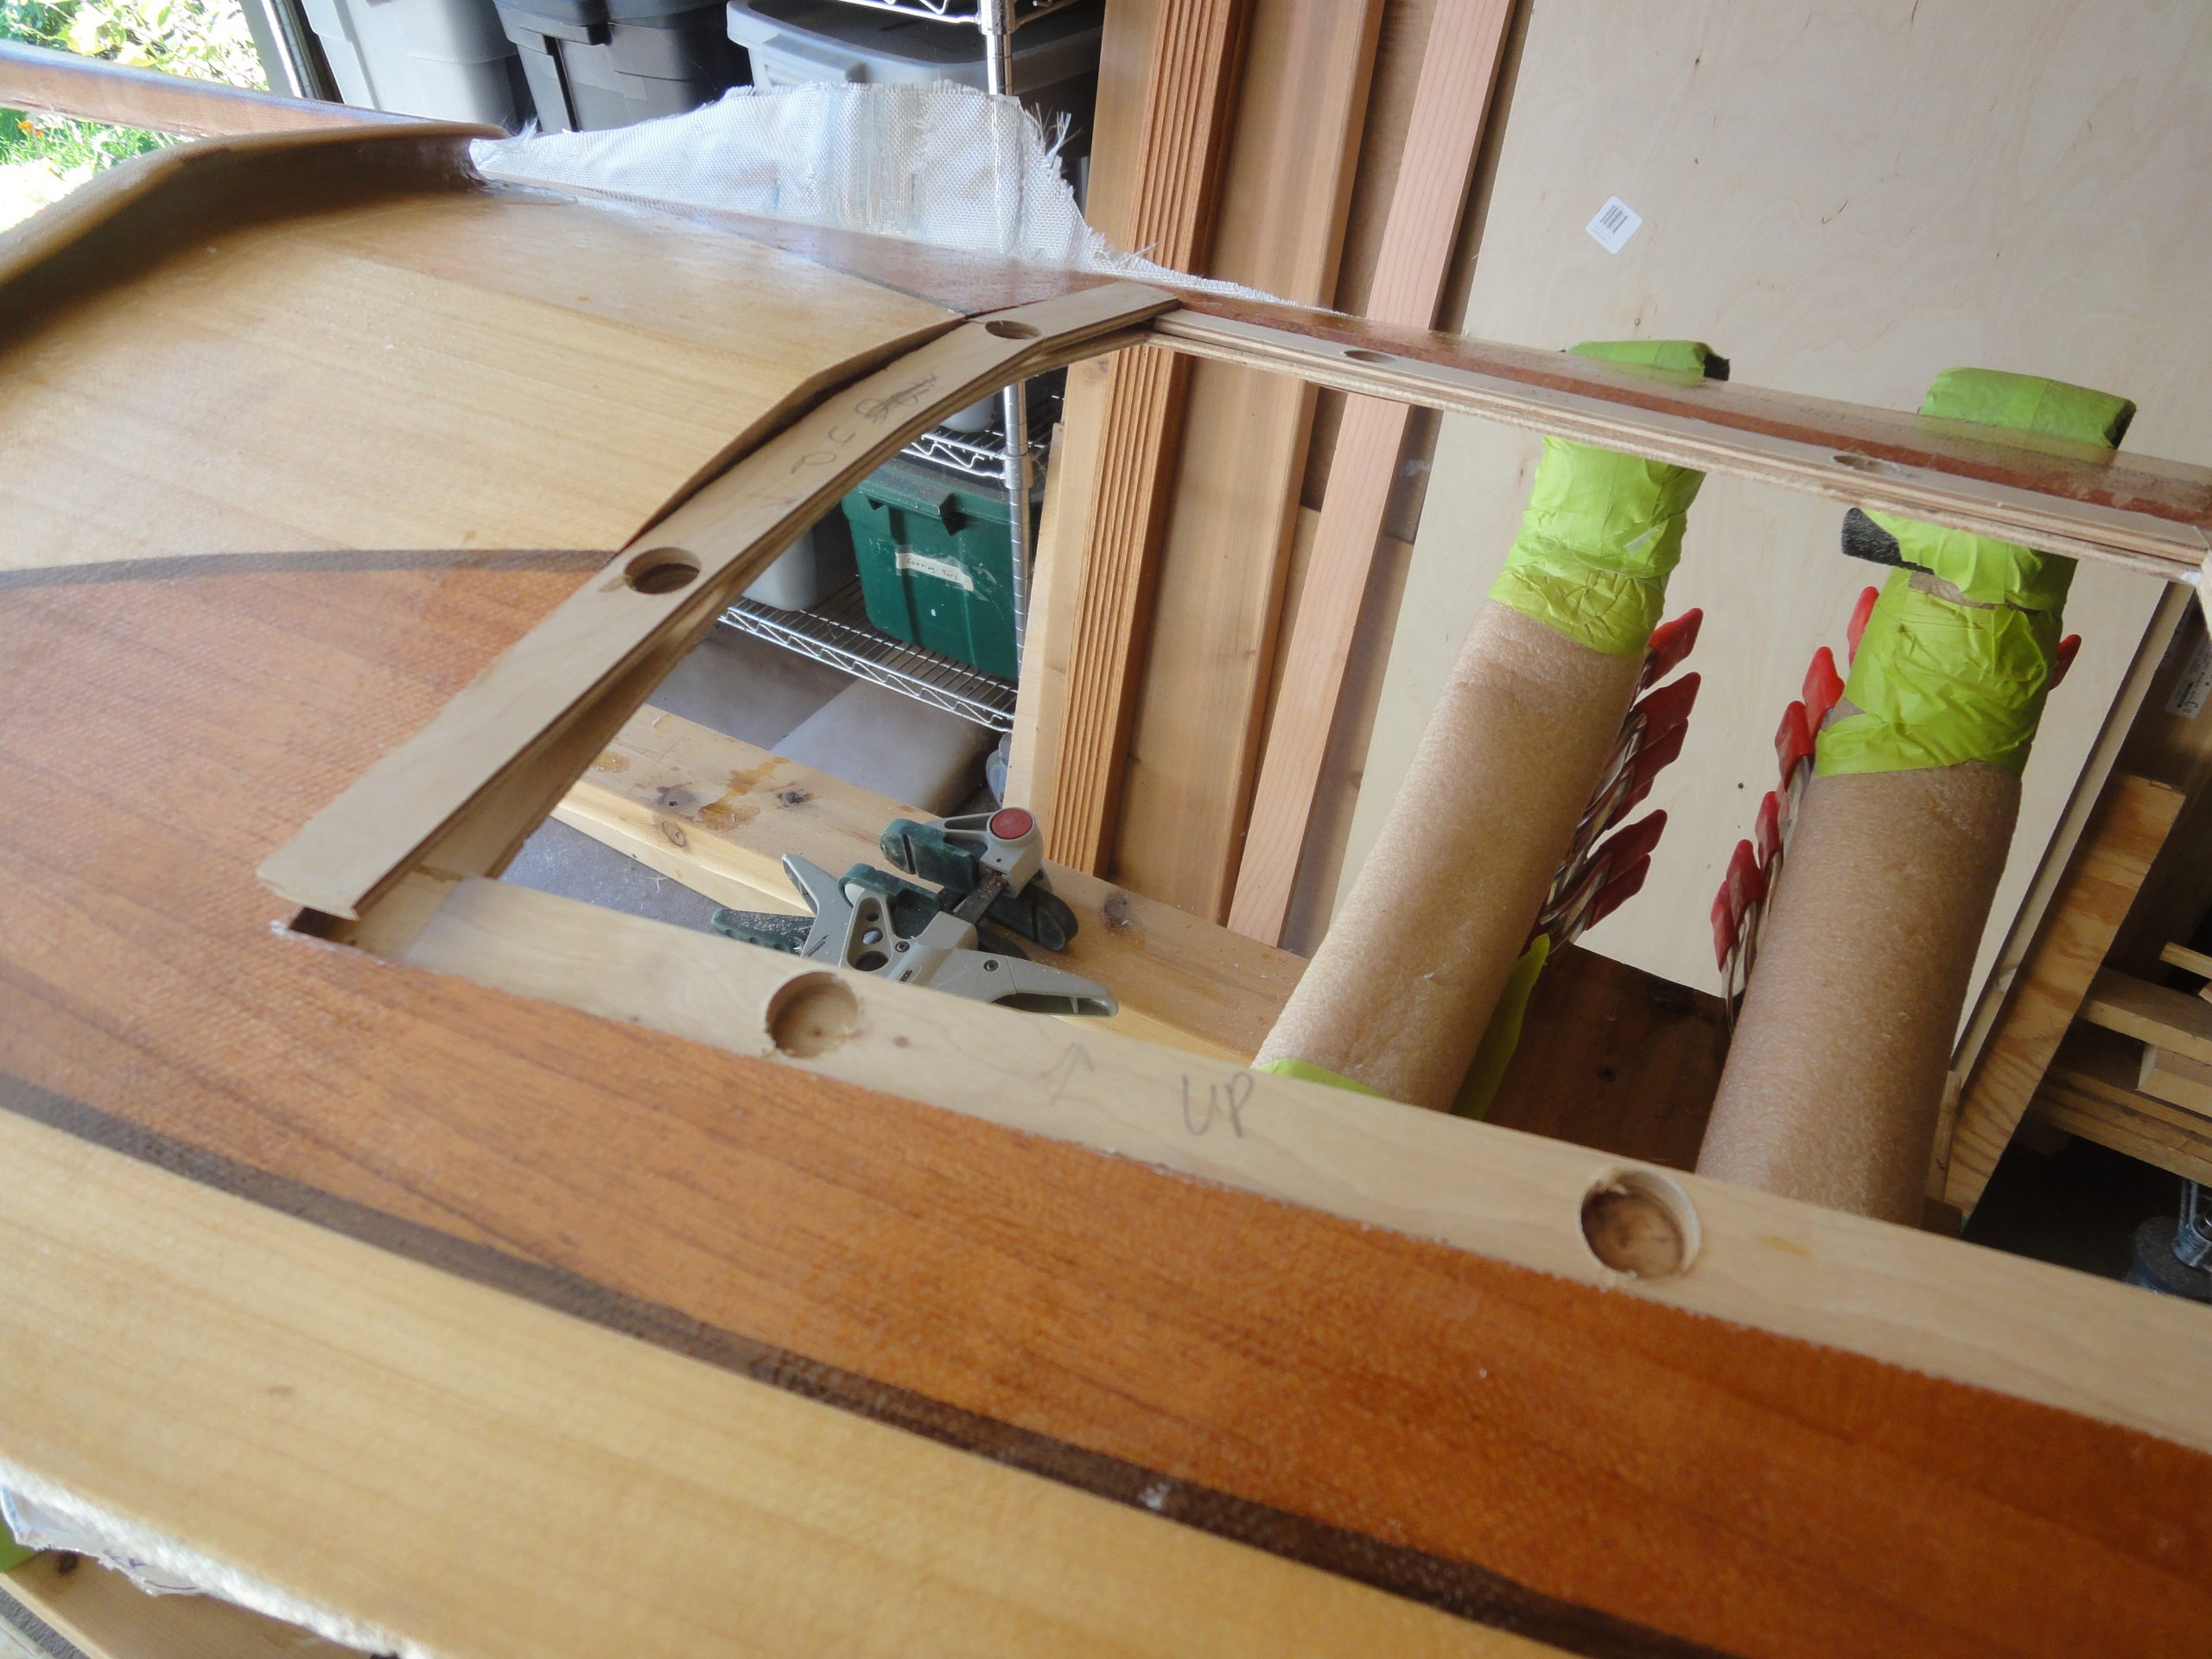
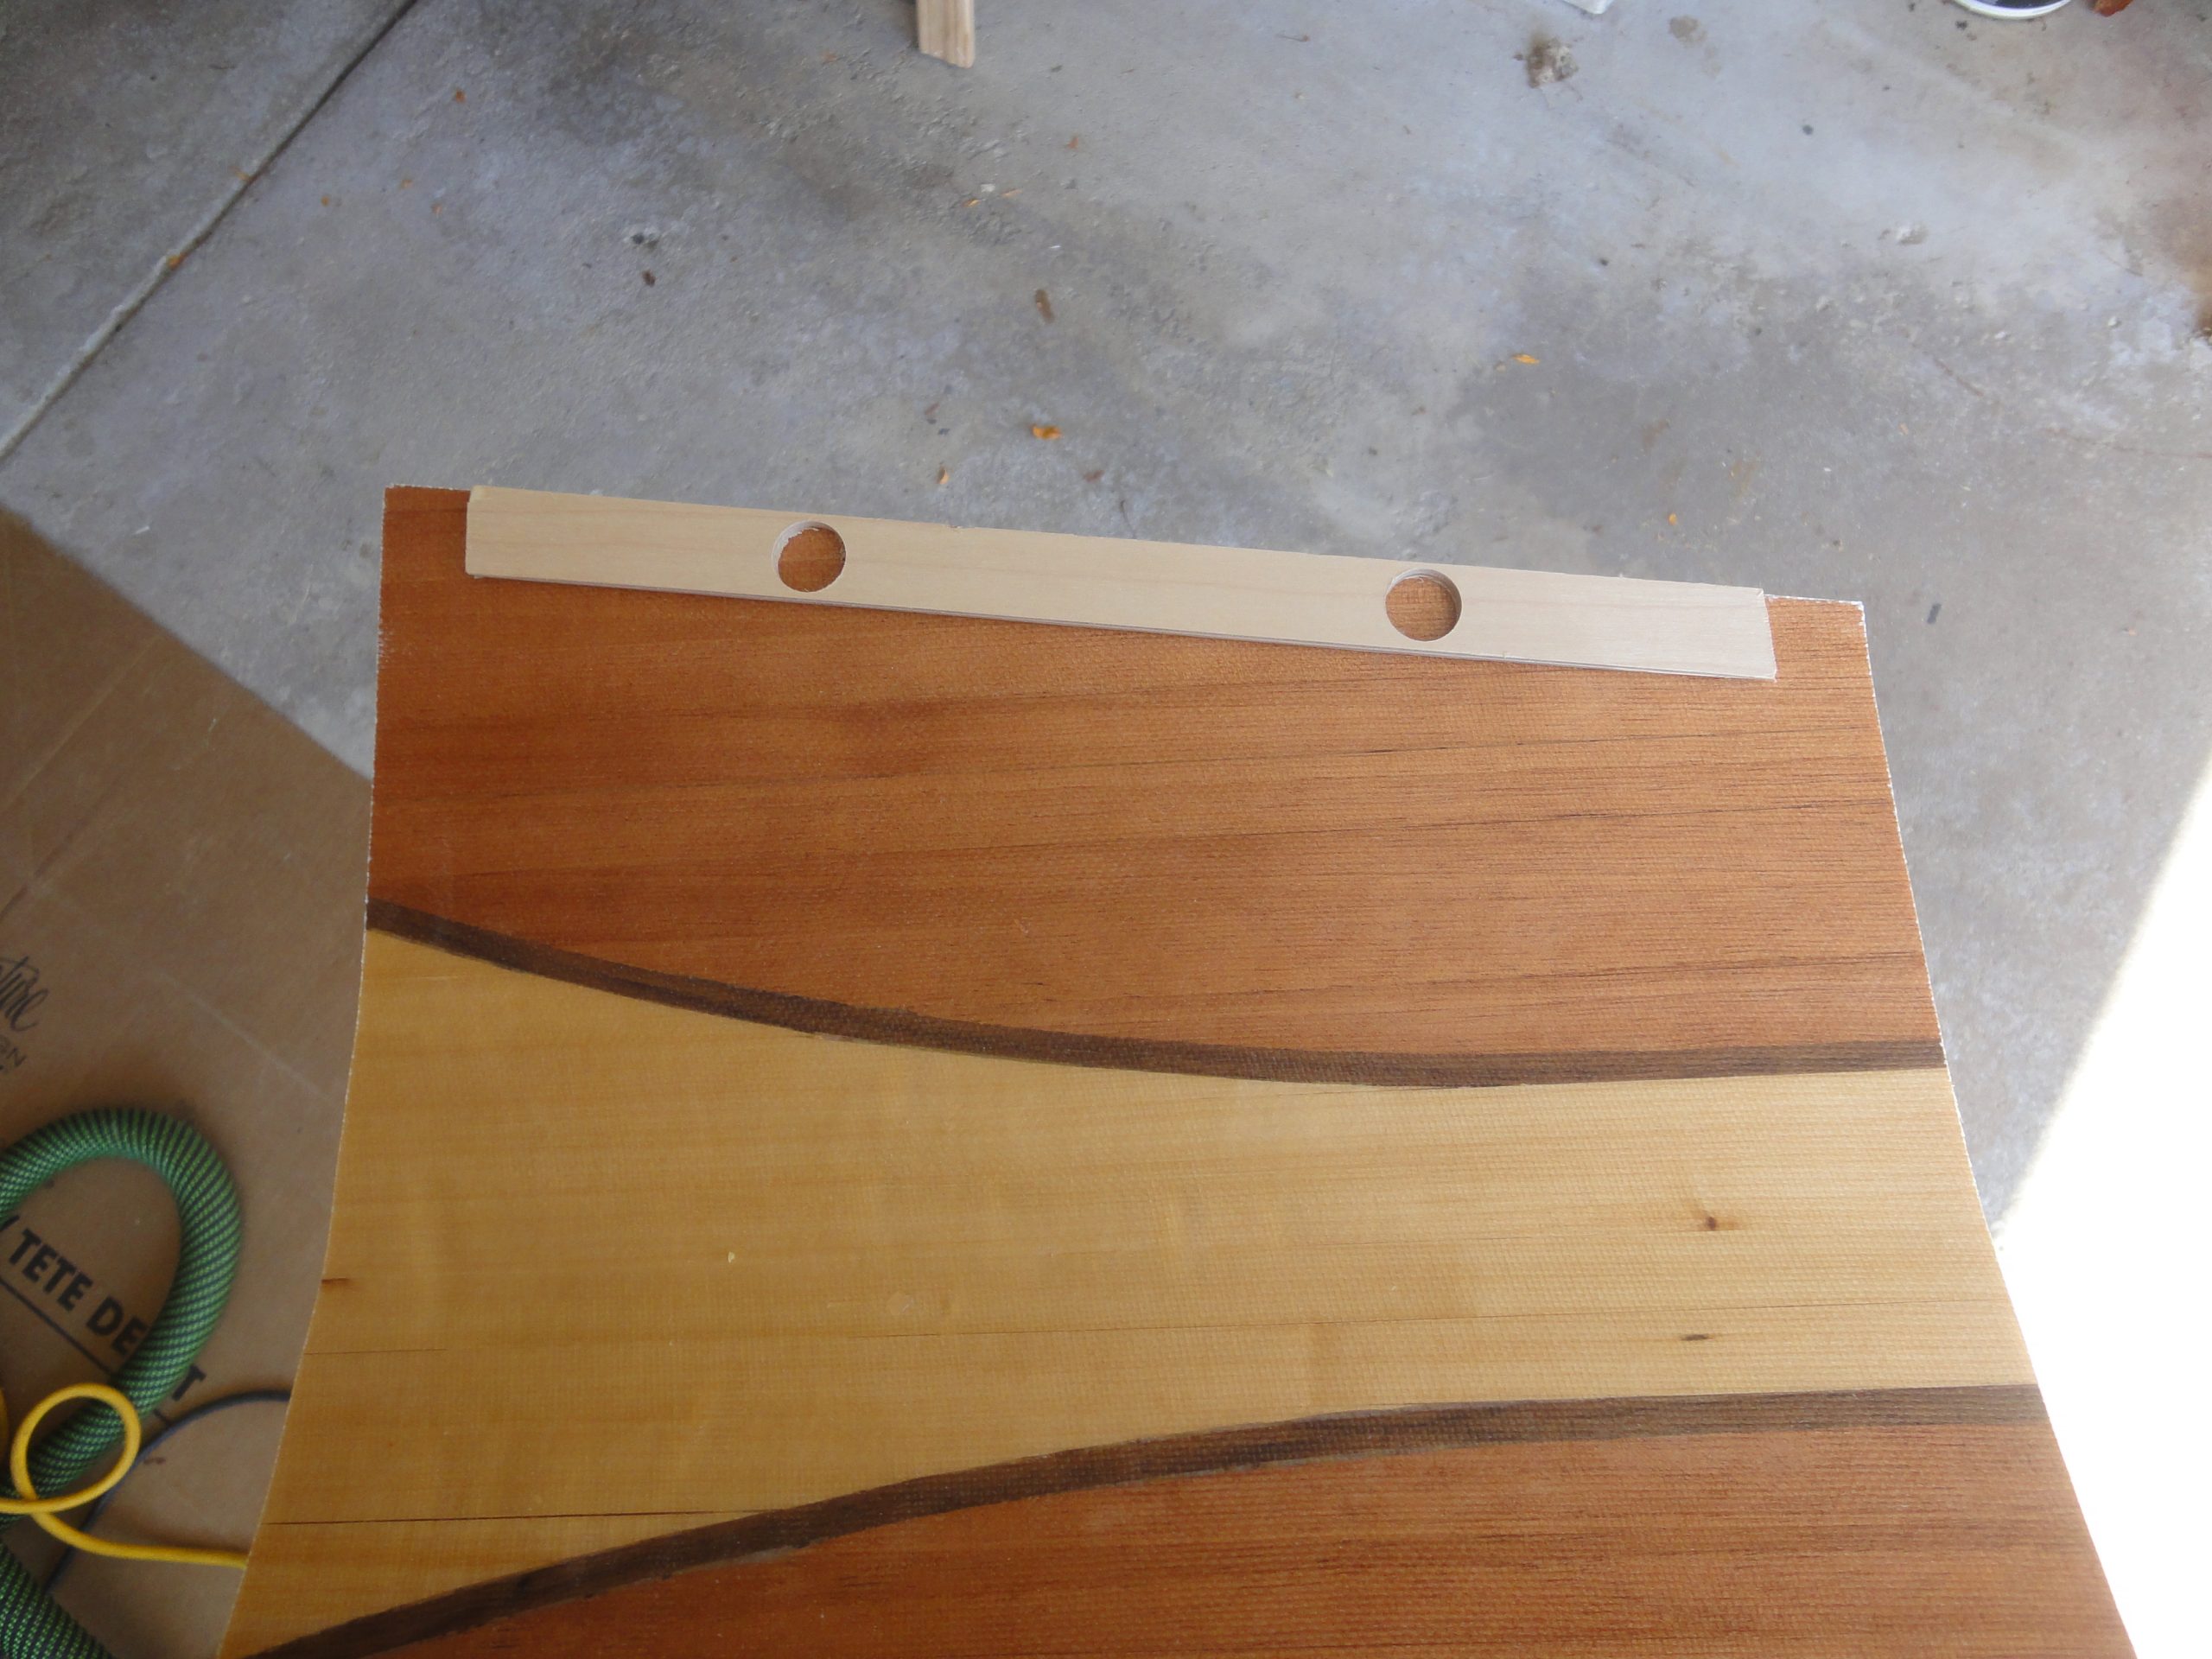
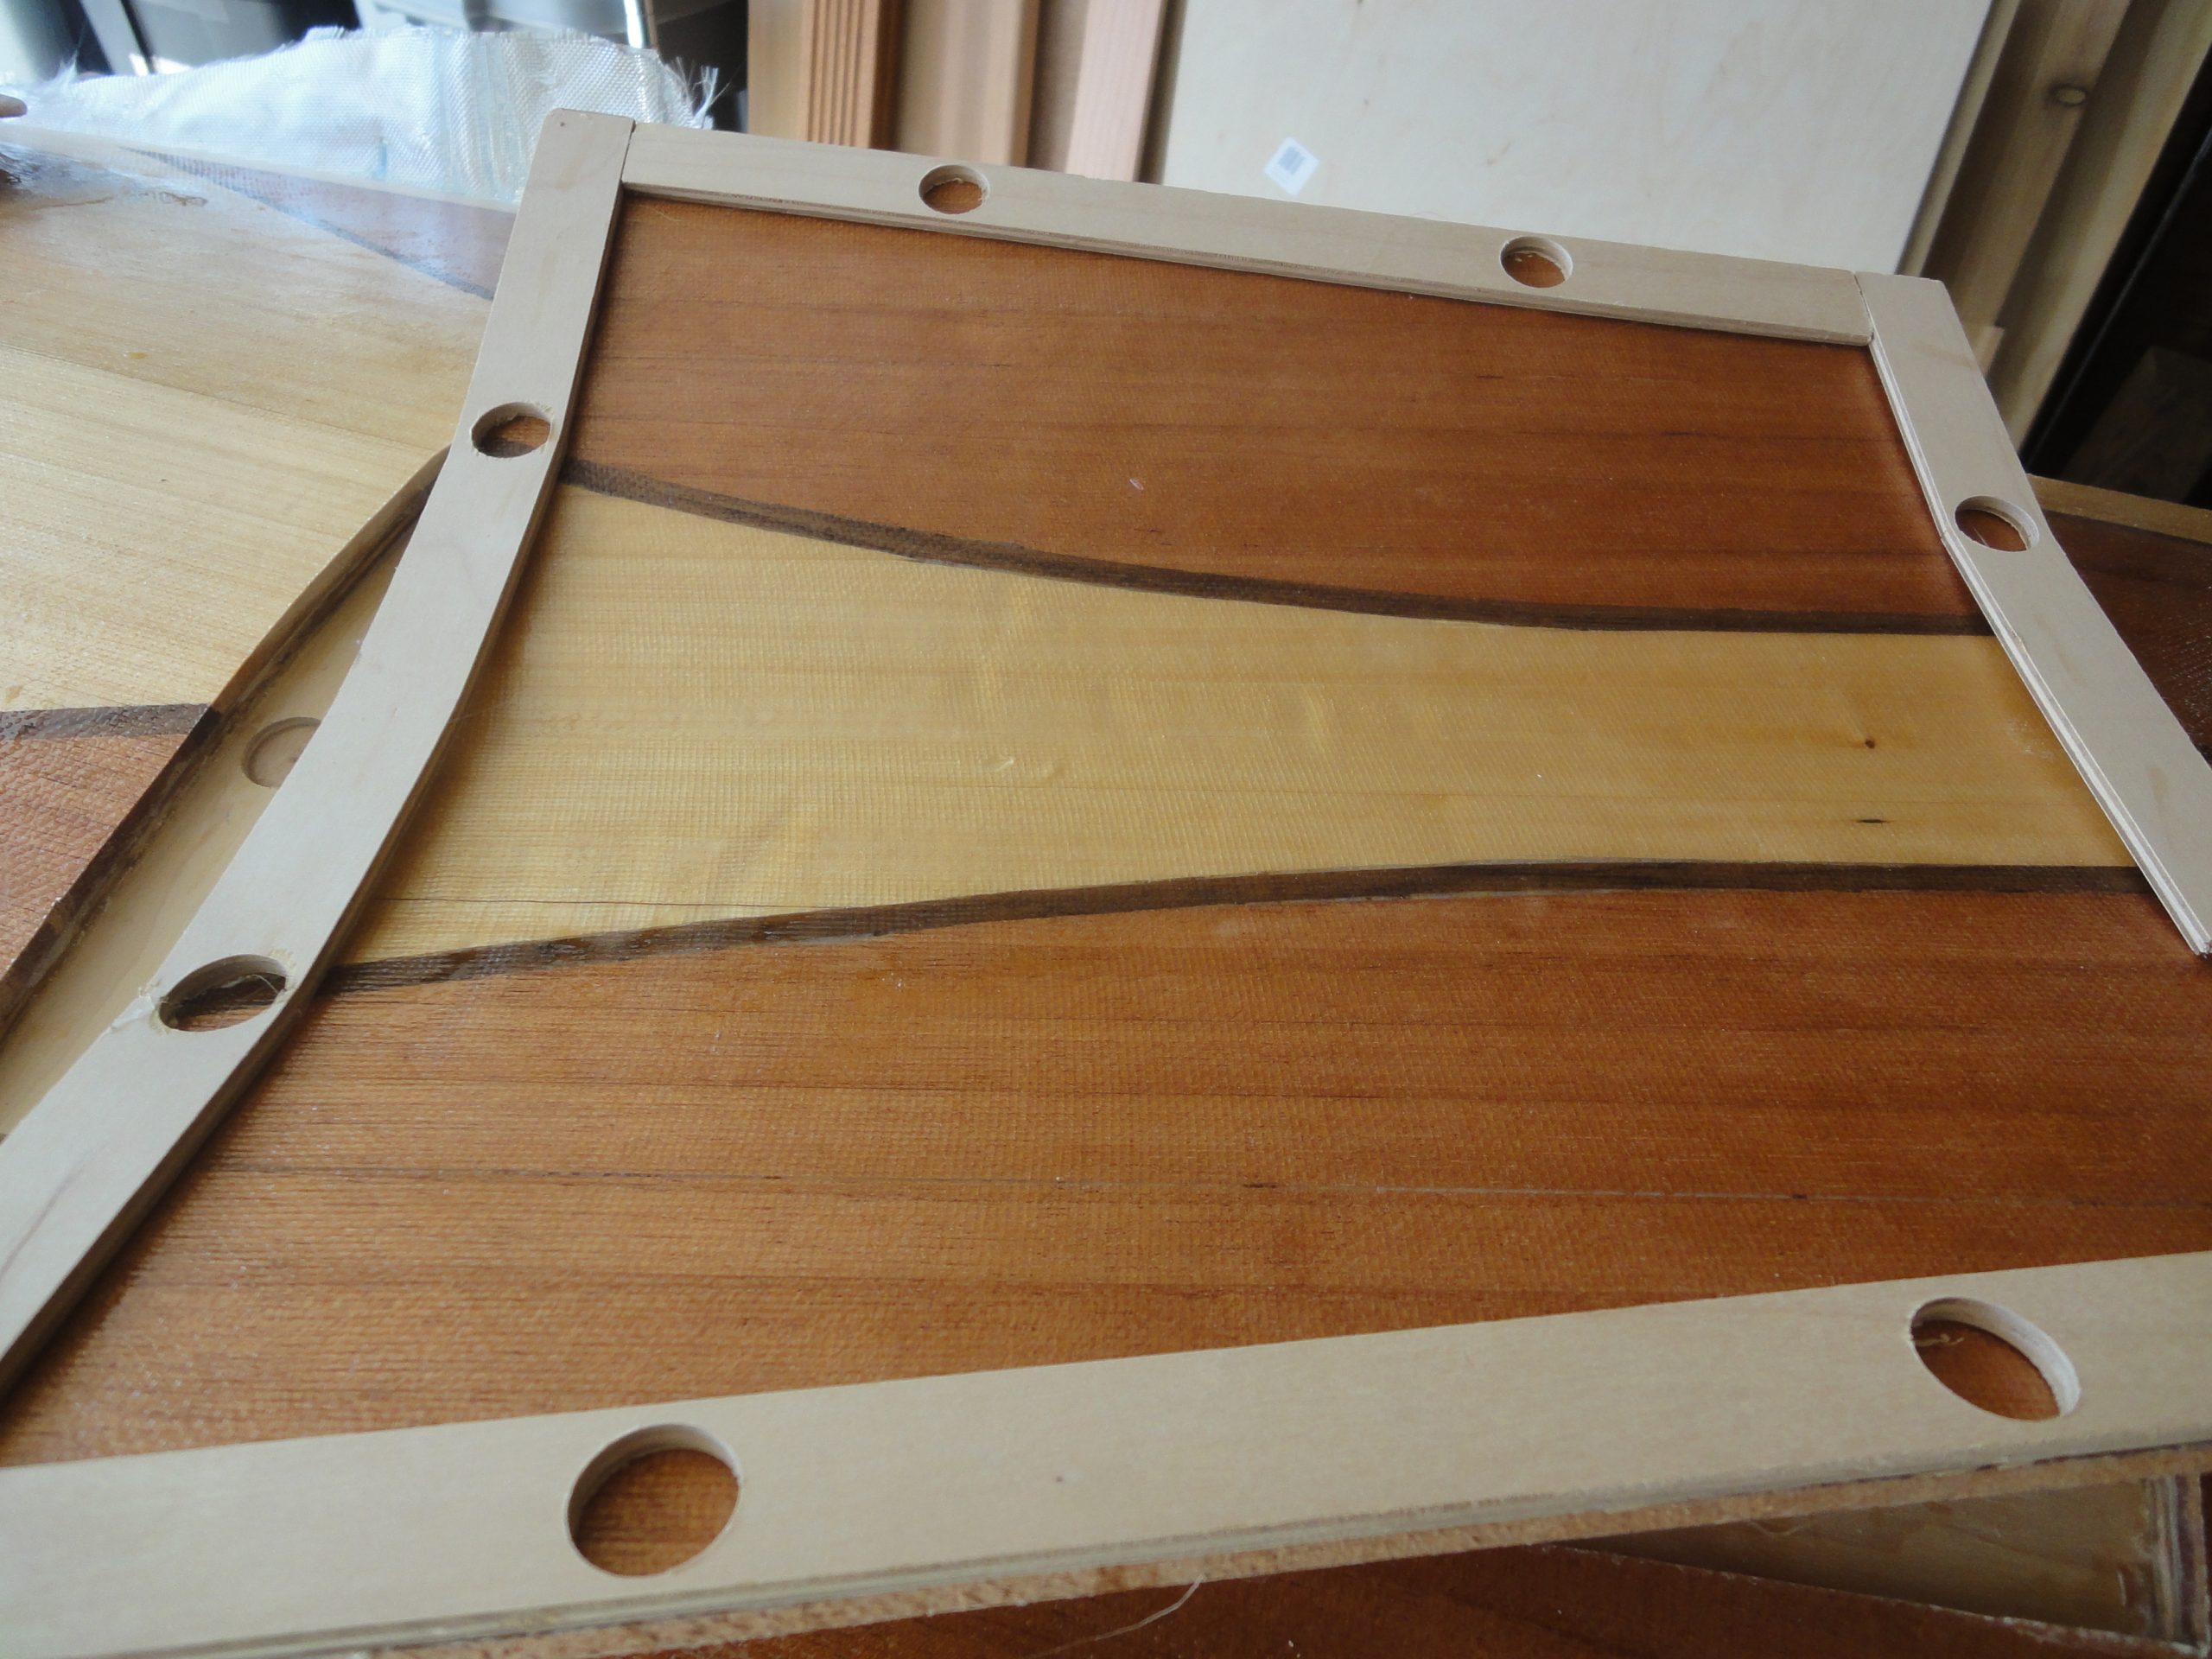
With the lip completed and the strips for the cover cut and drilled I turned to the mounting process. After coming up with a handful of ways I finally settled on hot glue and tape to get them where they need to be, then remove, clean the hot glue and epoxy on for the final bonding. Unfortunately the strips did not want to curve so well and I had some breaks at the thin points. Once epoxied on this will not affect the operation, the epoxy will hold them on properly and unless you know to look for them the appearance will be fine too.
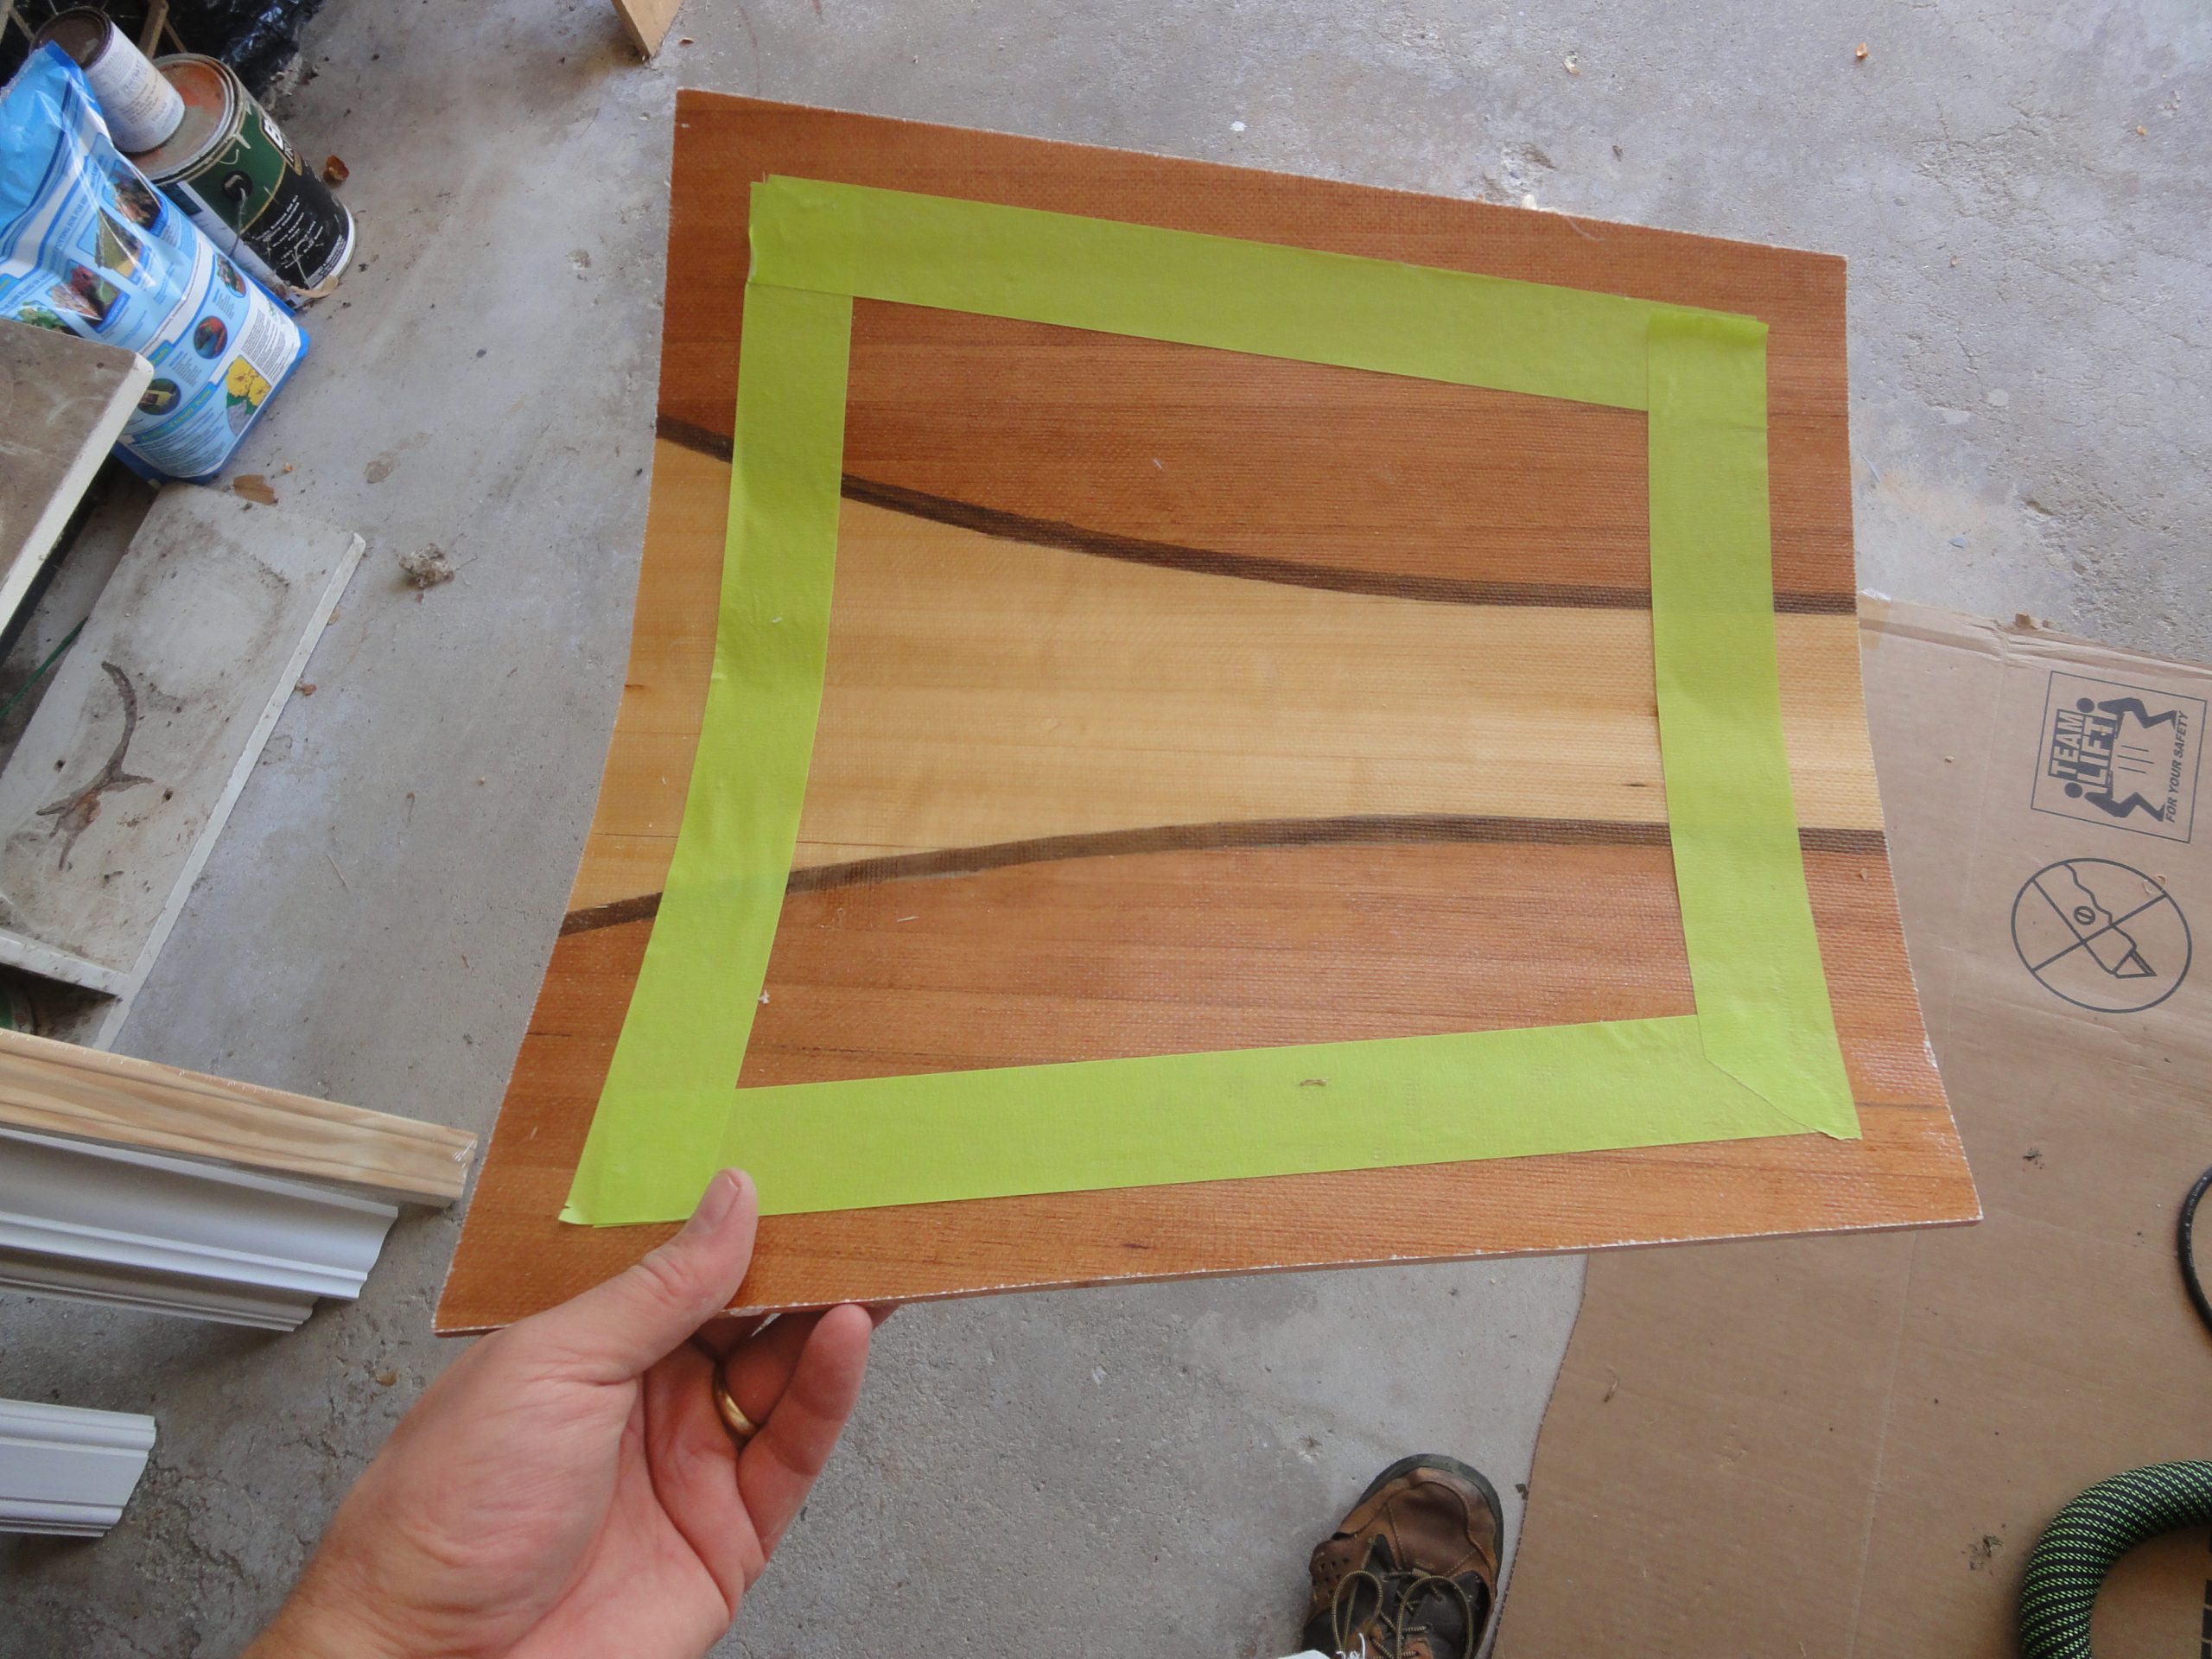
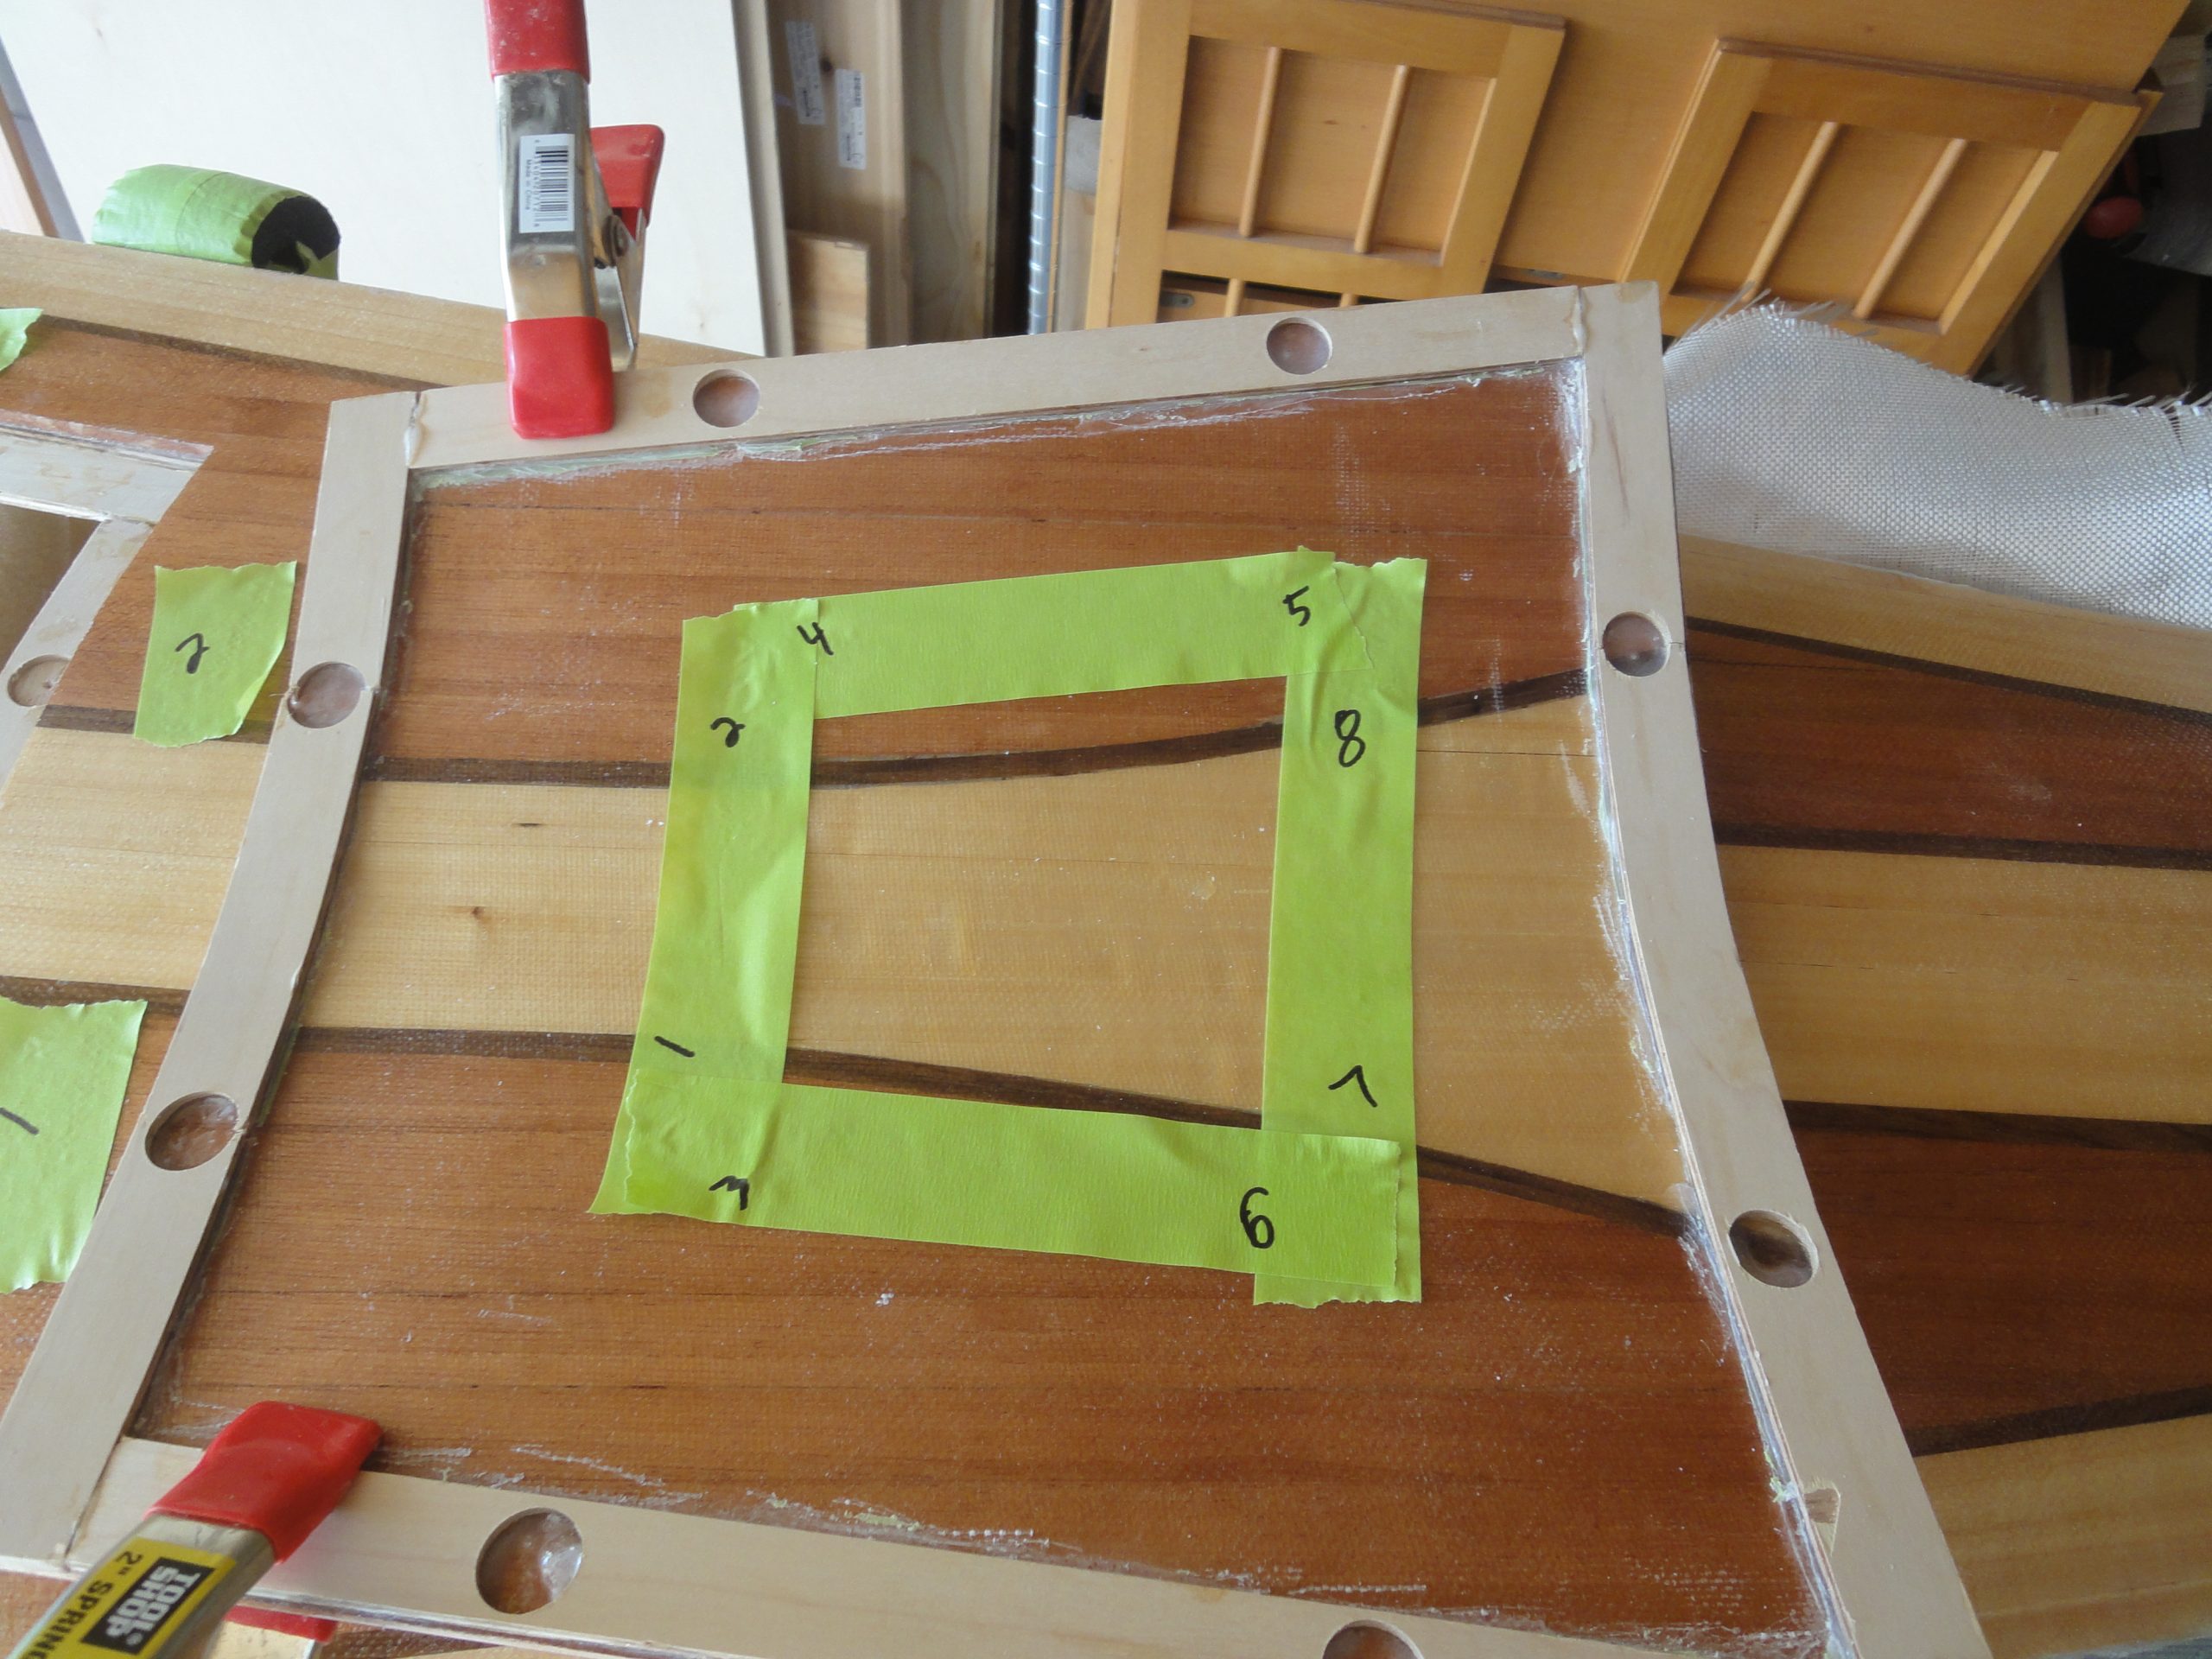
So I started by fine tuning all the pieces and cleaning the opening of any glue and epoxy squeeze out. Bunch of scraping and sanding, mostly, to clean it up. Once cleaned, and the strips sanded and planed for a good fit, I put the strips in place and dabbed on a few hot glue spots. The hatch cover was put in place and held down for a few moments for the glue to setup. I tried it with one piece but it wasn’t sticking so well so I went back, used more glue and did all four at once. It worked fine the second time. Keep in mind this is only temporary for placement purposes.
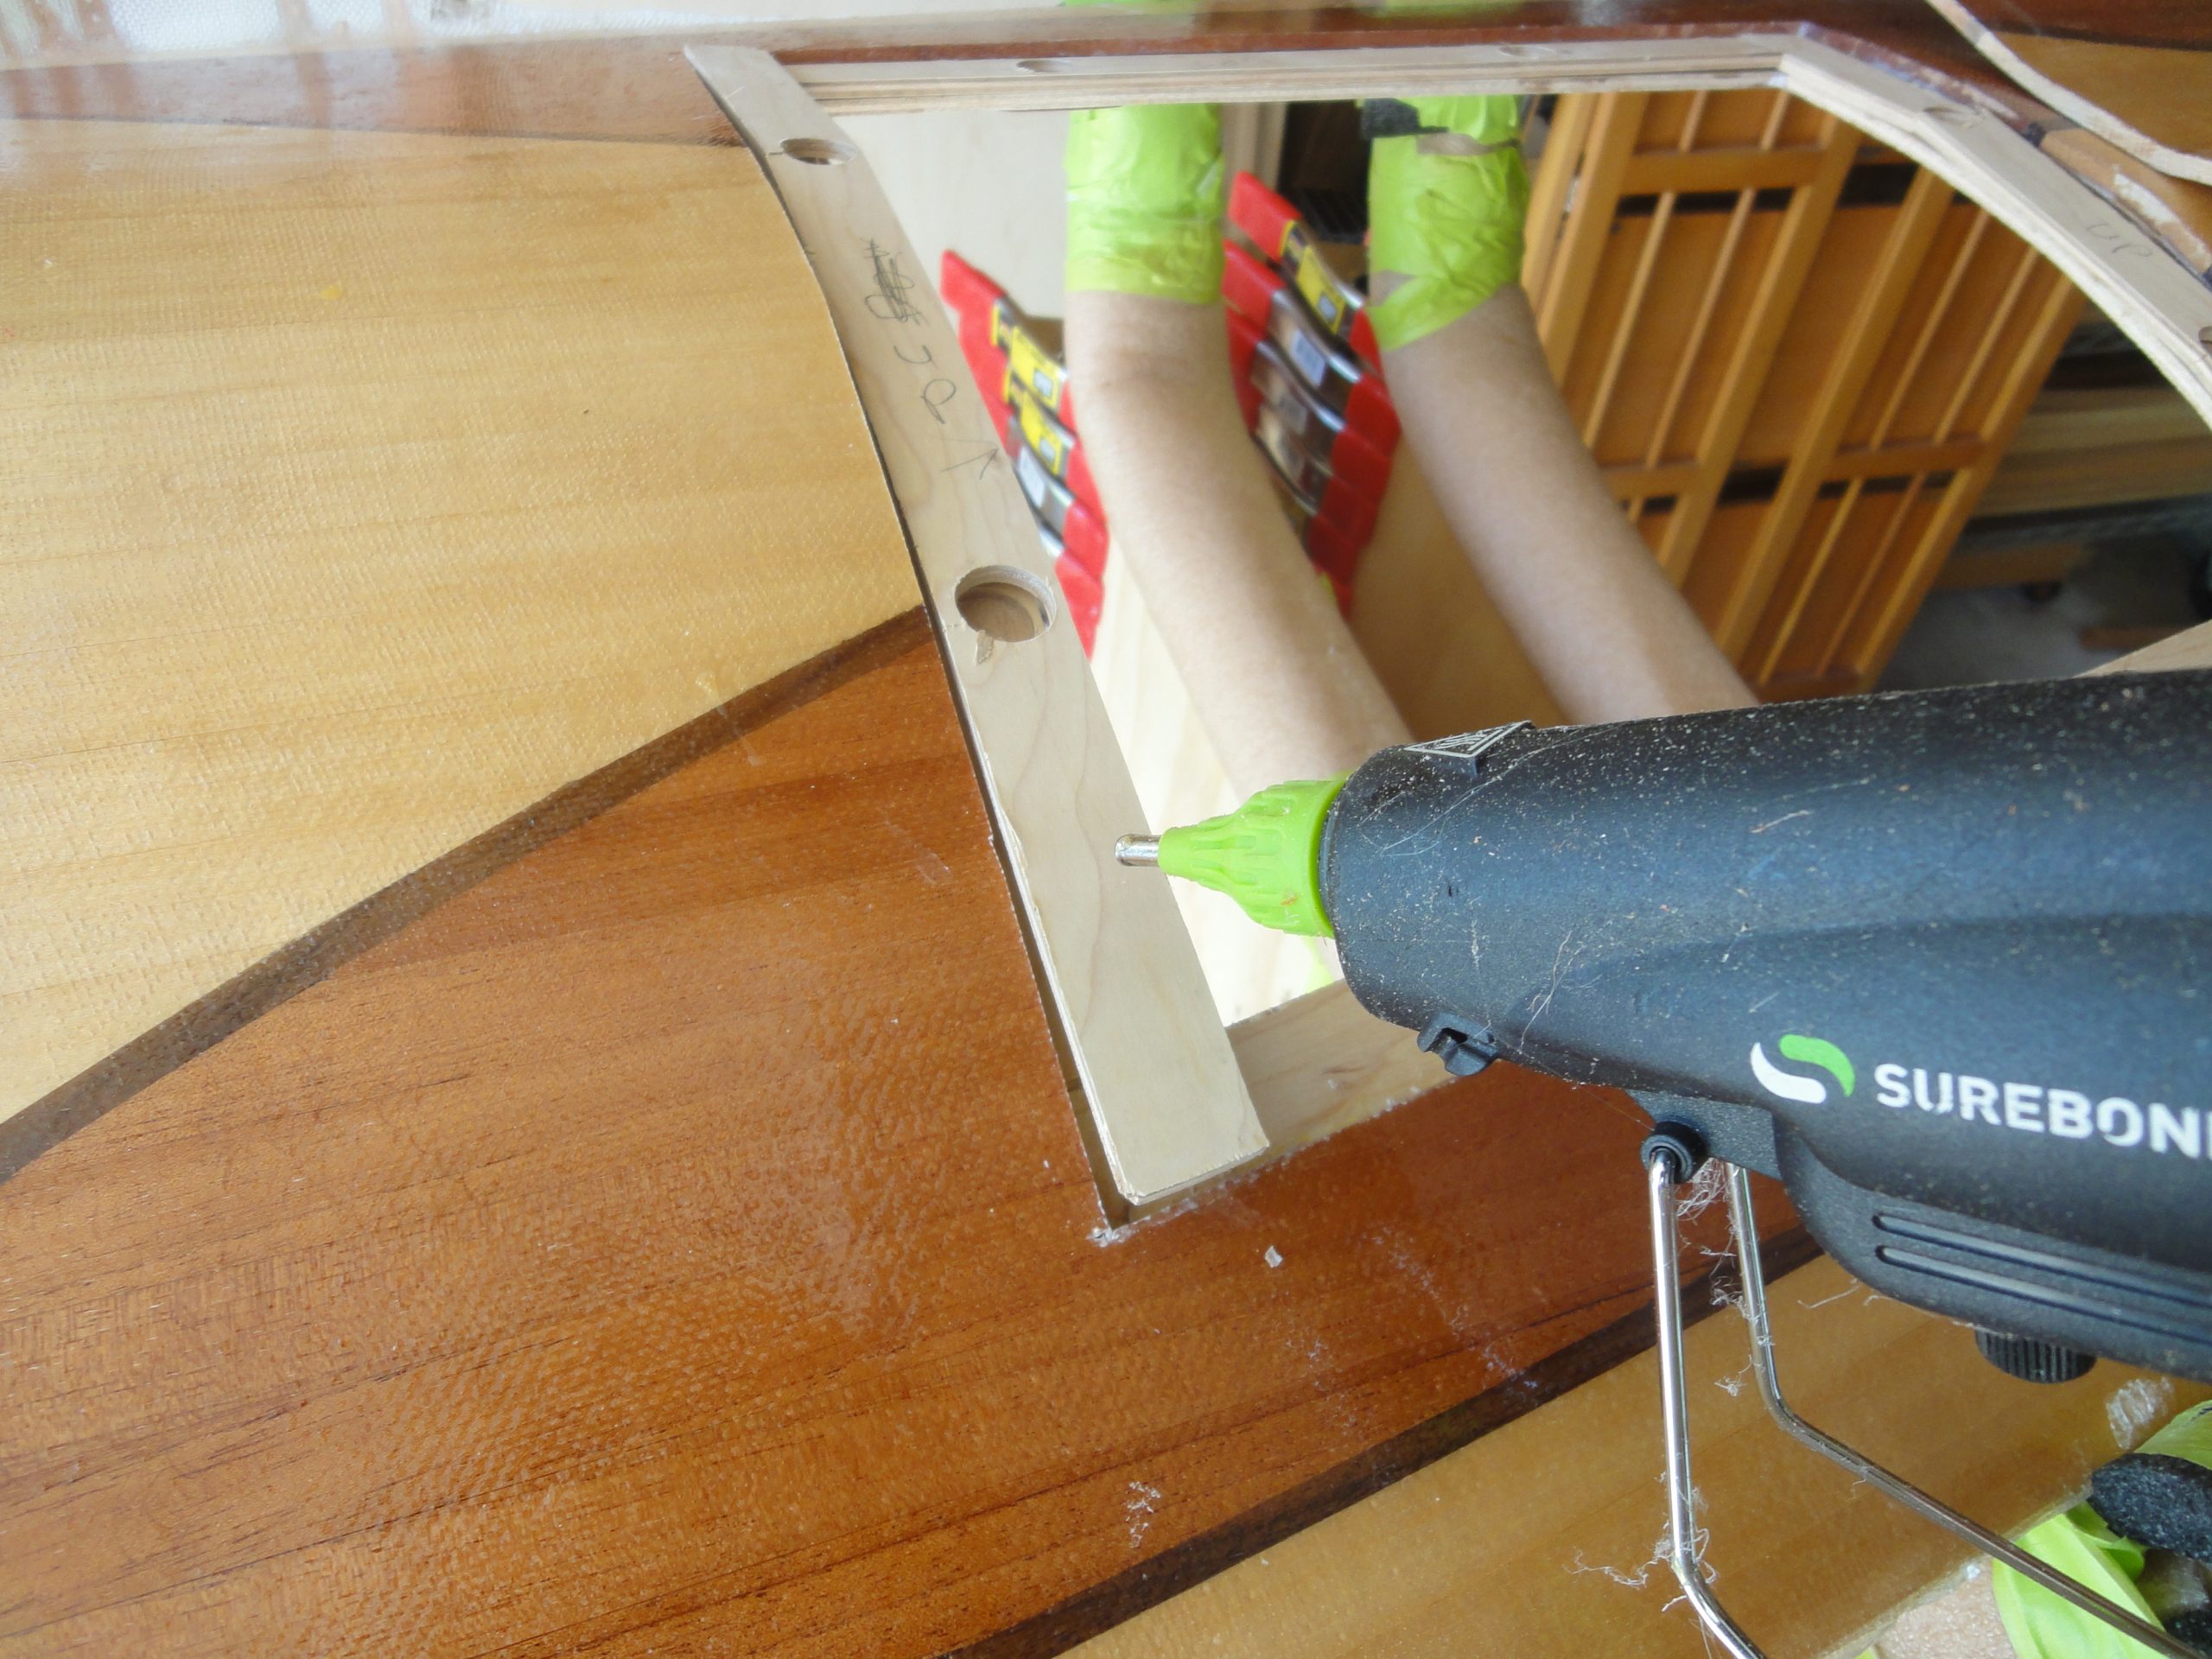
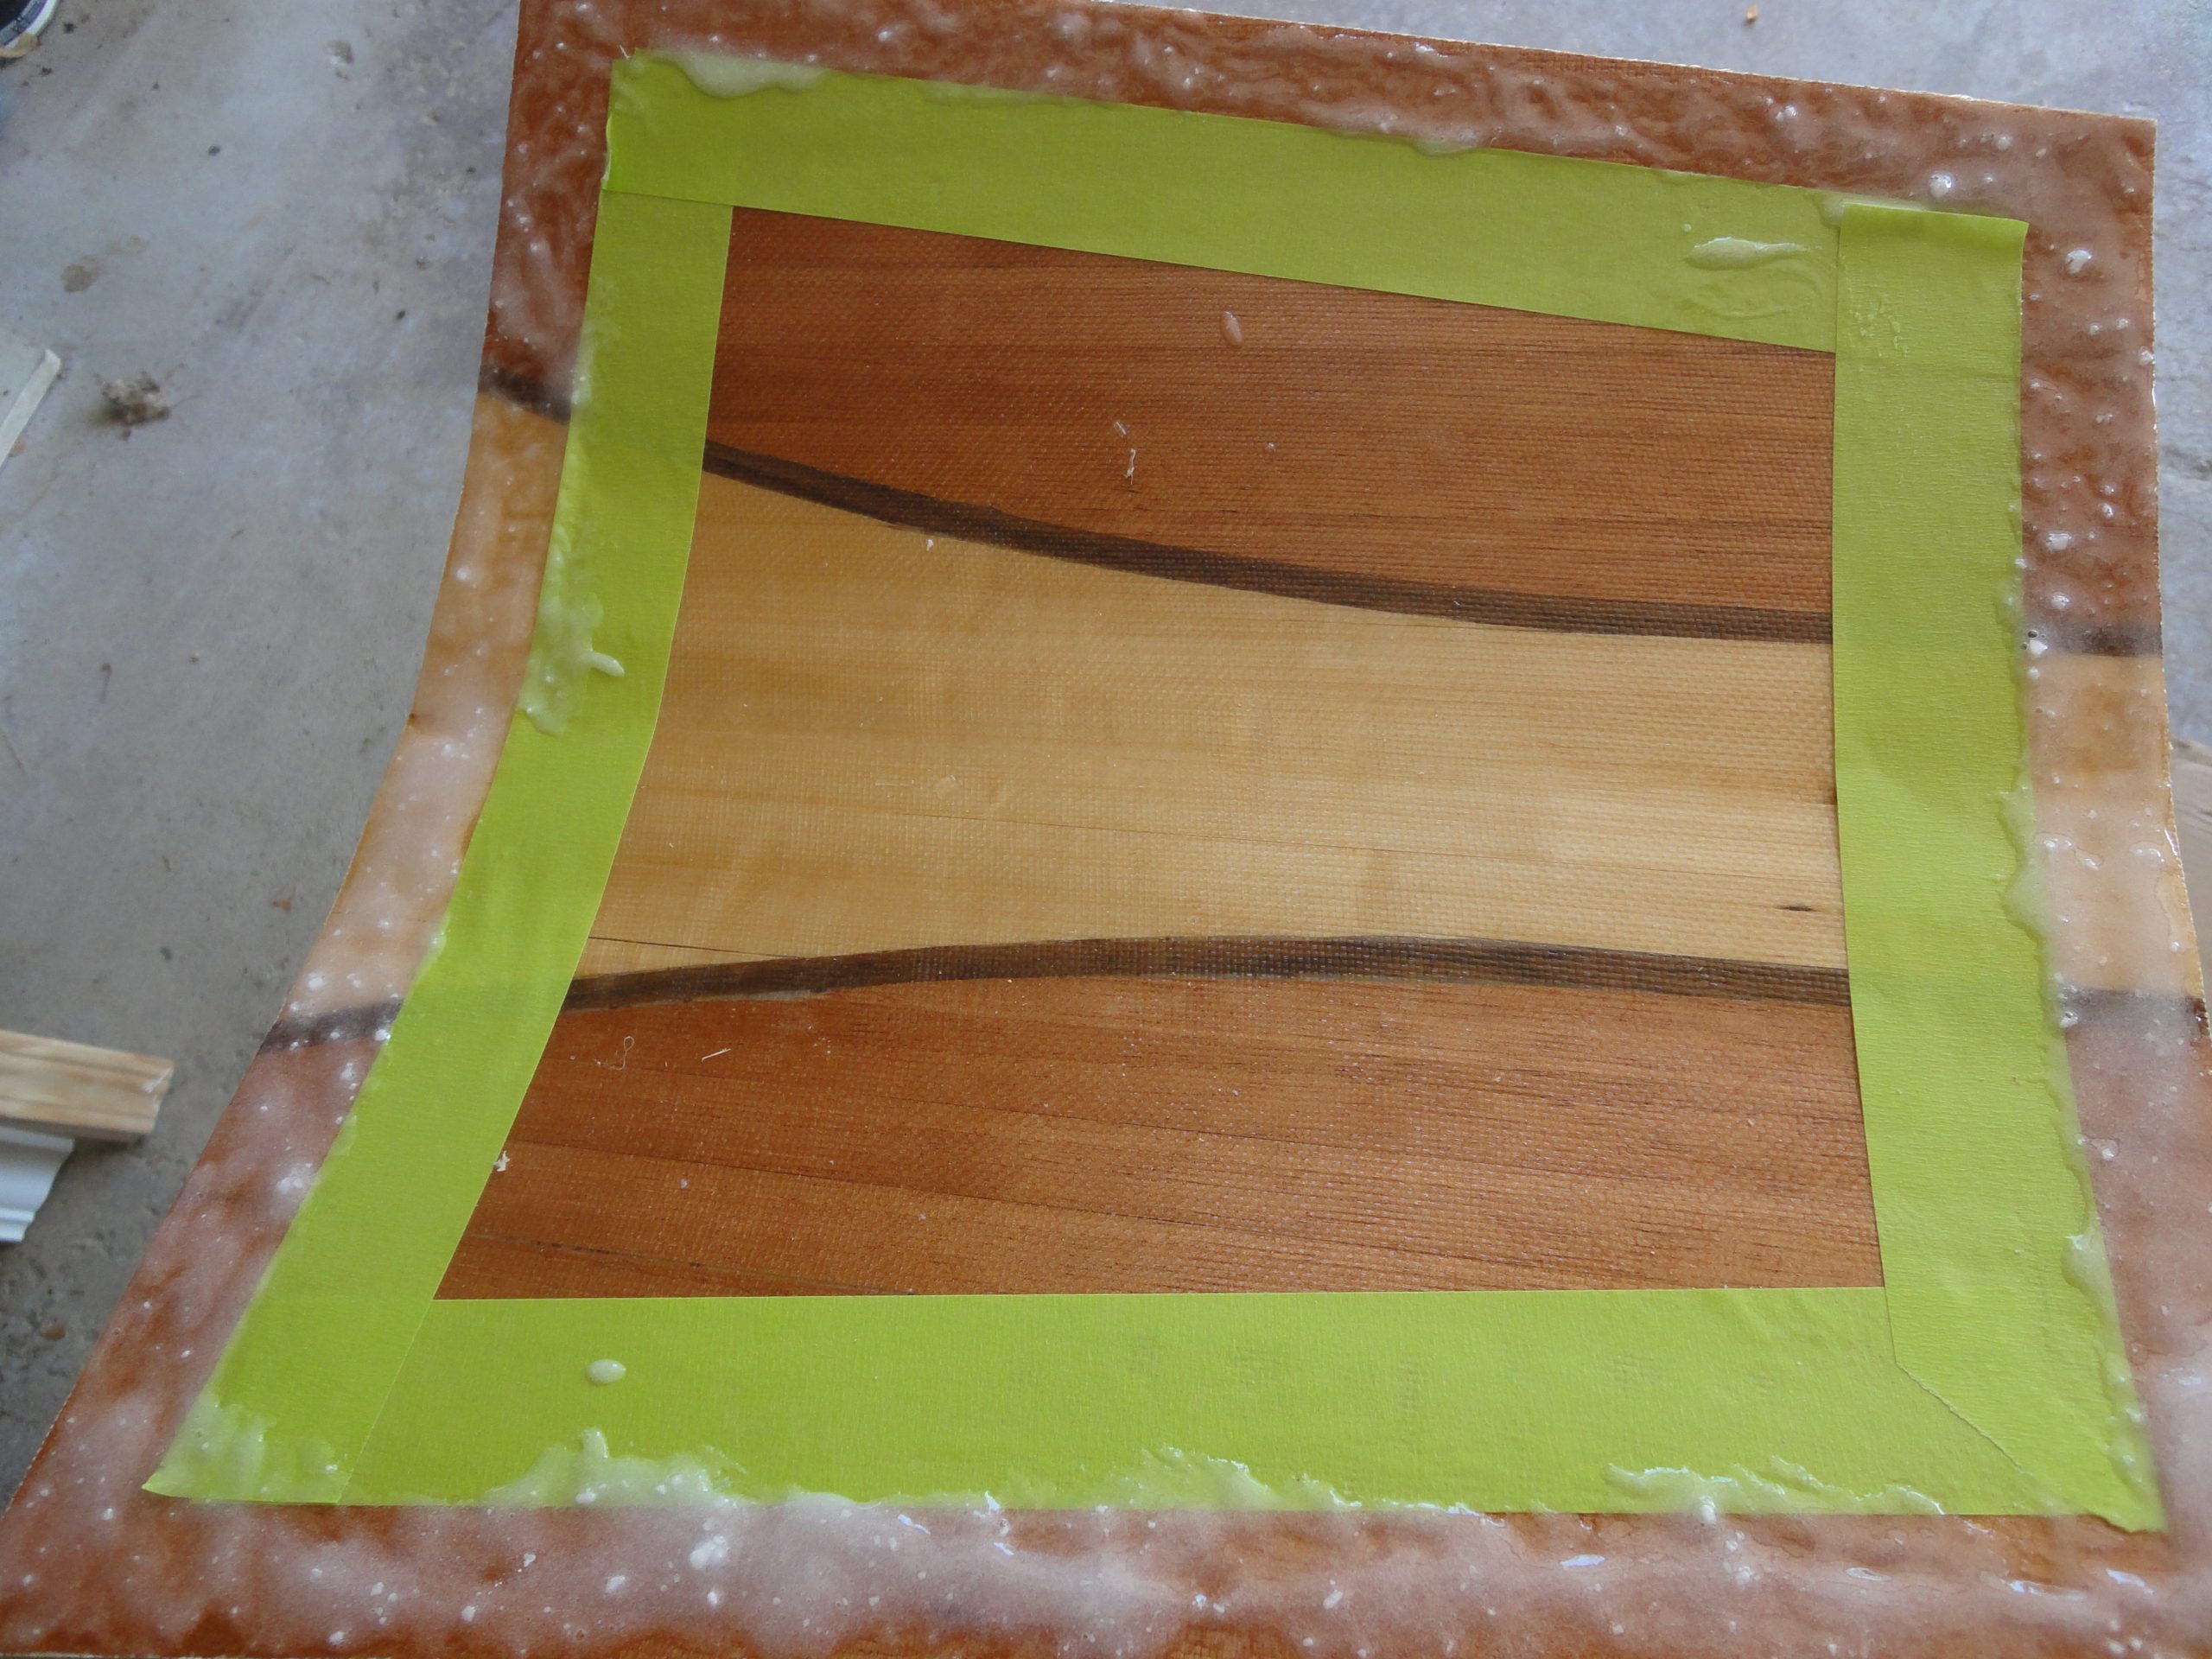
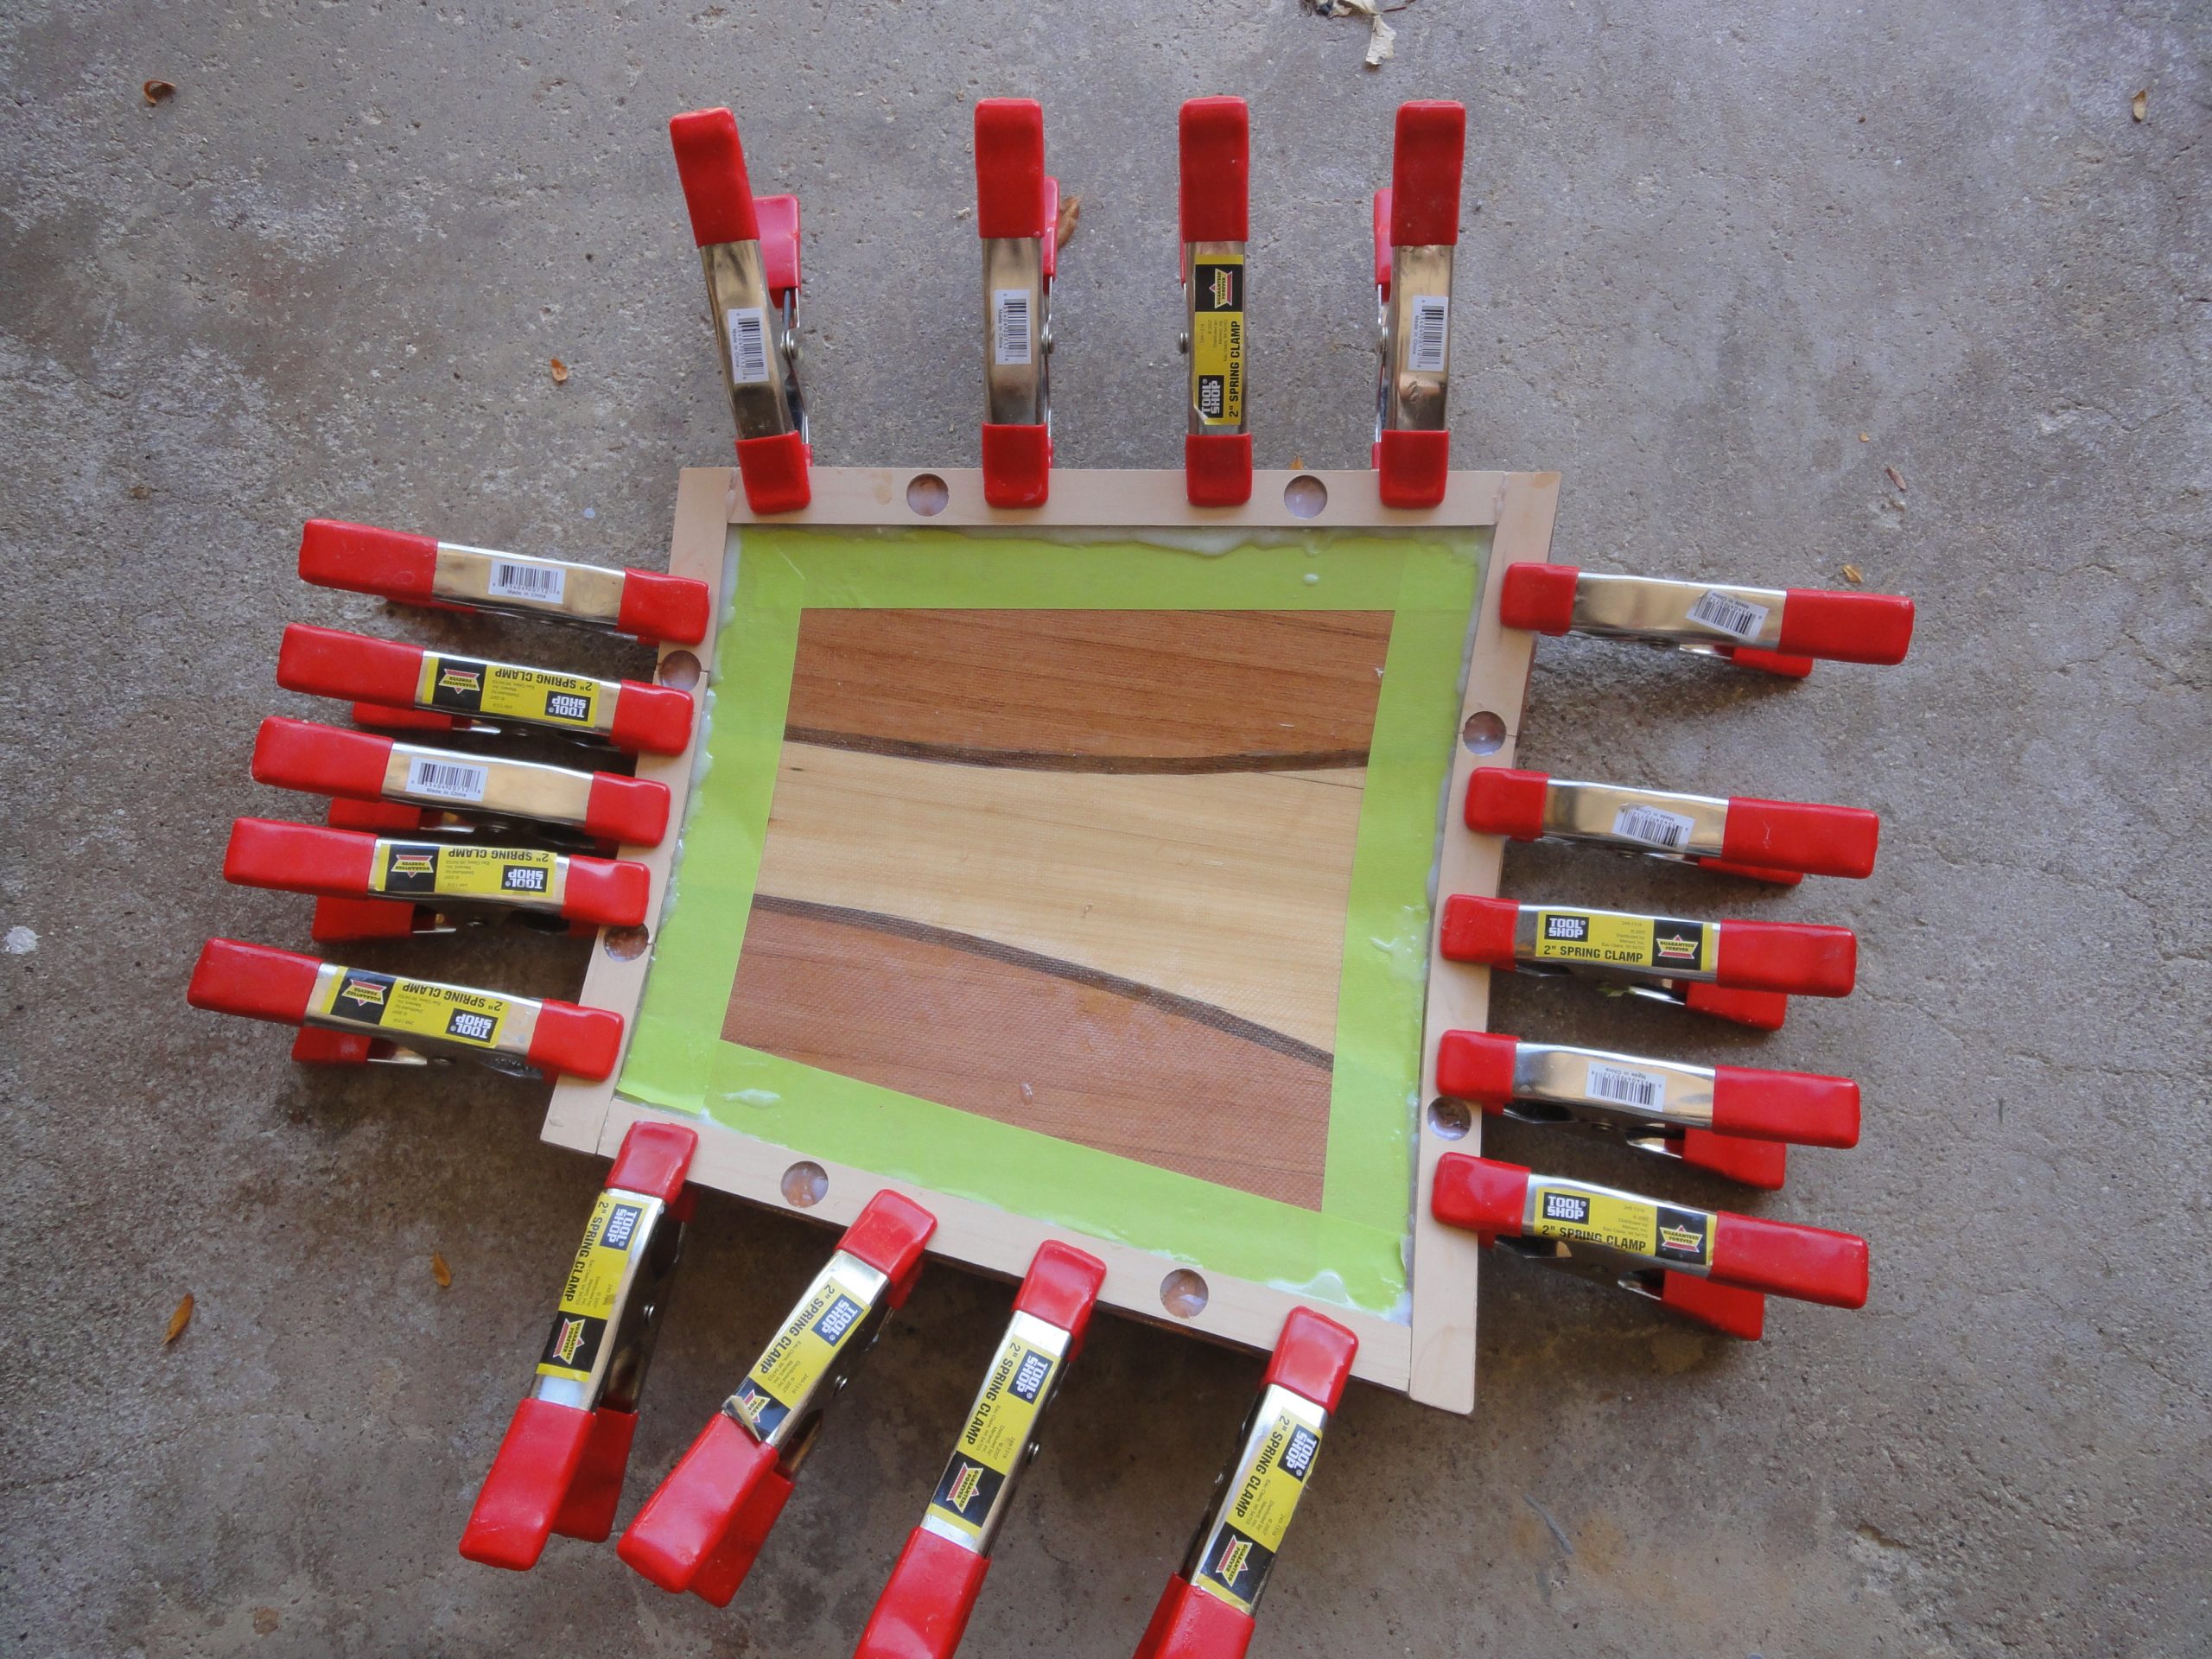
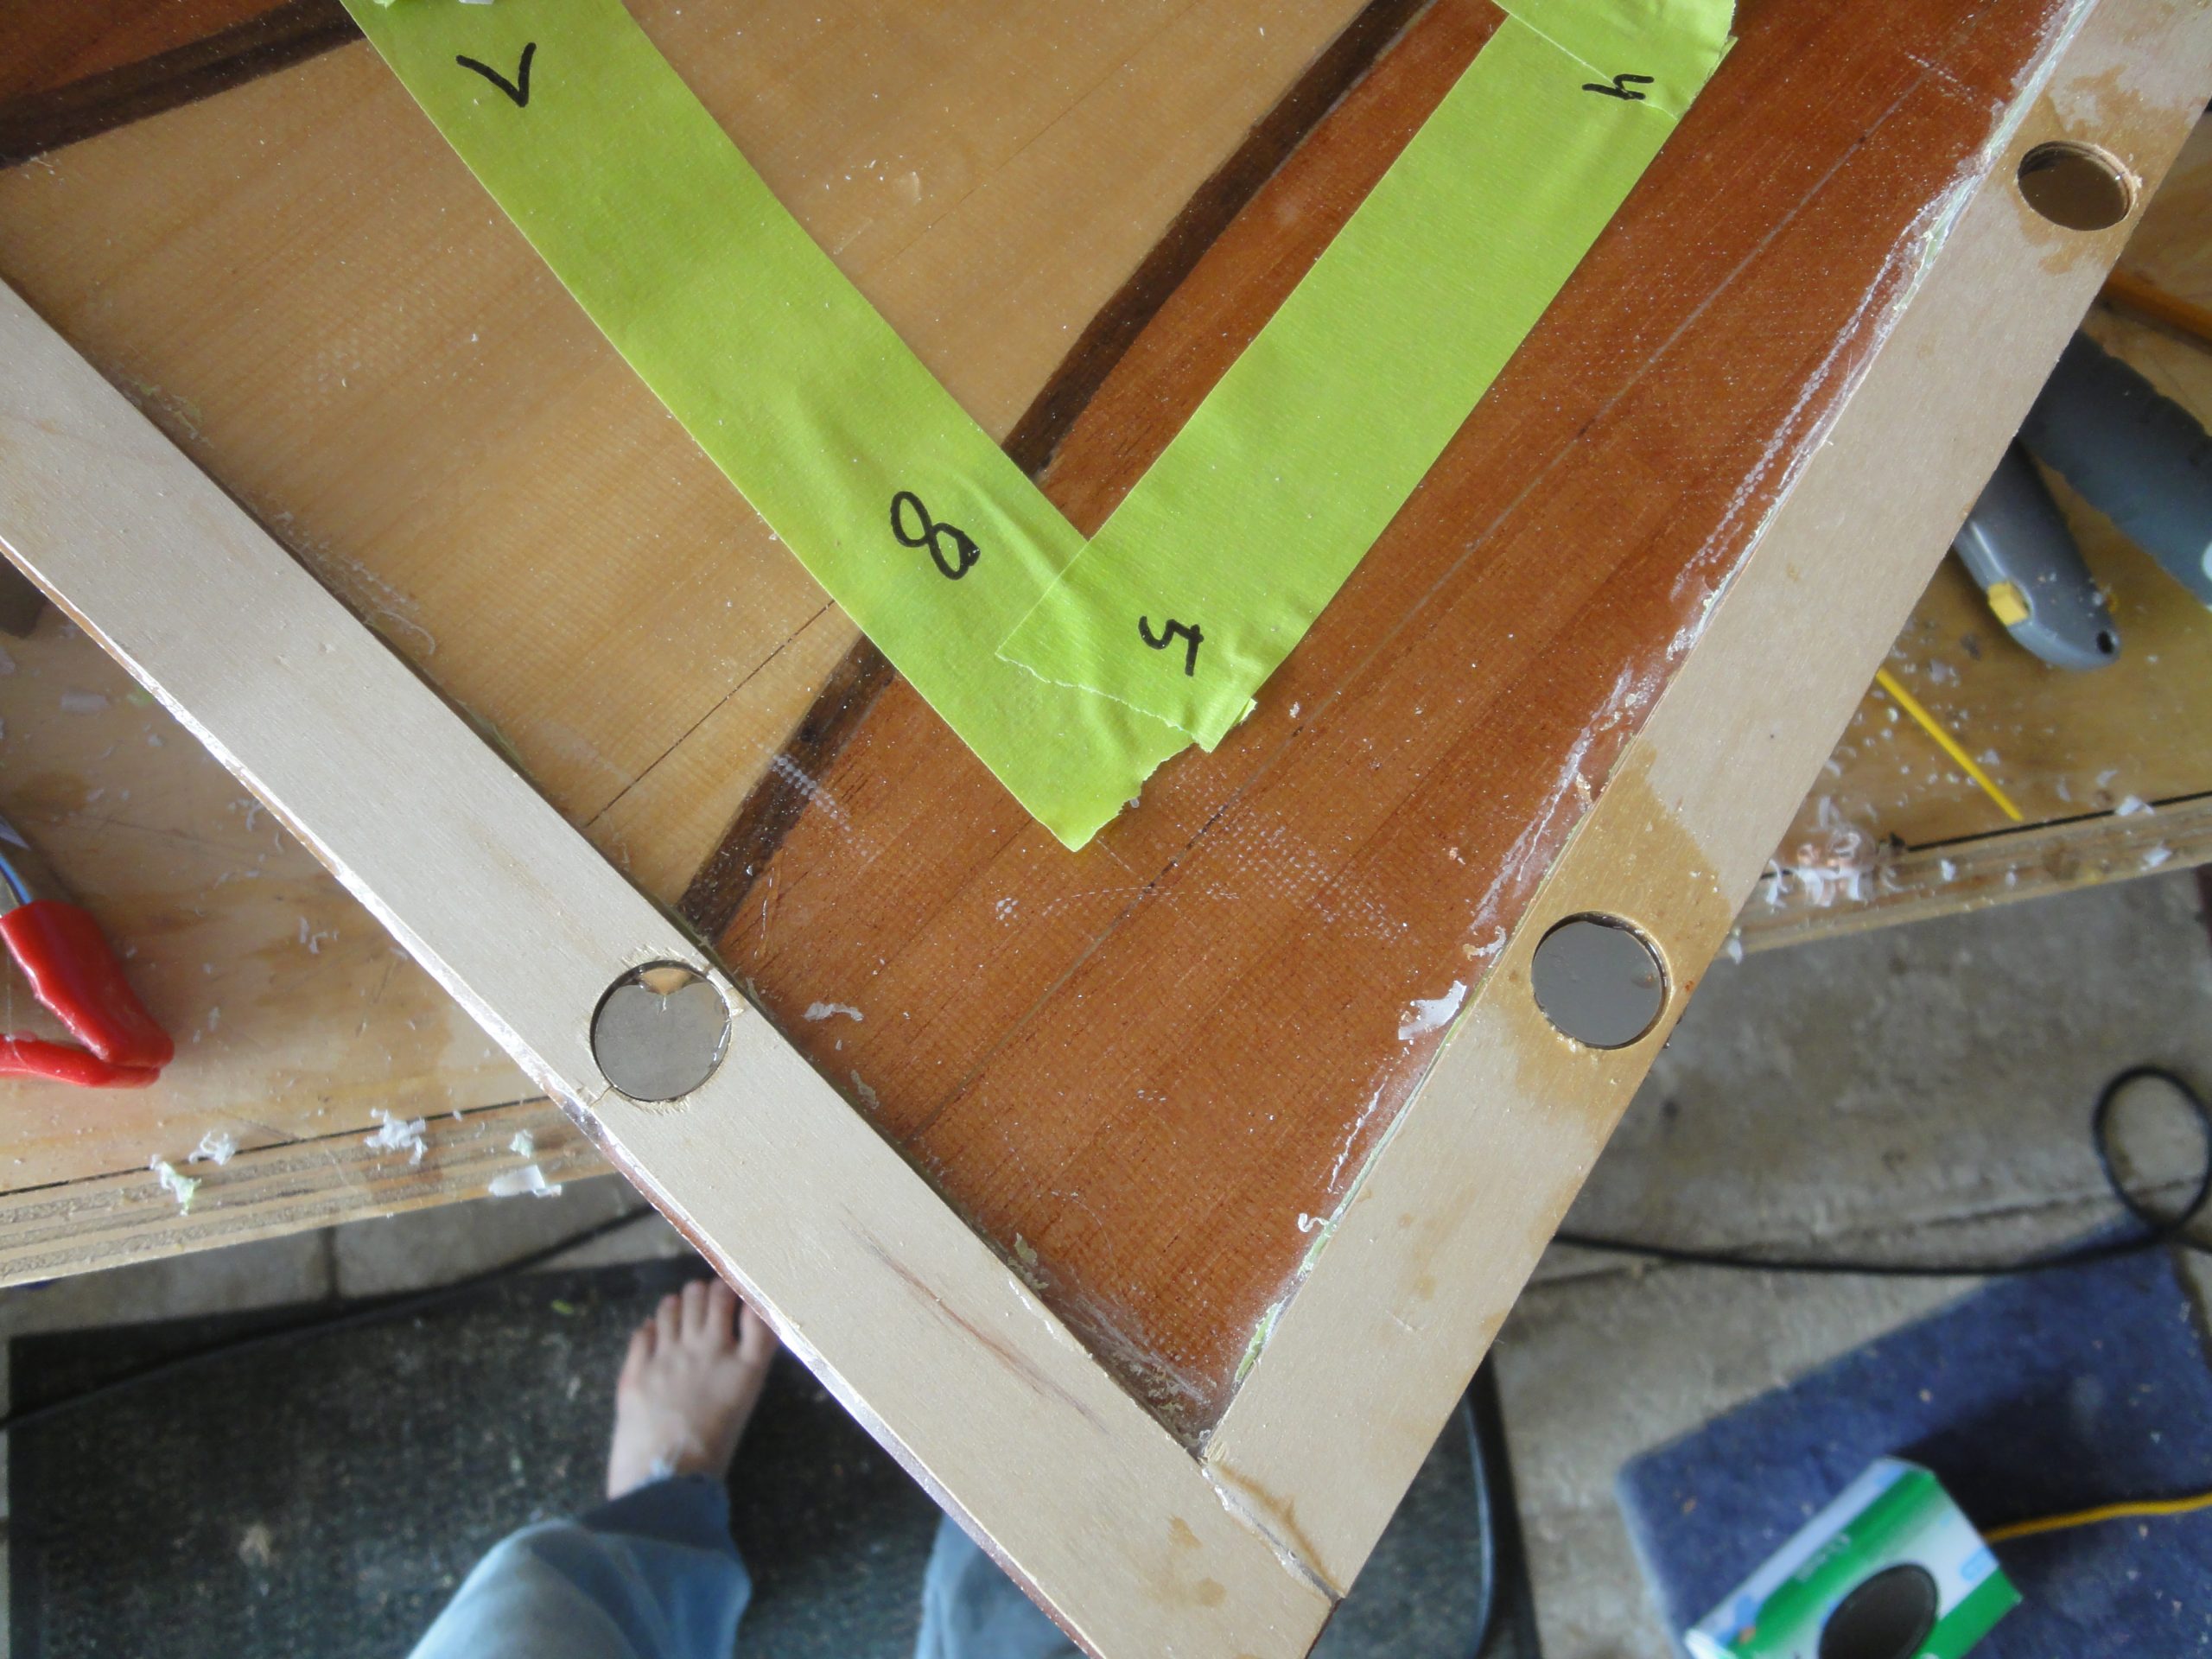
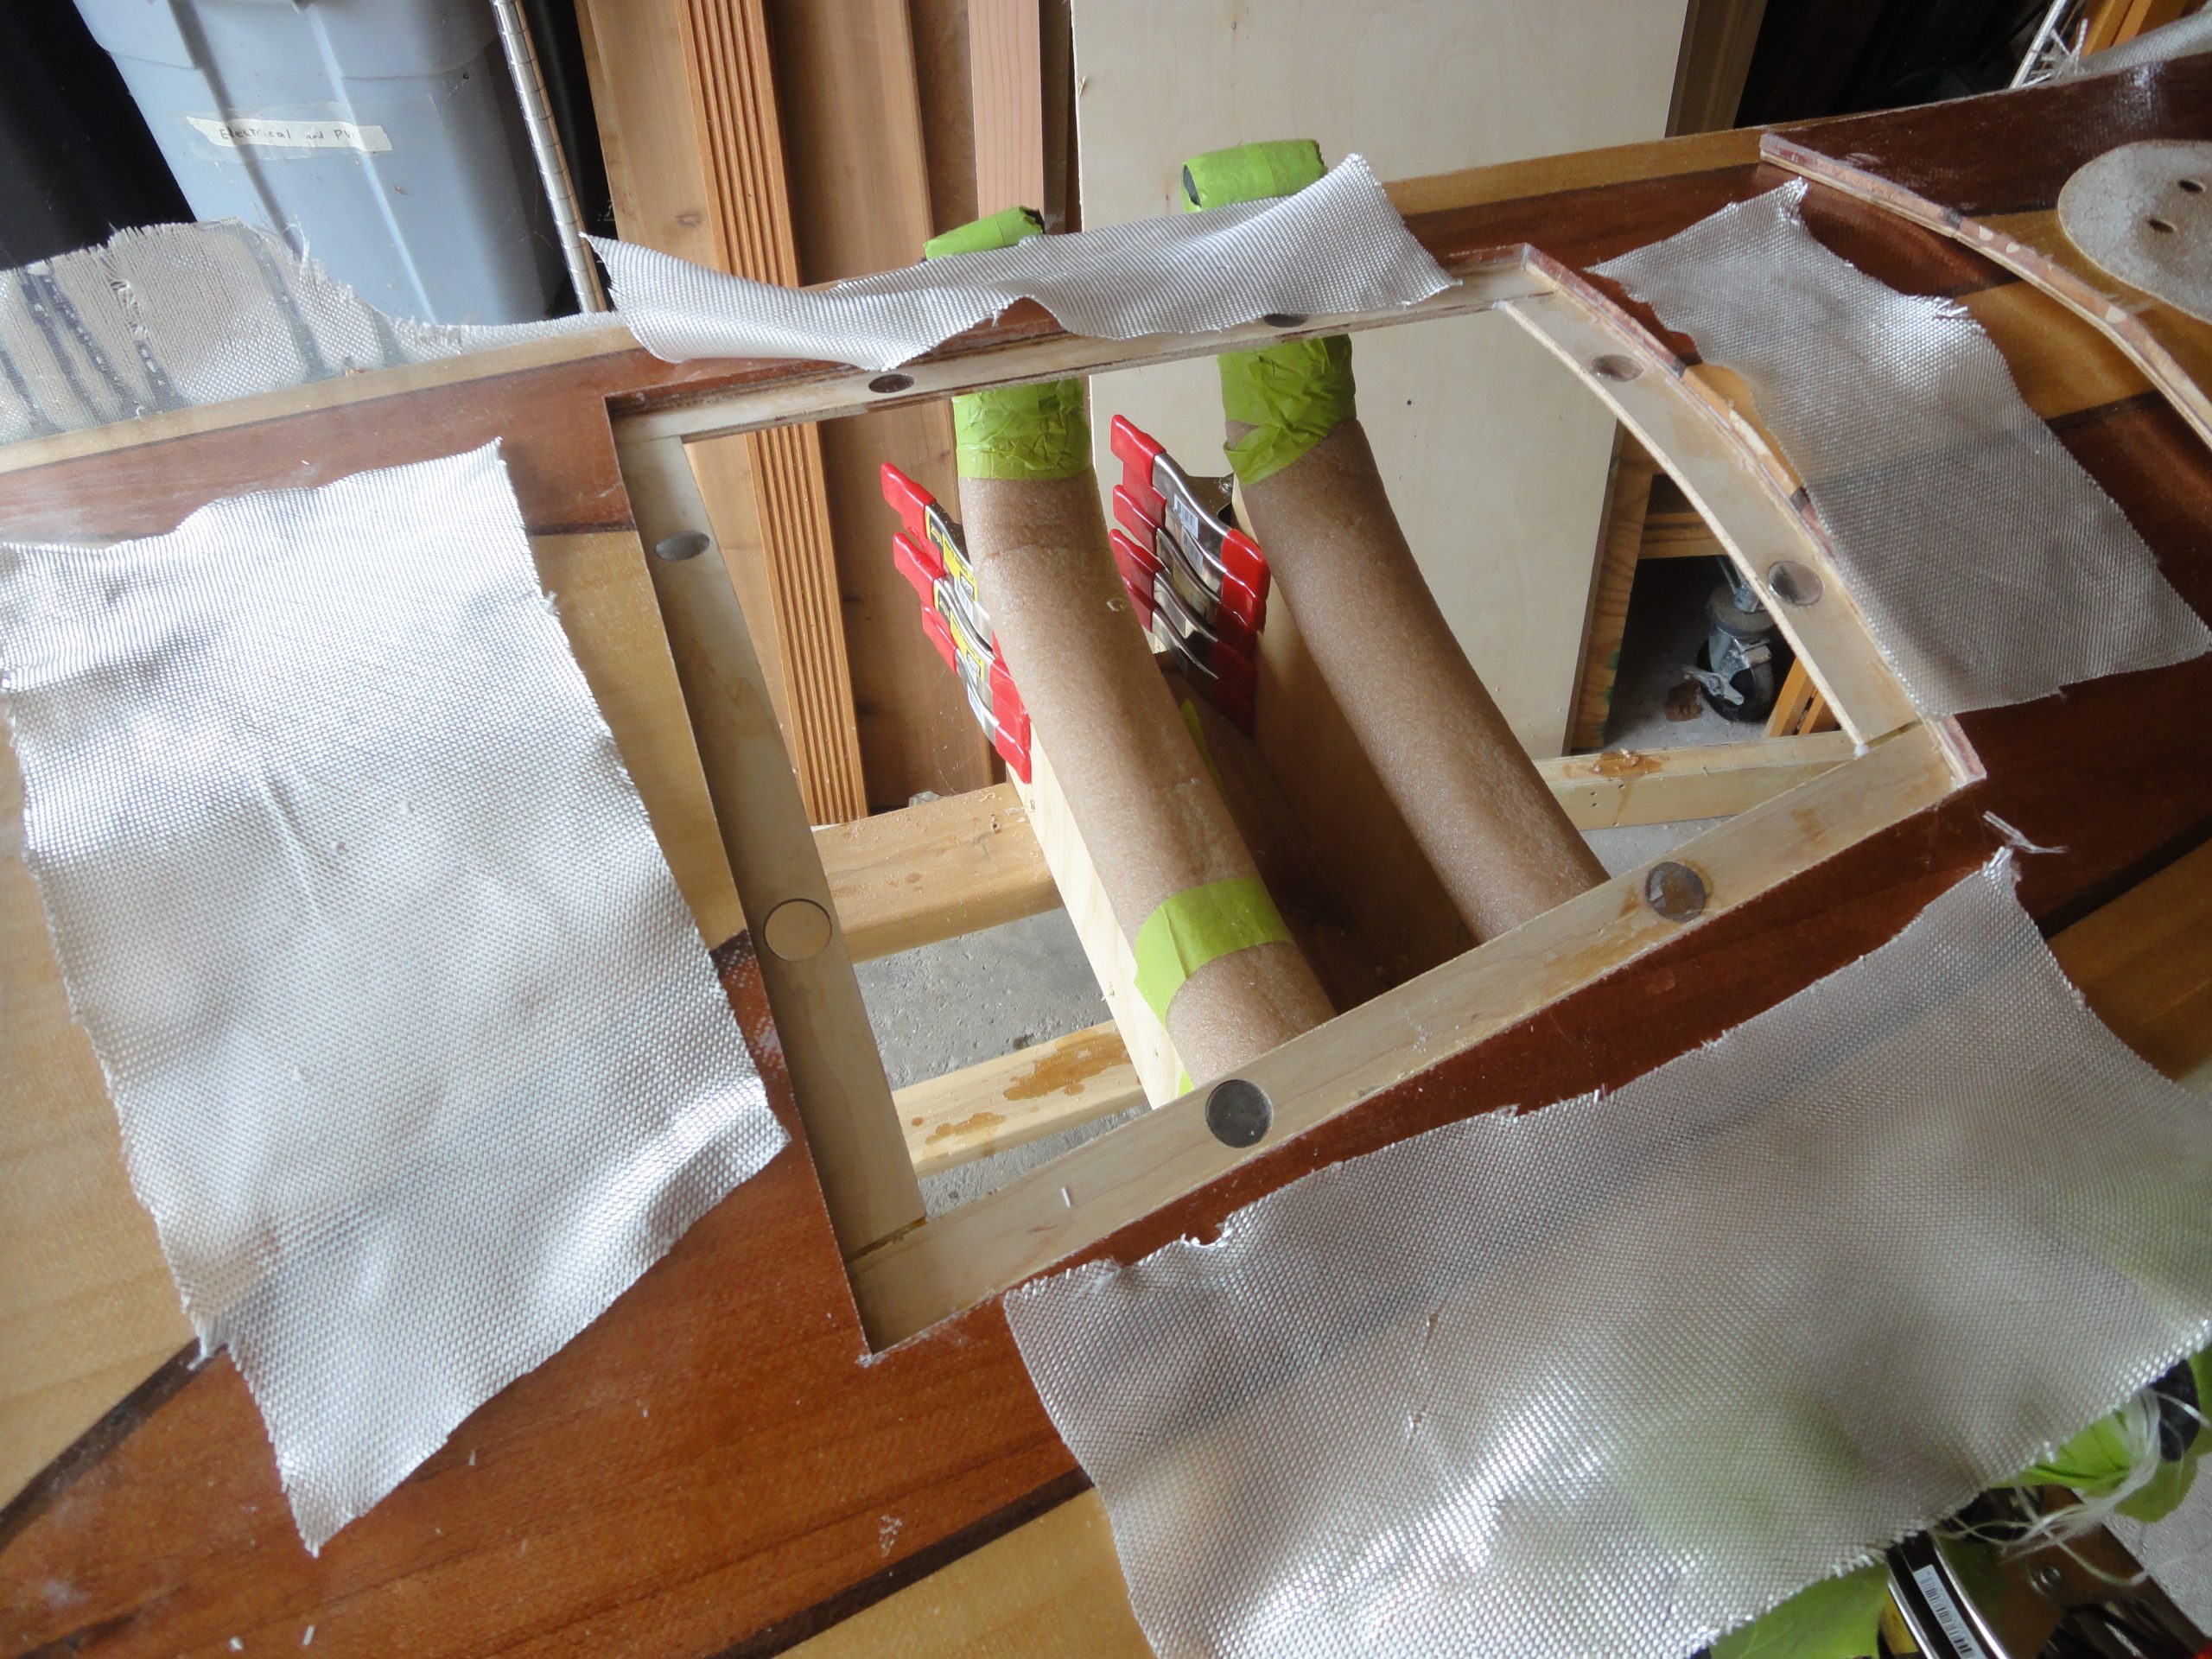
I then removed the hatch and carefully placed tape on the inside of each piece before removing them and scraping the hot glue off. Thickened epoxy was mixed up and slathered on. The tape, besides allowing for placement, also kept the inside of the hatch cover protected. Each piece was carefully aligned and then thoroughly clamped and give a few days to dry.
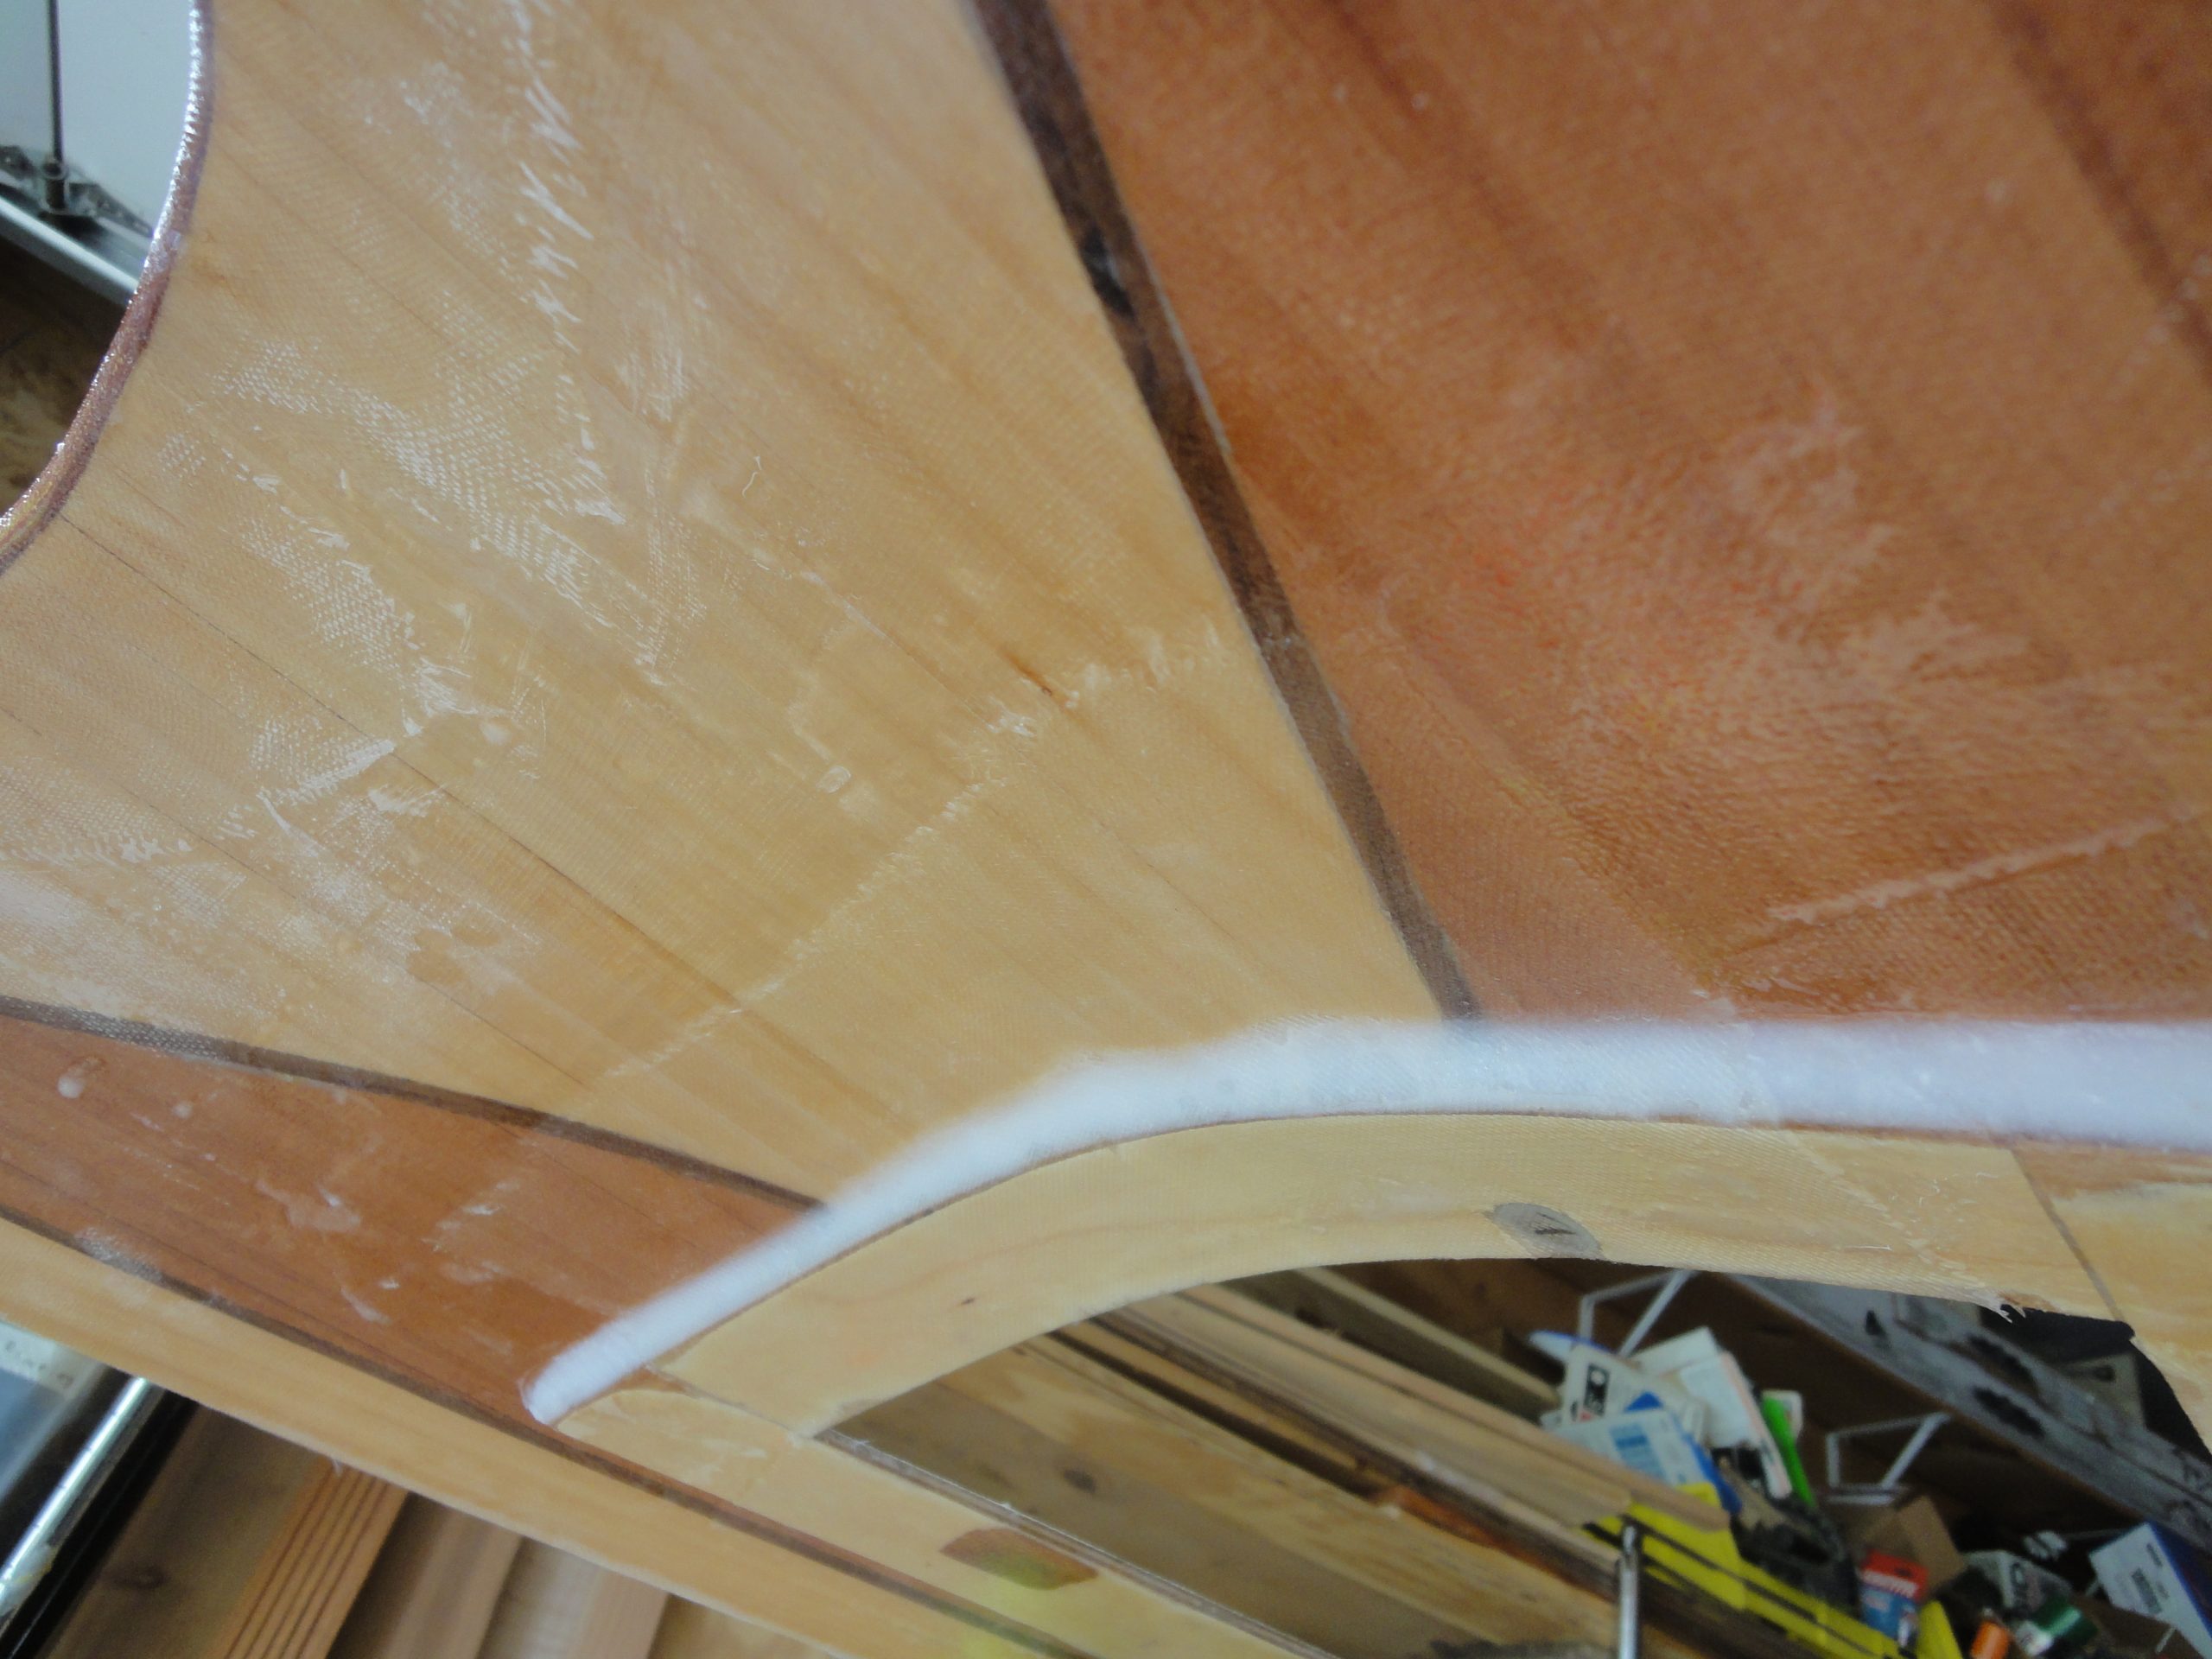
During the drying days I took the opportunity to start on some of the sanding around the cockpit. The goal was to blend in the second layer of fiberglass with the underlying layer resulting in a smooth transition instead of the bump between layers that I currently feel.

With the hatch cover now dry I removed the tape… Well I tried to. I should have cut it with a knife and peeled it away a few hours after applying the epoxy, not a few days later. End result, lots more time with a scraper to get the edges of the tape removed.
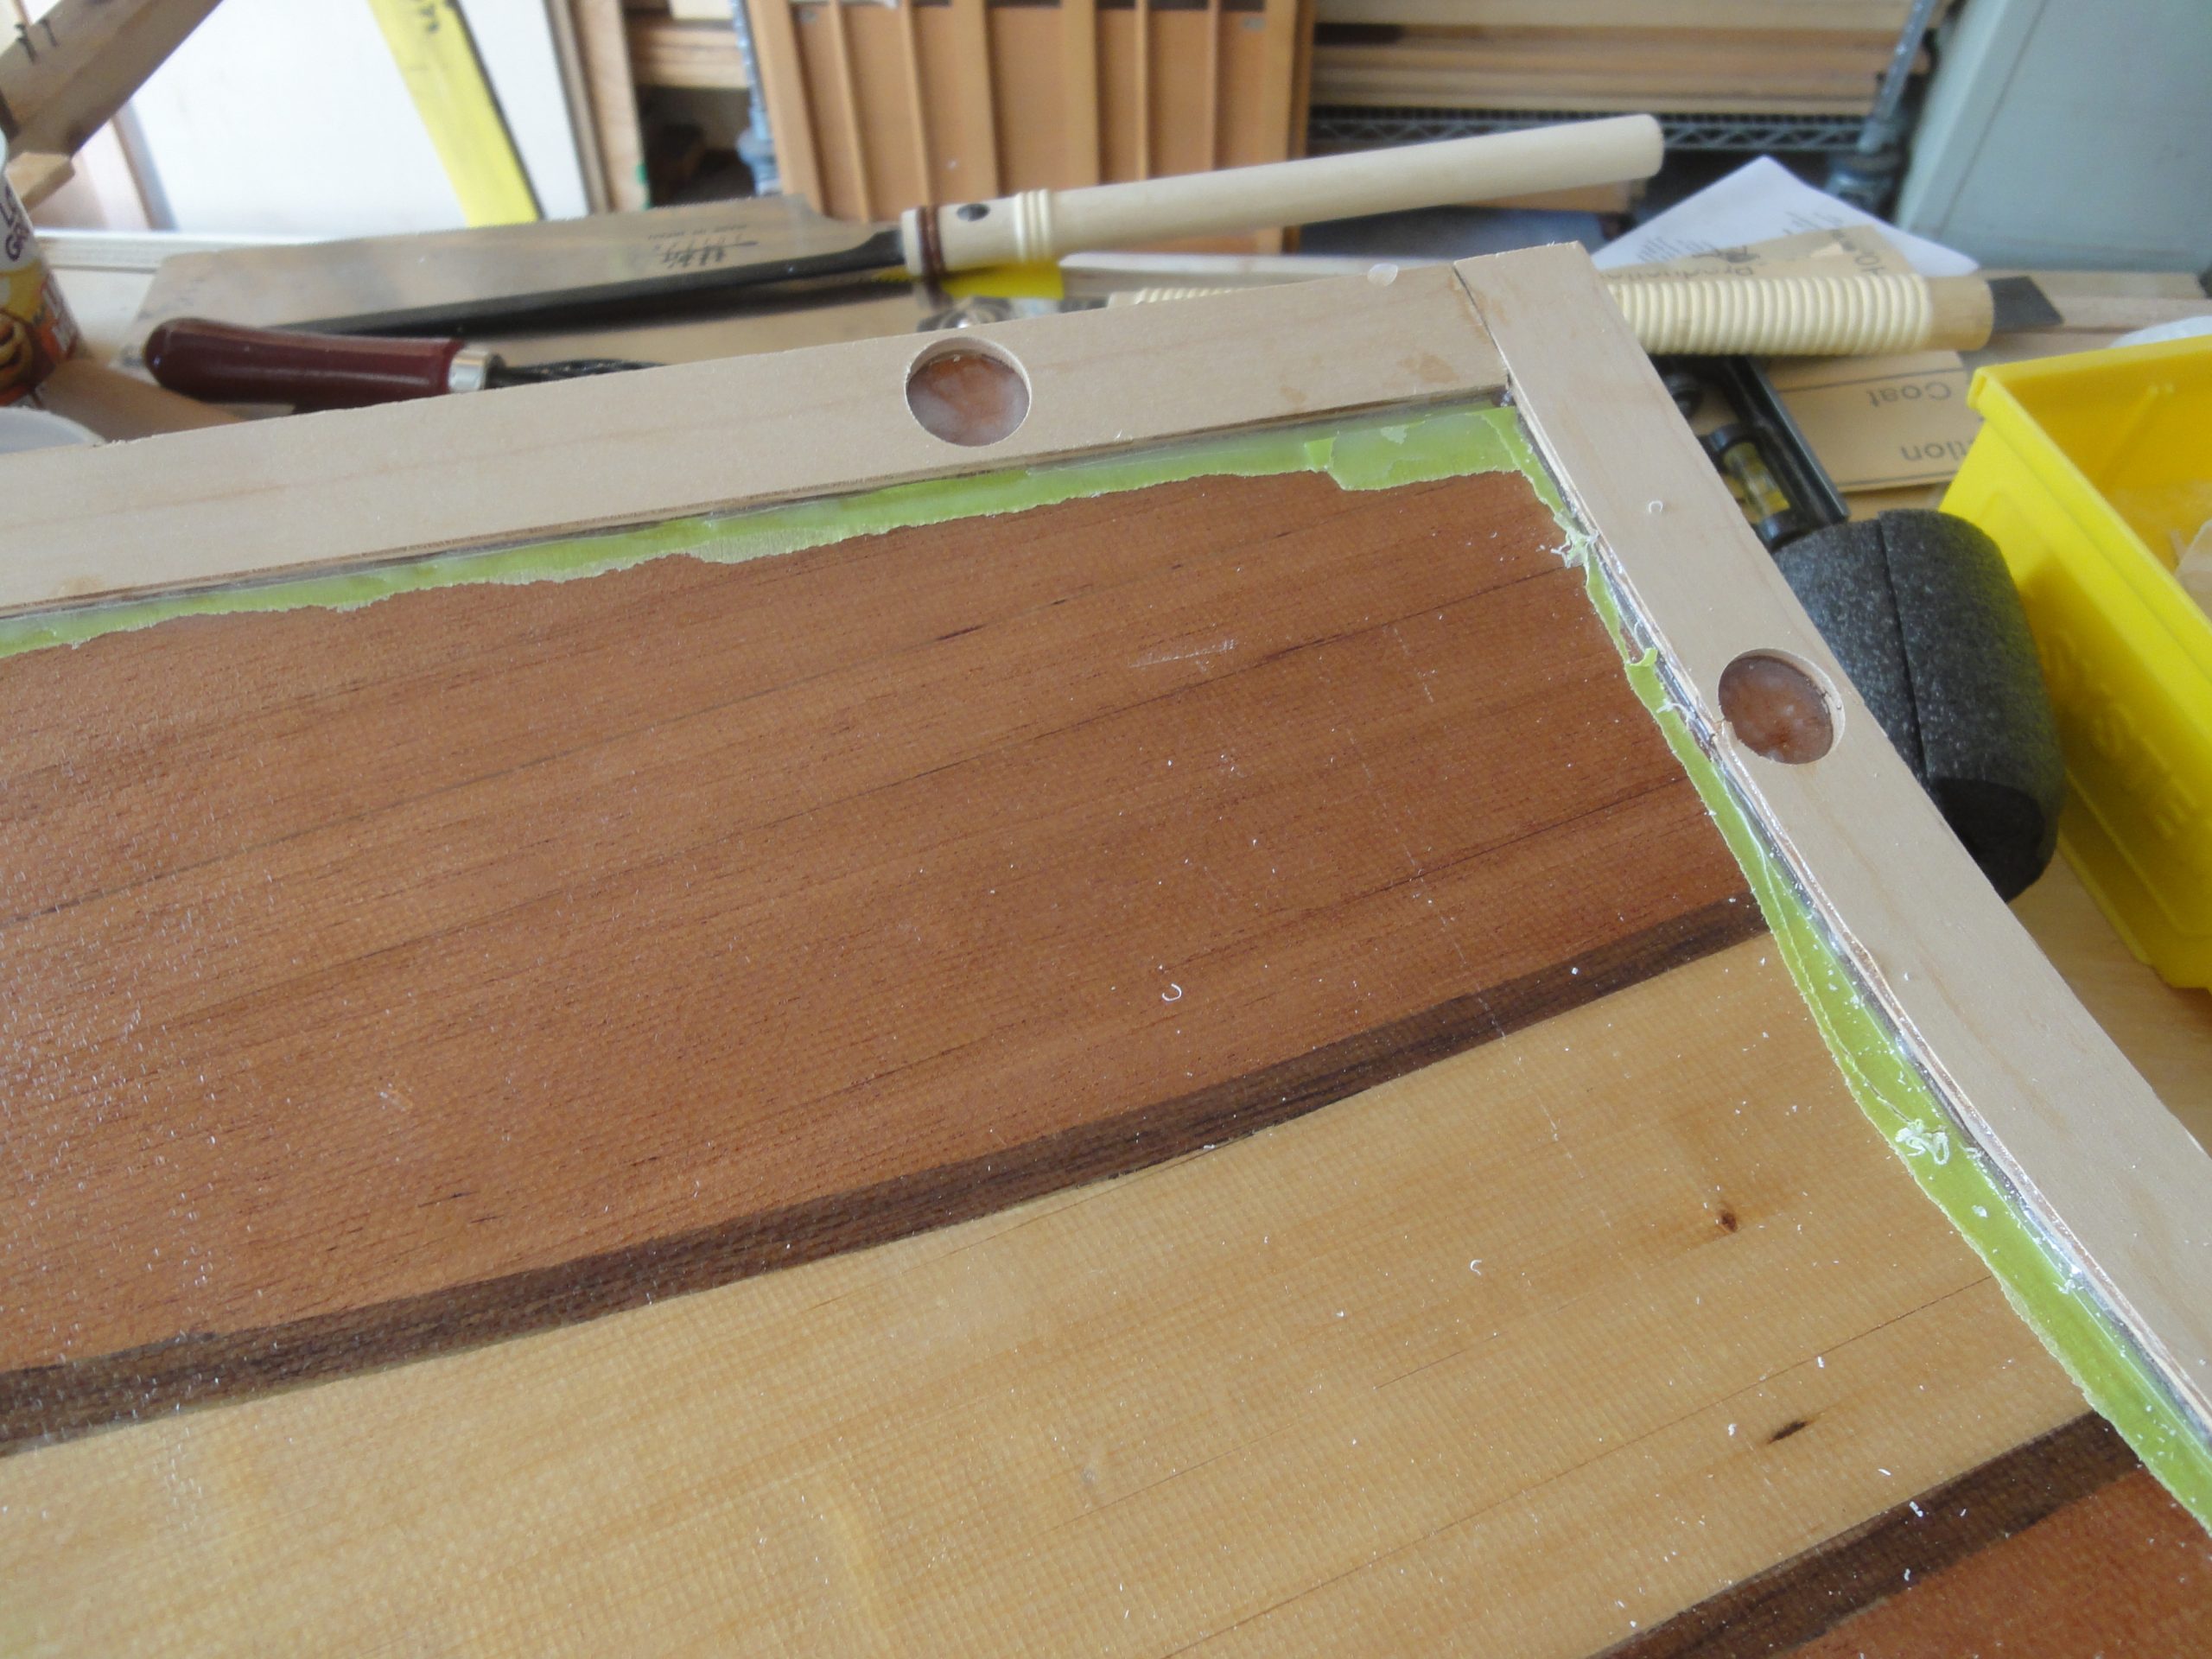
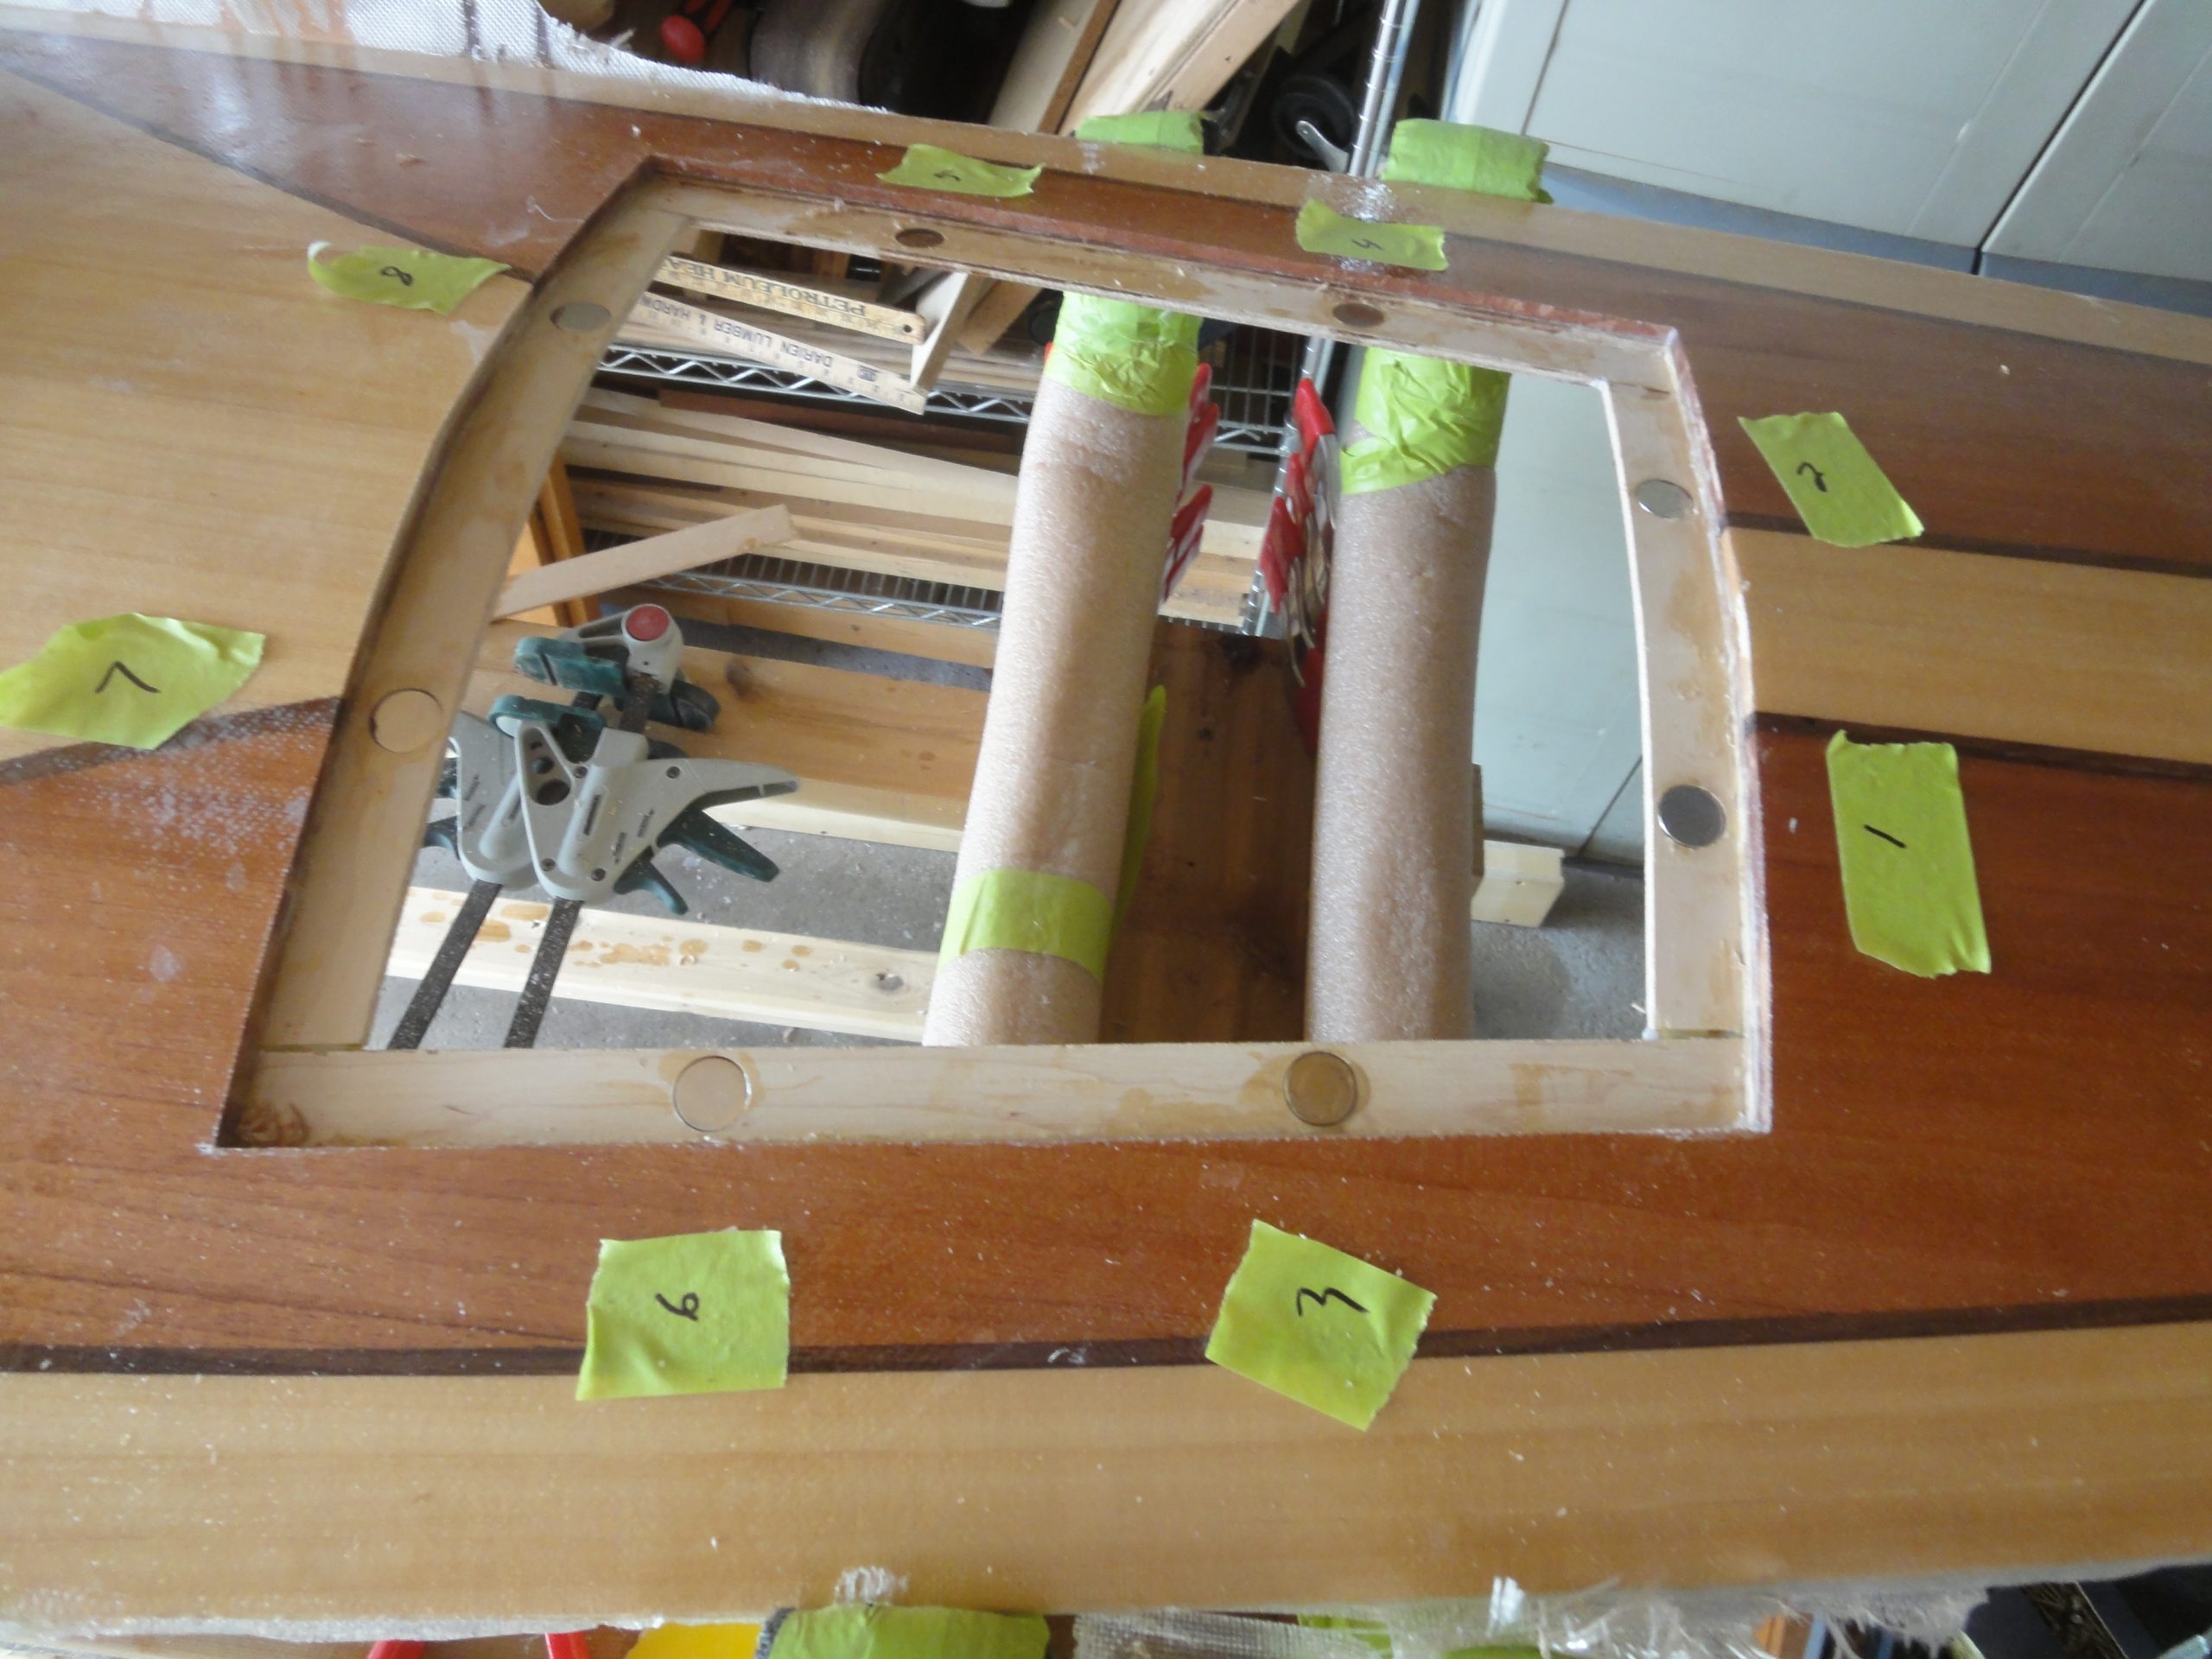
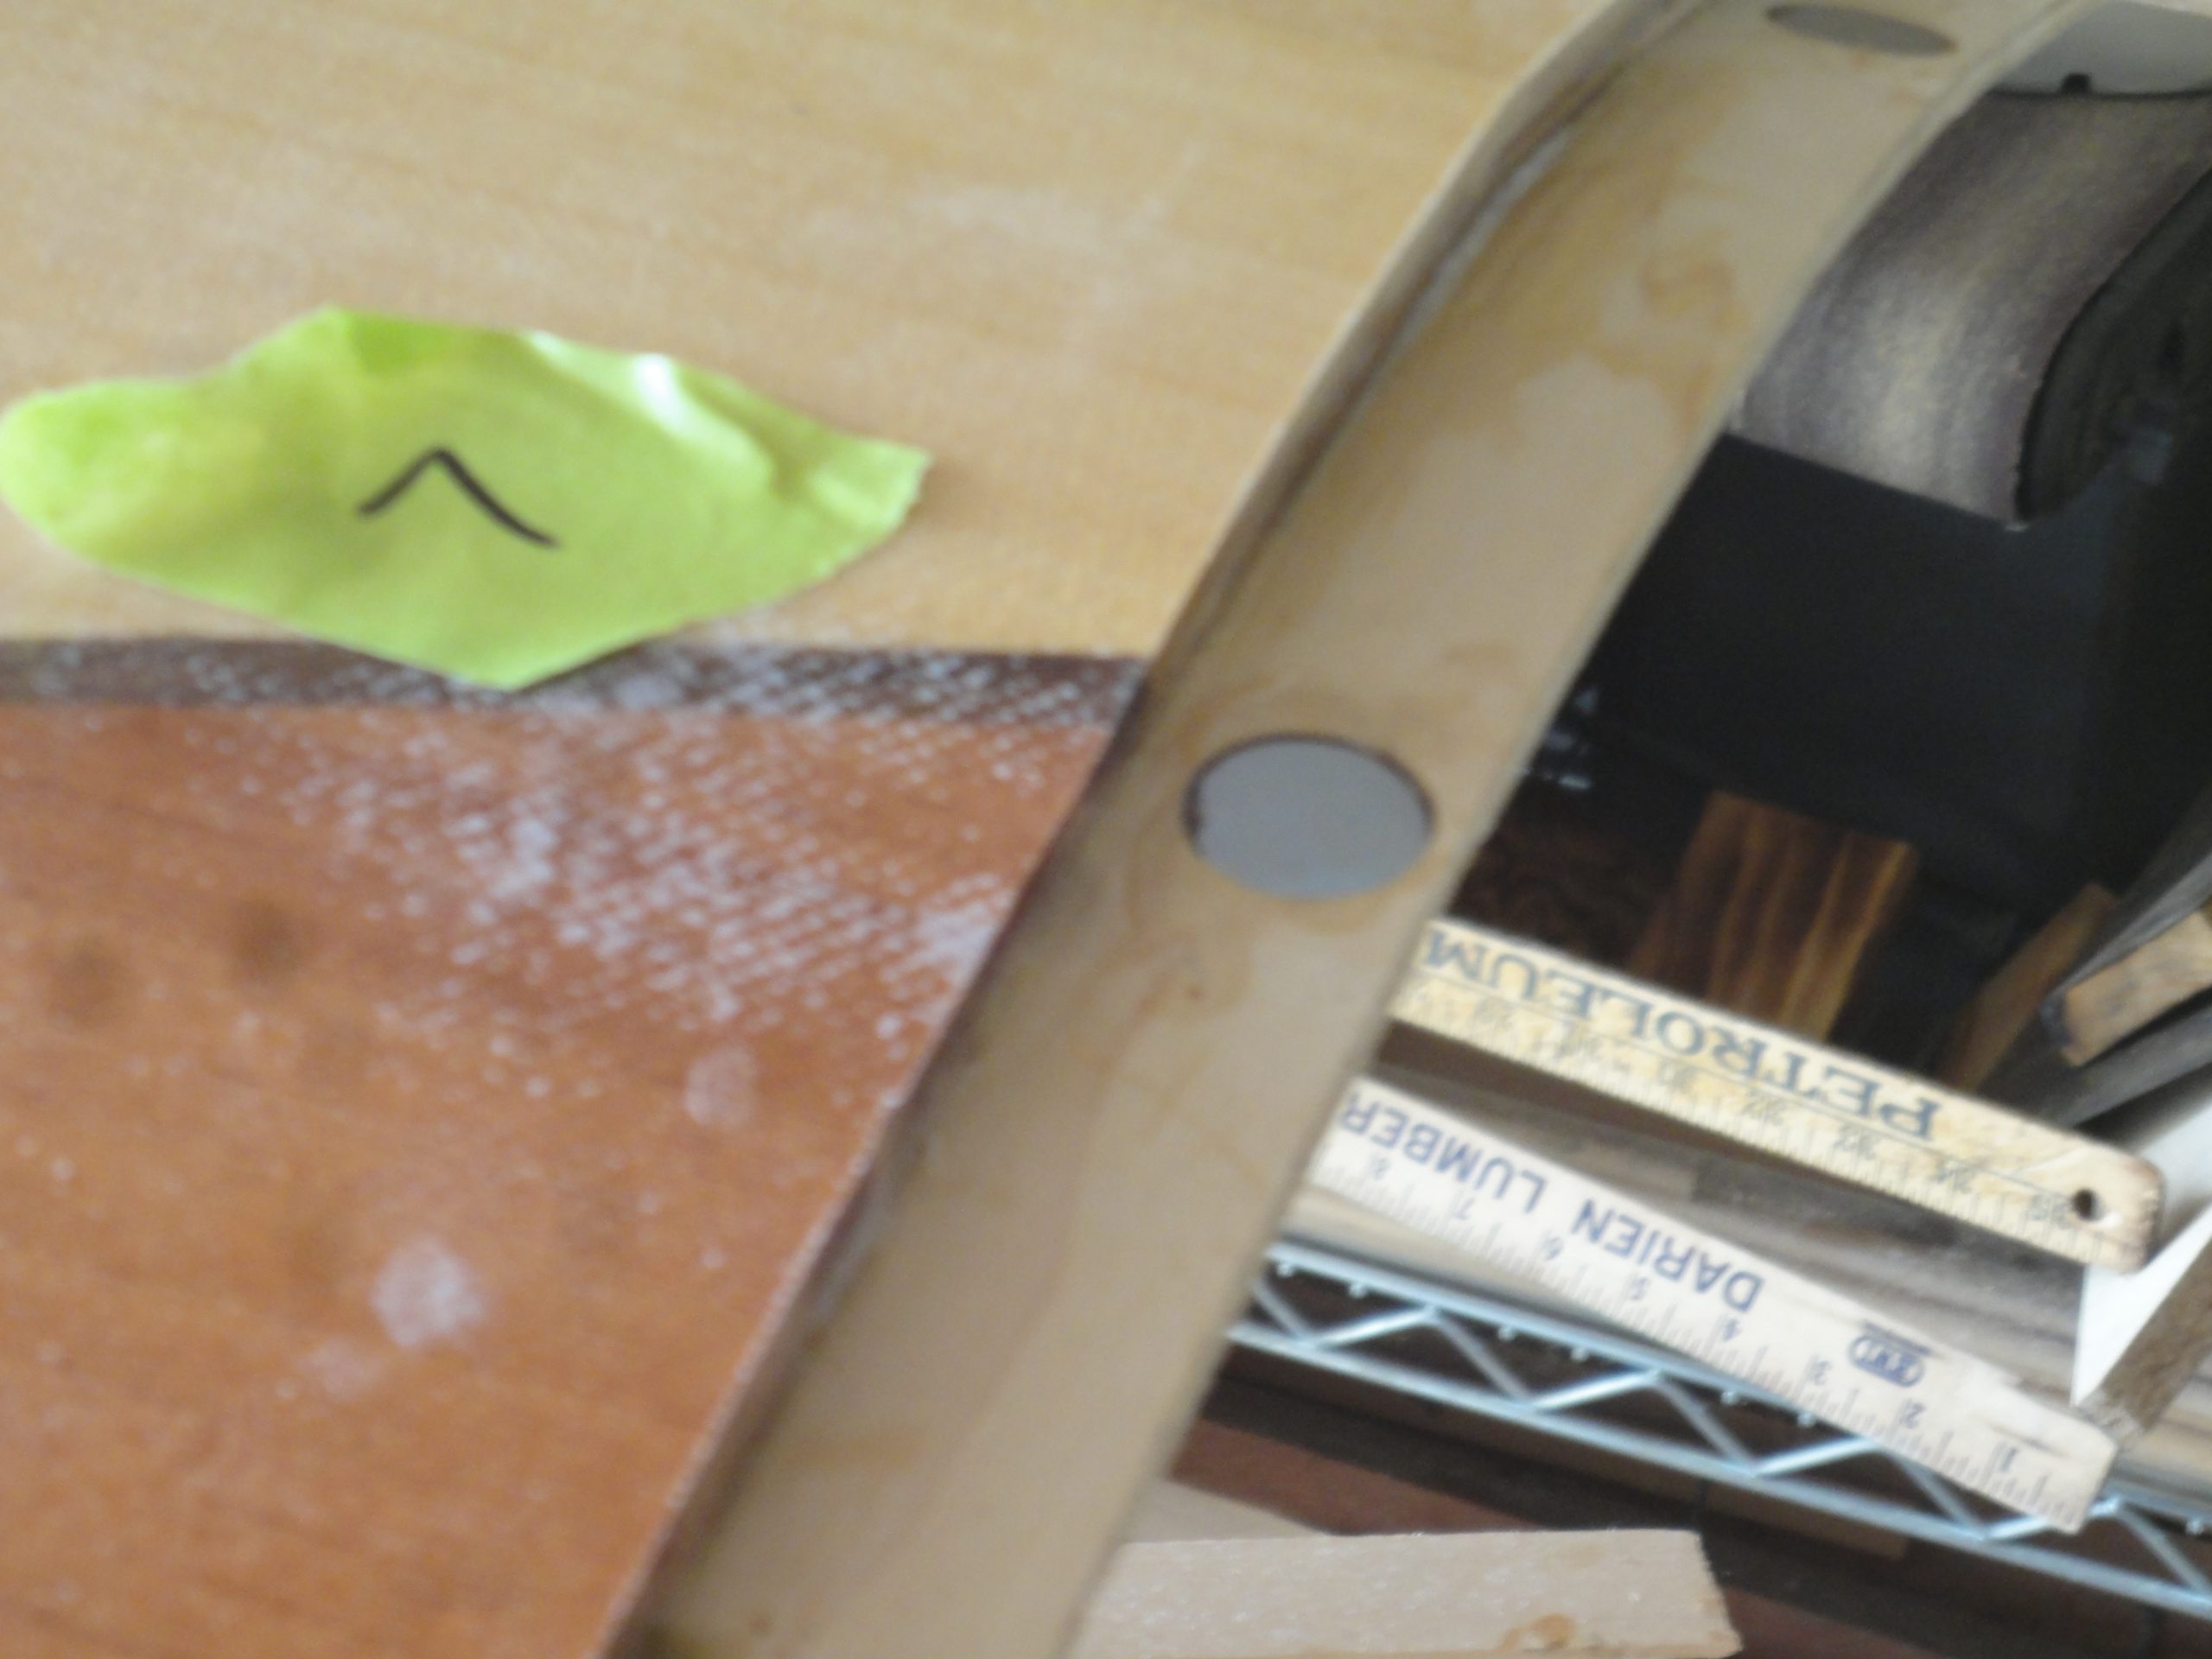
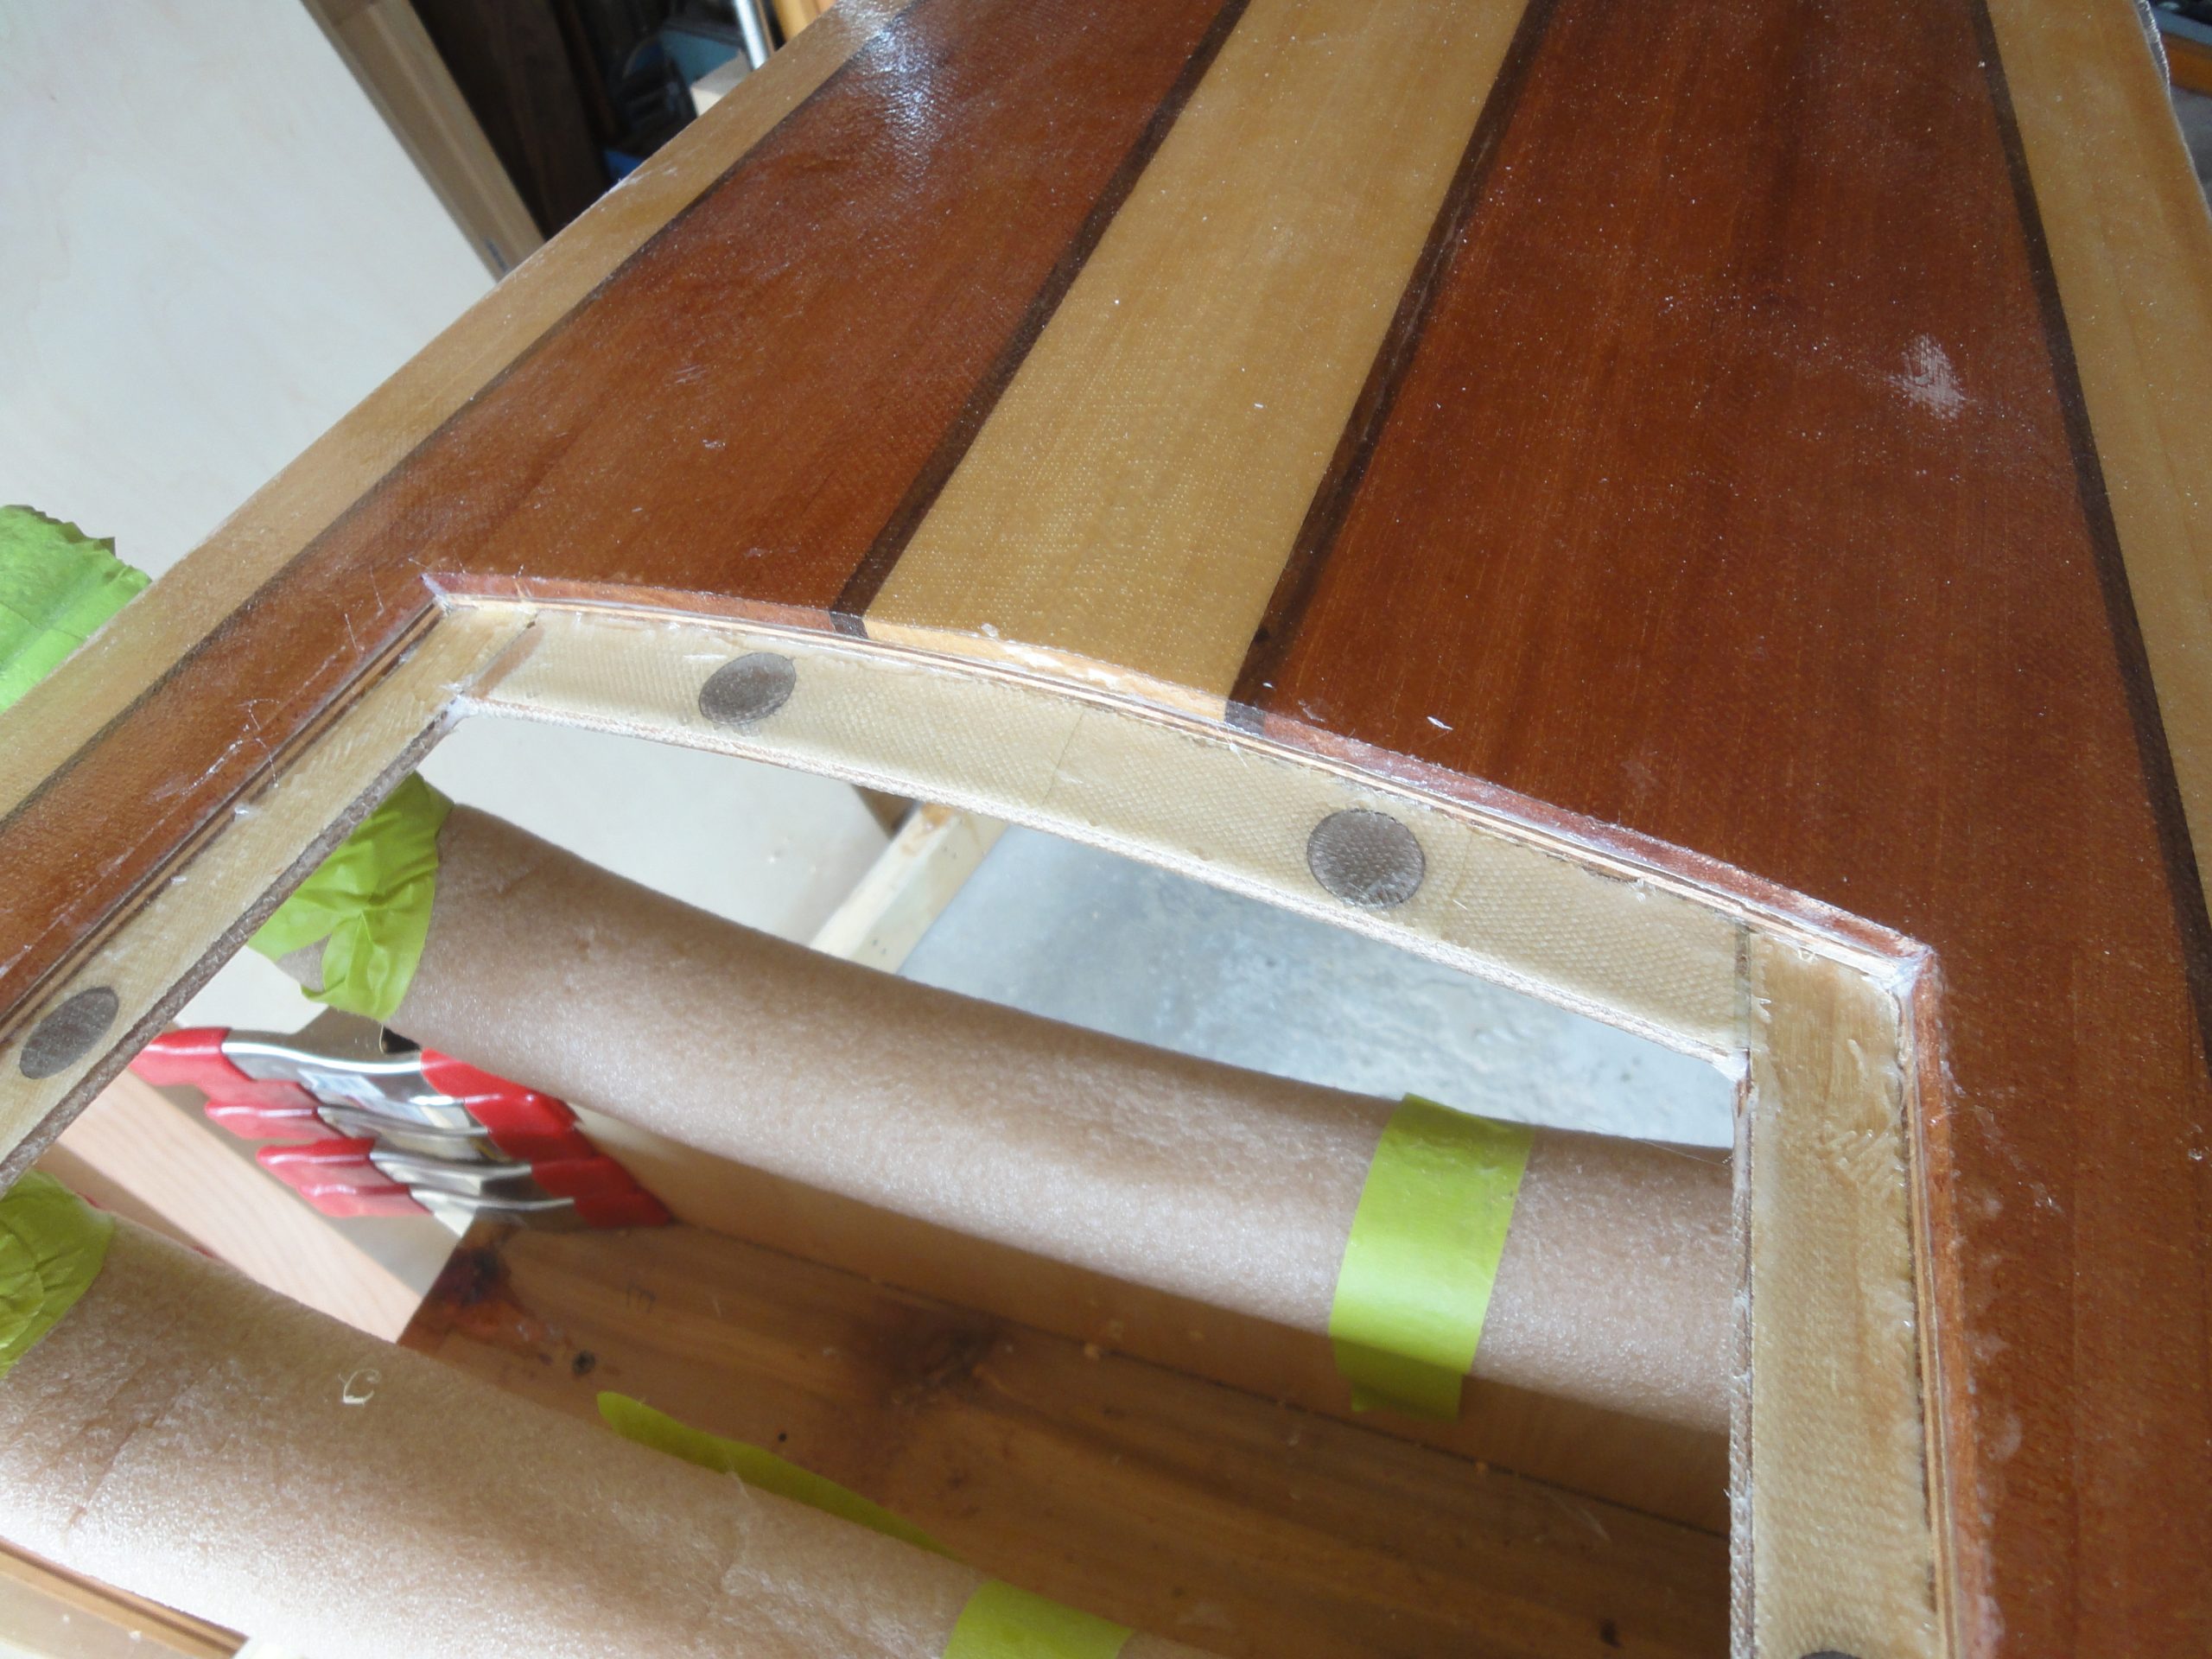
Next up was installation of the magnets. After testing a few I found the holes were no longer deep enough in some cases. Probably due to the epoxy from underneath. But whatever it was I chucked the forstner bit in a cordless drill and with a very low speed drilled each hole a bit deeper. Once all the magnets were fitting flush or even a bit recessed I was ready to install. To ensure that I didn’t install them the wrong way (and thus have them repelling) I labeled the pairs of holes (on top and bottom) and ensured that every magnet was labeled on the outside and always put the outside part in the holes. This way the faces that were attracting will still be oriented towards each other. Thankfully I got them all correct.

After a few more days of drying I did a quick test and was happy to see the lid fit and was held in place with the magnets quite well. I was able to easy lift the deck by the lid alone (without it popping out) and even trying whacking it pretty hard a number of times before I got it to open. I feel my hits were harder than any gear would impact it on a roll over so I considered this a big success.

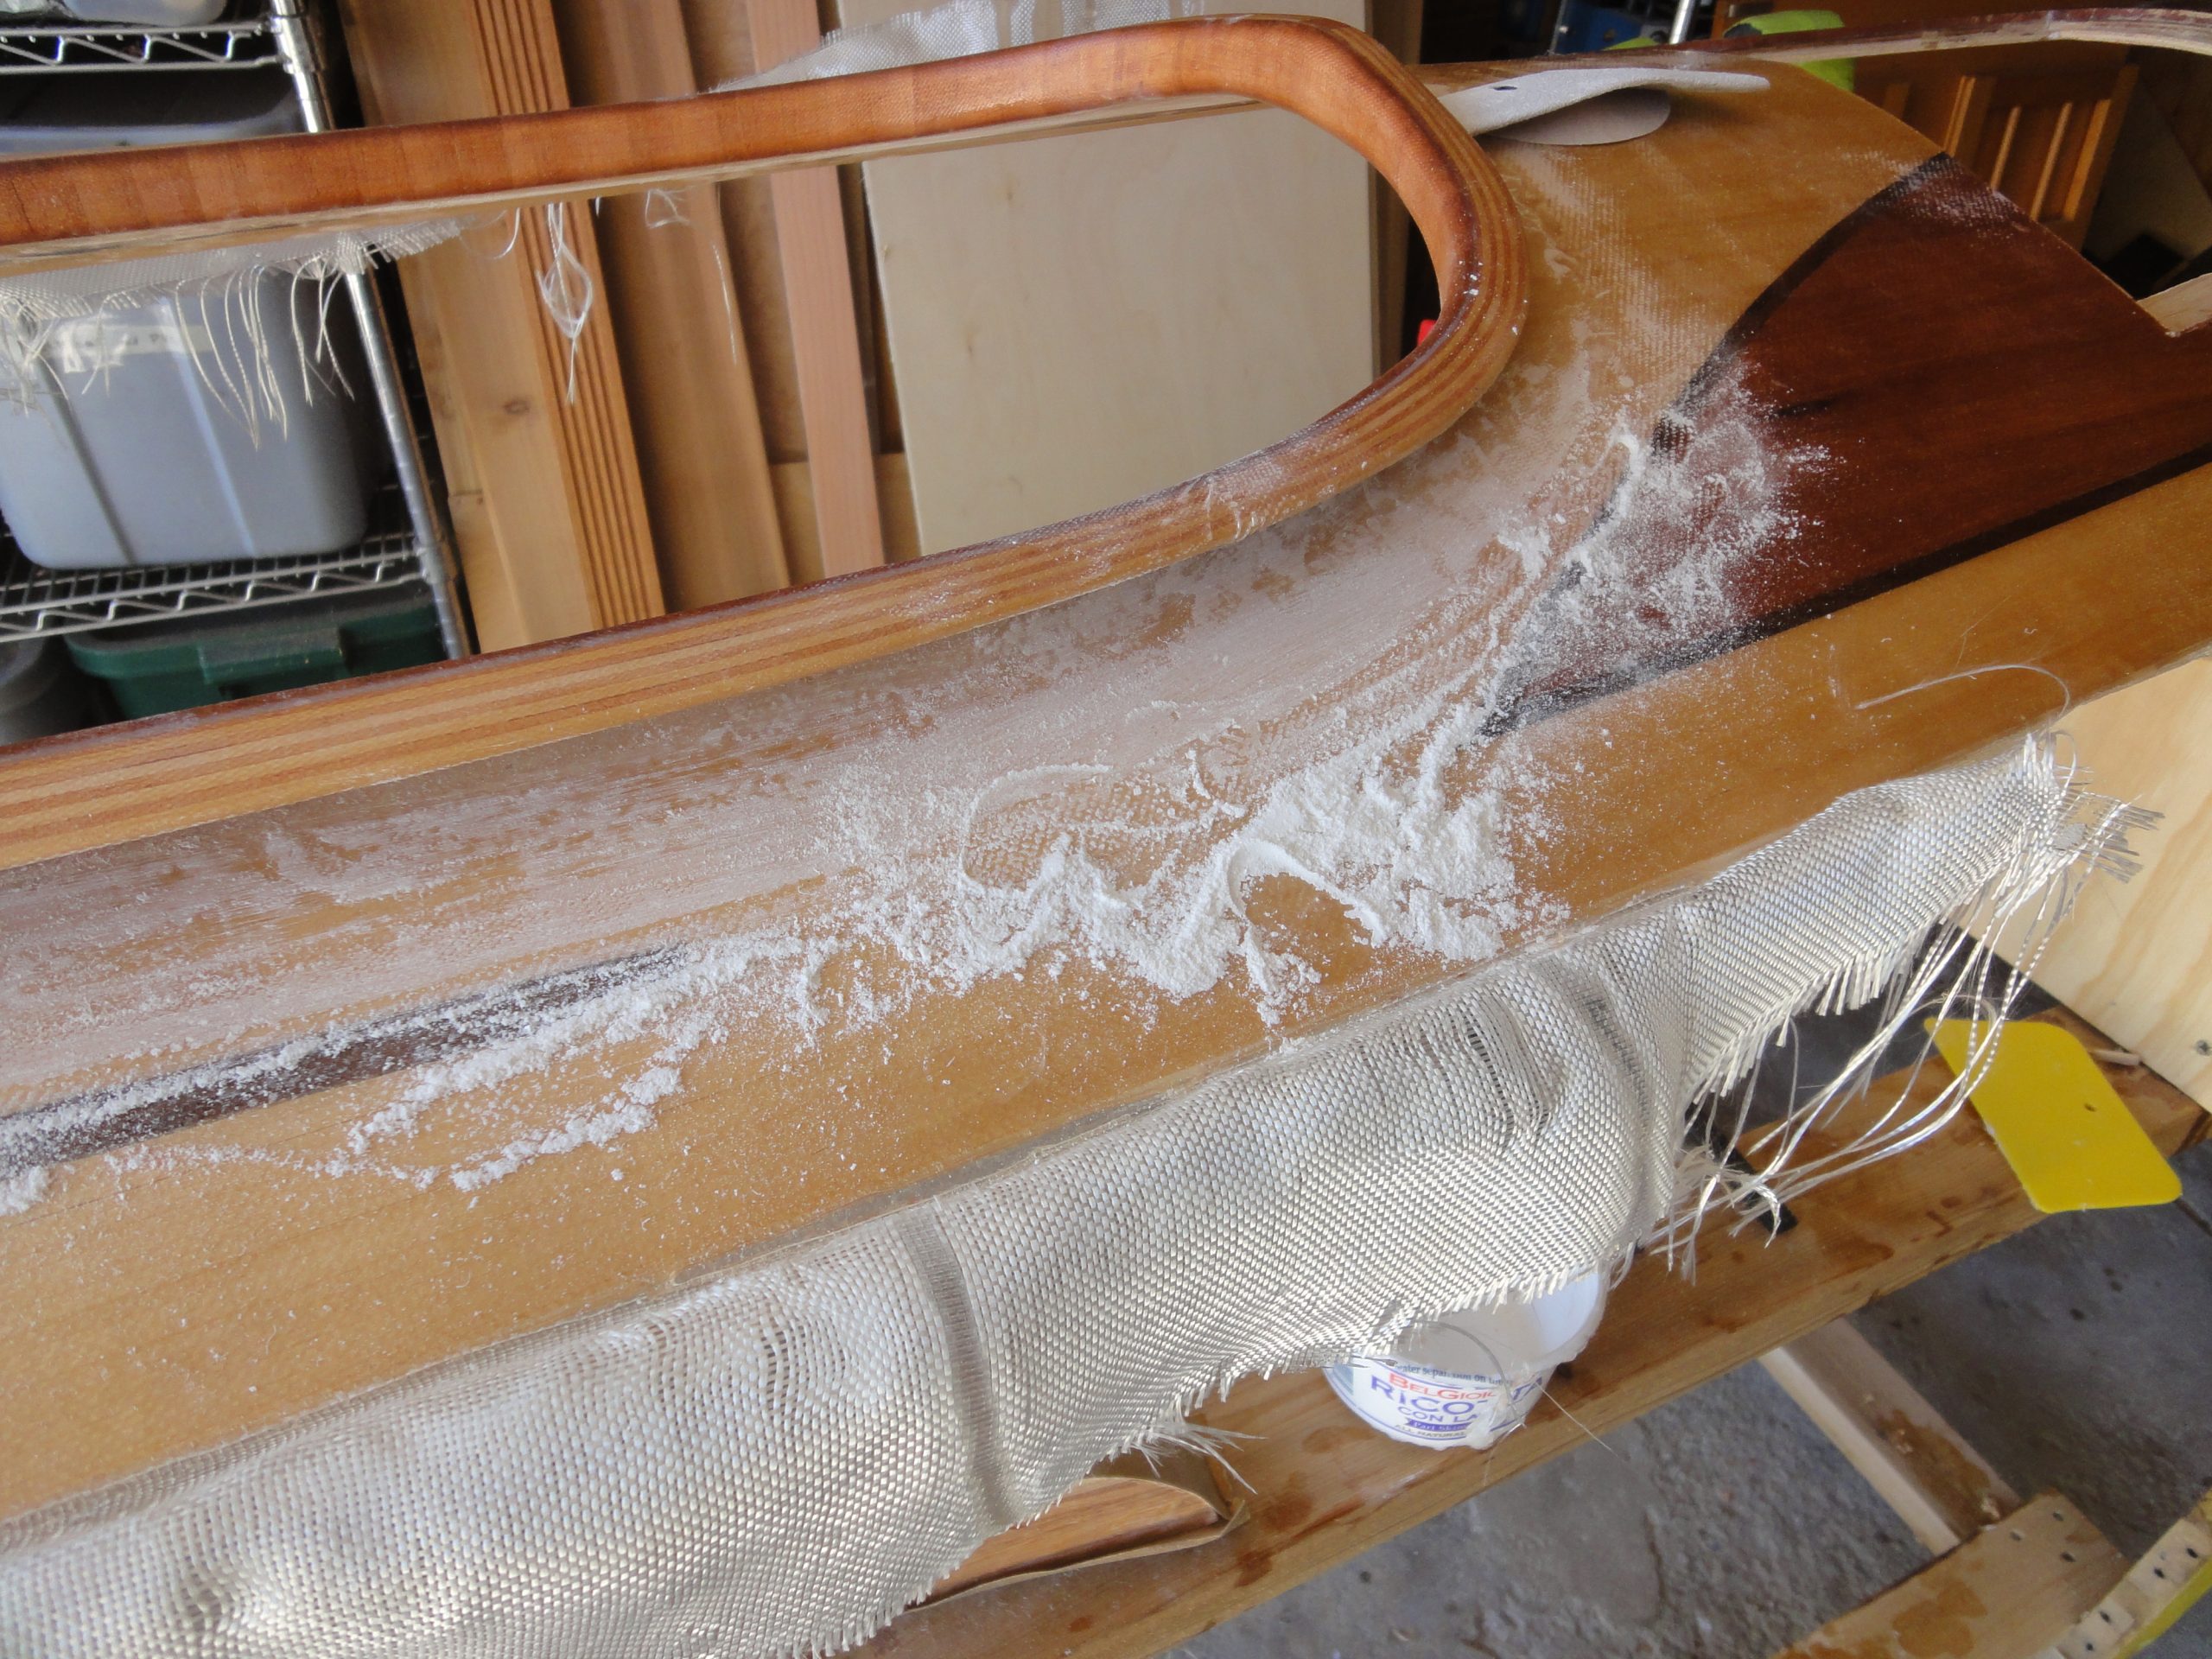
The last step was to cut fiberglass pieces and fiberglass over the magnets. This will prevent them from potentially rusting and keep them in place if the epoxy ever fails. On the lip I went from the outer wall to the inner edge, wrapped around and then along the underside, over the epoxy filet and on to the underside of the deck. For the hatch I barely wrapped around the outer edge (and most of this will end up sanded off later), over the magnet lip, over another filet (that I did at the same time) and on to the underside of the hatch. You can barely see the fiberglass in the pictures.

Everything was left to dry for a few days. Hopefully mid week I can get a bit more time in. However while this weekend was really nice weather (70s and even touching into the low 80s) the next one, at least, doesn’t look to be as good. It’s going to be week by week and even day by day to see what, if anything else, I can get done this year.