Not really anything new, just adding strips. At first these were pretty easy but now I’m getting to the curved parts of the forms and the Robo-bevel is getting used quite heavily. A pair of strips (one each side) is easily 60-90 minutes now between beveling, cutting, test fitting, gluing and taping. On the plus side each strip is one more closer to a finished kayak and the shape is really starting to be revealed now.
I think I was also a bit optimistic last time when I estimated 5 pairs per day. Only three pairs were installed today. On a week night if I’m home early enough I think a single pair will be reasonable.
I ran into what I believe is my first big mistake but thankfully caught it early enough and was able to fix it.
To start with I (Robo-)beveled that walnut strip, then added a basswood strip. Since I already have strips on the kayak, I no longer need to assemble long strips on the bench but instead can assemble them right in place cutting the scarf joint and gluing everything up.
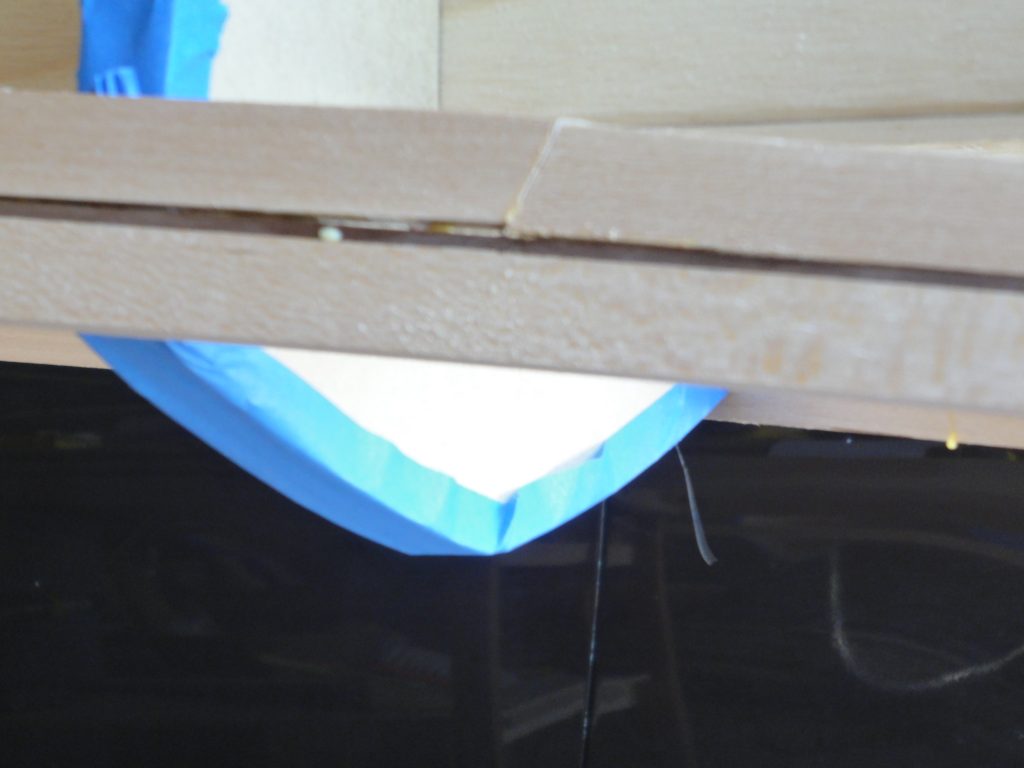
The next strip is a 1/4″ x 1/4″ piece of Spanish cedar. Before I can place it I need to ensure the previous strip is smooth and beveled to the correct angle. While working on it I noticed a substantial bump. It seemed surprisingly large so I got down to eye level with it to further investigate. To my dismay, the strip at the joint had risen up about an eight of an inch. I could clearly see light through the gap.
How to fix it?
Leave it as is, fill it in later with wood flour filler – but this would show as a discolored line.
Leave it as is and just let the epoxy fill it in – should work but to me this is very sloppy work then.
Clear the gap and plane down a very thin wedge piece of wood to fit in there – should work but seems like a lot of effort.
Clear out the beveled surface, re-cut the joint and see if I can push it back in place – if this works it’ll be like the mistake never happened
Cut out the bad area and splice in a new piece – again a lot of work and high chance of grain and/or color mis-match making the patch ultimately visible
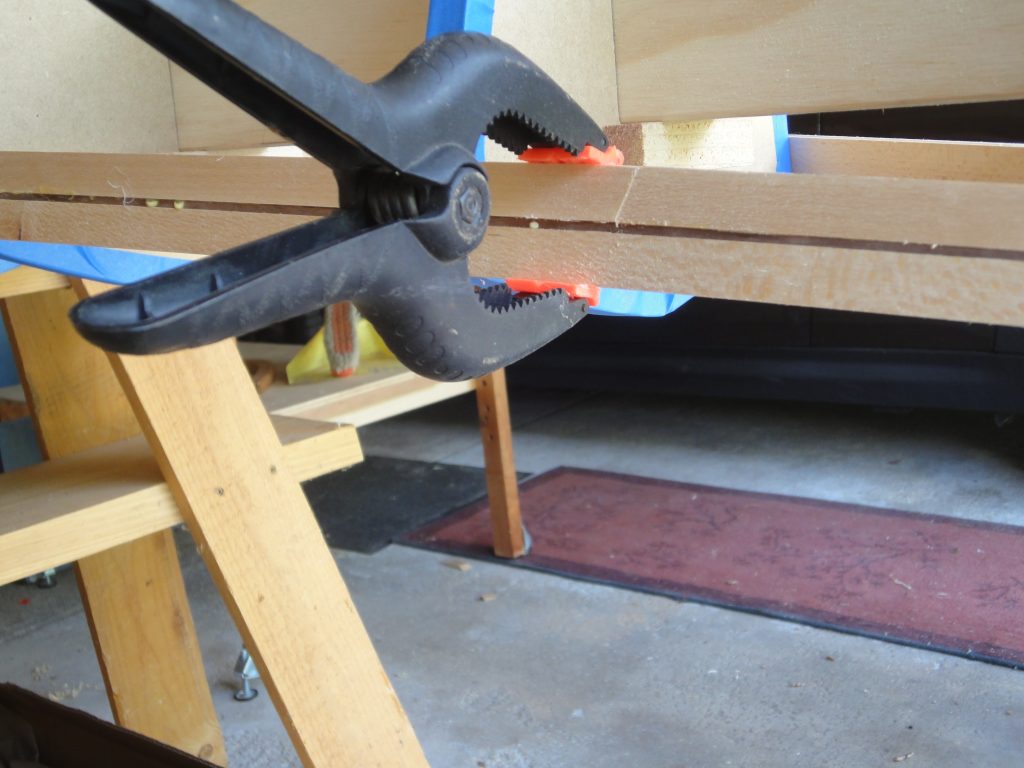
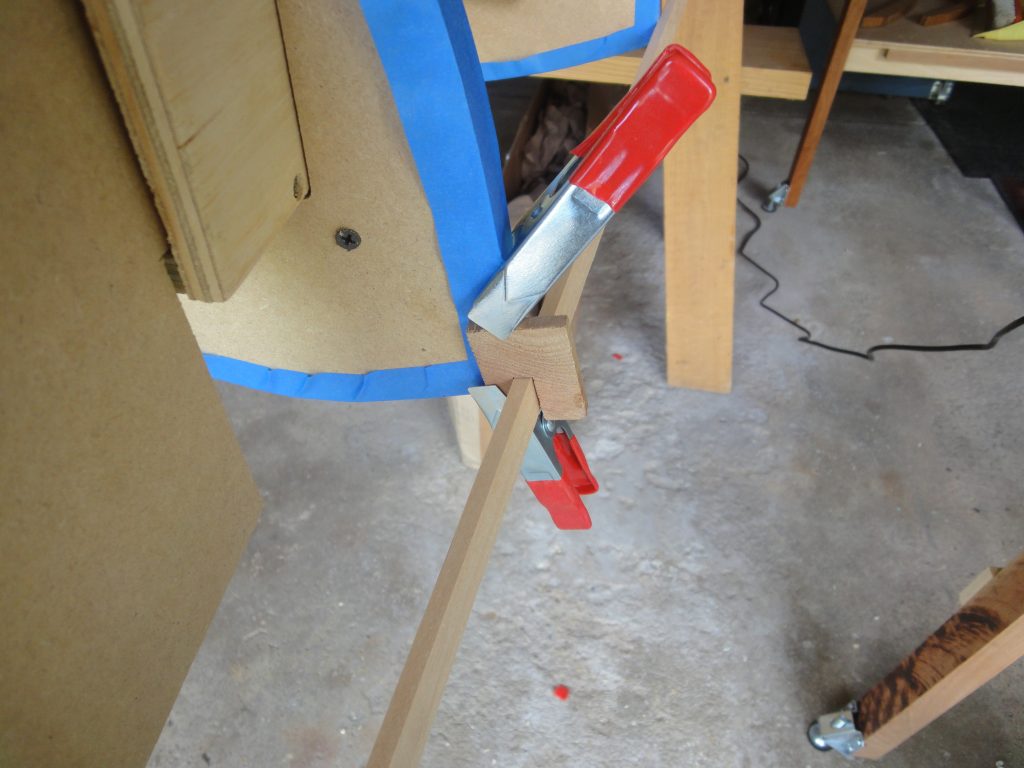
I went with the attempt to re-cut the joint and thankfully that worked well. Although to be sure I used a much stronger clamp to hold it until the glue dried.
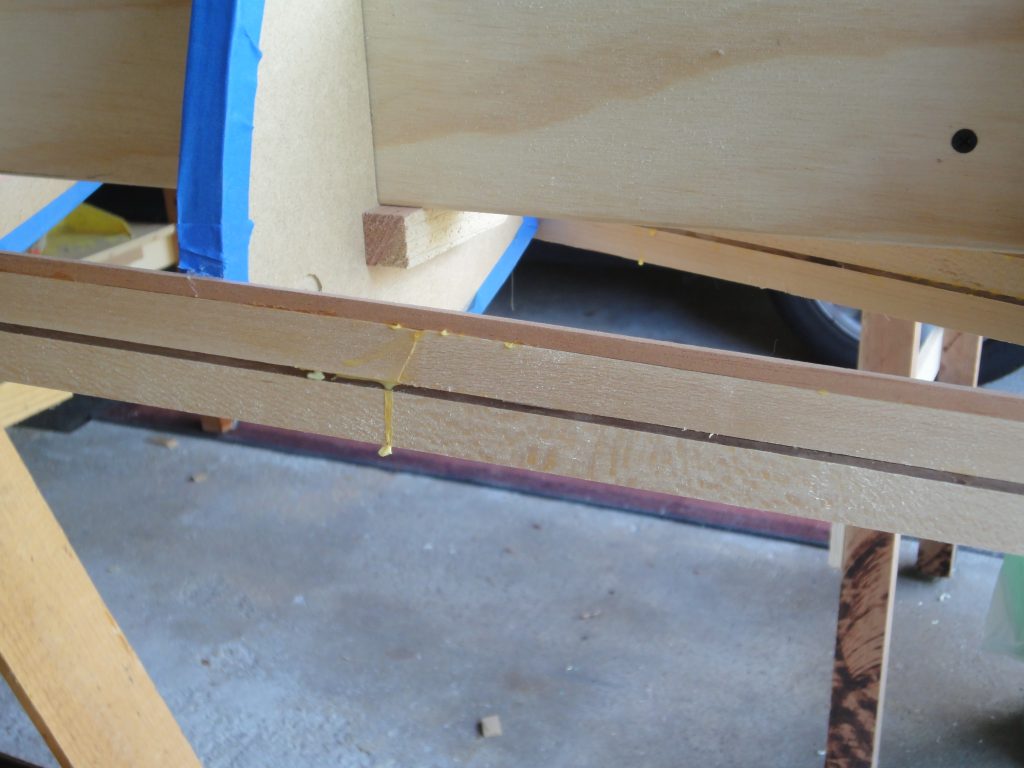
After the mistake was fixed I added in a cedar accent strip, then let that dry and then added another basswood strip. From here on the rest of the hull will be all basswood. I find it’s taking about 30-45 minutes to attach one strip to each side and then a good 2 hours for the glue to setup. With a bit of clock watching there is potential to do at least 5 strips per day. I don’t want to rush and make mistakes but I certainly hope to get more than the few per day that I’ve been doing so far. Then again this is still early on and I’m still learning this as I do it.
Had a bit of time tonight so I prepped and added a couple of detail strips. I’m following Nick Schade’s methods for beveled strips and more or less his “clamping” method too. To start with I needed a few new tools. One of these is pretty much a dedicated kayak building tool, the other is designed to fit within the tool but could also be used on its own.
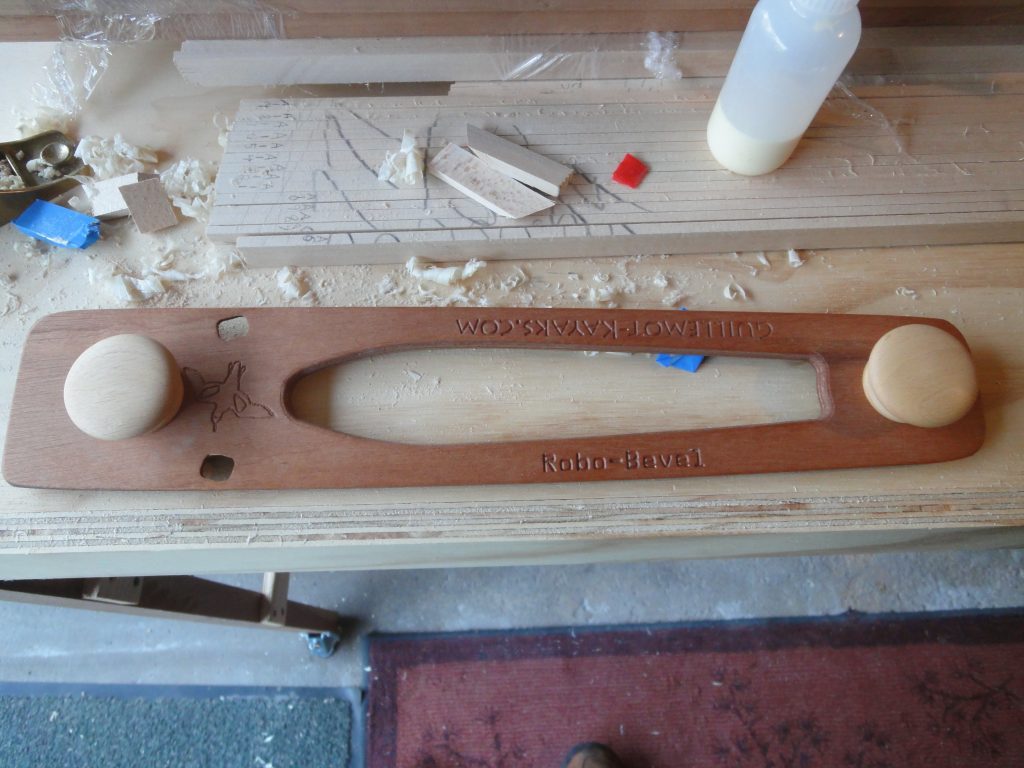
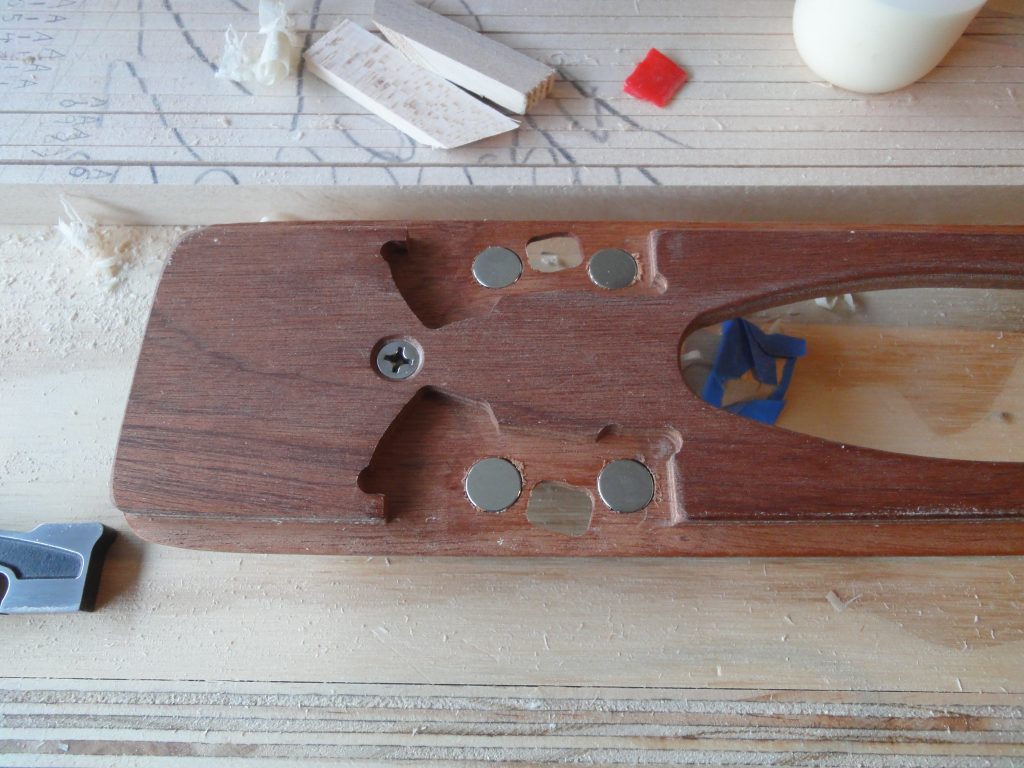
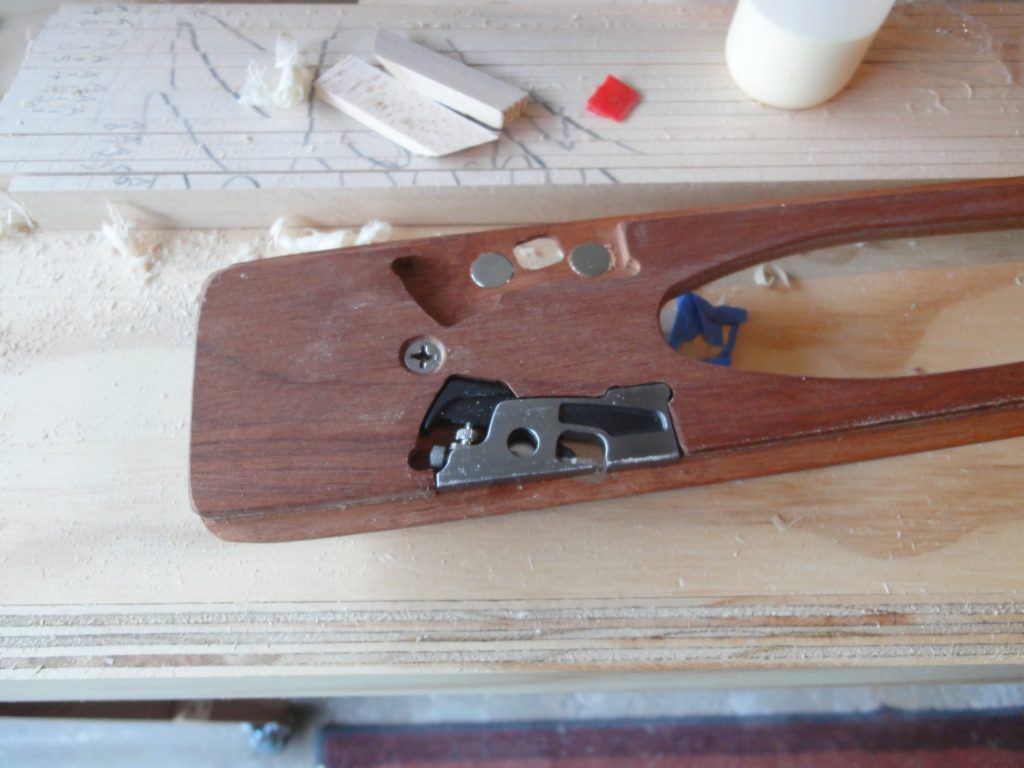
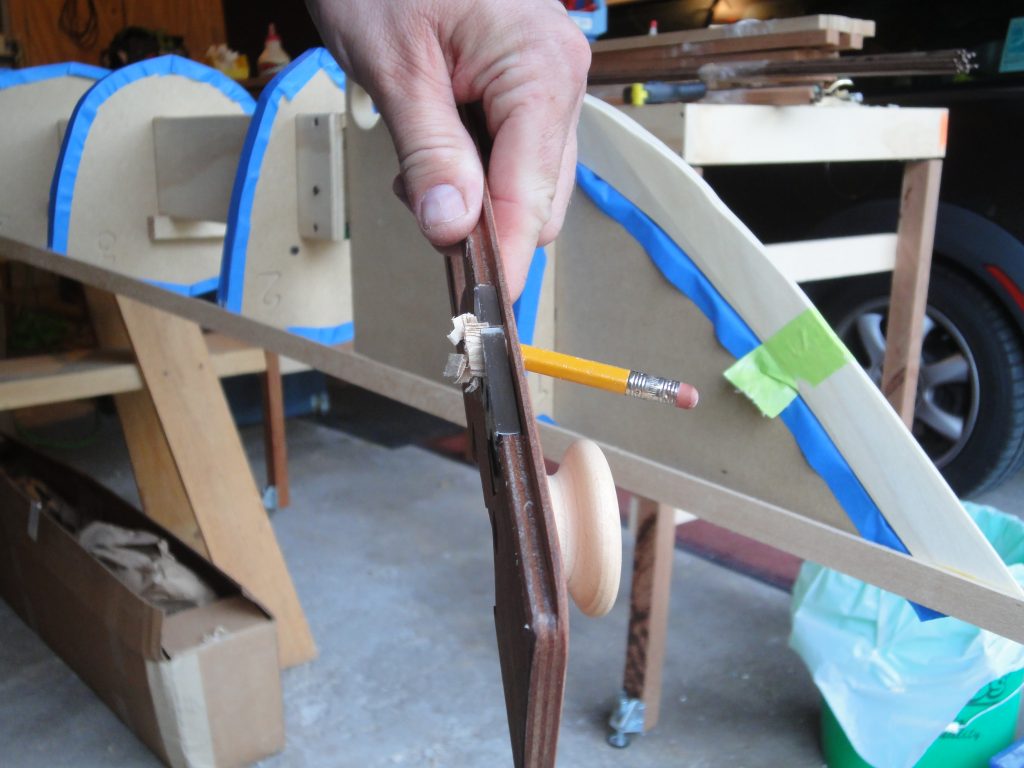
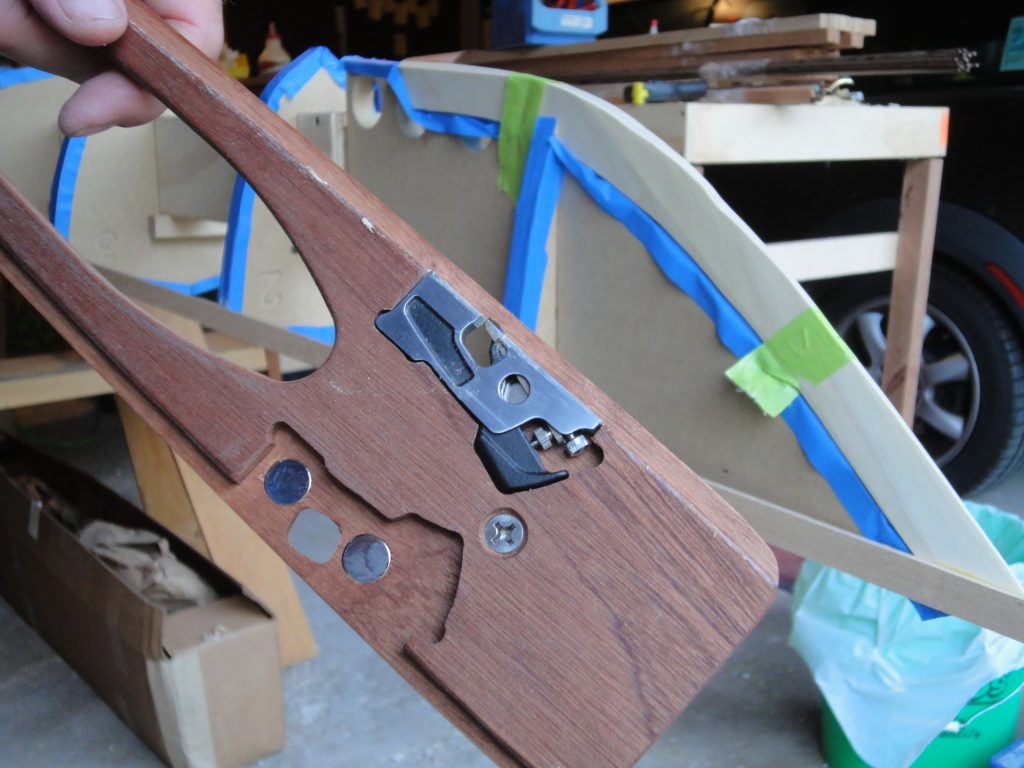
Robo-Bevel from Nick is a great way to bevel the strips that are already on the boat. I’ll briefly describe it, but his video and animation at the link above is probably the best way to see what it does. The Robo-Bevel is designed to use the Veritas Mini Shoulder Plane to achieve the beveling. It can fit in the Robo-Bevel two different ways allowing to to cut in either direction which is helpful to be sure you are planing with the grain.
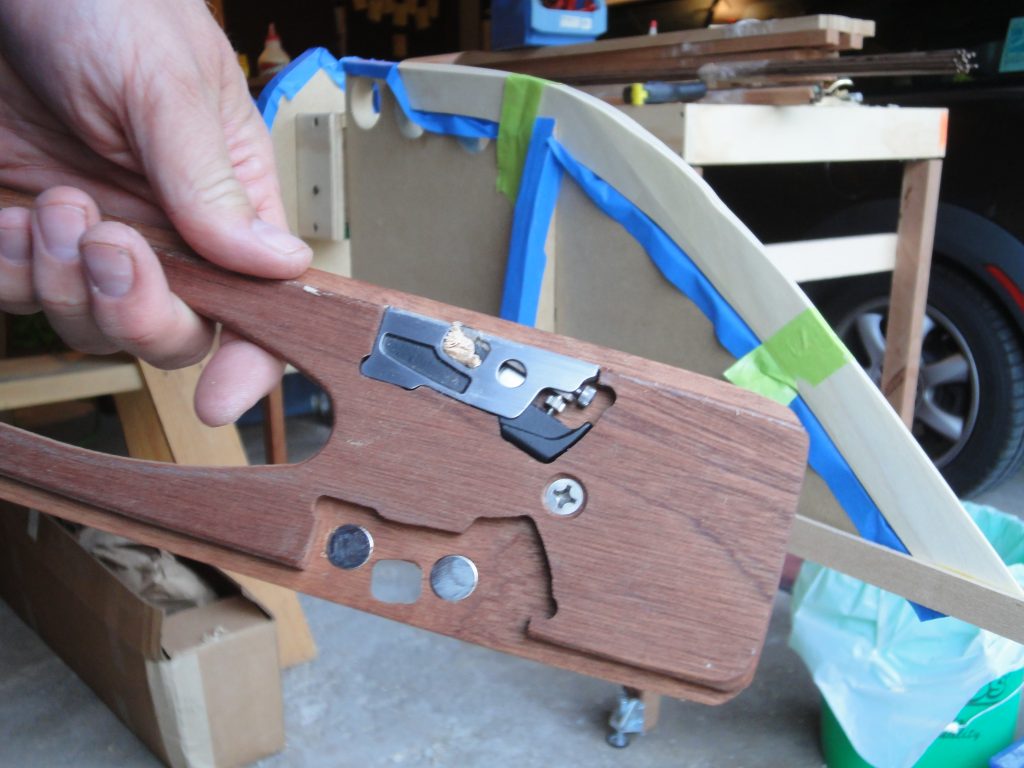
The way the tool works is that you set the plane for a light cut, insert it into the tool, position the tool on the strip and lean it against the forms and then slide it down the boat being sure to keep it tight to the forms. As a result it cuts the strip at a right angle to the current form angle. This results in the next strip fitting tightly. Failure to get the bevel angle cut means a gap between strips or a gap between the strip and the form, neither of which is desirable.
A minor frustration is that the area for shavings to accumulate is very small and quickly clogs. Use a pencil to clear it out.
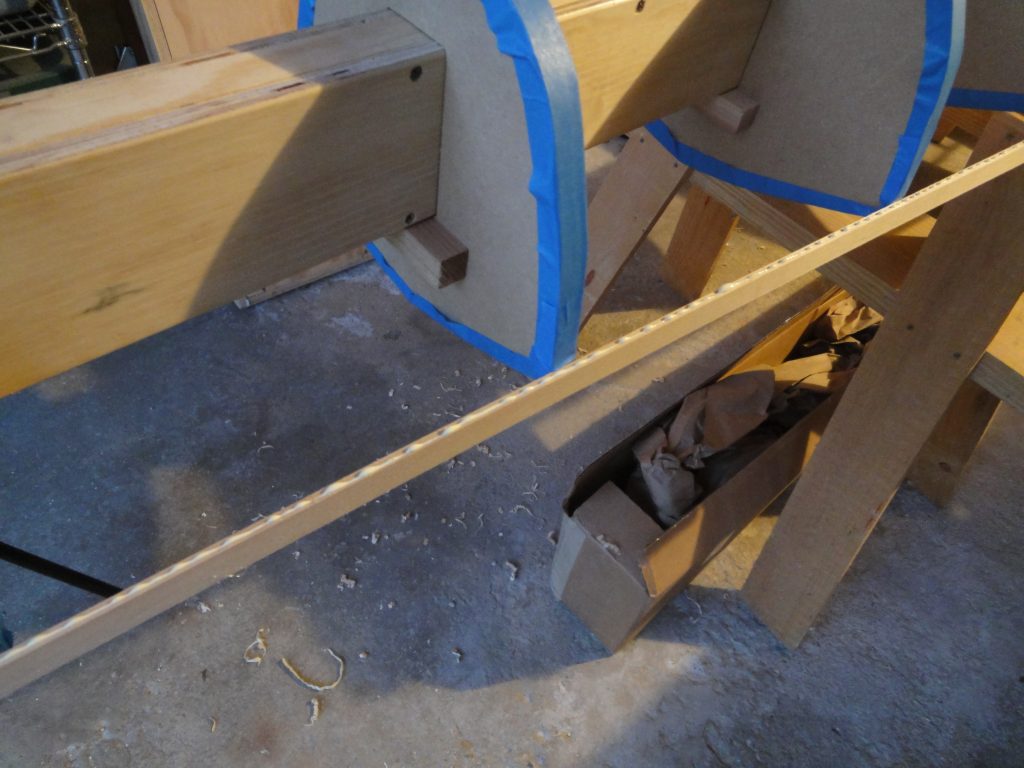
In the following video you can see an example of it in use. Around the mid point I draw a couple of lines in pencil across the strip. If you aren’t sure that the cut is going across the entire strip, this is a good way to check. A full cut would eliminate the lines. Normally when beveling it starts with just a corner and as you make repeated passes more and more of the strip is being cut until finally you get a full width cut at which point the strip is beveled properly (assuming the tool was held against the forms) and ready for the next strip.
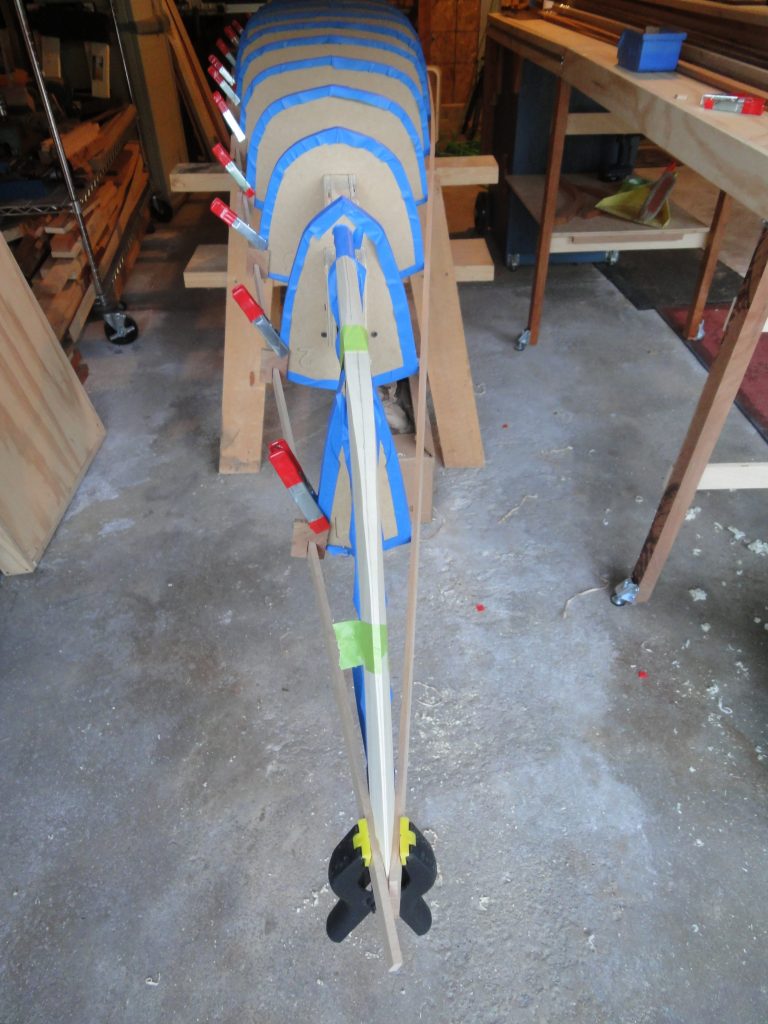
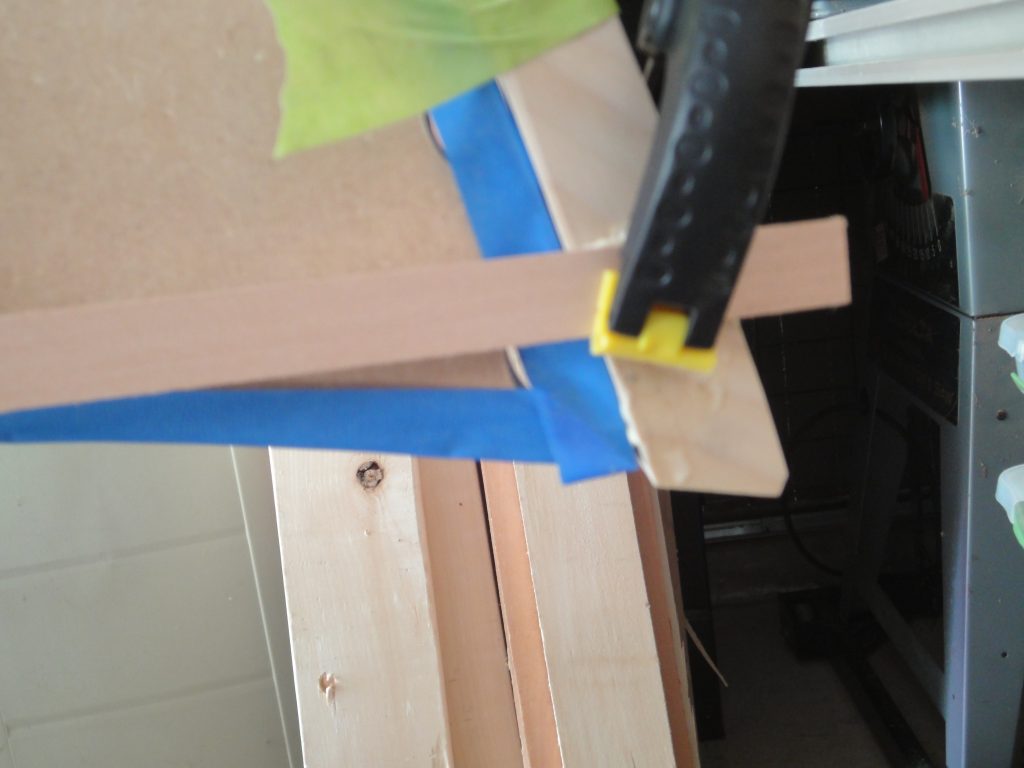
After beveling each strip, which at this point required pretty much just a single pass, I was ready to add the next strip. As more strips get added the forms start to curve (especially in the middle) more sharply then the tool will really start to come into its own. The next strip is a 1/8″ walnut strip meant to act as one of two accent lines. A thin bead of glue was added and the walnut was glued down. To hold the strips together and in alignment, Nick uses pieces of tape. I tried it and found this to work quite well. It acts as a clamp and also, if pulled tightly, an alignment tool that keeps faces in line.
At this point it’s going to be a lot of repetition as I continue to add strips.
Check strip fit against bow and stern, plane as necessary
Bevel previous strip to proper angle to accept this strip
Glue strip in place, scarfing joints as necessary
Tape/clamp in place
Hot glue to forms if needed – I’m aiming for every 5th or so strip but it’ll be done as necessary
Repeat.
So I will continue to do postings but the next handful may not cover much new information for awhile.
Exciting day. I was able to glue on the first strip on the other side so I officially have the first set of strips completed. Only about 60 more to go (for a guess).
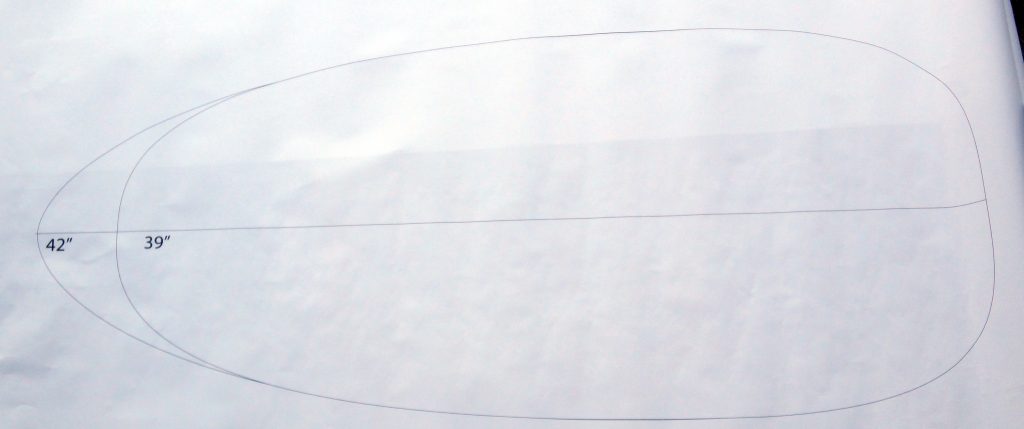
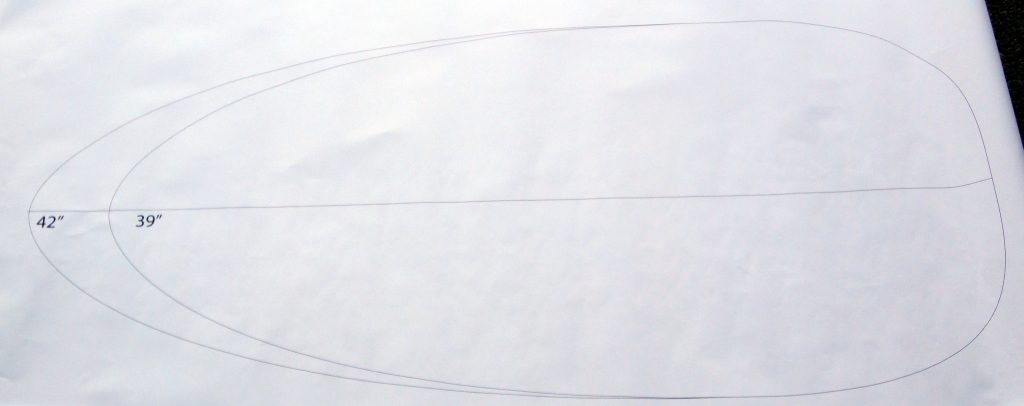
In other news I spent a bit of time and drew out actual size cockpit templates. The 42″ size is identical in both images, however the 39″ size varies at the front. I’m not sure yet which size or style. To test I’ll cut these out, place at about the height they’ll be in comparison to the bottom of the kayak and then see which I can comfortably get my legs into. If I can do the 39″ size then I could still cut the 42″ and do a bit of a recessed coaming at the front to bring it back to 39″. It would be pretty much just for aesthetics and certainly is not required but after seeing many kayaks built this way I’m considering it.
Progress. I got one strip on before deciding that was enough for today. Also because I only had one strip ready to go. Looks like I’m going to need to glue up a handful of strips if I want to do more than one per day.
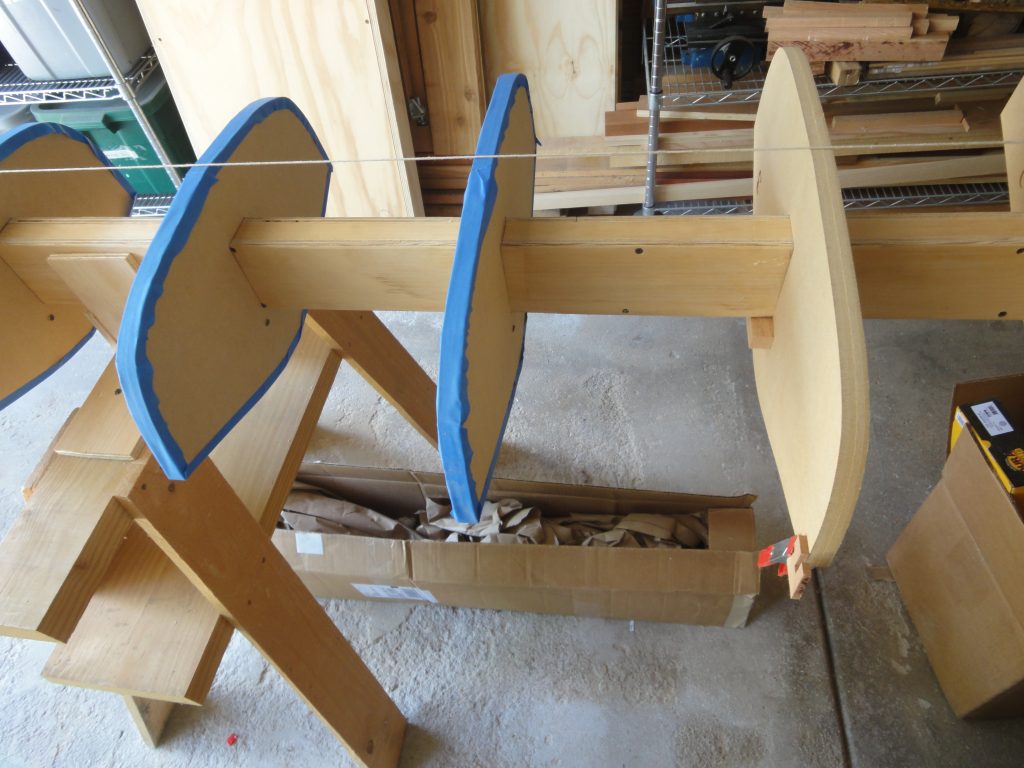
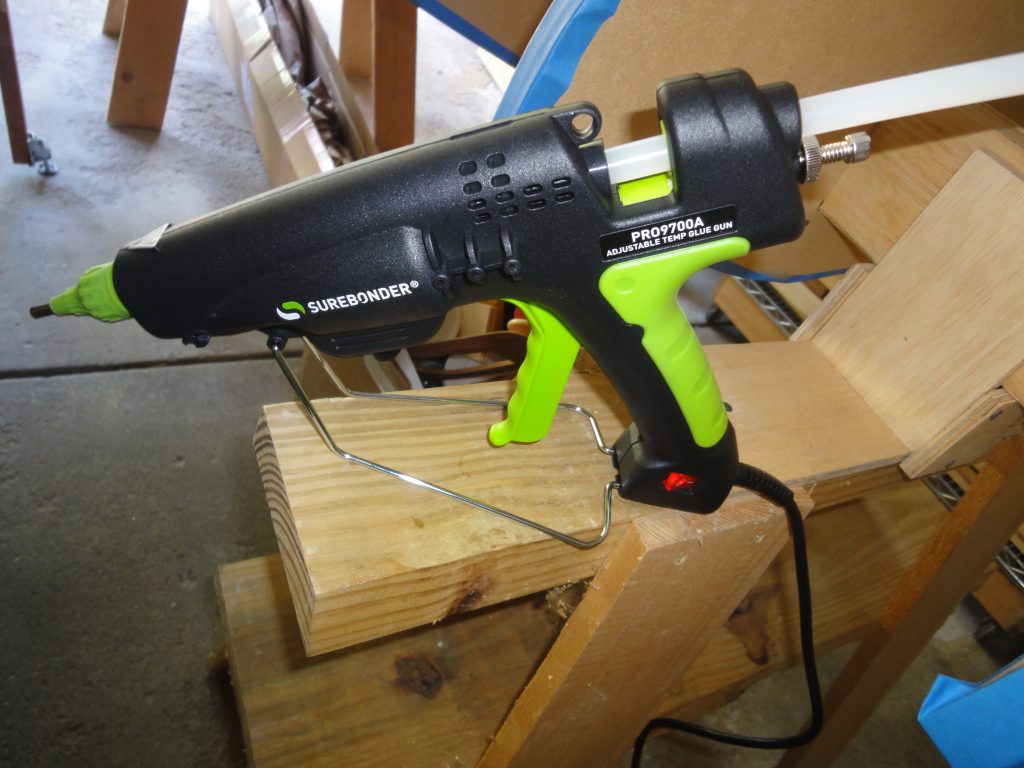
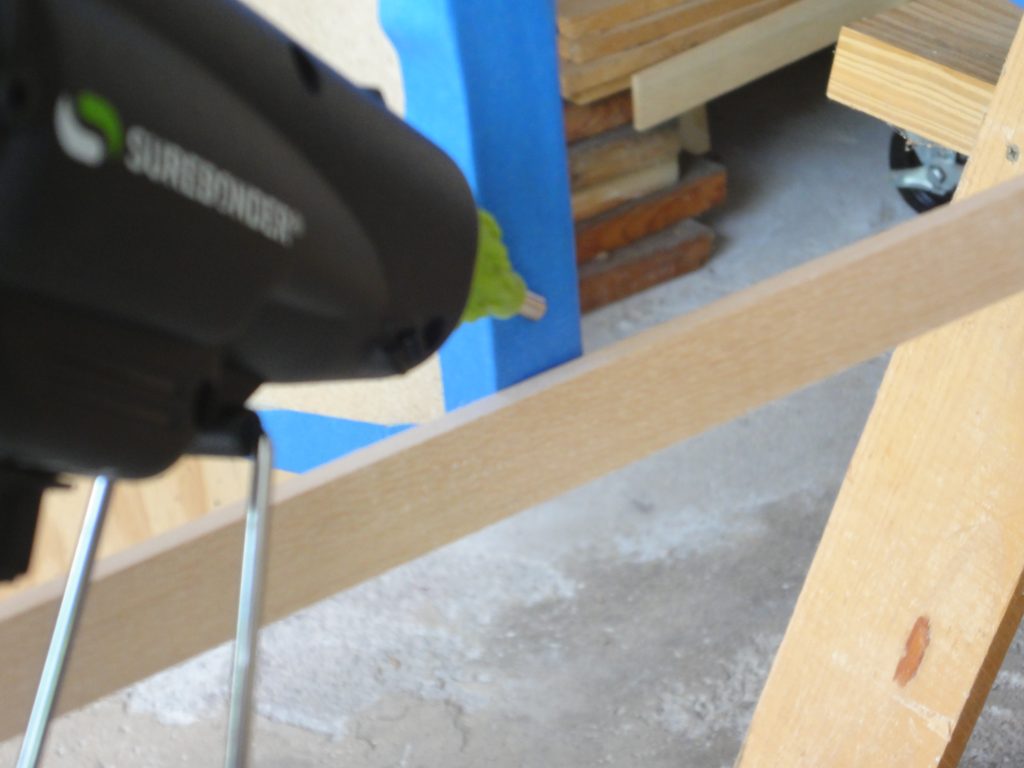
To start I wrapped each form in tape to avoid accidentally gluing the boat to the forms at some point. Also because I do want to glue the boat to the forms in a few selective areas but also have it release easily. For the first time I’m using the hot glue gun from Surebond and the corresponding glue sticks to help hold things in place.
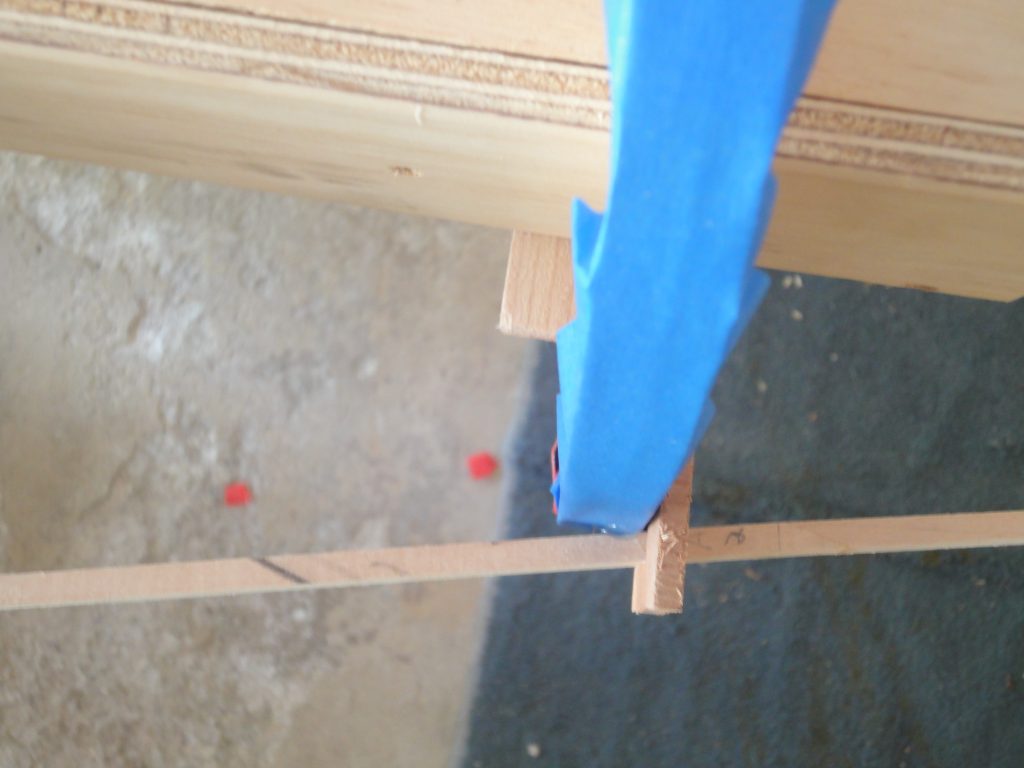
Most of the efforts today went to shaping the stems to support the first few strips and to get the rest of the stem at least close for the remaining strips. As I progress I’ll need to fine tune the bevel angles on them. Once they were shaped and taped back in place I put the mini holders in place to hold the strip and put the first one in place. It fit well so I glued it at the bow to the poplar stem and then glued it at each station to the forms using hot glue so I could “knock” it loose later. Notice how it isn’t flat against the form but rather touches at one edge. This is normal as the sides are not perpendicular to the forms. I could have beveled the forms too but it shouldn’t be necessary as long as the strip touches the edge. For the front half of the boat it should be the forward edge and the back half the rear edge. The middle few forms actually do almost completely touch the strip.
Since hot glue sets up in just a minute or two at most I was able to check and any spots where it didn’t stay attached to the form I re-glued. The mini holders, in some cases, were inverted and used to pull the strip tightly to the form and hold it in position while the hot glue set up. When necessary more than one clamp was used to keep everything aligned and tight. This is the second use of the holders, acting a clamp extension to exert pressure in towards the form, and/or up or down on the strip.
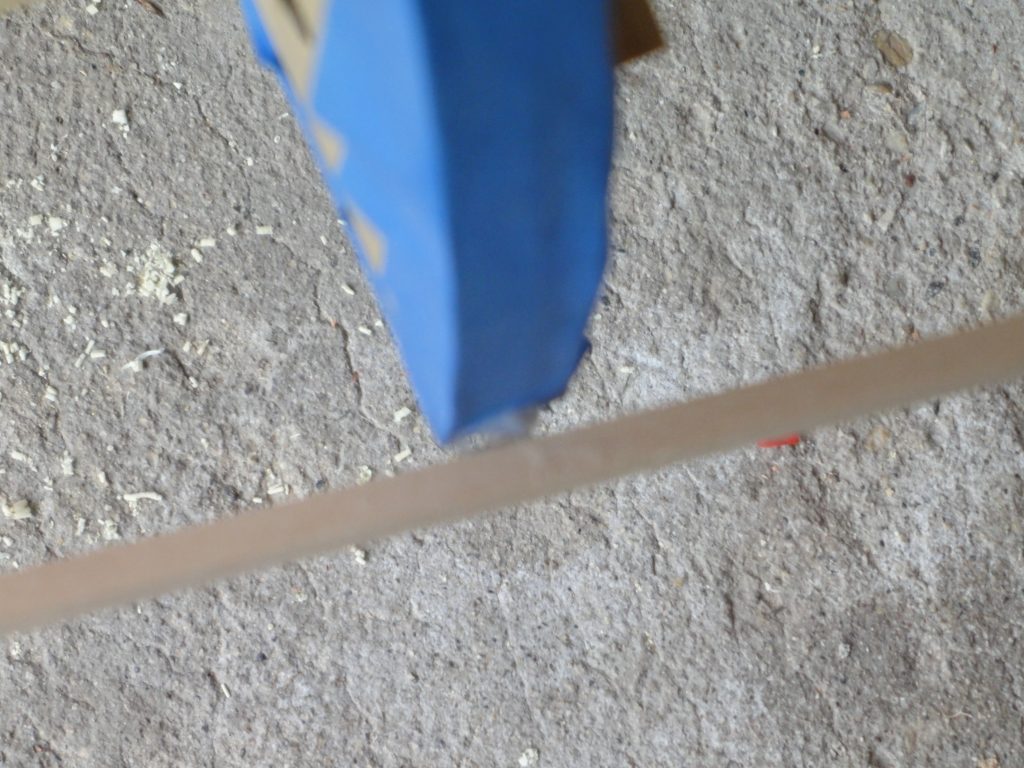
On the stern the strip simply was not going to make the bend from the previous form to the tip of the stern so I let it lay naturally. Later on I can fill in some short angled pieces to complete the curve.
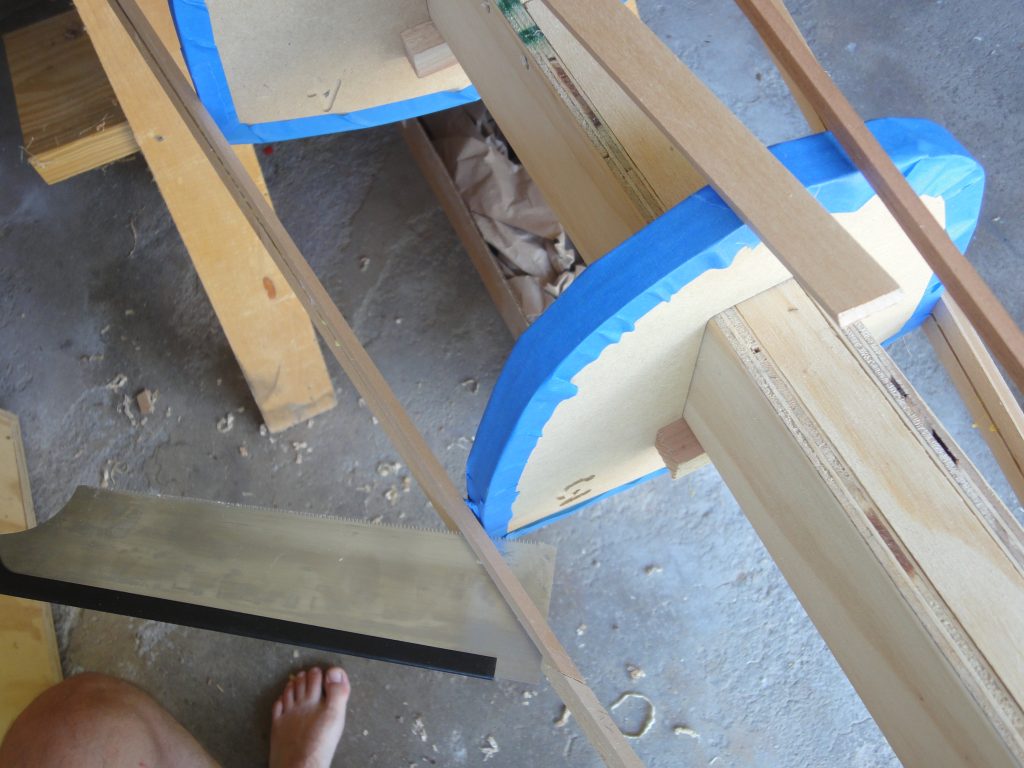
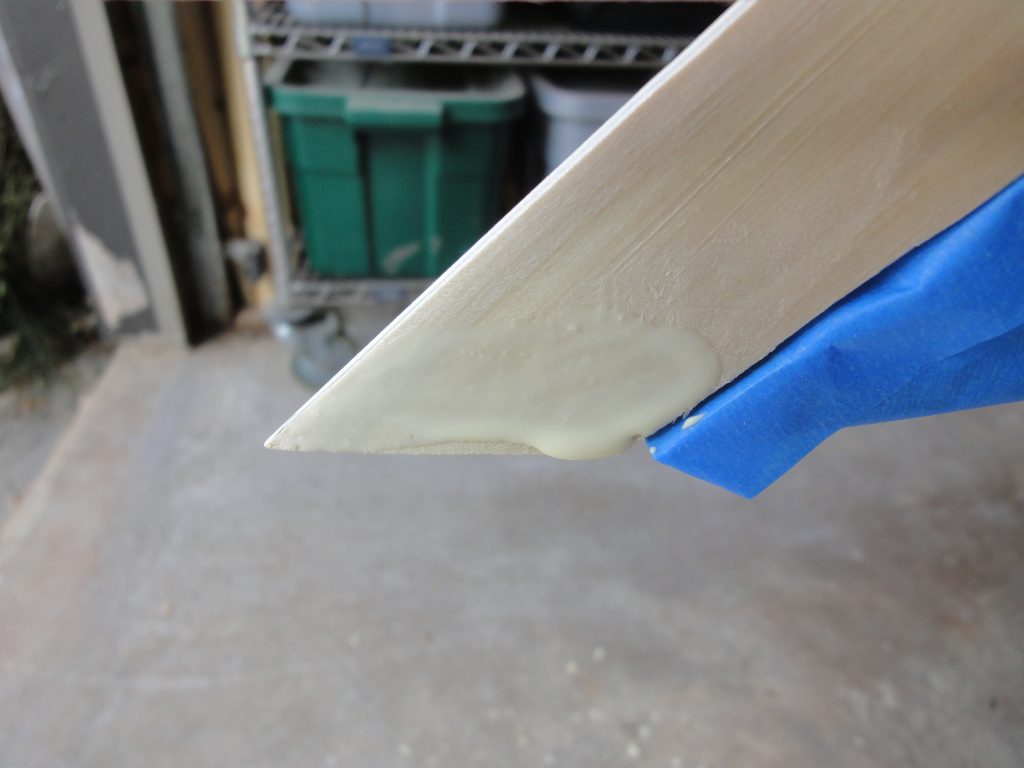
A couple of remaining clean up steps involved trimming the overhang at the bow and stern. It was not intended to be a perfect cut but rather just enough so the opposite side strip would be able to lay naturally and not hit this strip. Later this whole area will be cleaned up via cutting and/or planing after the stripping is mostly done so the outer stems can be attached. I also removed any hot glue squeeze out (in the photo below at the top of the strip against the blue tape) as this would interfere with the next strip.