
Had a bit of time tonight so I prepped and added a couple of detail strips. I’m following Nick Schade’s methods for beveled strips and more or less his “clamping” method too. To start with I needed a few new tools. One of these is pretty much a dedicated kayak building tool, the other is designed to fit within the tool but could also be used on its own.
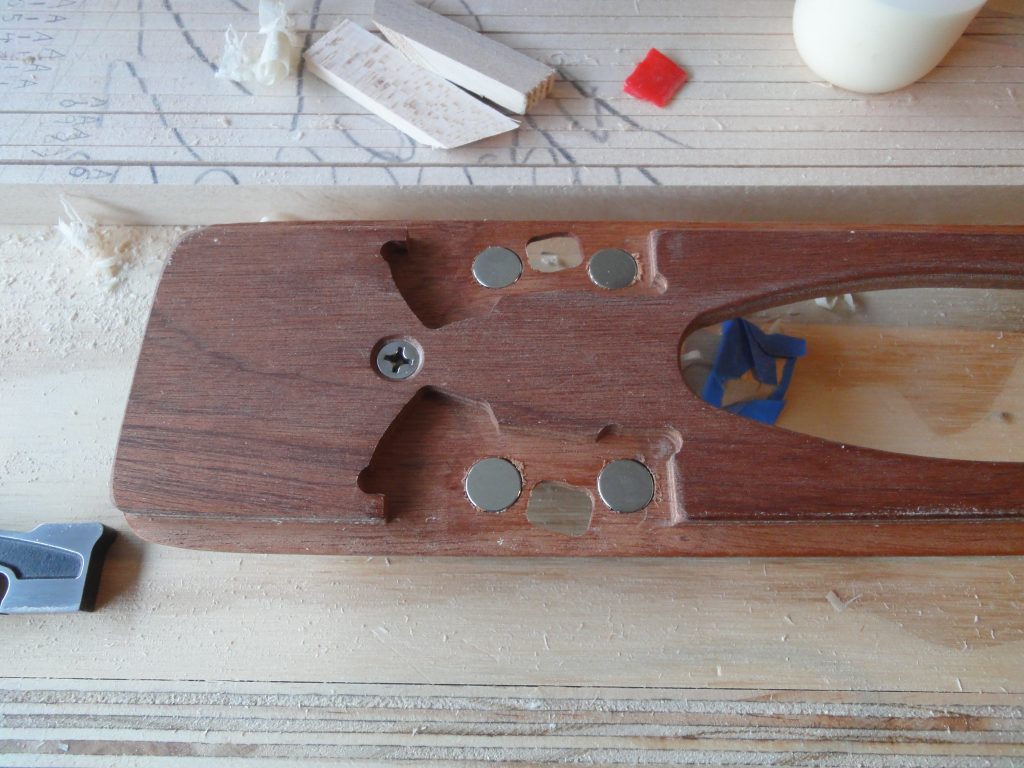
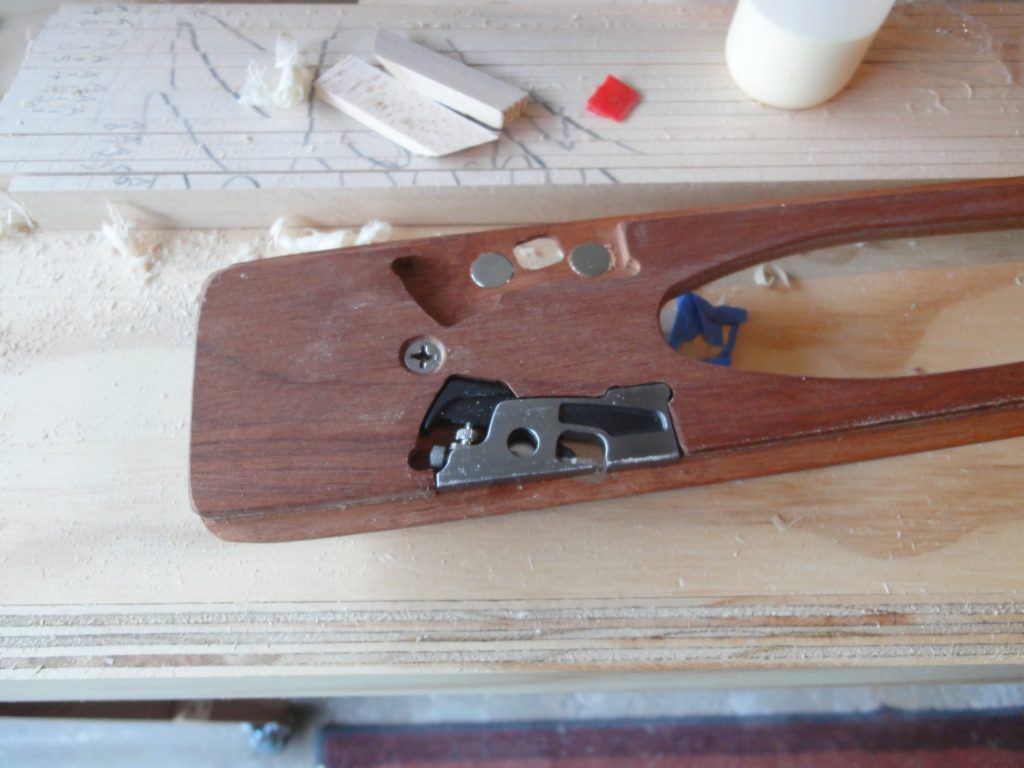
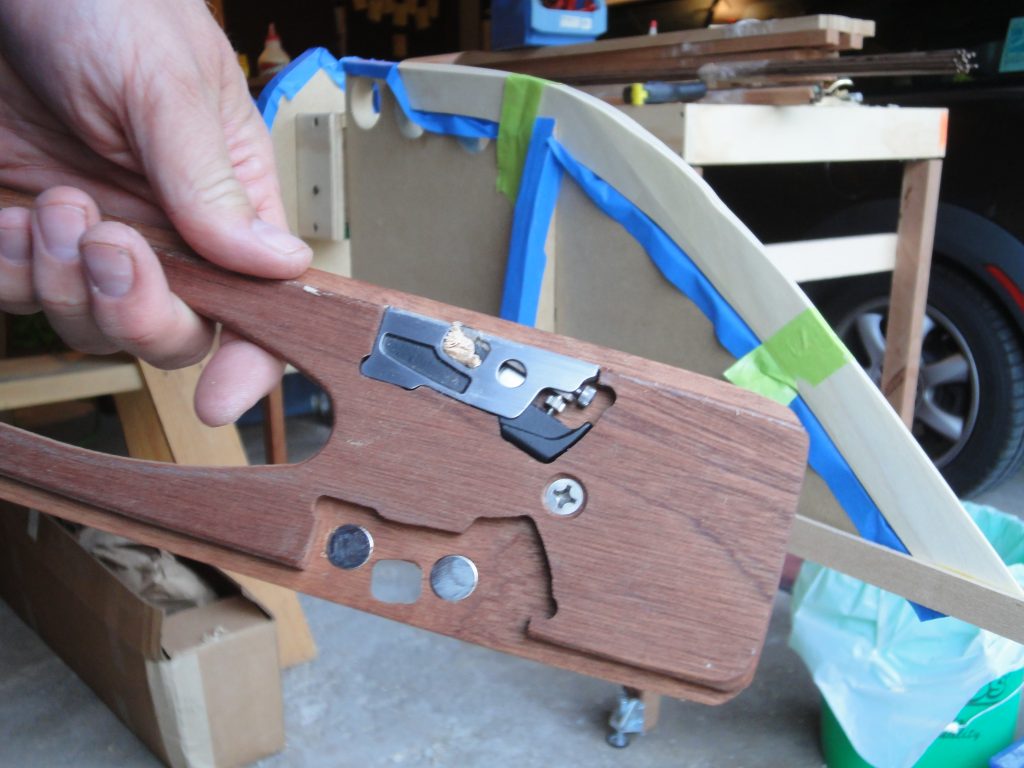
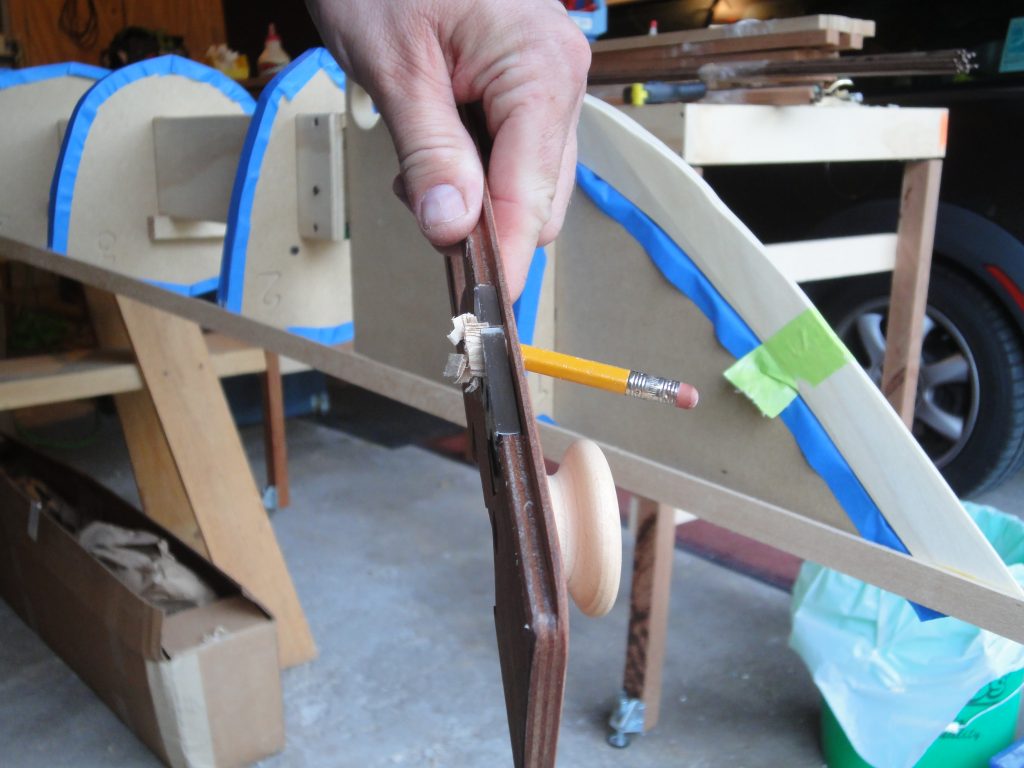
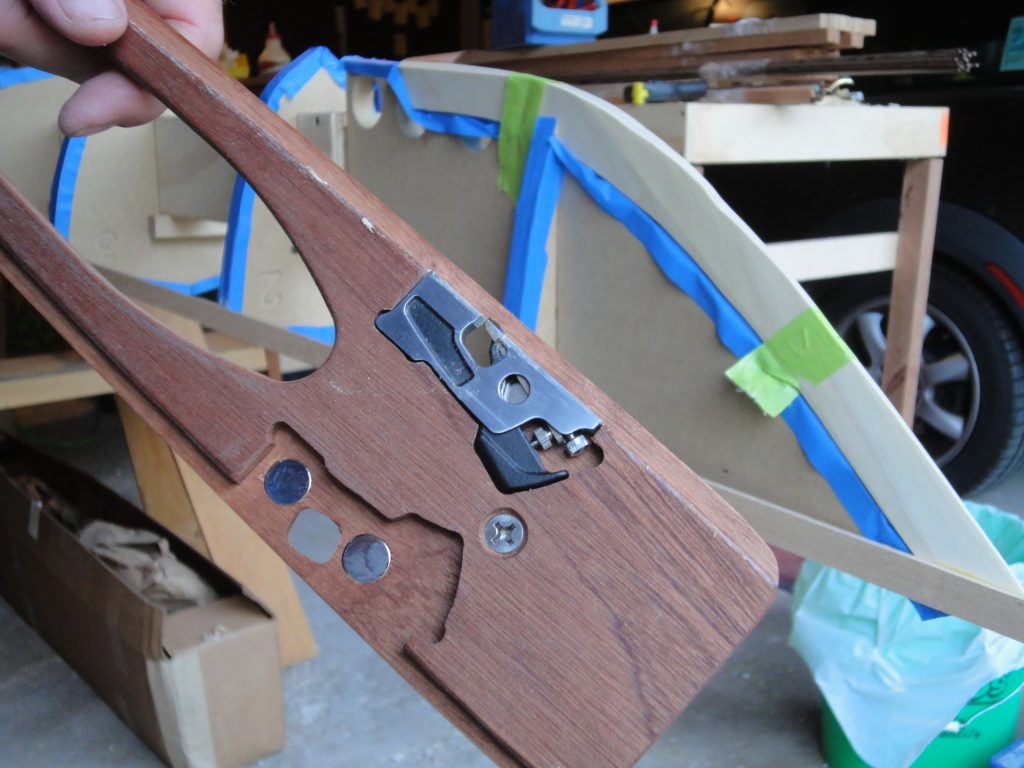
Robo-Bevel from Nick is a great way to bevel the strips that are already on the boat. I’ll briefly describe it, but his video and animation at the link above is probably the best way to see what it does. The Robo-Bevel is designed to use the Veritas Mini Shoulder Plane to achieve the beveling. It can fit in the Robo-Bevel two different ways allowing to to cut in either direction which is helpful to be sure you are planing with the grain.
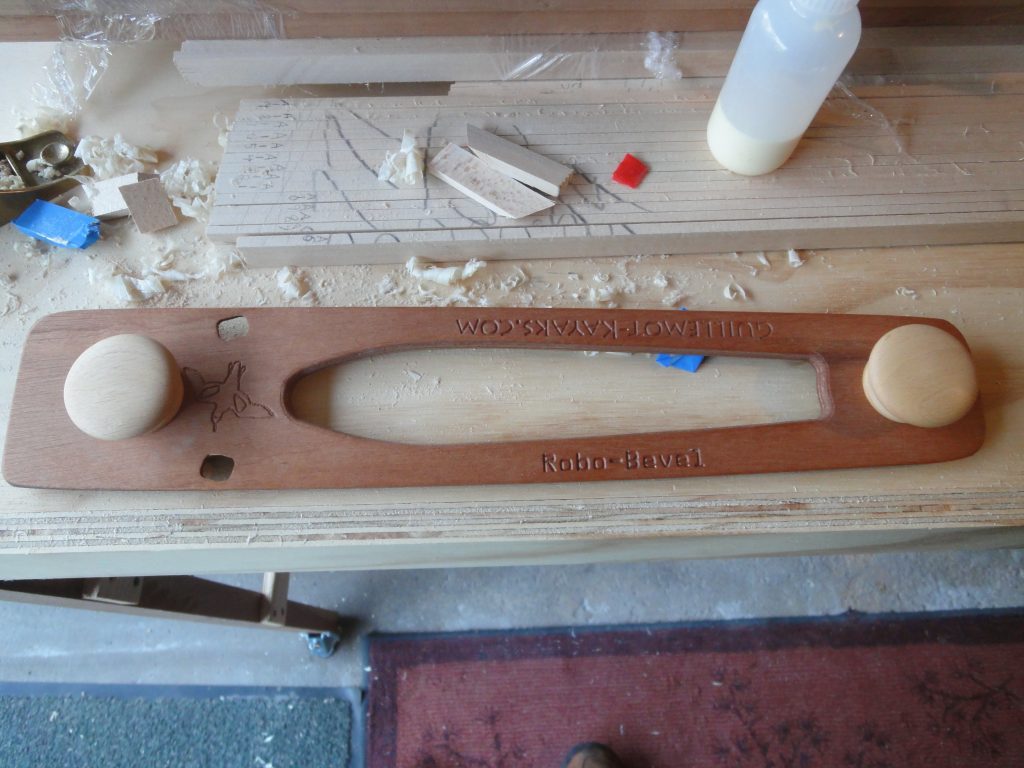

The way the tool works is that you set the plane for a light cut, insert it into the tool, position the tool on the strip and lean it against the forms and then slide it down the boat being sure to keep it tight to the forms. As a result it cuts the strip at a right angle to the current form angle. This results in the next strip fitting tightly. Failure to get the bevel angle cut means a gap between strips or a gap between the strip and the form, neither of which is desirable.
A minor frustration is that the area for shavings to accumulate is very small and quickly clogs. Use a pencil to clear it out.
In the following video you can see an example of it in use. Around the mid point I draw a couple of lines in pencil across the strip. If you aren’t sure that the cut is going across the entire strip, this is a good way to check. A full cut would eliminate the lines. Normally when beveling it starts with just a corner and as you make repeated passes more and more of the strip is being cut until finally you get a full width cut at which point the strip is beveled properly (assuming the tool was held against the forms) and ready for the next strip.
After beveling each strip, which at this point required pretty much just a single pass, I was ready to add the next strip. As more strips get added the forms start to curve (especially in the middle) more sharply then the tool will really start to come into its own. The next strip is a 1/8″ walnut strip meant to act as one of two accent lines. A thin bead of glue was added and the walnut was glued down. To hold the strips together and in alignment, Nick uses pieces of tape. I tried it and found this to work quite well. It acts as a clamp and also, if pulled tightly, an alignment tool that keeps faces in line.

At this point it’s going to be a lot of repetition as I continue to add strips.
- Check strip fit against bow and stern, plane as necessary
- Bevel previous strip to proper angle to accept this strip
- Glue strip in place, scarfing joints as necessary
- Tape/clamp in place
- Hot glue to forms if needed – I’m aiming for every 5th or so strip but it’ll be done as necessary
- Repeat.
So I will continue to do postings but the next handful may not cover much new information for awhile.