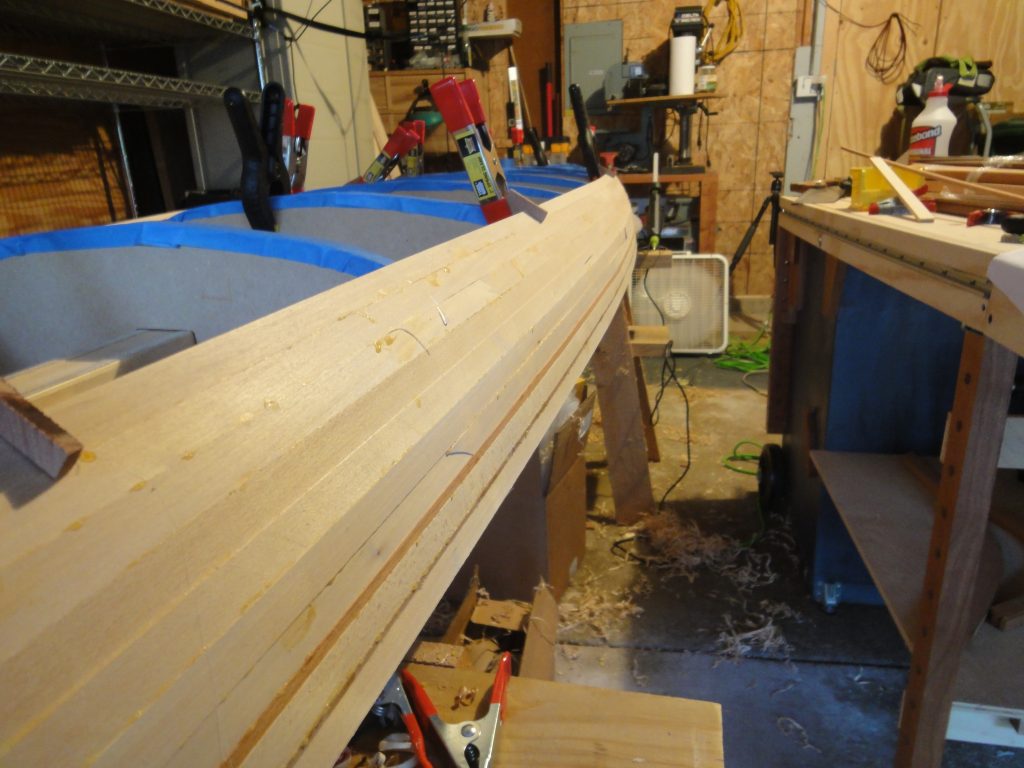
In one sense it’s a bit repetitive, almost boring now with the strip work, but just when you start to think that way the kayak responds with “hold my beer”. As the strips start to round the chine (the part where it transitions from side to bottom) it gets a bit more challenging. A soft chine is a nice easy gentle curve. A hard chine is a sharp angle curve. In this case the Resolute seems to be more or less in the middle.
You can see as I’m running the Robo-bevel just how much the angle changes as to move down the boat.
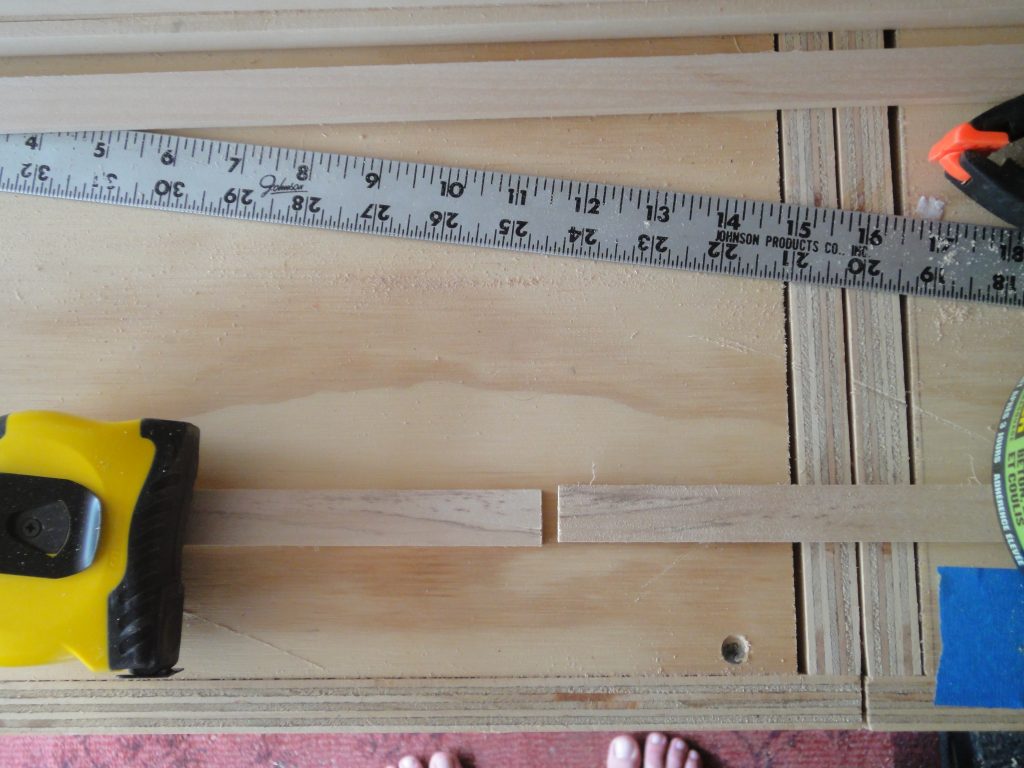
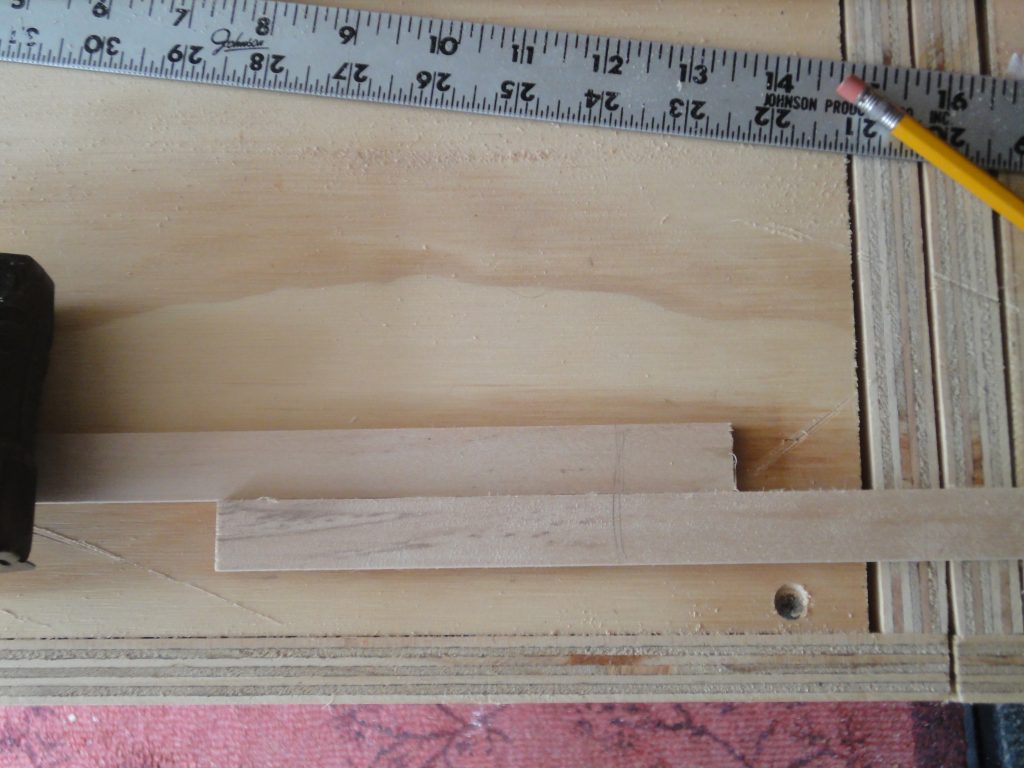
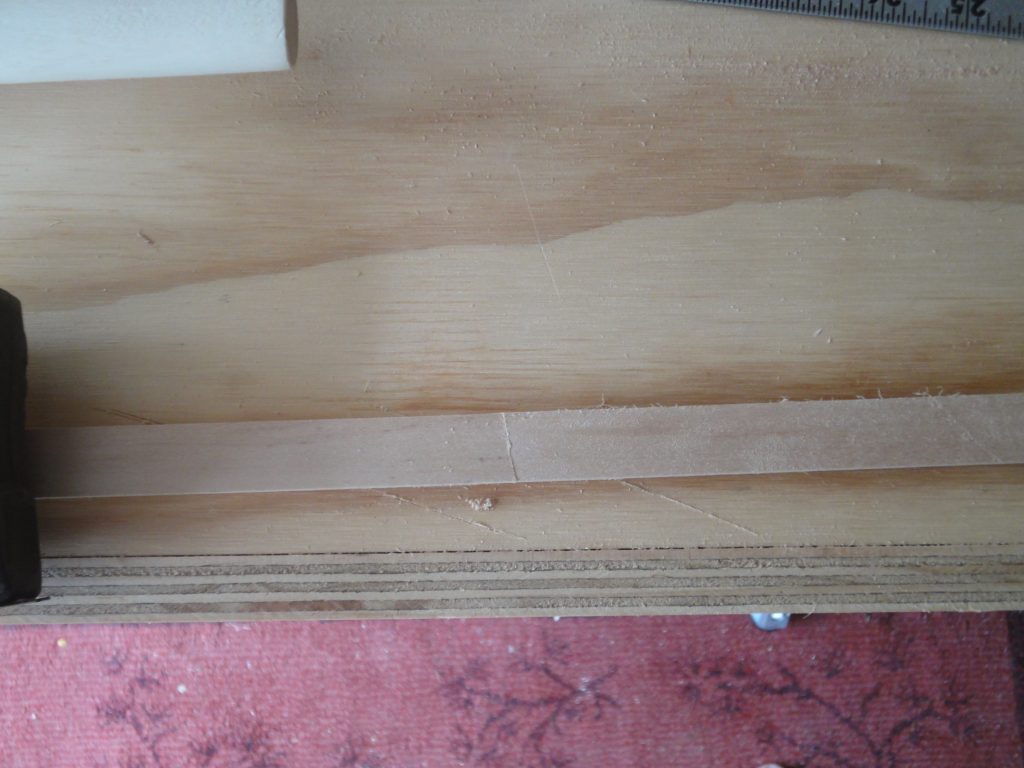
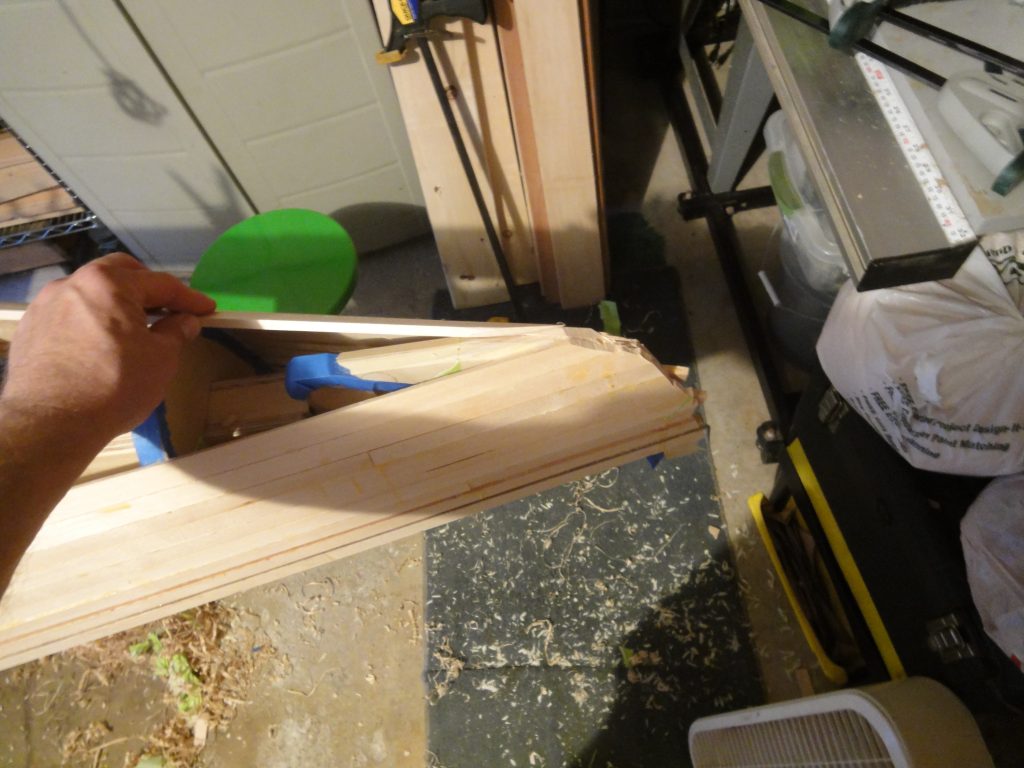
Selection and orientation of strips is still something I look at from strip to strip. While the basswood is pretty plain with minimal grain, occasionally I do find a pattern that either works or will be an issue. In this case, one side of the strip ended up with an abrupt pattern that didn’t flow nicely from one strip to the next and the opposite side of the strip result in a similar abrupt change. So, I just slid the strips down to the point that I could cut off the abrupt grain. The resulting match seems to flow nicely now.

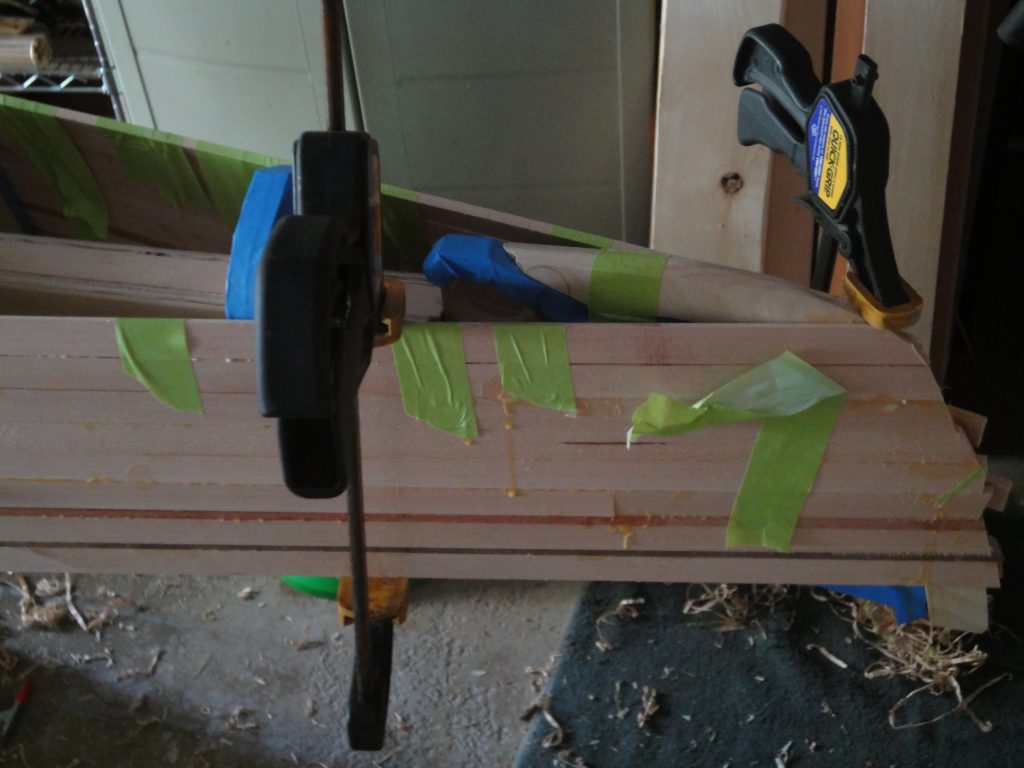
The twists on the strips are starting to be a real challenge. Lots of anchoring tape and even some clamps to try to get them to stay in place while the glue dries. The joints want to split apart so every joint needs pretty good clamping too. Even so I’m getting an occasional strip that doesn’t tighten all the way up. A few were so bad I split them off before the glue was dried, cleaned up the joint and re-glued. The rest of these have a very small gap, in the area of a mm or two. This will not affect the boat as the fiberglass and epoxy will easily fill/bridge the gap. But I won’t rely on that and once I get to the sanding stage I’ll make up a filler from that saved sawdust and some glue and ensure that any gaps are filled.


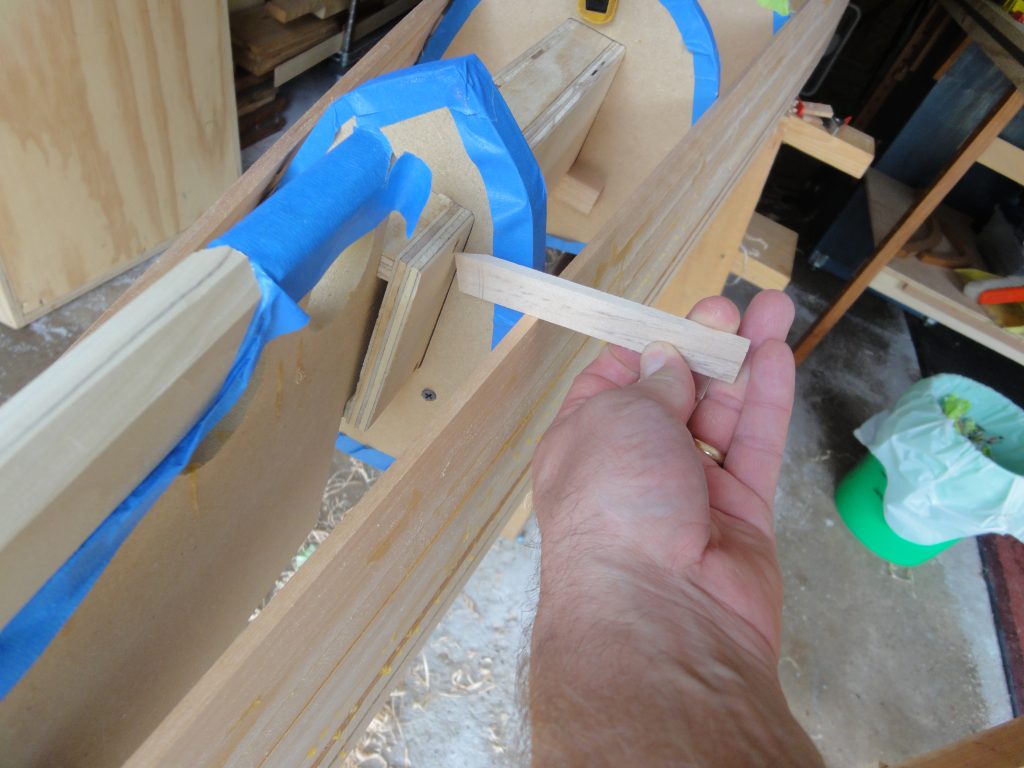
After beveling the strip shown above (when it dried), I held a scrap against the beveled edge to illustrate the amount of twist I’m dealing with. Keep in mind that you’re going from almost horizontal to nearly vertical in about 6 feet where it stays vertical for about 3 before starting the twist back to almost horizontal.
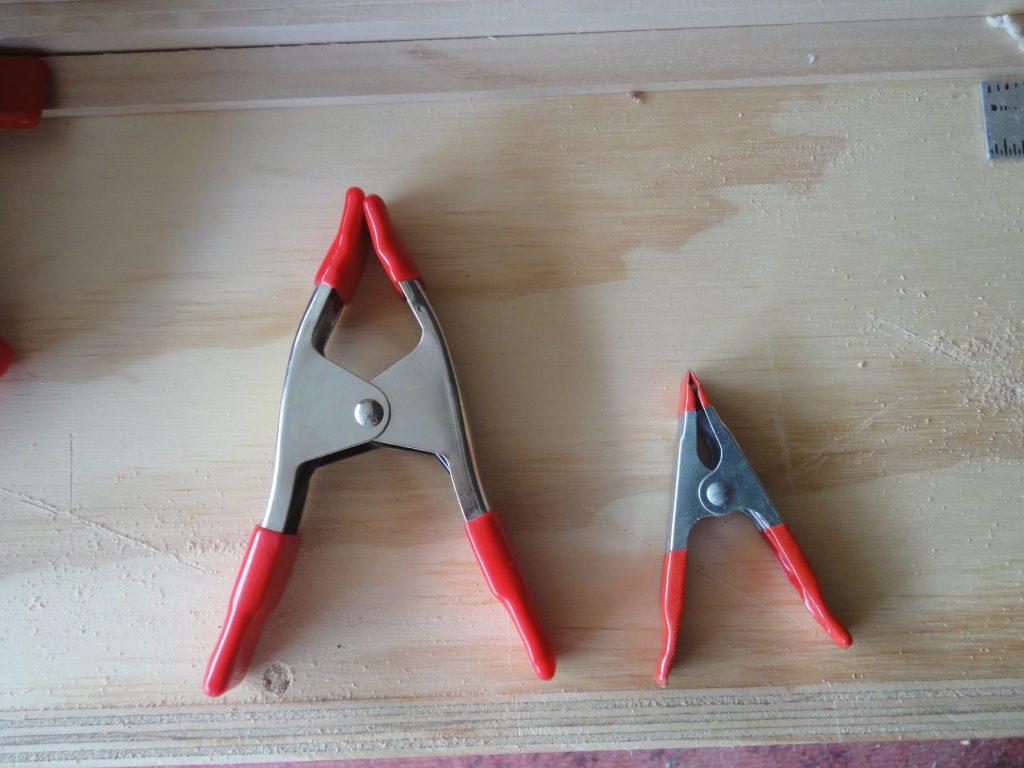
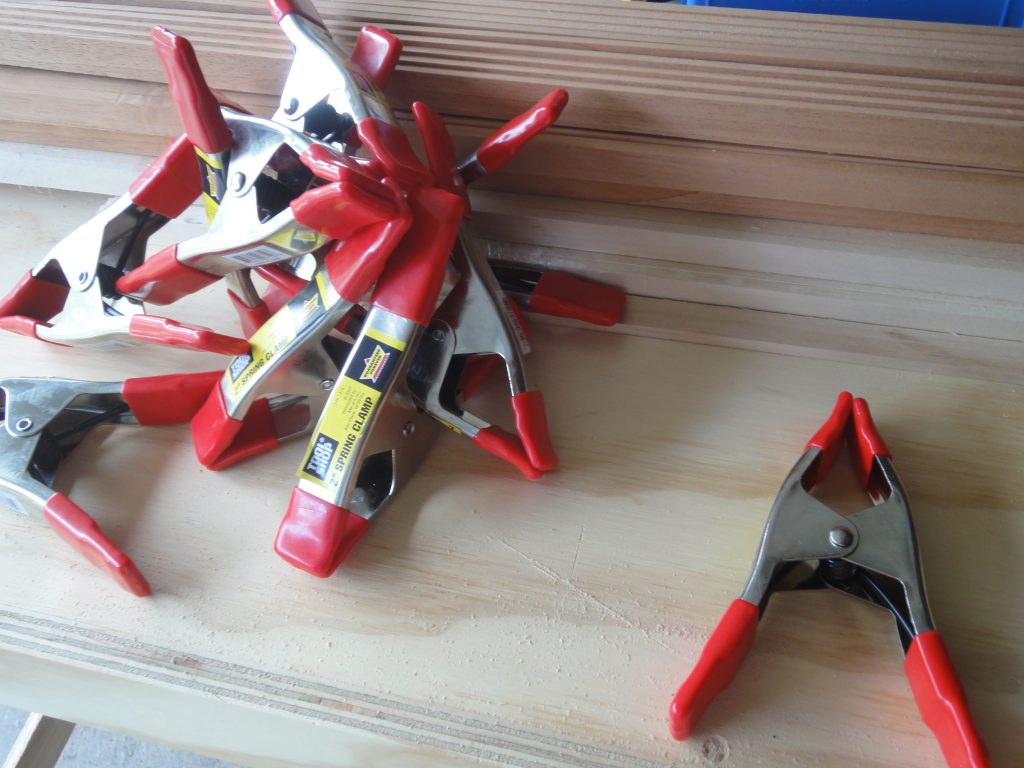
Early on I posted the clamps I purchased. At first they were fine for holding the strips but as I get into the twisting strips the forces are simply too much and easily overwhelm the clamping power of them. So a run to Menards today and I got some 2″ clamps. By the picture you can see the size difference. These clamp down with much more force. Normally $2.99, on sale for $.99! I got 10 to try out and they worked really well. I think I’ll stop for some more tomorrow. In hind sight I’d recommend just go with these and skip the smaller ones I had purchased.
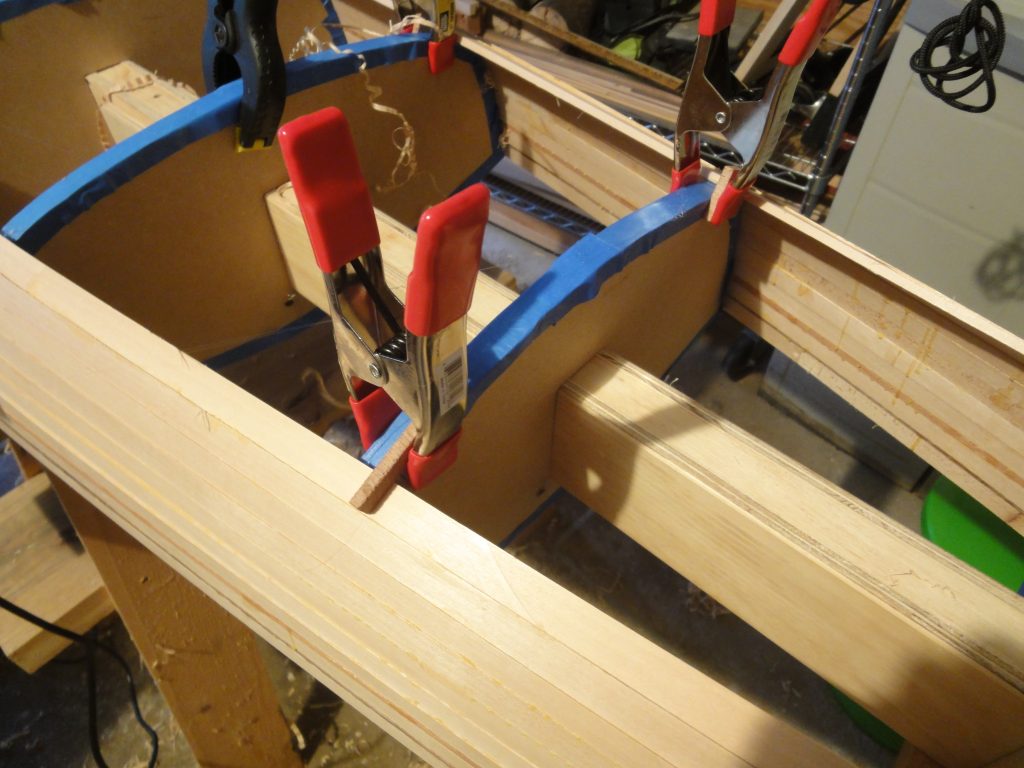
After each strip, both before and after beveling, I check and if the kayak is coming loose from the forms and if so I hit it with the hot glue again. In once sense it’s a little frustrating that it keeps coming loose, but it’s good to know when I’m ready to remove it I should come out with little trouble. The new clamps are working well (with the wood “U” blocks) for holding it in place while the hot glue sets up. If you let it creep away from the forms then the bevel angles aren’t right. You want the strips making good contact with the previous strips and against the forms to help keep the shape consistent, smooth and fair.
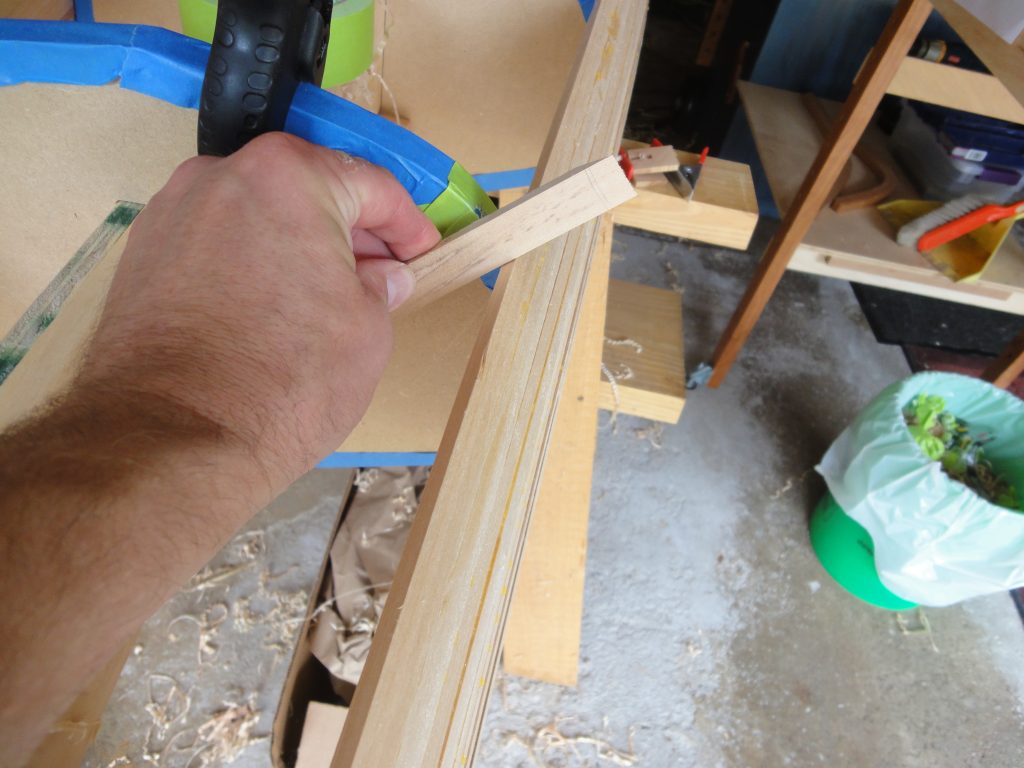
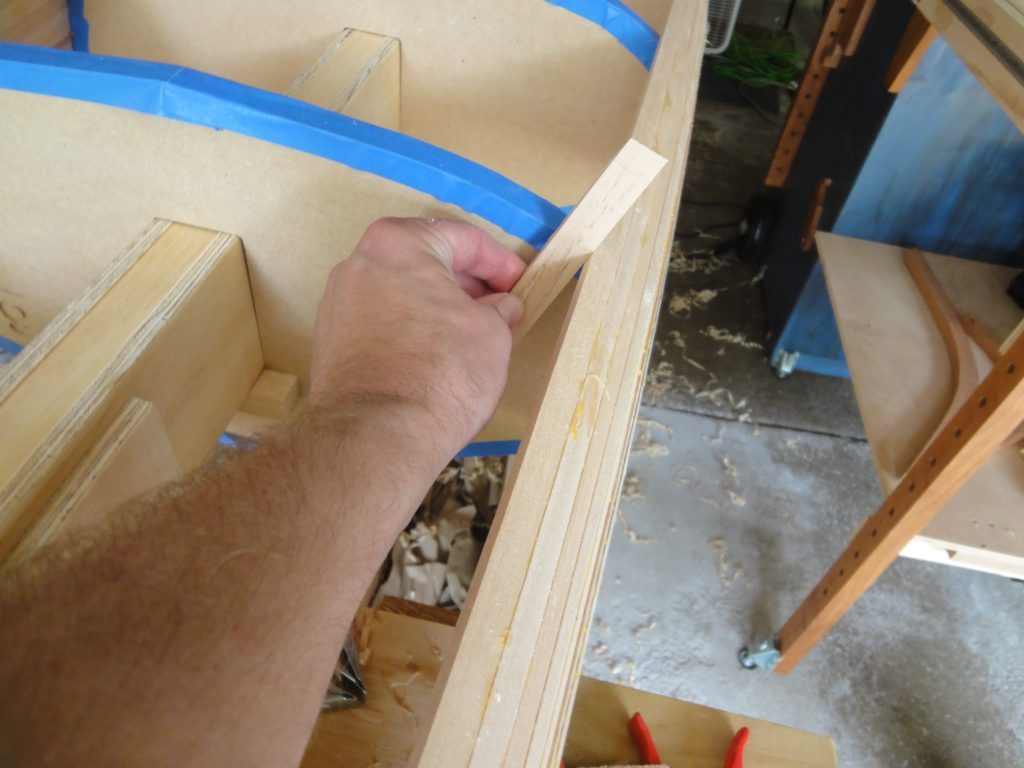
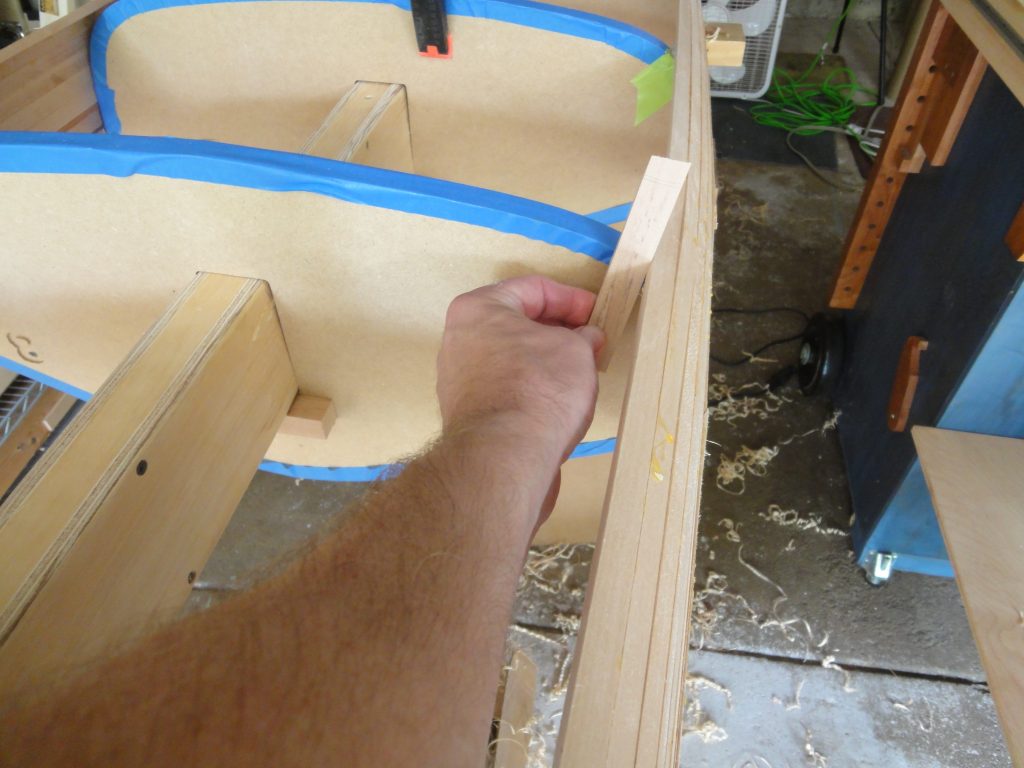
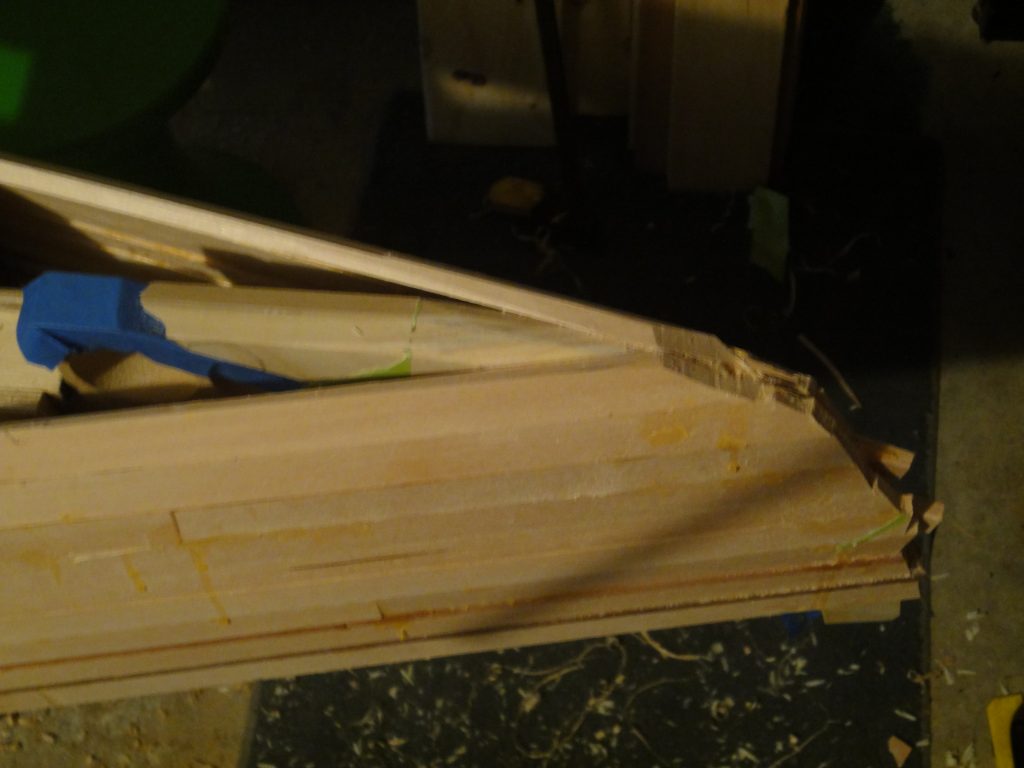
The next challenge that just came up is the stern stem. I’ve reached the top and now need to curve the strips over and start to attach them to each other. The first strip required a lot of planing and fitting and planing and fitting and… until I was able to get about what I was looking for. It was hand beveled to fit against the form and the strip already glued in place and then the end was worked extensively to bring it to a shape that should fit up against the strip that will go on the other side. A little hard to describe but hopefully obvious in the pictures. The stem itself was also worked with the hand plane and a chisel for each strip to ensure good contact. For now the strips are just cut off rough. Later this will all be cleaned up with the outer stems are installed.
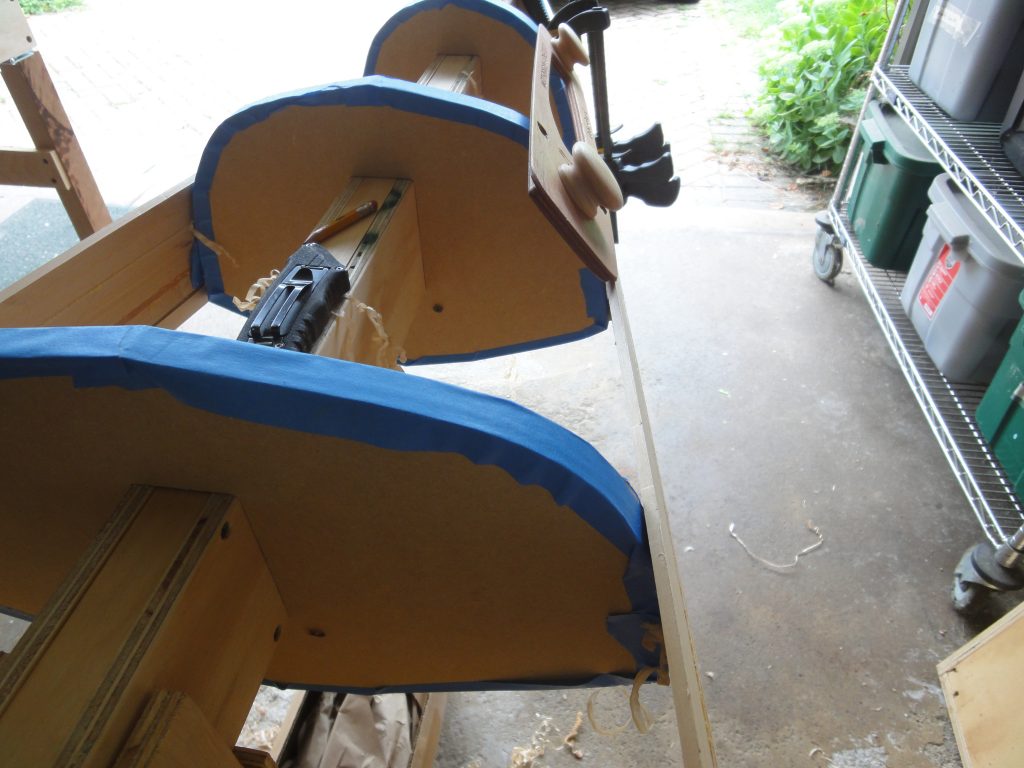
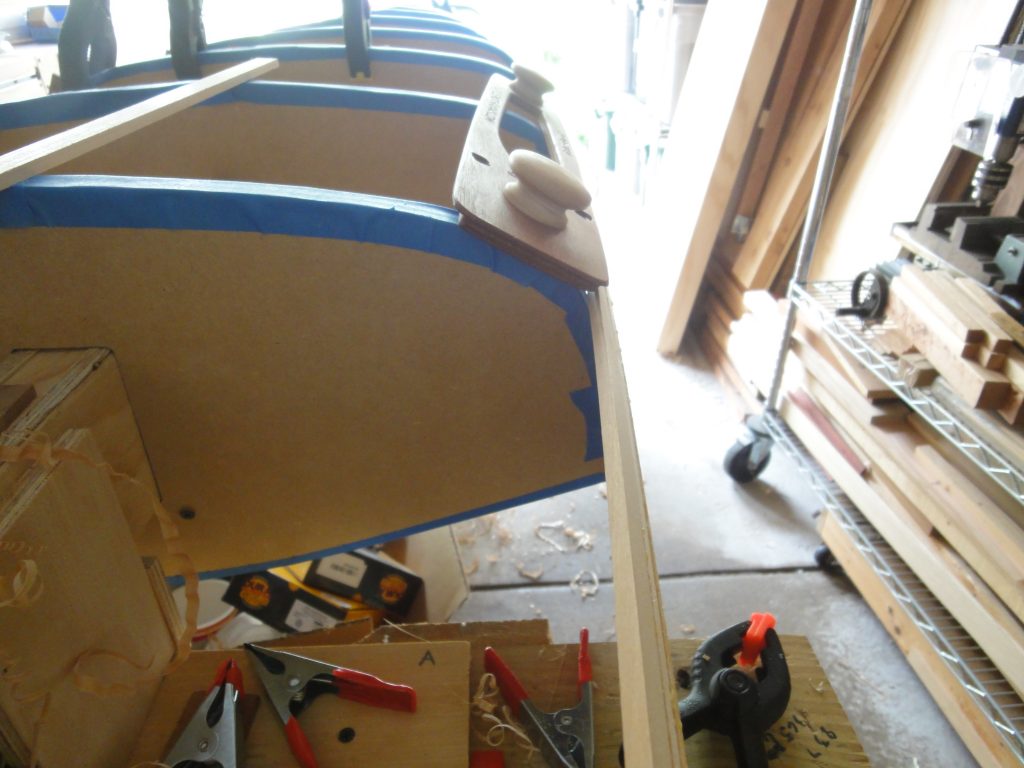
Finally, here are a few overall progress shots. The curve of the hull is starting to become very apparent as I cross the chine and transition to the bottom.