Line Guides and more

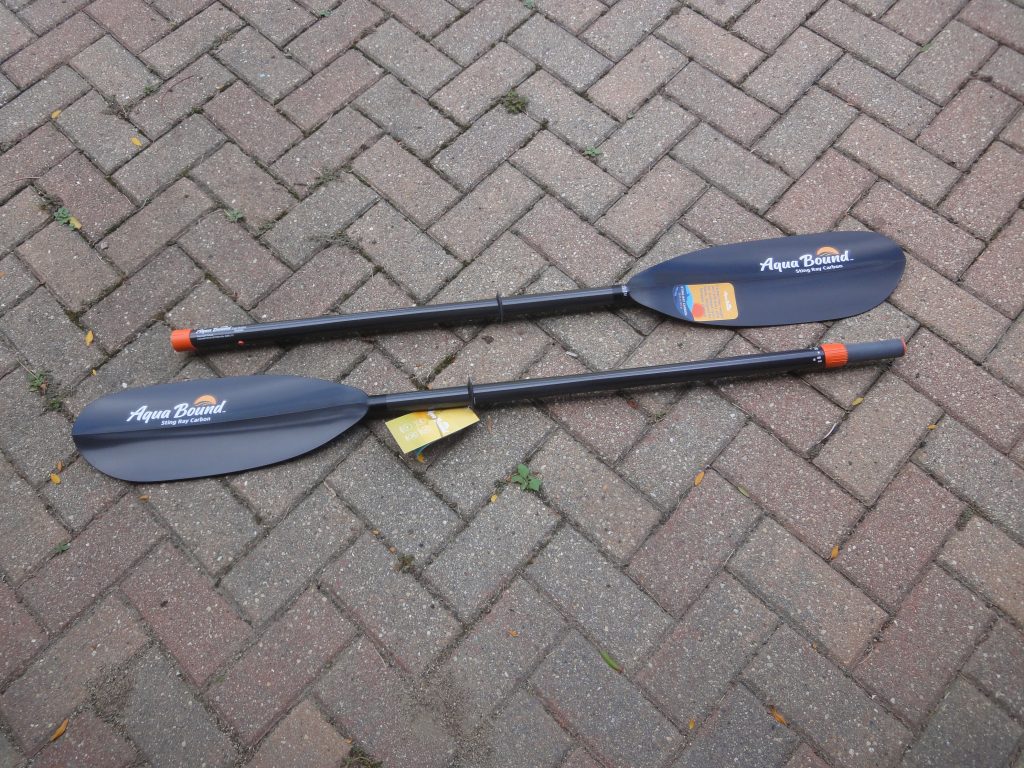
In the last few days both my paddle (main one for now, later it will become the backup/spare when I make one) and the seat arrived. I’m very happy with both choices. The paddle was ordered from REI after researching a whole range of different brands, styles, usage, sites to buy from, etc. Not a top of the line paddle but also not a basic one either. I figure it’s a good option for now.

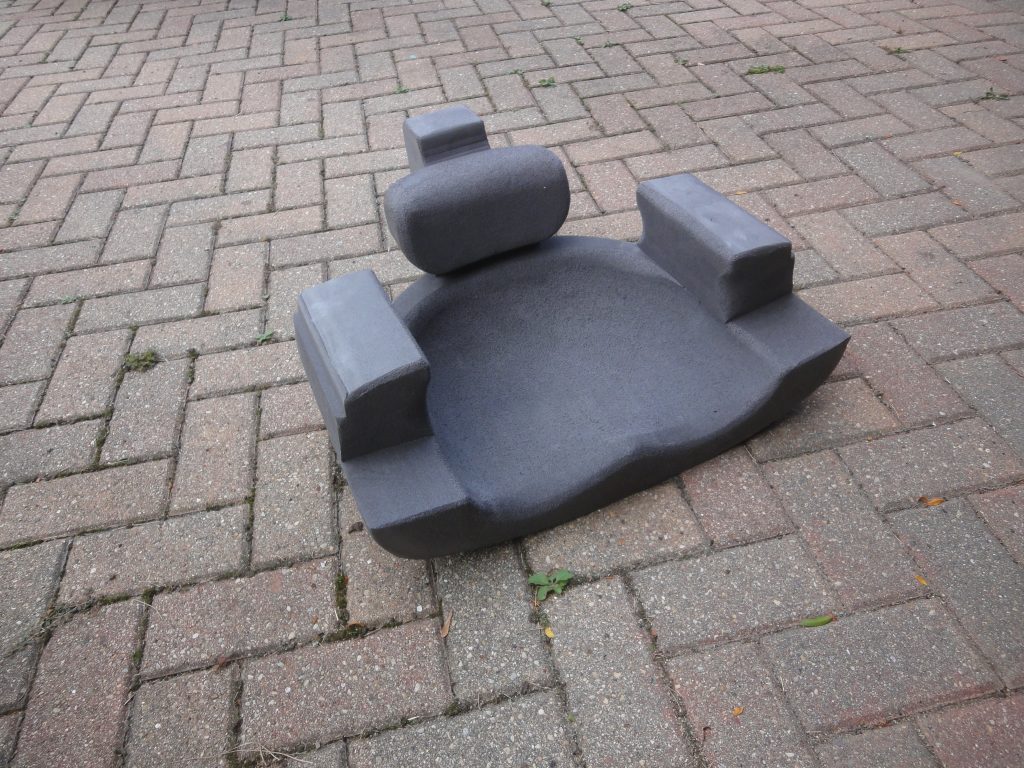
The seat was ordered from Redfish Kayaks and required a number of measurements to be provided. Since the Resolute is a kayak model that they’ve built before I didn’t need to also send a template. From order to receipt was about a week.

It’s made closed cell foam which provides some cushion and comfort with very little weight. The seat is sculpted out to help keep your center of gravity low too. Of course I tried sitting in it on the ground and was very pleased. I did put it in the kayak too and found it such a tight fit that I don’t think I’ll have to mechanically fasten it to keep it in place. Very well designed in my opinion. Of course final judgement will be reserved for when I can actually sit in it with it installed but I see no reason I won’t still be happy.

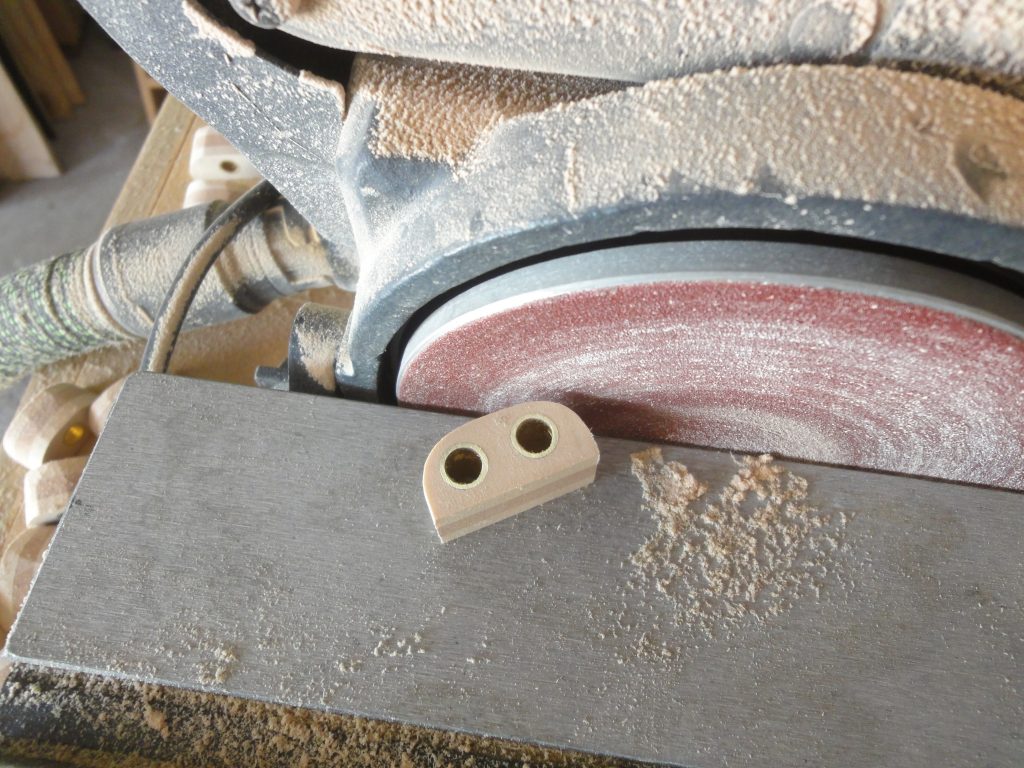
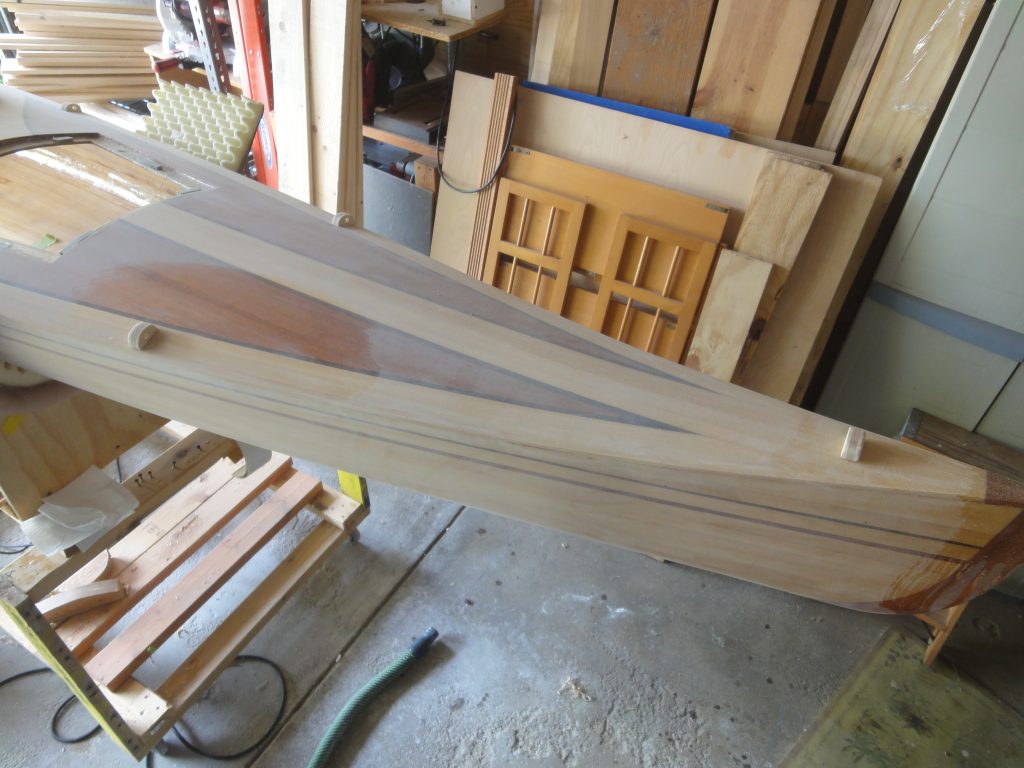
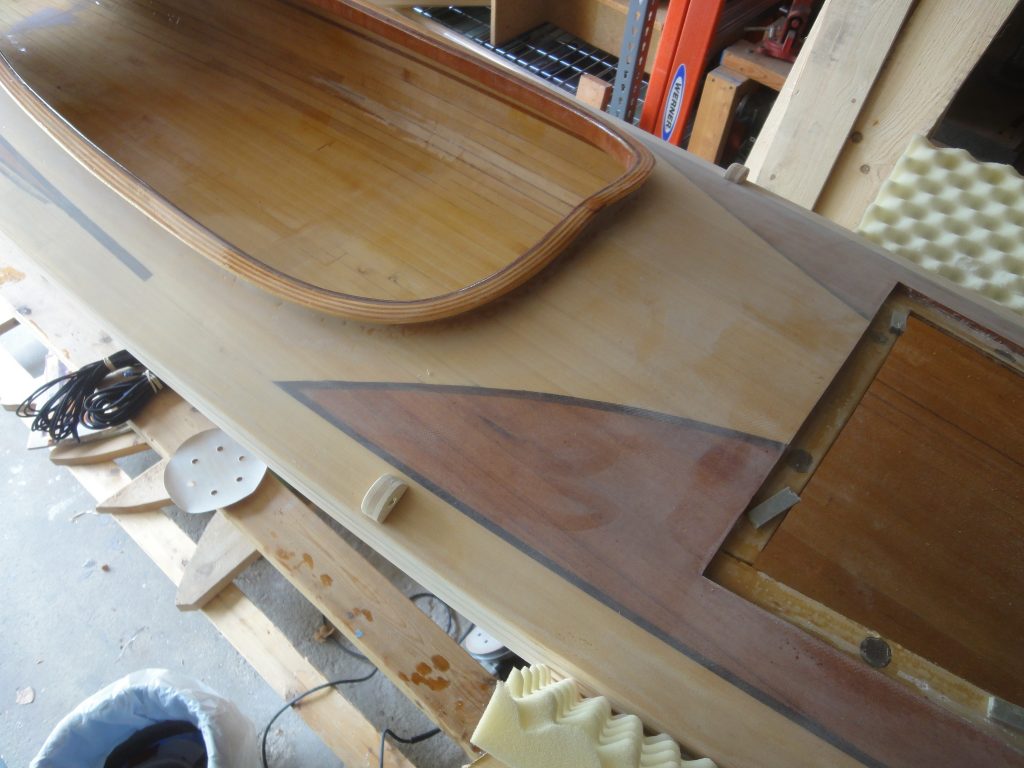
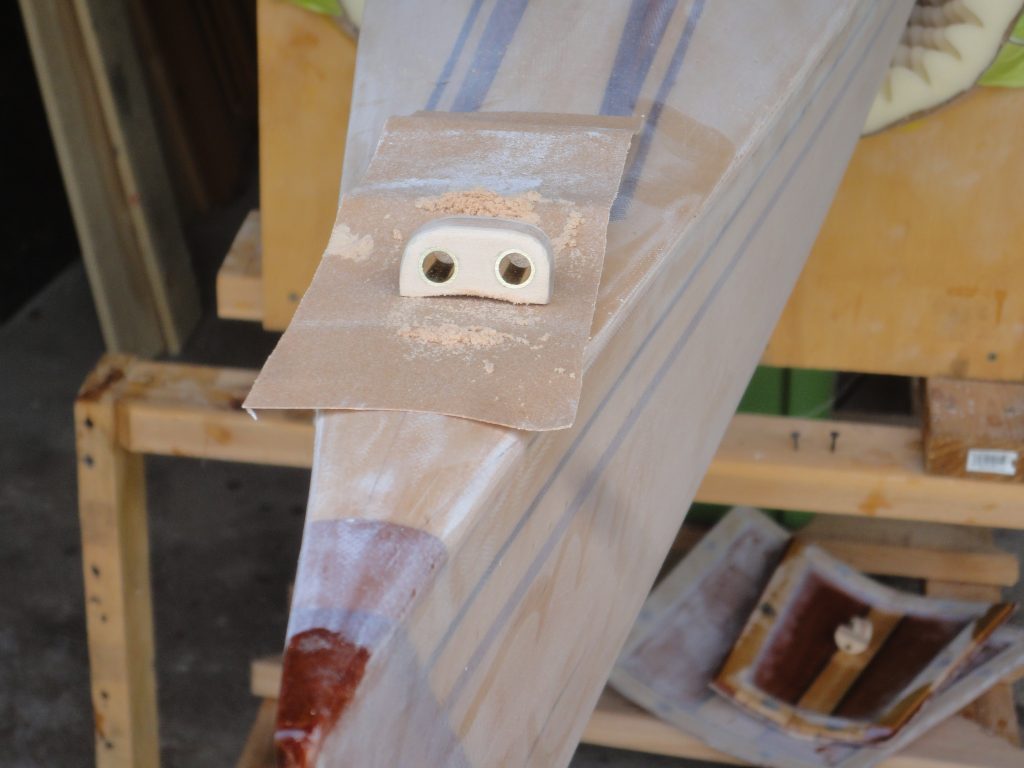
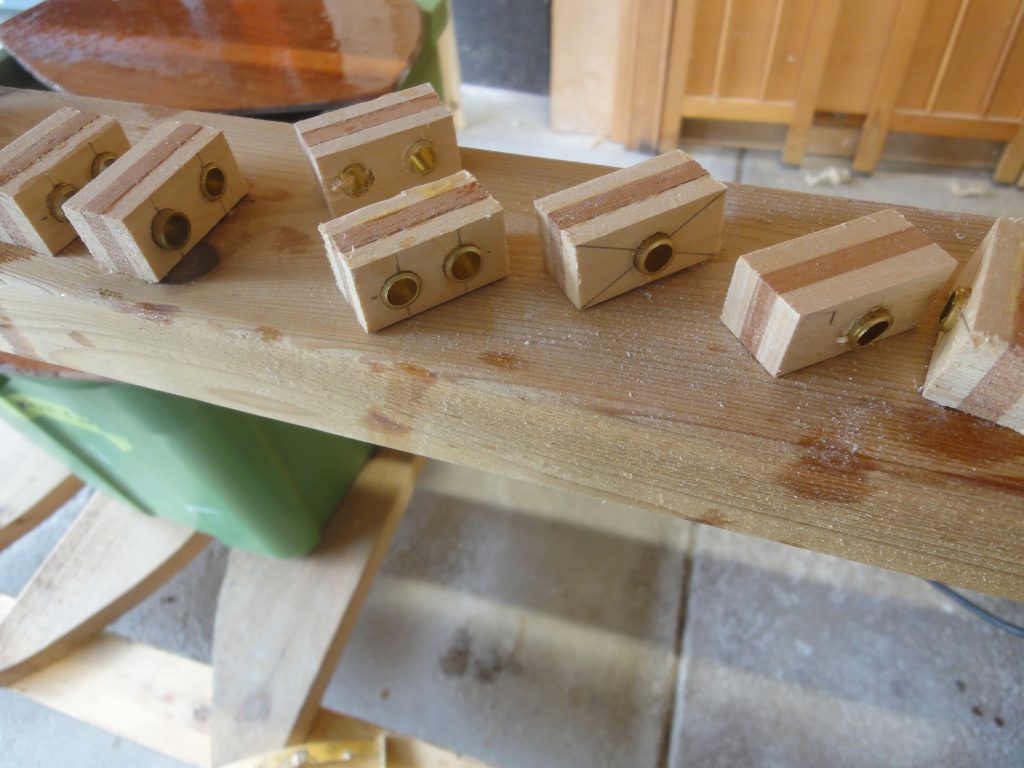
Most of today’s work was shaping the line guides and then installing them. On the disk/belt sander I started by sanding down the brass rods until they were flush with the wood and then a light sanding on the wood to remove any glue from the glue up.

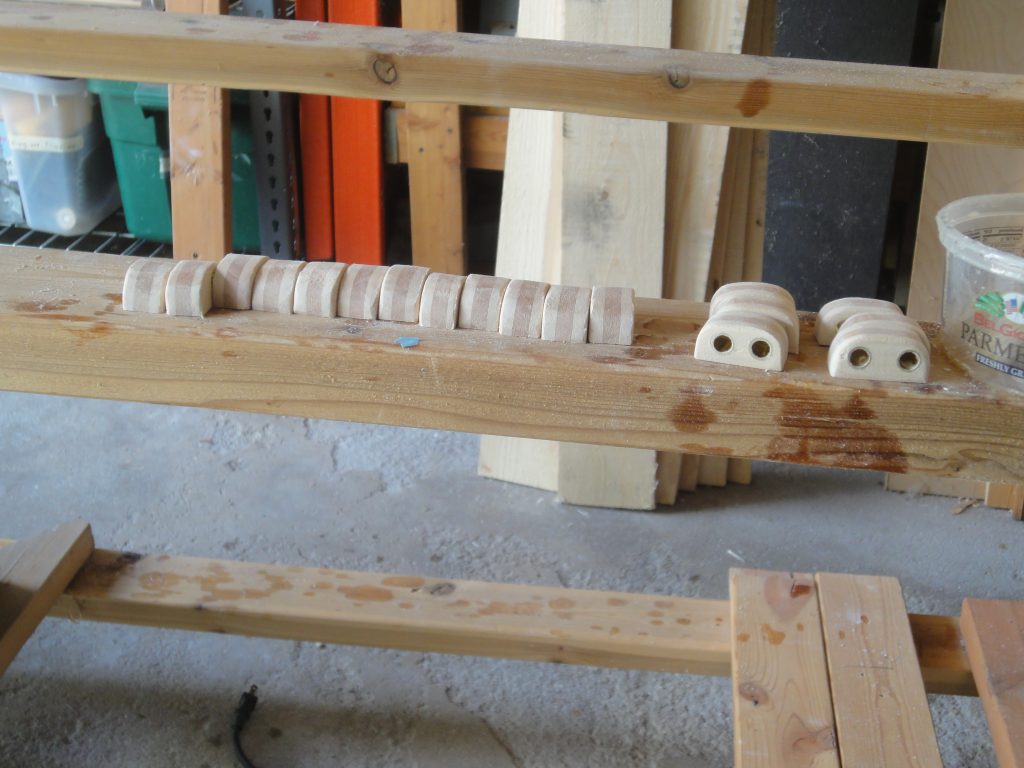
When all six sides were clean and flush I then rounded over the two top corners. Coming off the sander these were a bit rough so I then hand sanded to smooth them out and better refine the shape before then rounding over all the sharp edges that would be sticking up.

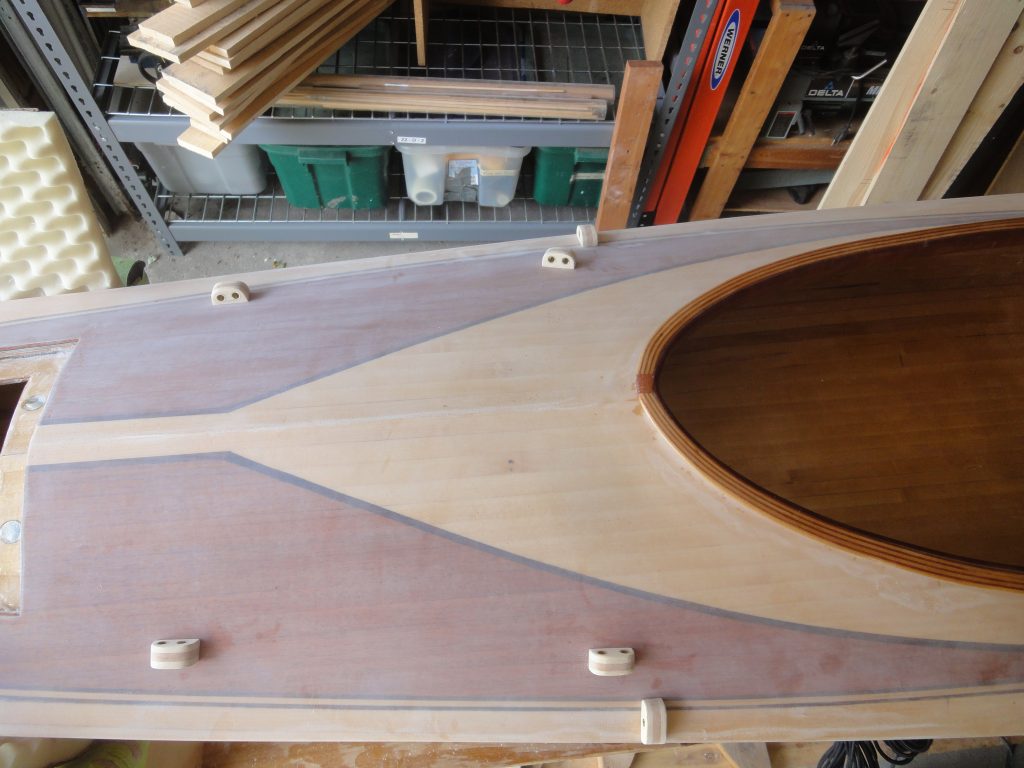
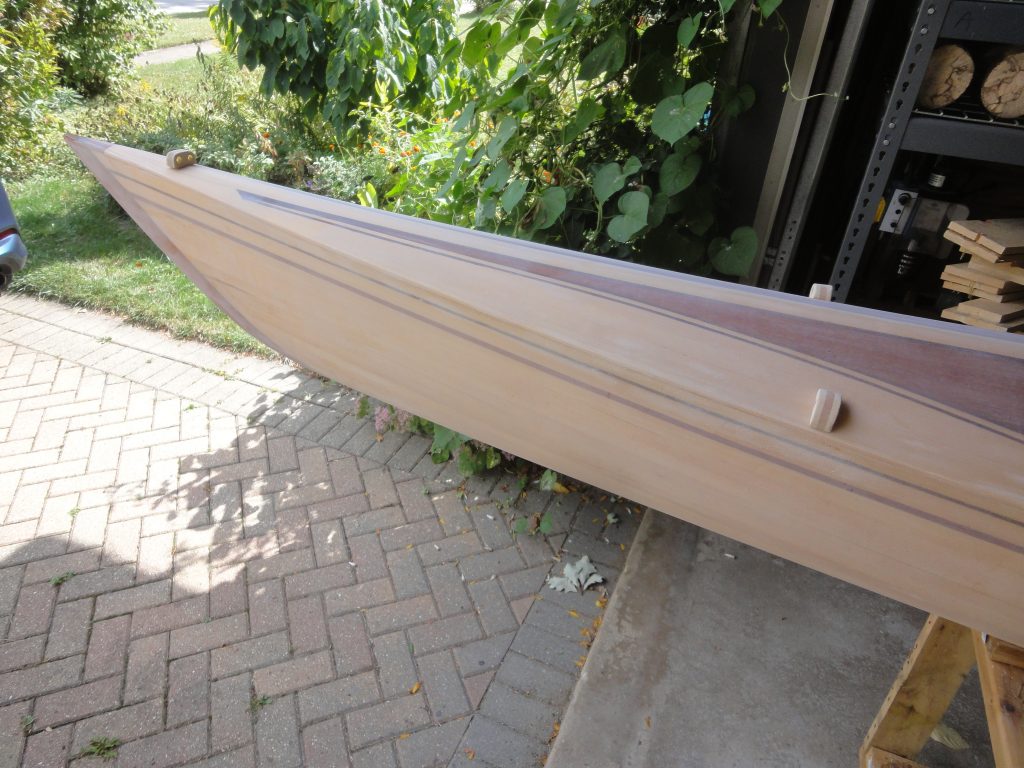
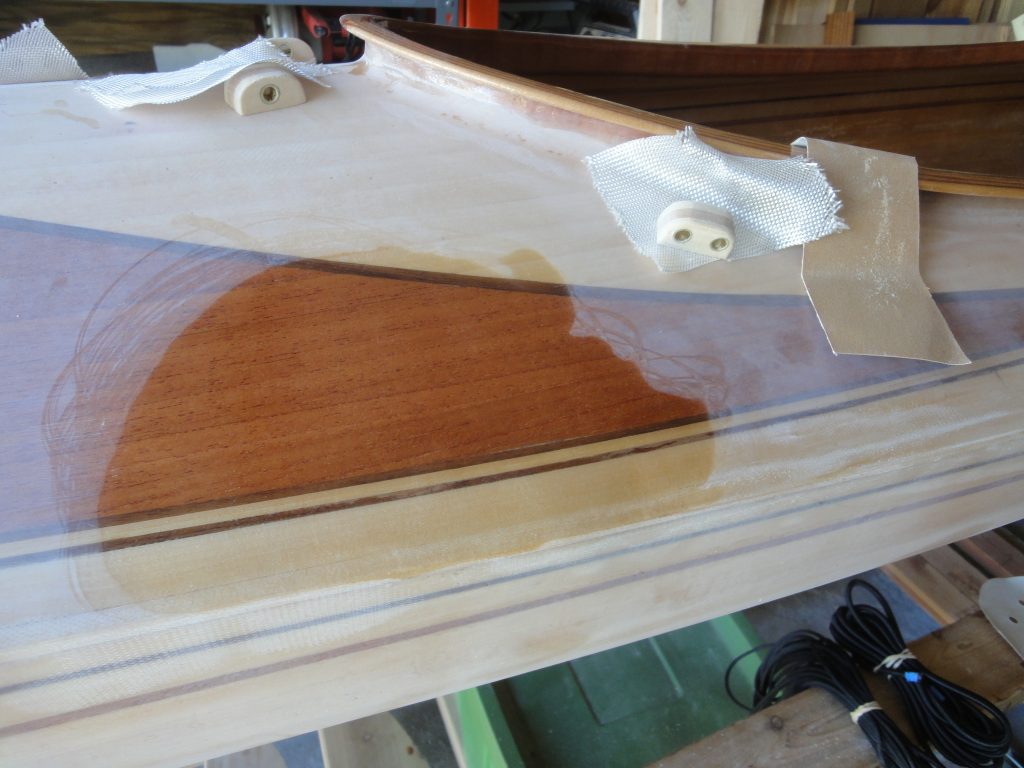
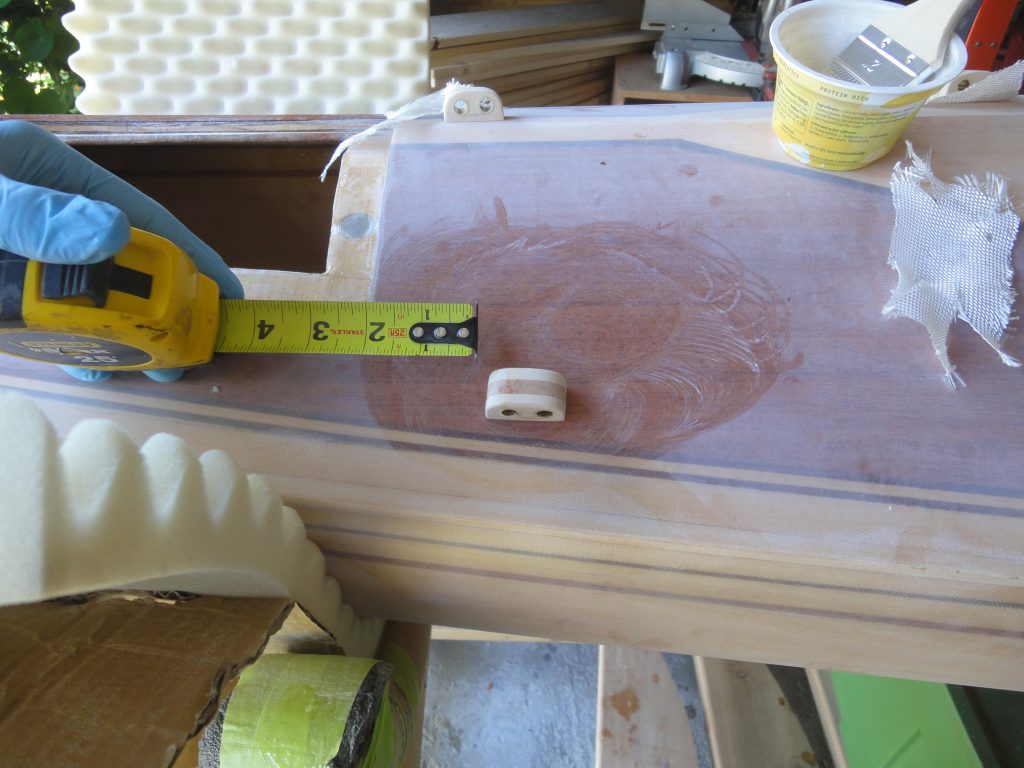
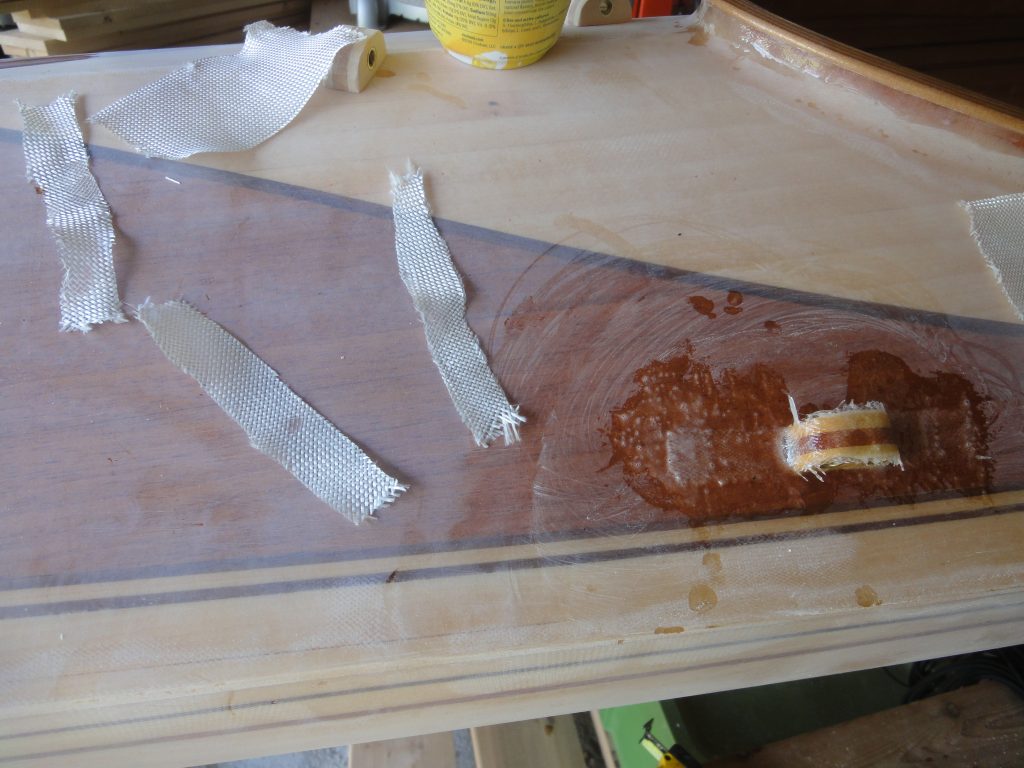
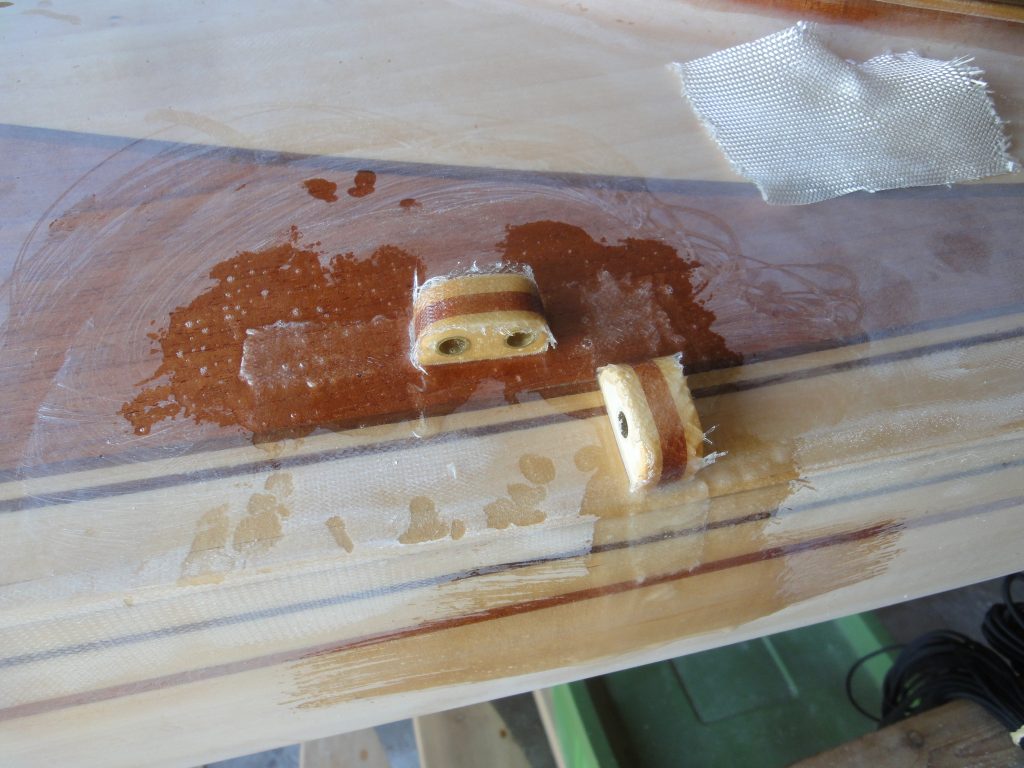
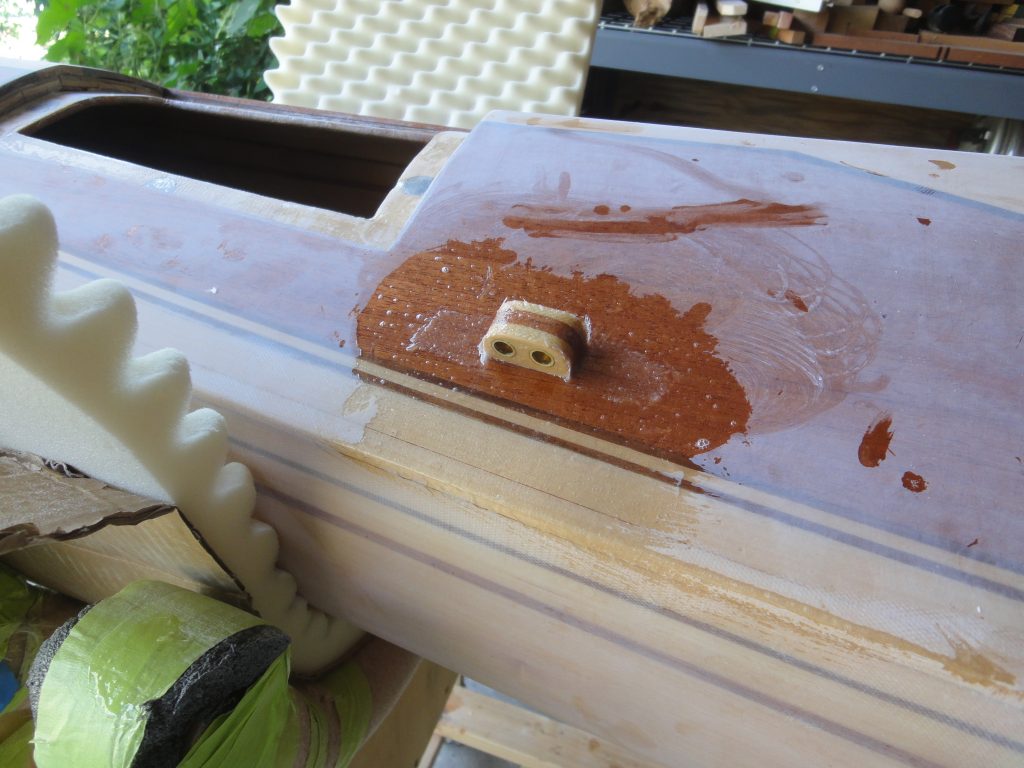
For placement I’ve got a double at the front and back, and then four singles along each side, one in front and one behind the cockpit and then one each centered more or less between those and the front and back. Four more doubles were installed in front of the cockpit and turned 90 degrees to provide for a bungie cord connection point. Finally two more singles were installed on the underside of the hatches. These will have a line attached to them and to the other two singles that I installed under the deck to prevent accidental lost of the hatch.

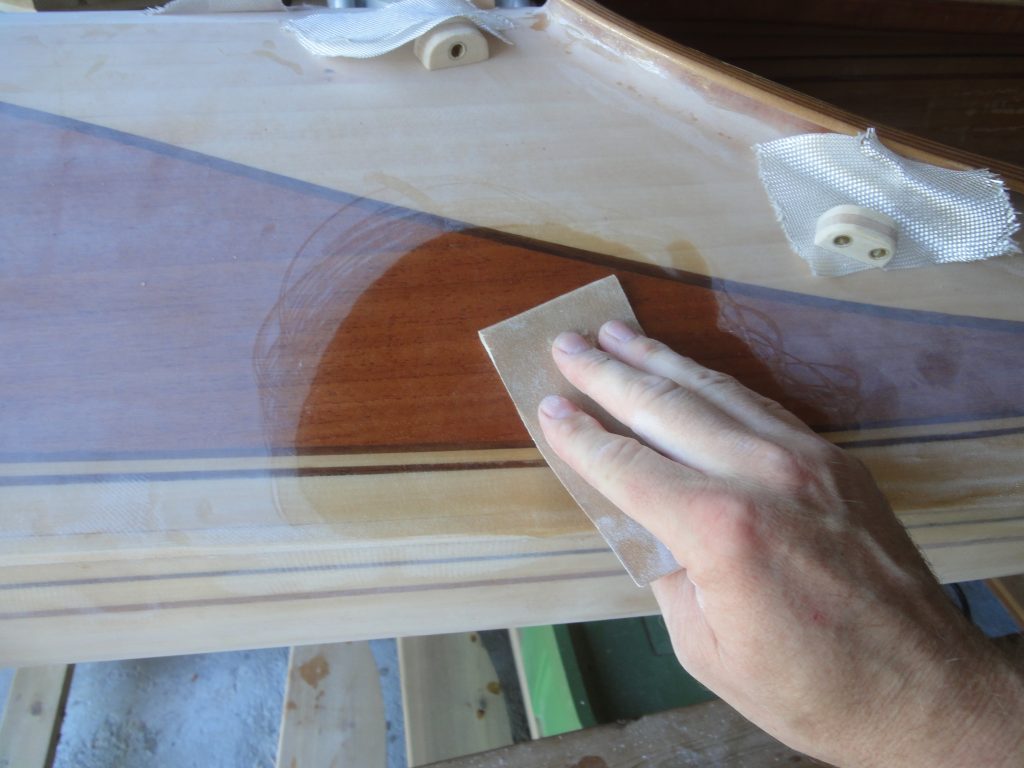
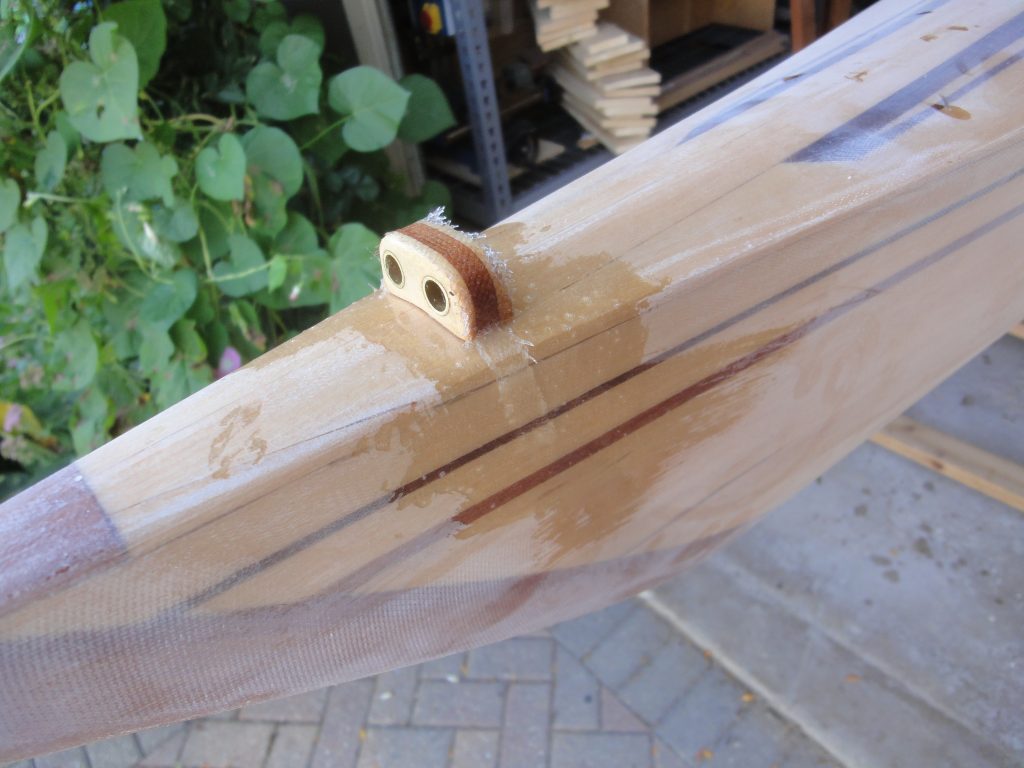
On the sides they sit flush but at the ends some shaping is required. I placed sandpaper over the deck and then just sanded the line guides in place allowing them to shape and conform to the deck. Every so often I’d check the fit and keep sanding until it fit nicely and was shaped from edge to edge.

In preparation for attaching I did a bio-solvent (see below) cleaning of the areas, then roughed up with a coarser sand paper to allow for better adhesion of the epoxy. After measuring to determine where each would go I was ready to install. Each line guide had epoxy applied to the bottom and then was positioned on the deck. Measurements were reconfirmed to ensure each was in the planned spot.

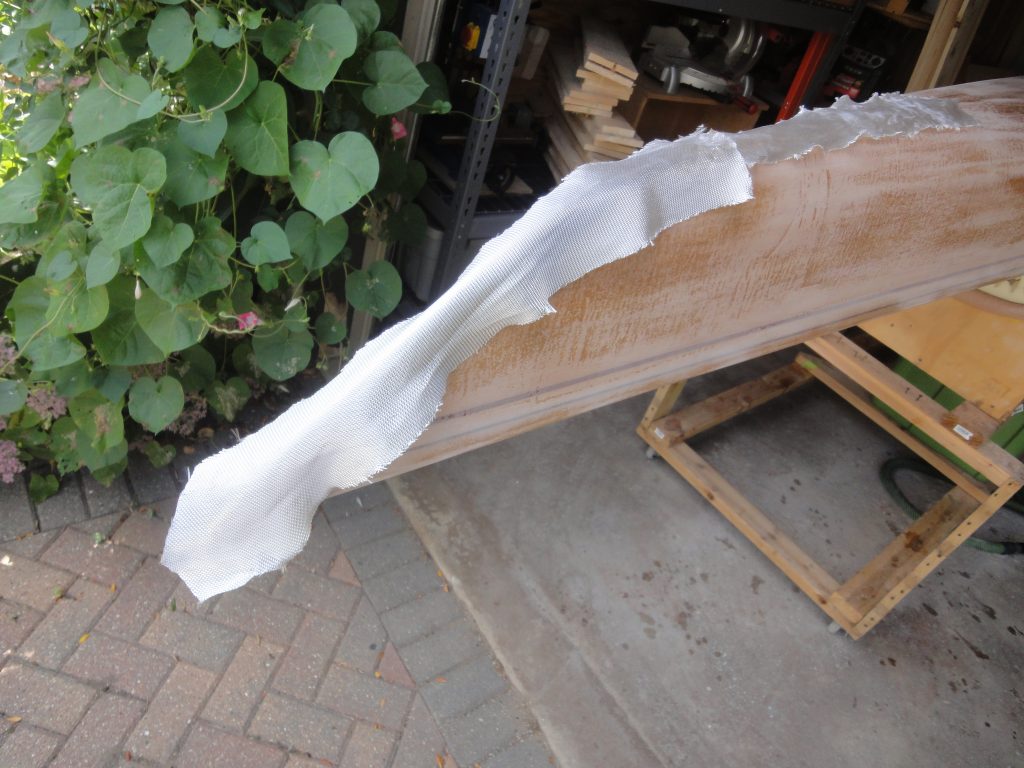
At first I cut a patch of fiberglass to go over them but even with snipping the corners (or sides) and using bias cut tape it just wasn’t conforming well. After struggling through a couple I switched to a strip of fiberglass instead which worked much better. With the first two still wet I removed the fiberglass and changed them to a strip too. Standard application, wet out the glass, squish it in to remove bubbles and ensure good contact, etc.

On a separate note I ordered (and received already) the deck line and bungie cord from CLC. I went with just simple black as I think any other colors would have detracted from the overall appearance.

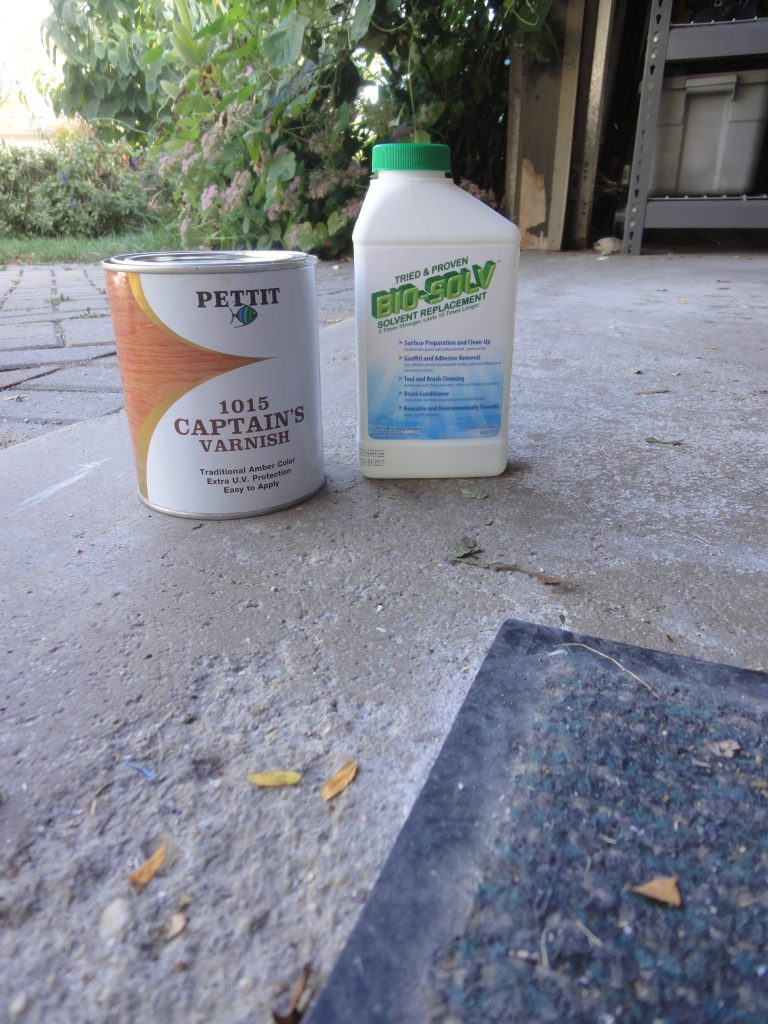
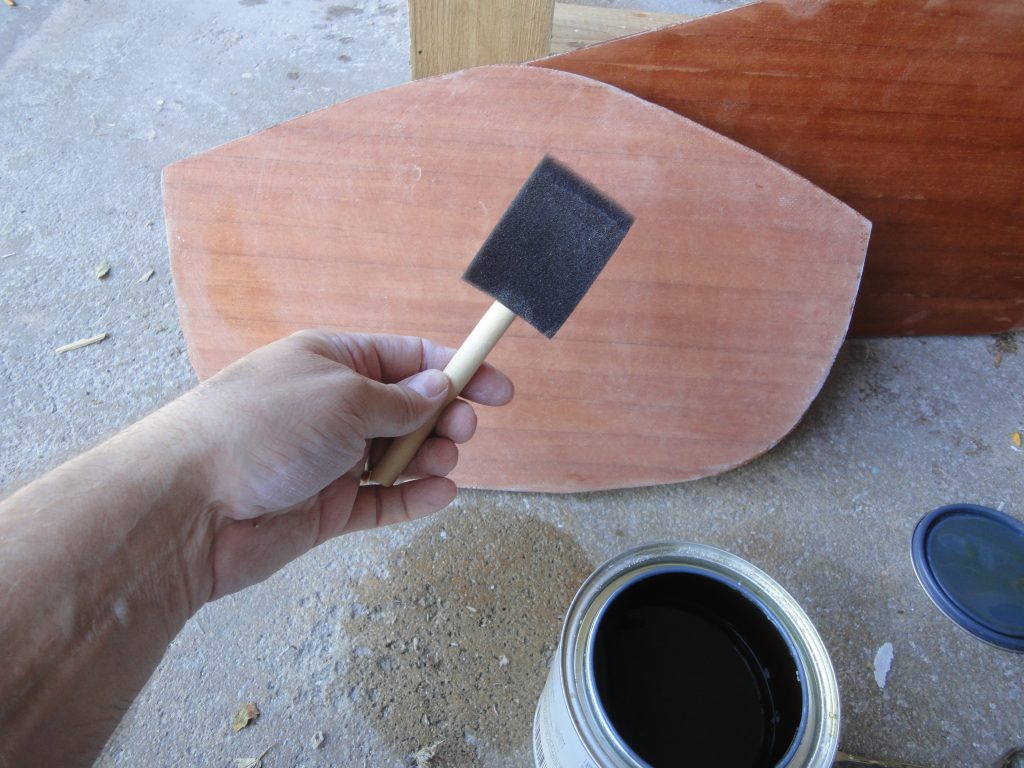
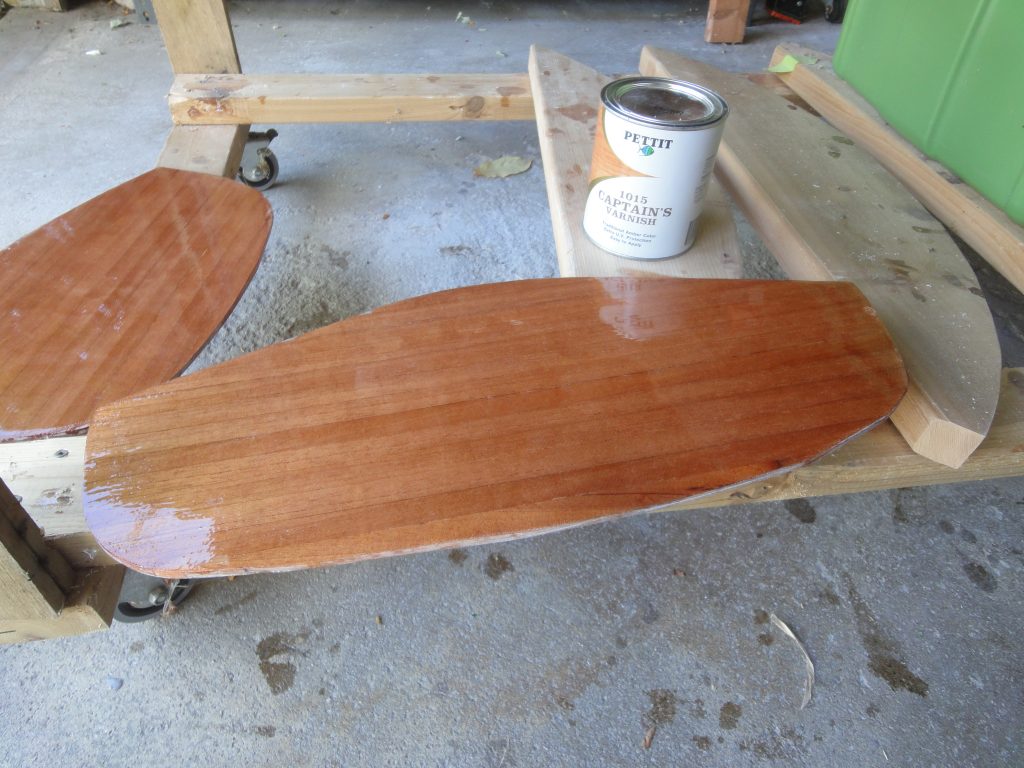
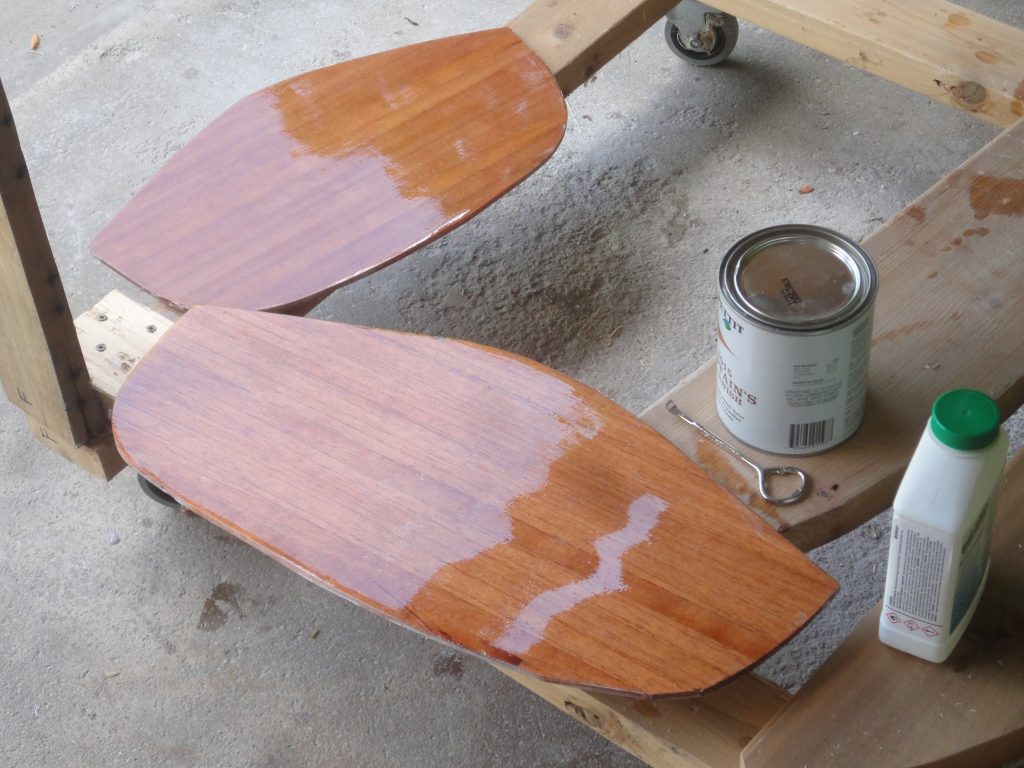
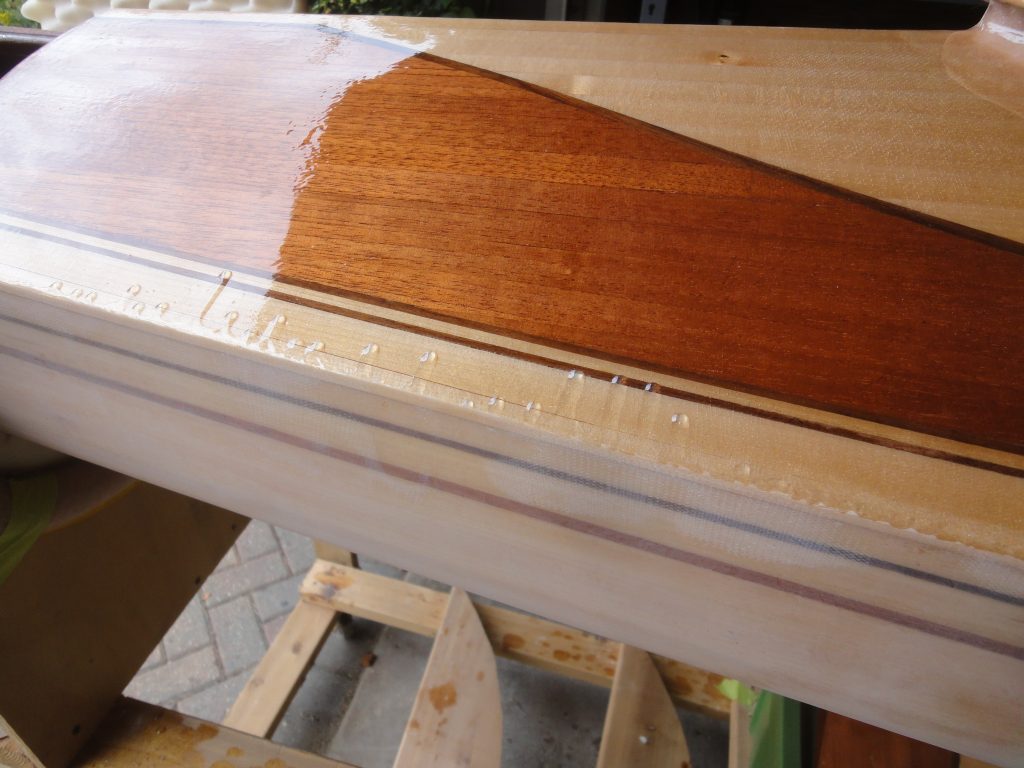
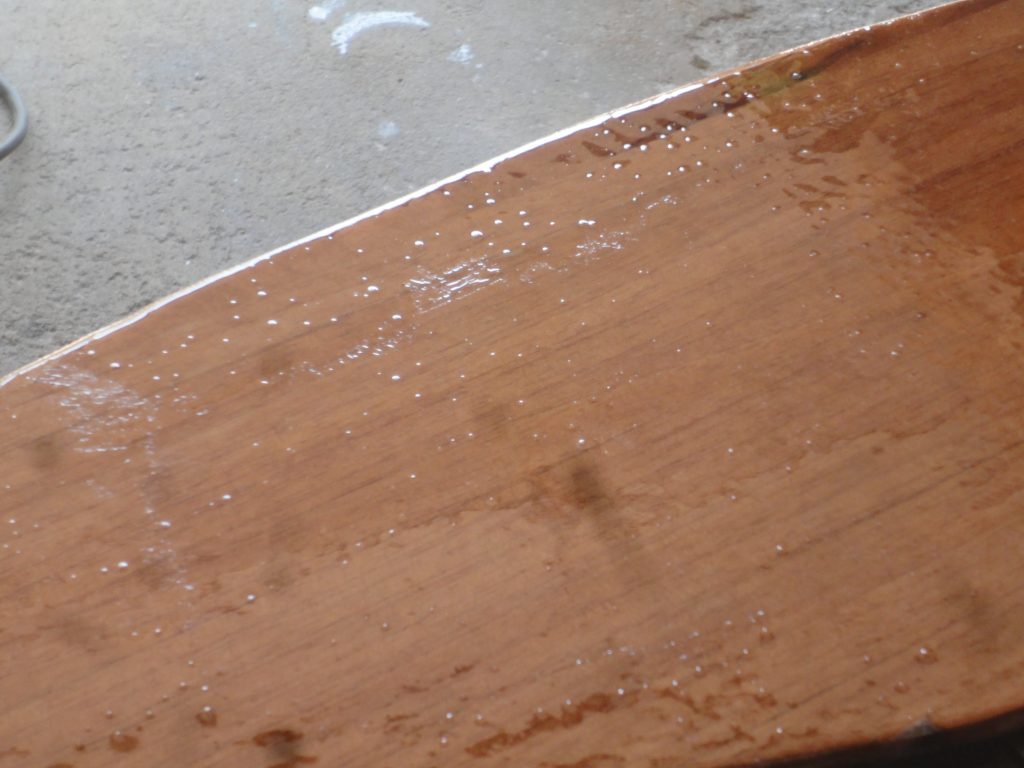
Bio-Solv was used for cleaning any dust and contaminants from the surface. And the varnish, Pettit Captain’s Varnish 1015, is what I’m planning to apply as the final finish. Figuring that the best place to experiment with the application of the varnish was the bulkheads since no one will really ever see them I went ahead and wiped them down with the Bio-Solv. Once it dissipated off I used a basic foam brush and brushed on the first coat of the varnish.

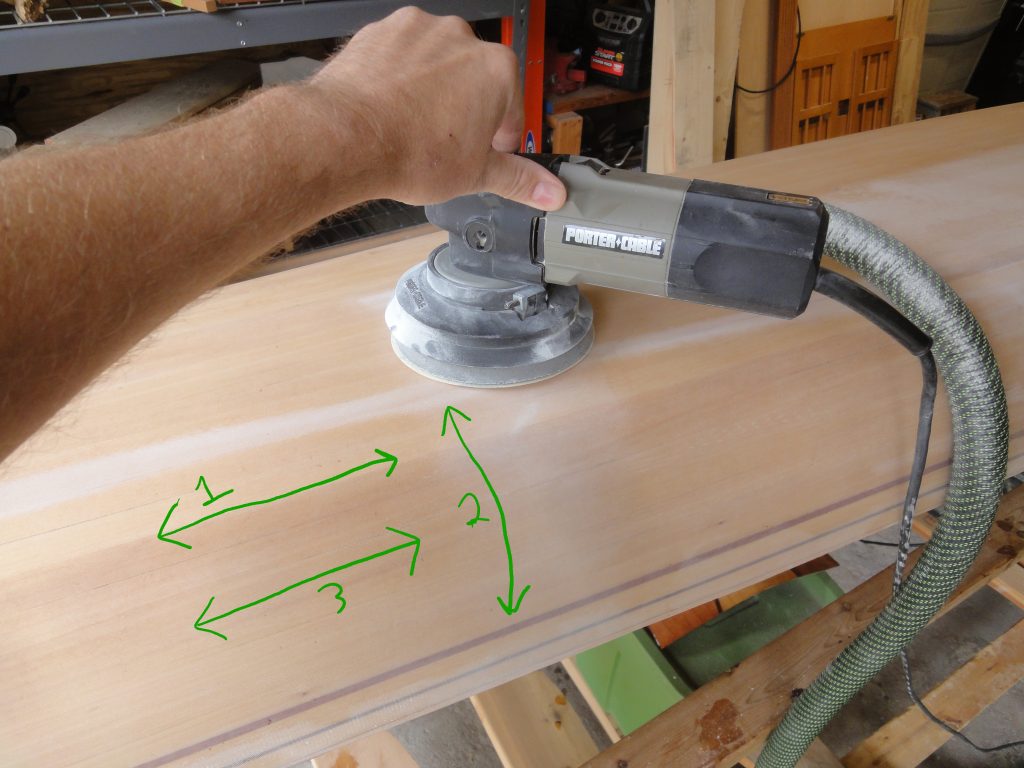
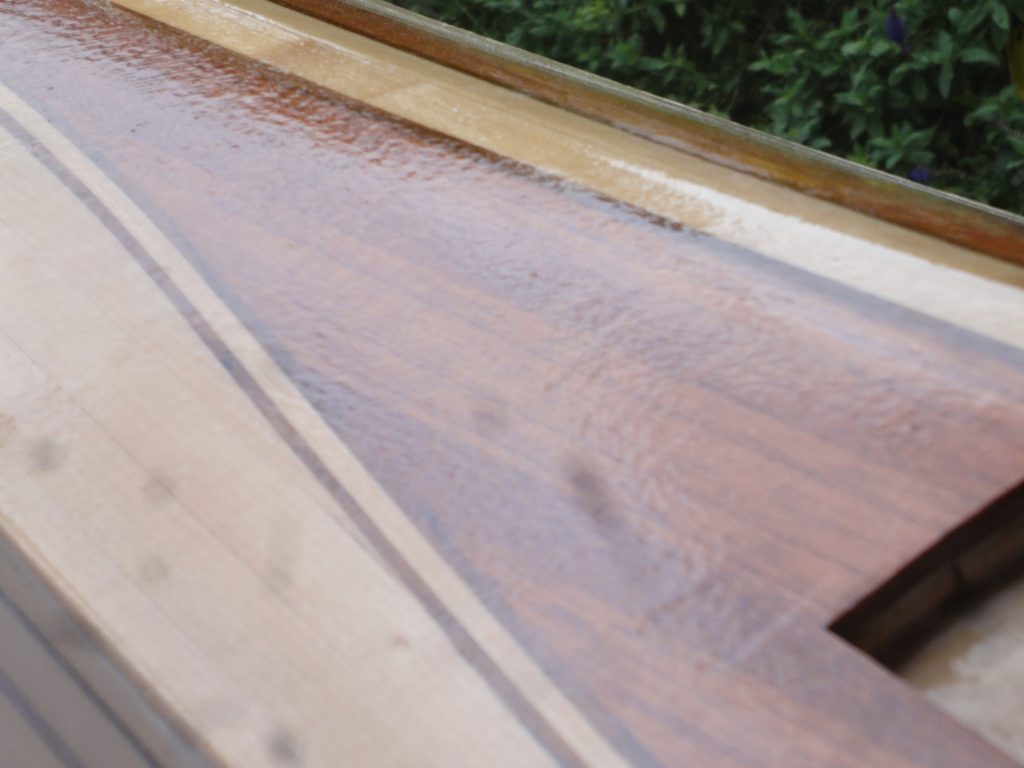
I used the same cross hatch pattern as when I did the sanding. Back and forth, up and down and then back and forth again. This was done in sections (basically one half of a bulkhead side) and then I worked the next section into the wet edge (as suggested on Pettit’s instructions on their web site). Really pretty simple to apply. I’ll have to wait for it to dry to see how well the coat took. At least wet it has a “wet” look. I’m expecting after 4+ coats it should retain that look even while dry. The varnish, besides providing a shine look is actually quite important as it is a UV protectant. Sun on the exposed epoxy will start to break it down. The varnish helps stop this from happening. It also takes the brunt of any small dings or scratches allowing for easier refinishing if/when necessary.

While brushing on varnish may not require experimenting, determining how many coats, how to sand (or not to) between them and such will be the experiment part. Once I have it worked out on the bulk heads then I can apply the same technique to the rest of the kayak.

The to do list is shrinking pretty much ever time I get a chance to work on it now. But I did have to add one item… final hatch fitting and sealing. The hatch openings will need a bit of work in terms of sanding and smoothing before I can install the seal tape (more about this in a later entry). I’ve also been researching if the end pours are actually needed. Seems there is some debate on this. If I drill by tie down holes and have solid material all the way through then the end pour will probably not be necessary. But if I hit space then it probably will be. Perhaps tomorrow I can work on these.

  • Drill/fit carry handle/tie down holes
  • End pours – maybe?
  • Install bulkheads
  • Line guide fill coat(s) and sanding
  • Hatch – final fitting
  • Varnish, varnish, varnish
And so the sanding continues….

Actually I’m just about done with it, after today that is. Most of the rest of the sanding left will be on the hatches, bulkheads and when I install the deck line guides.

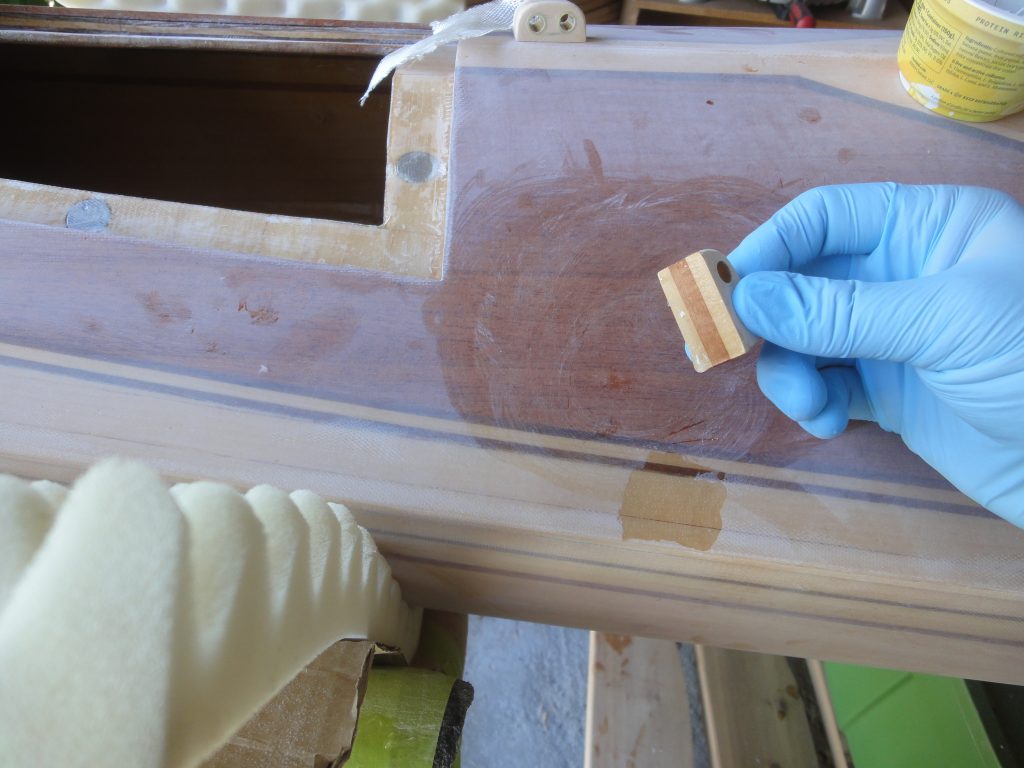
The finish felt nice and smooth after 80 grit. After 120, wow! After working up to 220… It felt like glass! Just amazing the difference. I wish there was a way this blog could share the feel at each stage. At each point you think it’s great, then after the next grit you realize just how “poor” the previous level of surface prep was.

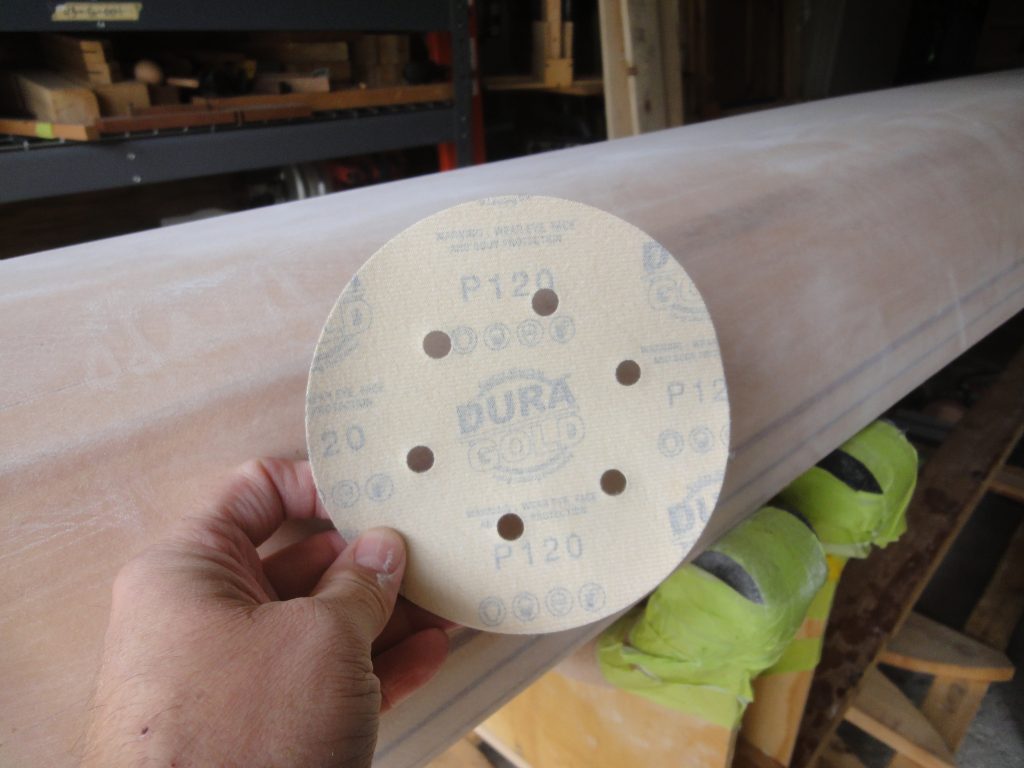
Basically I finished random orbit sanding with 80, then vacuumed it off and used a tack cloth over the whole hull before moving to 120, again on the random orbit. I kept repeating ending at 220.

When sanding I used a back and forth, then up and down, then back and forth once again pattern over an area about 2′ wide. It’s really obvious when you compare to a non sanded area.

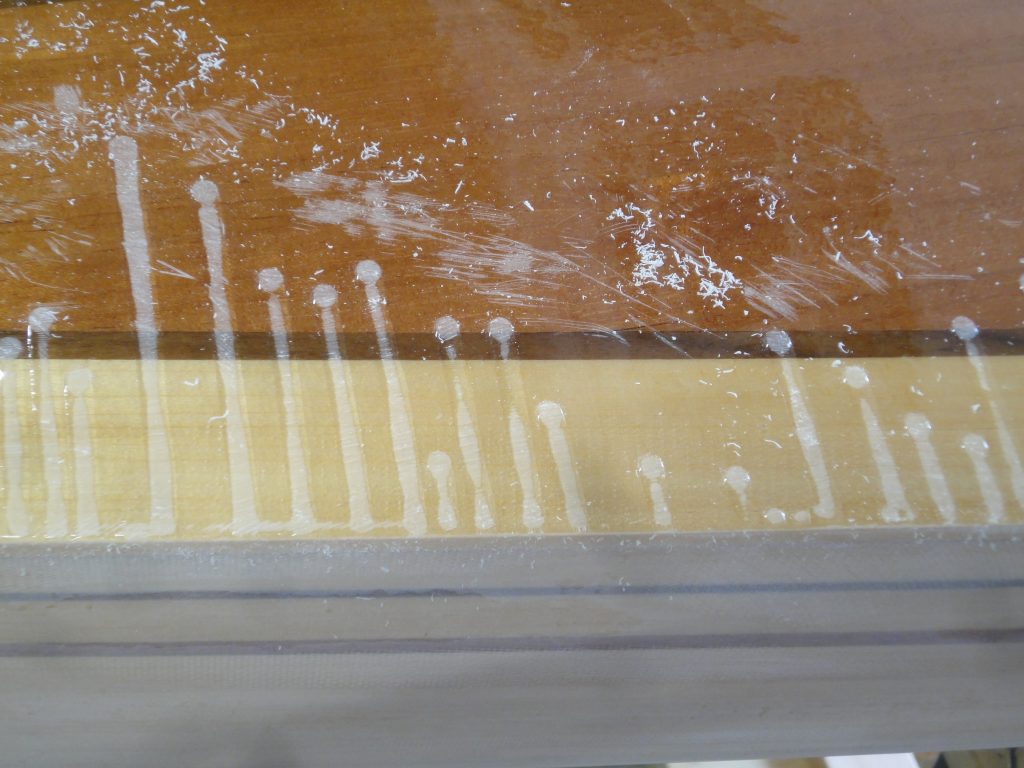
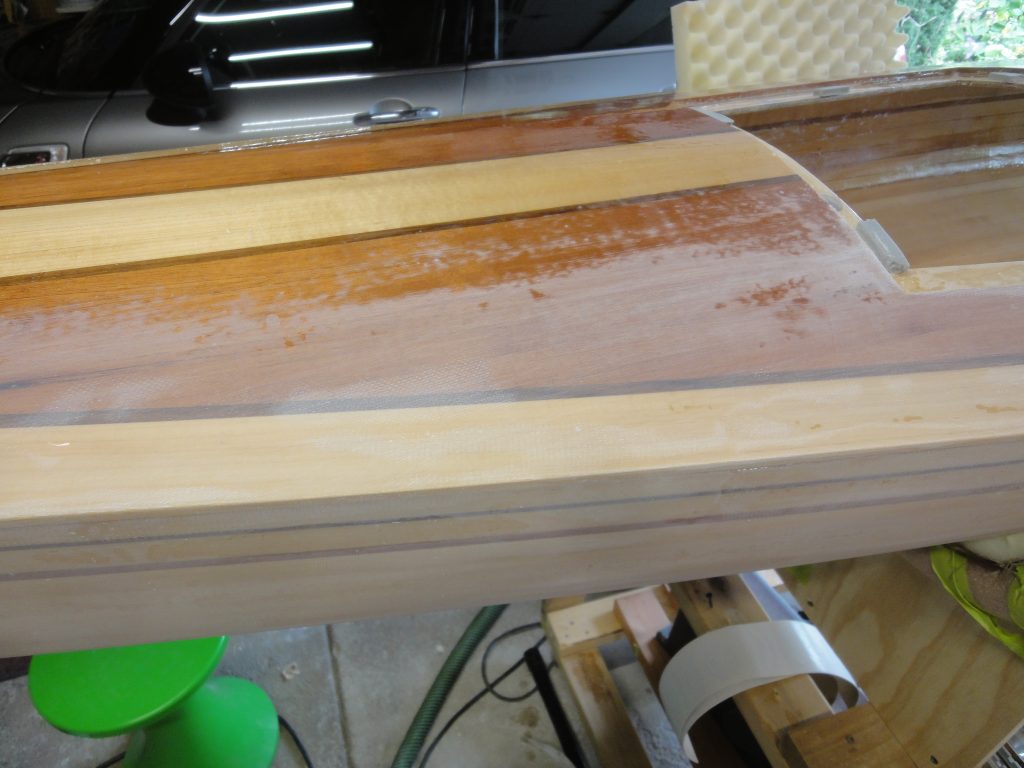
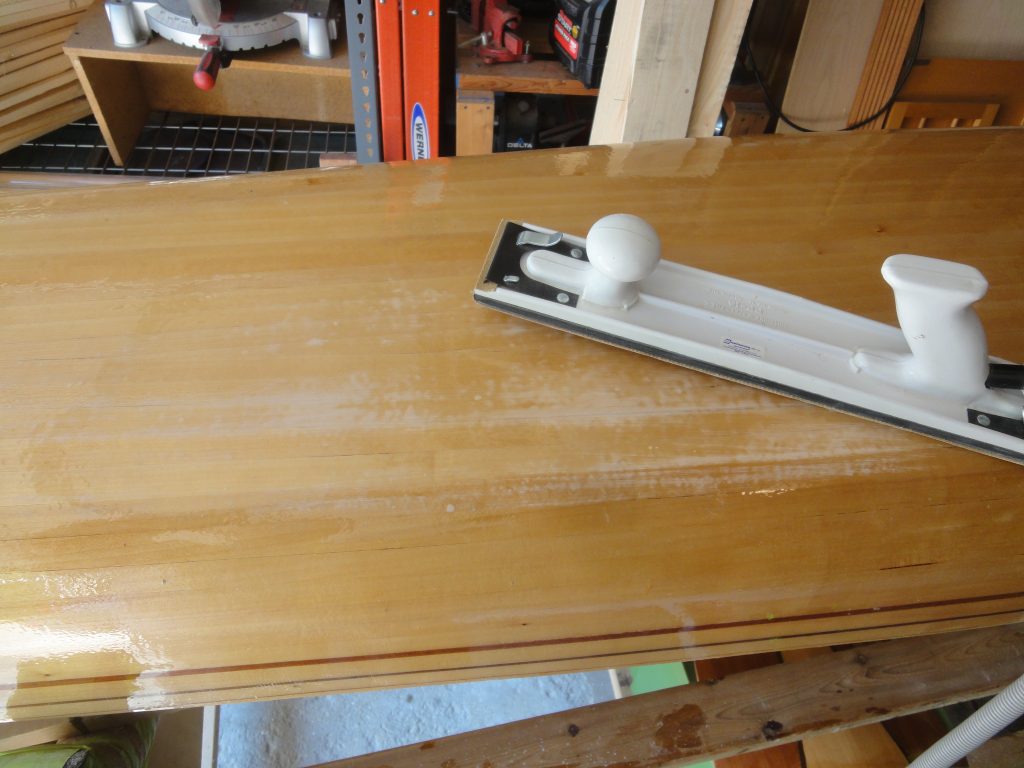
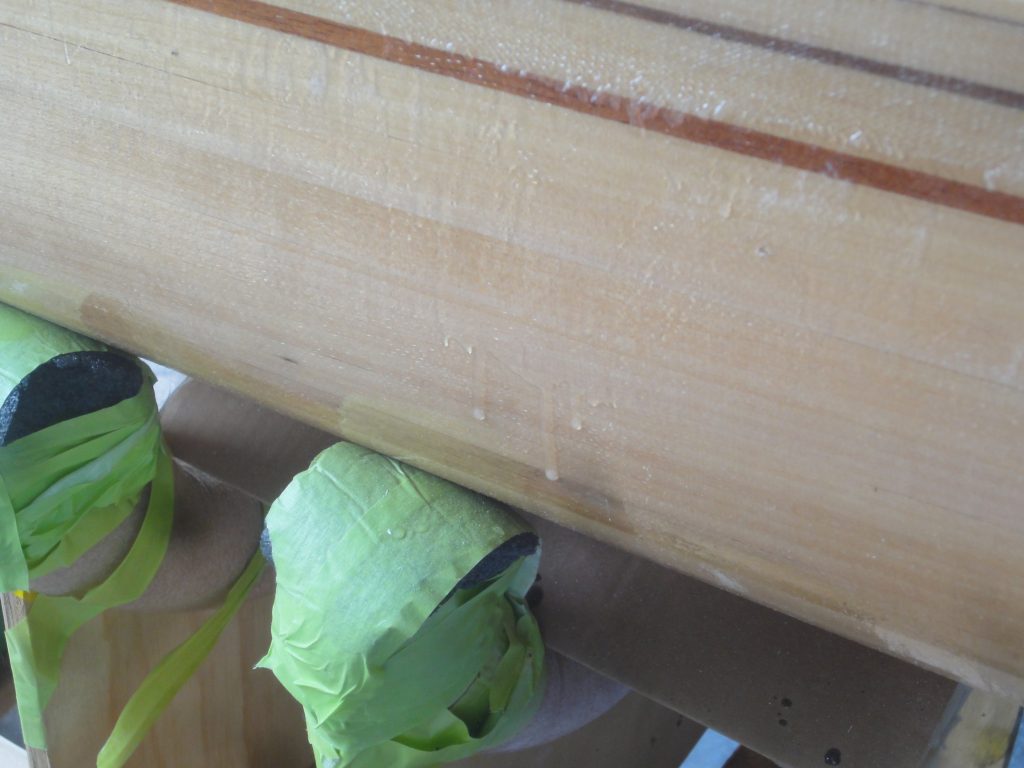
Once the 220 was finished I flipped it over to start on the deck. Even with the drip edge of tape I had on there there were still a number of runs. The surface felt mostly smooth to the hand with just a hint of texture, but with a zoom in you can see just how rough the “smooth” epoxy is. Thus the need for sanding.

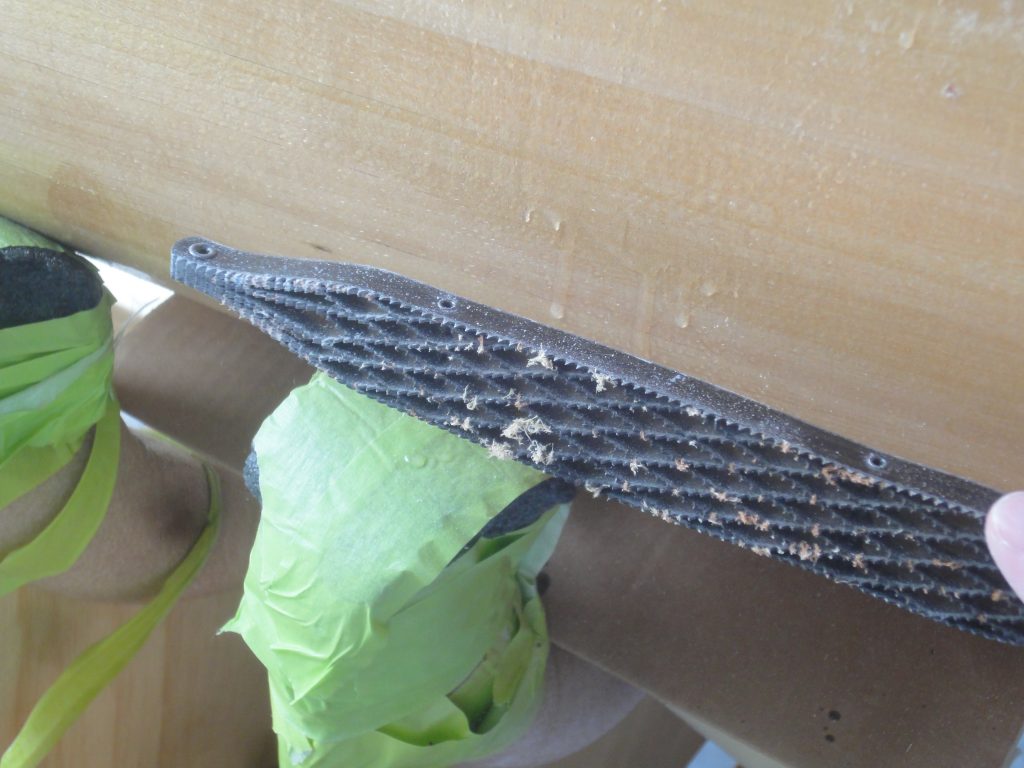
The Shinto rasp made quick work of the drips and the long board evened everything out.

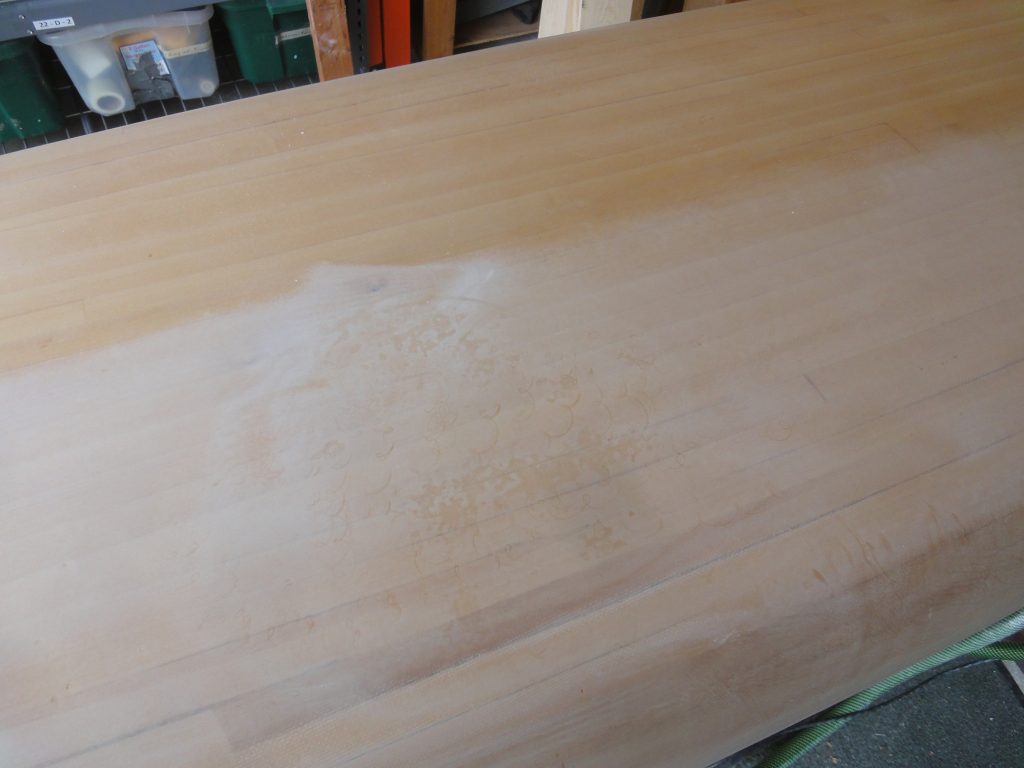
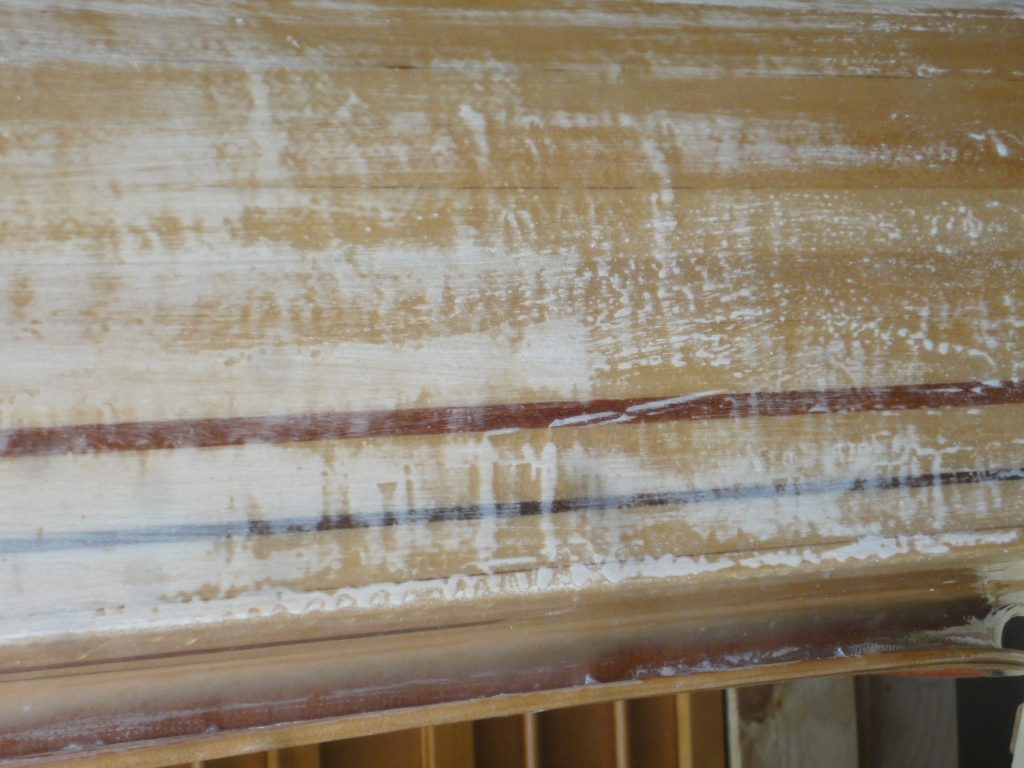
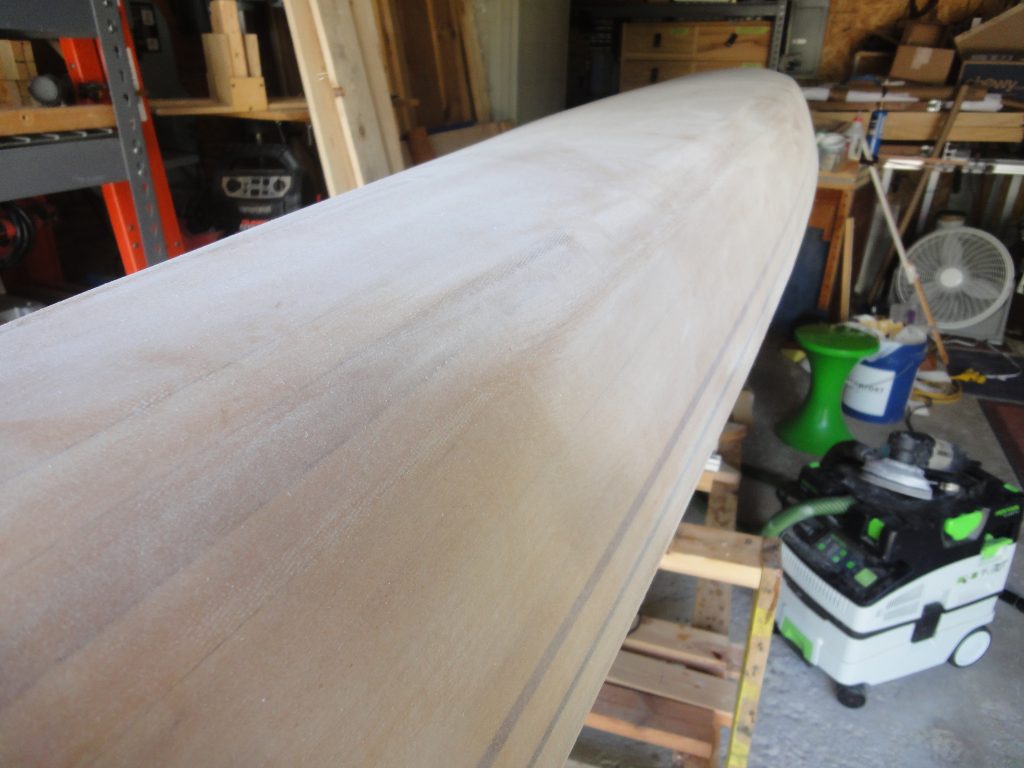
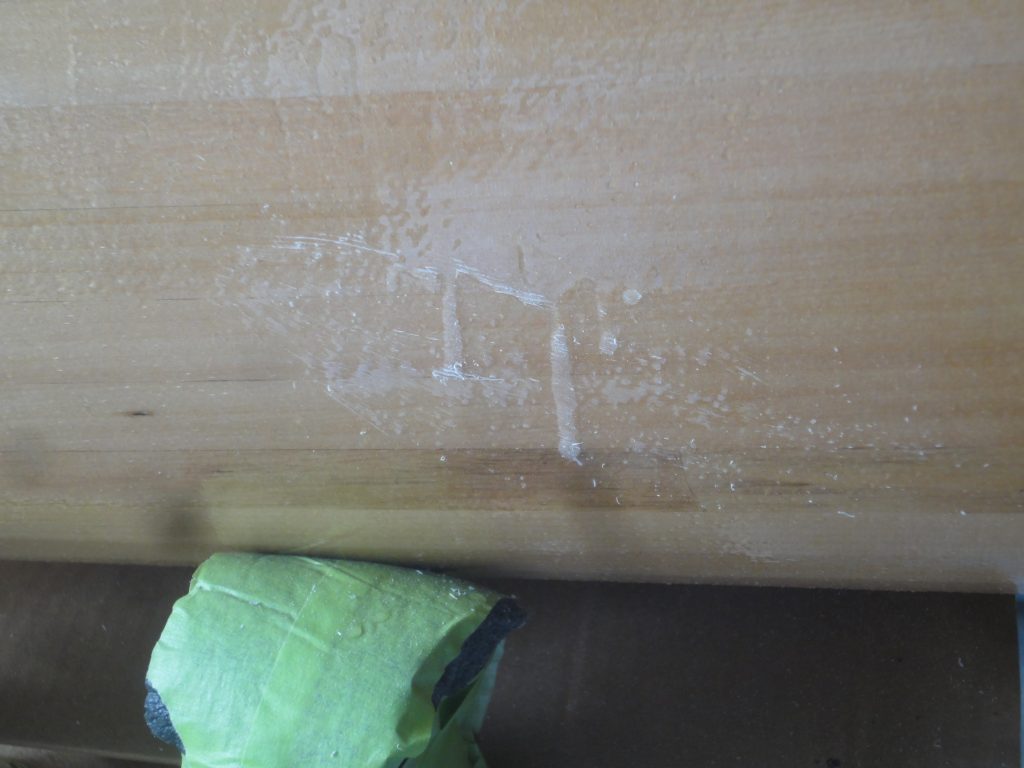
Again between each grit the surface was vacuumed and wiped with a tack cloth. Even after the vacuum it’s surprising how much a simple wipe across still takes up from the surface. Normally when sanding with the random orbit it leaves scratches that are almost invisible, however if there is a contaminate in the surface (larger grit from a previous sanding for example) then you get a very obvious swirl. As soon as I noticed the image in the third picture I immediately wiped this area down again and changed to a fresh sanding disc.

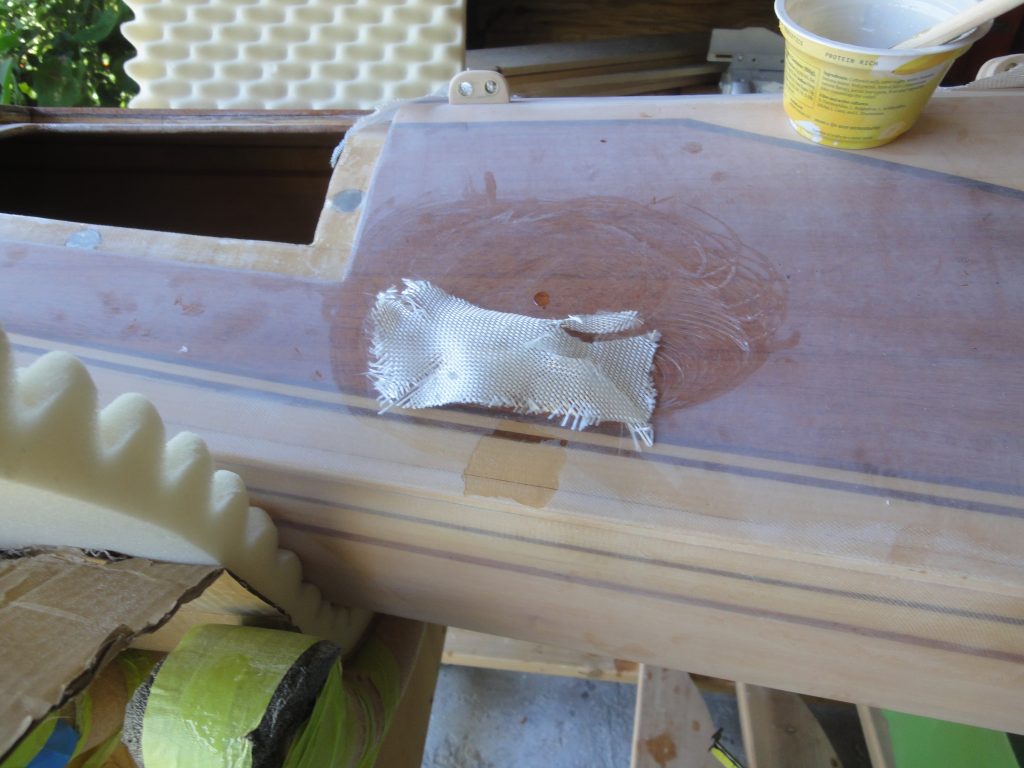
A delicate hand is also required. On the back I held the sander there just a moment too long and went right through the epoxy and into bare wood. I’ll need to touch this up later with at least epoxy if not a bit of cloth too.

I went ahead and sanded the hatches and applied the final fill coat on the inside of the smaller one which still needed this. The second side of each bulkhead also received a final fill coat.

Finally, in preparation for the deck lines I went ahead and glued in the brass tubes into the wood blocks. Even though the super glue will set almost instantly I was done for the day and will save the sanding and shaping for next time.

This brings the to do list down to:

  • End pours
  • Order seat – done, already shipped, just waiting for it to arrive.
  • Install bulkheads
  • Drill/fit carry handle/tie down holes
  • Install line guides
  • Line guide fill and sanding
  • Varnish, varnish, varnish
I also ordered a paddle which arrived today. The project is finally approaching the finish line.
And so the sanding starts…

Next few entries are going to be kind of boring. Well, maybe. It’s time to sand and sand and sand and… Well you get the idea.

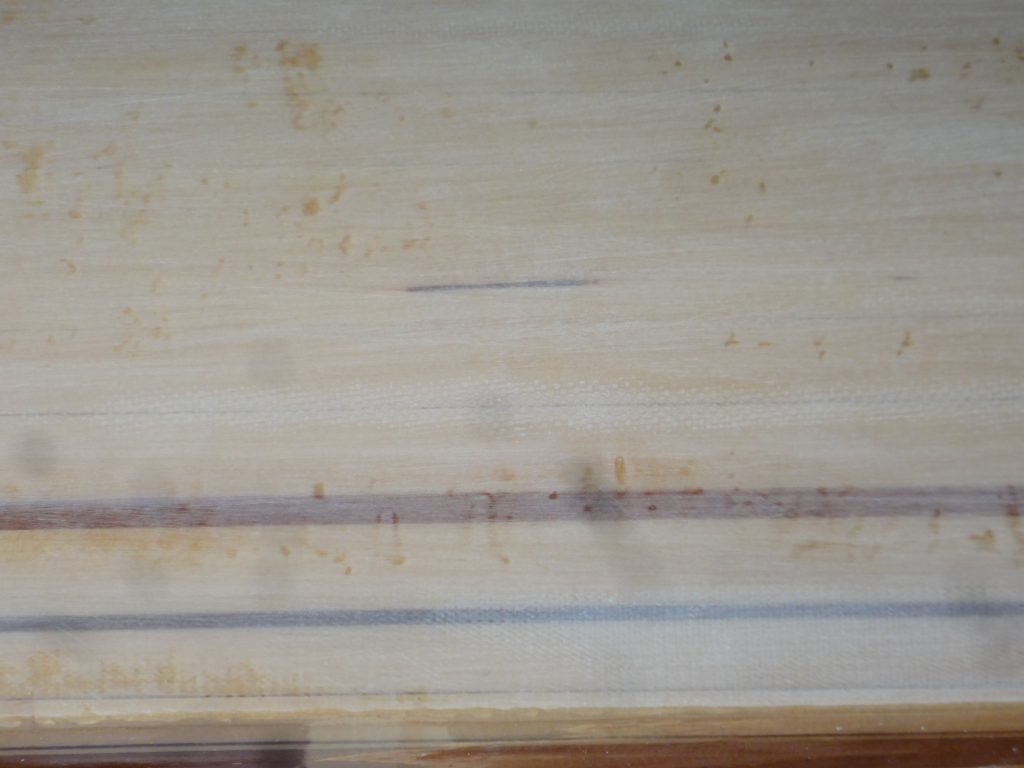
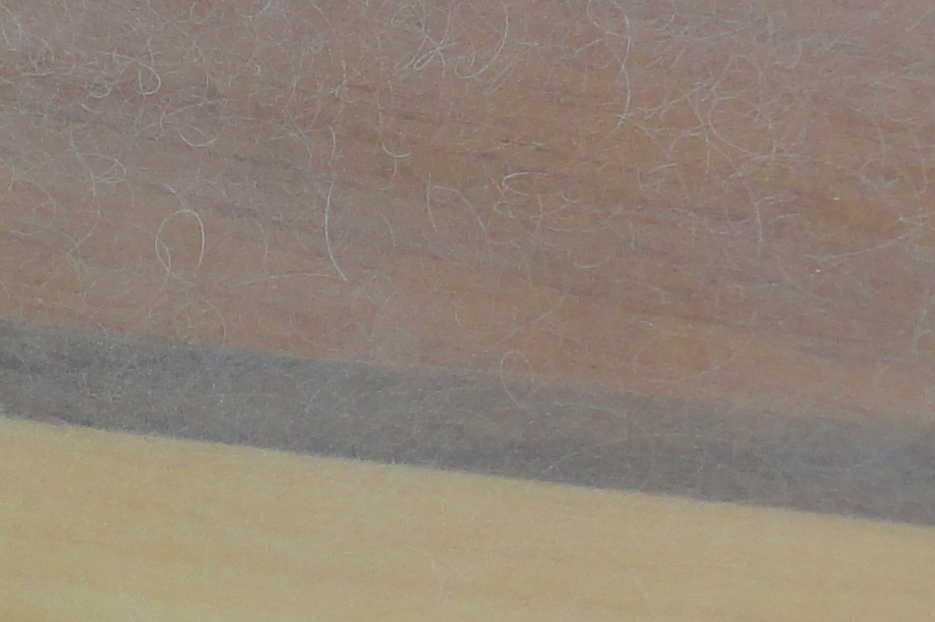
Looking at the photo of a bulkhead illustrates the reason to sand. To the touch this feels very smooth with just the occasional little nib or bump sticking up, barely felt. But with a zoom in you can see in the photo all the bubbles, specs of dust, brush marks and other contaminates in the surface.

So back to the exterior of the kayak. It’s very similar to the bulkhead sample above in terms of feel and appearance. Not much I can do when my work shop is a garage with an open door. I started with the long board using 80 grit paper. Back and forth, mostly with the grain. The goal is to get a uniform surface. In the process I’m knocking off all the surface contaminates and lowering the high spots.

As the sanding continues it quickly reveals the high spots (sanded) and the low spots (untouched). Keep in mind to the touch many of these high/low differences are barely felt if at all. Very minor drips or runs, sags in the epoxy as it setup and even brush marks all manifest in the surface.

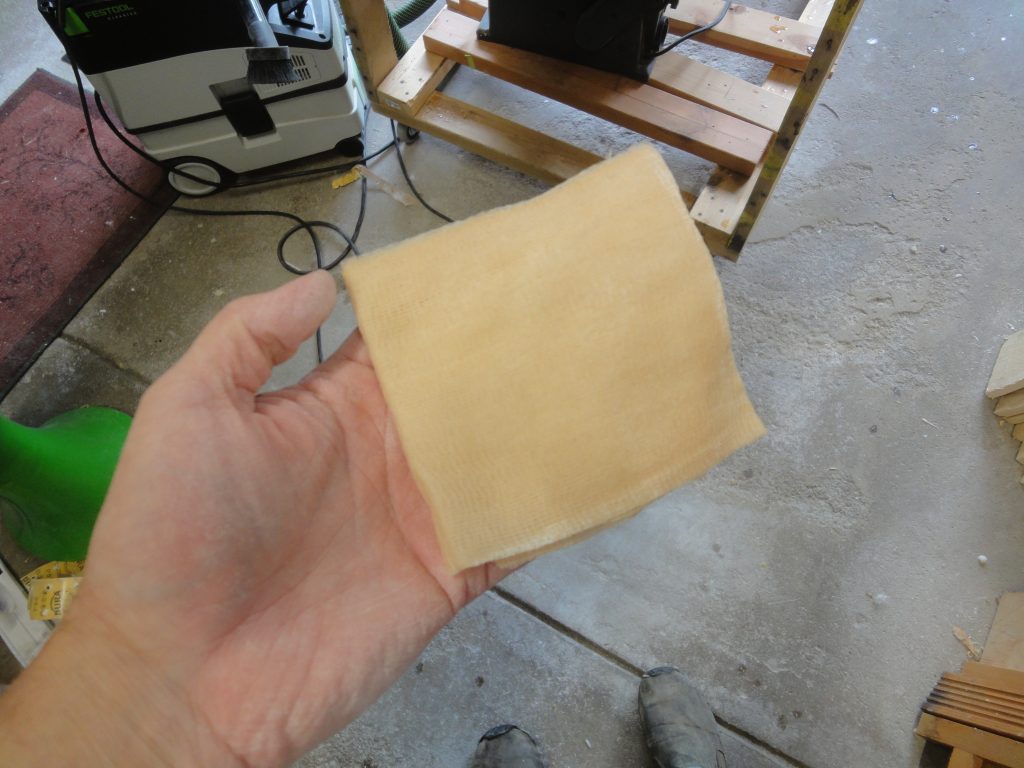
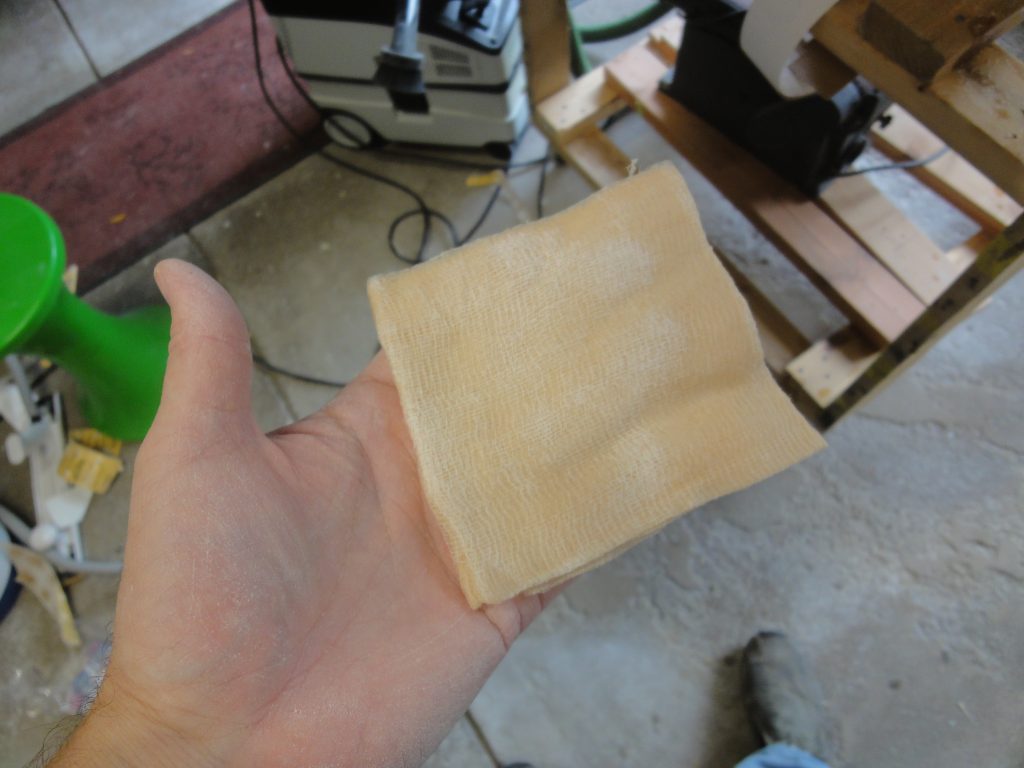
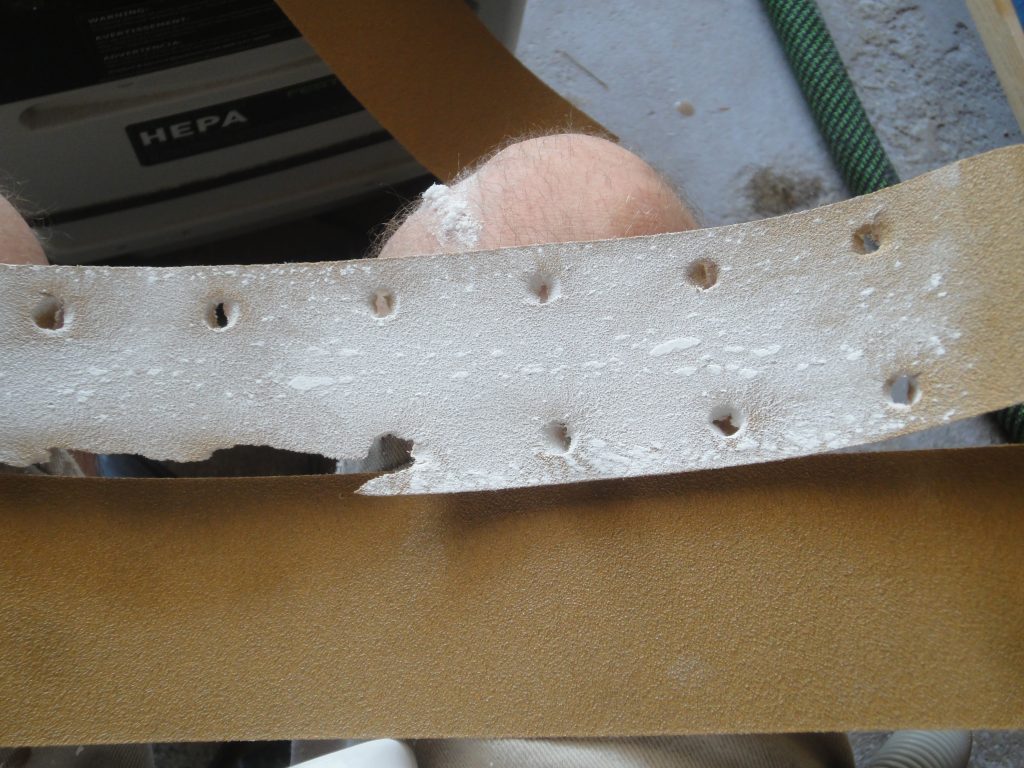
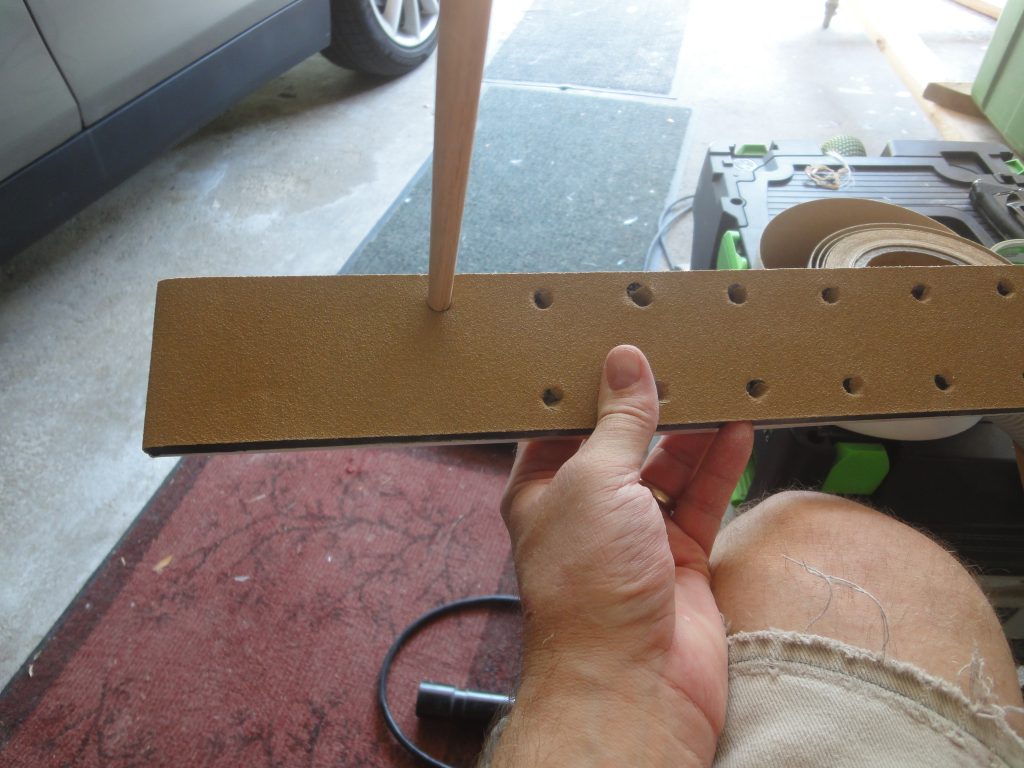
The epoxy fairly quickly ground down the sand paper so at most I’d get about 10 minutes out of a piece, sometimes less. Here you can see one that is used up (and it tore as I removed it from the long board) compared to a new piece. Once attached to the long board I used a simple dowel to poke holes at the hole locations to allow the dust collection feature to work. This made a very big contribution to keep the dust to a minimum. In total, for the hull I went through 18 sheets, all cut from one of the rolls I bought earlier.

After sanding the entire hull with the long board the results were pretty good. I could have kept going and eventually eliminated every little shiny spot (low spot) but at this point it felt dead flat, the shiny spots were undetectable and I felt comfortable moving on to the next step.

Using the same 80 grit on a the random orbit sander with a contour pad I gave the entire hull a once over to help eliminate any sanding marks from the long board. In the process the remaining shiny spots disappeared as I expected them to. Most areas were covered with both a left-right movement and then a forward-backward movement (90 degrees to the left-right) to ensure total coverage. I think the results speak for themselves. A nice even flat finish.

I did almost 50% of the hull with the random orbit before I was getting tired and decided to stop before I made a mistake. Next opportunity I have to work on it I’ll finish the hull, flip it over and start on the deck with the long board and then finish with the random orbit.
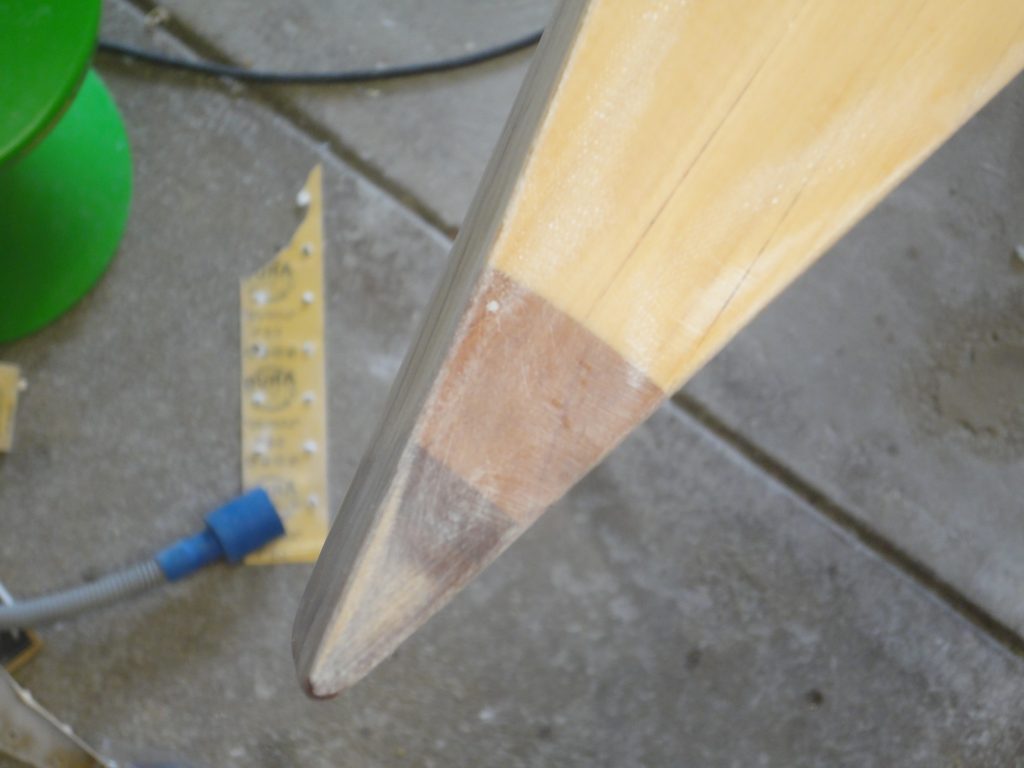
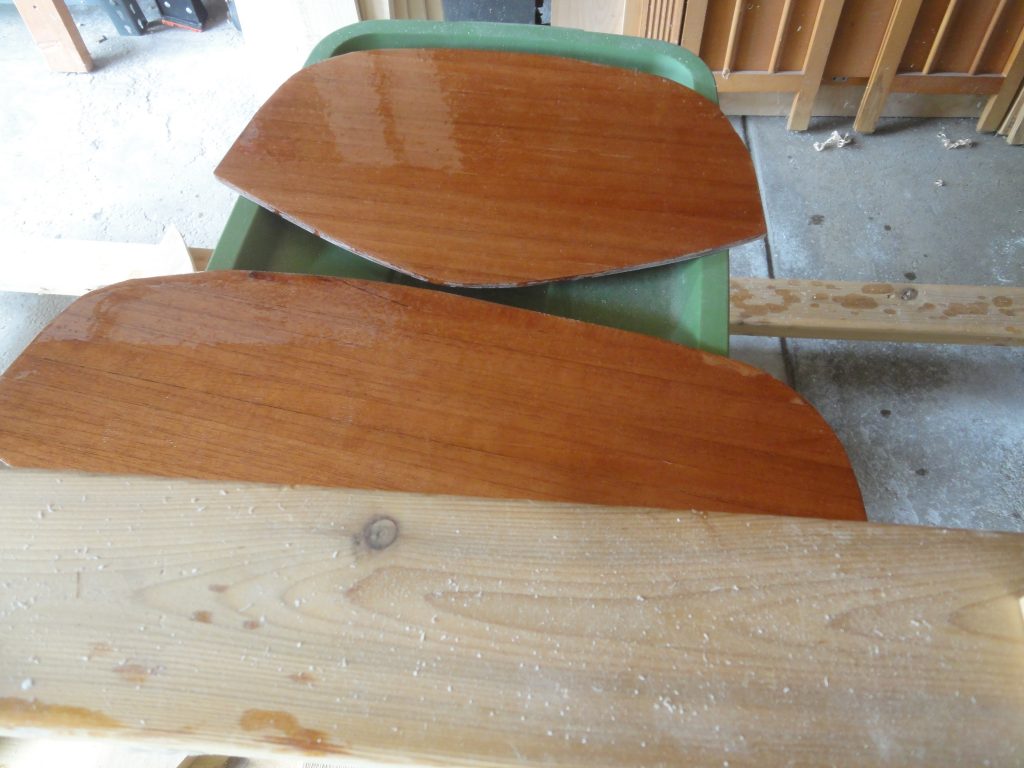
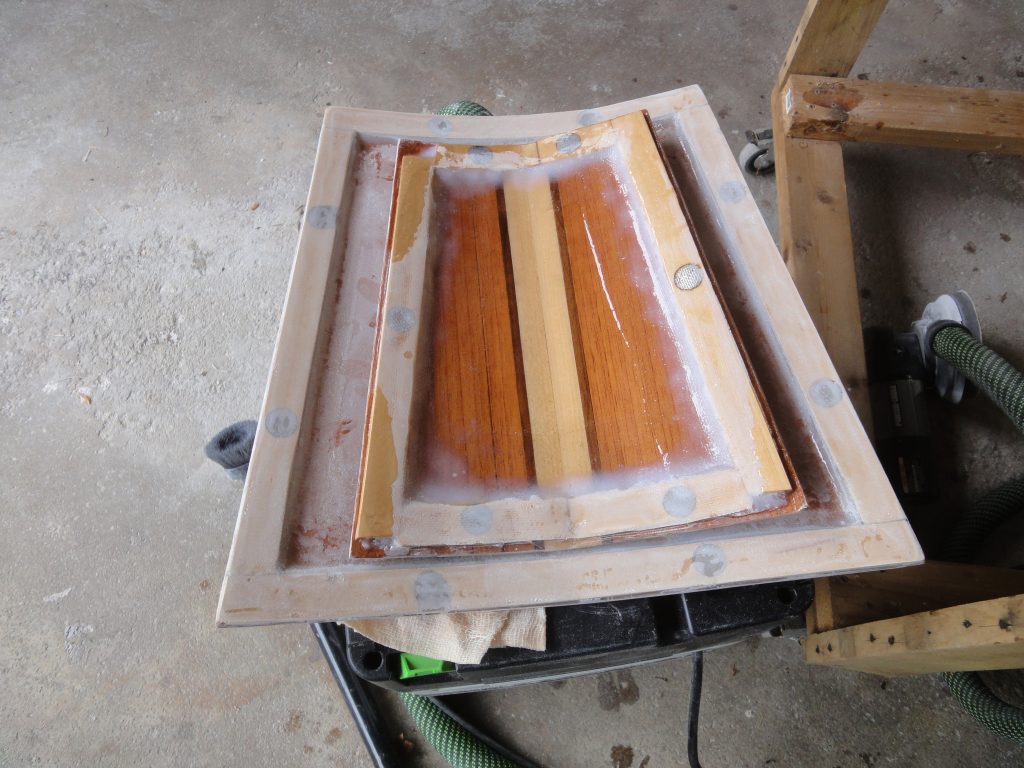
If I find any defects, bubbles in the cloth, etc. those will then need to be fixed before I can move on to the next grits. The smooth and consistent finish will allow for a fairly quick pass with the higher grits. After that I’ll finish up and install the deck line mounts, with a few epoxy applications and sanding afterwards until those areas meet the same level as the rest of the deck.

As to actually using it, well lots of good news. My seat already shipped. I ordered my paddle and that already shipped along with a few safety items. Still very promising that this could be done in time to try it out this year… or at least get it wet and verify it floats.

Filling the Hull

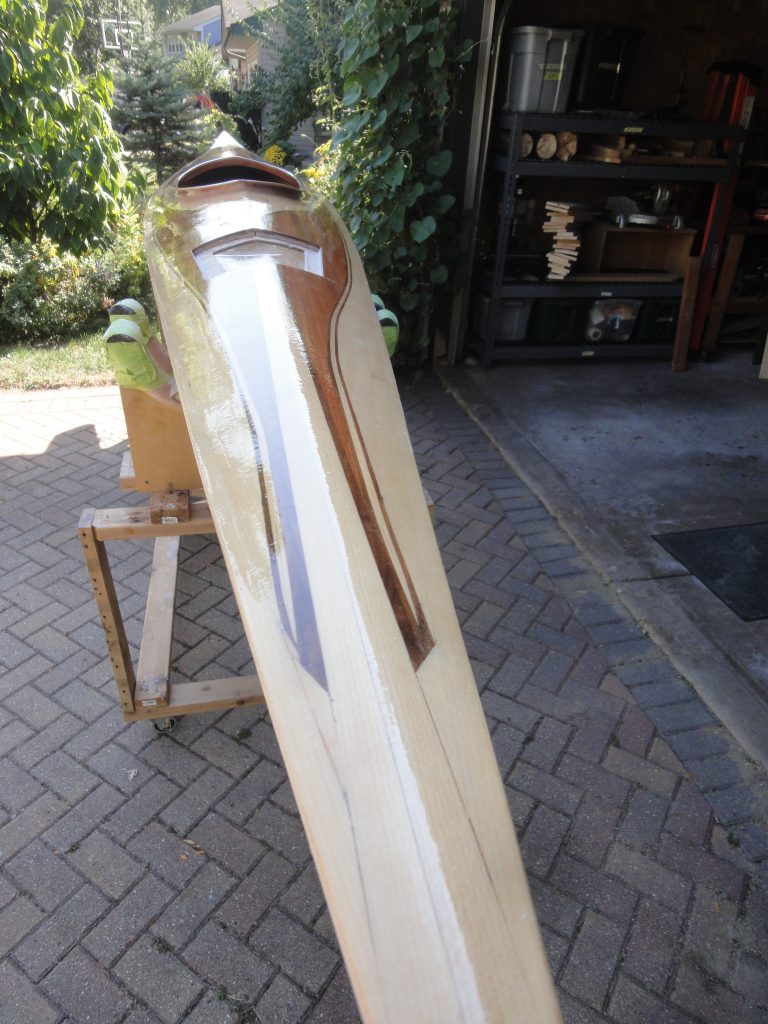
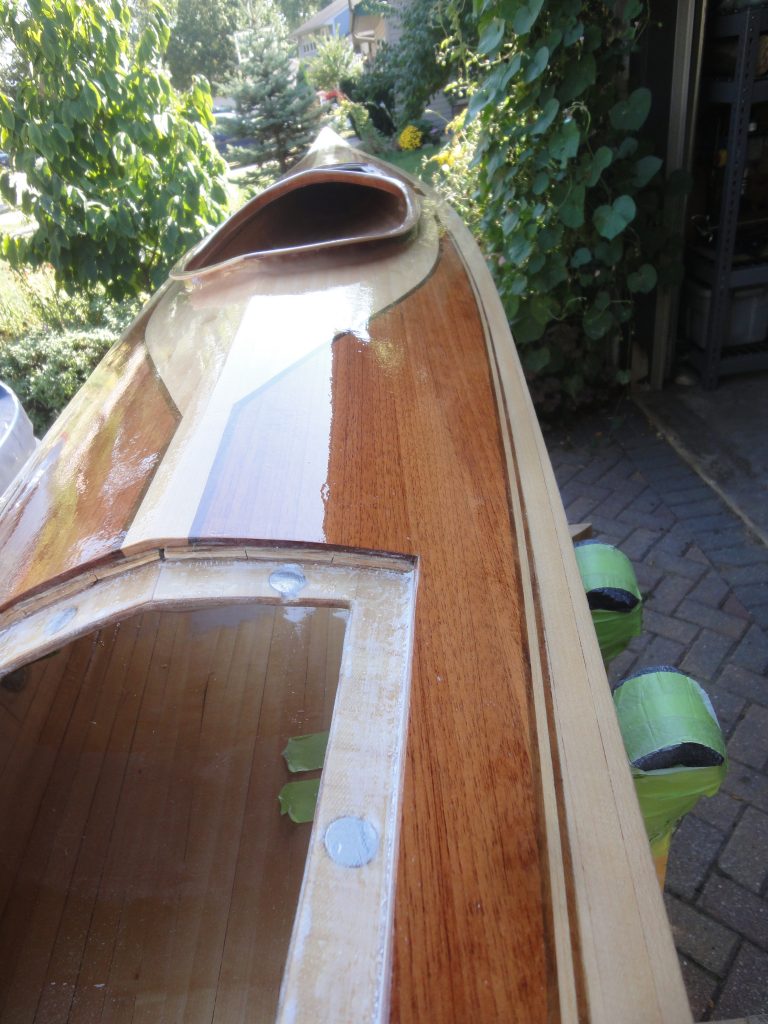
The deck came out fantastic… at least to me. With a filled weave the deck looks just… Wow! Running your hand over it and it’s mostly smooth, a few dust spots, but nothing that won’t disappear with the next rounds of sanding. Zooming in and you see a bunch of “fuzz” along the reflections but this is pretty much just brush strokes. Sanding with the long board should eliminate these pretty quick.

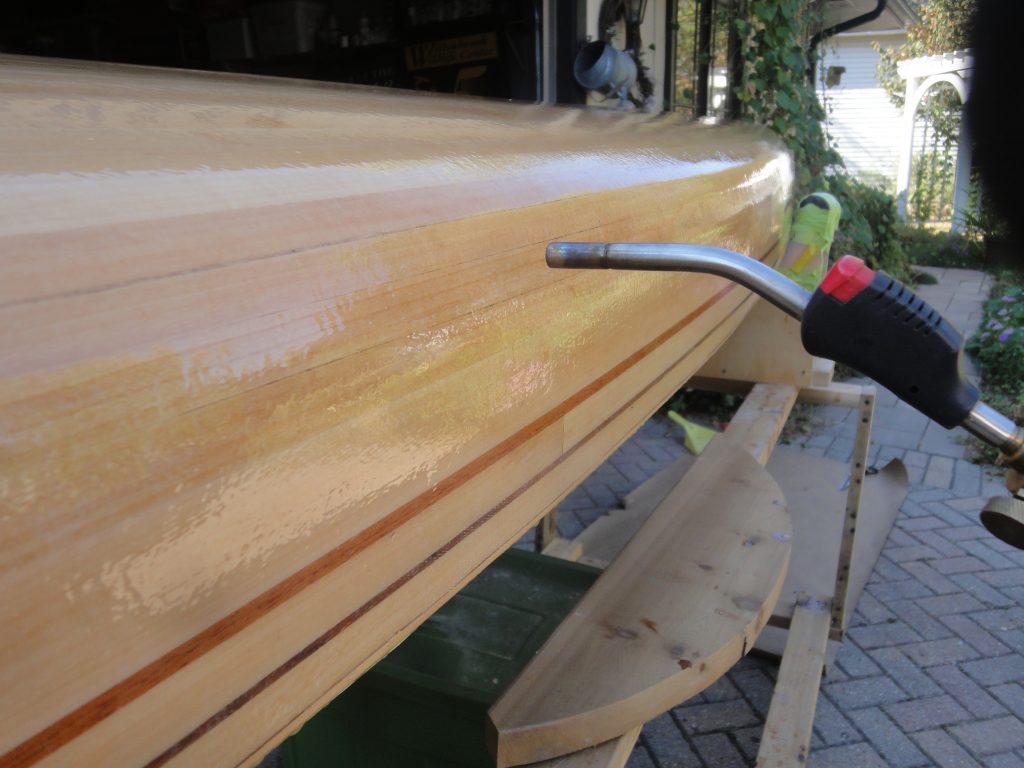
So I put a drip edge on the deck, flipped it over and epoxied the hull. When done I passed the torch quickly over the surface to pop any bubbles. Let’s hope the hull comes out as good.

Today was mostly about letting the epoxy dry so hopefully this weekend I can start the final sanding passes.

Sanding, Seaming and Filling

A few days off of work and weather that decided to cooperate. Not too hot to work, not too cold for epoxy application. Nice….

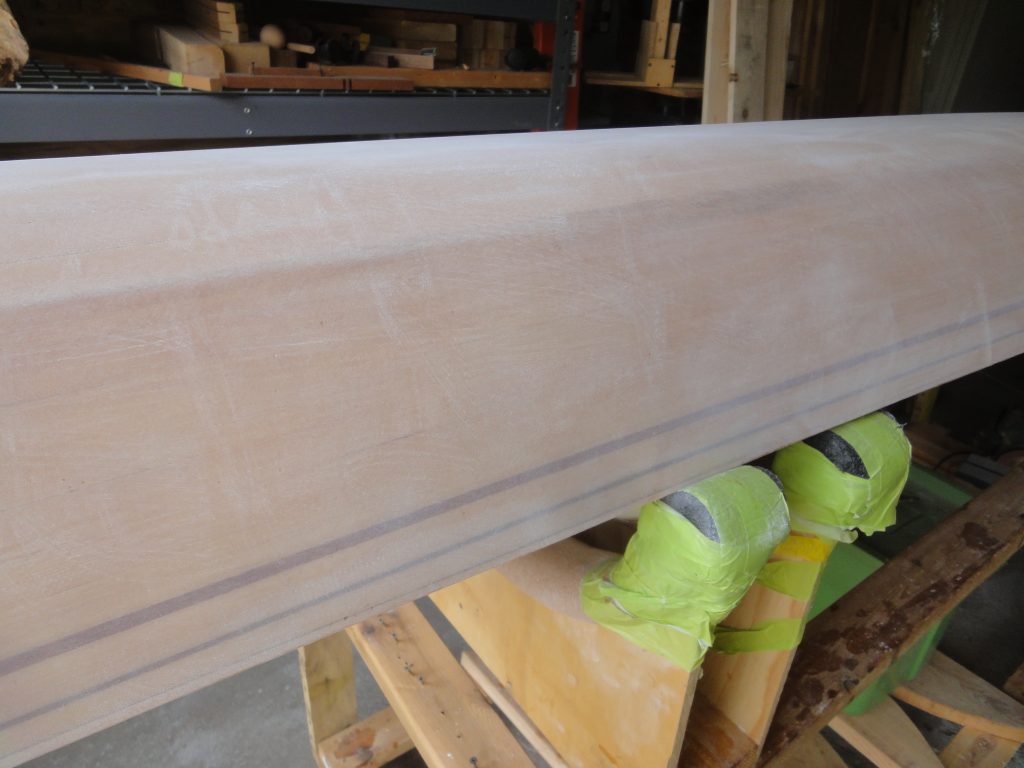
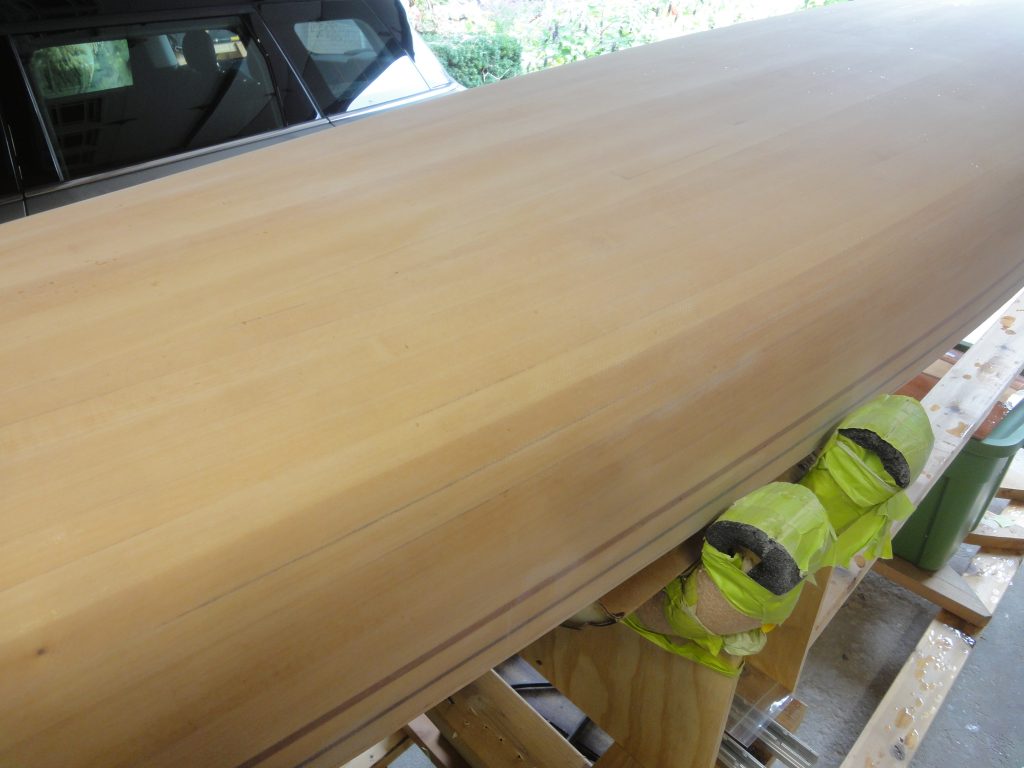
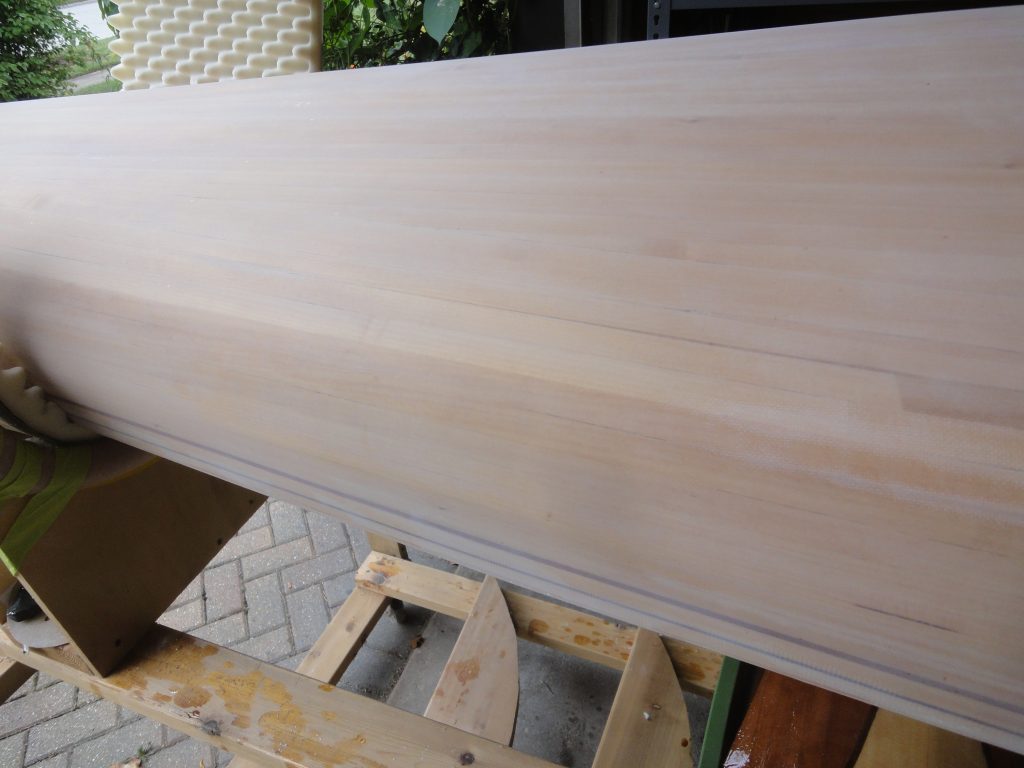
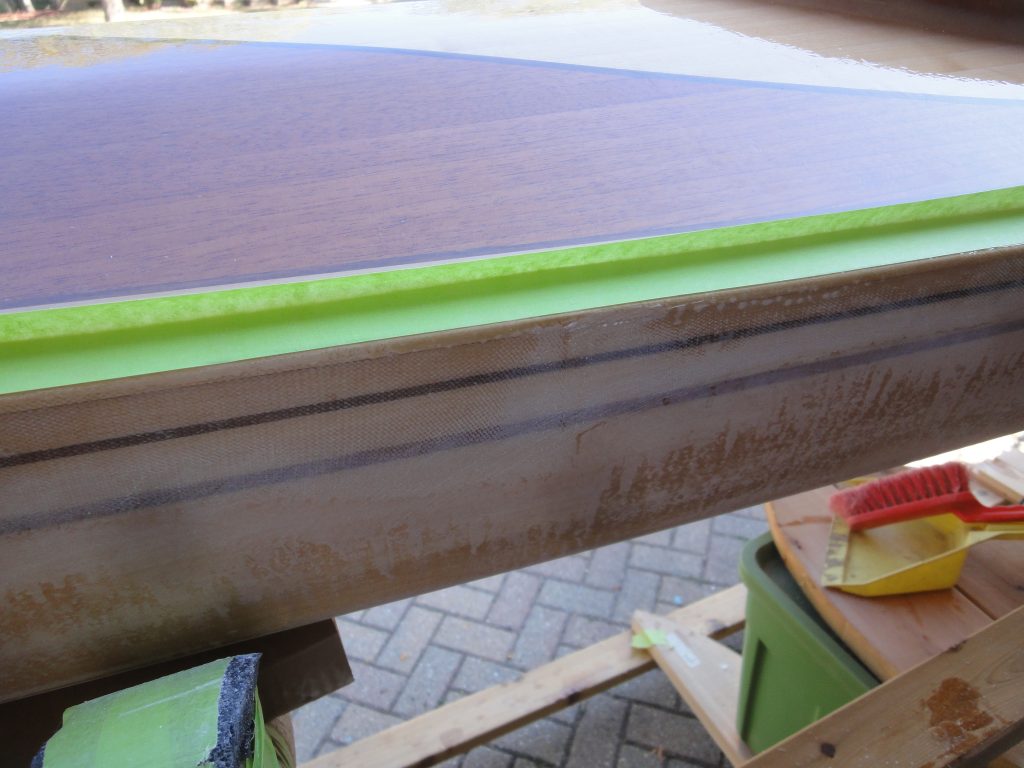
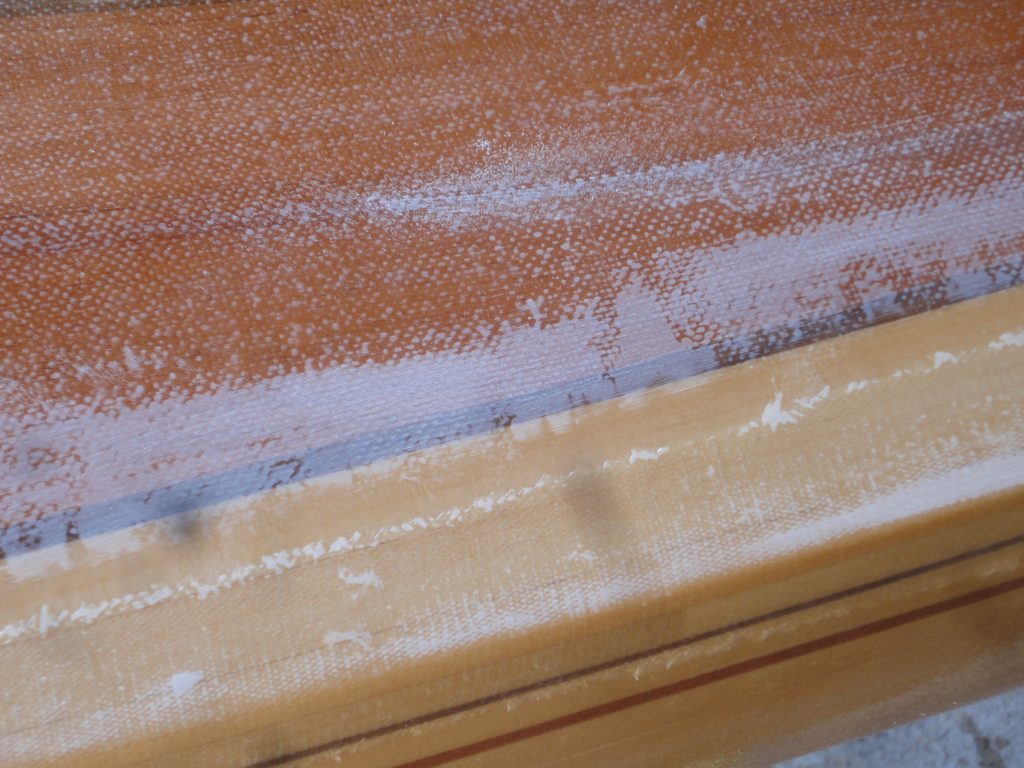
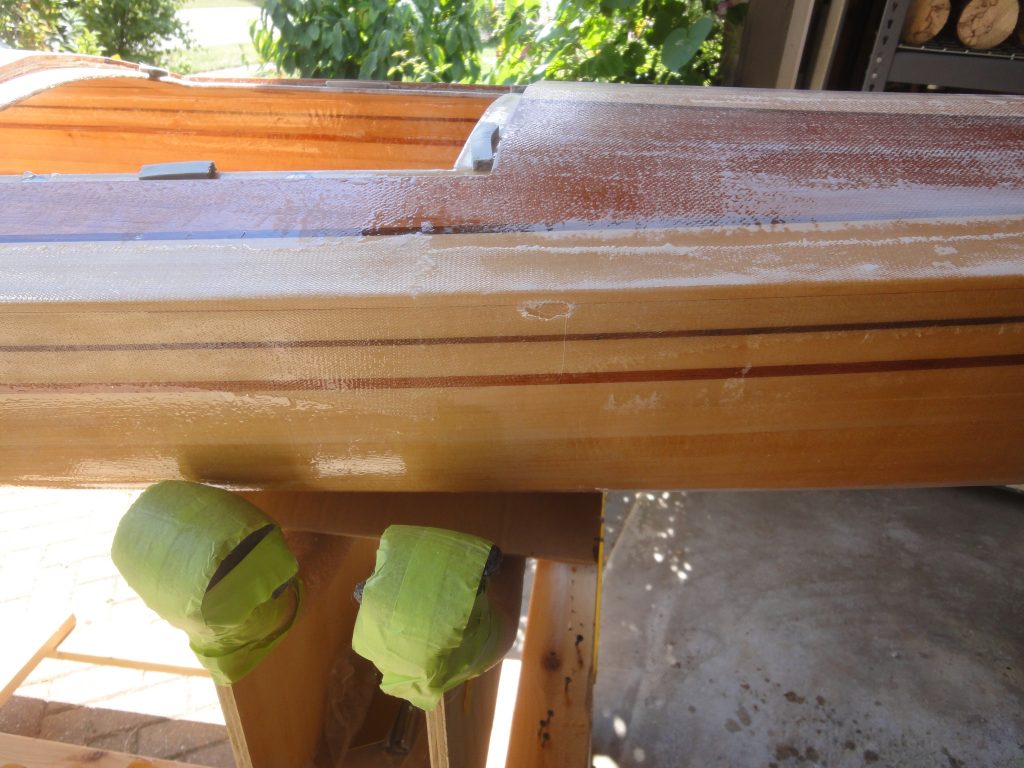
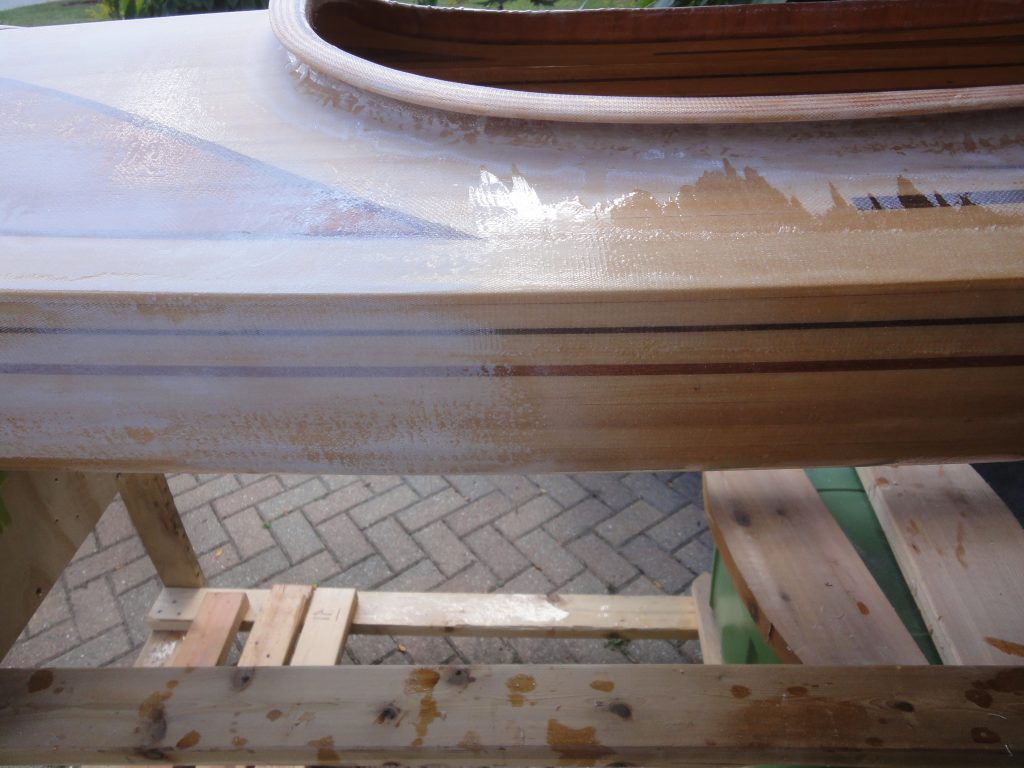
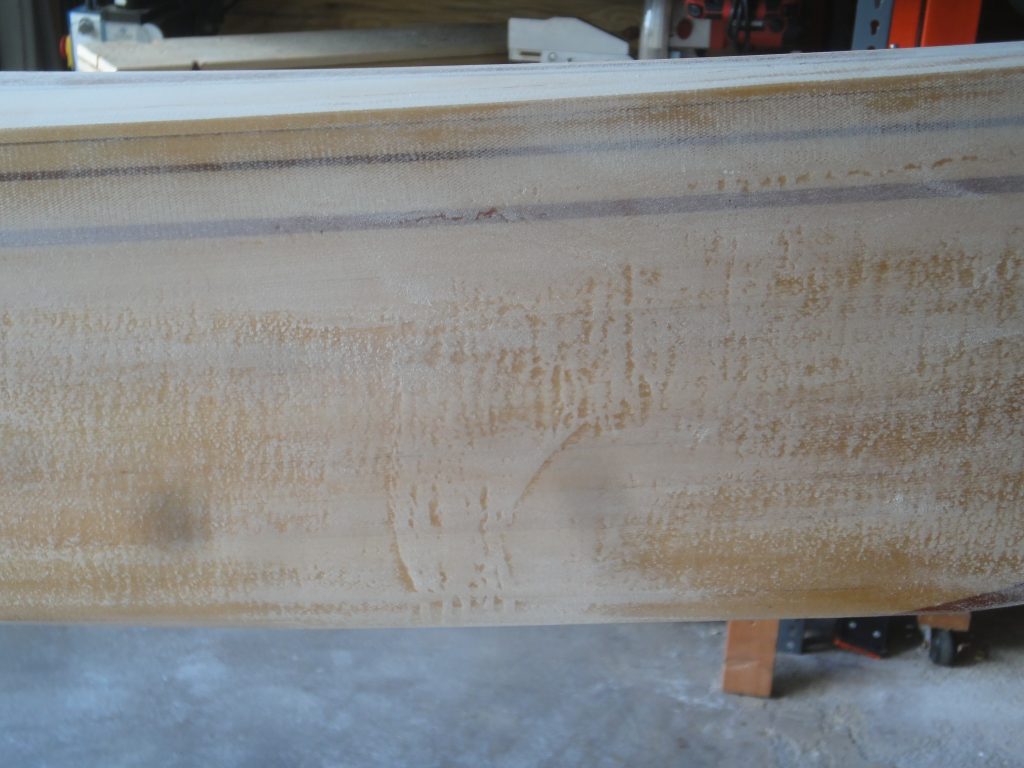
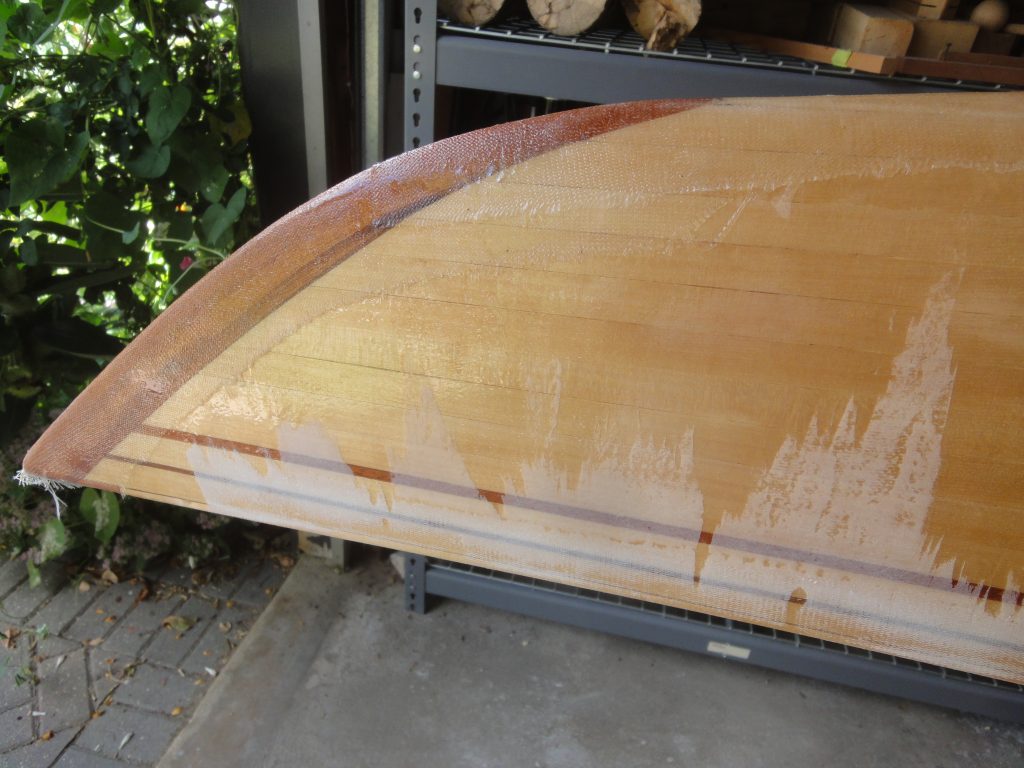
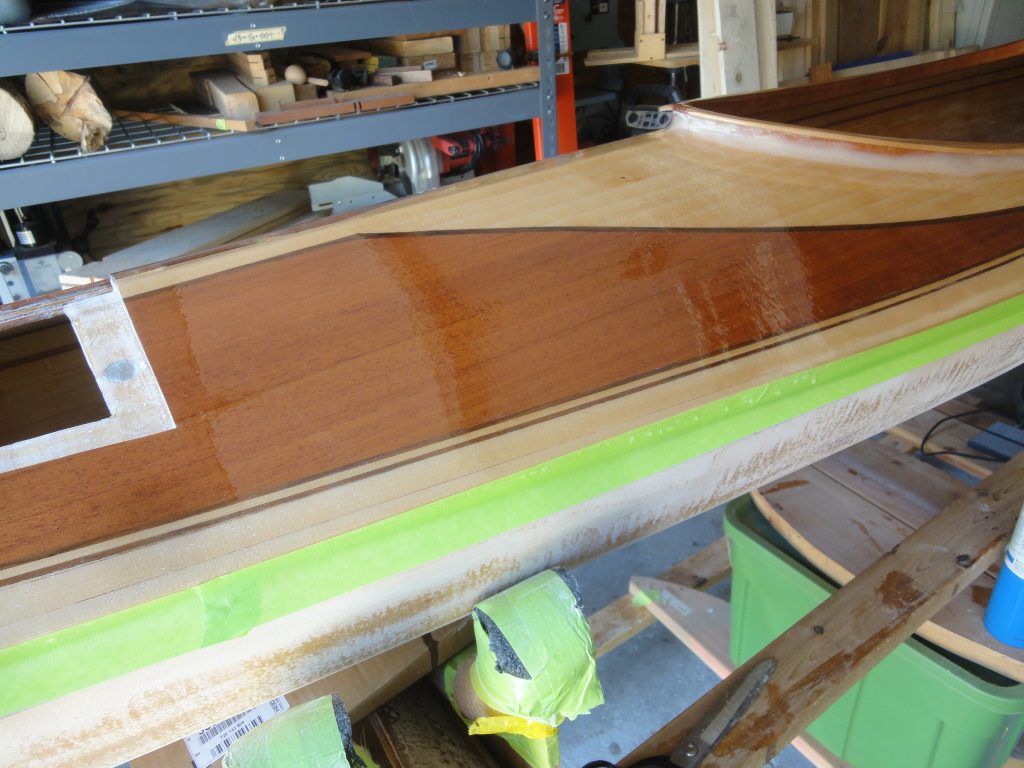
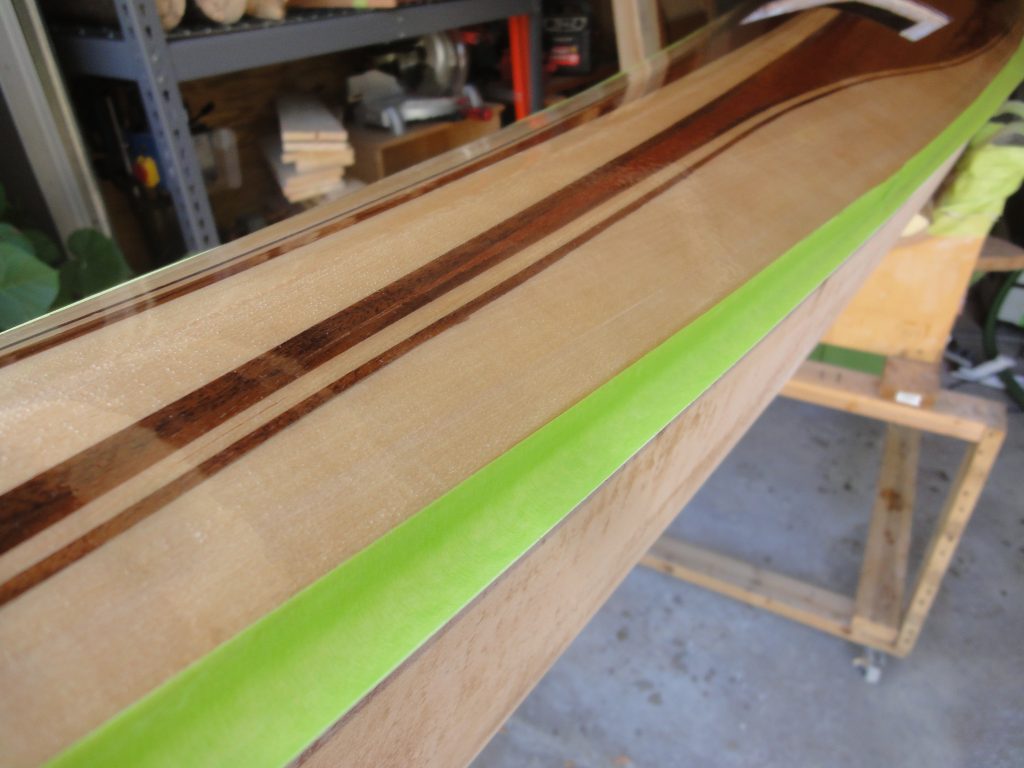
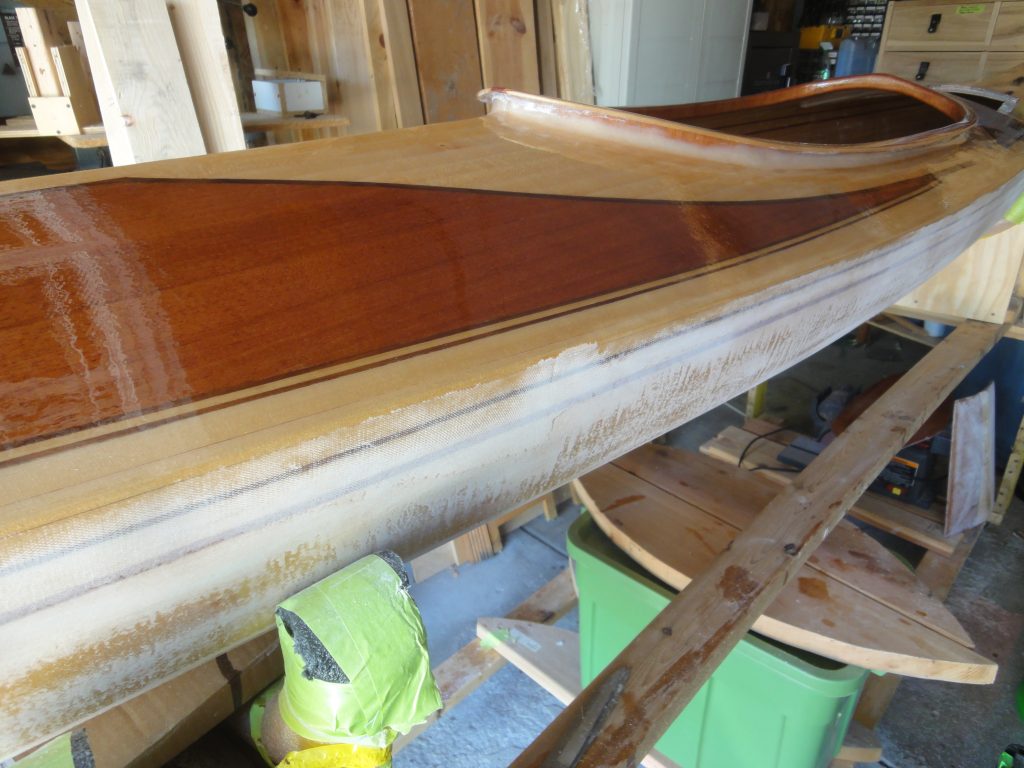
So I started with sanding down the outside seam and more or less got carried away and sanded the entire kayak. There were a few goals. One was to make it a smooth transition which you can see in the first picture it is not but by the third one (on the left half) it is. I also found a bubble in the seam which I cut out and then sanded smooth to blend it.

The goal was not a perfectly smooth finish, but to minimize any bumps as next will be an epoxy fill coat which should help to fill any cloth weave that is still there. In the last image you can see it isn’t smooth, but when running your hand over it the visible valleys are pretty much undetectable.

As I moved along the hull I found some larger drips. These were best taken down first before sanding to avoid creating divots in the surrounding area. The rasp worked well for this with any surrounding scratches eliminated when sanded.

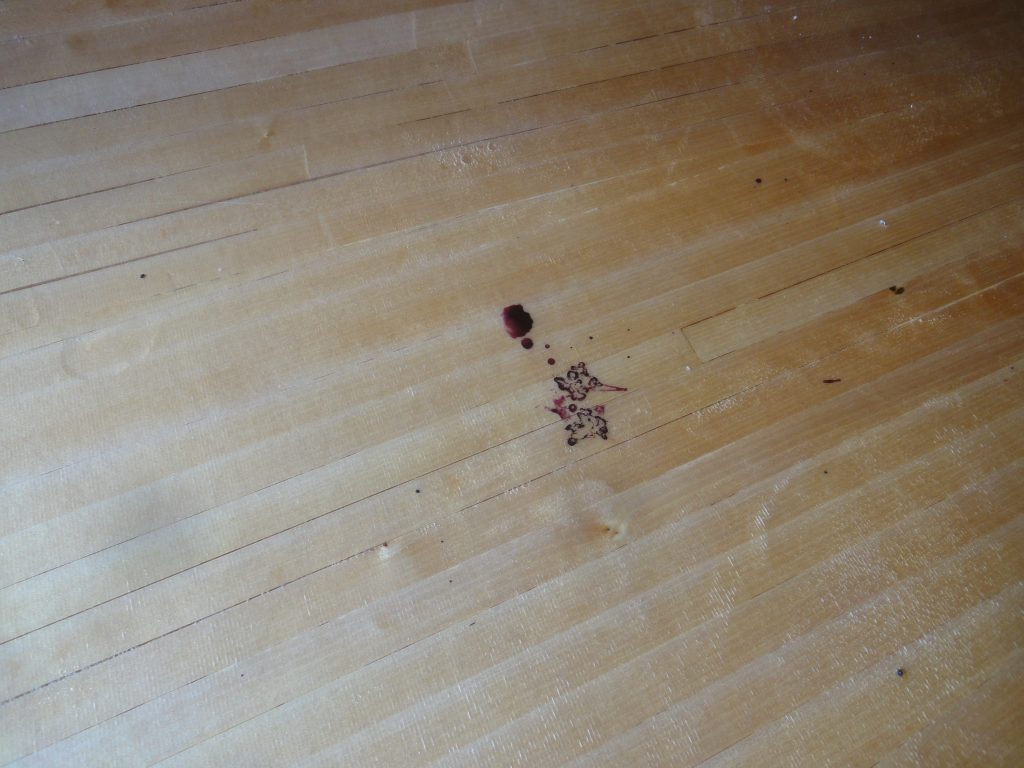
I had the kayak partially in the garage and partially out of the garage. At one point I looked in side and saw that a bird must have flown over and left a dropping filled with pokeweed berry residuals. It was already pretty well dried. Some cleaners and solvents did not remove it so I had to resort to sanding it out. My wife thought this was a good sign that nature was blessing the boat. If it floats and works, who am I to argue.

Once the sanding was done I took some of the spare bias strips I cut last time and applied them to the front and back. On the bow (front) I did a double layer over the part that would most likely contact an underwater hazard, rock, shoreline or in general impact something first. Standard process. Dab on epoxy to thoroughly wet it out and bias cut to conform to the curves. Squeegeed it afterwards.

Today I checked and the epoxy was hard and dried. Following the same methods I sanded down to a smooth transition, took off any drips, etc. When finished I went ahead and taped up a drip edge along the hull and then applied a brushed on epoxy coat to the deck. After applying I went over it with the propane torch to help smooth it and pop any bubbles. This was a thick coat but didn’t include any fillers. The goal here is to allow it to settle and hopefully be sufficient to fully enclose all of the cloth. No weave patterning through, etc. If so then I’ll be able to move onto final sanding. If not then it’ll need a light sanding and another fill coat.

Just before applying the epoxy I took measurements as required by Redfish as I’m intending to purchase a seat from them. They’re not cheap, but do come strongly recommended from many sources and quite frankly the cost to purchase vs cost/time to make is worth it to me. That might sound strange as I’ve got hundreds of hours into making a kayak… but I wanted to make a kayak, not so much a seat. Maybe down the road I might swap it out if I ever make one, but for now I think I will be quite happy with the foam one.

So the remaining to do list is:

  • End pours
  • Order seat & maybe skirt & maybe cover – in progress
  • Install bulkheads
  • Drill/fit carry handle/tie down holes
  • Outside final fill coat(s) – in progress
  • Outside final sanding(s)
  • Install line guides
  • Line guide fill and sanding
  • Varnish, varnish, varnish