
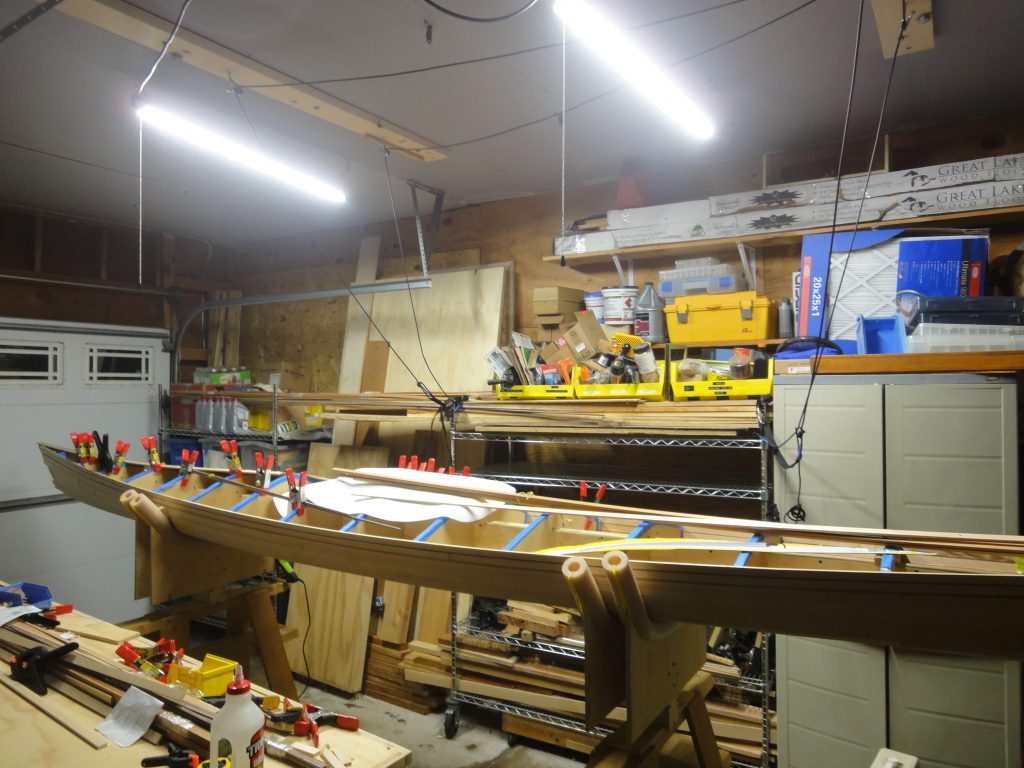
As summer is winding down, and dusk is creeping earlier and earlier, the opportunity to work in the evening or later on weekends is disappearing. A single bulb in the garage is not sufficient to work by so today I rectified that. A couple of 45″ LED shop lights from Menards and now evening work is once again possible. I’m not counting the lights or time or expense as these are something I would have eventually put in the garage anyway. They definitely provide more than sufficient light although I will probably switch the positioning of them as the right most one interferes with the pulley ropes.
Author: Gary
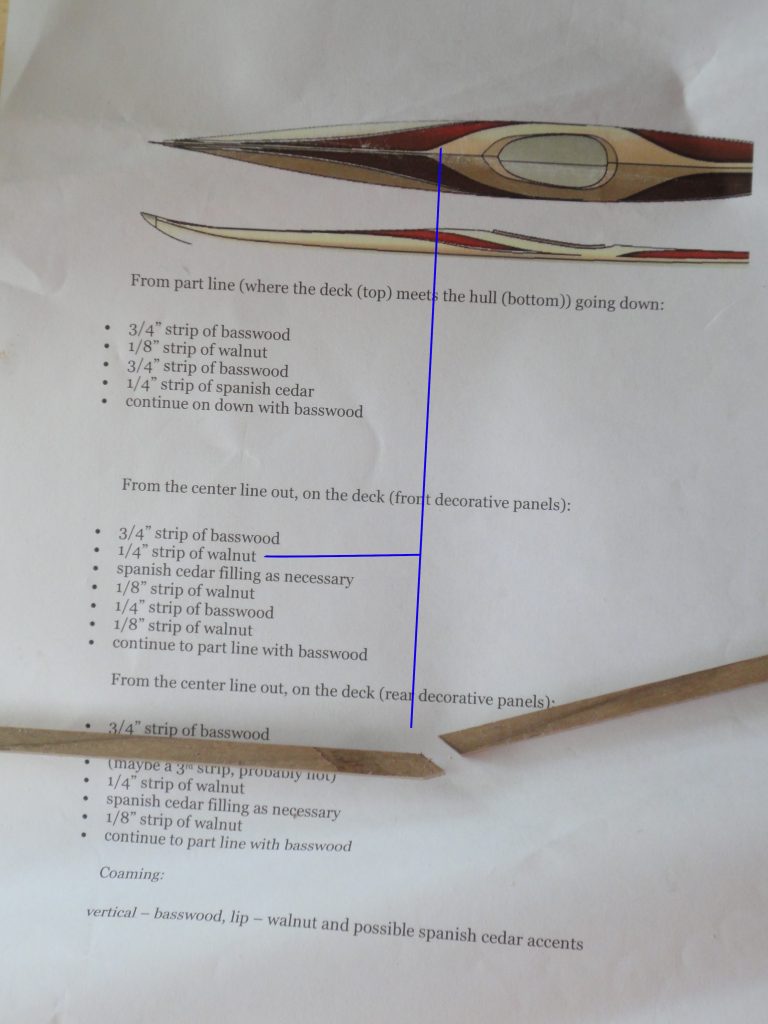
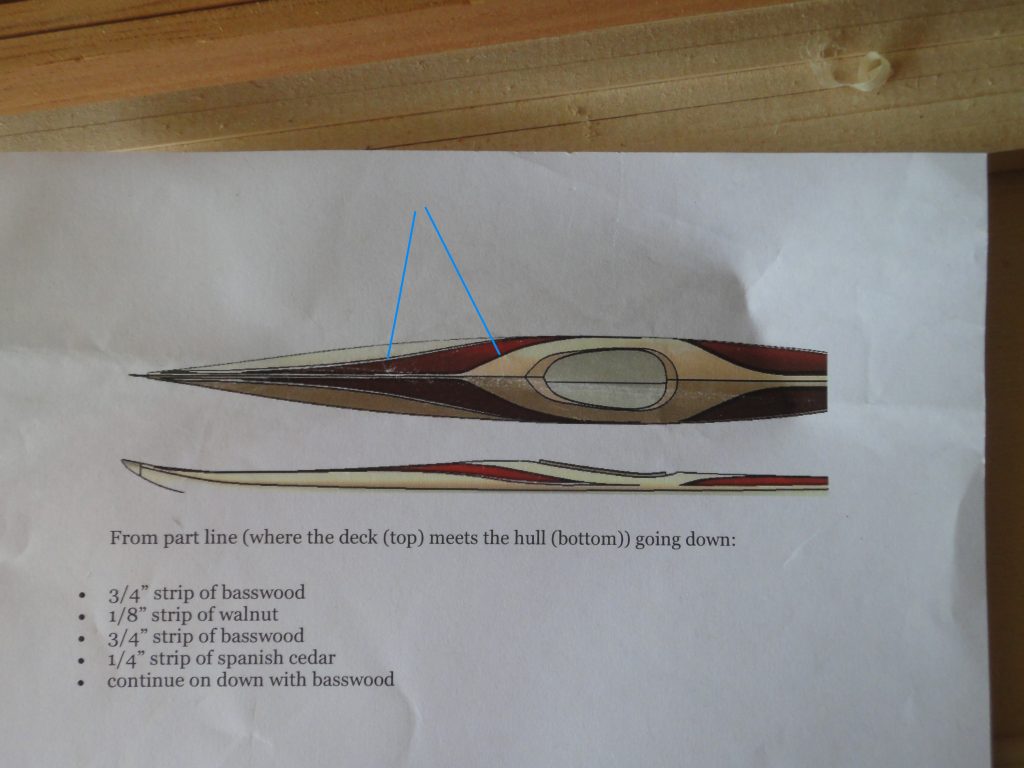
Front Decorative Panel Done
Spent about 6 hours (more or less) working on the front decorative panel on one side and pretty much have it completed. There was a lot of trimming and fitting and such but overall it really went pretty smoothly and the more you cut the more of a feel you get for it. A few times I would estimate the angle, cut, plane and then start the test fitting only to find it was dead on. Of course I had some that needed a bunch of fiddling around with too.
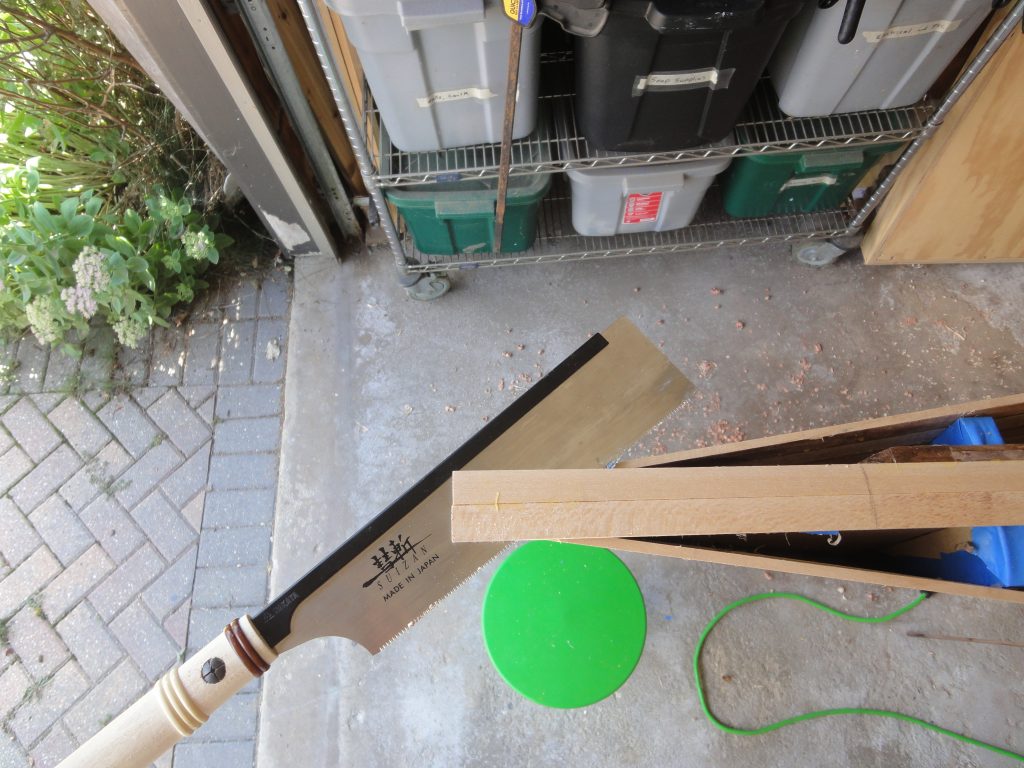
One BIG mistake I made yesterday and did not catch it until today. When I glued the center strips together I hot glued to the forms and glued to the stem piece. Uh… now how am I going to get the forms out? These should not have been glued to the stem piece yet so the deck could be removed when completed. Thankfully a quick touch with the saw fixed this.
Overall the process was pretty much the same. Cut oversized, trim one end and plane until it fits, then get the other end to fit and continue to plane down until both ends will drop right in. In this area I can’t really use the Robo-bevel so while I’m working on the strip I check the fit compared to the forms and the previous strip and add a bevel if necessary with the block plane.


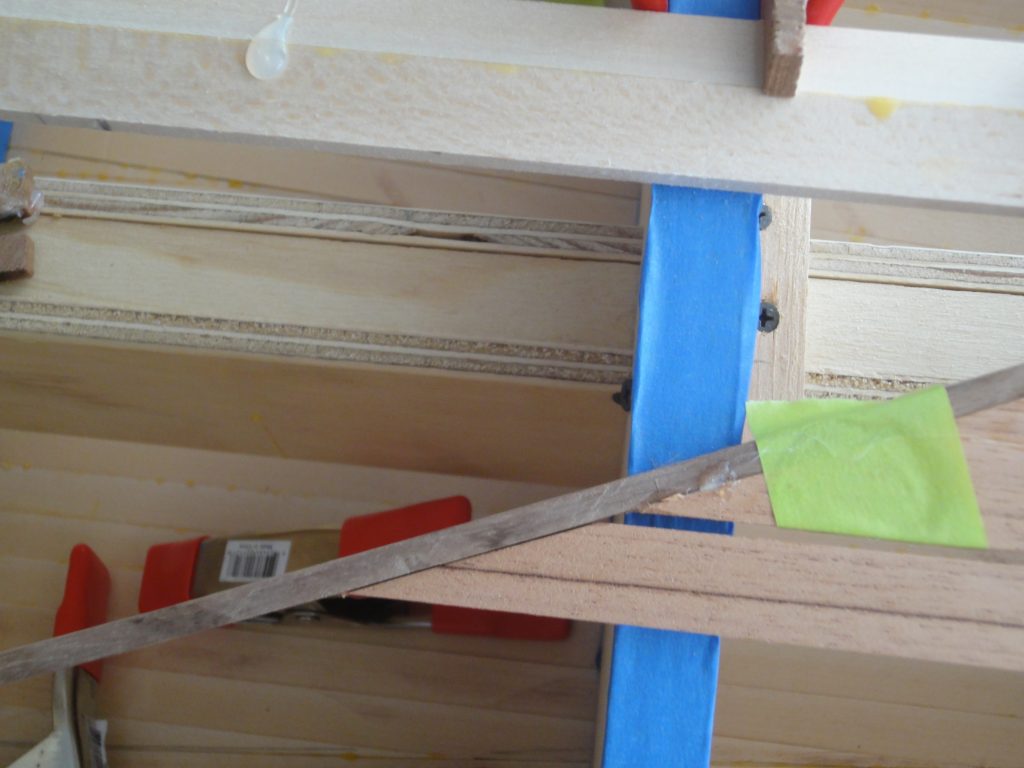
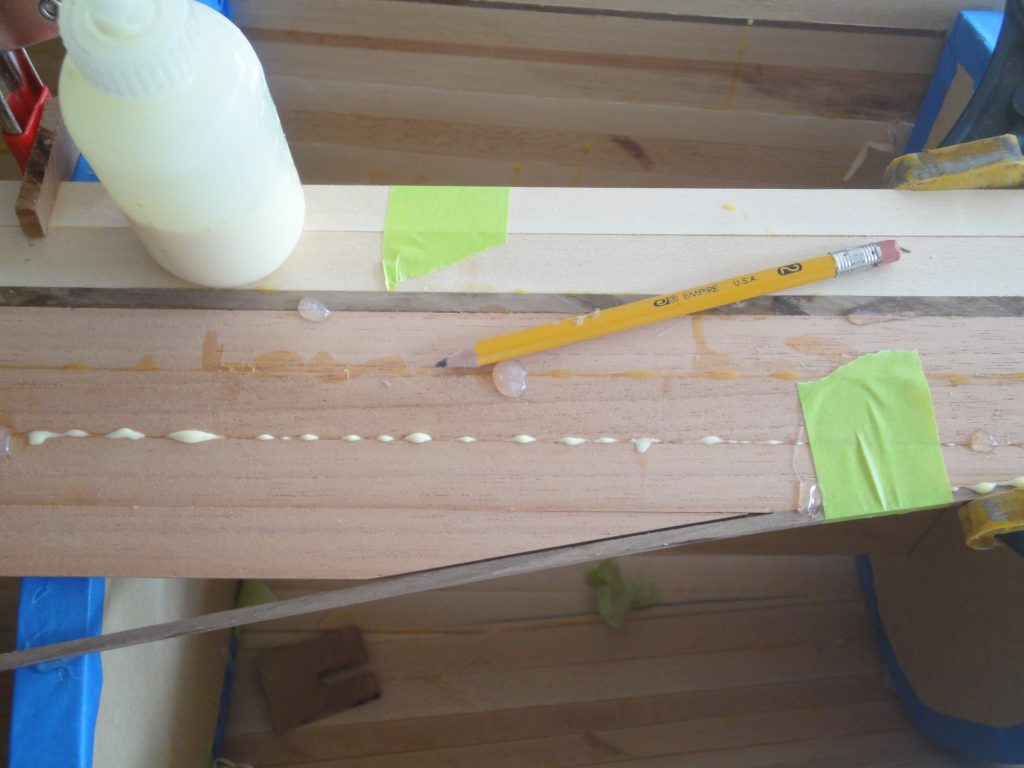
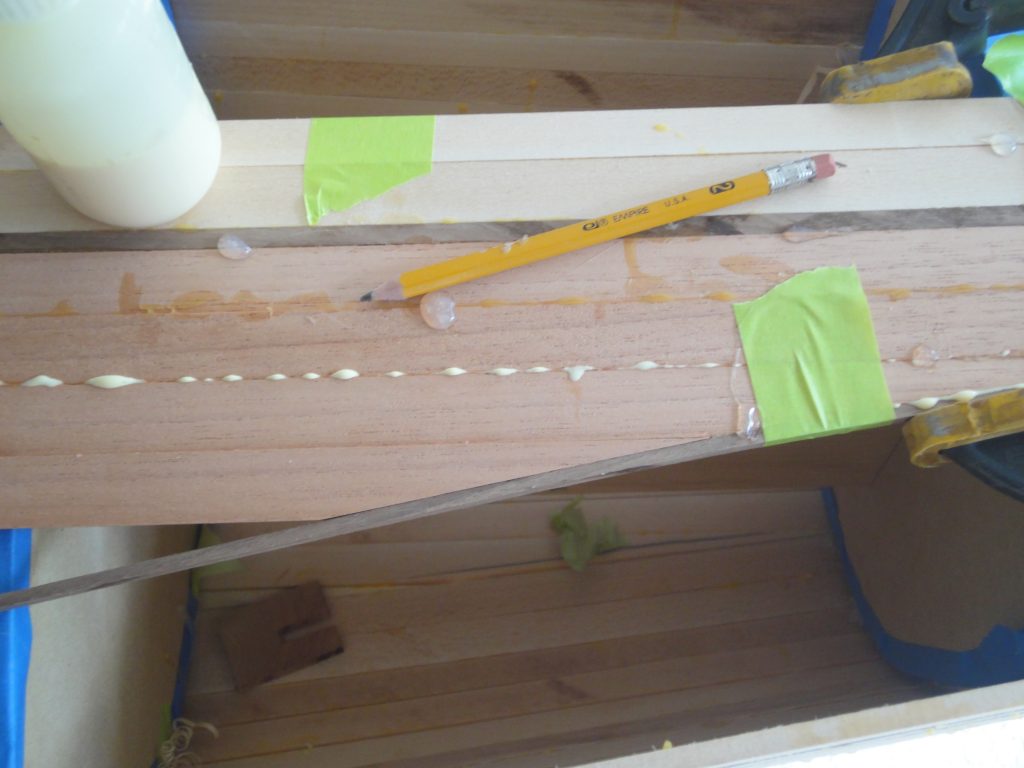
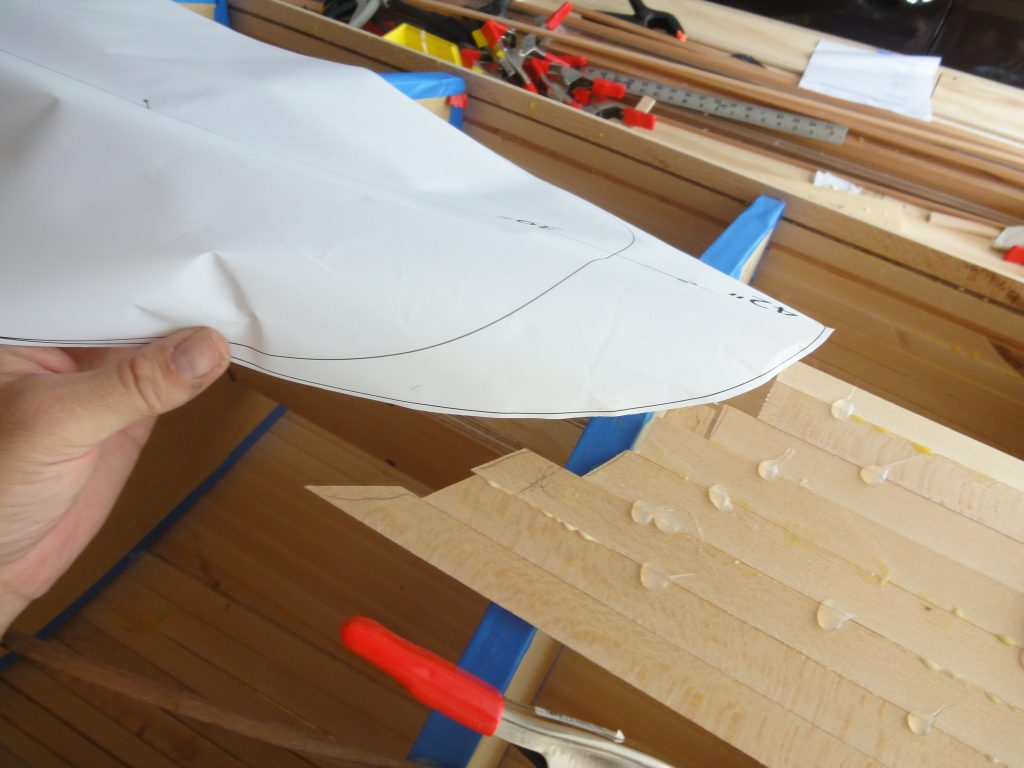
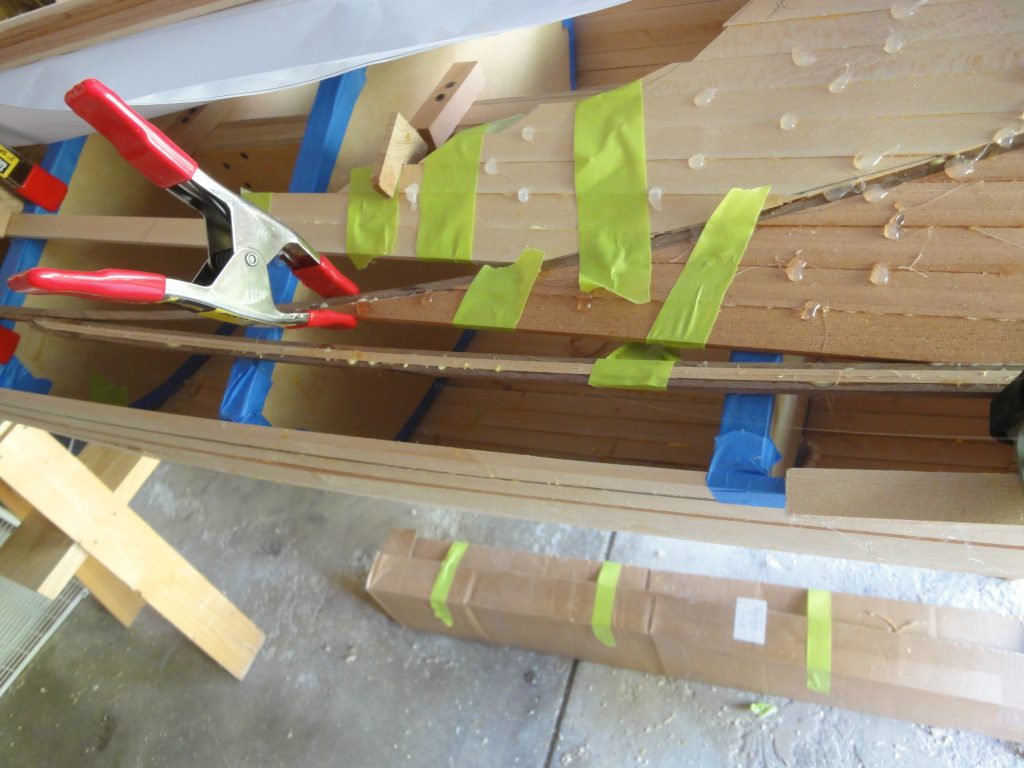
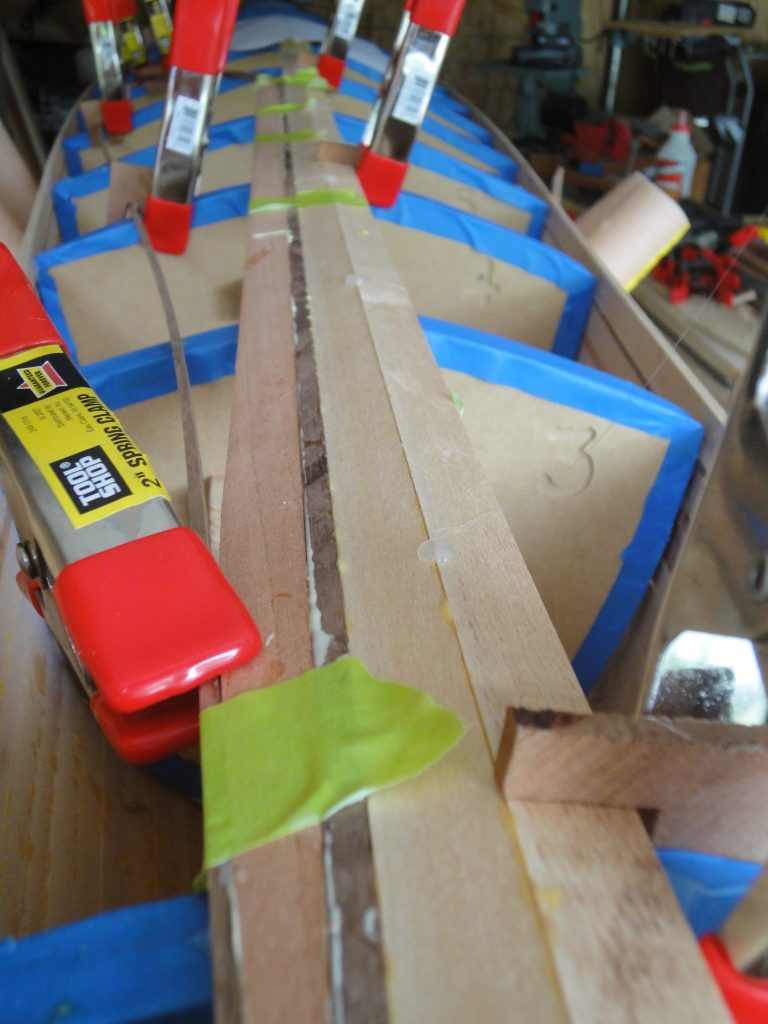
While filling in the Spanish cedar I used the tape clamps and a bunch of regular clamps to hold the correct position and the dotted on some hot glue stitches to hold it in place. Once the hot glue dried I could usually remove the clamps and tape and go on to the next strip. Some, though, were more stubborn than others and even though they were all straight and not being forced into a curve, they didn’t always fit just so. In these cases I’d leave the tape and/or clamps in place longer. Instead of standing around watching glue dry I switched to the other side of the detail line and started filling in the basswood between the detail and the cockpit area. The template gives me an idea if where it will be so I just need to ensure the sticks extend a bit into this area and I can then cut them off neatly later.


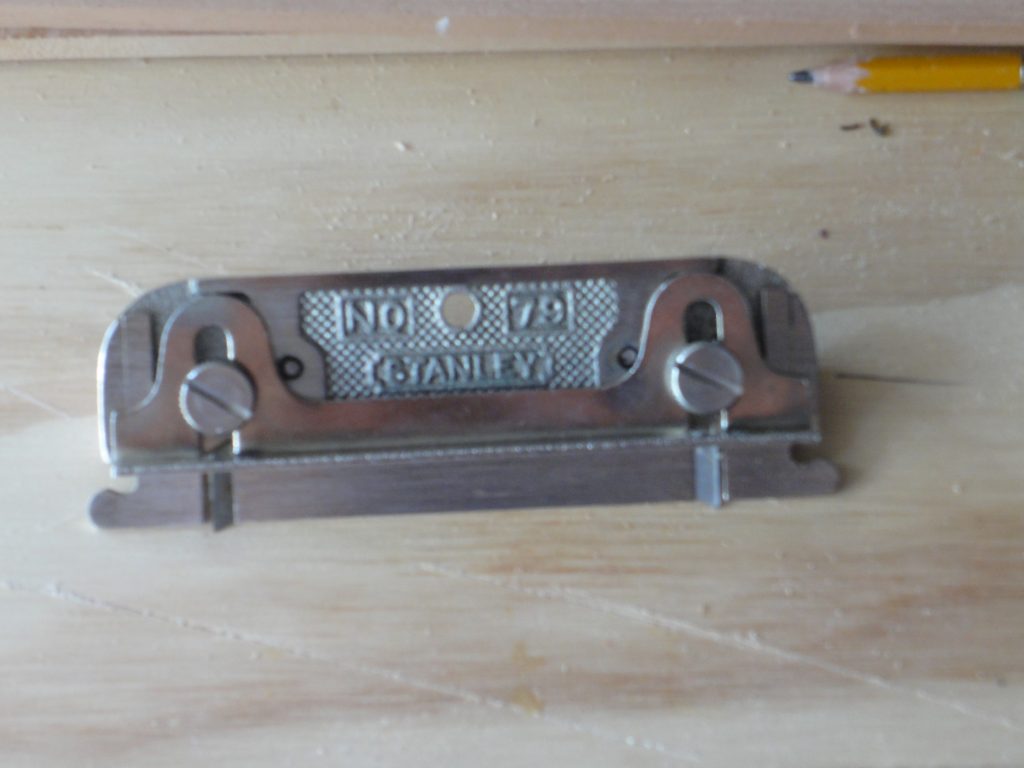
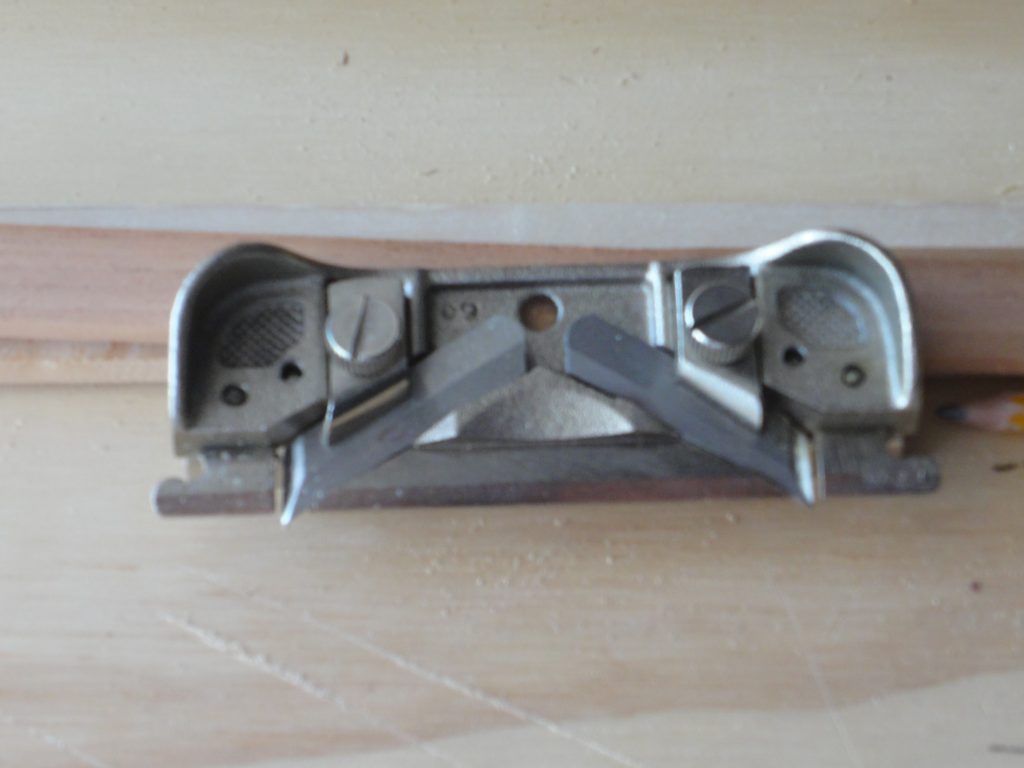
I brought a new (to me) tool into the mix. It’s a old Stanley 79 plane. I got it off eBay in near mint condition. It came in the original box which smelled horribly like mildew but when I opened it the plane was in excellent condition and even had the fence which is missing from many sold on there. The blades were even still holding a wicked sharp edge. It works by extending one blade or the other and then adjusting the fence so you can work in either direction with it.
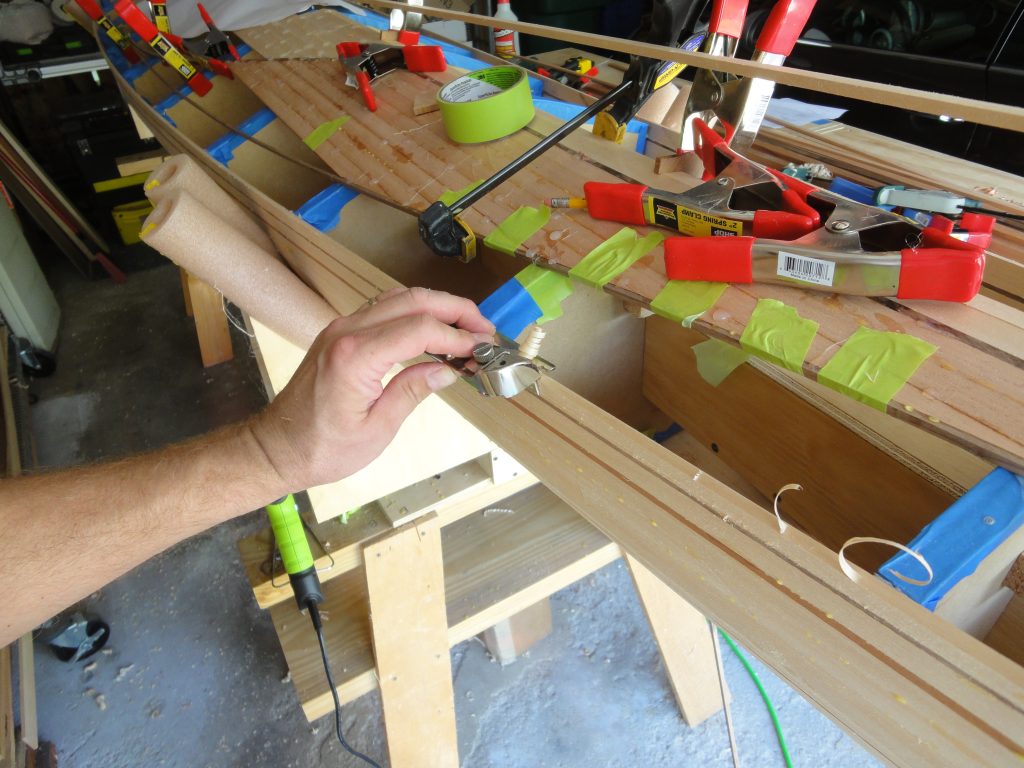
For the joint between the hull and the deck, I need to have the top of the hull strip match the angle of the strips coming down from the deck… or split the different and bevel both to an angle about half way between the two. I took the first option as with this plane it’s pretty straight forward. I held the plane at the same angle as the form and then worked towards the next form until I was getting a full width shaving AND and lowered the hull strip such that a strip coming off the deck would sit right against the top. After trimming this back I then covered the entire top edge with tape to avoid inadvertently gluing the deck and hull together.
As I was waiting for one area or another to dry I switched between the outer detail striping (1/8″ walnut, 1/4″ basswood, 1/8″ walnut), the Spanish cedar field and the surrounding basswood leading to the cockpit. I also ran one strip across the top of the hull but just hot glued it for now except at the point of the bow where it is glued to the center strips.
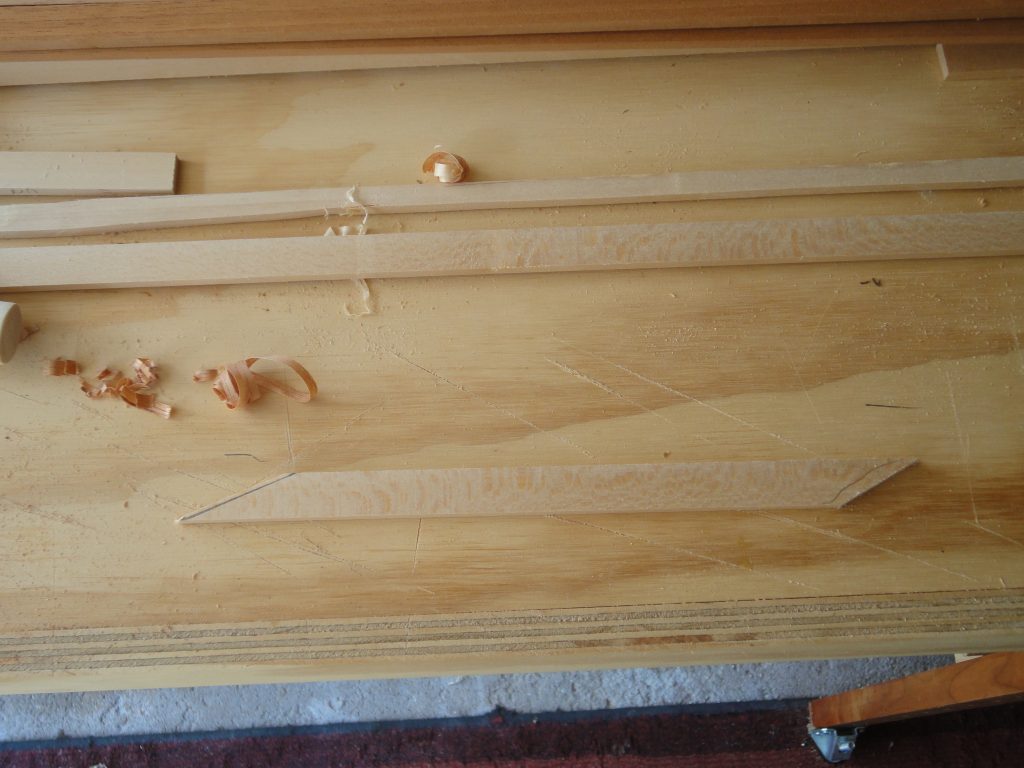
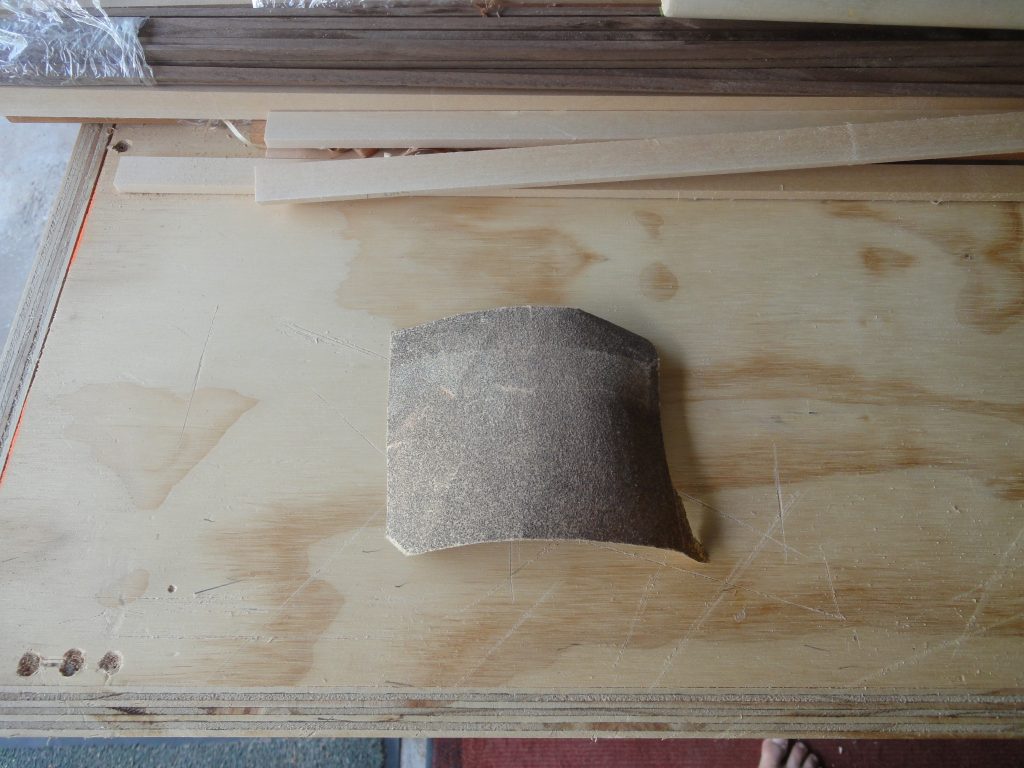
Eventually I got to the point where a single strip would finish the field. It took a lot of adjusting and planing and sanding (let’s add 60 grit sand paper to the supplies list, for now I just used a scrap I had on hand) before I had the exact right shape which nicely press fit into place.
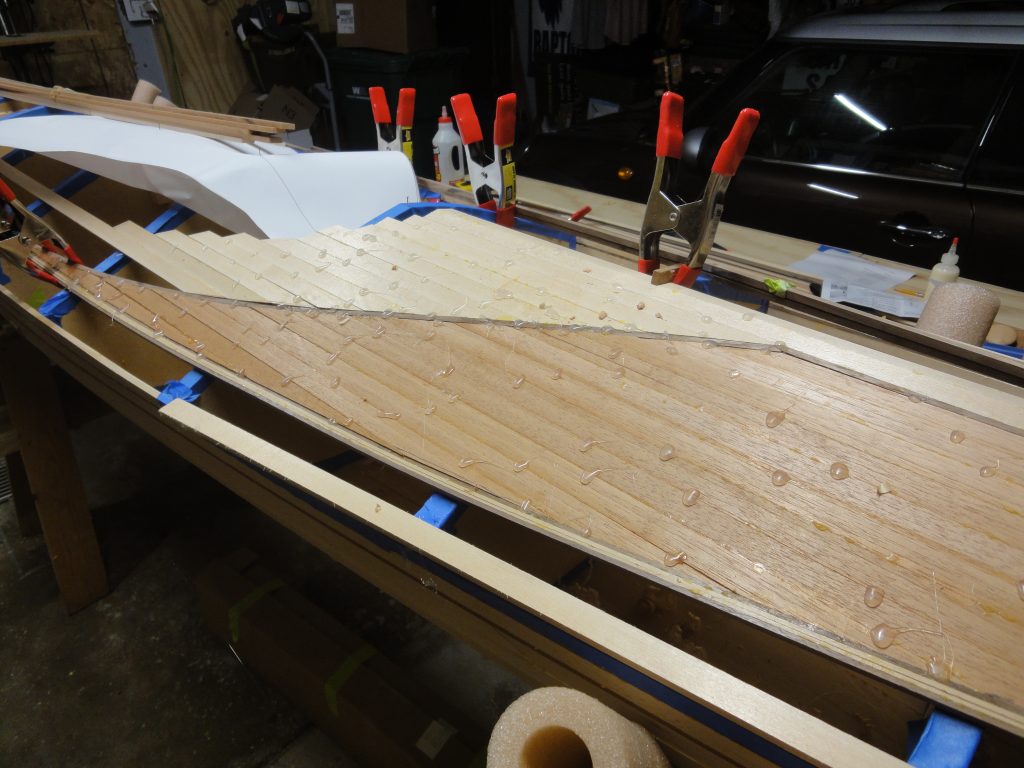
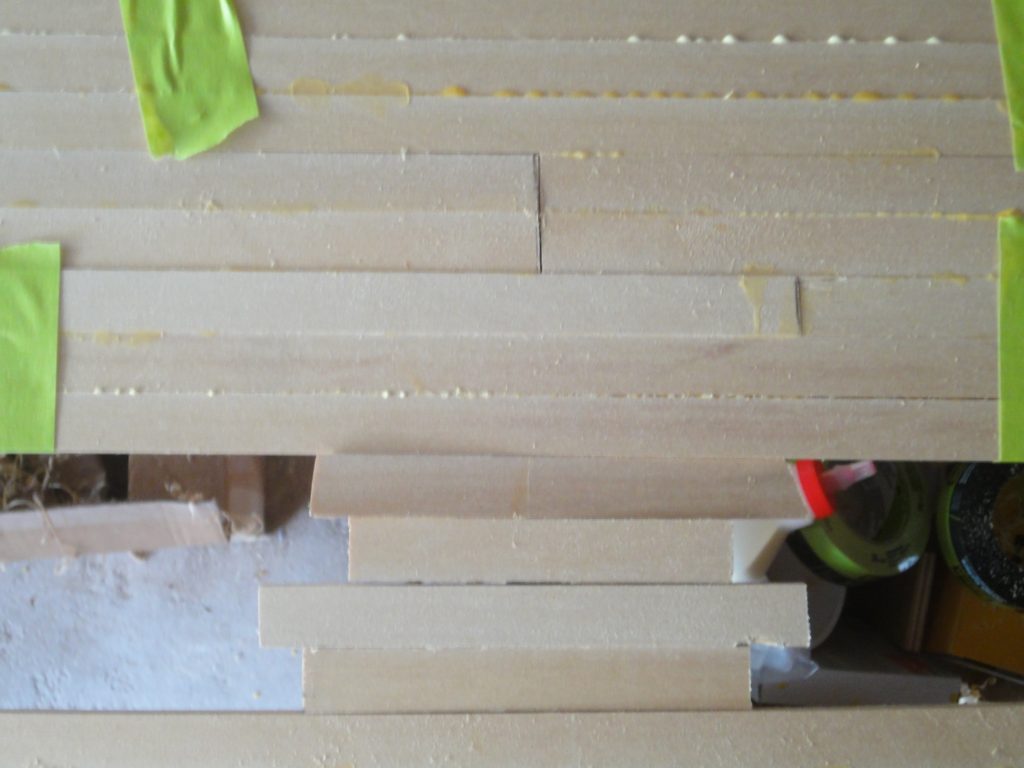
With that last strip the field on the front is complete. Now all that is left is to add in more basswood strips. But, that creates two issues. First I only have a few strips left so I need to haul out the table saw and cut up that last board… or at least a good part of it. Looks like it was needed despite the calculations I found online saying that I wouldn’t need it. Second do I run straight strips which is easier although a bit more of a challenge in cutting the ends to match the detail curves? Or do I run strips to follow the curve which I think may look better but will be harder to keep tight joints on? This picture and the short video that follows shows the completed section and the area where the basswood strips still need to go.

Time to Flip
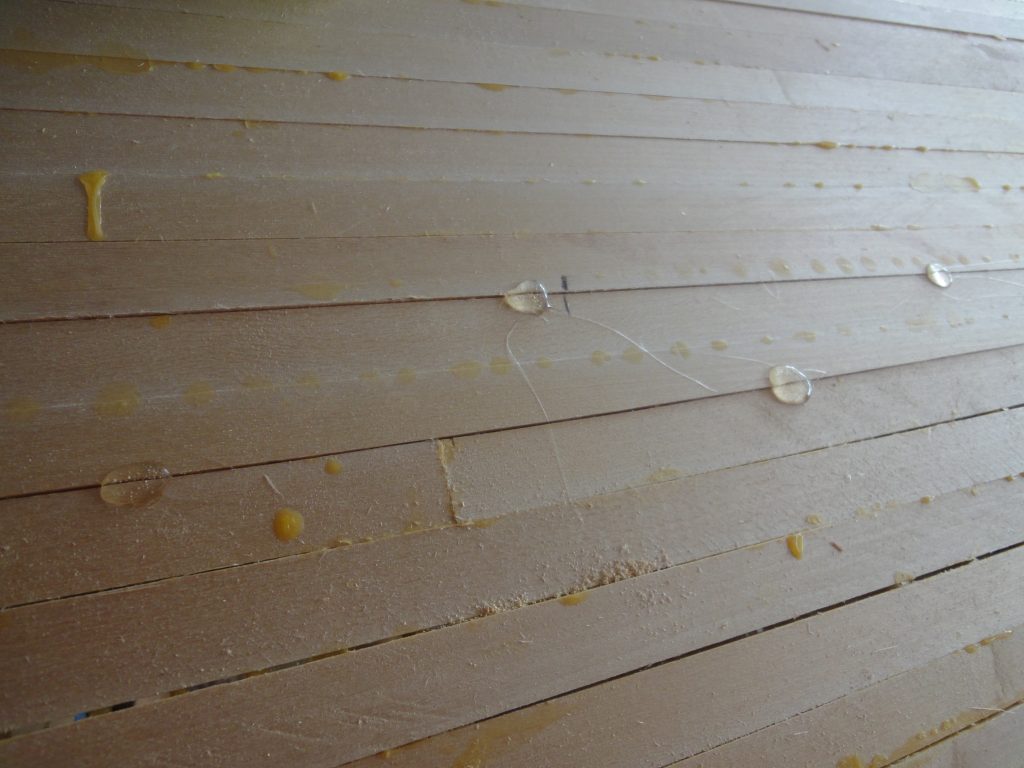
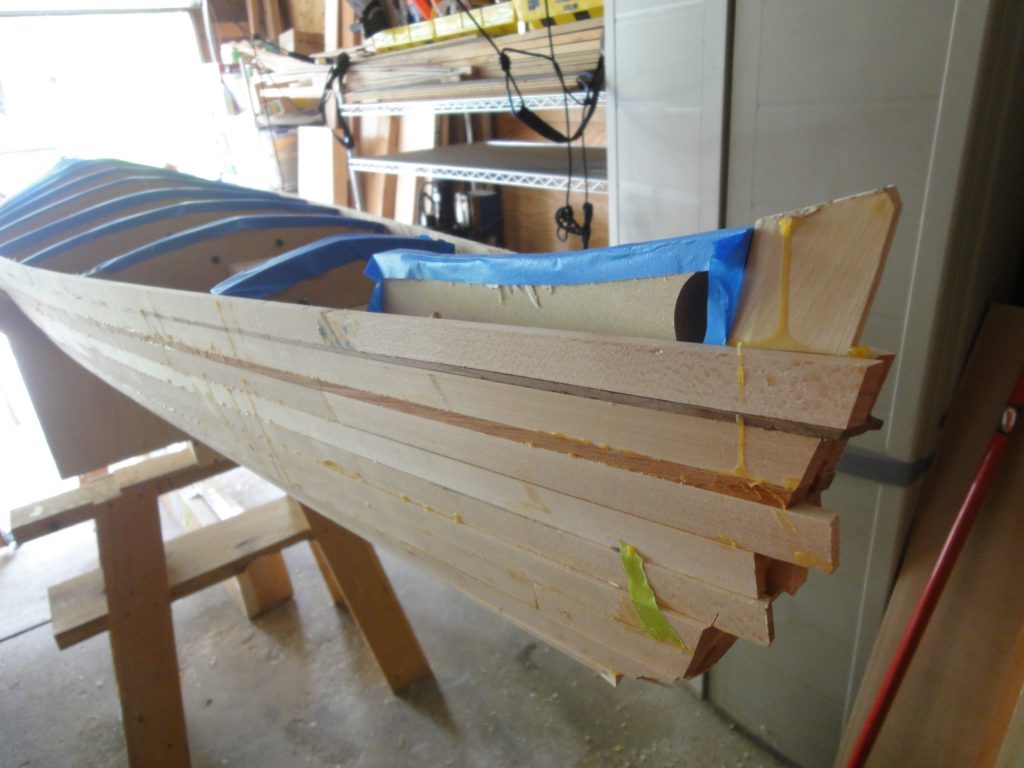
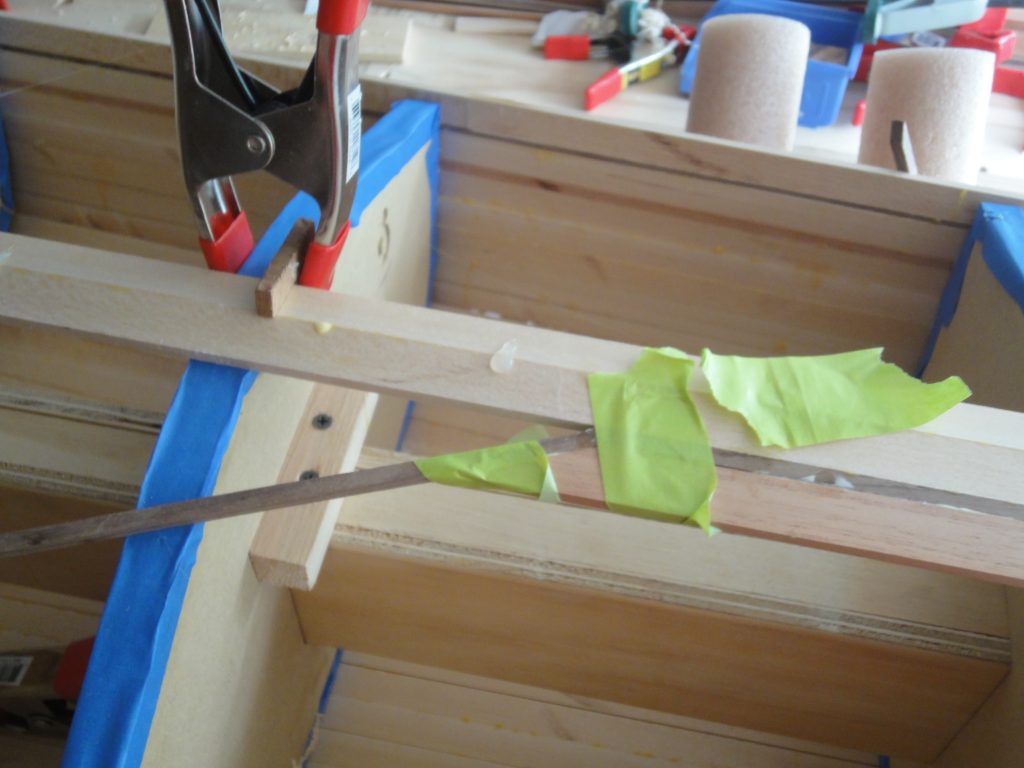
First I needed to finish the hull before I could flip the boat. As I left the kayak yesterday, the final strips were glued together and I was leaving them to dry overnight. I started by laying them over the opening and tracing from underneath. This gave me an approximate cut line which I then planed down to. Once the final shape was complete it would press fit into the opening. I would not be able to use tape to hold it so a tight fit was a requirement. And since I couldn’t use tape to pull it tight I used hot glue dots instead as a way to anchor the piece in place. They setup quickly and while they are not structural or able to resist much stress, they will help to keep the board in place while the Titebond glue dries.
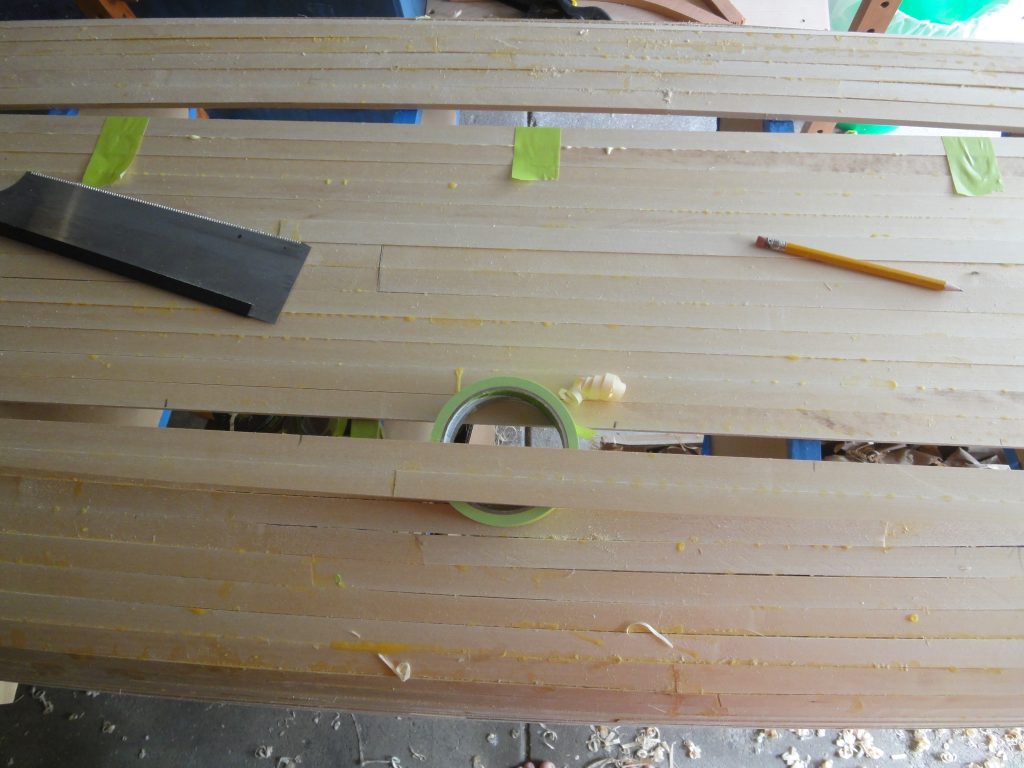
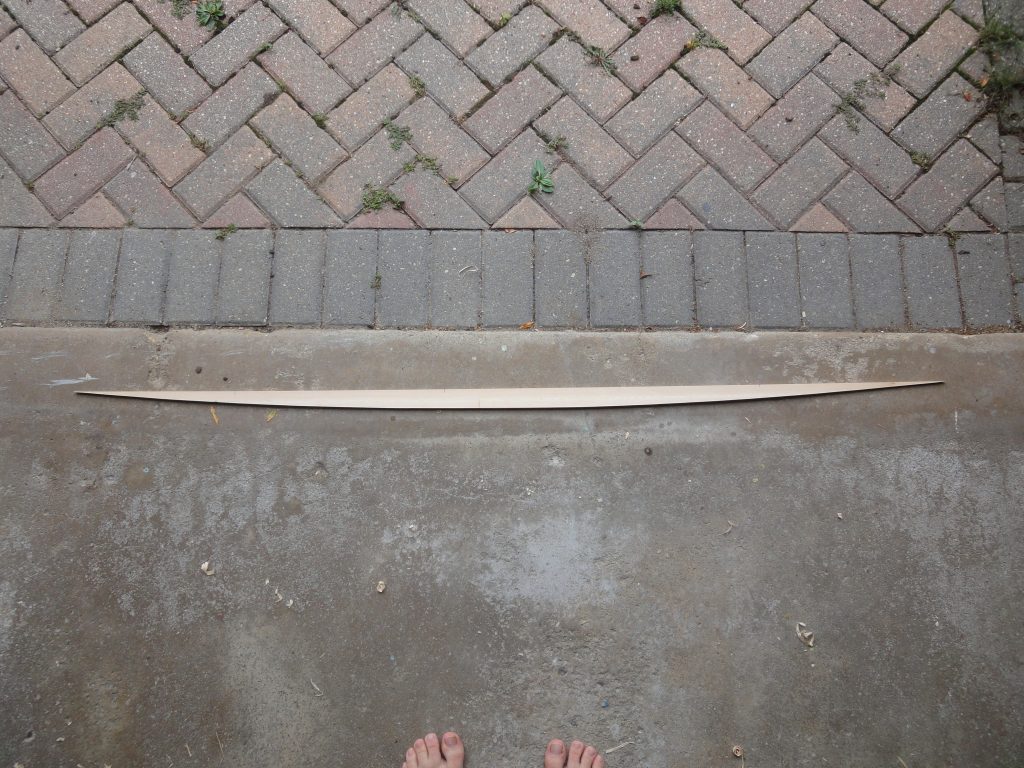
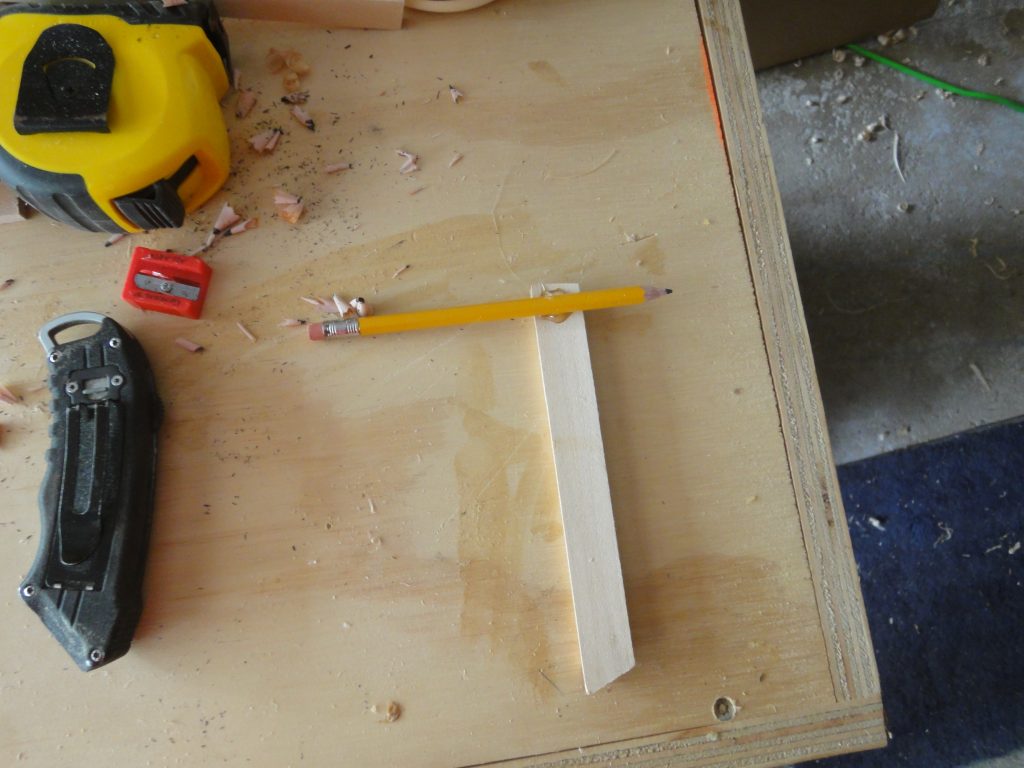
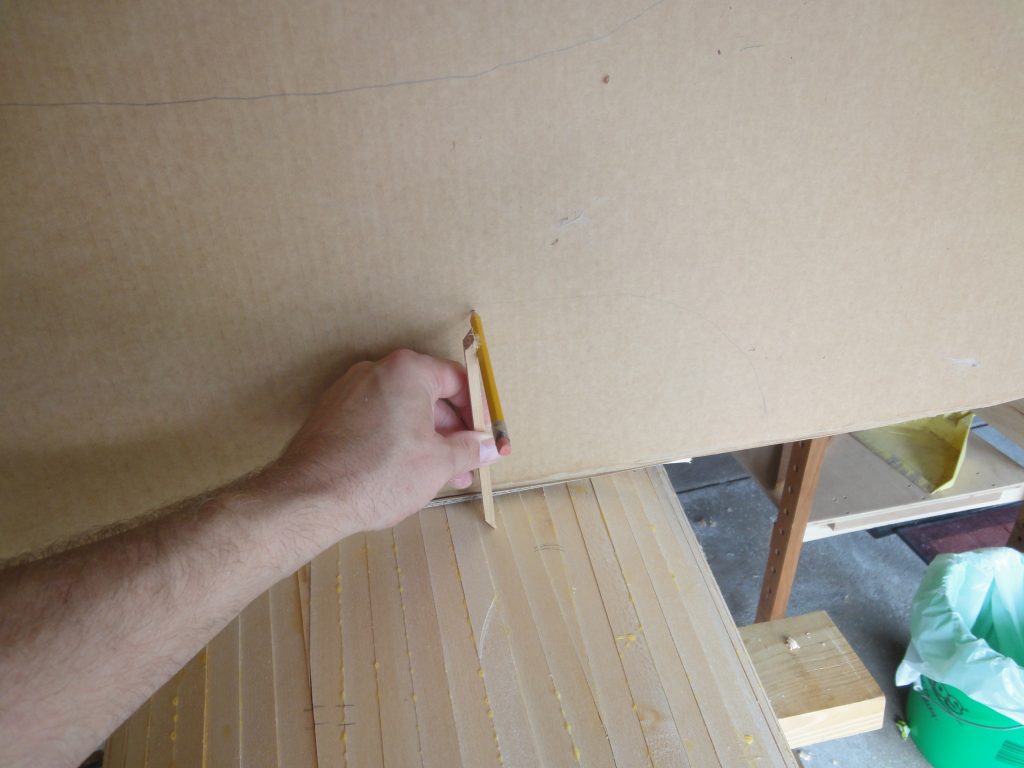
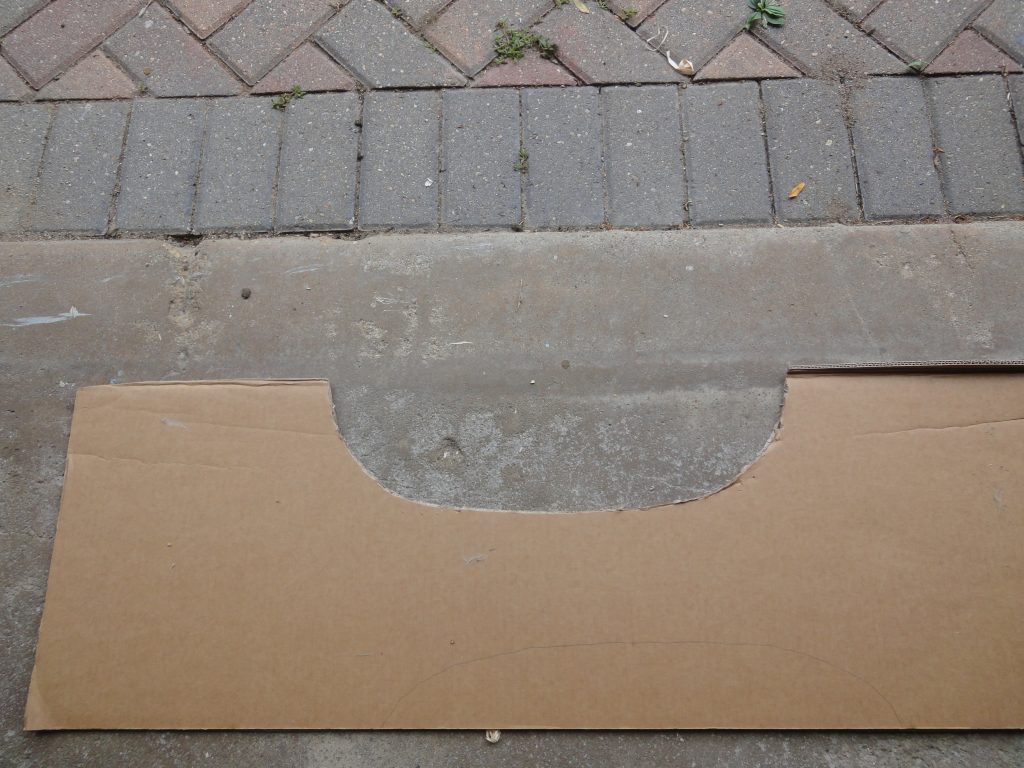
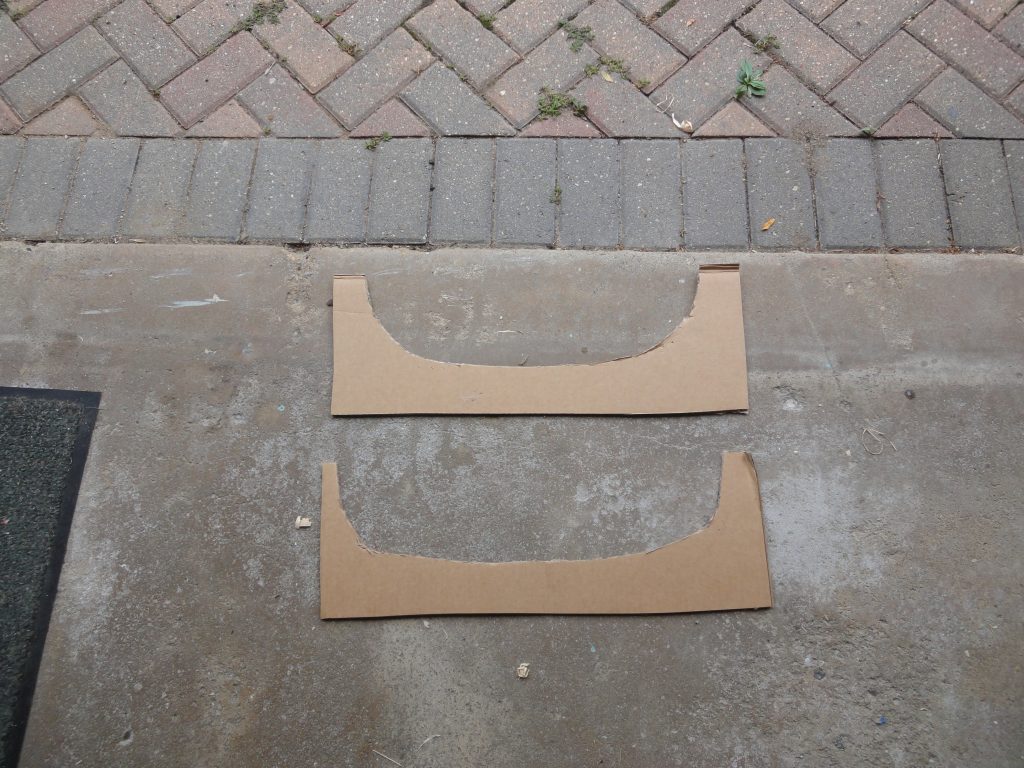
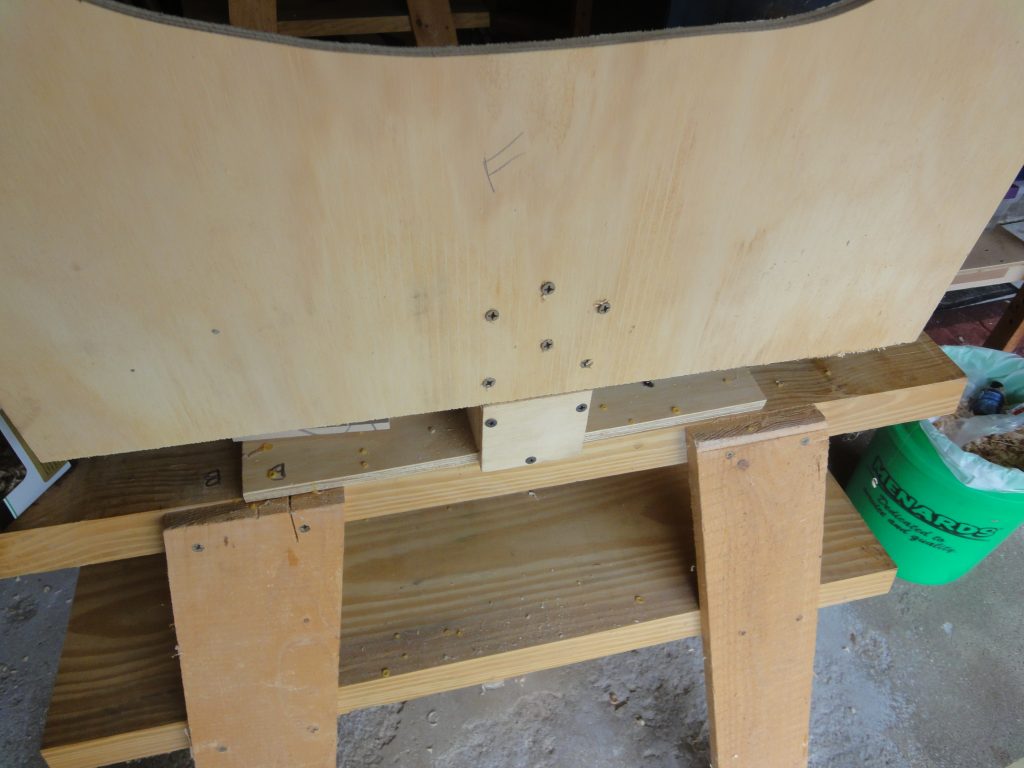
With these final boards the hull is complete. Well, at least from the stripping perspective. You may also notice in the last image above a few gaps. These were the last of the curved boards and the gaps that kept opening up on me is why I switched to straight boards. I’ll use some of the glue and wood flour (saw dust) that I saved earlier on to fill these when I get to the finish work on the hull. Before removing the kayak from the support, I glued a pencil to a scrap of wood and then used that to trace the outline of the hull to a couple of pieces of cardboard. These were then traced onto plywood and cut out at the band saw. After cutting I test and the are fairly close to matching the curve of the kayak… which for my purposes is more than sufficient.


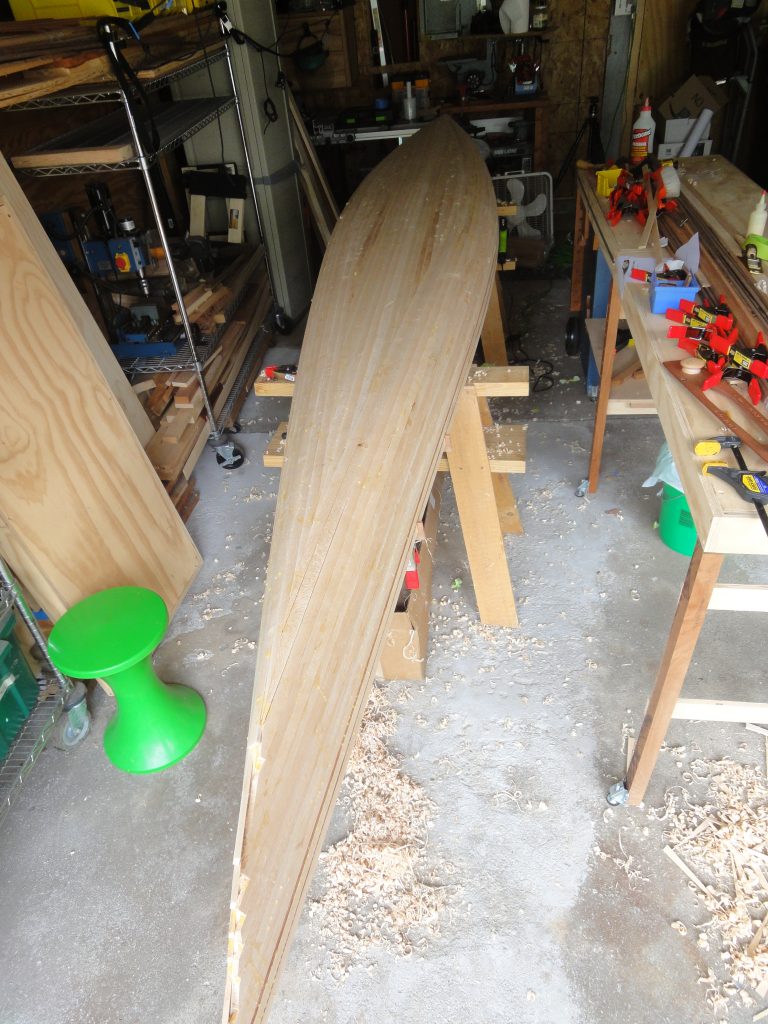
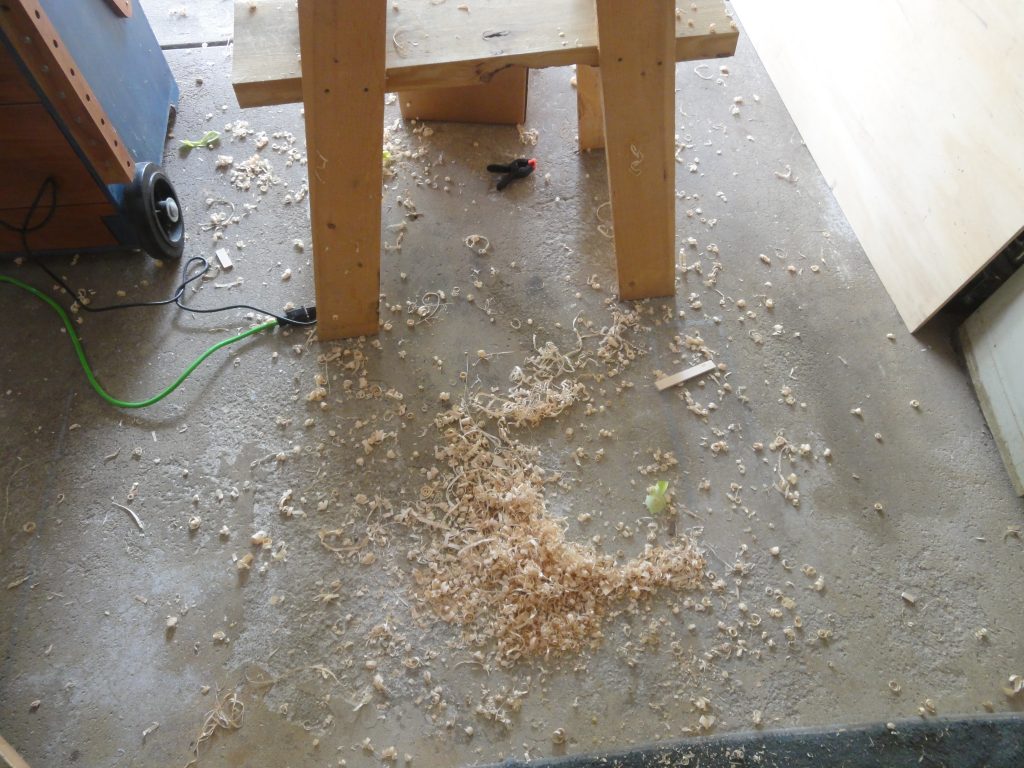
I removed the kayak (and strongback with forms) from the saw horses and set it aside, of course getting a few pics along the way. With the space cleared I took time for some clean up. The shavings, while being swept up every few work sessions, still accumulated in hard to reach areas. I also added a few long bolts to my ceiling mounts running them through the 2×6 and ceiling and past the rafter and then into another 2×6. This second board, with bolts on each side, was also screwed into the rafter from above. It shouldn’t be necessary but I like the added insurance instead of relying only on the lag bolts. I don’t have shots of the ceiling work.
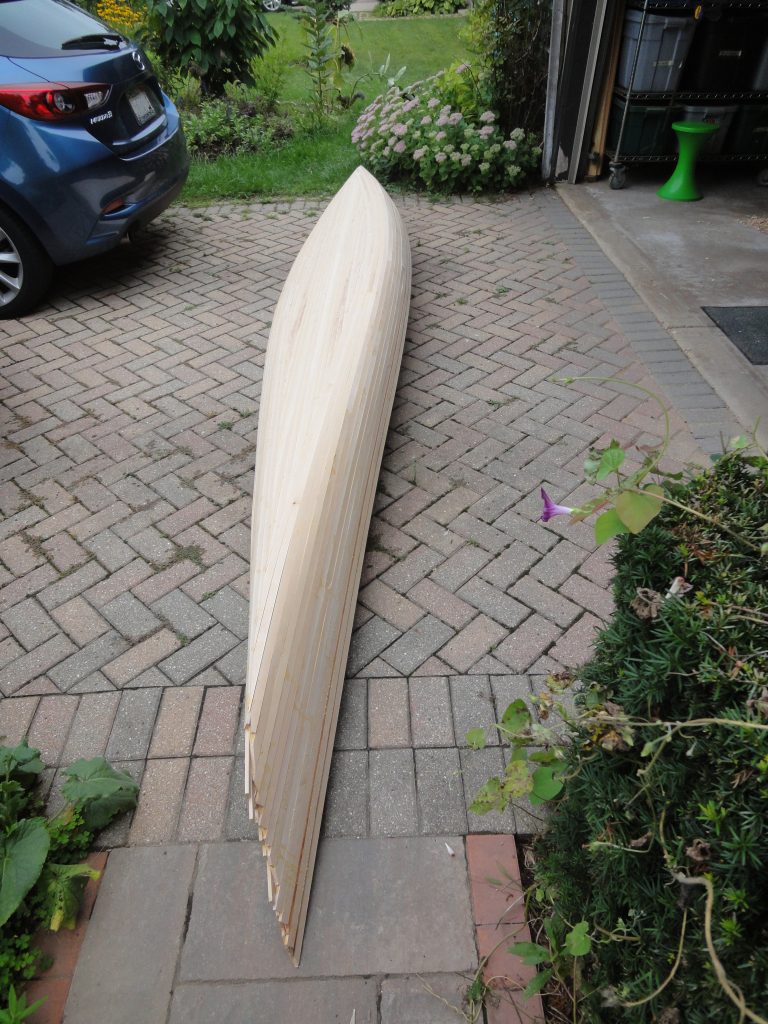

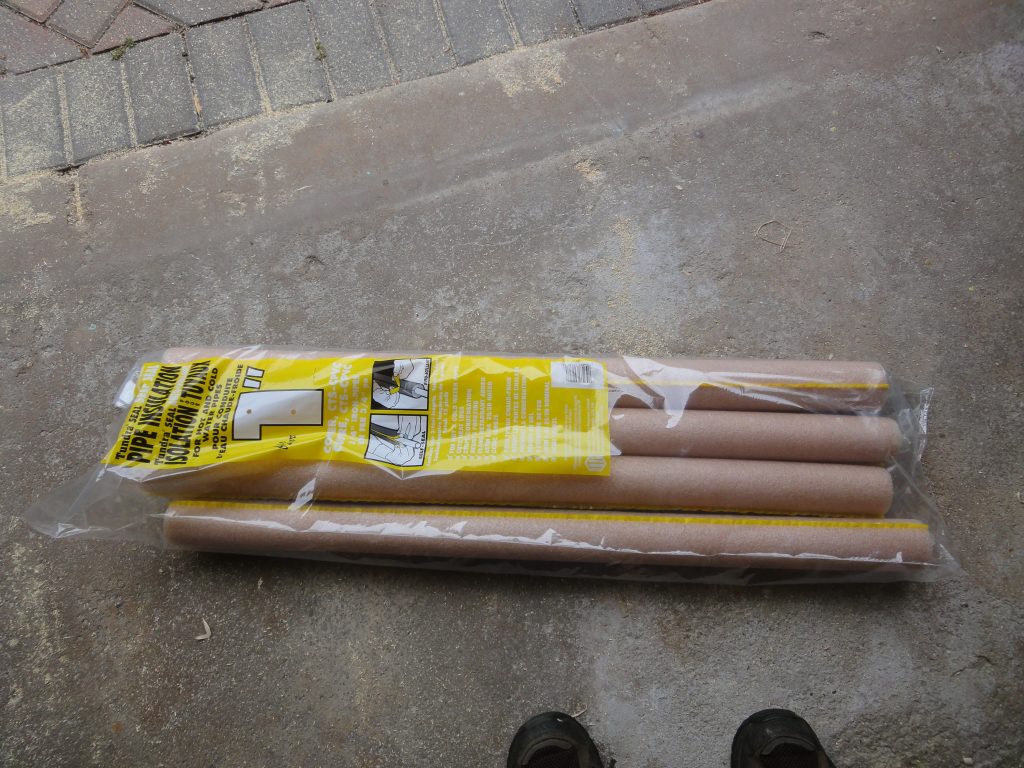
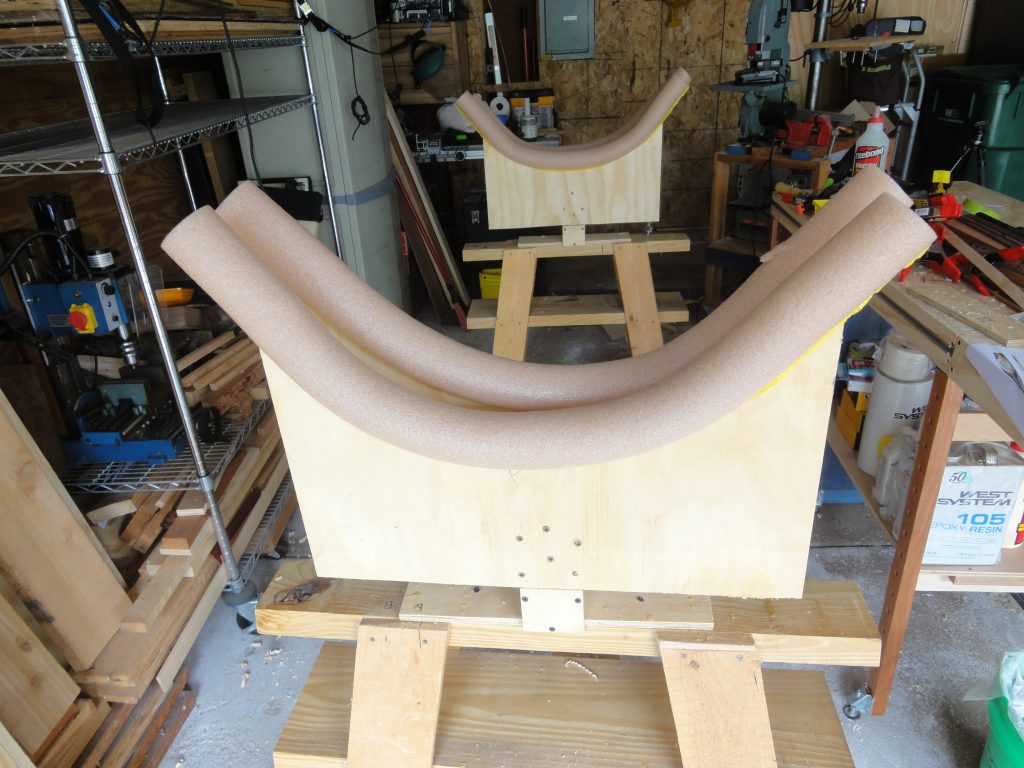
With the kayak removed from the saw horses, I bolted on the cradle frames that I had cut out earlier to the mounts that held the strong back. Using pipe insulation I covered over the edges and then finally flipped the kayak over and placed it into the cradle. The foam protects it from damage in case it slides back and forth a bit. The saw horses did require a bit of spacing adjustment but nothing major. Now I have it positioned in the correct orientation and am ready to get to work on the deck. The way I cut the boards it’s also sitting about a foot higher. I don’t think this will be an issue, but if it is I’ll cut down the cradle forms at a later date to lower the position.


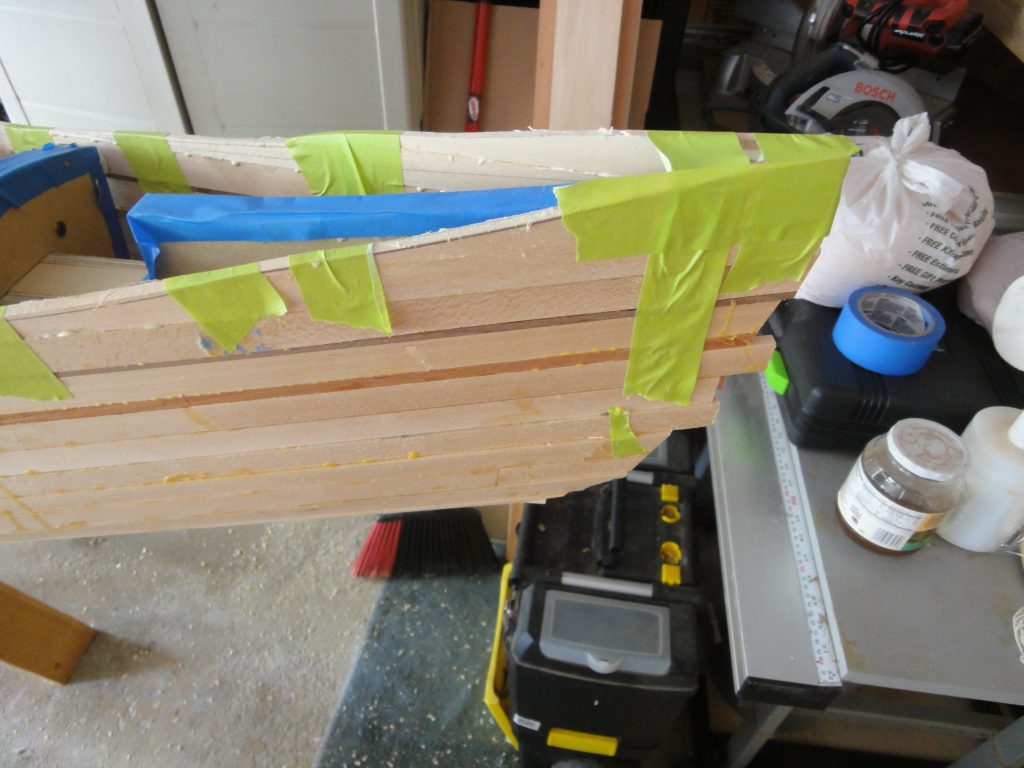
Remembering back, the stern was never completed as the boards did not want to make the curve so I ran them straight. With it easy to work on now I went ahead and cut a few strips more or less free handing the curve to fill in these pieces. Once the glue is dried I’ll need to plane down the curve to make it smooth and fair.
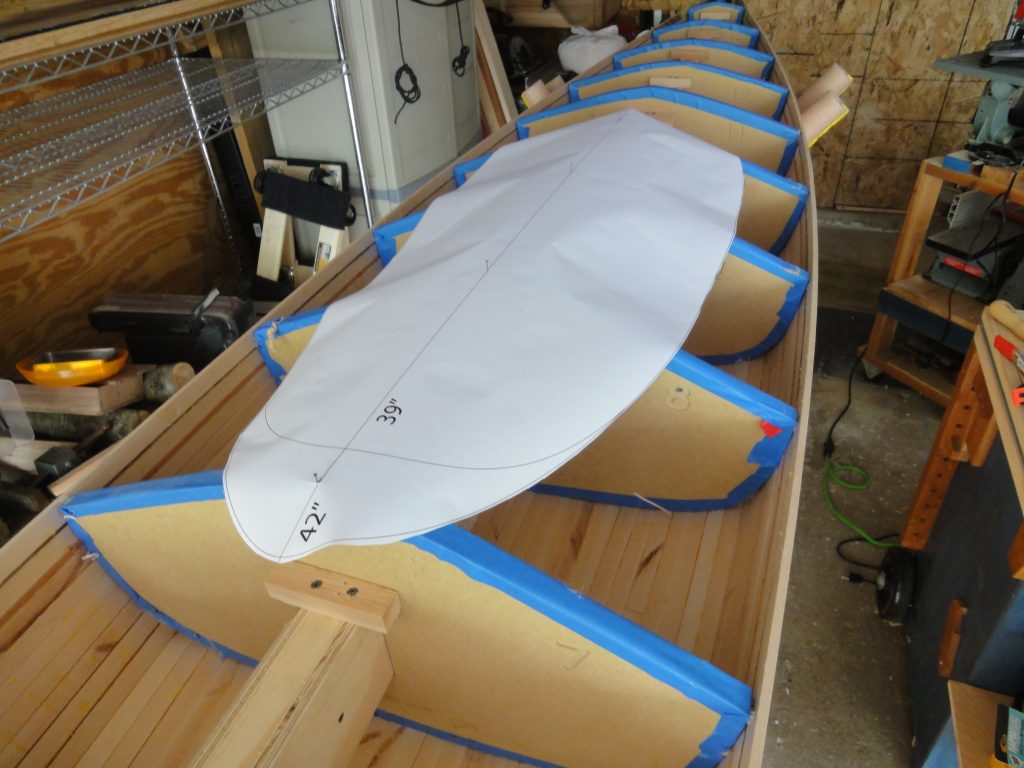
In order to figure out the decorative elements I need to know the cockpit placement. According to the plans in the Kayak Craft book, the back of the cockpit coaming is about 3 inches or so behind station 10. Since I’m going with a larger cockpit the additional opening will go towards the front of the boat. When I am sitting in there, regardless of the cockpit size, the positioning is designed for balance of the boat with me in it. If I moved the entire cockpit forward or back I would be throwing off that designed balance point. Instead I leave it so that the seat can be installed as designed and put the extra opening where I would then need it to get my legs in.
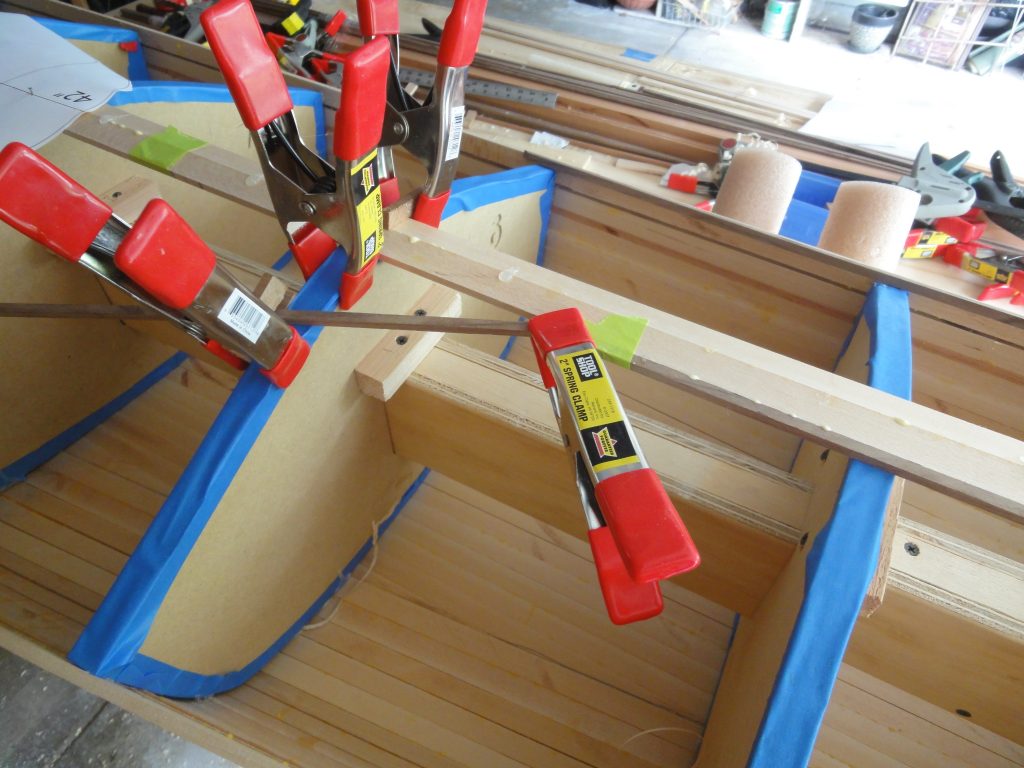
I decided to use the wider opening that I drew and to cut it at 42″ and then install a recess to bring it back to 39″ in total opening length. By my tests this should work fine for me. The template was cut, for now at the 42″ size and I went just a little over the line. The positioning was on the center line with the rear about three inches behind form 10.

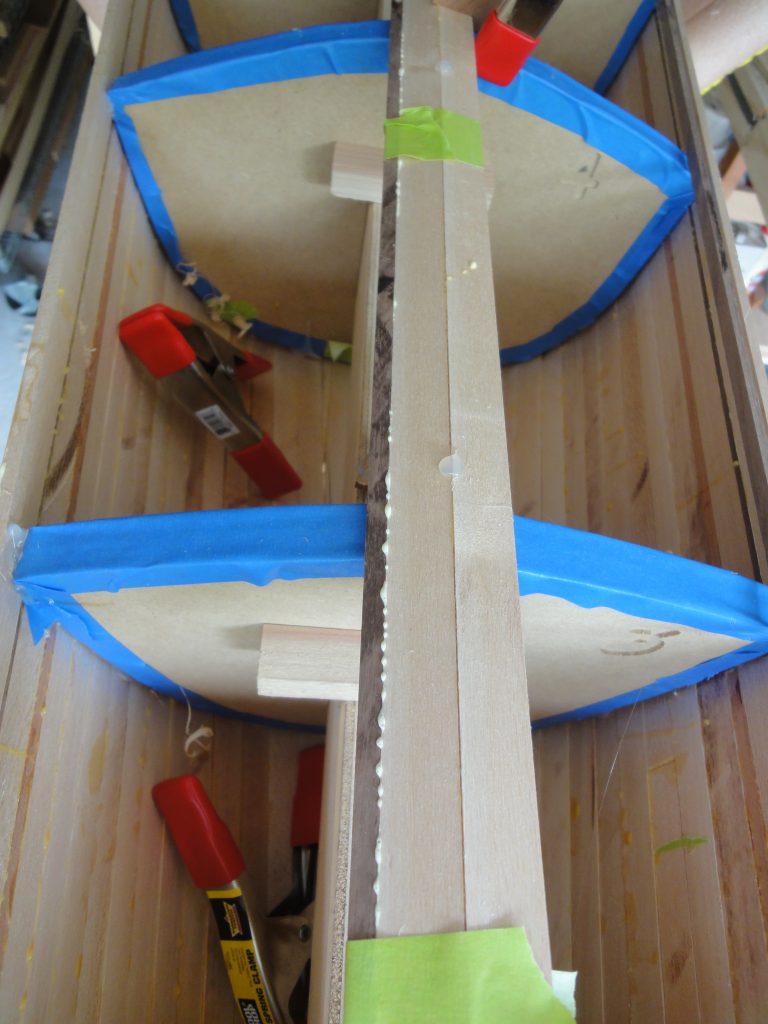
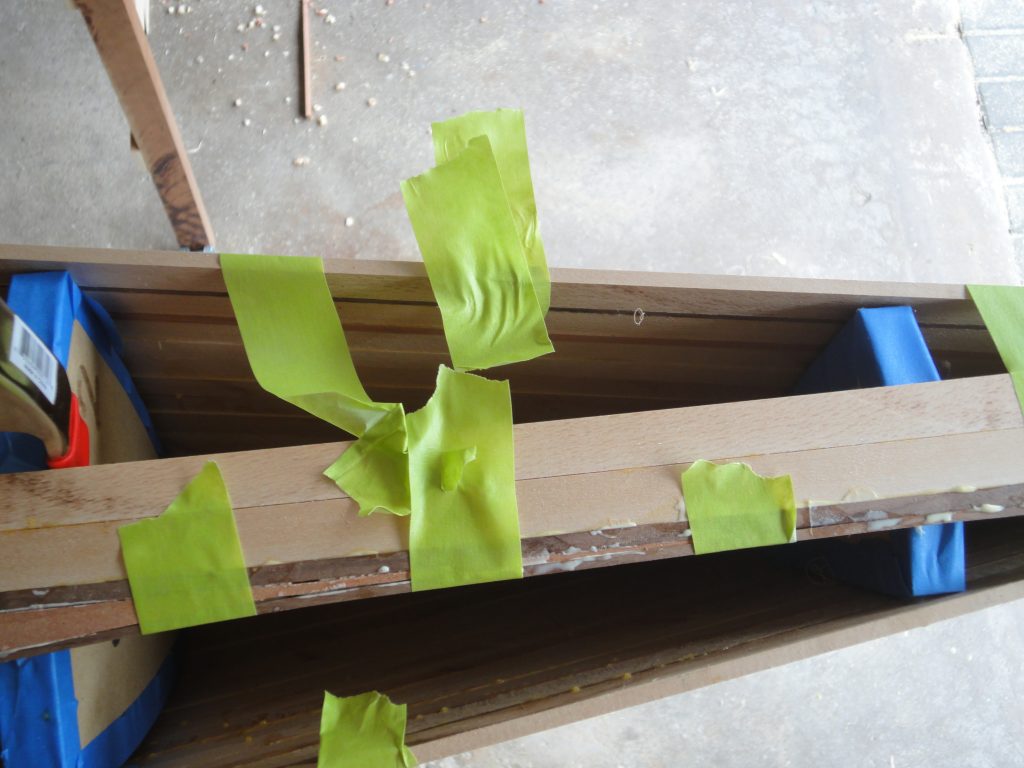
In looking over my design plans, it calls for two strips down the center (front). I beveled these to lay flat against the forms on either side of the center line and meet in the middle. They were glued to each other and hot glued to the forms and to the tip of the bow. Now comes the challenging part. Thankfully all the fitting I just did on the hull was good practice for the next part. First I need to run the 1/4″ and 1/8″ walnut strips to define the front decorative elements. I started by estimating about where I want it to start and end. Then I cut an angle and used the cut off piece to continue around the side of where the cockpit will be. A bunch of clamps are currently holding it in position while the few areas that can be glued were.

The inside one of the outer two 1/8″ strips was then positioned and flexed into the shape I wanted, again held in position with clamps. I tweaked and adjusted until I felt it was what I was looking for. At this time I am only doing one side. When complete I can take measurements off of it to use in positioning the other side in the same, but mirrored, way.

With the 1/8″ strip positioned and glued on both ends, along with a few hot glue tacks to keep it to the forms, I was ready to start filling in the Spanish cedar strips. I was able to install two but only took pictures of the first one. It involved fitting either the angle at the rear or the long taper at the front. Once one is fitting well I measured for the other one, cut oversized and then planed it back for a perfect fit. The biggest thing to be careful of is to not force it into place. If you do, the 1/8″ strip easily flexes to accommodate the cedar strip but this then alters the shape. So, carefully slide in the taper. If it isn’t fitting tightly and the walnut starts to flex, note where, remove, plane and test fit again. Repeat as necessary until it fits properly.
A quick video shows the strips in place just before I started to add the cedar.
With the three day weekend I’m hoping to make a bunch of progress on the cedar strips tomorrow (or given the time I’m typing this I guess it would be later today now!).
Final Few Strips
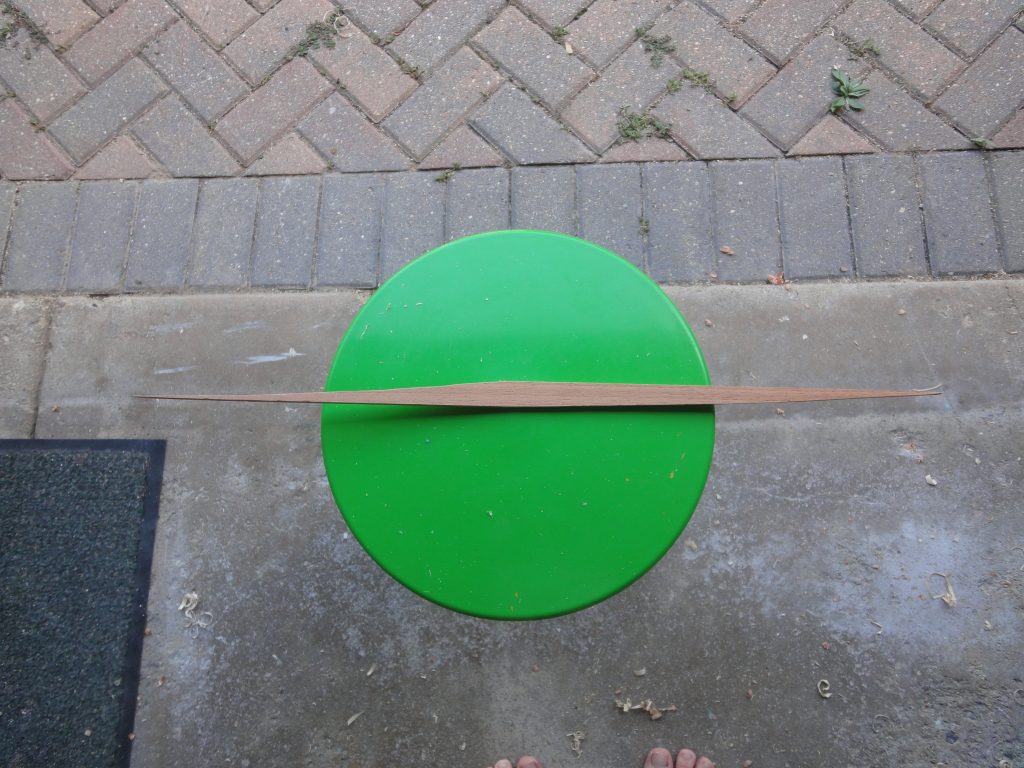
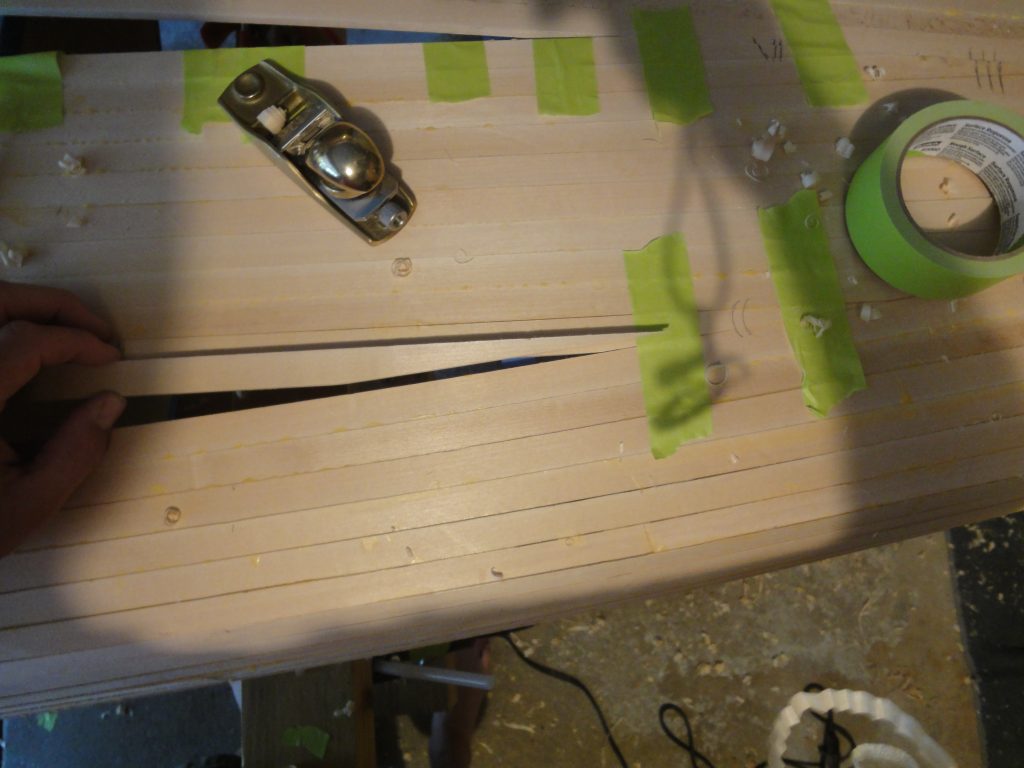
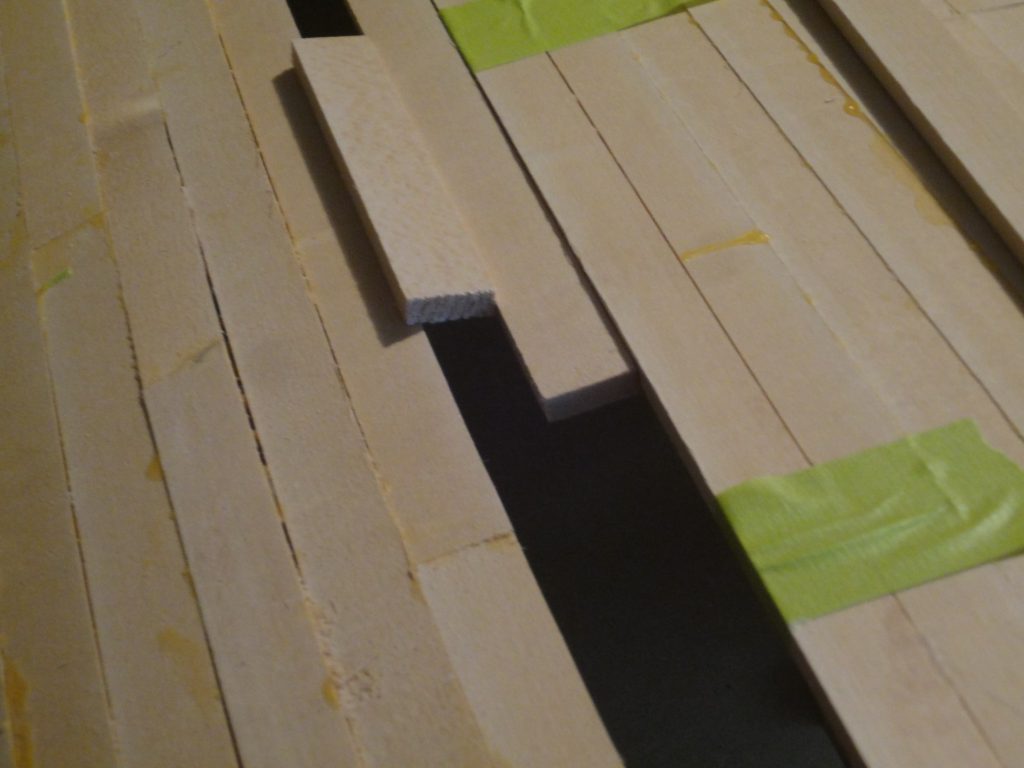
For the last few strips they’ve narrowed to the point where a single strip will now span from one end to the other. Good and bad. The good side is no seams to fit, the bad side is that both ends have to be just right. Even a little off on the fit means more planing down and then strip will be too short to fit properly. So far I have been careful to fit one side, then fit the other side but doing so with the strip a bit too long. Once the fit is perfect I just take full length (of the angle) shavings, just one or two at a time, and test fit both ends. When the first end fits to the marks I made and the length is perfect the other end will simply drop in with the gentlest of pressure. I can then pop it out, apply glue and fit it back in followed by the usual tape clamps to keep it in place.


Looking to the last gap I can see on one side it’s a bit less than 2 strips and on the other side just over two strips. This tells me that either the center two strips installed earlier either weren’t perfectly in the center or, more likely, that the stripping of the sides and the resulting beveling resulted in a few strips being just a hair thinner than on the other side resulting in the slightly uneven gap. The reality is that this should have zero impact on the kayak operation and since it’s on the bottom the appearance will not be easily visible, especially given the minimal to no grain appearance of the basswood.
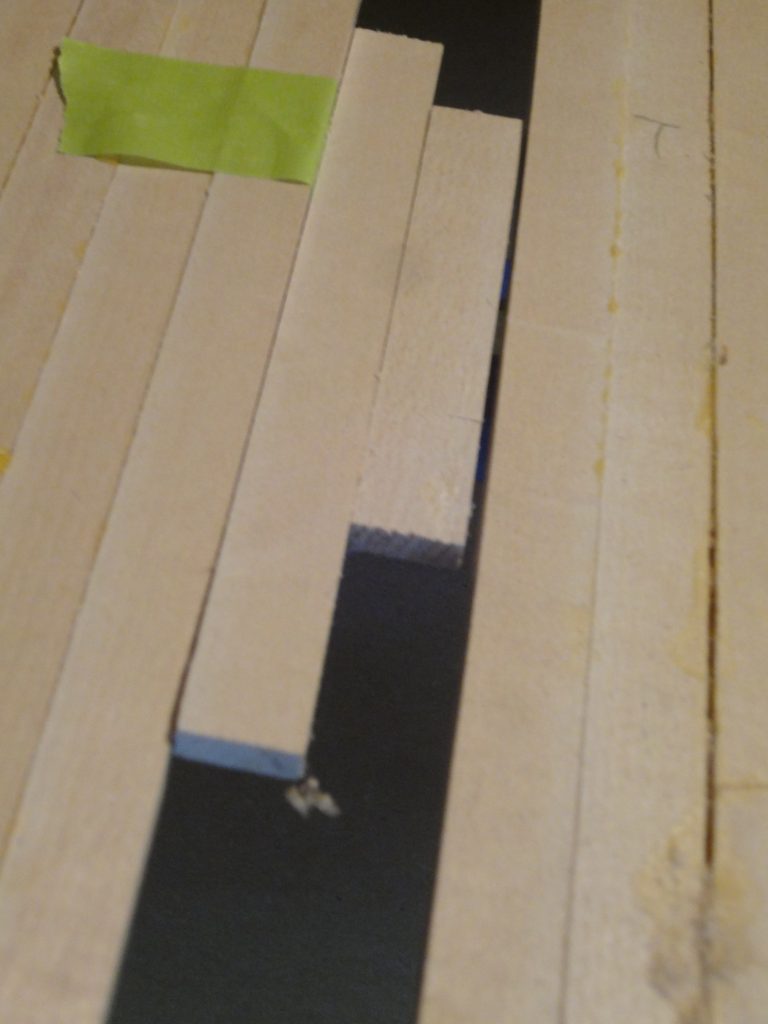
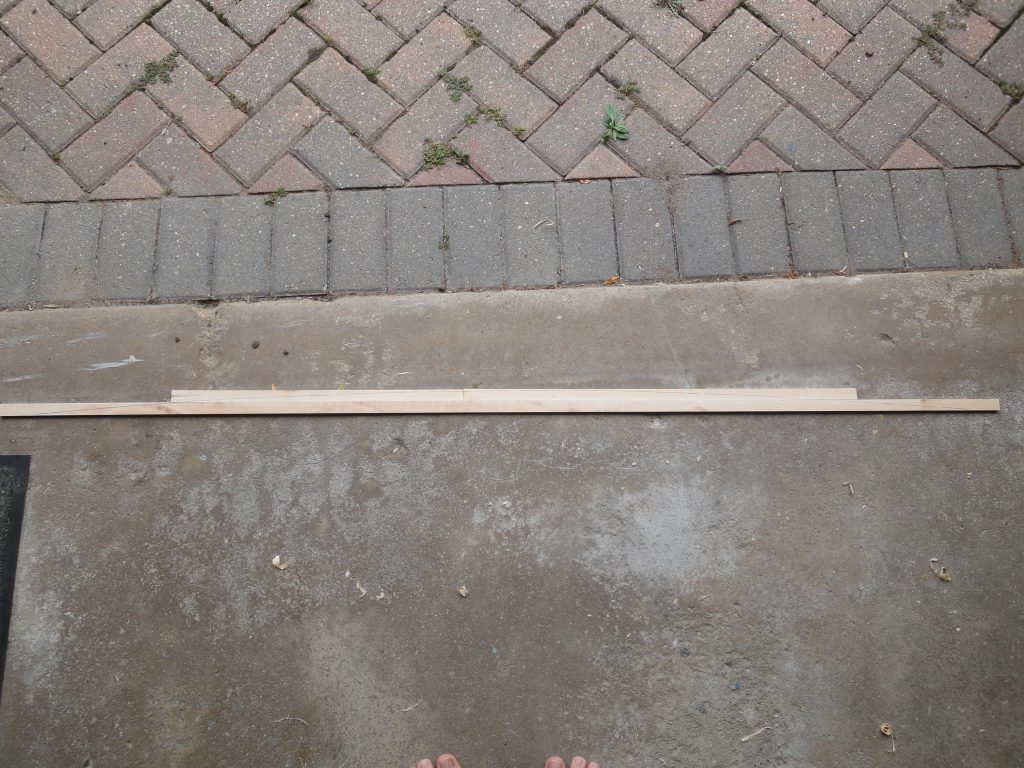
The solution to both of these issues is to install the last two strips as one. I’ve cut to size and then glued up a couple of strips. In the case of the slightly more than 2 I’ll install the next strip and the the final will be the full width and the sliver strip installed together. In the slightly less one, just the two strips will be sufficient. Hopefully the shaping will go well tomorrow and I’ll have the hull finished (from a stripping perspective) and be able to start the work required to turn the kayak over.
A Few Nights, A Few Strips
A couple of nights after work this week I was able to add a pair of strips. Nothing different than what I’ve been doing for awhile now.

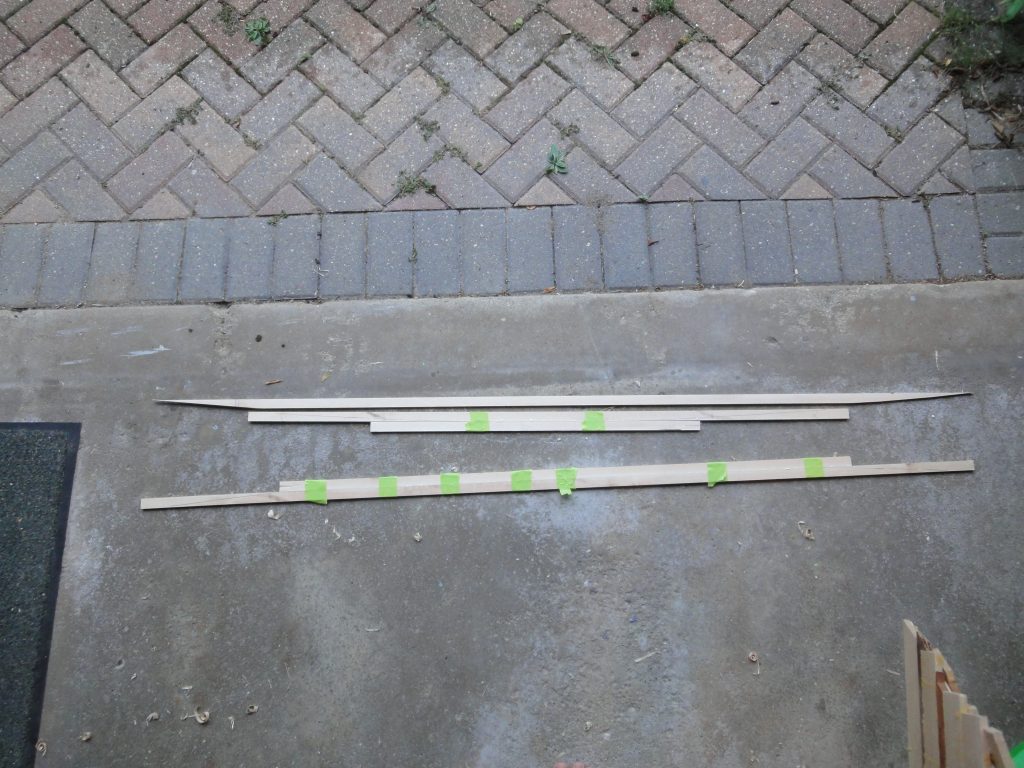
I checked at the widest point and it looks like just over 4 strips will be necessary to complete the hull. You can see a gap of about an eight of an inch. I have some ideas on how to handle this but I think I’ll probably just glue two strips together and then shave it down to a just a bit larger than one strip resulting in an over sized piece that will just fit the remaining space.
Looking forward to the three day weekend. Hopefully the hull will get finished and I can flip it and start on the deck. We’ll see…