
Spent about 6 hours (more or less) working on the front decorative panel on one side and pretty much have it completed. There was a lot of trimming and fitting and such but overall it really went pretty smoothly and the more you cut the more of a feel you get for it. A few times I would estimate the angle, cut, plane and then start the test fitting only to find it was dead on. Of course I had some that needed a bunch of fiddling around with too.
One BIG mistake I made yesterday and did not catch it until today. When I glued the center strips together I hot glued to the forms and glued to the stem piece. Uh… now how am I going to get the forms out? These should not have been glued to the stem piece yet so the deck could be removed when completed. Thankfully a quick touch with the saw fixed this.
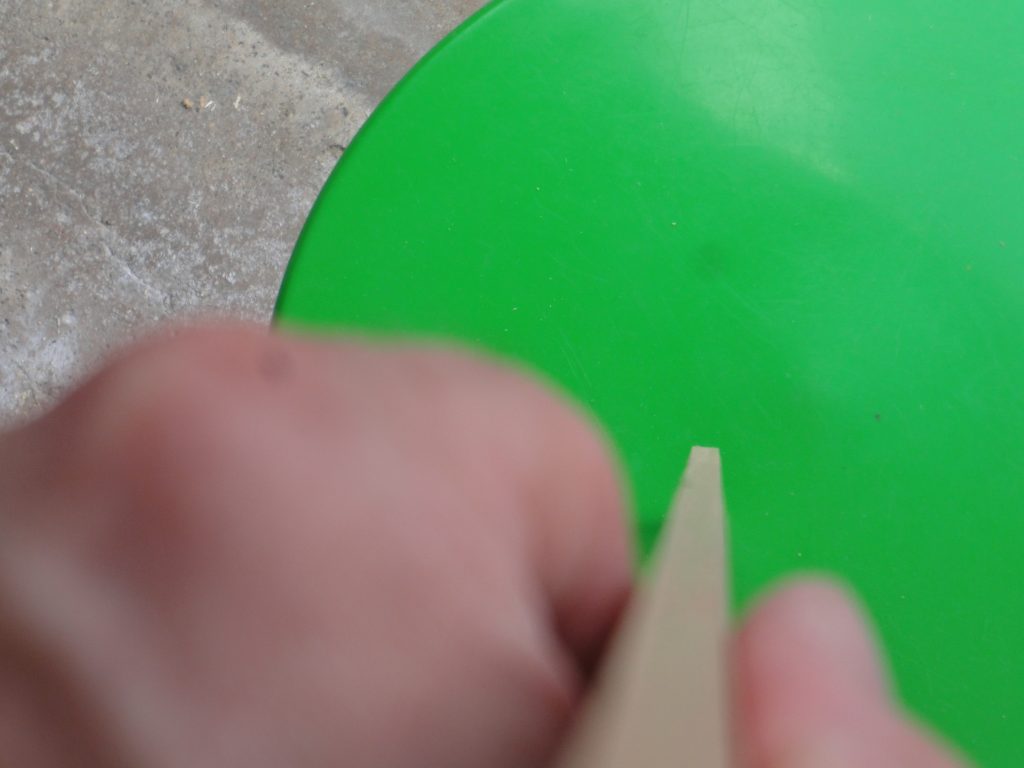
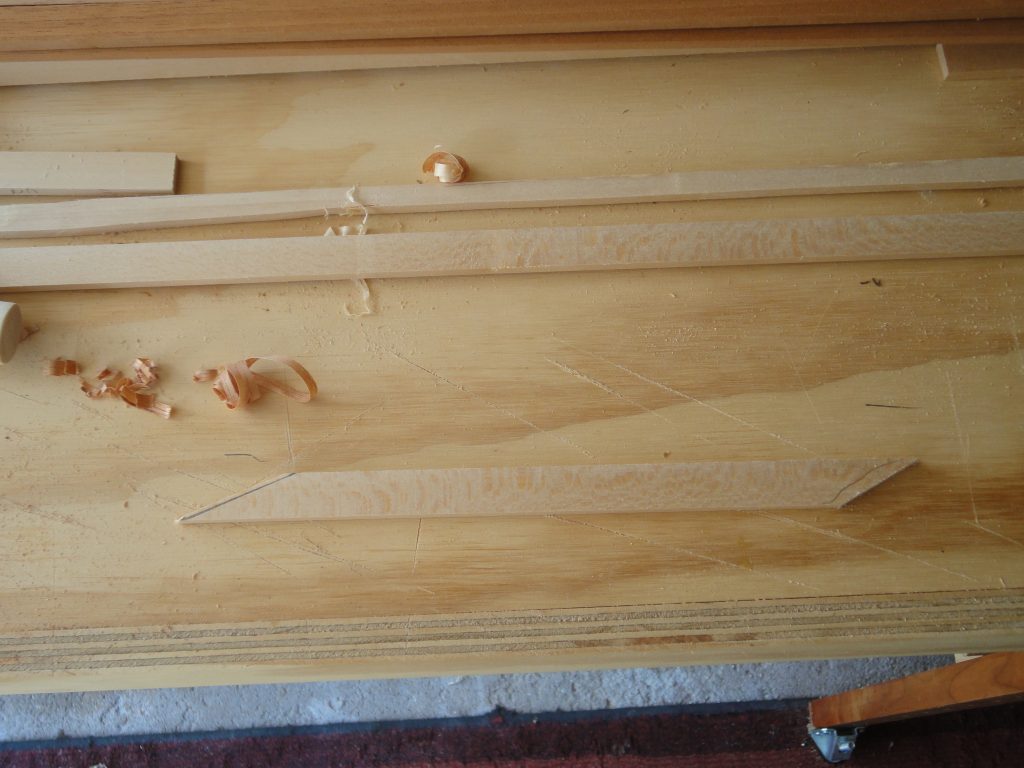
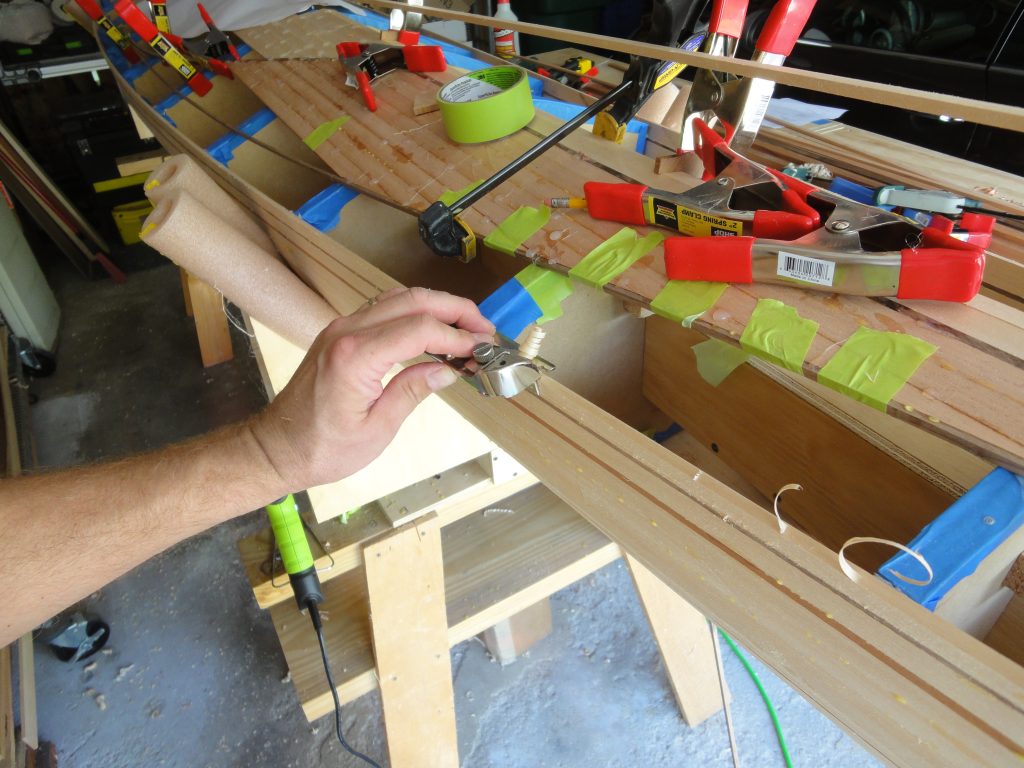
Overall the process was pretty much the same. Cut oversized, trim one end and plane until it fits, then get the other end to fit and continue to plane down until both ends will drop right in. In this area I can’t really use the Robo-bevel so while I’m working on the strip I check the fit compared to the forms and the previous strip and add a bevel if necessary with the block plane.


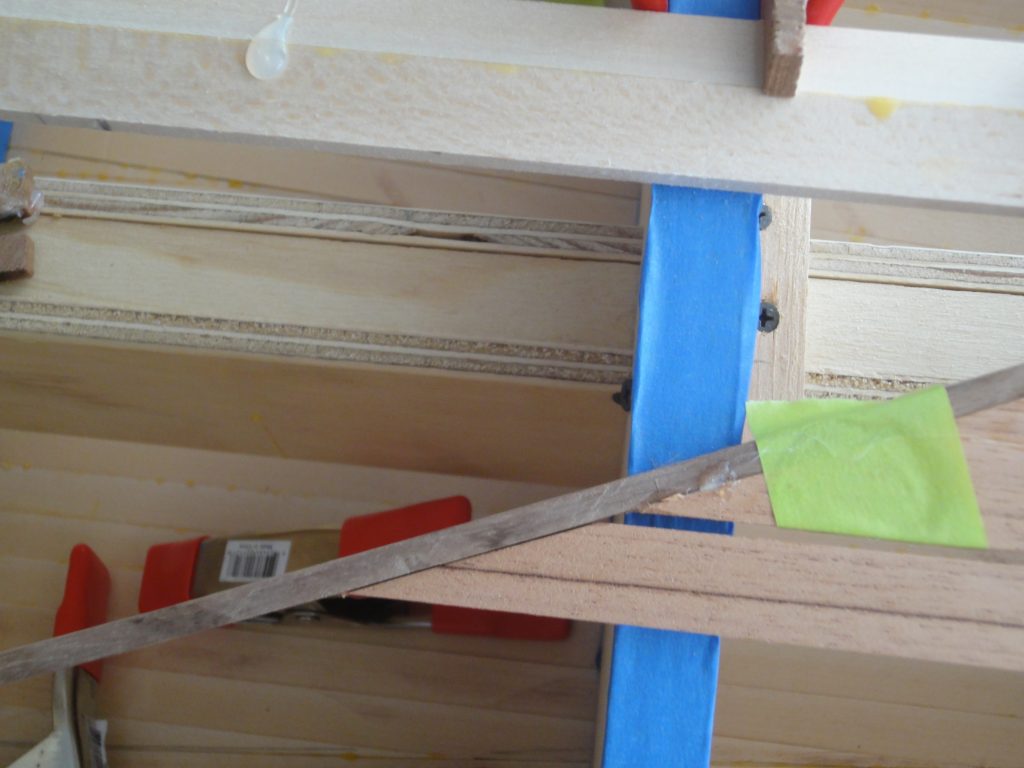
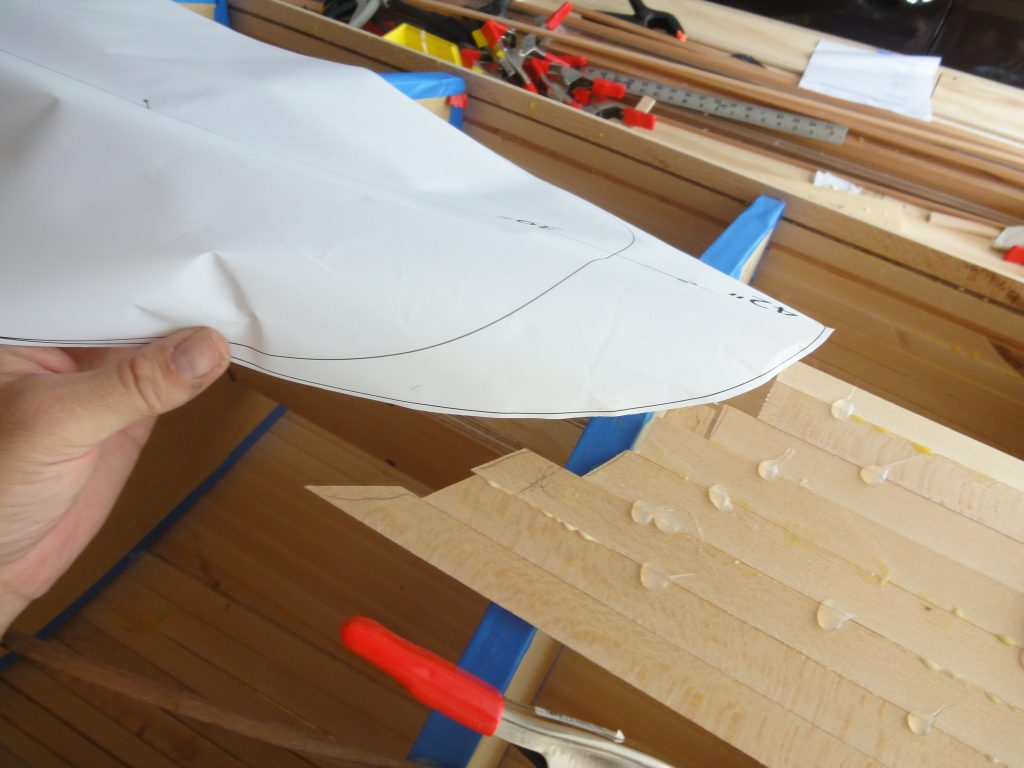
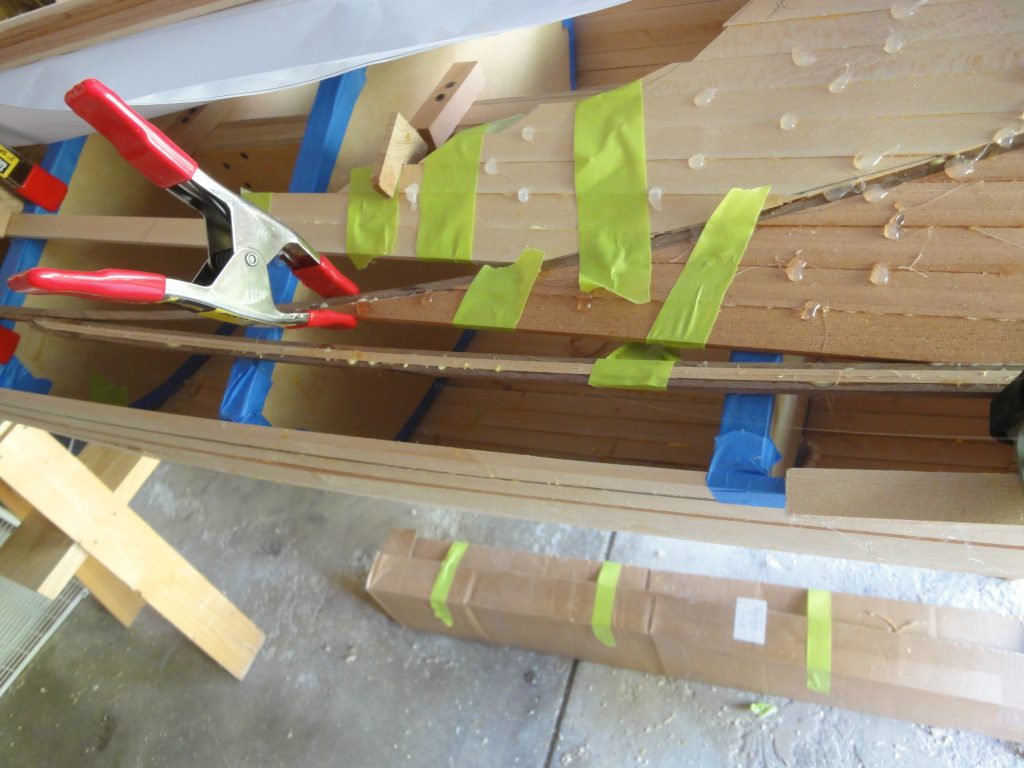
While filling in the Spanish cedar I used the tape clamps and a bunch of regular clamps to hold the correct position and the dotted on some hot glue stitches to hold it in place. Once the hot glue dried I could usually remove the clamps and tape and go on to the next strip. Some, though, were more stubborn than others and even though they were all straight and not being forced into a curve, they didn’t always fit just so. In these cases I’d leave the tape and/or clamps in place longer. Instead of standing around watching glue dry I switched to the other side of the detail line and started filling in the basswood between the detail and the cockpit area. The template gives me an idea if where it will be so I just need to ensure the sticks extend a bit into this area and I can then cut them off neatly later.


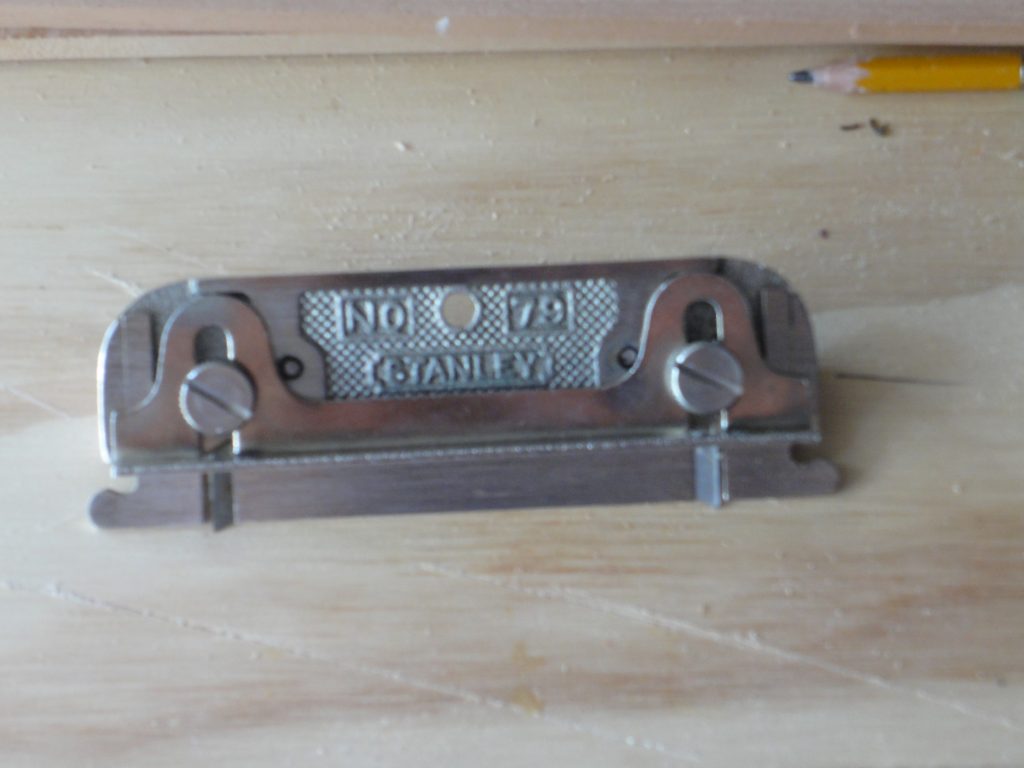
I brought a new (to me) tool into the mix. It’s a old Stanley 79 plane. I got it off eBay in near mint condition. It came in the original box which smelled horribly like mildew but when I opened it the plane was in excellent condition and even had the fence which is missing from many sold on there. The blades were even still holding a wicked sharp edge. It works by extending one blade or the other and then adjusting the fence so you can work in either direction with it.
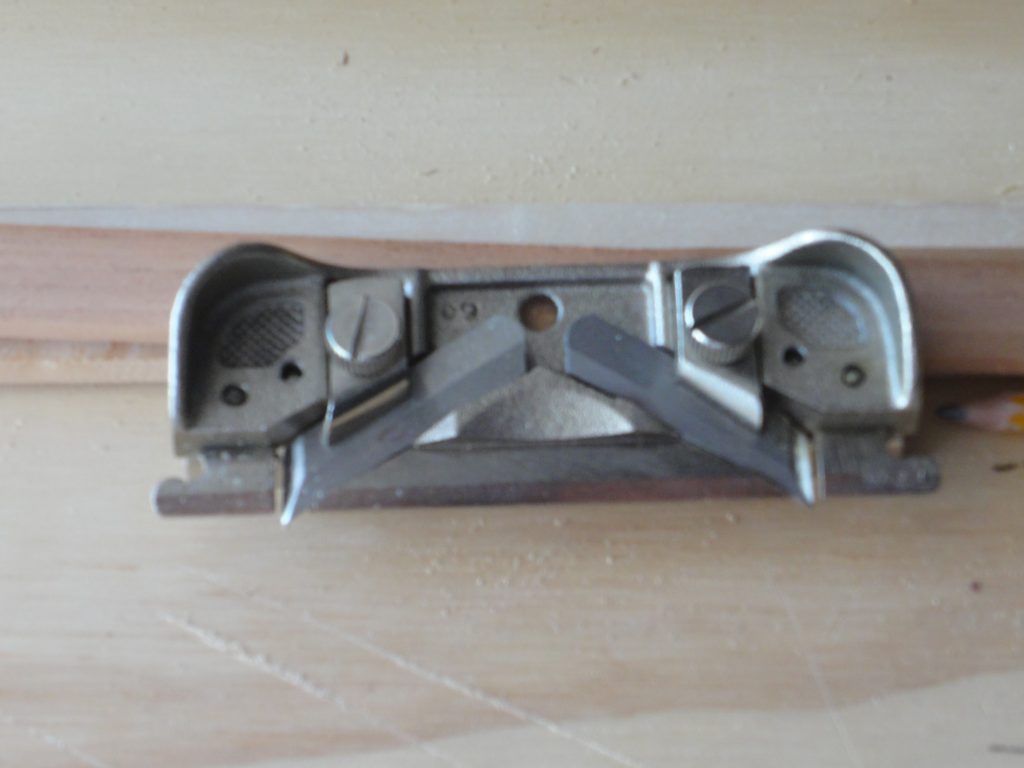
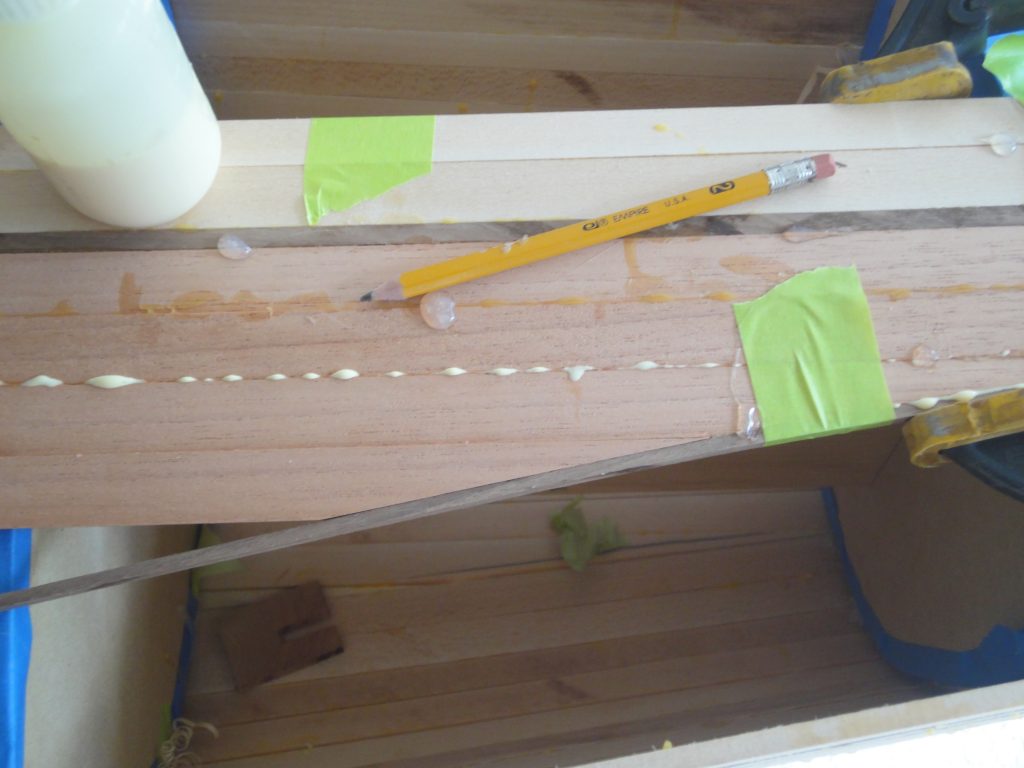
For the joint between the hull and the deck, I need to have the top of the hull strip match the angle of the strips coming down from the deck… or split the different and bevel both to an angle about half way between the two. I took the first option as with this plane it’s pretty straight forward. I held the plane at the same angle as the form and then worked towards the next form until I was getting a full width shaving AND and lowered the hull strip such that a strip coming off the deck would sit right against the top. After trimming this back I then covered the entire top edge with tape to avoid inadvertently gluing the deck and hull together.
As I was waiting for one area or another to dry I switched between the outer detail striping (1/8″ walnut, 1/4″ basswood, 1/8″ walnut), the Spanish cedar field and the surrounding basswood leading to the cockpit. I also ran one strip across the top of the hull but just hot glued it for now except at the point of the bow where it is glued to the center strips.
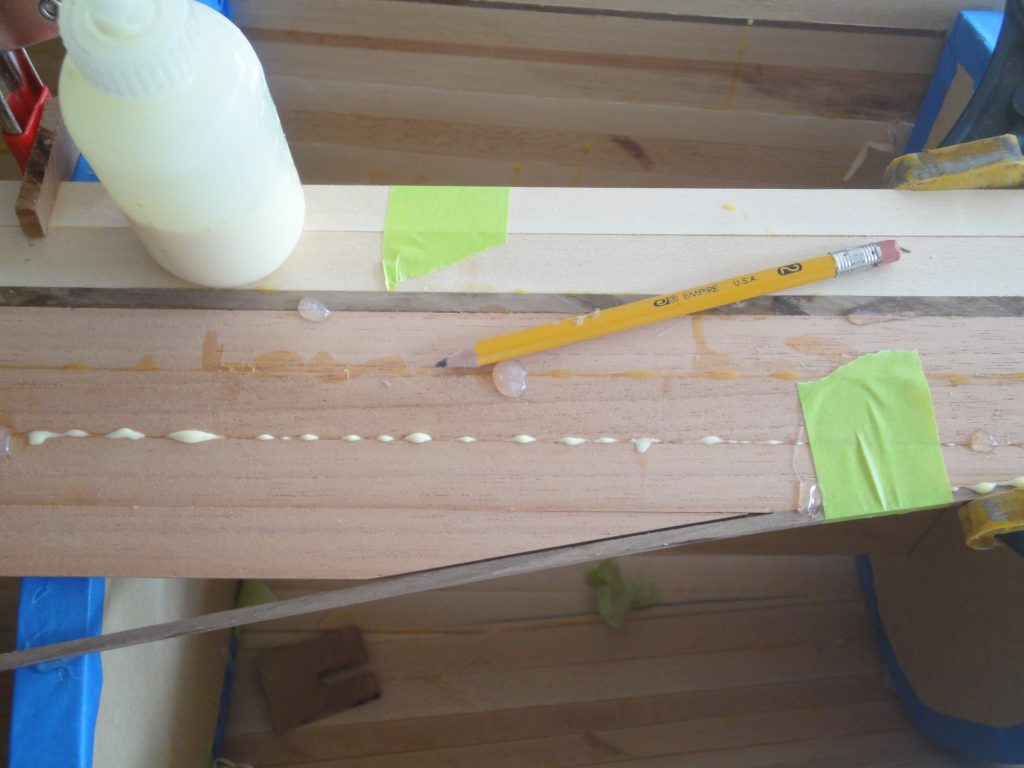
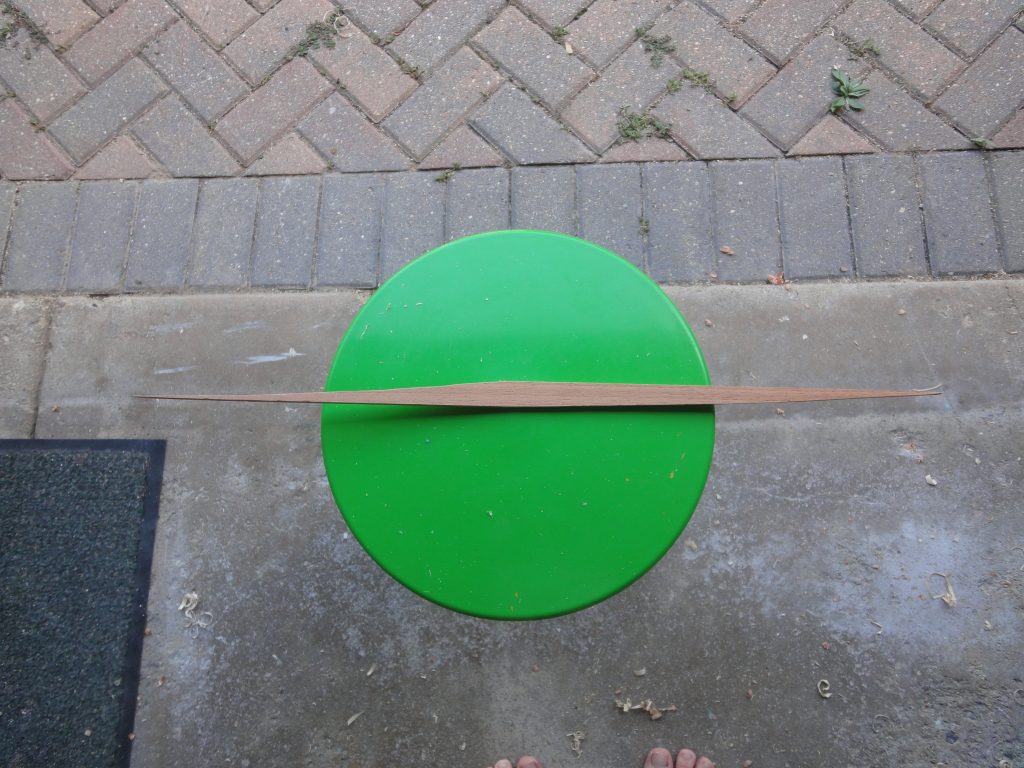
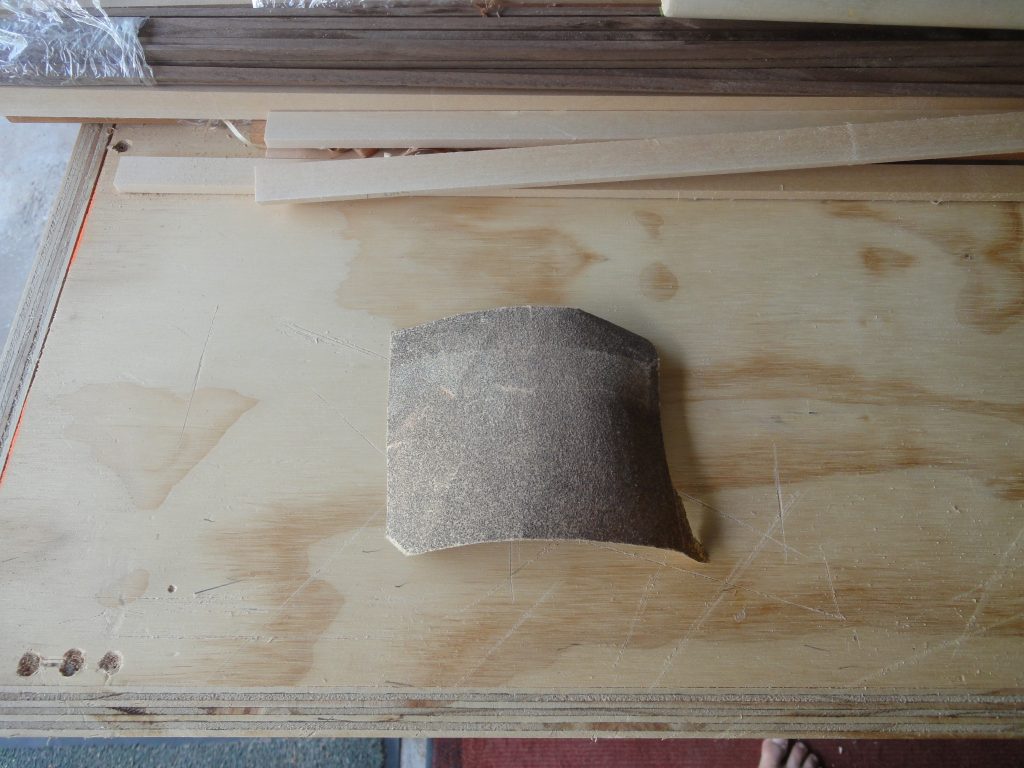
Eventually I got to the point where a single strip would finish the field. It took a lot of adjusting and planing and sanding (let’s add 60 grit sand paper to the supplies list, for now I just used a scrap I had on hand) before I had the exact right shape which nicely press fit into place.
With that last strip the field on the front is complete. Now all that is left is to add in more basswood strips. But, that creates two issues. First I only have a few strips left so I need to haul out the table saw and cut up that last board… or at least a good part of it. Looks like it was needed despite the calculations I found online saying that I wouldn’t need it. Second do I run straight strips which is easier although a bit more of a challenge in cutting the ends to match the detail curves? Or do I run strips to follow the curve which I think may look better but will be harder to keep tight joints on? This picture and the short video that follows shows the completed section and the area where the basswood strips still need to go.
