
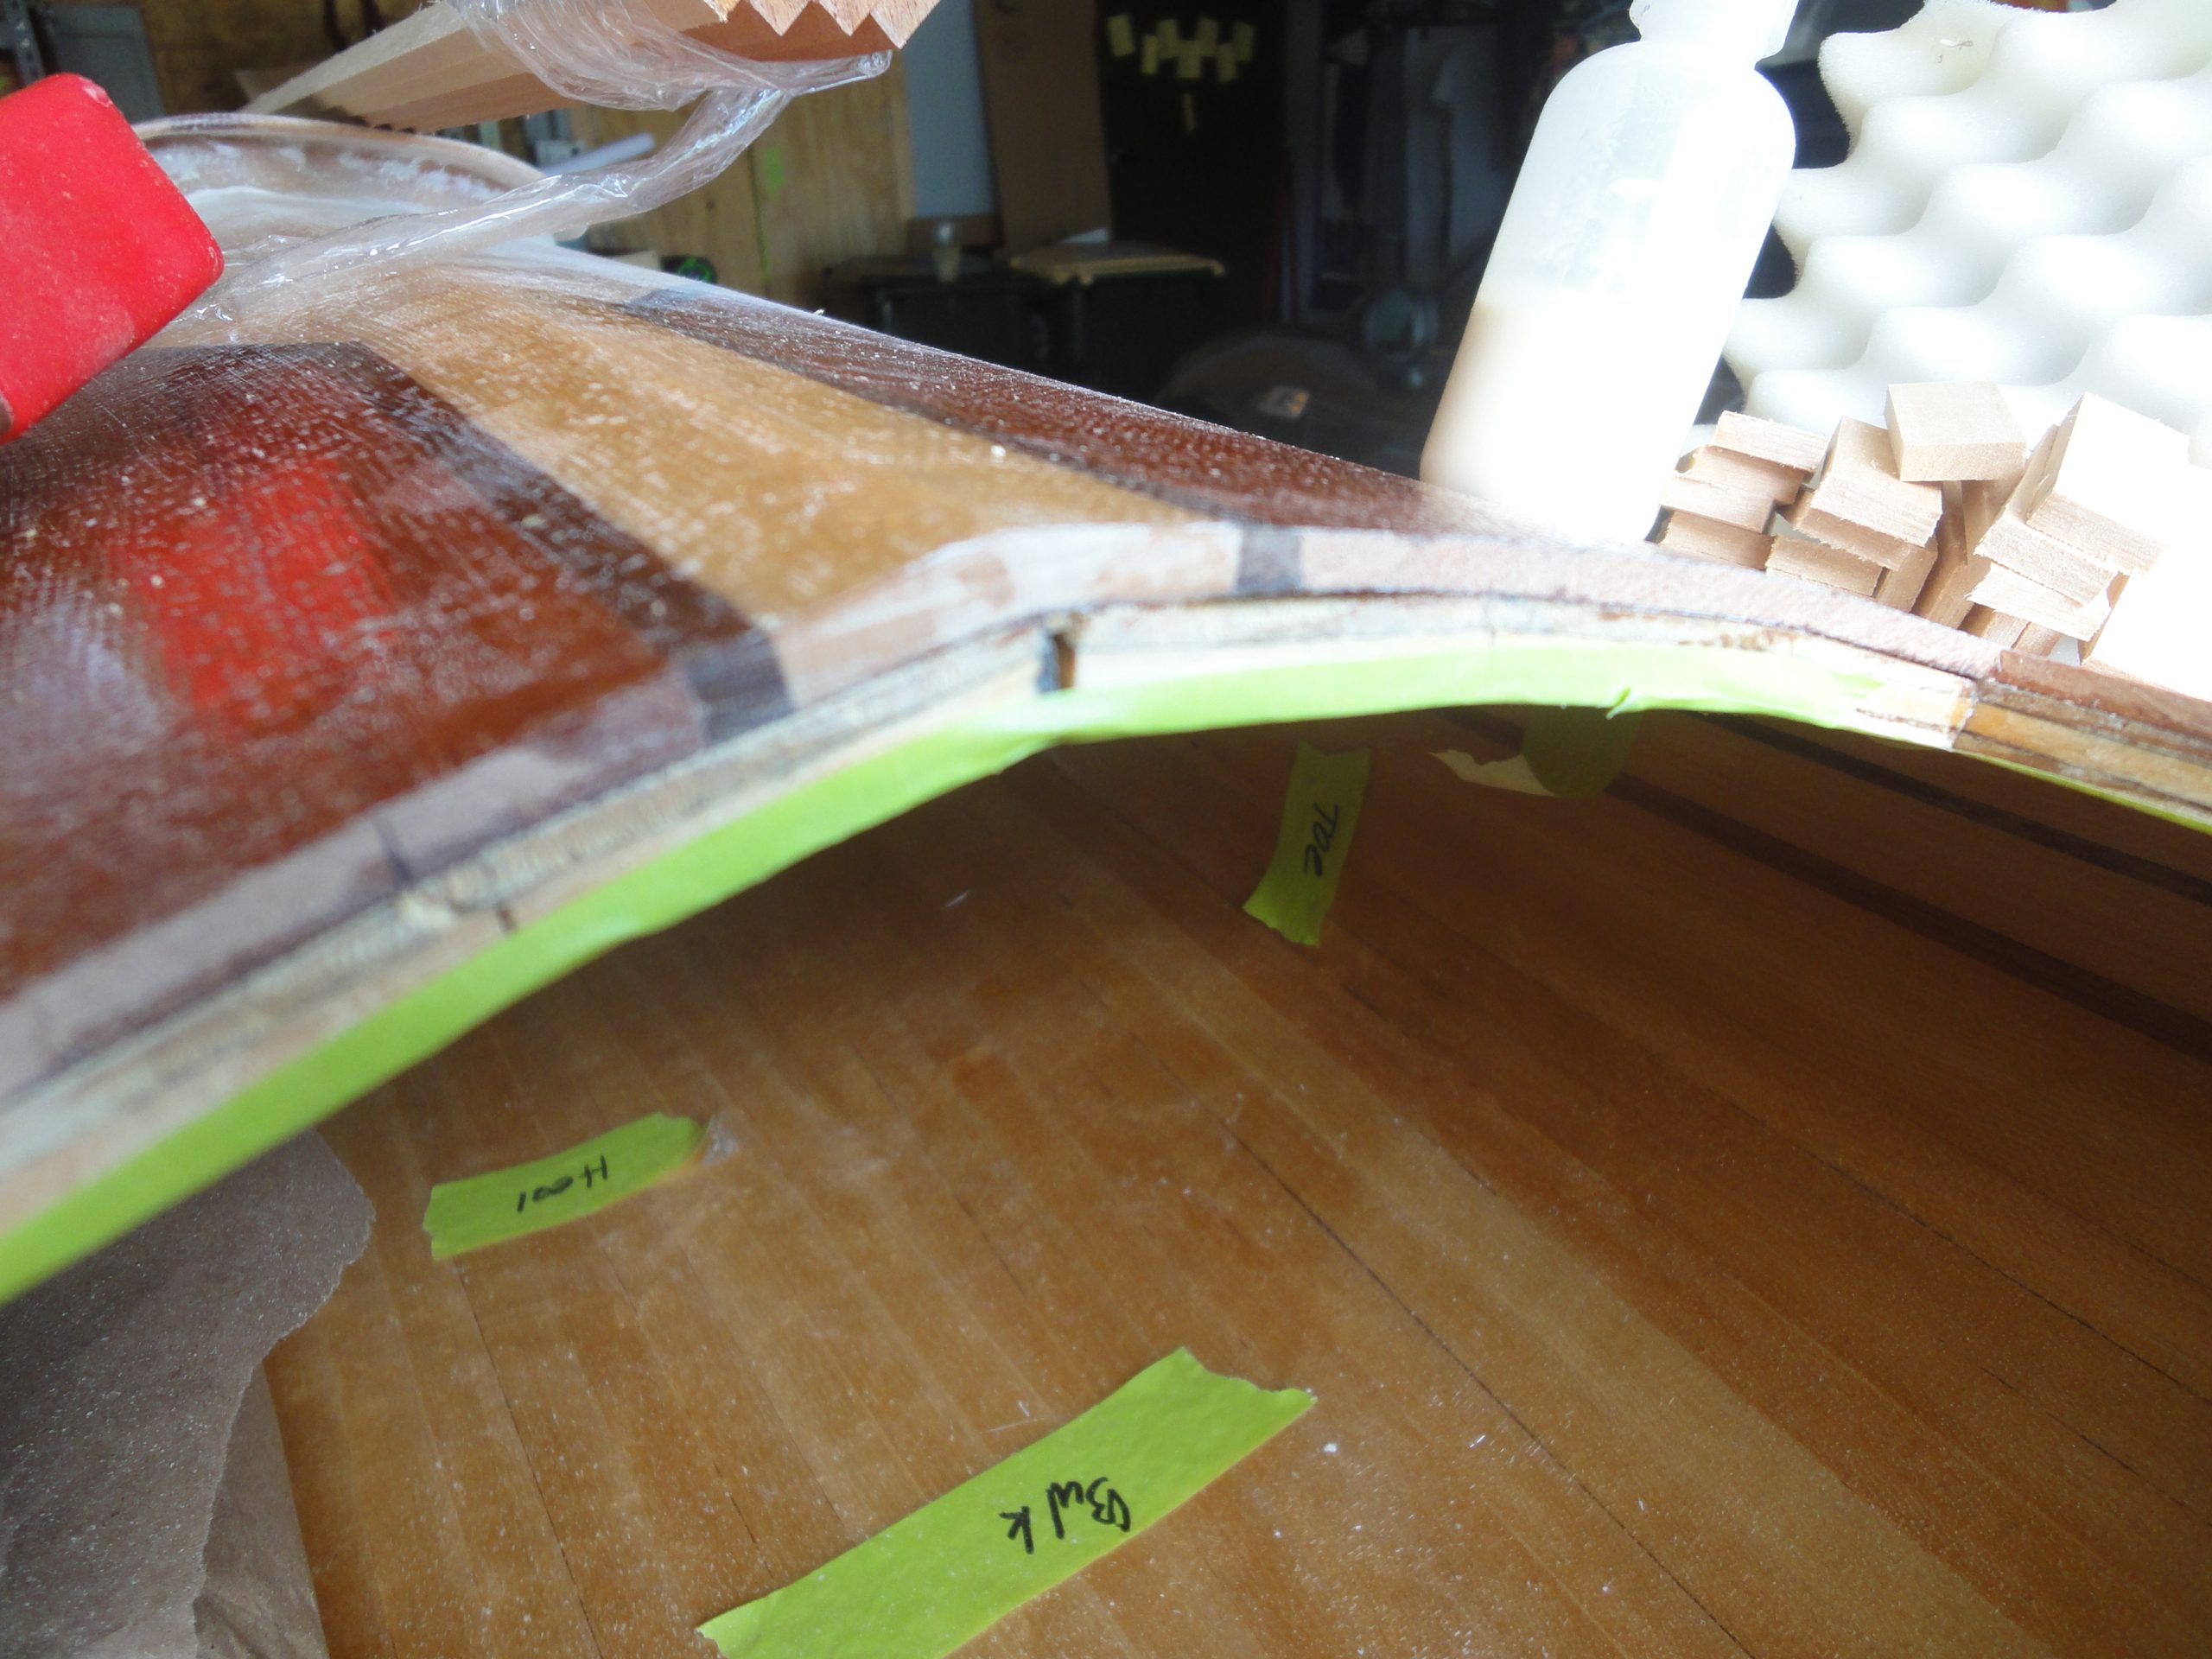
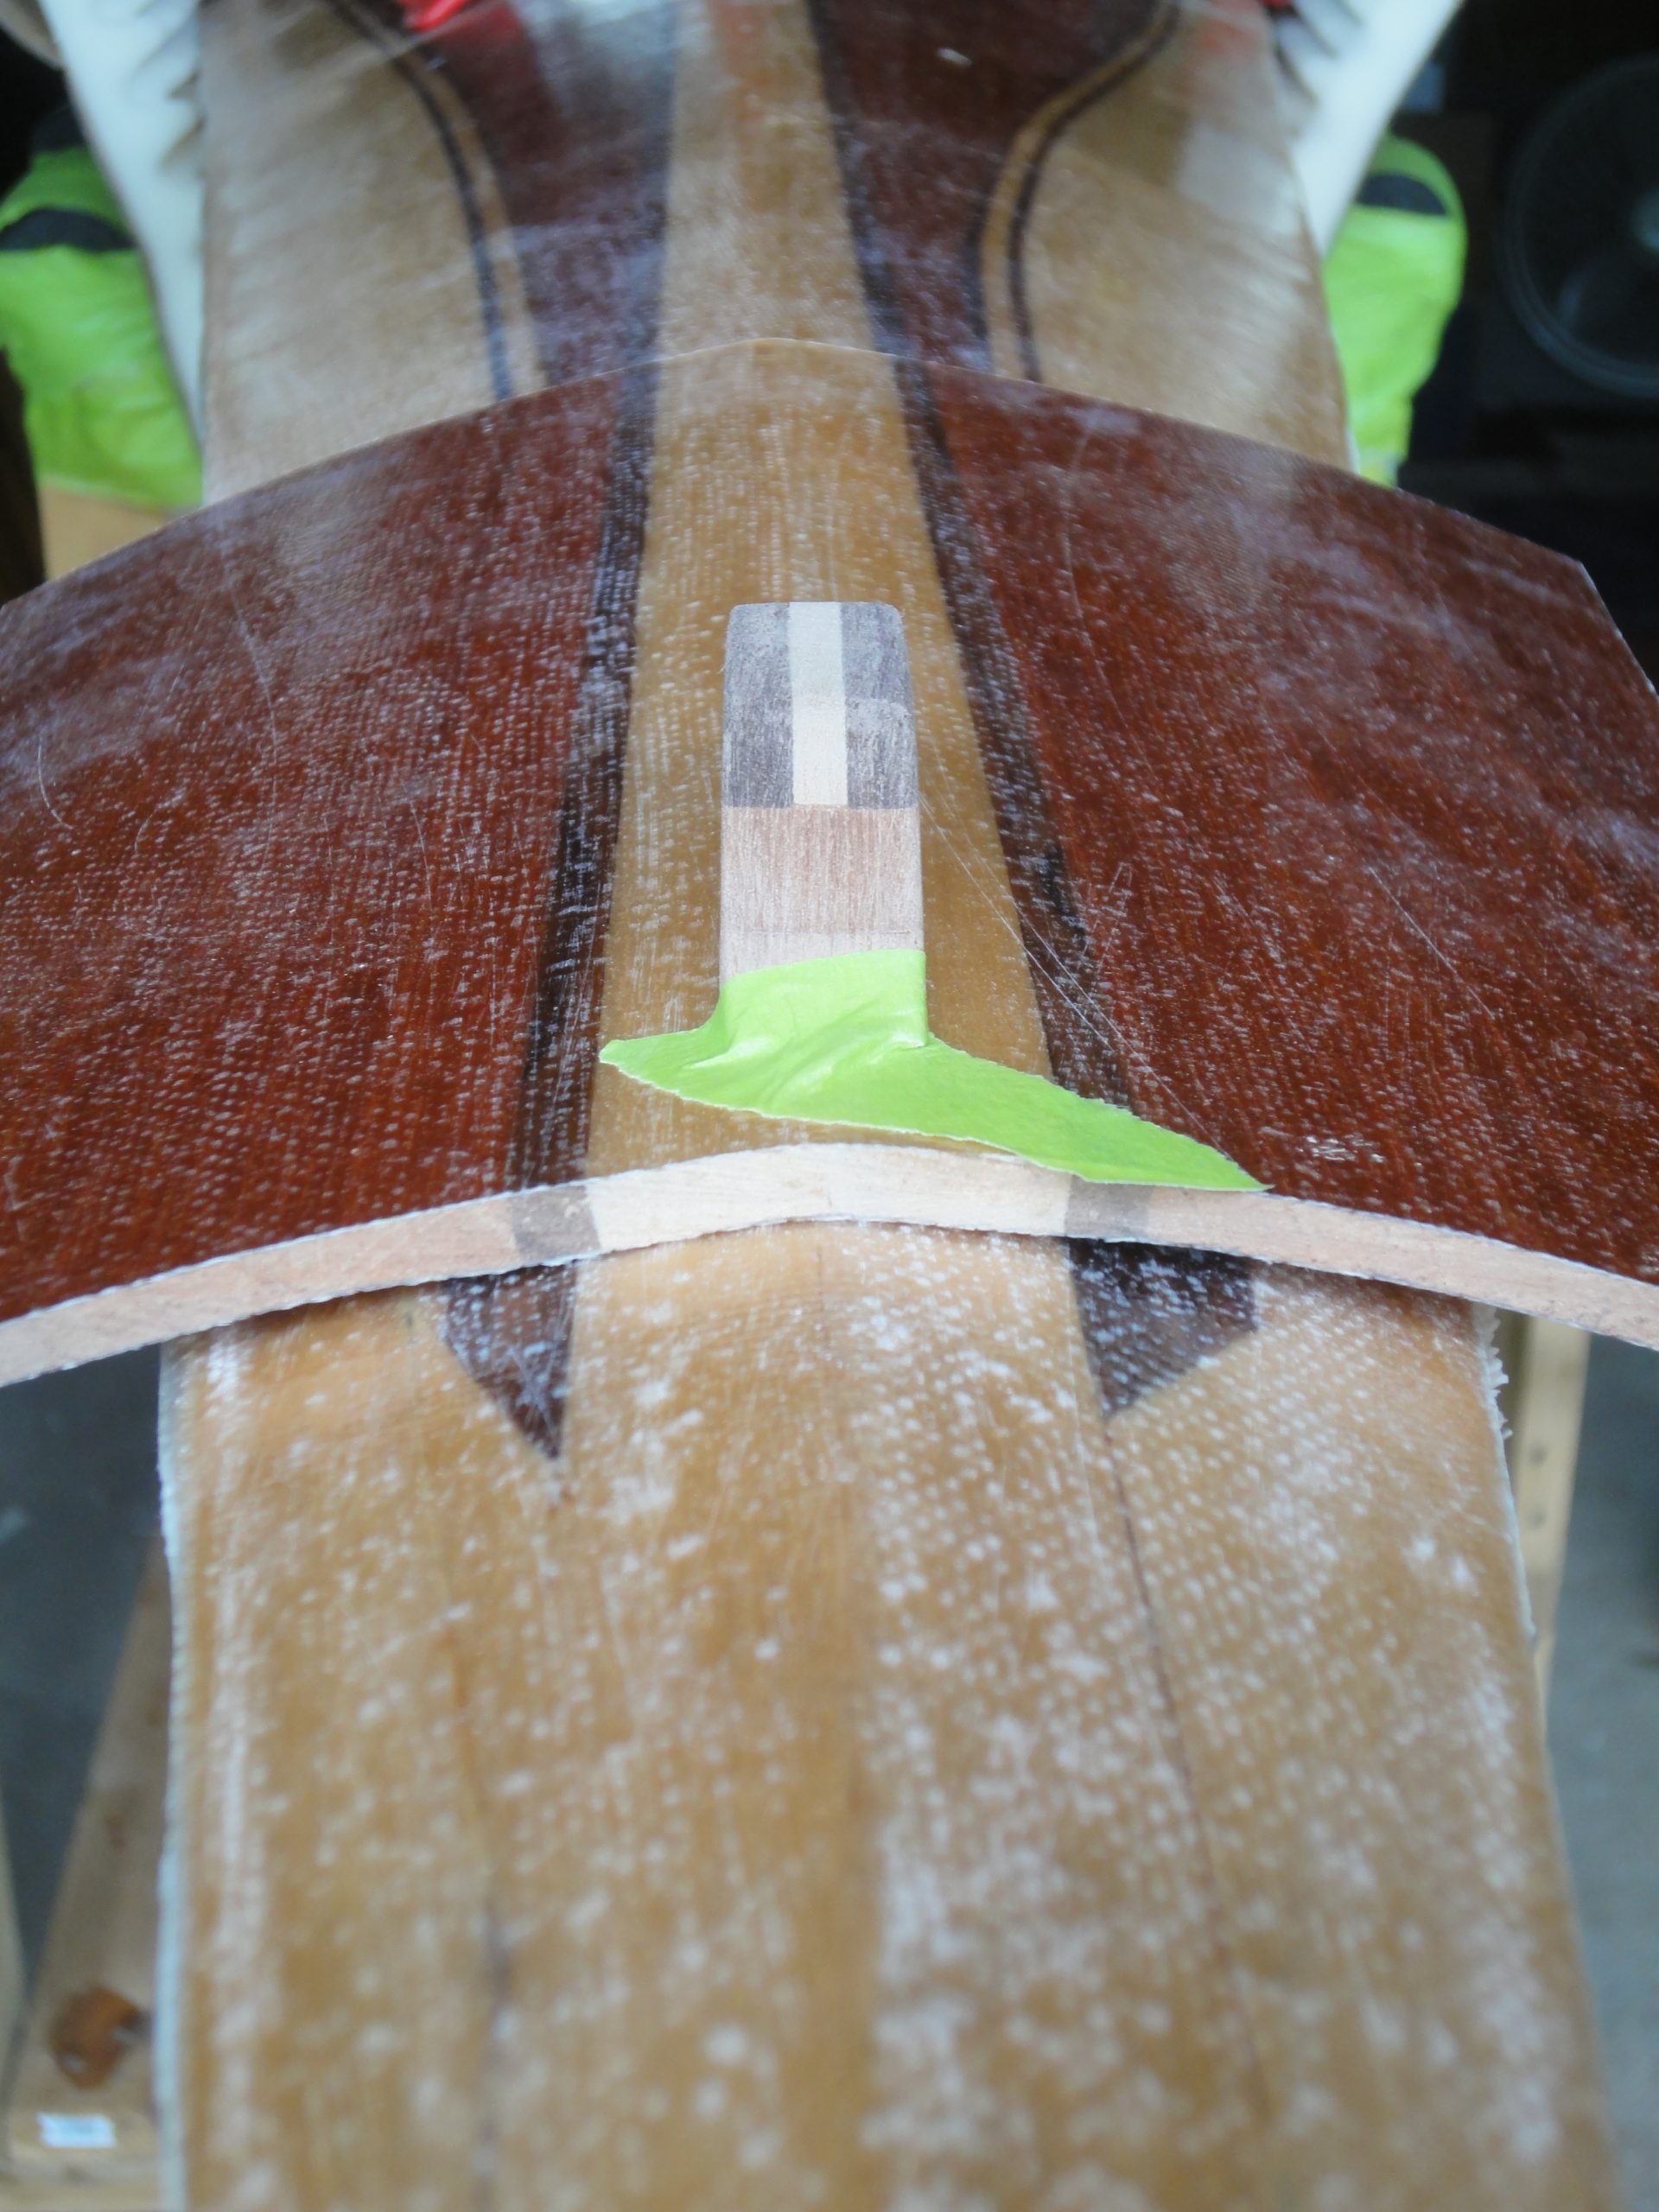
The 3/8″ spacers were epoxied in so I started building up the lip from the small pieces I cut last time. Tape was applied to the underside so the pieces would stick to each other but not yet to the boat. They will need clean up before I’m ready to attach them. I’ll also need a bump out on the bottom of the hatch so I glued up a couple of scrap pieces to get a section wide enough to hold the magnets.
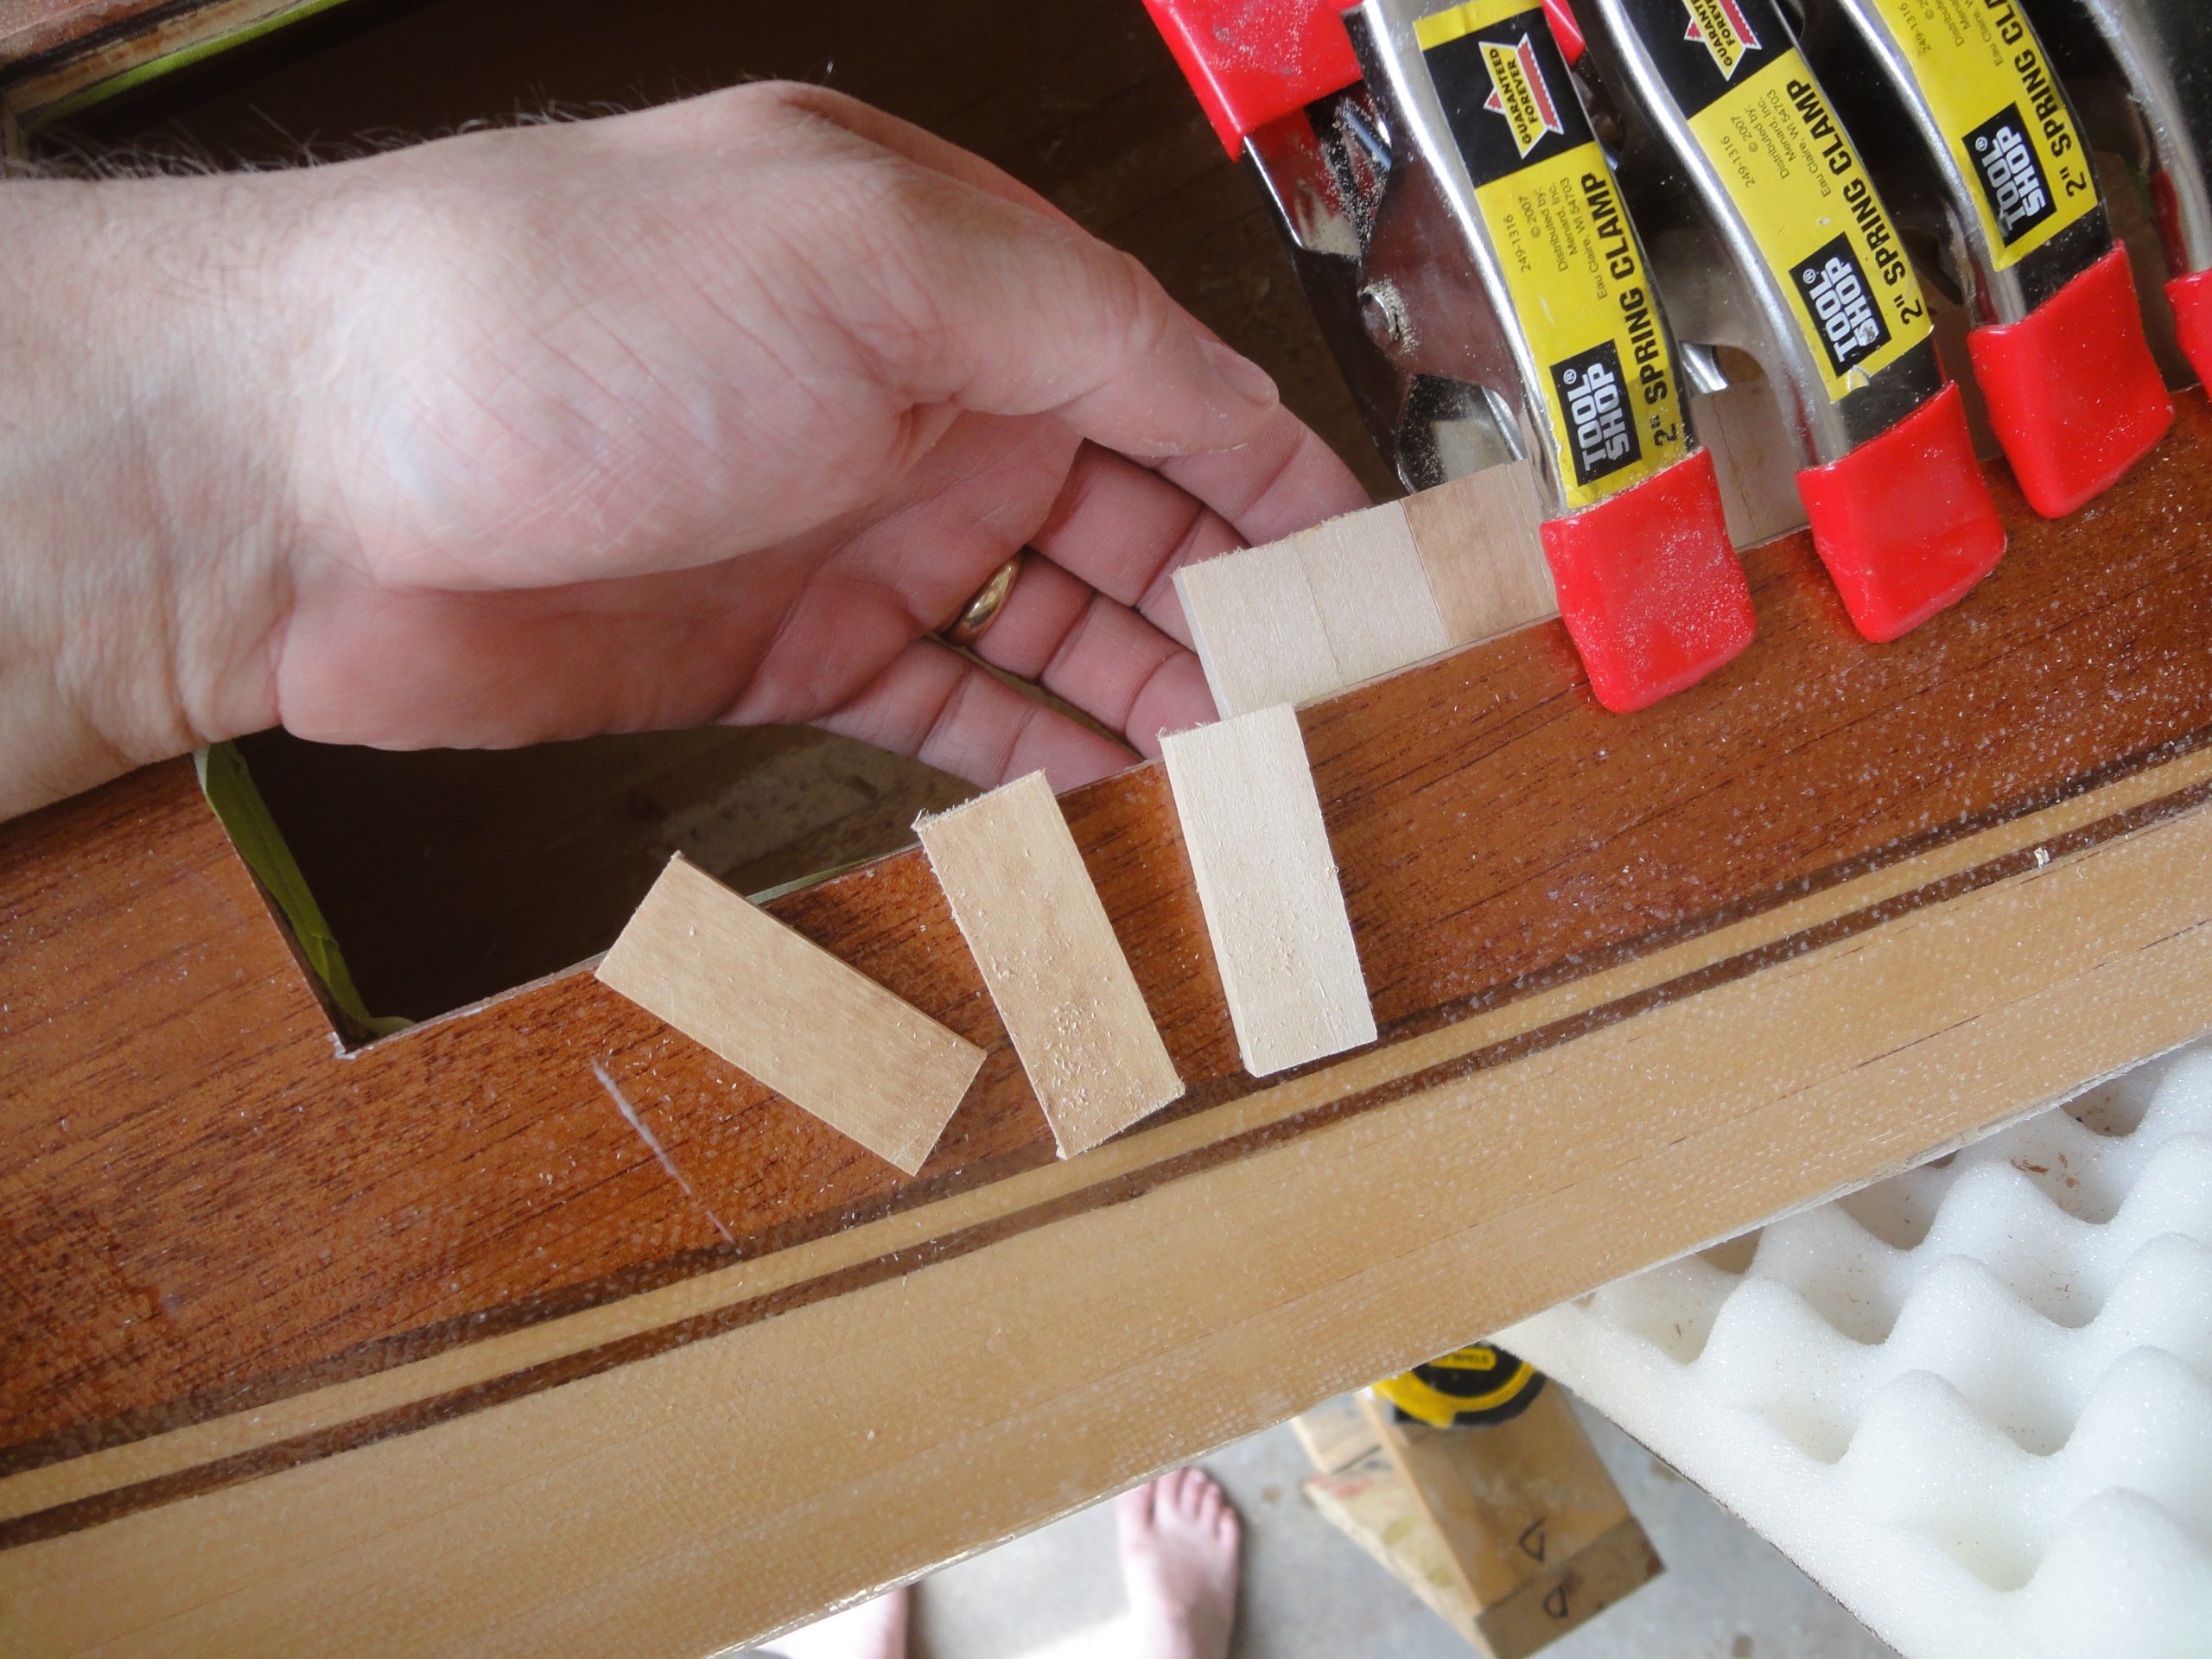
While these were drying I thought of an idea for a hatch pull. A few more scraps arranged in a somewhat decorative pattern and I had a glue up drying.
Later, after the first hatch side lip was dried I removed the clamps, and the lip and glued up the second side.
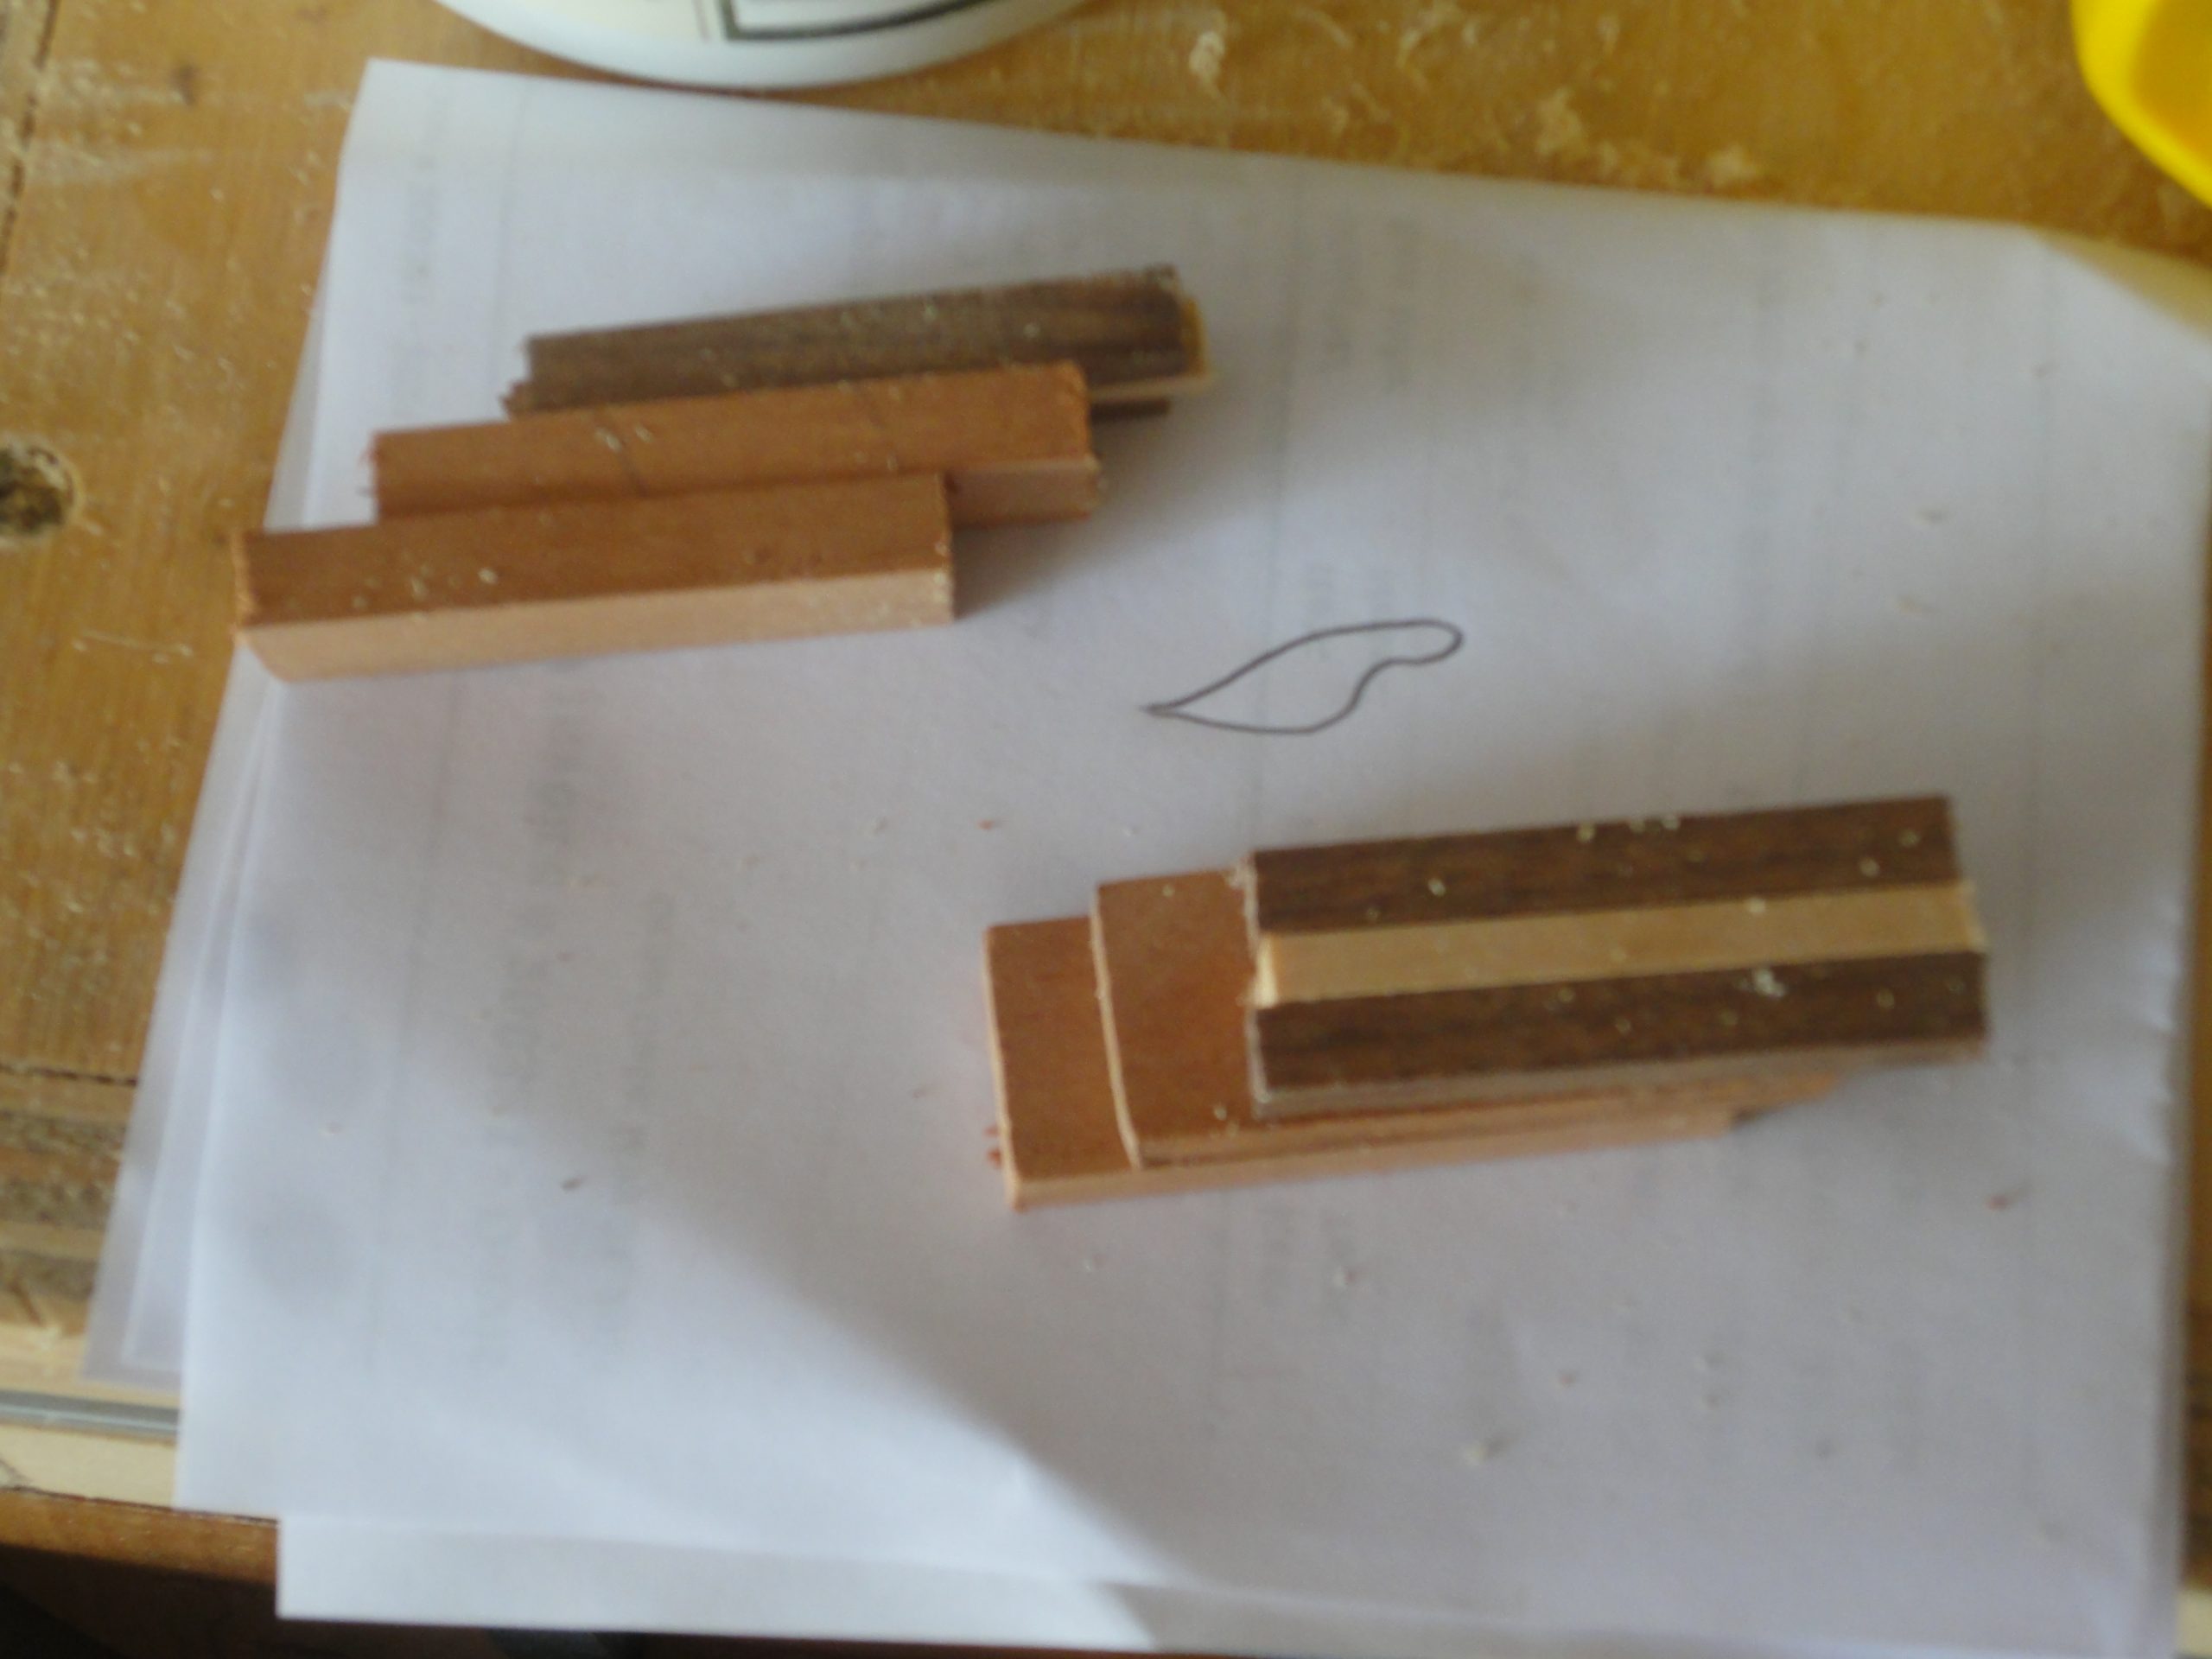
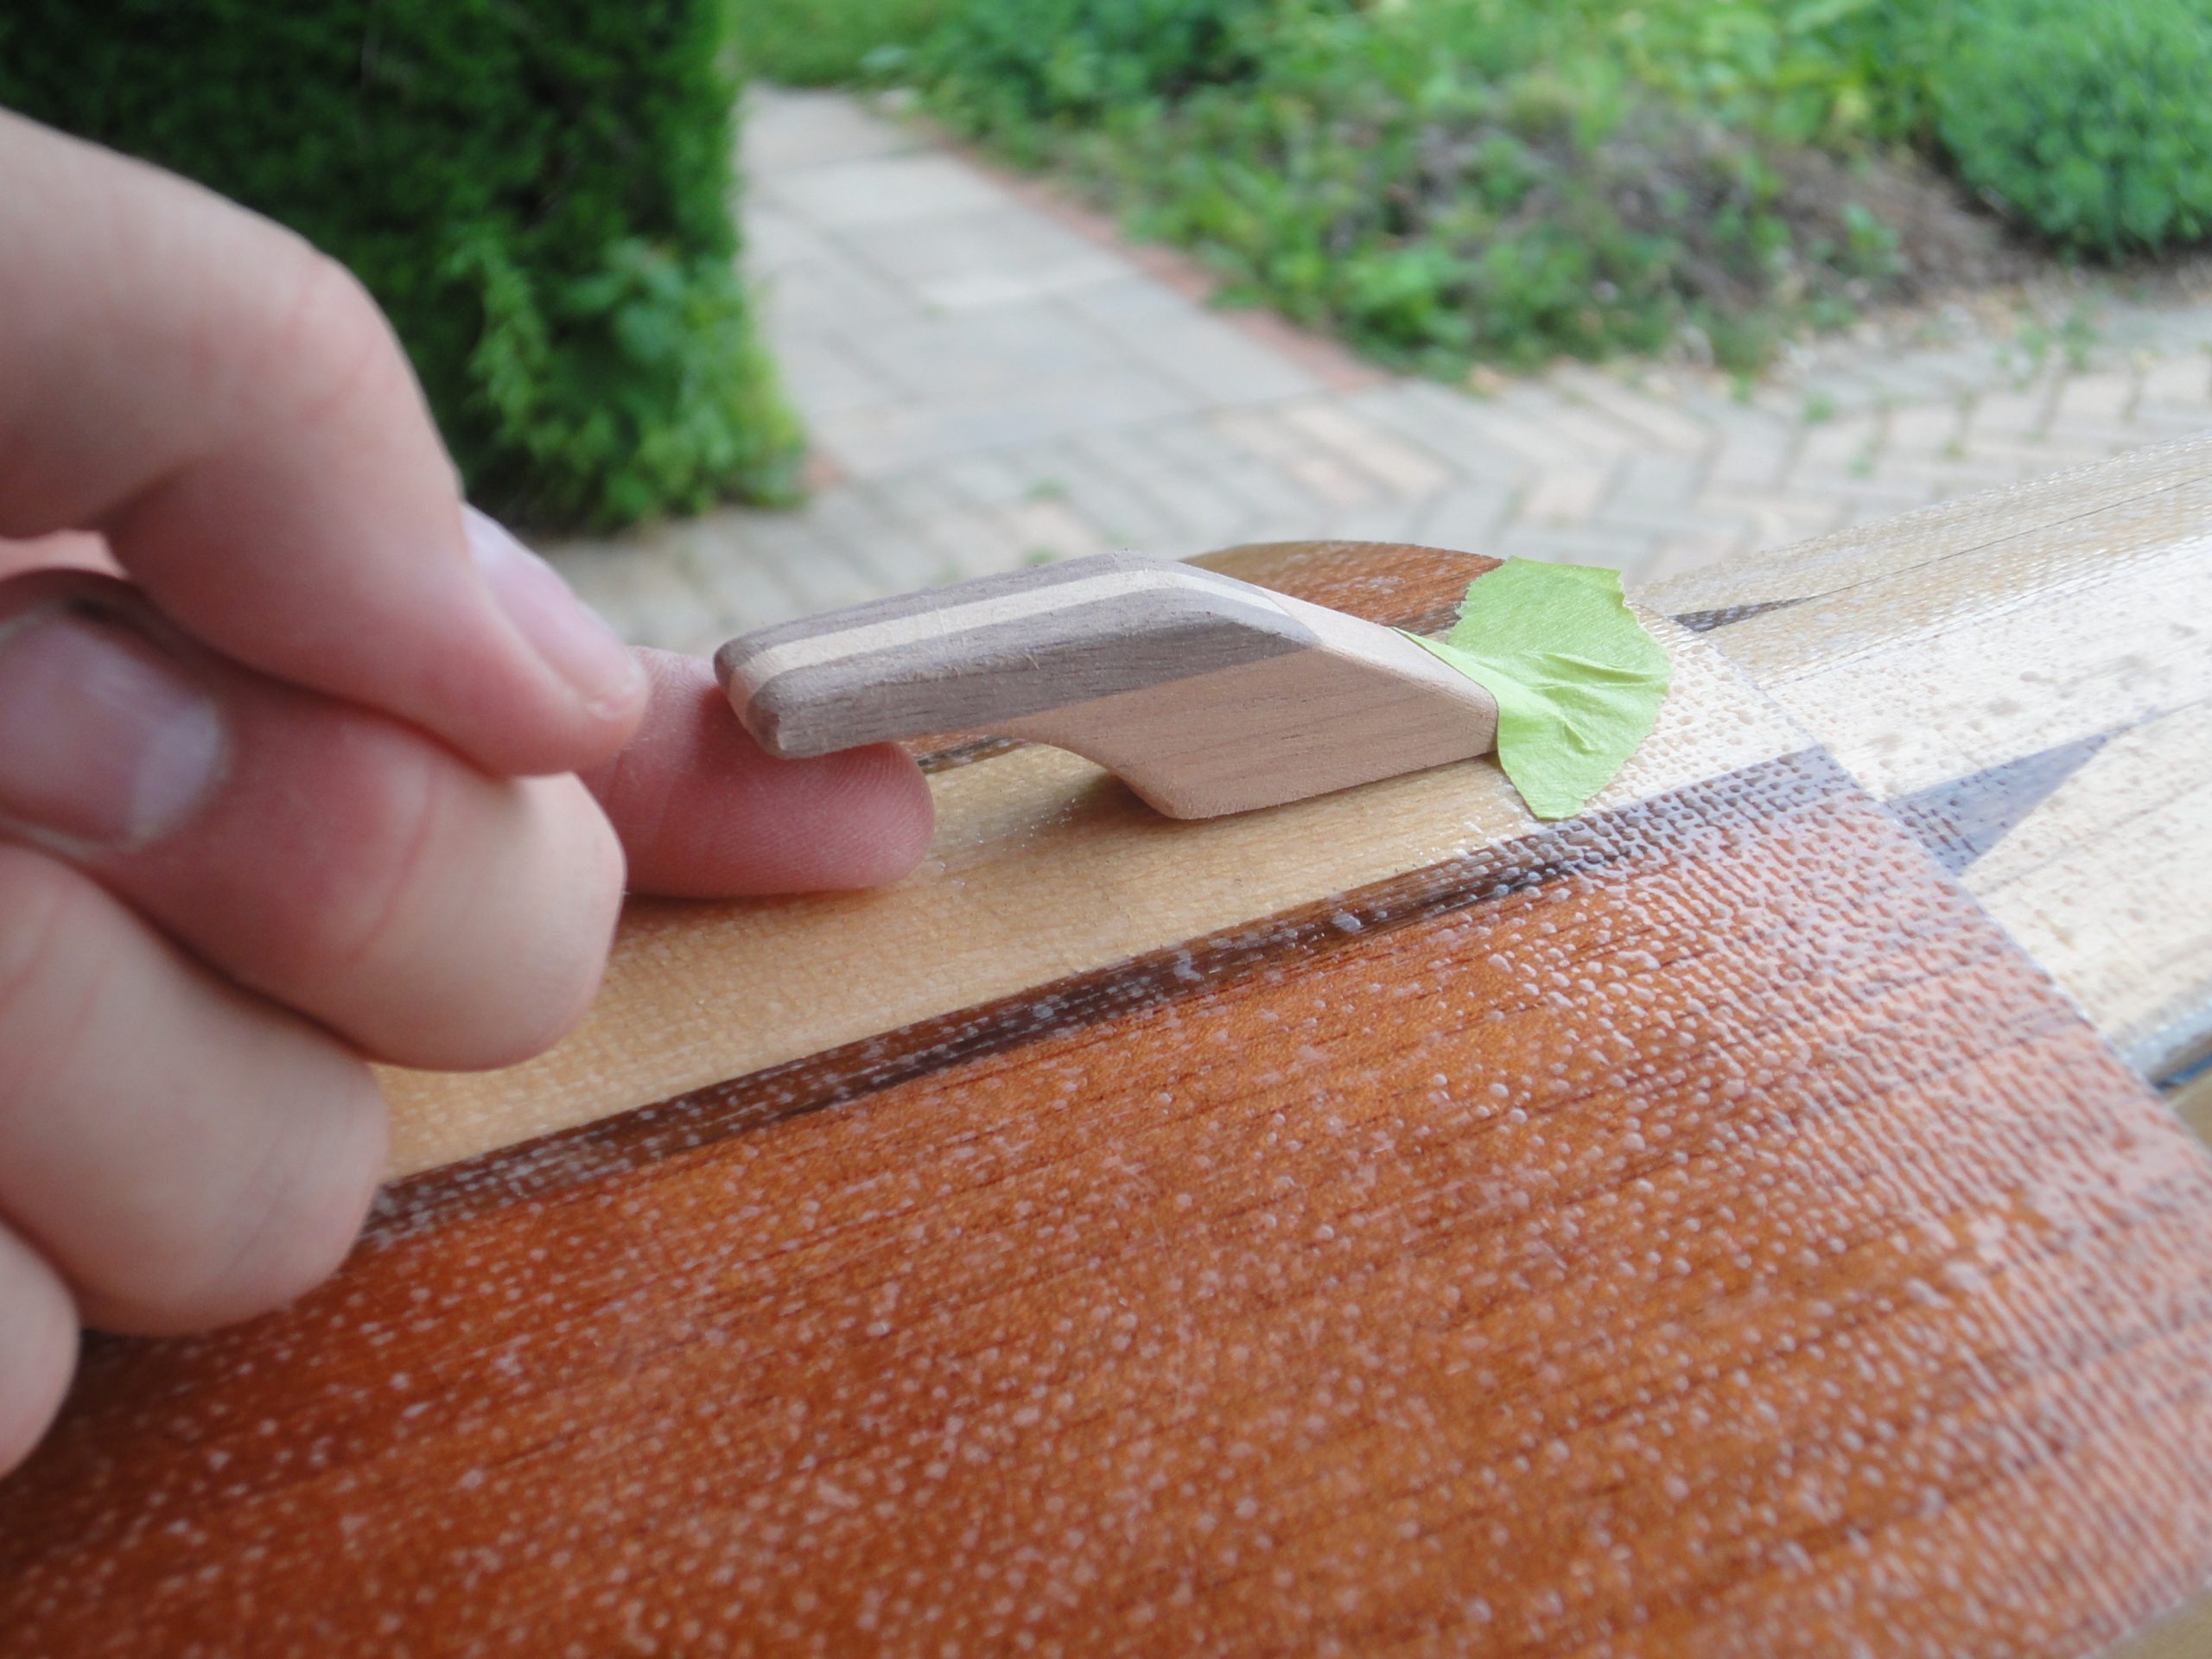
The hatch pulls were dried so I started sanding them. I probably could have pulled out the power sander and got them done quicker but hand sanding worked well and didn’t take that long. I shaped one until I was happy with it and then used it as a template for the other one. A piece of sand paper was taped to the hatch in the approximate location for the pull and I sanded the bottom of the pull to match the curvature of the hatch.

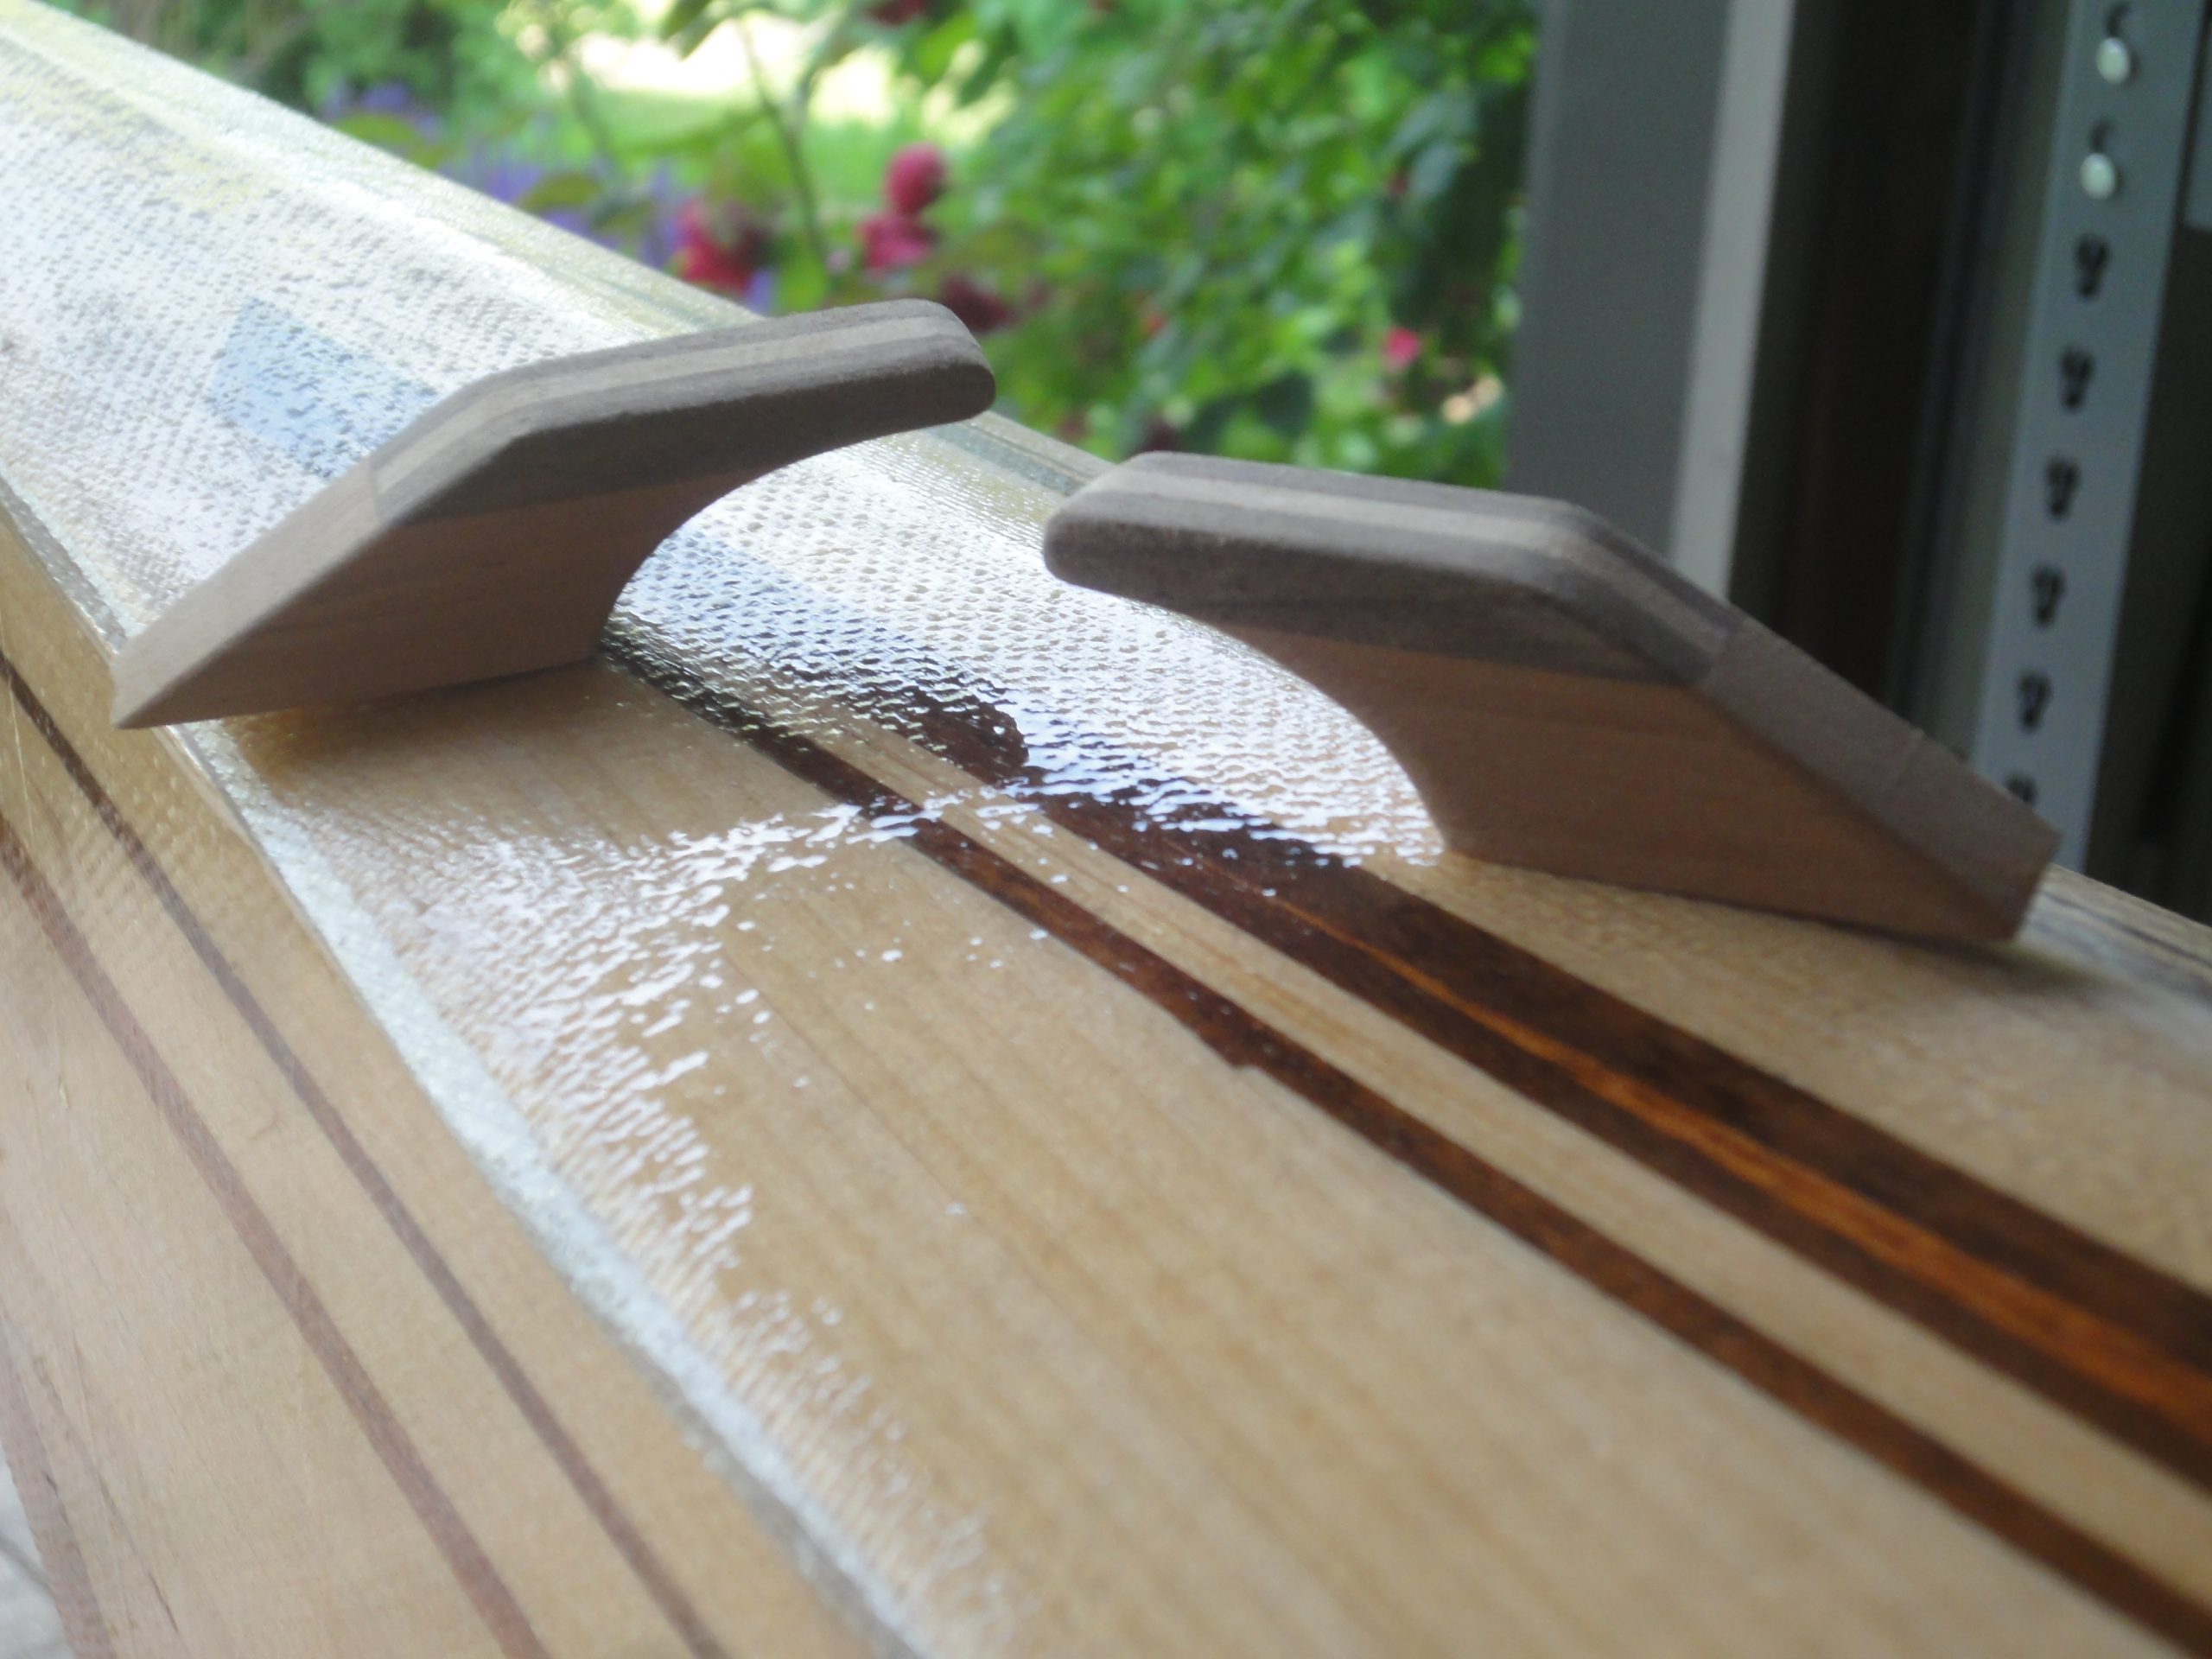
Mounting is planned to be done with a single screw from underneath and then fiberglass and epoxy coating all of the pull (and onto the deck) and at least a layer of epoxy to protect the screw head on the bottom.