
After a long winter, a cool spring and a bunch of misc projects including re-arranging the garage for a better shop experience I’m finally back to working on the kayak.
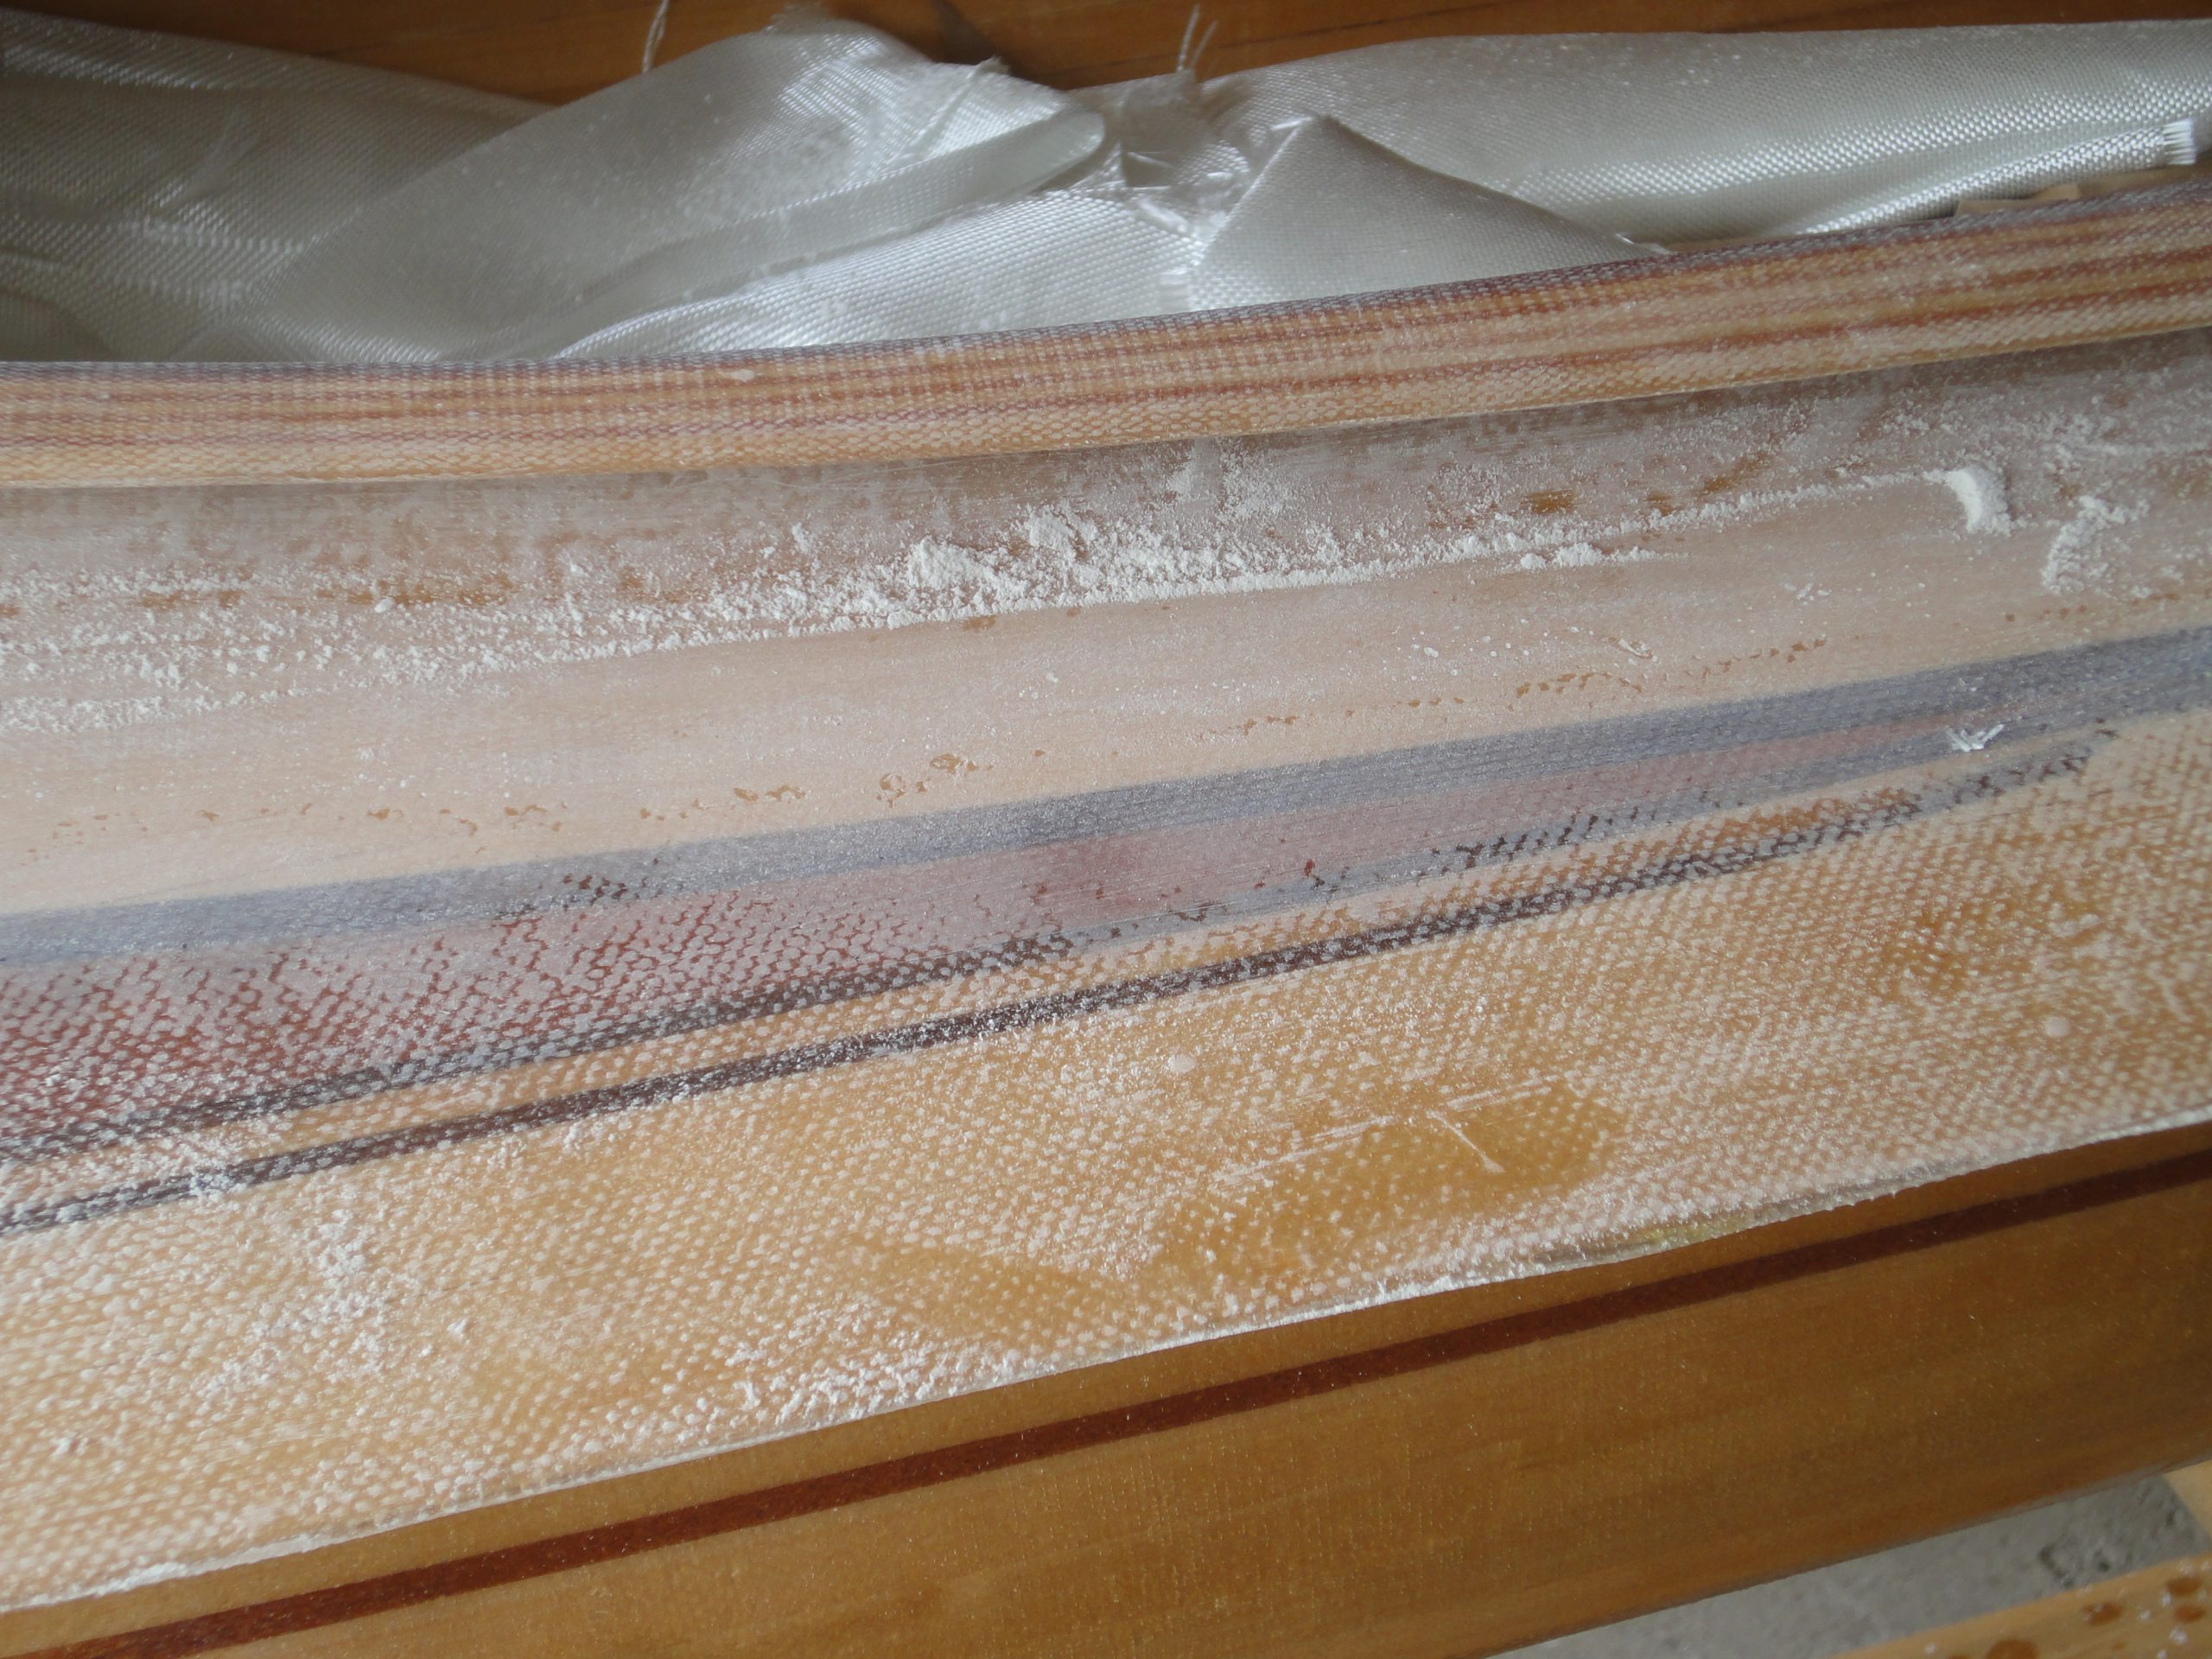
To get back in the grove I did a bit of sanding. A quick sand over the entire deck top, initially to hit the drips and other high spots but mostly focusing on the coaming area.
As promised I agreed to share not only the successes but also the mistakes. So first off I noticed that the deck and the hull did not align as they did on the forms. I’m guessing the fiberglassing and epoxying pulled the sides in. Not sure if I’m going to try to stretch them out when I attach the two together or if I’ll trim off the overhang on the deck to get them to align again. Either way it’ll take some research to figure out the best approach.


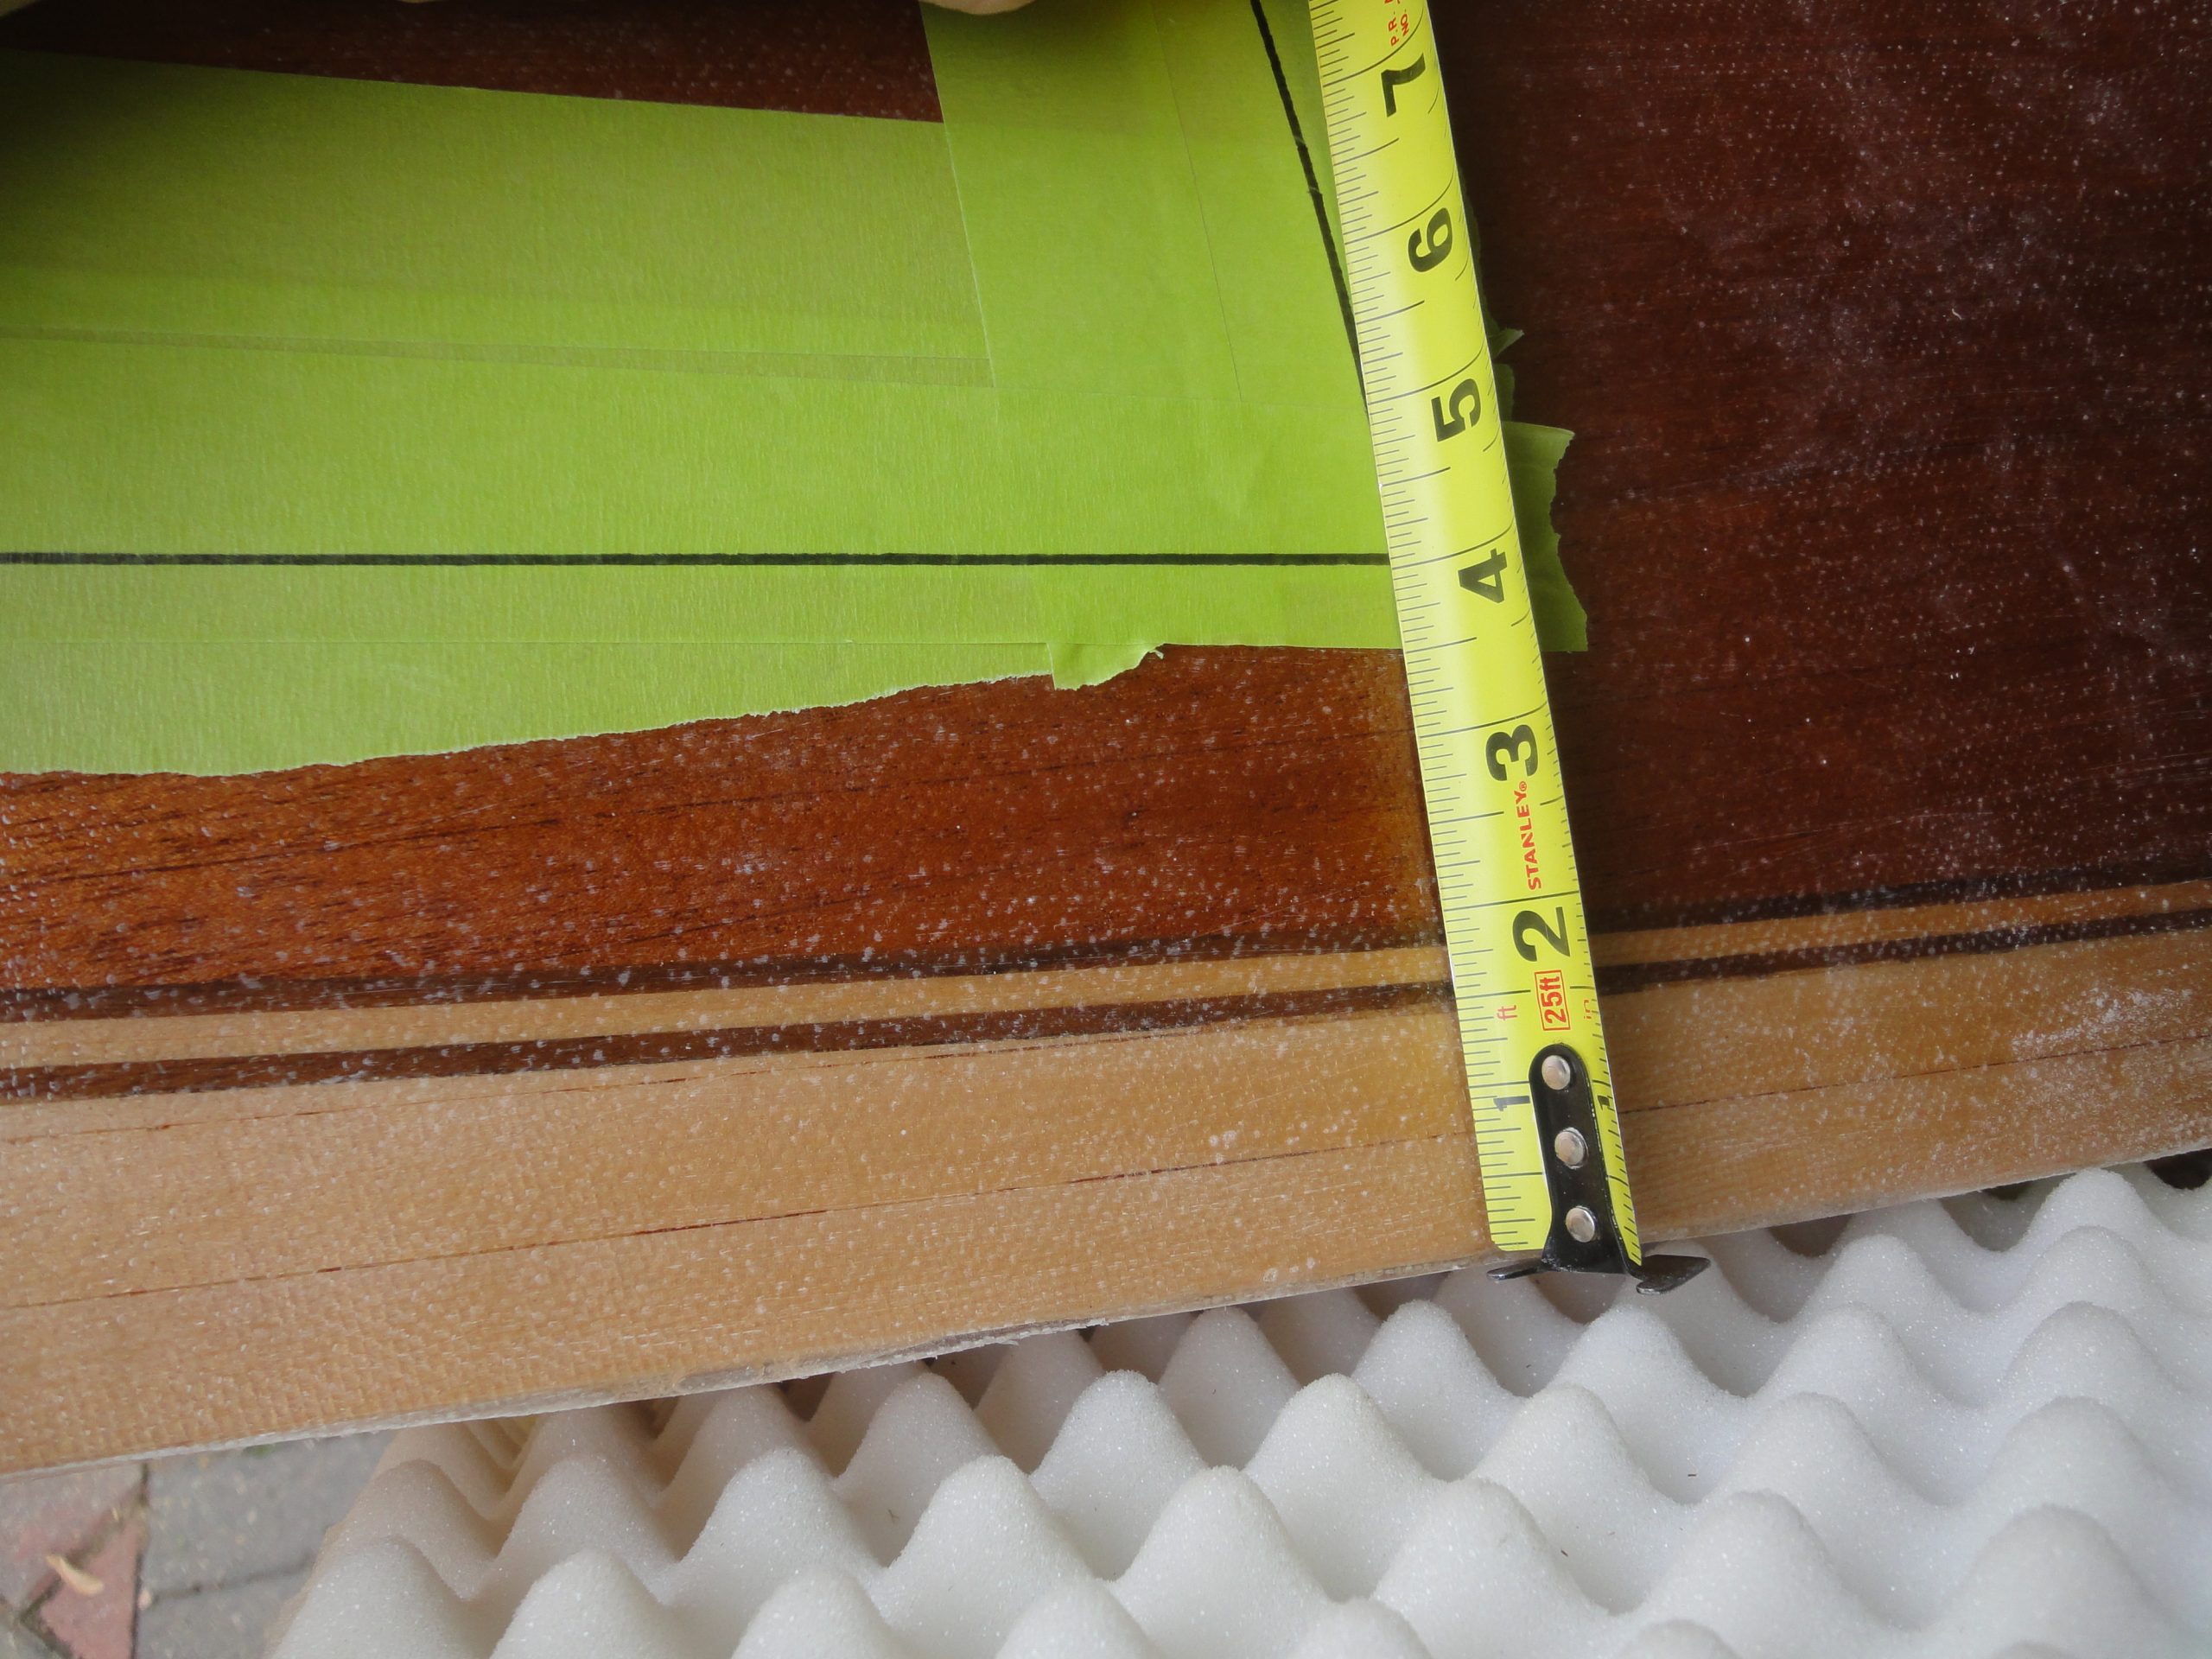
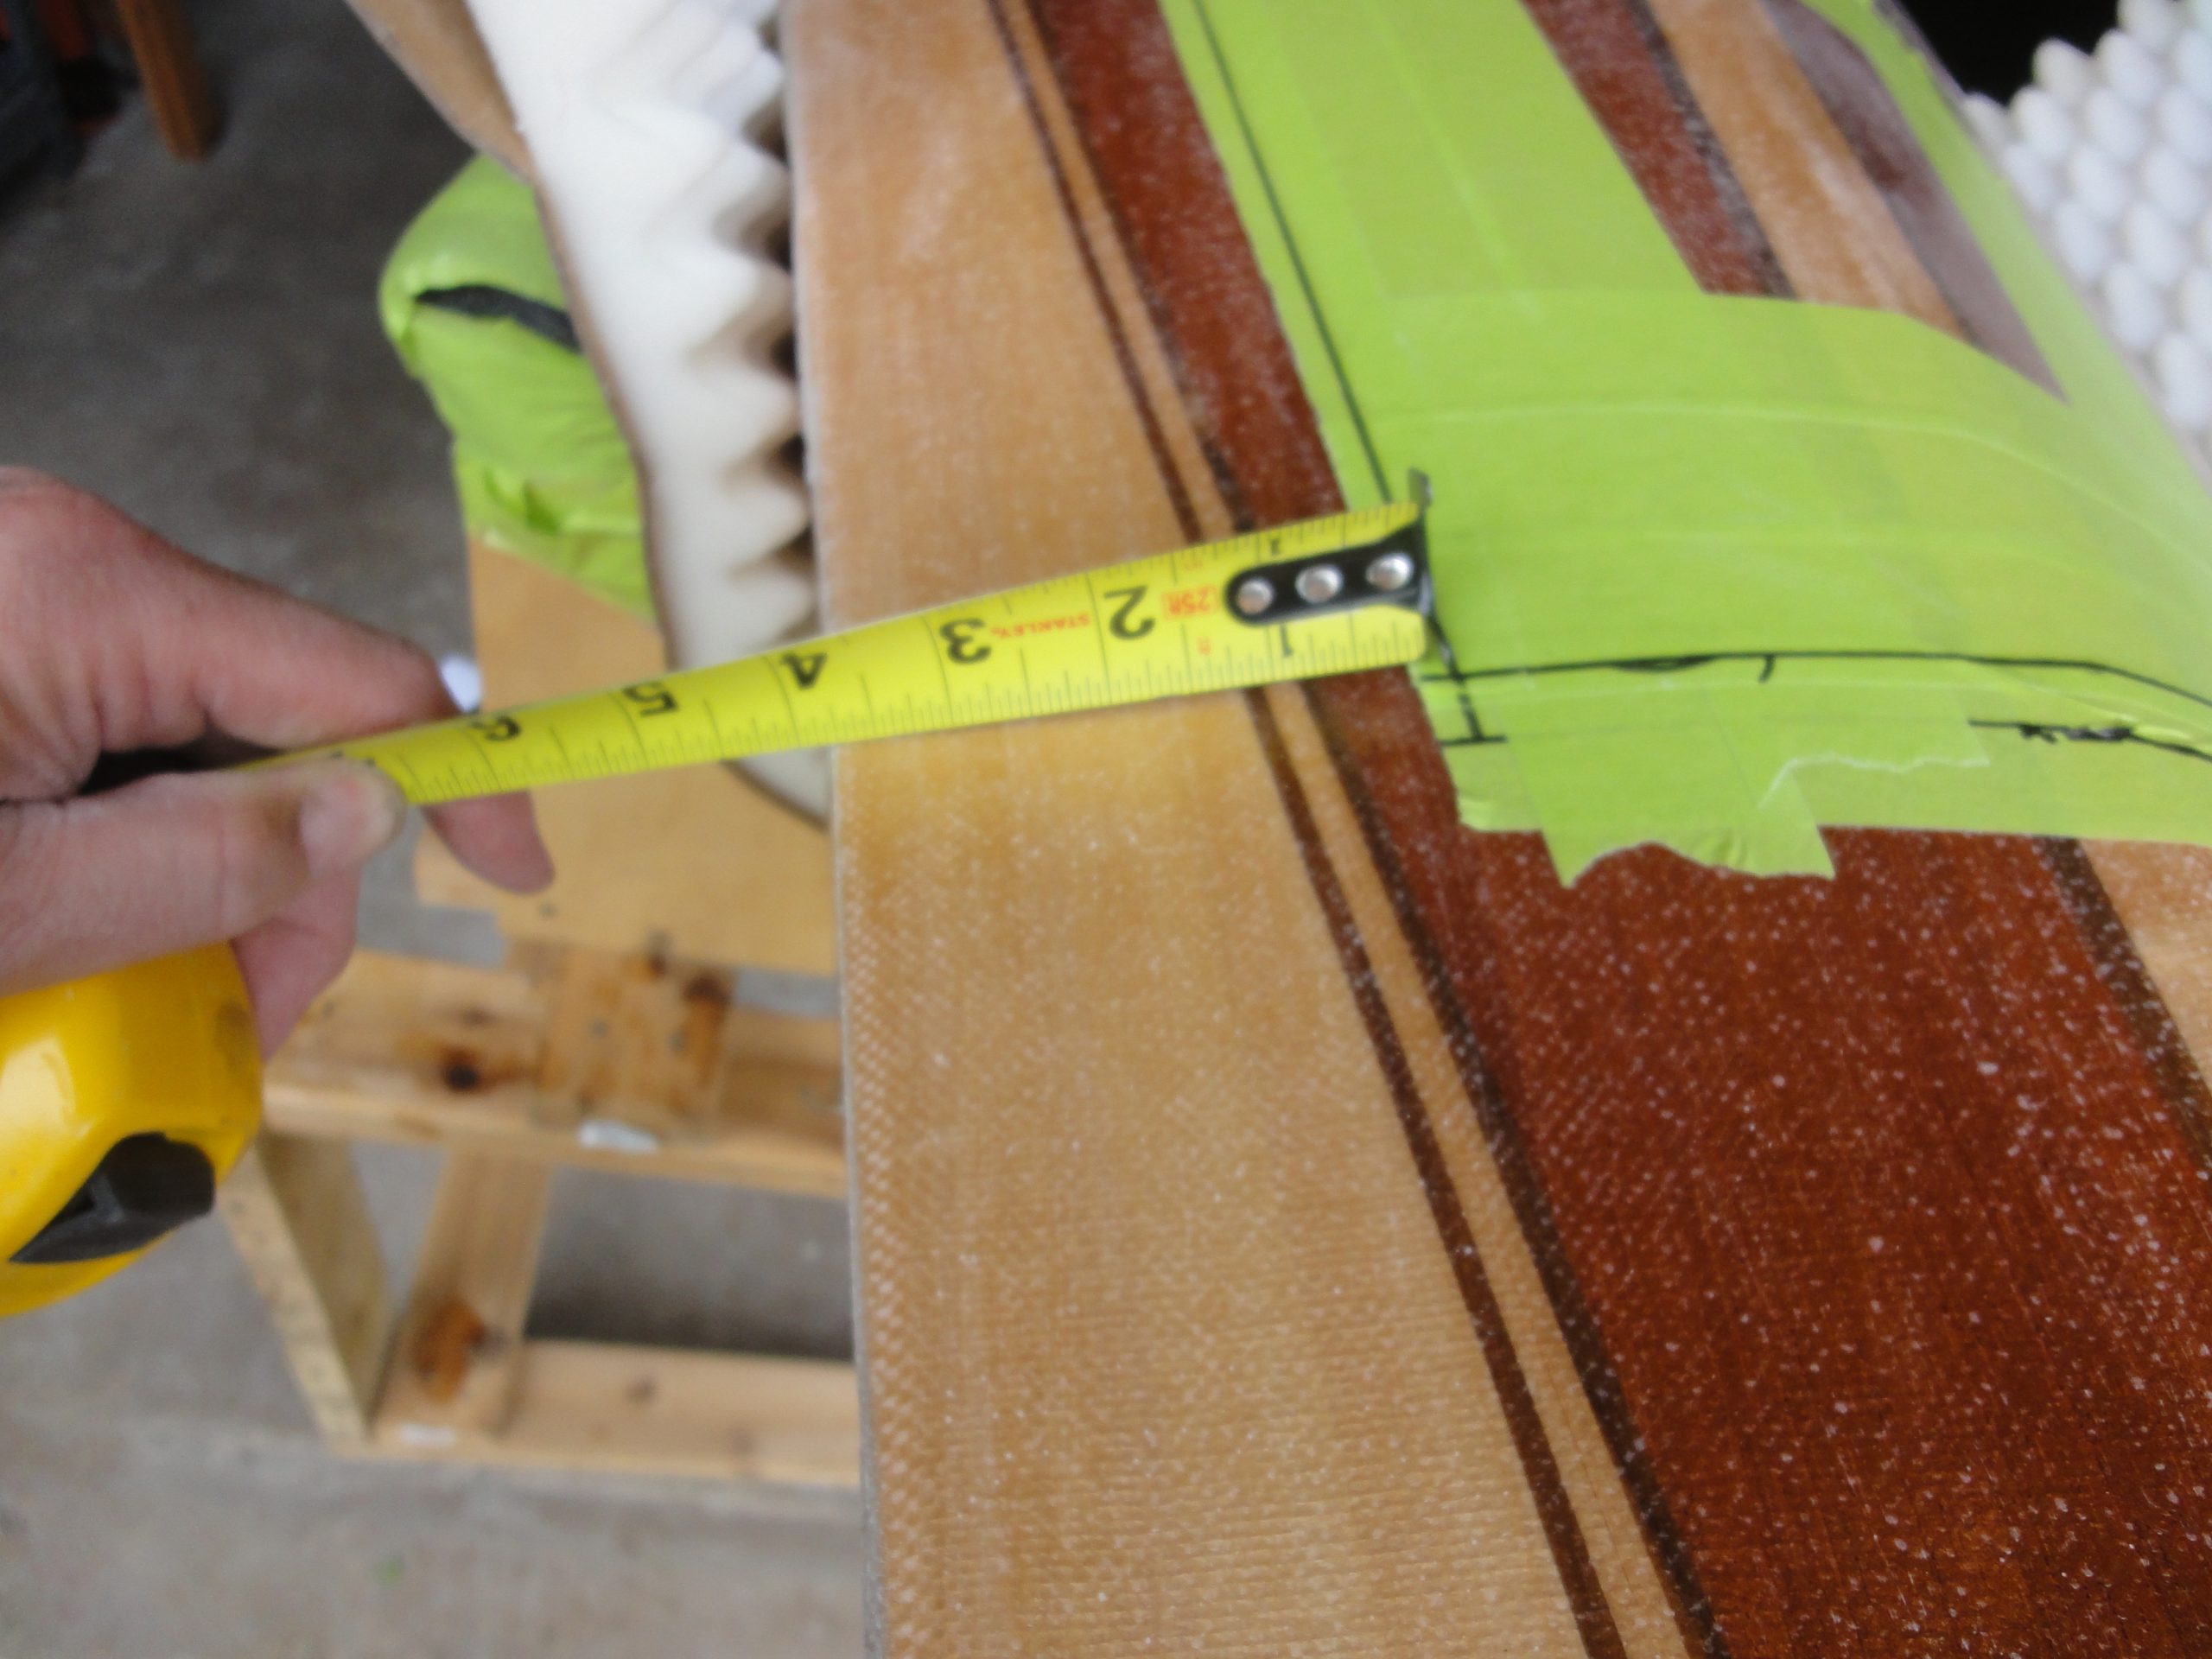
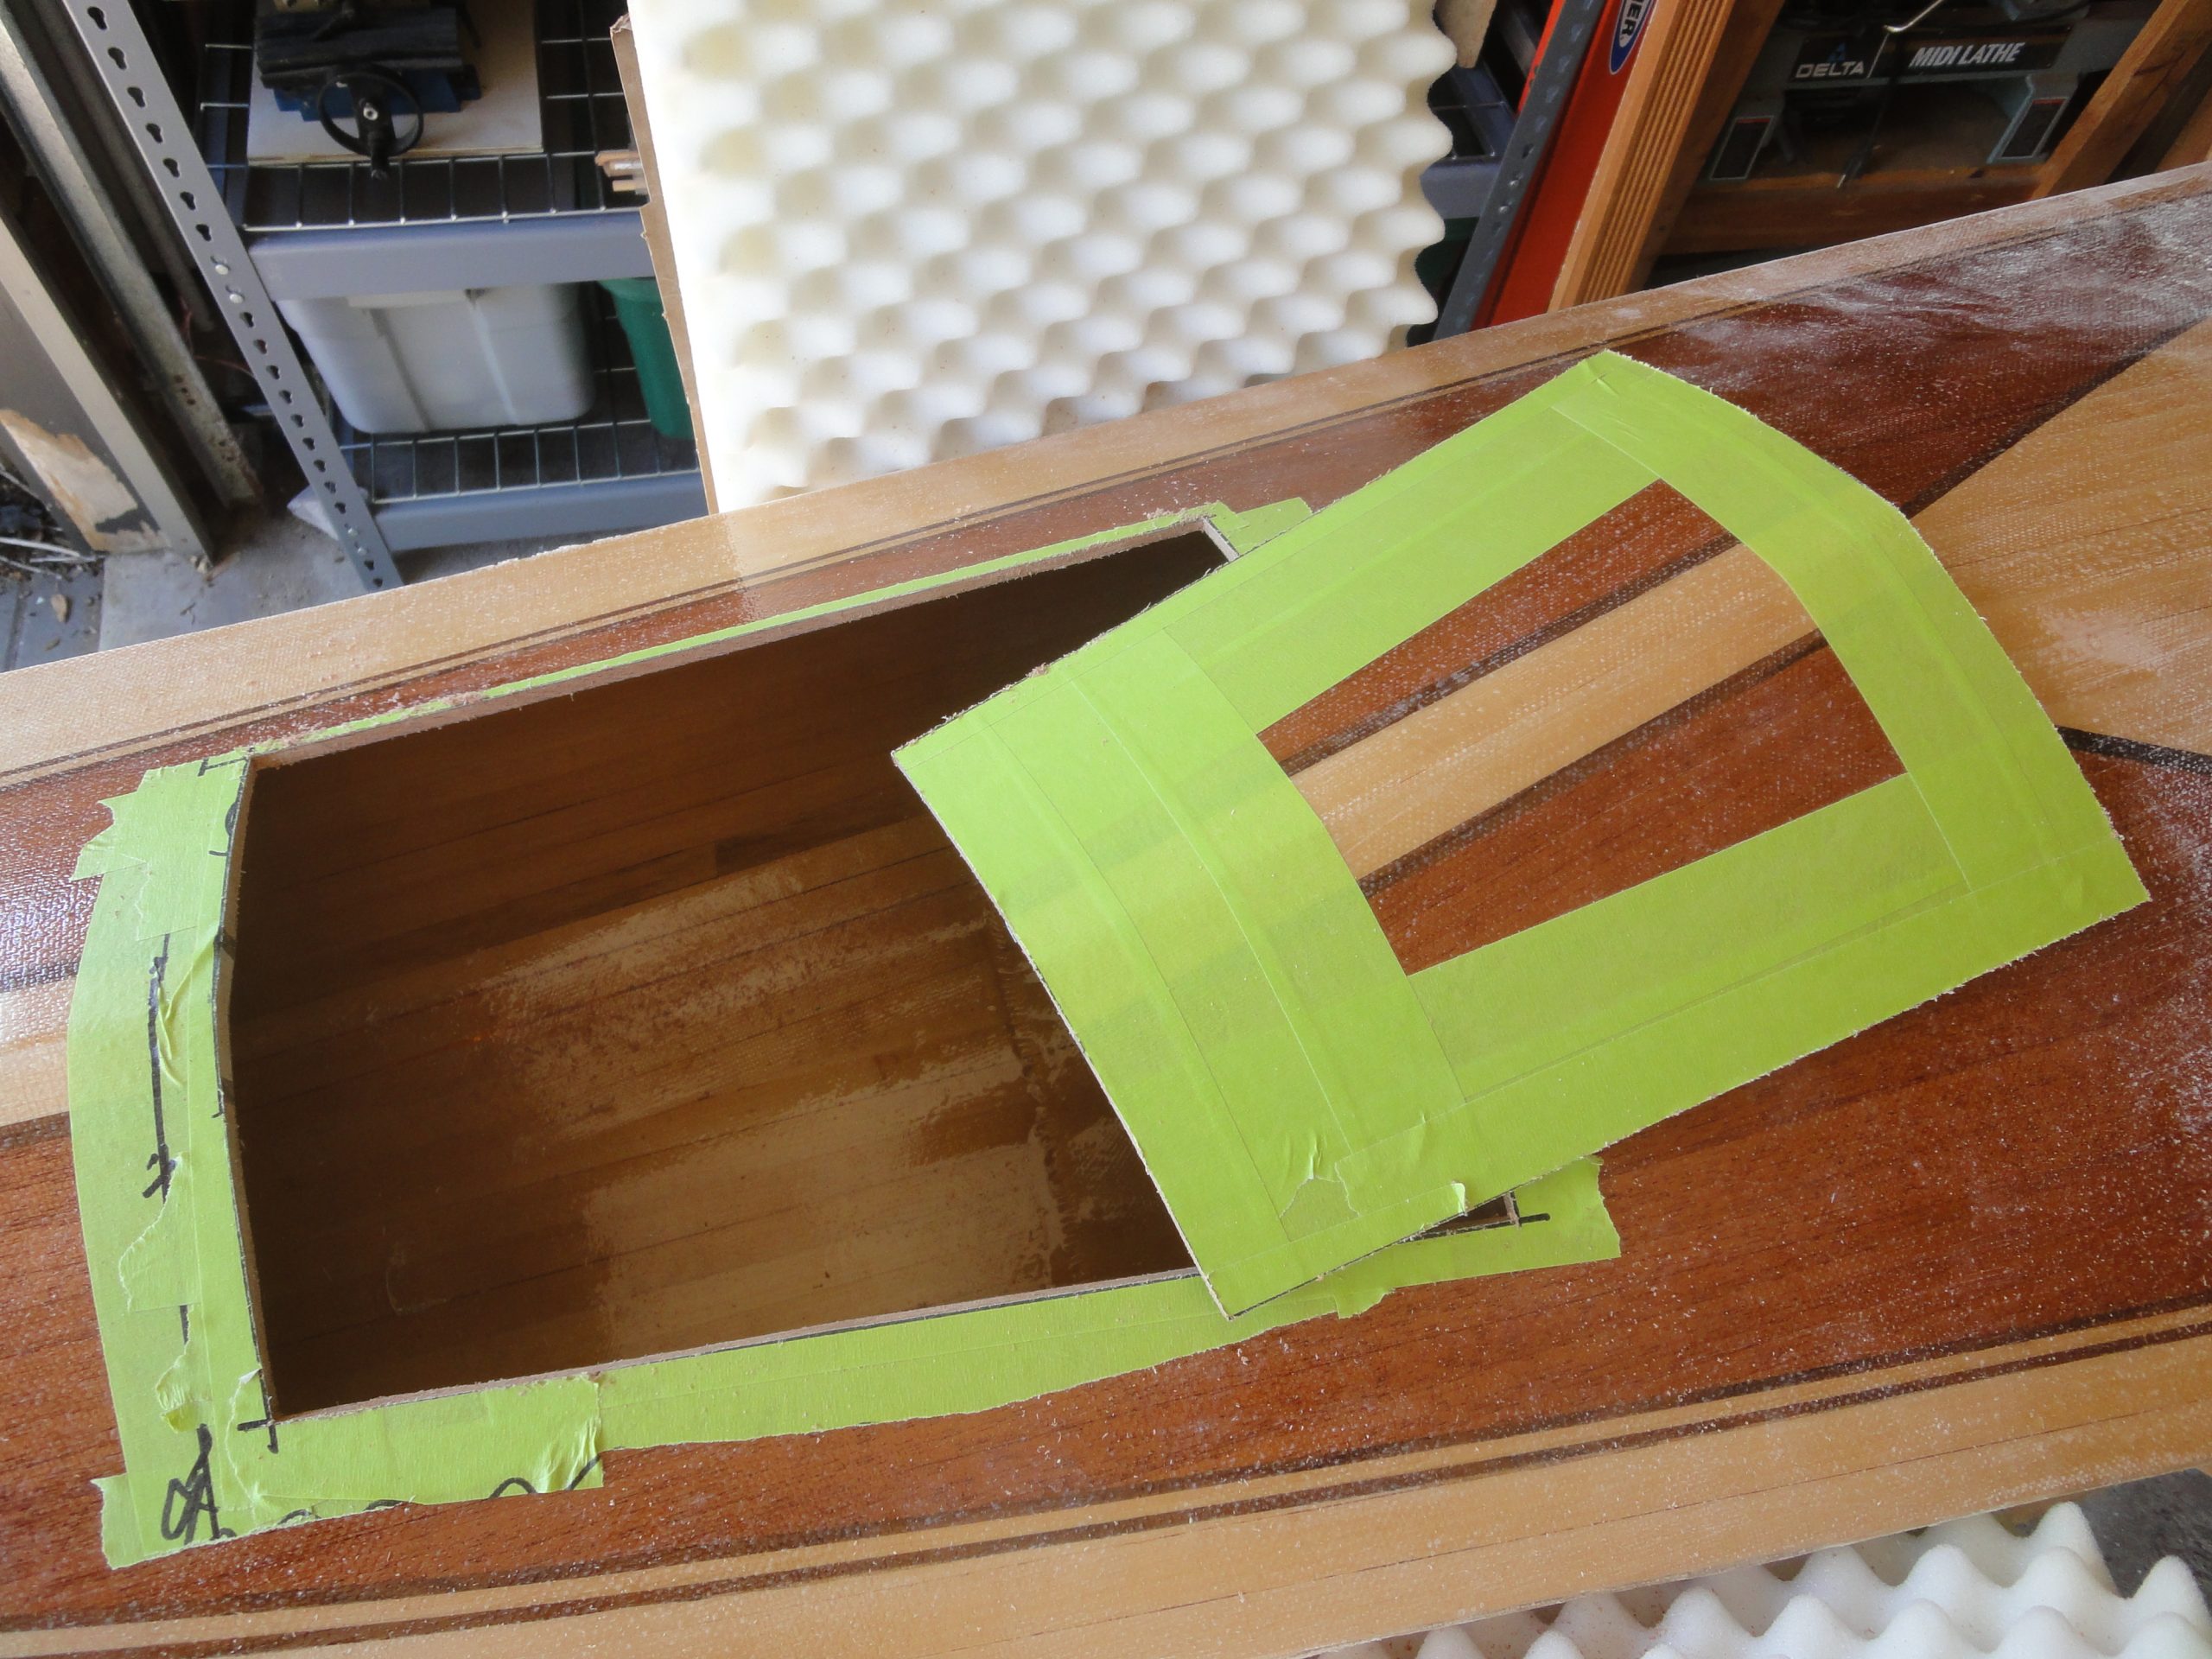
Mistake number two. Yeah, this one kind of hurts. I decided to do a front hatch instead of a bulkhead hatch and I found one of my templates from last year and laid it out. I’m actually going to use the inner area so it’ll be cut smaller than the template BUT after laying it out equal distance from the sides I noticed a big problem. It does not look centered. Upon further review and triple checking my measurements I noticed the two front detail panels do not follow the same curve. One has a more gentle curve, the other curves out more quickly. Unless you pay attention this really isn’t obvious but with the hatch it becomes more apparent when the sides don’t look “equal”.
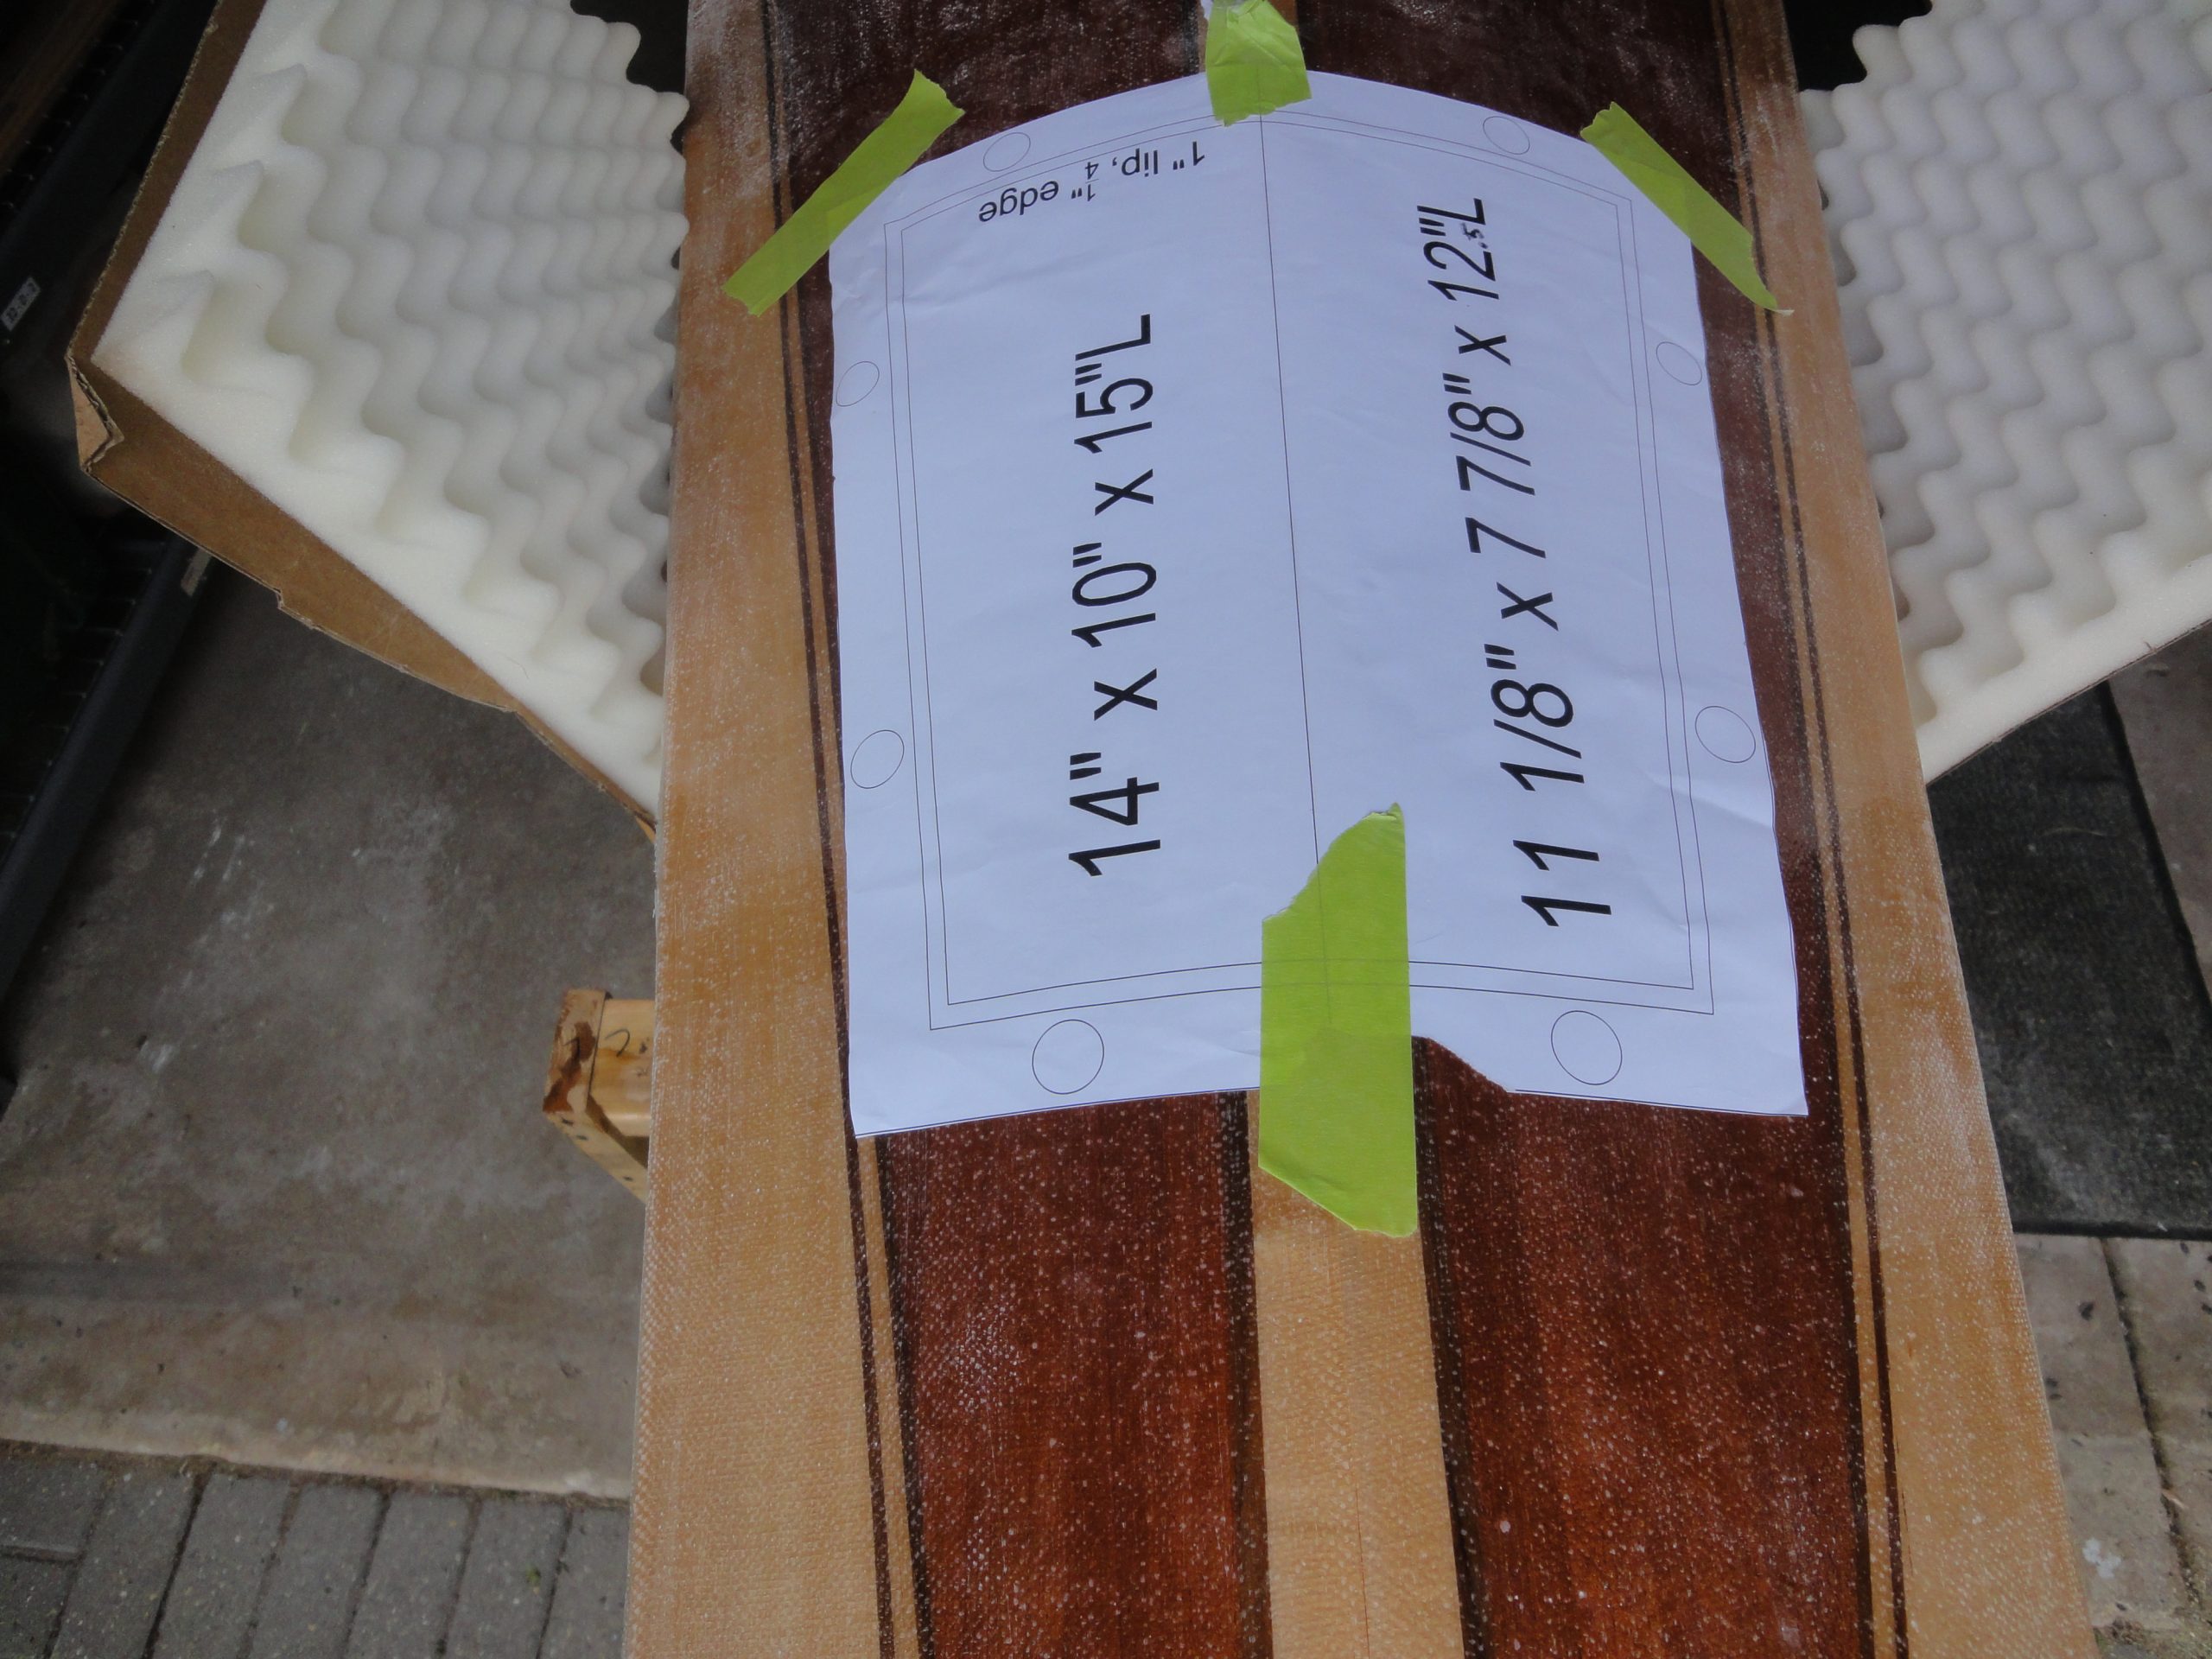

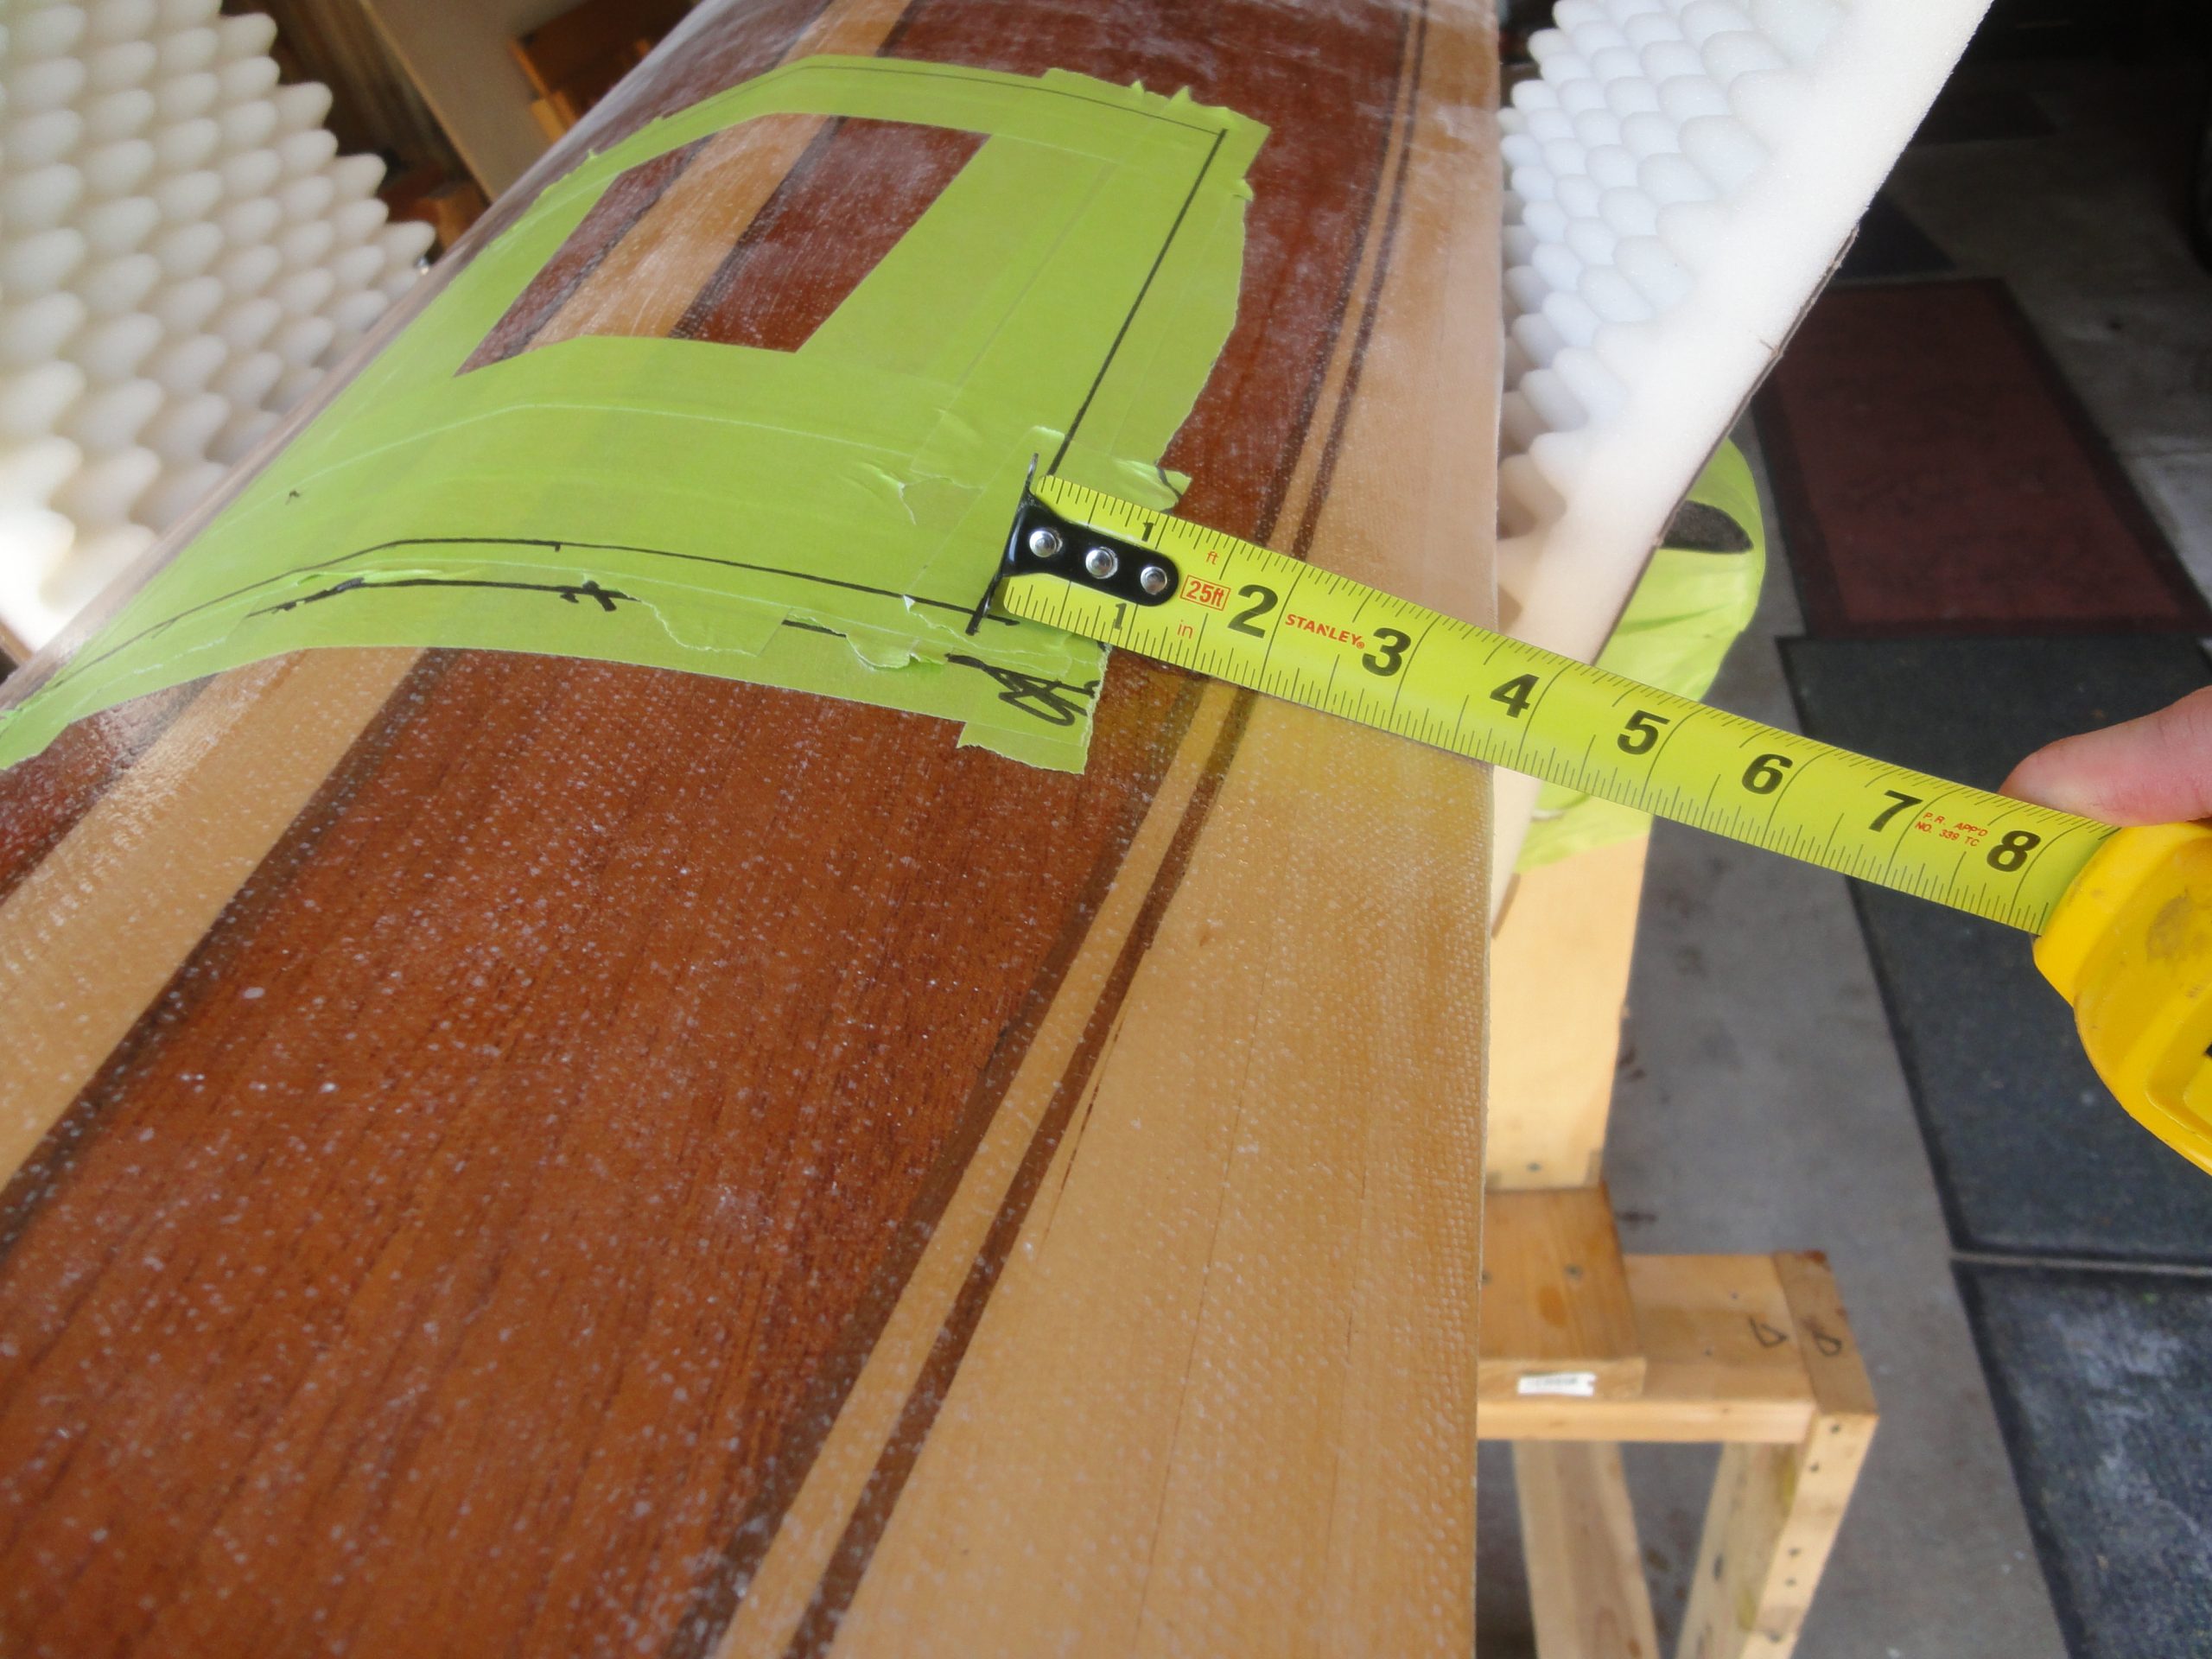

I noticed this actually last weekend and was obsessing over it this week. I kept wracking by brain trying to come up with an option and failing that was even considering redoing the entire deck. Then while listening to a podcast (Fine Woodworking) one of the topics happened to be essentially
how to stop obsessing over perfection.” I took it to heart and realized that unless I point out the “mistake” most people will never noticed and if this is the worst “problem” I have with my first kayak build then I need to be happy with it.
So I’m not going to sweat this and just accept it as is. Visually it might be a little off and I’ve decided I’m OK with that.
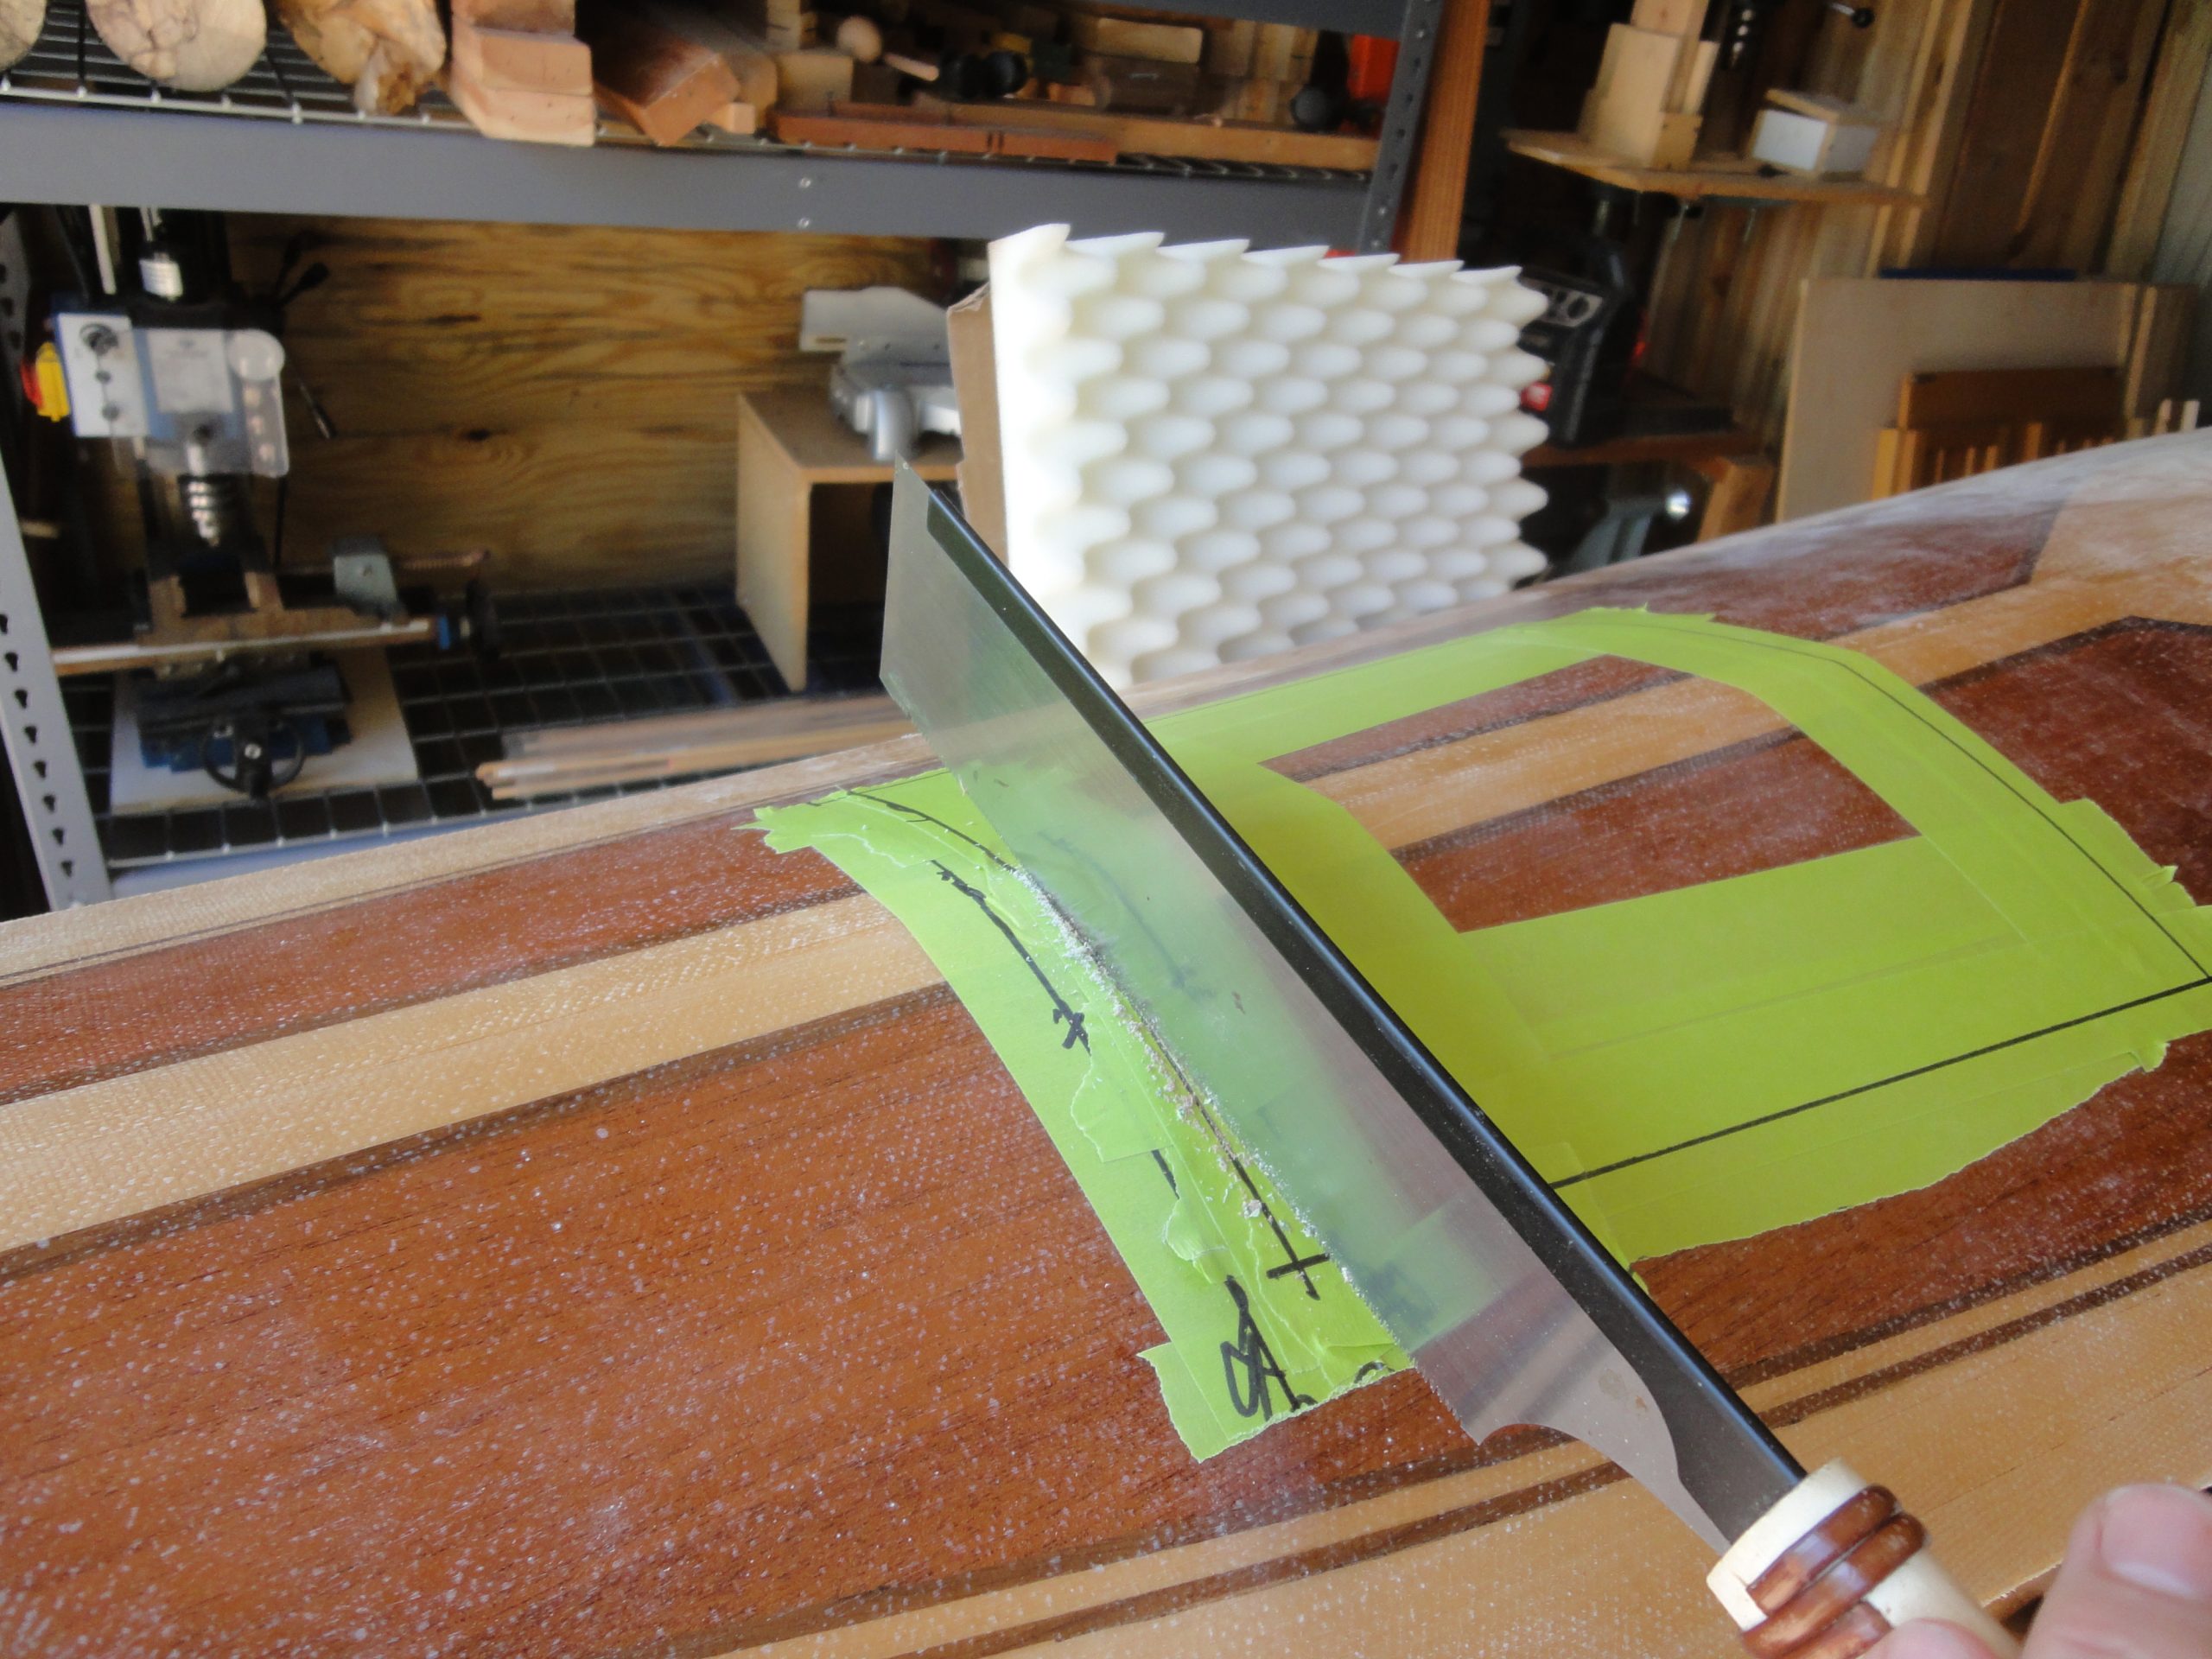
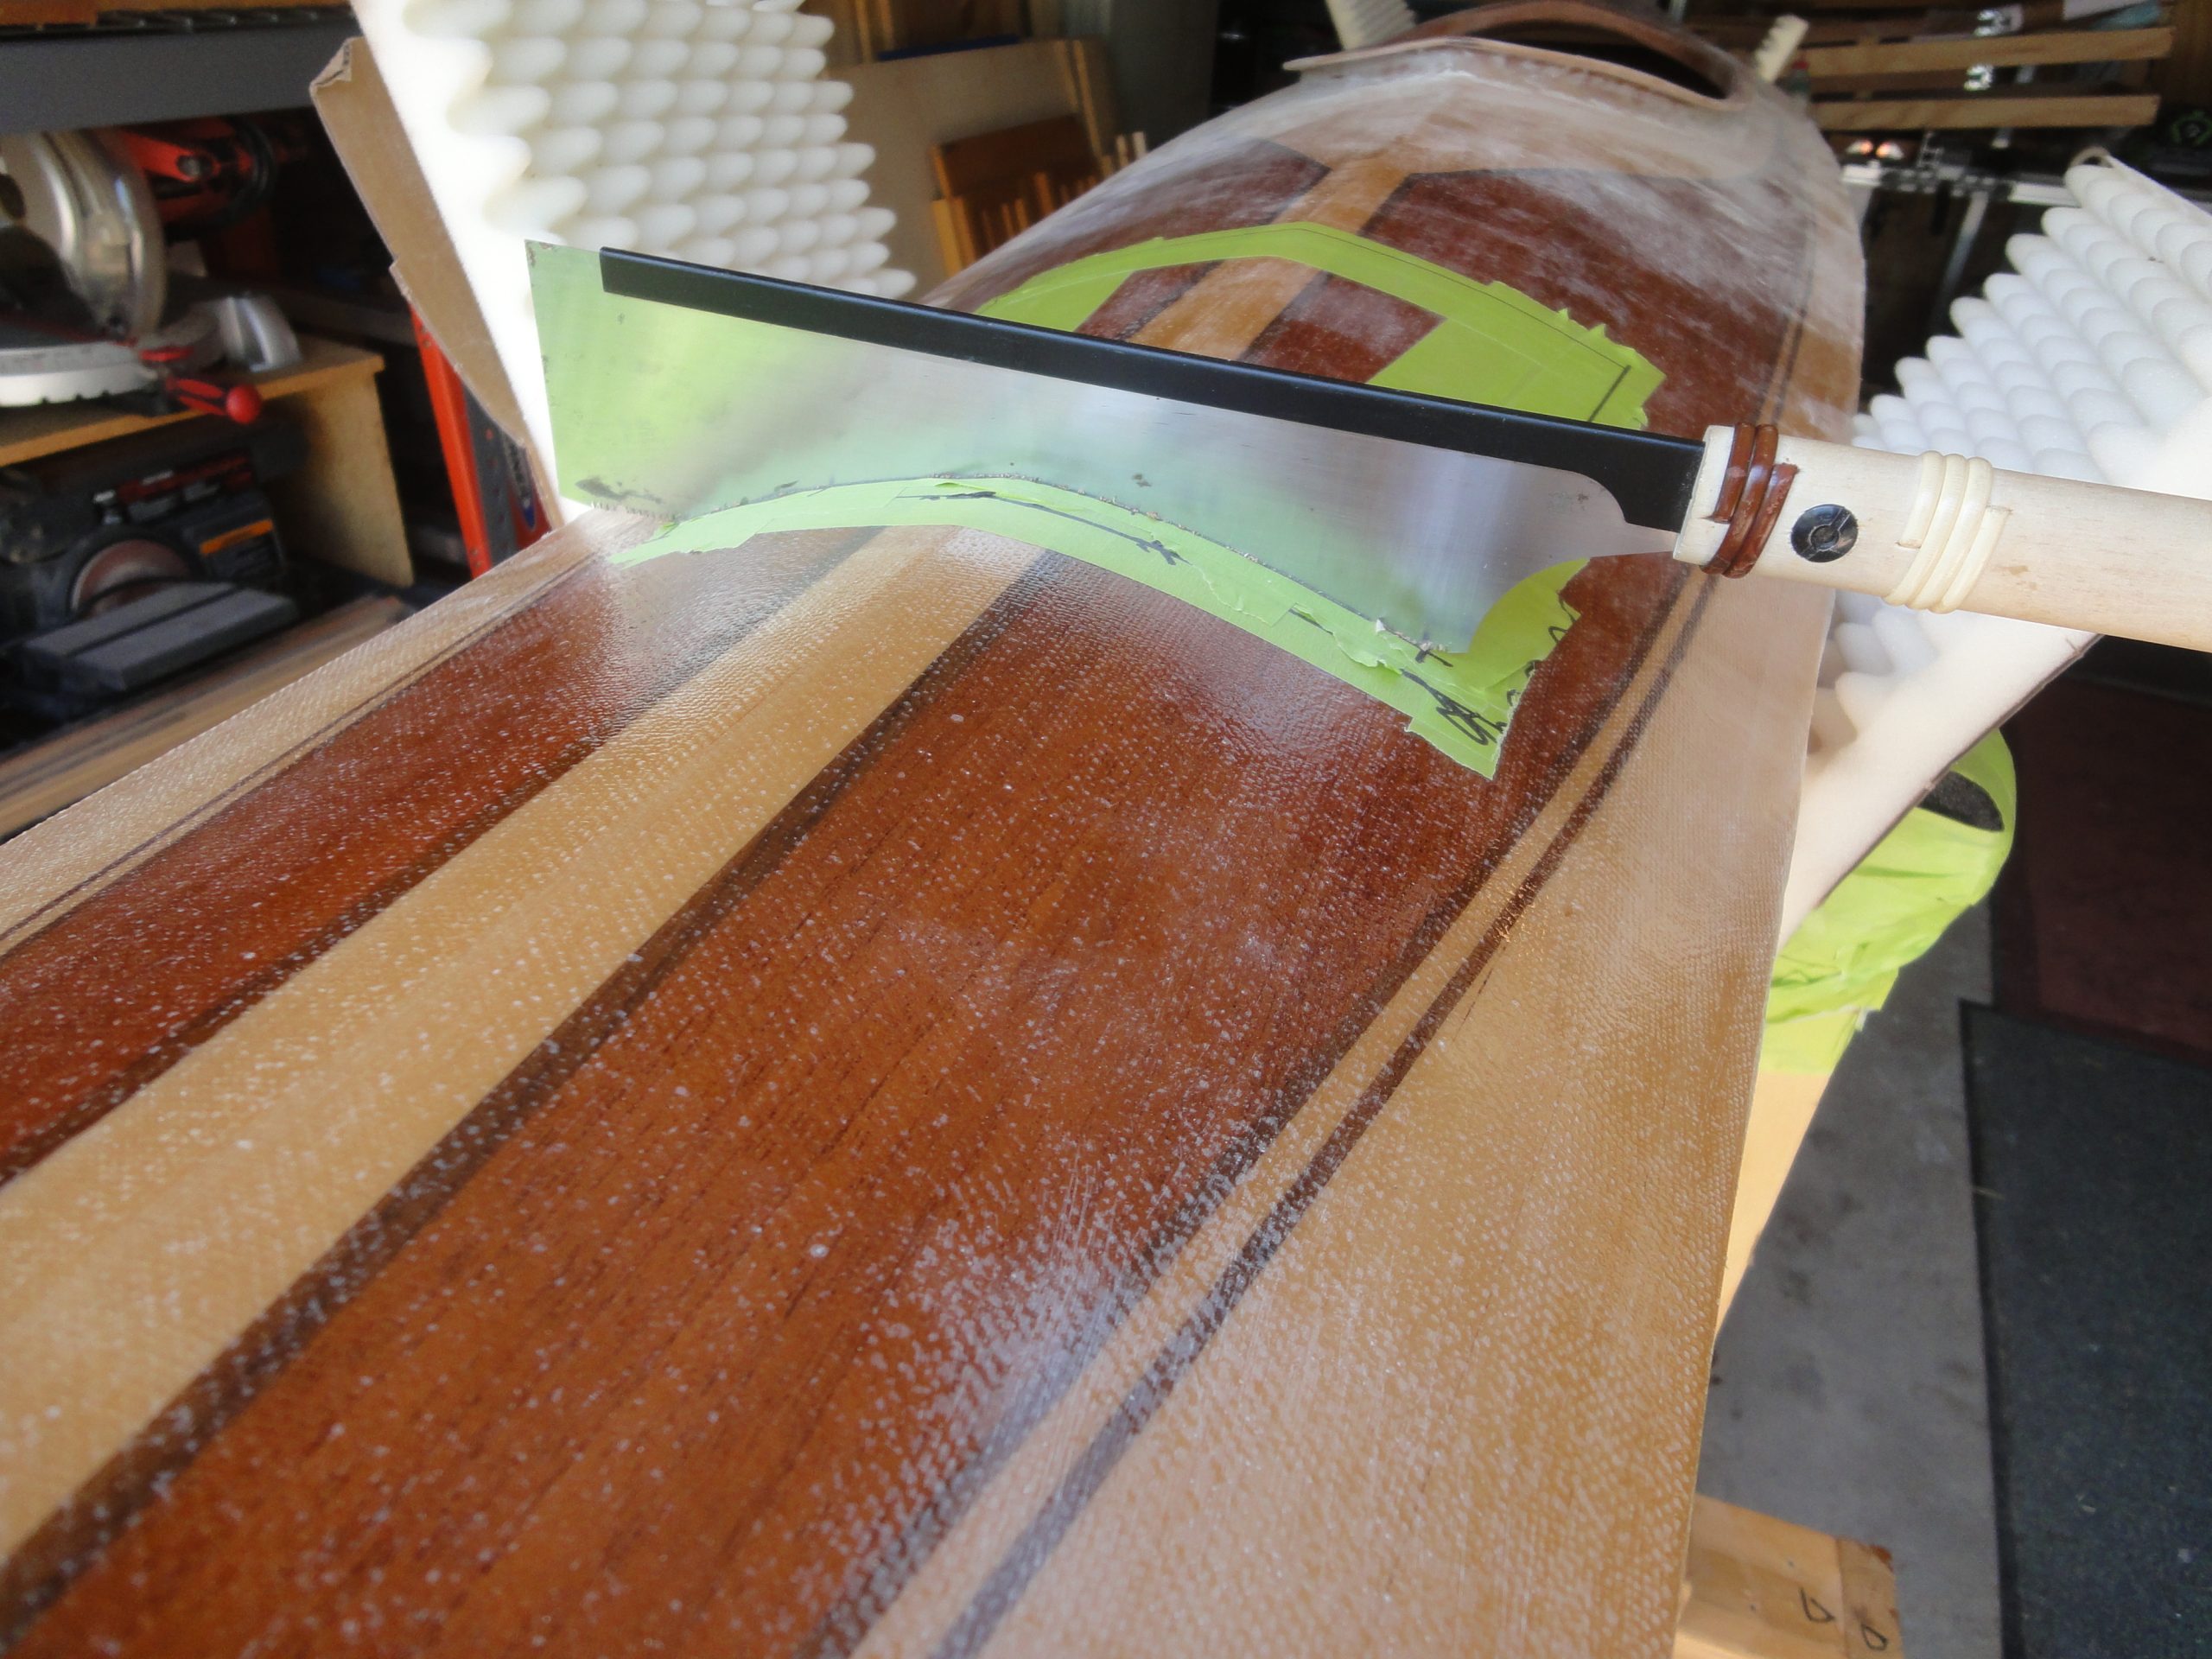
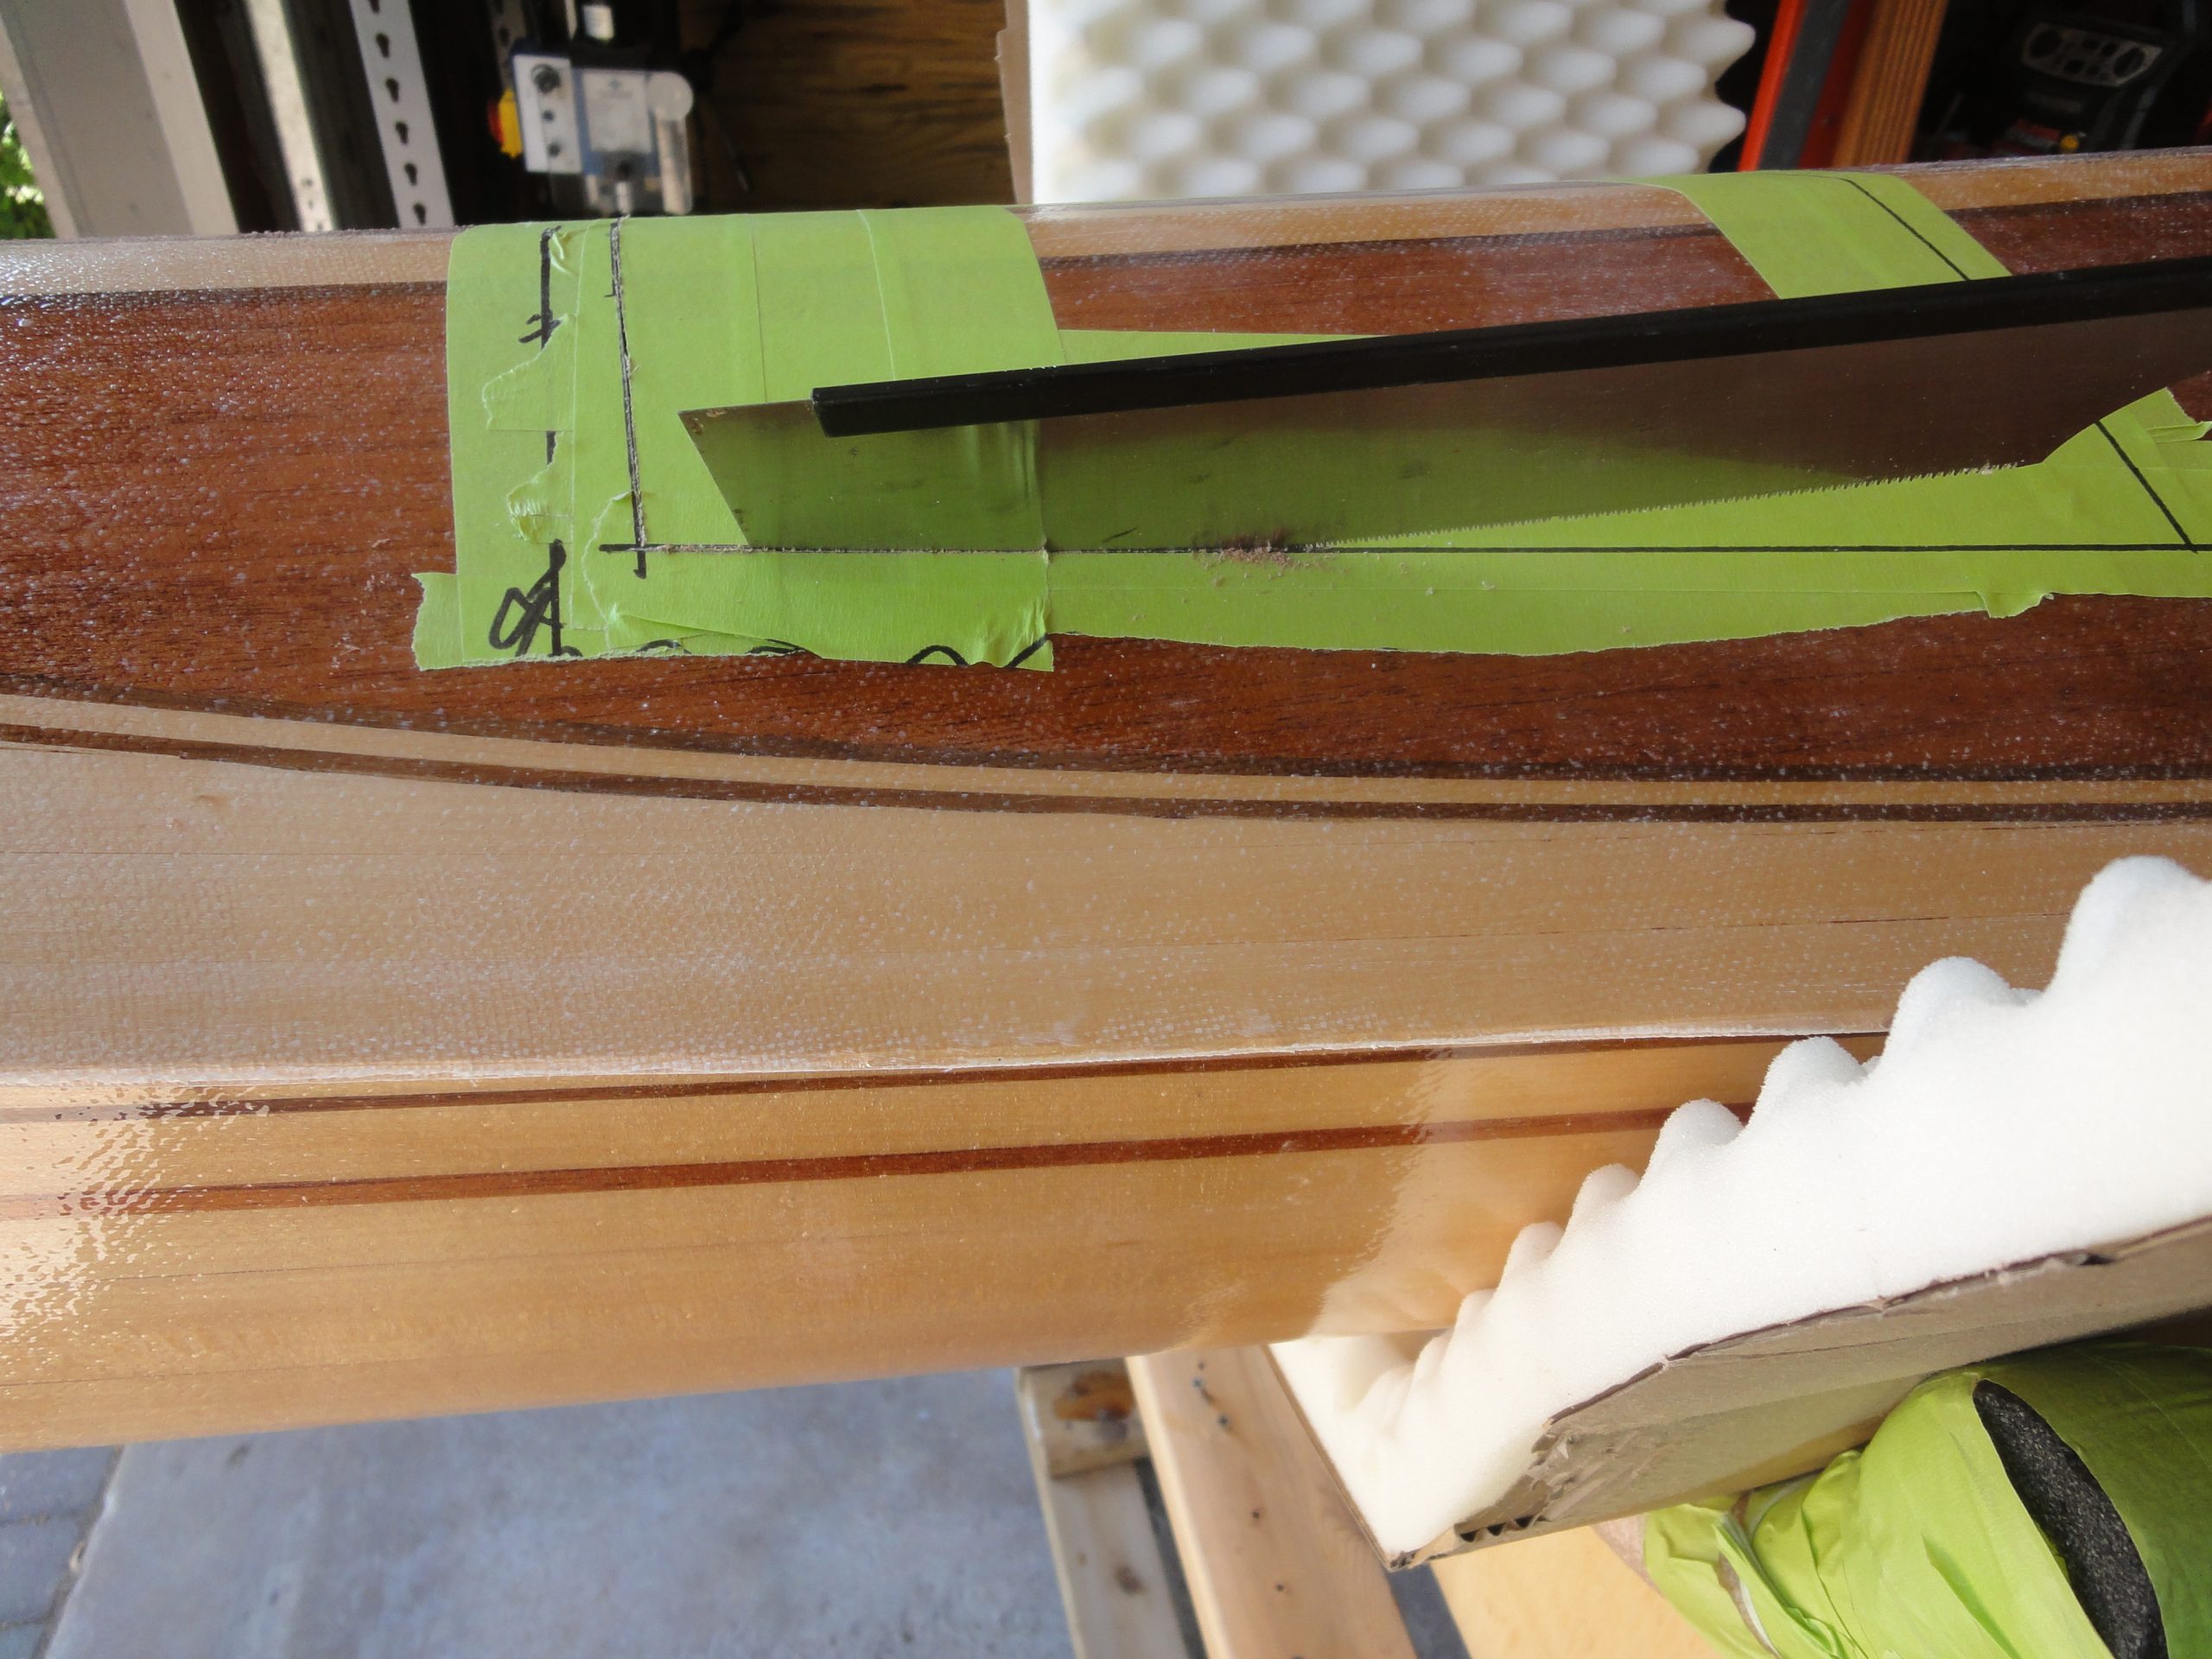
With that crisis averted I moved on to finishing the layout and cutting the hatch. Just like the last one I did it by hand and it worked just fine. Without the fear of a power tool going awry the stress of making the cut is really pretty low.
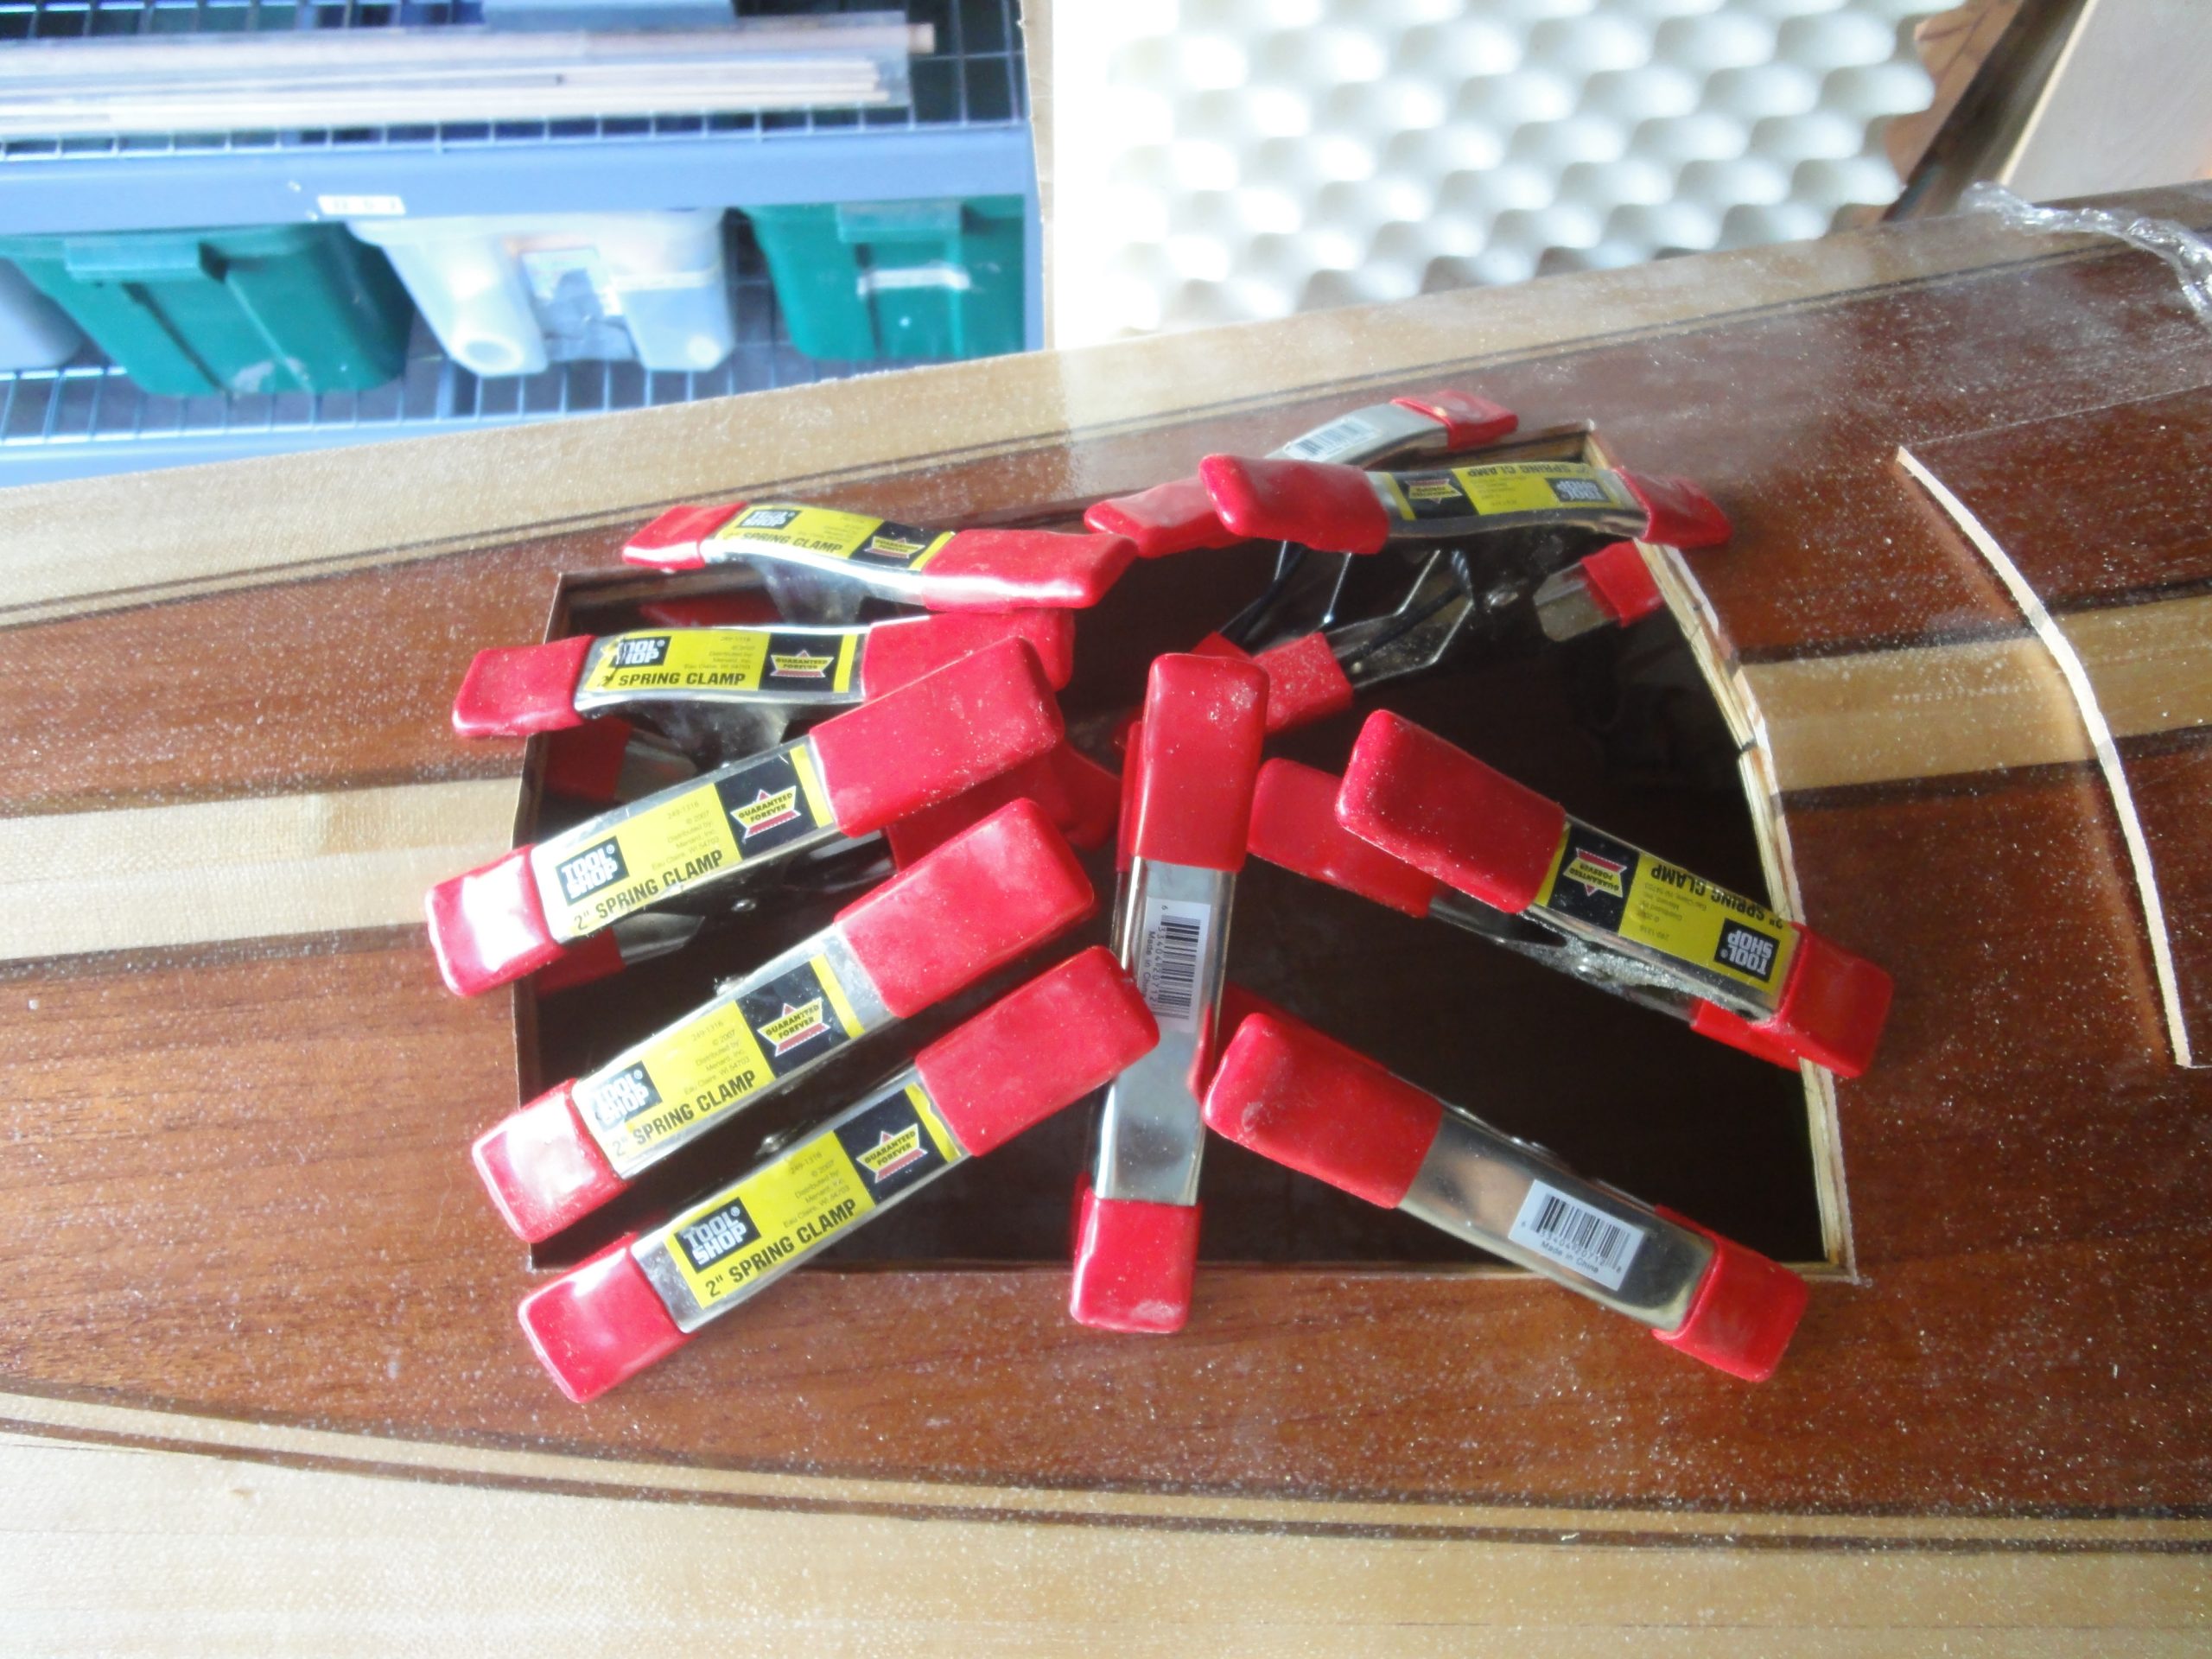
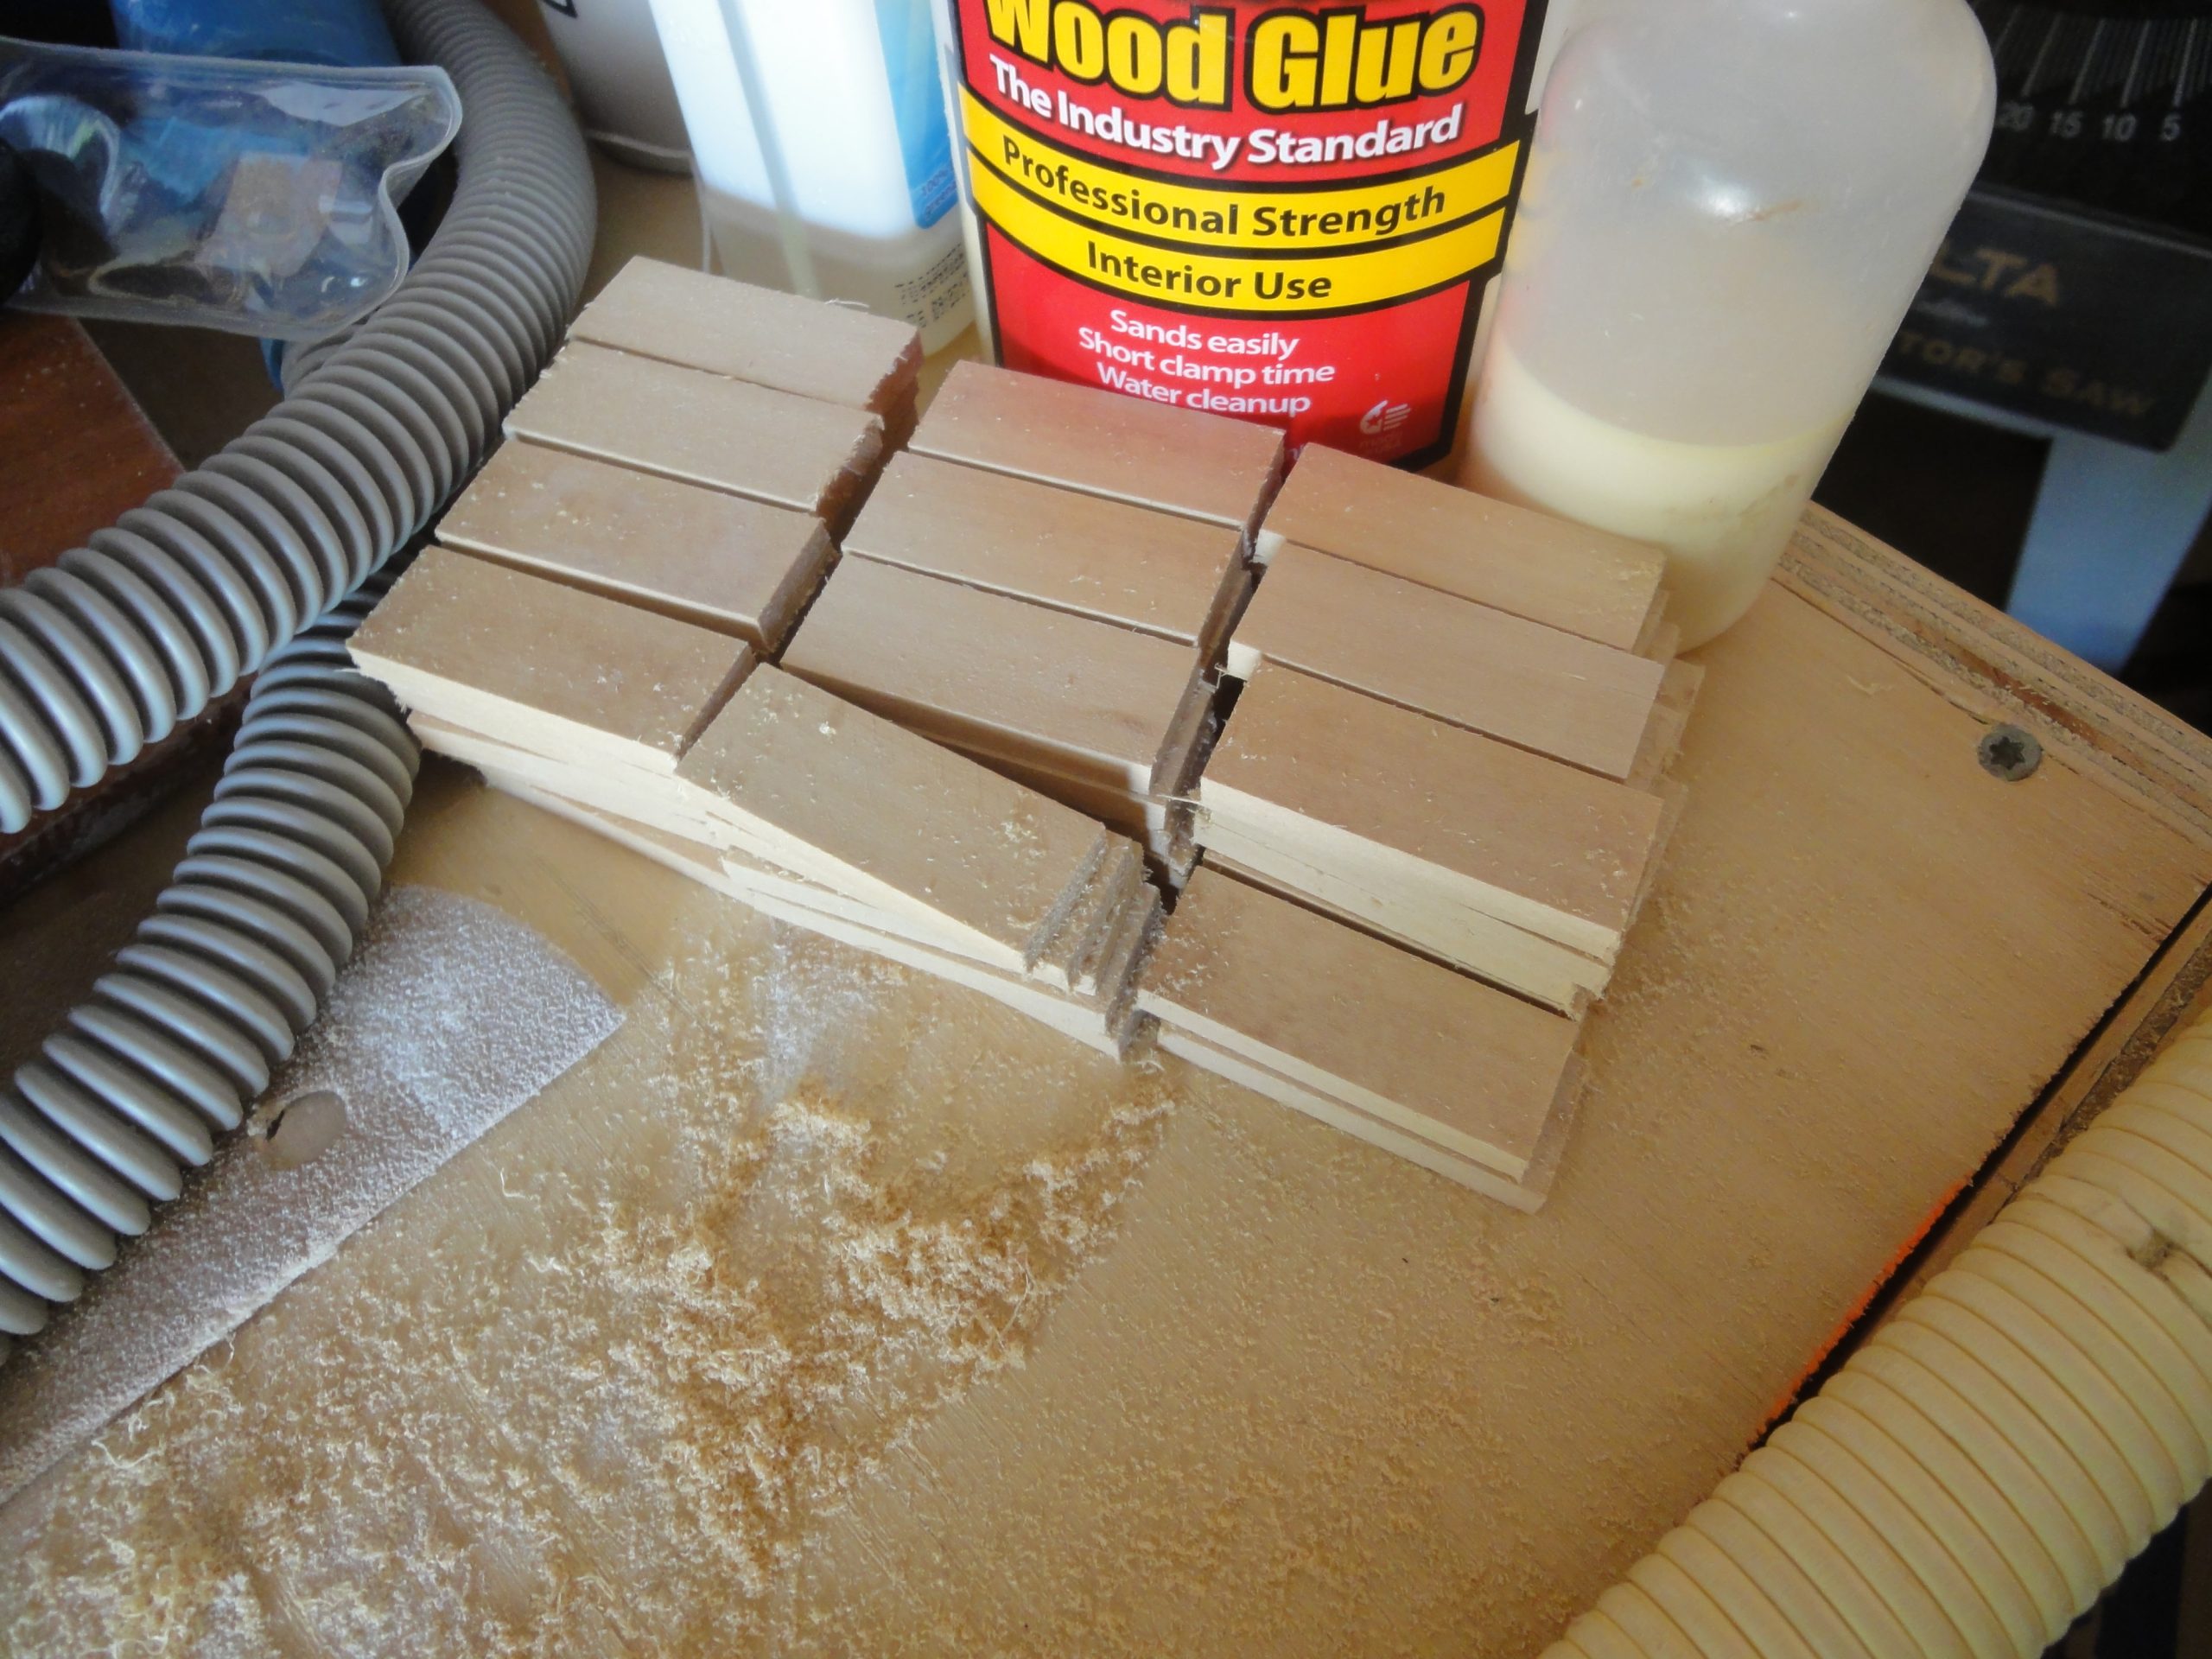
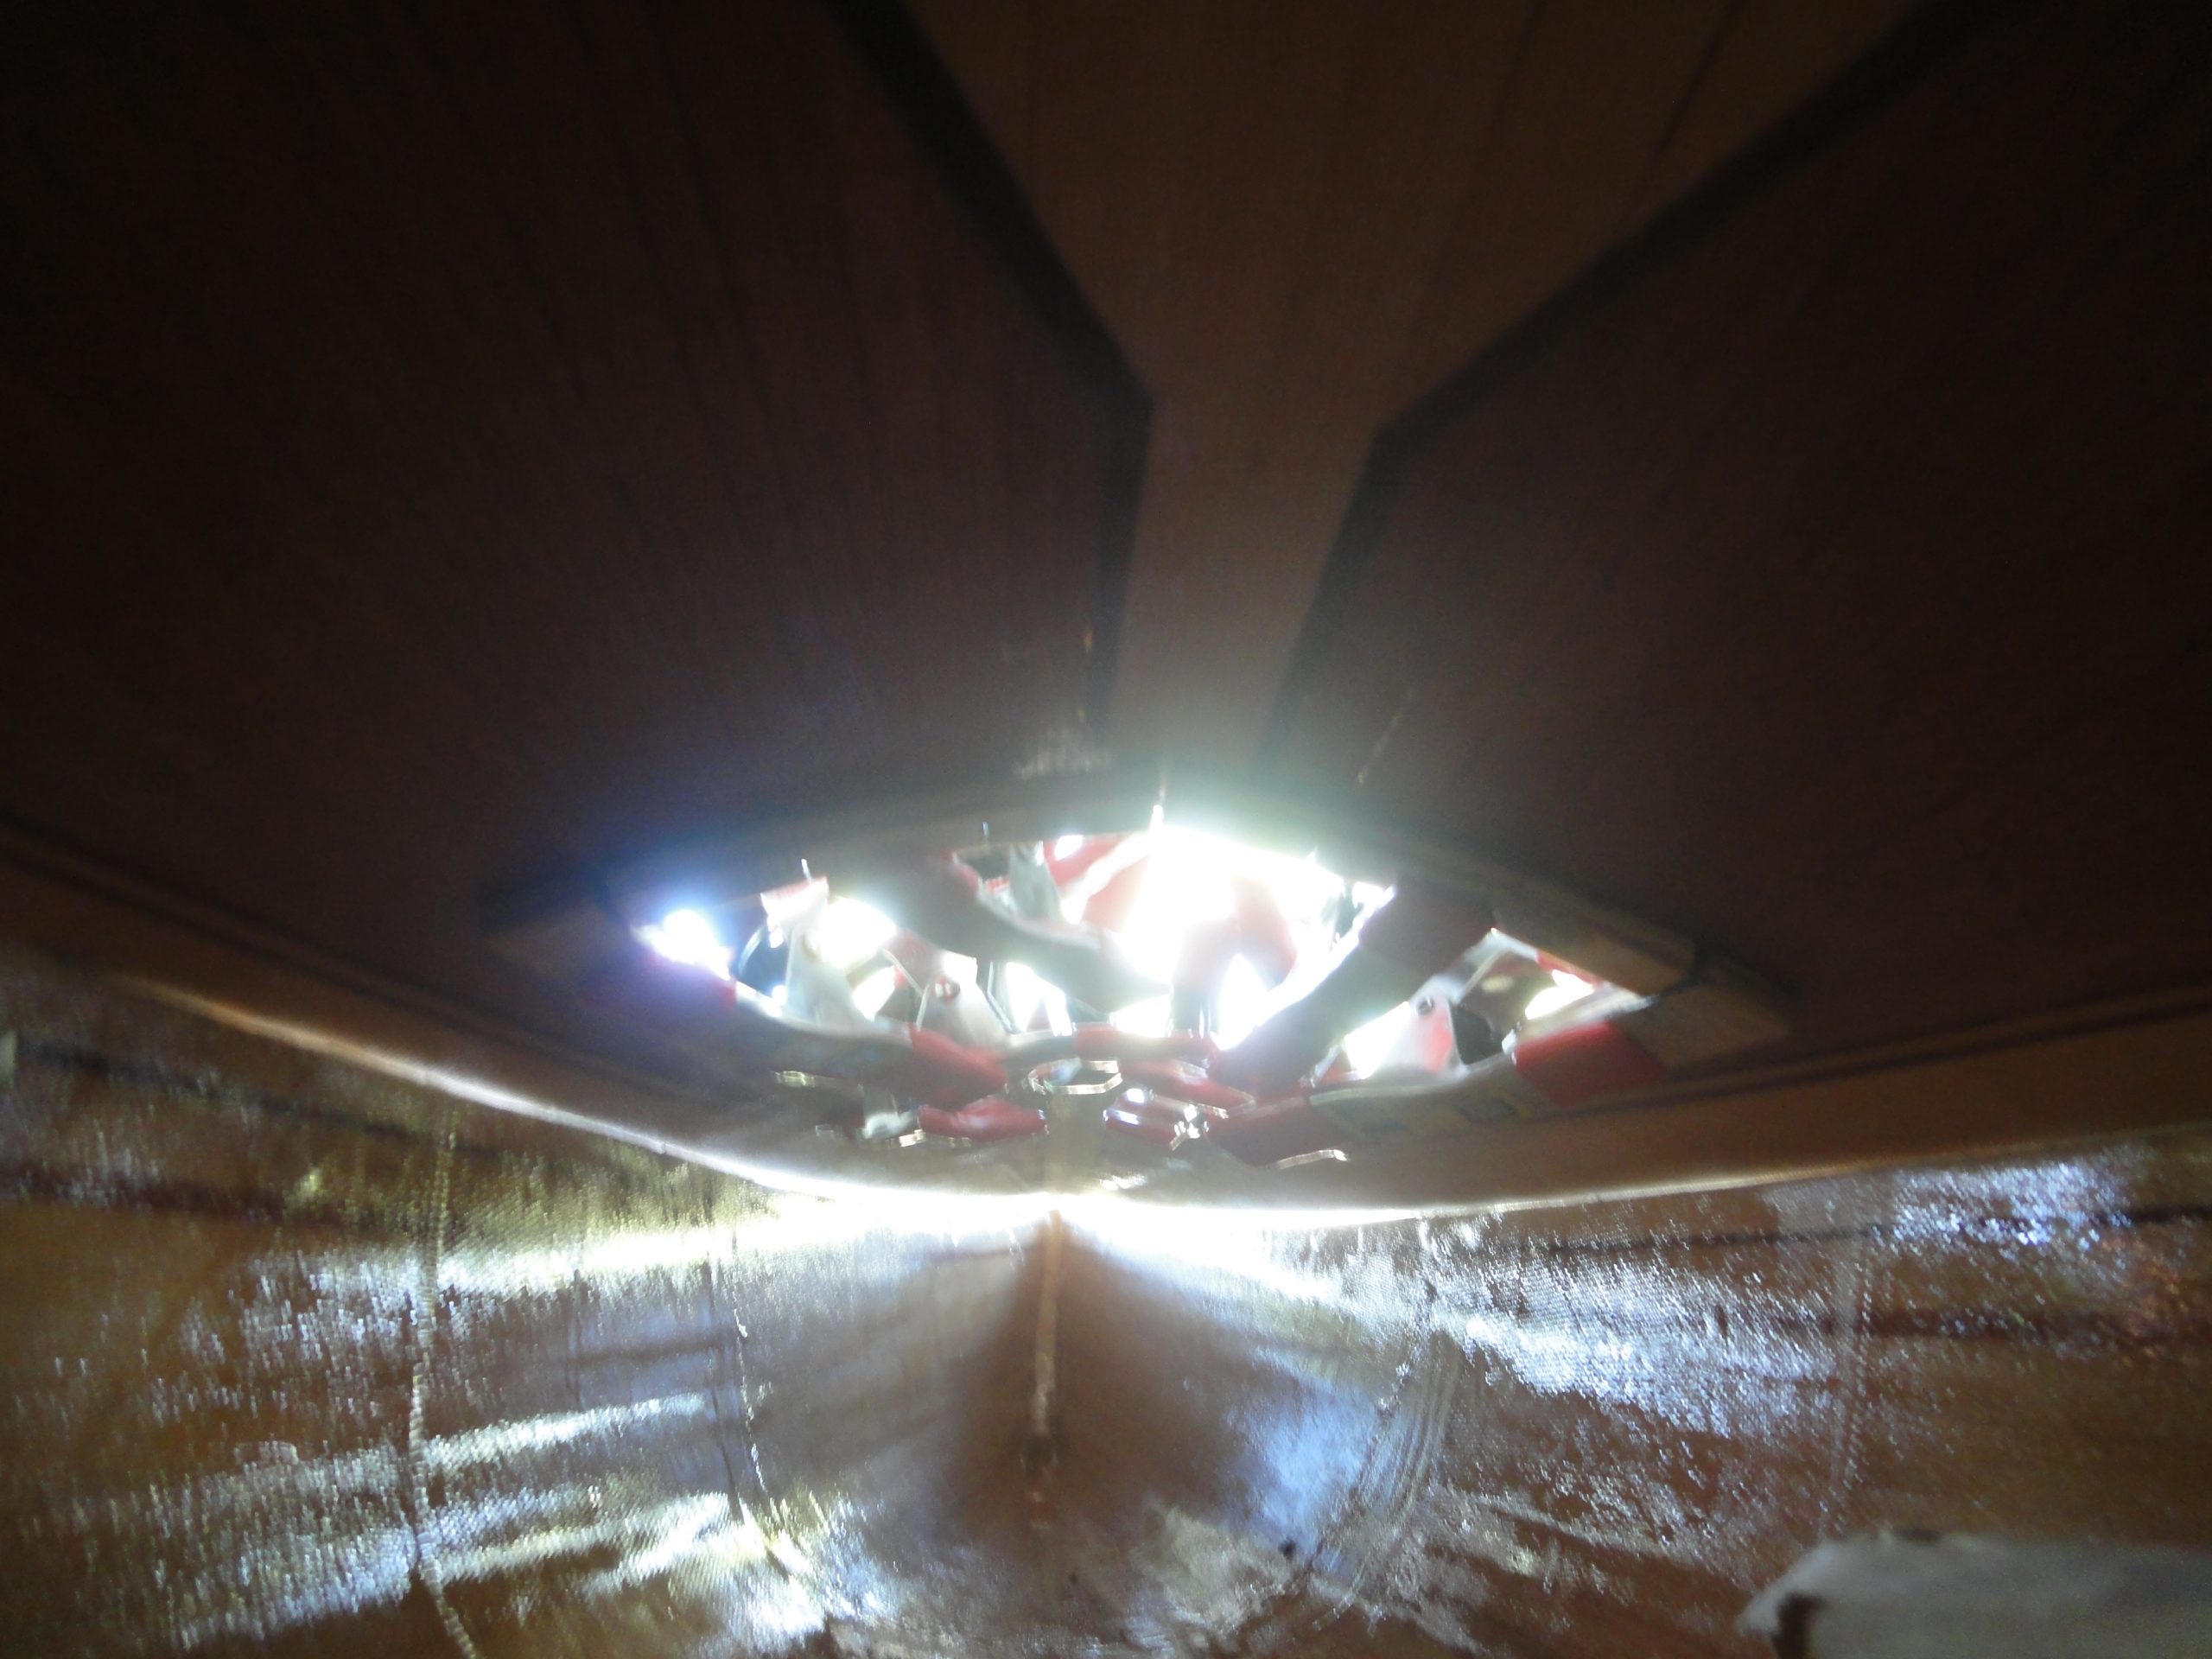
With the tape removed I started to layout out the support structure for the hatch. Last time I used 1/4″ plywood spacers and then built up the lip, but the hatch is sitting proud and will need some sanding to bring it down. So this time I went with 3/8″ spacers. It’ll be easier to build up a layer than to try to bring the surface down. The pieces were cut and epoxied into place. I’m going to use the basswood strips to make the lip so I cut a bunch of small pieces in preparation for the next step. A few shots including one from the inside of the epoxied on spacers shows that I still have some inside sanding and clean up to do.

It felt good to get back into the build. Originally I was hoping to start in April and be done by Memorial weekend, not first start at the end of May but I still believe I’ll be done and have it on the water before the end of summer.
Oh, and I’m going to try enabling comments again in case of questions. Let’s hope the spammers don’t start filling the queue again.