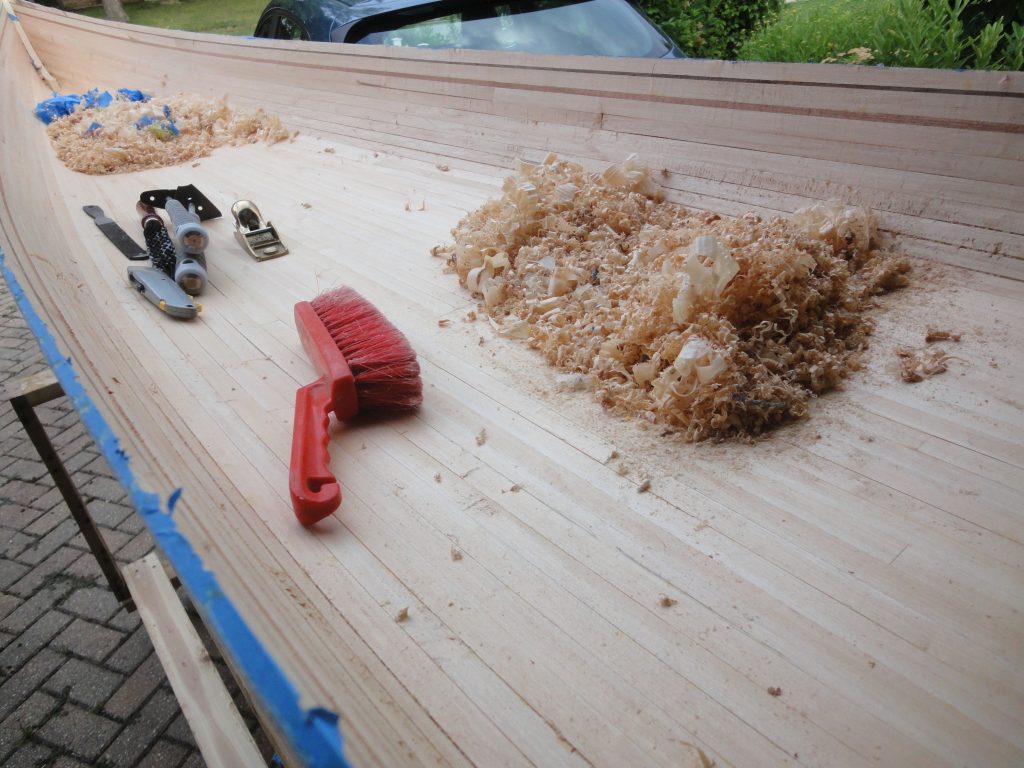
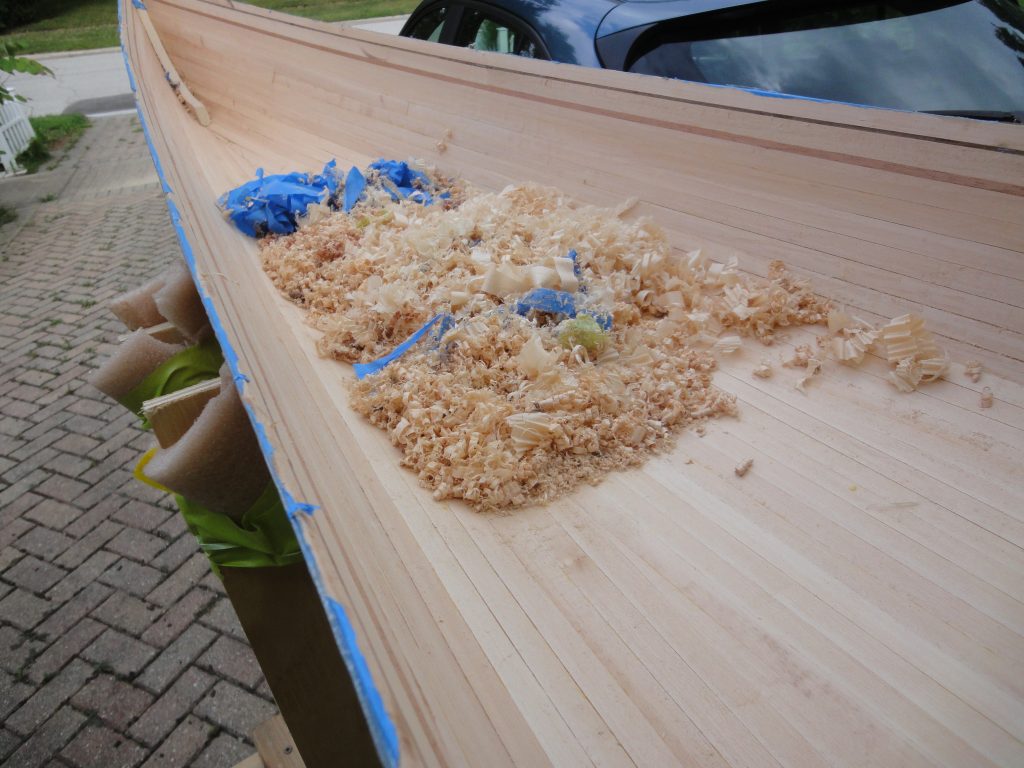
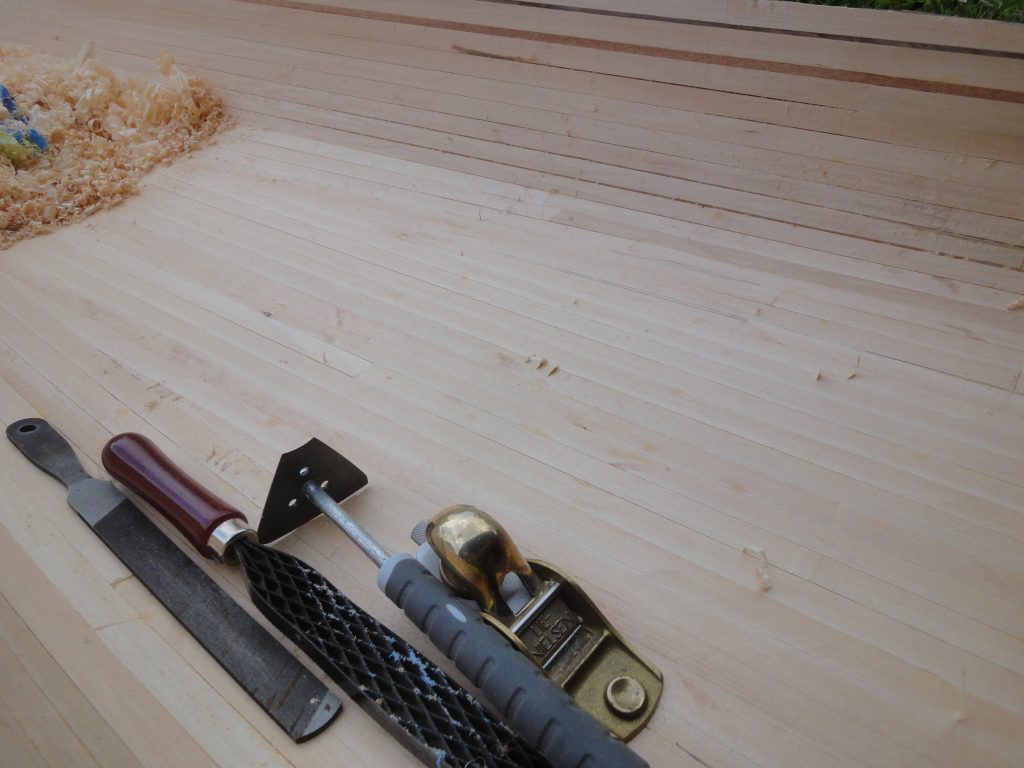
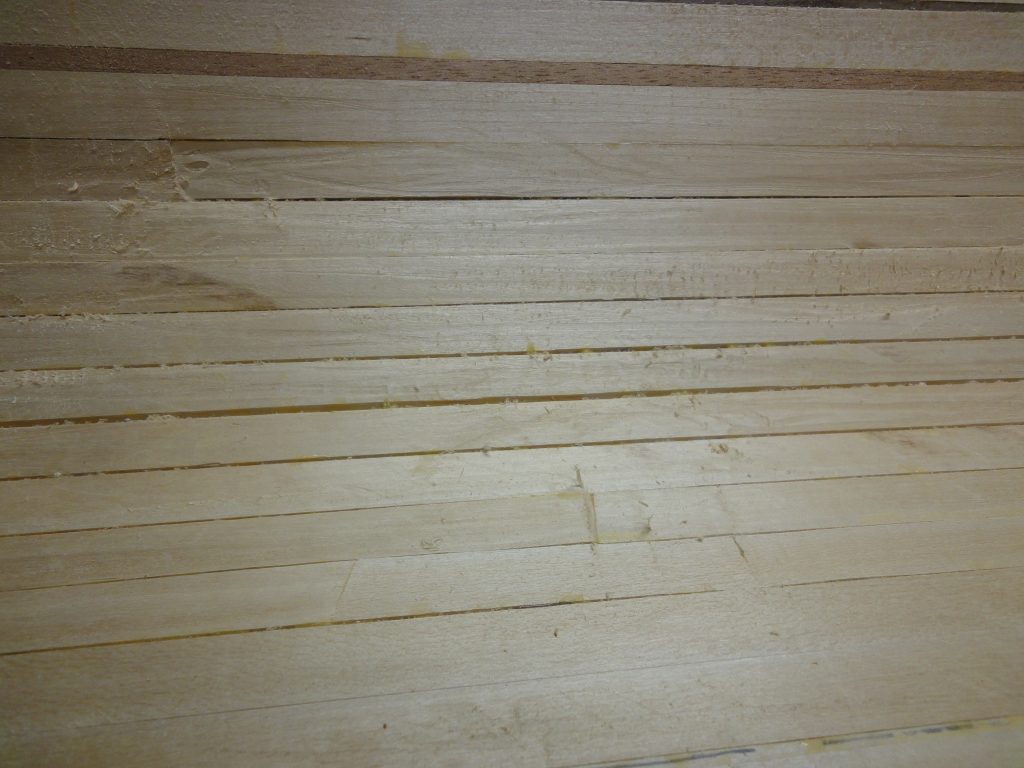
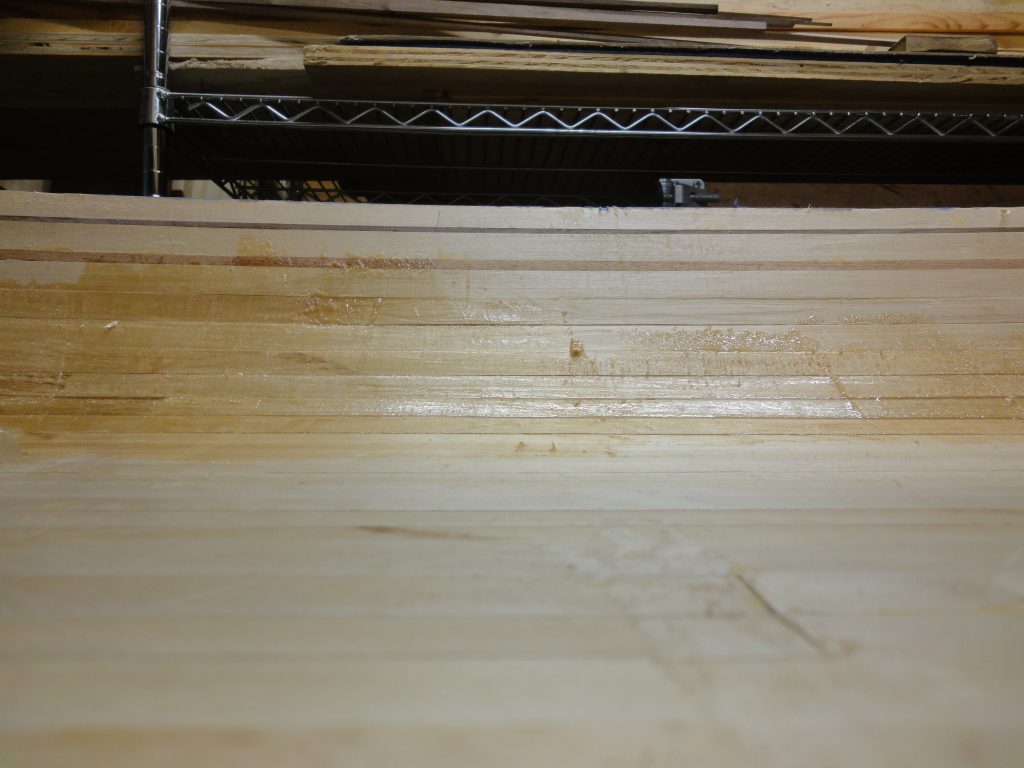
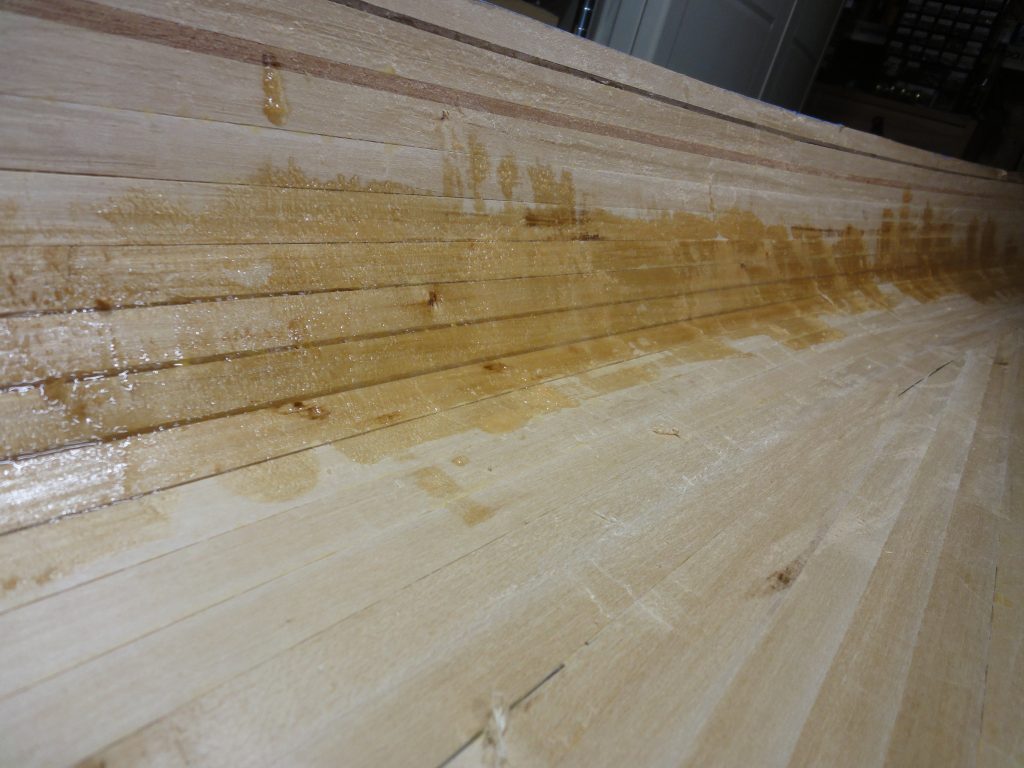
More scraping. And scraping. And scraping. A handful of evenings and weekend time and I finally scraped the entire entire interior from one end to the other. Definitely more difficult on the concave surface. I’d rate this as the most difficult part of the process so far. At the end the result looked passable for now. I need to fill the cracks and then give it one more scraping before moving on to sanding. The piles from the first round were pretty sizable.
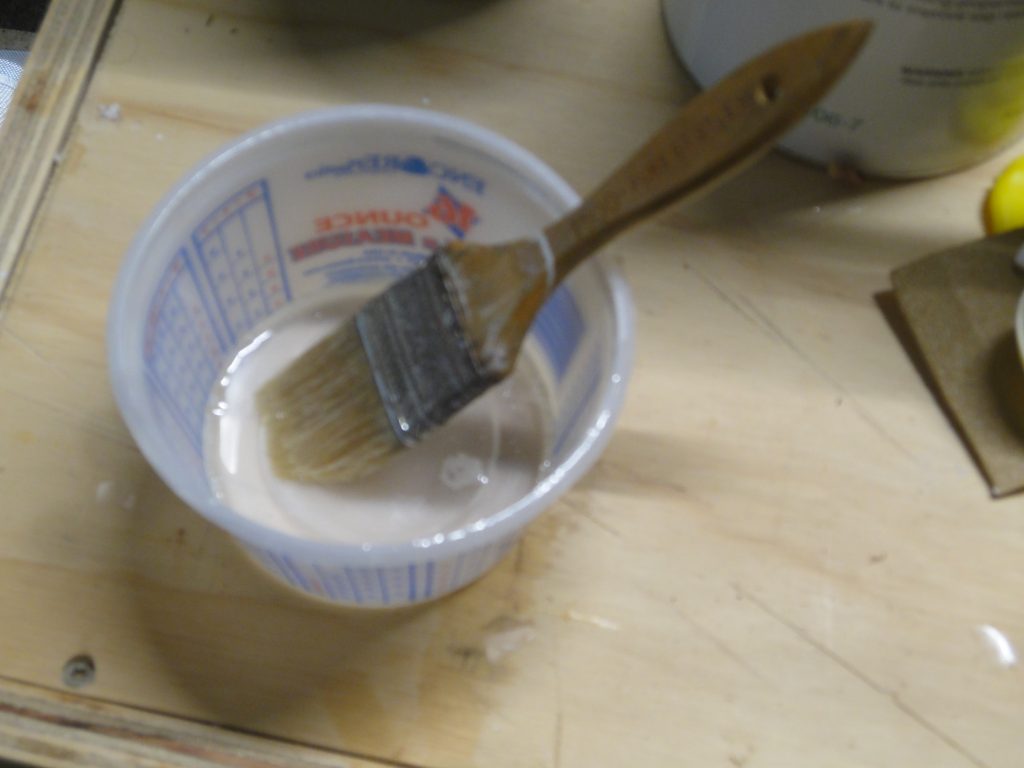
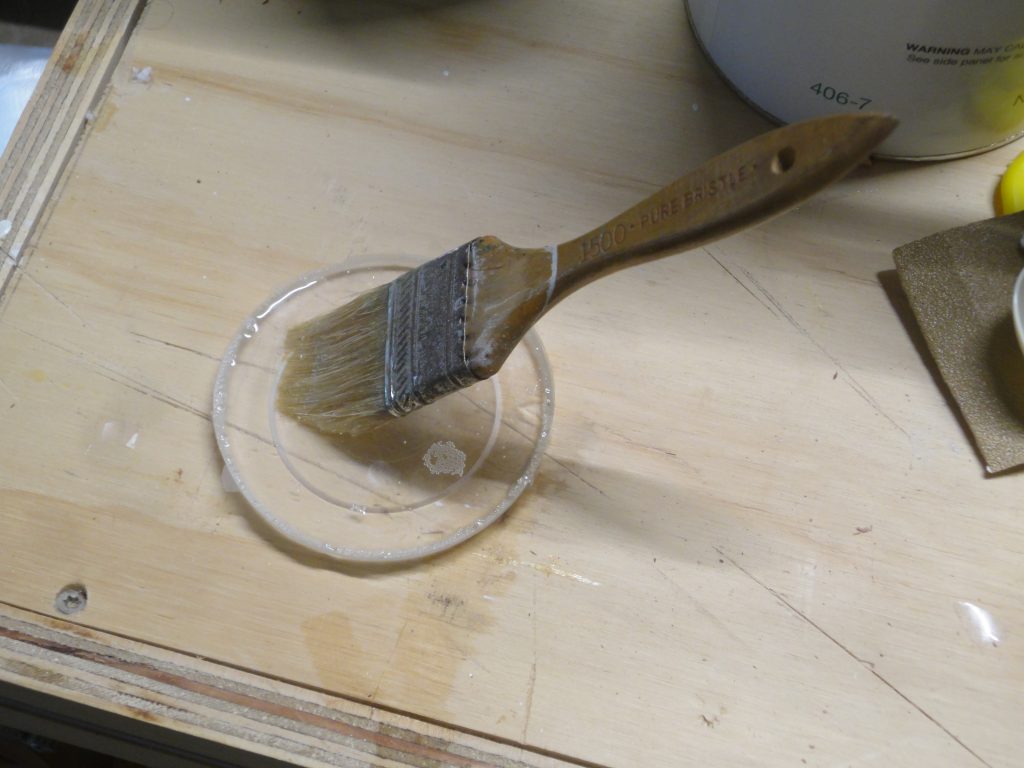
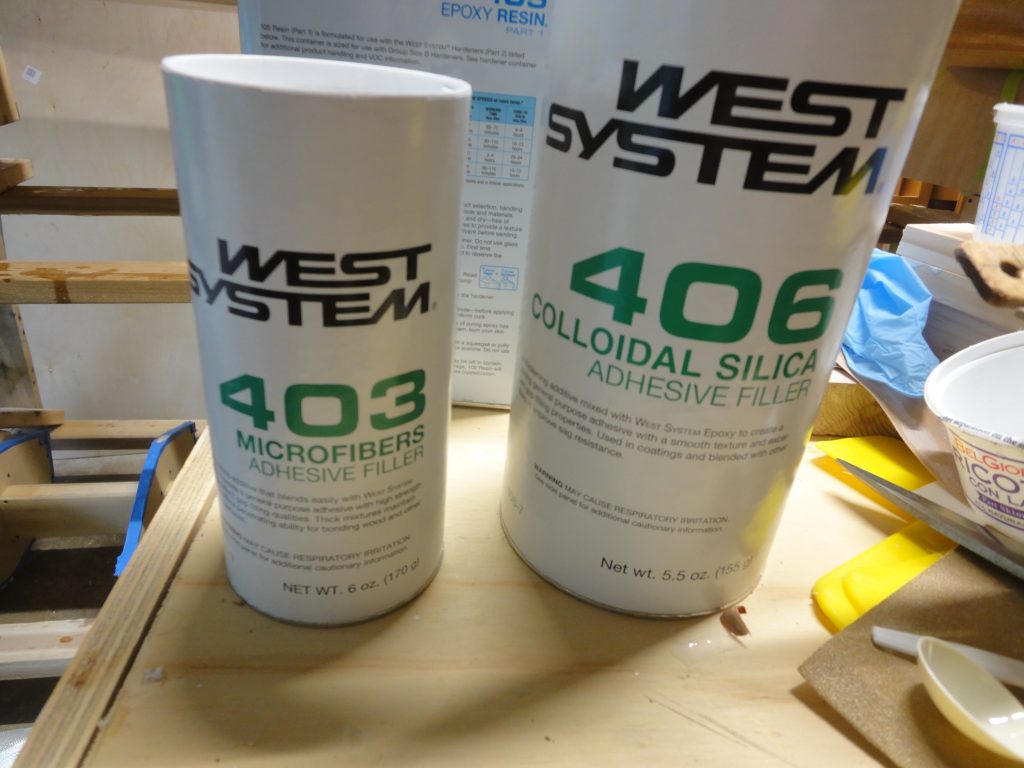
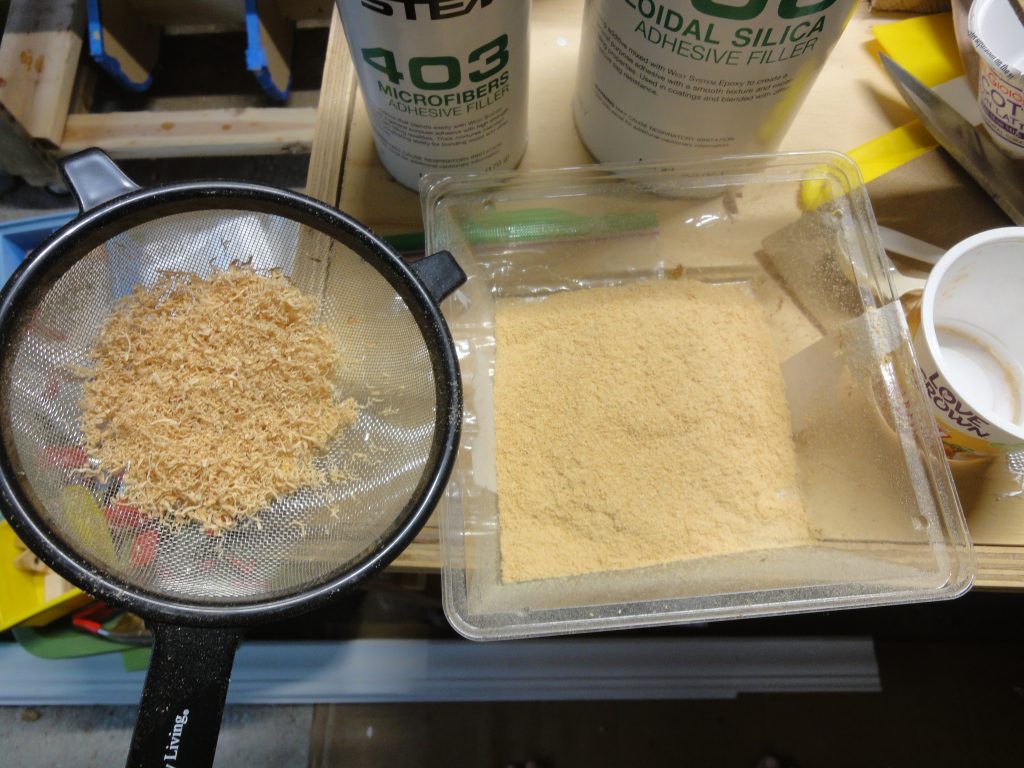
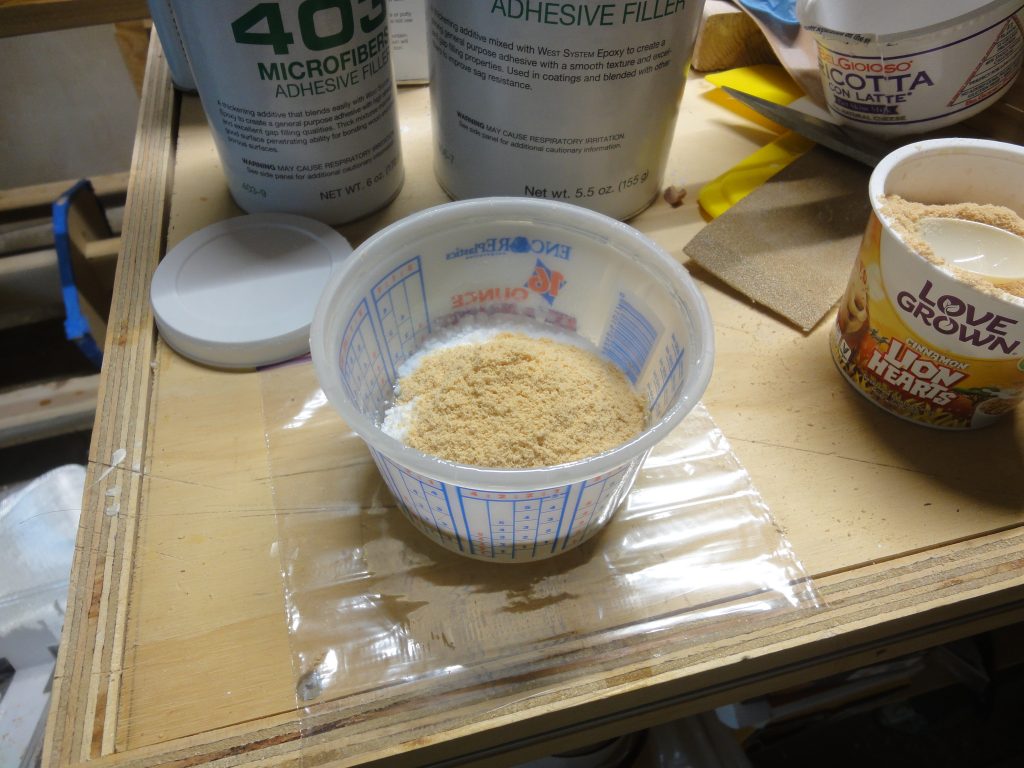
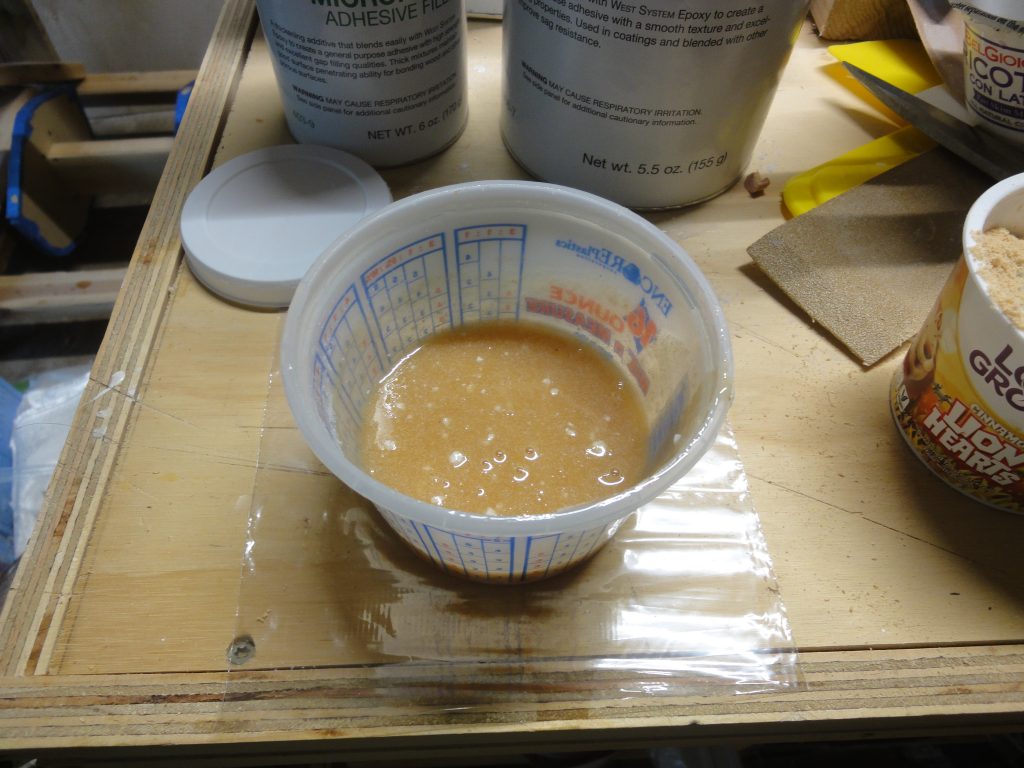
For filling I decided instead of a “putty” filler that I used on the outside I would instead make an epoxy based filler for the inside. This would hopefully add some strength and if there is a color difference, well it’s on the inside and not very noticable. The containers I used last time, had the left over dried epoxy in them. Give a squeeze or two to flex them and it pops right out and the container is ready for reuse. I used the colloidal silica and the microfibers for additional strength along with some sifted sawdust. For a standard 5 pumps (resin and hardener) I used 2 heaping spoons of each of the three additives. At first I mixed just the epoxy, then added the powders and then mixed again. Unfortunately the colloidal silica clumps up and it seems all but impossible to eliminate the white lumps, but with lots of stirring you can eliminate most.
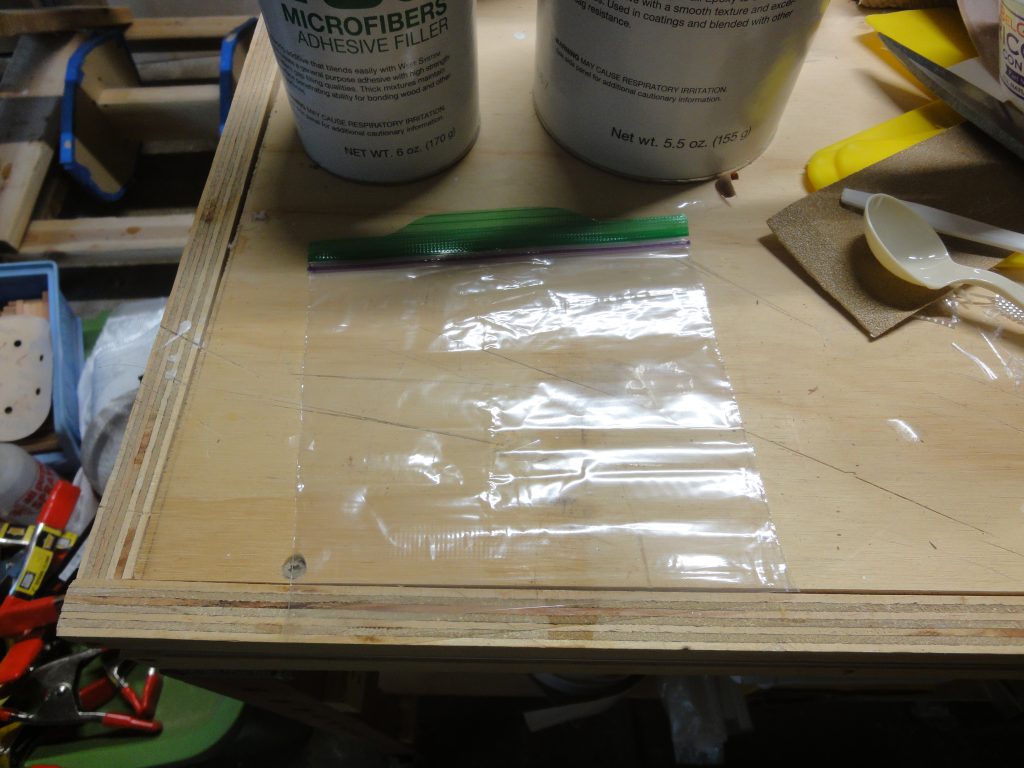
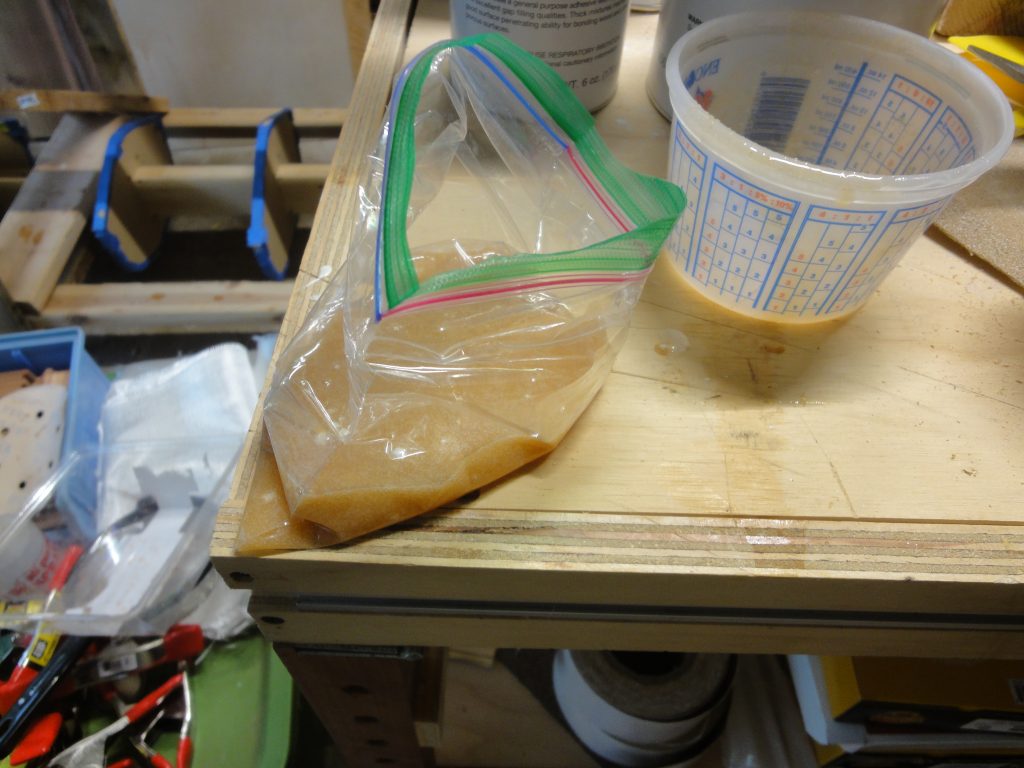
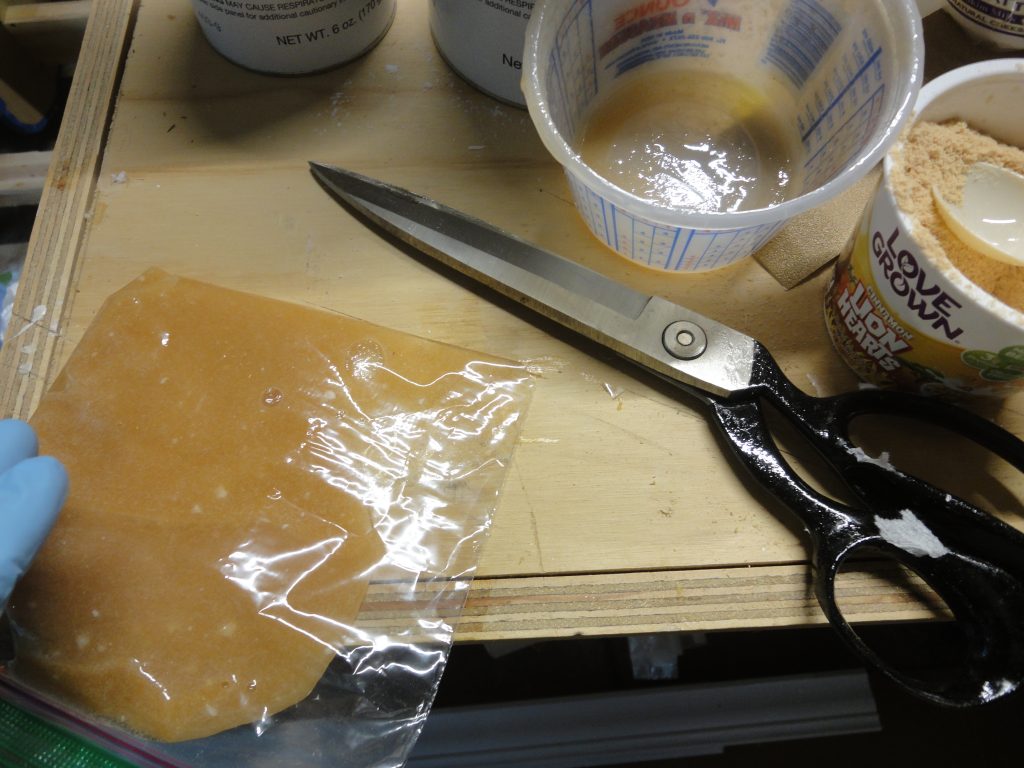
The easiest way to apply the mixture to the cracks is to “pipe” it in. Similar to how a cake is decorated. So I grabbed a ziplock bag, poured in the mixture and then snipped the littlest bit of corner off the bag.
The process to fill the cracks was to pipe on a generous amount right into the crack, and then when I emptied the bag to go back and use the plastic applicator to spread it out and help ensure it is forced all the way into each crack.
Now I need to give it a few days to harden and dry. At that point I will attempt another scraping with the goal of eliminating any ridges between boards. Once that’s completed I can move into the sanding process. But that’s all for another day.

