
Minor foot injury has kept me kind of sidelined for awhile. Nothing major, just enough that it hurts to be on my feet for any lengthy period of time. Happy to say that with a few weeks of resting when possible it’s getting better and I’ve been slowly getting back to the kayak project. No long stretches, but an hour or two here and there has been possible.
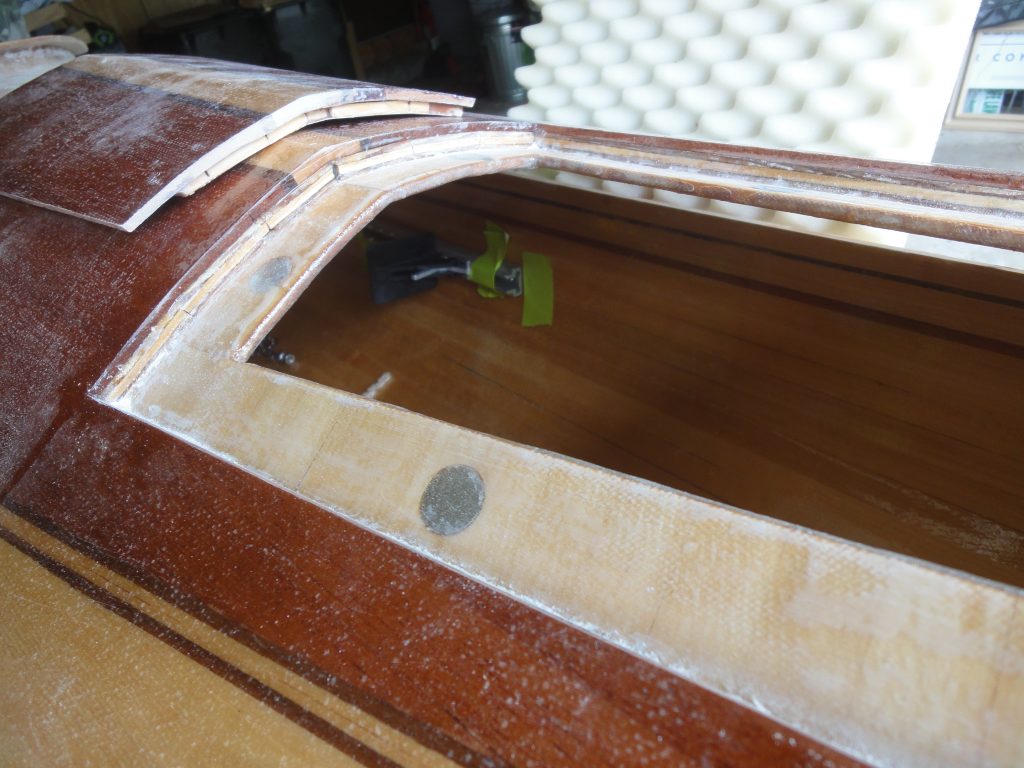
So I’ve been kind of unhappy with the rear hatch. I think I may have mentioned it previously, but if not, after building the lip, installing the magnets and the fiberglass I find that it sits proud of the deck a bit.
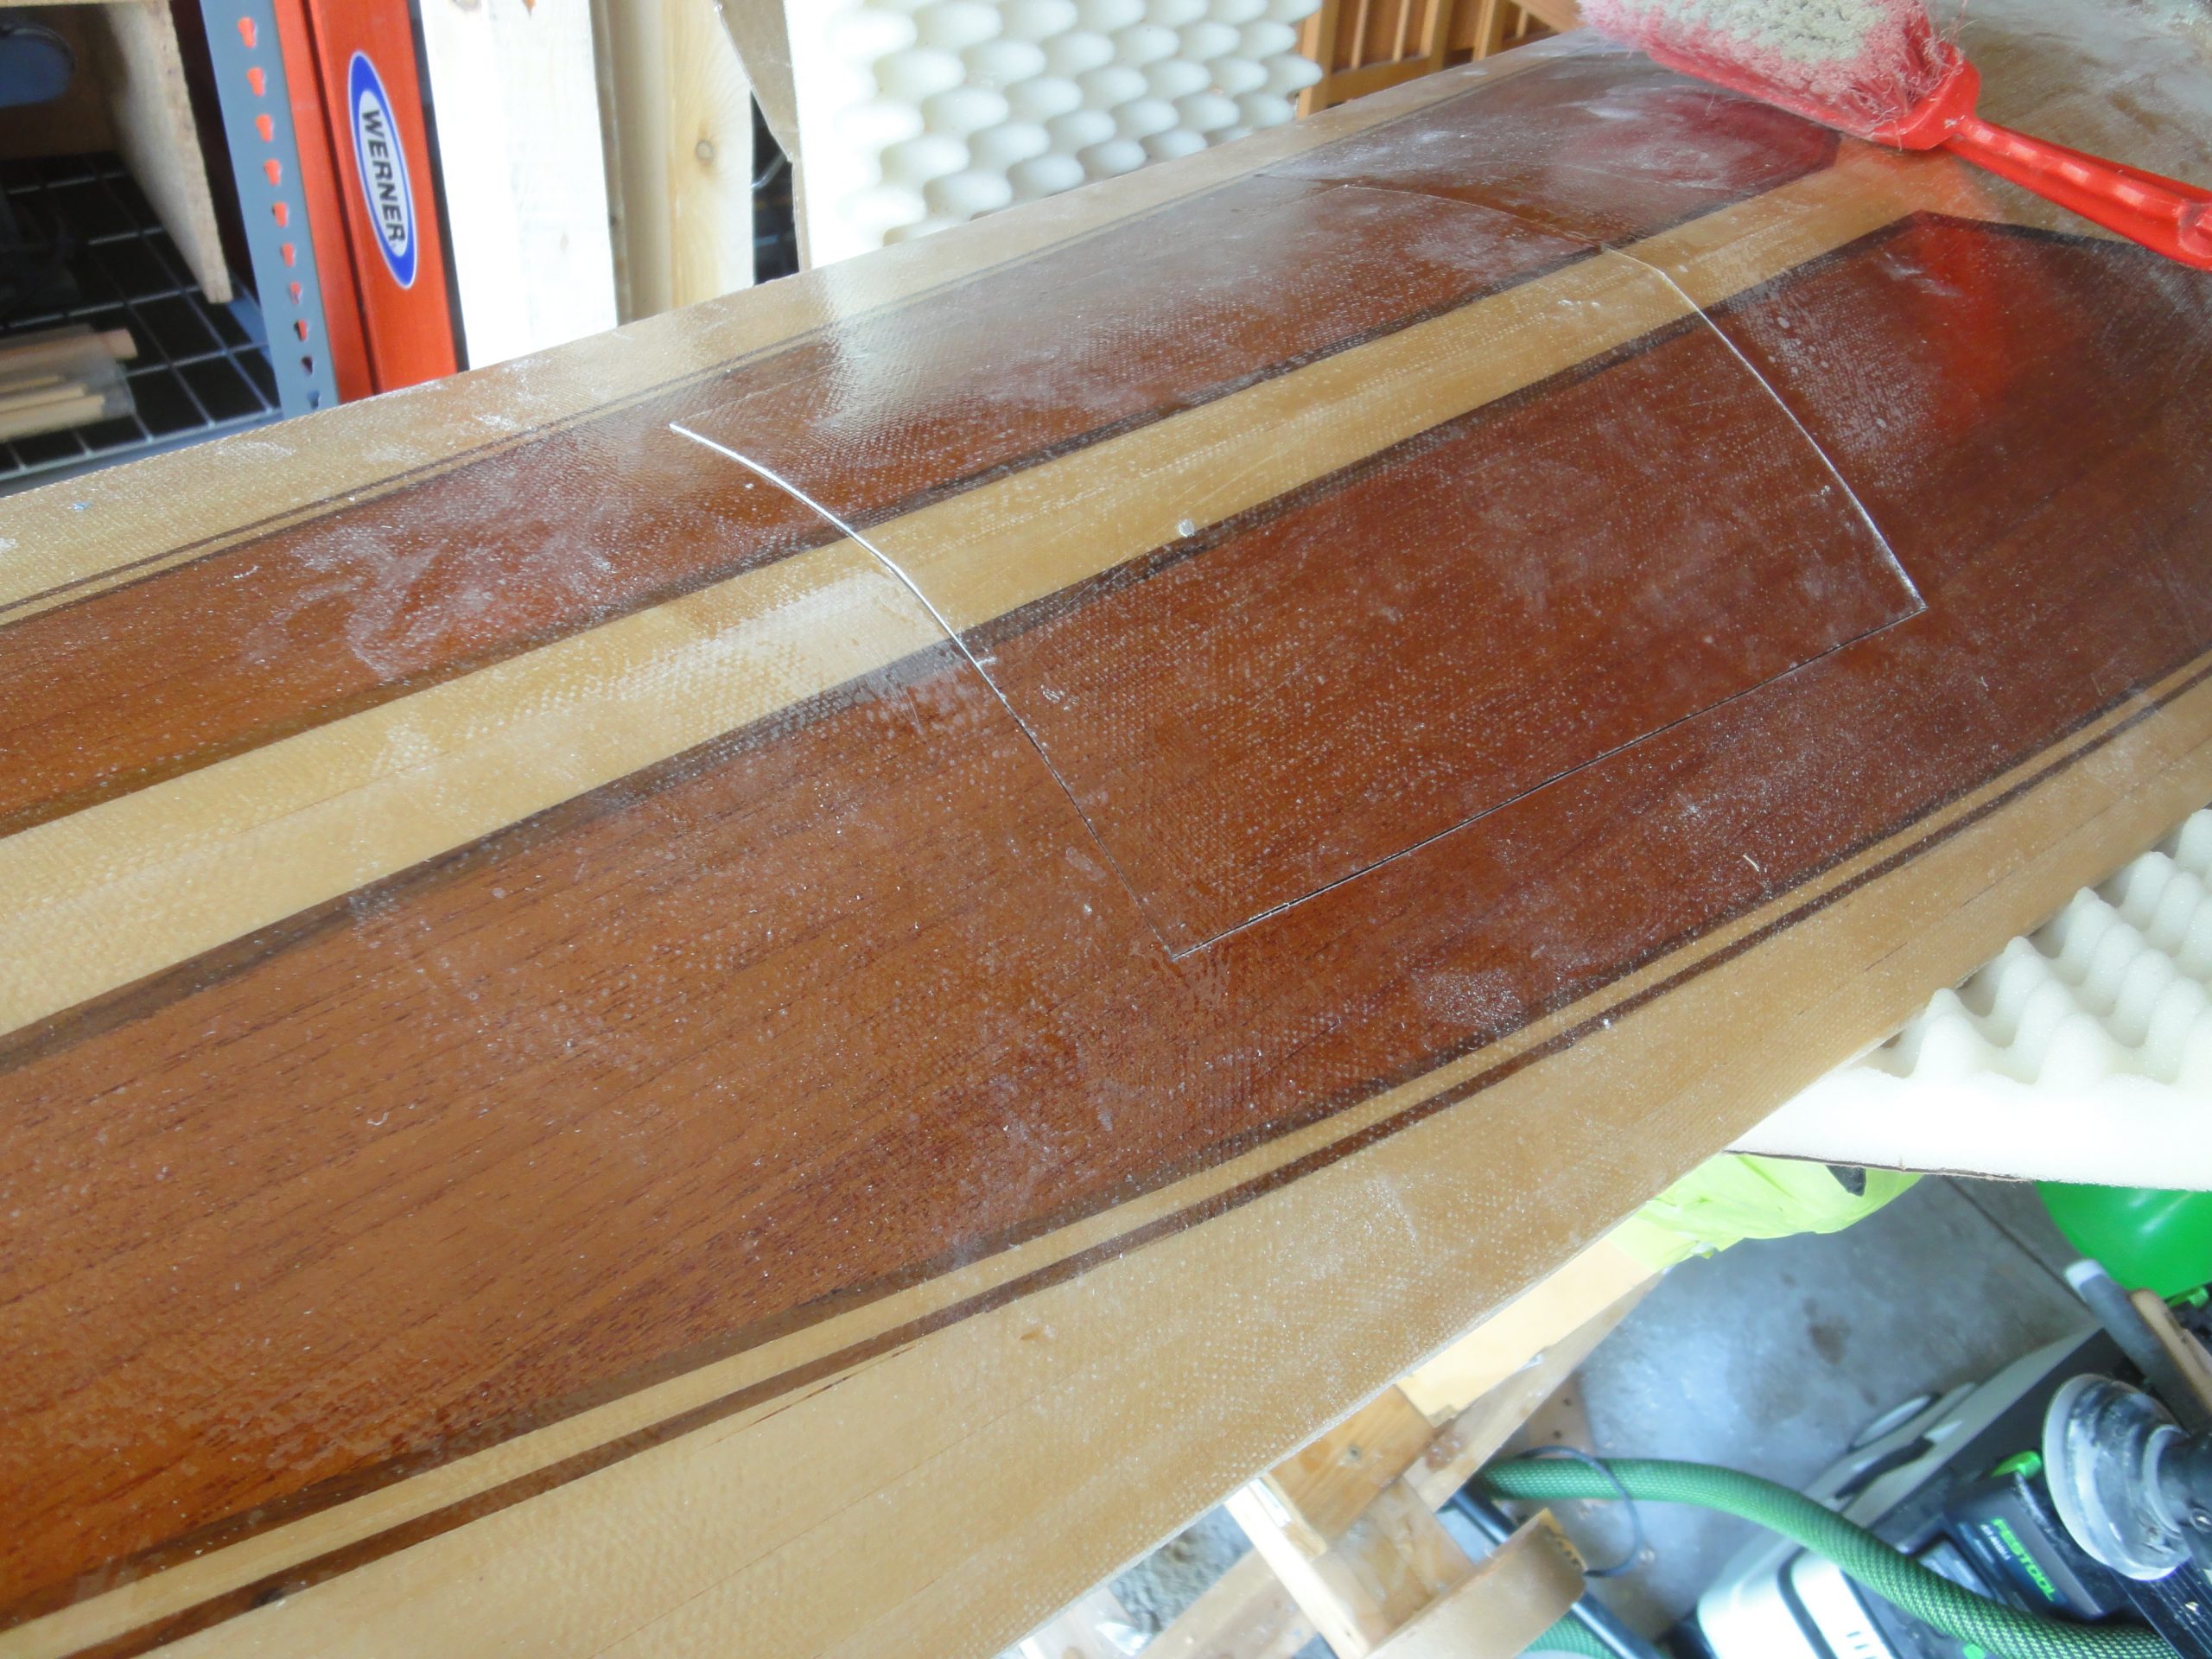
It isn’t a lot but still, to me, very noticeable. Bright idea to fix this relatively minor issue… let’s sand and feather the edges of the cover down so it blends in with the deck. That’ll make it totally un-noticeable. Yeah, that’s the ticket.
At least until I sanded too aggressively and an attempt to make it blend perfectly and exposed the backside of the magnet! Oops. I found a thin scrap that seemed to be pretty close and glued it over, then when dried sanded that back down a bit more carefully this time. It’s not bad, but even after re-fiberglassing and expoying it the “patch” is still obvious. Sure it’s maybe the size of a nickel so pretty small in the grand scheme. I may end up leaving it as a reminder to pay more attention or I may have a way to cover it. Not sure yet.
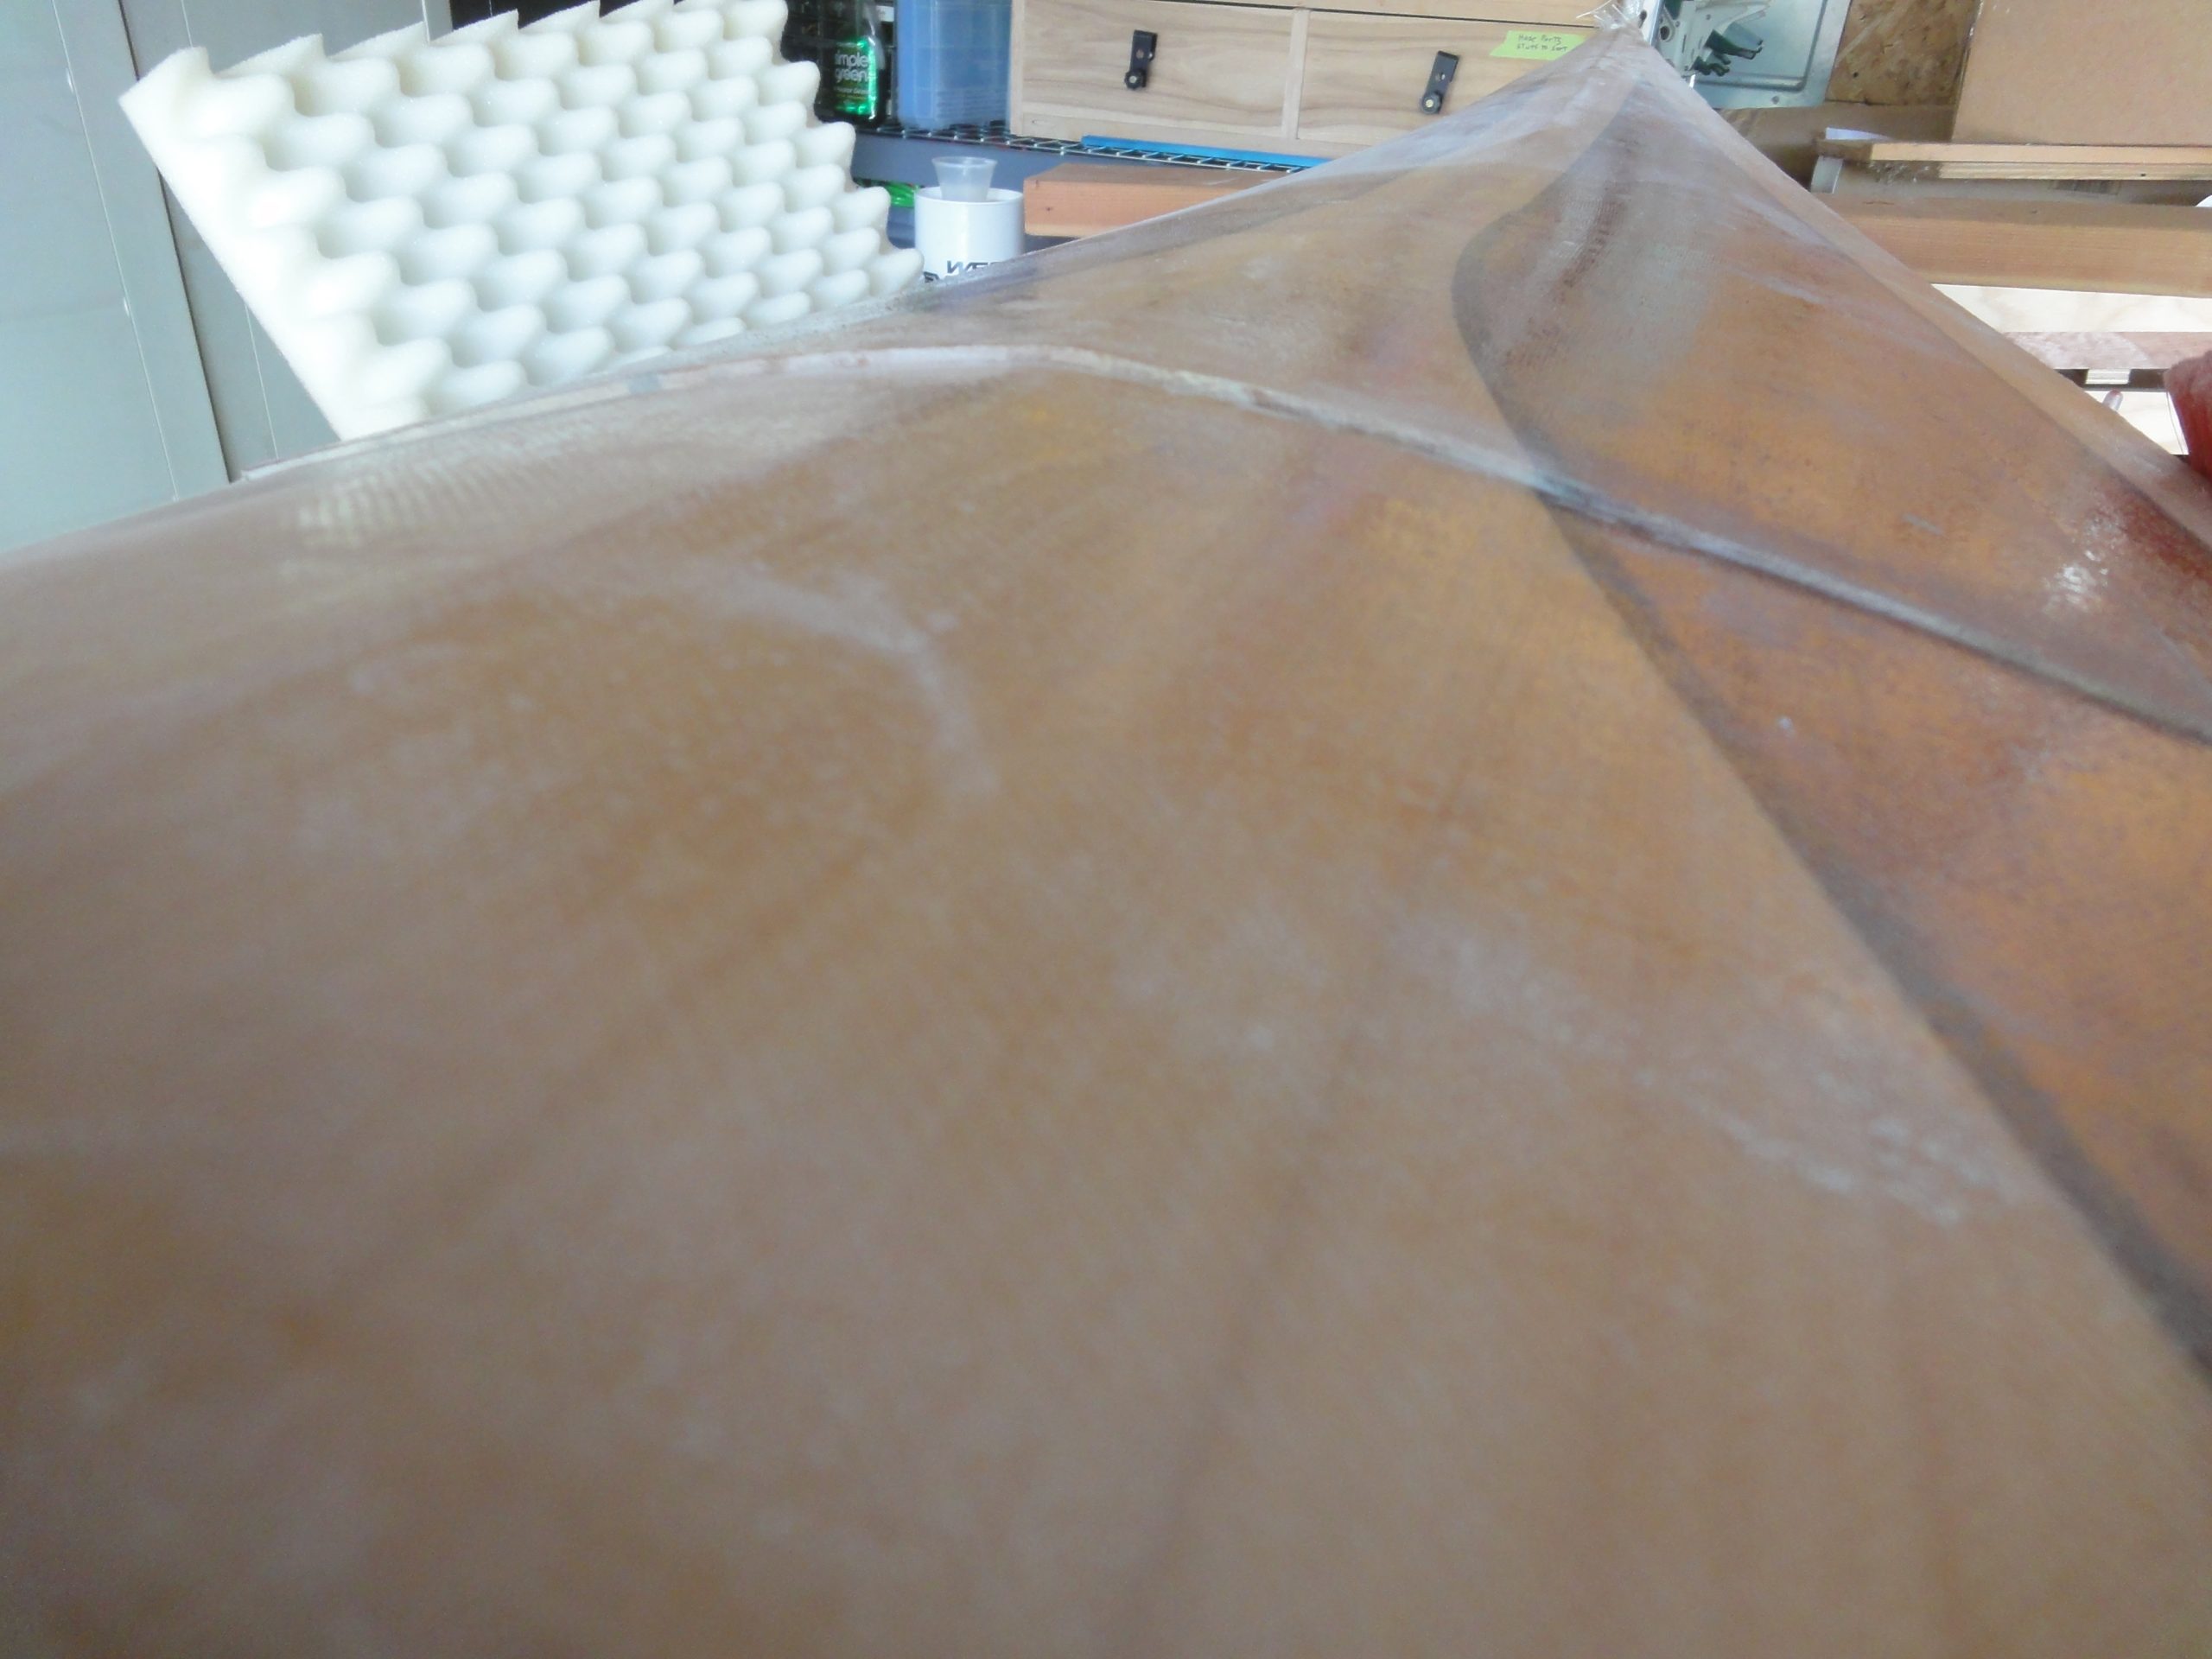
I did a lot of sanding giving the deck both inside and out a through sanding. The goal is to start getting it ready for attachment to the hull. Both sides still need another coat of epoxy but only the inside will receive it now, the outside will wait until after the two halves are joined. Anywhere I’ve got drips, runs or other uneven surfaces got extra attention in an attempt to end up with a smooth over all suface.
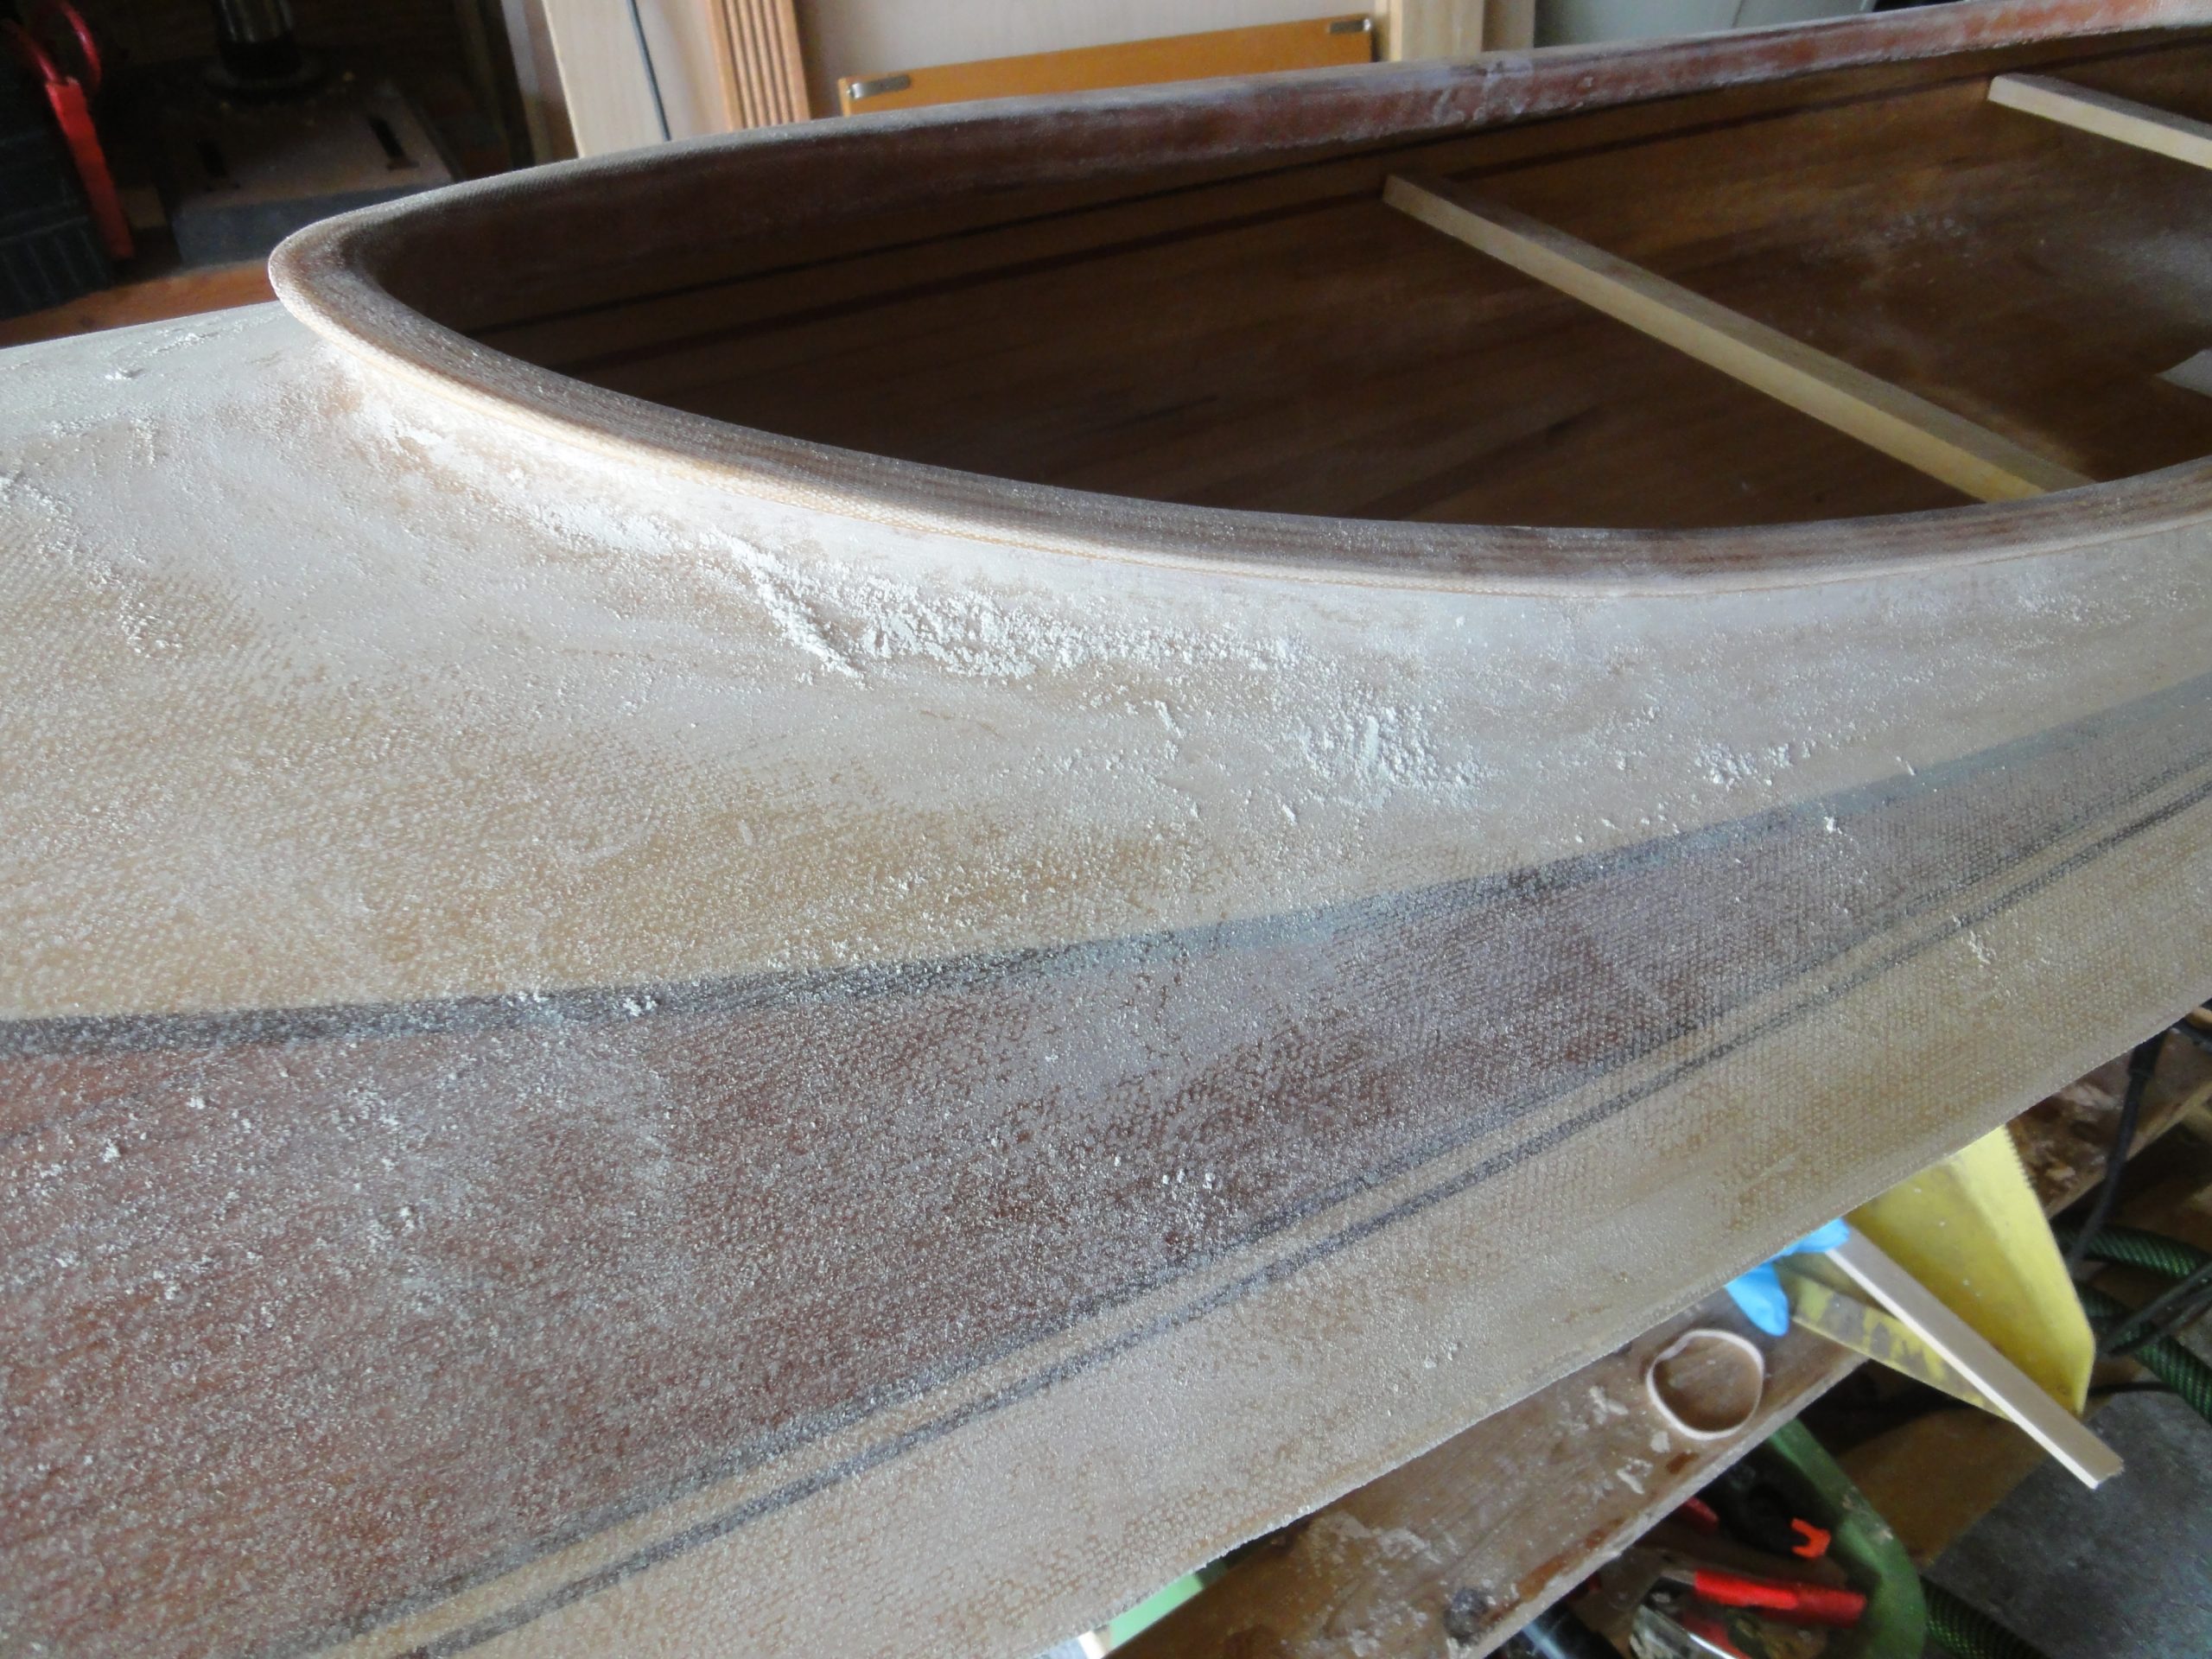
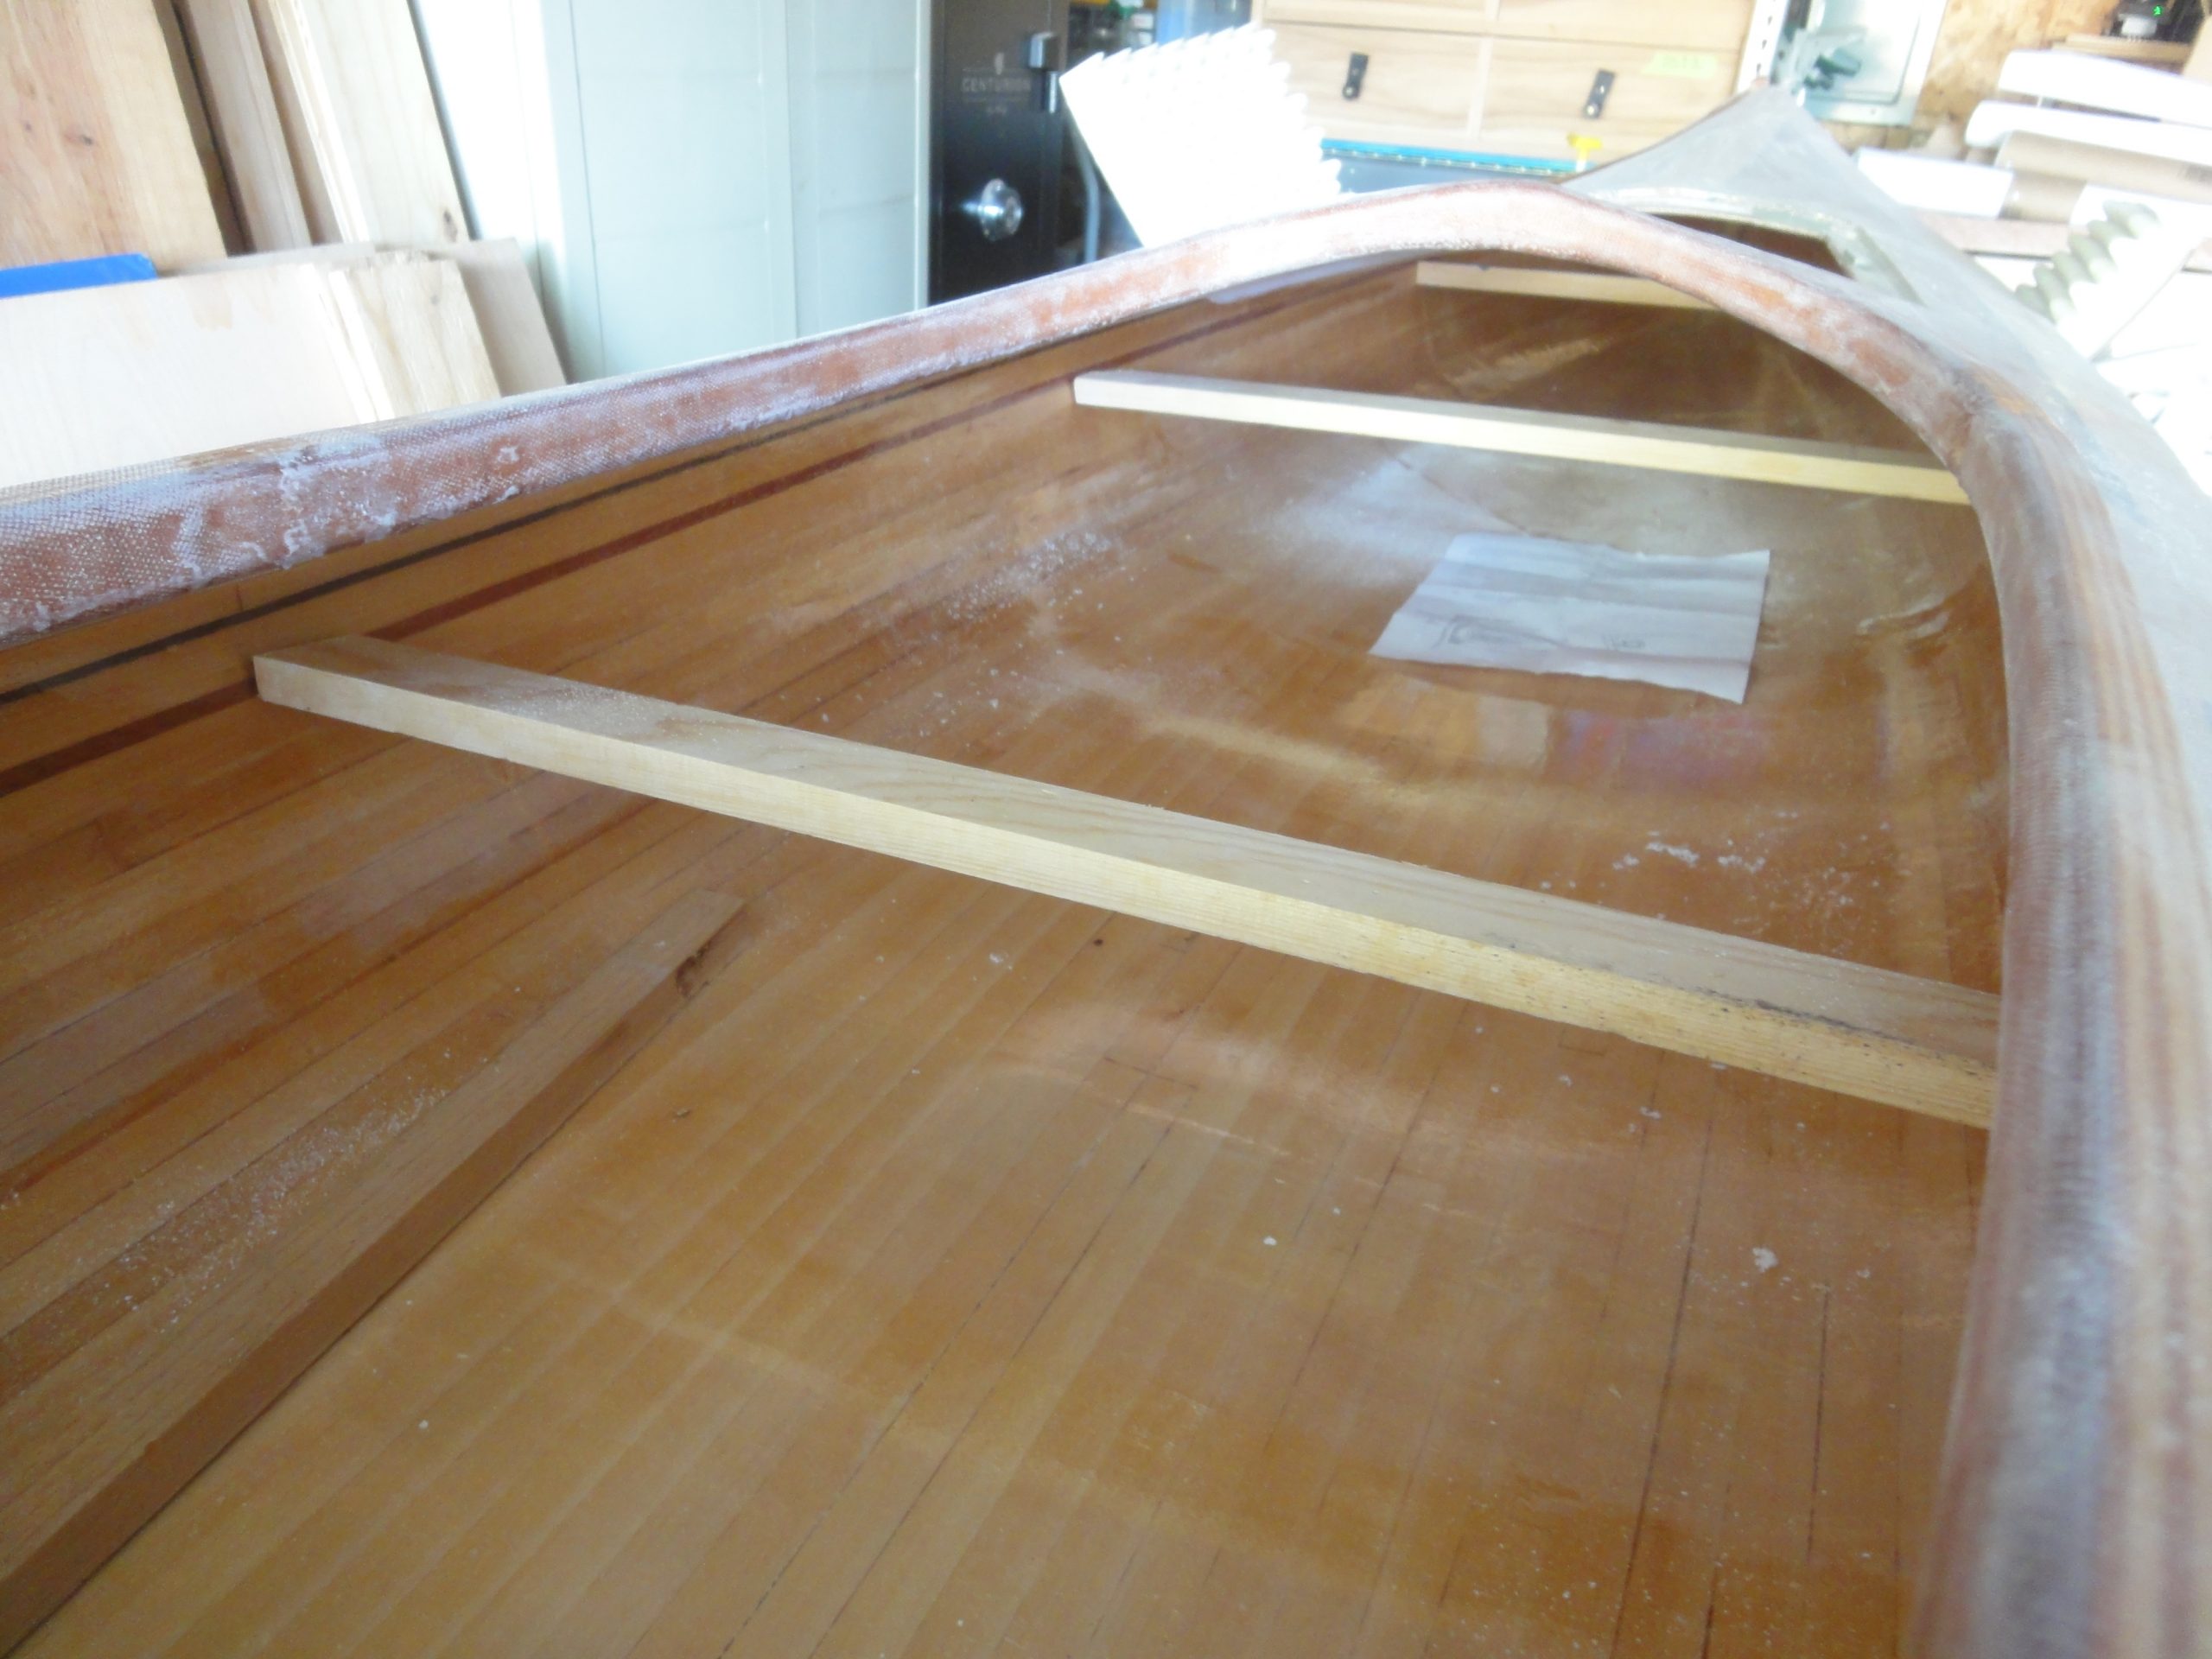
I readjusted the spreading boards, sized them a little better and fit them in below the second detail stripe. This should be far enough out of the way to leave them in place while the connecting strip of fiberglass is laid on both halves in the hopefully not to distant future.
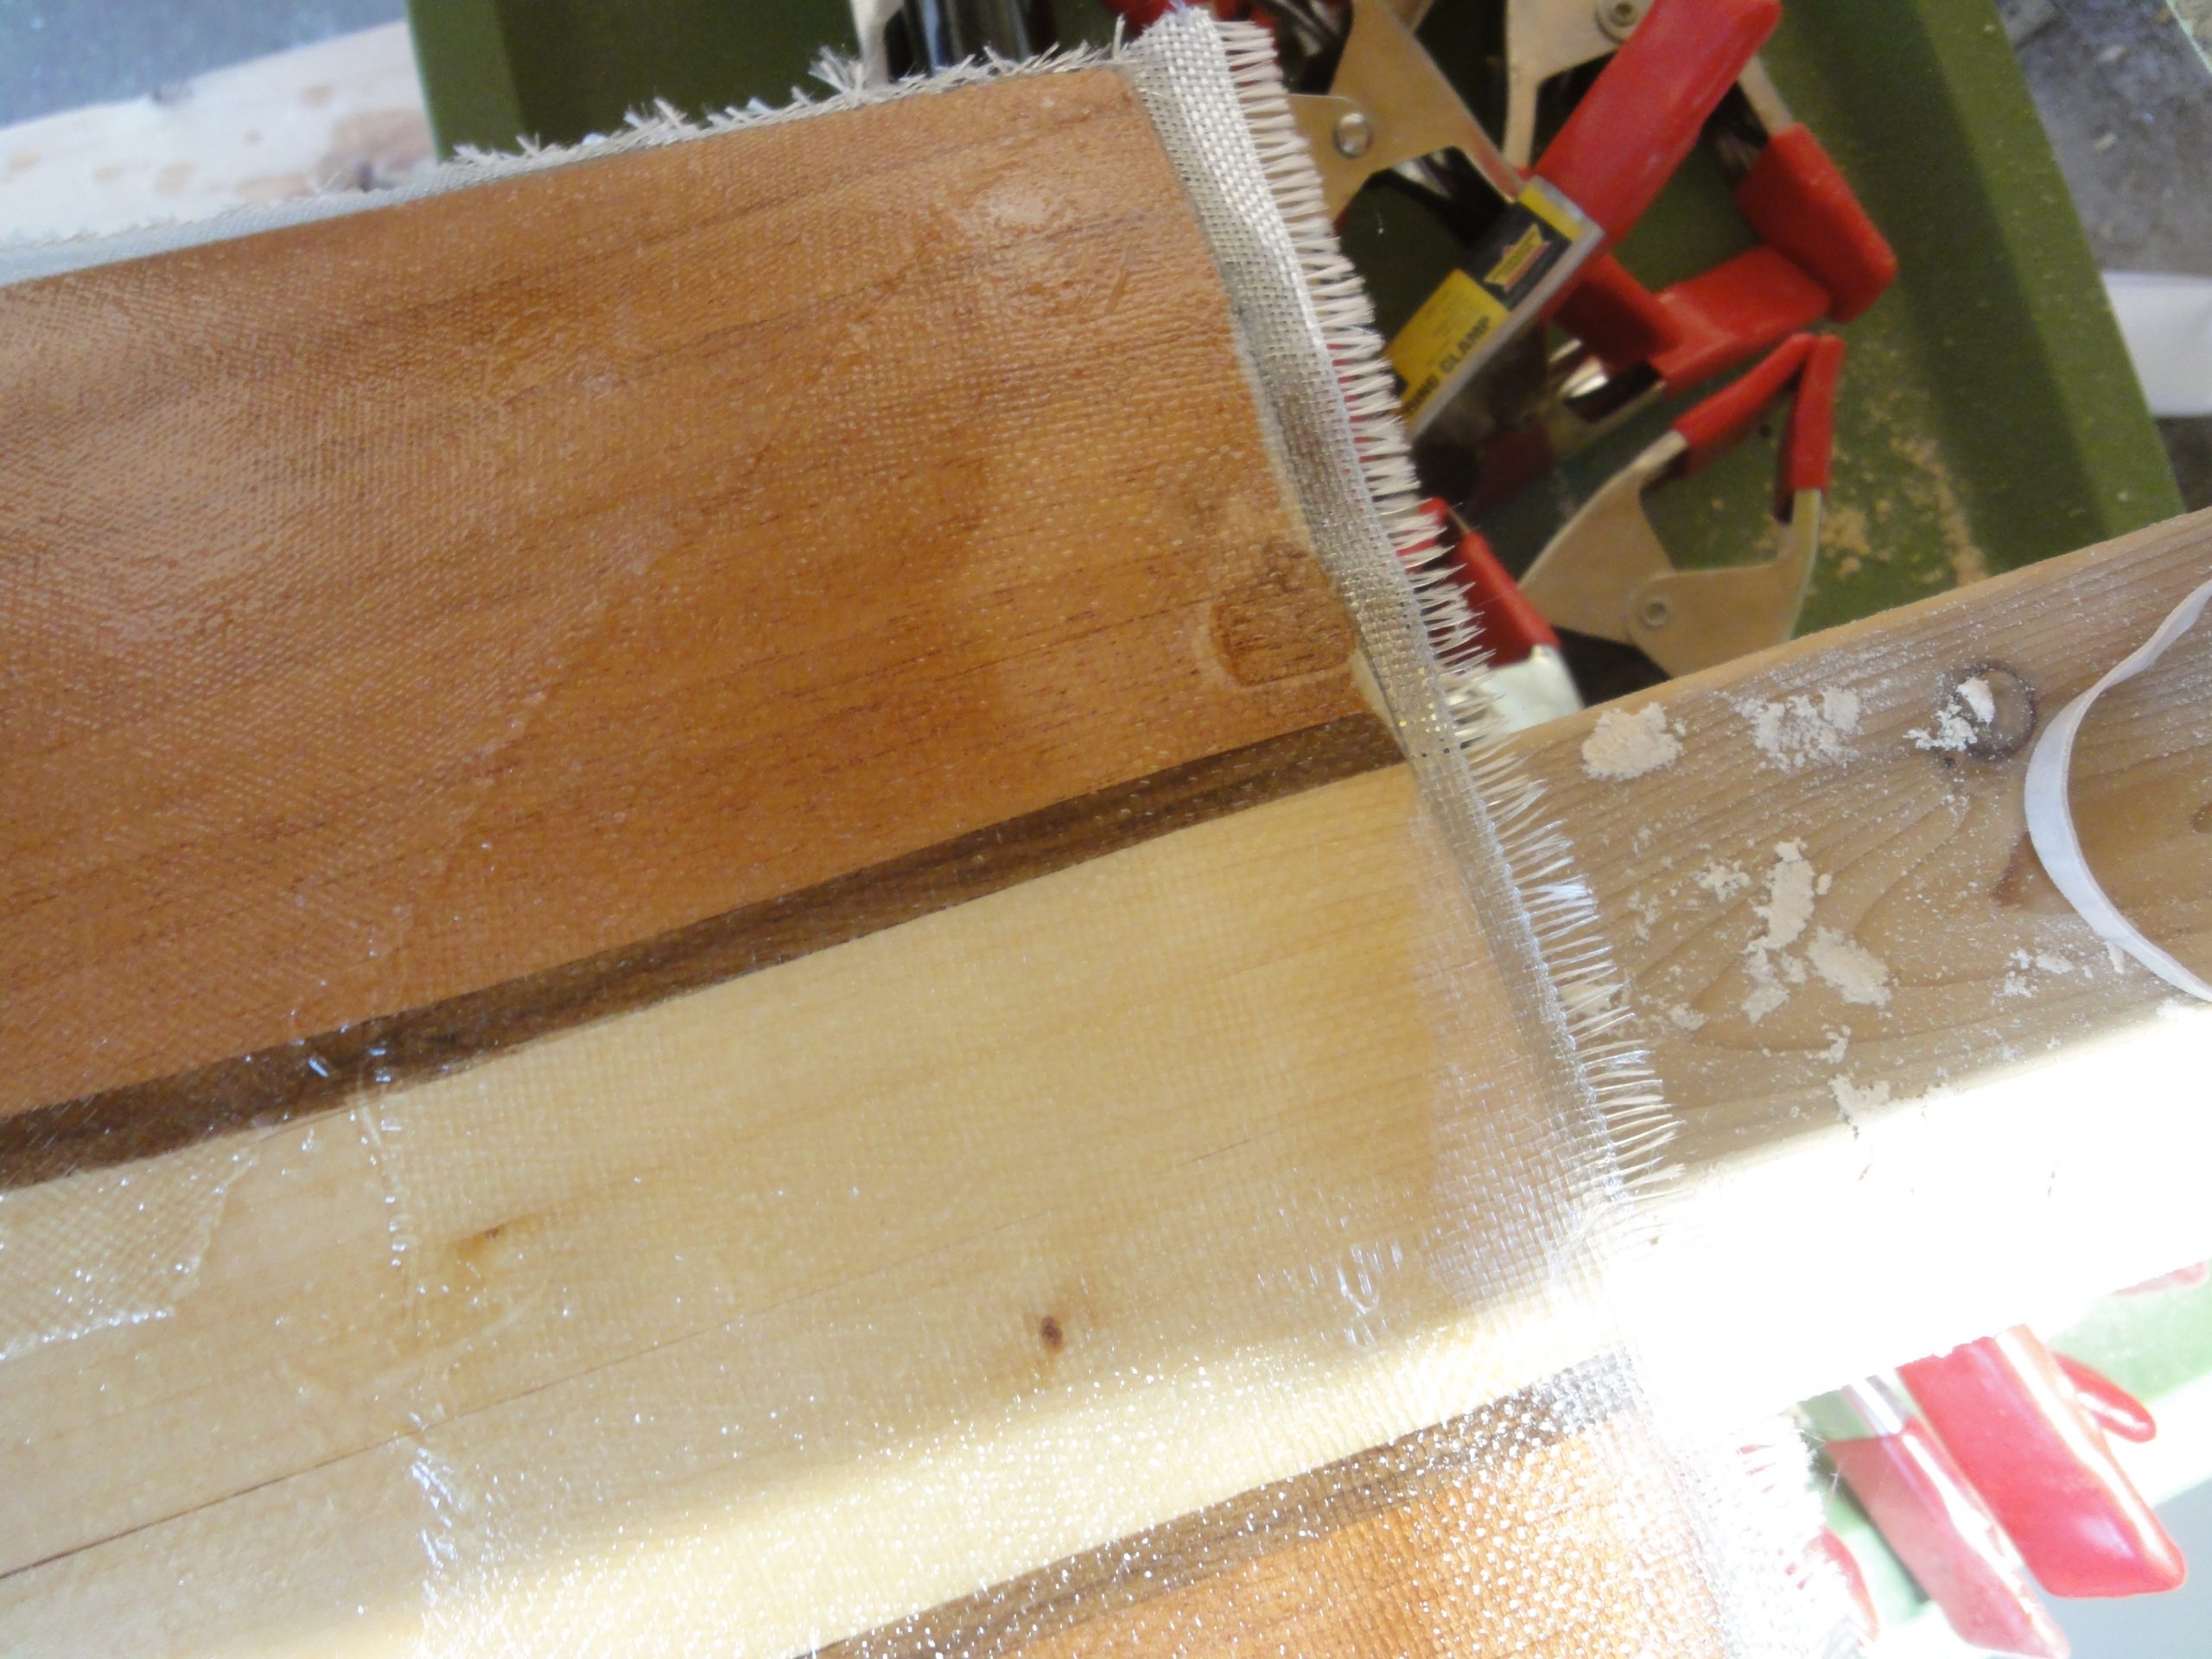
Directly behind the front hatch and directly behind the cockpit will be a bulkhead to keep the forward and rear sections water tight in the event of water coming over the coaming, or overturning or…
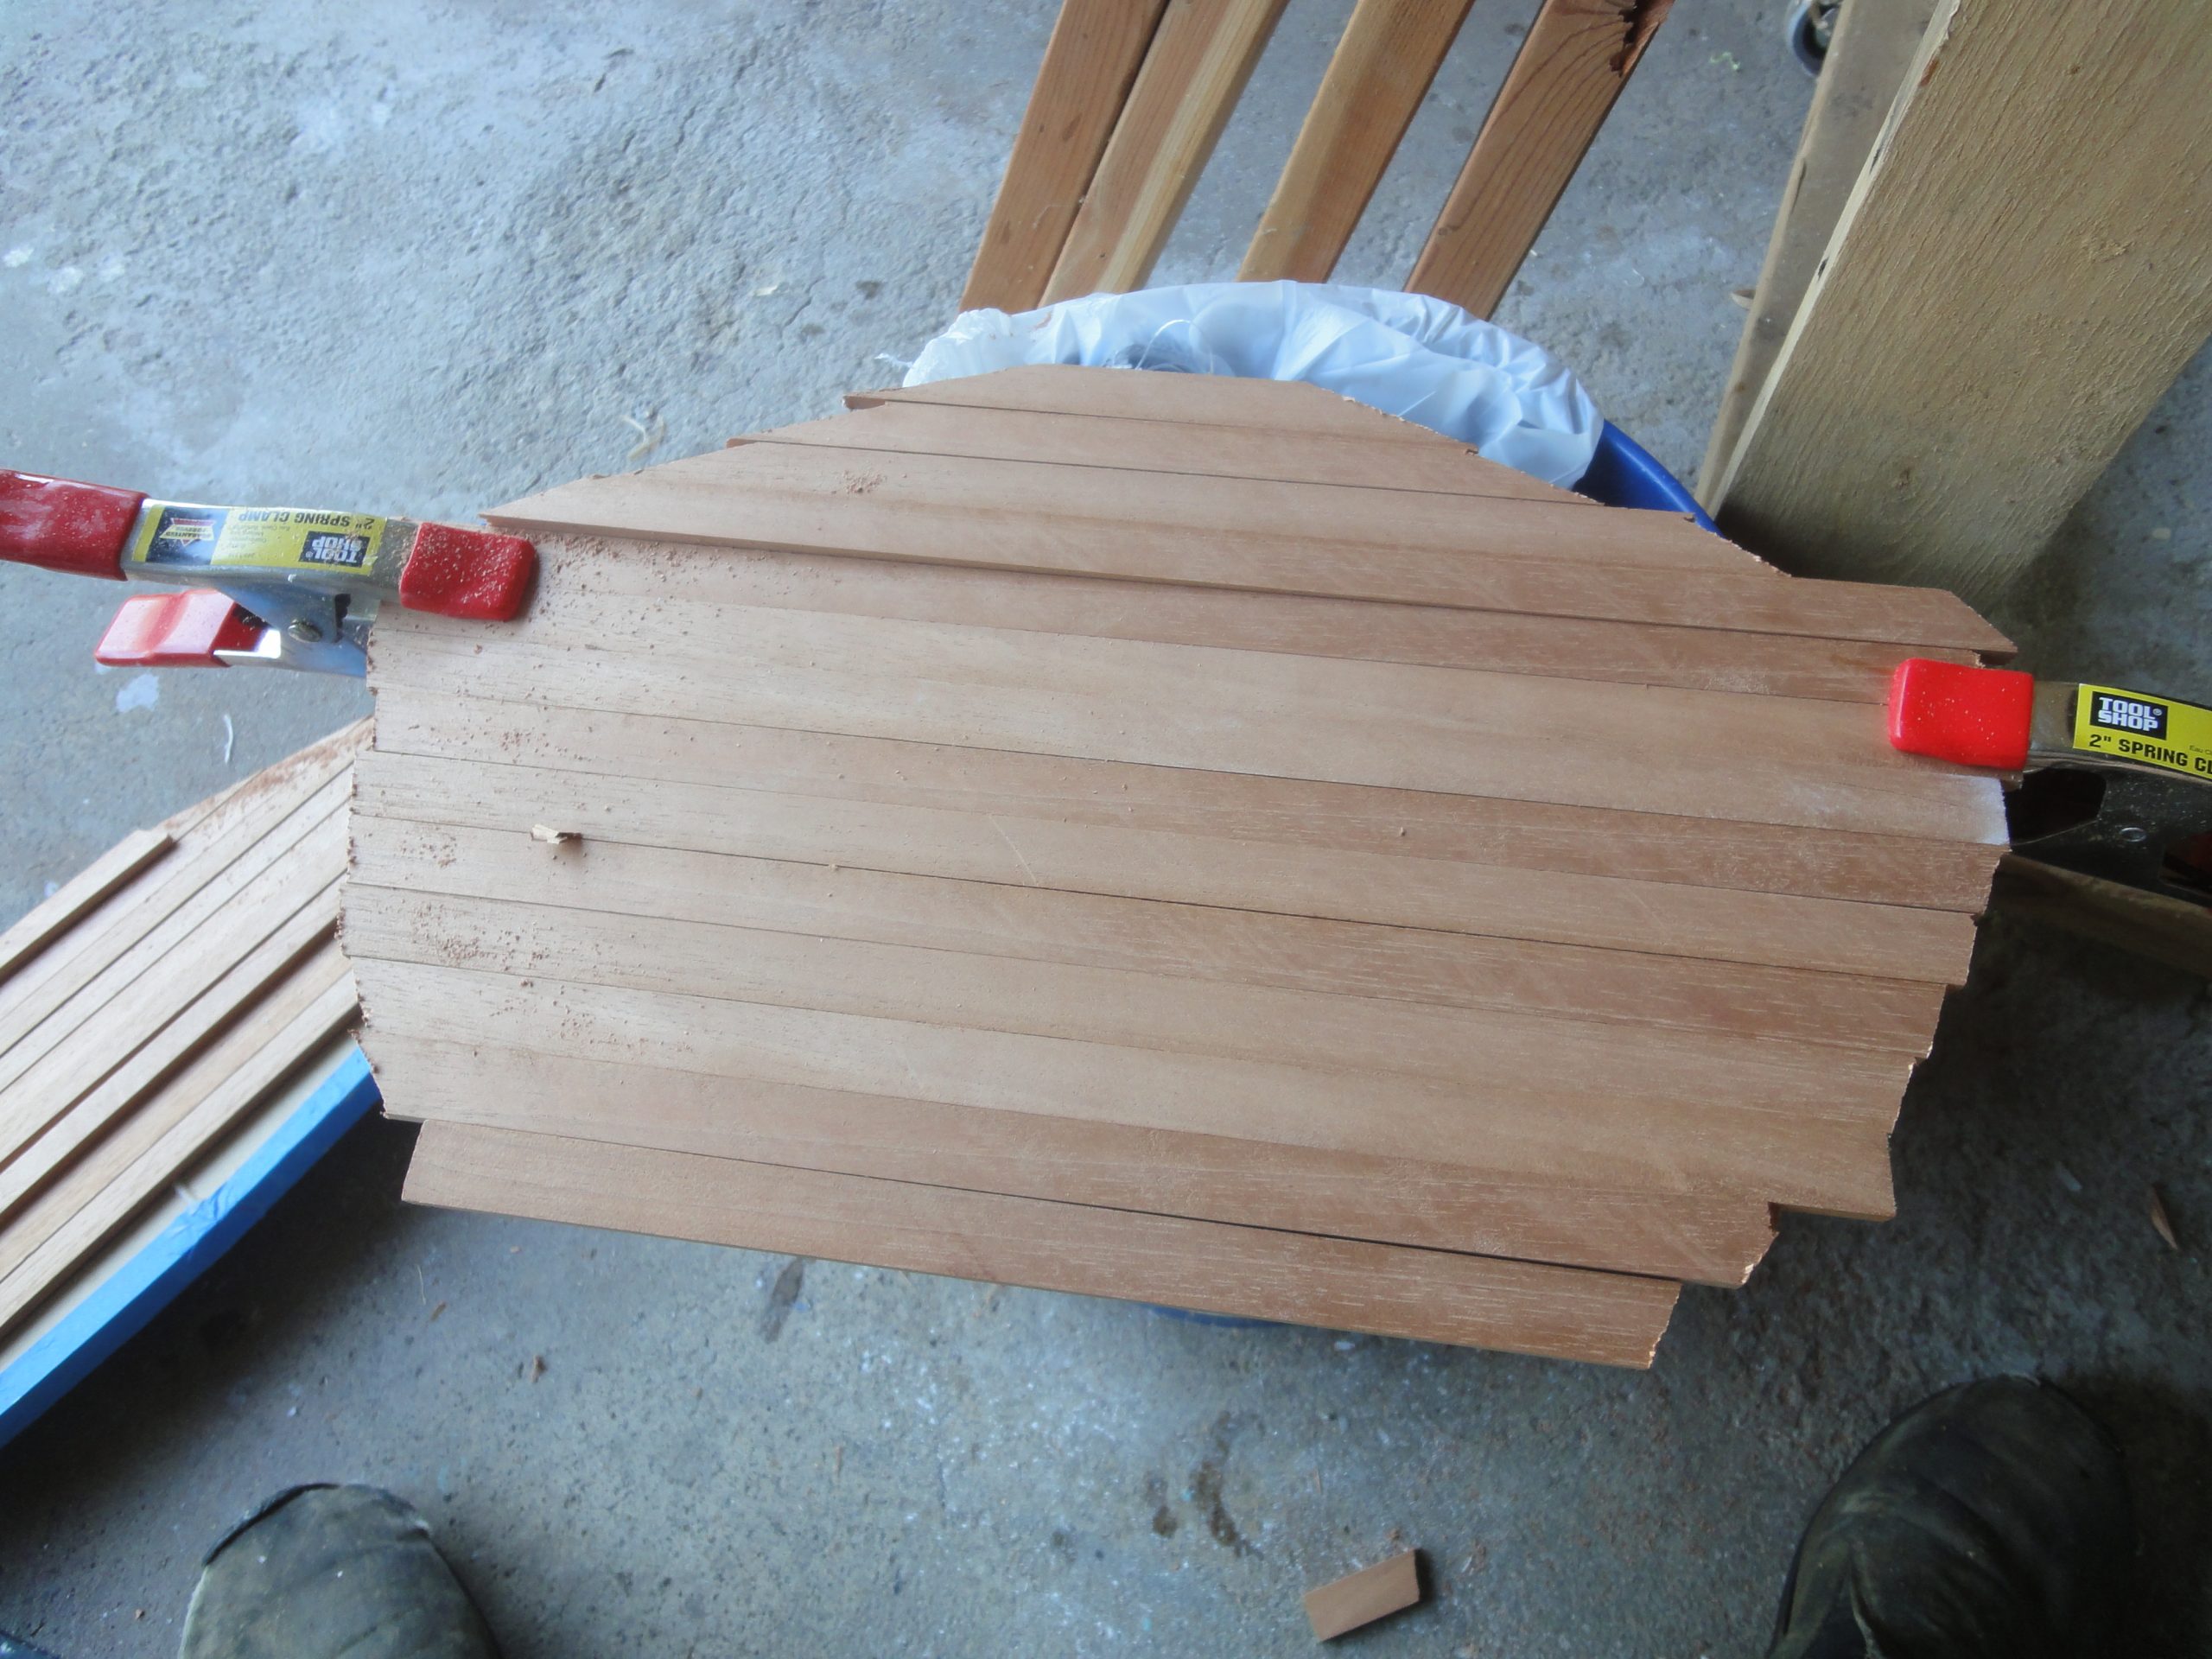
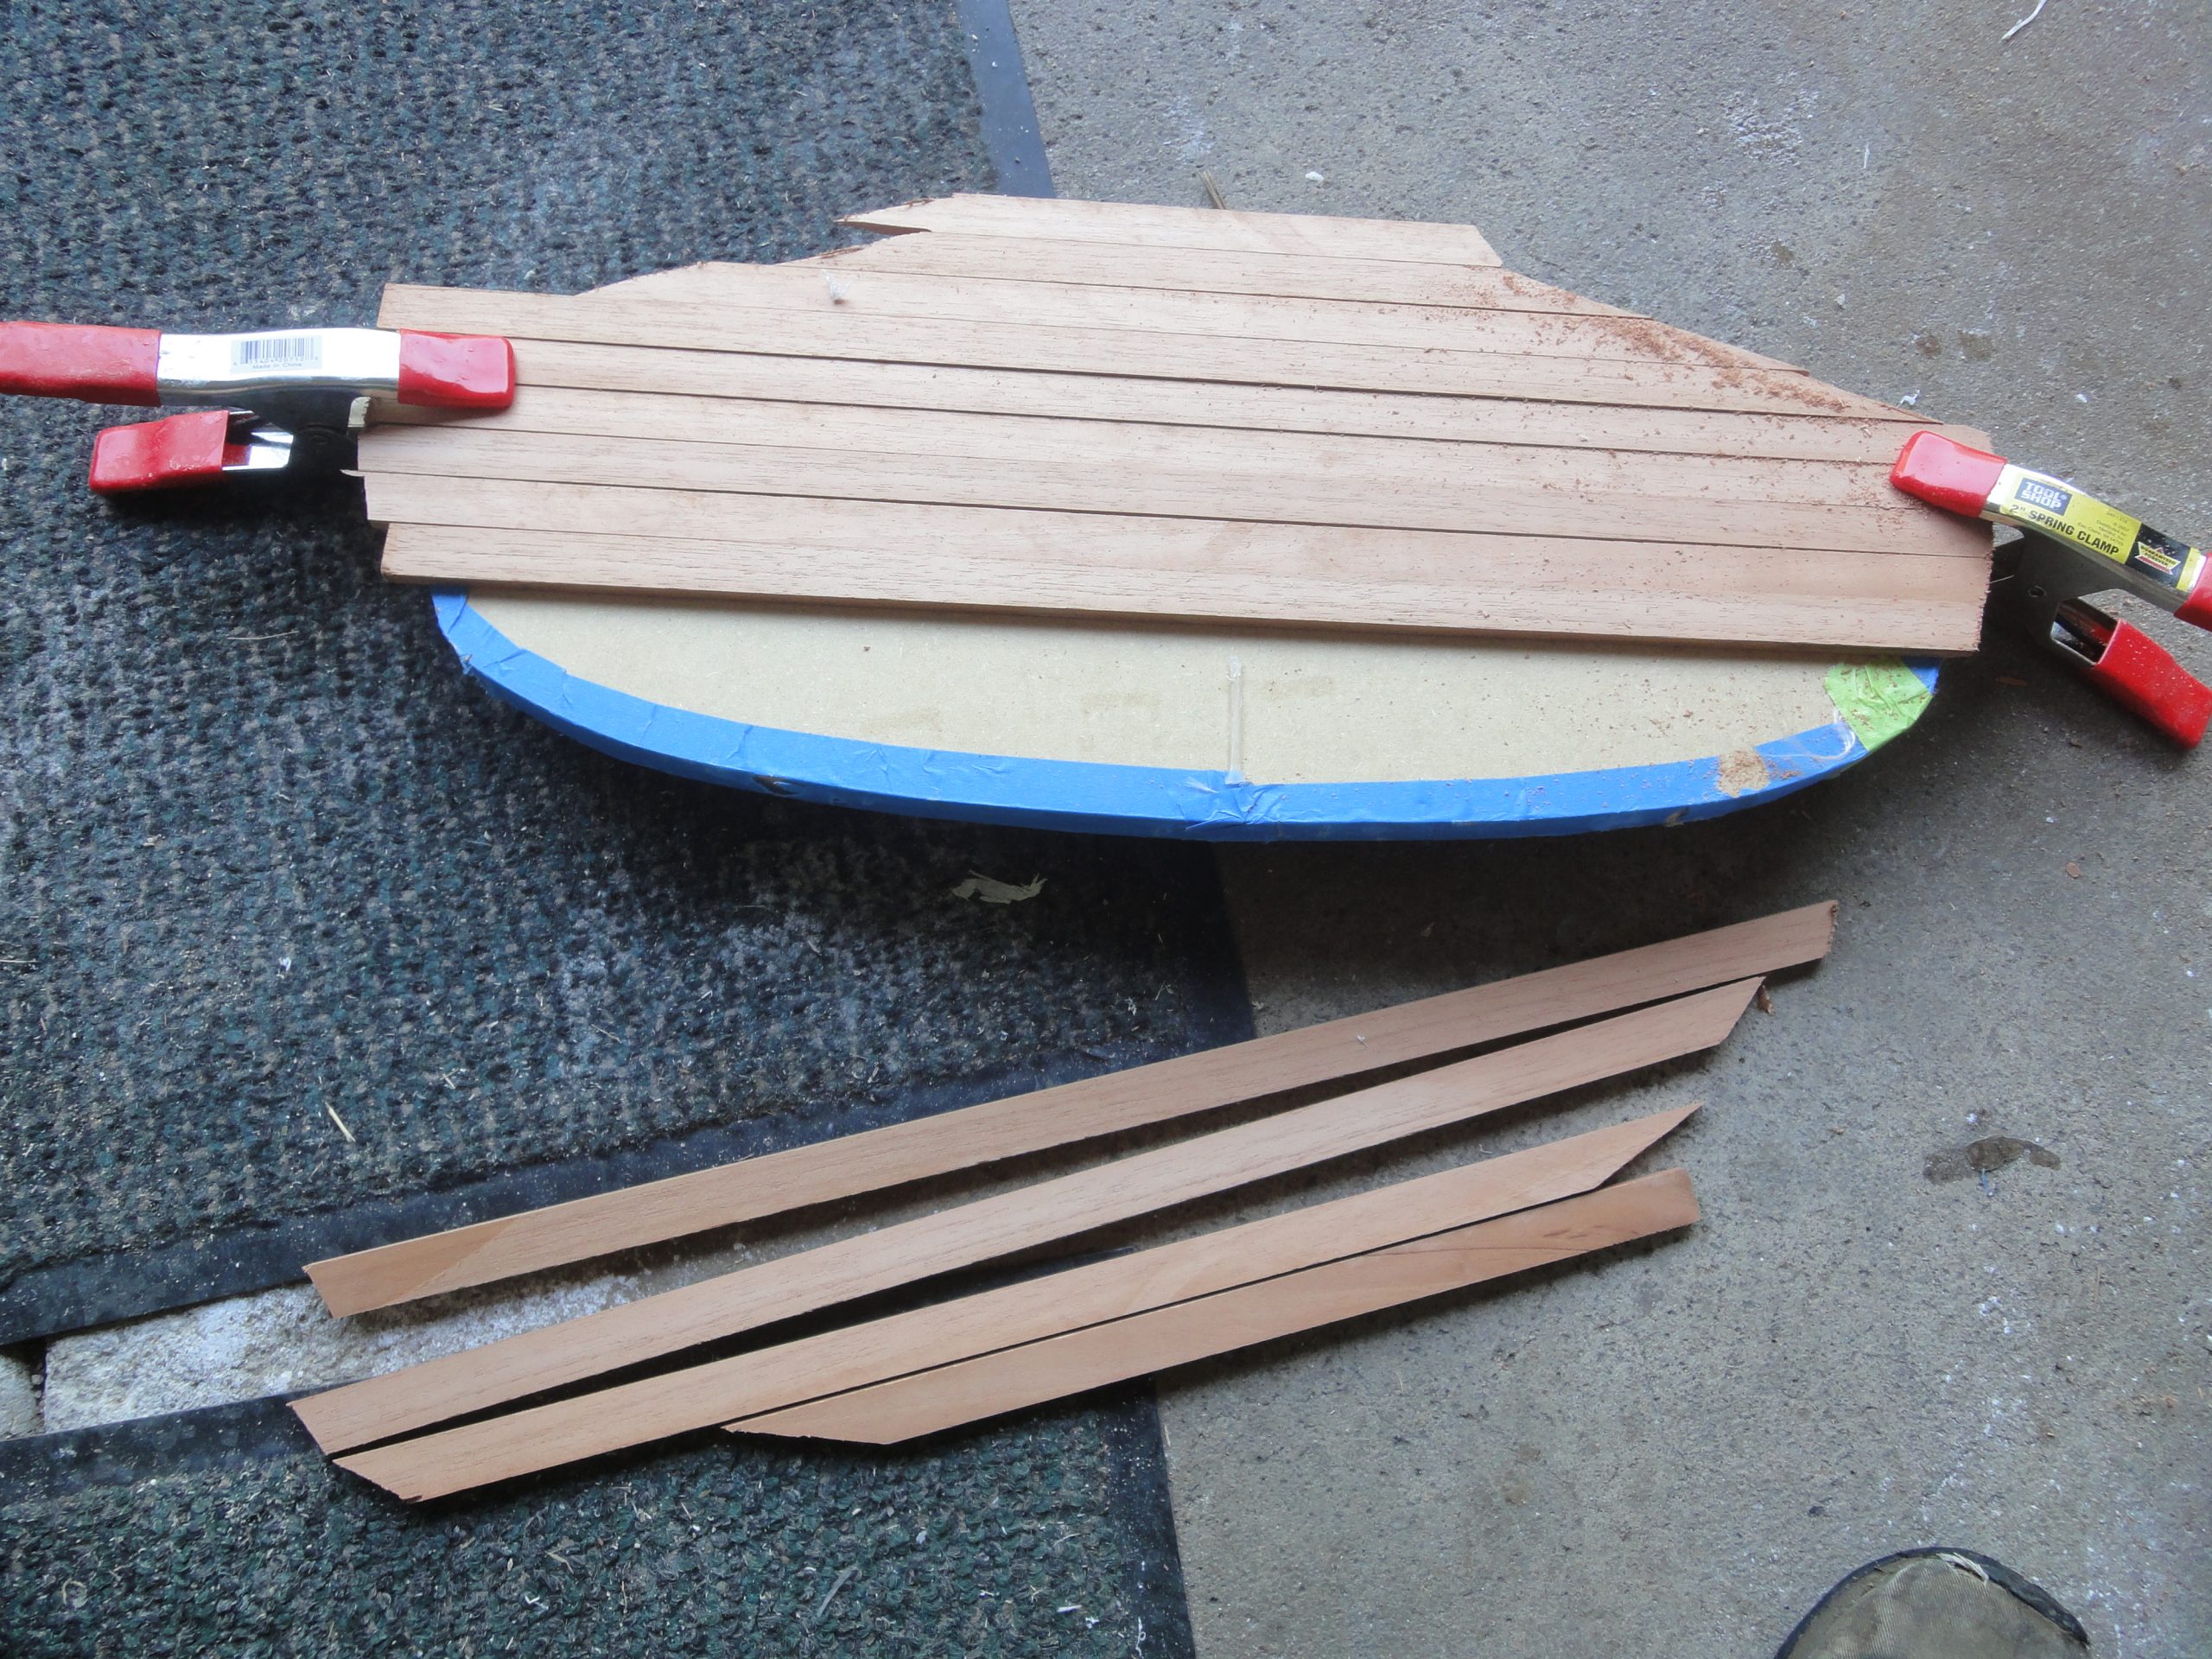
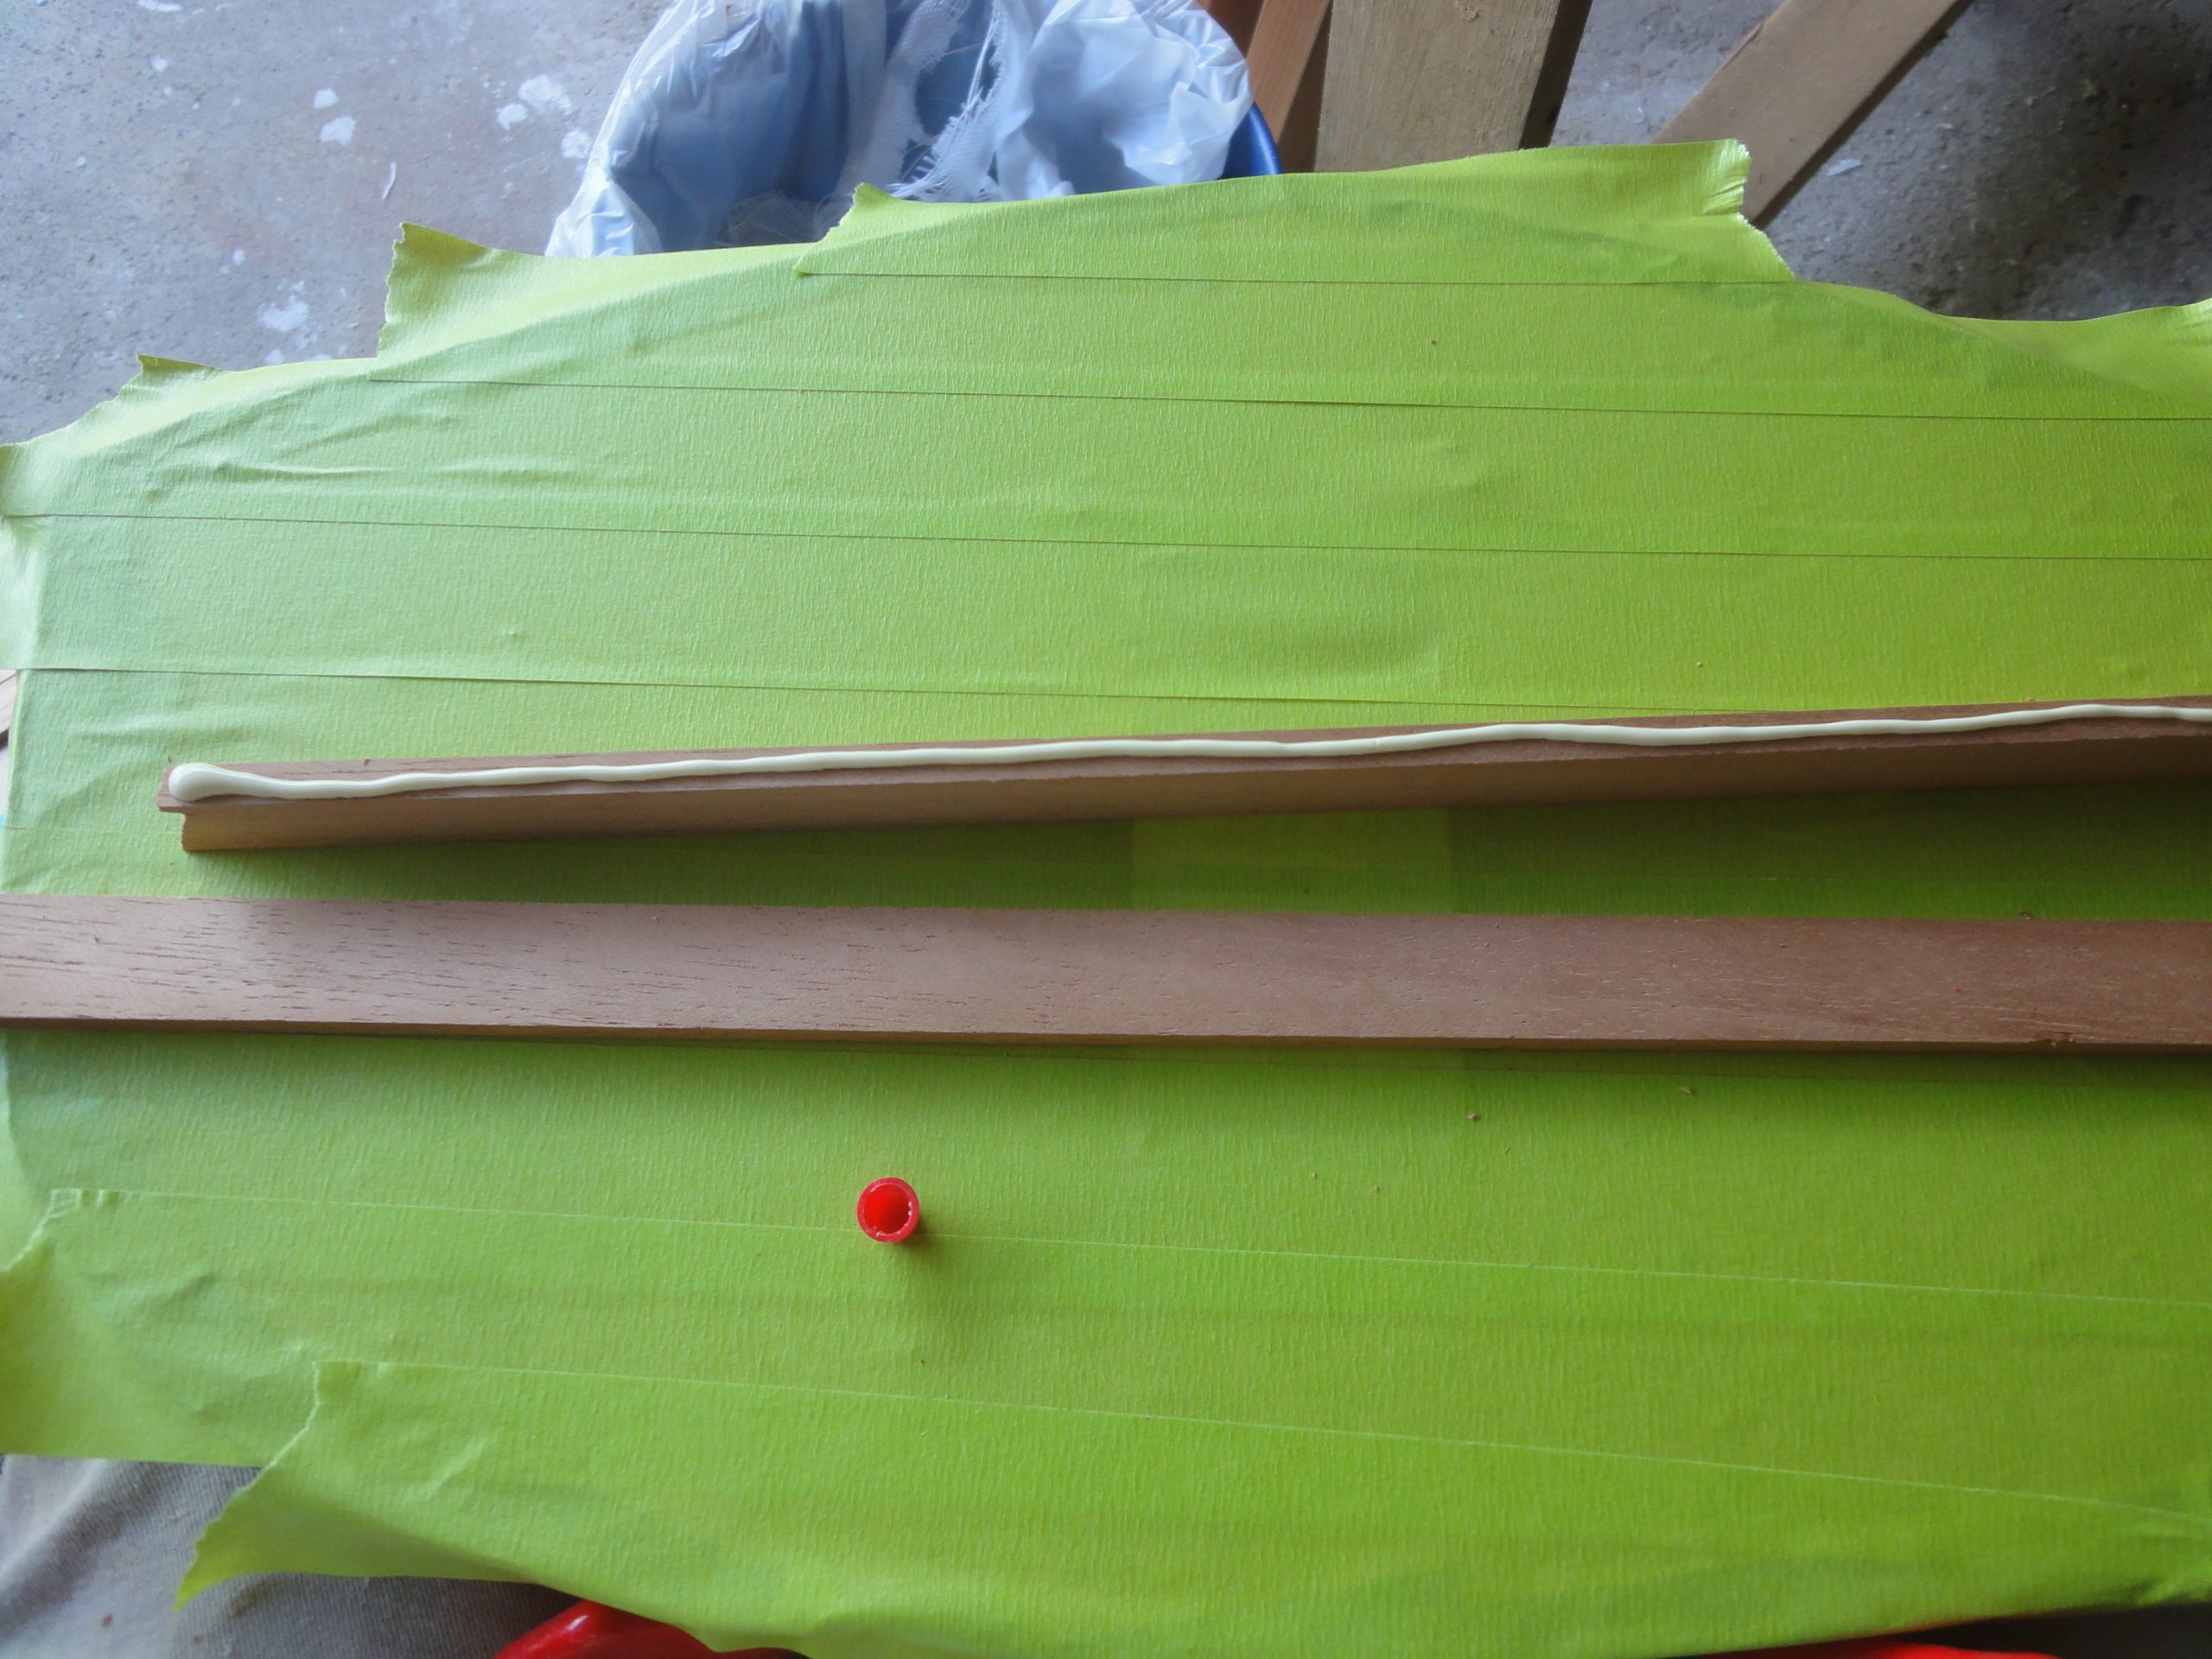
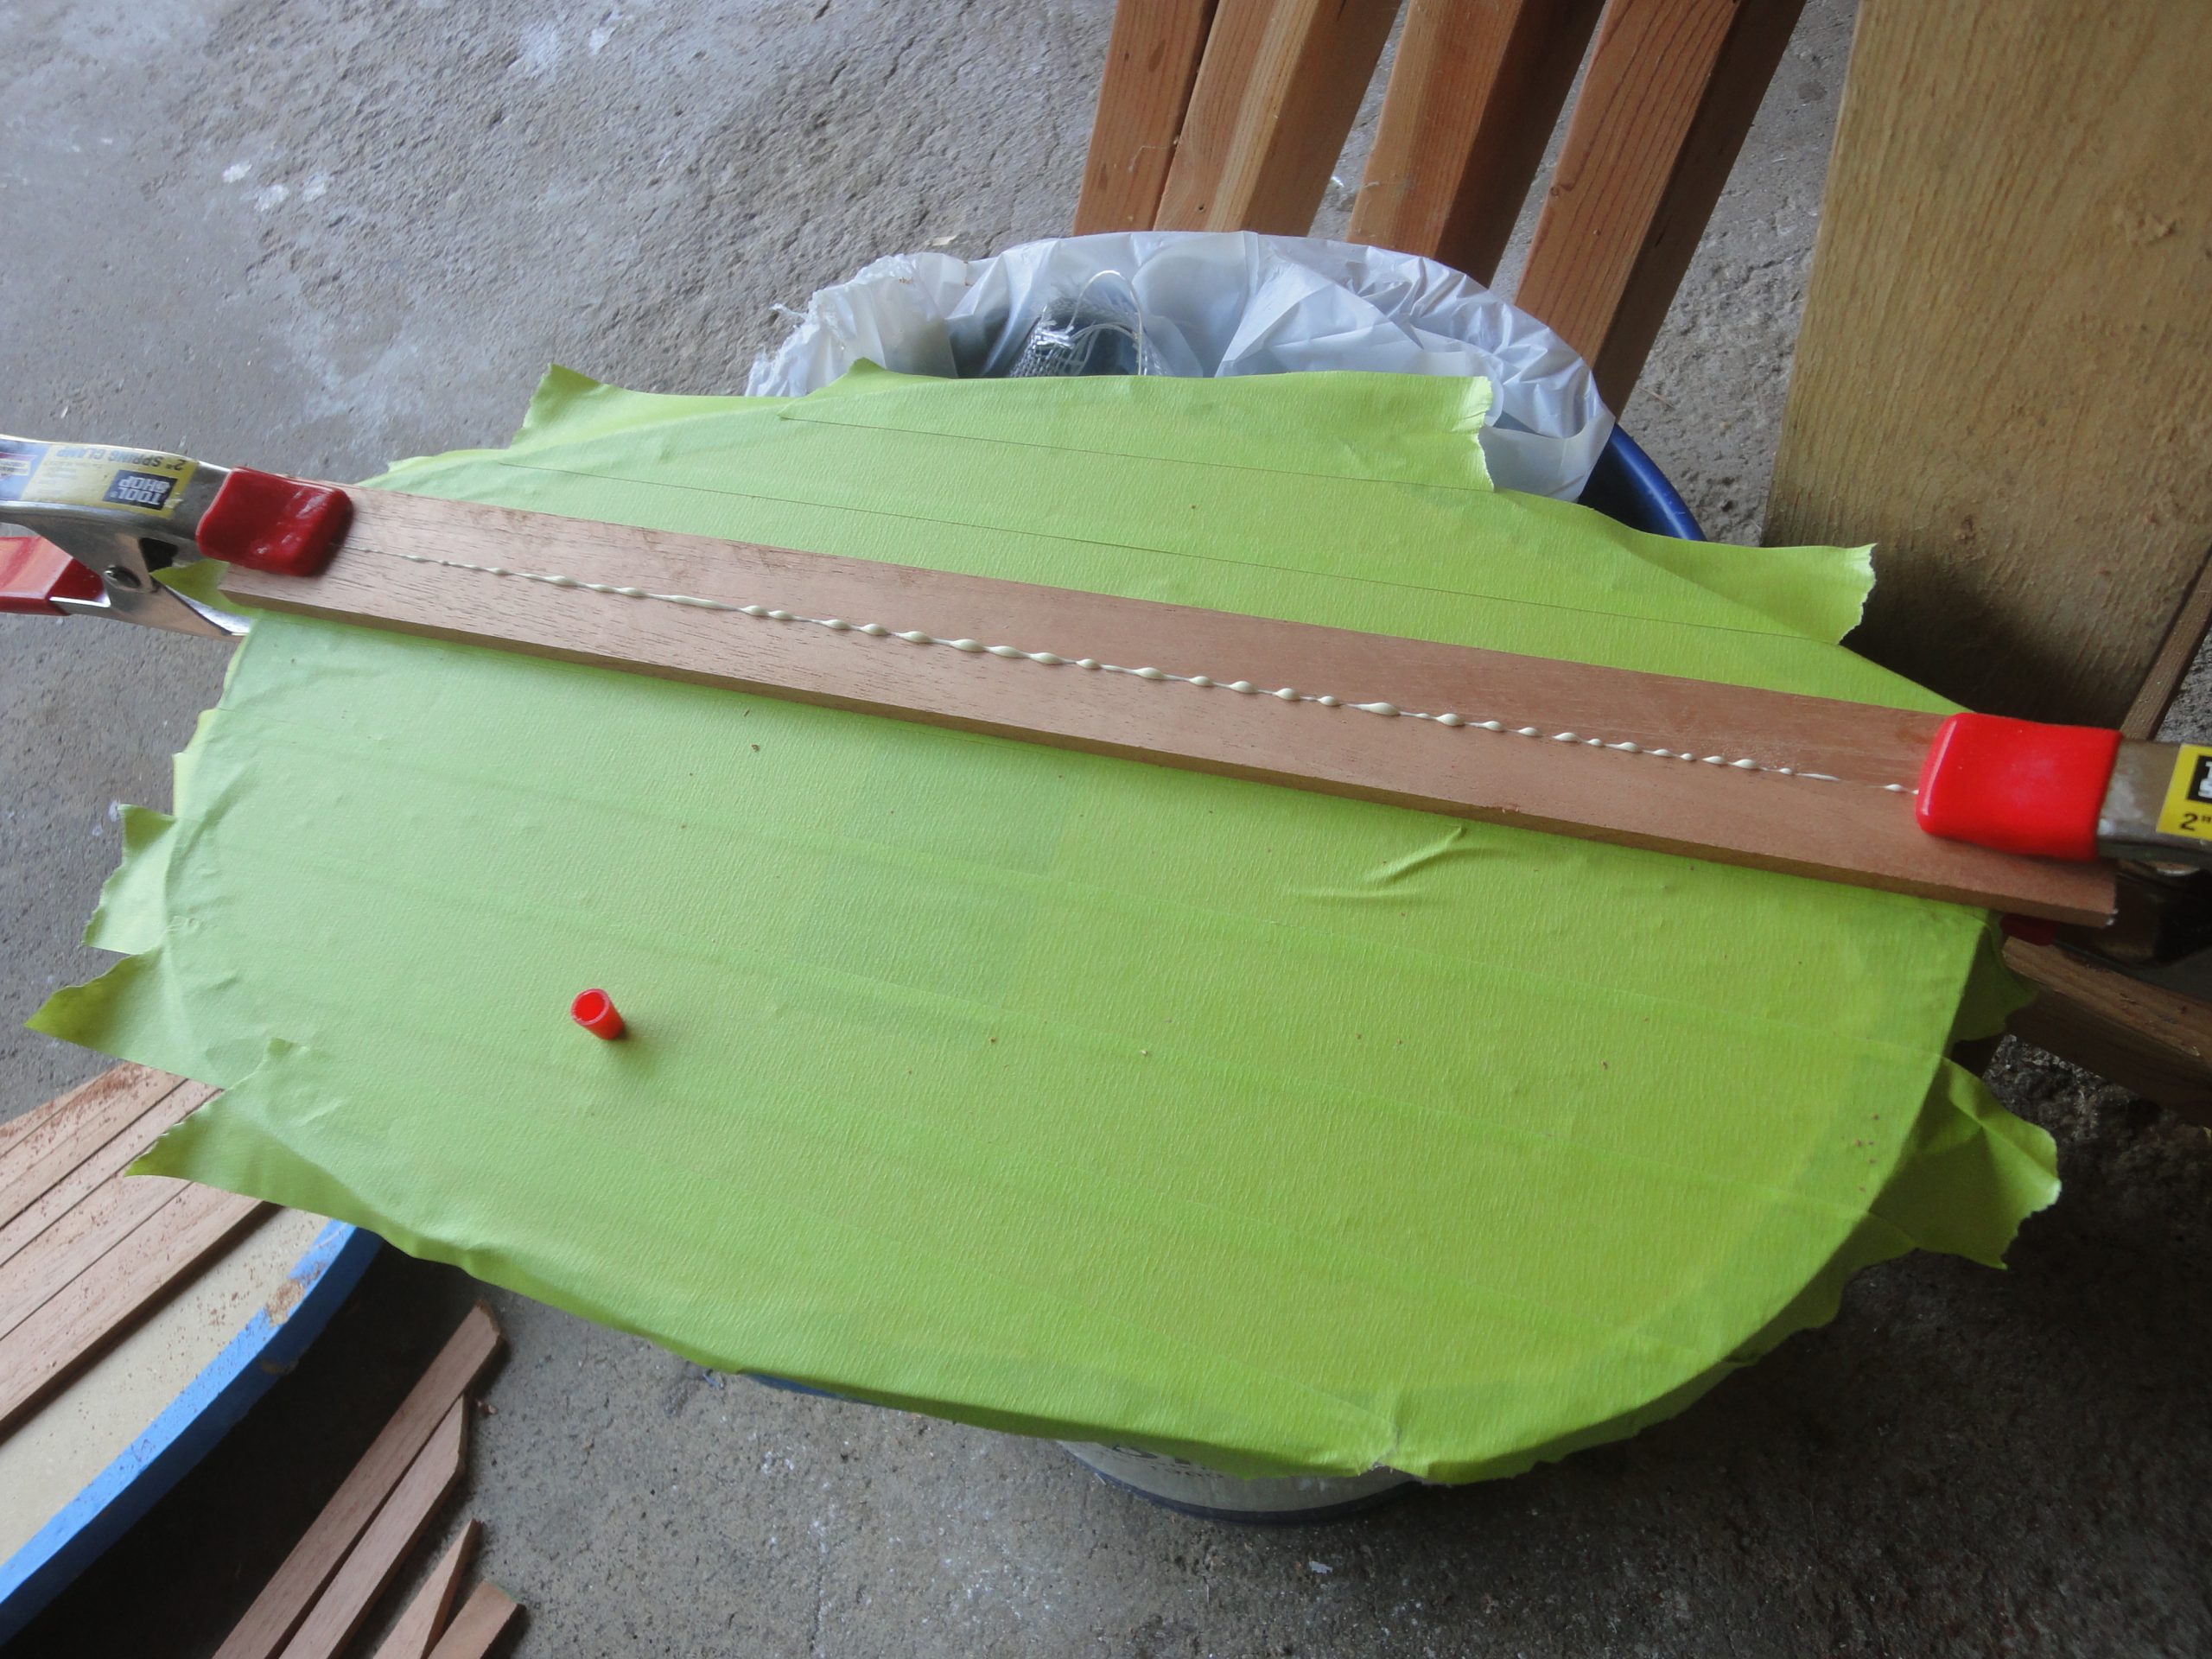
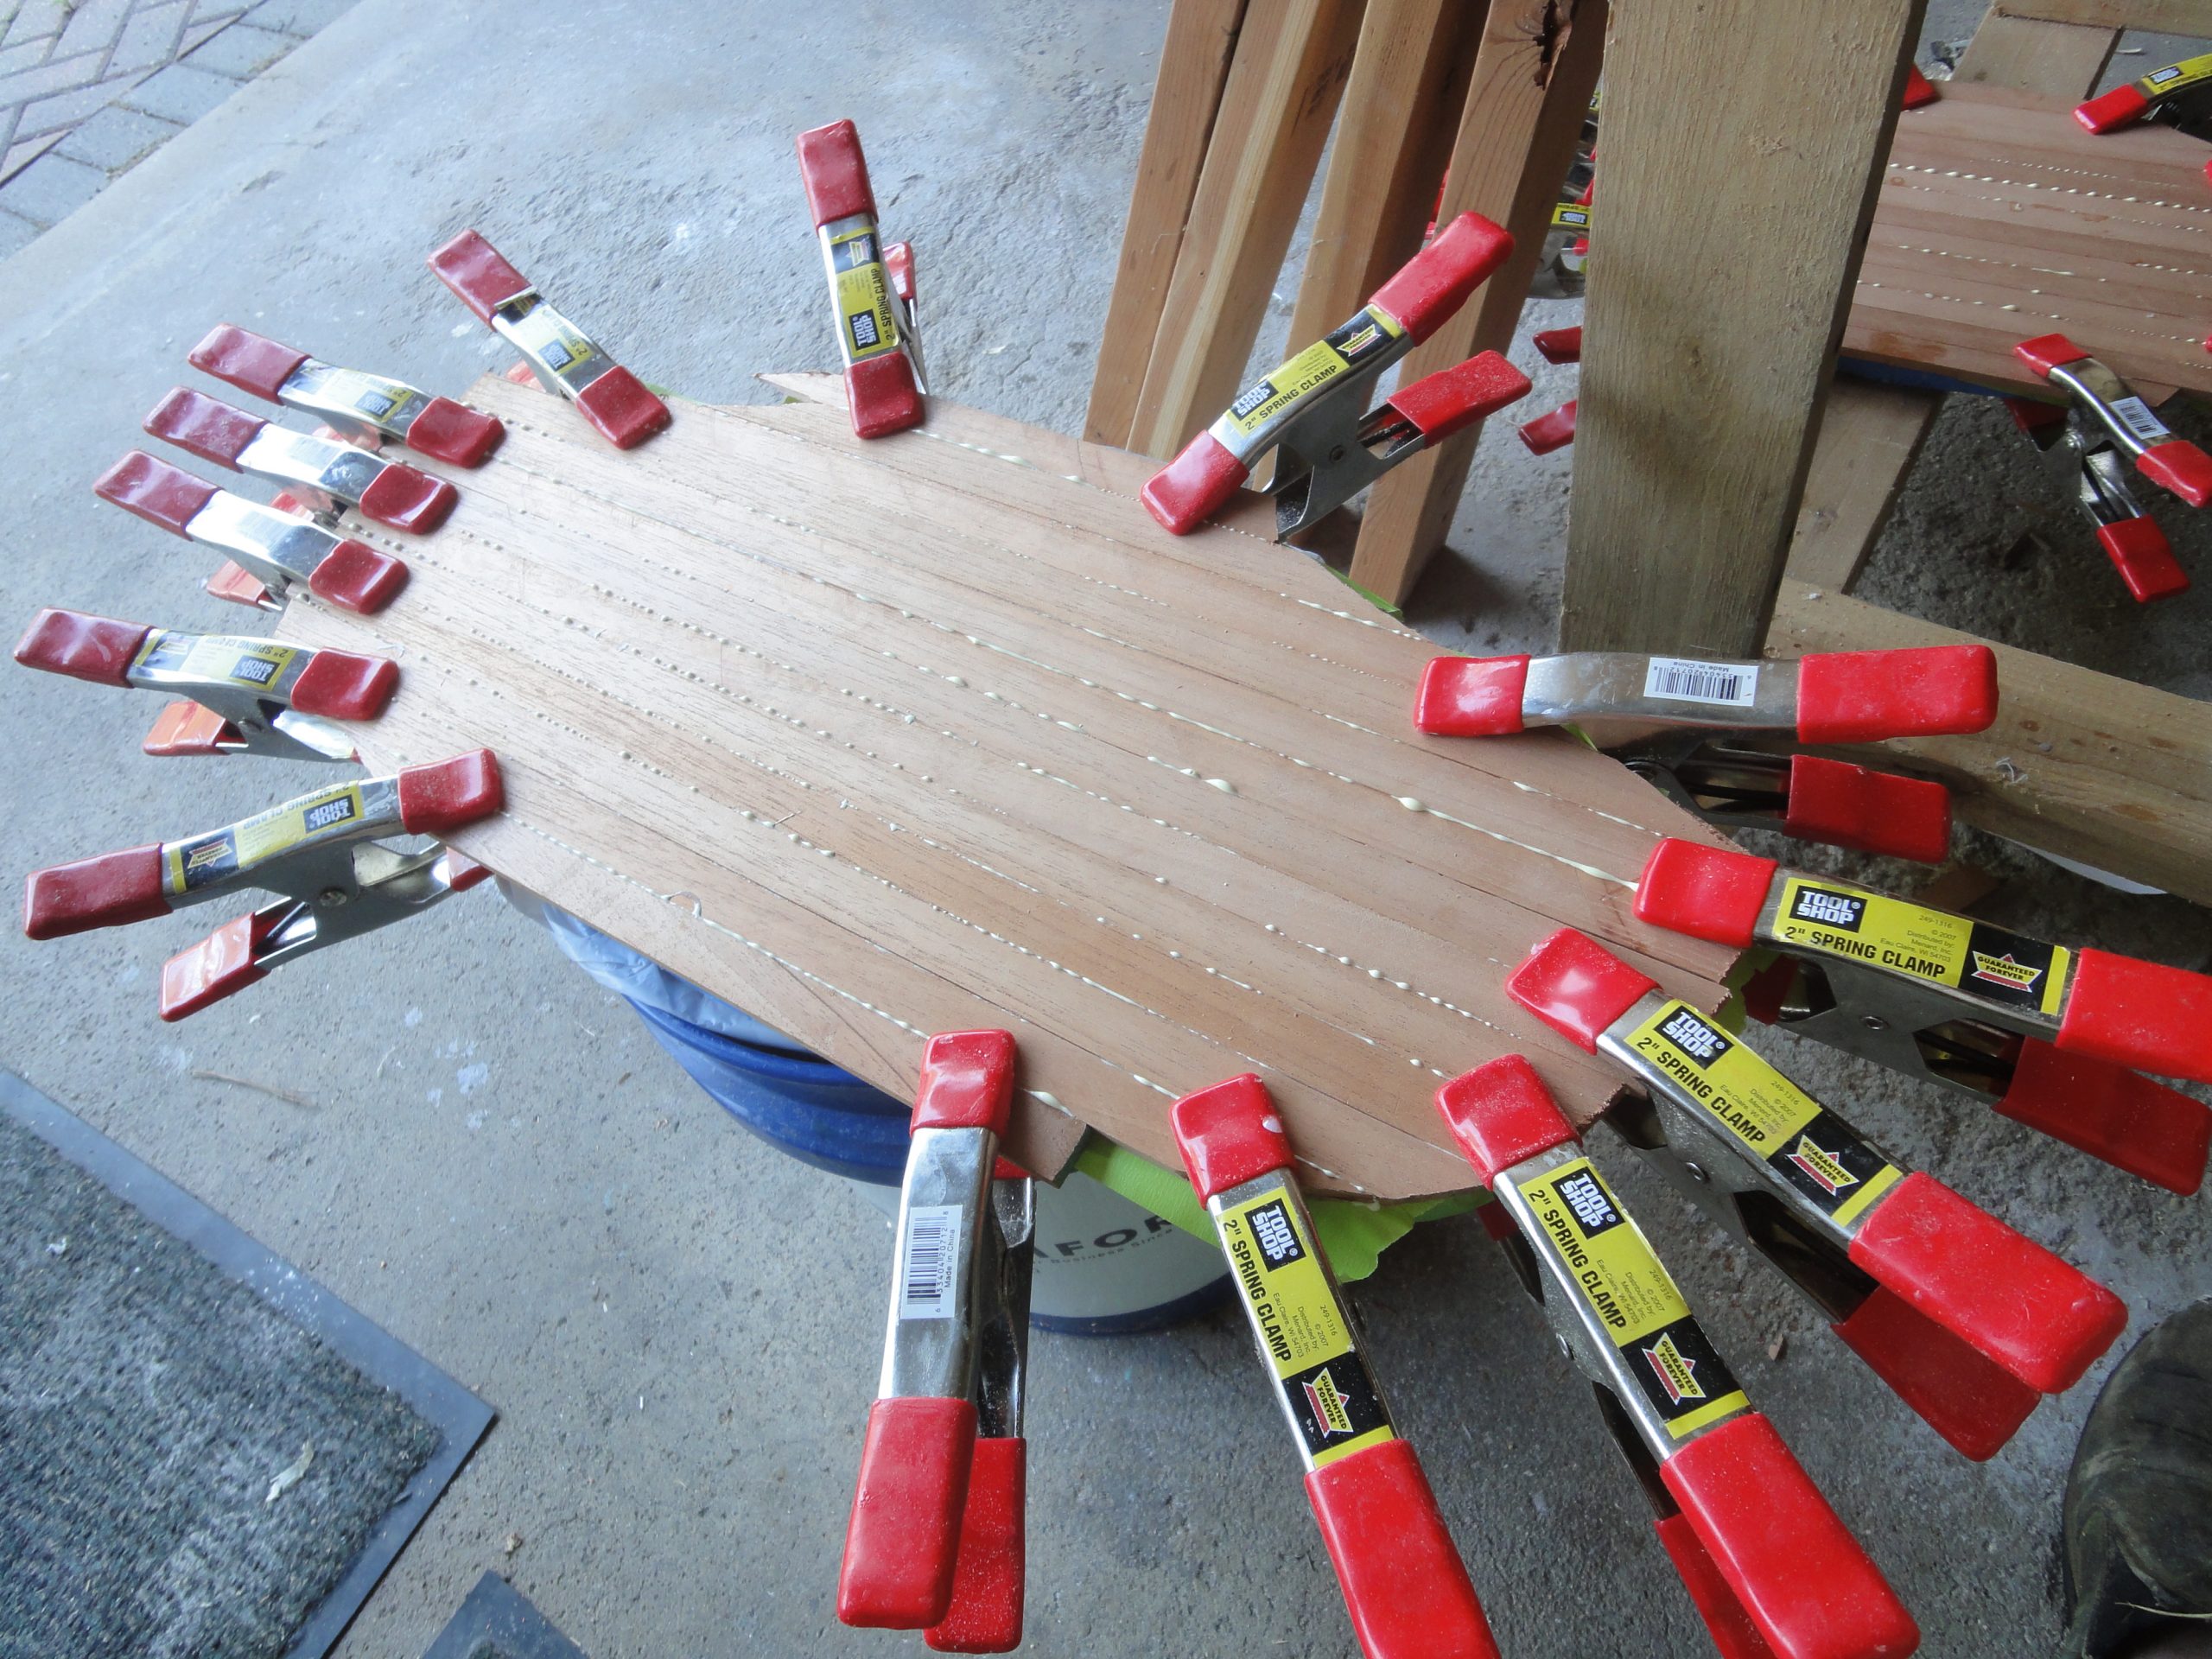
I looked at a few options and settled on a self built bulkhead panel. To begin I found the two forms that most closely matched these positions. Using left over strips I then cut them to length, plus a little extra, and glued them together over the forms. To avoid gluing them to the form I covered it in tape first. A bunch of clamps held everything together.
Once dry I’ll remove them, trim and fit to size and then fiberglass each for strength and waterproofing. Eventually they’ll be held in with mostly caulk.

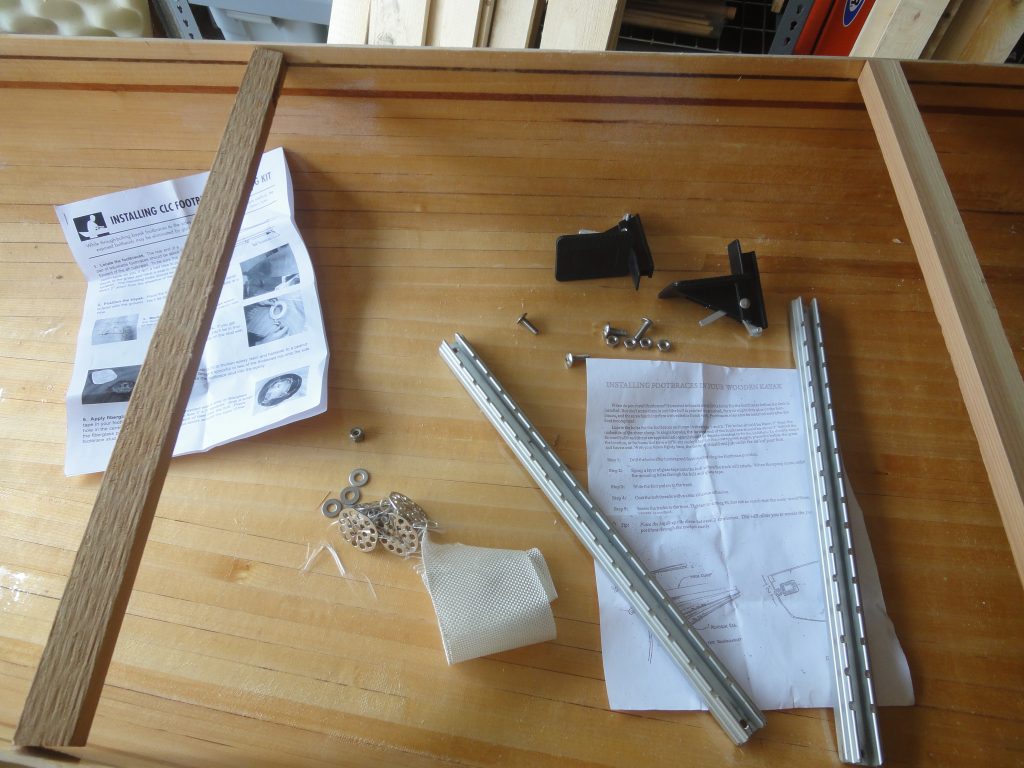
The final area I worked on was the foot braces. Since this will be very difficult if not impossible to get right once the deck and hull are joined it made sense to install it at this time. At least partially.
I’m using a kit from CLC Boats which includes the rails and the foot pads. It is designed to be screwed through the side of the kayak. But I added the post option which allows for installation with out drilling holes in the kayak.

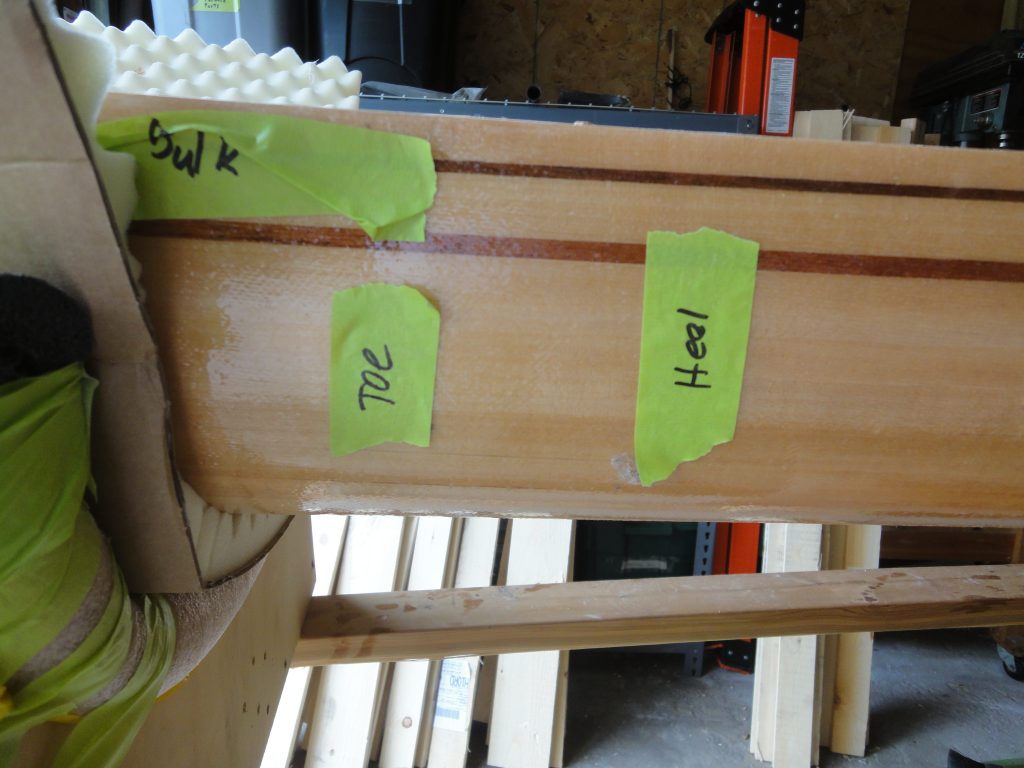
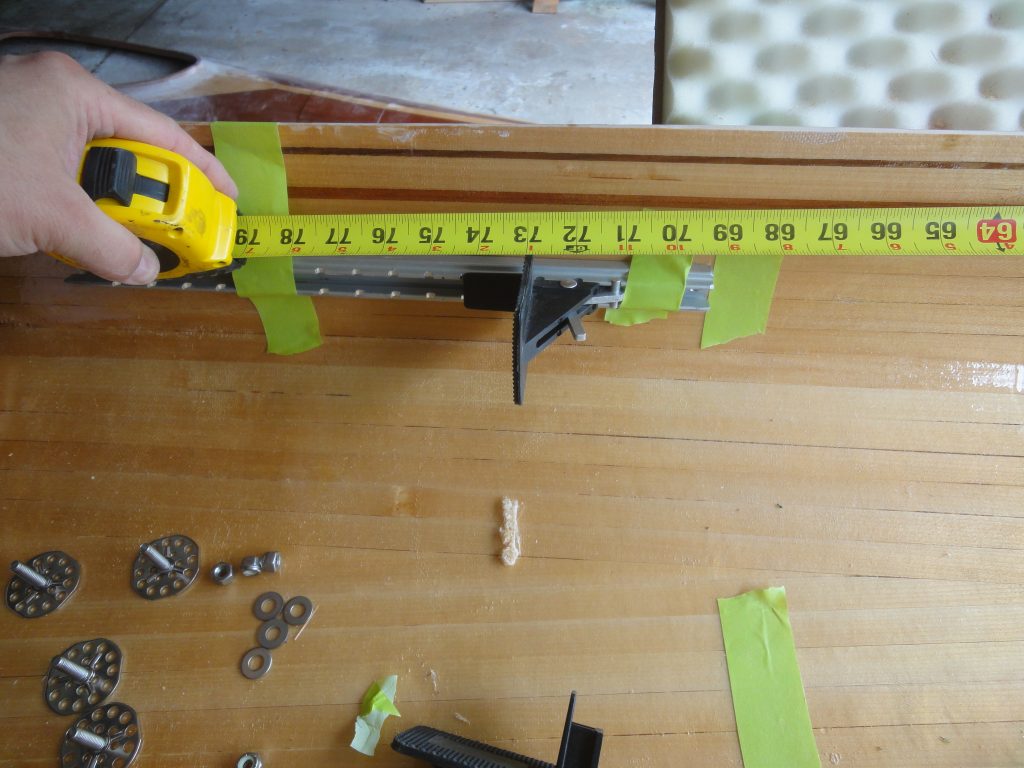
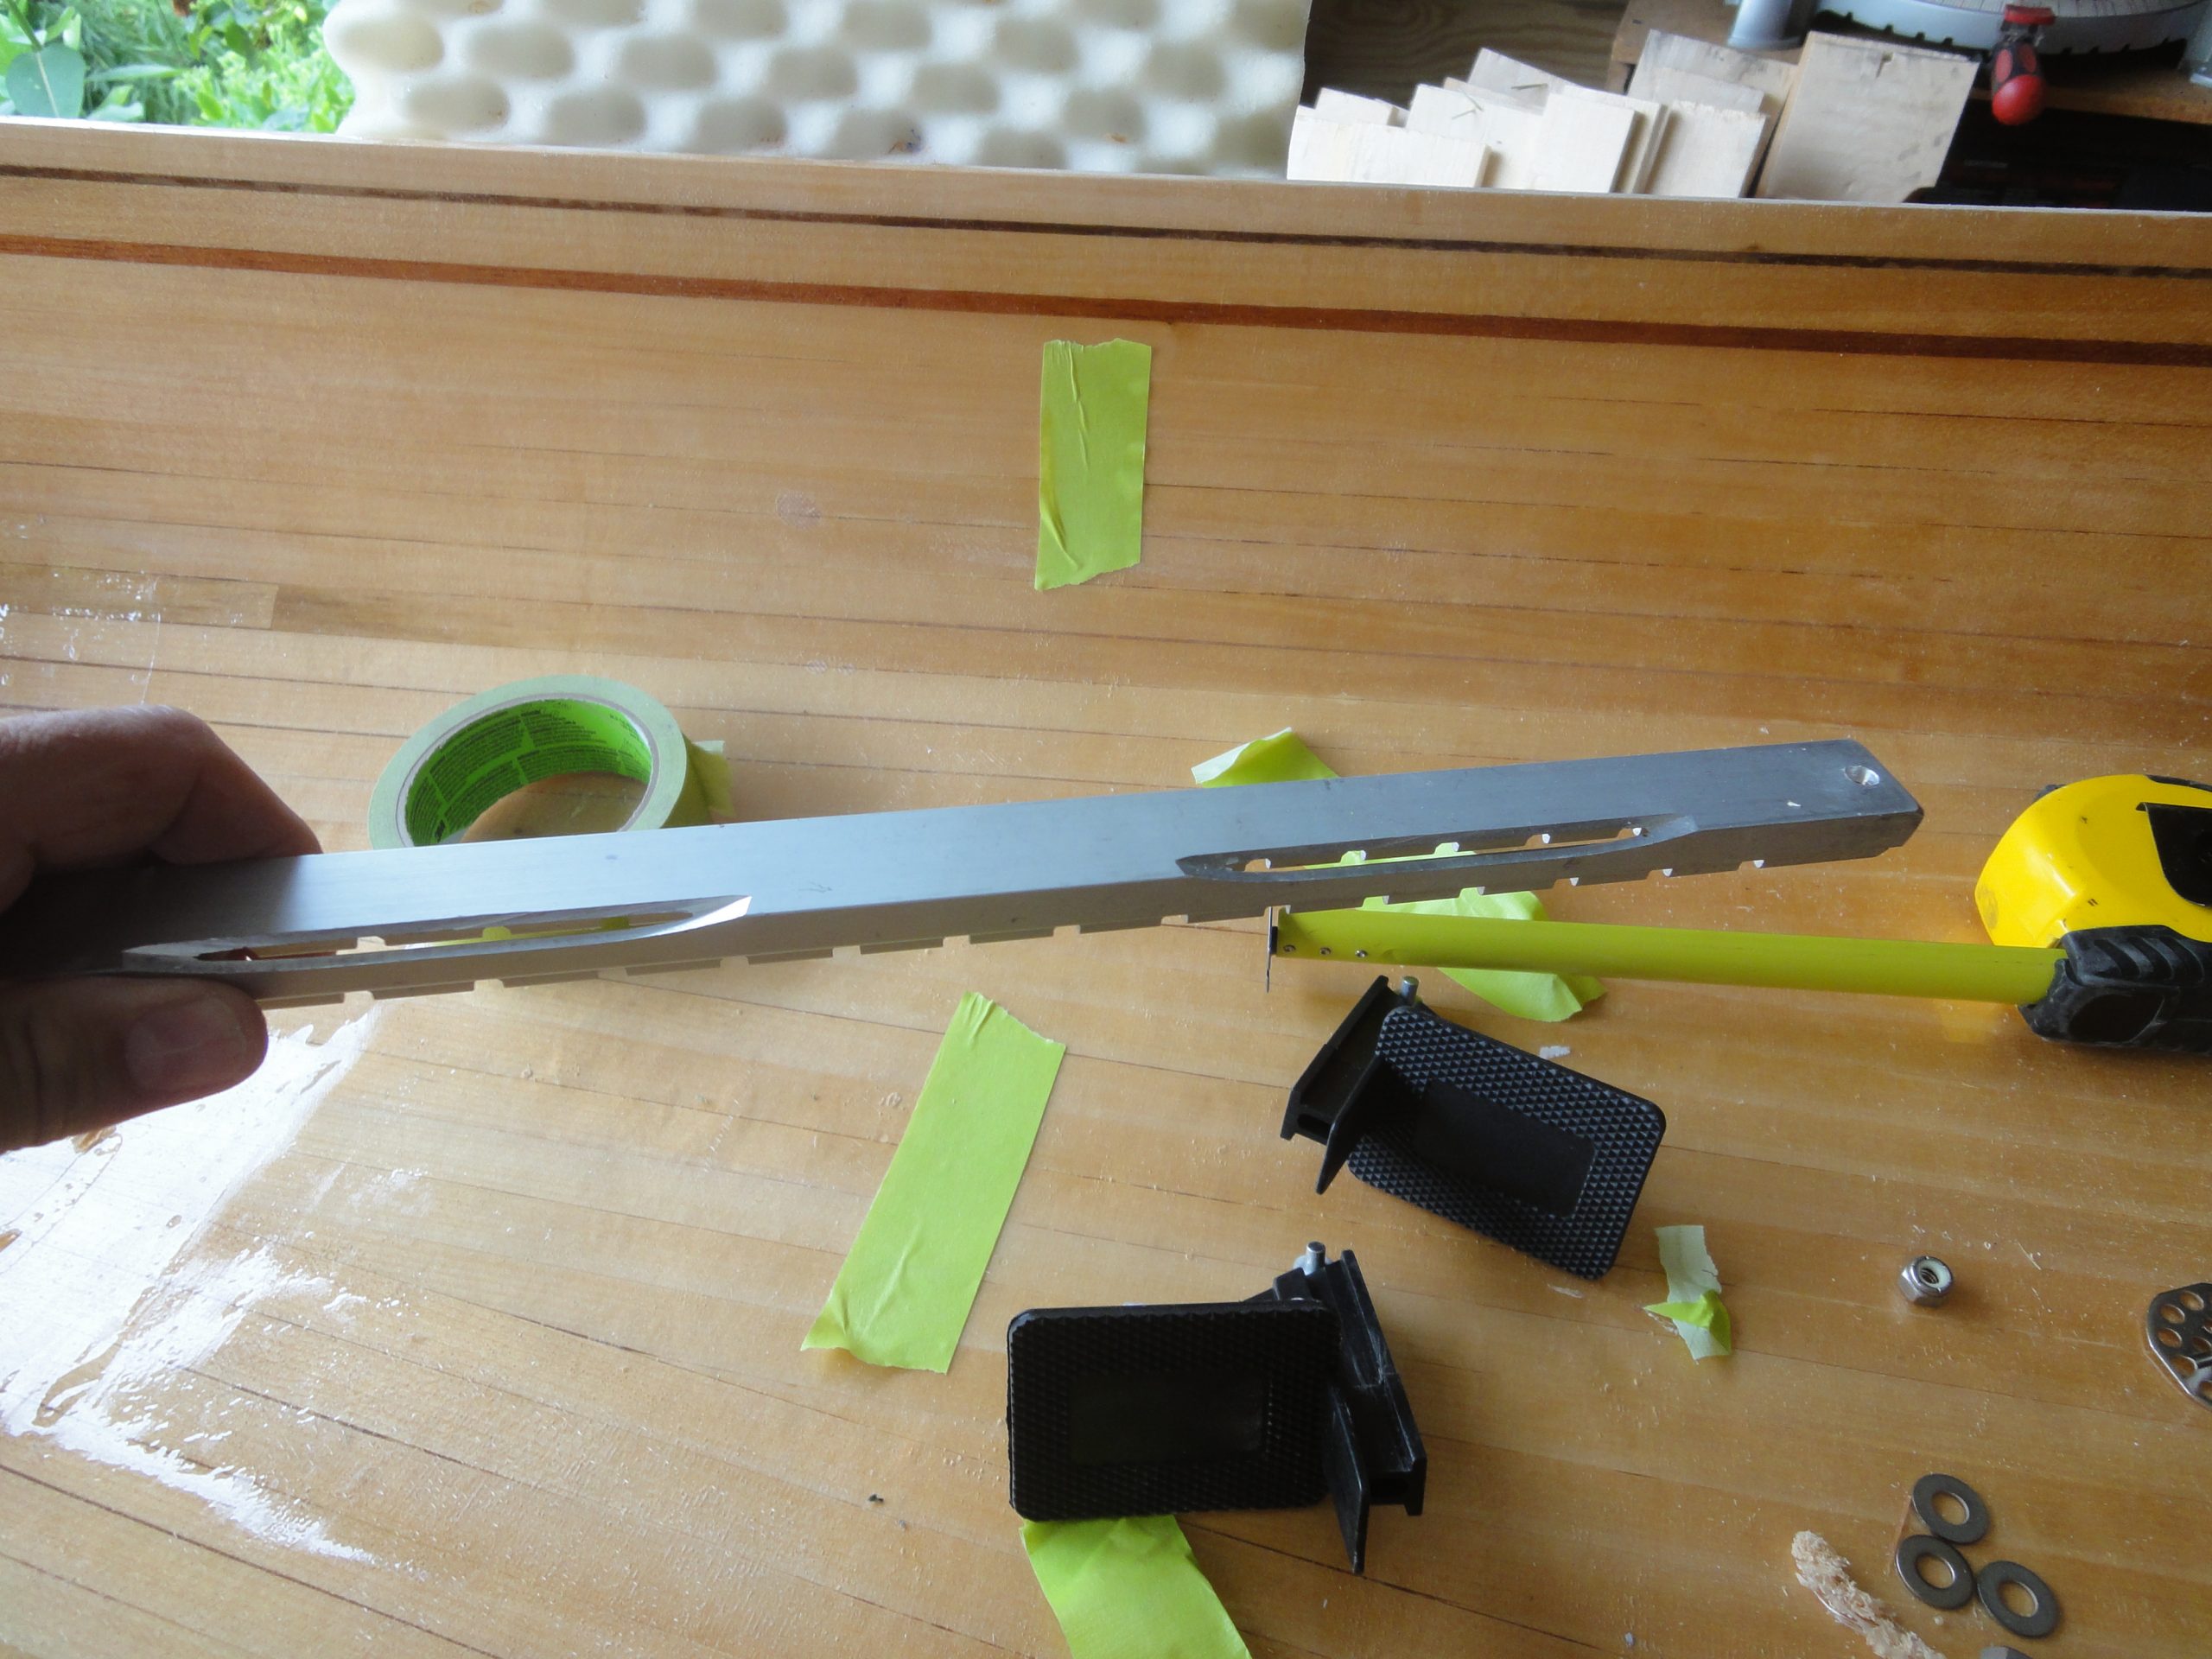
Late last year I had sat in the kayak with the deck in place and figured where my heels would be and about where my toes would end up. I also worked out where I expected the bulk head to be. With these approximate locations I fit the pads to the rails and then added a few notches for adjustment and positioned the rail where I thought it should be.
With some measurements I determined the location on one side and then mirrored this on the other side following the same measuring process. A quick placement of the deck ensured adequate space for the bulkhead to be added.

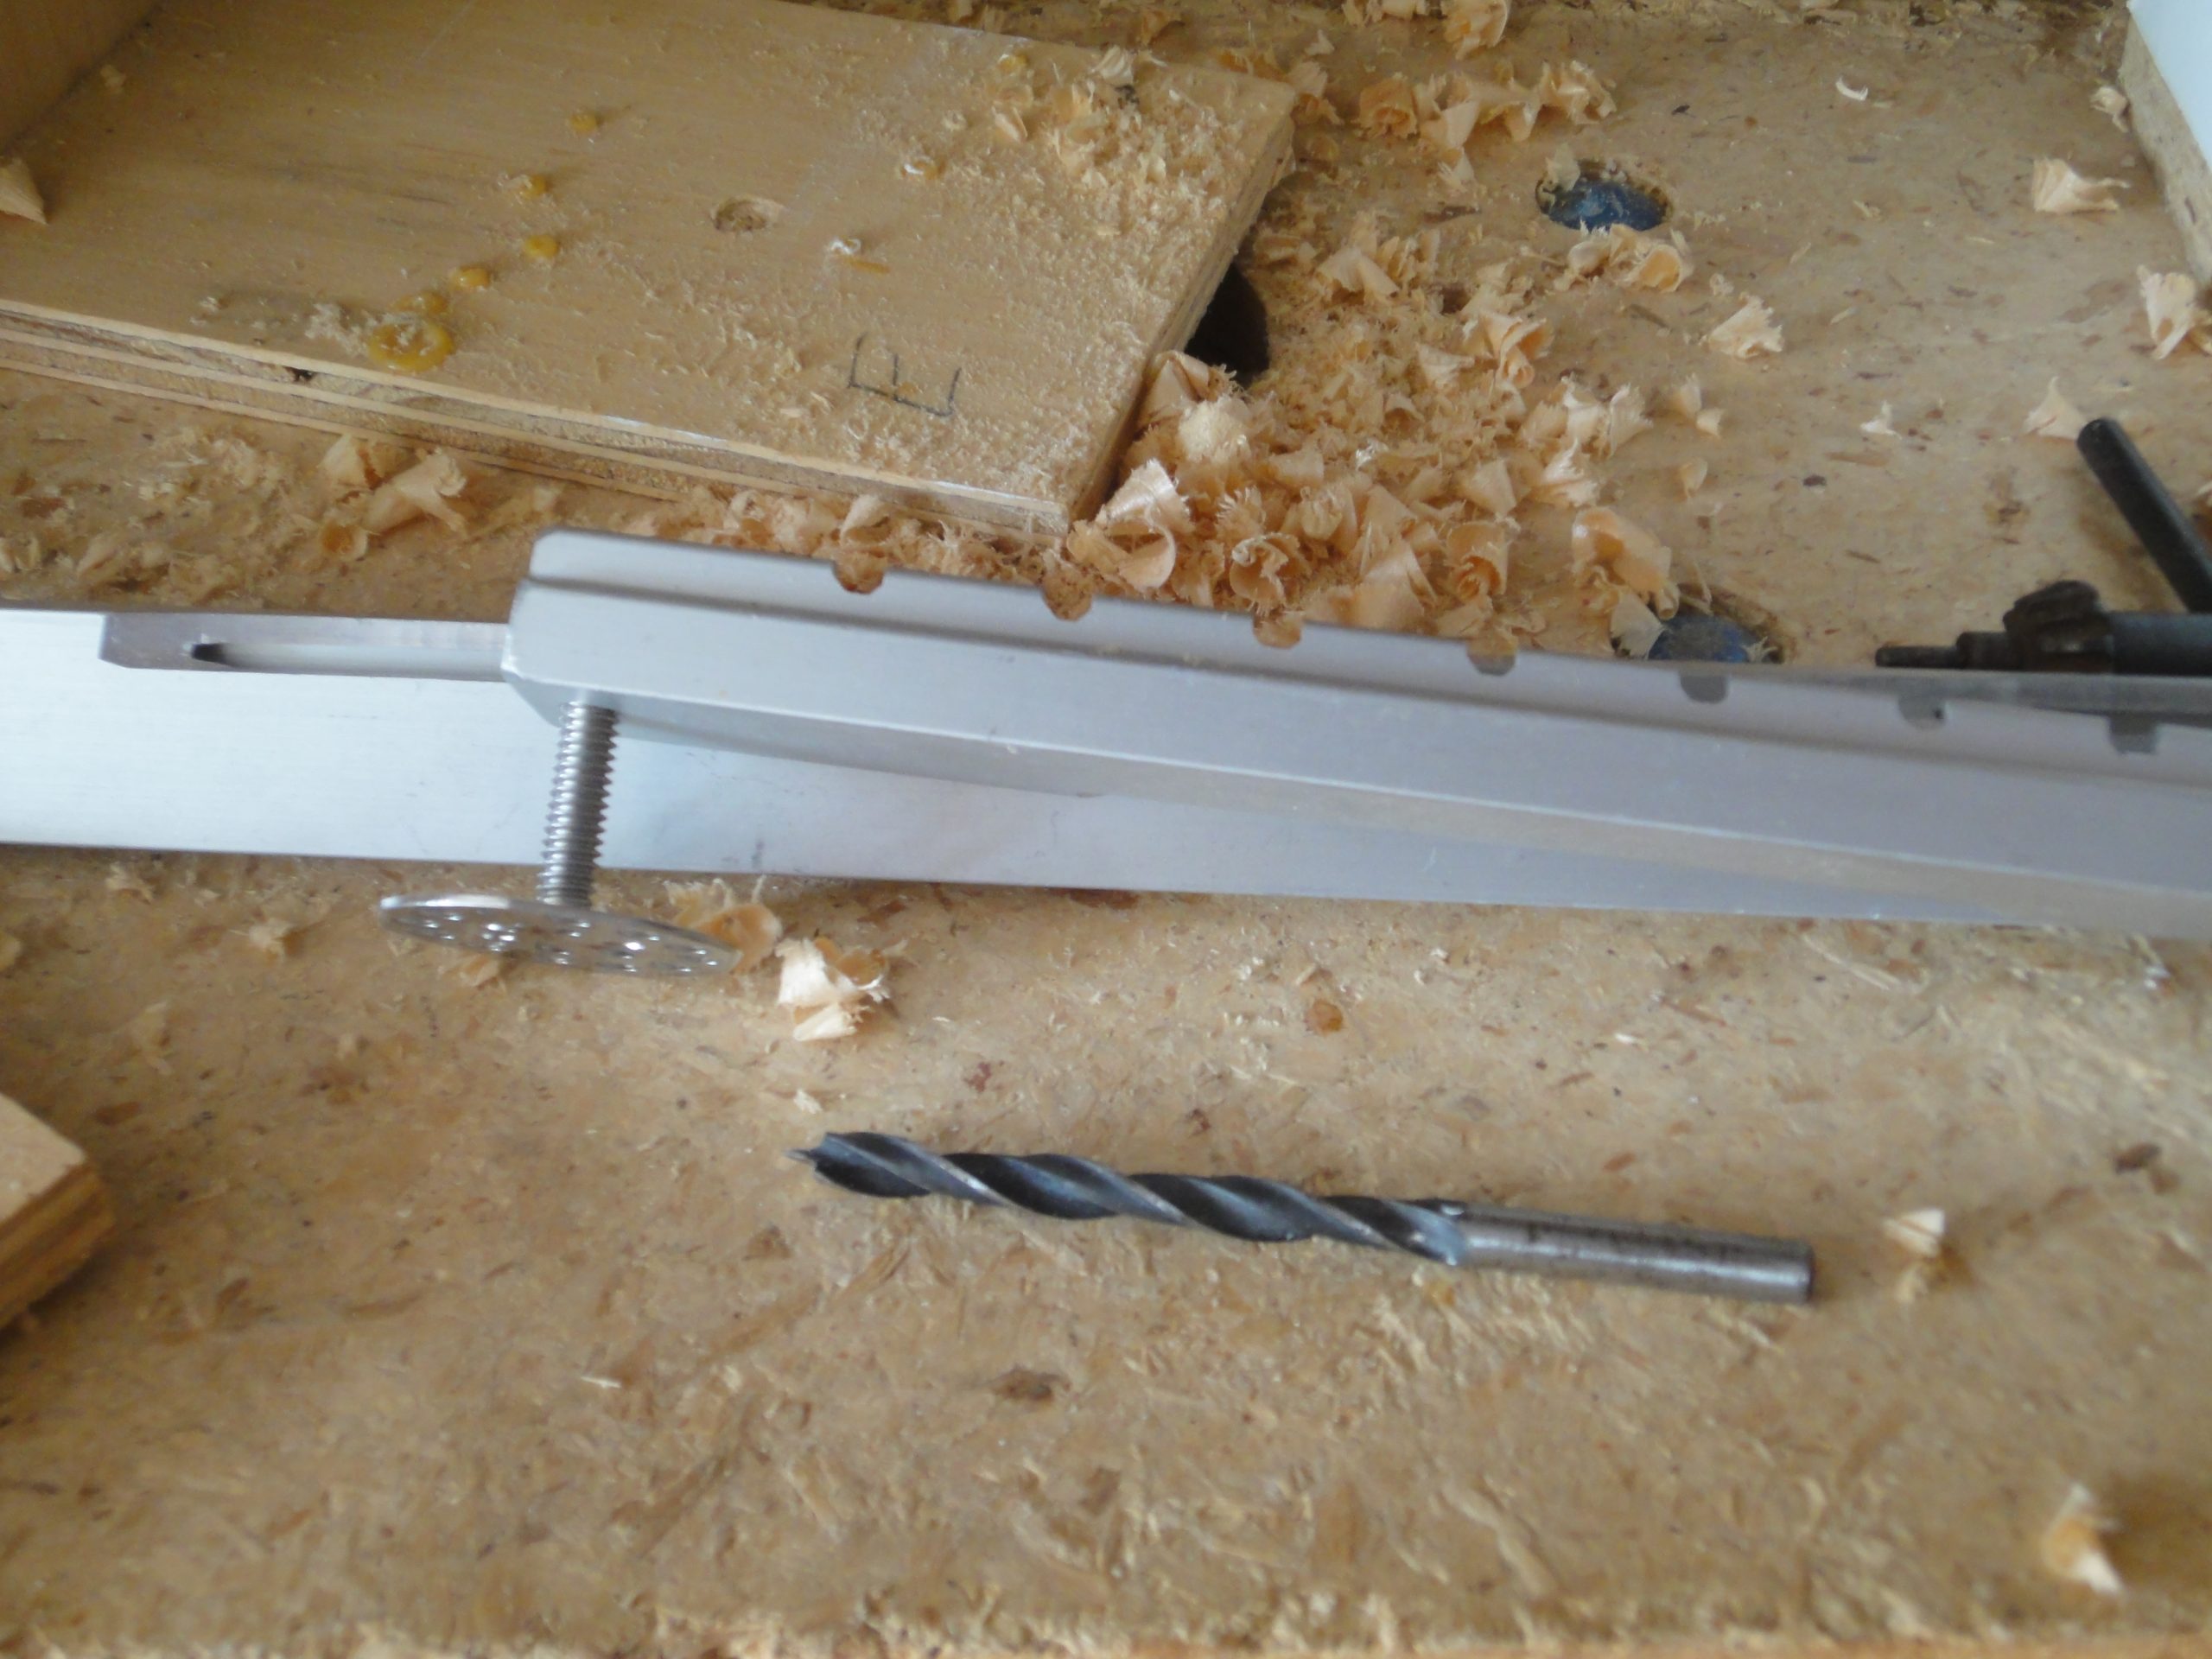
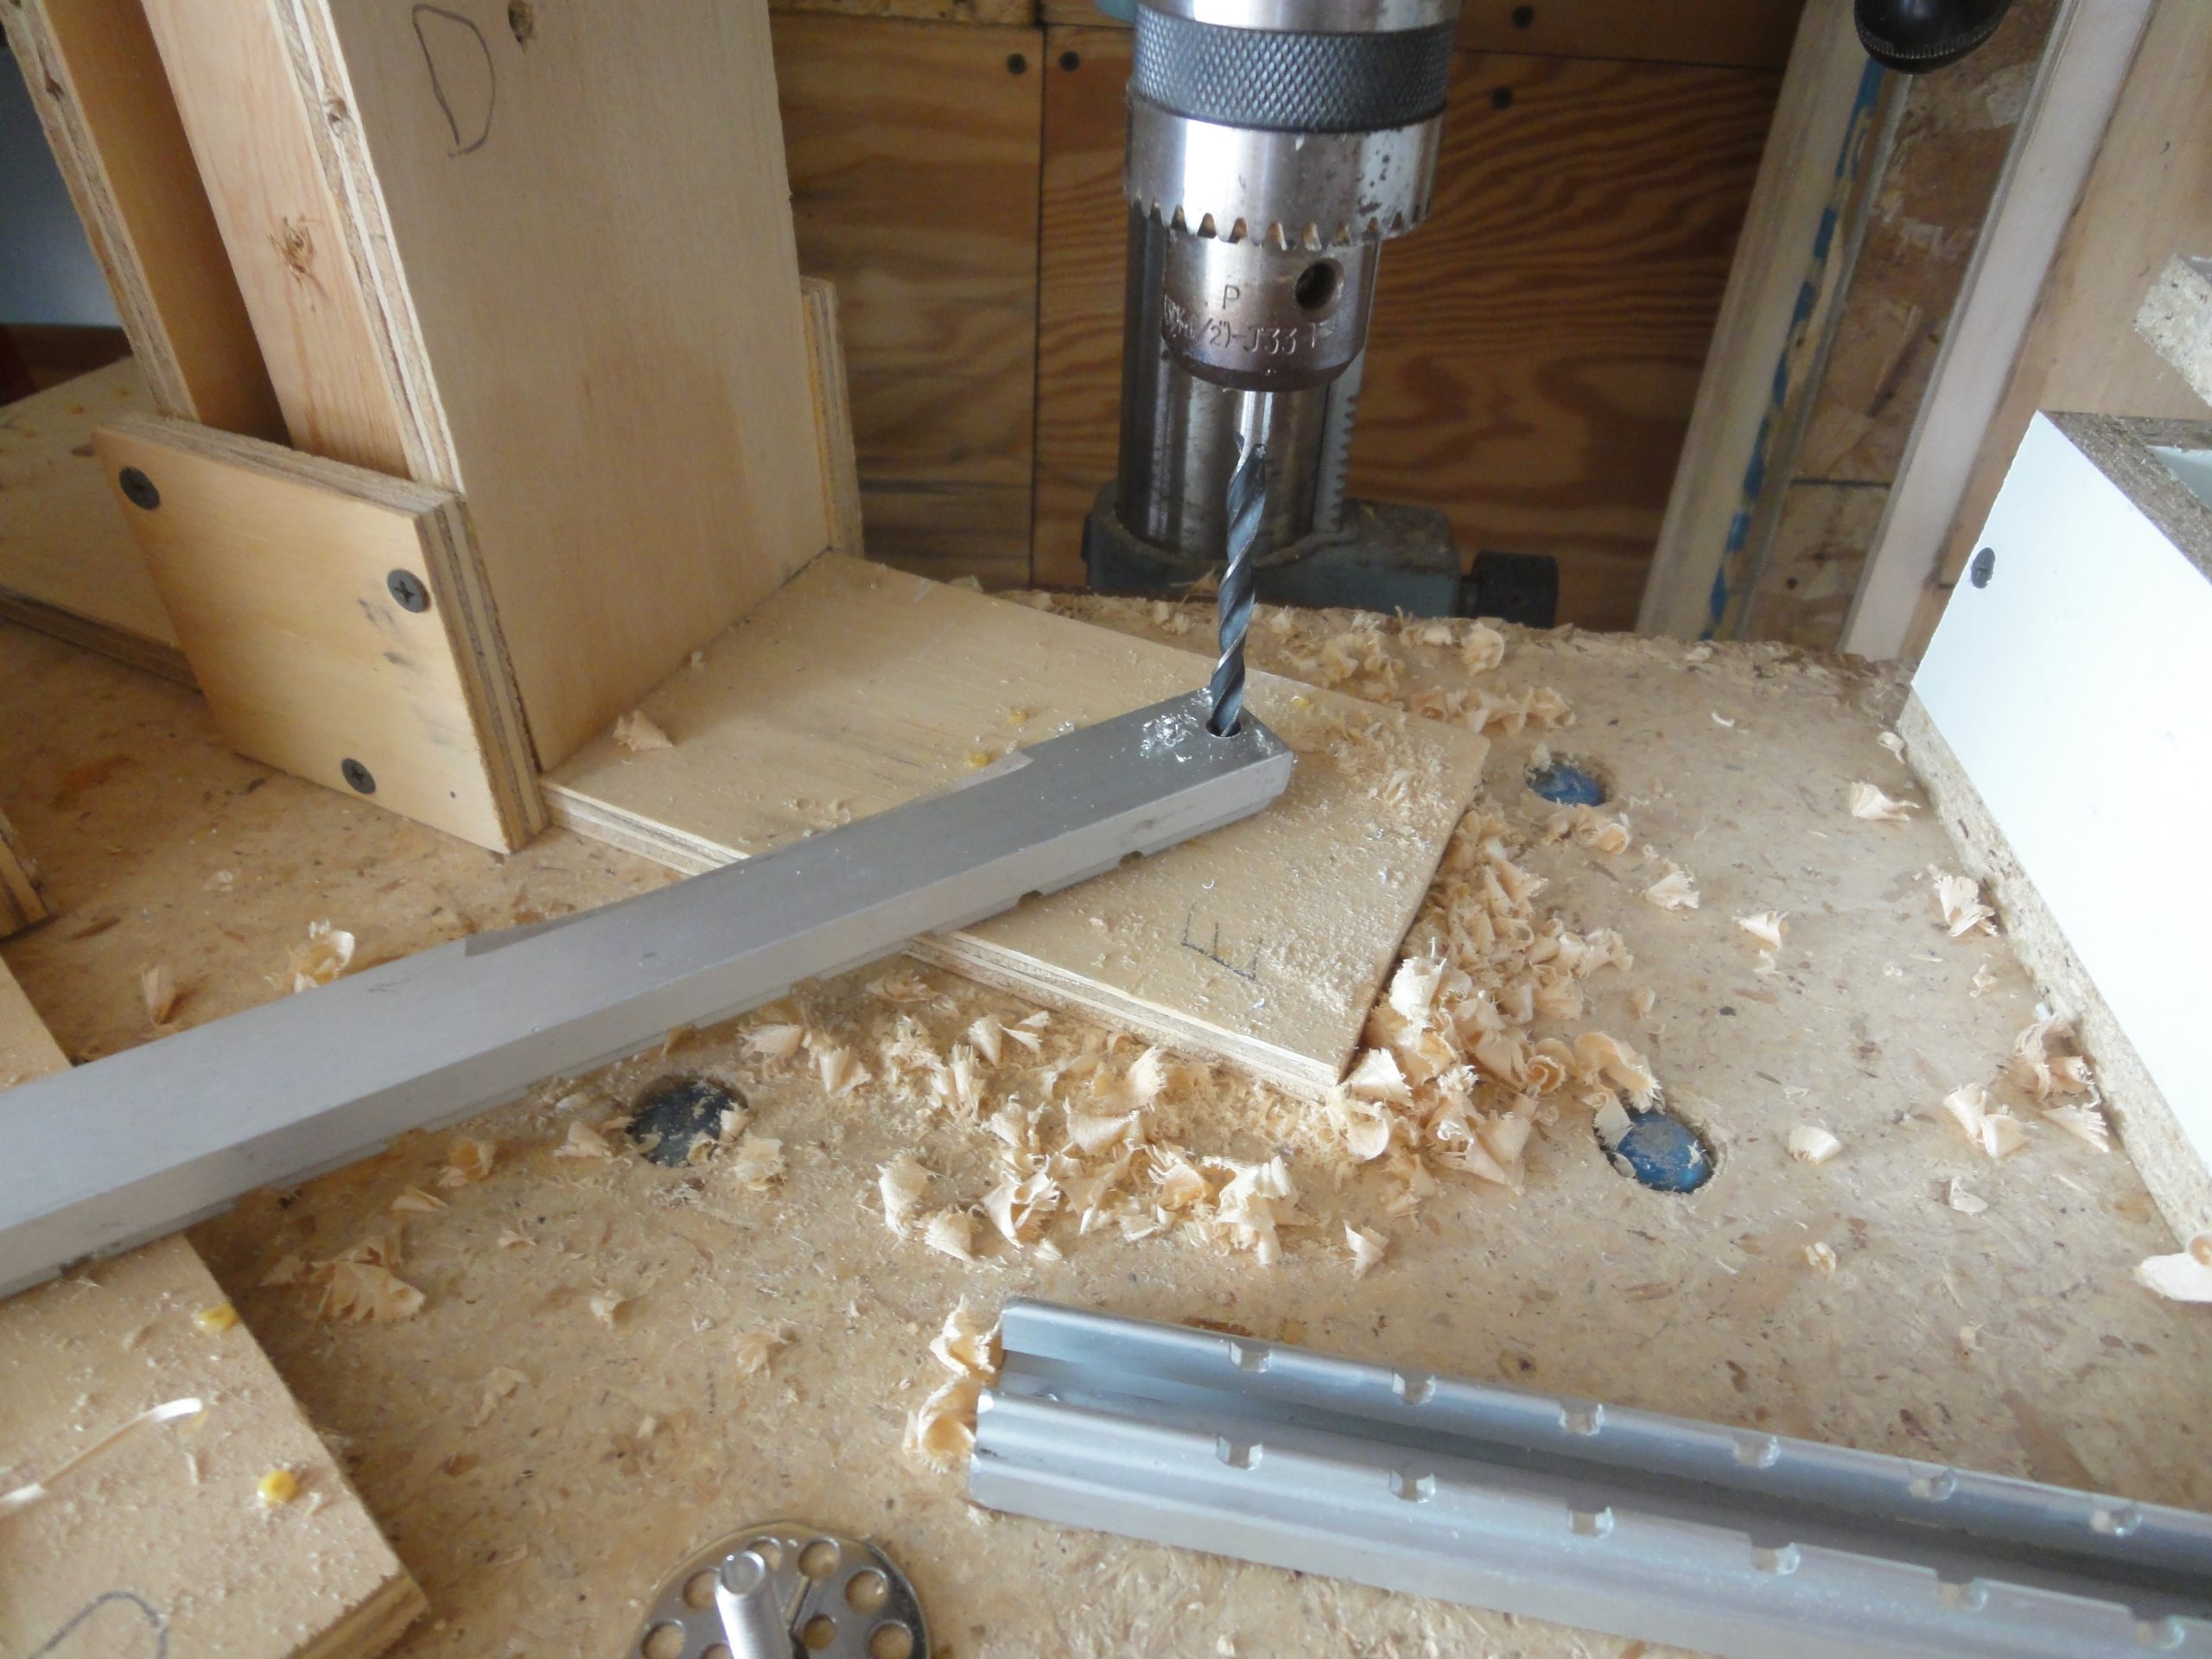
The posts could be threaded on, but then it would be very hard to install everything so instead the instructions actually recommend drilling out the rails slightly to be a slip fit instead. So a test at the drill press to verify the bit size and then four quick holes and everything fit nicely.
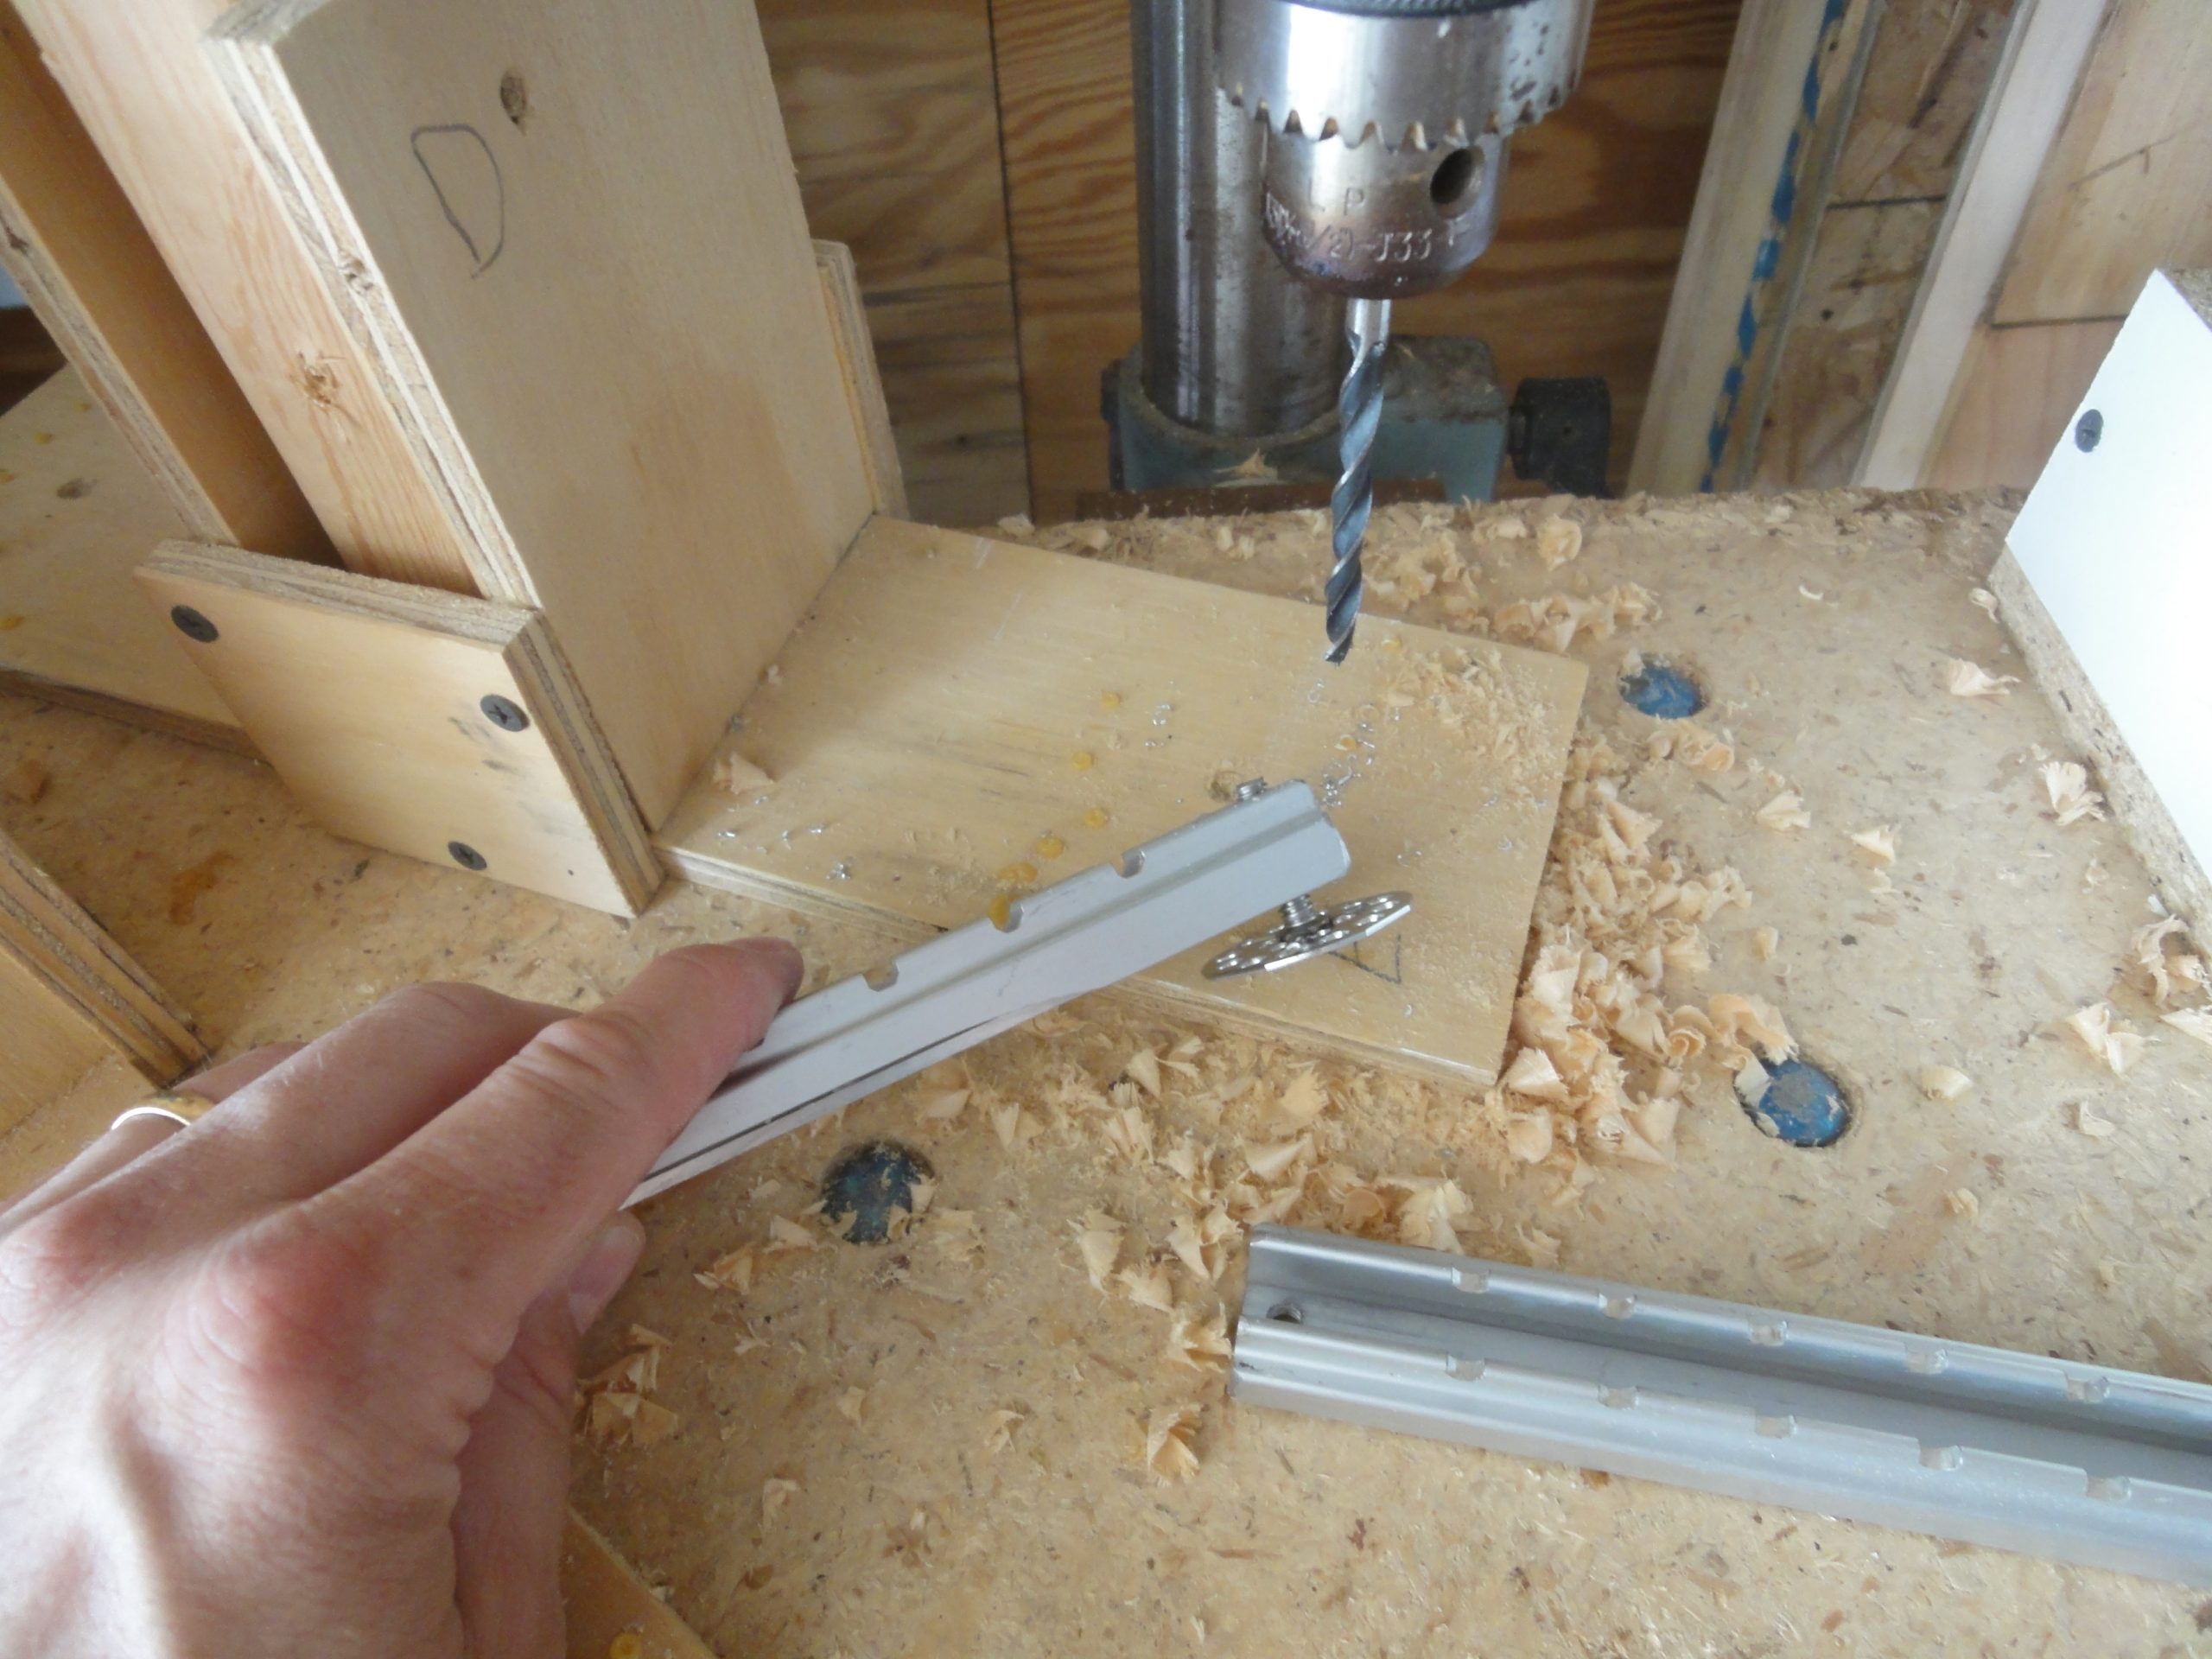
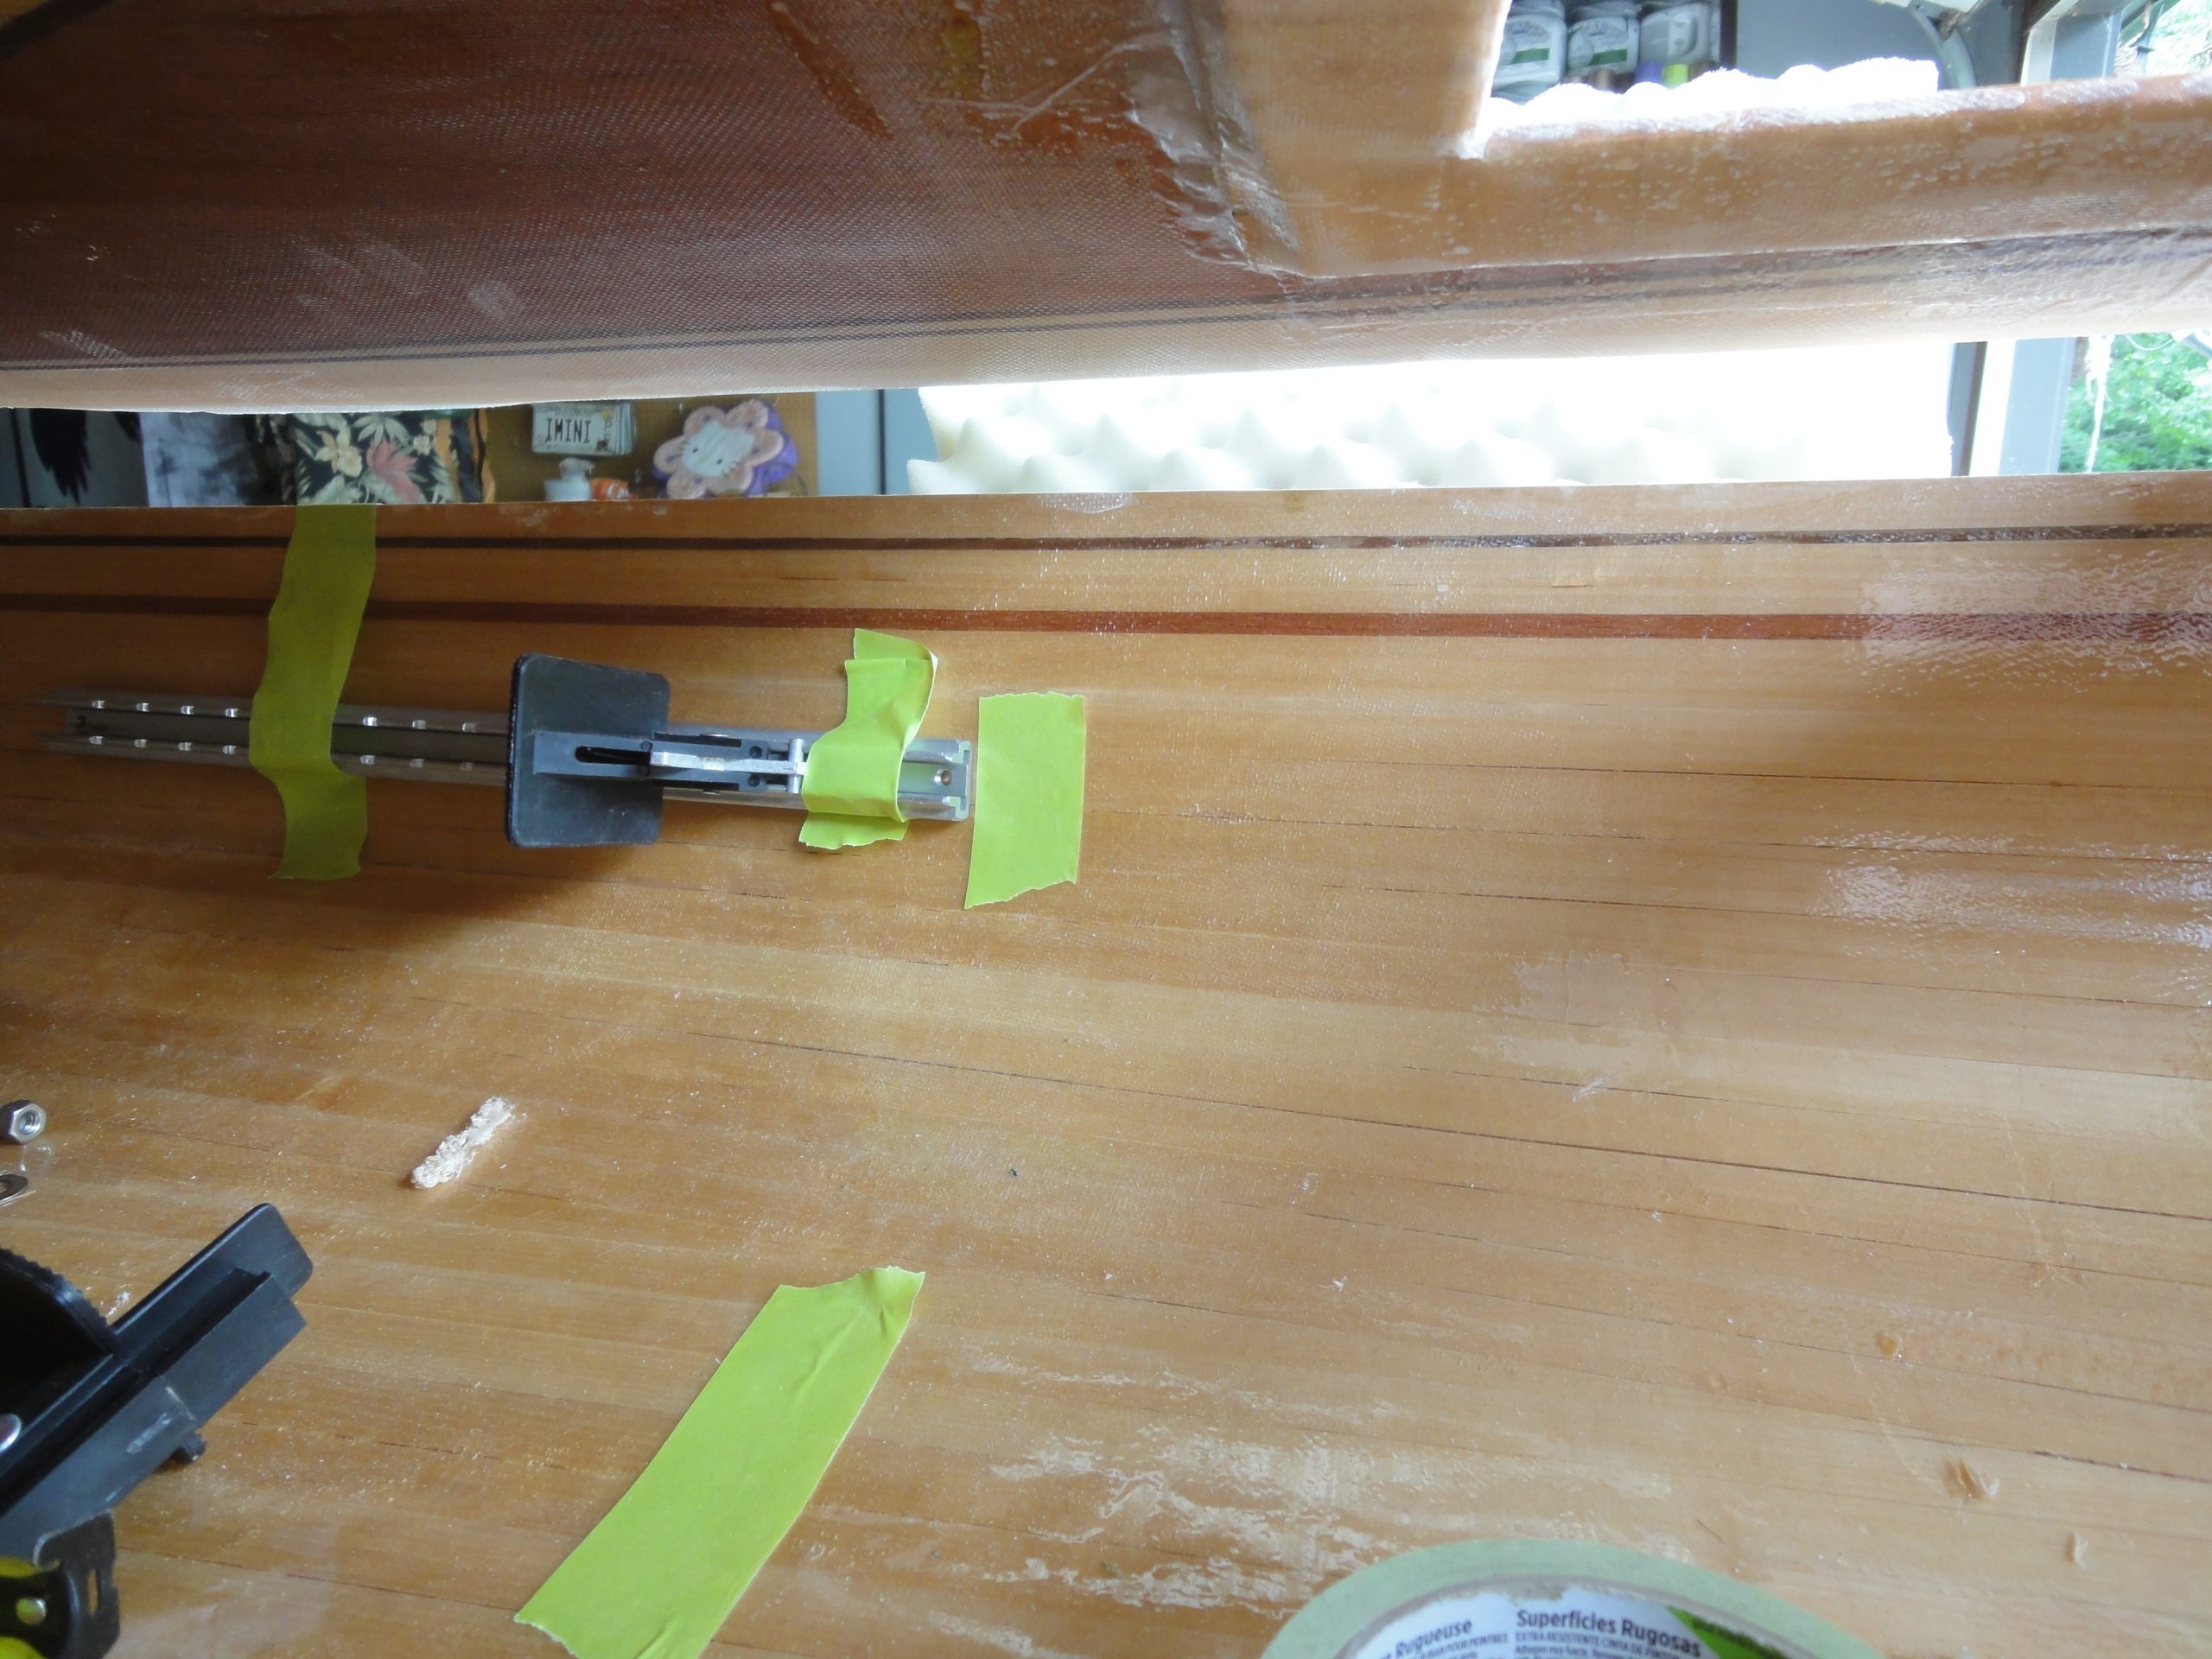
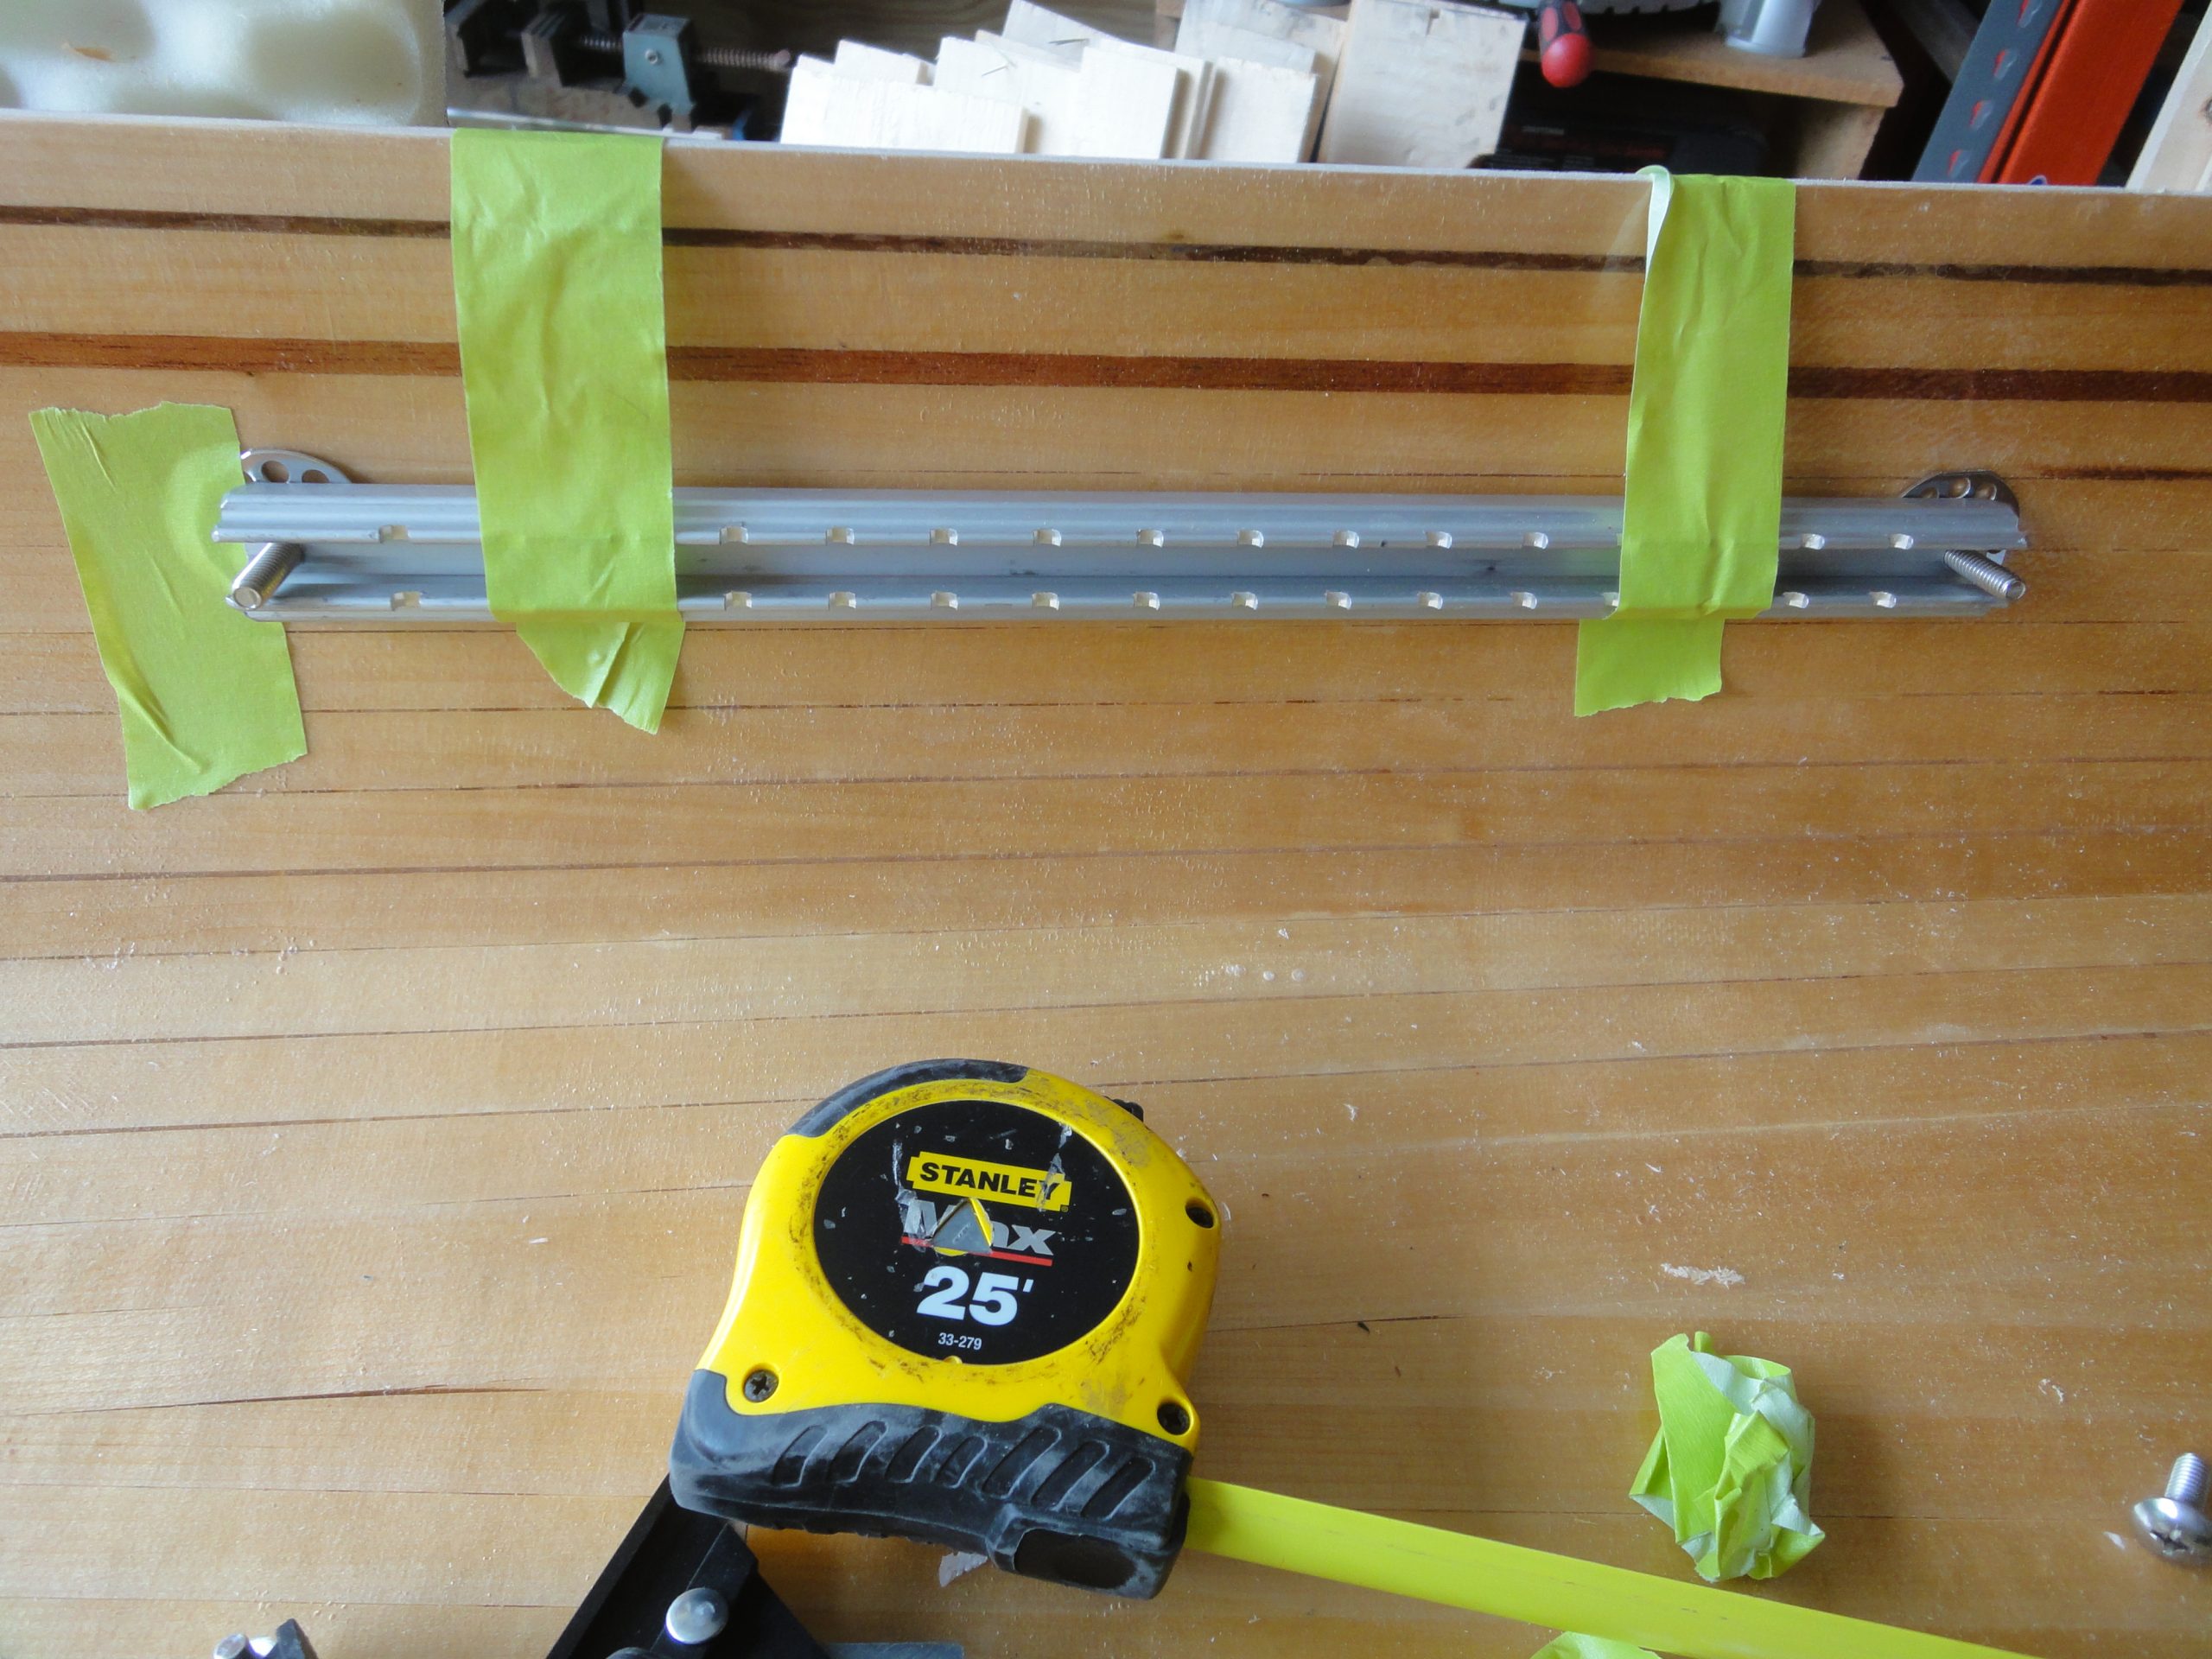
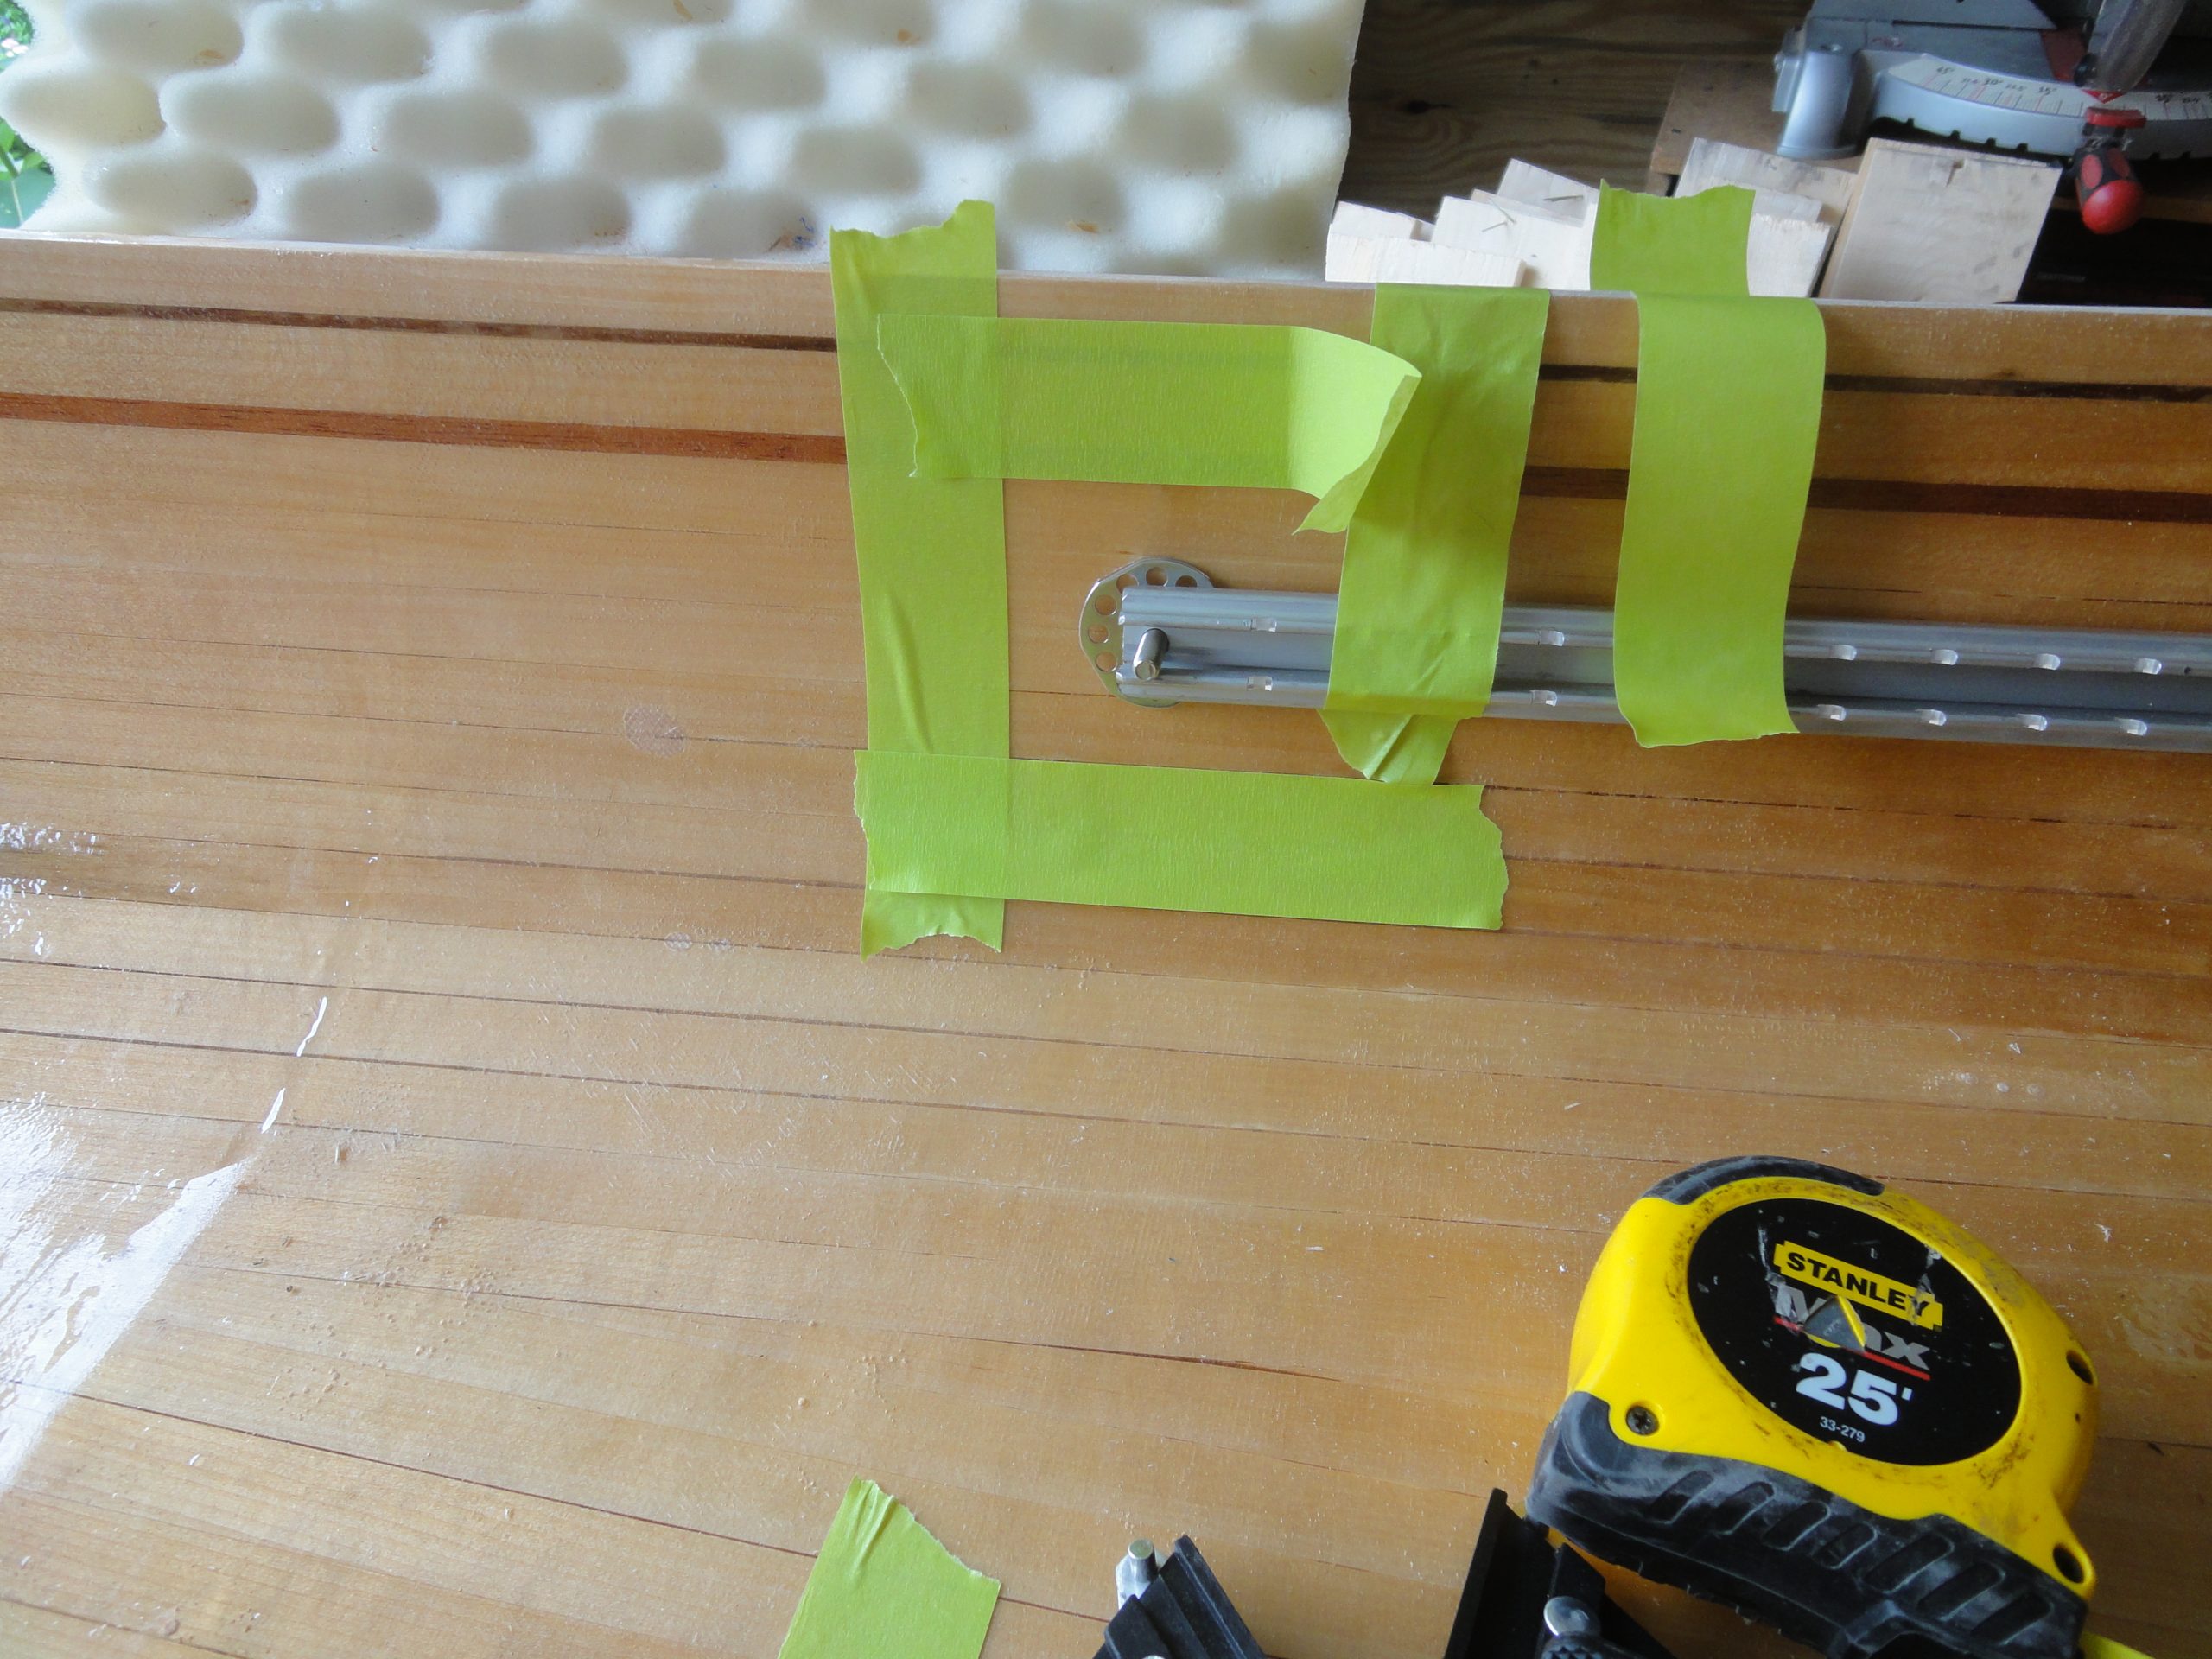
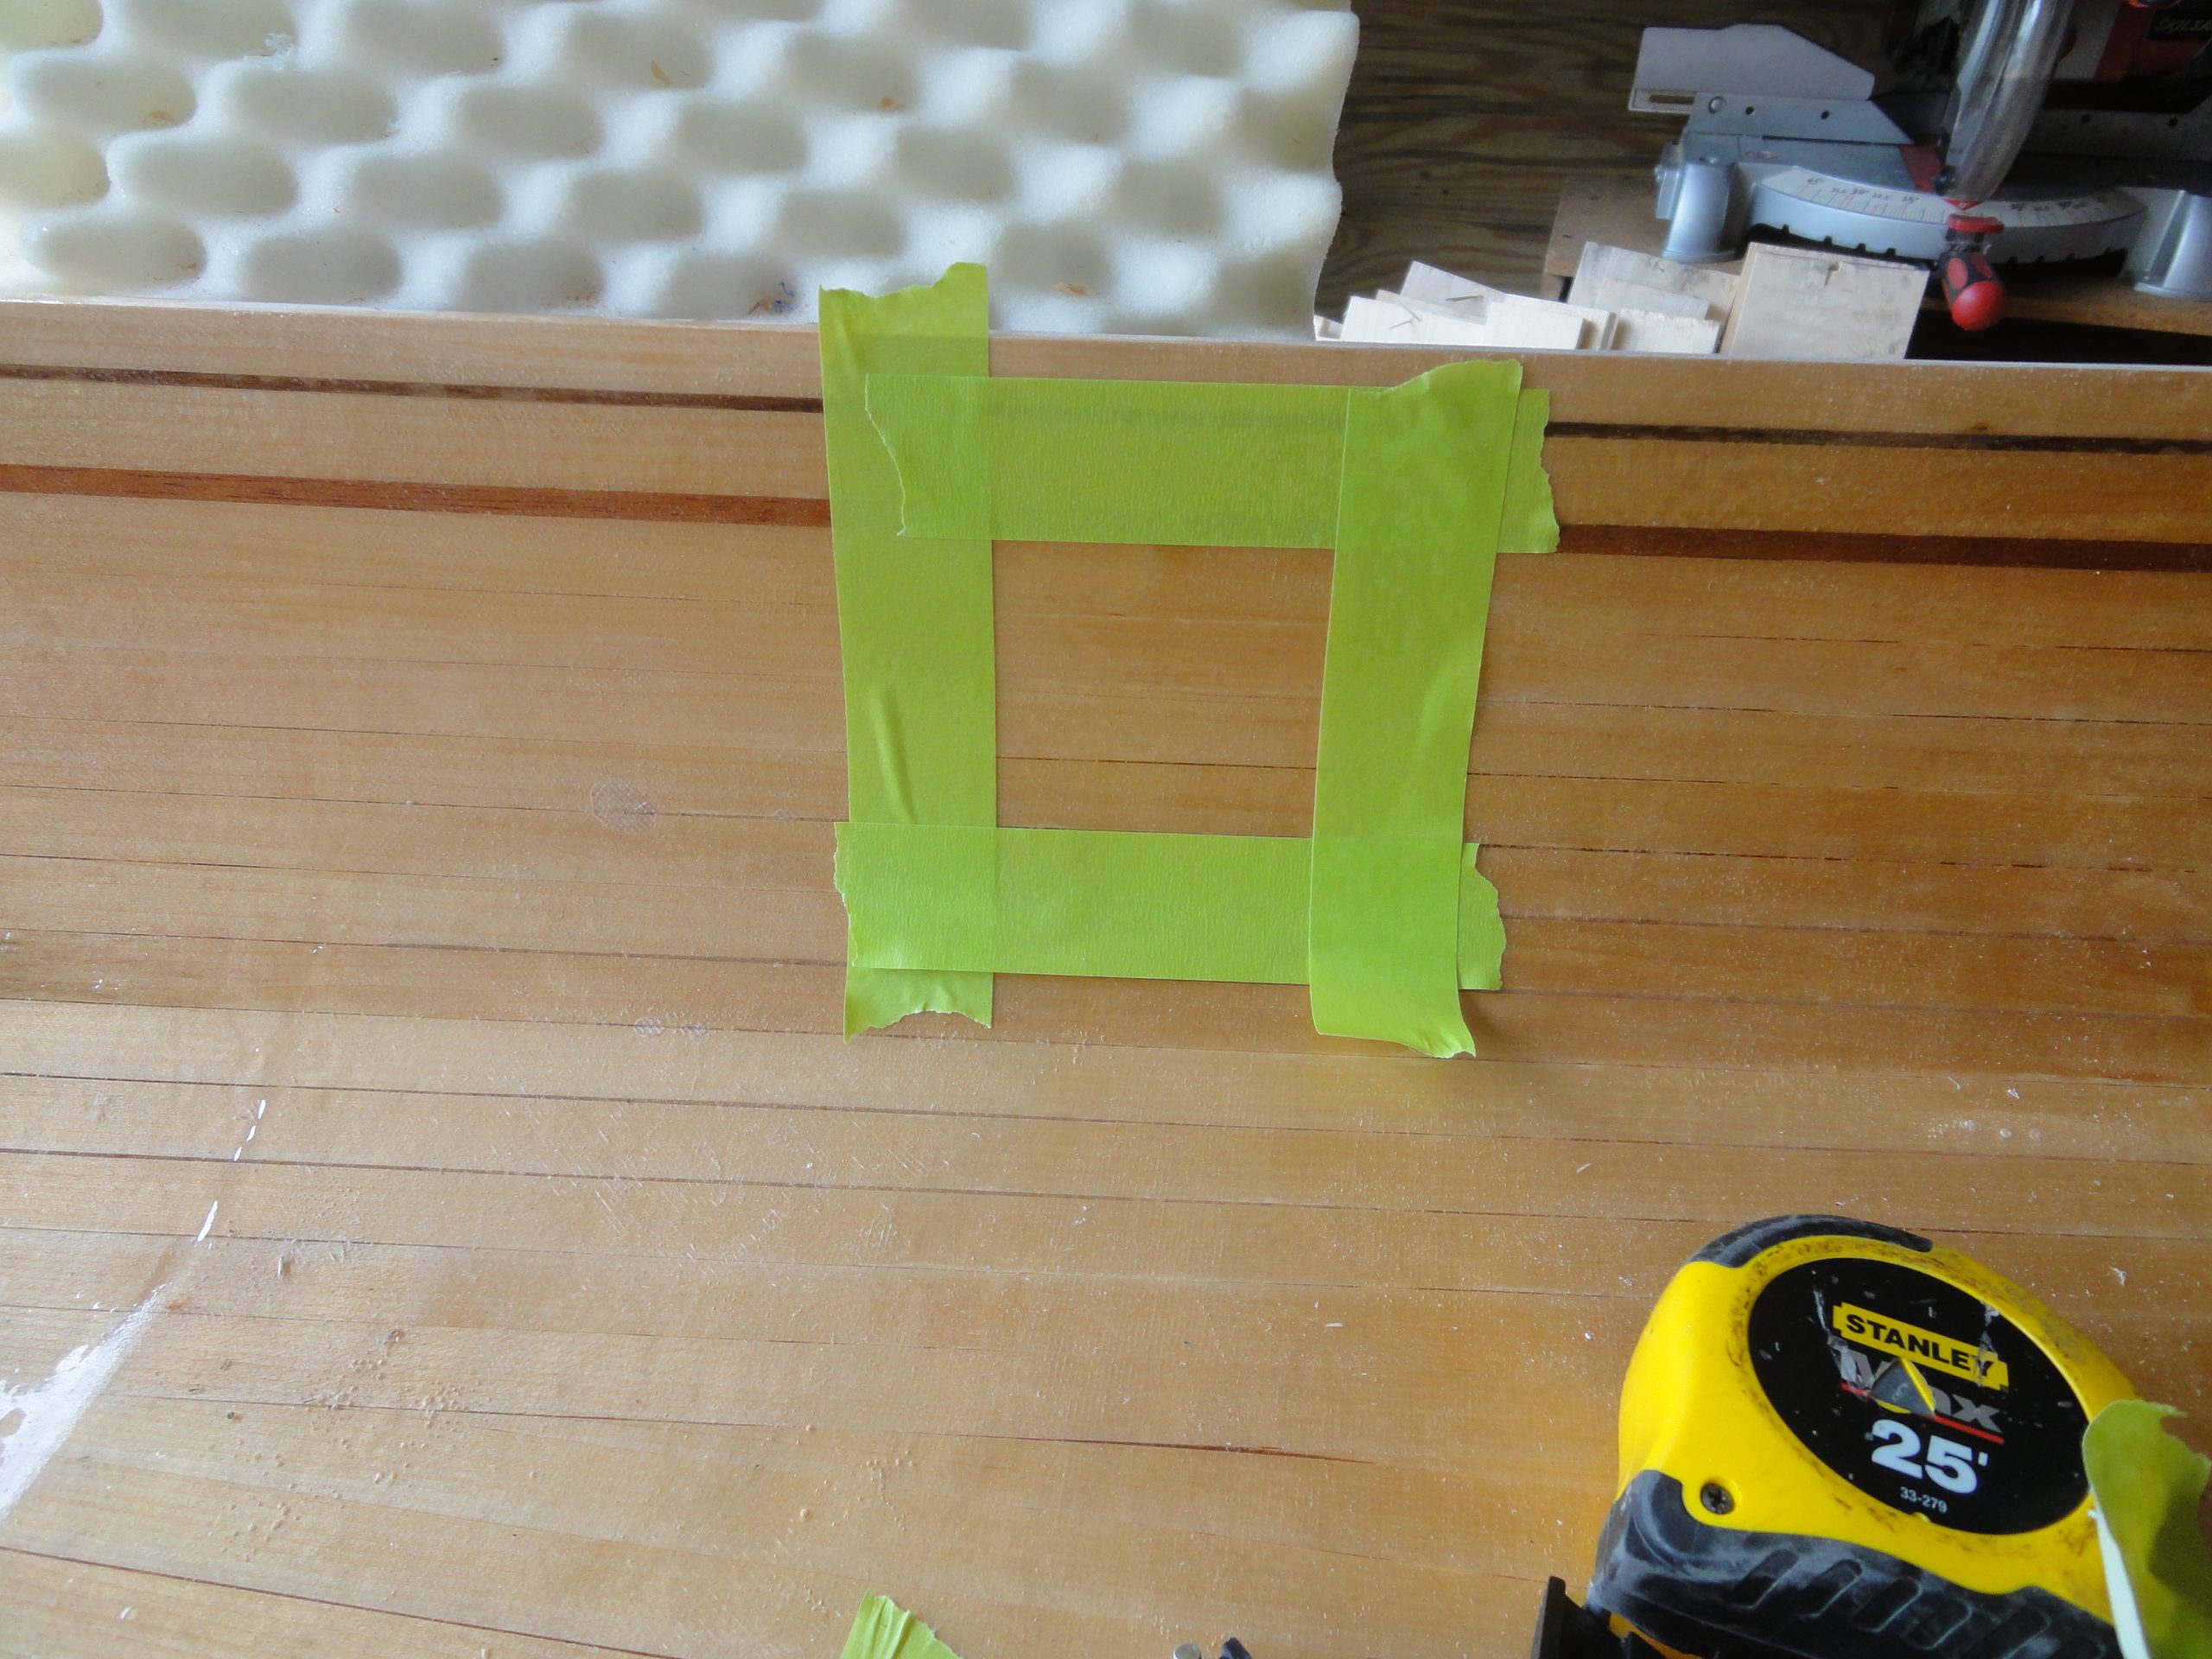
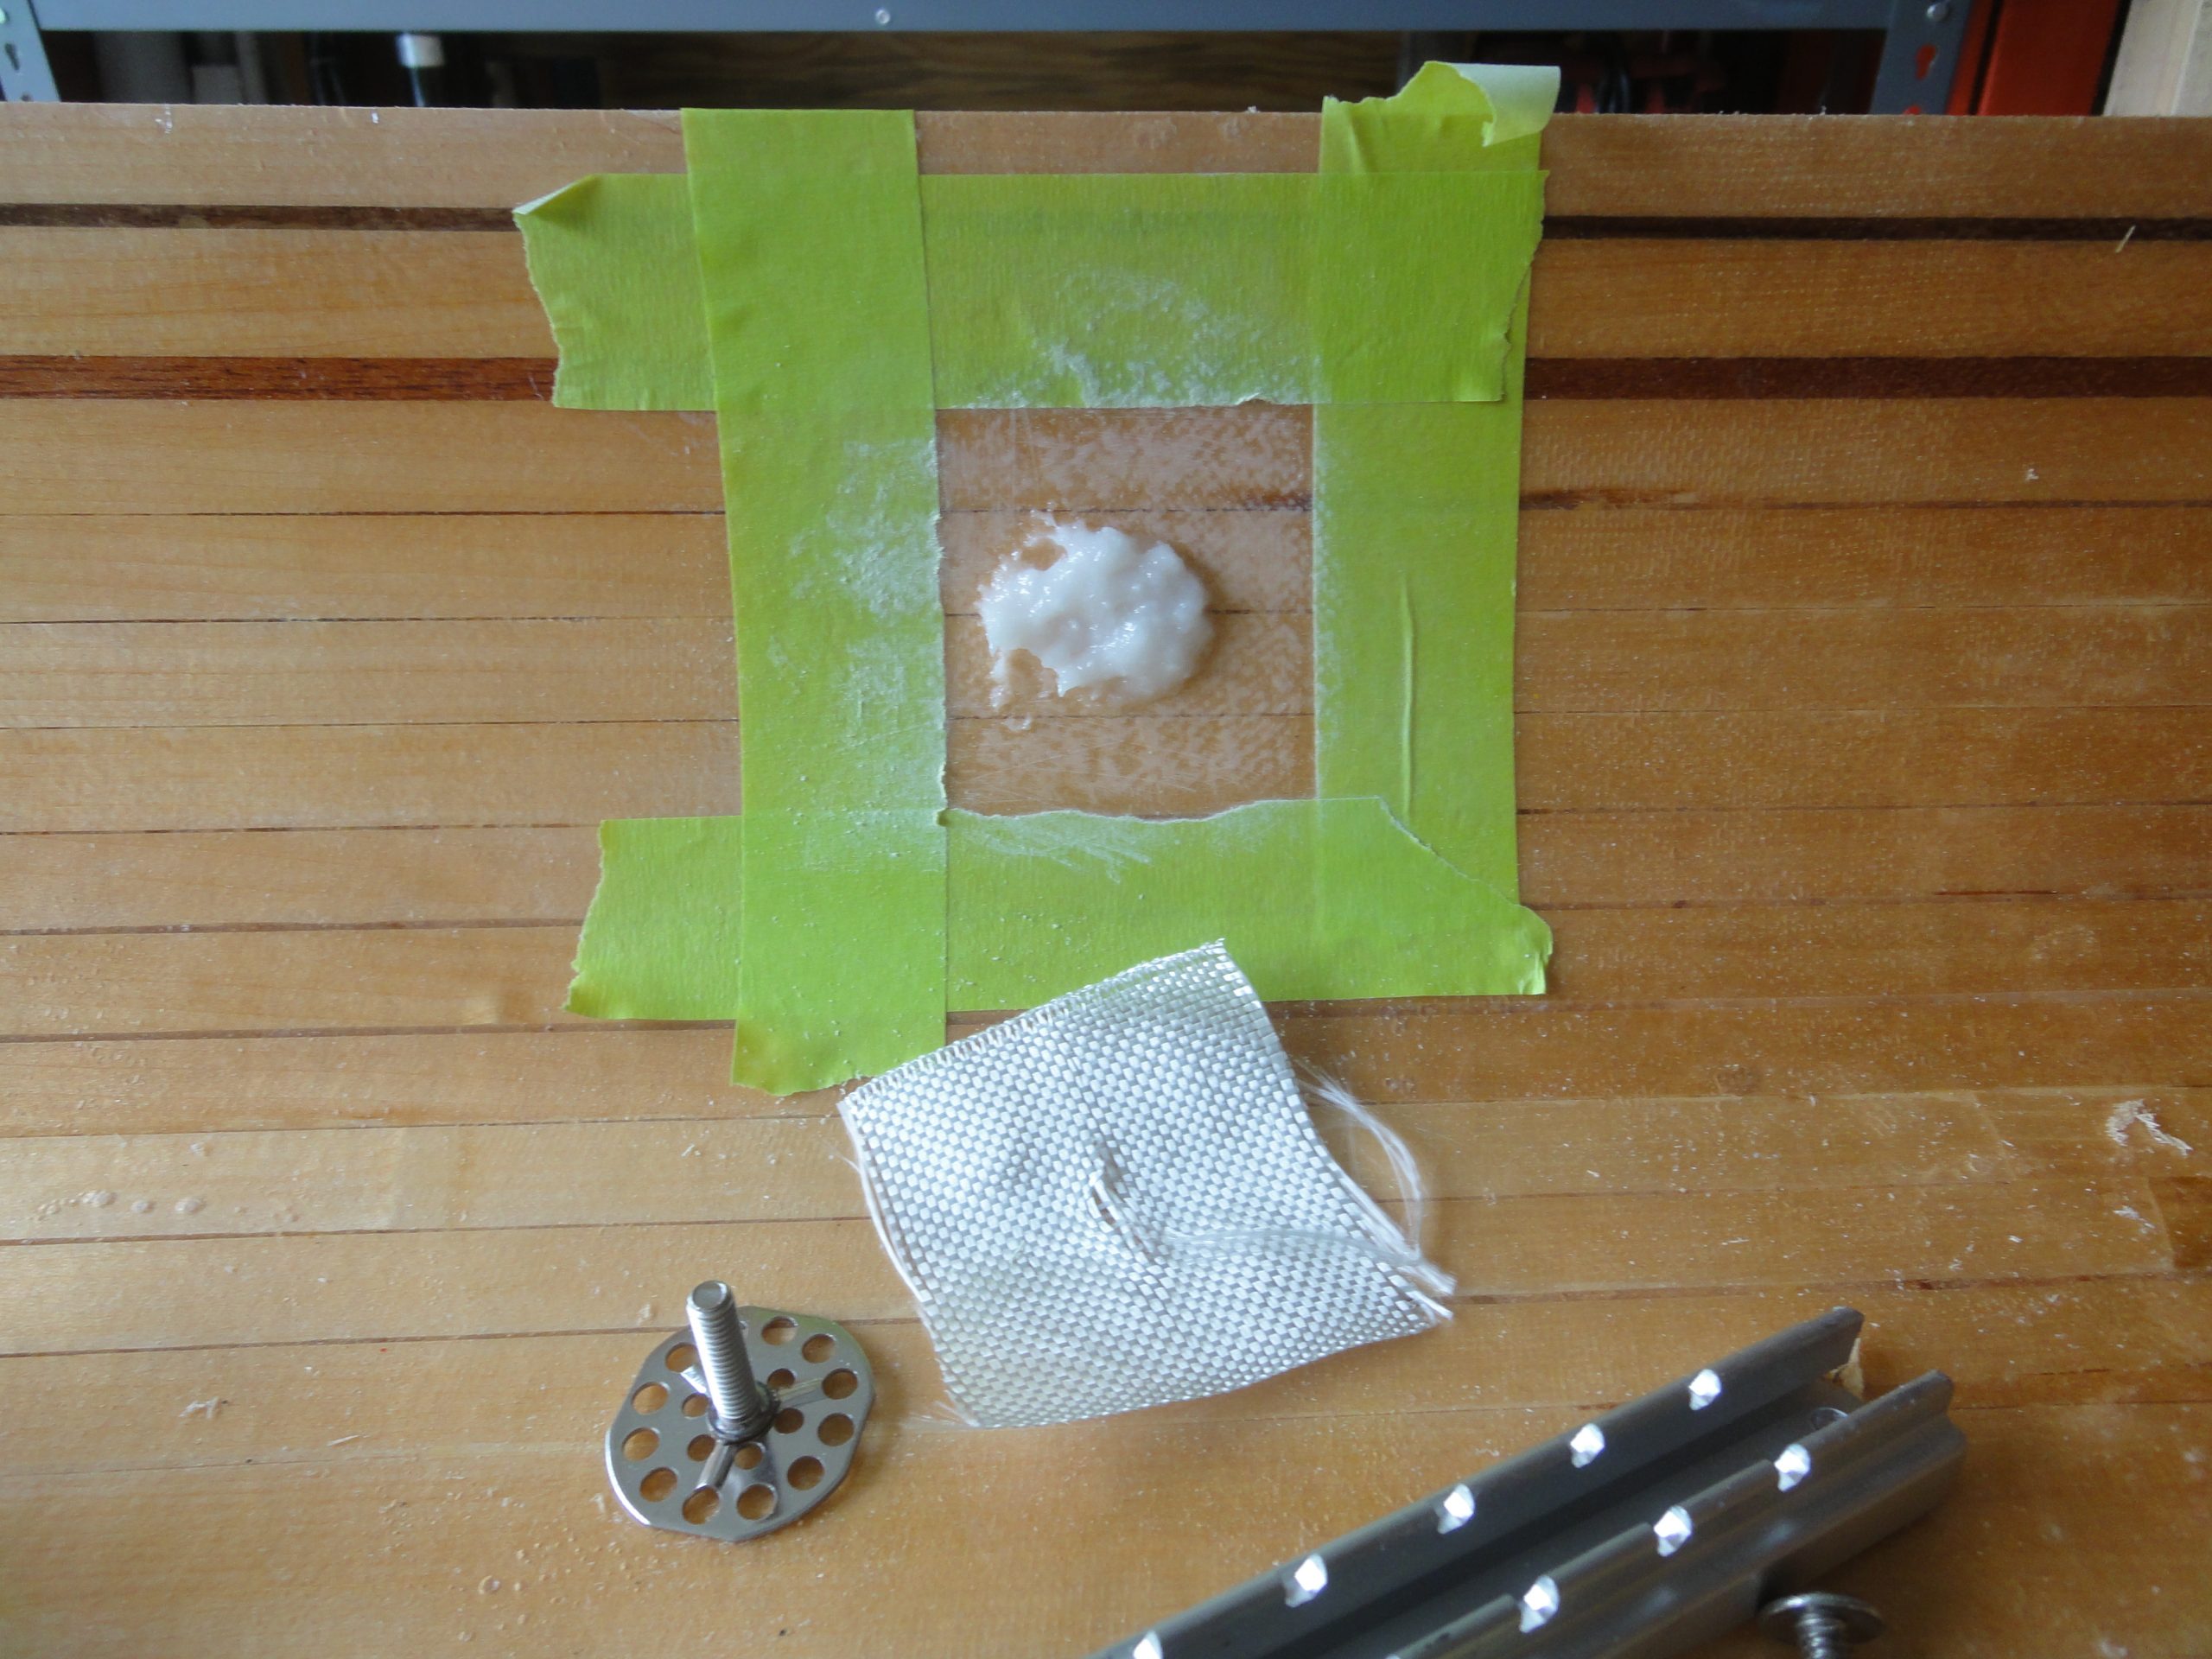
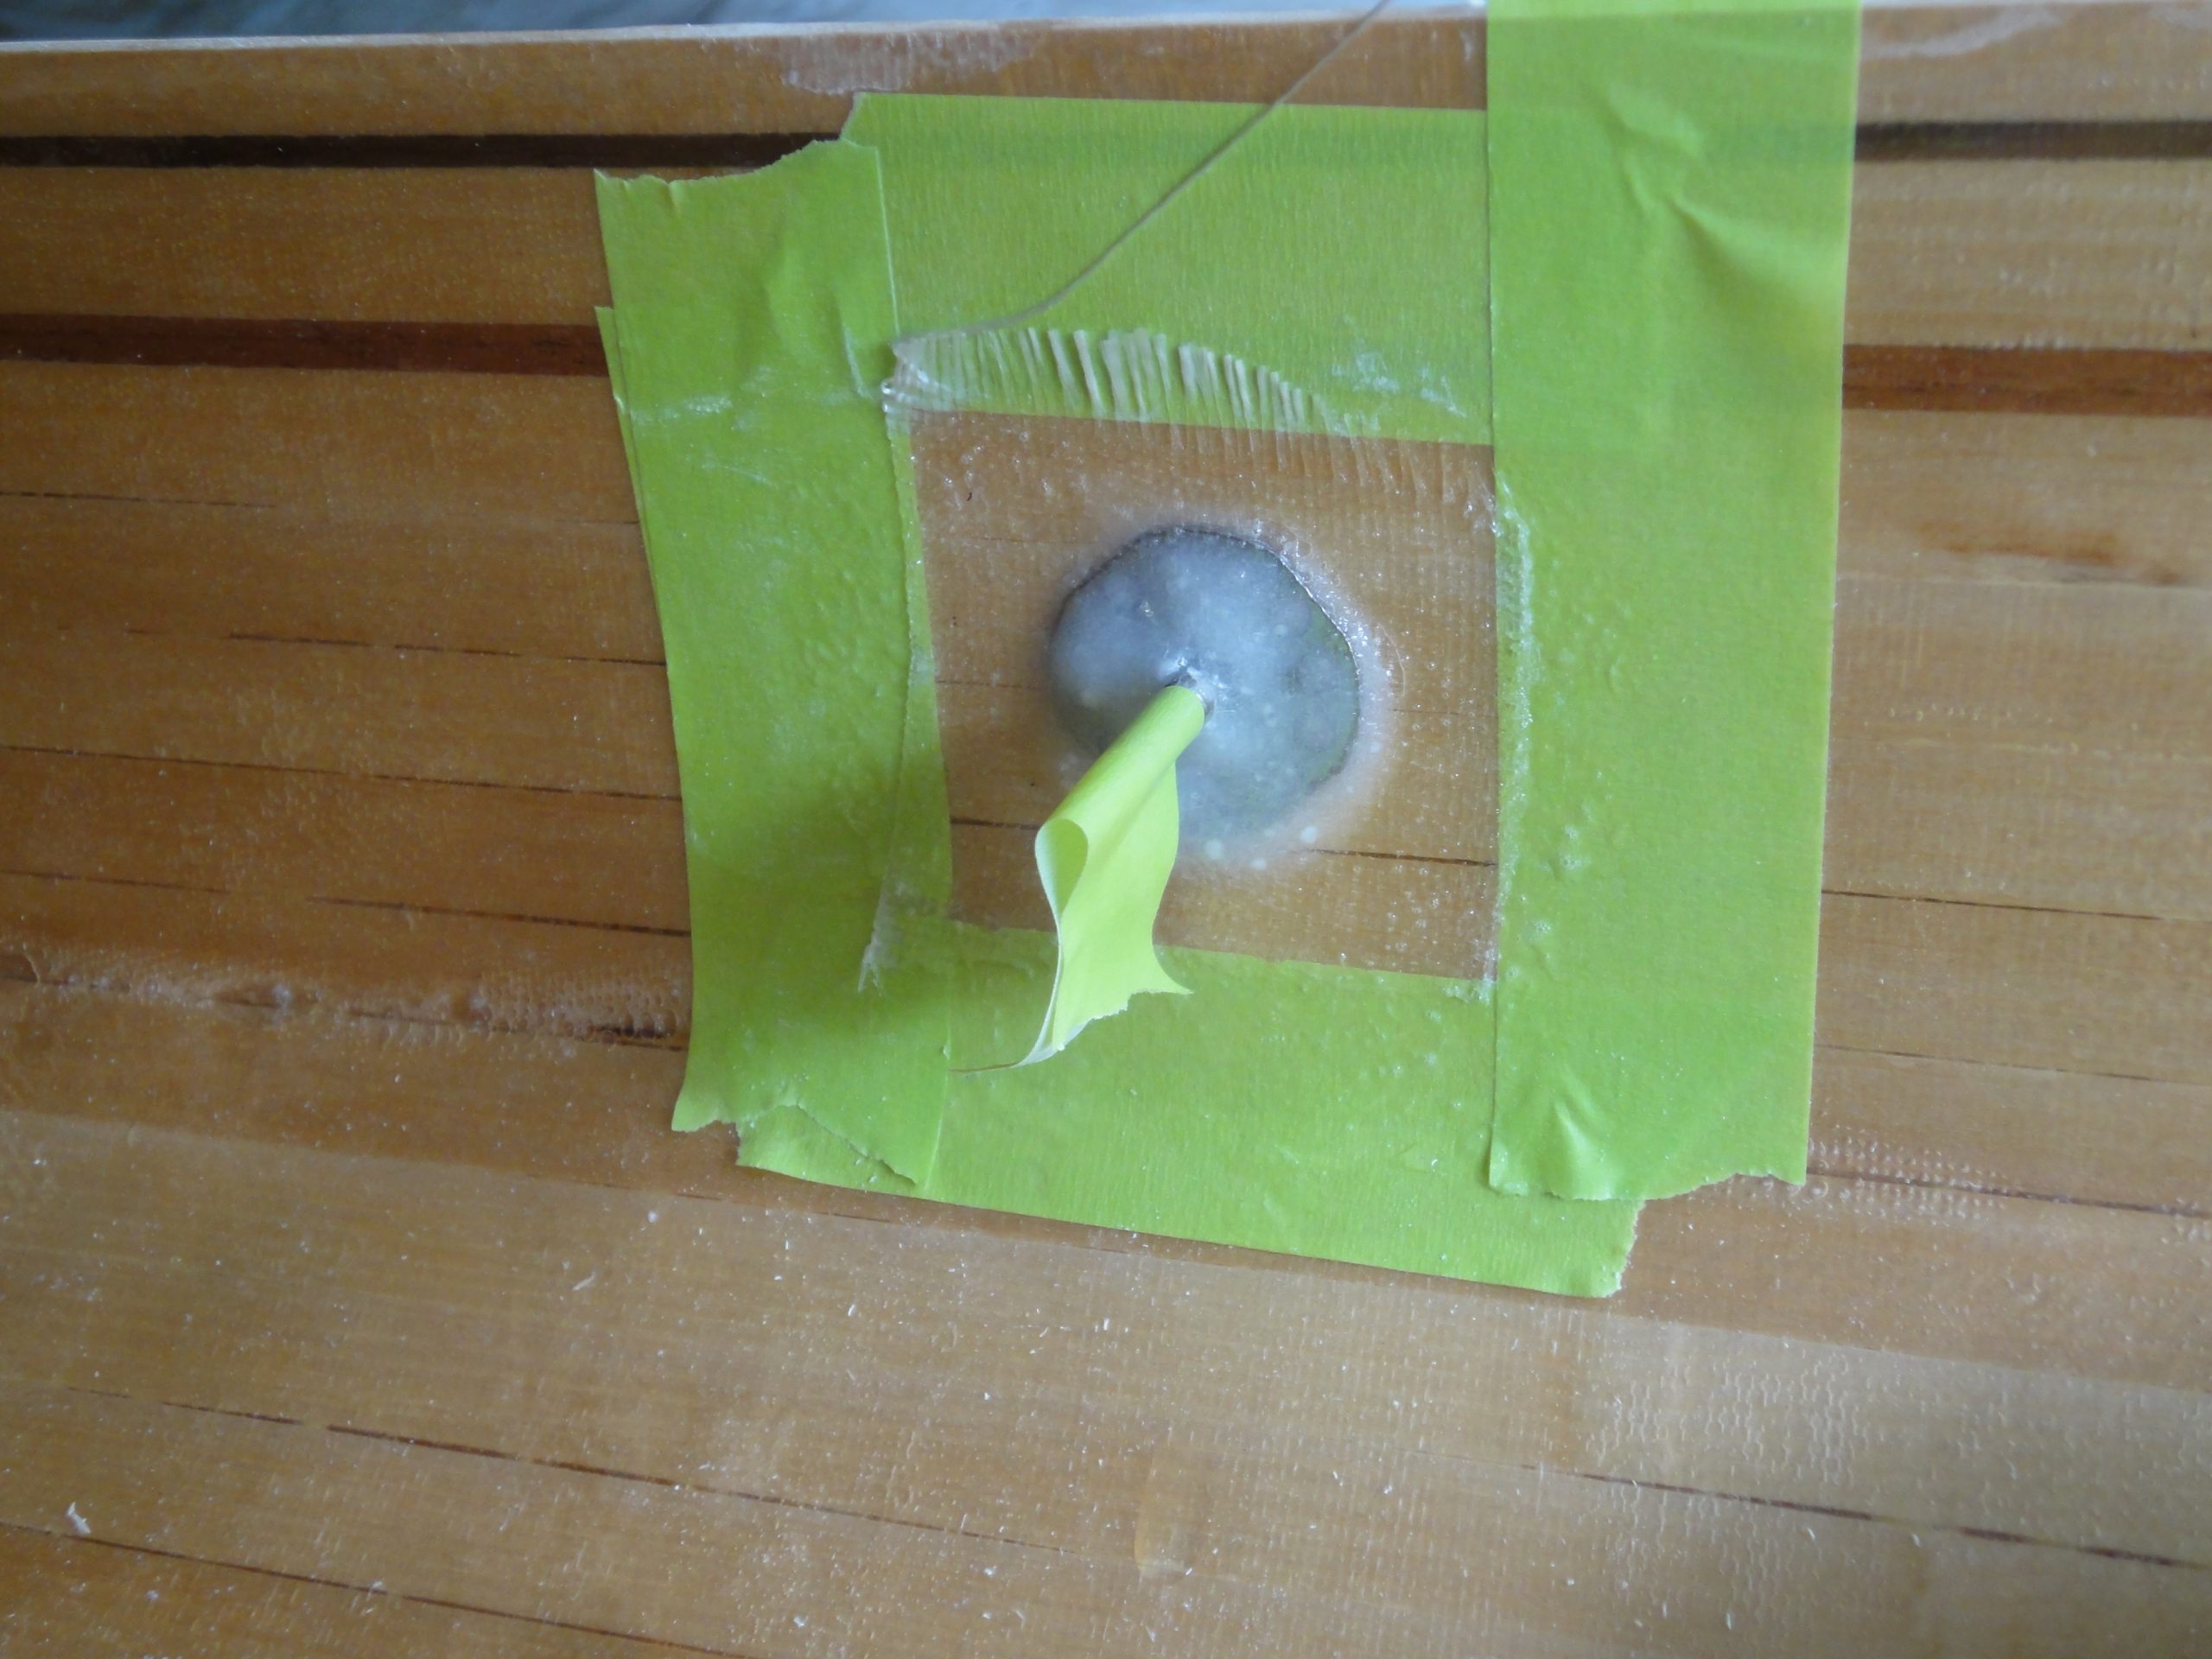
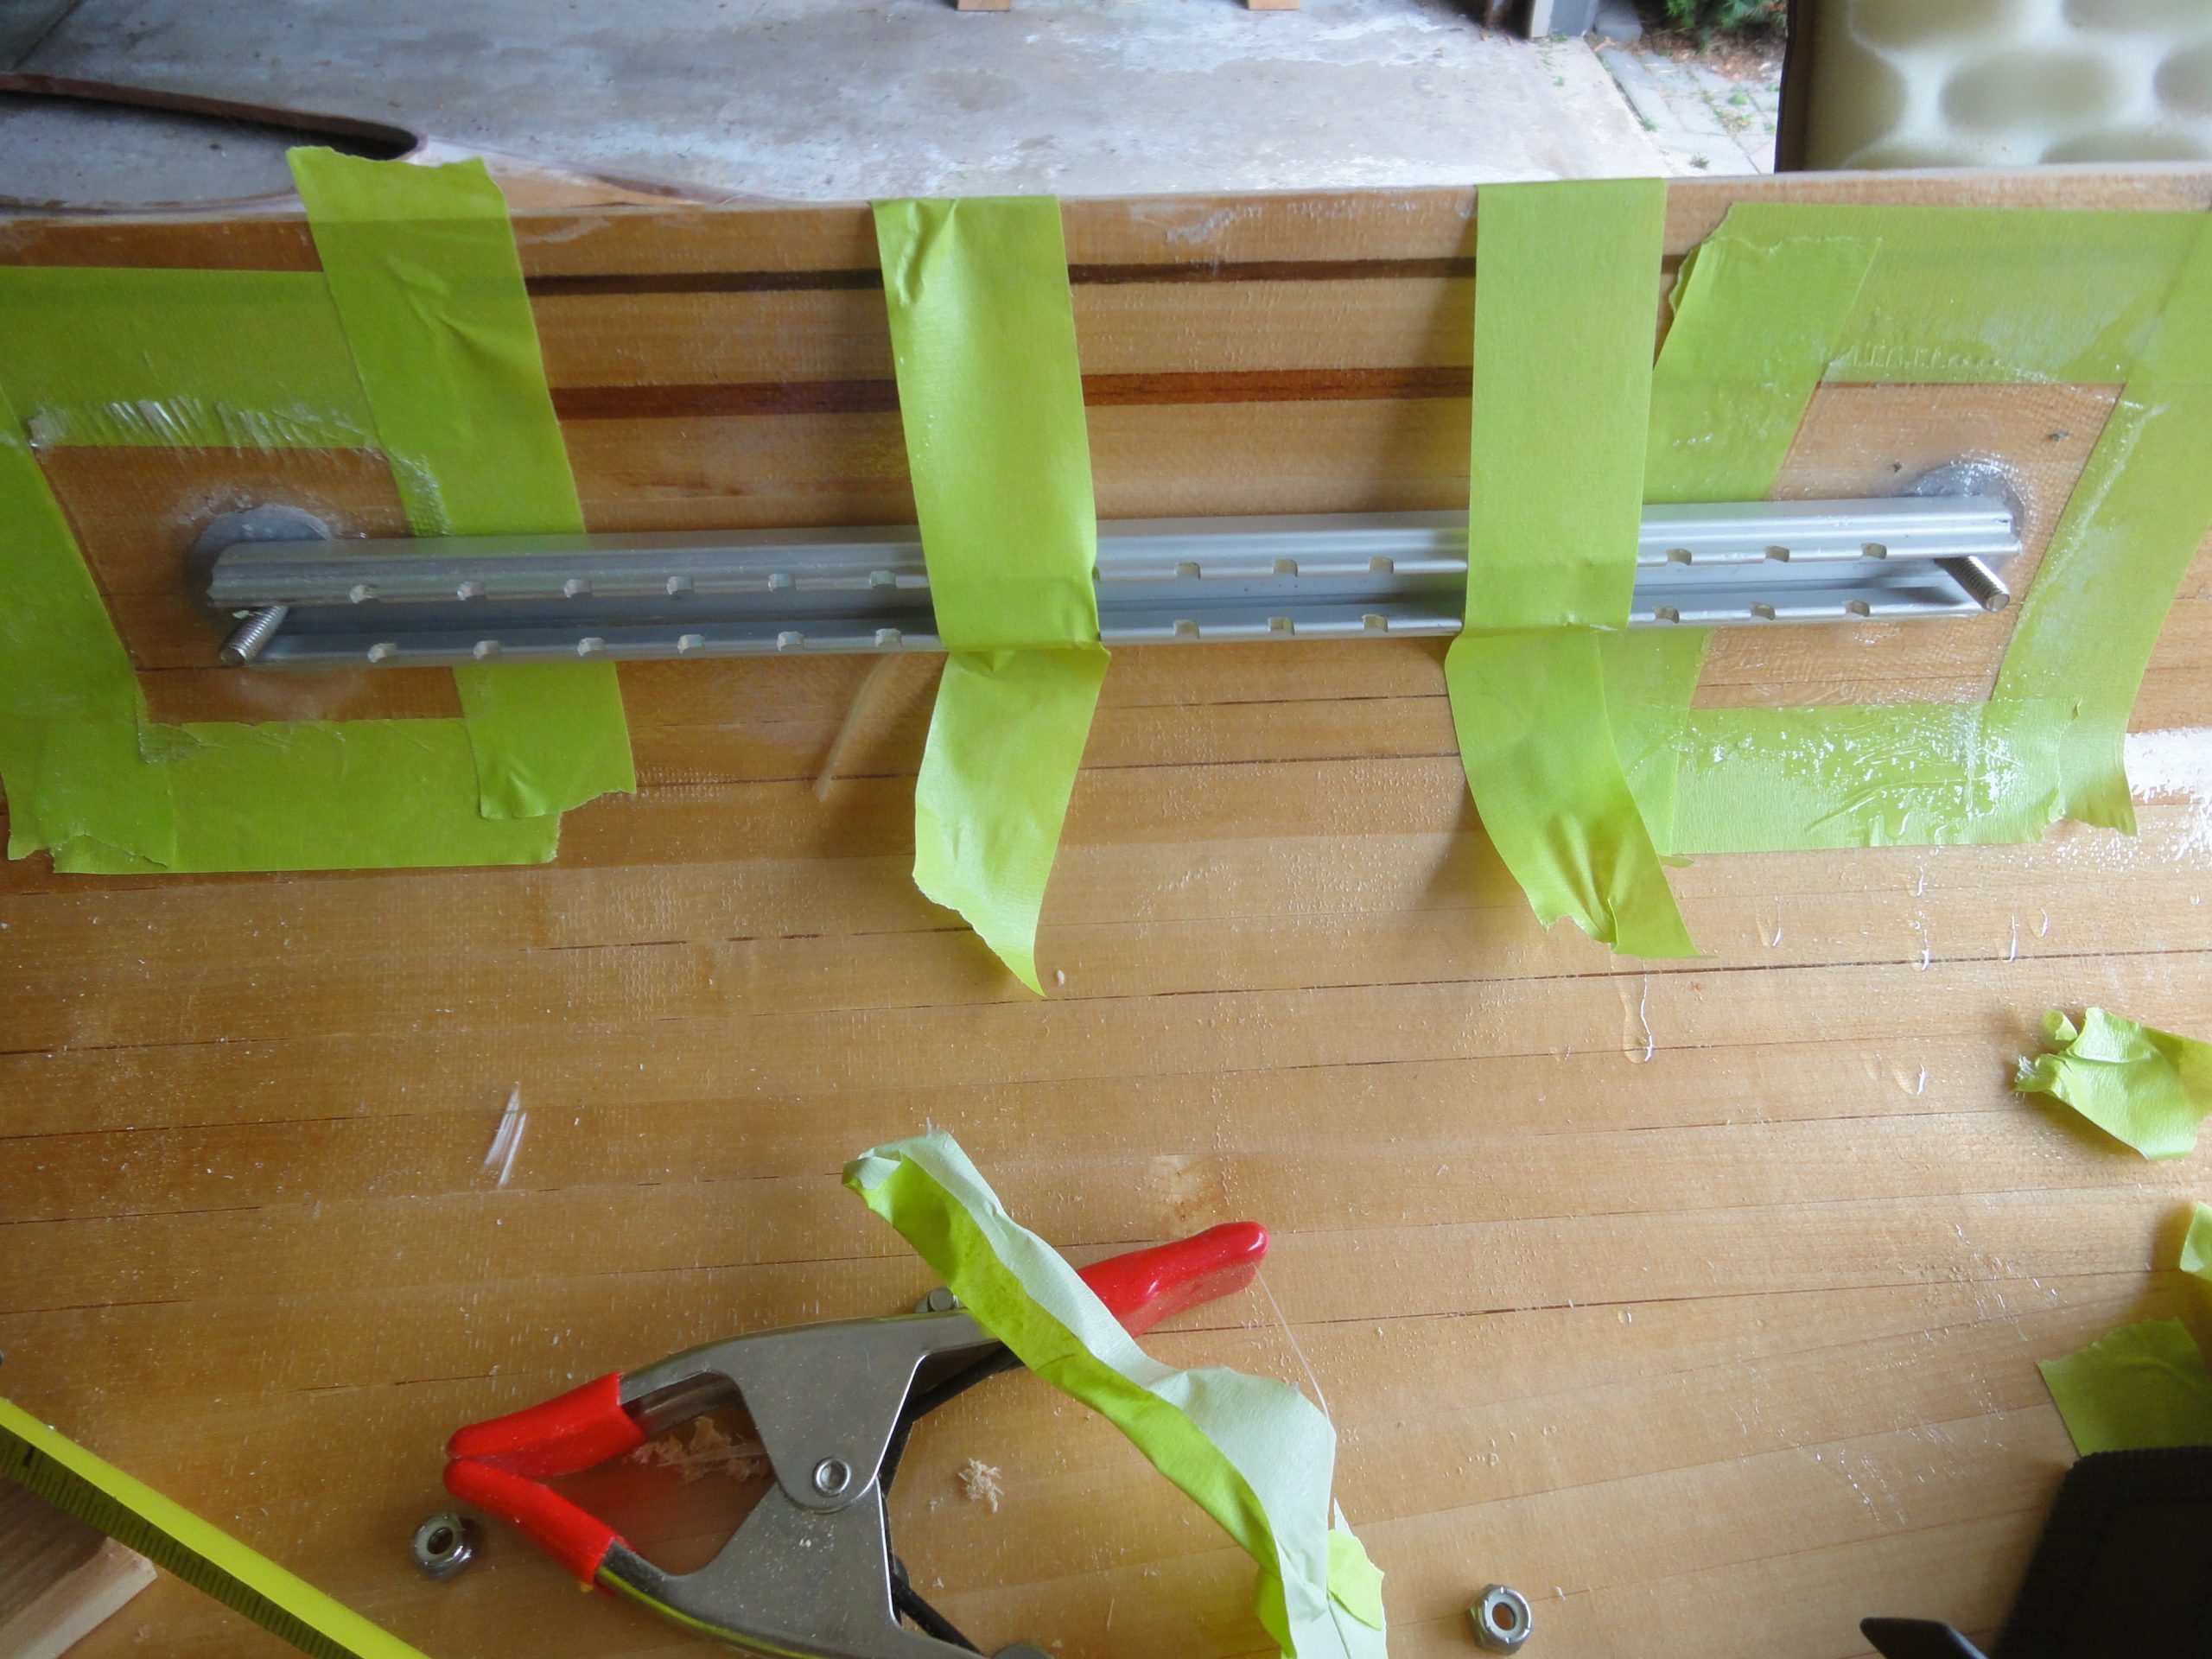
The rails actually have a top and a bottom… well at least I assume the side with the notches are the bottom designed to let any water drain out. For placement this isn’t critical but will be when final installation is performed. I taped the rails back into exact placement and then masked around where the fiberglass will go. The space was sanded to ensure a good bond.
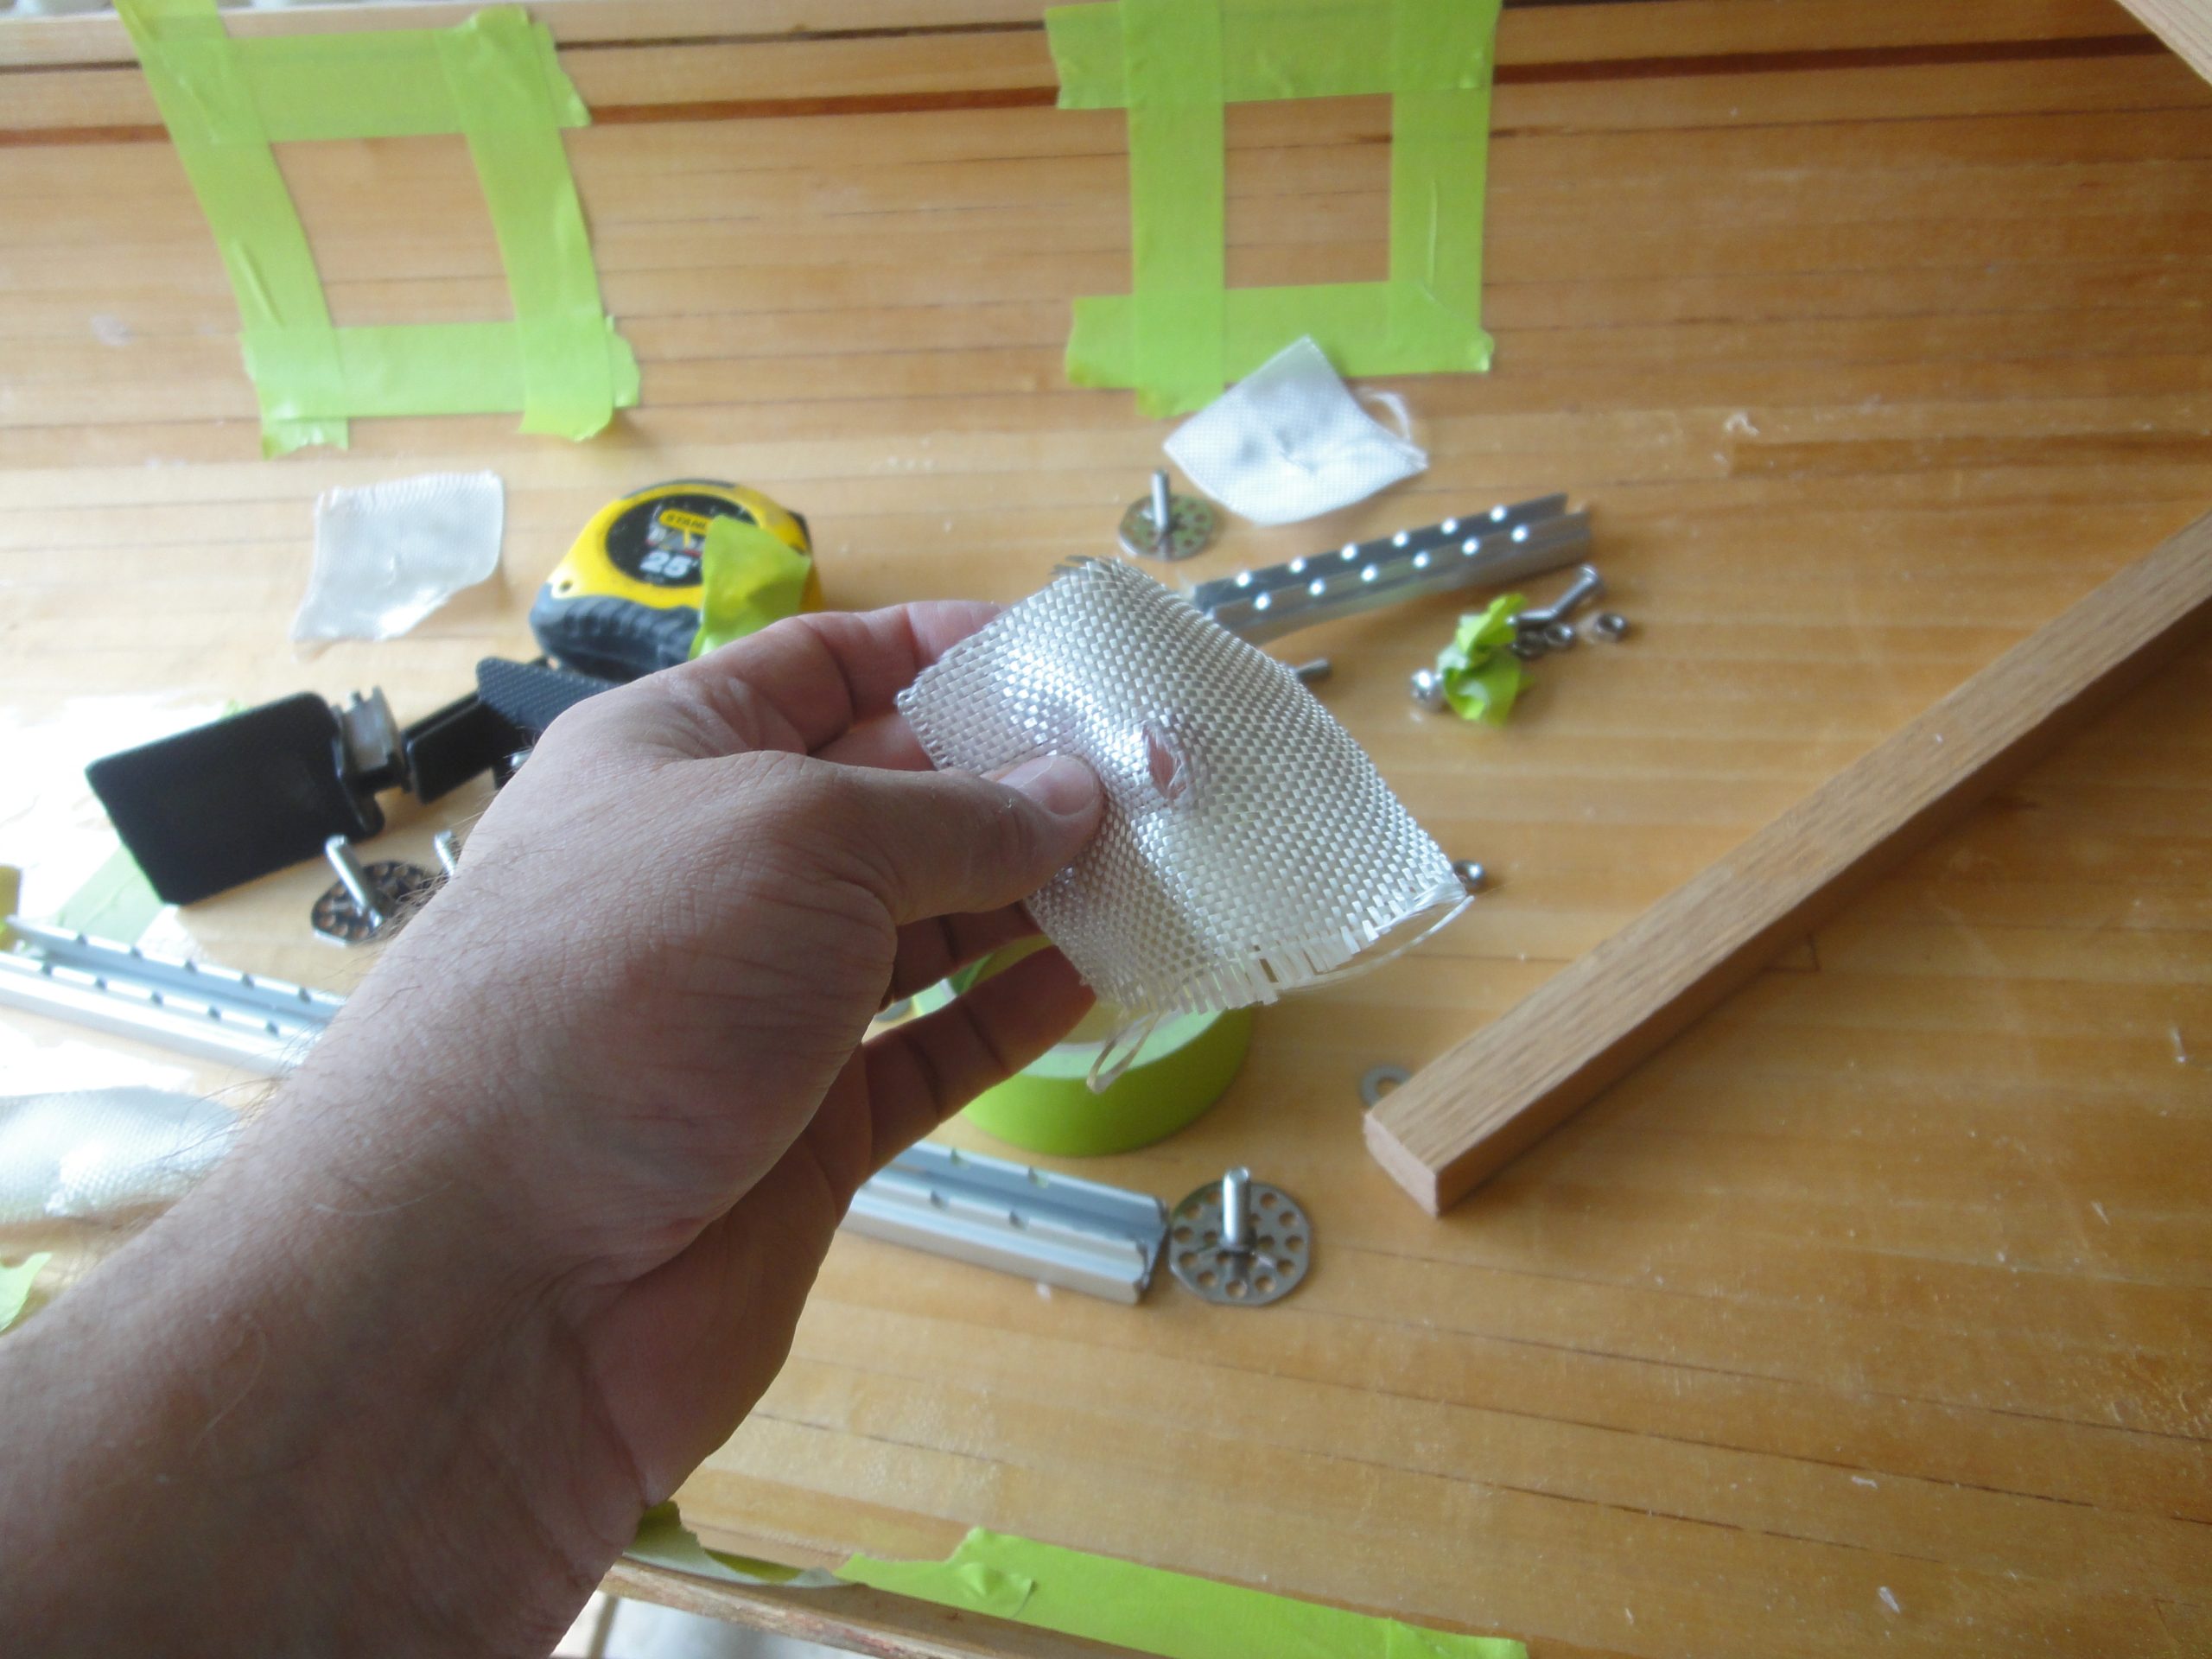
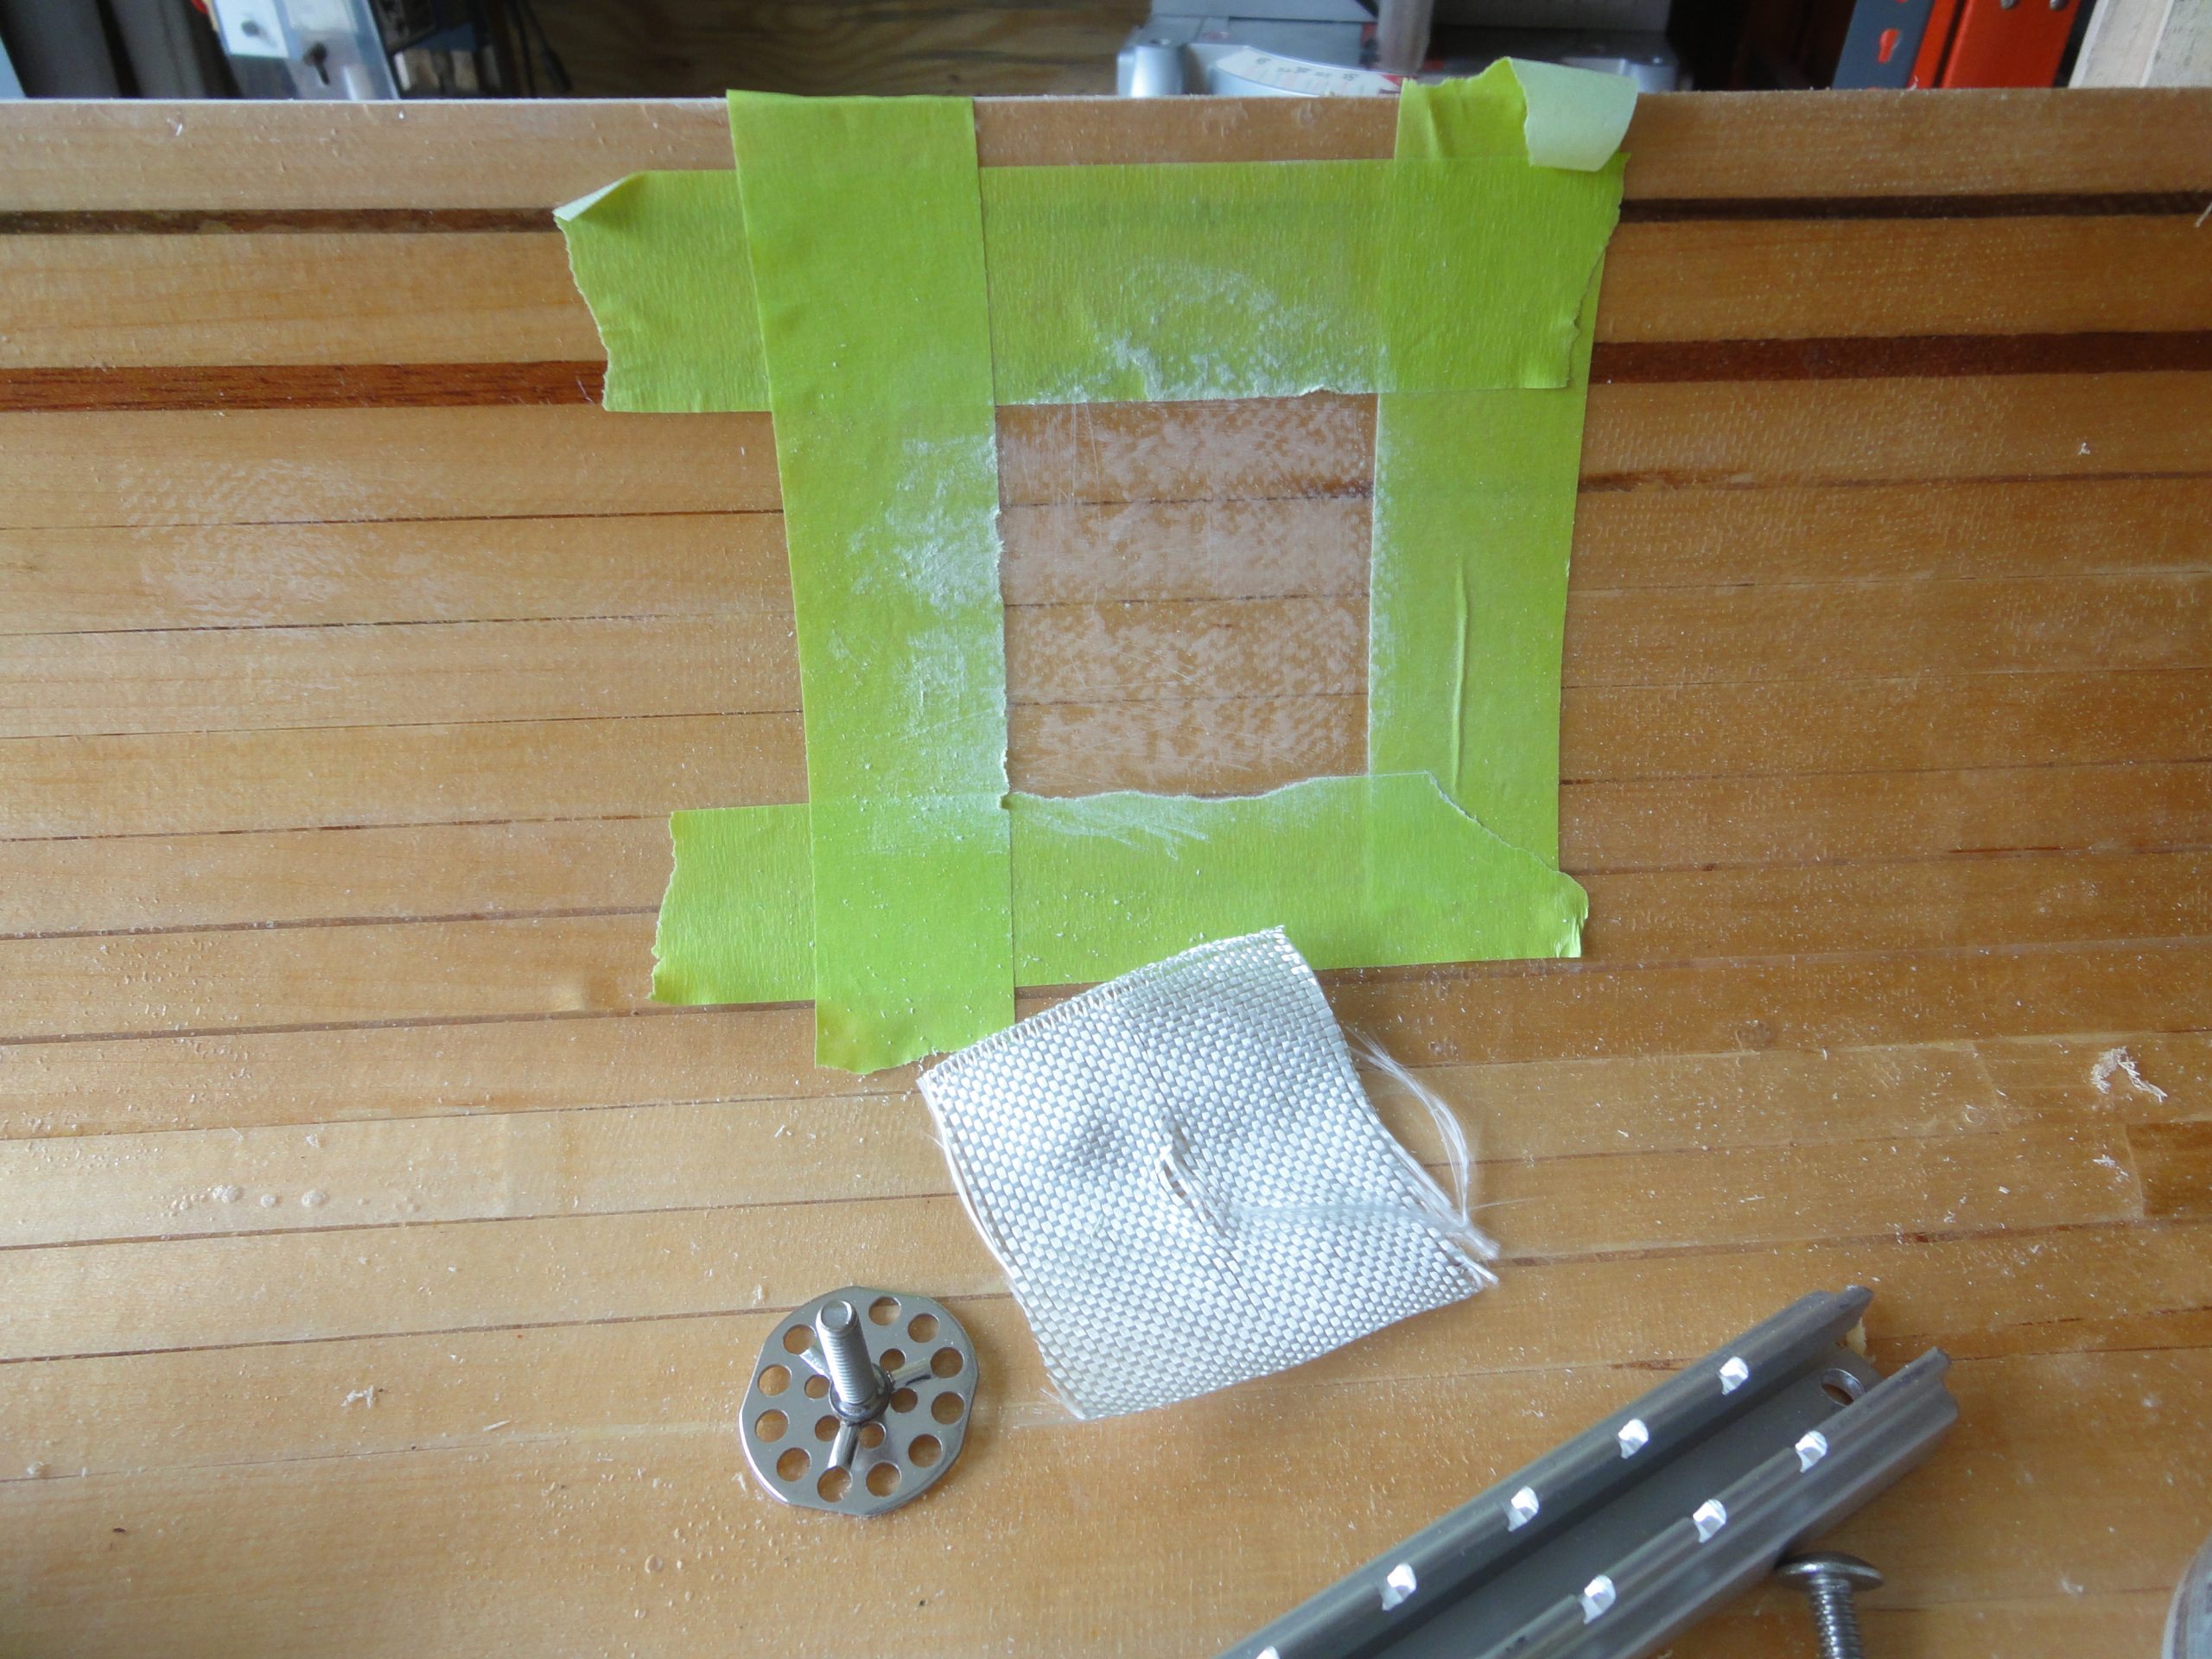
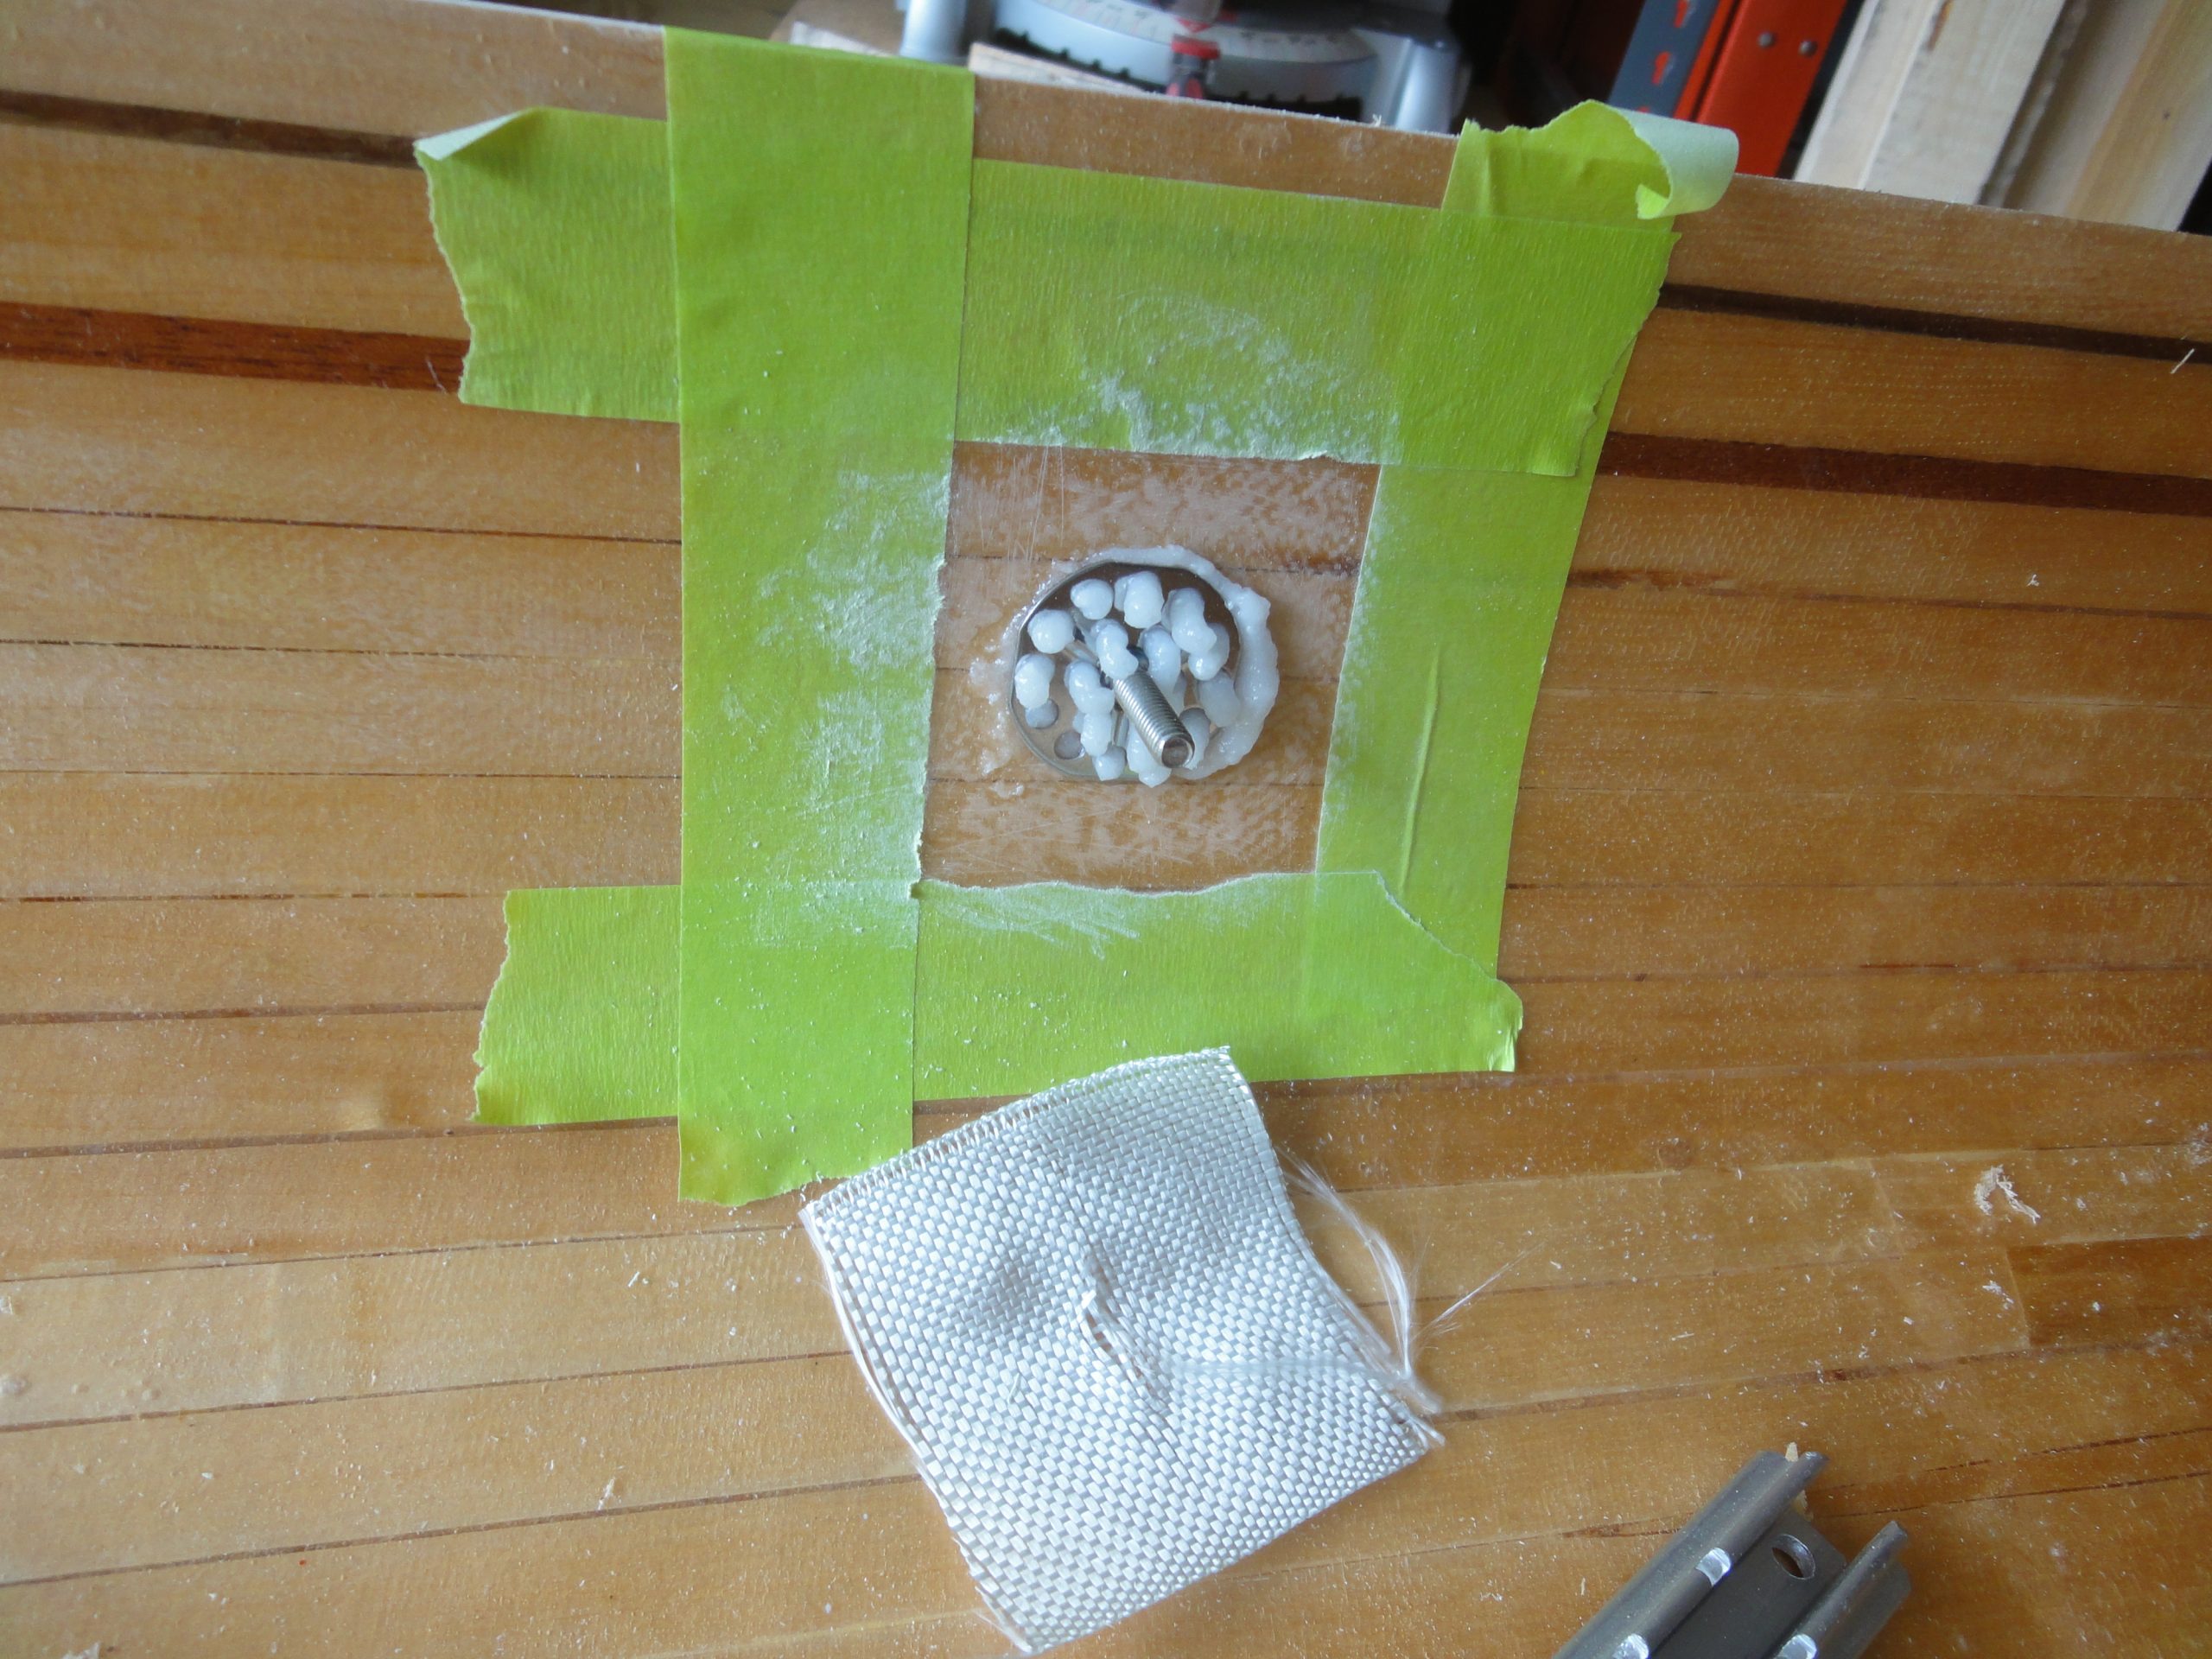
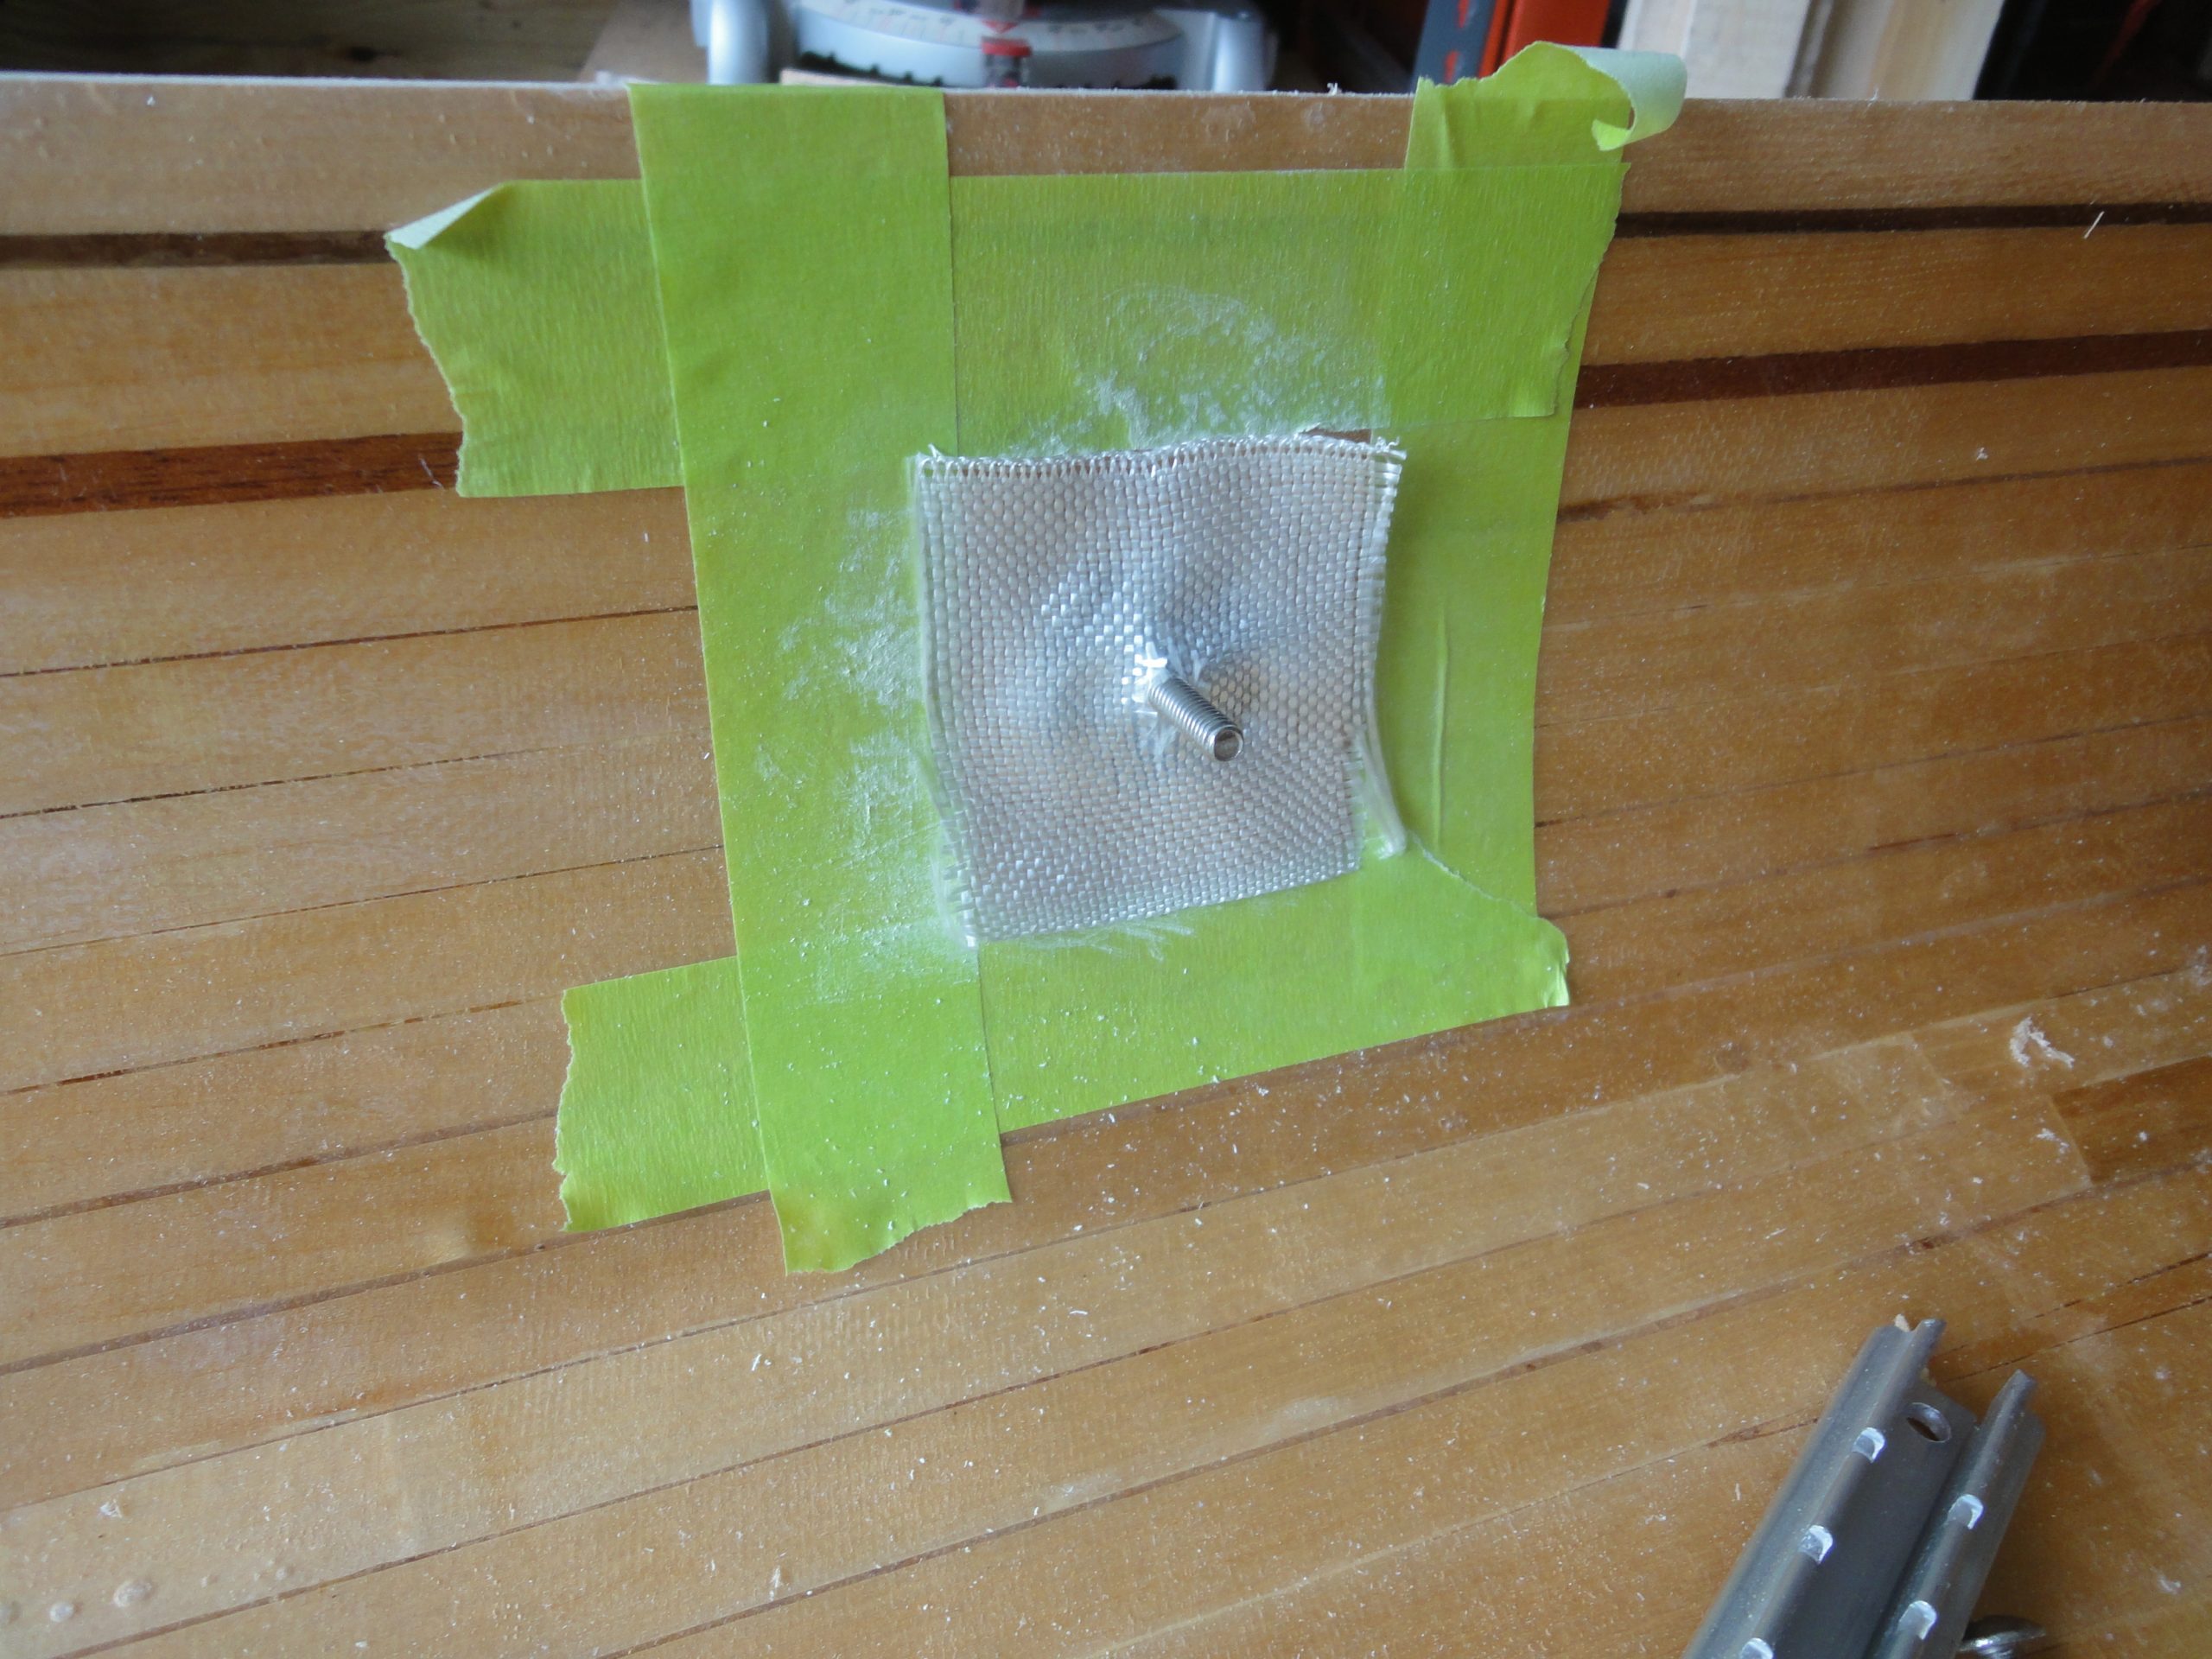
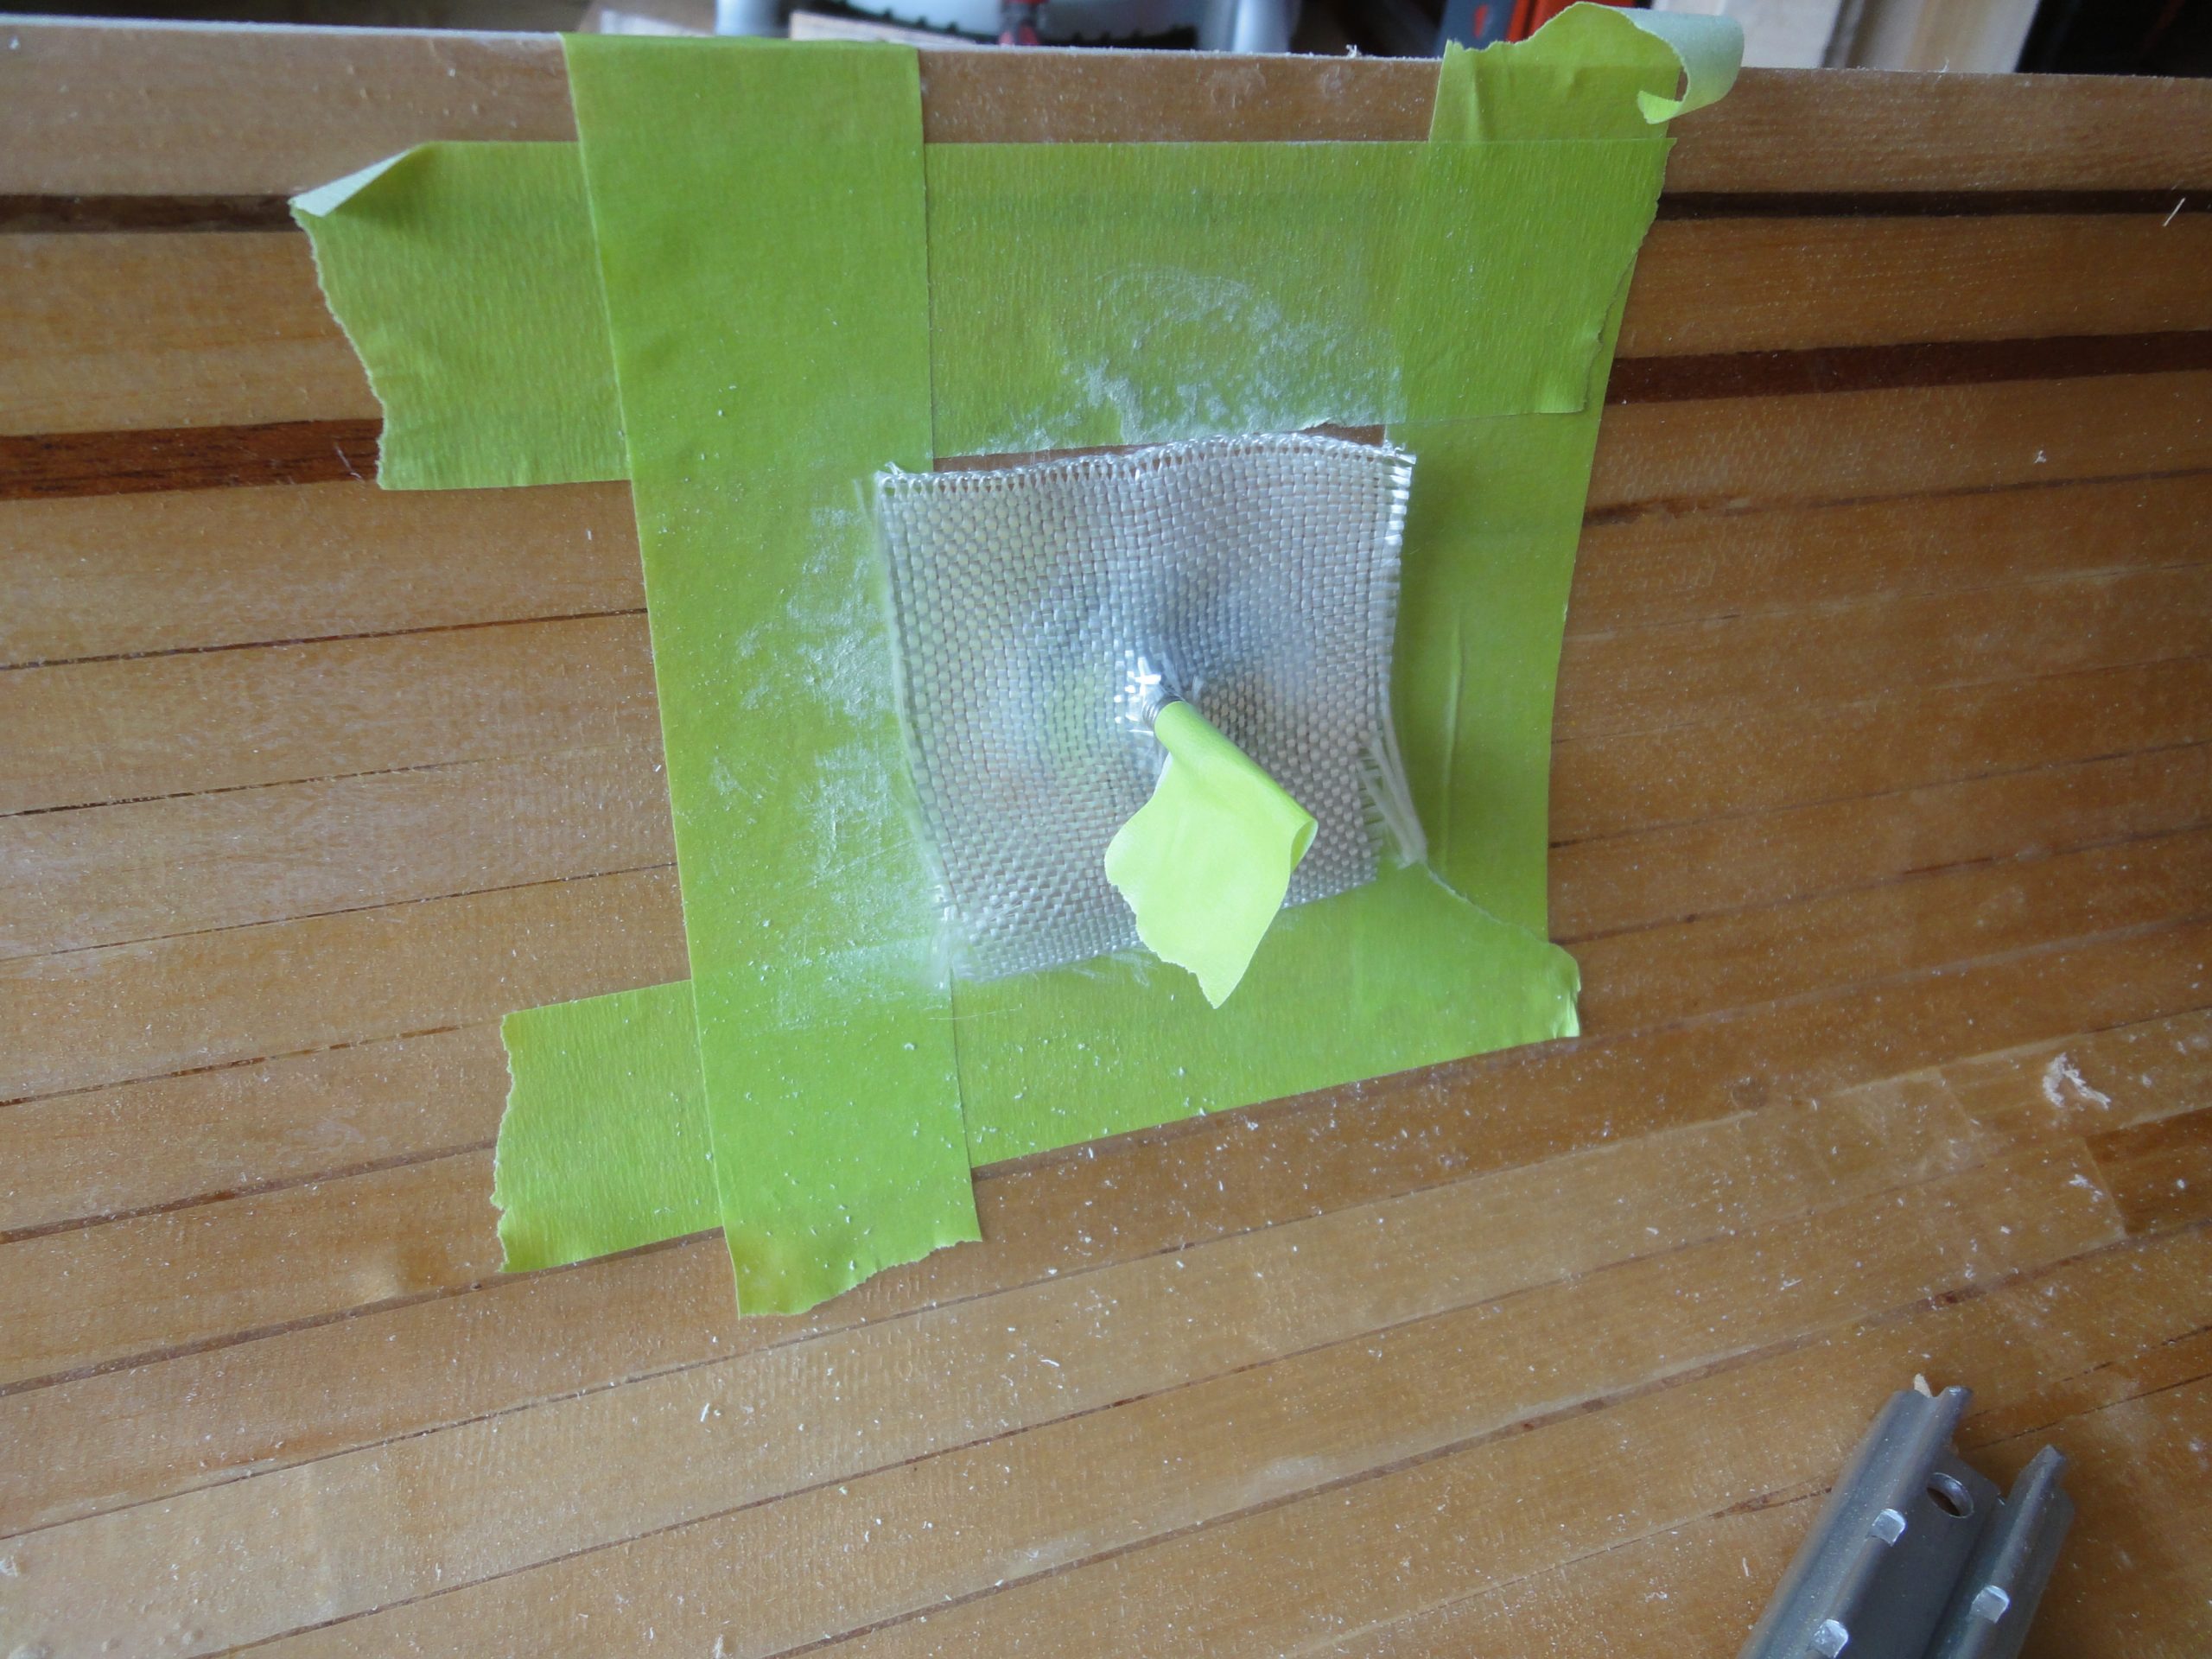
With four spots marked and the rails out of the way I mixed up some very thick epoxy and smeared a dab in the middle of each square. The posts were carefully pushed into the epoxy and then a small square of fiberglass with a hole in the middle was pushed over and into the epoxy. At this point I taped over the threads to avoid accidentally getting epoxy on them.
Finally normal non thickened epoxy was applied to wet out the cloth and get everything seated nicely.

As a final step I placed the rails back in place to ensure the posts were in the exact right spot as once the epoxy set up I wouldn’t be able to adjust them.
The next day I removed the rails and with the epoxy set but still a little soft I trimmed the fiberglass patch and removed the tape. An additional coat of epoxy will be added next time I’m mixing some up. Unfortunately the last shot is blurry but it does show a completed post in place. Next time I’m working on it I’ll try to get a better shot.

I’ll look for any other steps I need to do on the inside, otherwise it’s getting close to the time when I can attach the deck to the hull.