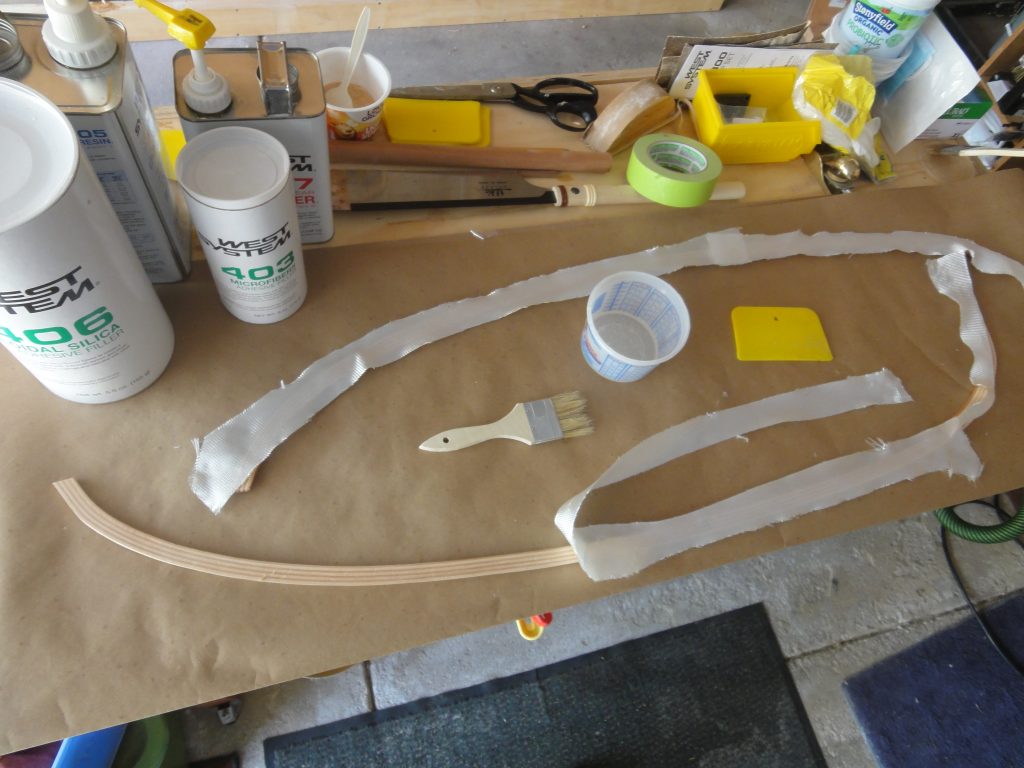
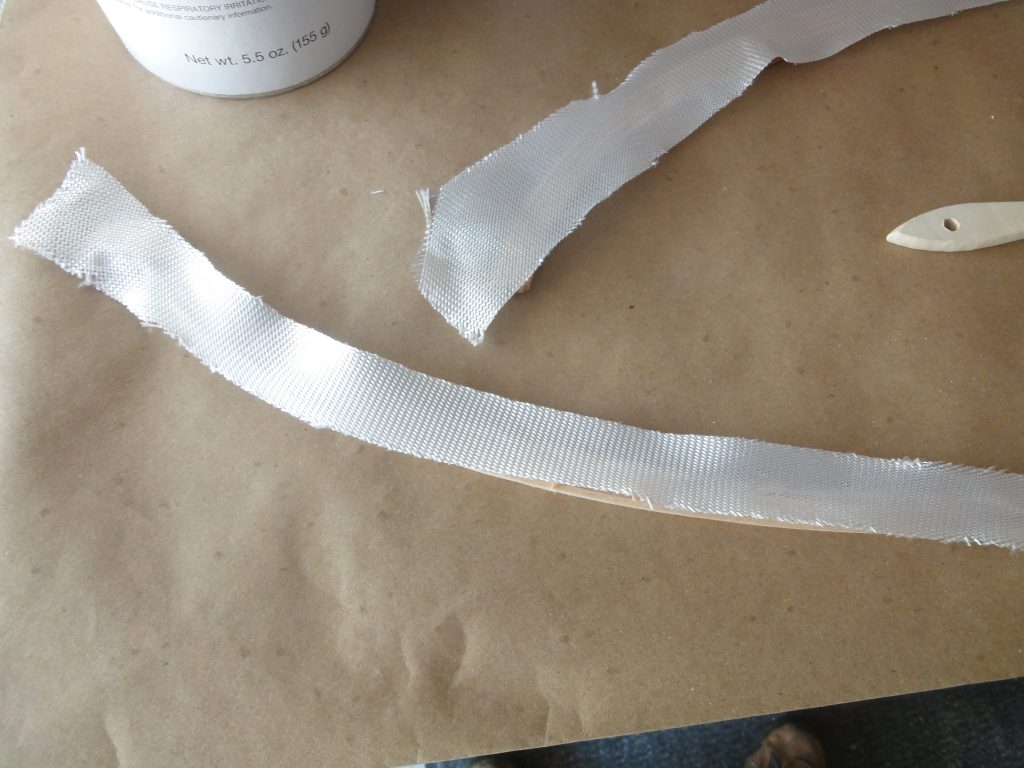
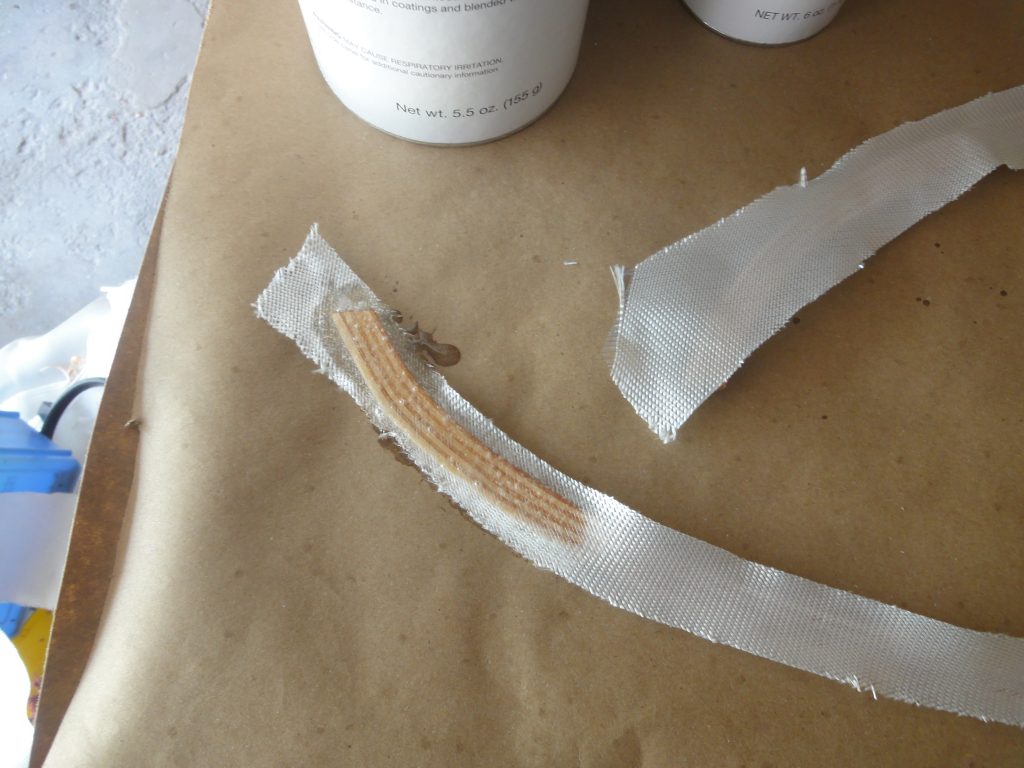
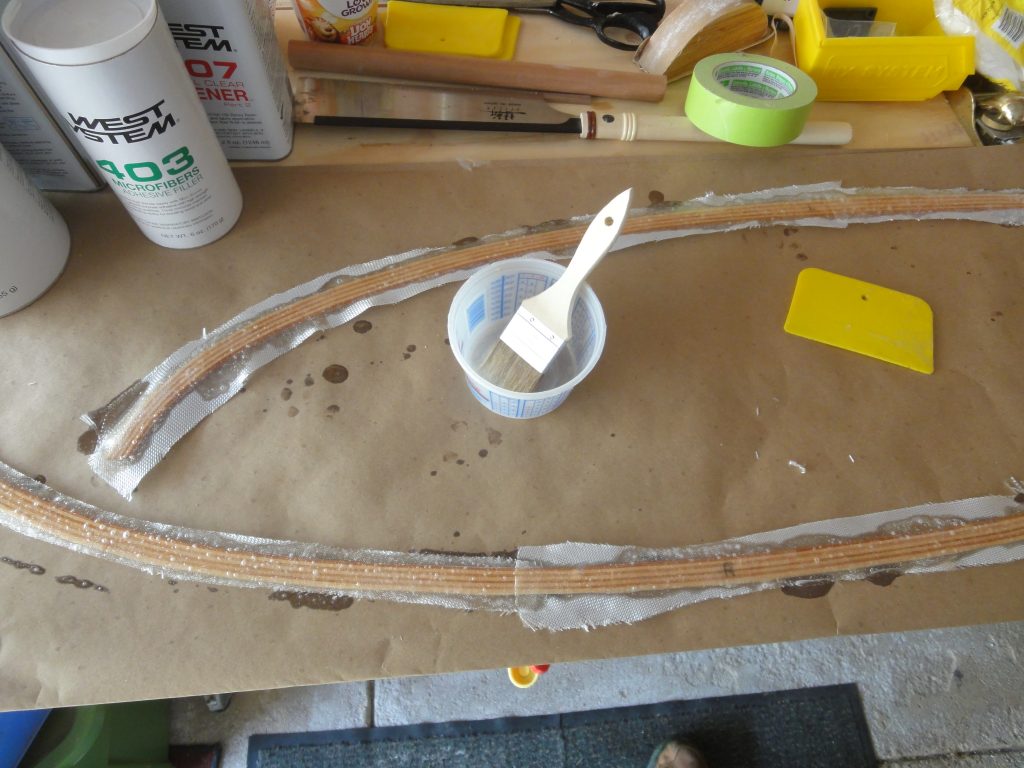
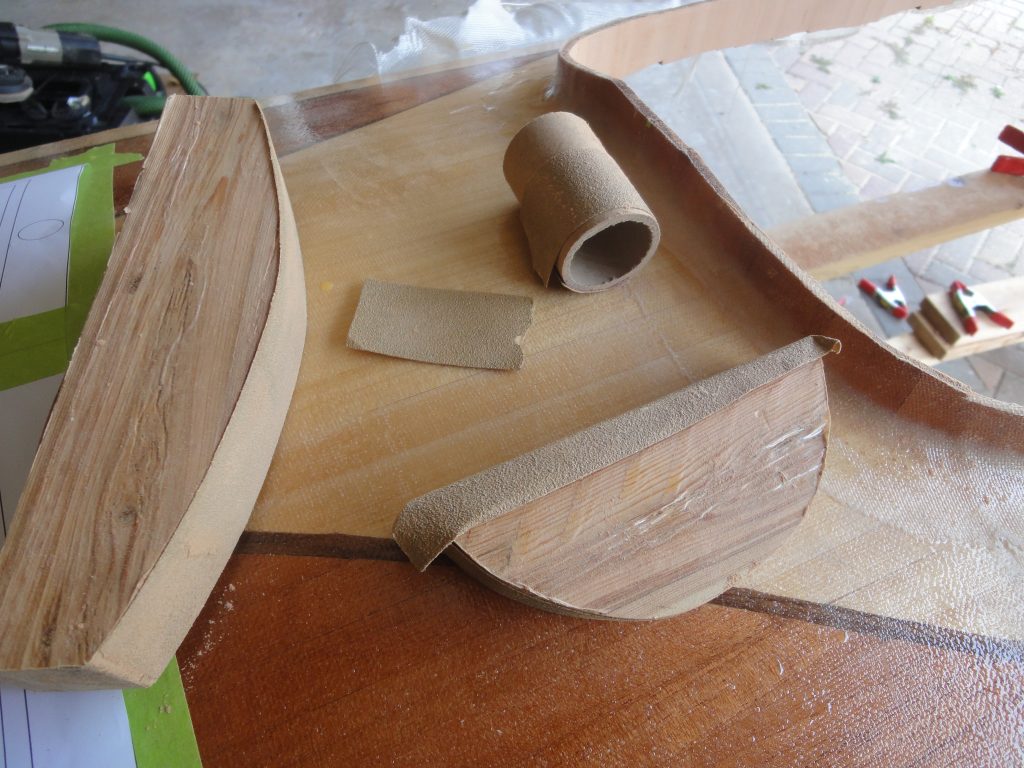
First up, coaming work. I fiberglassed the underside of the coaming rim as this would be very difficult to do later. Pretty simple process. Some protective paper on a work surface, then bias cut fiberglass is laid over the strips. Using the dabbing technique I wet out the cloth. Later a second coat was added.
What I forget to get pictures of, was after these strips were dried I trimmed off the excess fiberglass, sanded everything smooth and then using a thickened epoxy I mounted them to the outside of the coaming riser. A sharp eye will note the R and L designations, however these will be underneath and never visible. I labeled them to ensure I epoxied the correct side.
Prior to attaching them to the riser I sanded the inside smooth using a combination of shapes with sandpaper attached.
Now in between applying the fiberglass and attaching to the coaming I had a few days while I was waiting for the epoxy to setup and dry. For awhile now I’ve been considering the hatches and what options I might have. At the moment I’m undecided on if the front hatch will be in the deck or if I’ll make a bulkhead mounted hatch. The latter is not common, but has been done before.
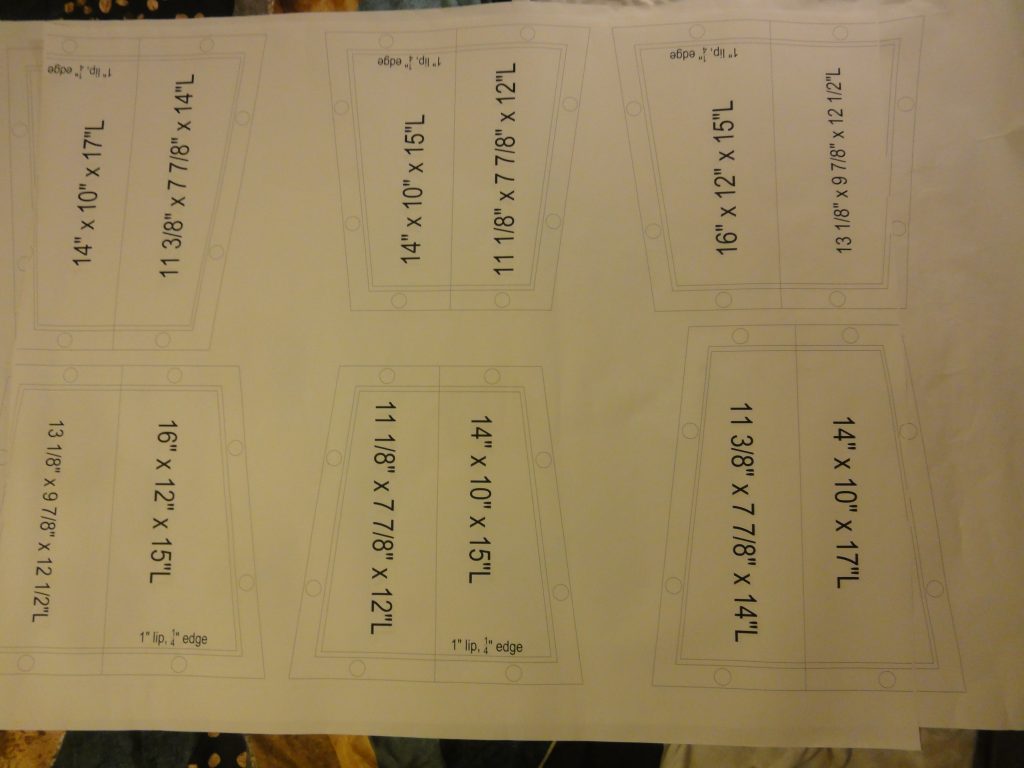
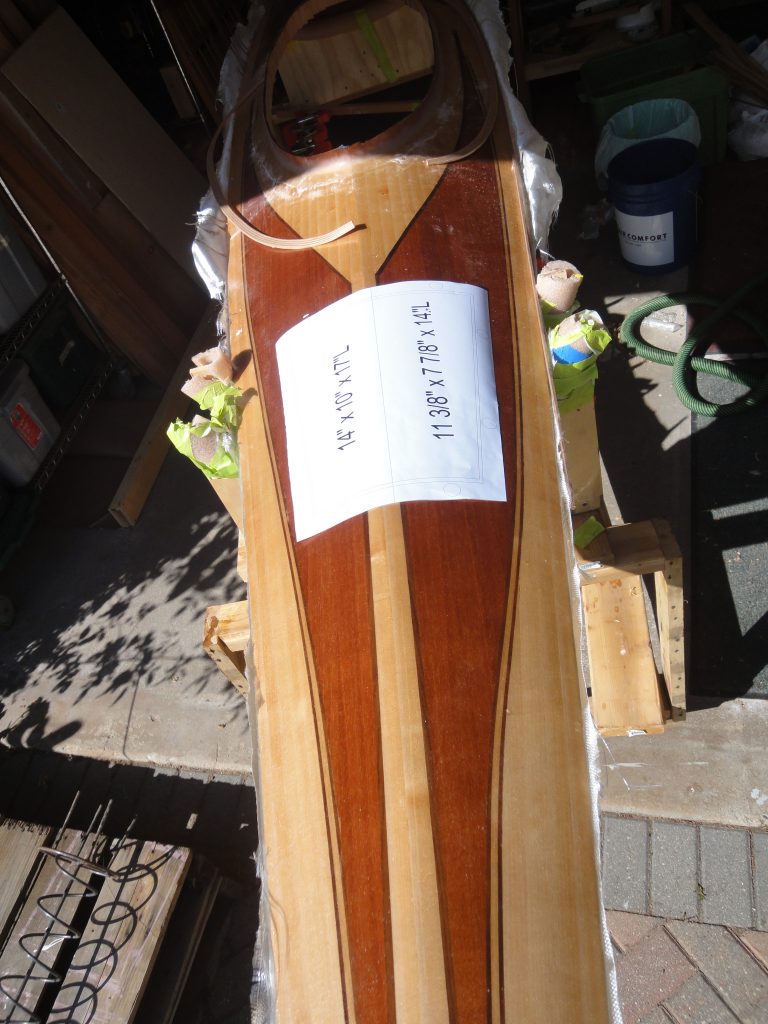
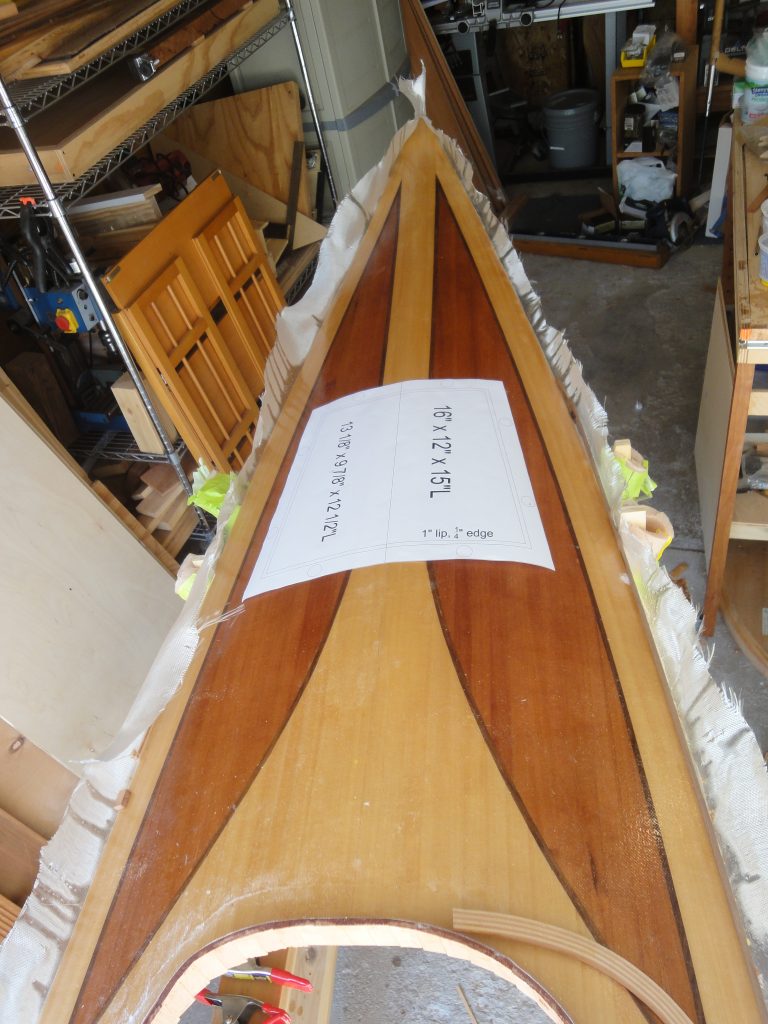
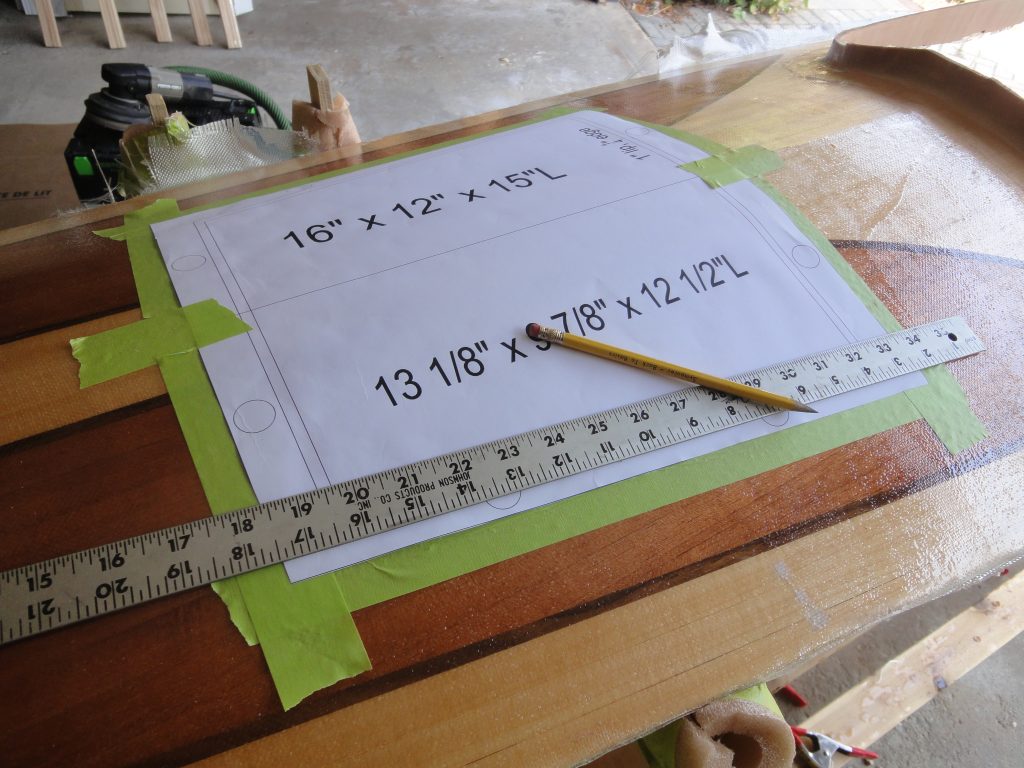
However the rear one is a given. First I took measurements and then drew some actual size templates to experiment with placement and appearance coupled with how big of an access opening I’d actually have. I carefully cut them out and started experimenting with placement.
One thing that goes in the “oops” category is that the front decorative elements are not exact mirror images of each other. Close, but when I put the template there and measure up from each side, to center it, I found it noticeably closer to the edge of the red on one side compared to the other. I could offset it so visually it would be centered with the red but then physically the opening would not be centered. So, more and more I’m leaning towards a bulkhead hatch instead. With my elongated cockpit it won’t be difficult to reach and with my planned activities, the front storage will rarely be used.
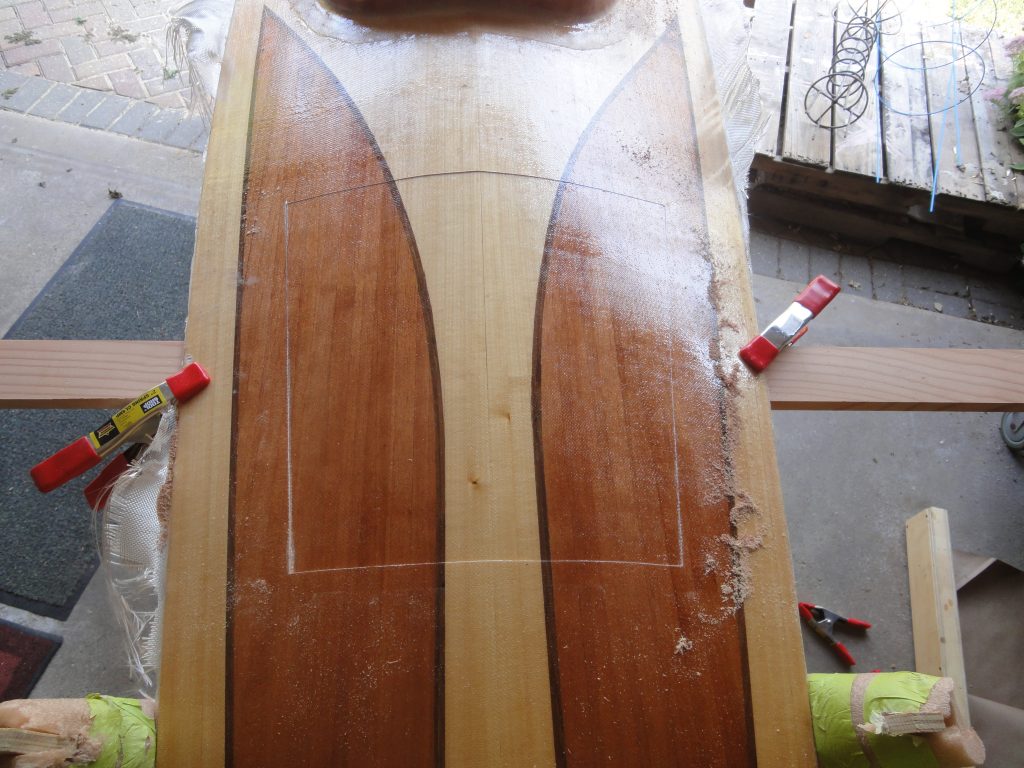
The rear one fits nicely, but was too far back in the picture. I since adjusted the template much closed to the cockpit. Once satisfied I taped it in place then marked the cut lines on additional tape applied to the kayak. This tape will help protect the surface as it’s cut and provides somewhere to actually see the lines I mark.
So I mentioned the first cut was not the hardest… the second one is. With the deck much further along, fiberglassed, epoxied and a lot of coaming work completed the thing that had me really concerned was cutting out the hatch. Once mistake and potentially the entire deck would have to be redone. I considered using a jigsaw/saber saw but I don’t get the quality of cut with my saw that I would like. A router with a 1/16 inch bit would work but I’d have to fashion a template which would have to work with the curved surface and once again one slip and bye bye deck.
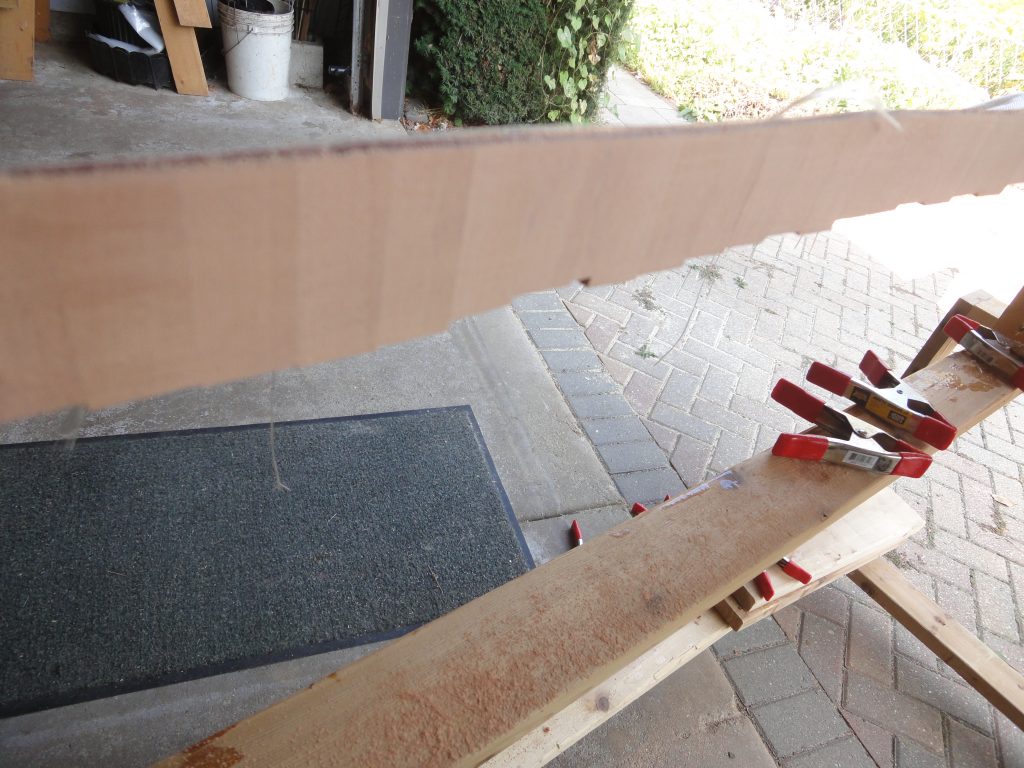
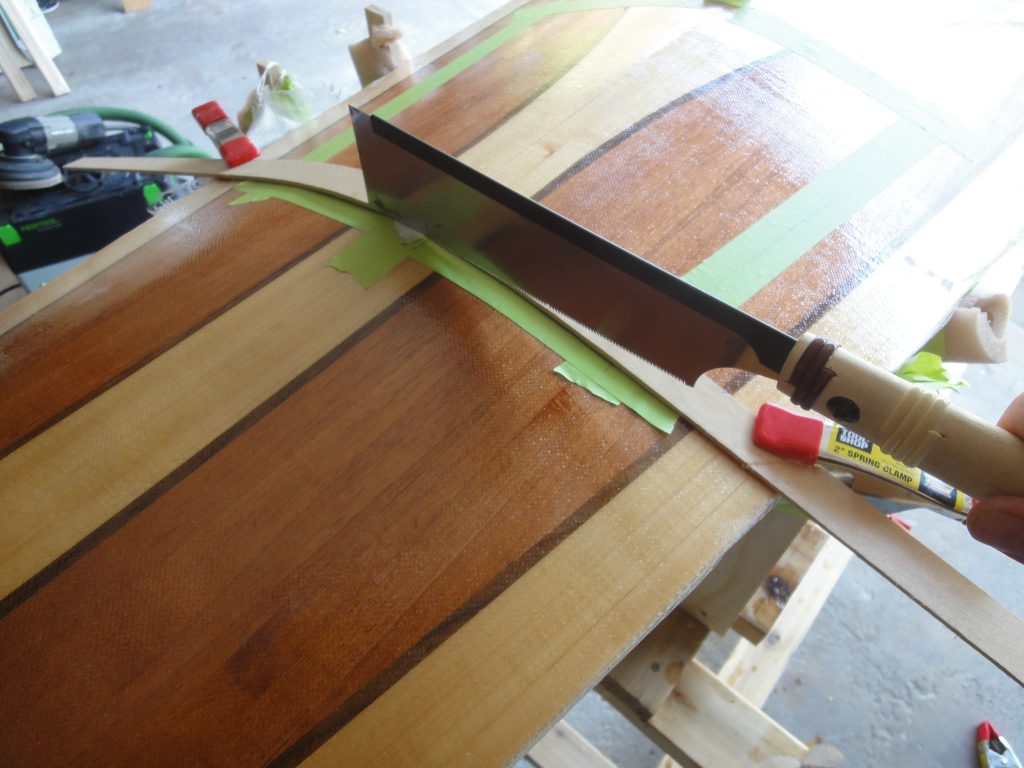
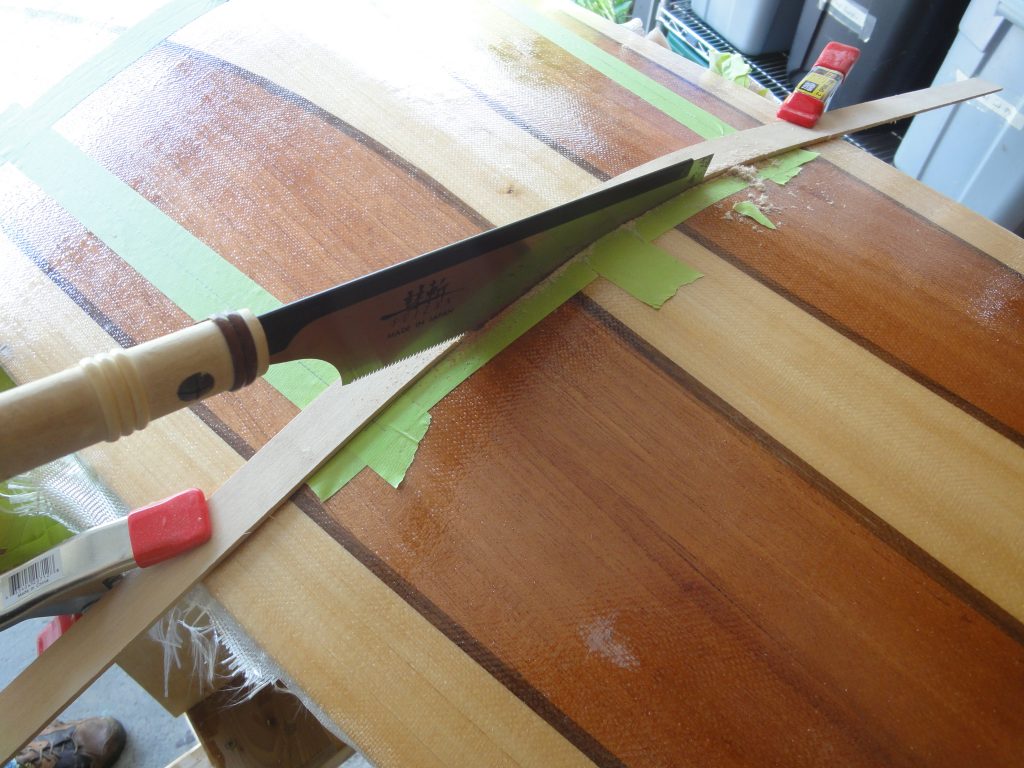
I finally decided the least destructive way to accomplish this cut is by hand. It’s worked for many other parts of the boat and it’s really difficult for a cut to get away from you. To assist I did clamp a guide board right along the line and ran the saw against the guide board.
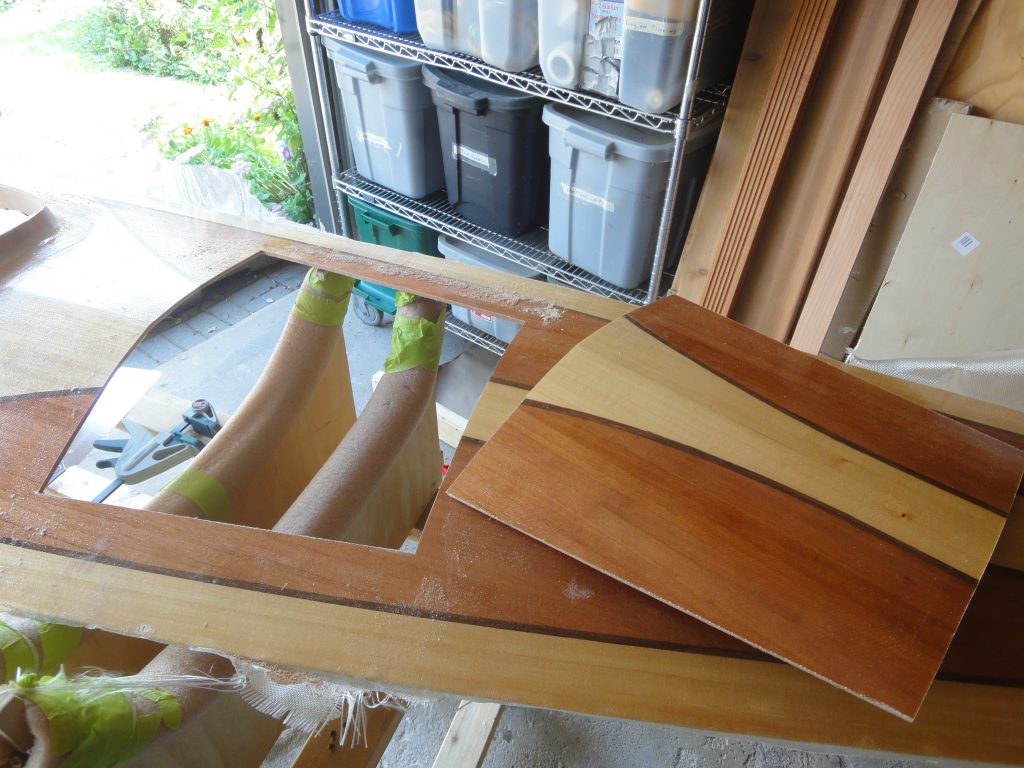
To say I was very pleased with the result would be a big understatement. Once I build the underside lip and get the hatch back into proper position, the cut line will all but disappear. It really went much better than anticipated and I now see I was stressing over this step for no reason. Or perhaps all the stress I felt helped me to really think it through first to ensure it was done right. Either way… progress!

