
Using a thickened and reinforced epoxy mix I filled the large gaps on the underside of the deck. Once dried I started sanding it to get everything back to smooth and fair.
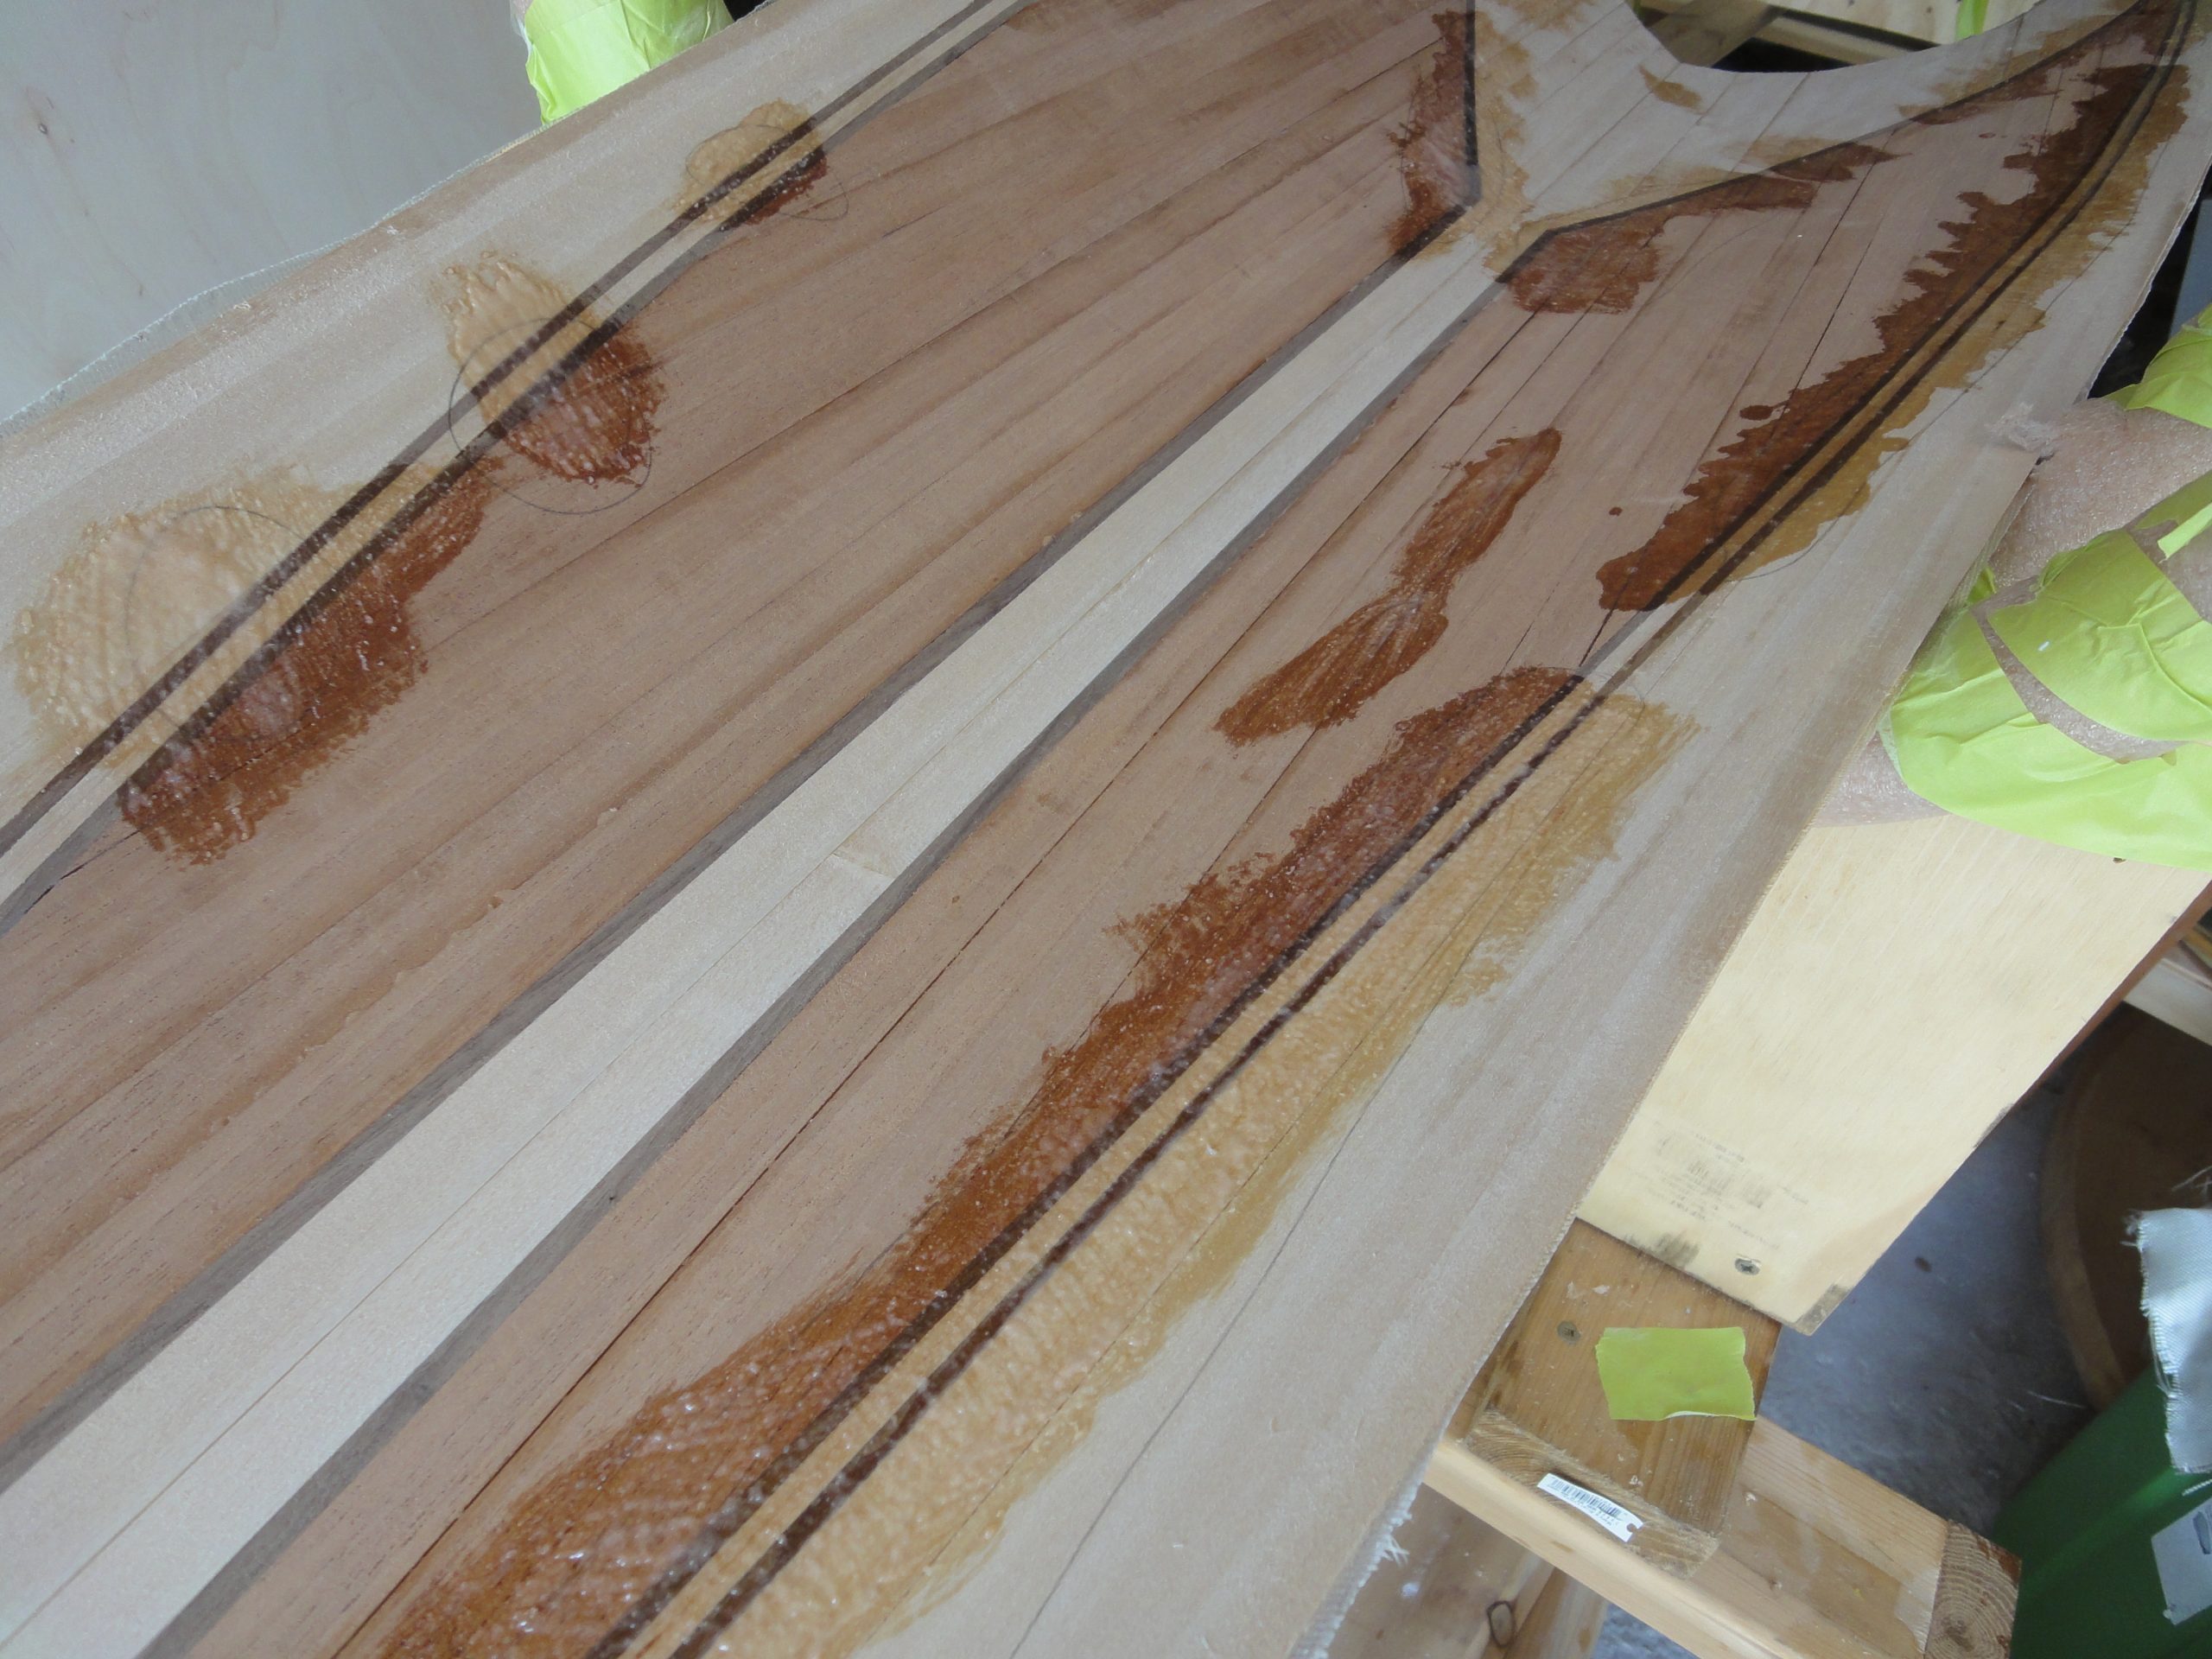
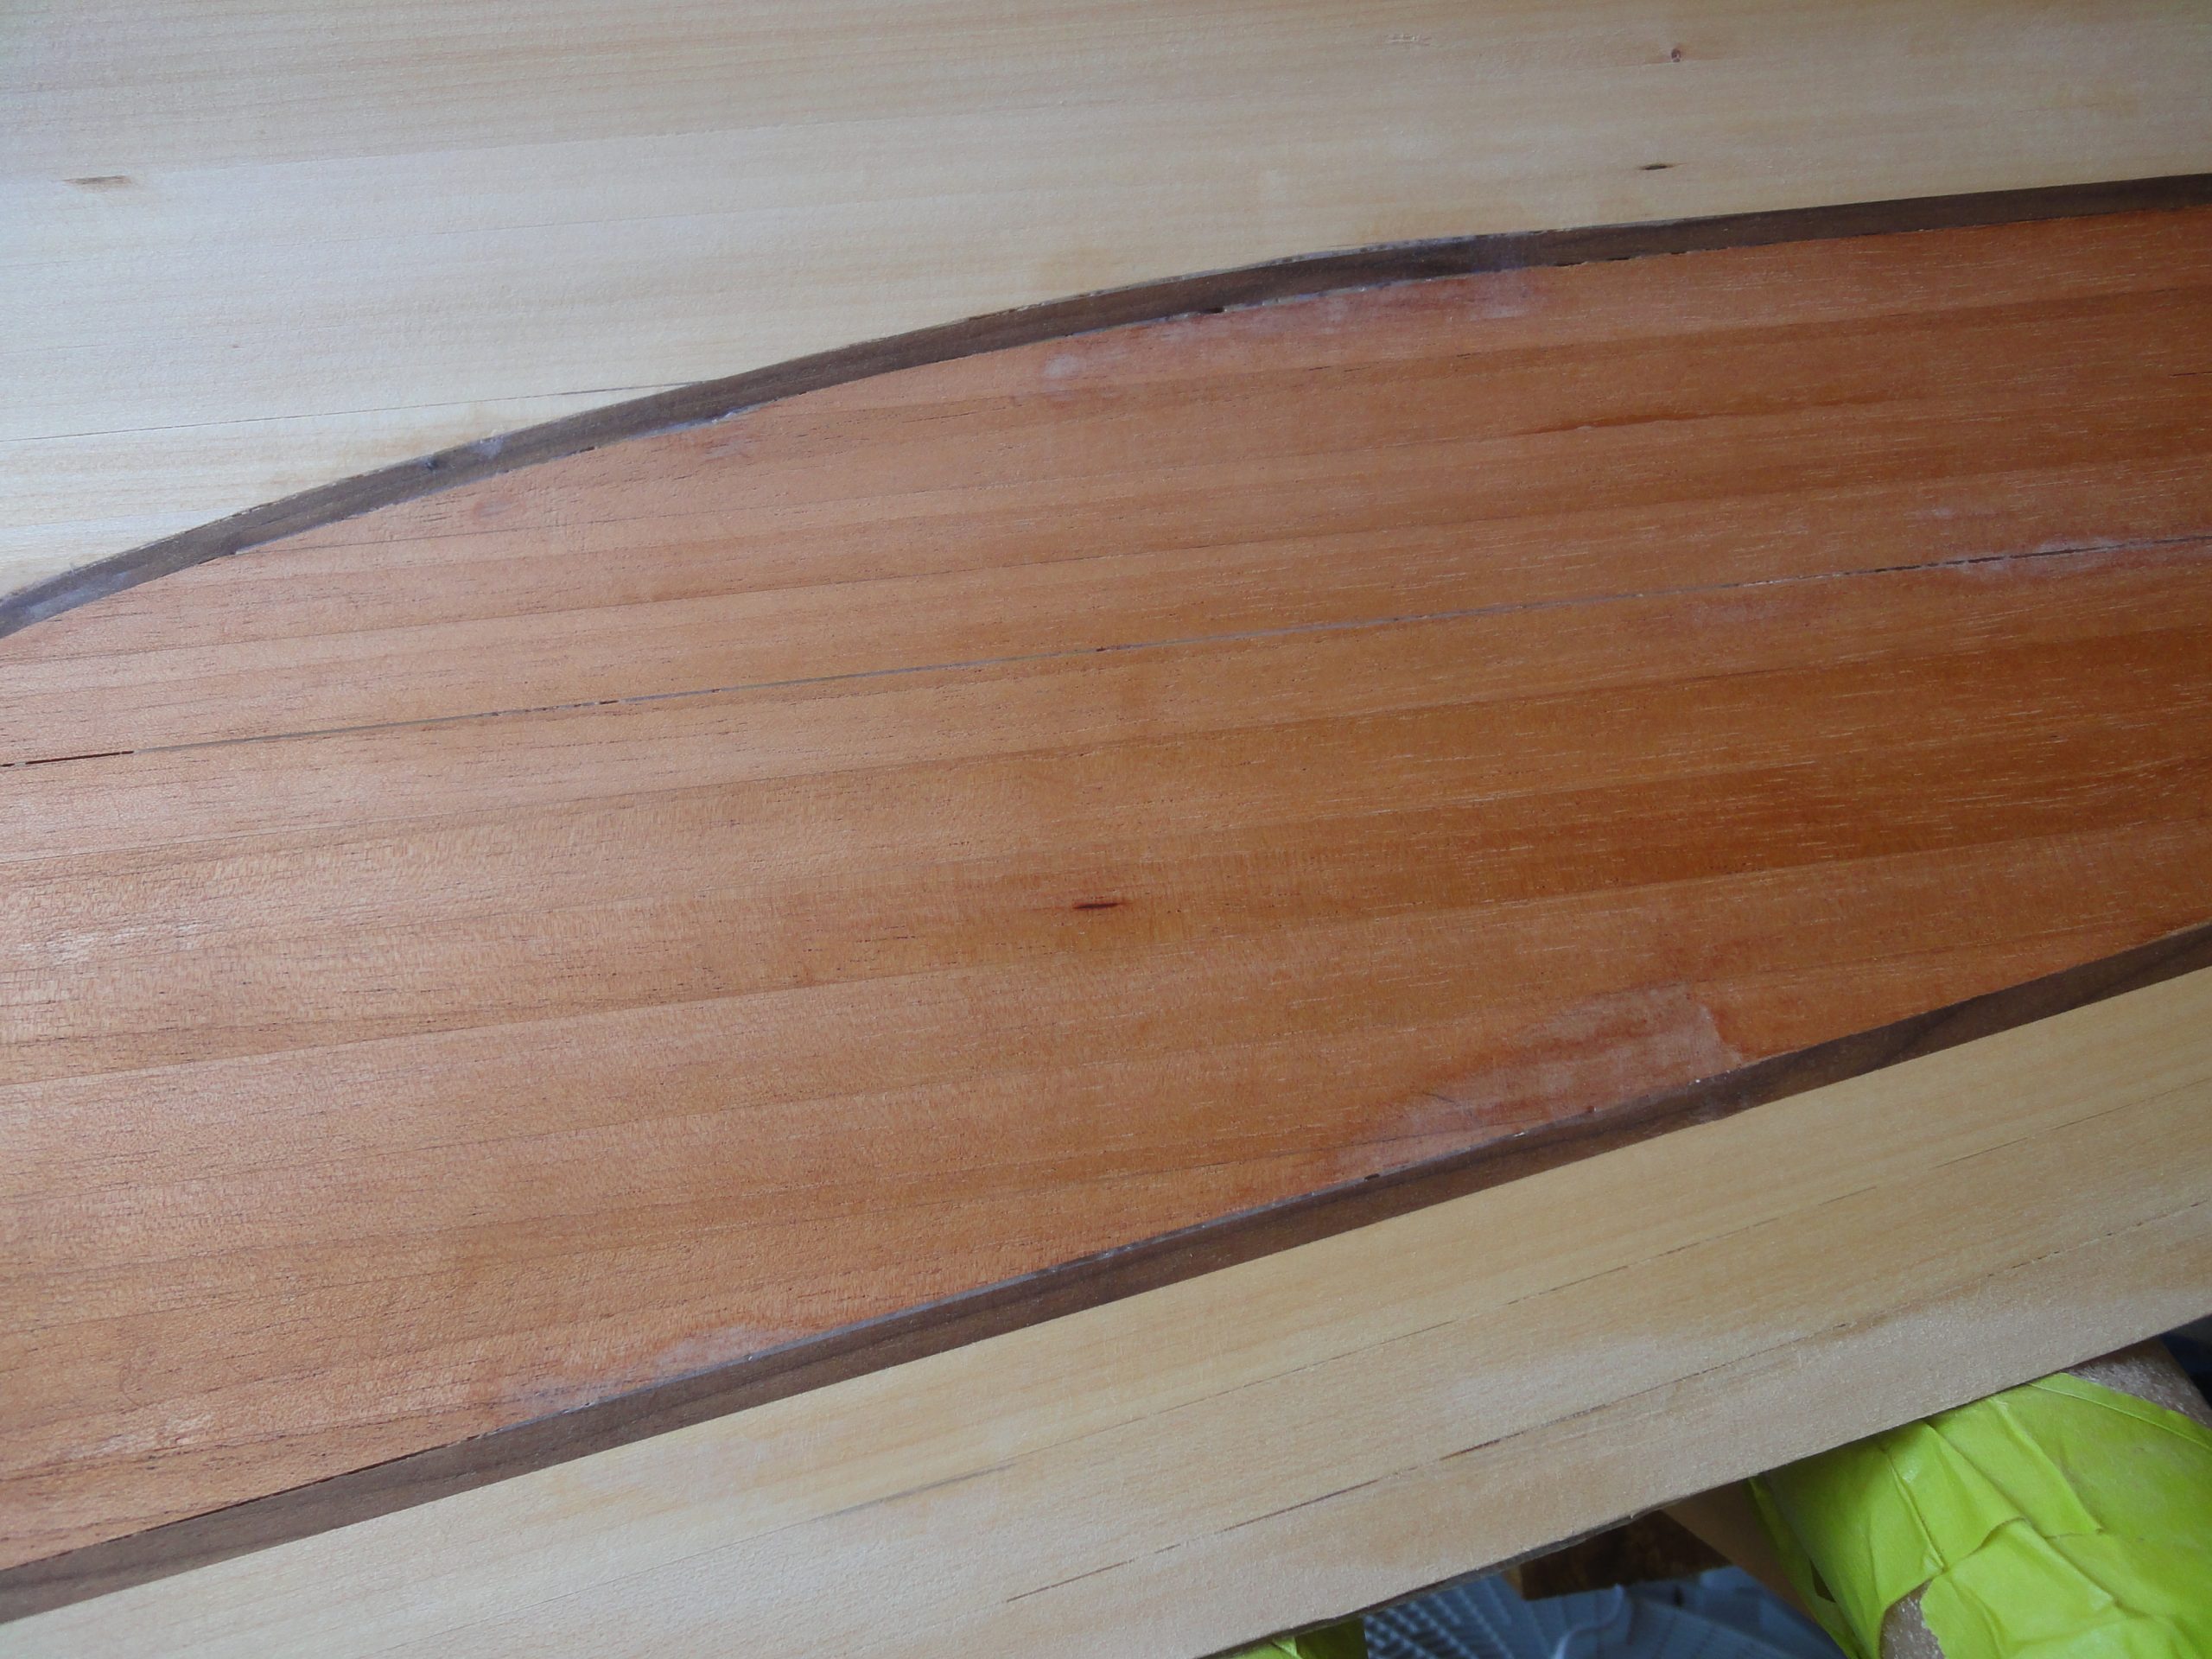
A whole bunch of sanding (power and hand) working up through the grits got a pretty good surface. Even though you’ll never see this side I still went through the wetting with a spray bottle to highly missed glue spots and then went ahead and addressed those.

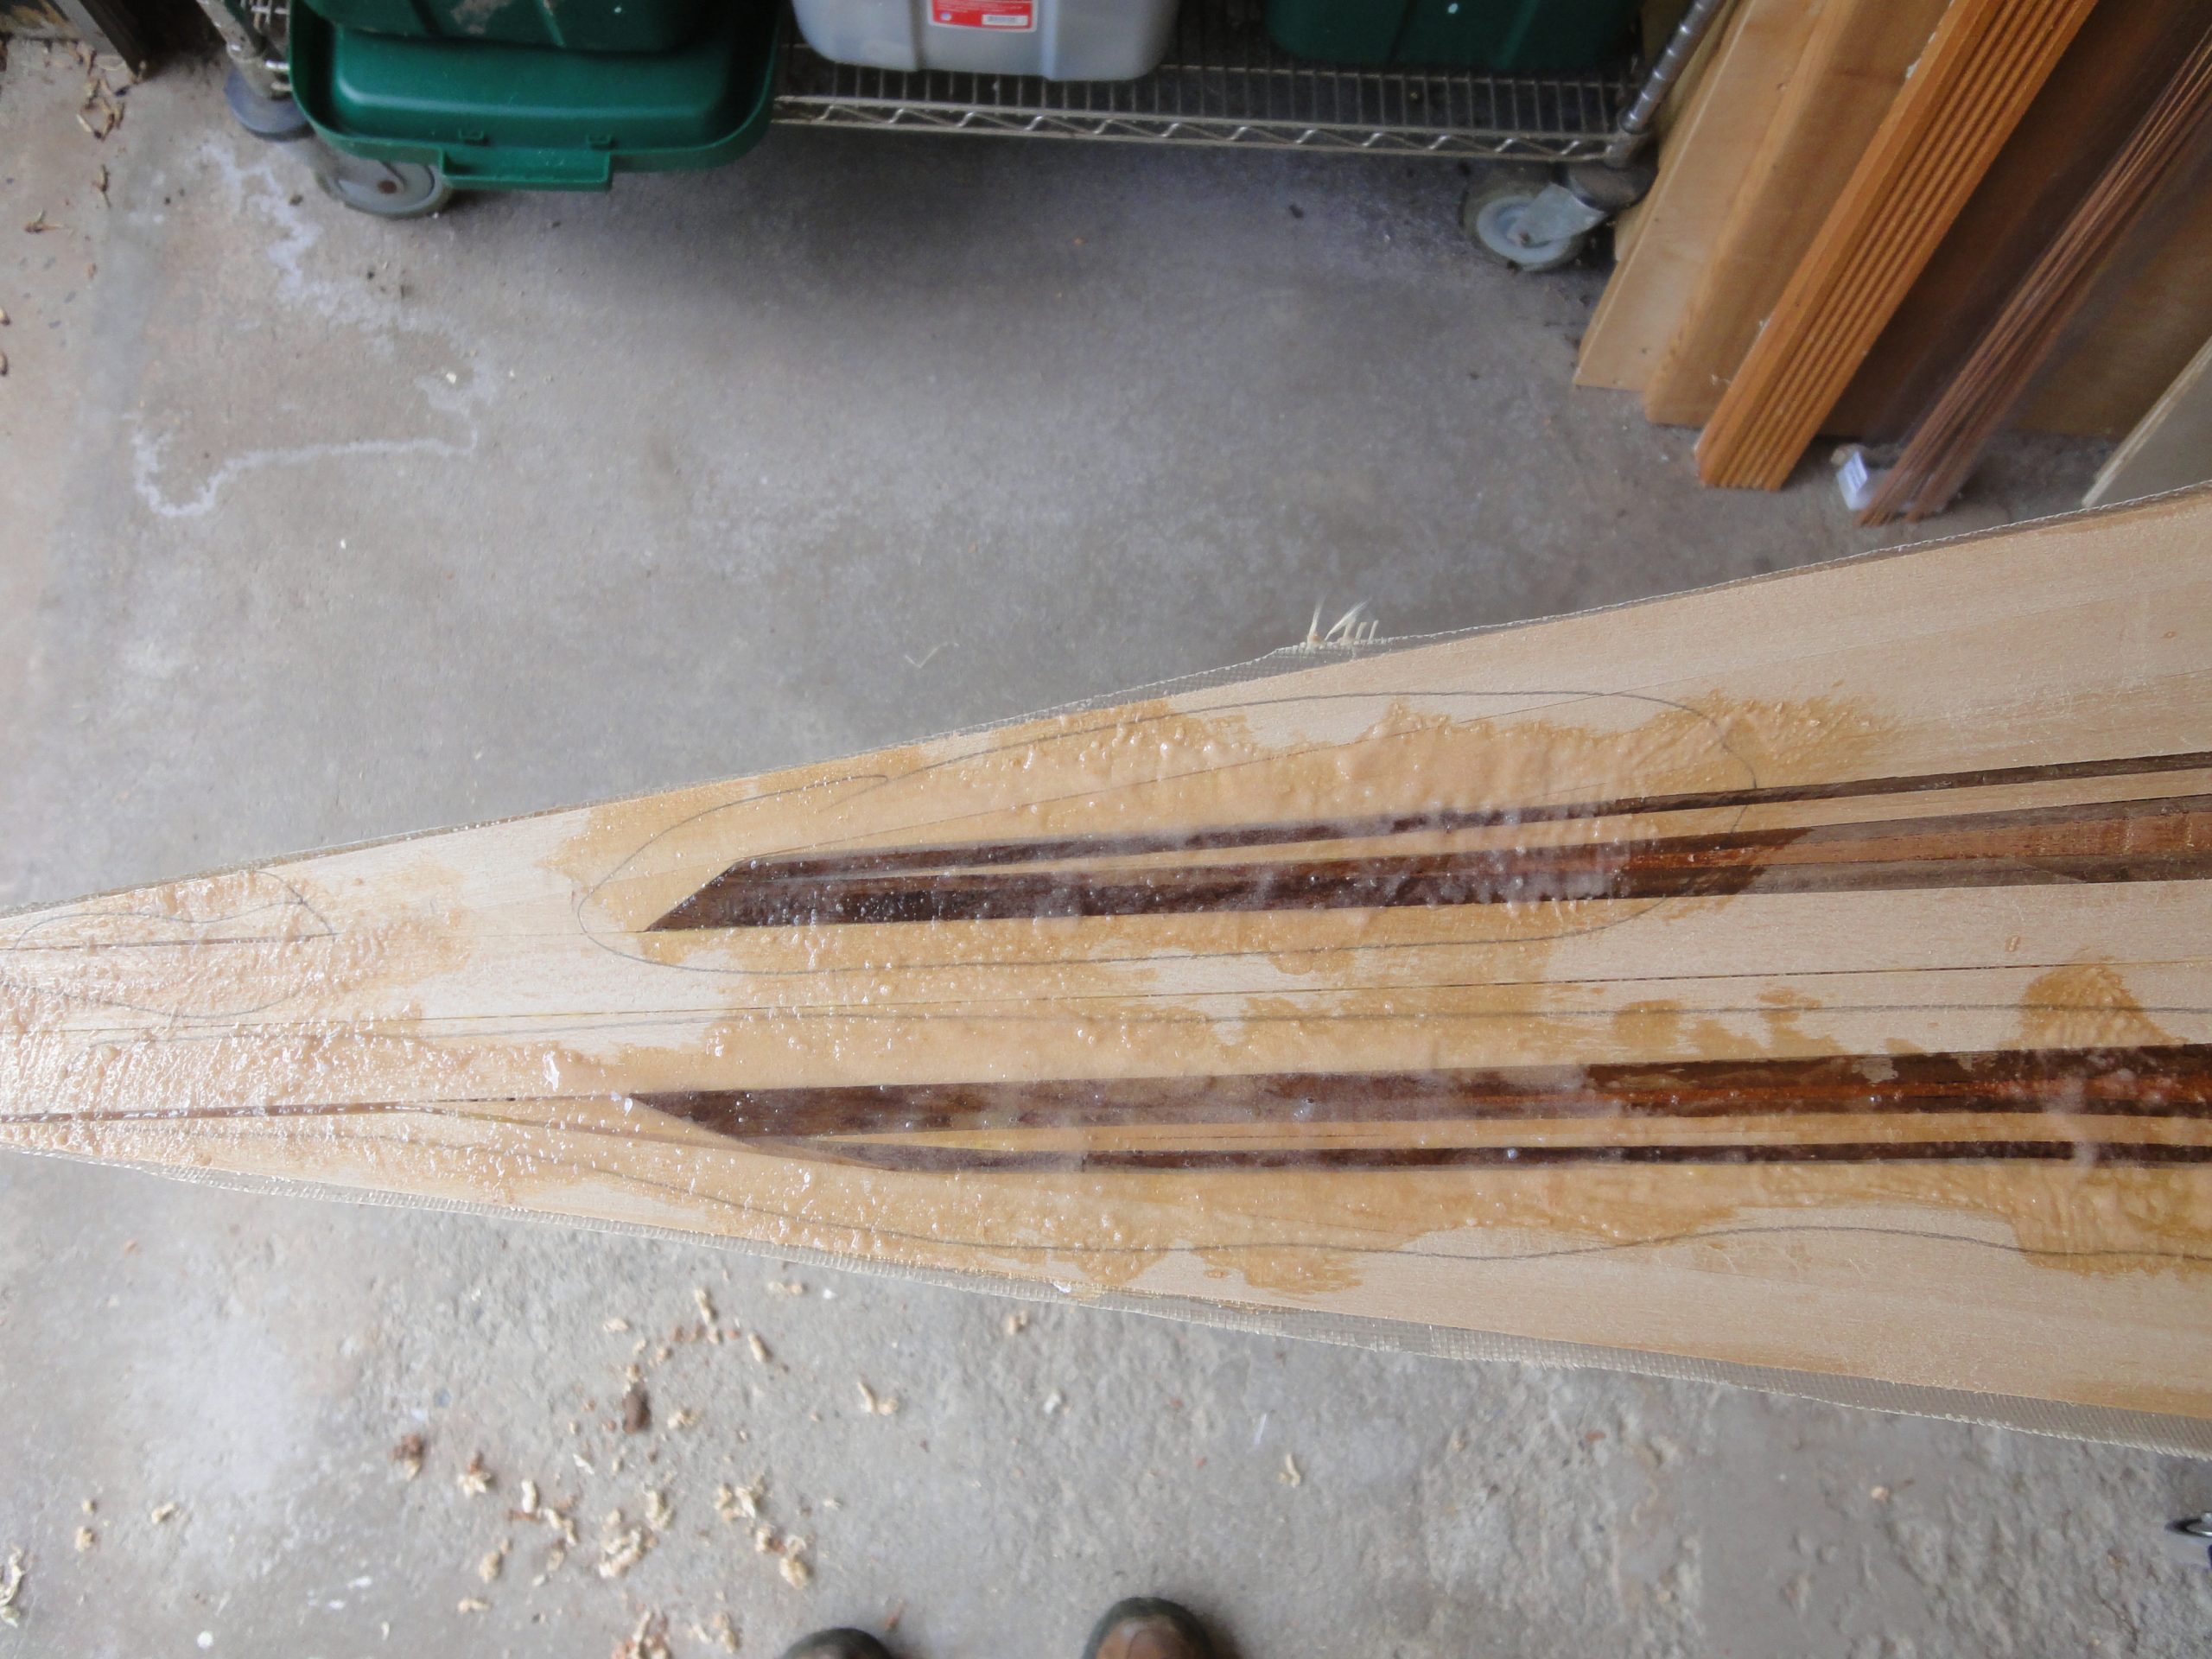
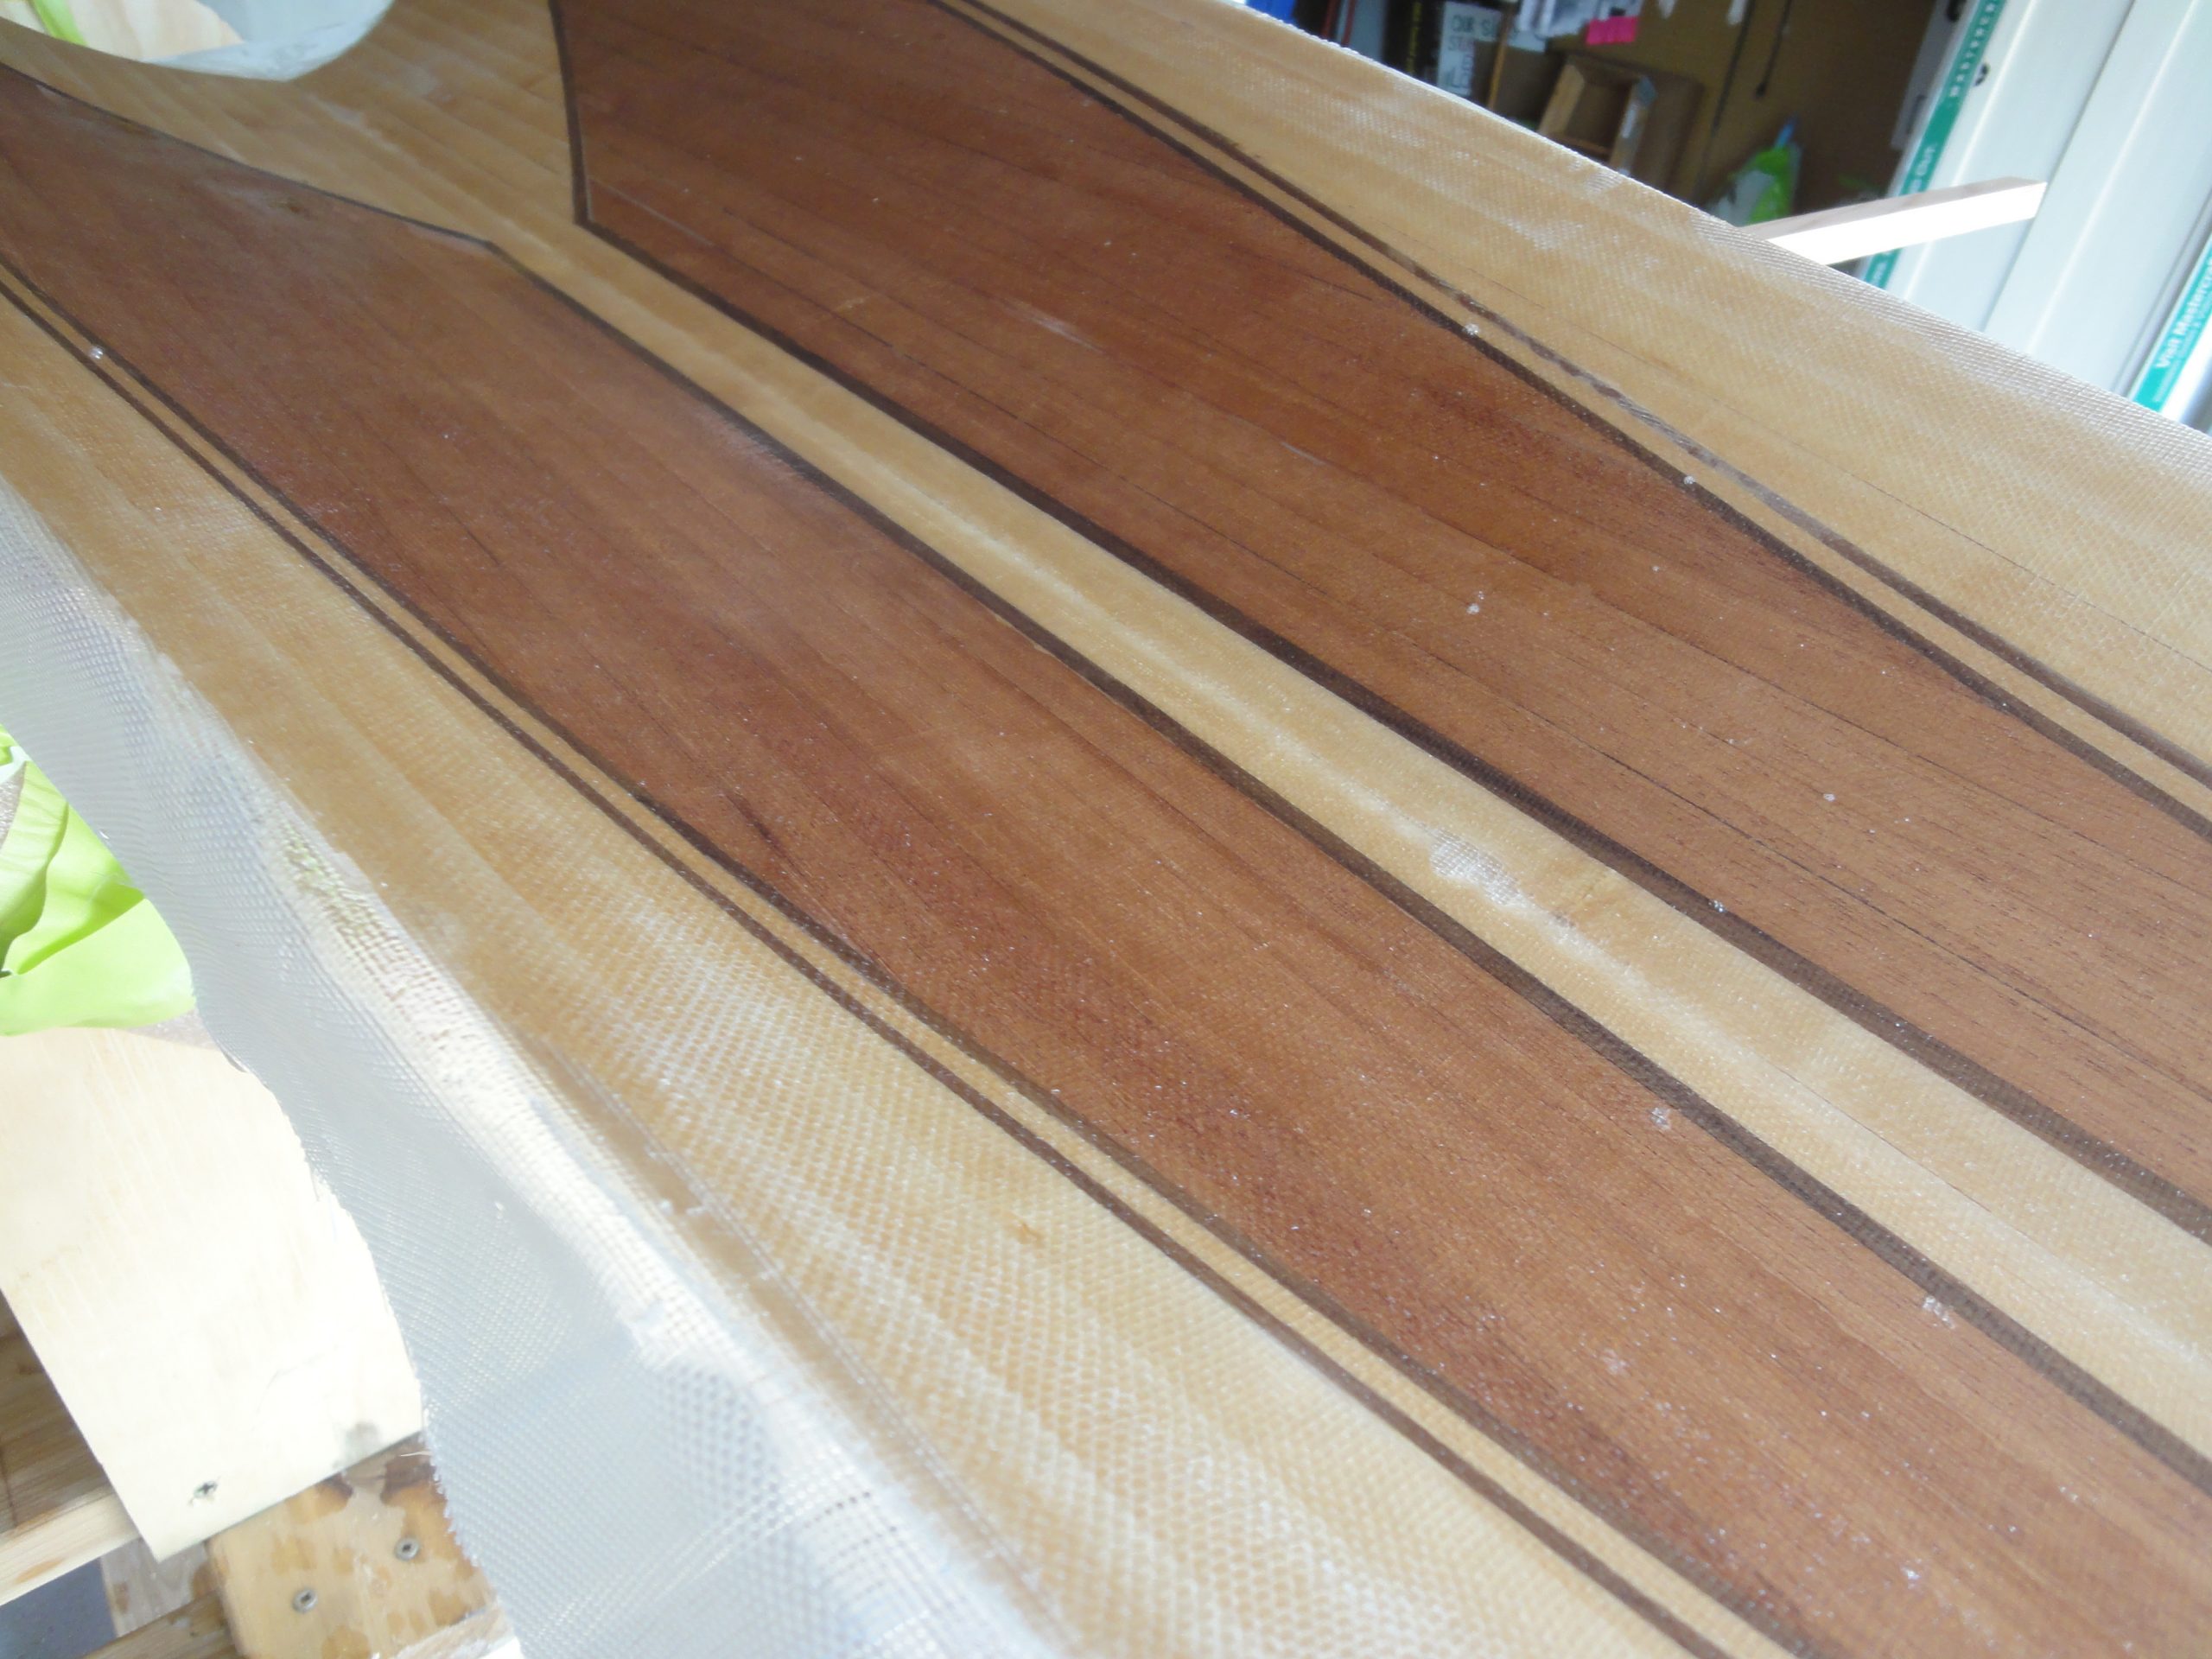
Once completed I went ahead and using one long piece of fiberglass I got everything ready for the epoxy. I mixed up the first batch and applied, second batch, and on the third one the pump splurted. This is not good as you are relying on each pump to put out the exact same measured amount each time. I picked up the can and realized it was nearly empty! So propped both up on a slight angle to get what was left to flow under the uptake tube. I was able to just barely finish one coat as both cans ran dry.
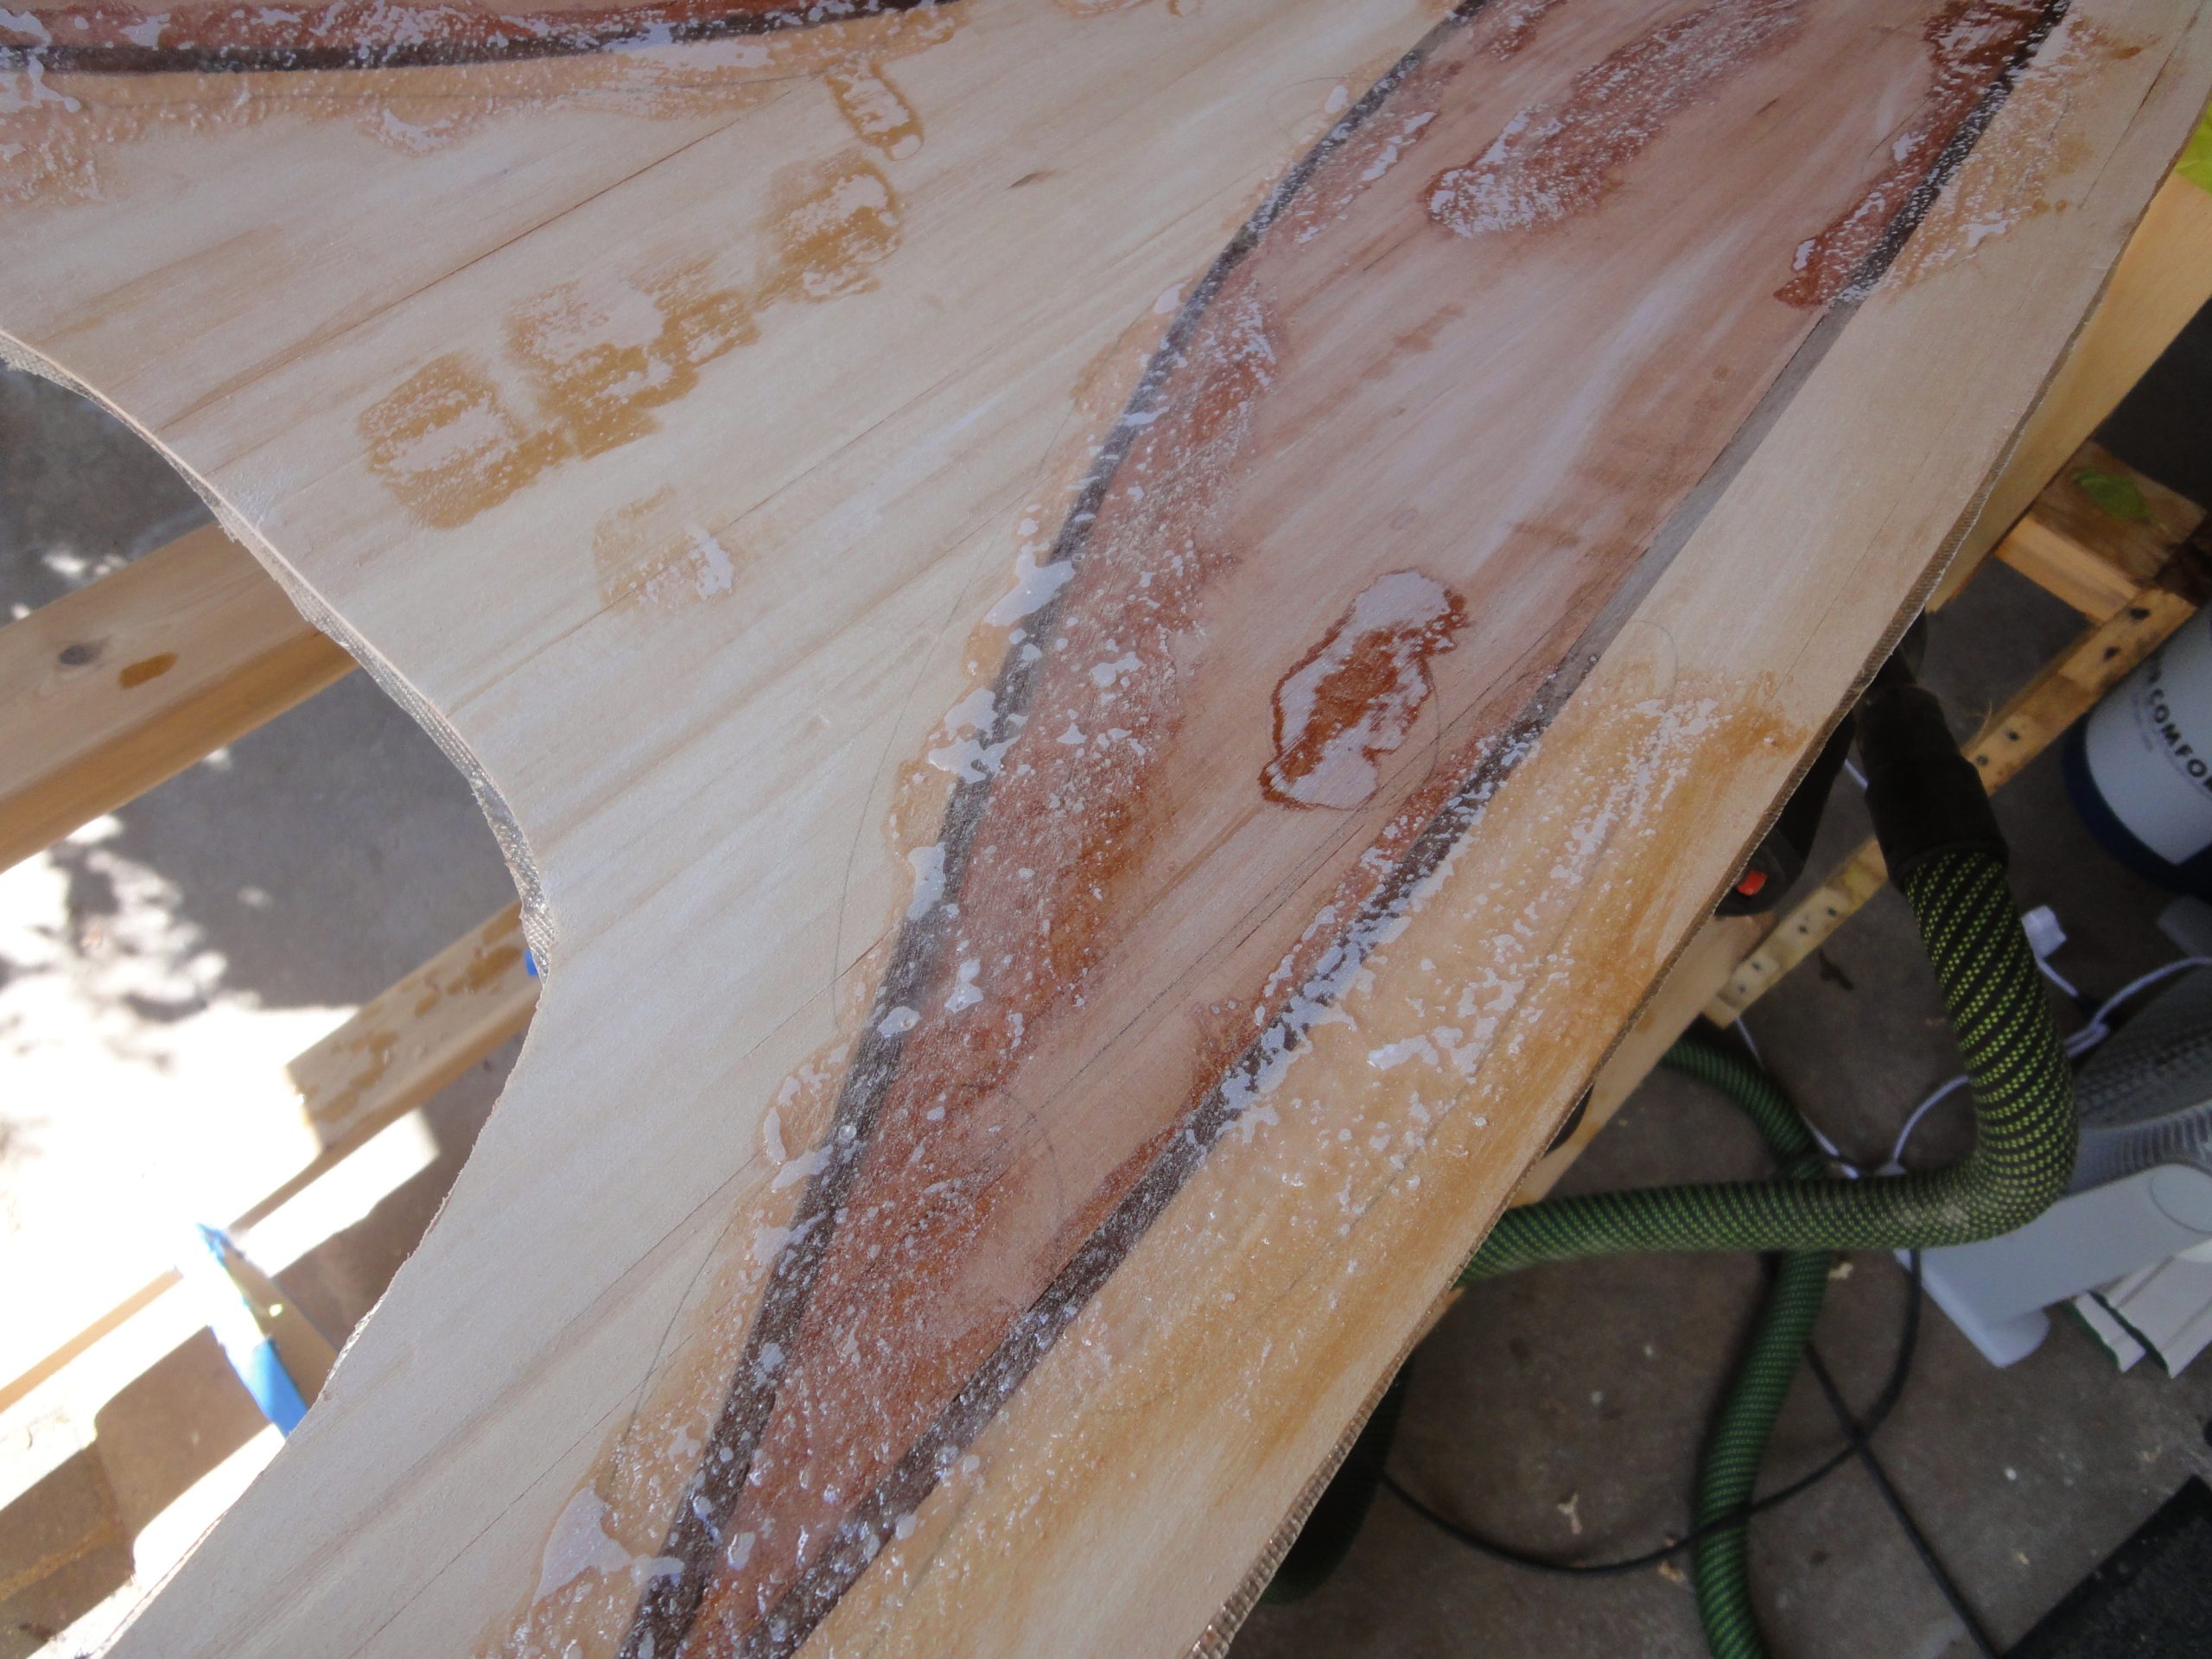
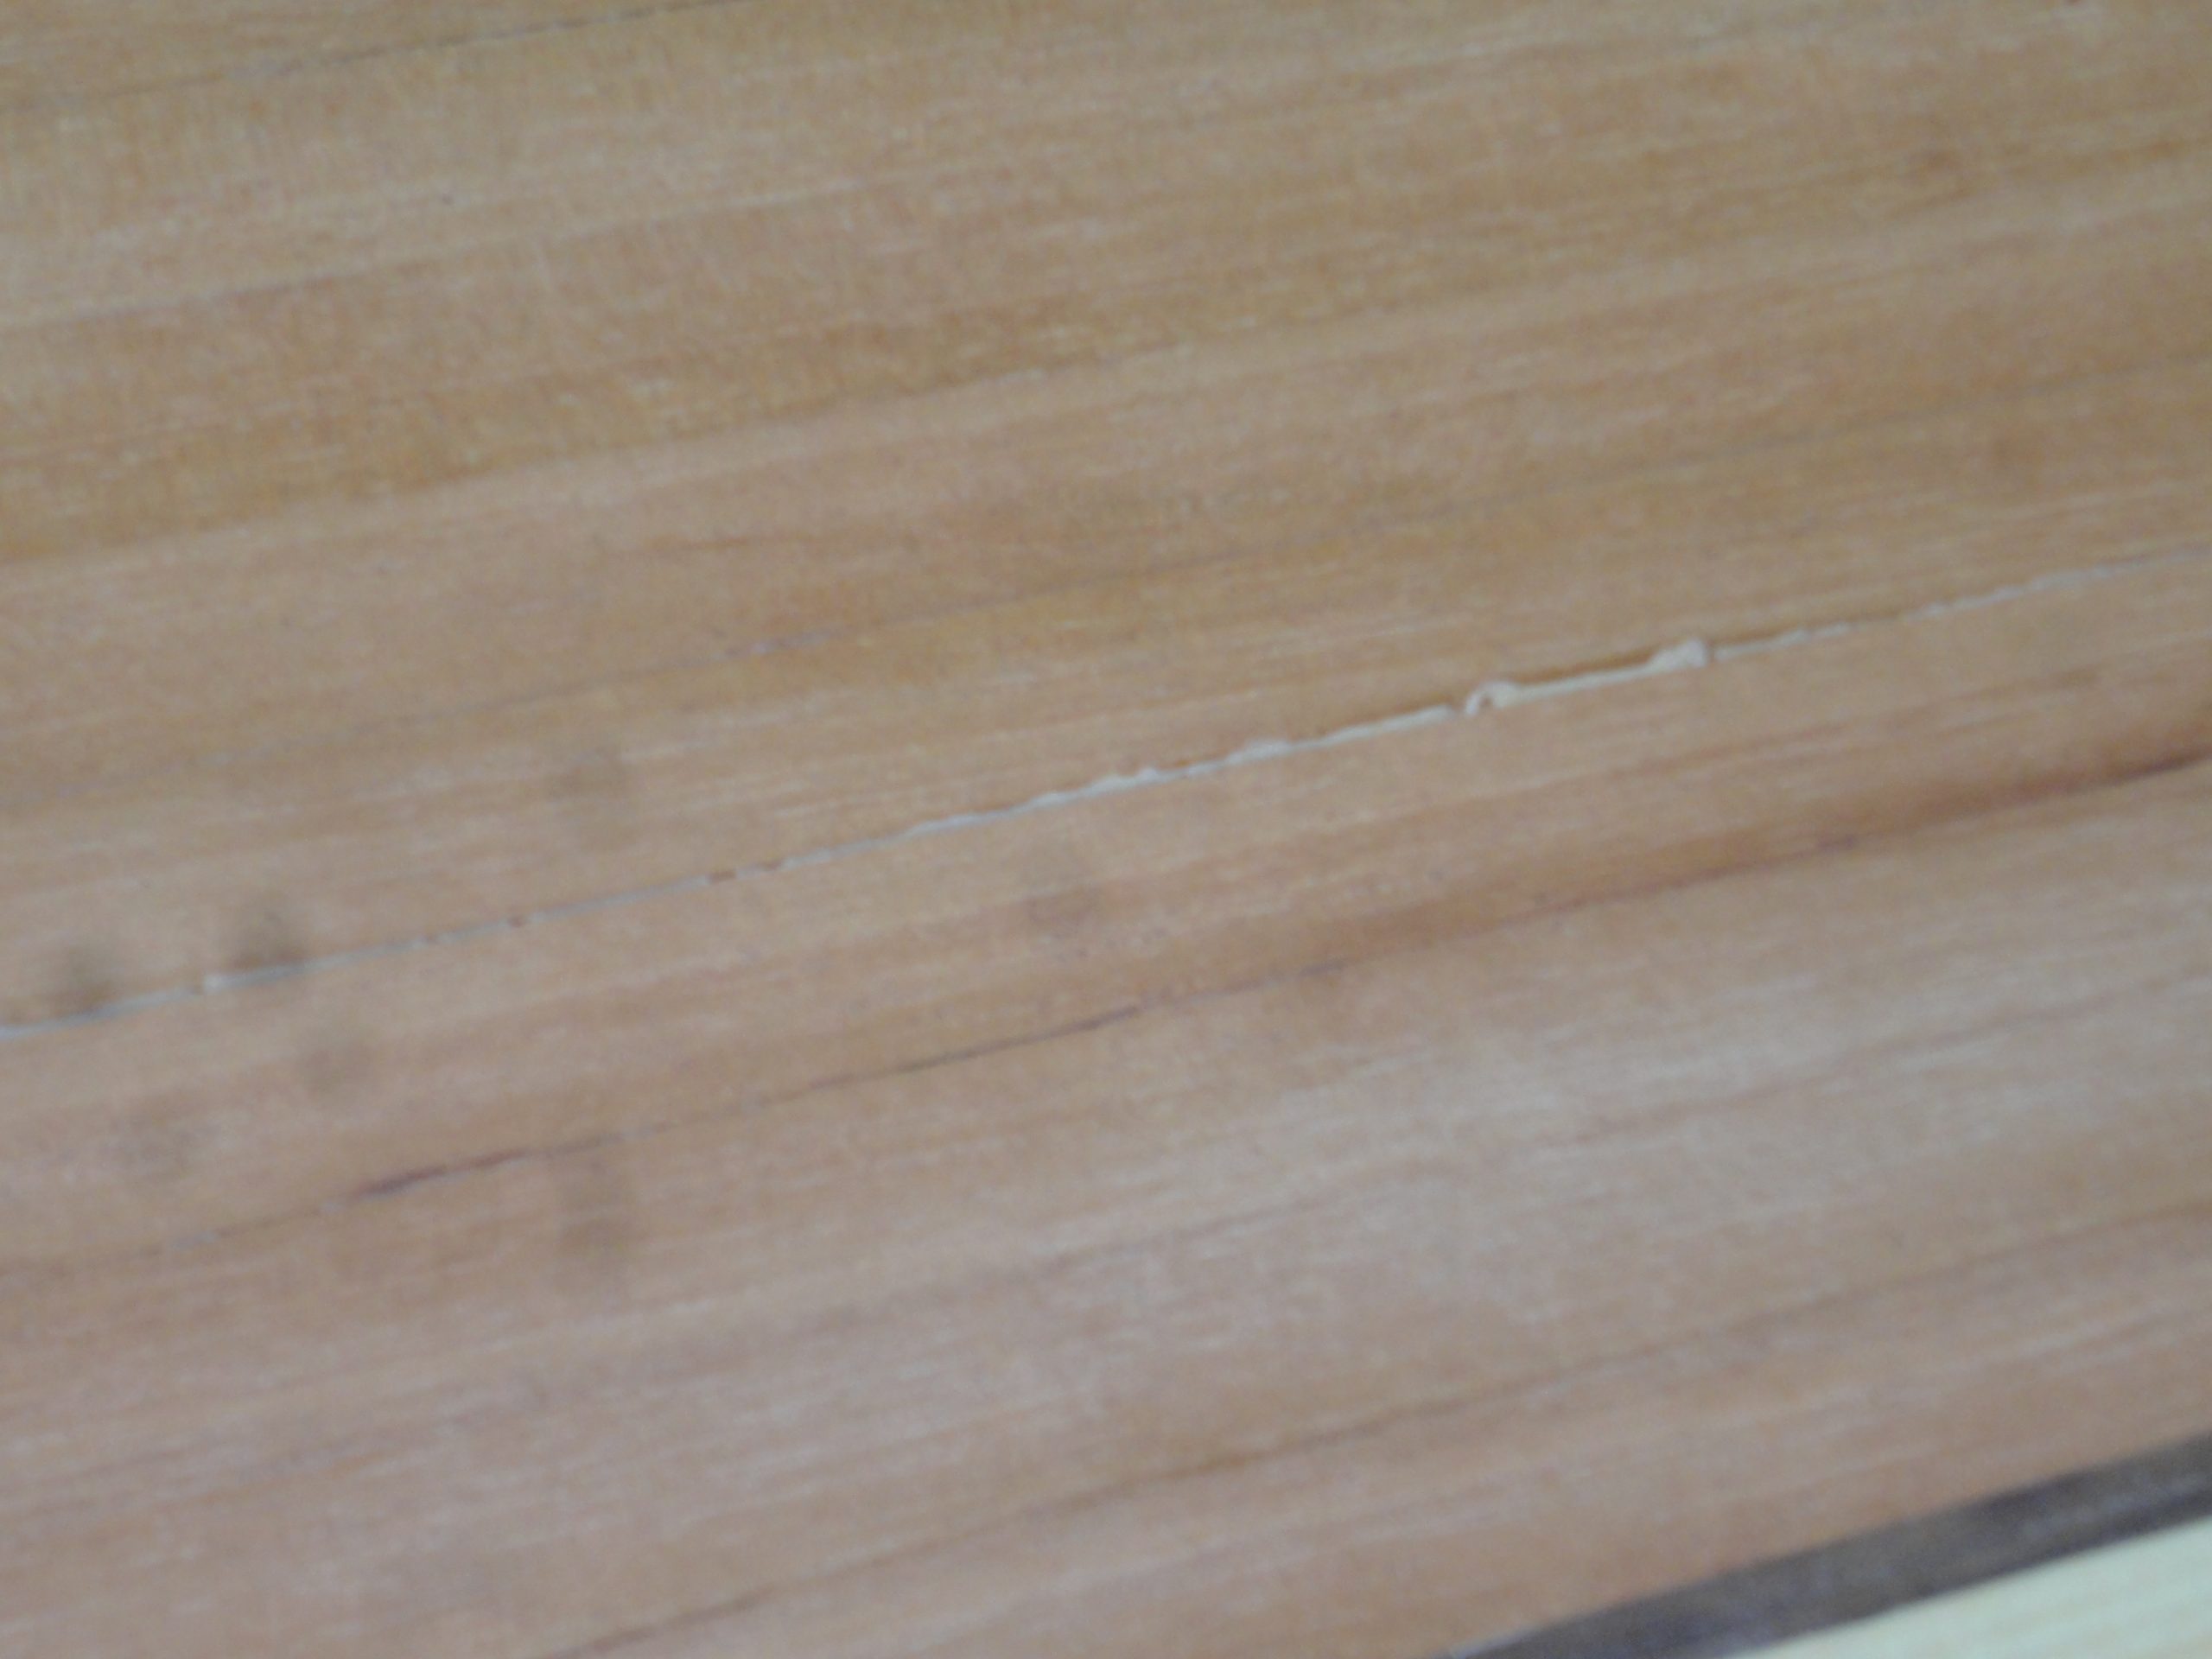
I had to order more and since I was unable to apply the second coat while the first was still curing I’ll need to do a light sanding to help with more of a mechanical bonding instead of a chemical one. Thankfully this is on the underside where the least amount of wear/contact should ever occur. I did have a slight bridging occur at the center line, as in the pic below, but was able to coax the cloth back into the gap.
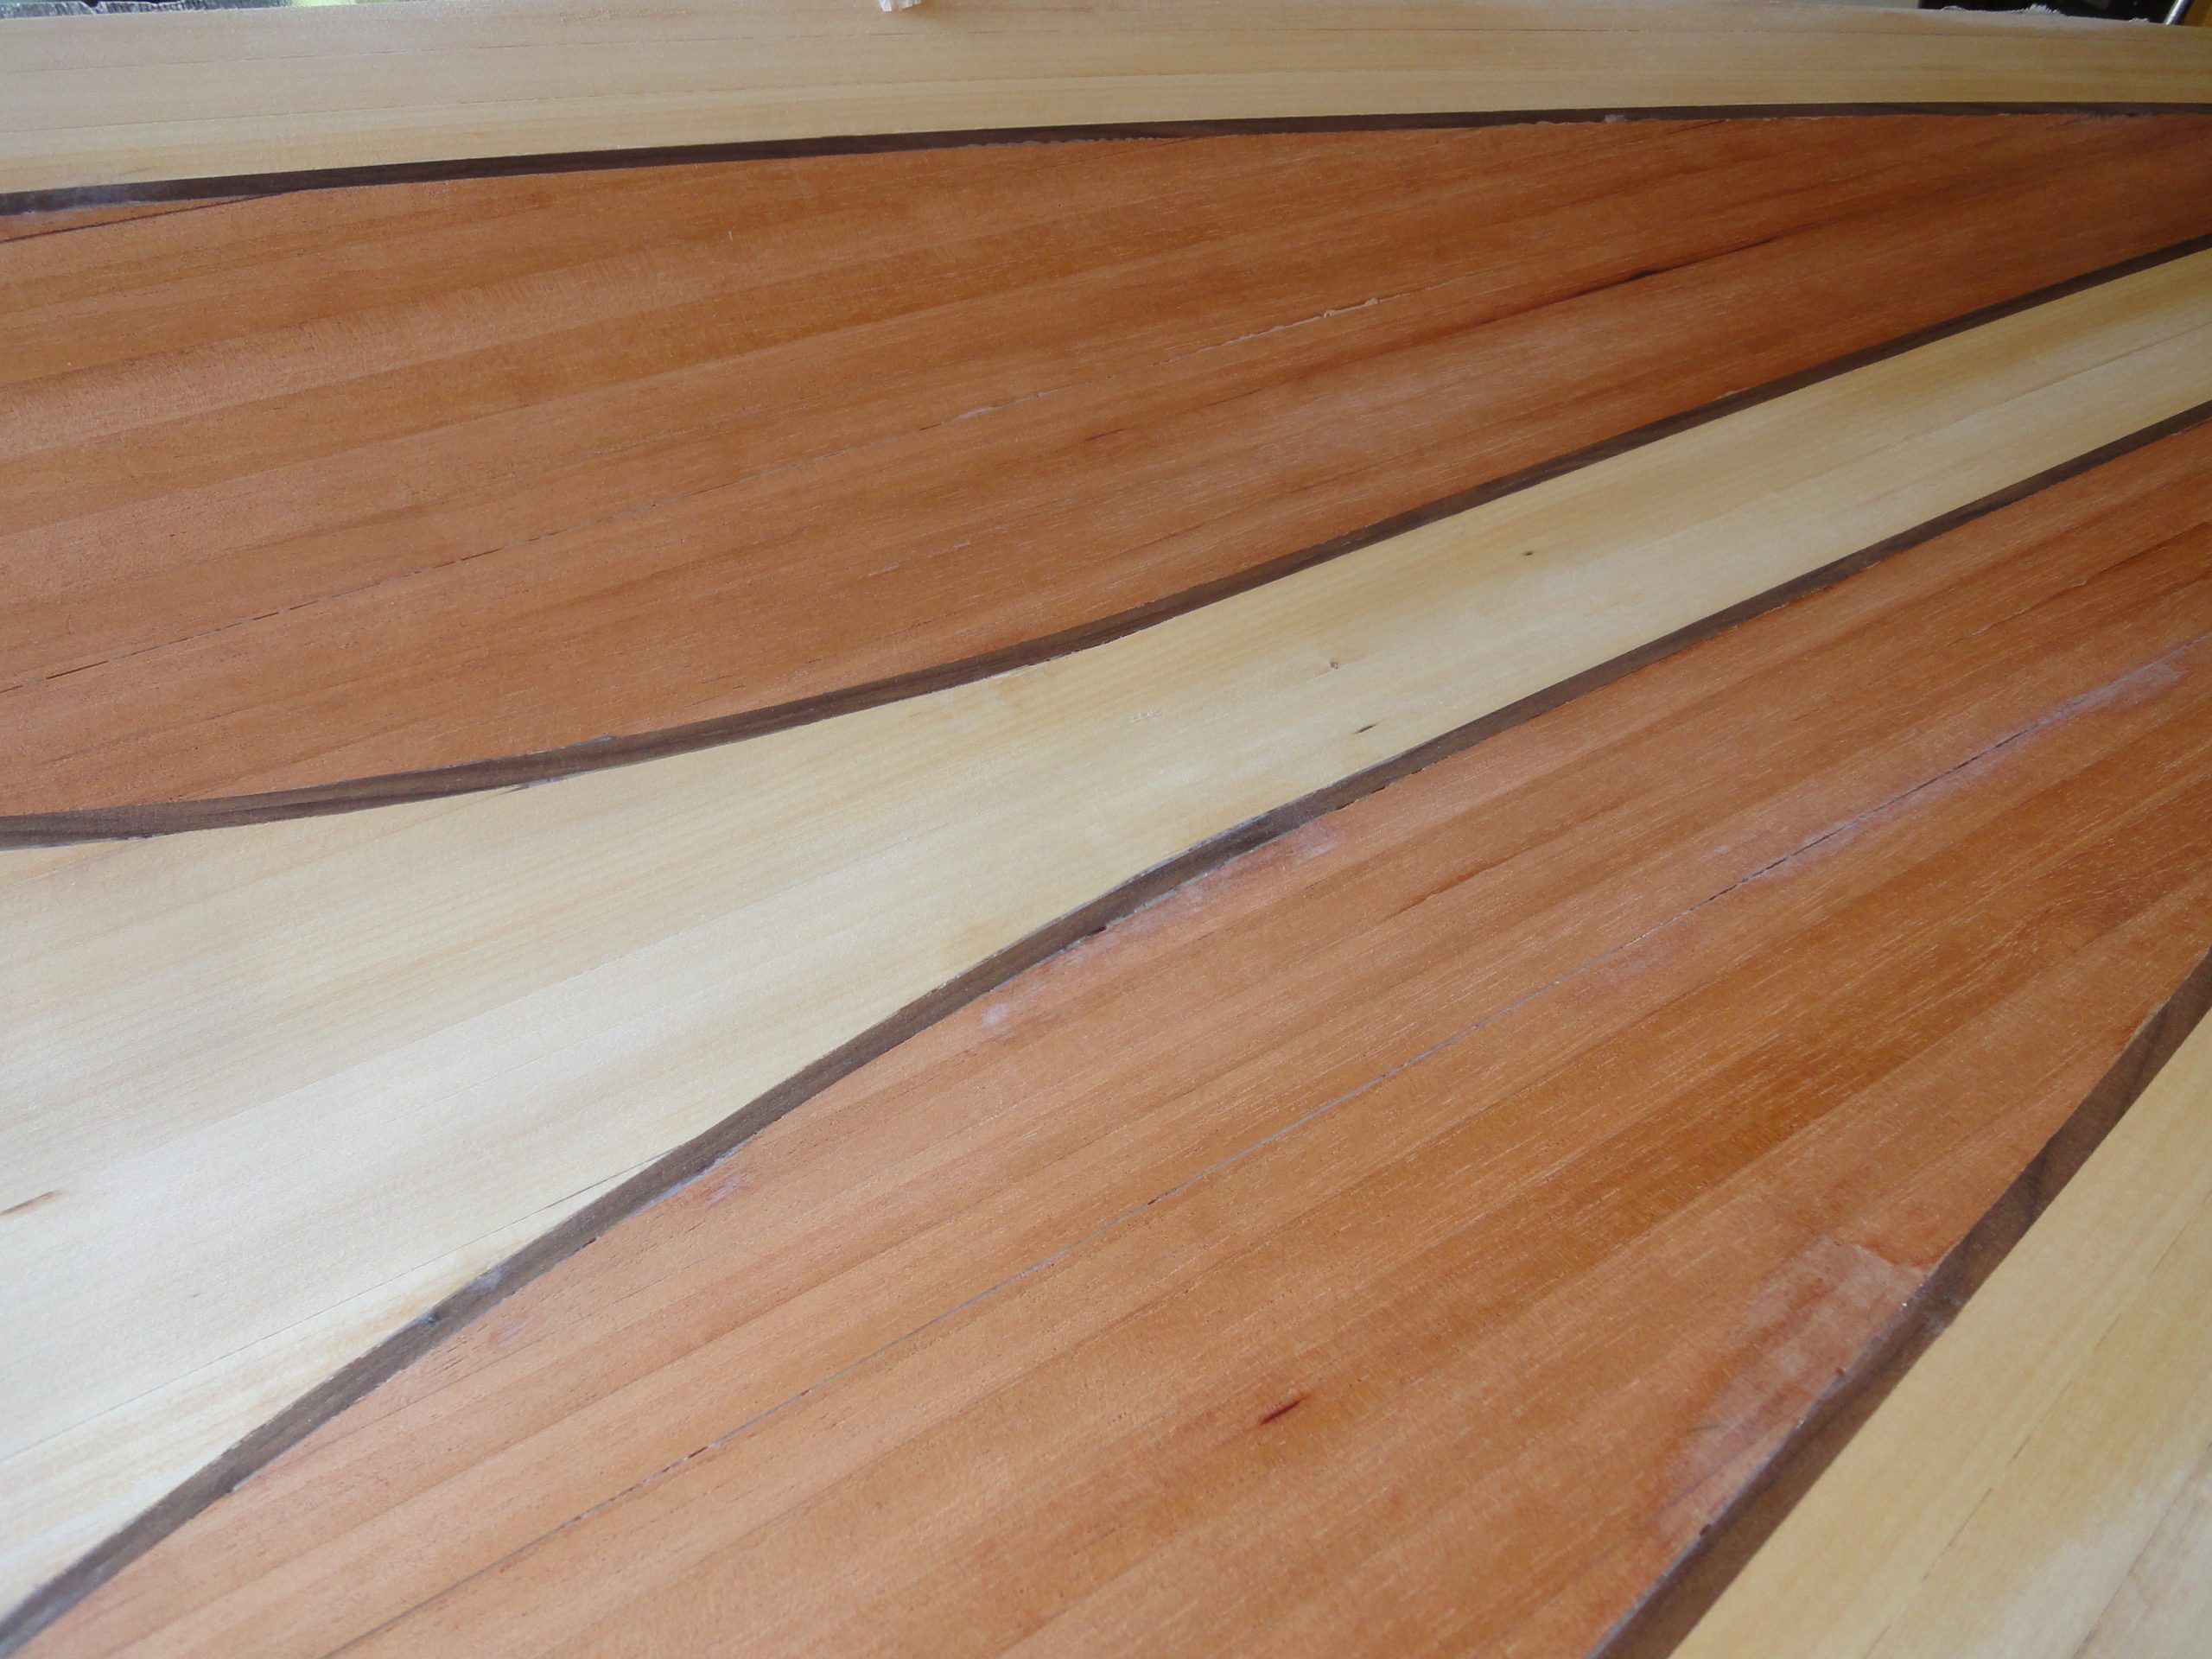
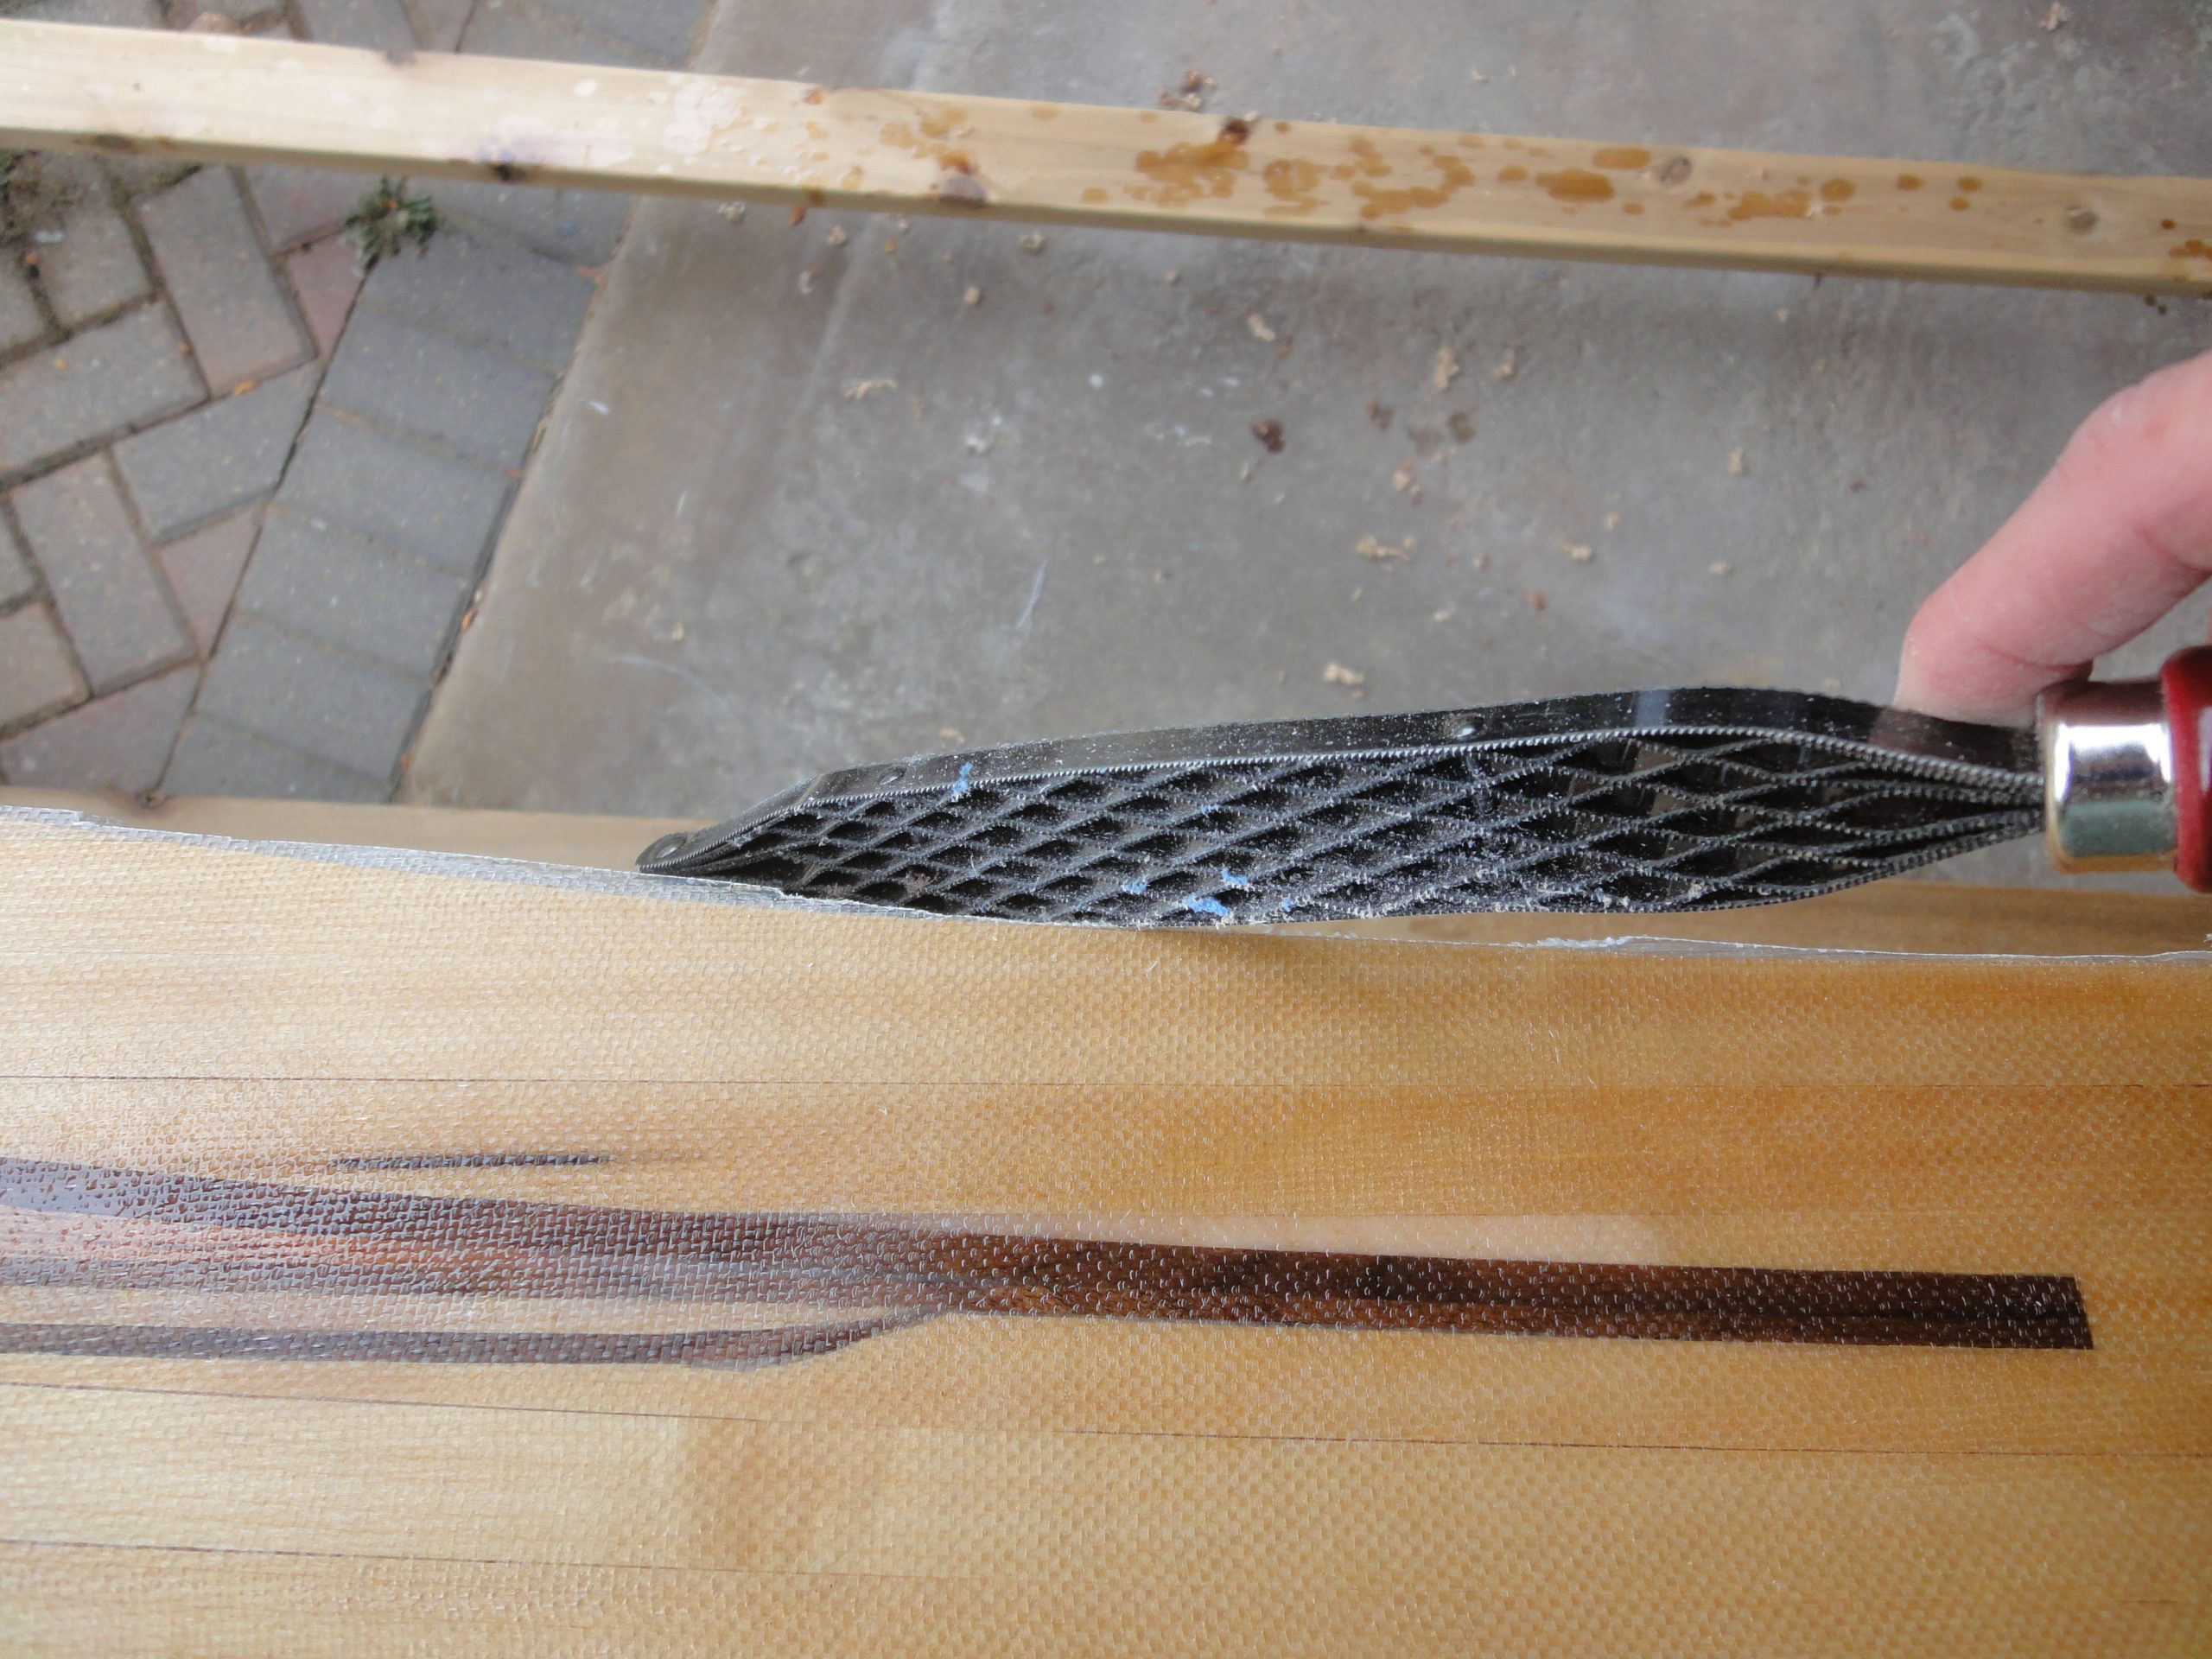
When dry, the fiberglass was cut off around the cockpit and then I used a Shinto rasp to scrape down the edges. It went quite quickly and I even shot a short video to show this. I then worked my way around the entire cockpit working to get the edge as close to 90 degrees to the horizon as possible.

Next time I should be able to start on the coaming construction. The order epoxy arrived in just a few days from CLC Boats however I’ll wait to apply the additional coats at the time I’m working on the coaming fiberglassing.