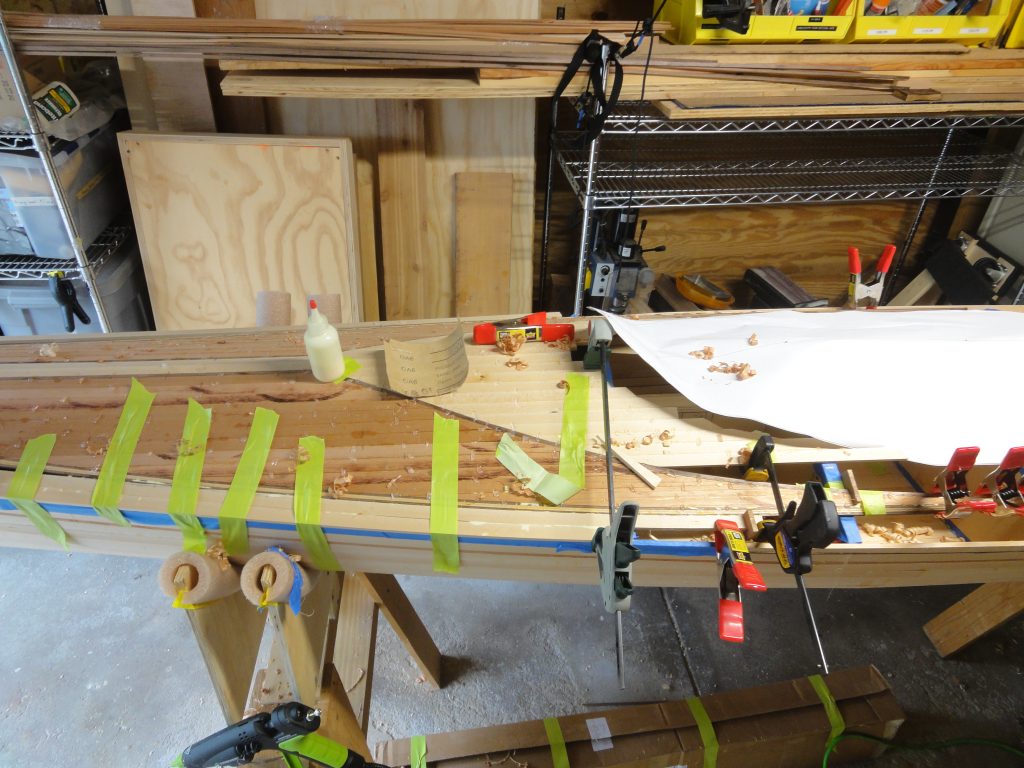
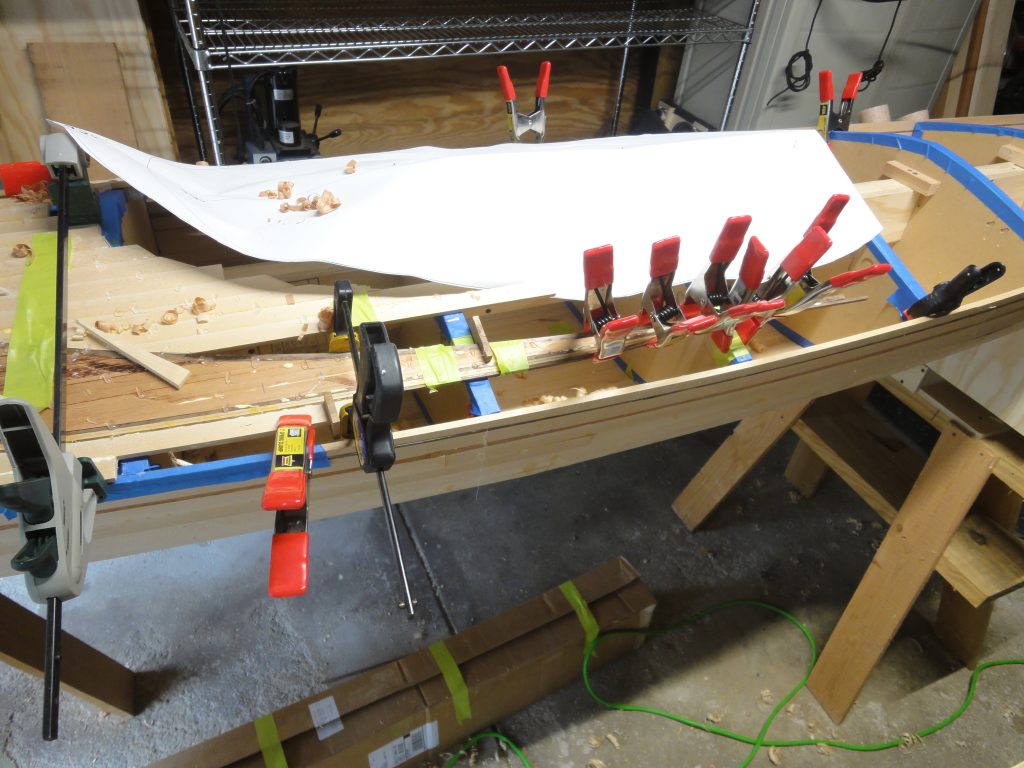
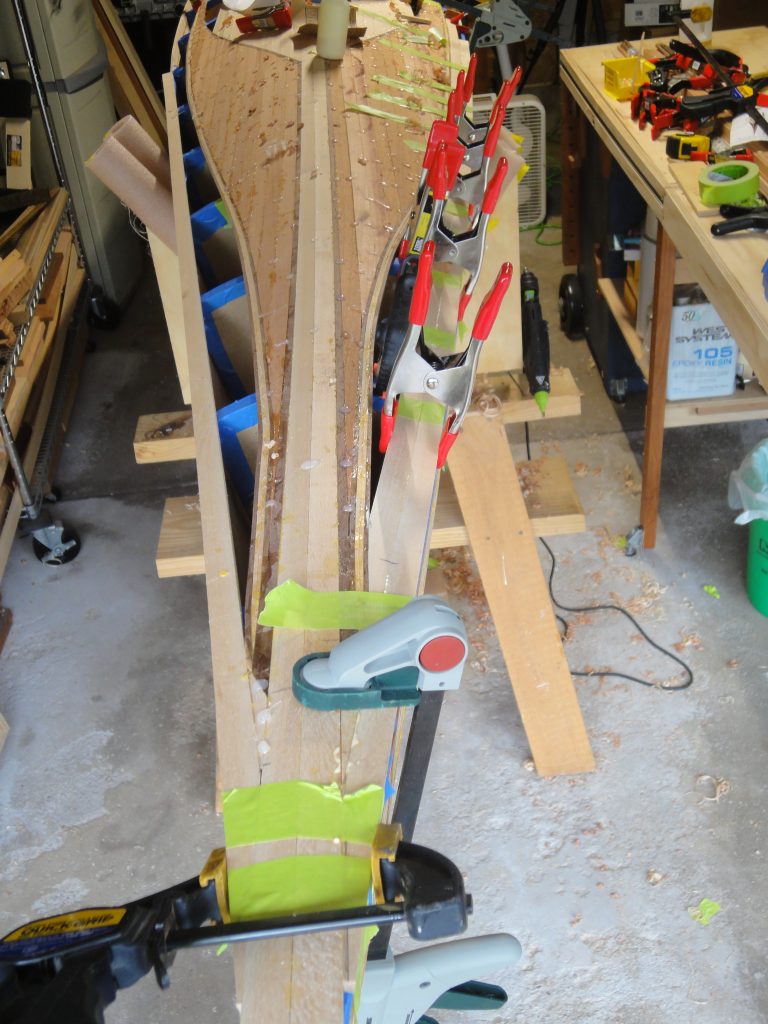
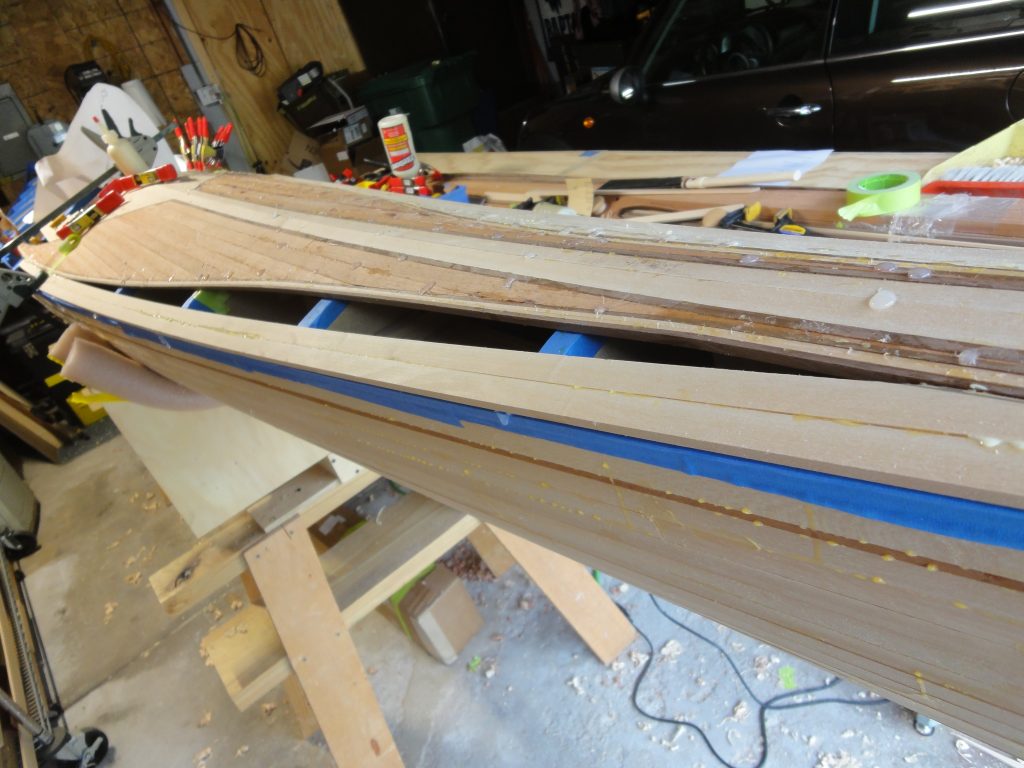
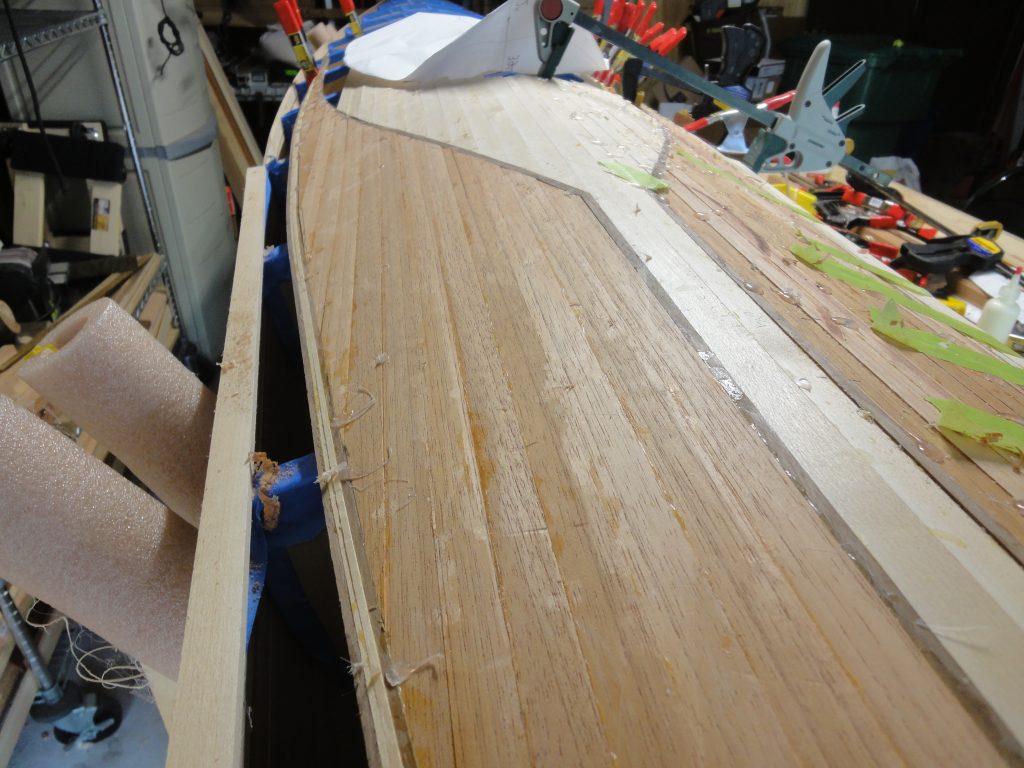
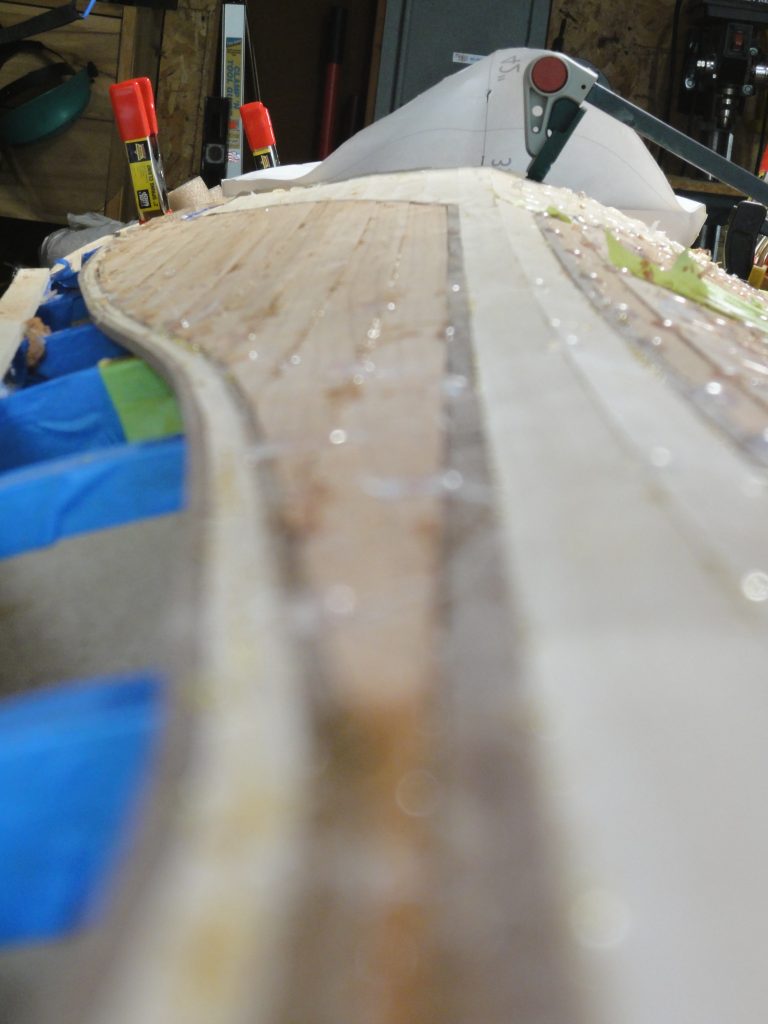
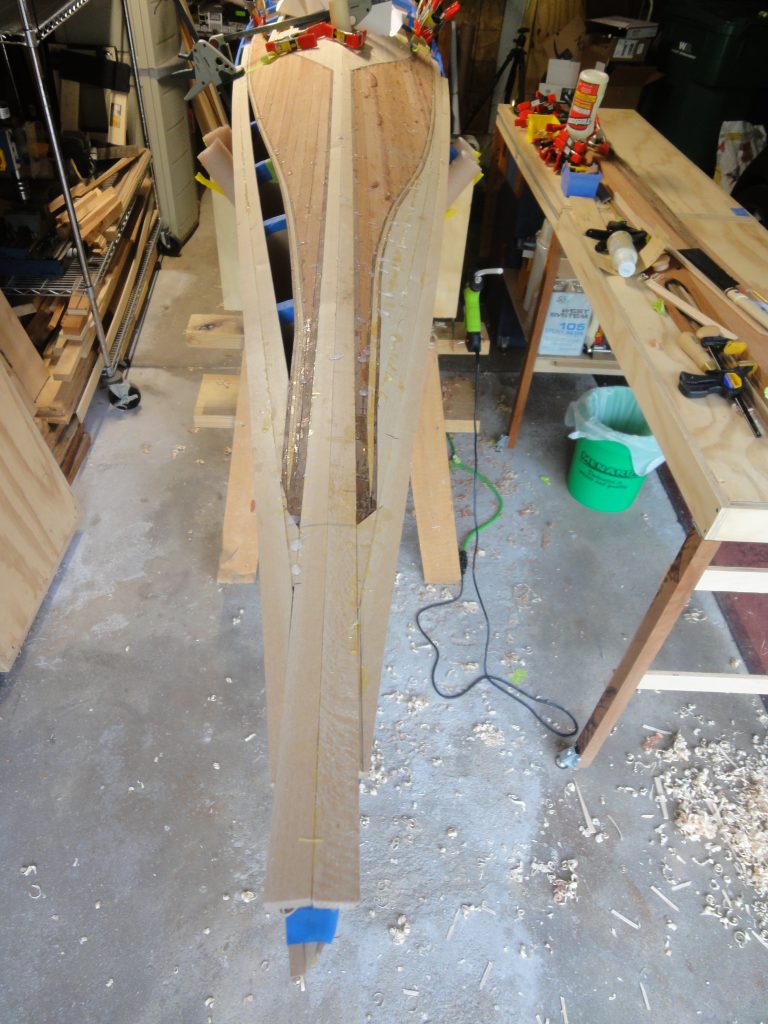
Lots of progress. The second front panel was filled in with the cedar and the basswood behind it leading into the cockpit. I then stated to experiment with the basswood strips on the outside edge and quickly realized that the “S” curve, while doable with 1/8″ strips, was not going to happen with a 3/4″ strip. At least not without breakage happening. So instead I used the outer edge curve as the pattern for the strips. It worked out just perfect that two would be able to meet at the widest point of the cedar panel and then the opening just needed to be filled in with two additional pieces. Lots of clamps to hold everything just right while it dried. Kind of hard to describe, easy to see in pictures.
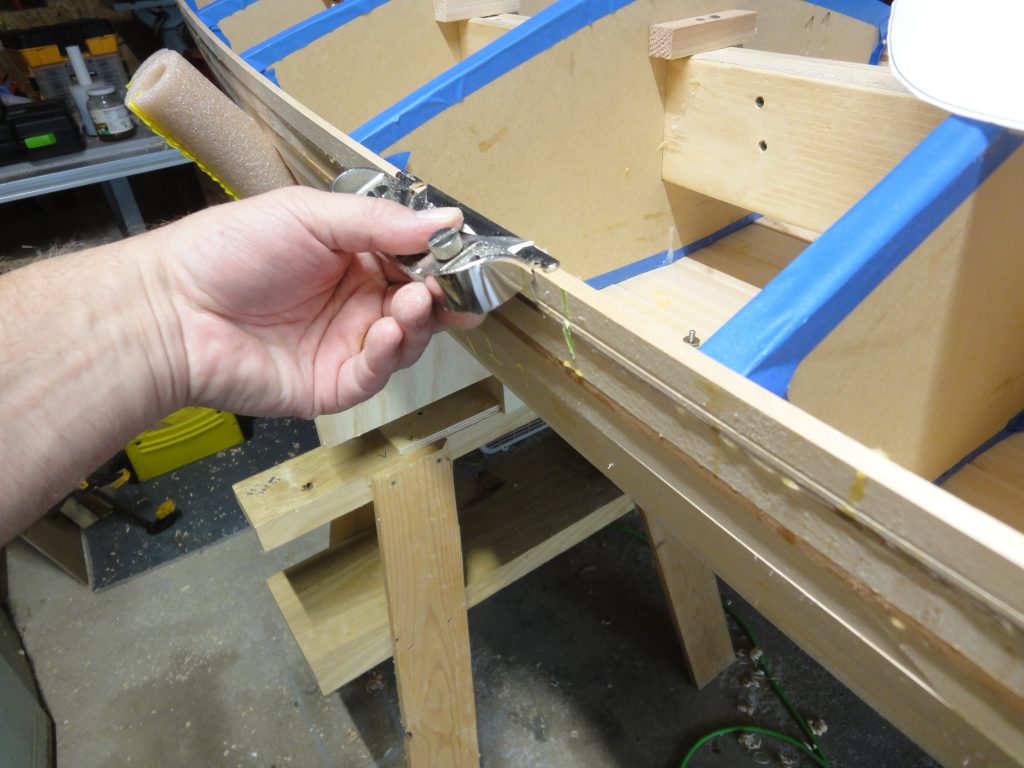
Another problem also reared up. While planing more of the edge of the hull to match the form angle and height I felt a dragging and realized the plane fence, at the angle I had to hold it at, was dragging and digging into the side of the hull! You can see this gouge mark just above the scrap of green tape in the second picture. I remedied this by removing the fence and just free handing the cut. It wasn’t as difficult as it sounds as I could also run my finger under the plane and along the hull to sort of act as a fence.
So I finished up the one side and added a second strip on the other side. Unfortunately I’m totally out of basswood strips so I couldn’t finish the other side, nor could I start on the back. For now the kayak is on hold until I can cut more strips. With some luck that will happen this week and by next weekend I’ll be well into stripping again.
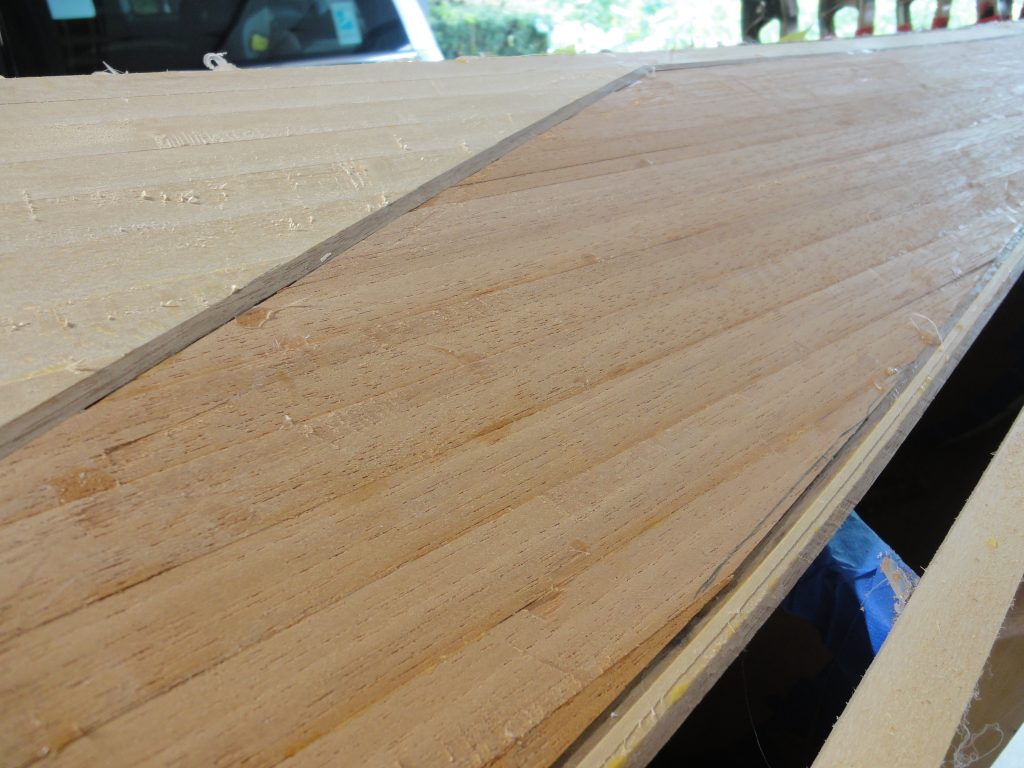
While waiting for glue to dry I jumped ahead a few dozen steps and did a quick scraping of one part of the deck just to get a feel for the final result. I won’t go into what or how at this time, but rather just share some of the pictures I took. Let’s just say I was quite excited and pleased at the outcome.

