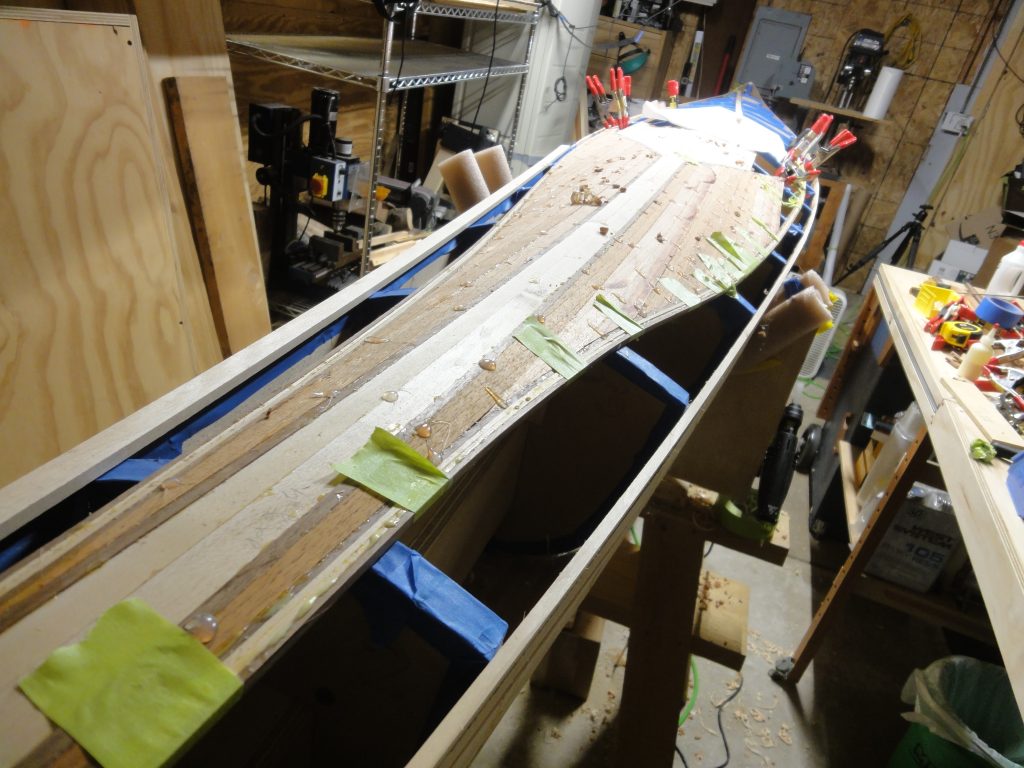
Not much opportunity to work on the strips this week. Actually only one strip was installed, but this was the main detail strip on the other side which requires some messing with so it did take awhile.
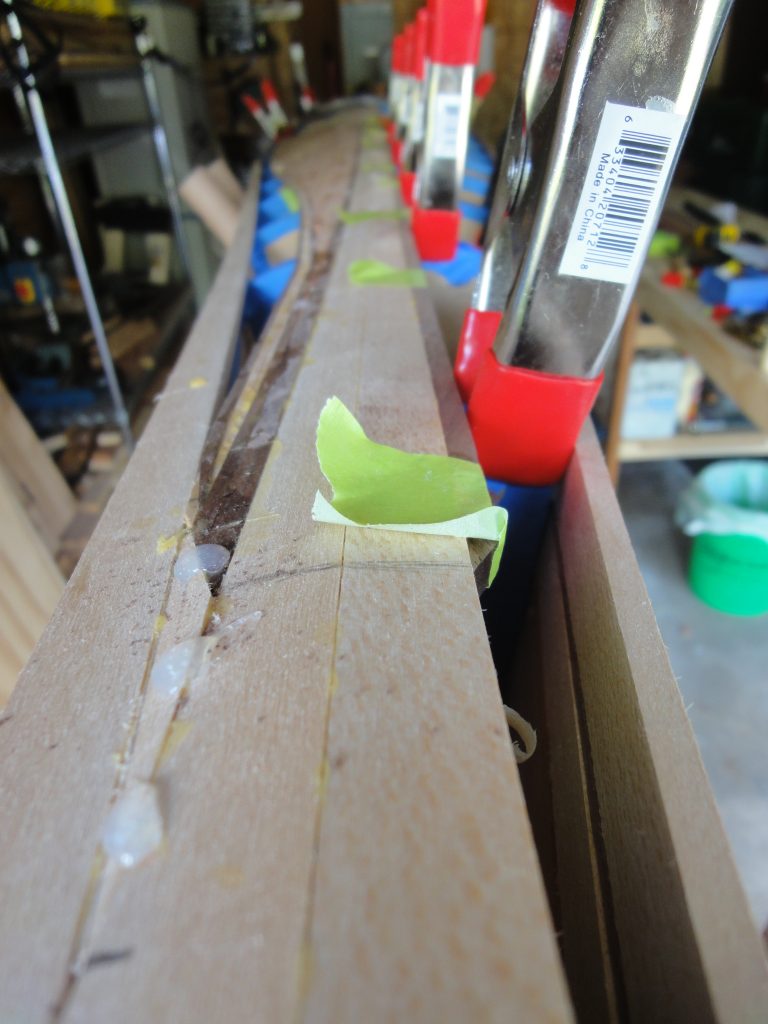
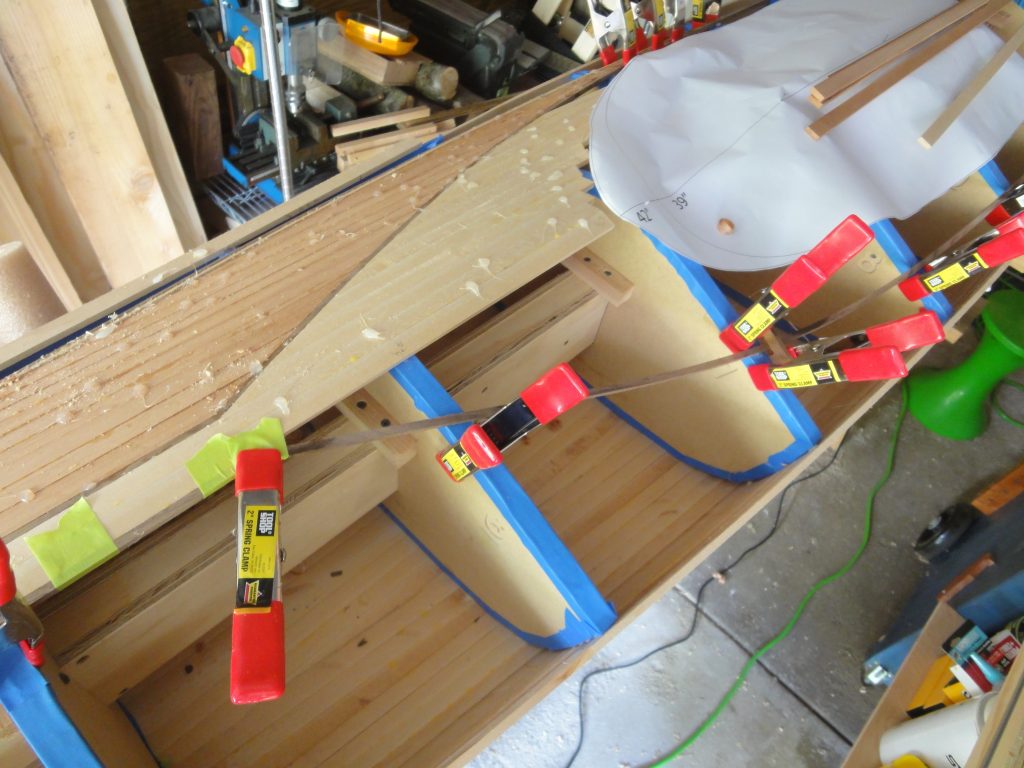
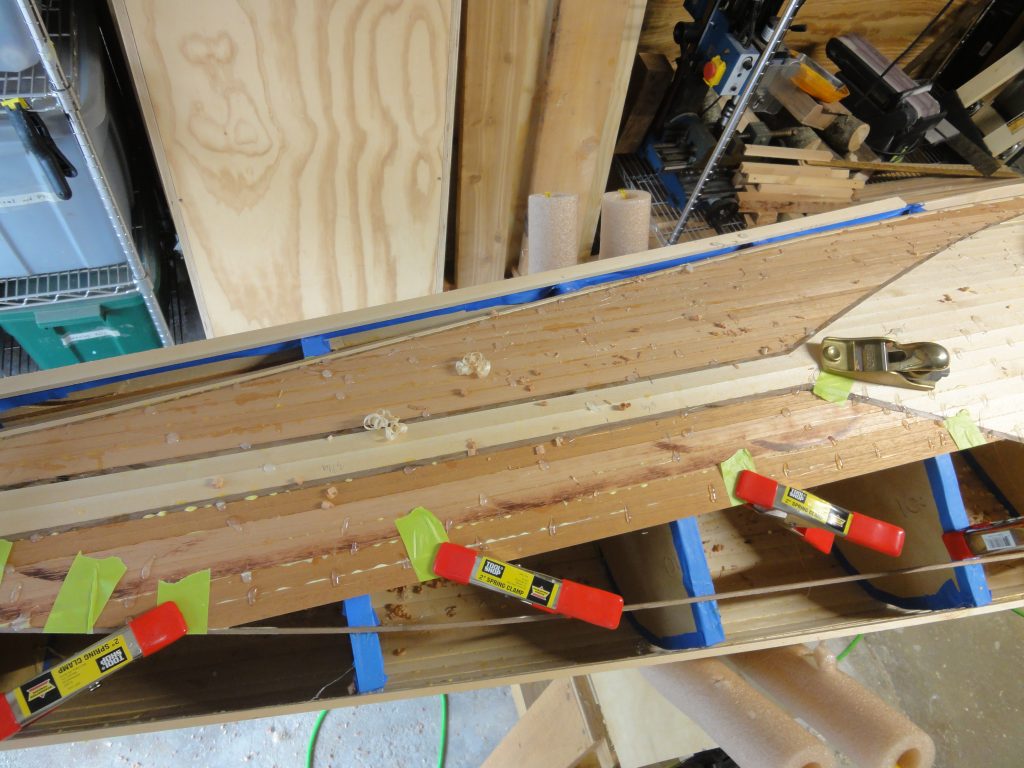
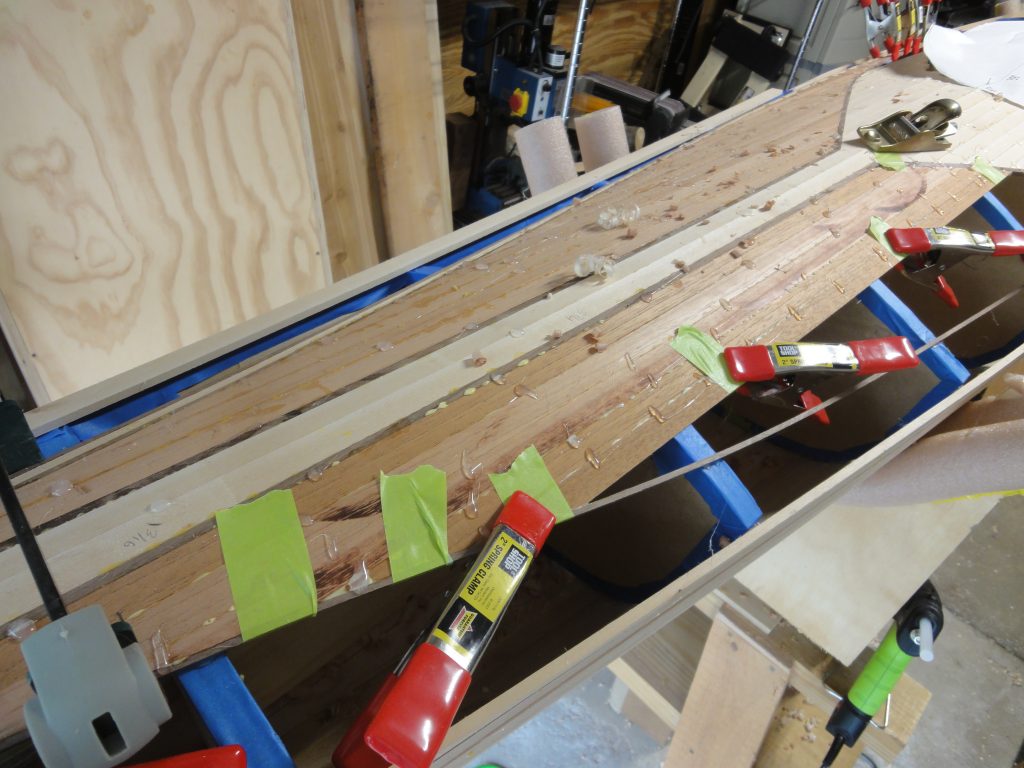
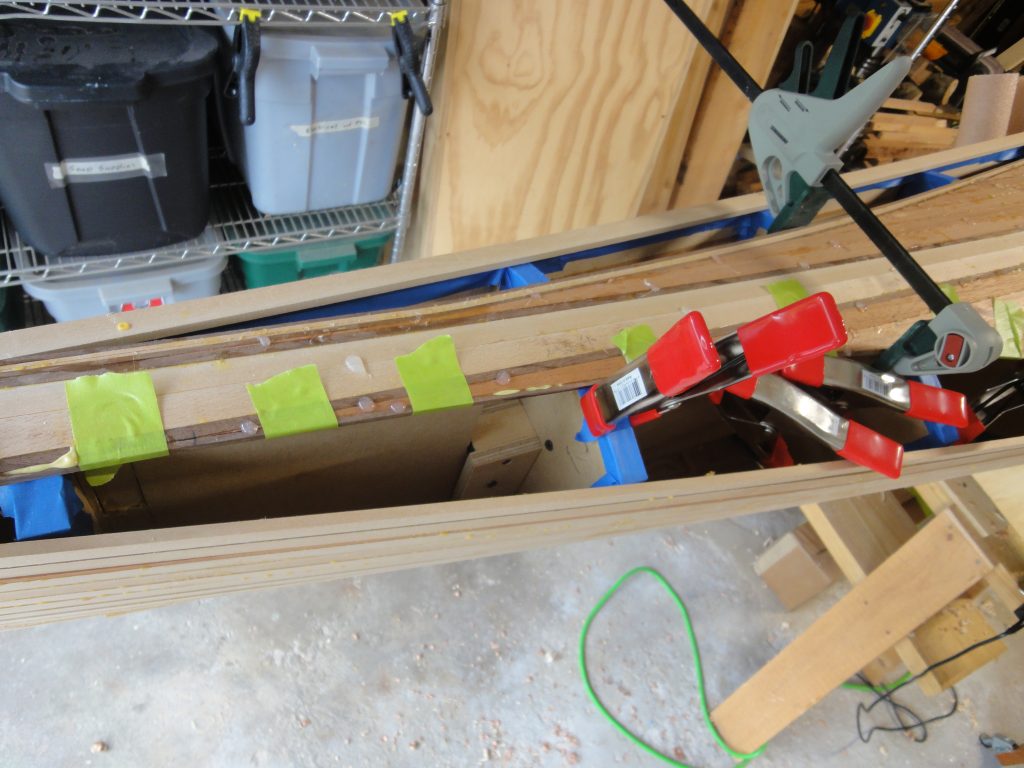
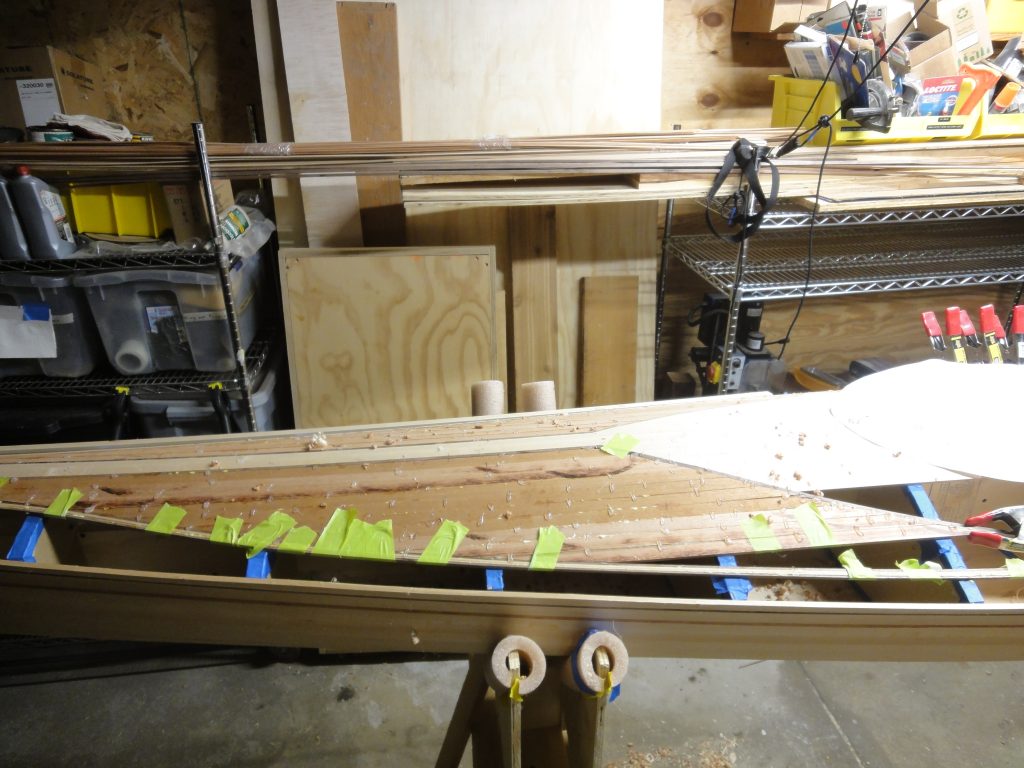
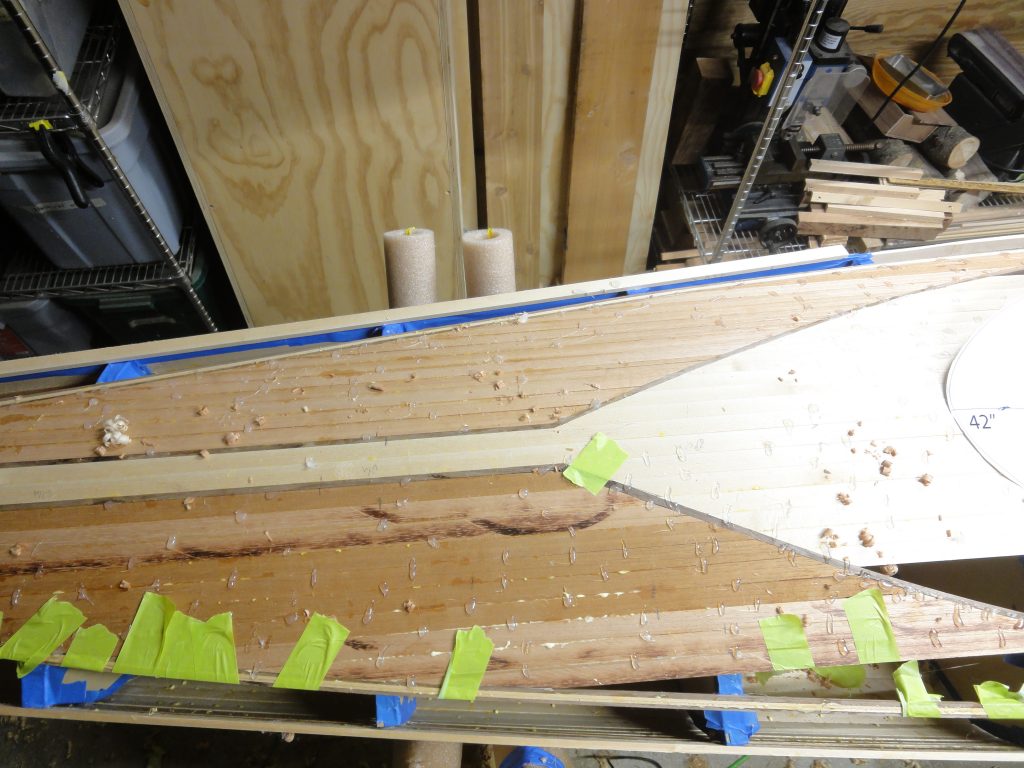
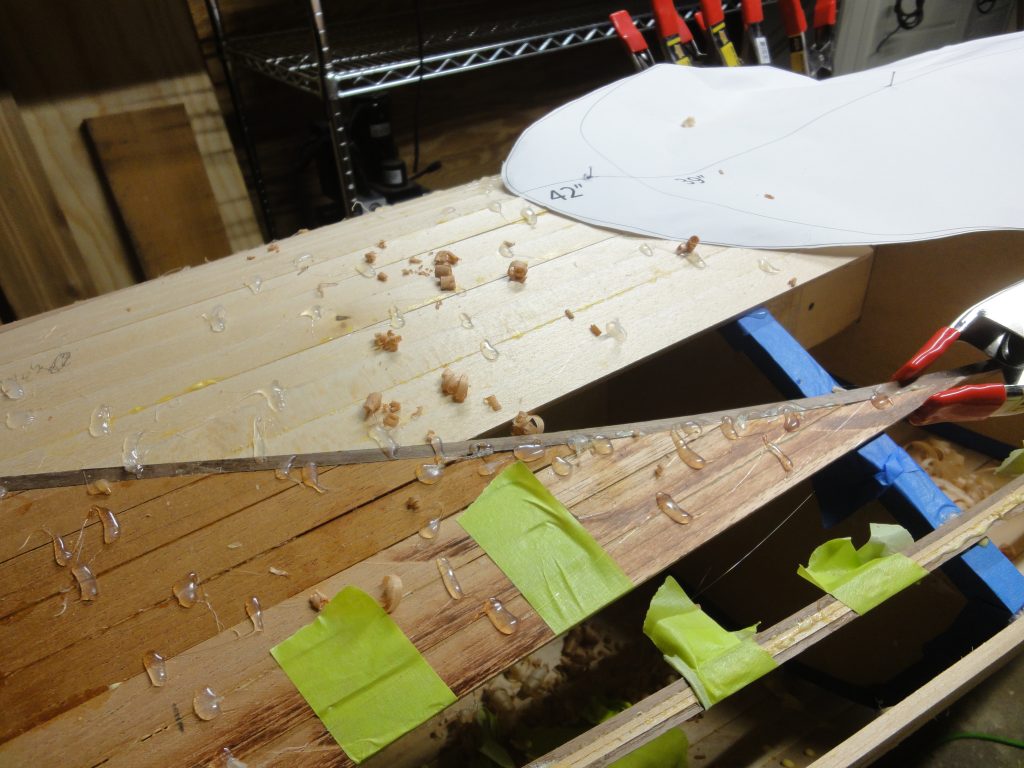
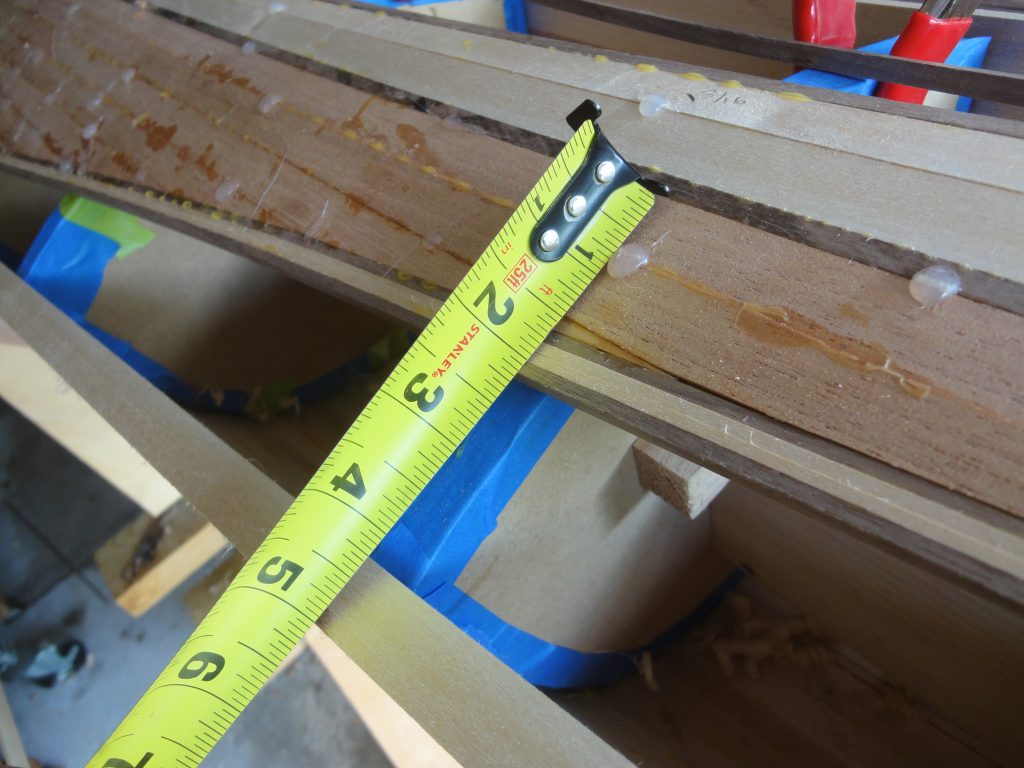
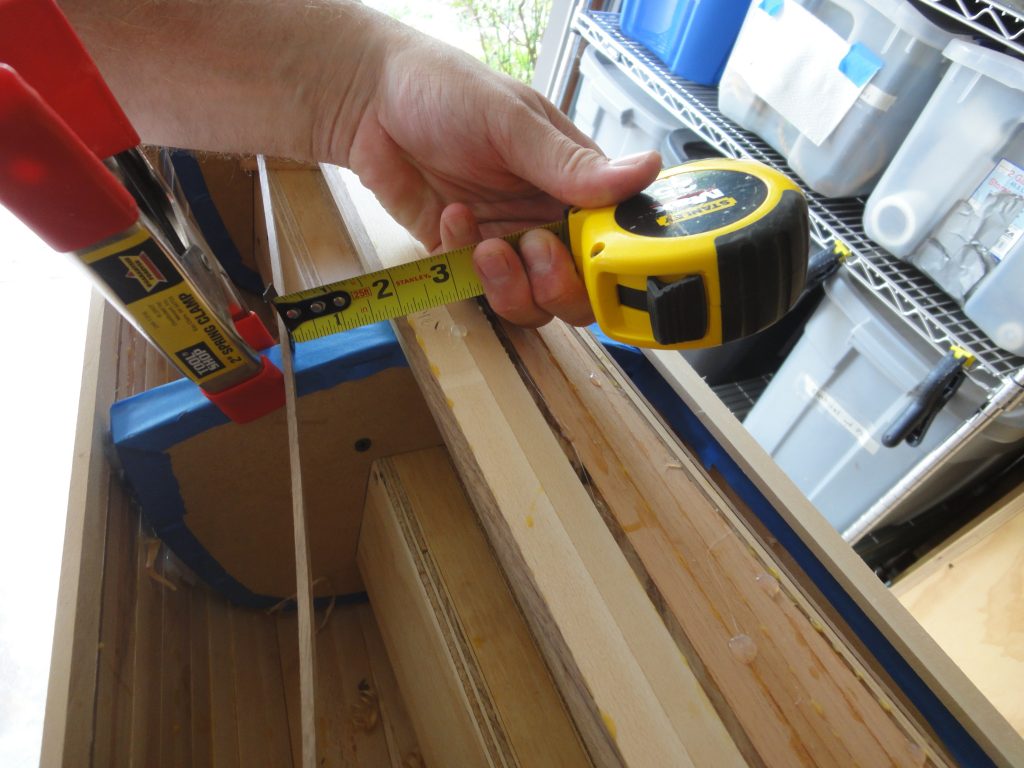
The process to install that strip wasn’t difficult, just somewhat time consuming. Since it’s a mirror of the first side, it pretty much has to start, stop, bend and in general match the other strip. To achieve this I started by measuring the existing strip from a reference point at each form. I think used the same offset on the other side to position the strip using clamps to keep it in place. After tweaking to ensure it was a smooth curve I went ahead and hot glued it to the forms. In the images below you can see the same process being used for the placement of the second detail strip being placed as a reference distance from the first detail strip.
The rest of the work was pretty much a duplicate of before. Trim each piece to fit the space, glue in, spot tack it with hot glue, move on. I made careful notes as to the strips used on one side and when doing so I used every other strip. For this side I used those in between strips flipped over to hopefully get the book match affect when it is cleaned up and finished. Unfortunately this side had some saw blade burn marks, but these will easily scrape/sand out when I get to those steps.