Today was a day for completing some of the tasks that still needed doing and then moving on to the next phase in the process. I started with cutting up the Spanish cedar board. Due to the grain on it I sliced off two 3/4″ pieces, then turned them to cut out the strips. The remainder of the board was sliced into the 2″ x 1/4″ pieces and then those were further trimmed into two 1/4″ x 3/4″ pieces. Basically the same process as yesterday. Being as the cedar is a different color, once again I saved some of the saw dust (aka wood flour) for filler later on in the process.


I was about to start cutting up the last basswood board but thought it might be good to see if I need to or not. By my off the cuff calculations I would need around 900-1000 linear feet of wood to construct the kayak. However when I searched to see if this was consistent with what others used, I found a formula at CLC to calculate the necessary amount of strips. Essentially the formula is ((length in inches X widest point in inches)/144)*18 to get the total number of feet. In my case, 16’6″ = 192″ + 6″. I rounded to 200″. The widest point is just over 25″ so I used 26″. This yields 200 * 26 = 5200. Then 5200/144=36.1111. Finally 36.1111 * 18 = 650 linear feet of wood. Substantially less than what I had calculated.
Counting up what I cut so far I get the following:
- Walnut 1/4″ x 1/8″ – 140′ +
- Walnut 1/4″ x 1/4″ – 70′ +
- Spanish Cedar 1/4″ x 1/4″ – 35’+
- Spanish Cedar 1/4″ x 3/4″ – 320’+
- Basswood 1/4″ x 3/4″ – 670’+
So for the main 3/4″ wood strips I have in excess of 990 linear feet. If the estimate formula is correct I have more than enough. If my calculations were more accurate then I’m going to be short and will need to cut that remaining piece of basswood at some future point. Since it’s a nice chunk I feel the best course of action is to wait and see. Cutting it is relatively easy if it does end up being needed.
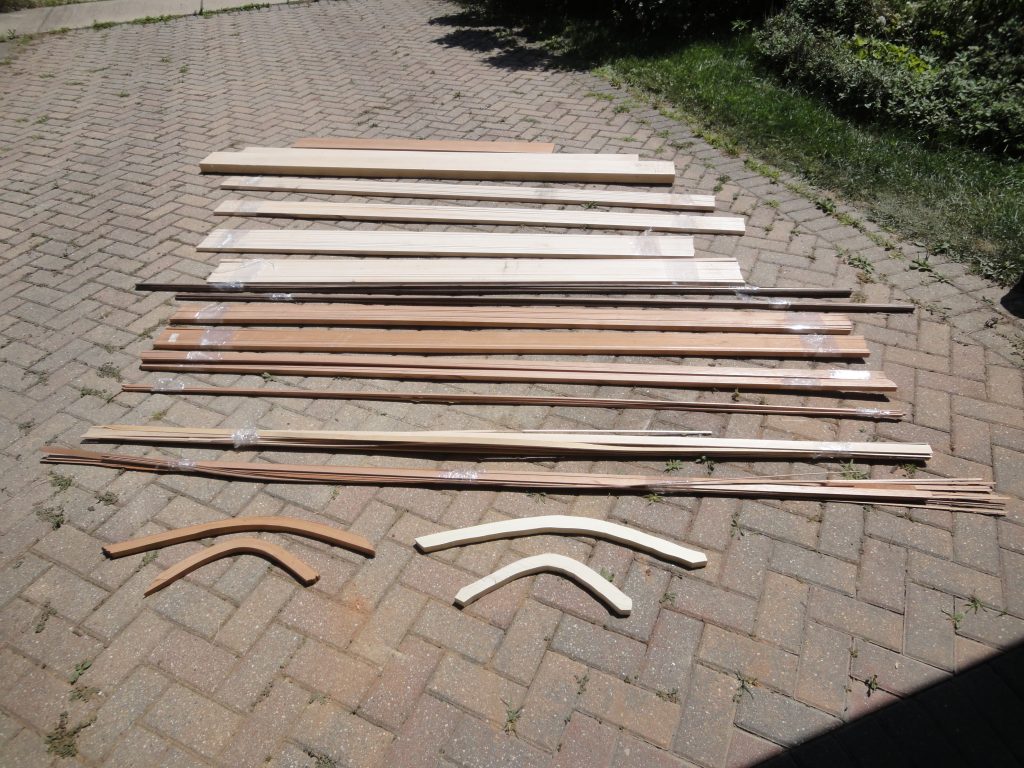
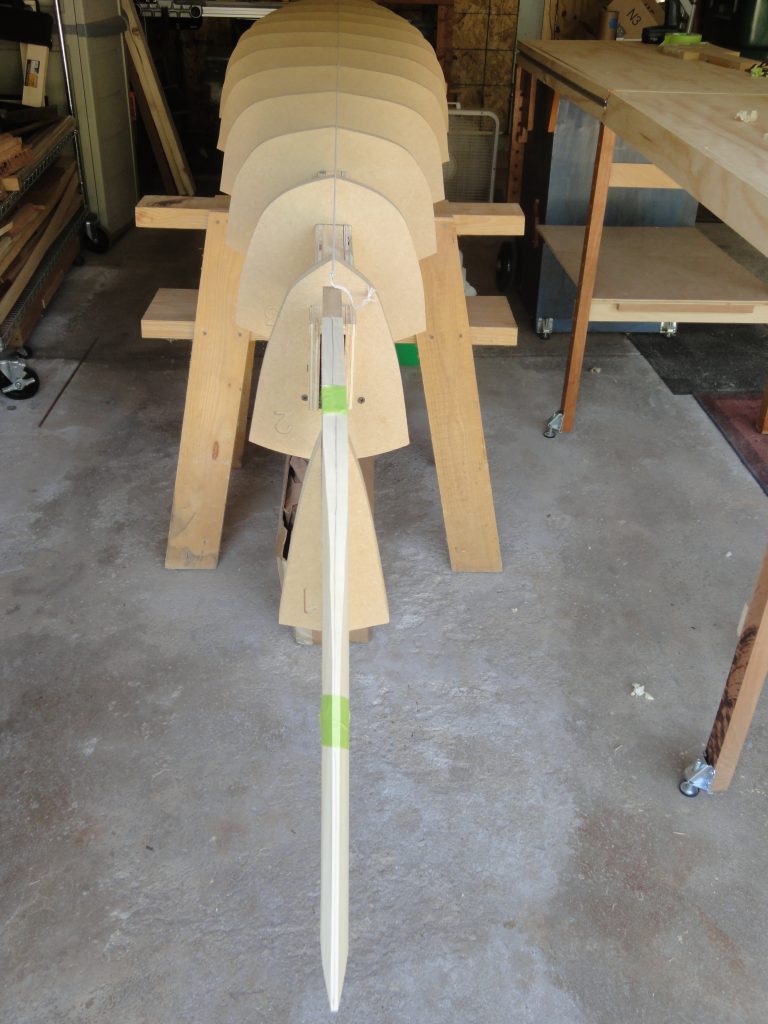
Reviewing what I have prepped (from the bottom up in the following picture):
- Outer stems and Inner stems
- left over pieces of cedar
- left over pieces of basswood
- 1/4″ cedar
- 3/4″ cedar (4 bundles)
- 1/4″ and 1/8″ walnut (longest and darkest)
- 3/4″ basswood (4 bundles)
- spare wood (2″ basswood, 3/4″ basswood, 3/4″ cedar)
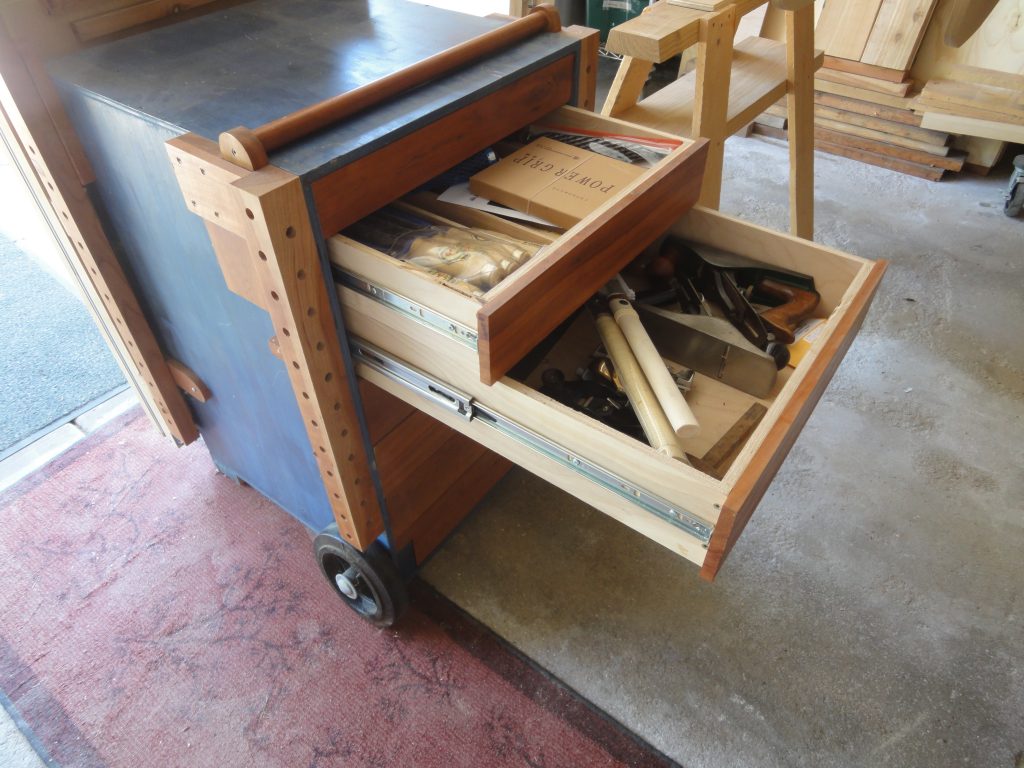
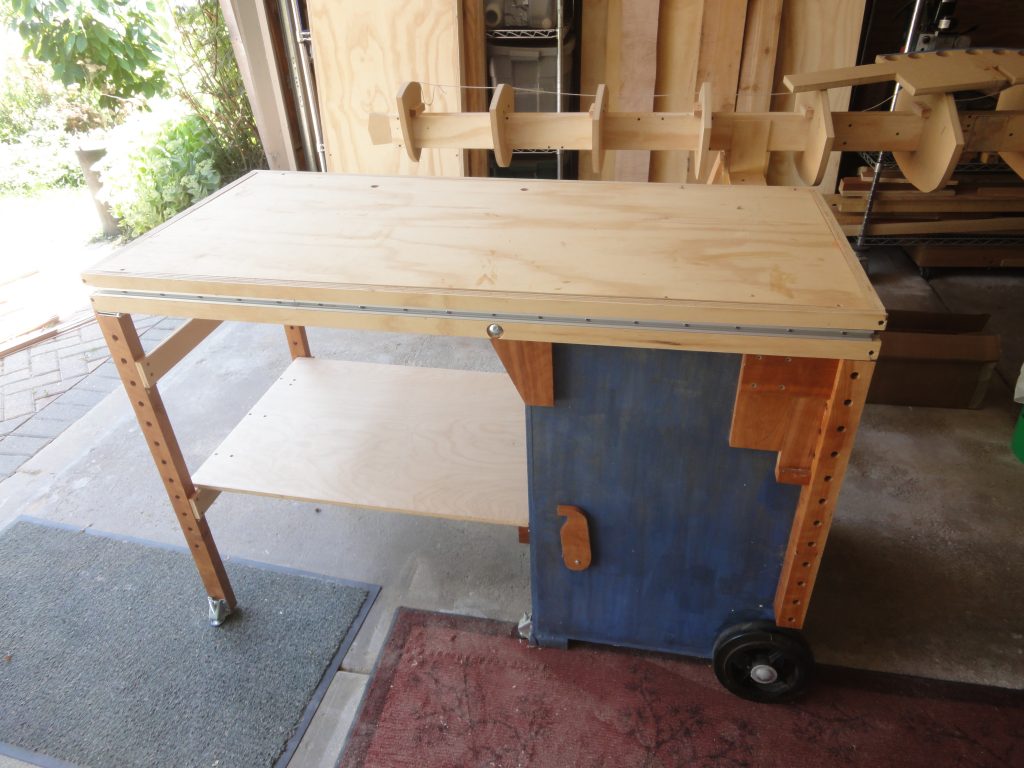
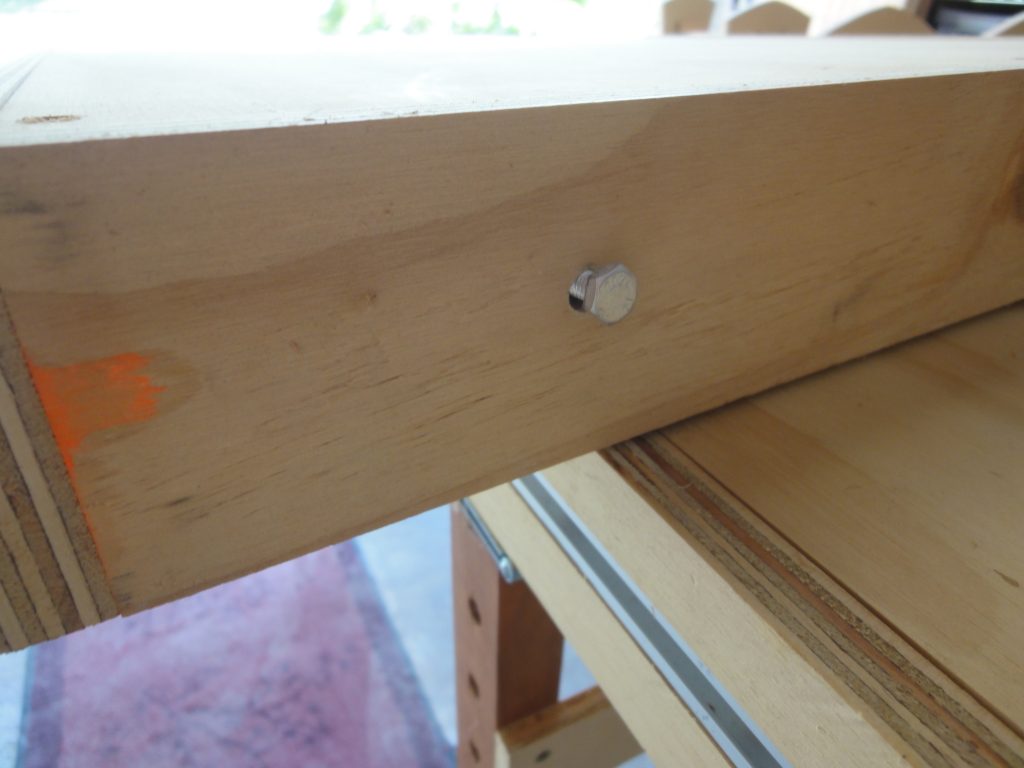
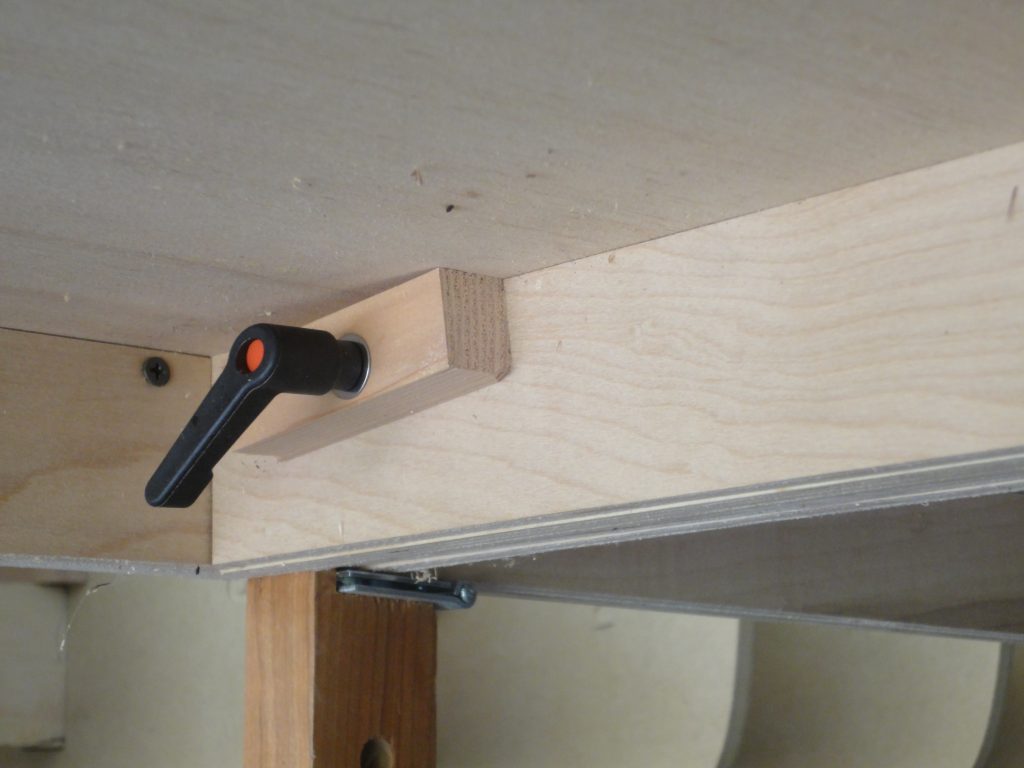
I brought the kayak down and placed it back in the cradles on the saw horses and then setup my portable work bench that I made a few years ago. If you like it, I made it (with some modifications) based on this cart plan I found online. The woods are painted plywood and cherry. The drawers have a positive locking when closed. You need to push to release and open them. It moves around like a “2 wheeler” utility cart. When ready to work the top folds down and a lower shelf is placed to lock it all in position. The T-track trim allows for additional “top” pieces to be slid into place using matching fitting bolt heads and twist lock handle. With the two extra tops I built I can do a 13’+ long bench or a T or L shape. For now I’m just using one piece to give an almost 9′ long workbench.


I checked the alignment and it’s still good. The kayak strong back was flipped over so I could start working on the hull first.
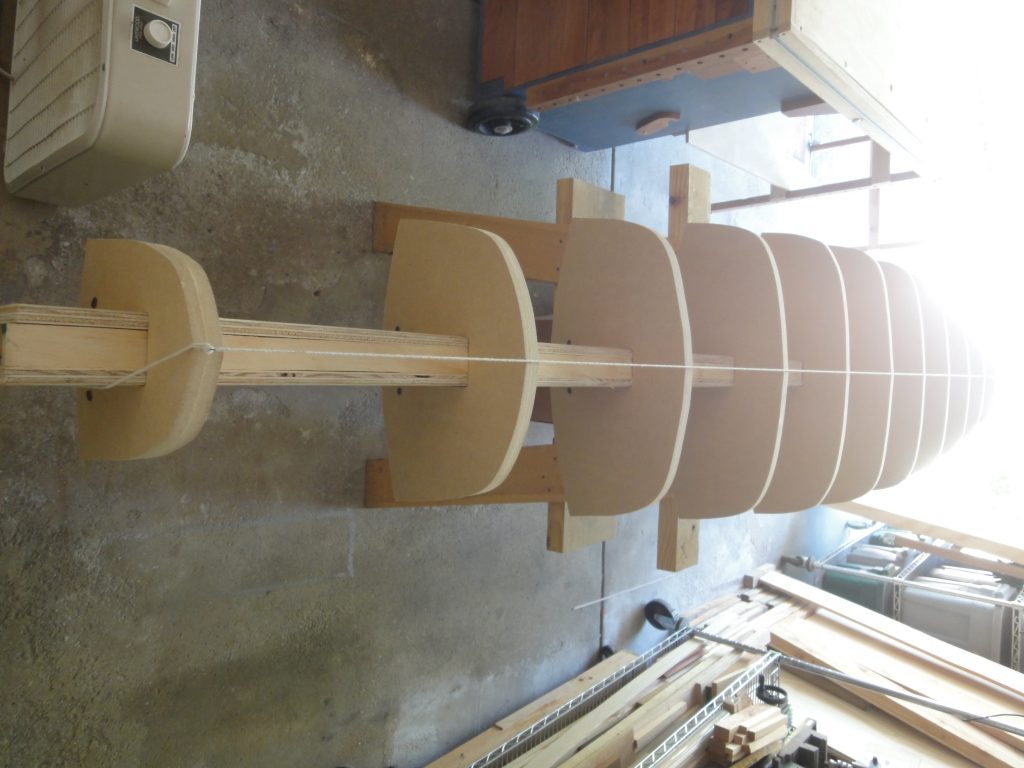
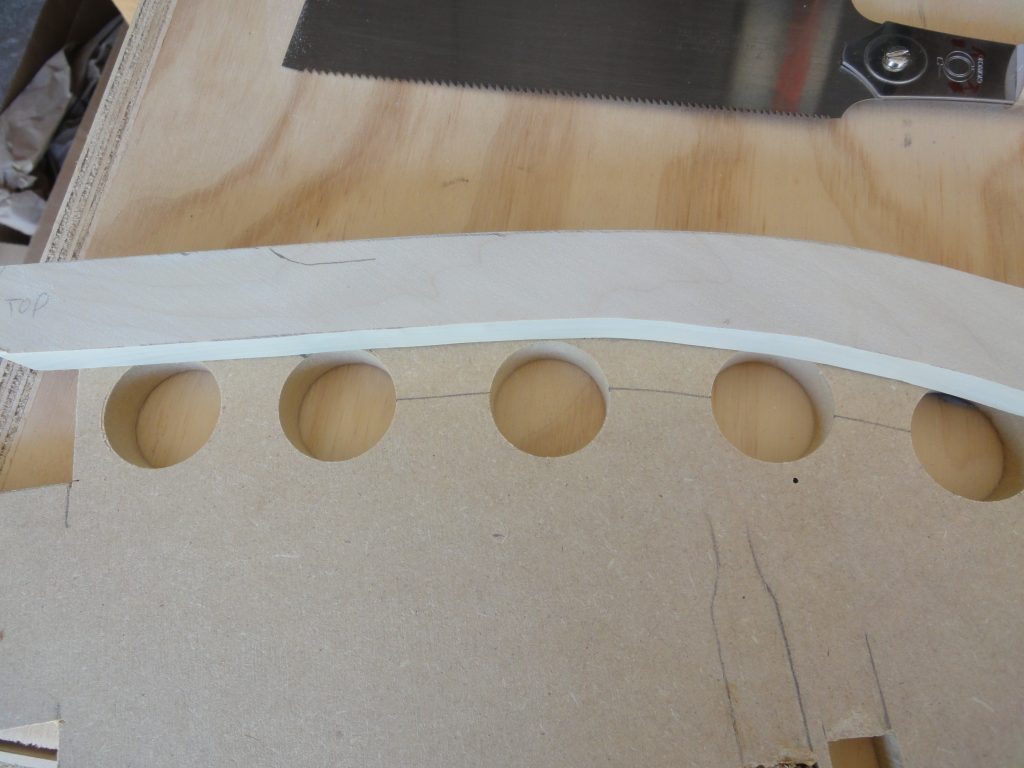
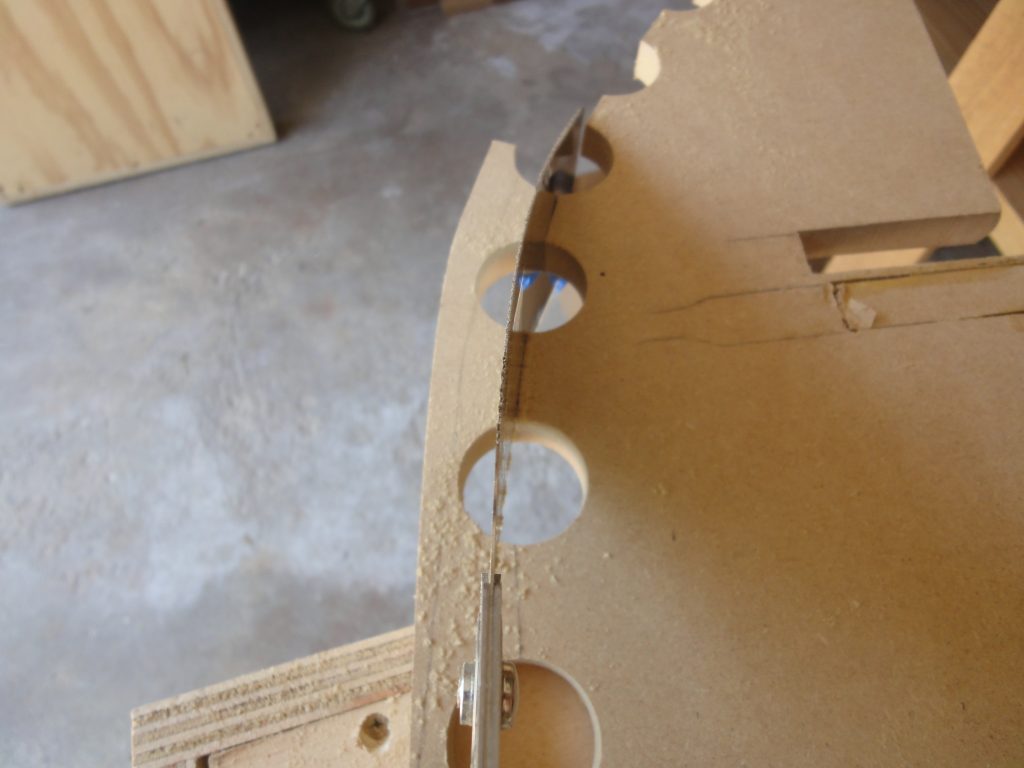
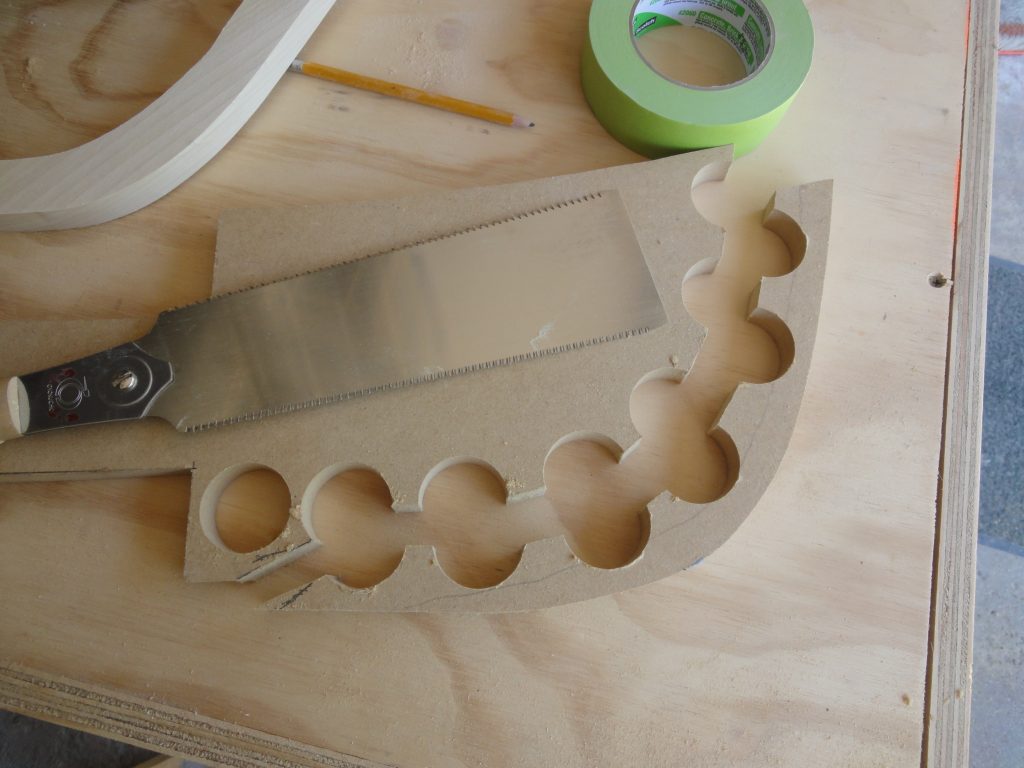
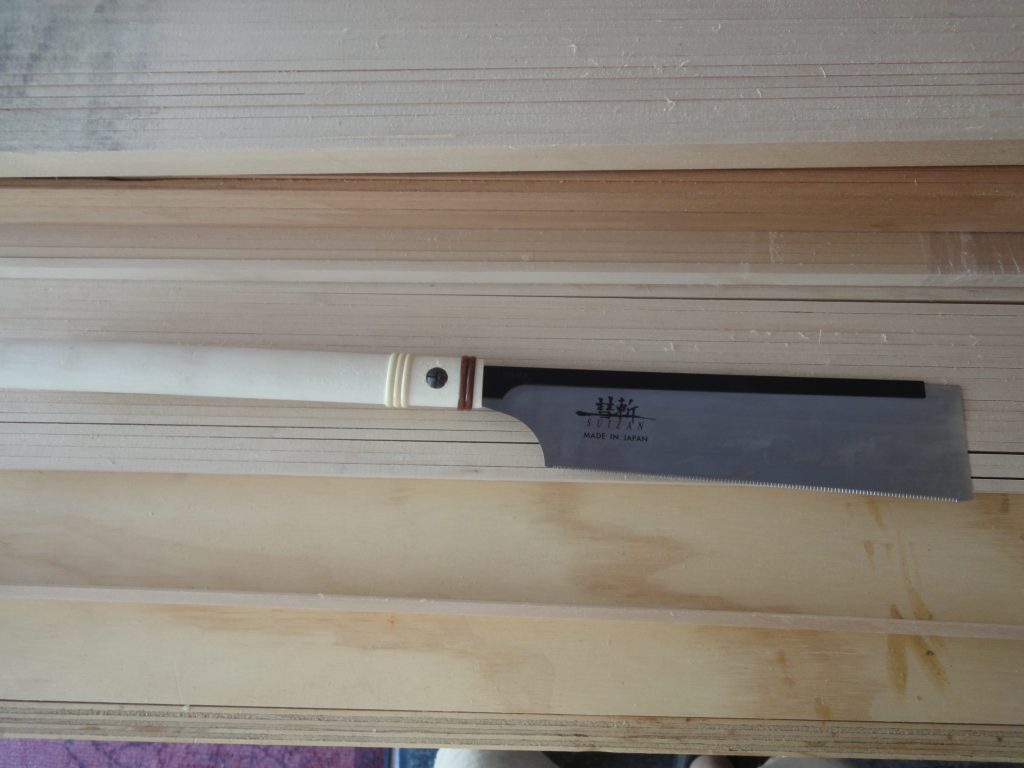
I forgot to get pictures of the sanding of the inner stem pieces. They were sanded to the line and the curves were smoothed out. These pieces were then laid on the bow and stern forms, traced and the the forms were cut to allow the inner stem to fit. Once nice feature of the Japanese pull saw is the ability to cut a curve.

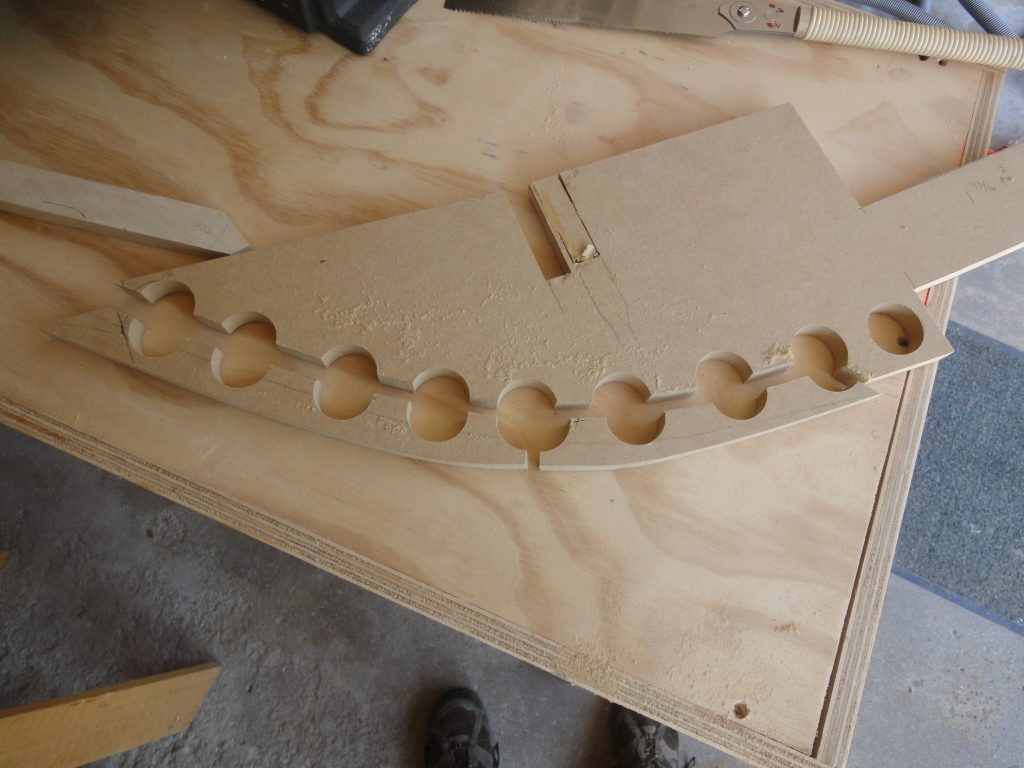

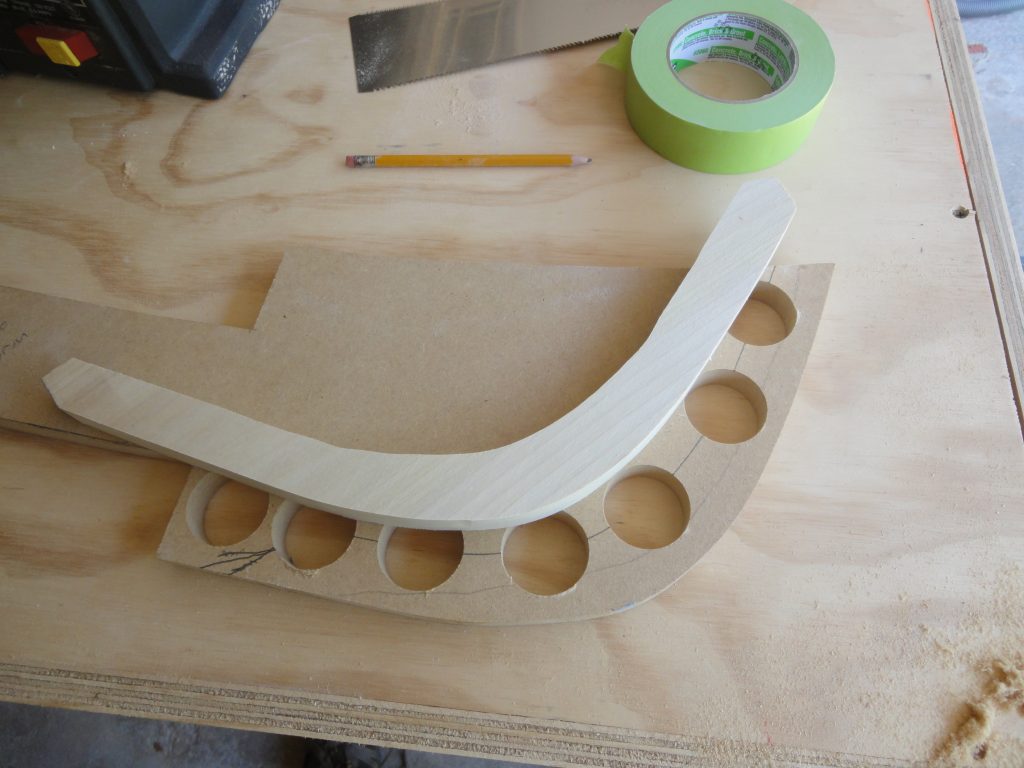

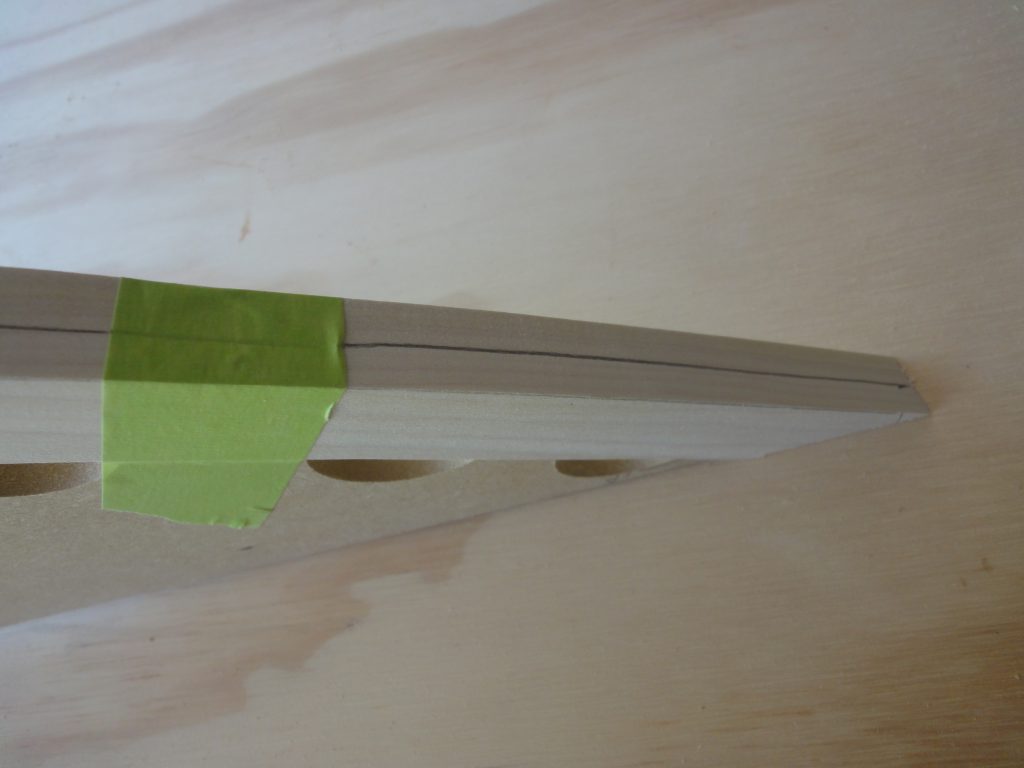
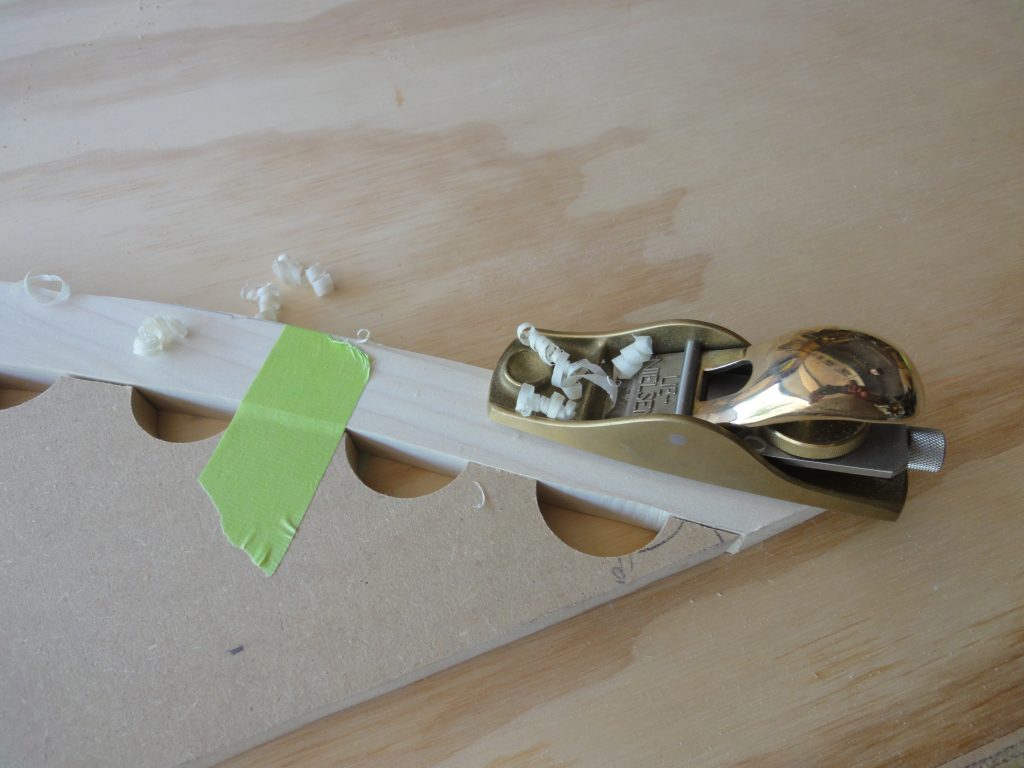
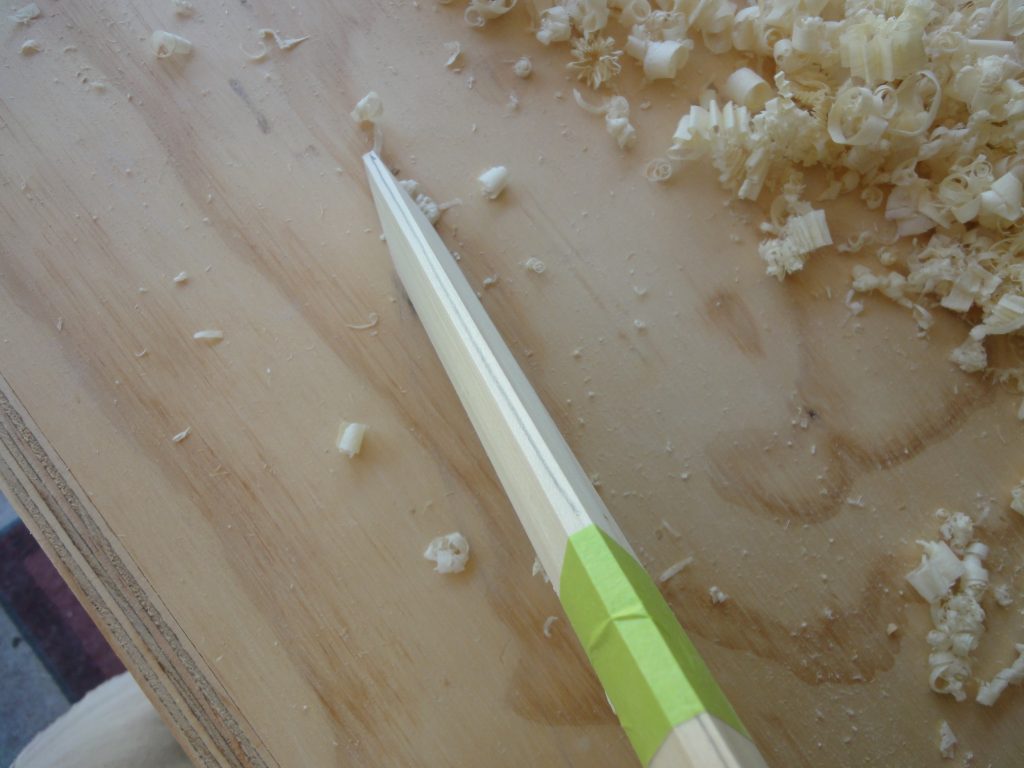
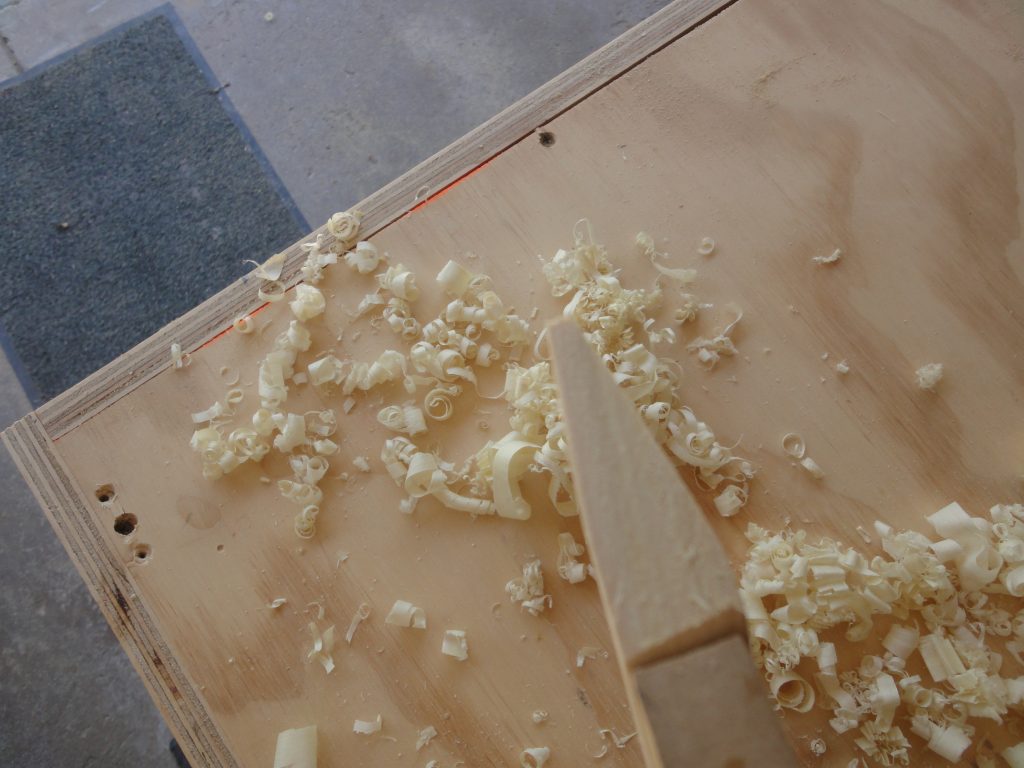
Next a center line was marked on the stem piece. In order for the strips to sit properly and meet at a point the stems have to be shaped to a wedge shape. It doesn’t have to come to an exact point but should be close. I started to plane down both sides until I had what I felt was an approximate shape. I added the bow and stern pieces to the strong back, flipped the entire framework over and then rechecked alignment. So far so good.
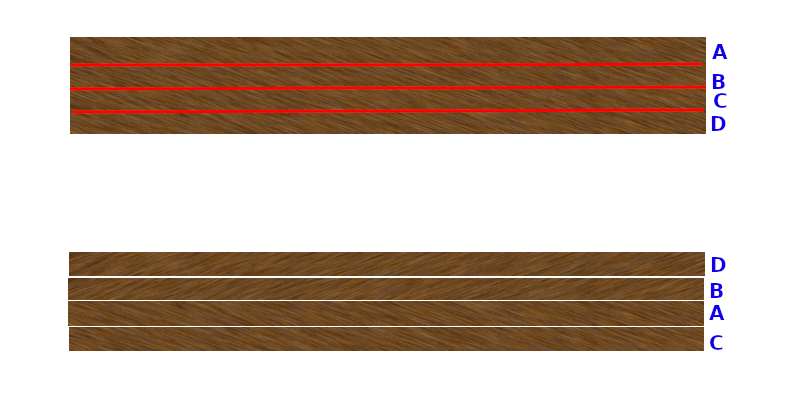
As promised, it’s time to discuss the reasons for keeping the strips in order. There are a few. First is if you plan to book match the strips. Basically alternate them and flip them over so, like a book, one side mirrors the other side. Basically in order A, B, C, D becomes D,B,A,C. Essentially you put down one strip. Take the next, flip it and put next to the first. Take the third and don’t flip and put on the other side of the first. Take the forth, flip and put on the other side of the second and so on. Probably easier to describe with a picture.
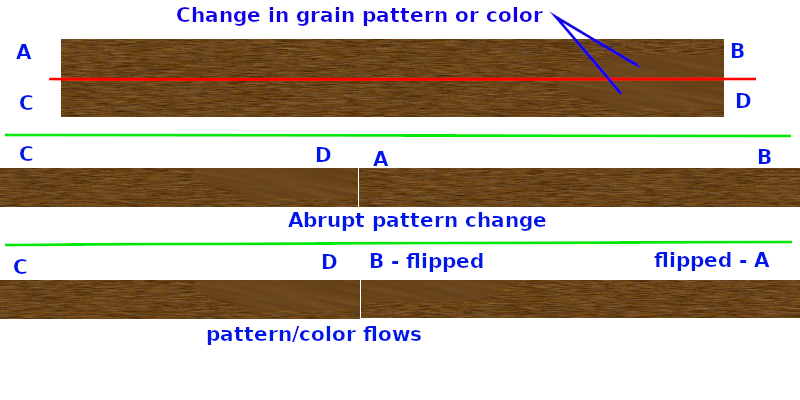
The other reason is if your strips are not long enough to make it fit in one run. In this case any variation in grain or pattern or color may show up where one strip meets the next one as an abrupt line. To make it transition from one to the next with almost no visible line you take strip one, flip strip two and connect the ends. This way both came from the same spot on the board and should be very close in matching both grain and color allowing for the splice to all but disappear. Again, let’s see a picture.
For the basswood sections of the hull it’s the grain matching that I’m looking for to make multiple pieces look like one long continuous piece. When I get to the deck with the cedar areas, no area should be longer than a single strip so I intended to go for the book matching look. Both reasons necessitate that I keep track of the strips order as they originally were.
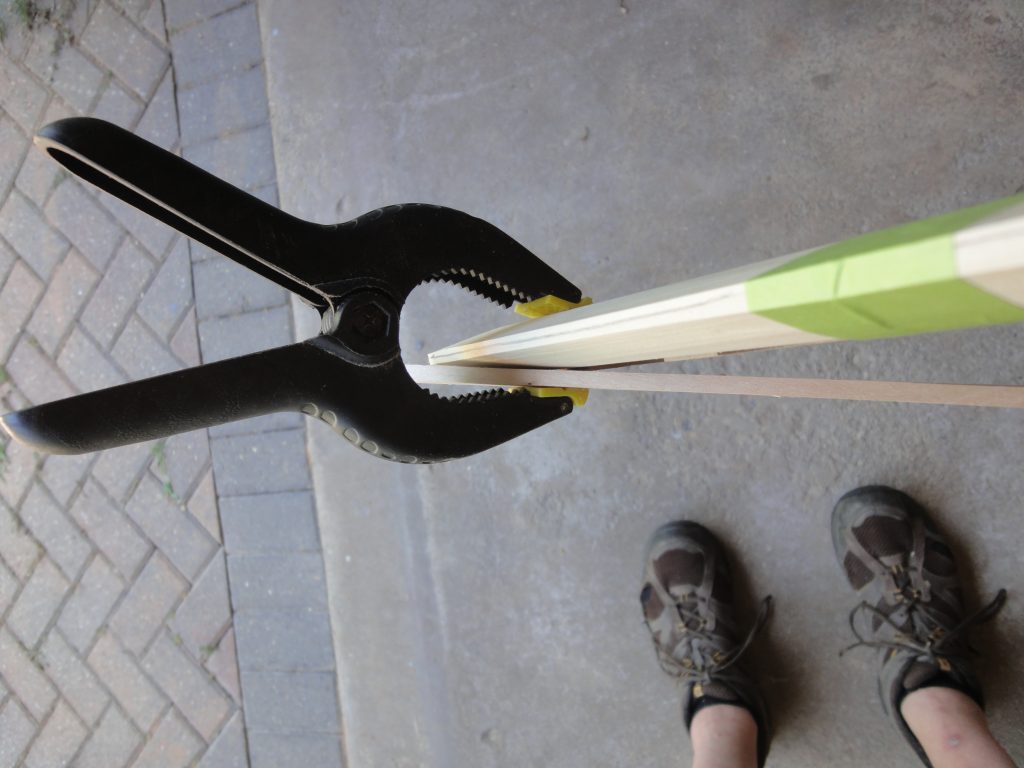
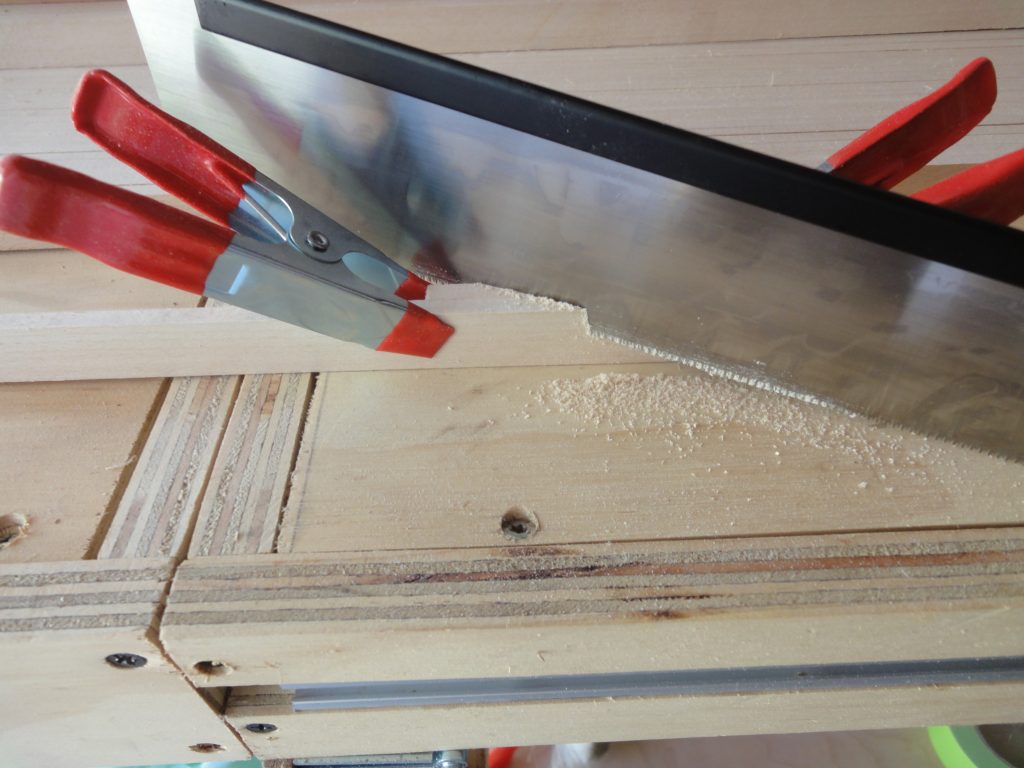
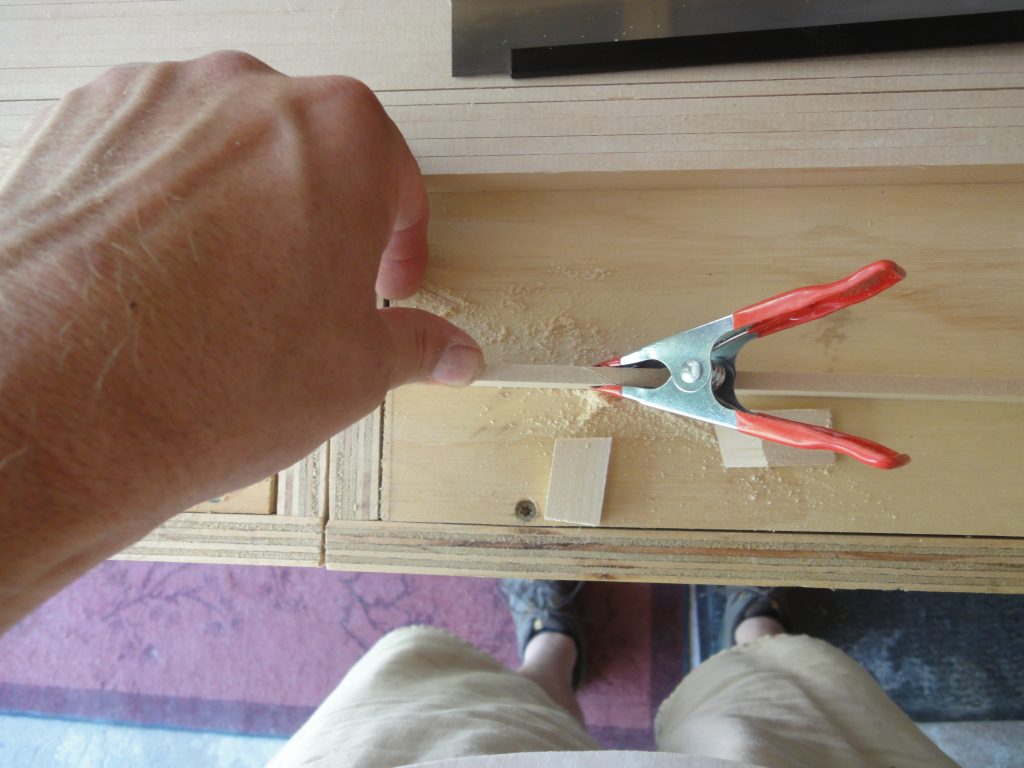
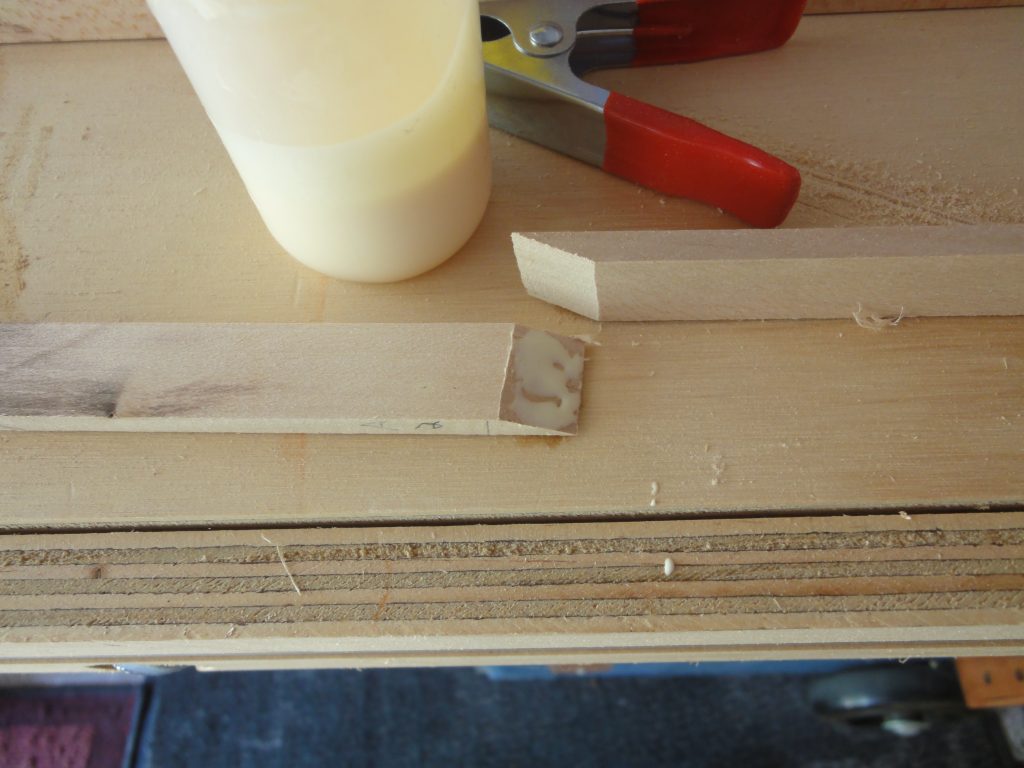
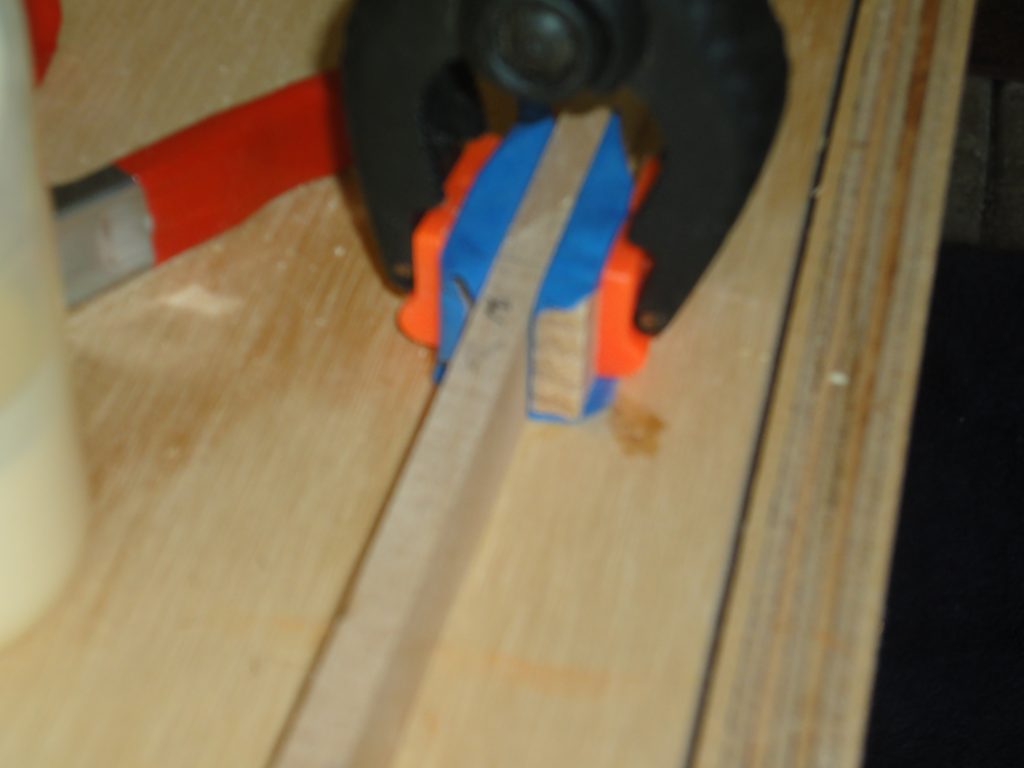
Putting this example into practice, I used a Japanese dovetailing saw to cut a scarf joint after clamping the two pieces together. Any clean cutting saw would work fine. By cutting both pieces at the same time you end up with a joint where both halves are going to be a perfect match. A test fit with the clamps shows it to be nearly invisible. Once the new longer strip is in place on the kayak and scraped/sanded the joint should disappear to all but the most close up careful inspection. I wrapped the off cuts in tape to use as alignment blocks, glued the joint and clamped it all together.
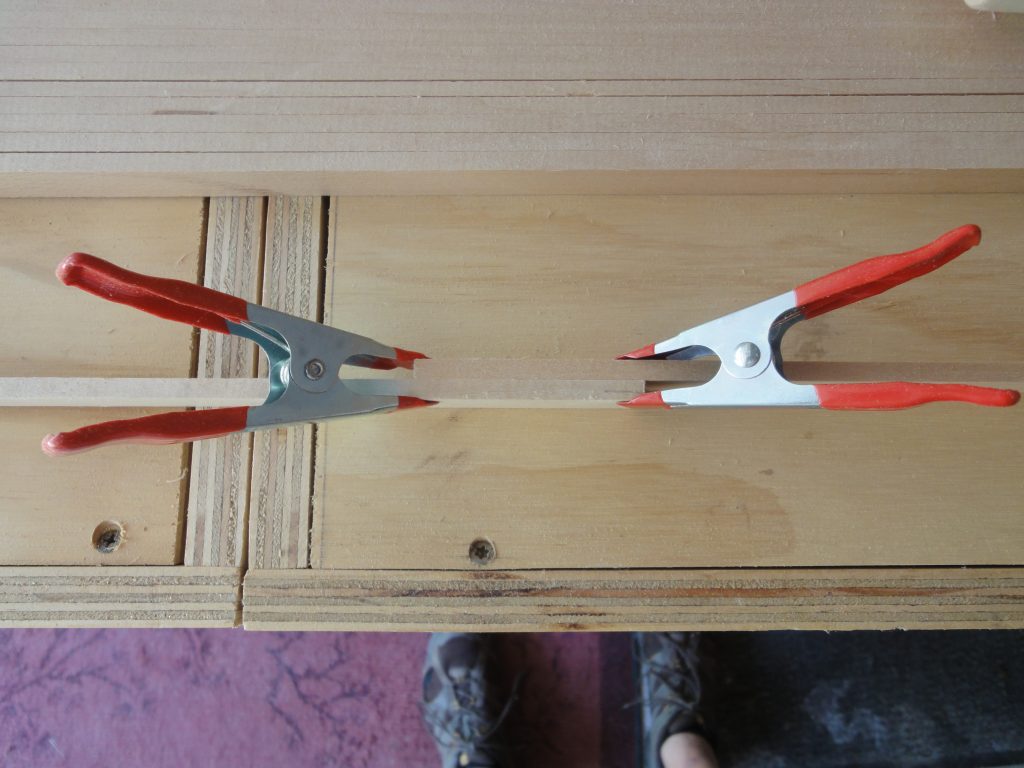


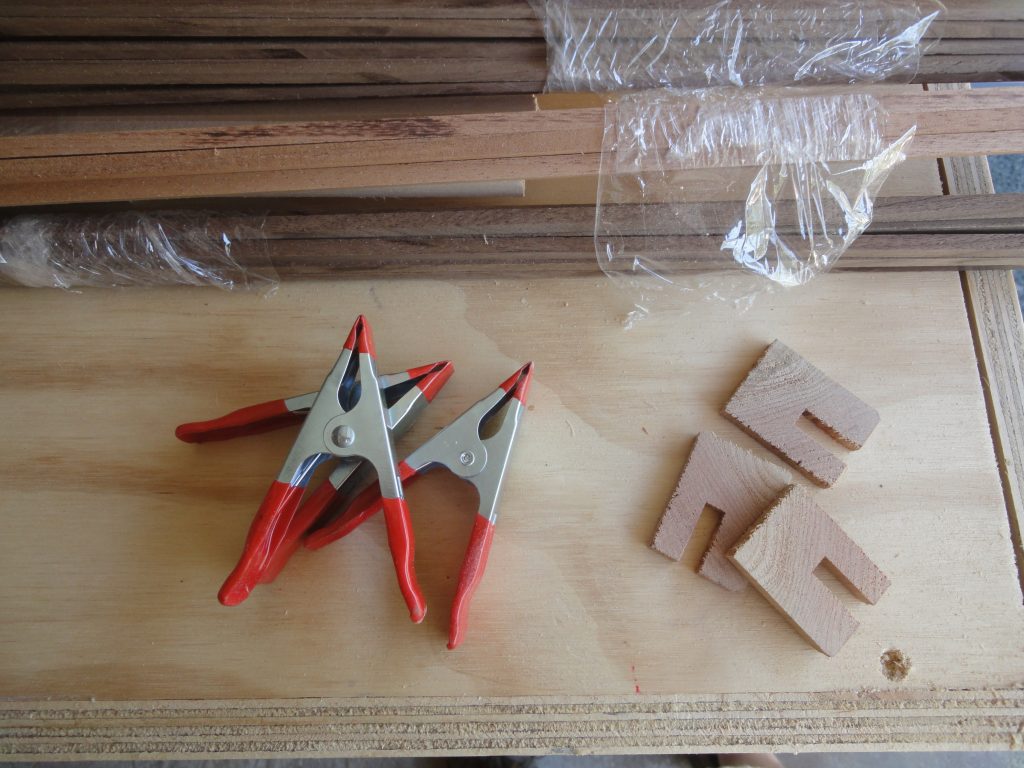
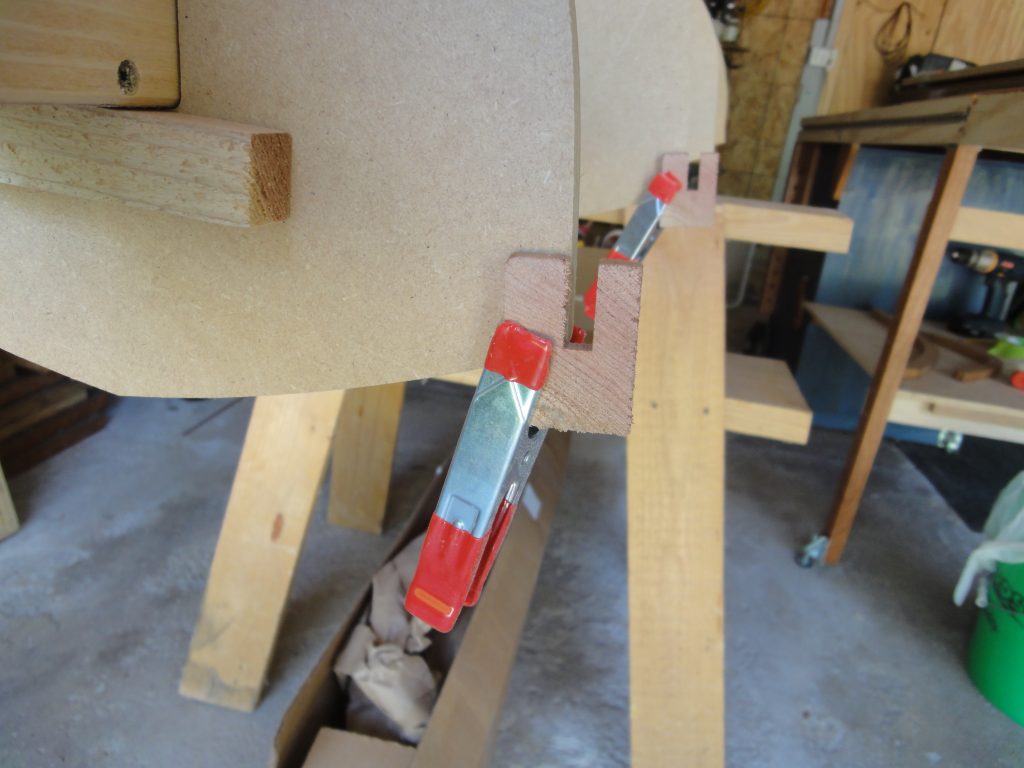
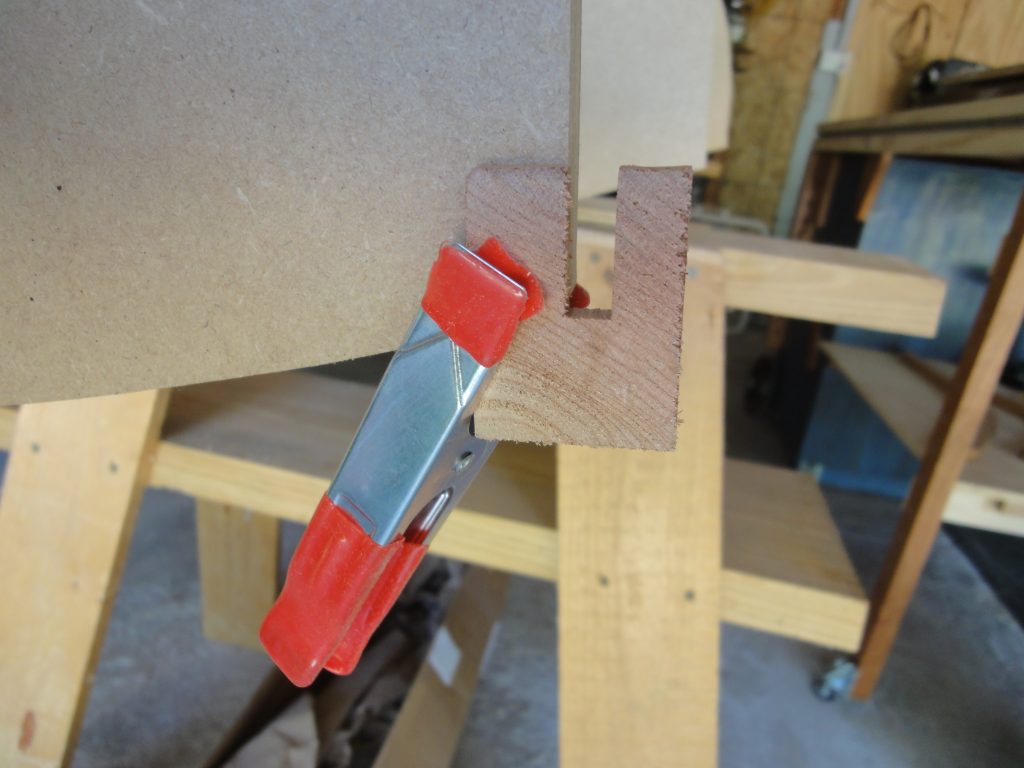
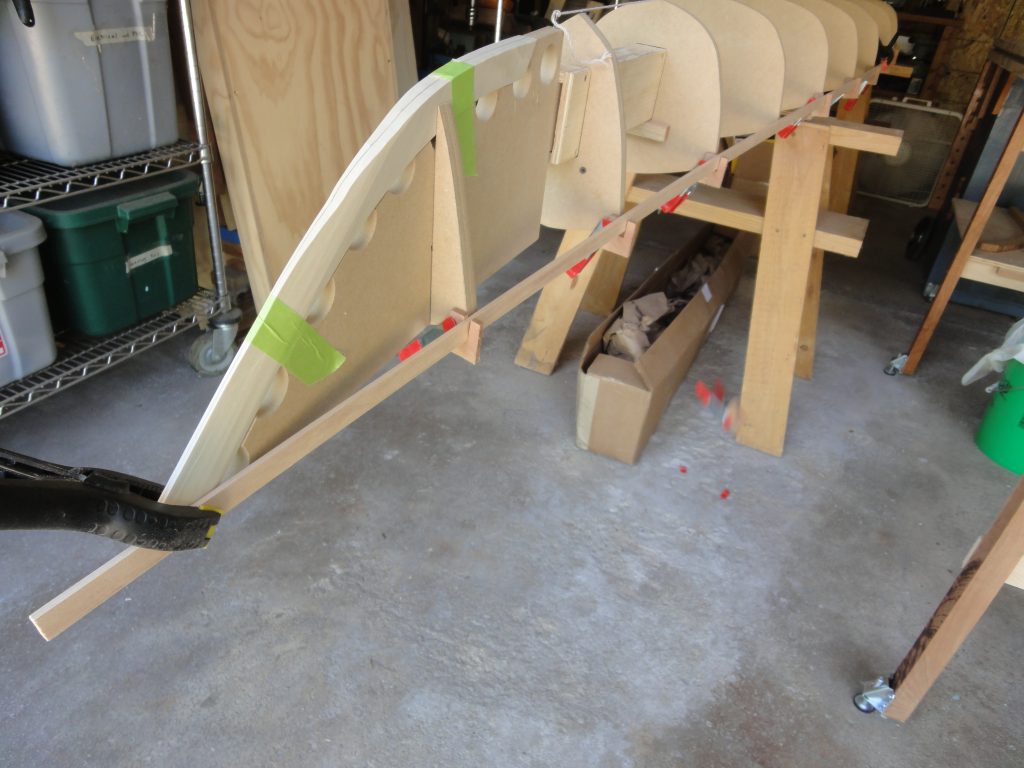
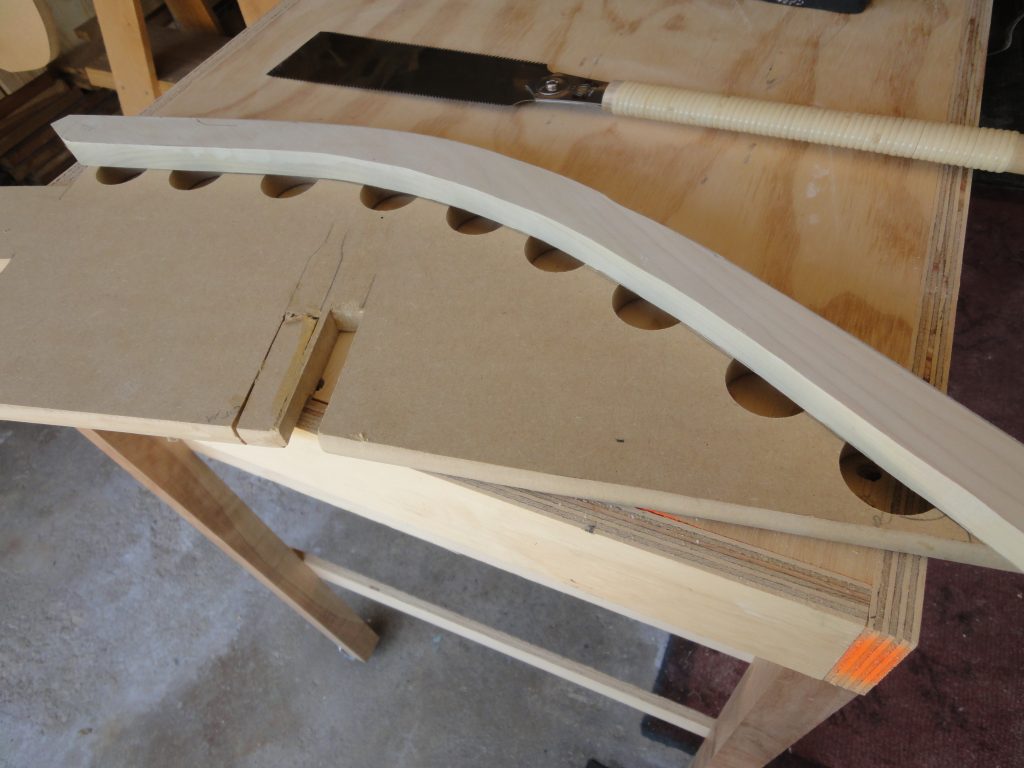
If you remember, in an earlier posting I made these square sort of C shaped pieces. Now I’m going to use them. Clamping each one to the form right at the sheer line (where the deck and hull will meet) I now have a slot to hold a strip. There will be another use for these later on. The first strip was loosely placed in the grooves and checked for alignment. A quick to reveal itself issue was that the planing I did at the front ended up in a slightly rounded shape preventing the strip from sitting tightly against it. I’ll have to take off the inadvertent rounding and continue to test fit the strip. Since this is the first strip and pretty much everything else goes up against it, getting this one close to perfect is a requirement. I’m going to save the final fitting of this strip for the next work session.