Got the Forms

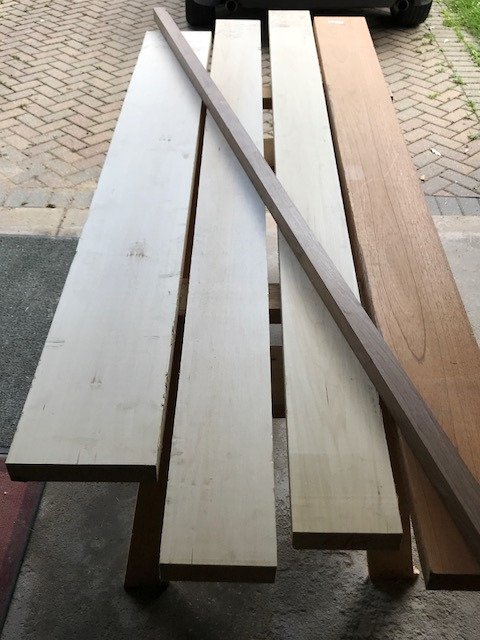
I’m happy to say I was able to pickup the forms today and they’re just about exactly what I expected.

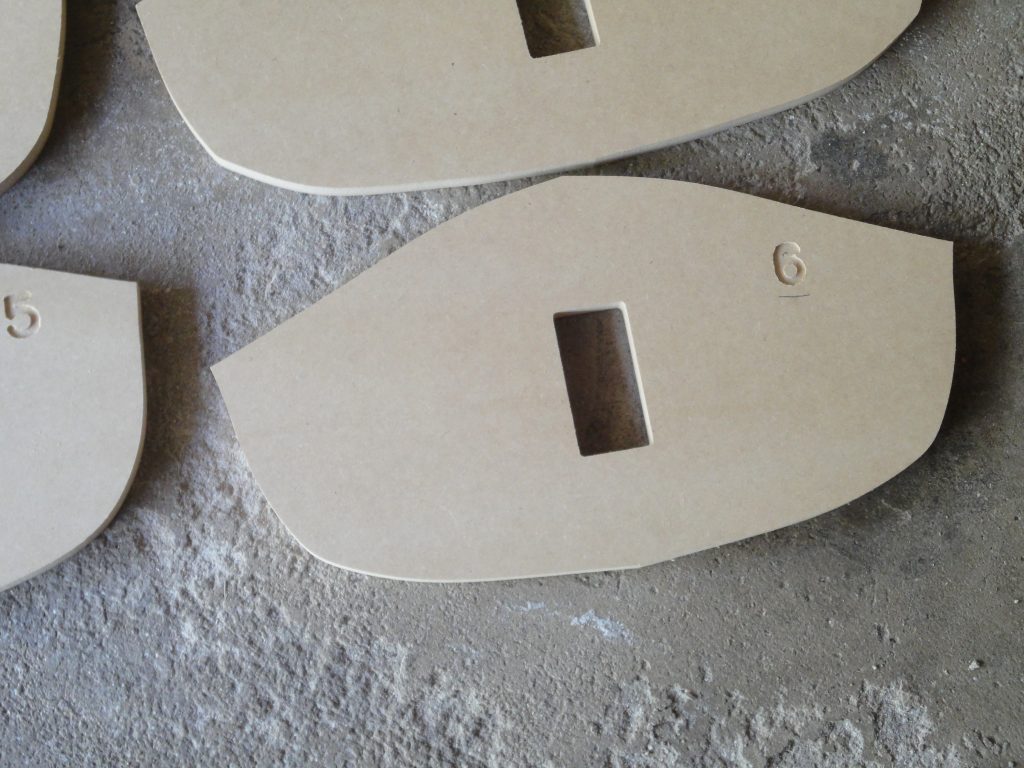
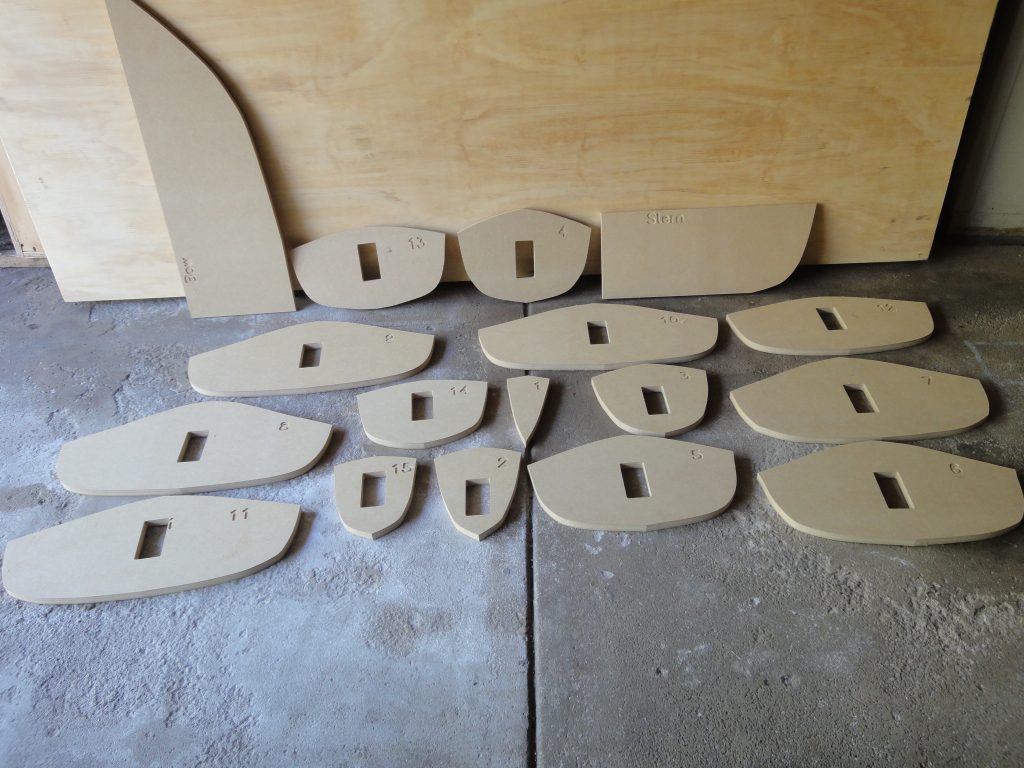
I kept them simple, just the outline as drawn in the early CAD posting along with an alignment slot in the middle where they will fit over a beam and a number so I can be sure they get mounted in the right order. One of the final forms I did not have cut as it was too small to be effective (I’ll cut/shape it by hand) and I had the second one cut but it was too small for a center mount so I’ll have to notch to fit the bow form. Also the bow and stern are intentionally oversized at the moment. I’ll do final shaping and fitting as I assemble the forms on the strongback (beam).

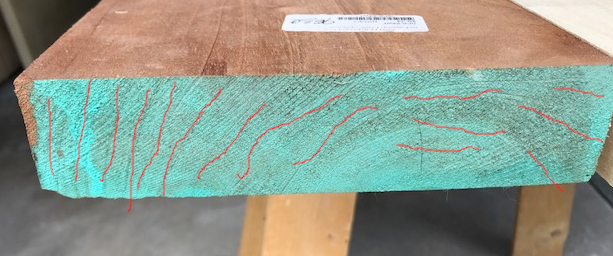
While I am very happy with them there is still some work I need to do. For example, not every curve was smooth (aka fair). This is a result of my drawing not being perfect and not of the cutting. The CNC process simply follows what line data it is provided with.

Not so fair of a curve

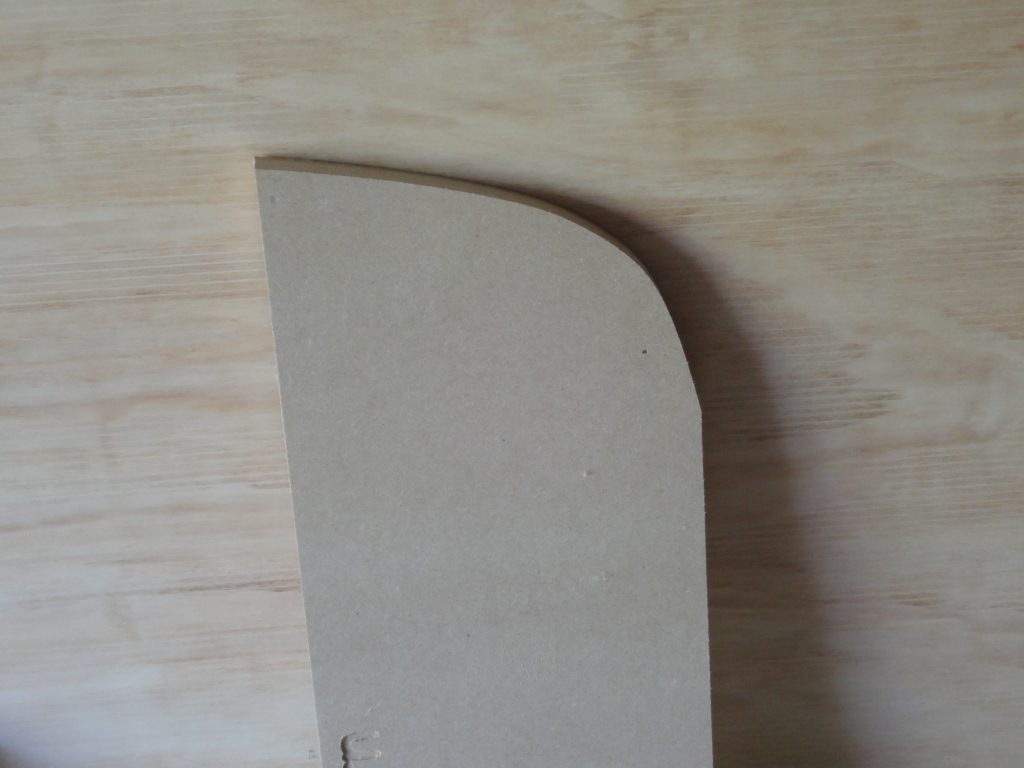
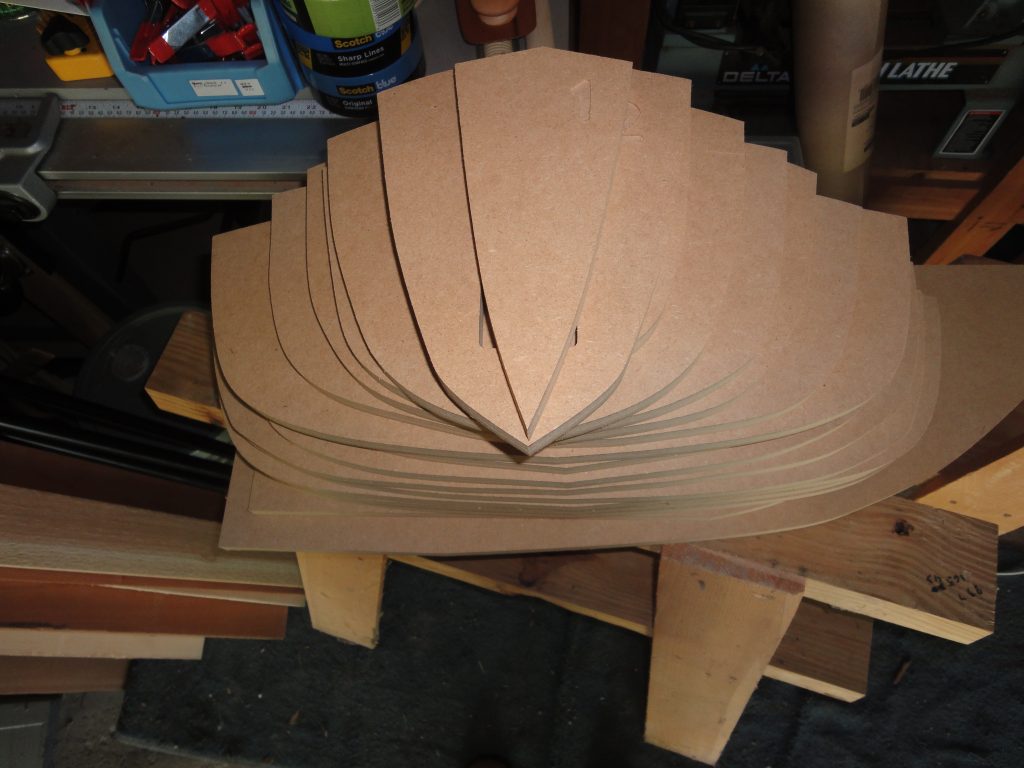
In the above image you can see the subtle angle on the right side. This should be a smooth curve, although as this is also the stern it might actually end there on the design. I’ll be able to judge when I get them assembled. These were made on 3/4″ MDF however the strips when curving should lay nicely against them so I’ll do a little beveling of the edges to get everything to fit with a tighter placement and on the bow and stern I’ll need to bevel them down so the strips can meet at a point instead of dangling in space as a 3/4″ straight edge would force them too. More on this in a future post.

If you need any CNC router work done and/or want your own forms, once you have your CAD files drawn up, I can definitely recommend Chicago Router Works in, of course, Chicago. Ask for Matt as he was VERY helpful in working with me on this project and the price was definitely fair. They are at 6625 W. Diversey (just east of Oak Park on Diversey). The address is a building with a “Radionic” sign on the front. When picking up your job, go around to the east side about half way down and you’ll see a small sign for Chicago Router Works.

Got the Wood and Soon the Forms

Well I decided to stick with my newest design concept using the previously posted image as the basis with some modifications. Since those red patches are in front of and behind the cockpit I’ll have to decide on a cockpit size before starting to fill in the wood on the deck, otherwise when I cut the opening it might ruin the look by intruding into the design areas.

While I’m actually pretty close on the cockpit size, it isn’t final. I think I have a size that will work but I want to “test” it at my next class in a few weeks. I can sit in that Pungo model and use a paddle placed at the measurement I’m thinking of and see if my knees fit better. But I’ll save that discussion for another time.

Back to the wood. I stopped at my local Owl lumber and was surprised to find that this time they now had Western Red Cedar as part of a new small softwood section. For a few minutes I was going to throw my plans away and switch back to cedar but upon going through literally every board they had, all were pretty knotty and it just didn’t make sense to change again.

So I stuck to the original plan and bought Basswood, Spanish Cedar and Walnut.

Each 2x piece will yield many strips all approx 3/4″ x 1/4″. Ideally you are looking for quarter-sawn grain on the strips which means that some of the cuts will need to be carefully planned to try to get this… or at least as close as possible.

Let’s examine the Spanish Cedar piece of wood. Looking at the end grain allows for a good examination of the grain direction. This first image is the raw wood as it came from the lumber yard. Can you tell which way the grain runs?

Spanish Cedar end grain

For illustrative purposes I loosely drew in the approximate grain direction in red to make it clearer.

If you couldn’t tell from the picture, here you can see that on the left end the grain is nearly vertical while on the right side, with the surface reflecting flat sawn, the grain is almost horizontal. Let’s examine in the next image some cutting options.

If I cut 1/4″ strips off the board, then in the yellow sections the grain will yield nice quarter sawn boards. However on the left side, the boxes in green show that my grain will end up as flat sawn on my strips. While technically there is nothing wrong with this, the appearance will be not as nice as it could be. Any ideas on how to rectify this?

On the right side I can cut vertical 2″ strips, then turn them on their side and cut in half yielding two 3/4″ strips. But on the left I have to be more creative. As shown here, first cut a 3/4″ piece off of the blank (in green), then turn that piece 90 degrees and slice off the yellow boxes yielding quarter sawn pieces.

Approximately half way across the board I’ll stop with the 3/4″ pieces and switch to the 1/4″ slices for the rest of the board. The end result will be a bunch of strips, all with as close to quarter sawn grain as I can get. I’ll work through the Basswood the same way.

Also, as the strips come off the saw I will bundle them back into their original shapes and number them so I could, in theory, reassemble the original board. This isn’t some organizational OCD thing, but rather so when I start splicing the shorter strips into longer strips and then laying the longer strips out into the planned pattern I can ensure better color and grain match to help minimize seams.

Hopefully this week I’ll be able to start cutting the strips and I’ll try to have some pictures if not videos of the process. Also I’m supposed to pickup the CNC cut forms near the end of the week. Getting that first strip placed isn’t too far away now.