
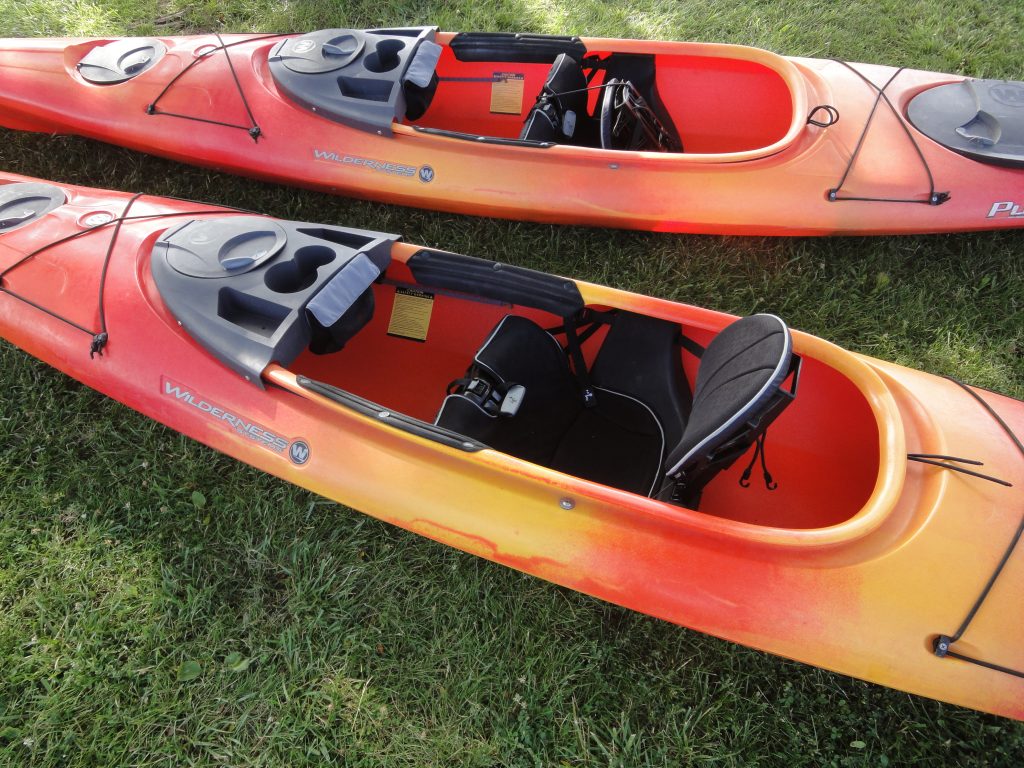
I took the third kayaking class today from REI. This was a smaller group, only 4 of us plus the instructor, Matt. He did a good job teaching us bracing and edging. Being still somewhat new to kayaking these terms weren’t something I was familiar with so I learned that bracing is essentially slapping the water with your paddle when you’re about to go over in an effort to push you back upright. Edging is what it sounds like. Tilting the kayak on edge and paddling. It lessens the amount of kayak in the water making it easier to paddle and quick to turn. This is very common, we were told, for those getting in to white water and such. It can also be useful to make it easier to paddle. How fortuitous as we got most of the way down the lake when a big wind came up producing, for the small lake, decent sized waves. While practicing the edging I had my paddle in and started going over. Unfortunately with it in I had nothing to brace with and ended up wet exiting. Having learned and practiced these a few weeks ago I did it quite well and using the assisted method I was back in my kayak in literally a minute or two at most. So we then paddled across the lake, parallel to the waves and then turned and had to go into them/the wind all the way back to the launch point. It was a great workout and when I was up on edge I could feel a bit more speed. I won’t say it was easier as this is still a new paddling technique for me but with time and practice maybe it will come more naturally.
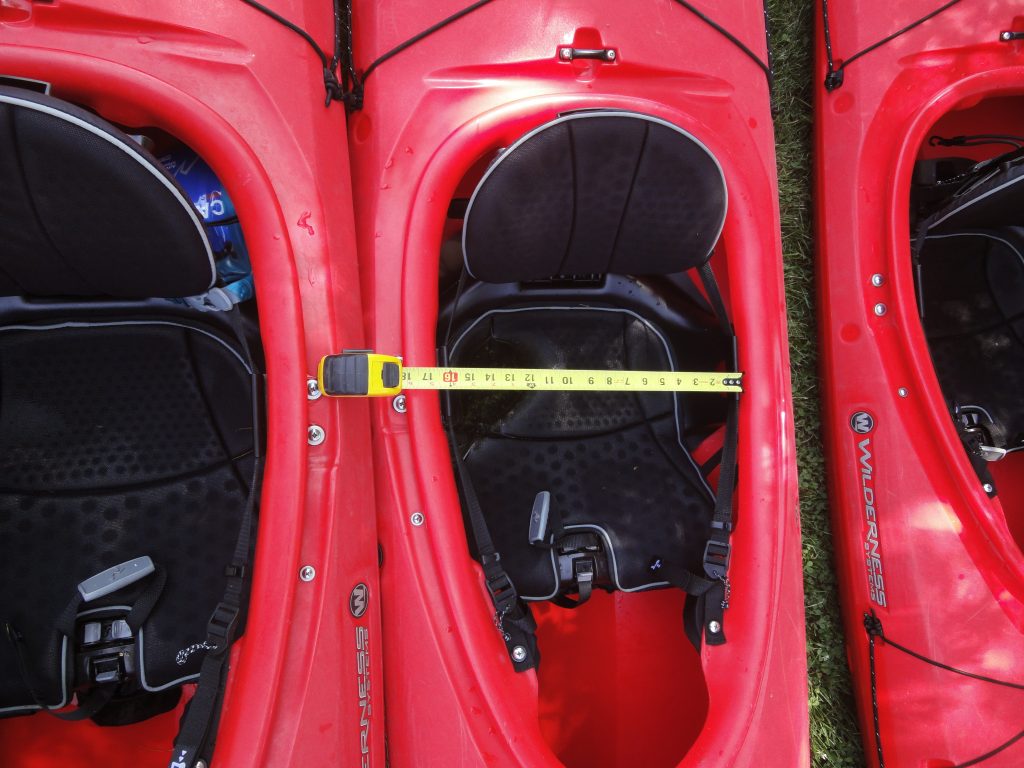
However, honestly I really don’t think I’ll utilize edging that much but bracing in waves is something I can see definitely taking advantage of. After class I got measurements on the 57″+ cockpit of the Pungo model. I determined where leg/knee clearance would be for me and pretty quickly figured out that I need 36″ from seat back to front of the coaming. Add in the distance from seat back to the rear of the coaming and that will be my size. Roughly 39″-42″. Width wise the small cockpit of the Tsunami model I used was fine at 17″ but I’ll probably stick with the 18″ on the plan specification.
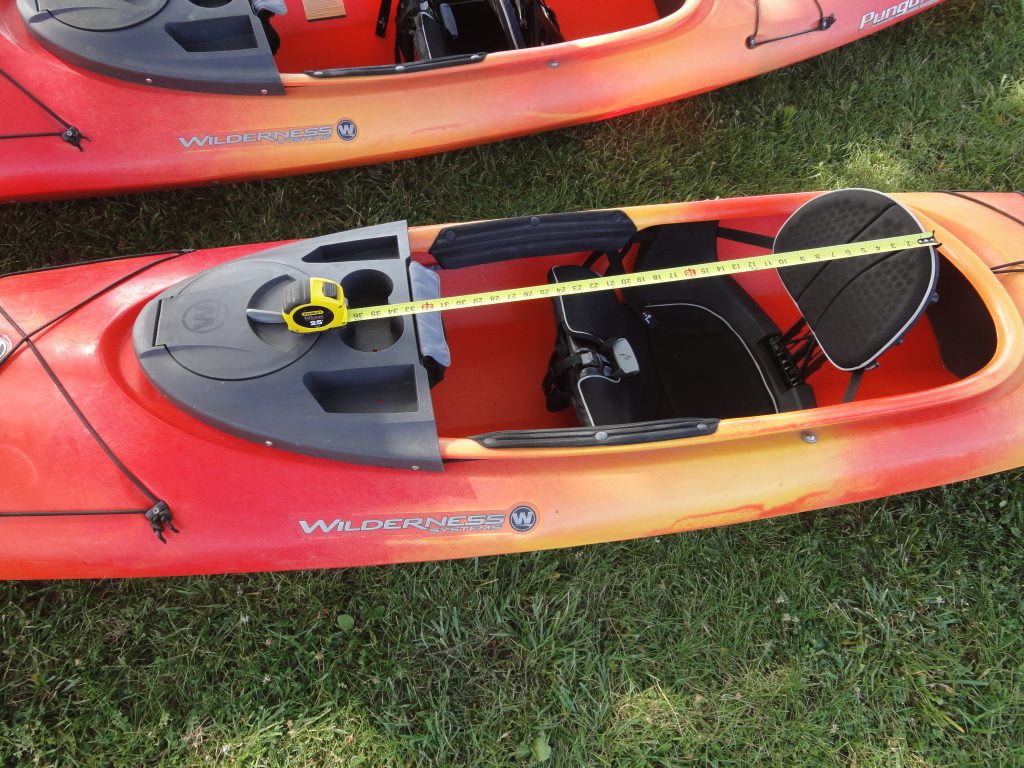
The “e” in wilderness is where I need the front. 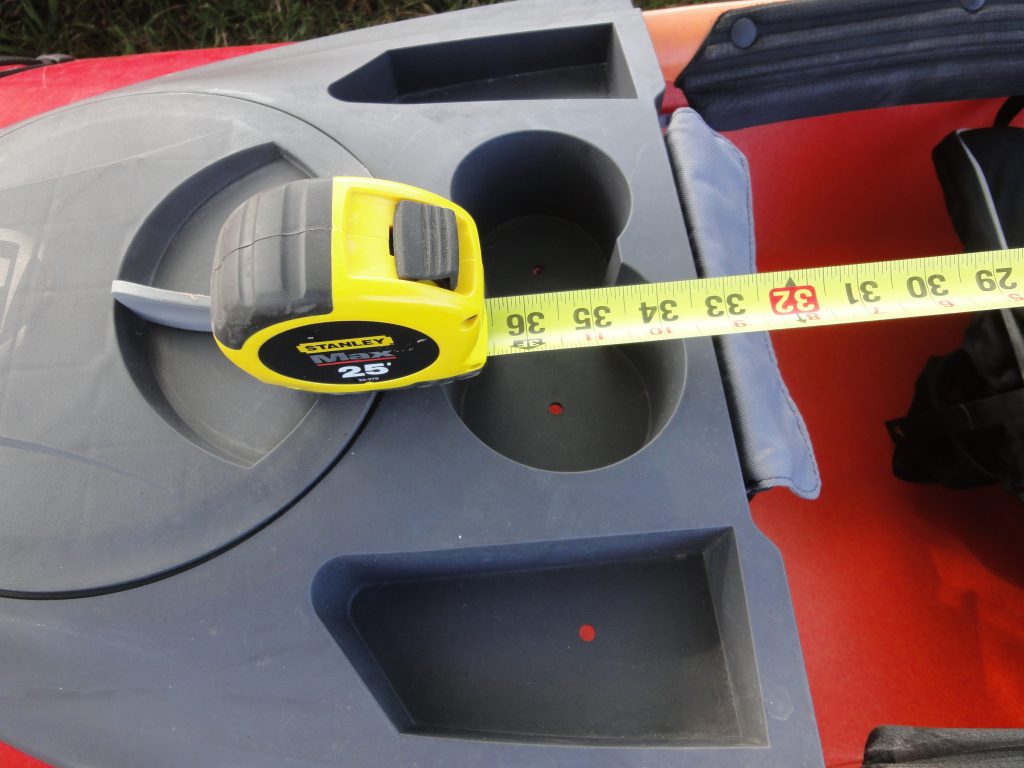
36″ is the length from seat back to cockpit front for me 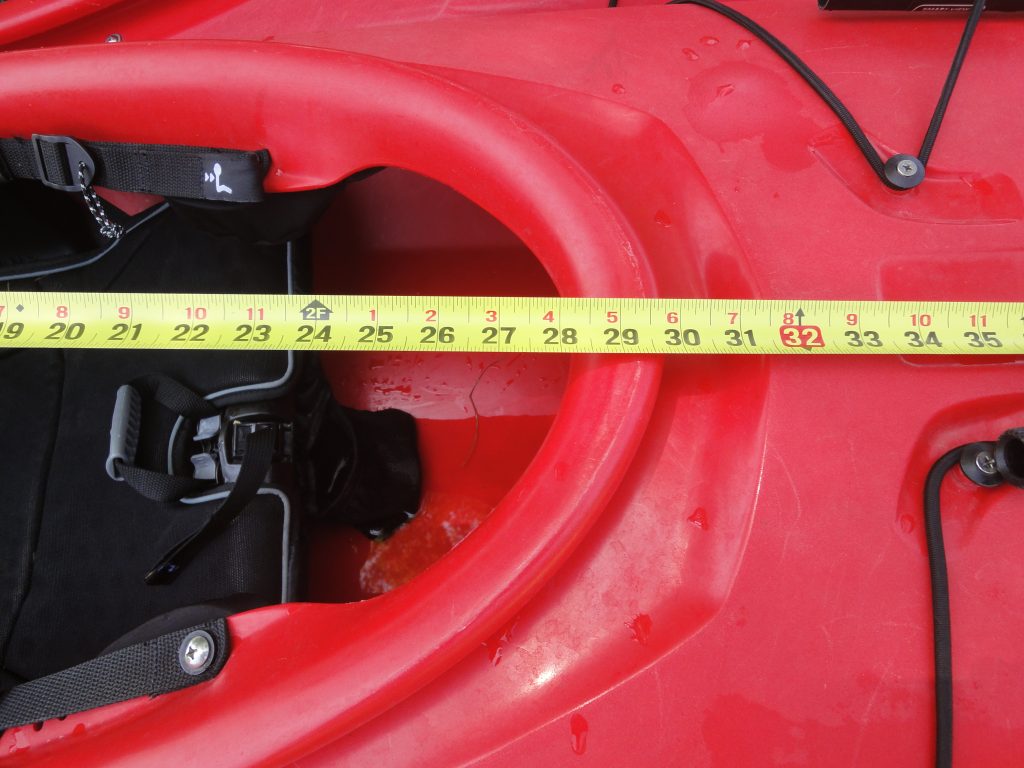
The smaller cockpit. I have to sit on the rear deck to get my knees in, 
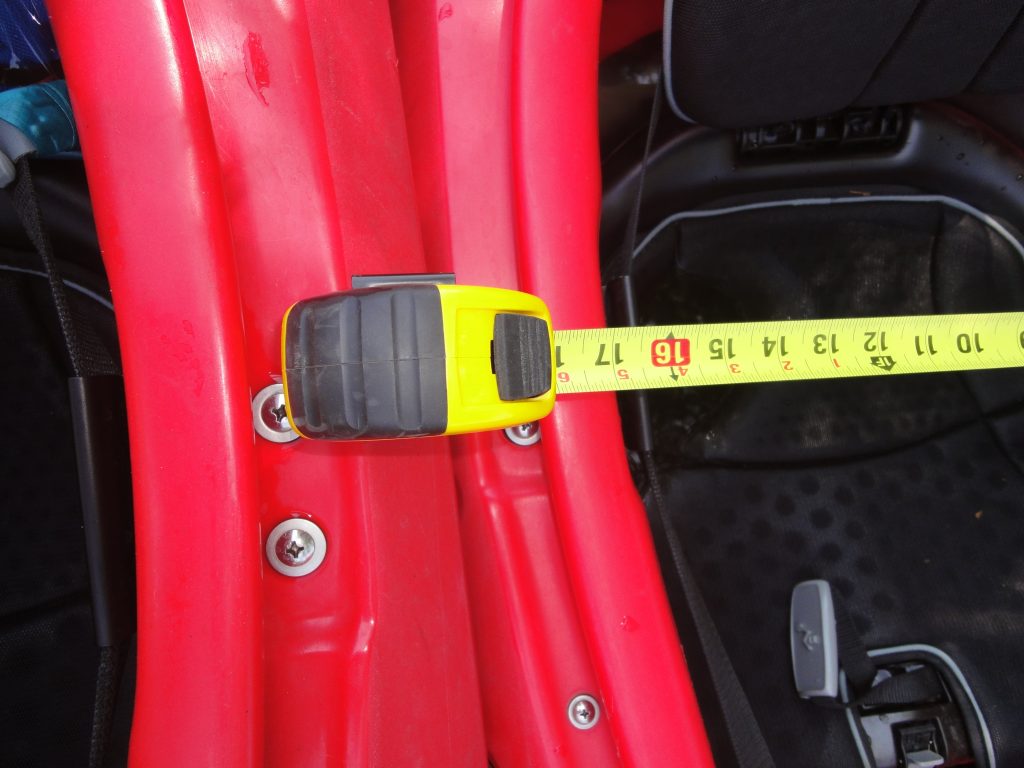

I’d like the front part wider so kind of more oval than egg shaped.
Over the last week or two I did a lot of cockpit and sprayskirt research. A very valuable site is Skirtfit.com which has a LOT of cockpit dimensions listed on their site. I went through literally every brand and model and recorded a good sampling of width/length dimensions from about 30″ up to just over 50″. The Bear Mountain Resolute calls for a 30.5″ x 18″ cockpit. The Old Town Cayuga has a 42″ x 19″ cockpit according to Skirtfit.com however according to an old 2008 PDF (the Cayuga is discontinued) page 6 and a mention on REI’s site it lists the cockpit at 40″ x 16.5″. Any of these dimensions should be fine for me. Using a site like Seal Skirts I can enter the make and model so I put in the Old Town Cayuga 110 and it said that I need a standard sprayskirt of their sizing 4.2. So this tells me that as long as my cockpit is around the same size that I will have no problem finding a spray skirt.
I was also busy this week ordering more of the supplies like the fiberglass and epoxy among other things. When those supplies get used I’ll discuss them. For now the other item I got is the Harken Hoist I mentioned last time. I looked into other ones and the Harken model seemed to have the highest lift. Many had fairly long hooks and such that you anchored to which loses storage space above the door. The kit seems a bit light for what you pay for it but I found pretty much all good reviews and while I could have cobbled together pieces and done something similar for less, that would be hours more research and shopping and frankly I’d rather put my time towards the kayak and not into lifting methods.
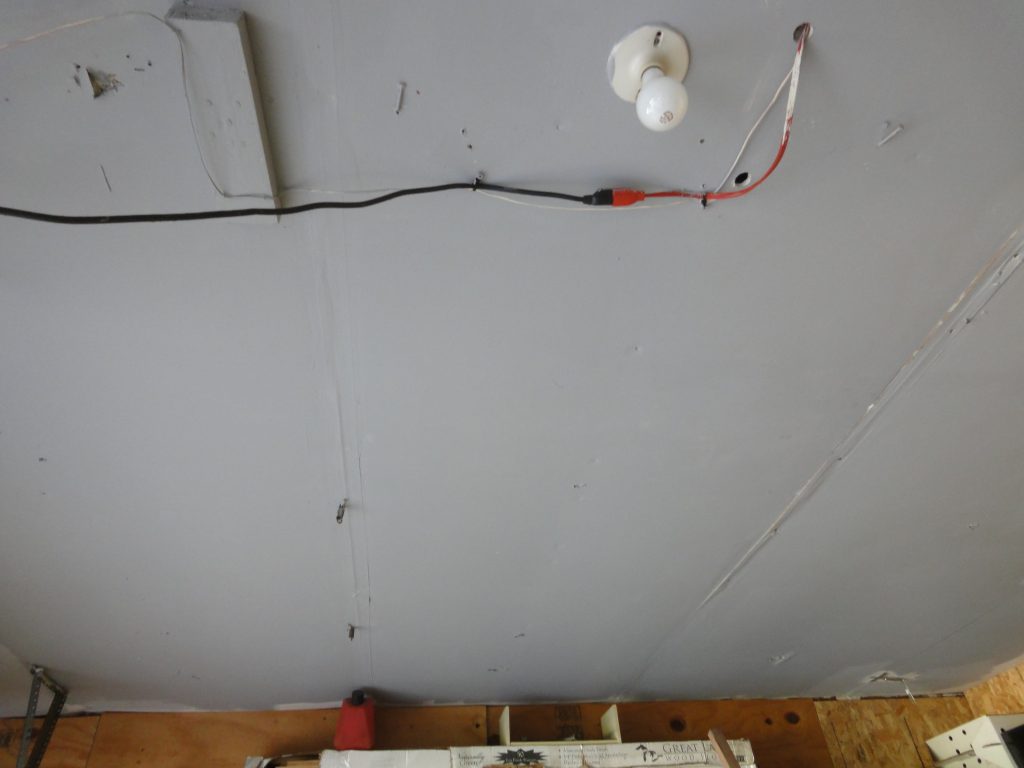
The install was pretty easy. Use a 2×6(not included) to anchor to your rafters then everything anchors to the 2×6 and to your wall. The hardest parts were ensuring I was putting the lag bolts into the rafters and trying to tie off the lines at a consistent height. I still don’t have the line lengths perfect but it’s good enough for now. Once I have the kayak shell and not just a beam to work with I can get a more accurate length. When I first tried raising the beam I ran out of room when the block and tackle mechanism ran against the eye bolt. To fix this the lines were retied shorter. The beam still tops out below the door but this is partially because I’m lifting what amounts to a 2×4 instead of the full size 25″+ kayak. The larger size will take up a lot of slack and should sit much higher although I may still have to adjust the lines a second time.
While the lag bolts should be sufficient, for an extra measure of safety I plan on putting long through bolts from the 2×6 through the ceiling and into a second board on top of the rafter joist. This second board can be screwed into the rafter from above for an added level of anchoring. It may have to wait for a cooler day as normal summer days are 130+ in the crawl space attic and the conditions up there are such that it can get dangerous fairly quickly.
The area designated for the kayak 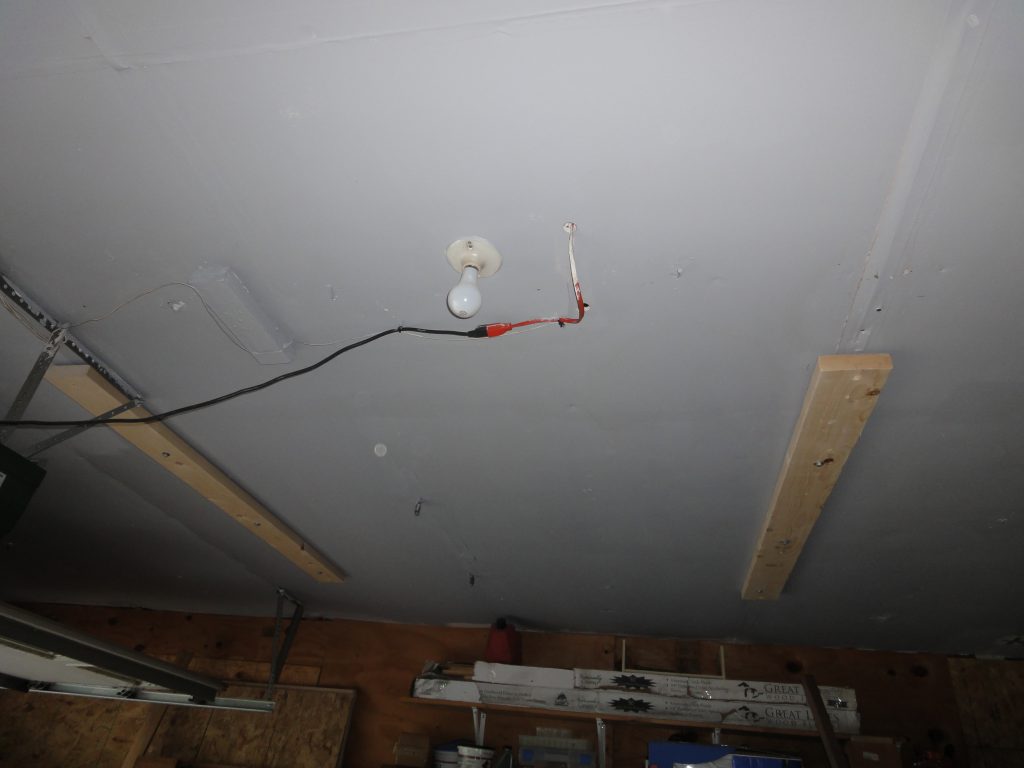
Base anchor beams installed 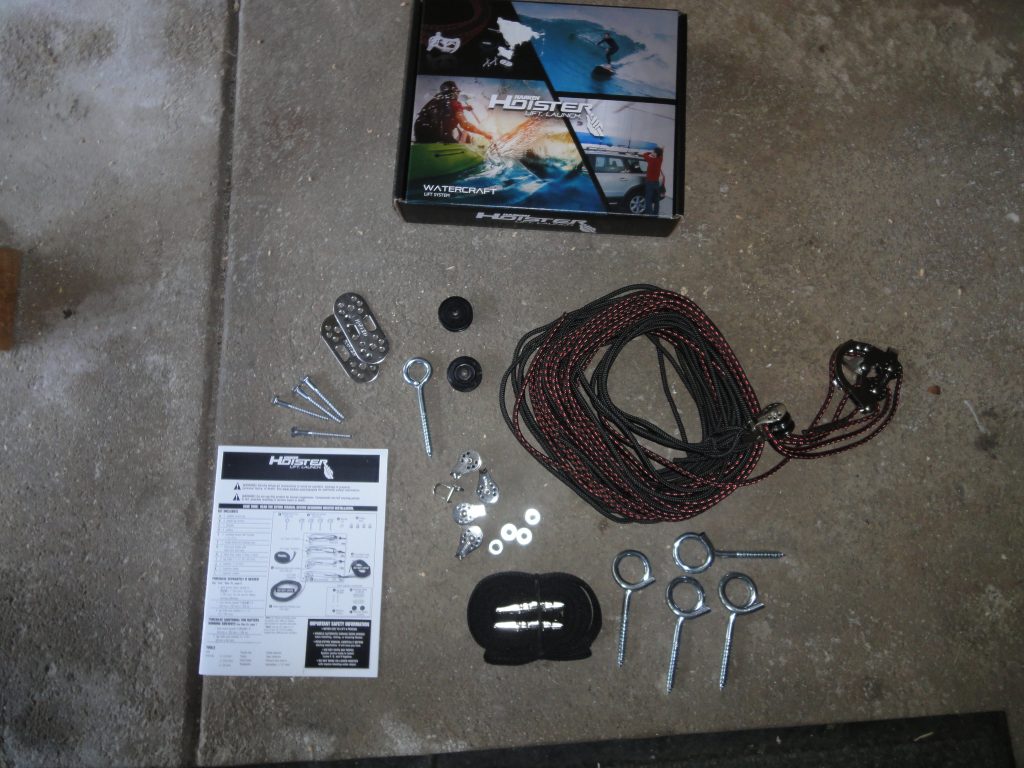
The kit components 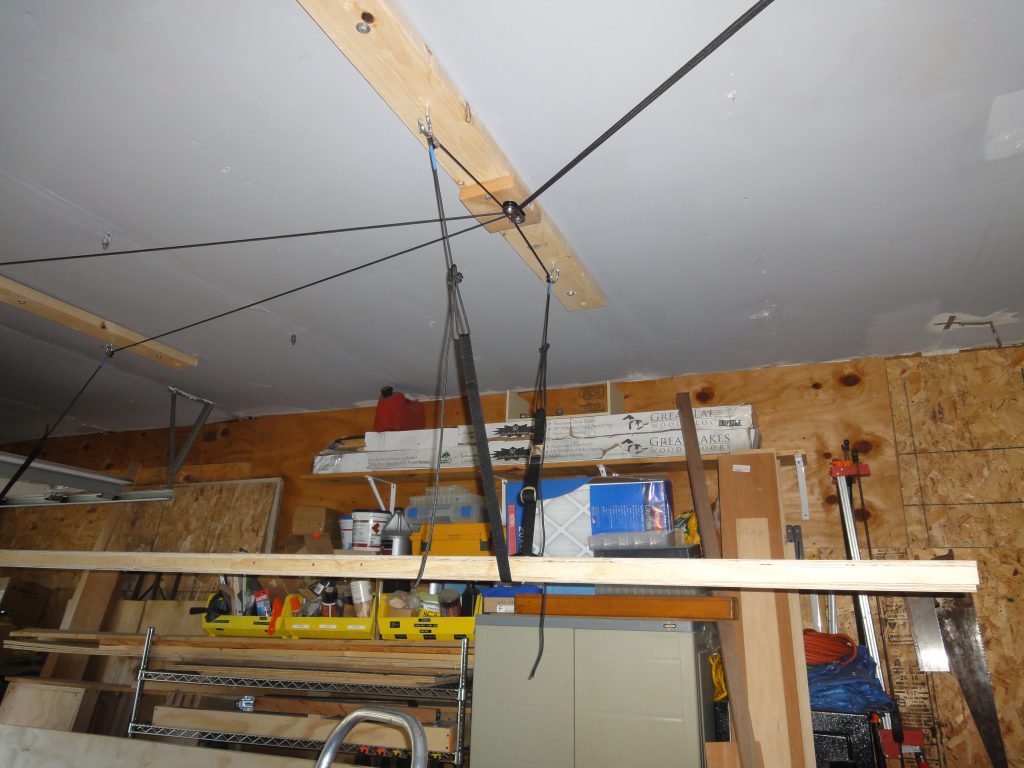
All the lines meet and then head off to the block/tackle mechanism 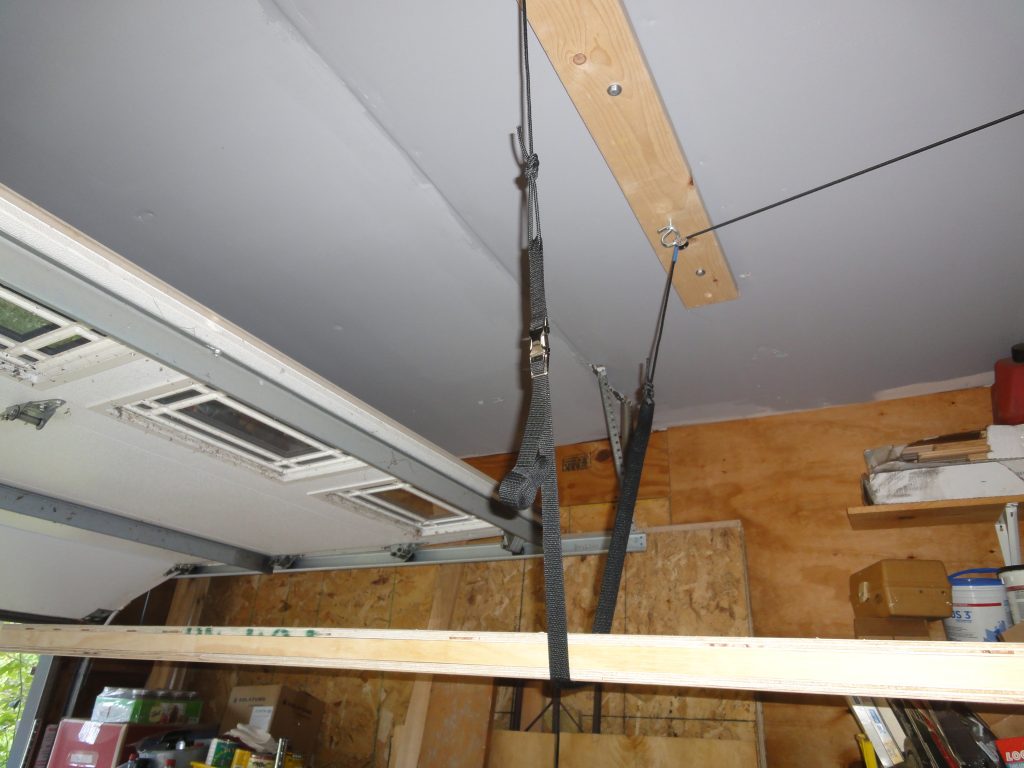
For now the load will sit under the door. 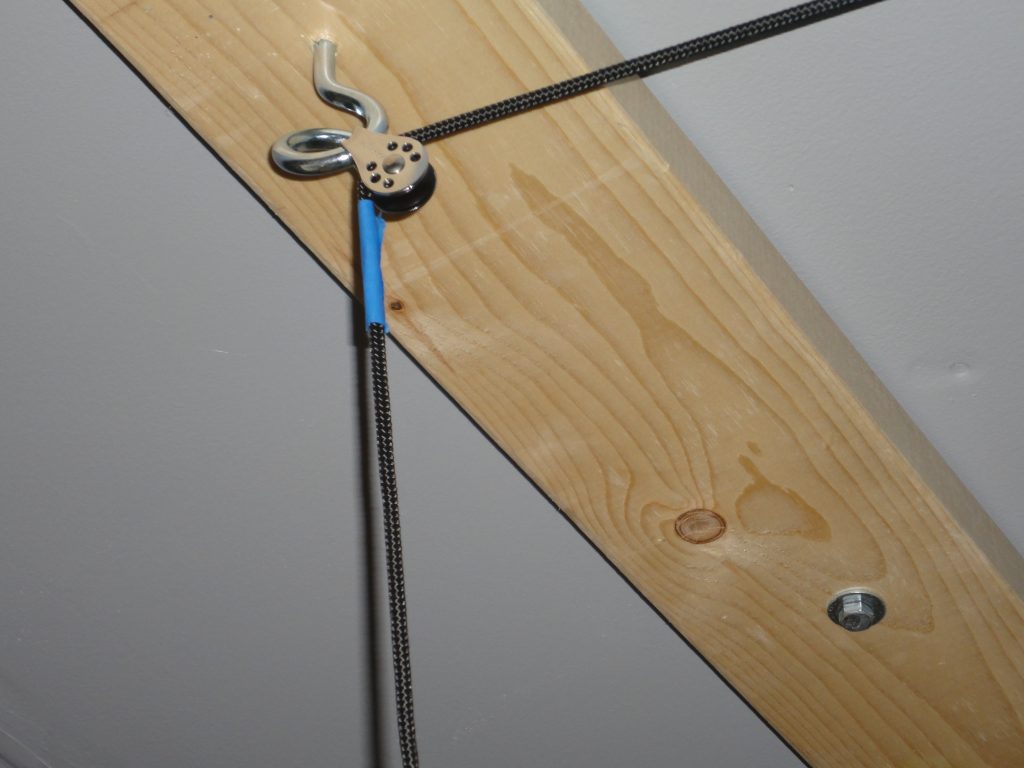
First fit, the blue tape part of the cord needs to be moved to the belts. 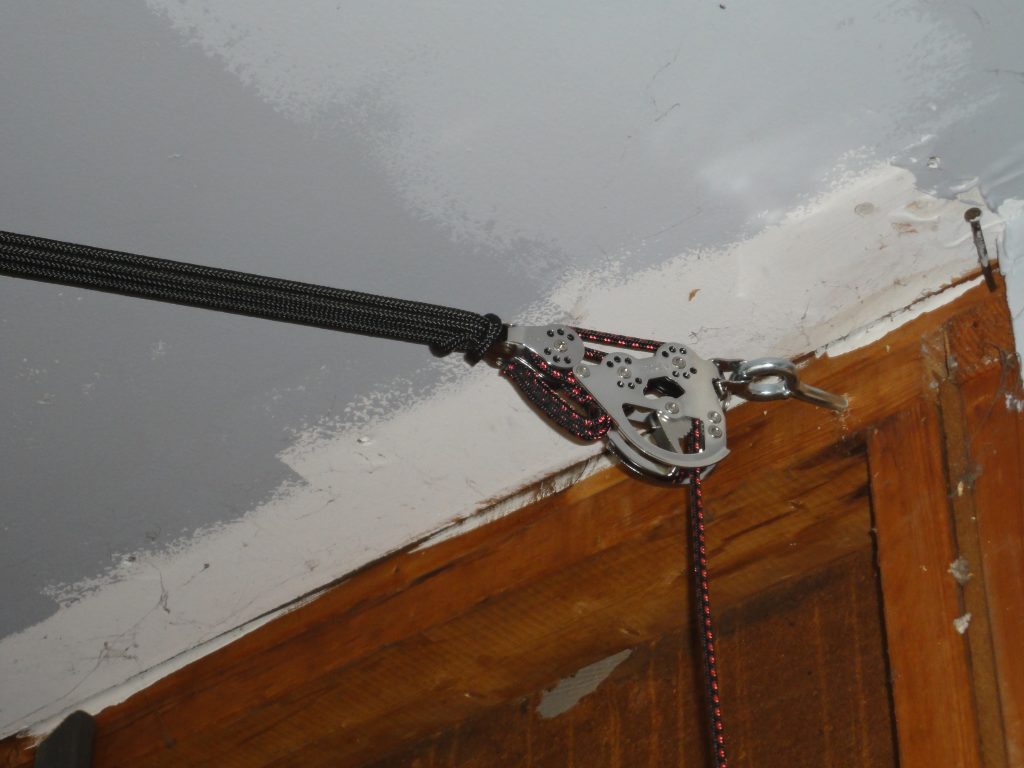
On the left are the lines, on the right is the pulley system and the integral locking arm along with the raise/lower rope on the bottom.