No, I’m not misquoting Cheryl Crow’s song. Today I made a big cut, the kind of cut that if you do wrong, well let’s just say you risk turning a big part of the kayak into firewood. But let’s start with the easier stuff.
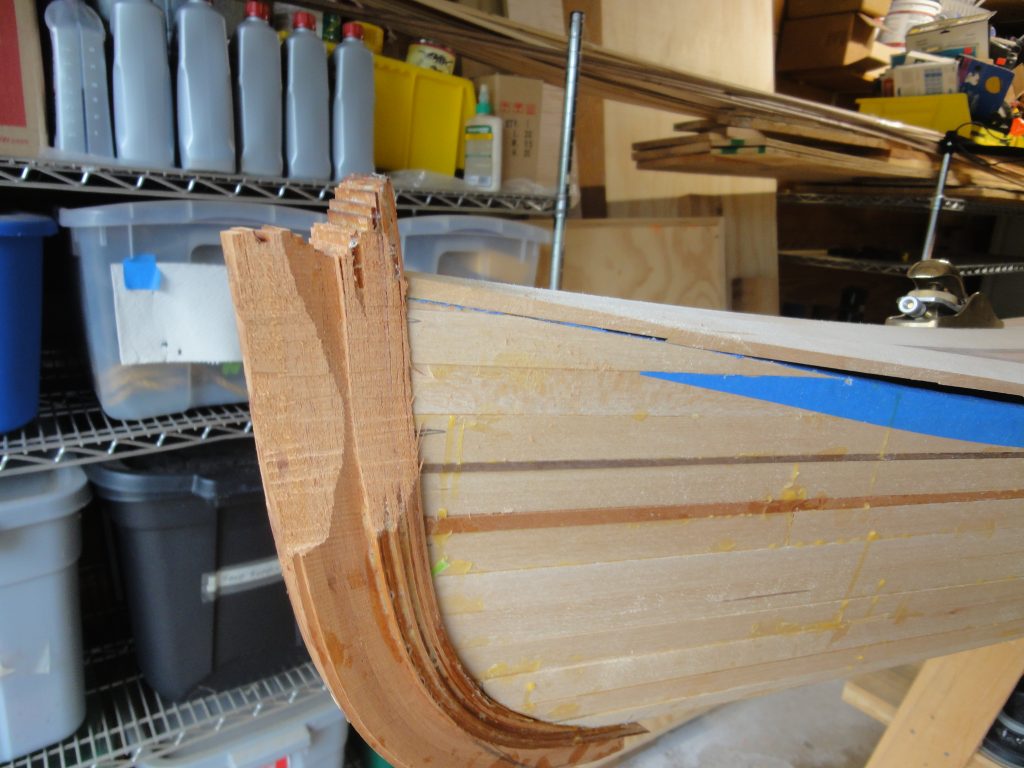
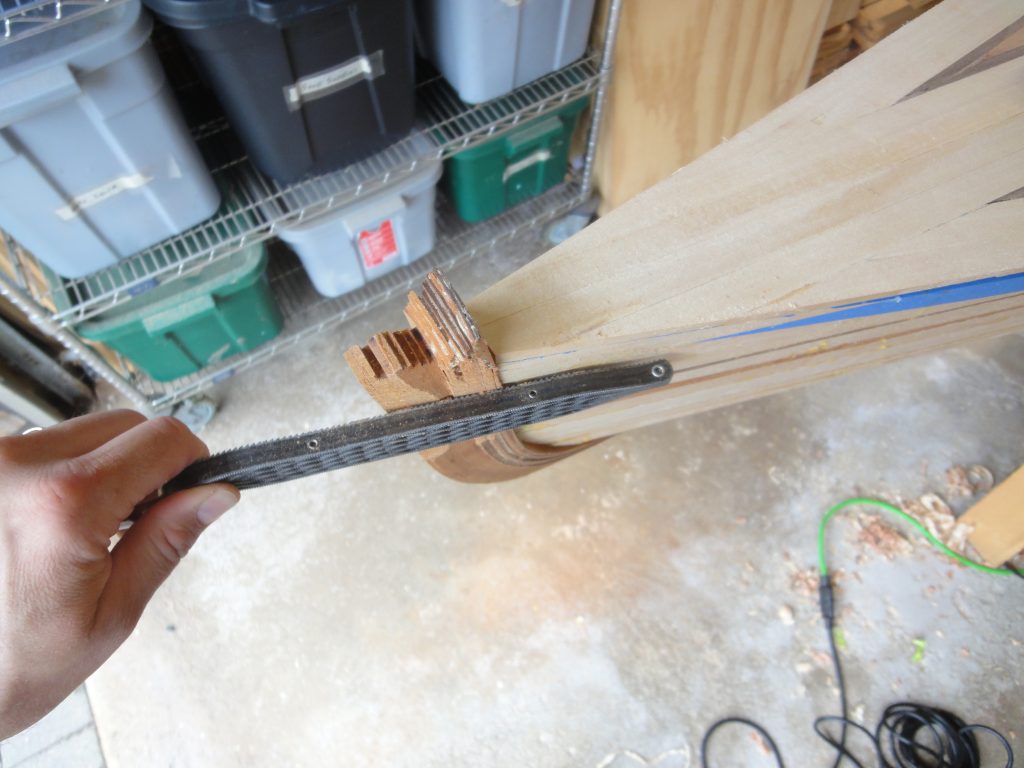
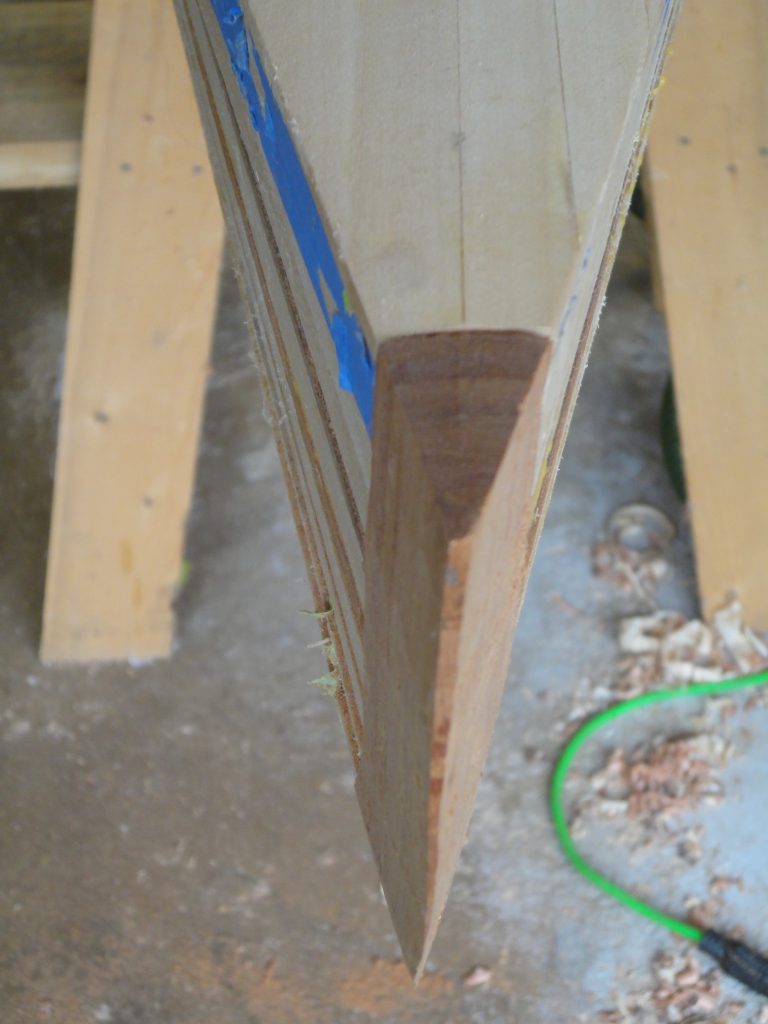
After drying overnight the stems were ready for shaping. Nearly all of the work was done with the Shinto rasp. Almost two hours of time and I’ve got both of them roughed in about an eight of an inch or so oversize. Final shaping will be completed when I’m working on the hull.
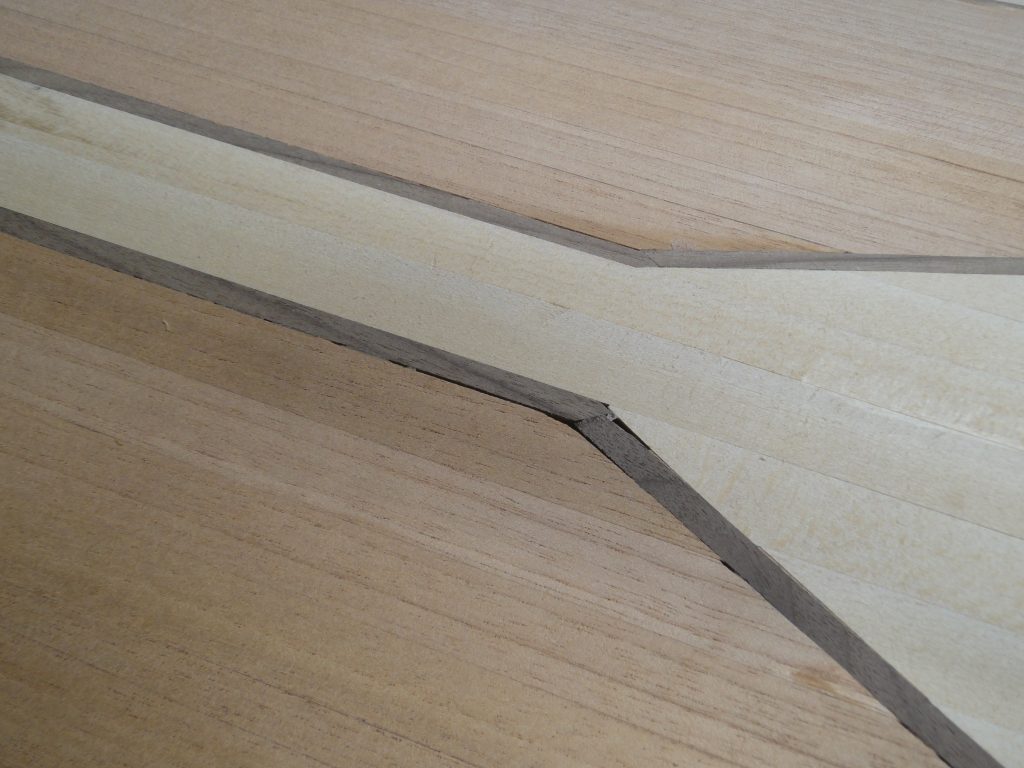
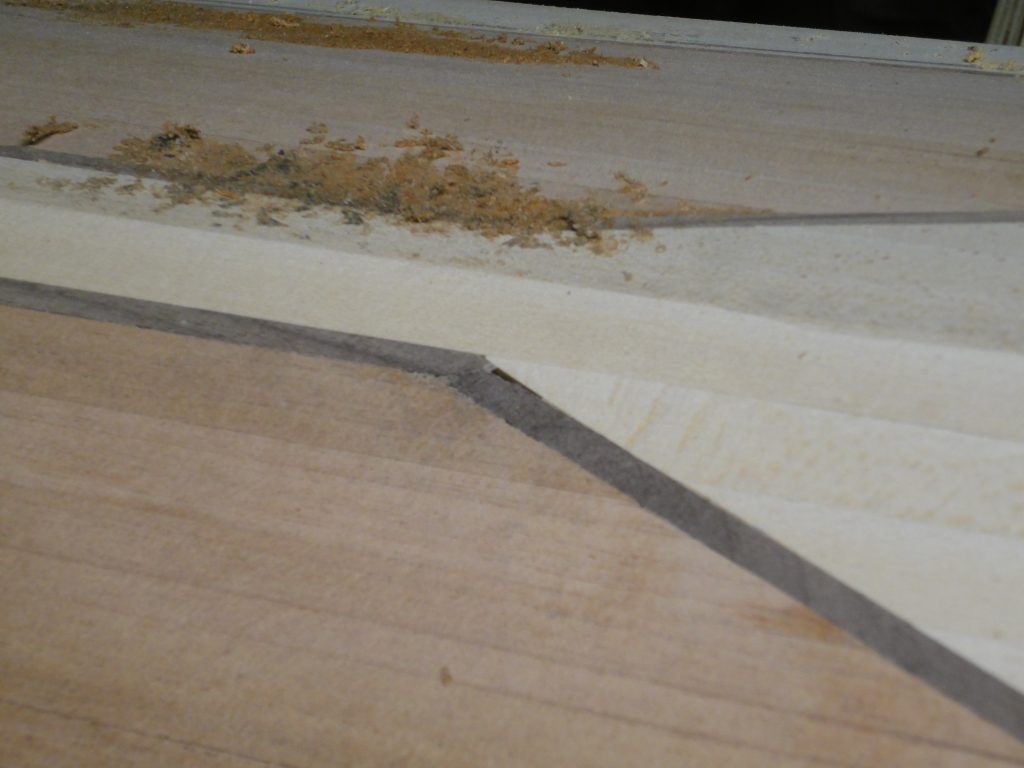
Also yesterday, I made some filler. Today I sanded off that filler, made some walnut sawdust and filled in the walnut spots. Compare the pictures below of the Spanish cedar before and after. The remaining gap was filled in with walnut after the picture was taken.
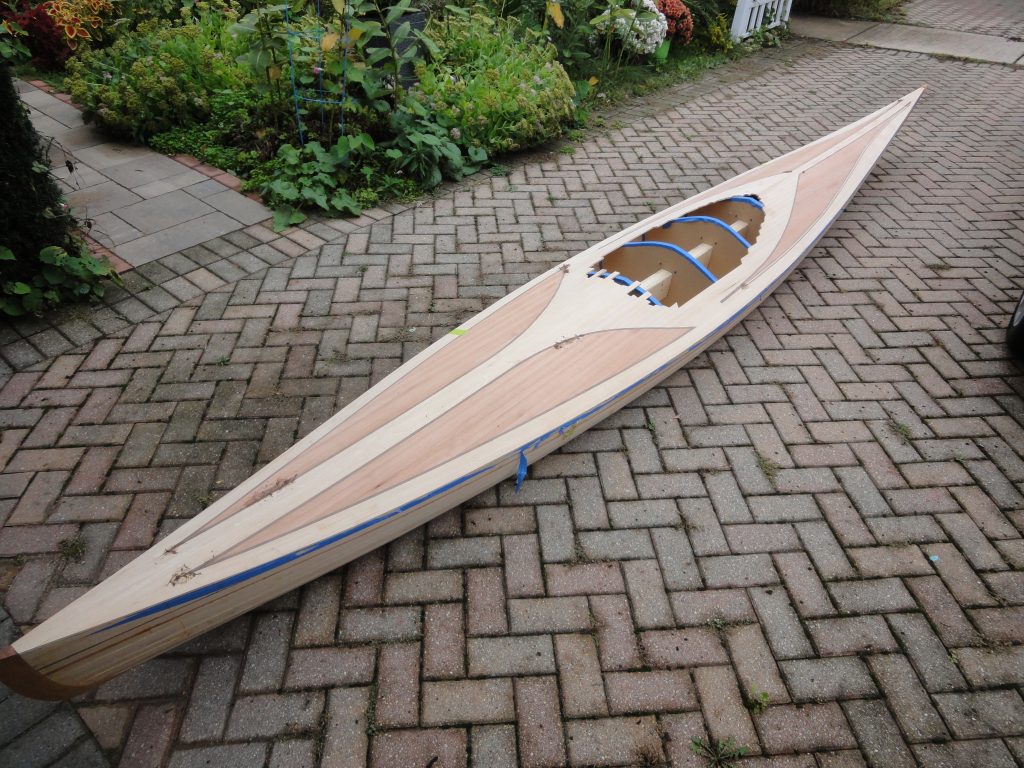
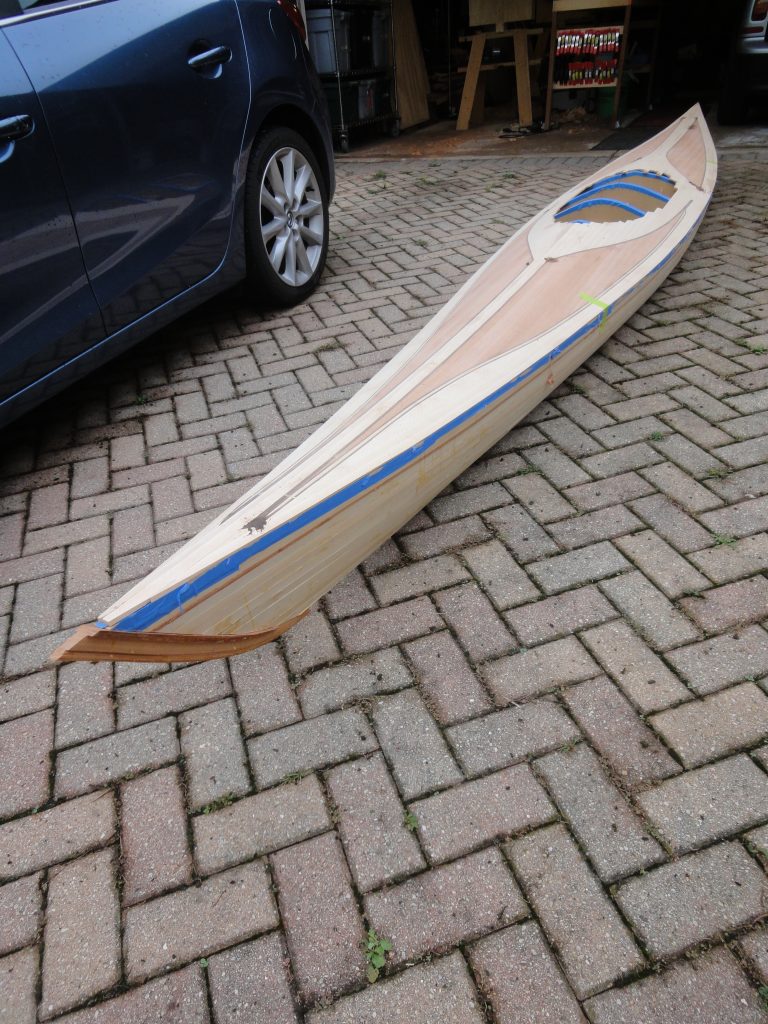
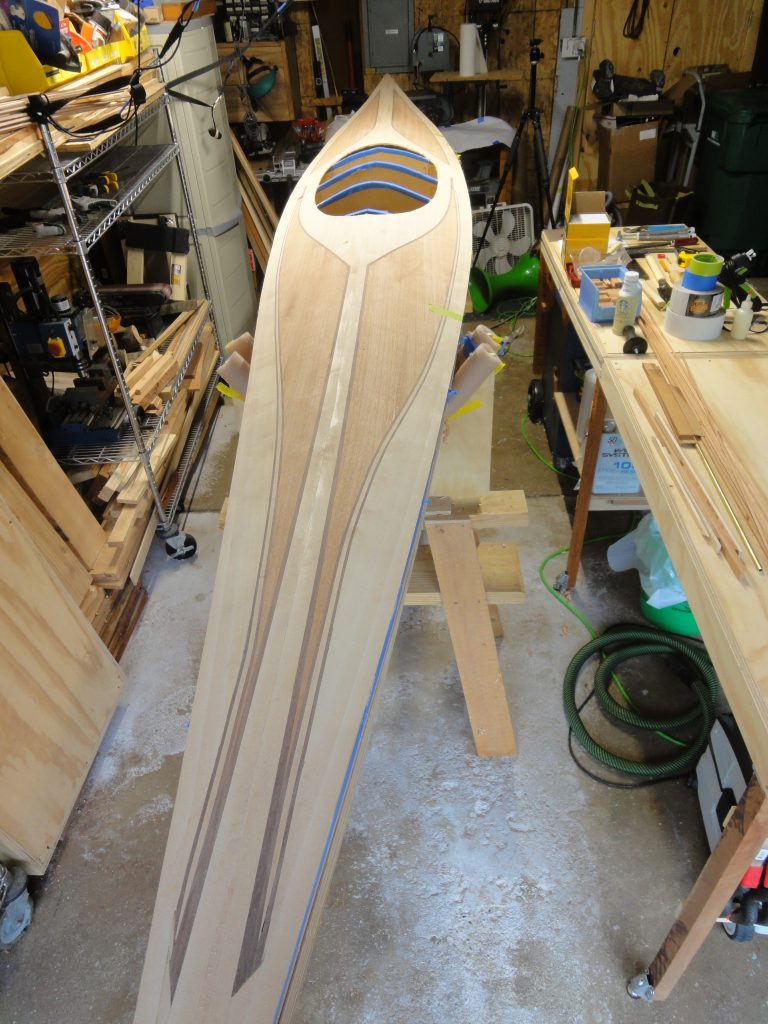
In order to make the bow easier to work on I removed the kayak, flipped around the supports and put it back in the garage turned 180 degrees. Of course I got a few more pics while it was in the driveway.
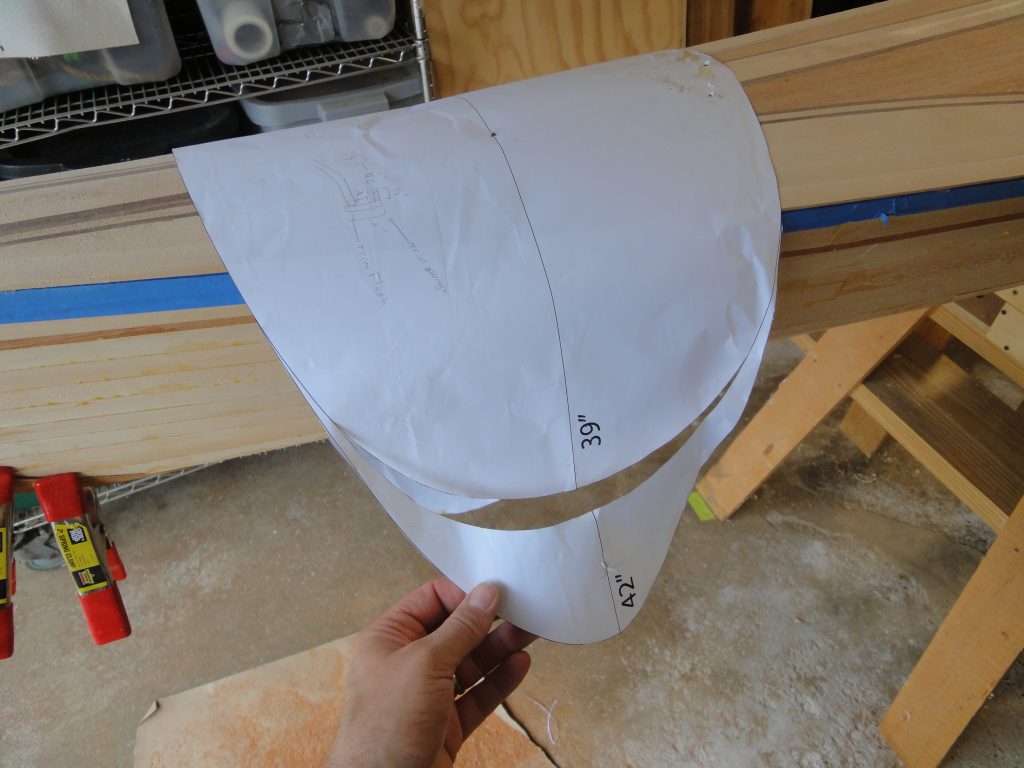
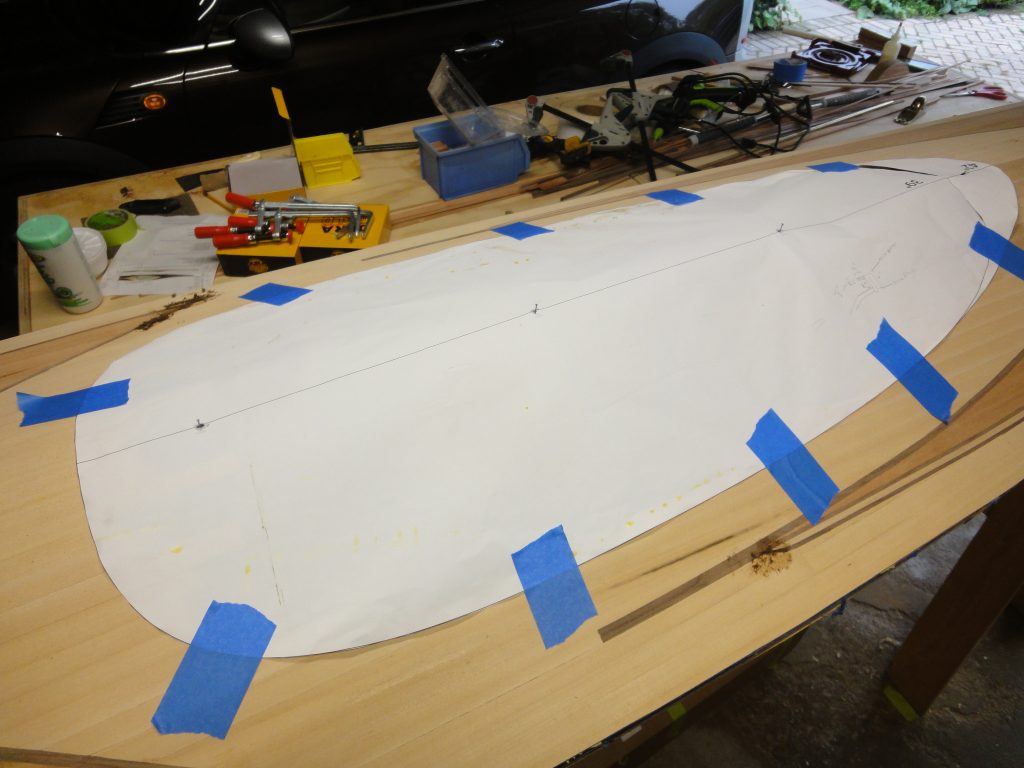
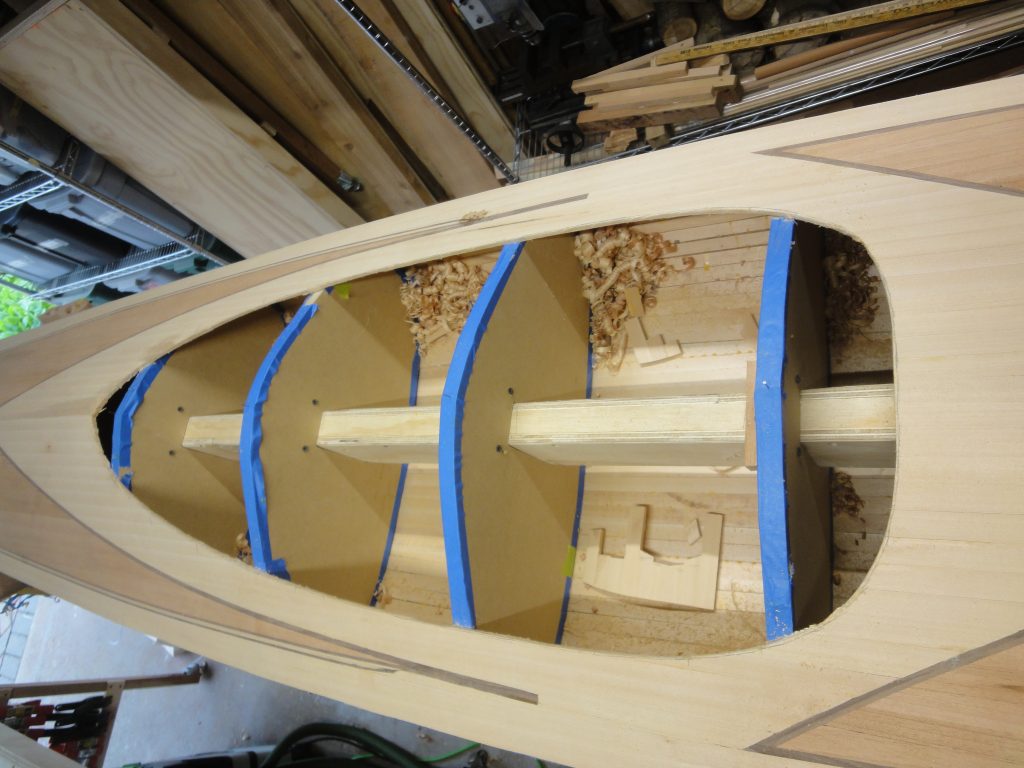
And now on to the theme of the day. The cockpit opening was cut out. The process was actually pretty simple. First I cut out the template I’ve been using accurately to the line. Until now it was rough cut a bit oversized. I also pre-cut most of the secondary shape.
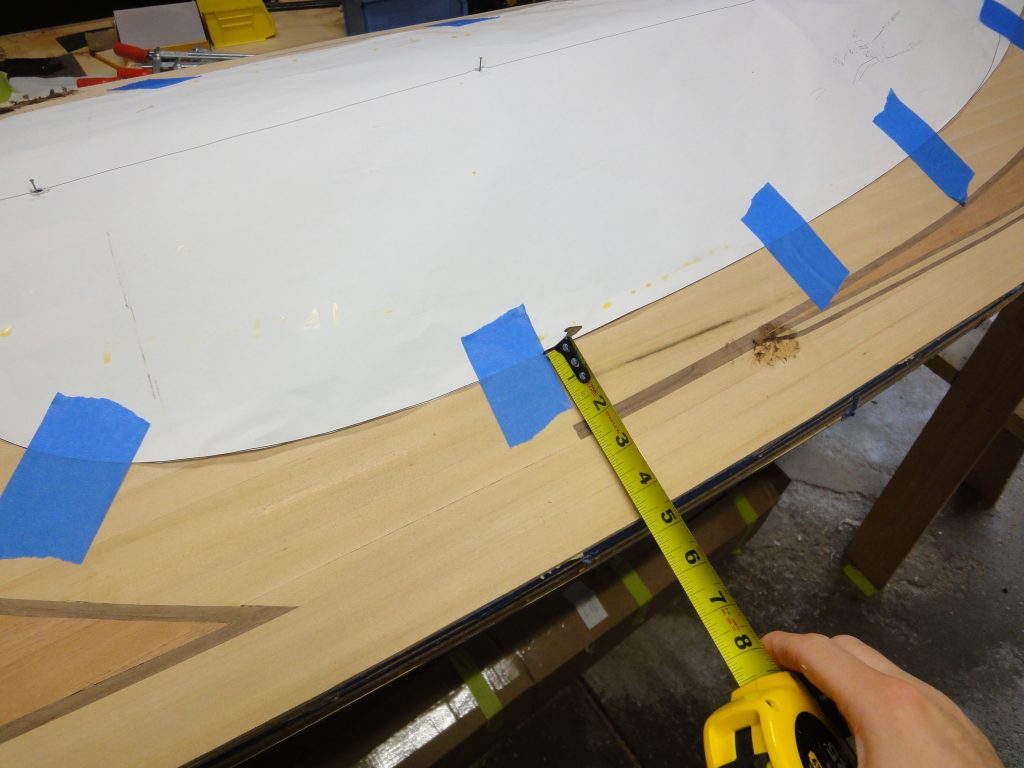
It was then taped in place using the alignment nails I’ve been using all along. I took measurements at key locations and verified them on the other side. Good news is that it was centered right from the start. My measurements on both sides were consistent.
Carefully I traced the edge of the paper. As I got to each piece of tape, I would lift them one by one, trace the edge and the push it back down to keep the template in place. Once completed the template was removed and I had a good line to cut along. Actually I cut inside the line planning to sand and/or plane to the line as I clean up the cut and ensure it is a smooth and fair curve. This will probably be my next work session.
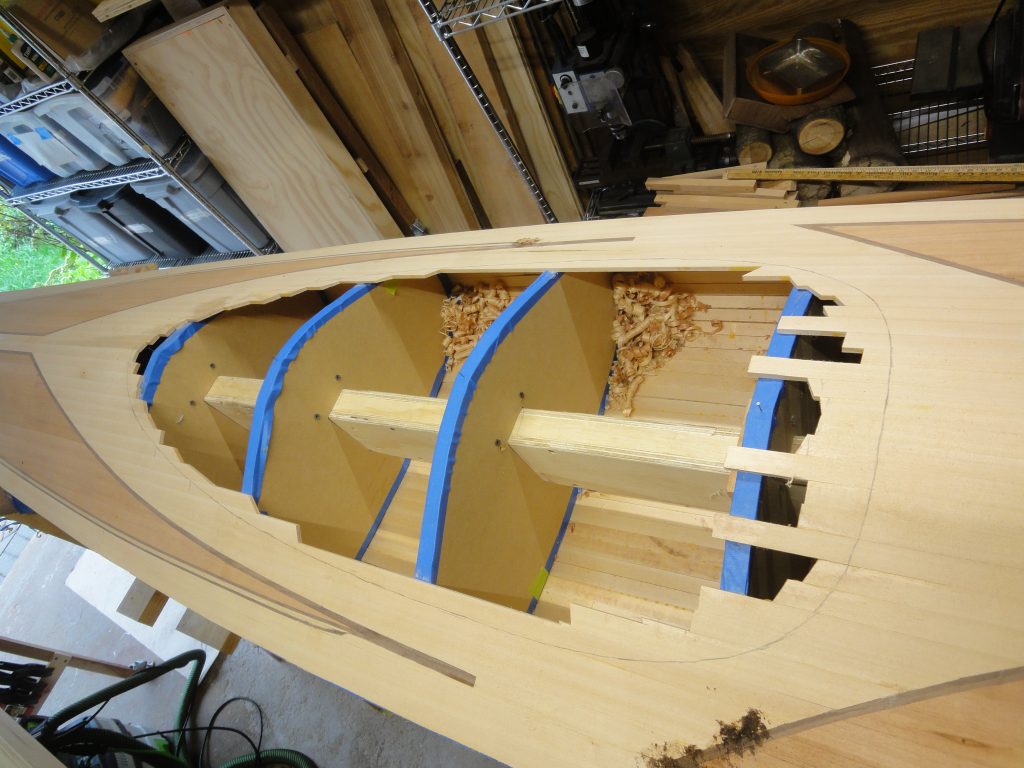
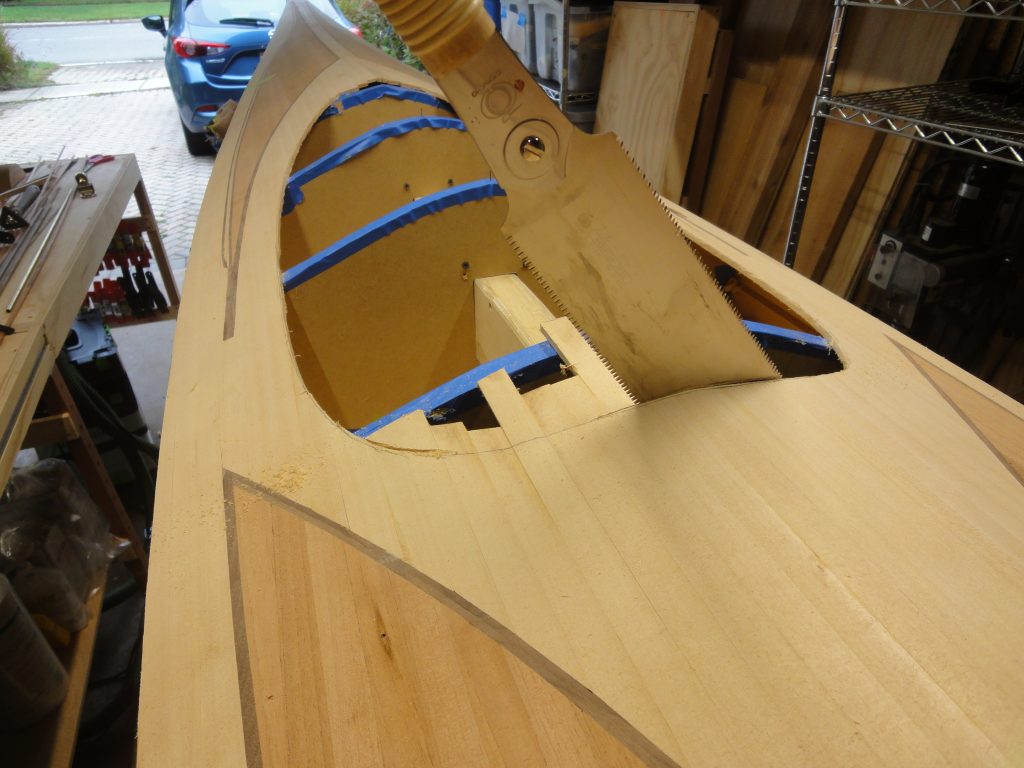
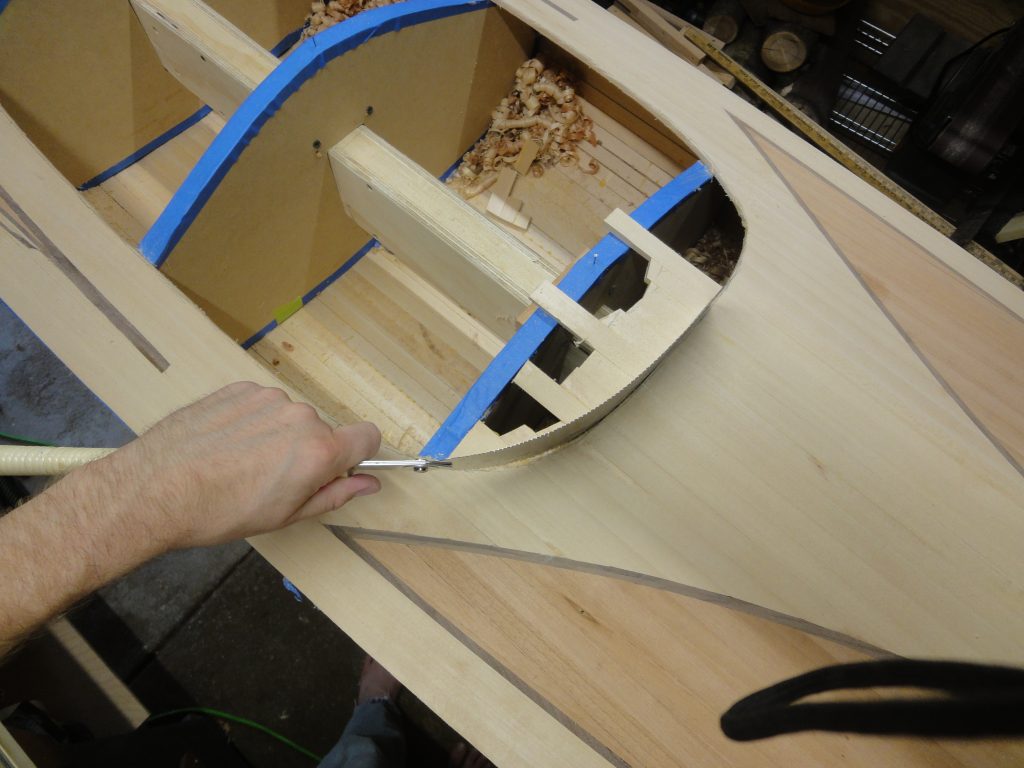
The cutting could have been done with a jig saw or perhaps with a few other power tools, but ultimately I settled on hand cutting it. It really did not take that long and I figured with a hand cut I couldn’t slip and end up with a major oops requiring the deck to be rebuilt. I worked in from the middle with the saw and fairly easily made the straight cuts. It was a little harder going over the forms as I had to change to a shallow angle, but it did work. The curves were more of a challenge, but as you can see from the picture below, the saw was more than up to the task of following the curve.
So I now have a cockpit opening. Looking at the next steps, and the weather during fall in the midwest, I have to decide if I want to move on to final prep, sanding and fiber glassing of the outer deck or if I want to save fiber glassing for the spring and flip the kayak over and continue working on the scraping and sanding on the outer hull. Ideally the weather (temperatures) will cooperate long enough to scrape, sand and fiberglass both outer surfaces, at which point I can remove the forms and put the kayak in “storage” for winter when the temperature finally drops and stays cold. With the fiberglass on at least one side, the hull and deck will retain their shapes. Without it I’m inclined to keep them on the forms until I can resume work in spring.
Of course right now this is all just musing as I could have a good couple of months yet, or just a few weeks. Either way I’ll work for as long as I can. Even longer if any of my readers want to donate a garage heater and insulation… Hey, I gotta try!

