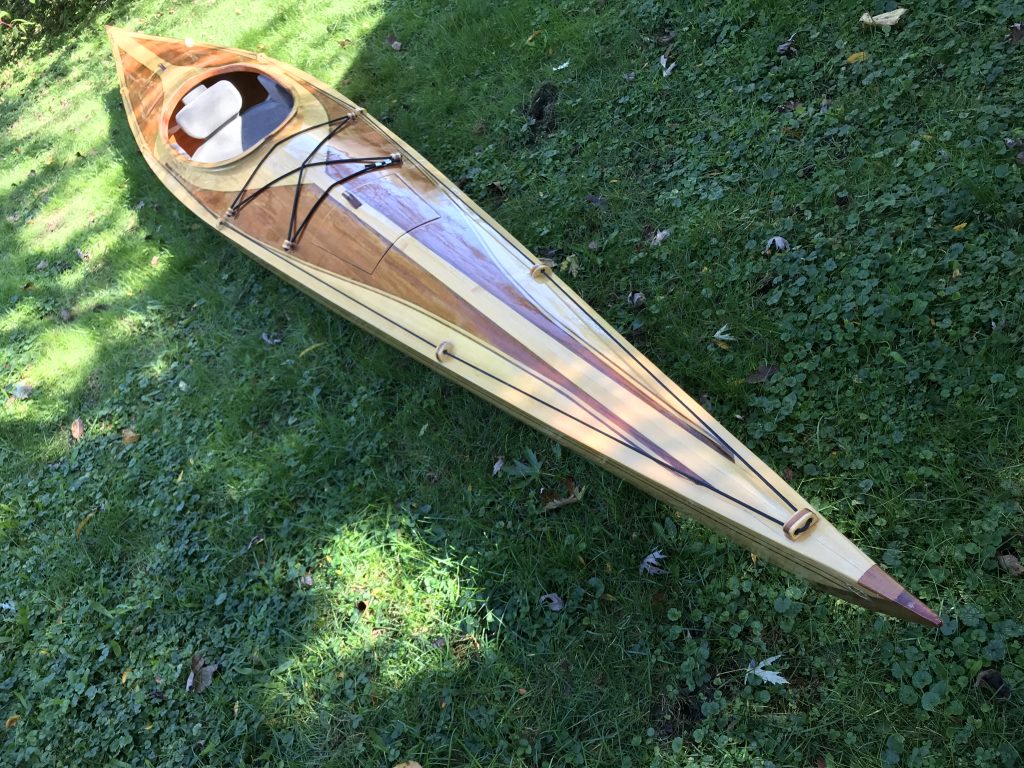
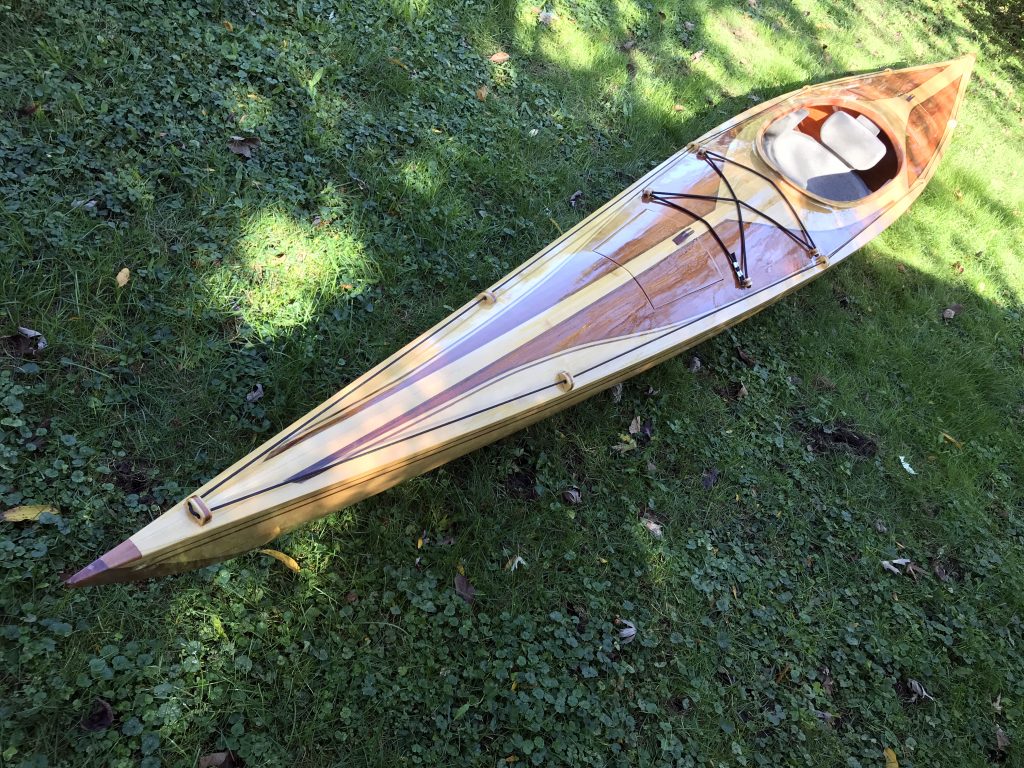
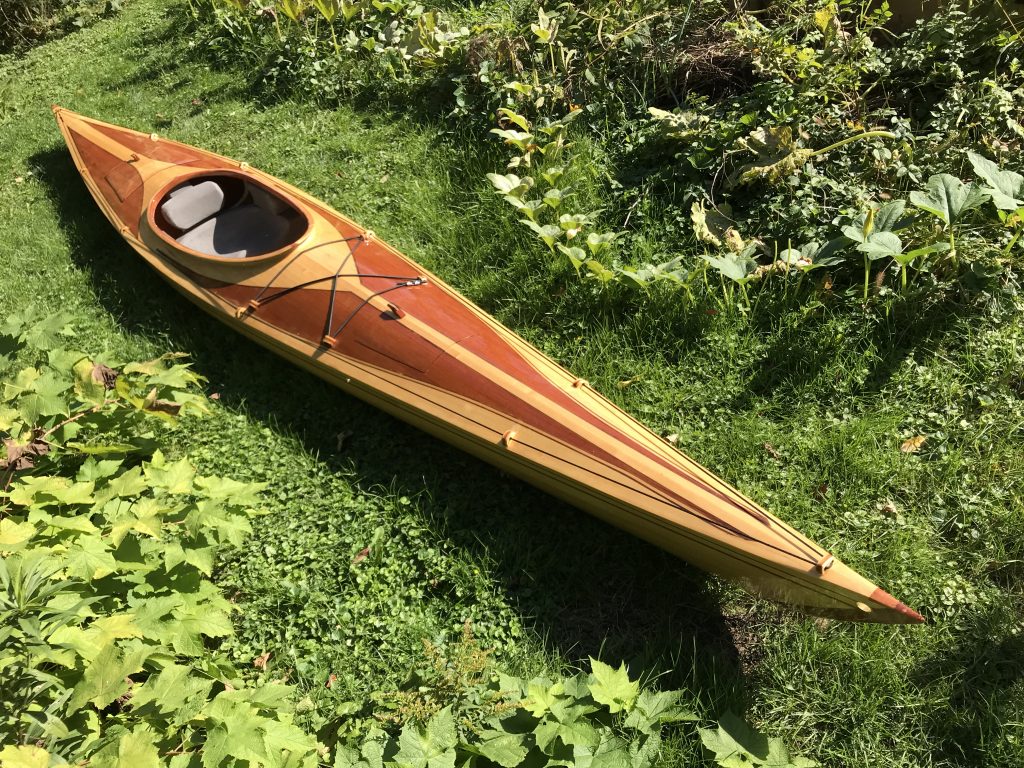
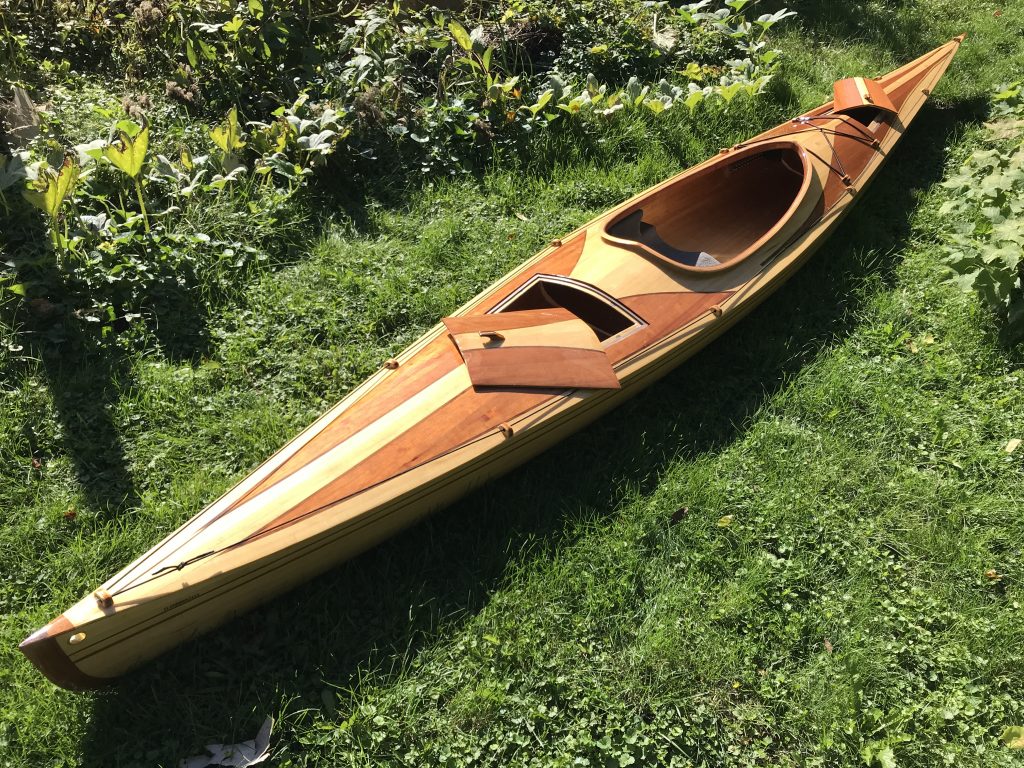
Technically it’s done. Once my alternate choice roof rack arrives I can load the kayak up and take it somewhere to try out. That’s when I’ll know for sure it’s done in terms of floats, doesn’t leak and tracks straight.
At the moment it passes the 10 foot test quite easily. If you’re 10 feet away it looks great. But… and you knew that was coming, up close (a few feet away) I’m not happy with how the final coat turned out on the hull. I’m completely out of varnish so I need to buy another can. The plan is to try it out, weather permitting, a couple of times yet this fall, then put it away for the winter. Come spring I’ll bring it down and give it a full sanding, probably with 220 or even 320 on the random orbit and then another coat of varnish on both the deck and hull.
Assuming that last coat comes out as expected then at that point it’ll truly be done. I probably won’t post an entry for that as it’s just more of what I’ve talked about before.
So today I installed the seat, the bungie “X” in front of the cockpit and the deck perimeter line. took a little creativity to get them on by myself but once I put a couple of clamps on the lines to hold them in place the rest was easy. I also tied lines to the mounting point under the deck and under the hatches to prevent then from accidentally getting dropped and lost.
The seat is such a tight fit that it’s strictly friction holding it in place I don’t see it budging or any reason to mount it differently.
This isn’t the end though… I’ve got a few more posts planned. I want to do a summary of the steps, tools, supplies and finally an overall wrap up where I cover the final specs as I built it, weight, length, etc. I’ll also talk about the registration, HIN and titling process as I’m still in the middle of that. It won’t stop me from using it as for the type and size of boat, in my state none of that is actually required but doesn’t hurt to have it.
I’ll leave you with a few final photos for now. Once I get it on the water I’ll post those with the final wrap up blog entry.


