Coaming Part 4, and The First Cut is Not the Hardest

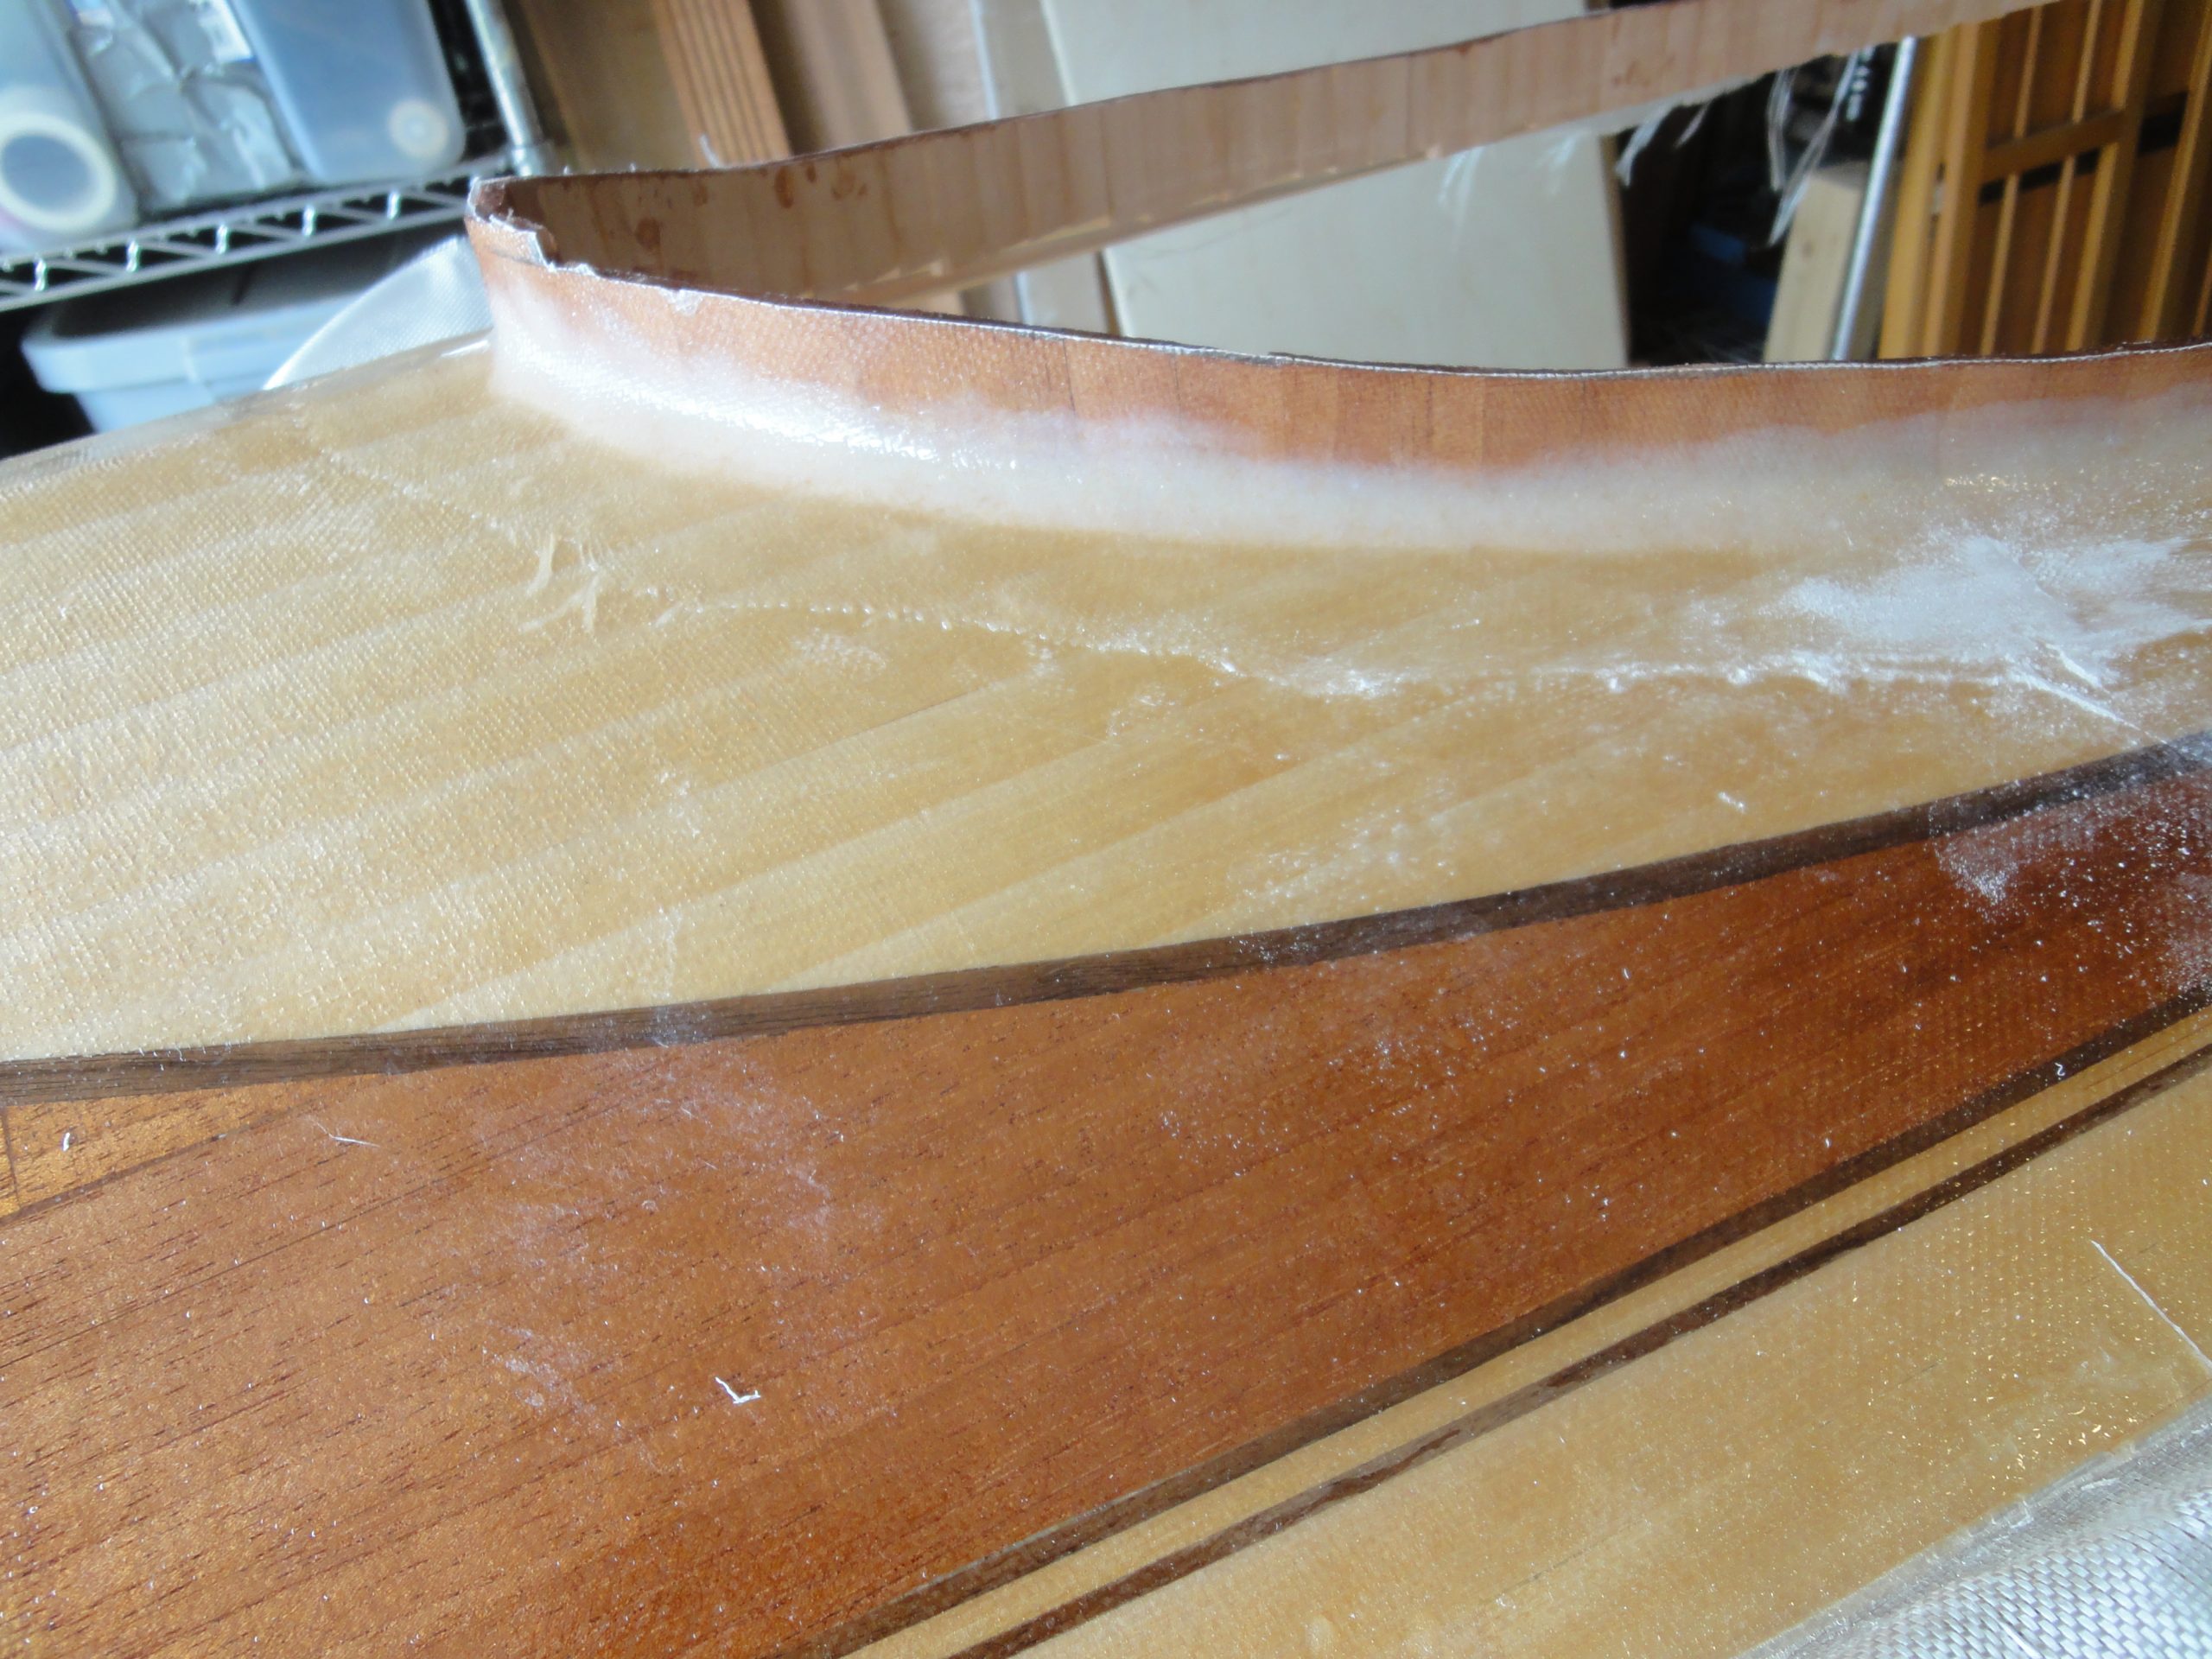
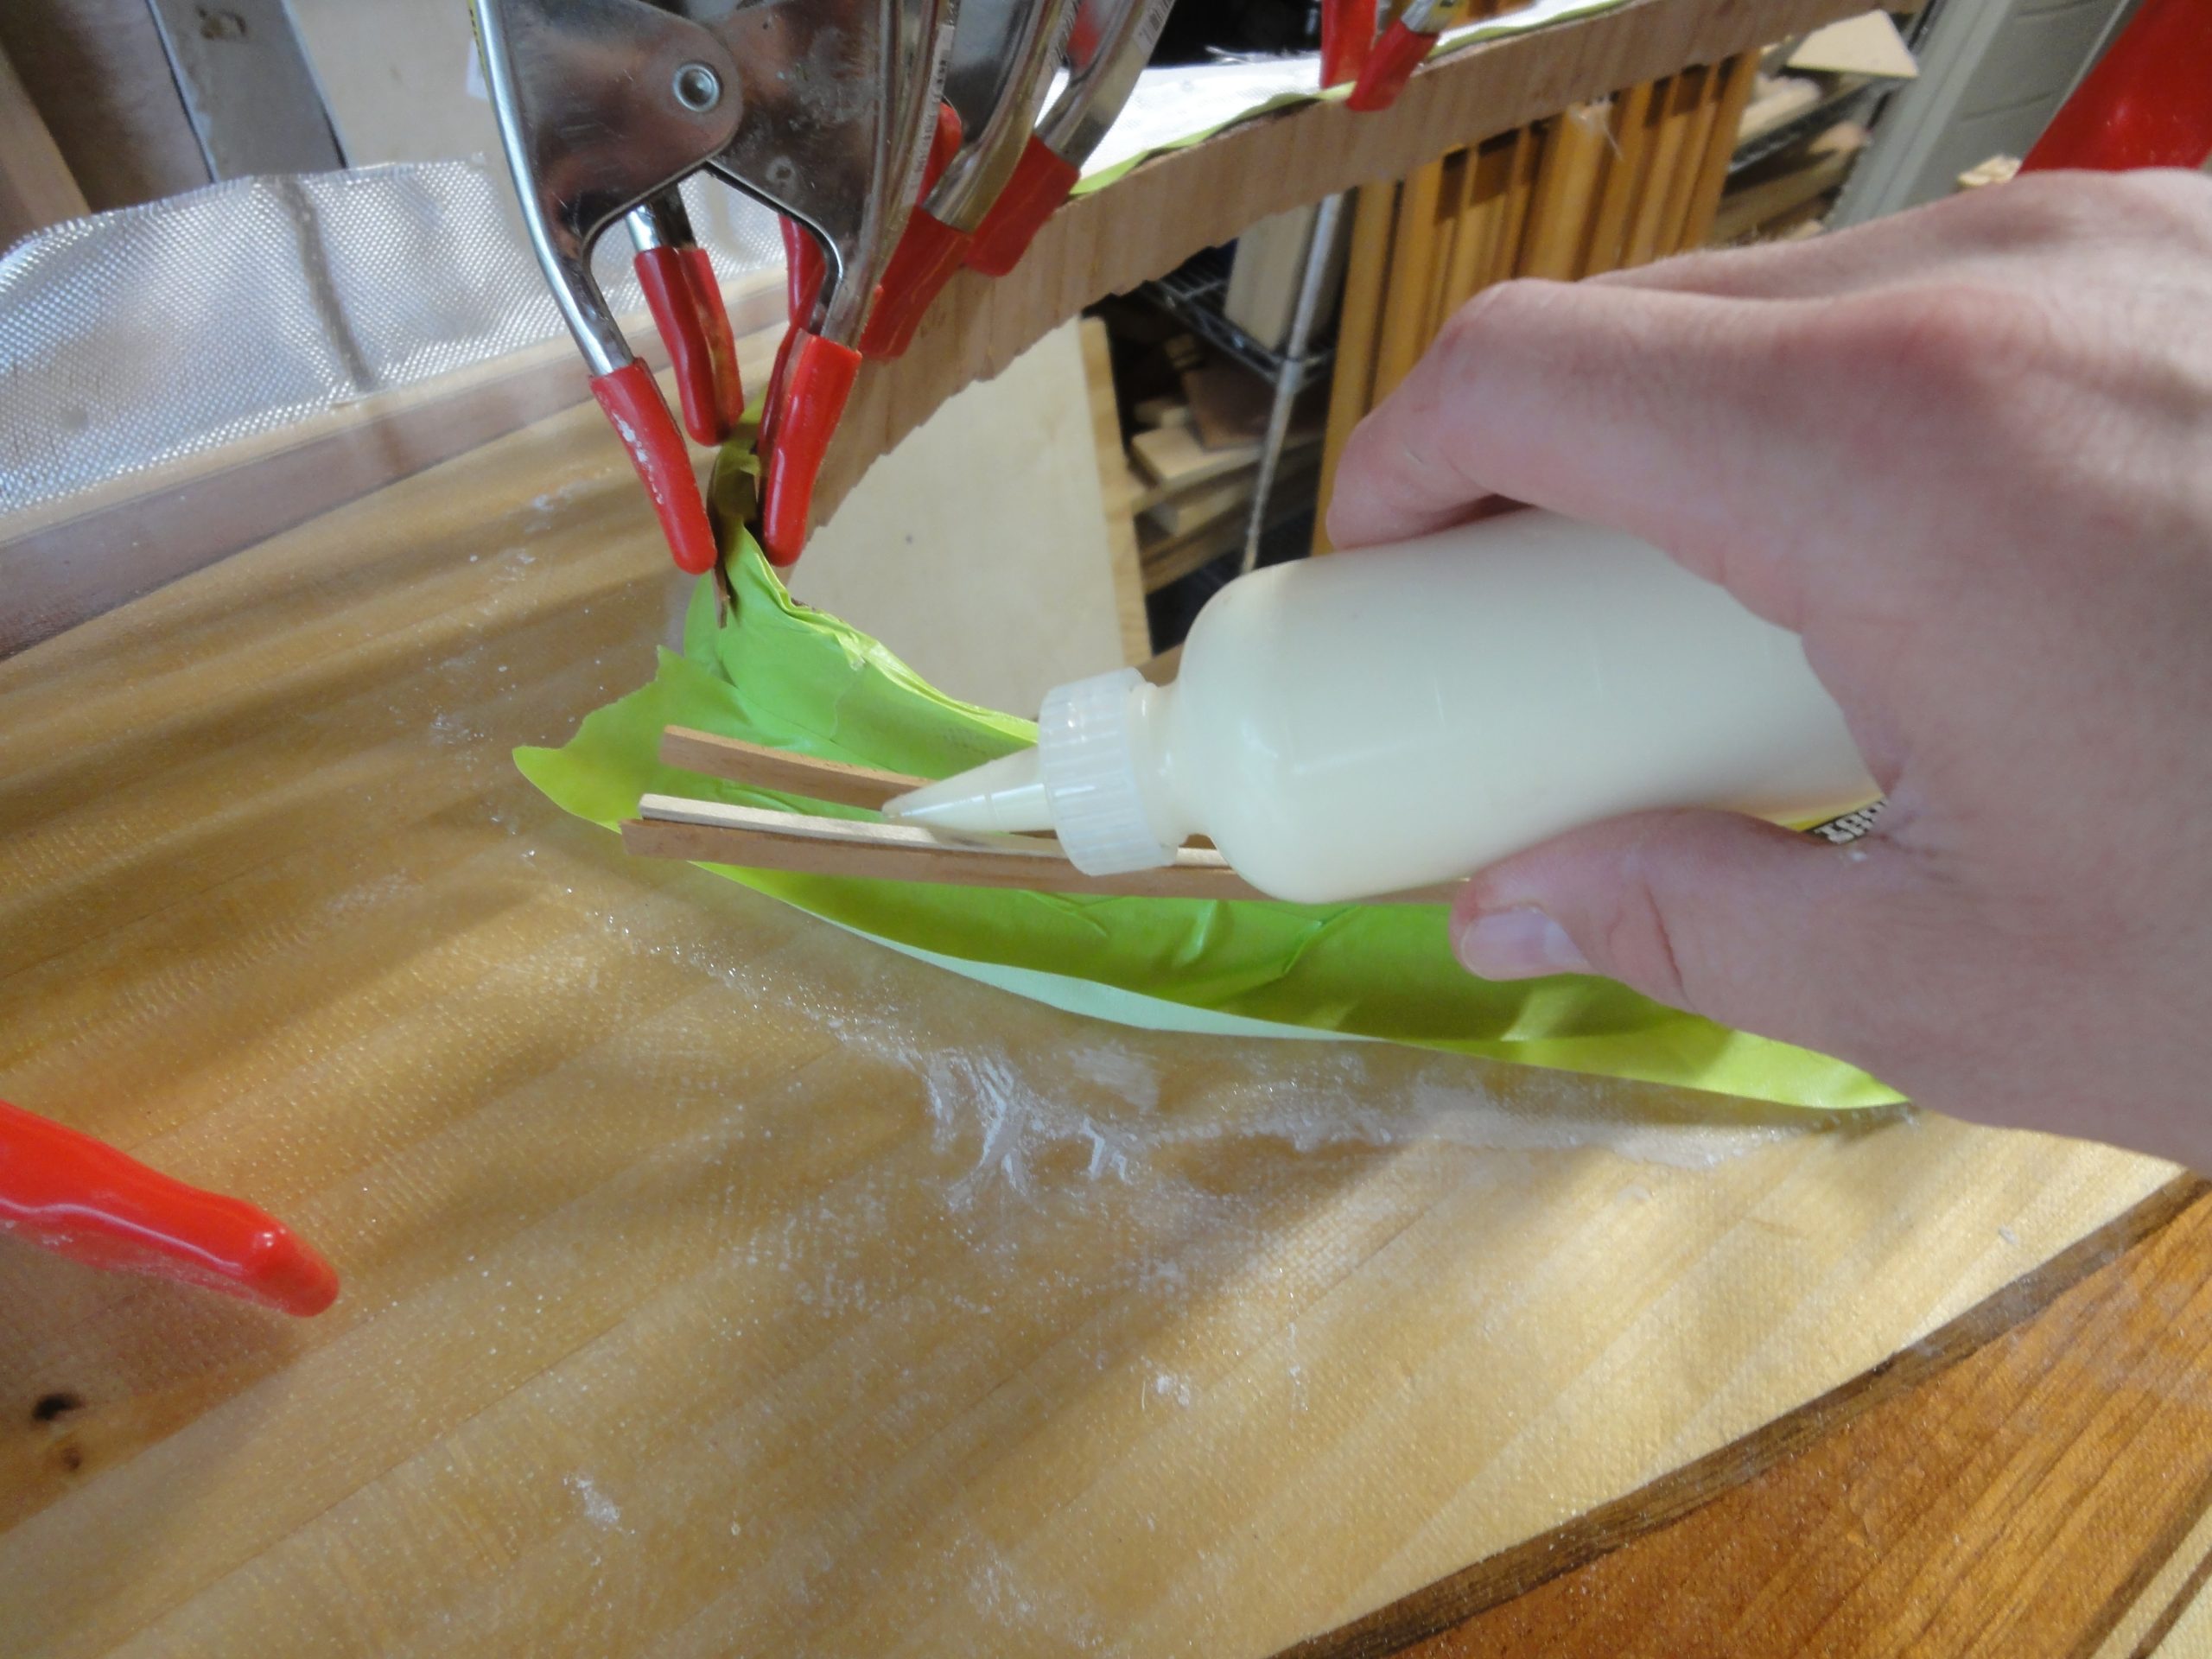
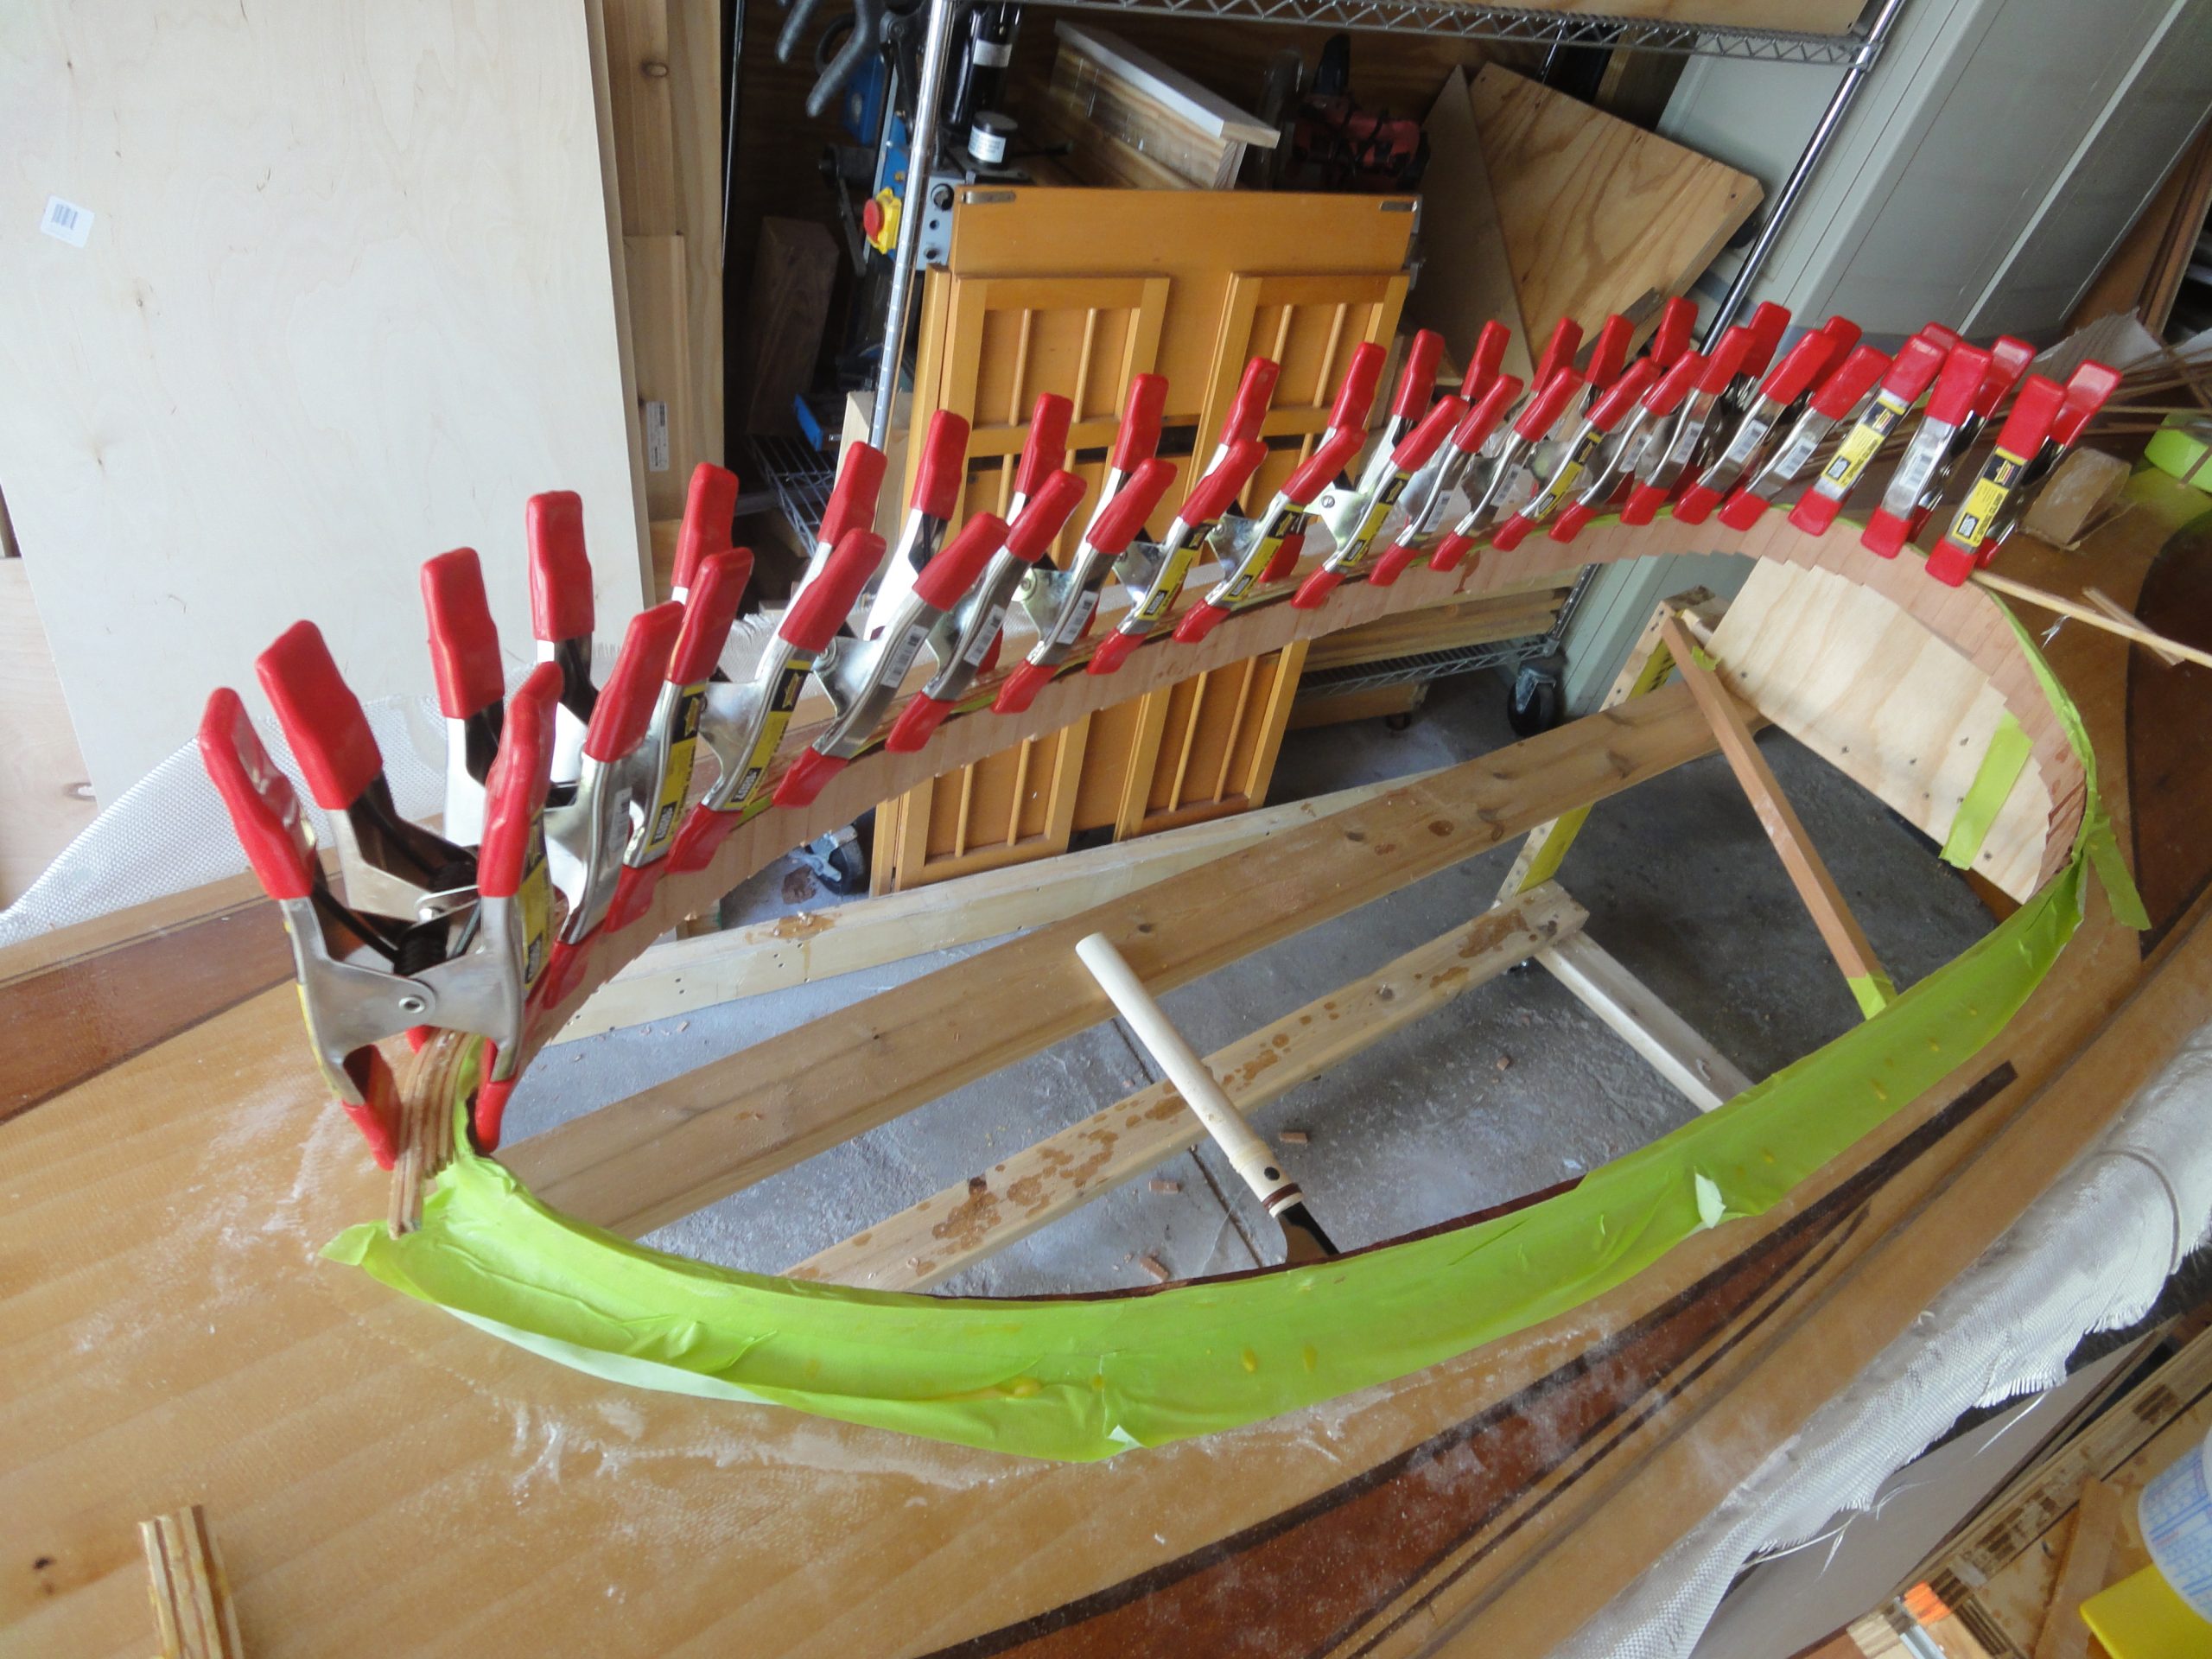
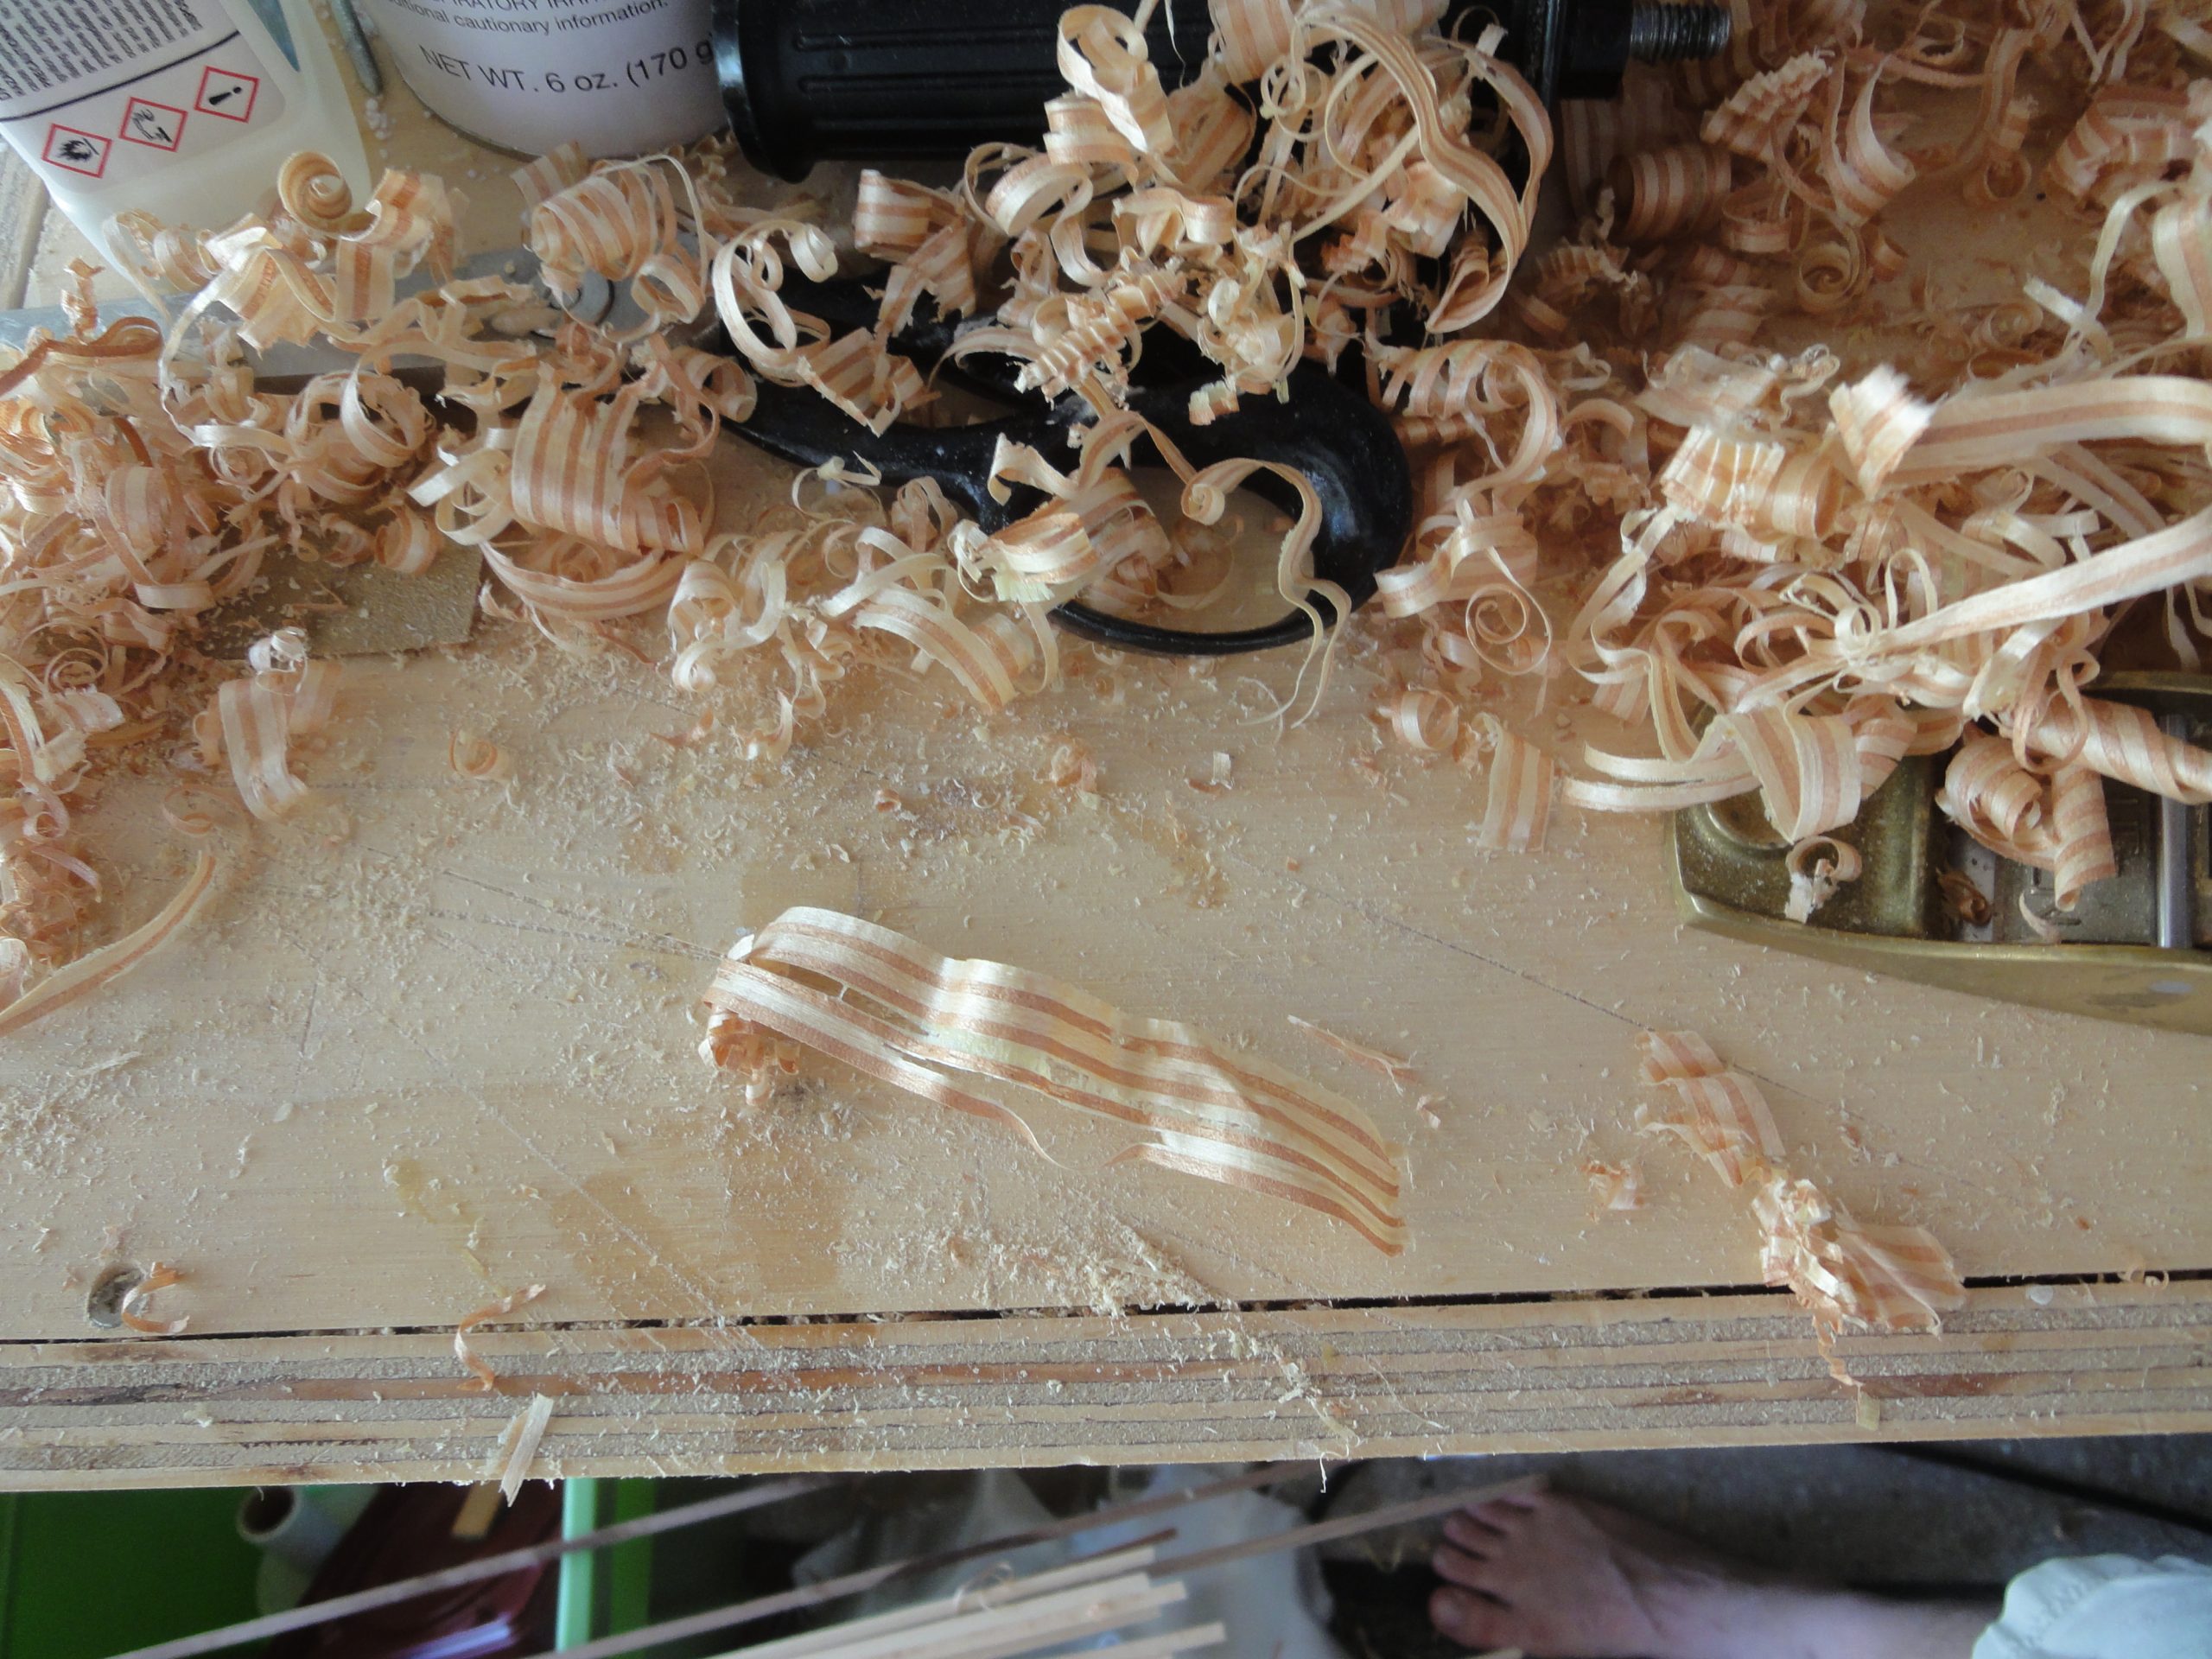
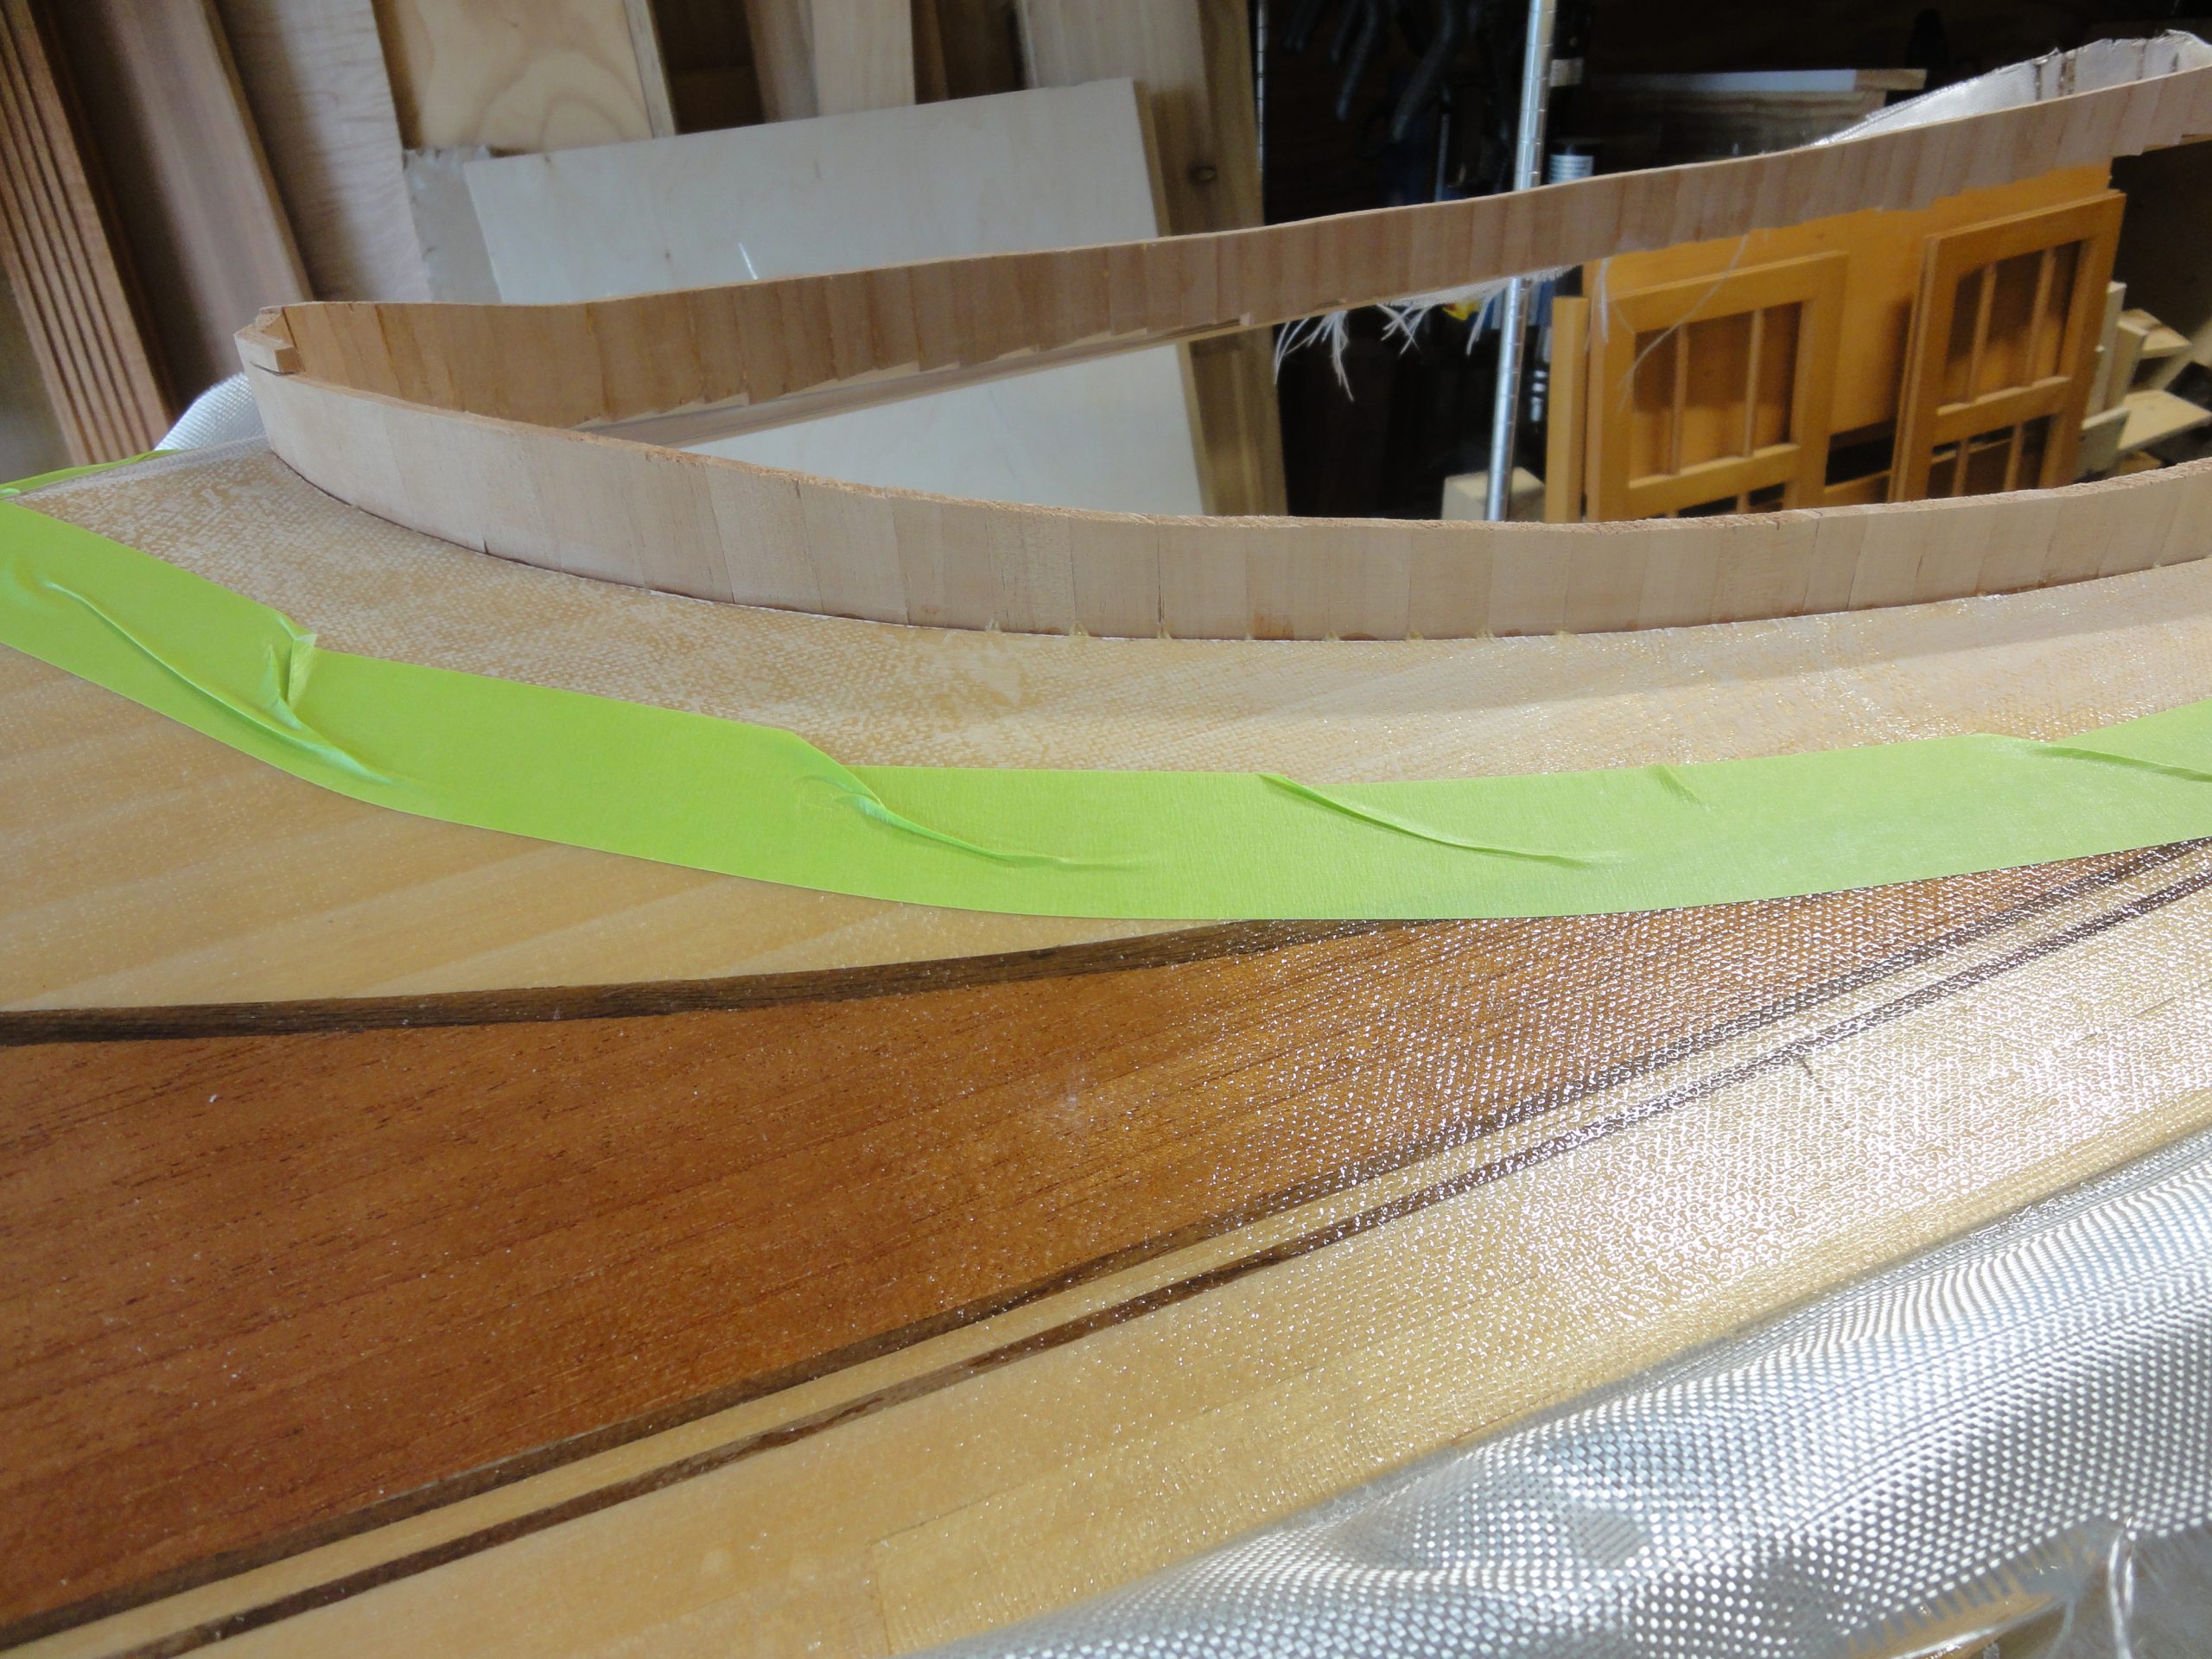
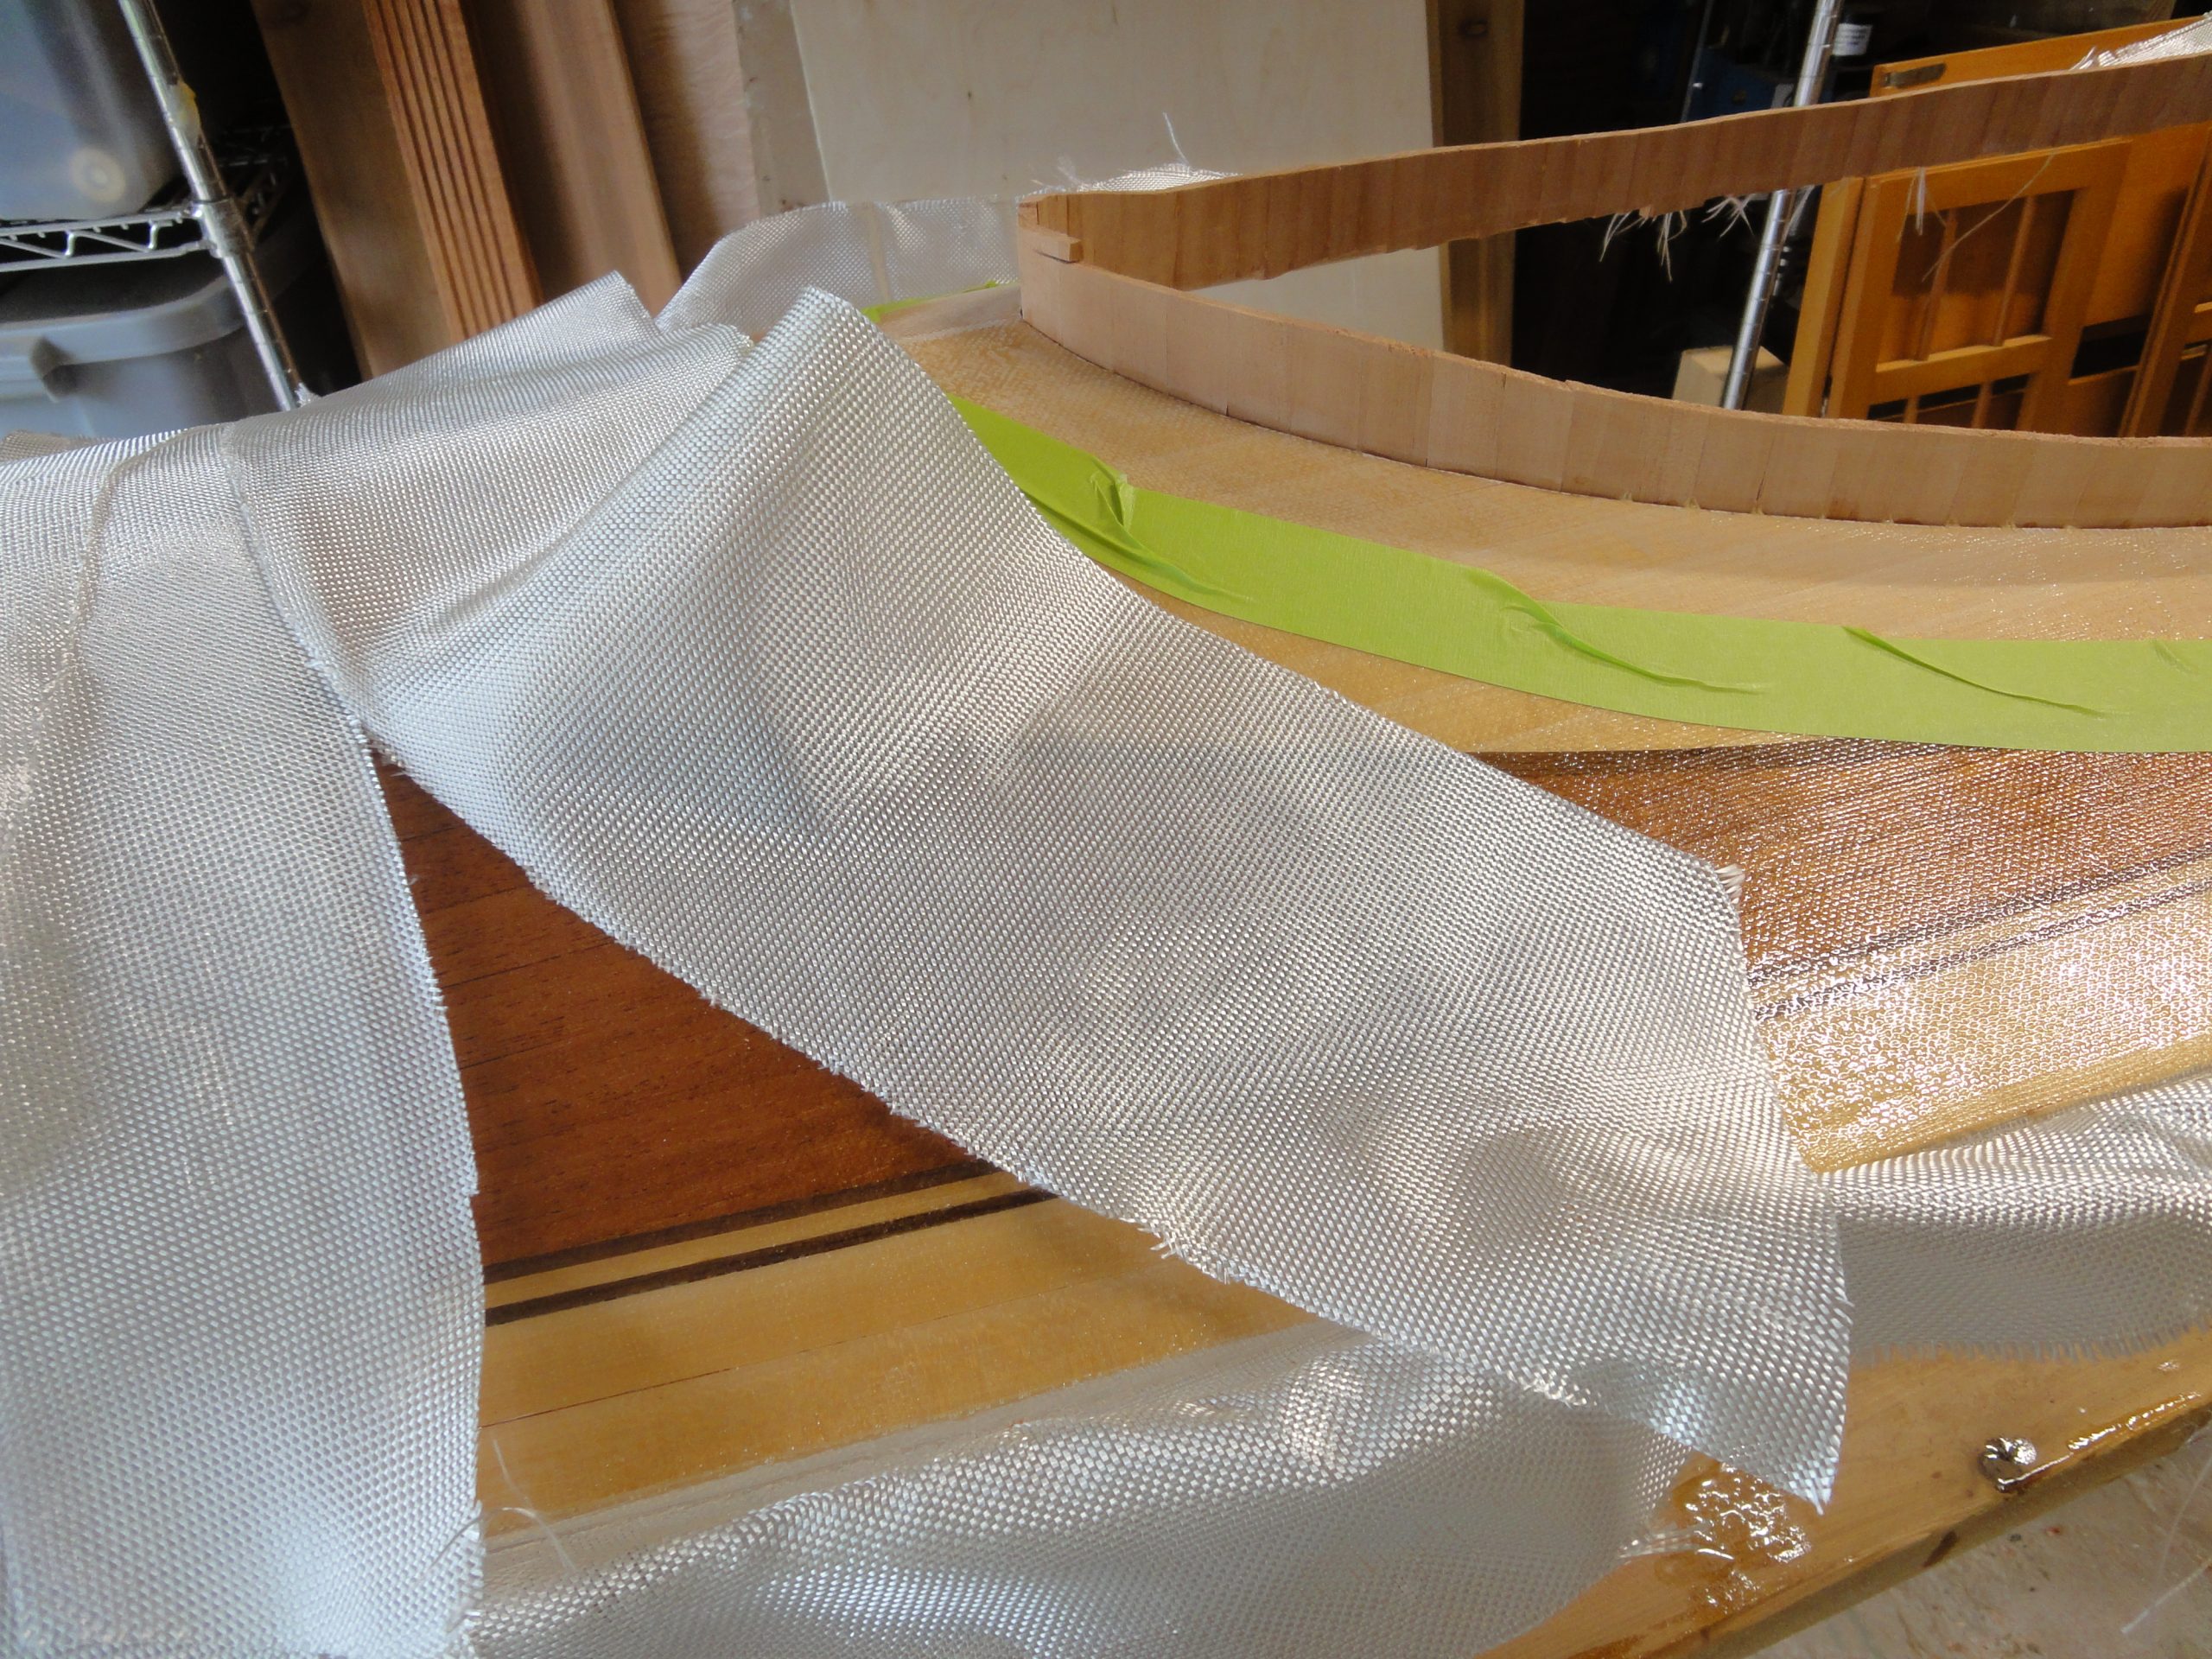
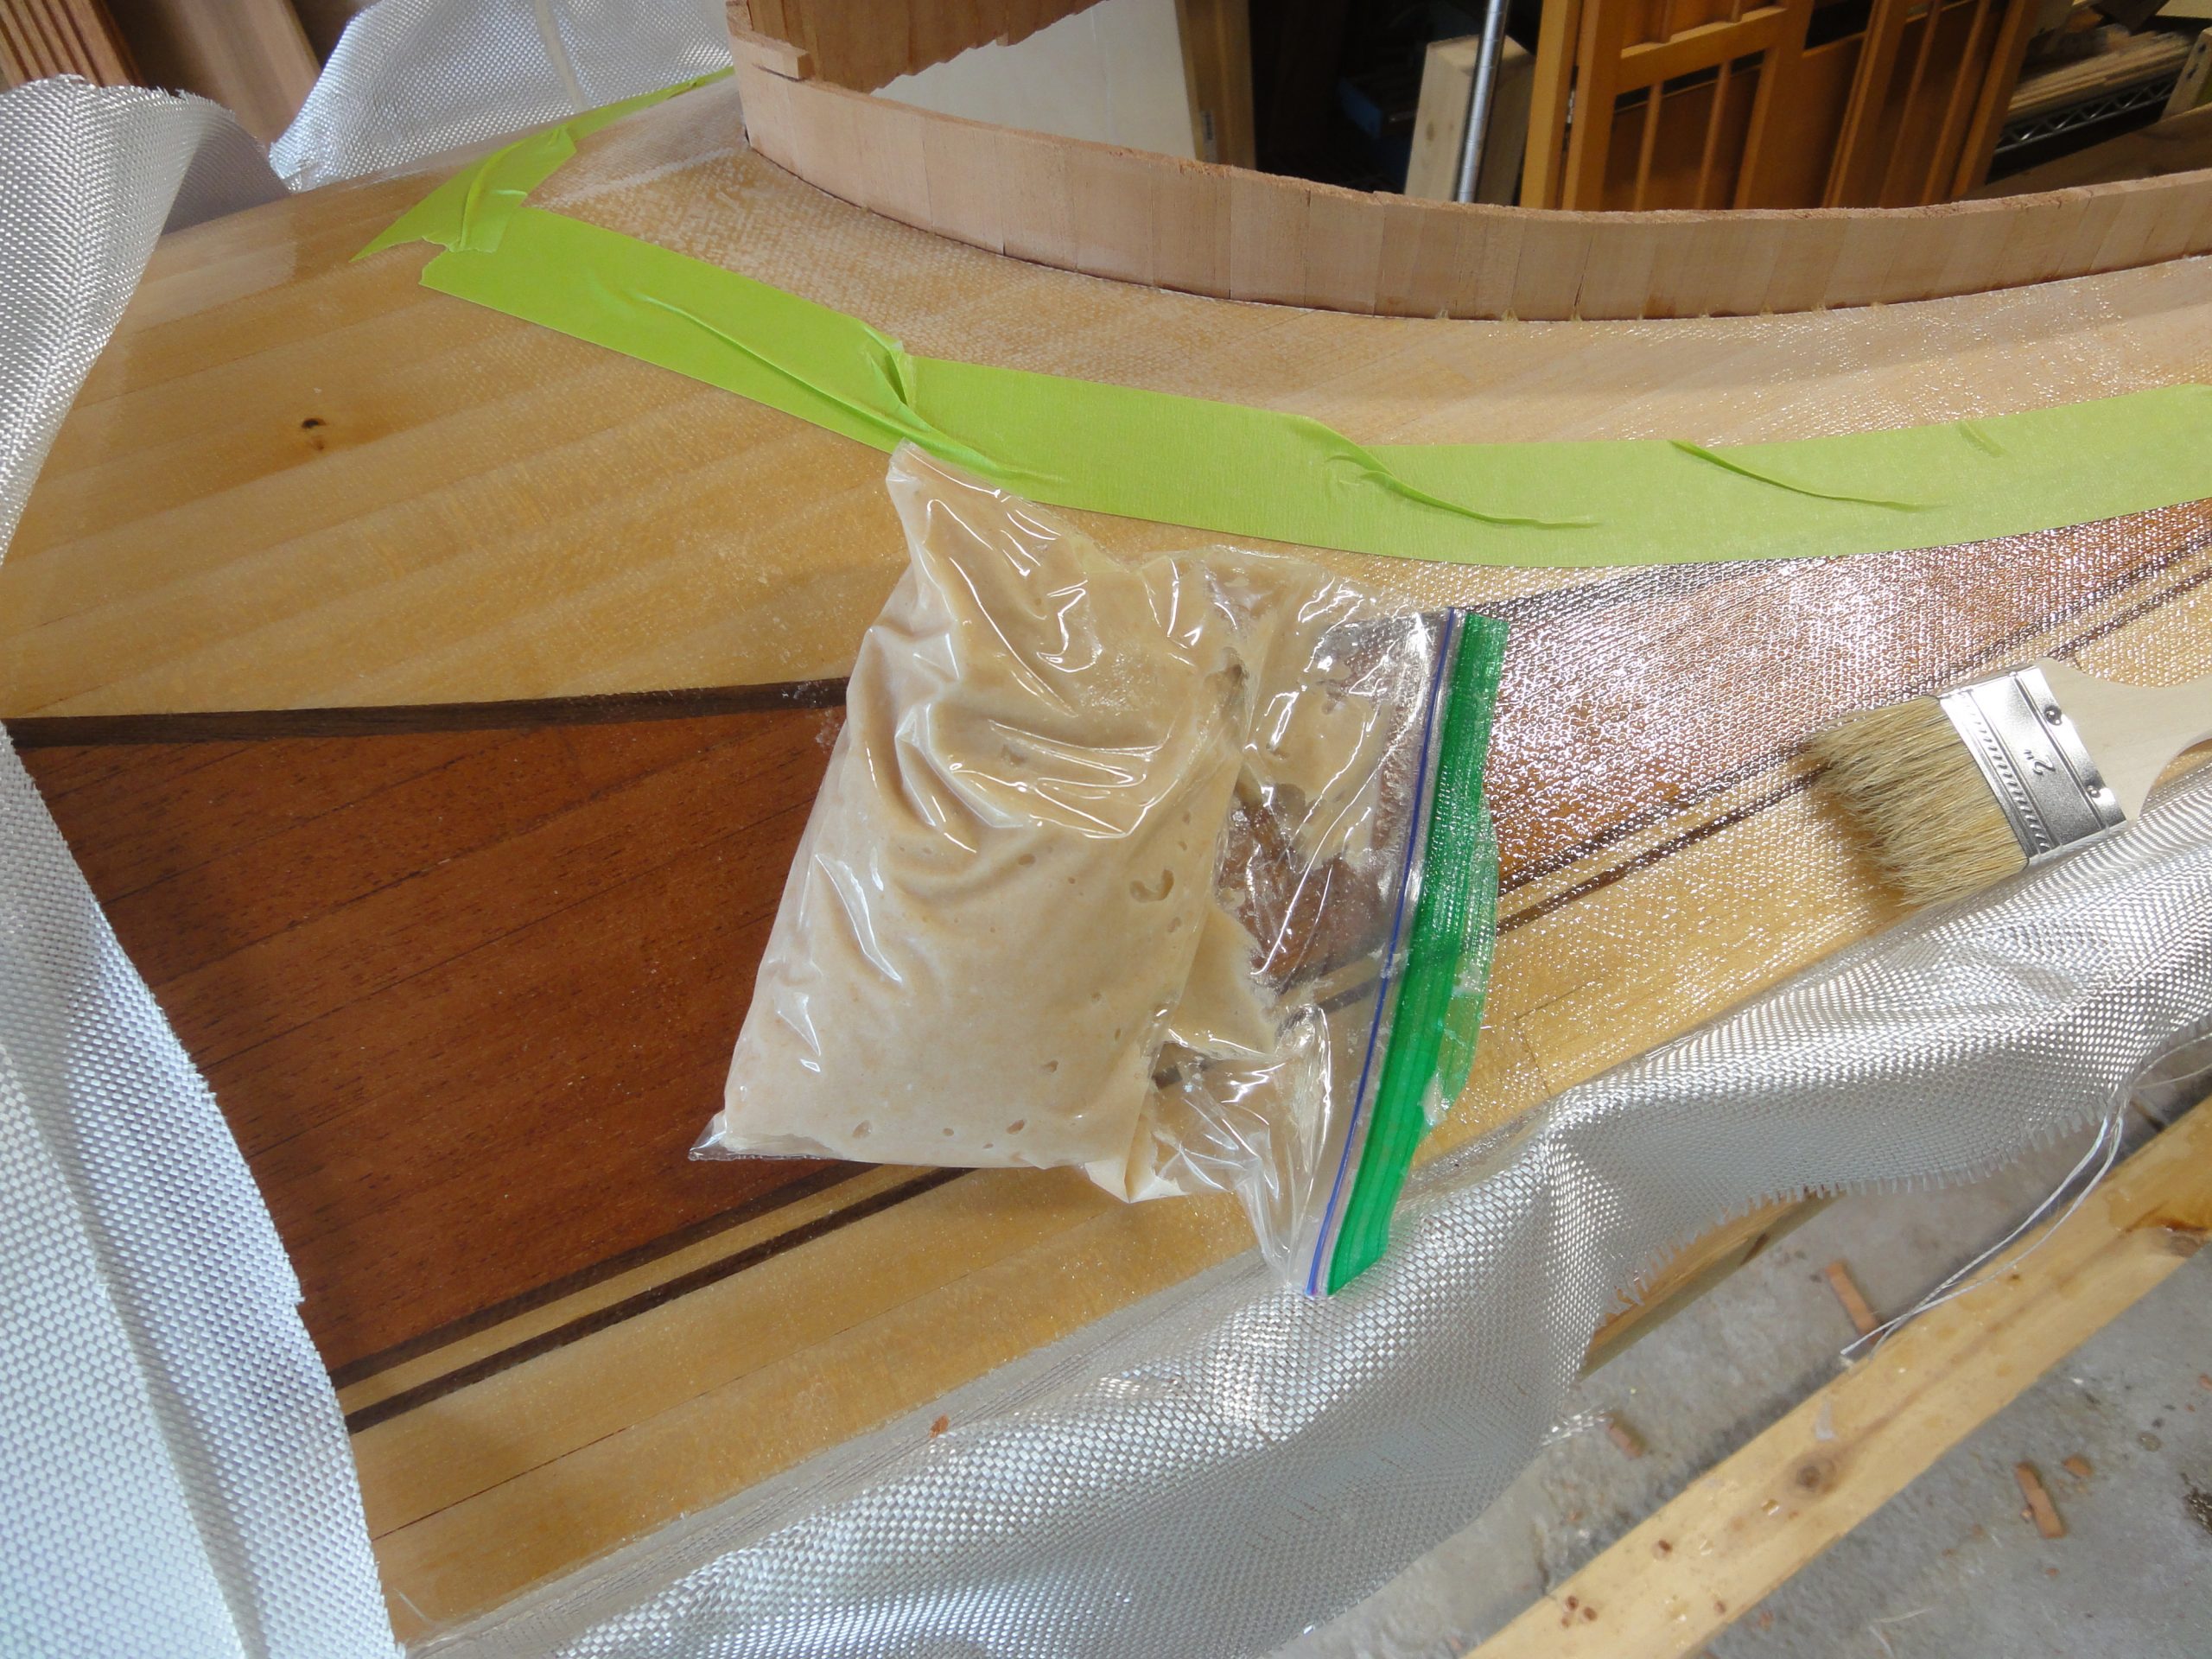
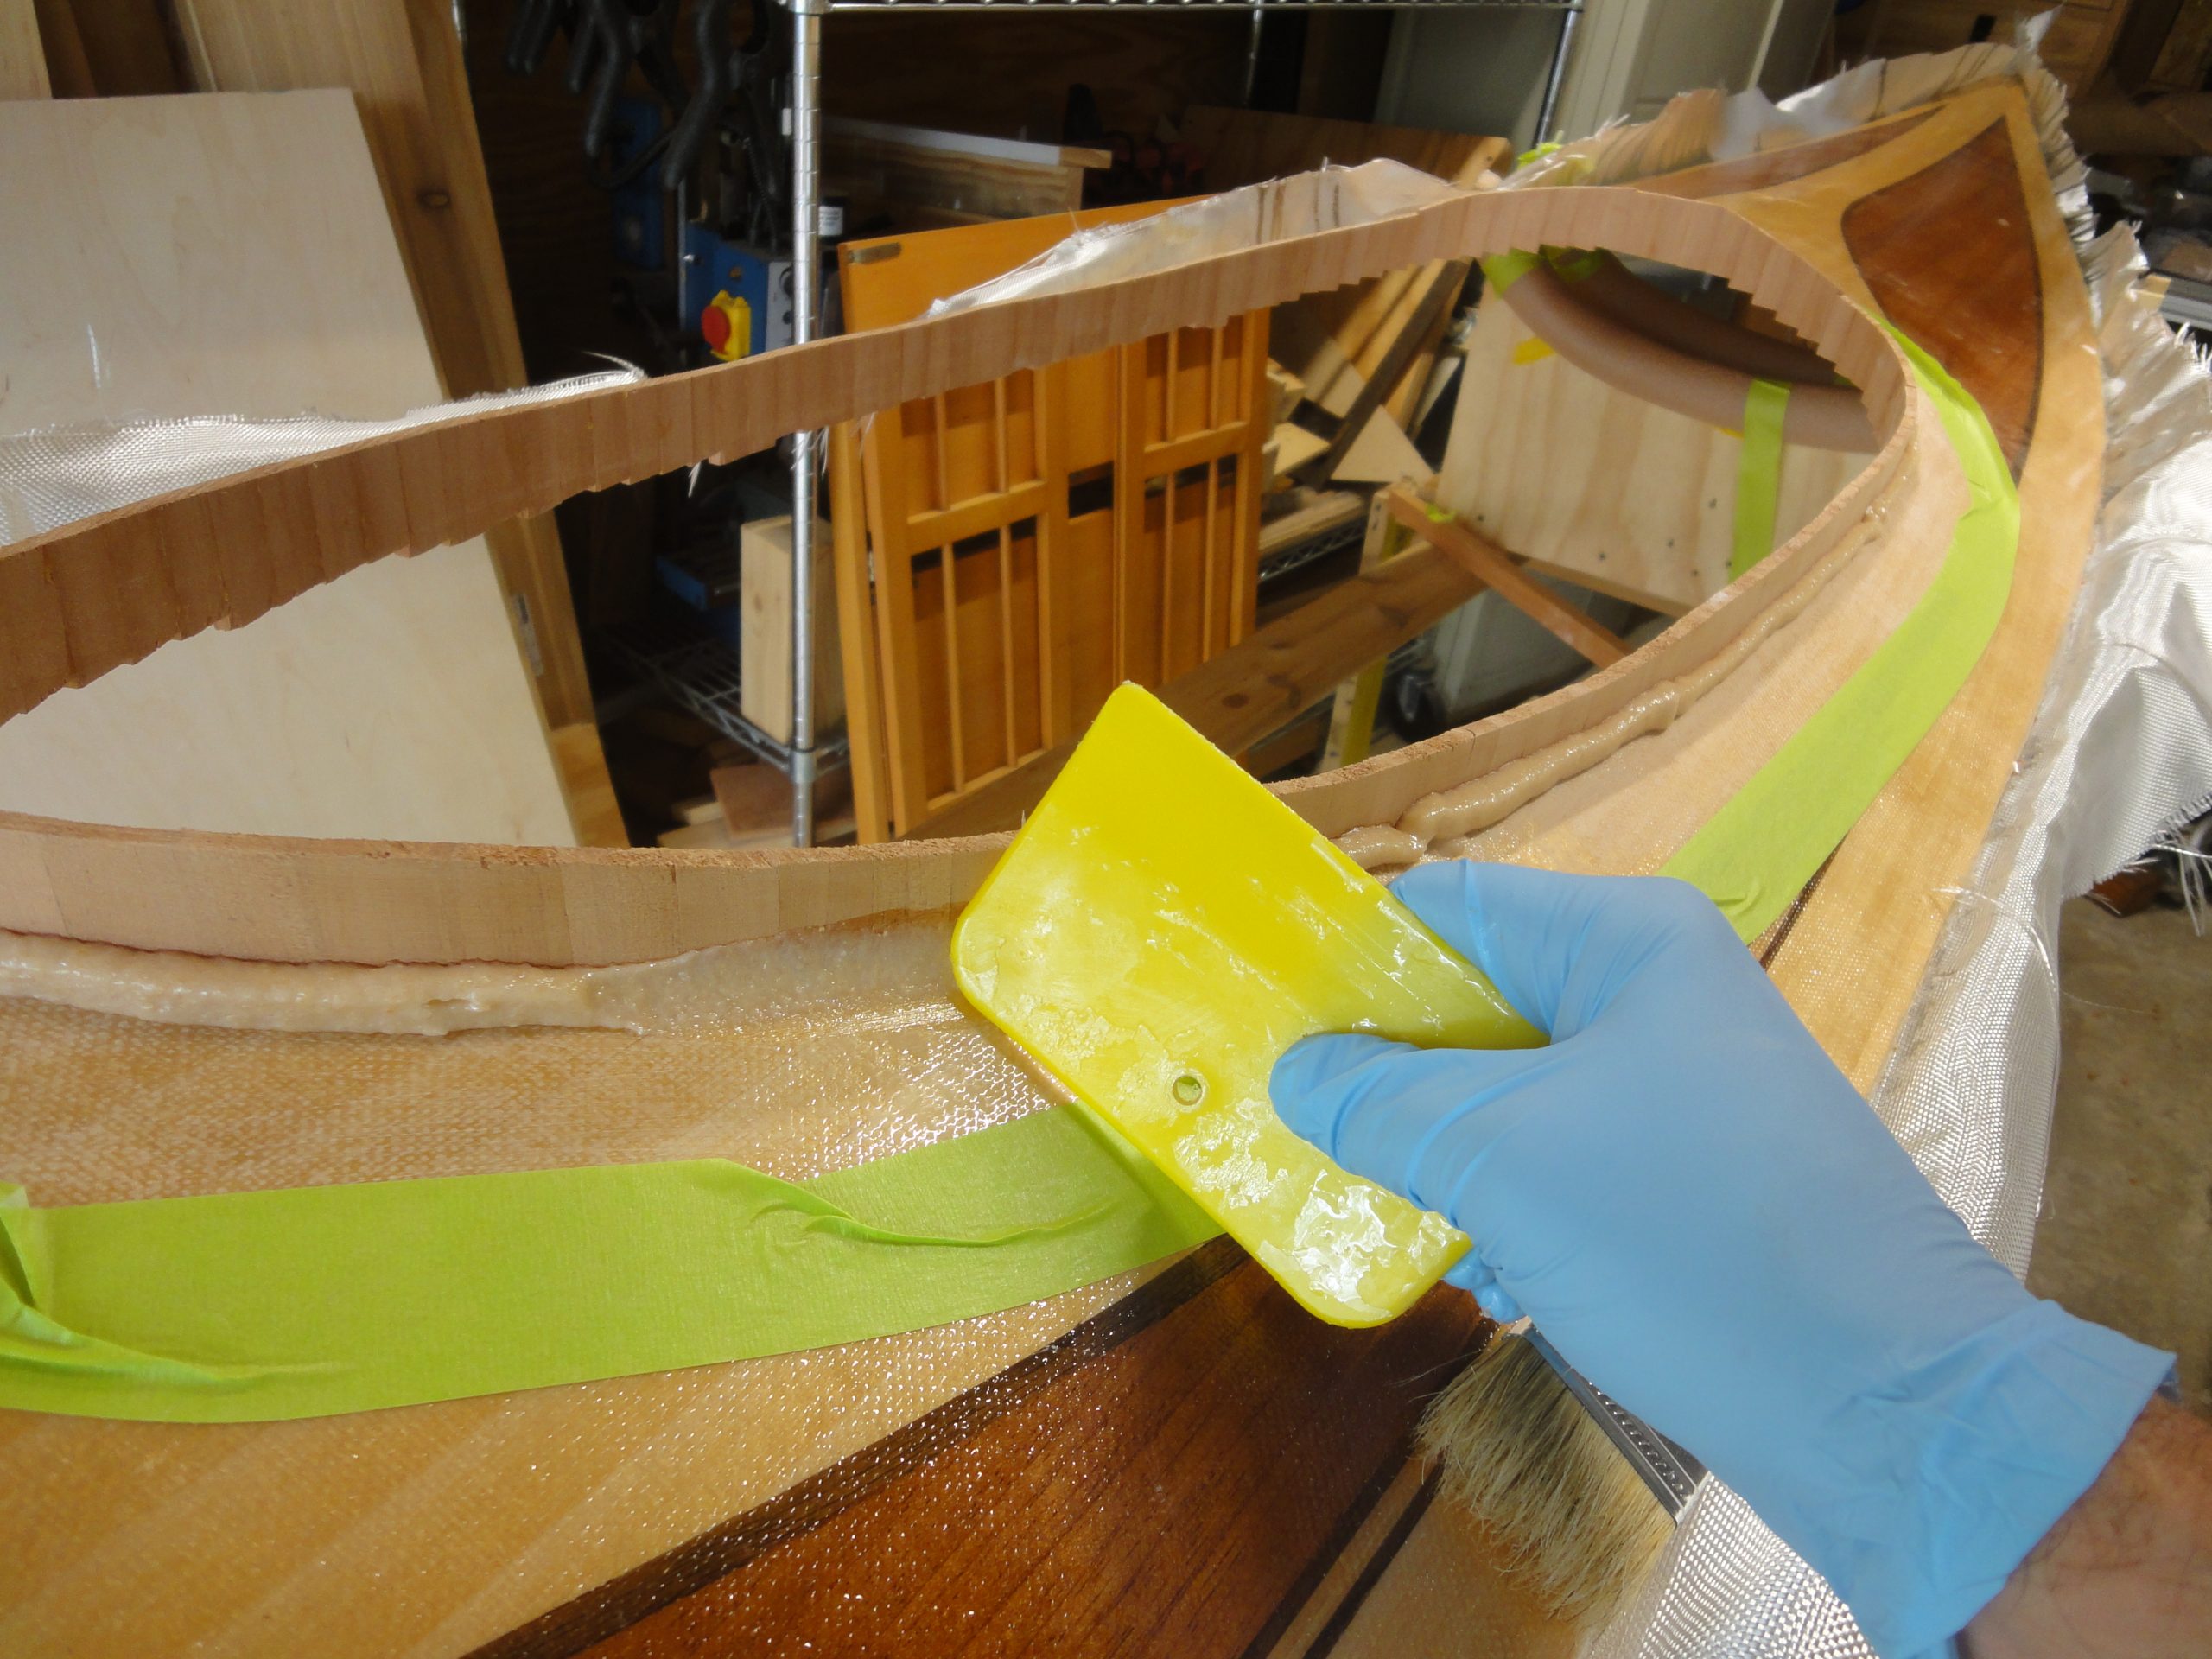
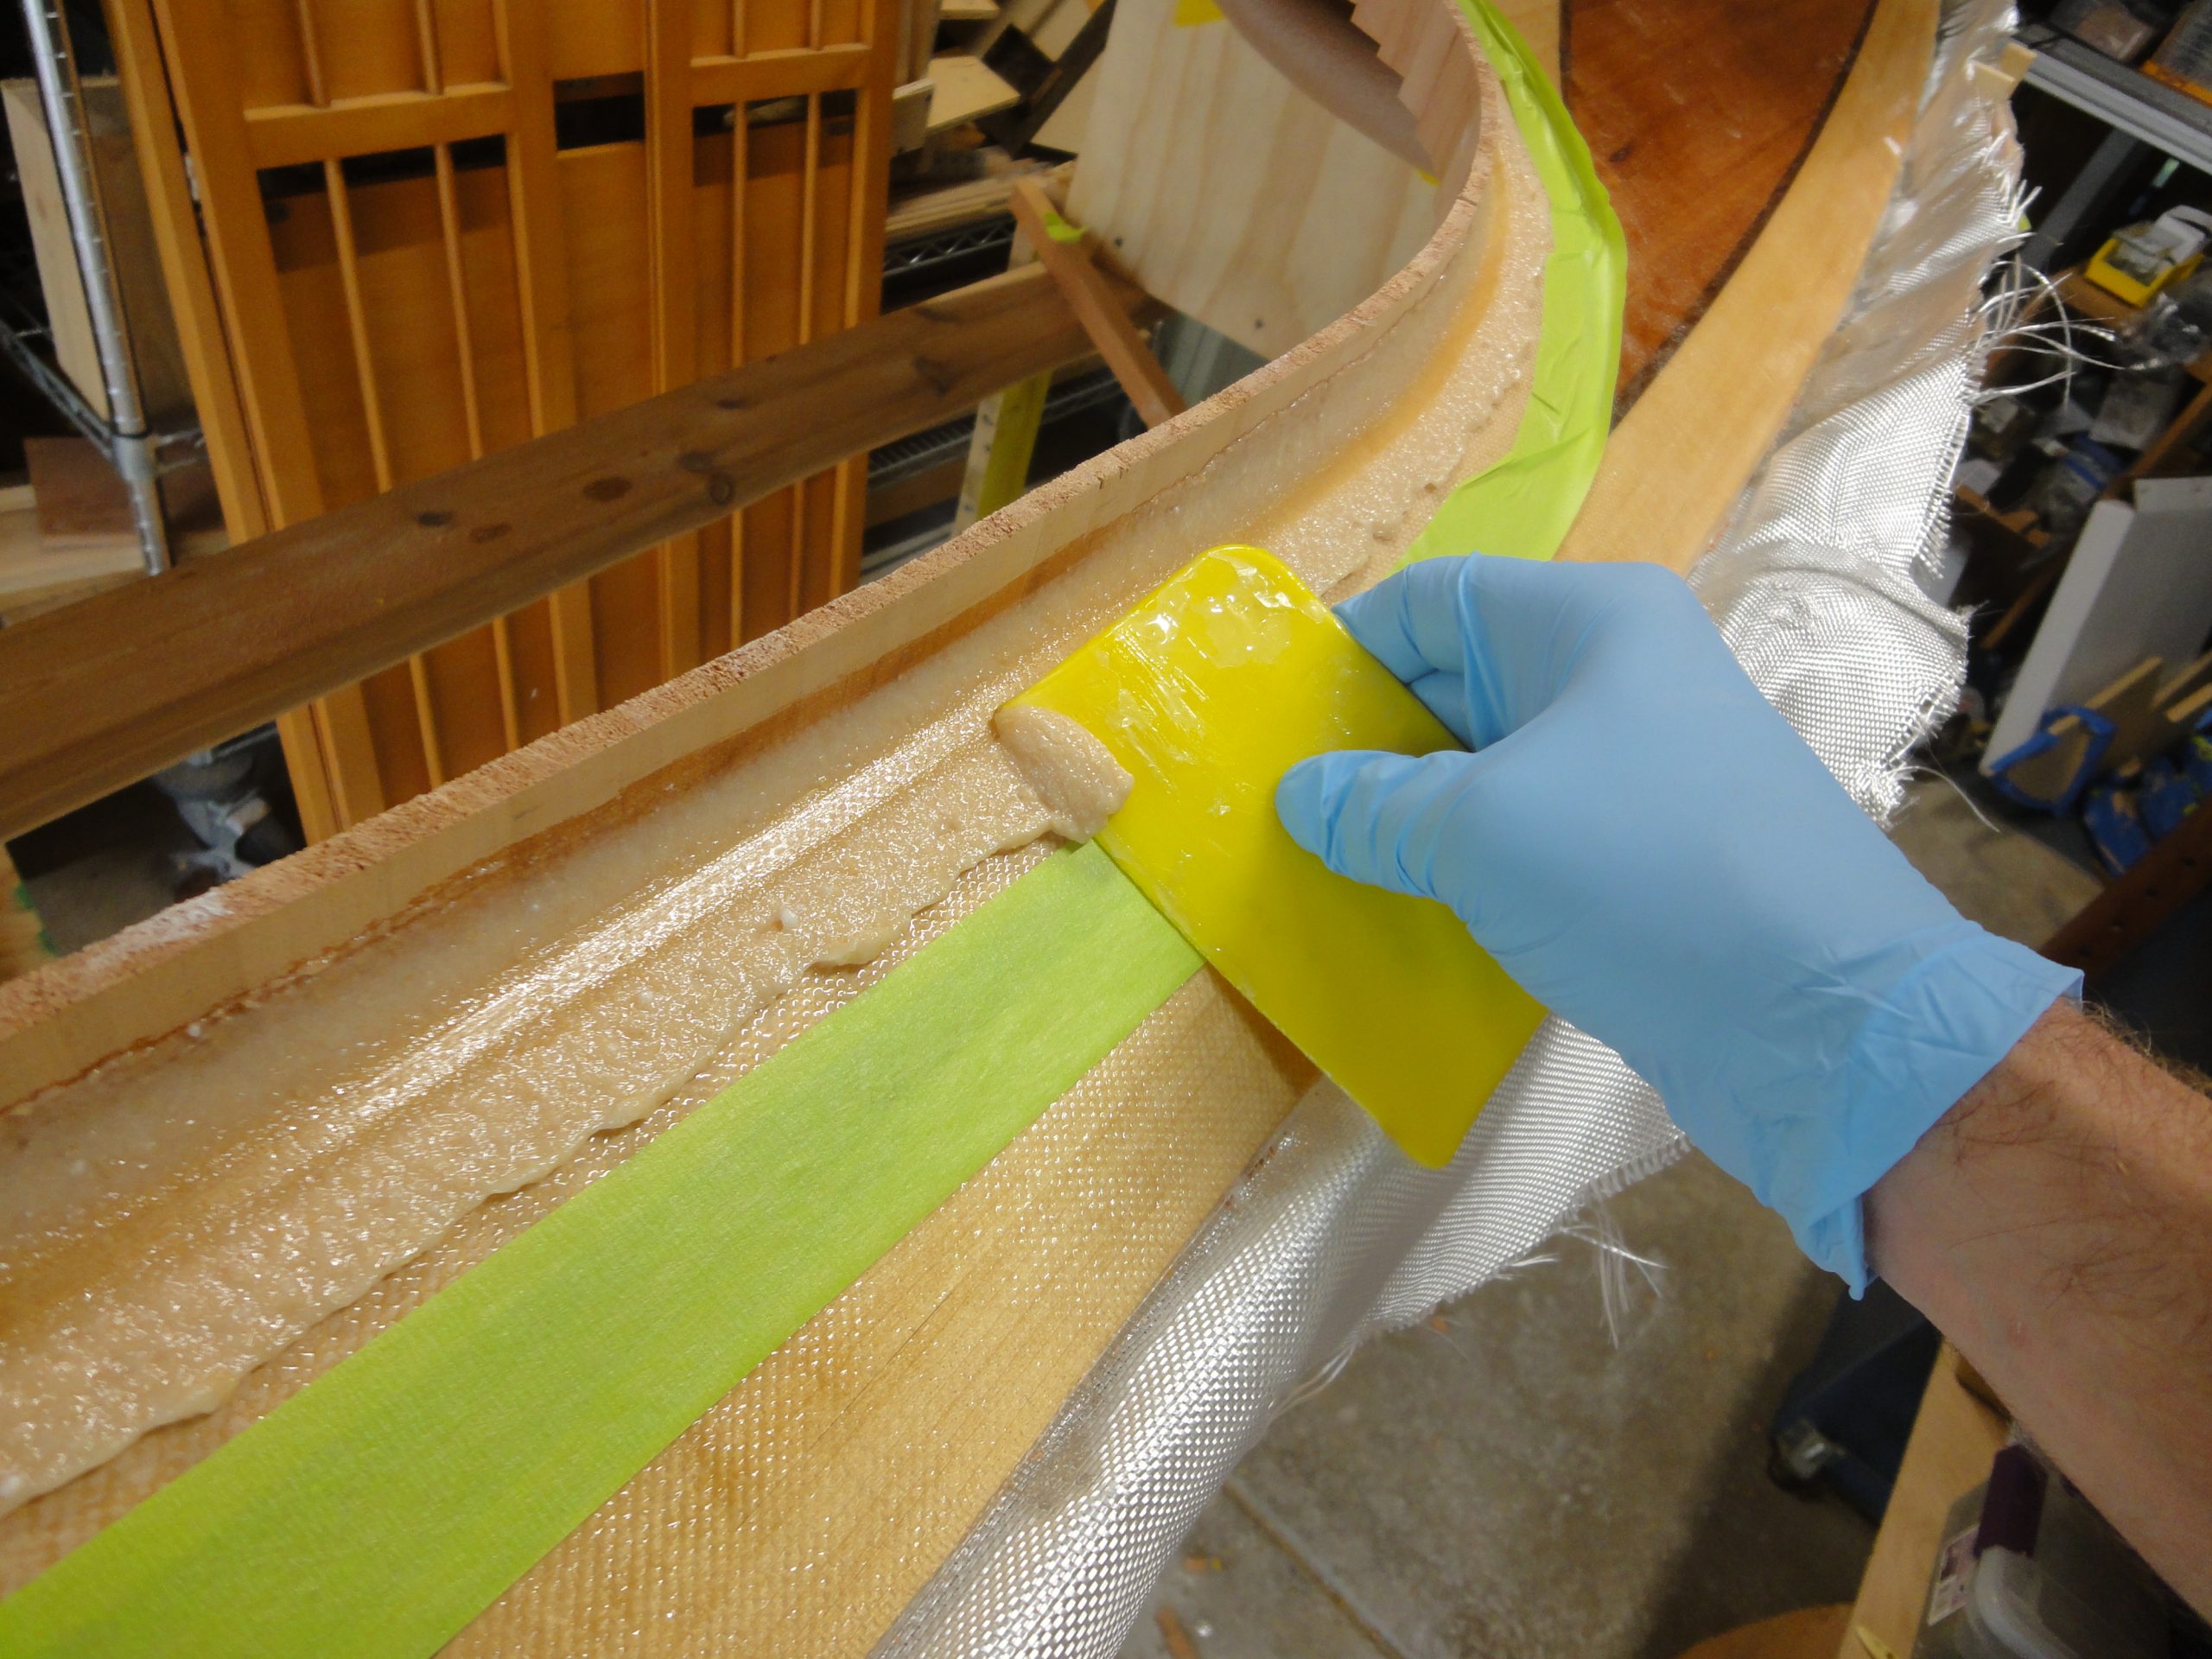
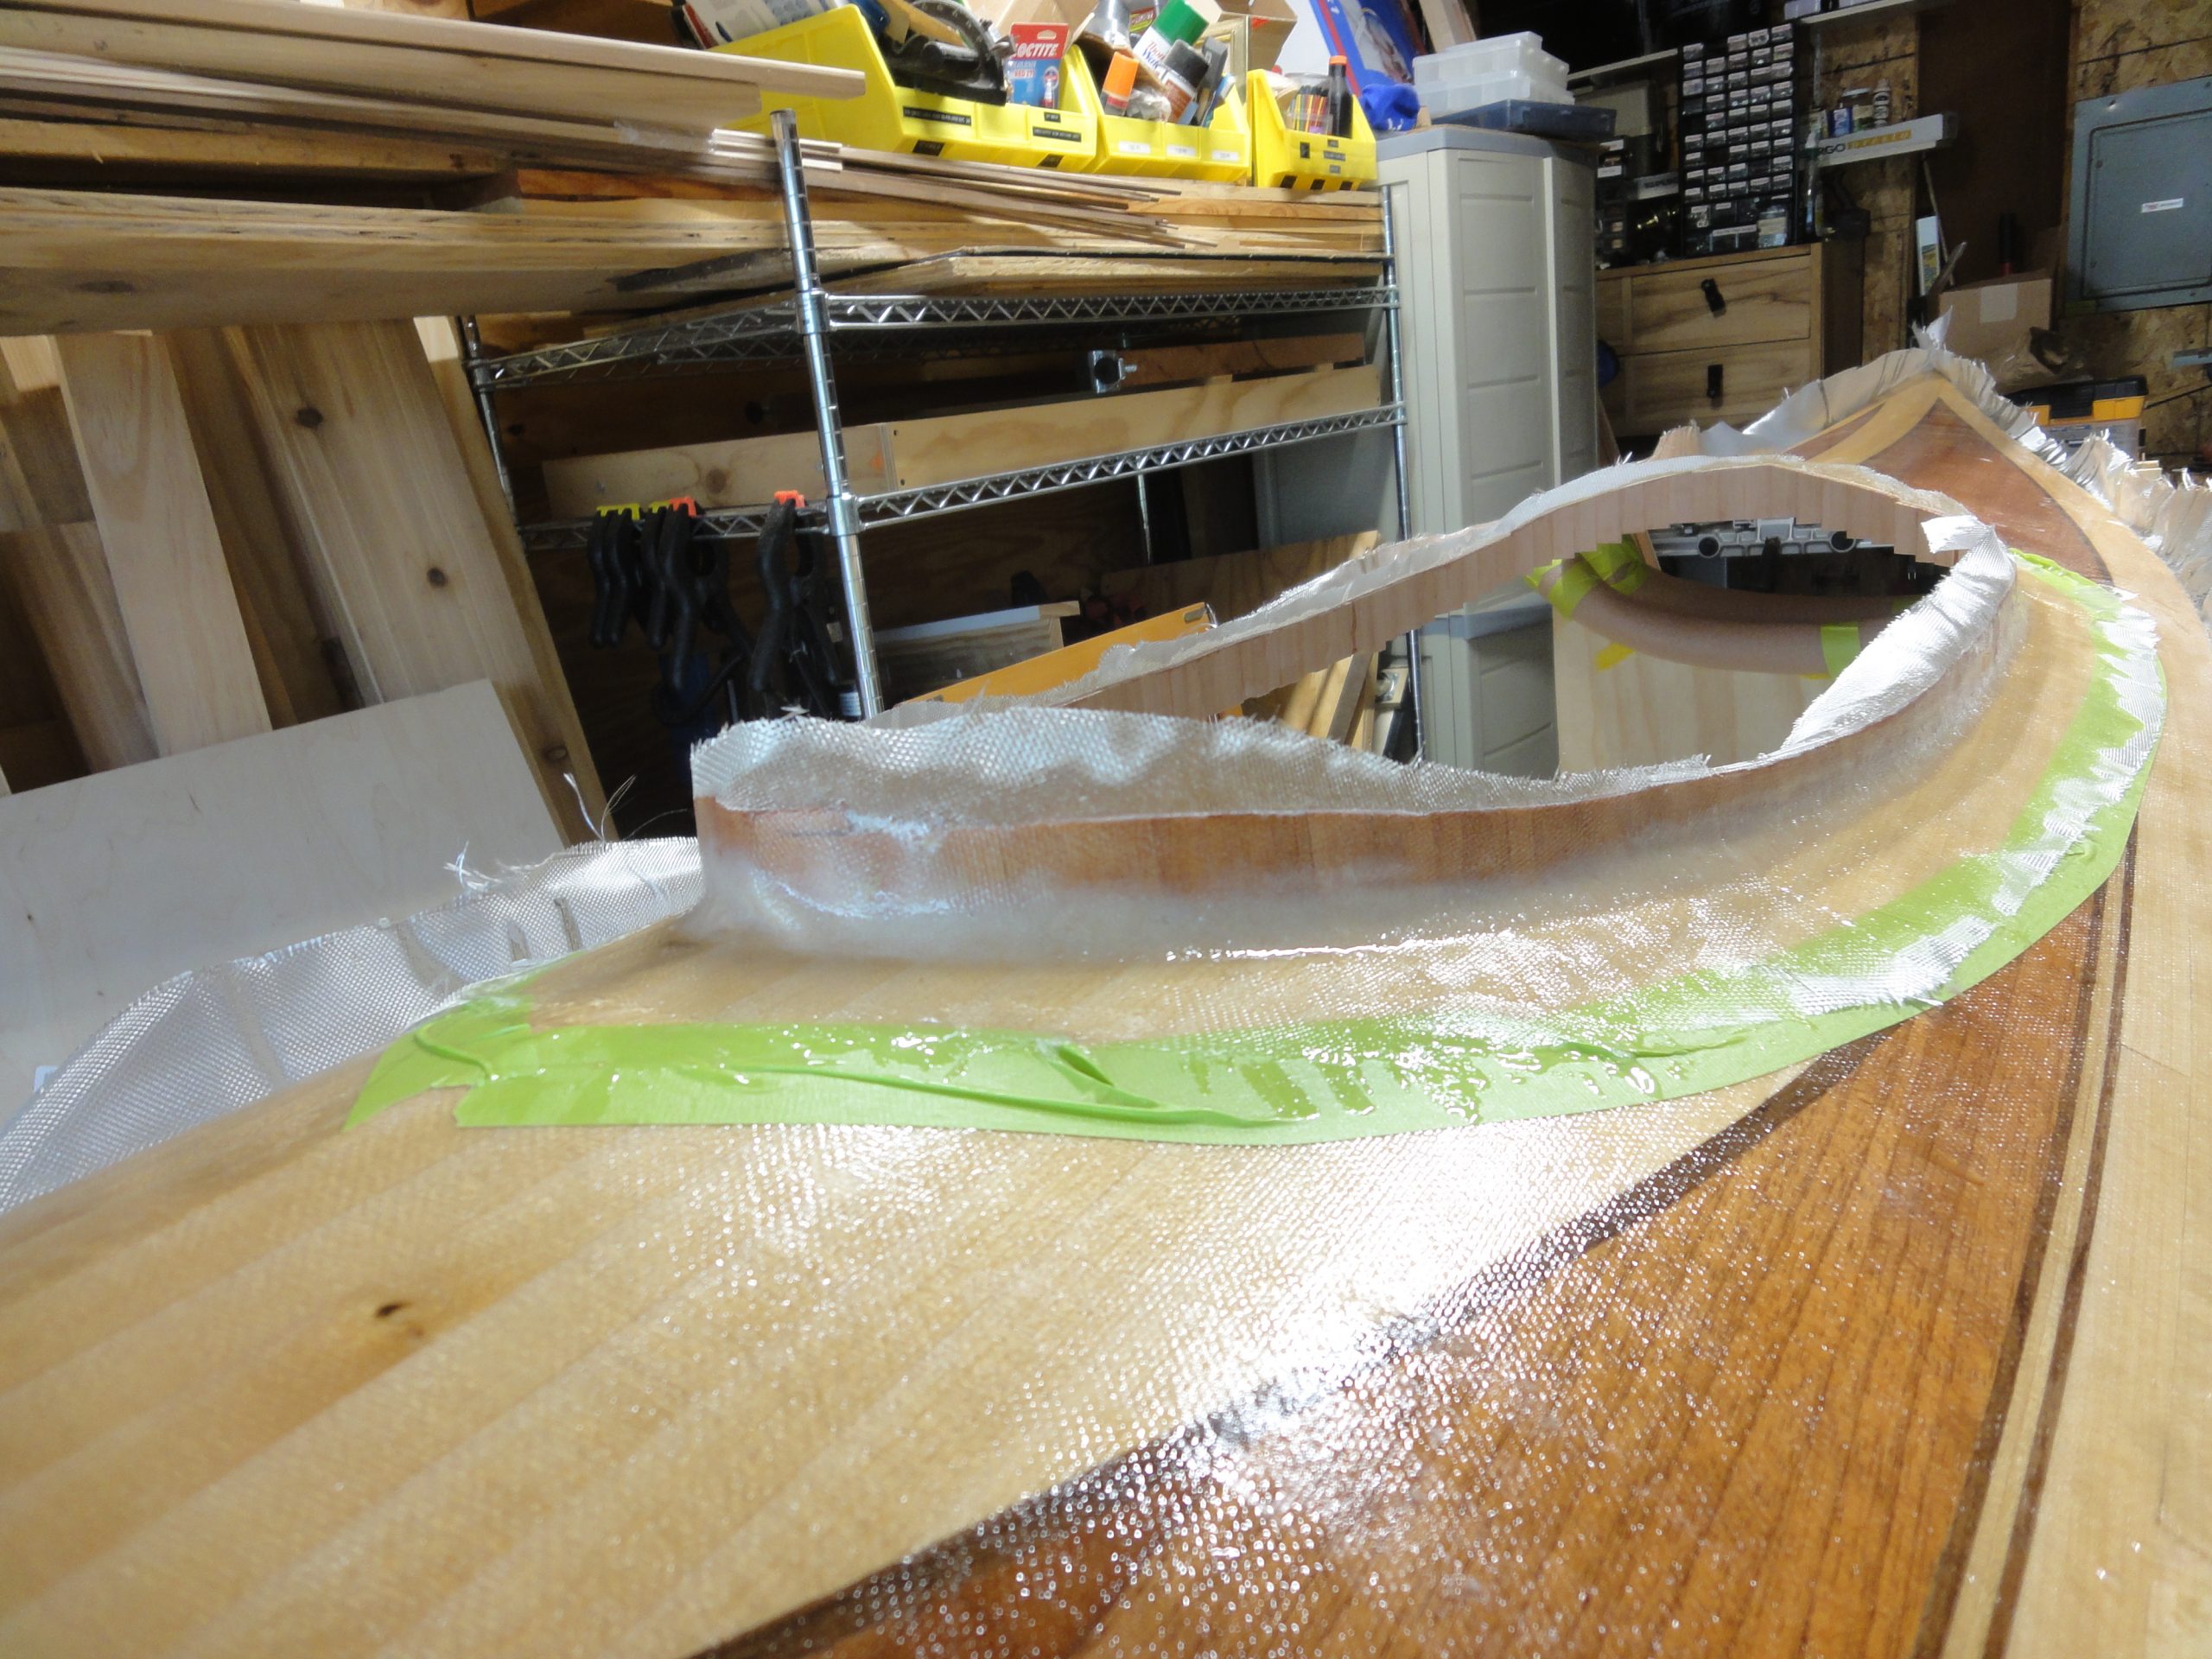
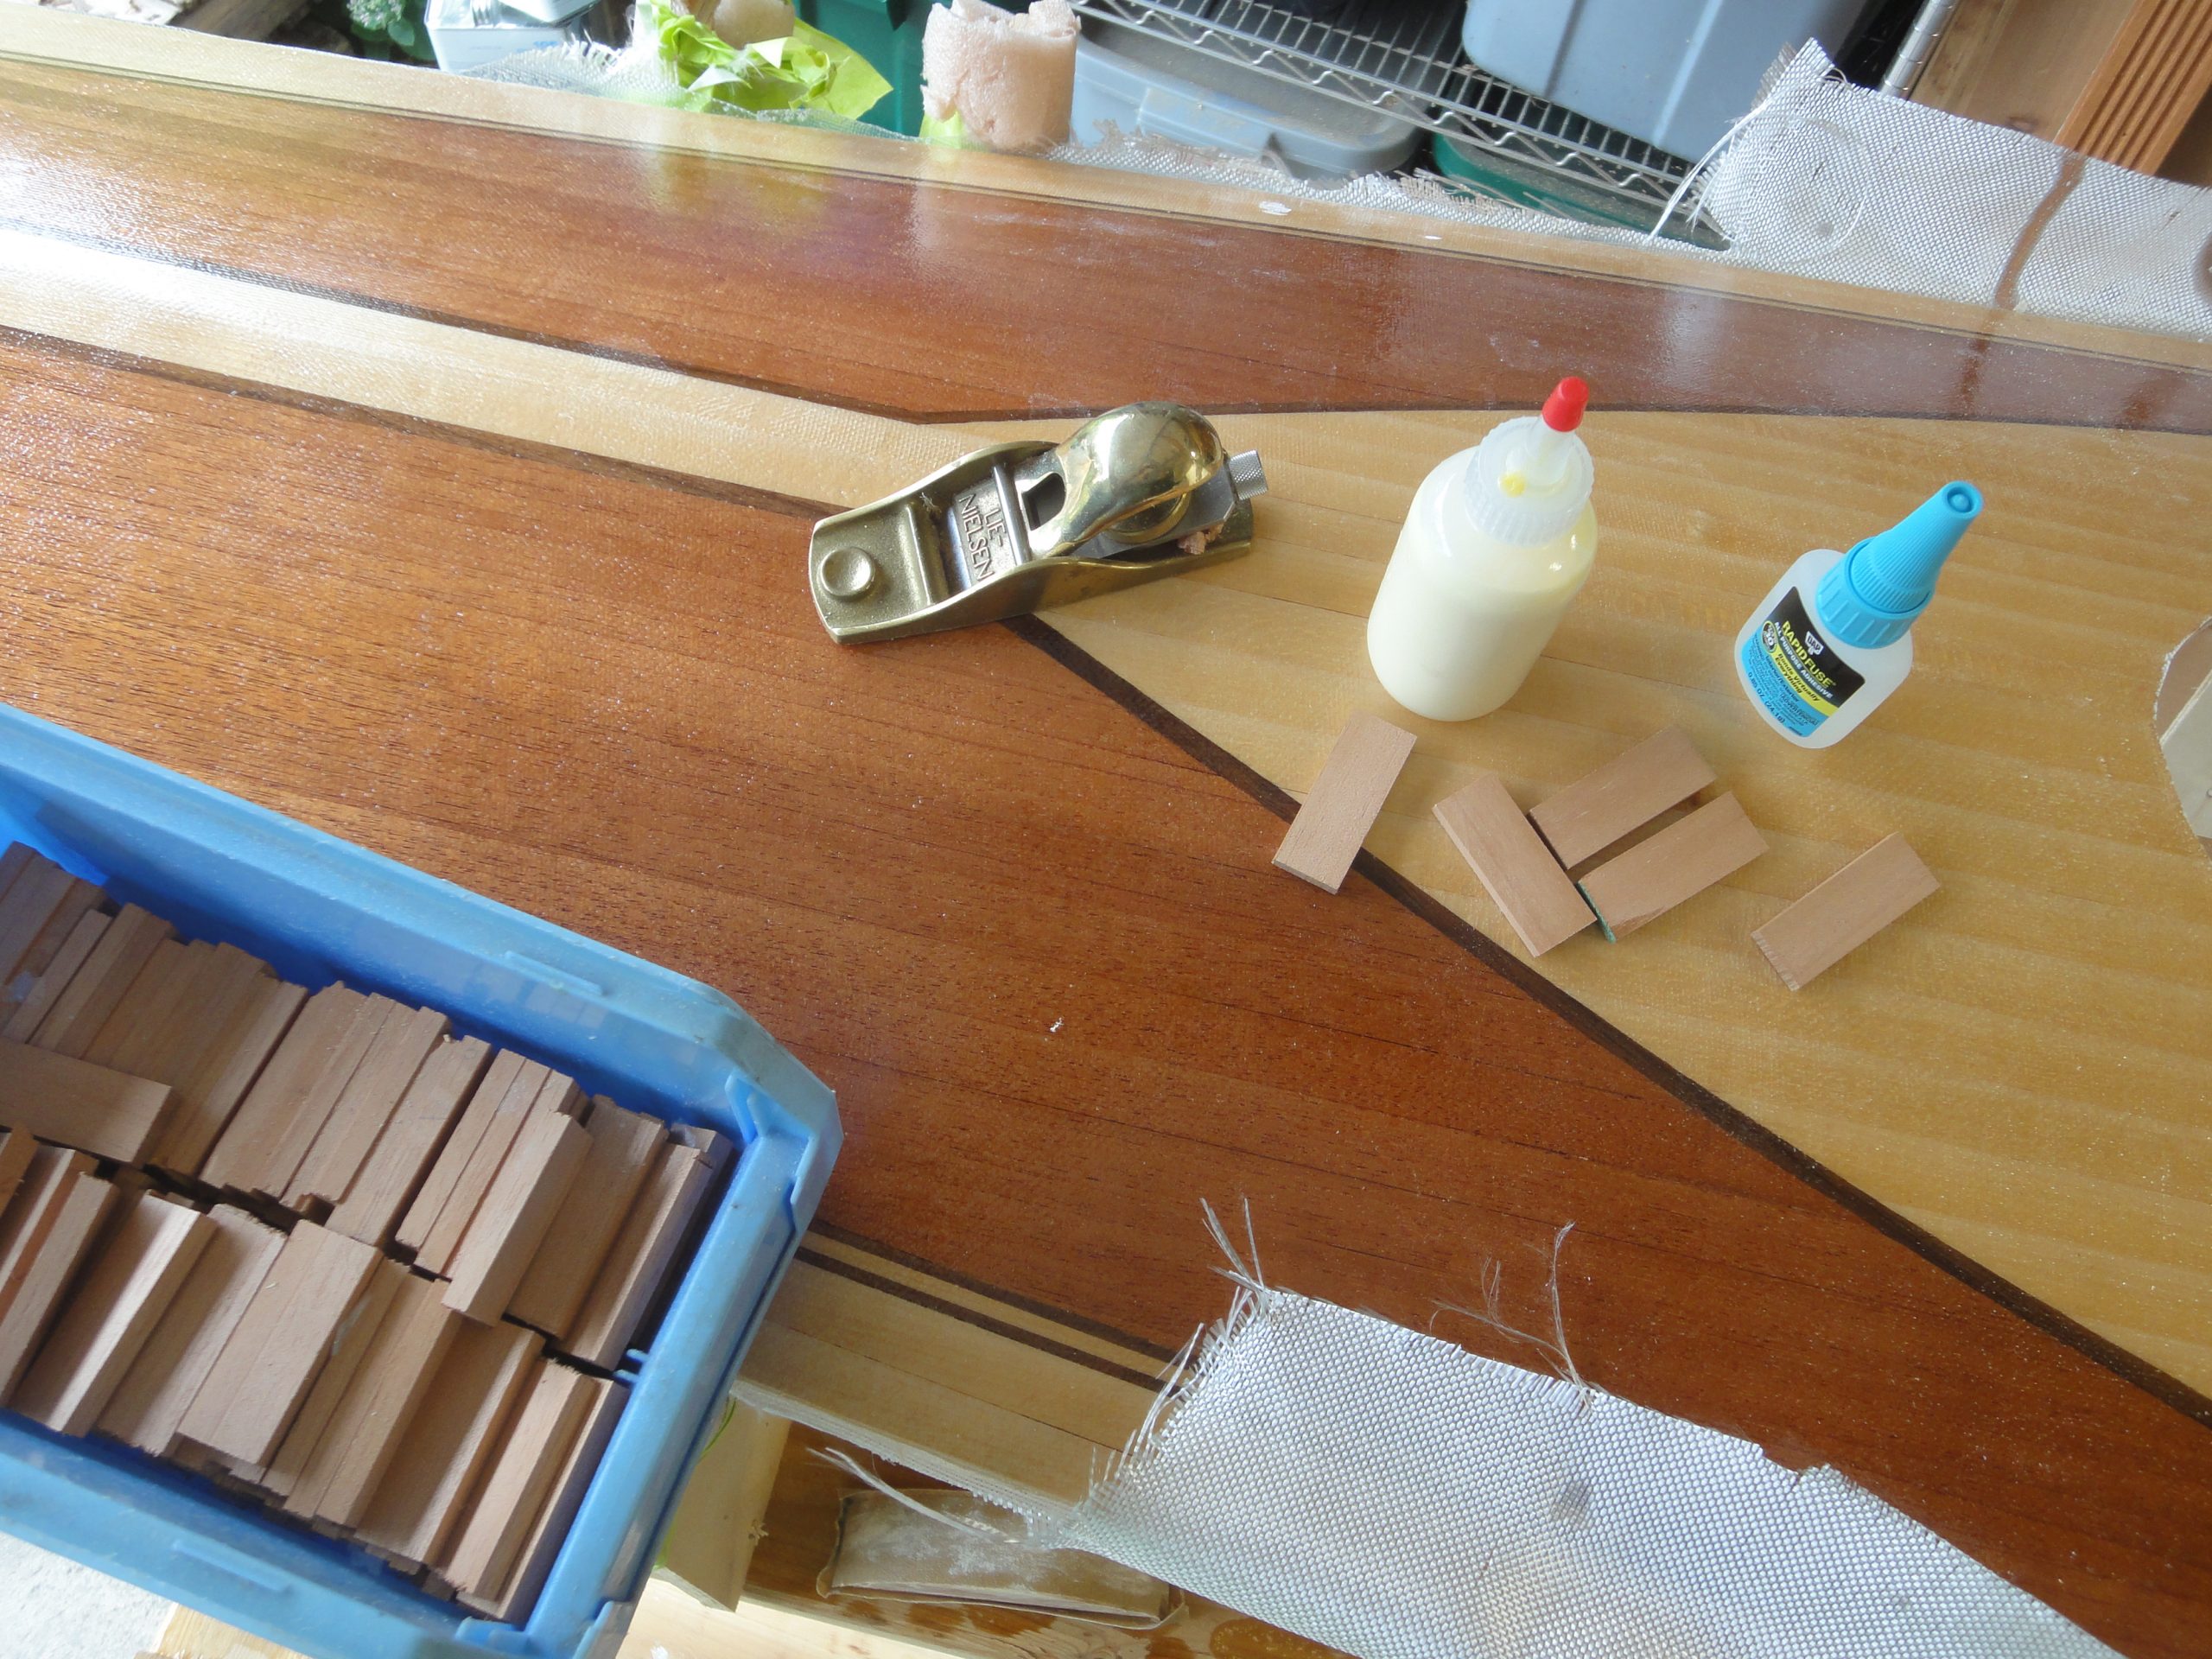
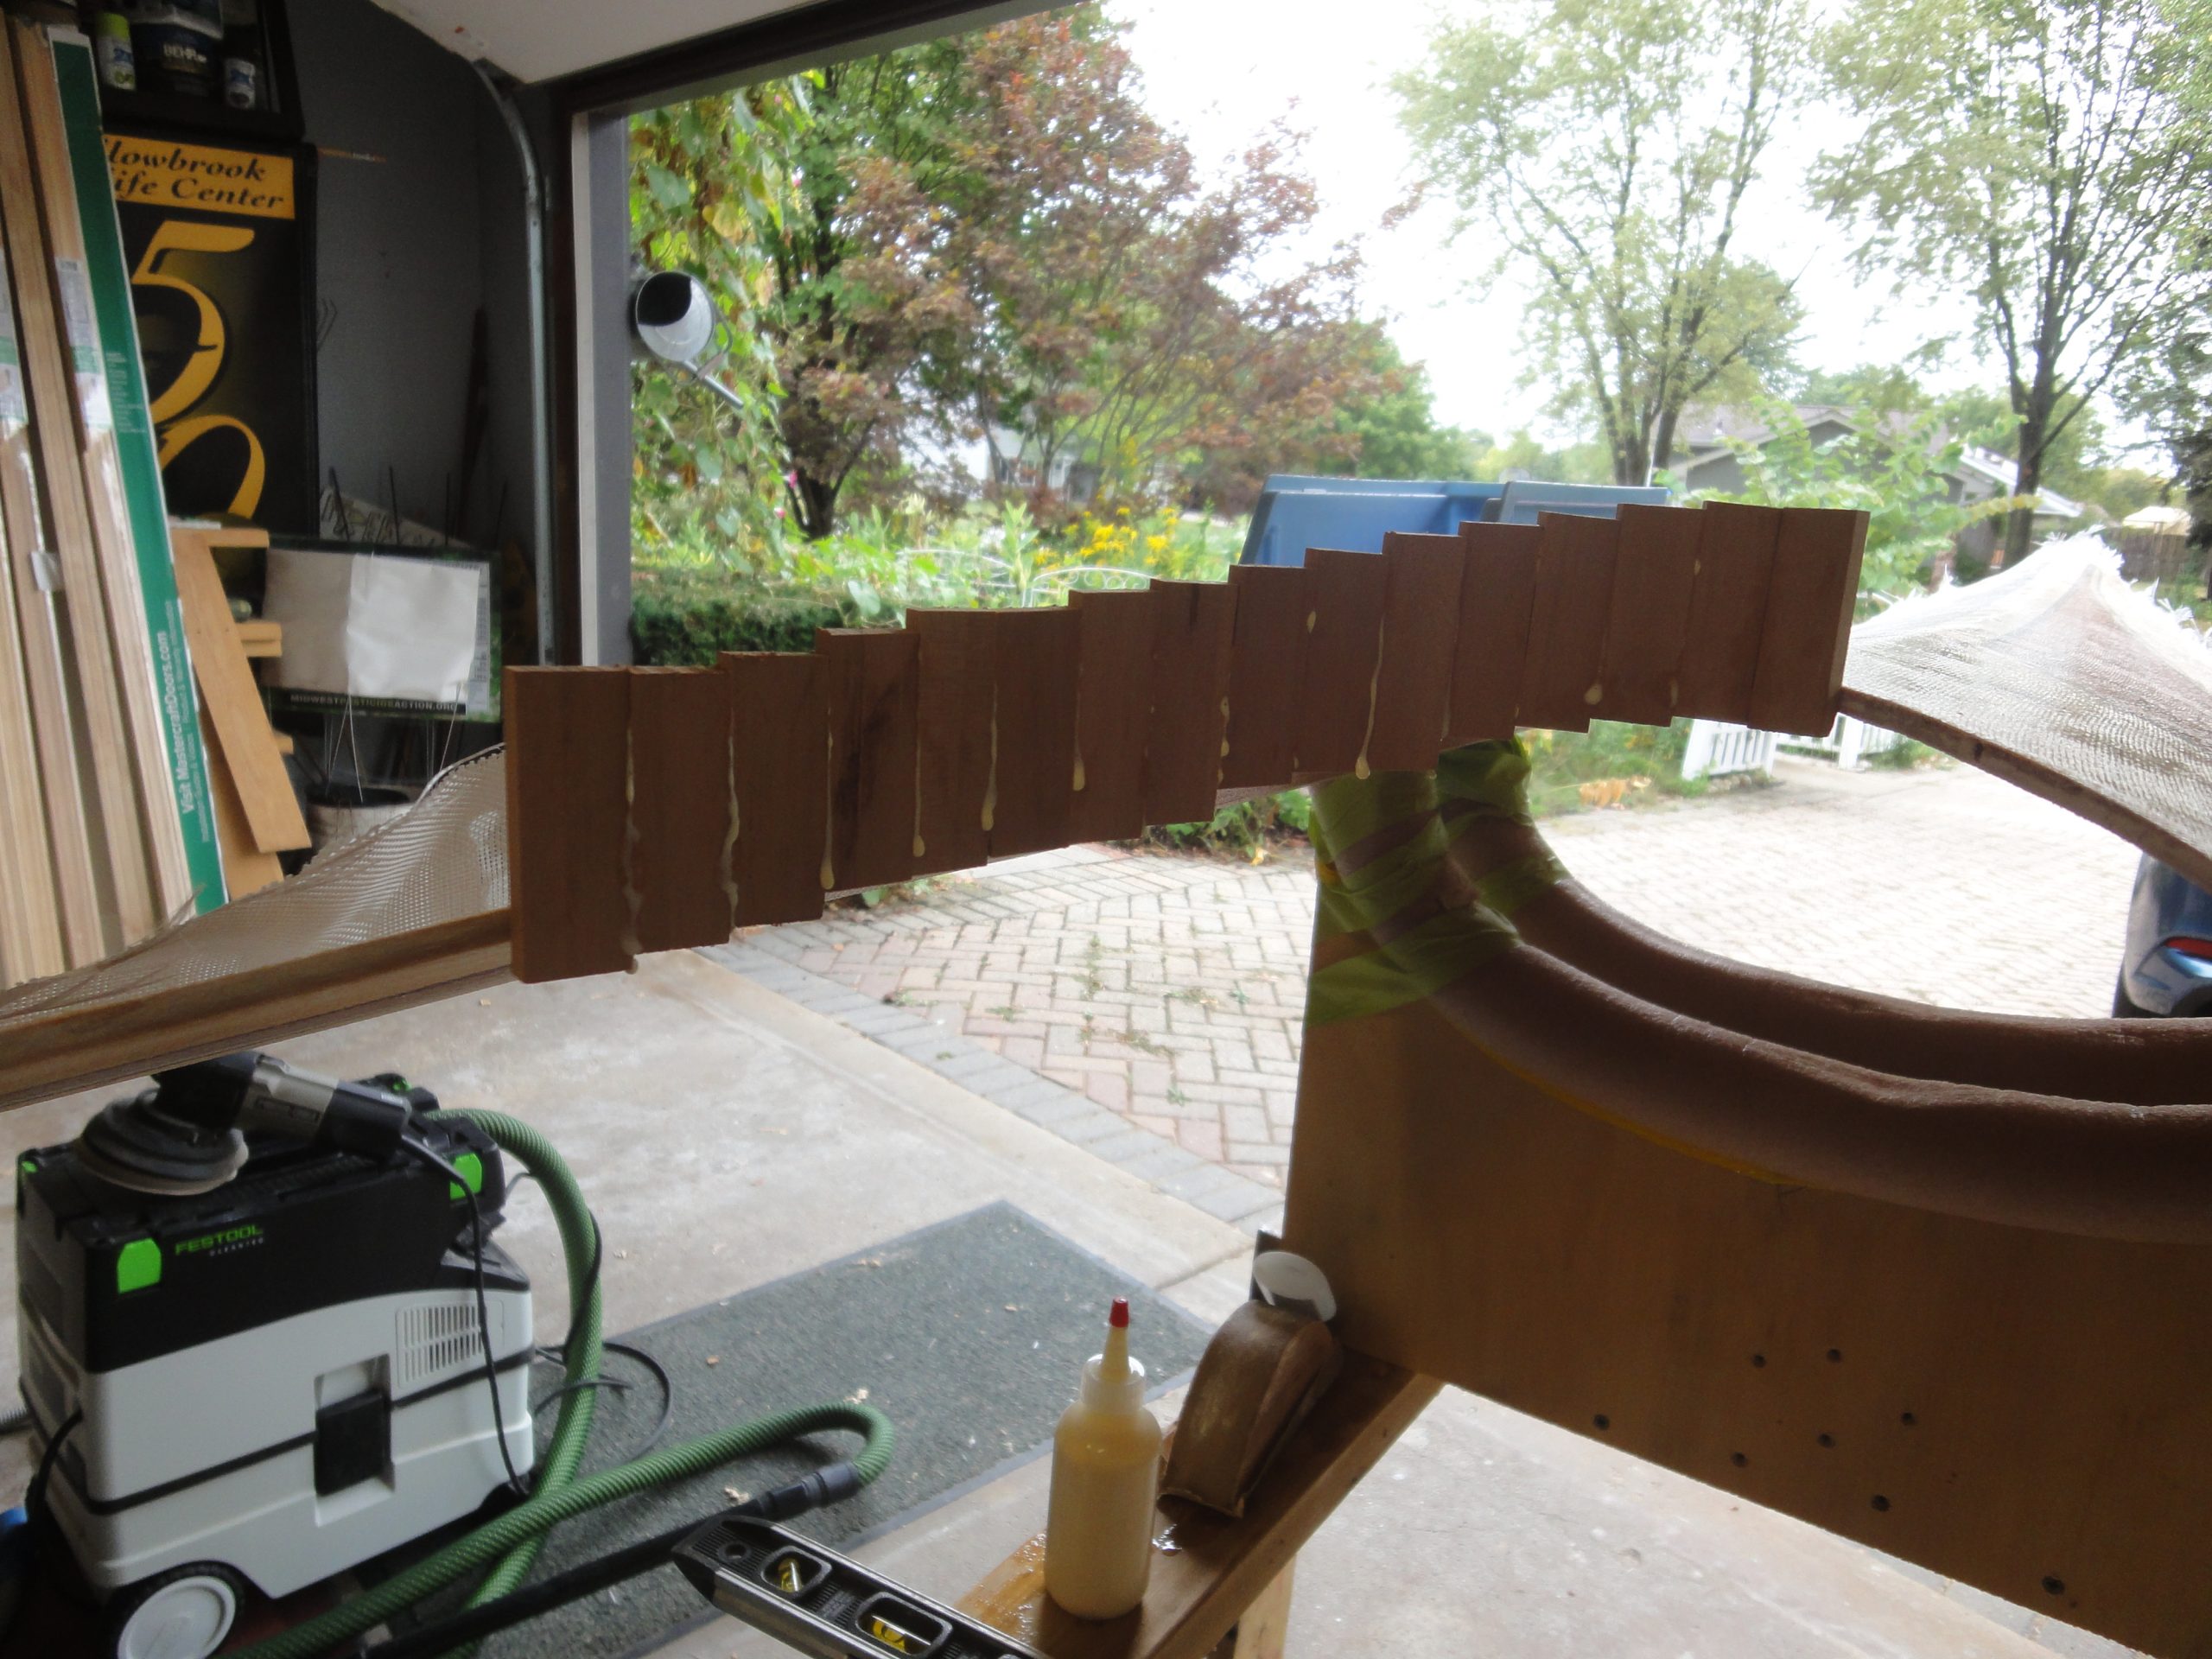
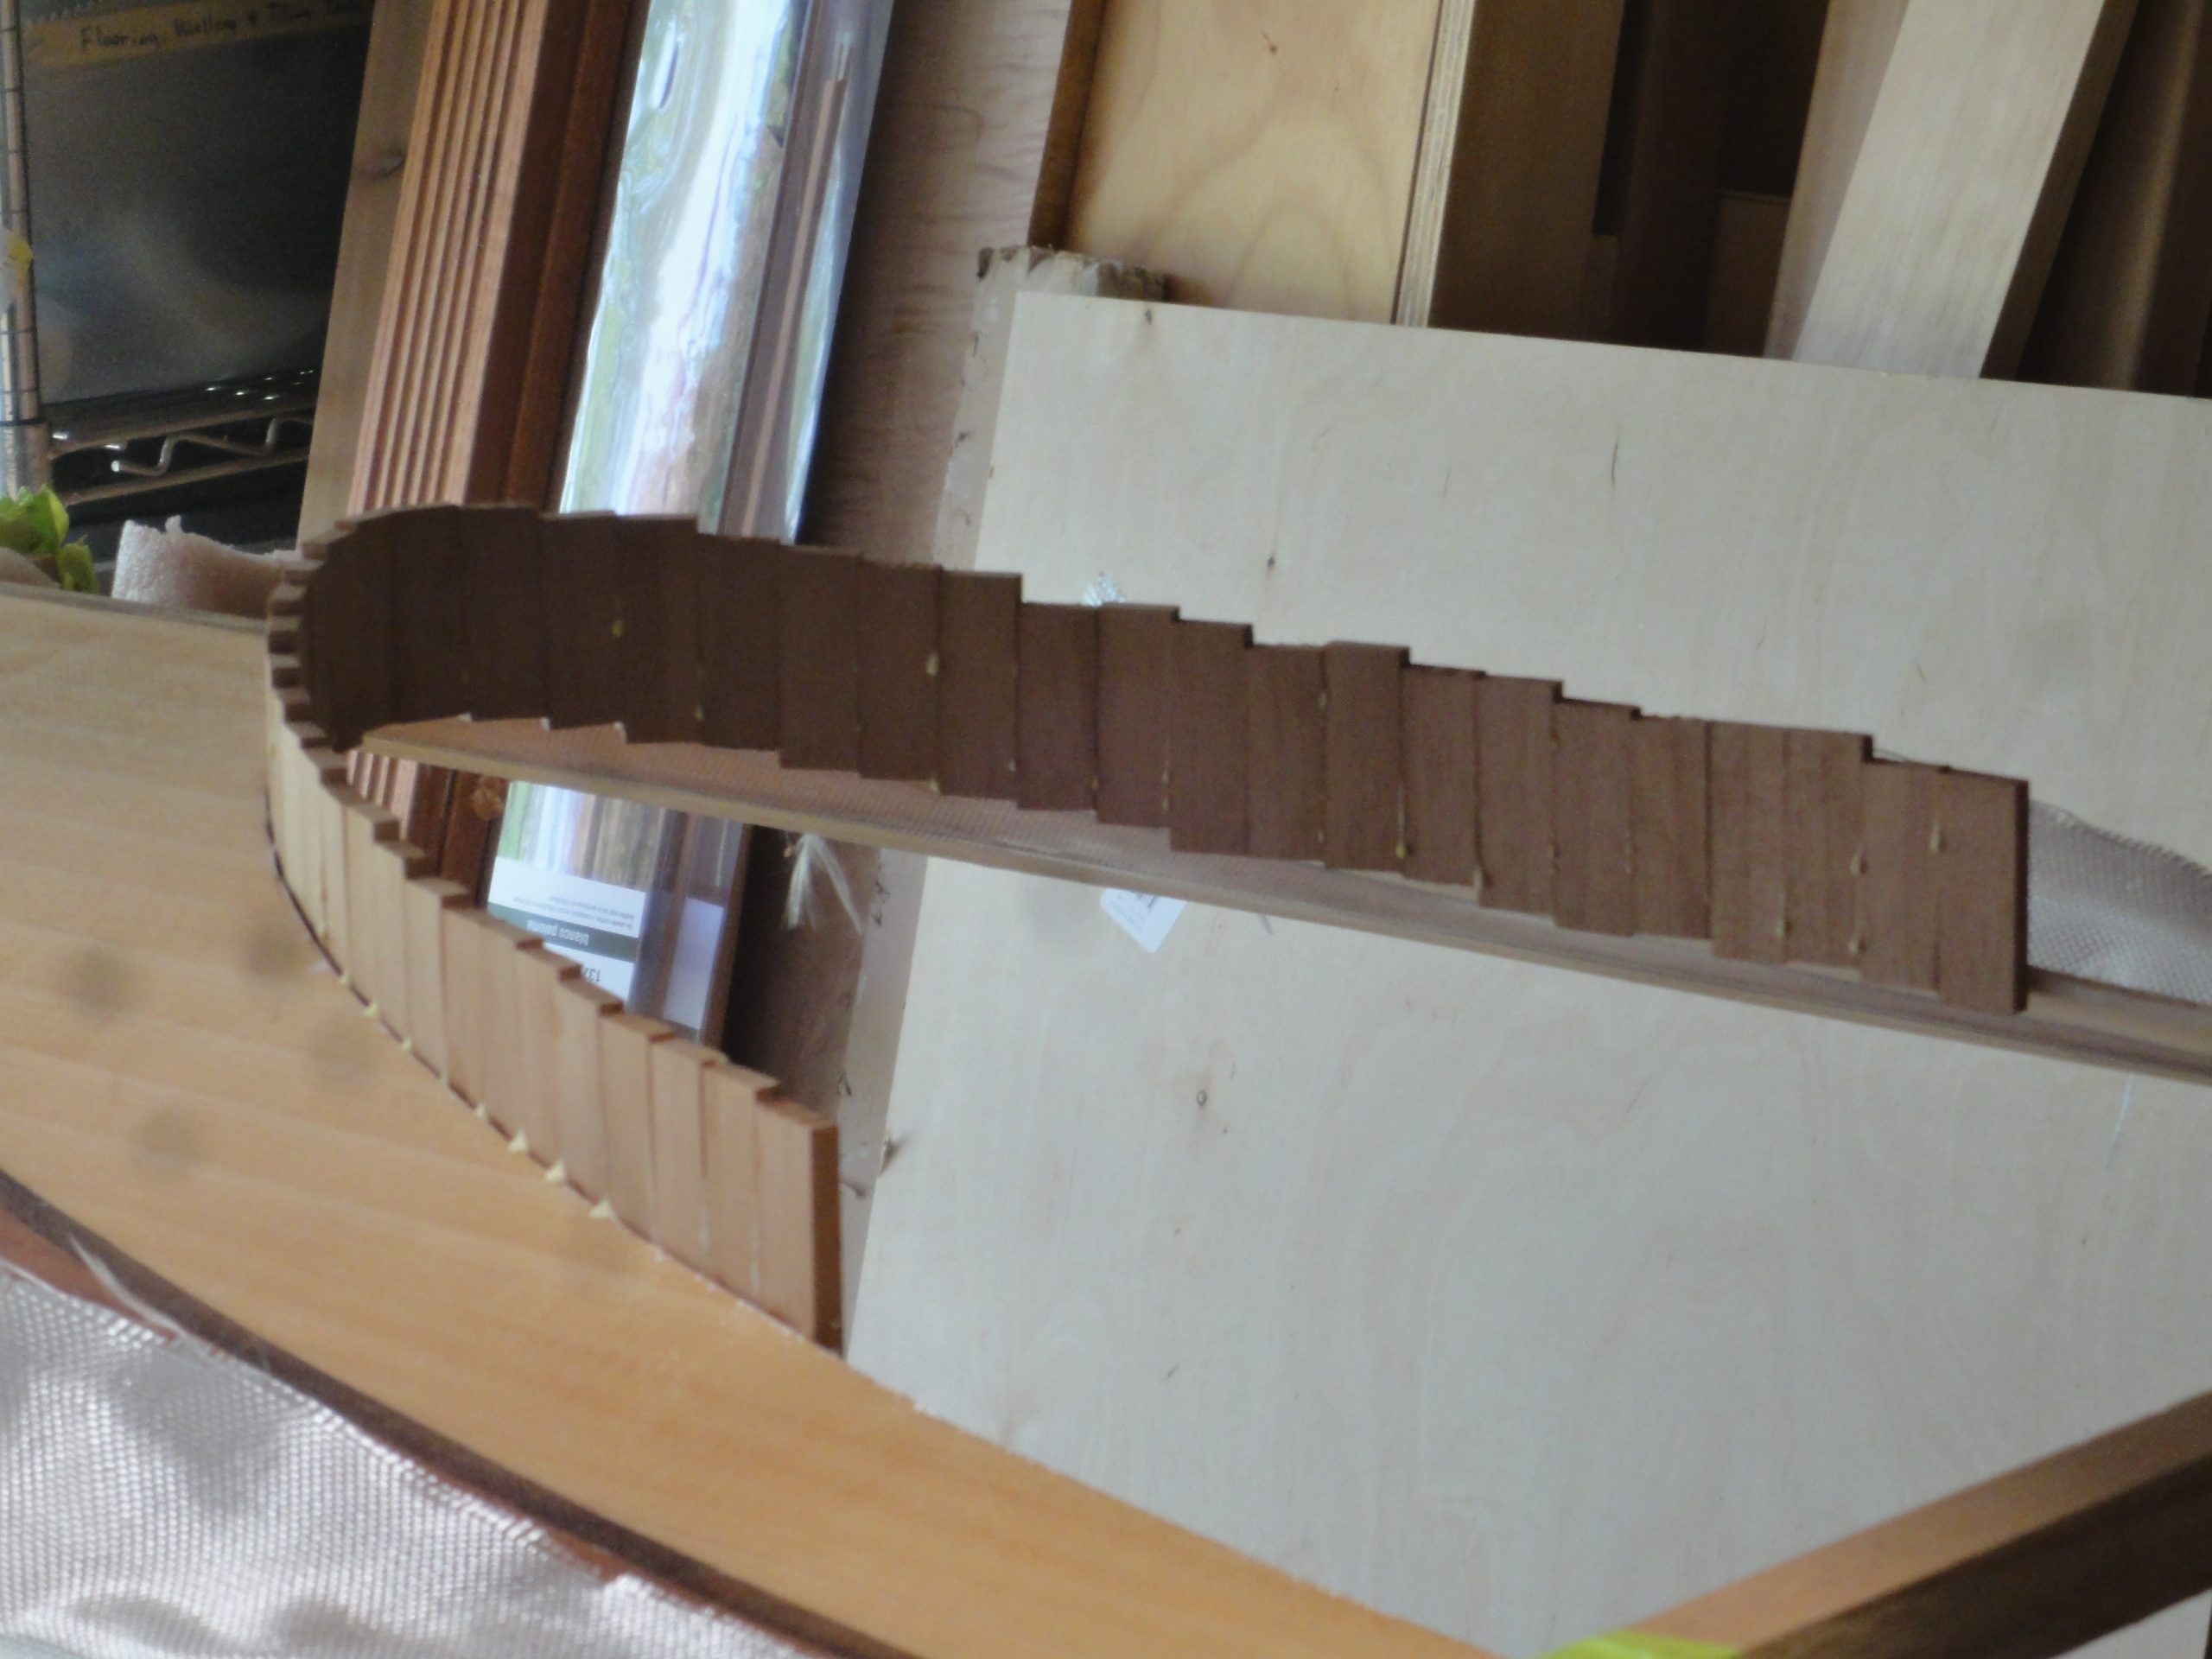
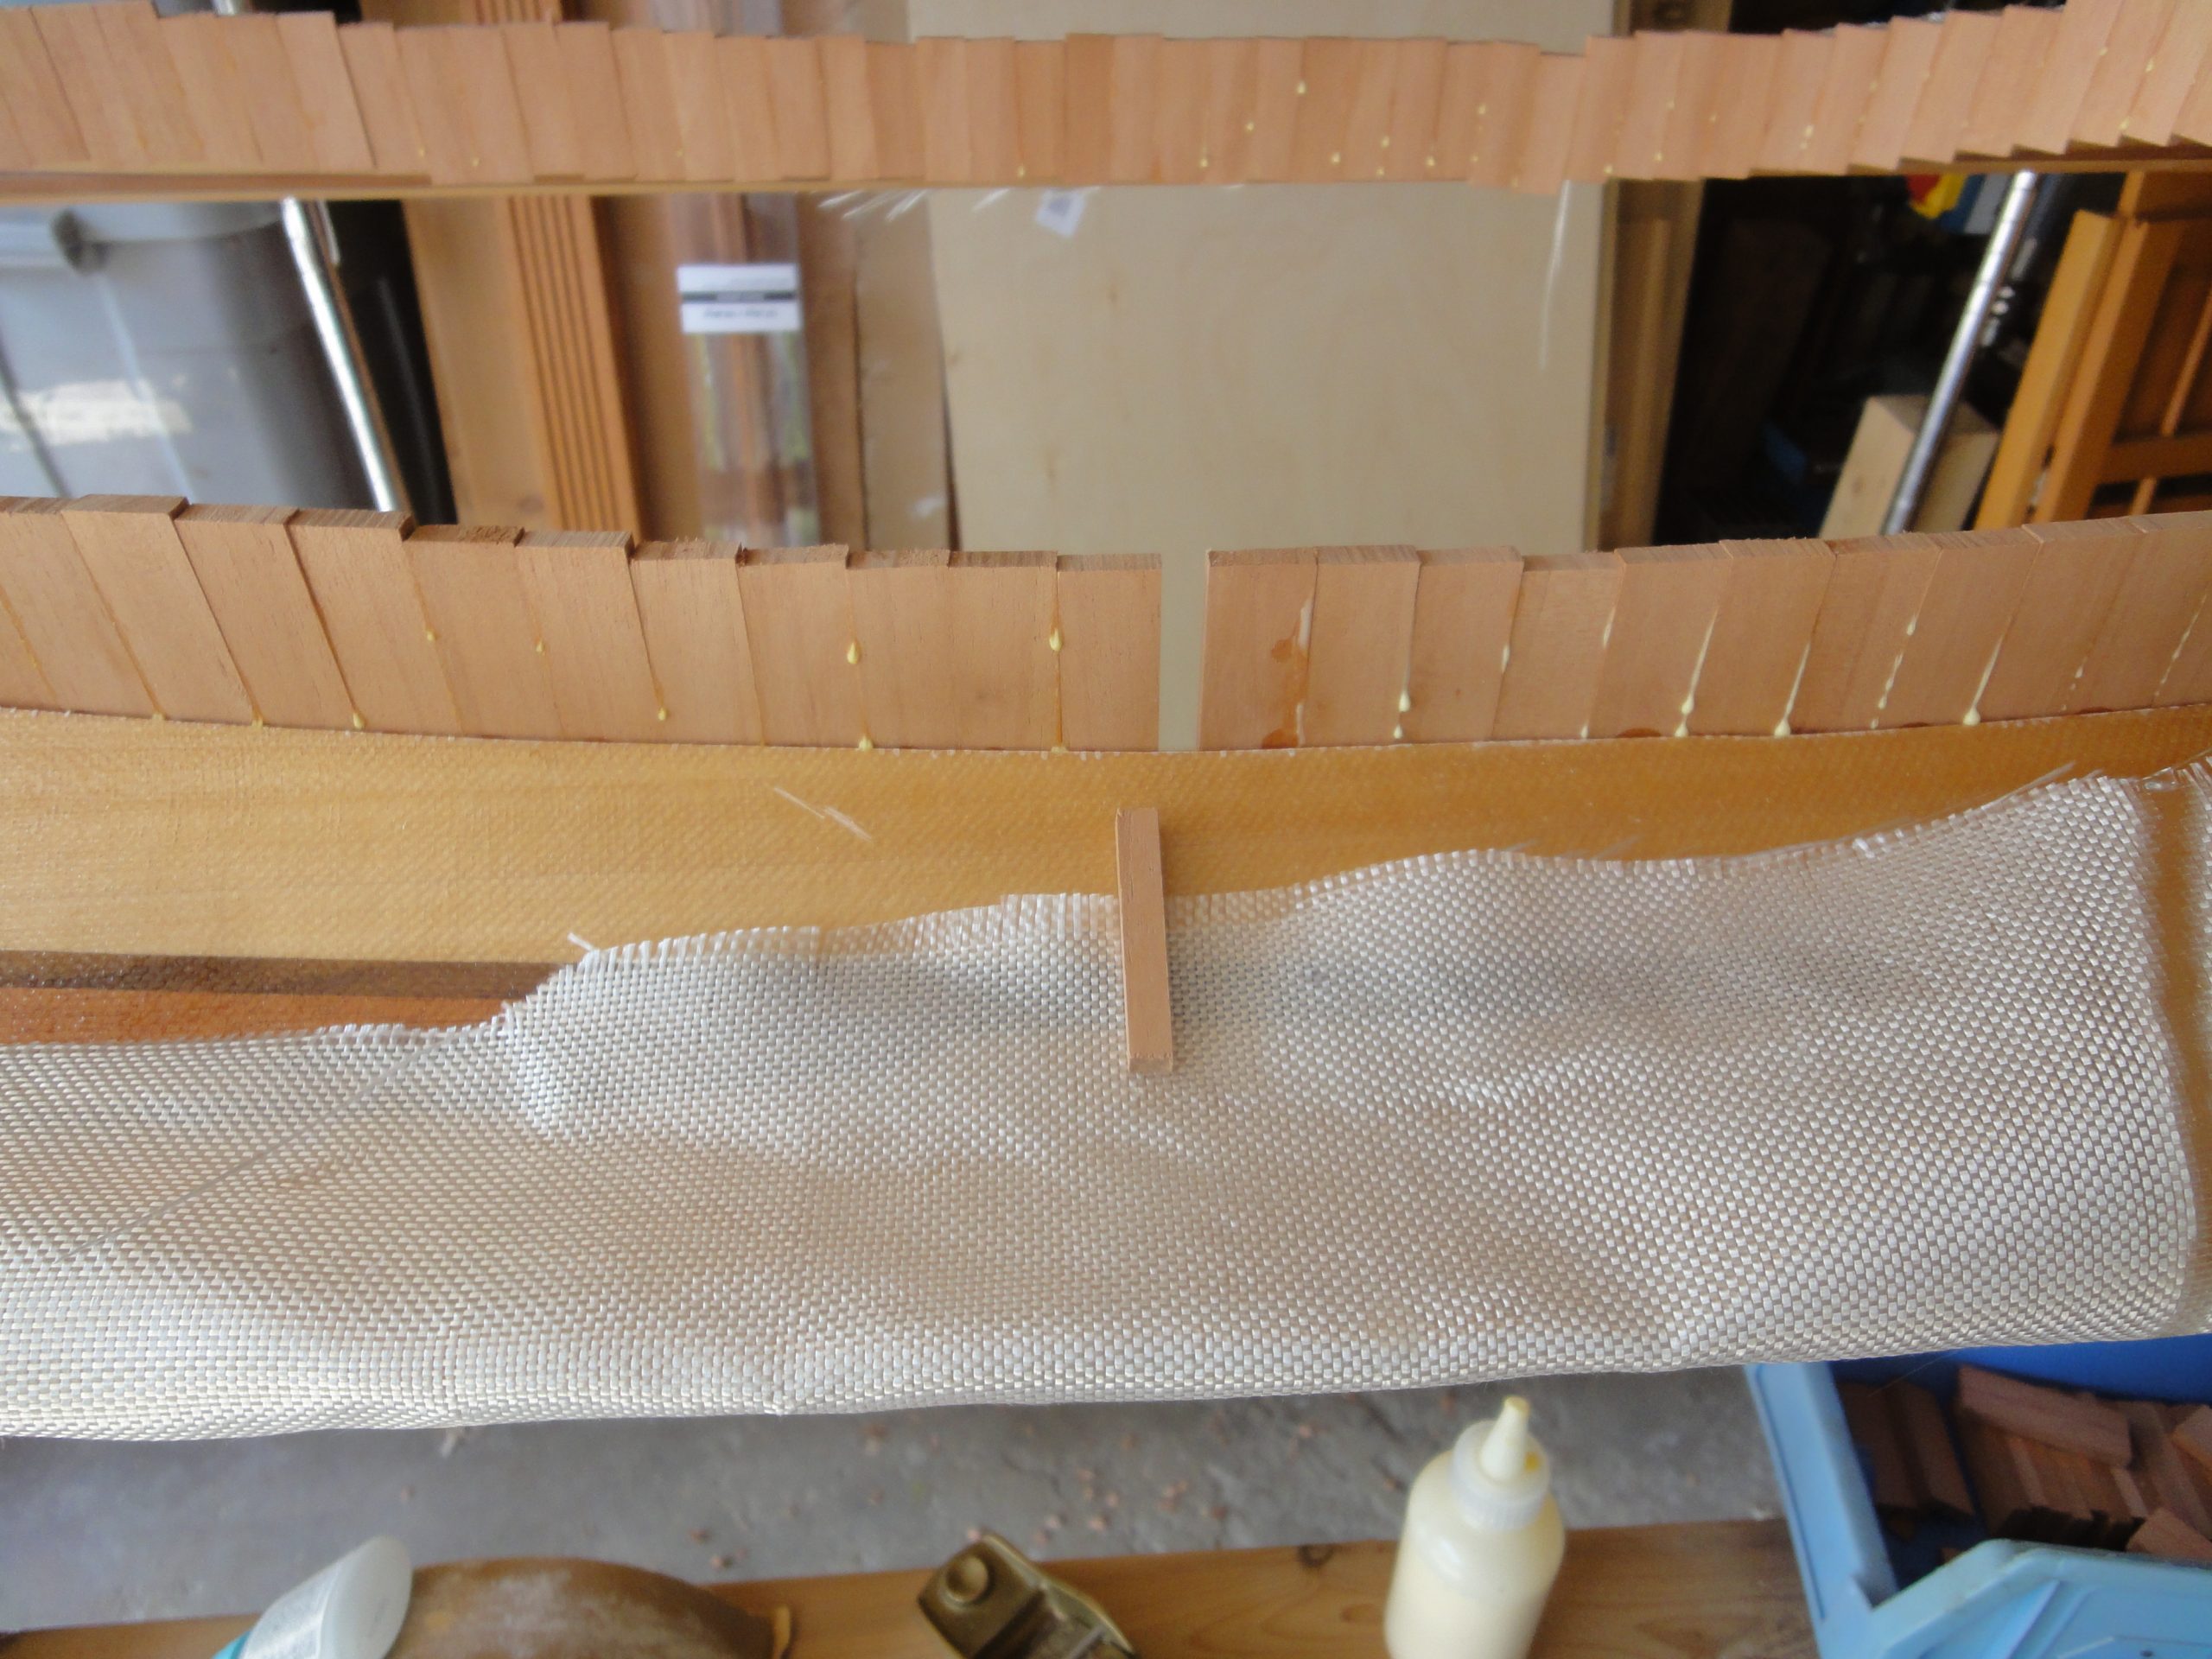
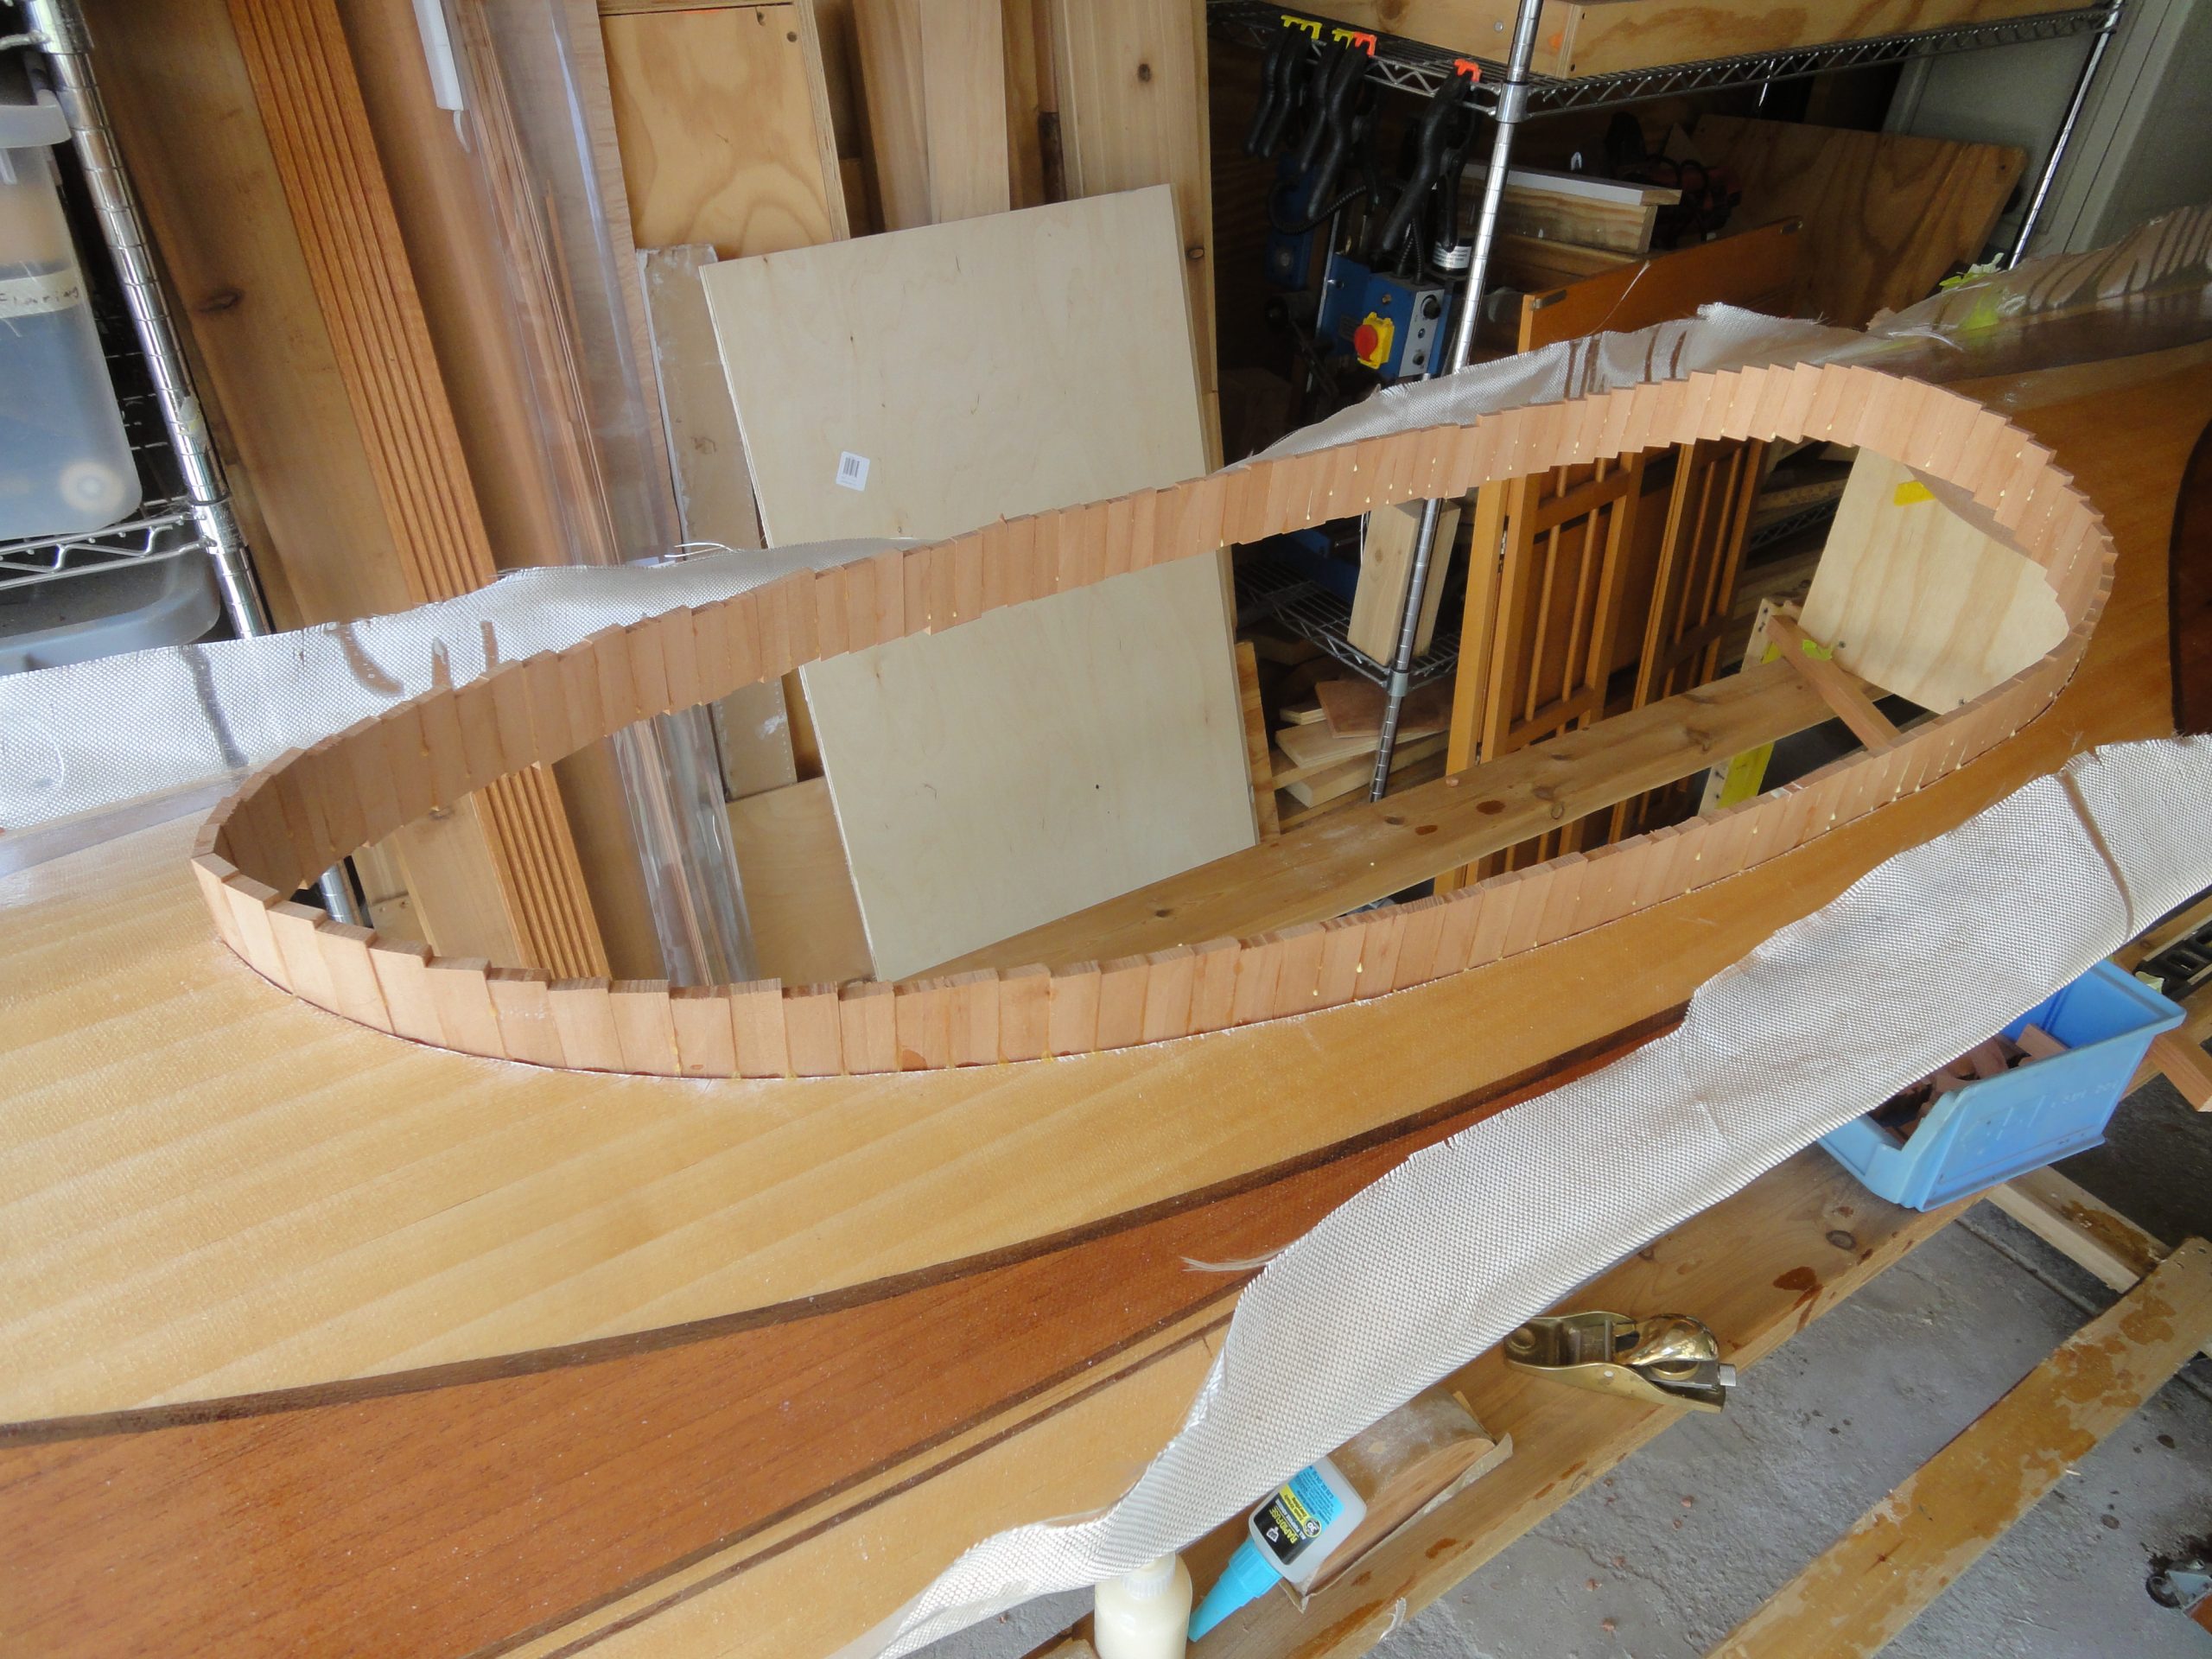
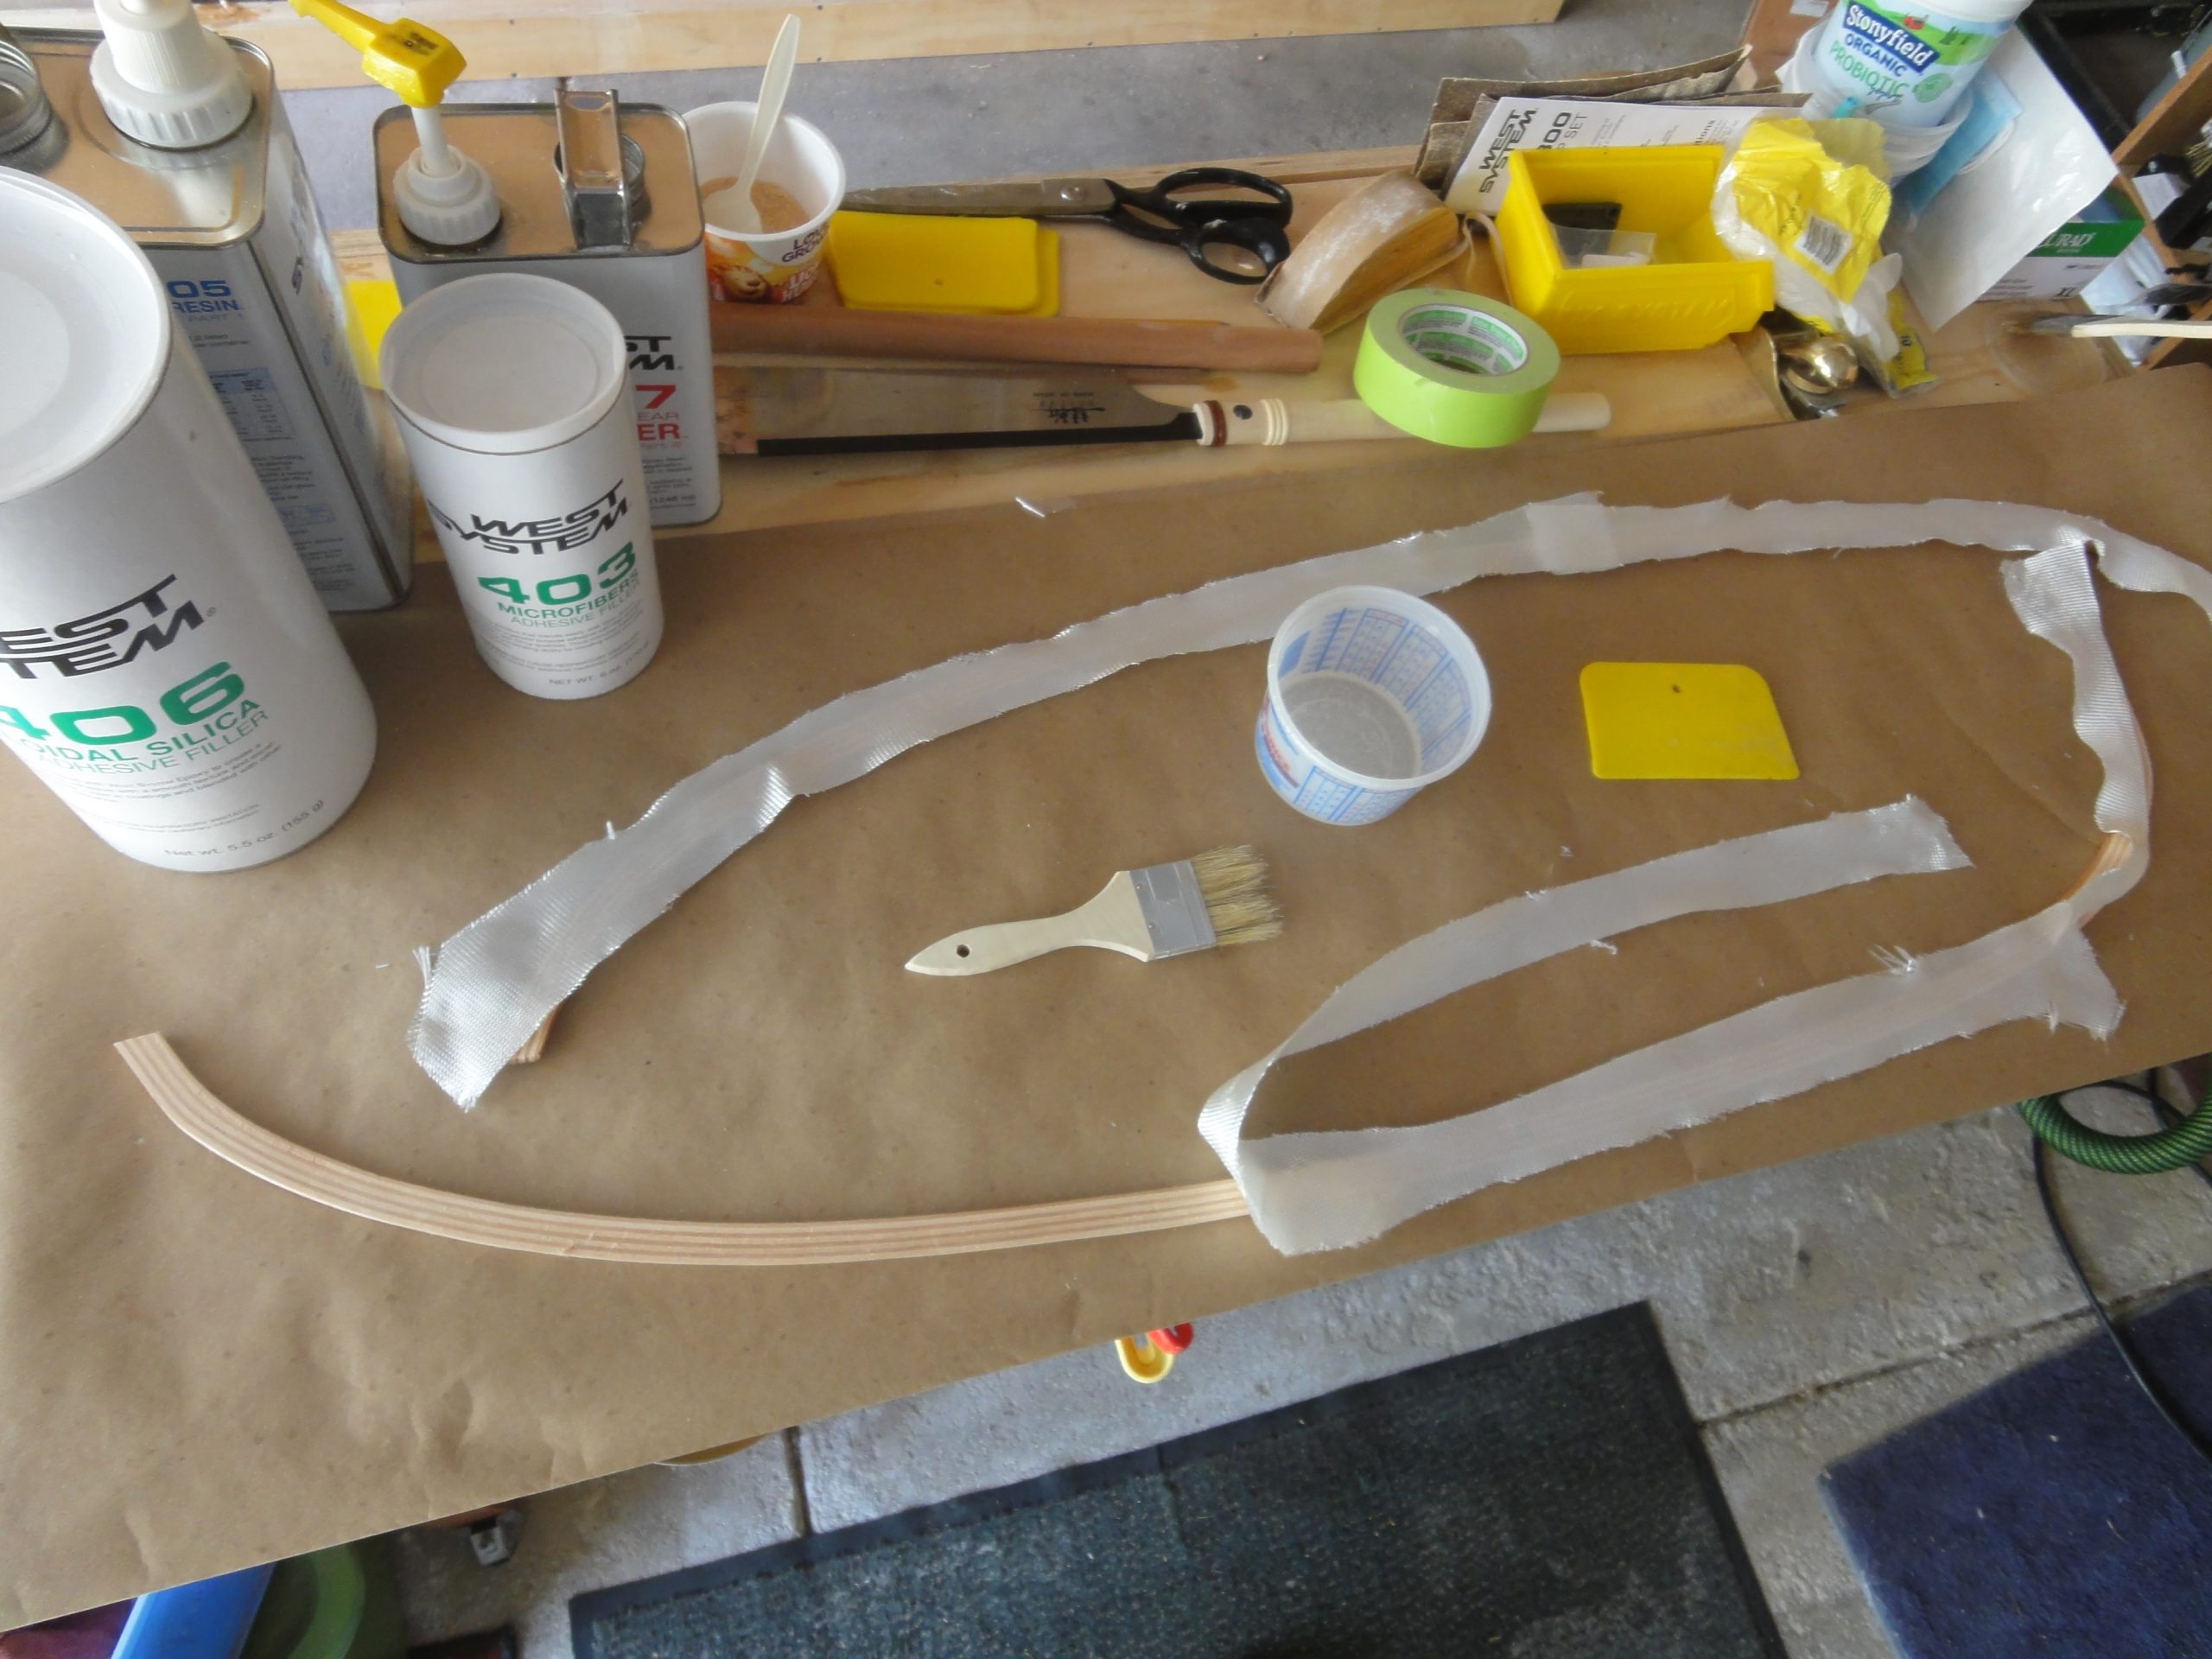
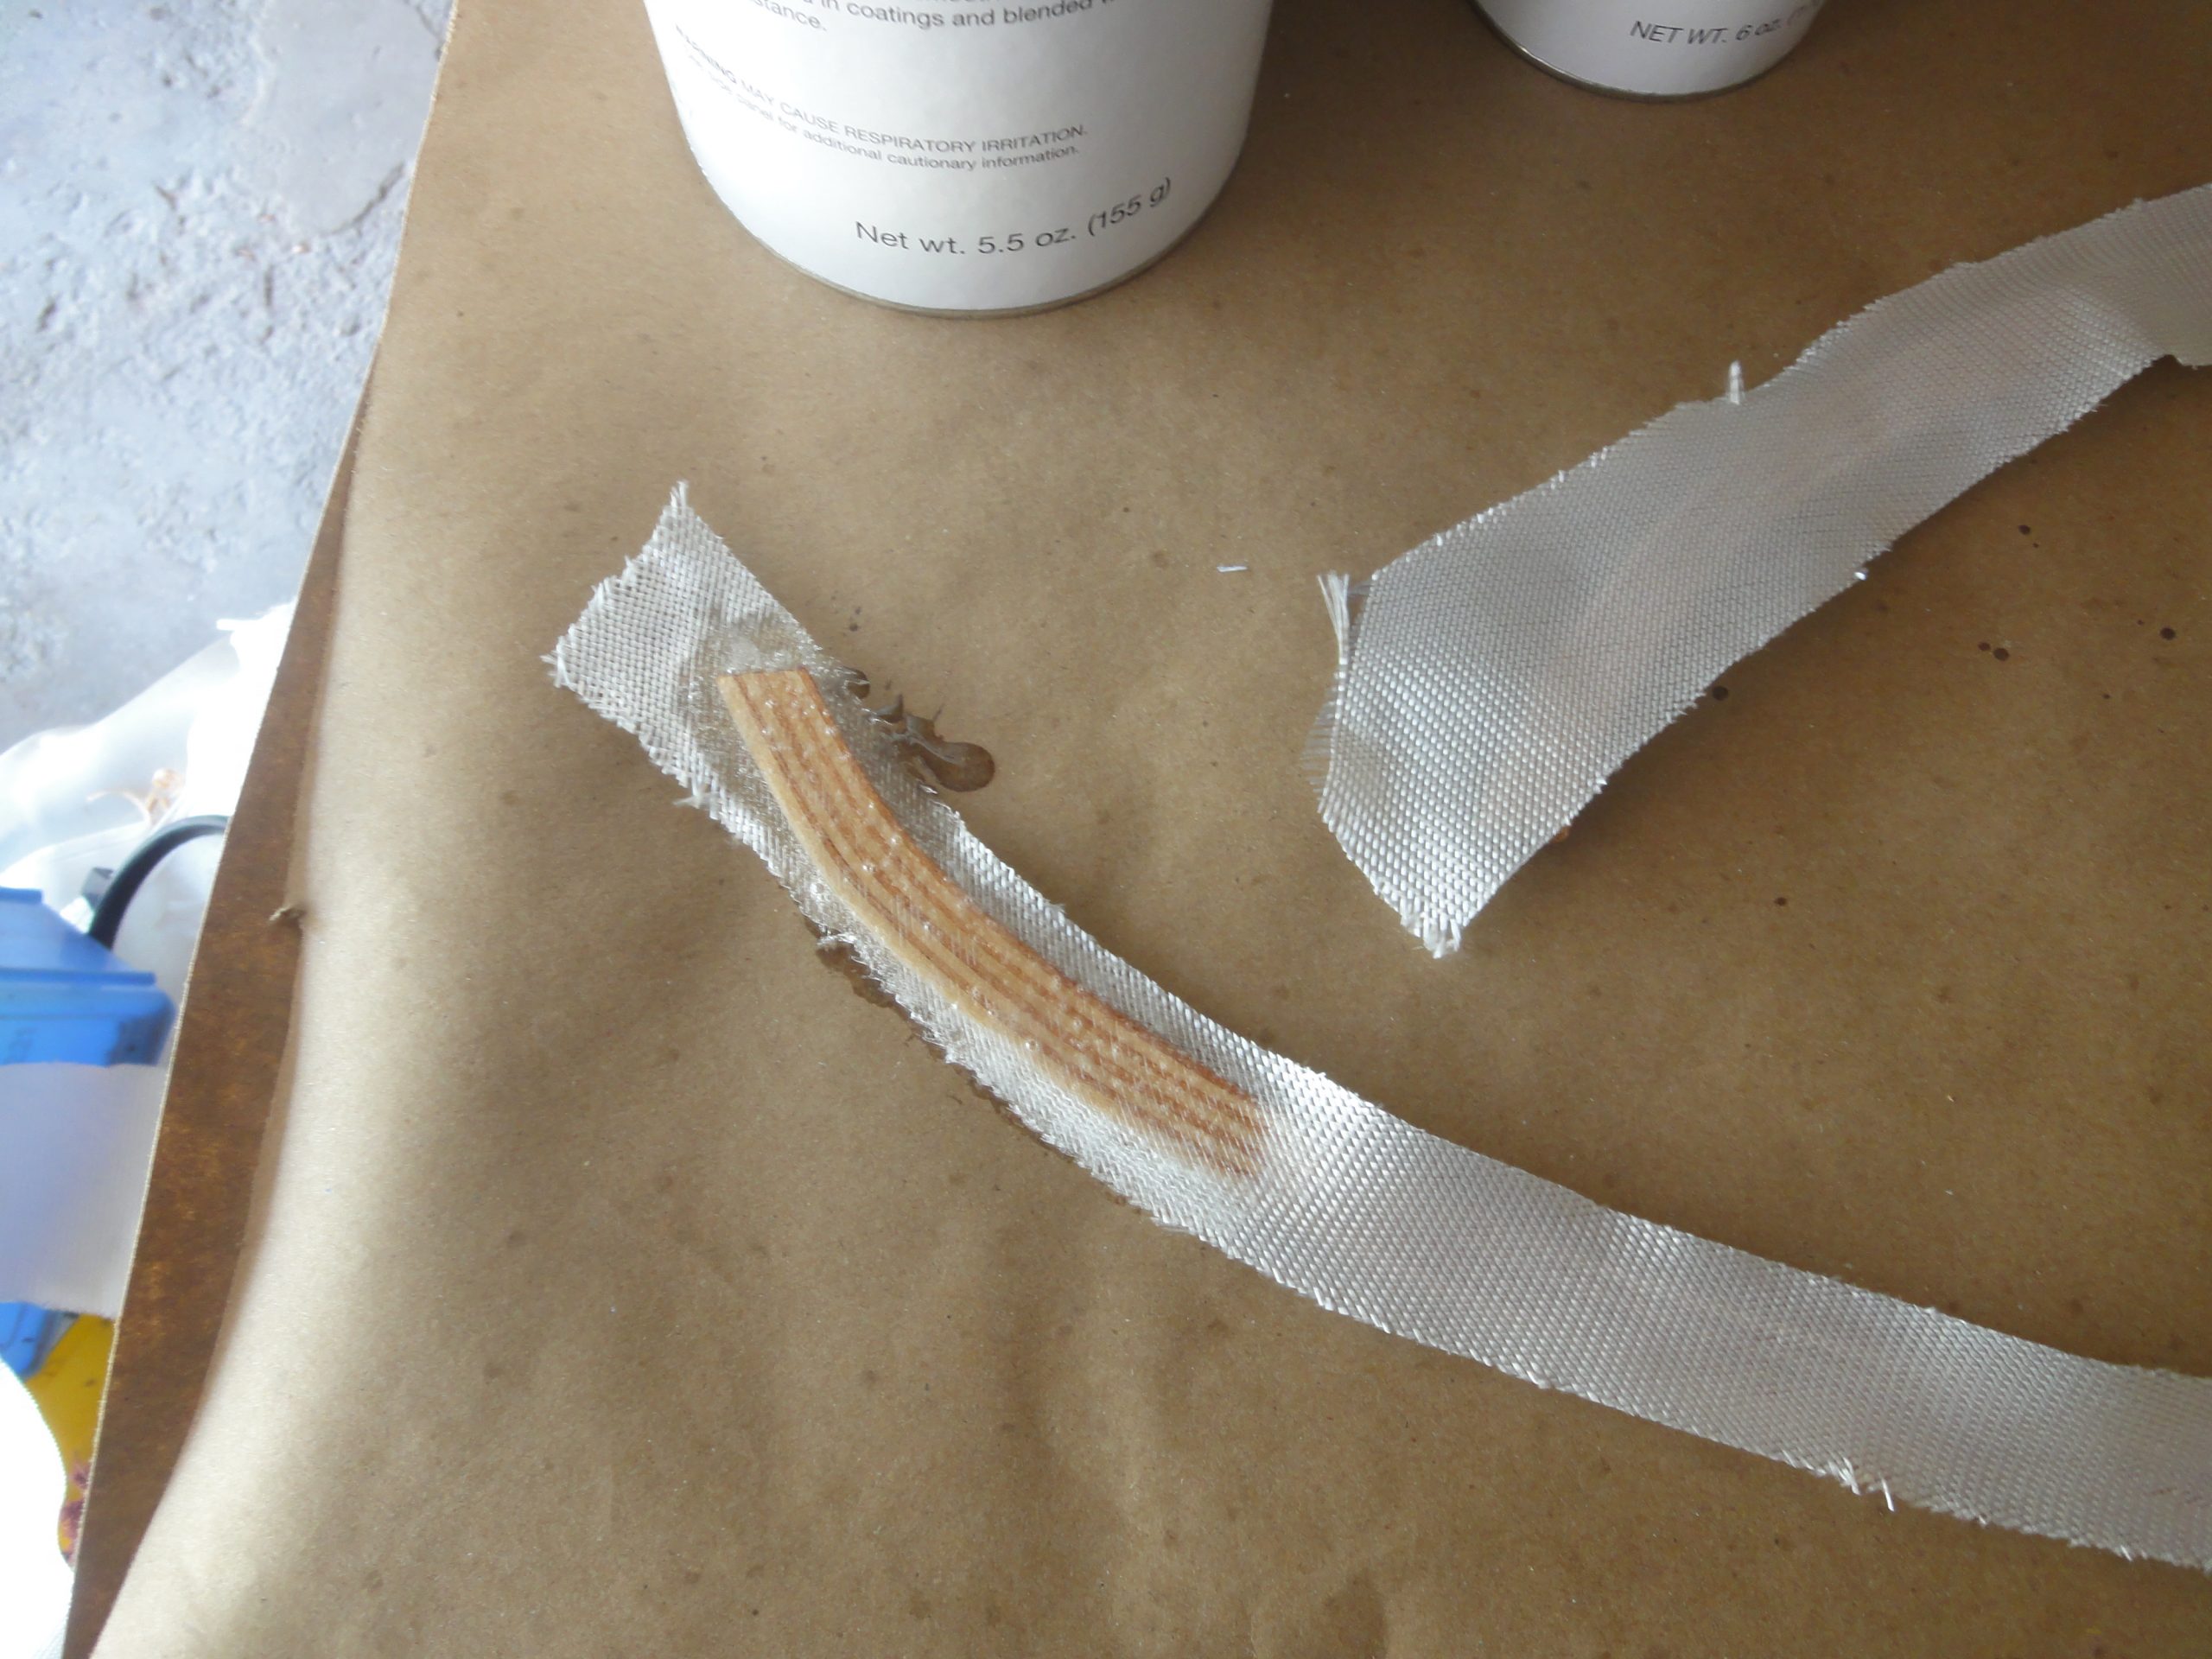
First up, coaming work. I fiberglassed the underside of the coaming rim as this would be very difficult to do later. Pretty simple process. Some protective paper on a work surface, then bias cut fiberglass is laid over the strips. Using the dabbing technique I wet out the cloth. Later a second coat was added.

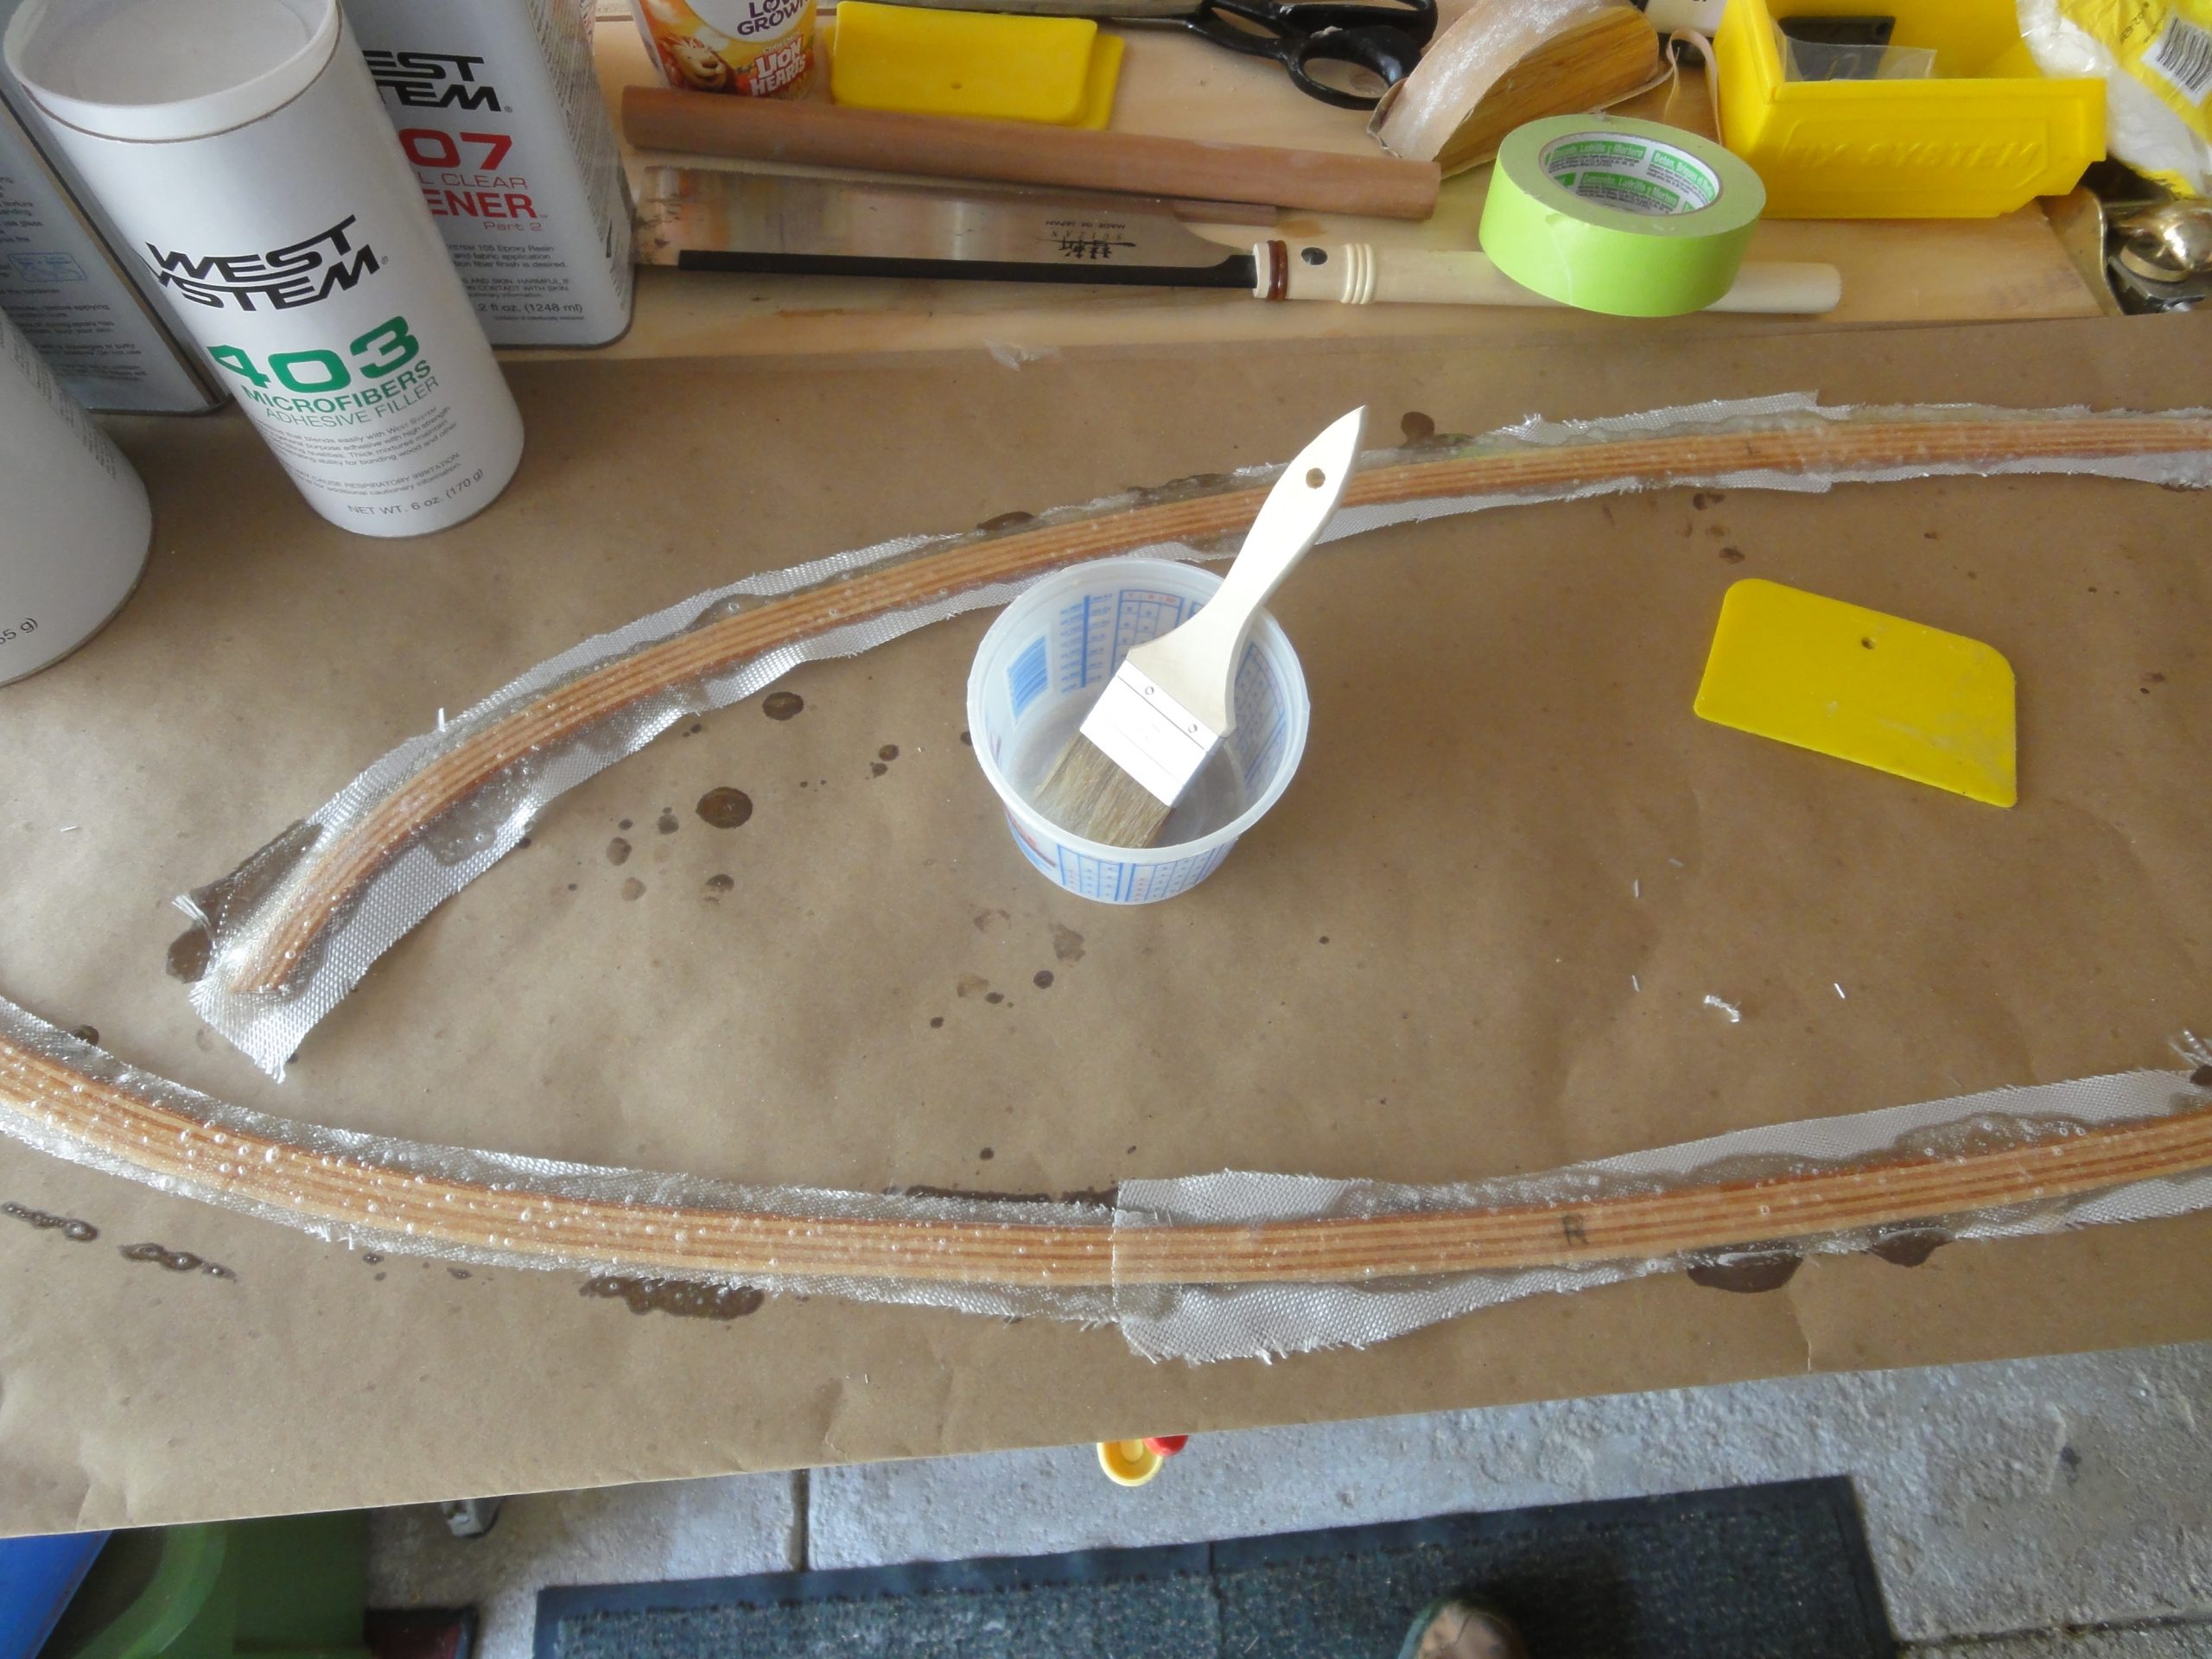
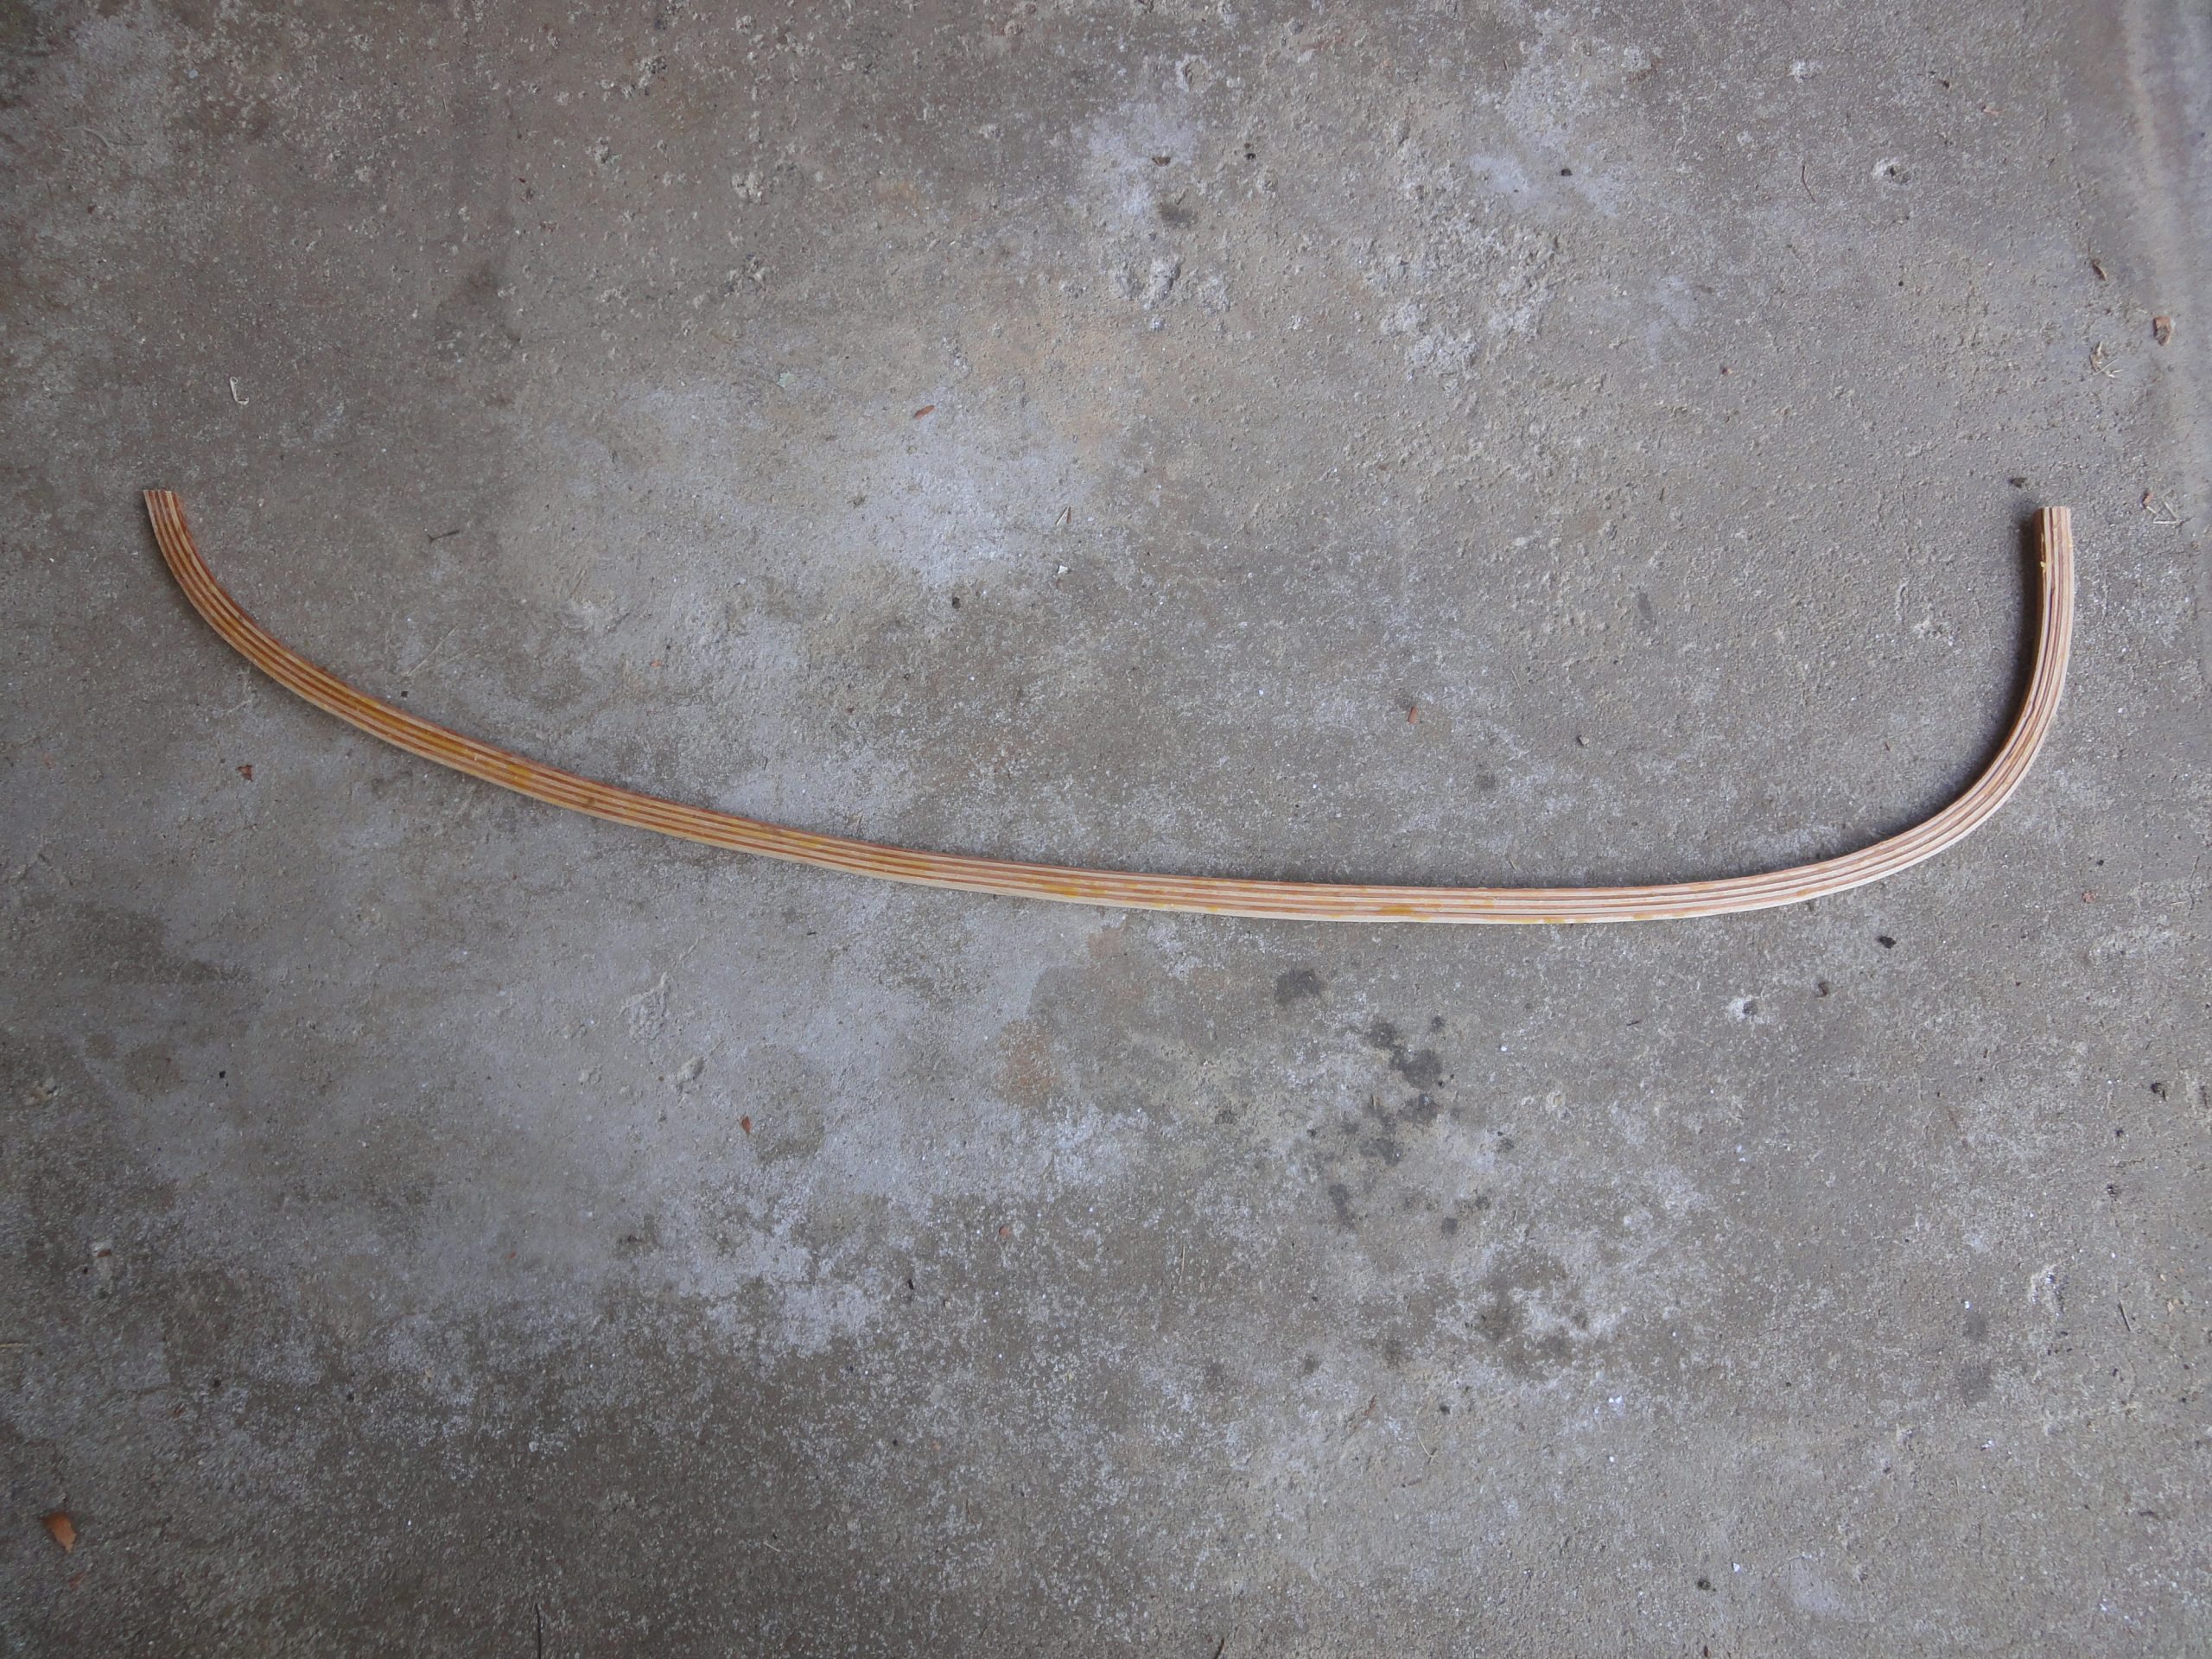
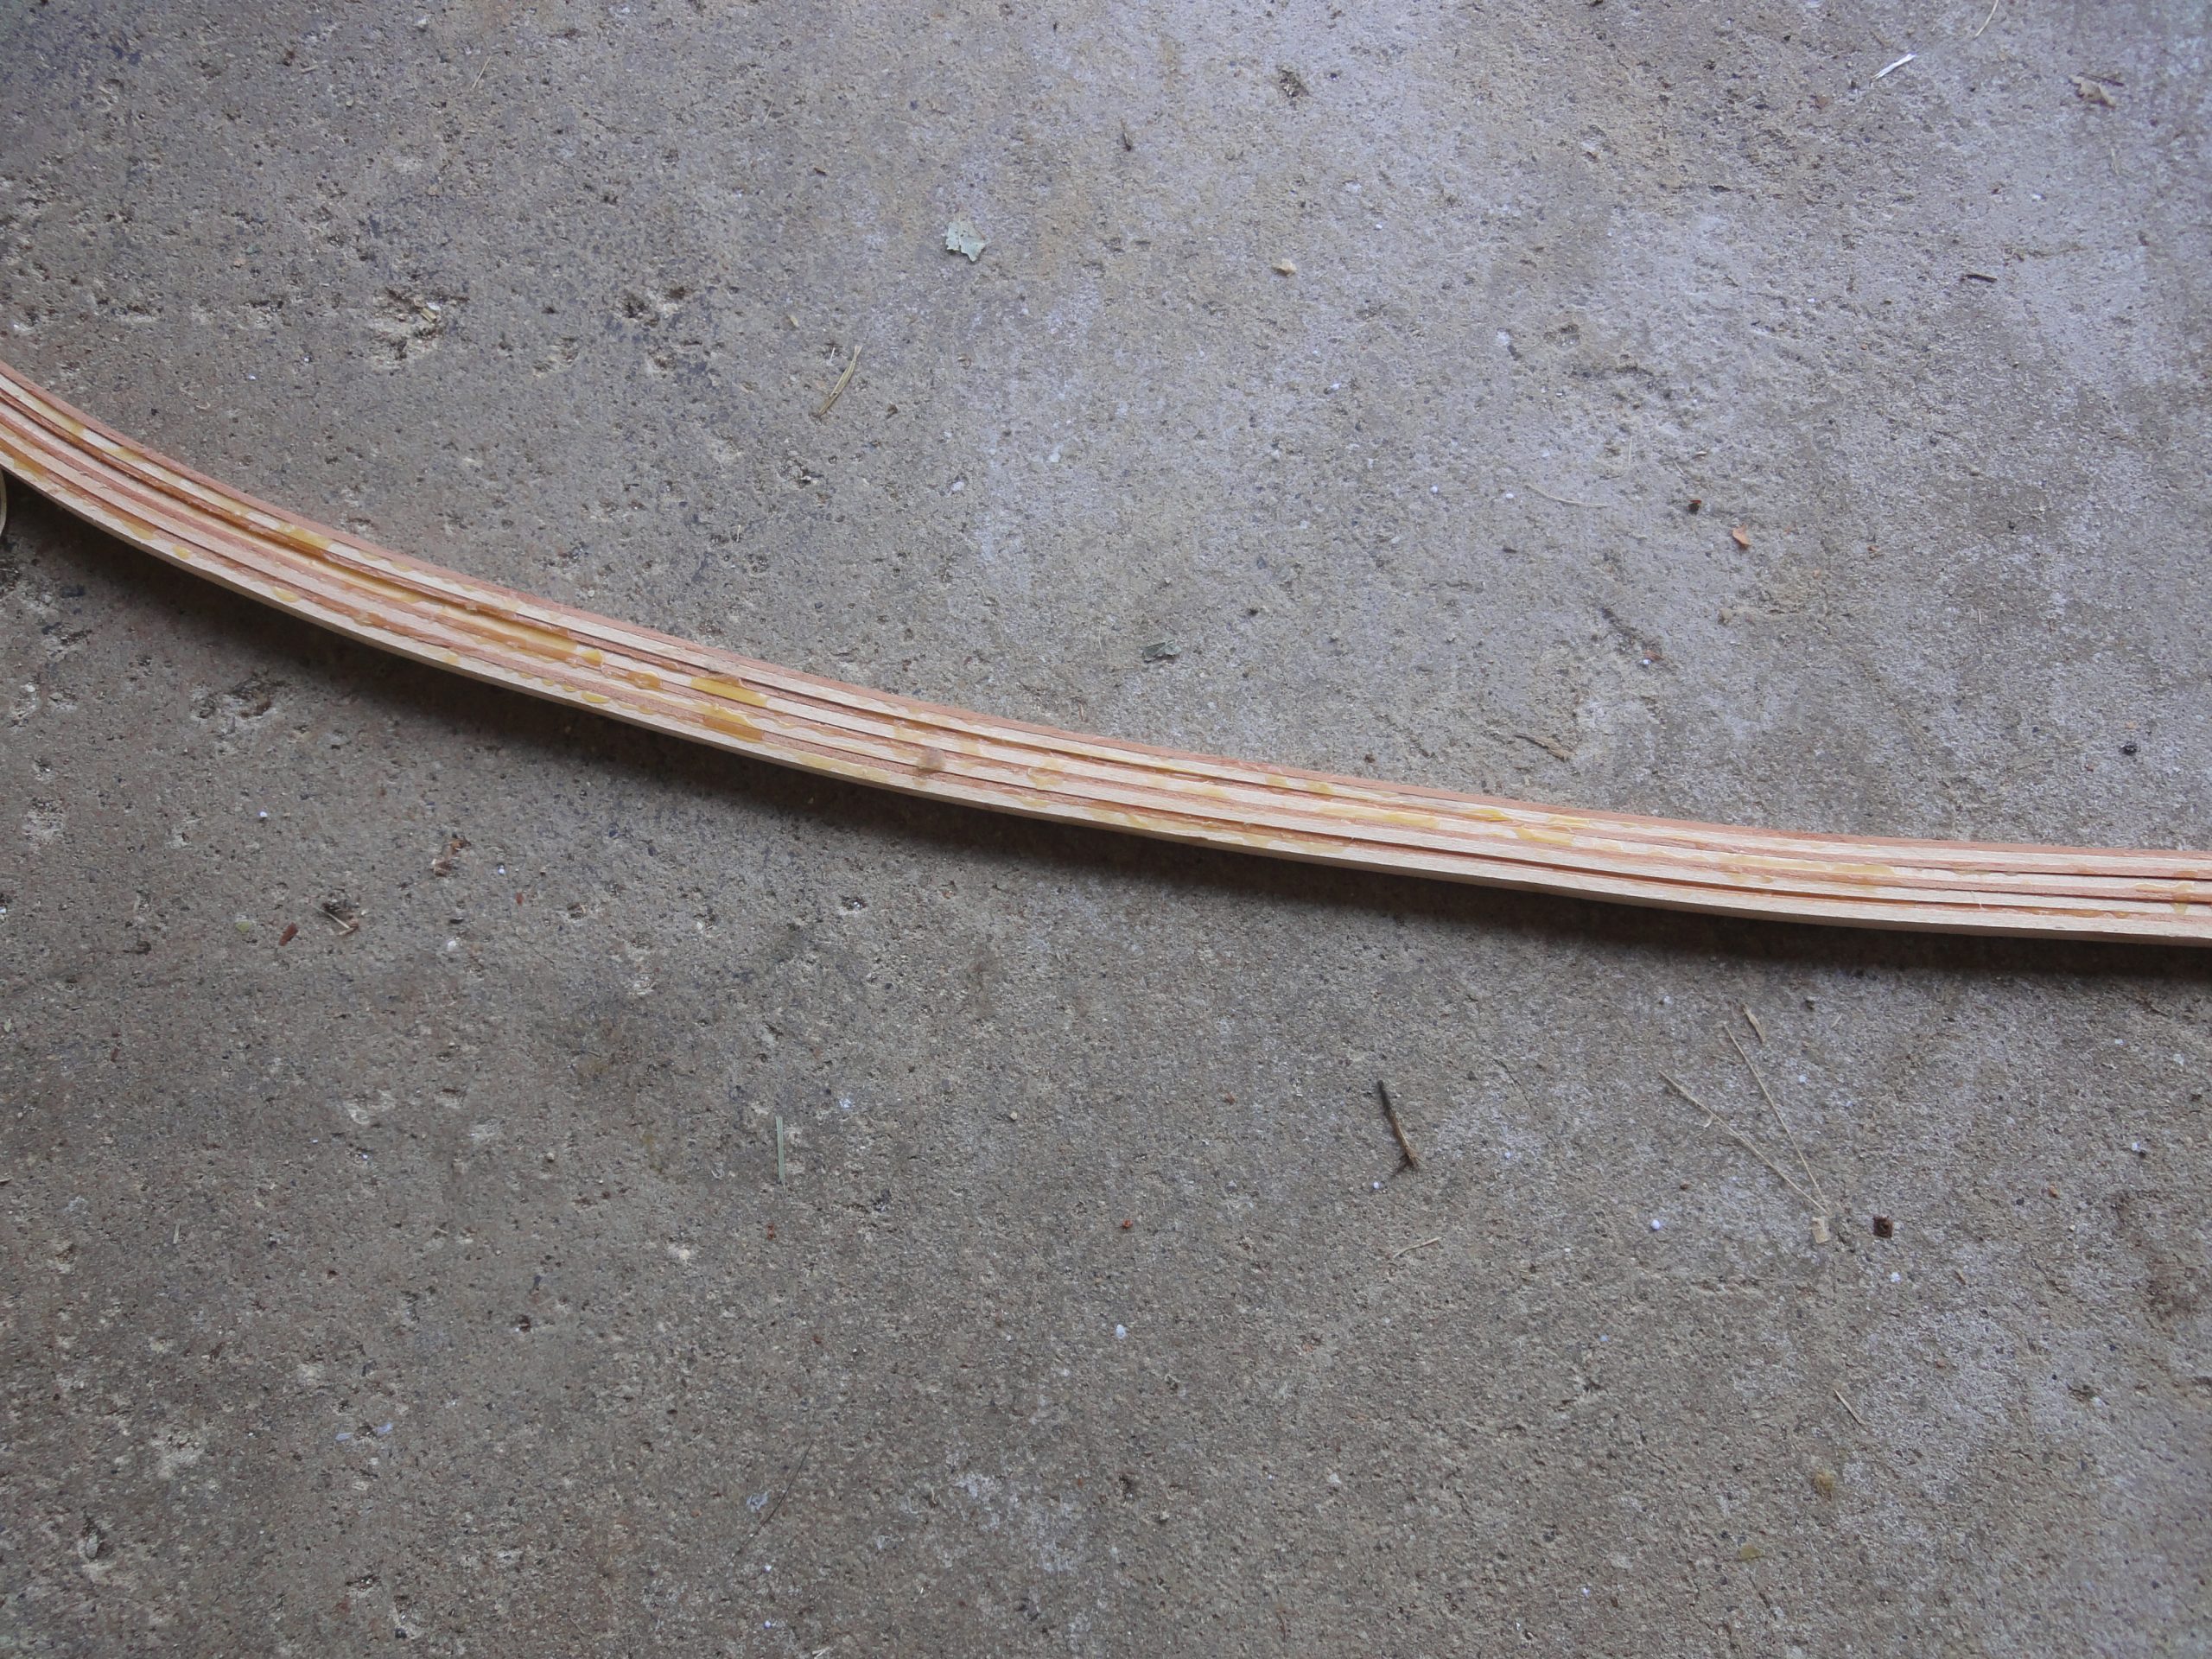
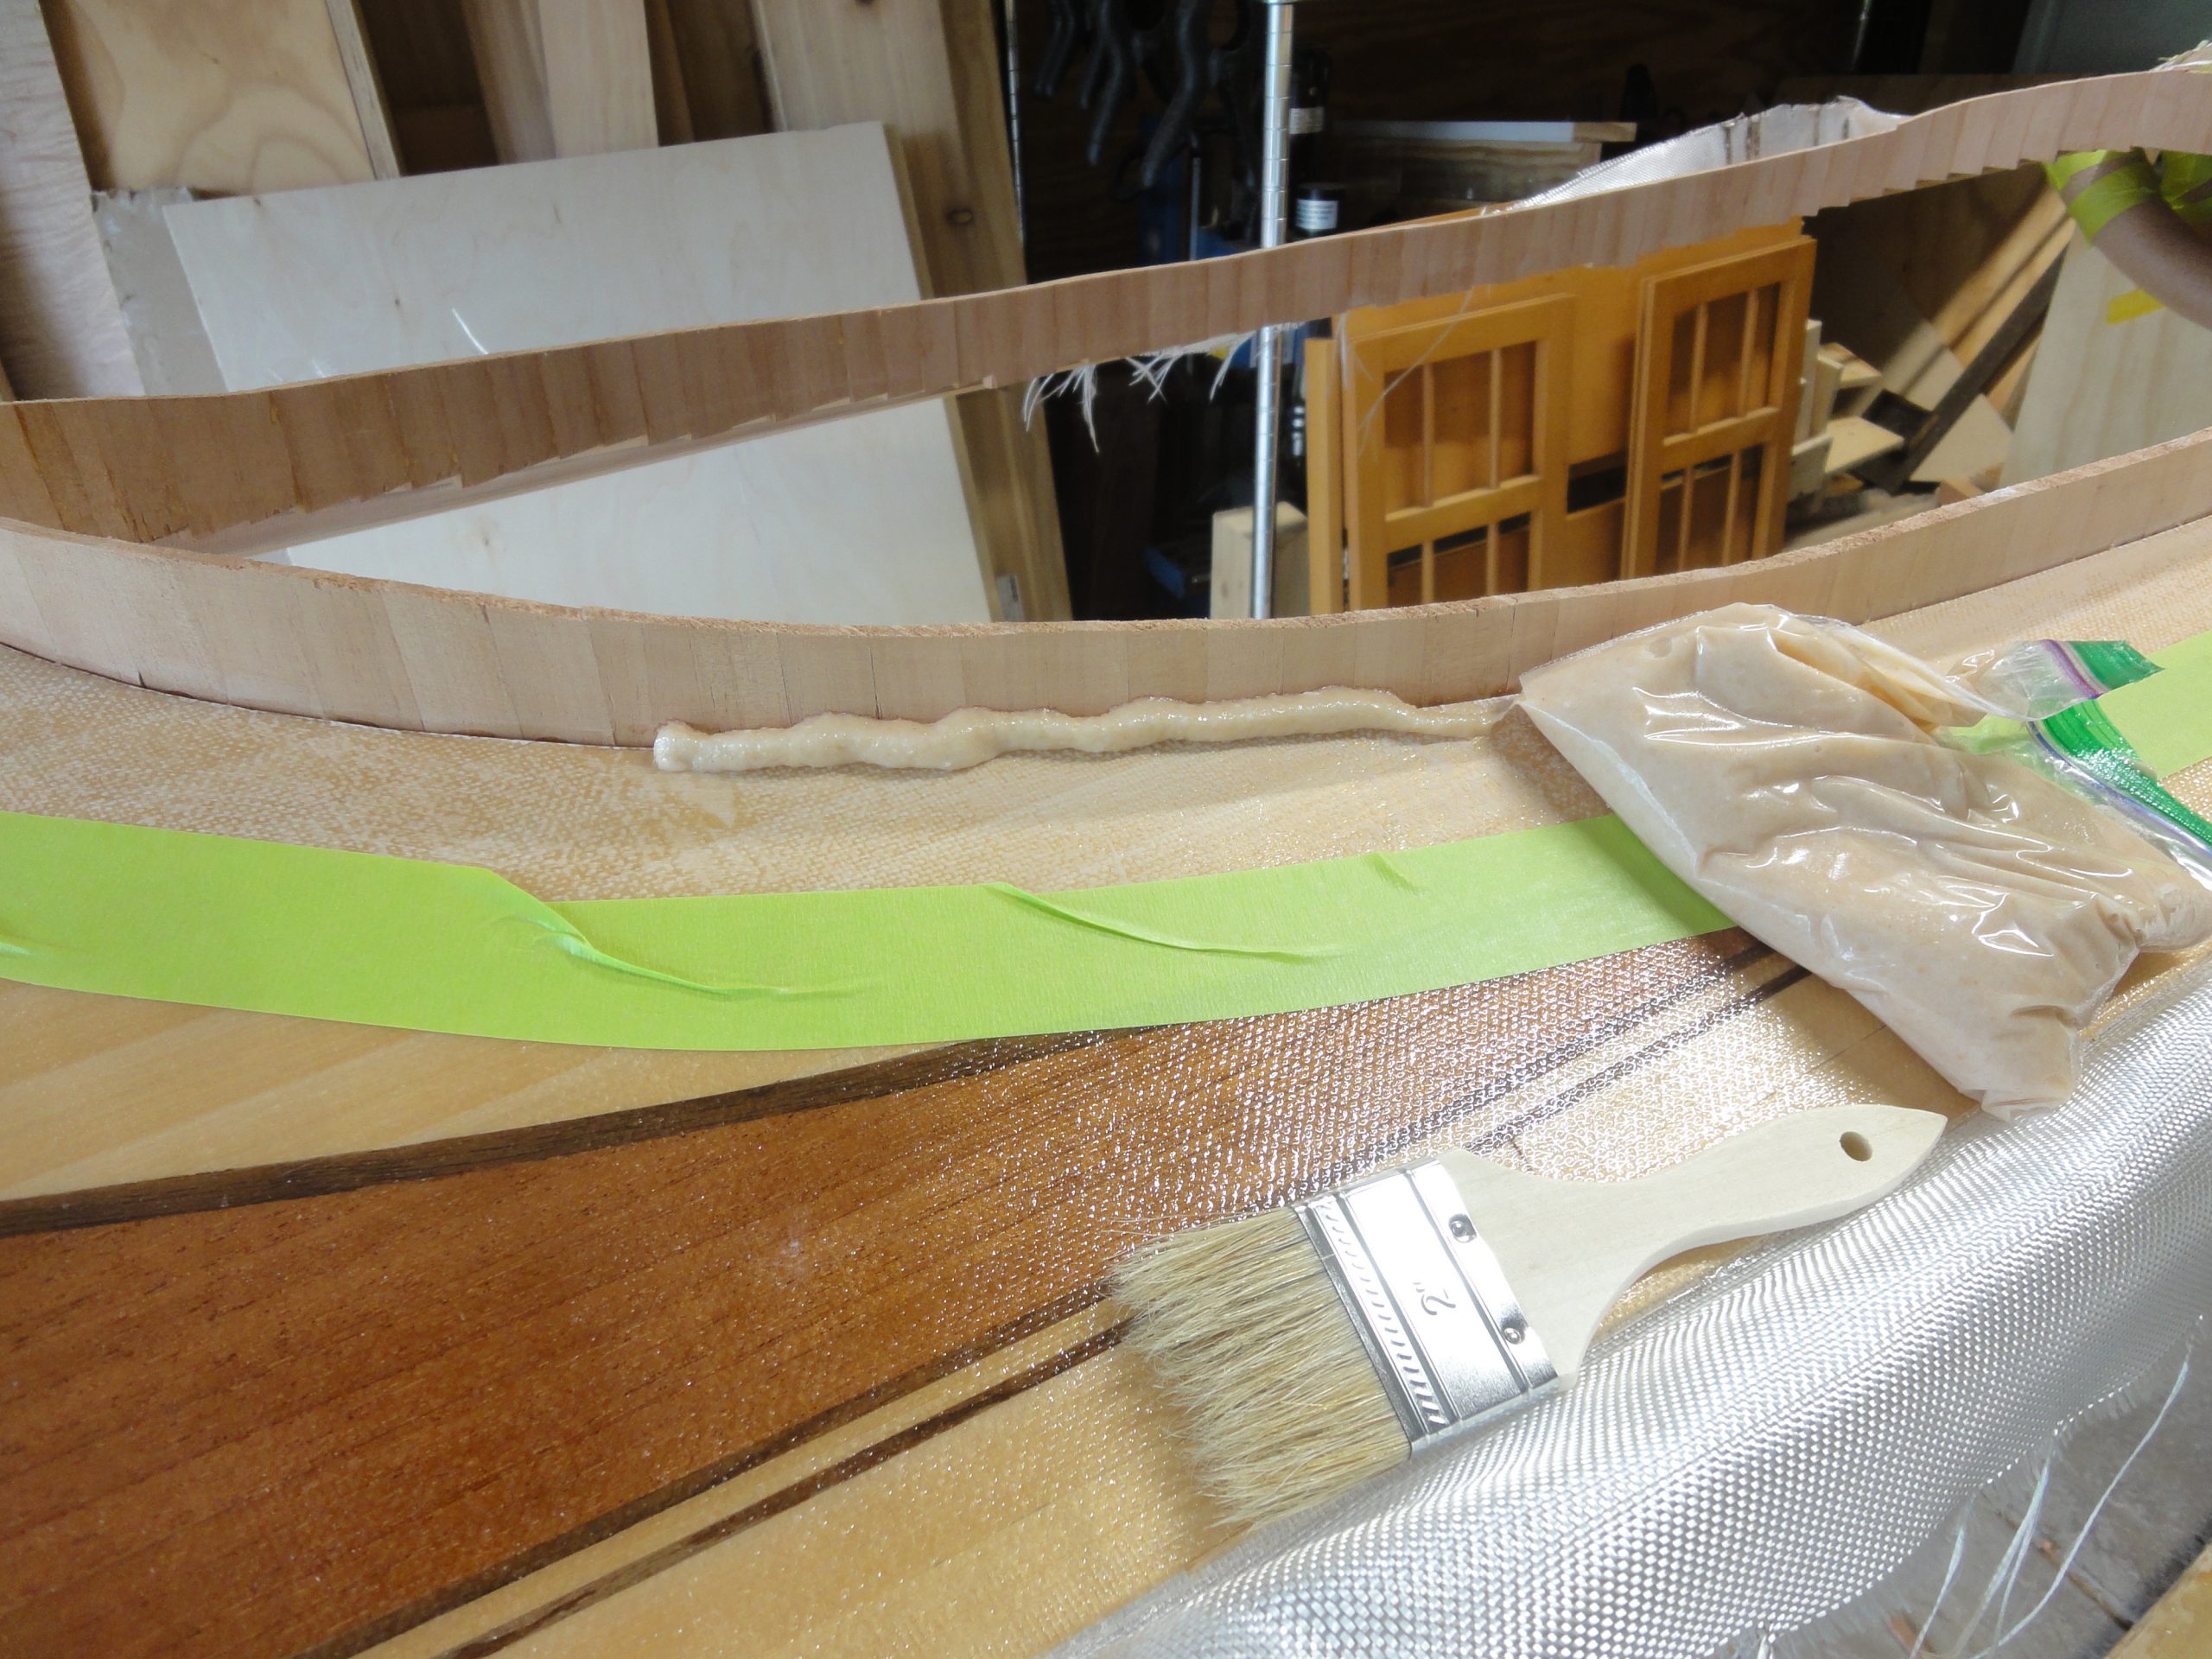
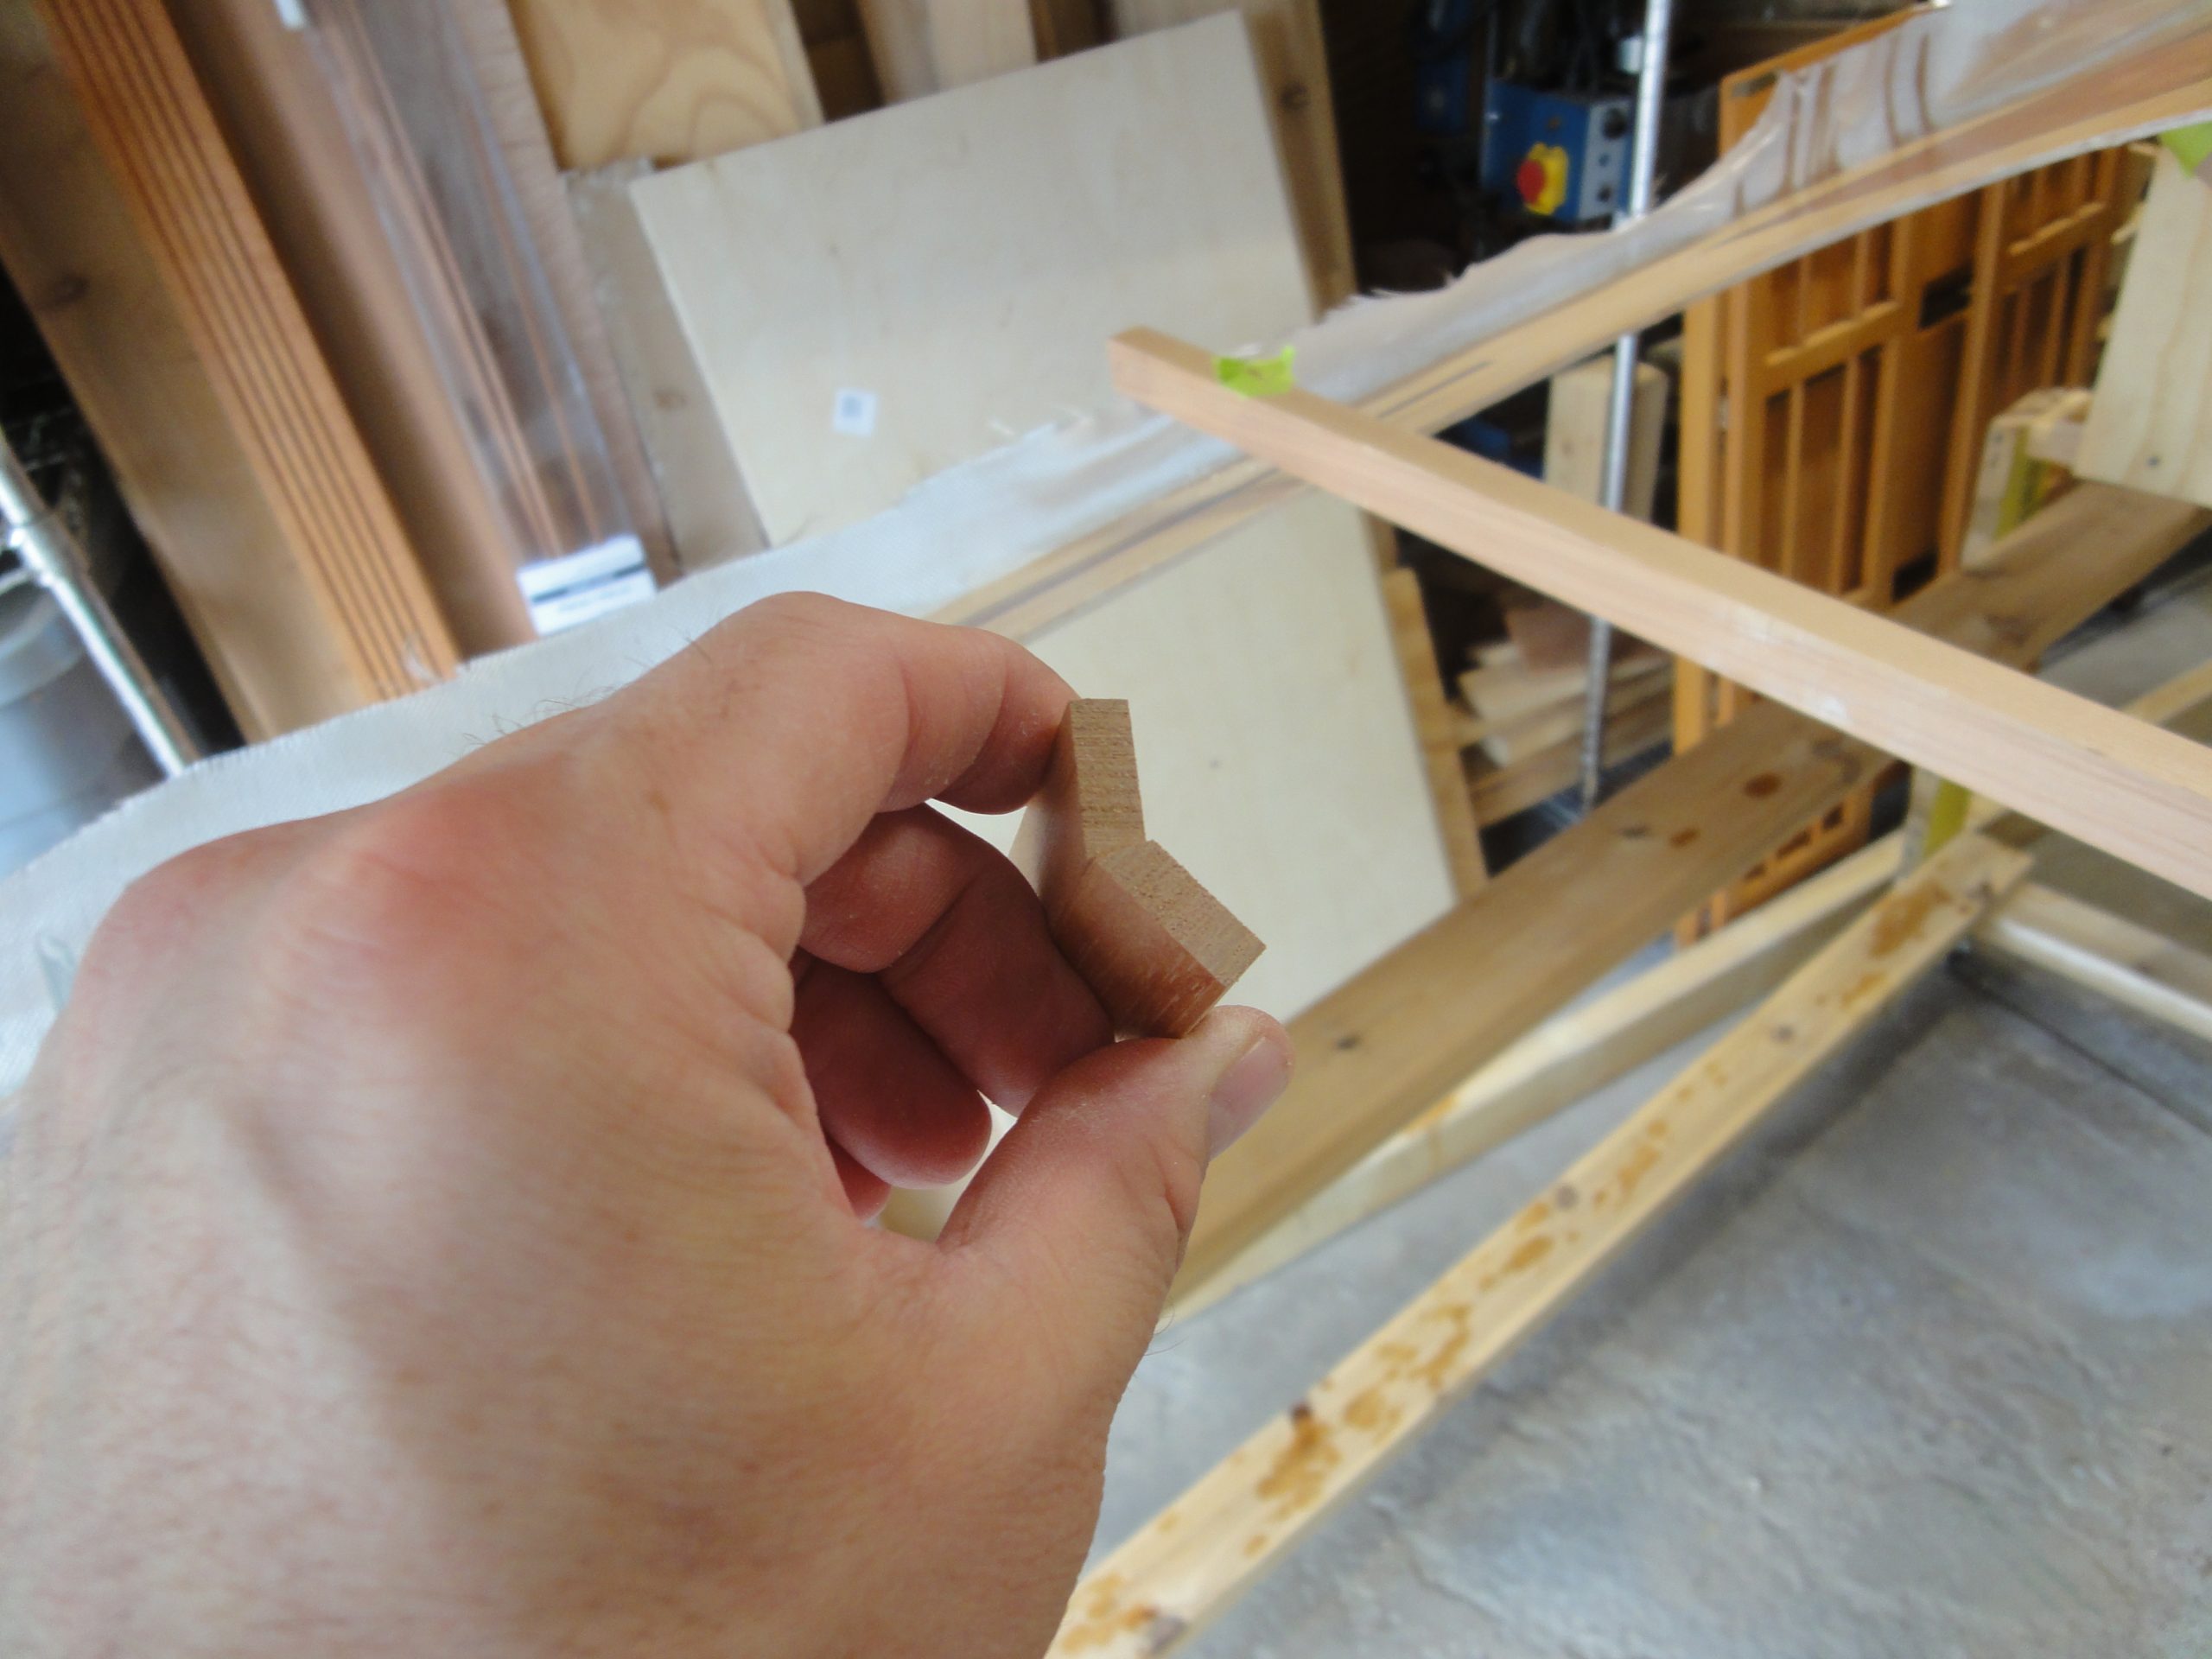
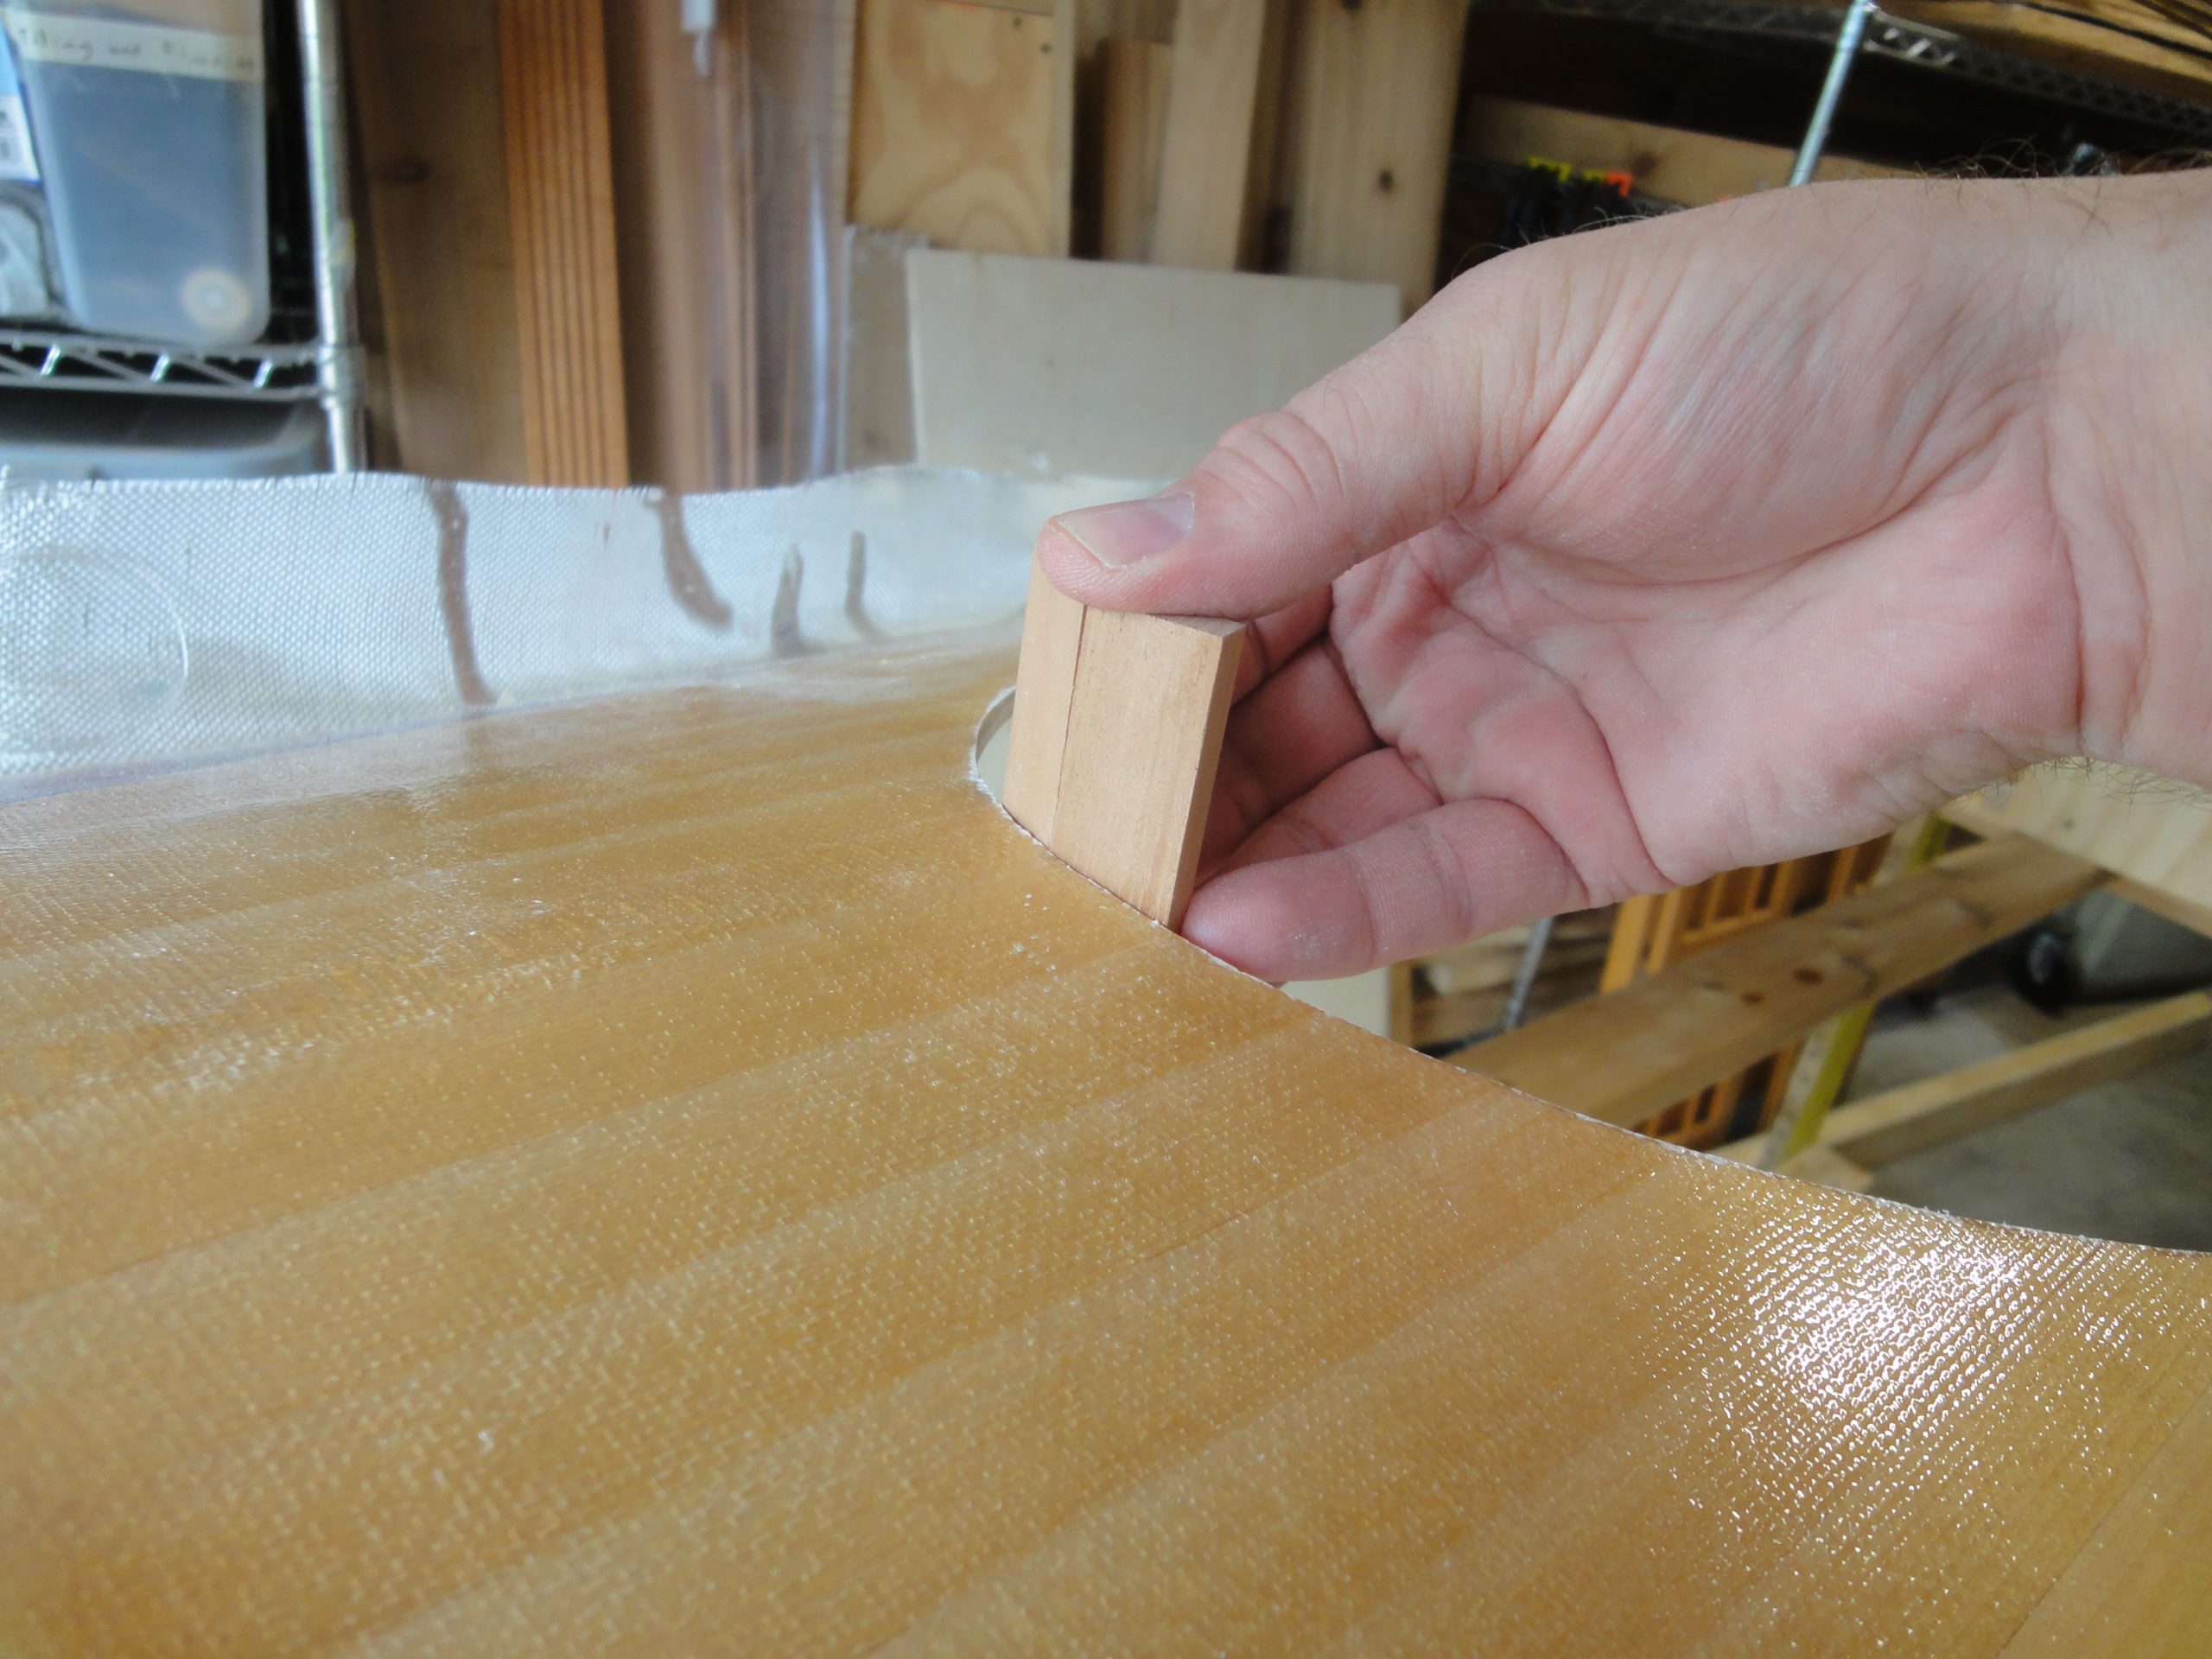
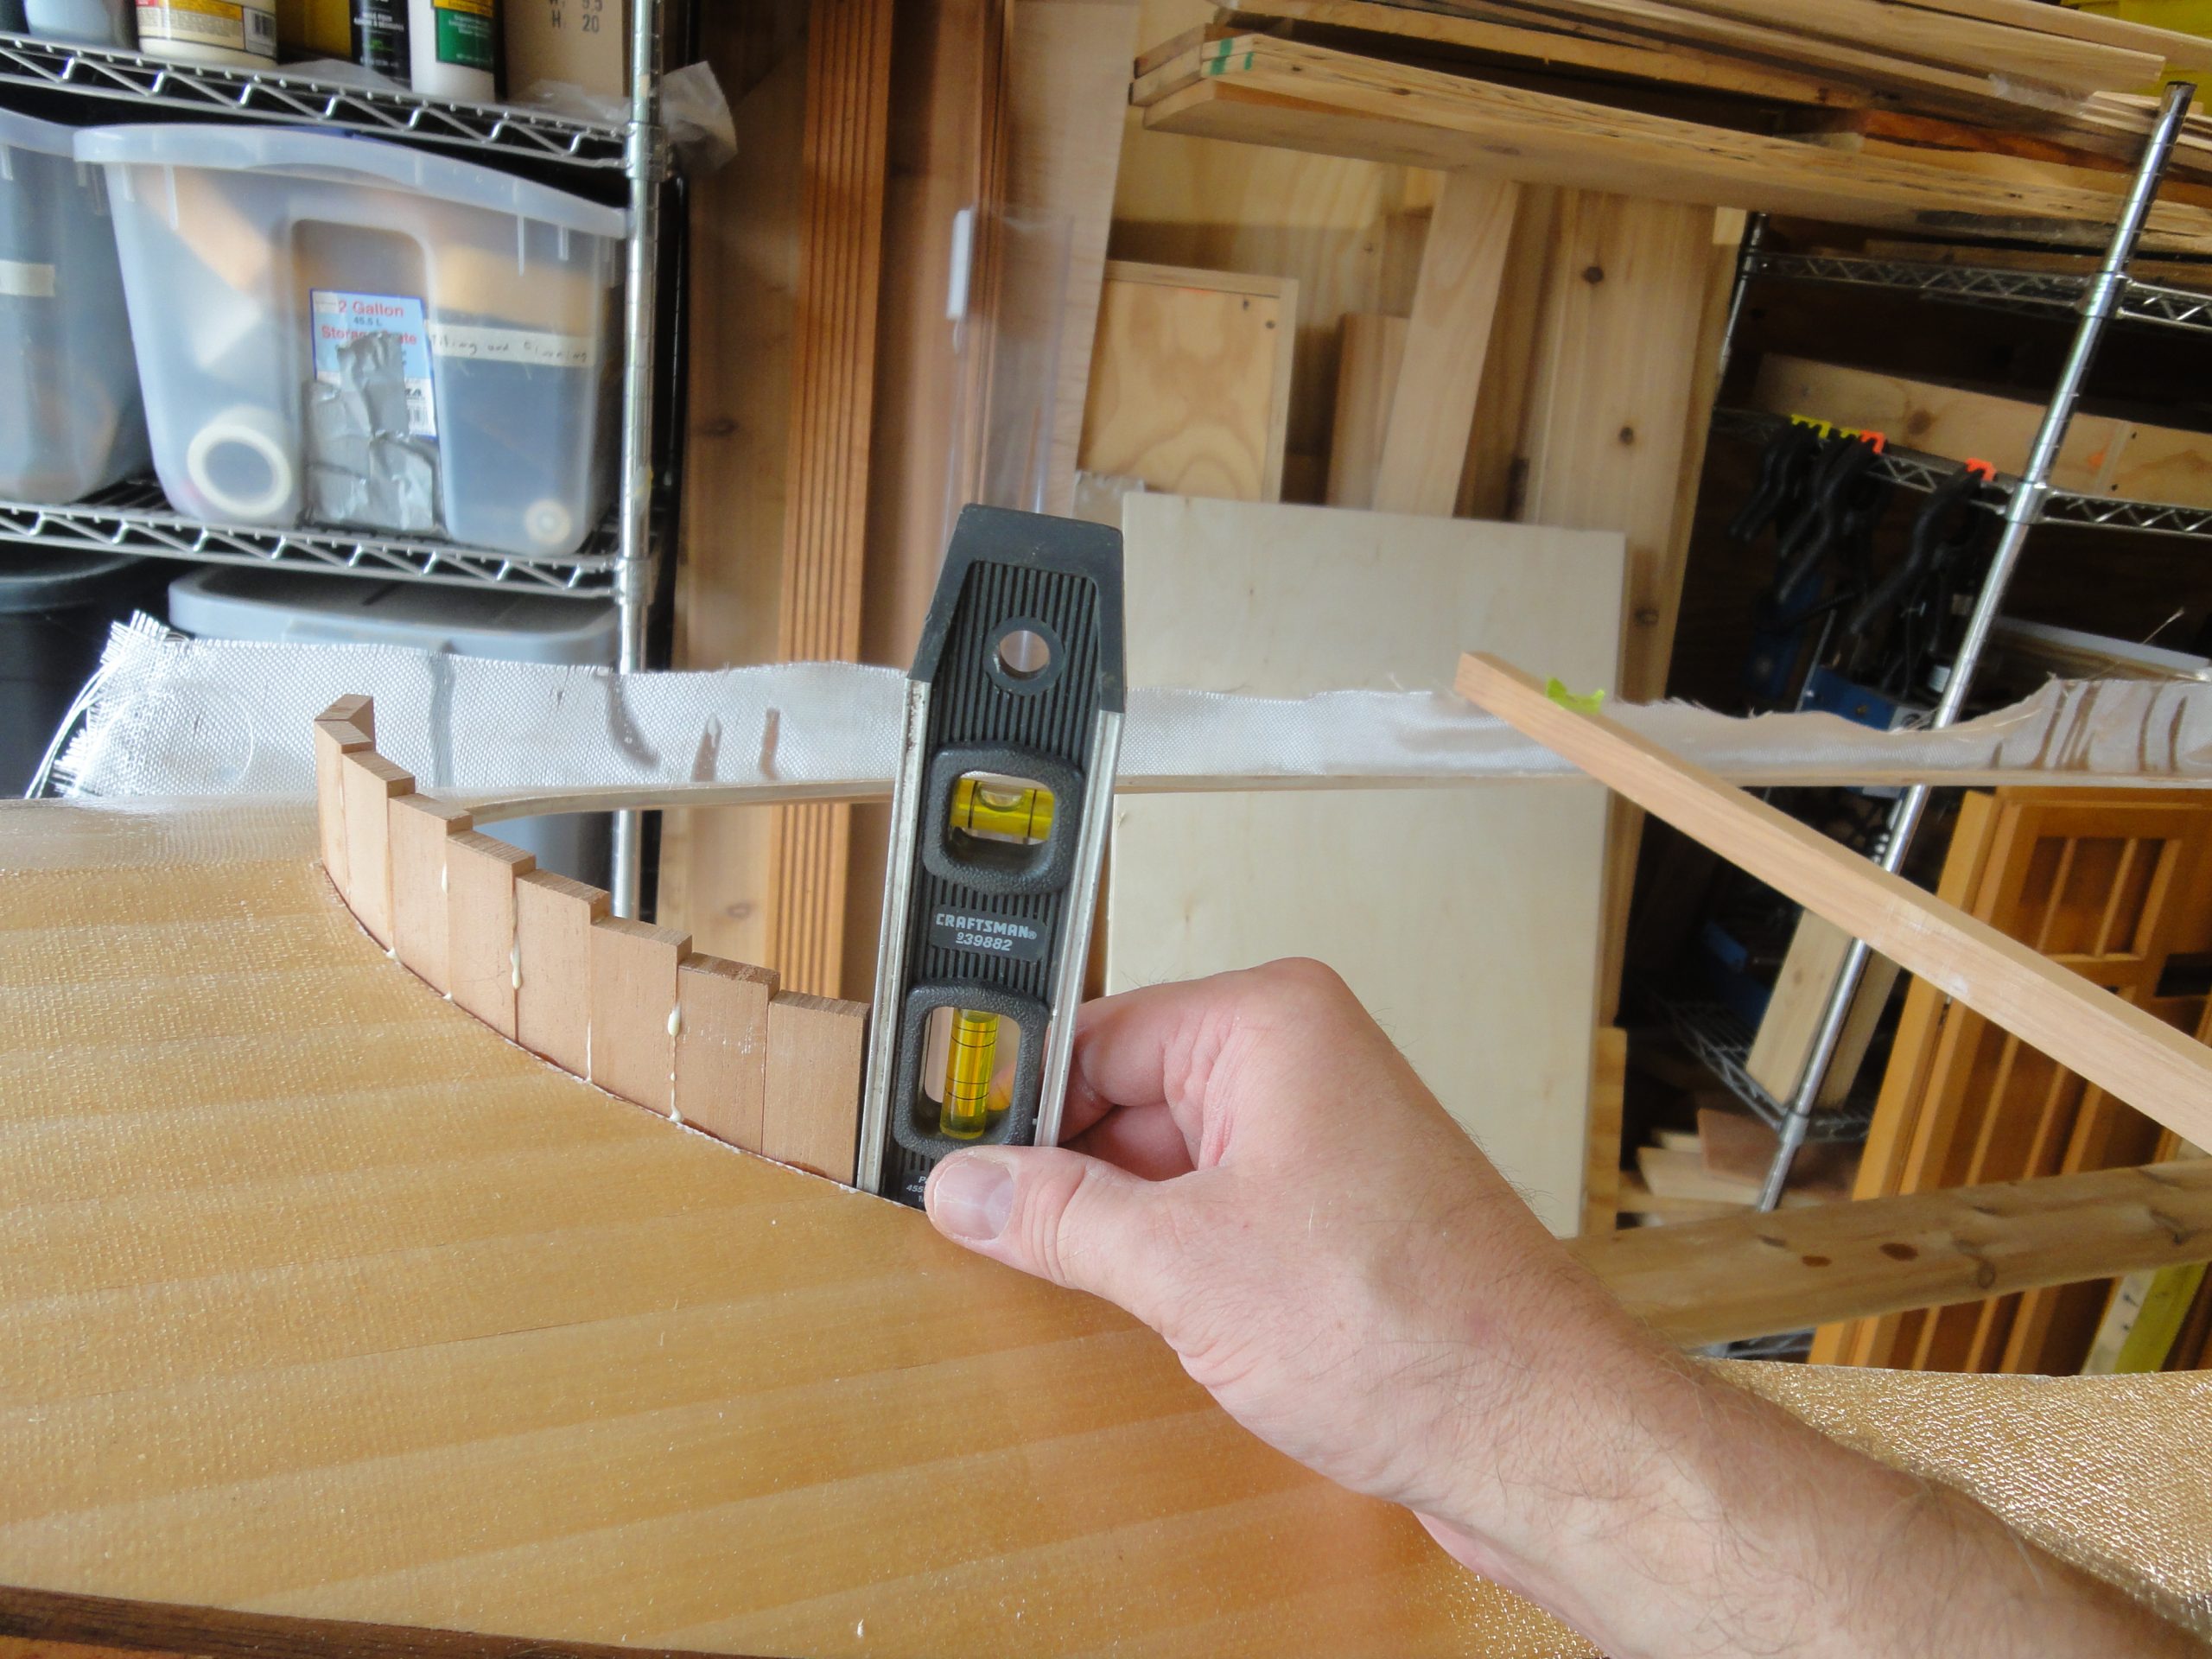
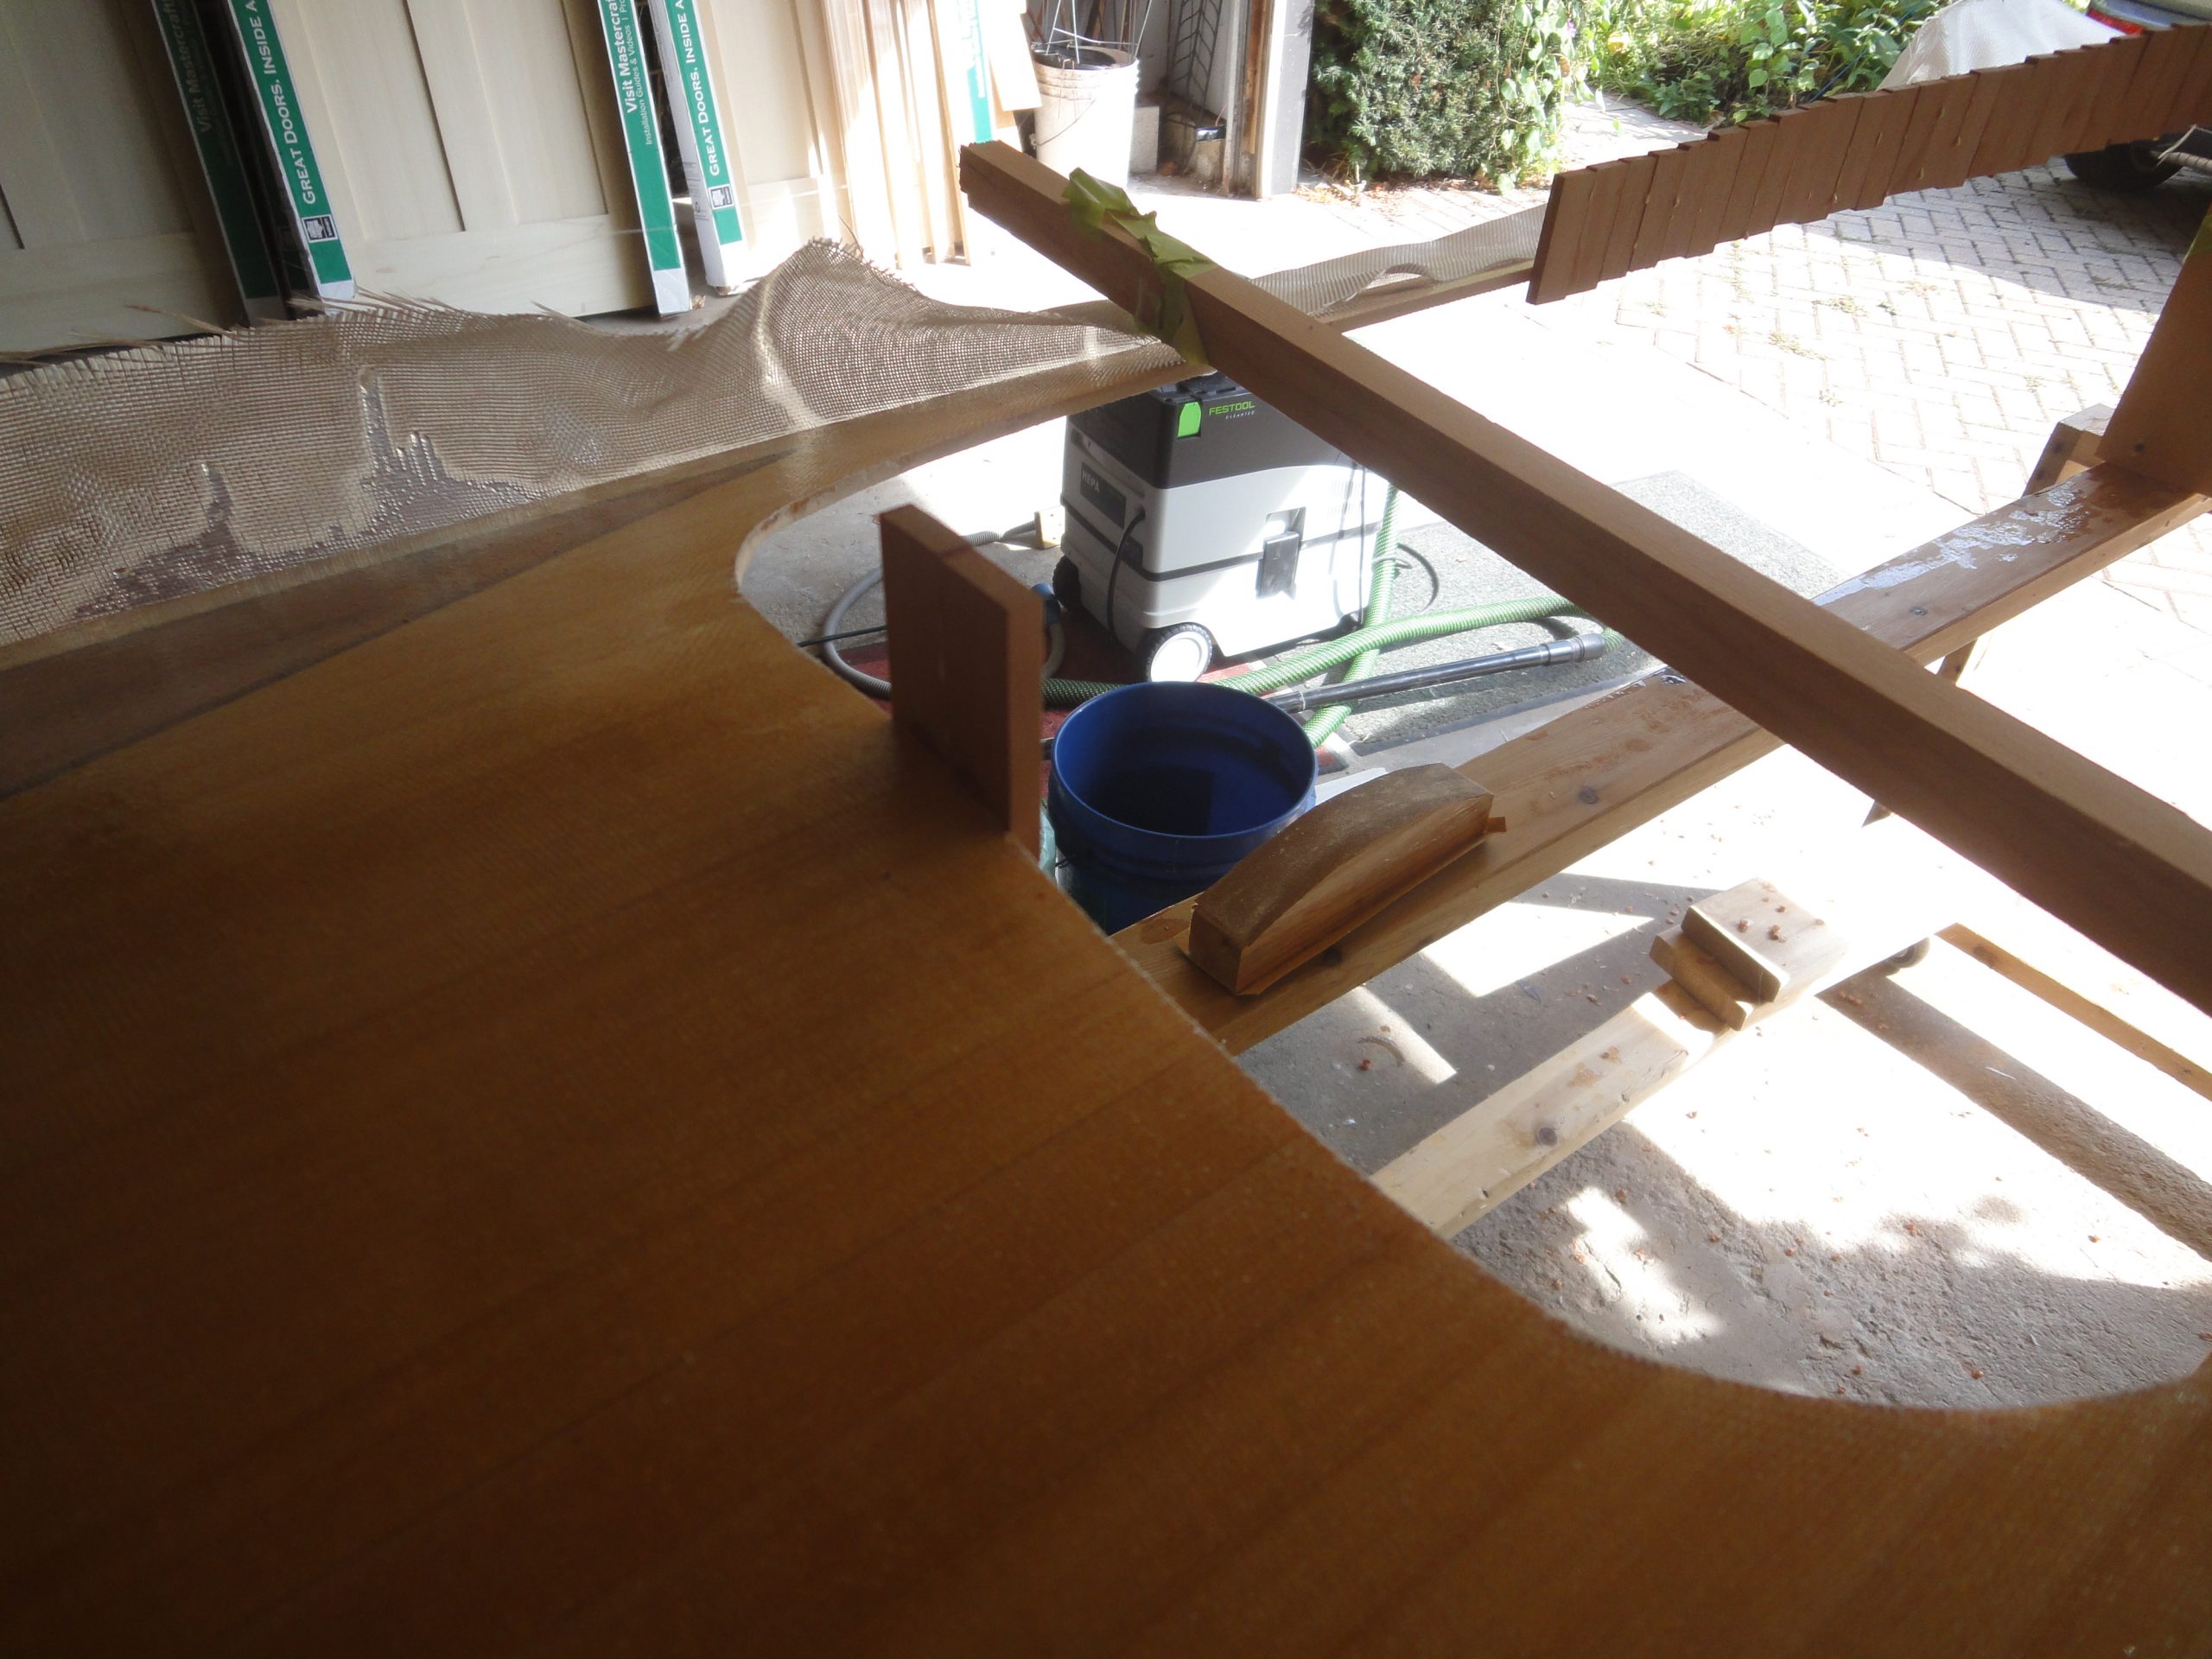
What I forget to get pictures of, was after these strips were dried I trimmed off the excess fiberglass, sanded everything smooth and then using a thickened epoxy I mounted them to the outside of the coaming riser. A sharp eye will note the R and L designations, however these will be underneath and never visible. I labeled them to ensure I epoxied the correct side.

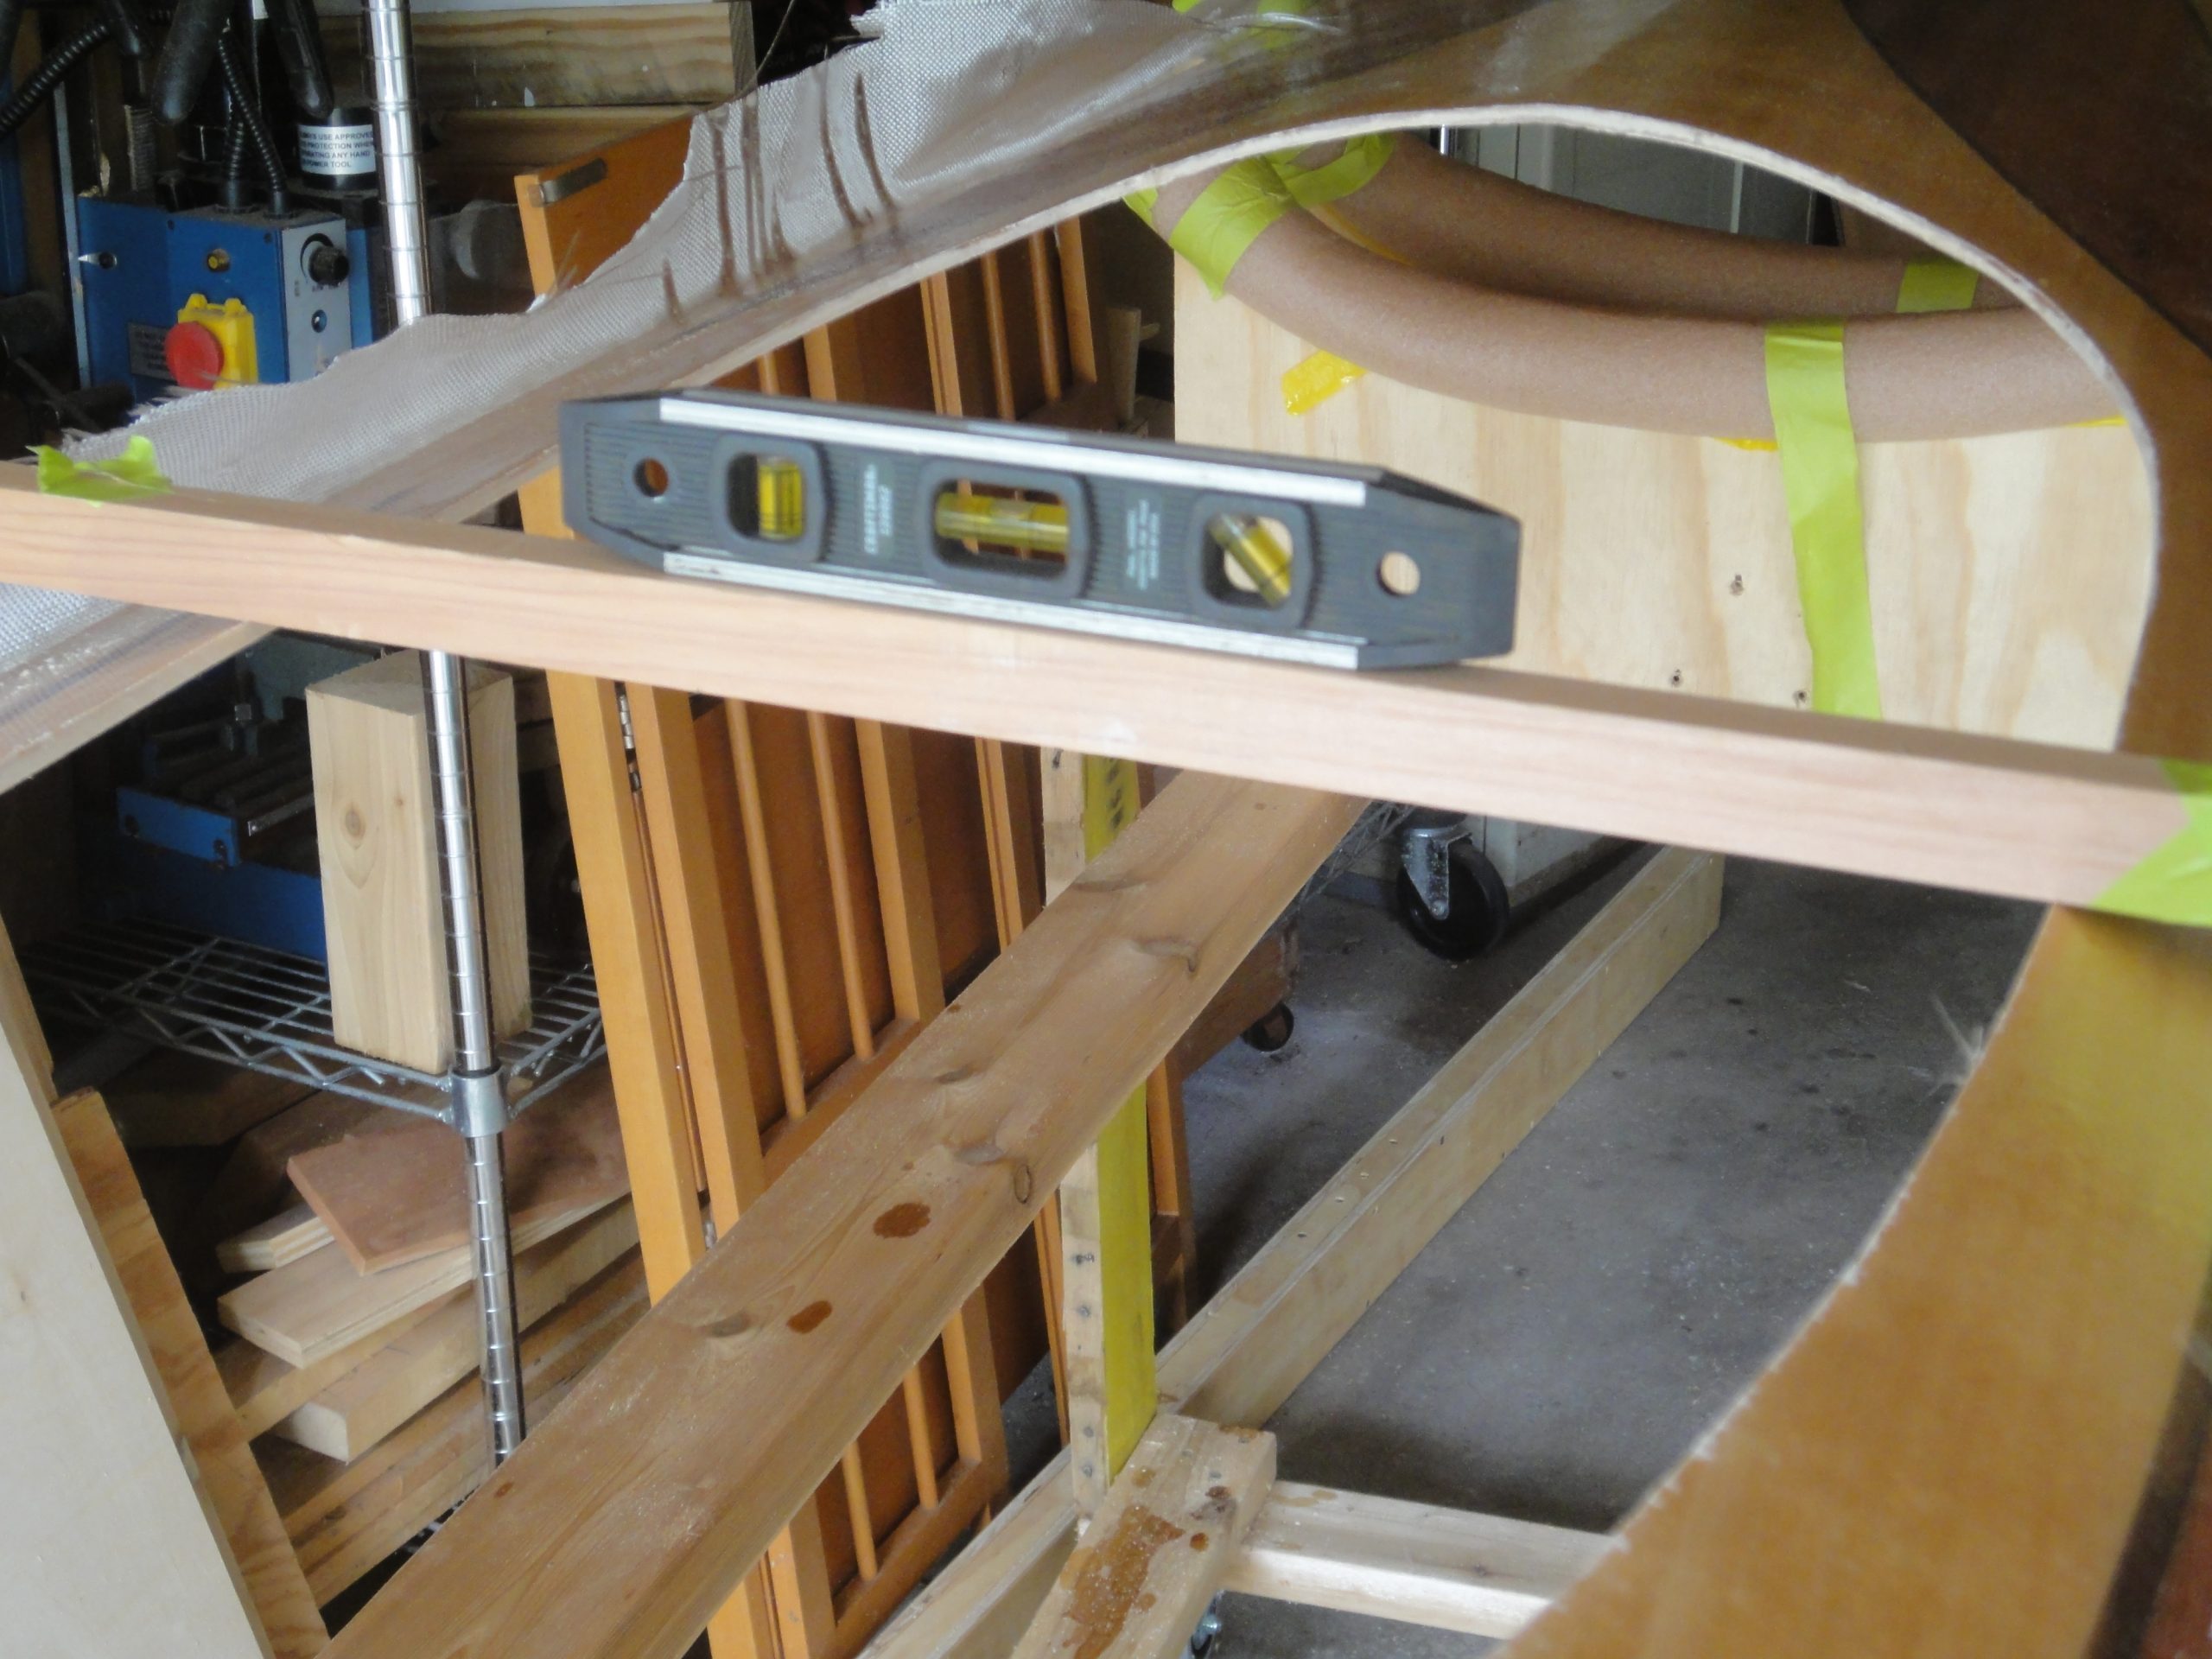
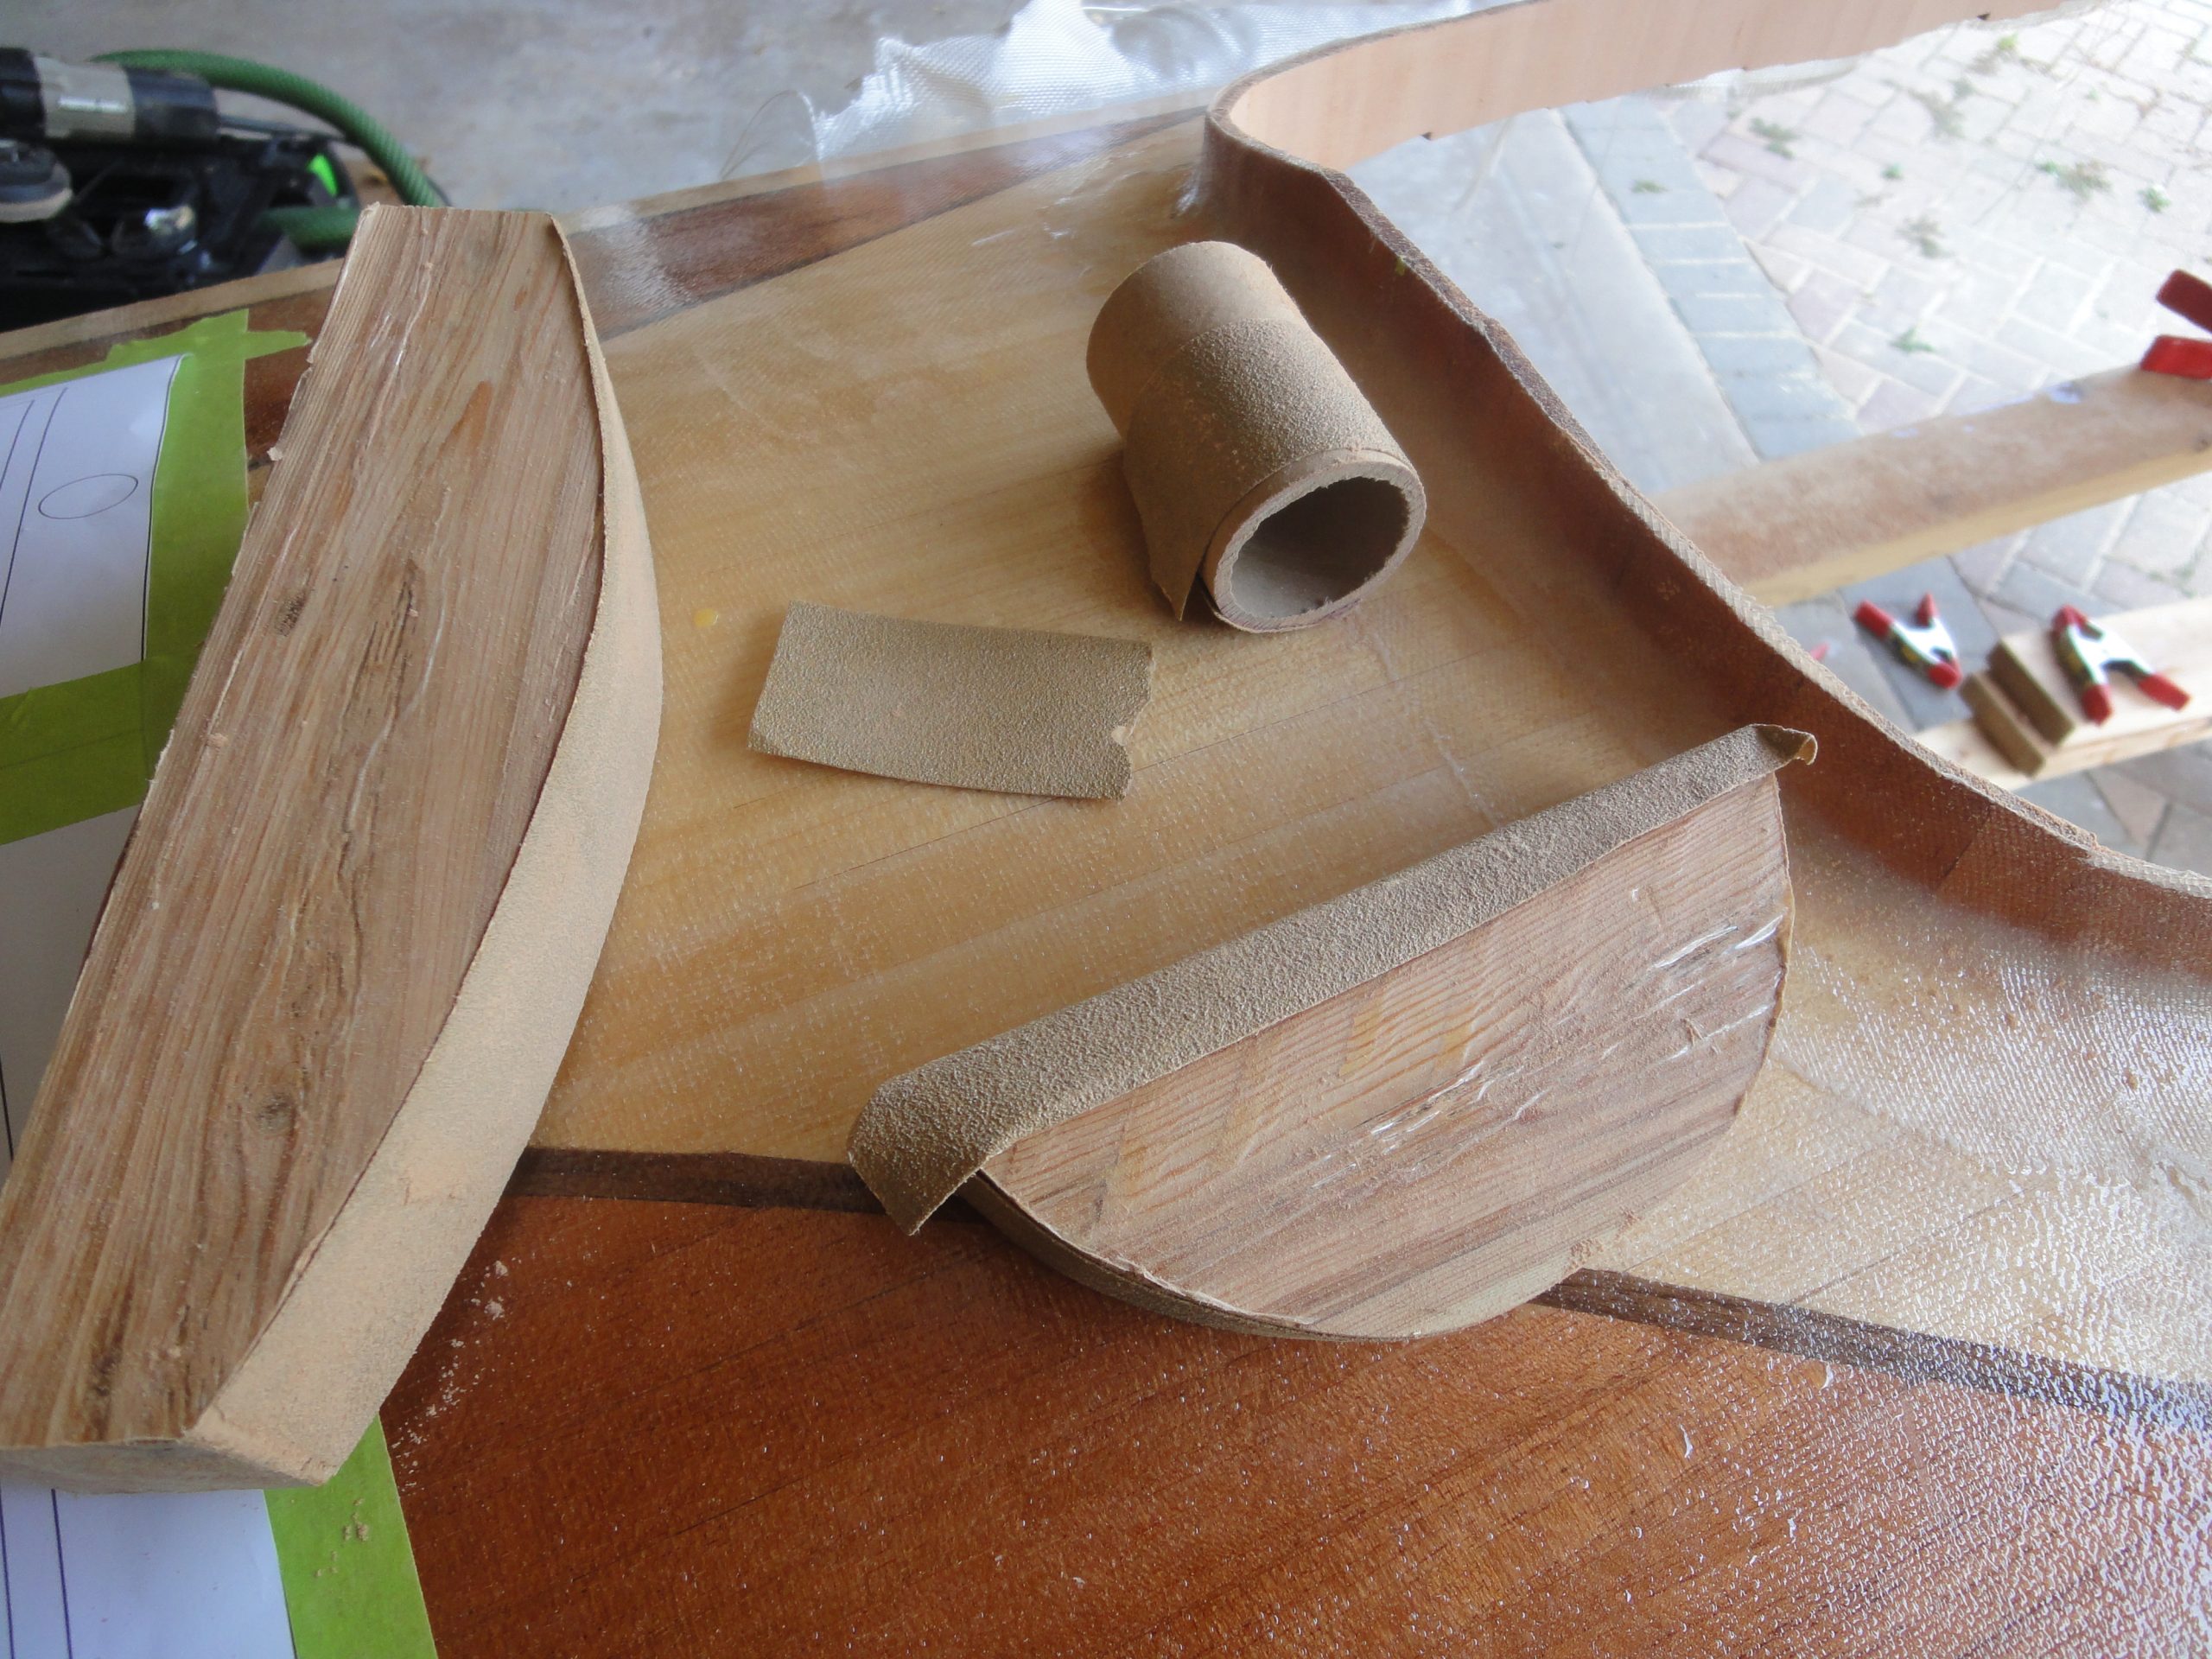
Prior to attaching them to the riser I sanded the inside smooth using a combination of shapes with sandpaper attached.

Now in between applying the fiberglass and attaching to the coaming I had a few days while I was waiting for the epoxy to setup and dry. For awhile now I’ve been considering the hatches and what options I might have. At the moment I’m undecided on if the front hatch will be in the deck or if I’ll make a bulkhead mounted hatch. The latter is not common, but has been done before.

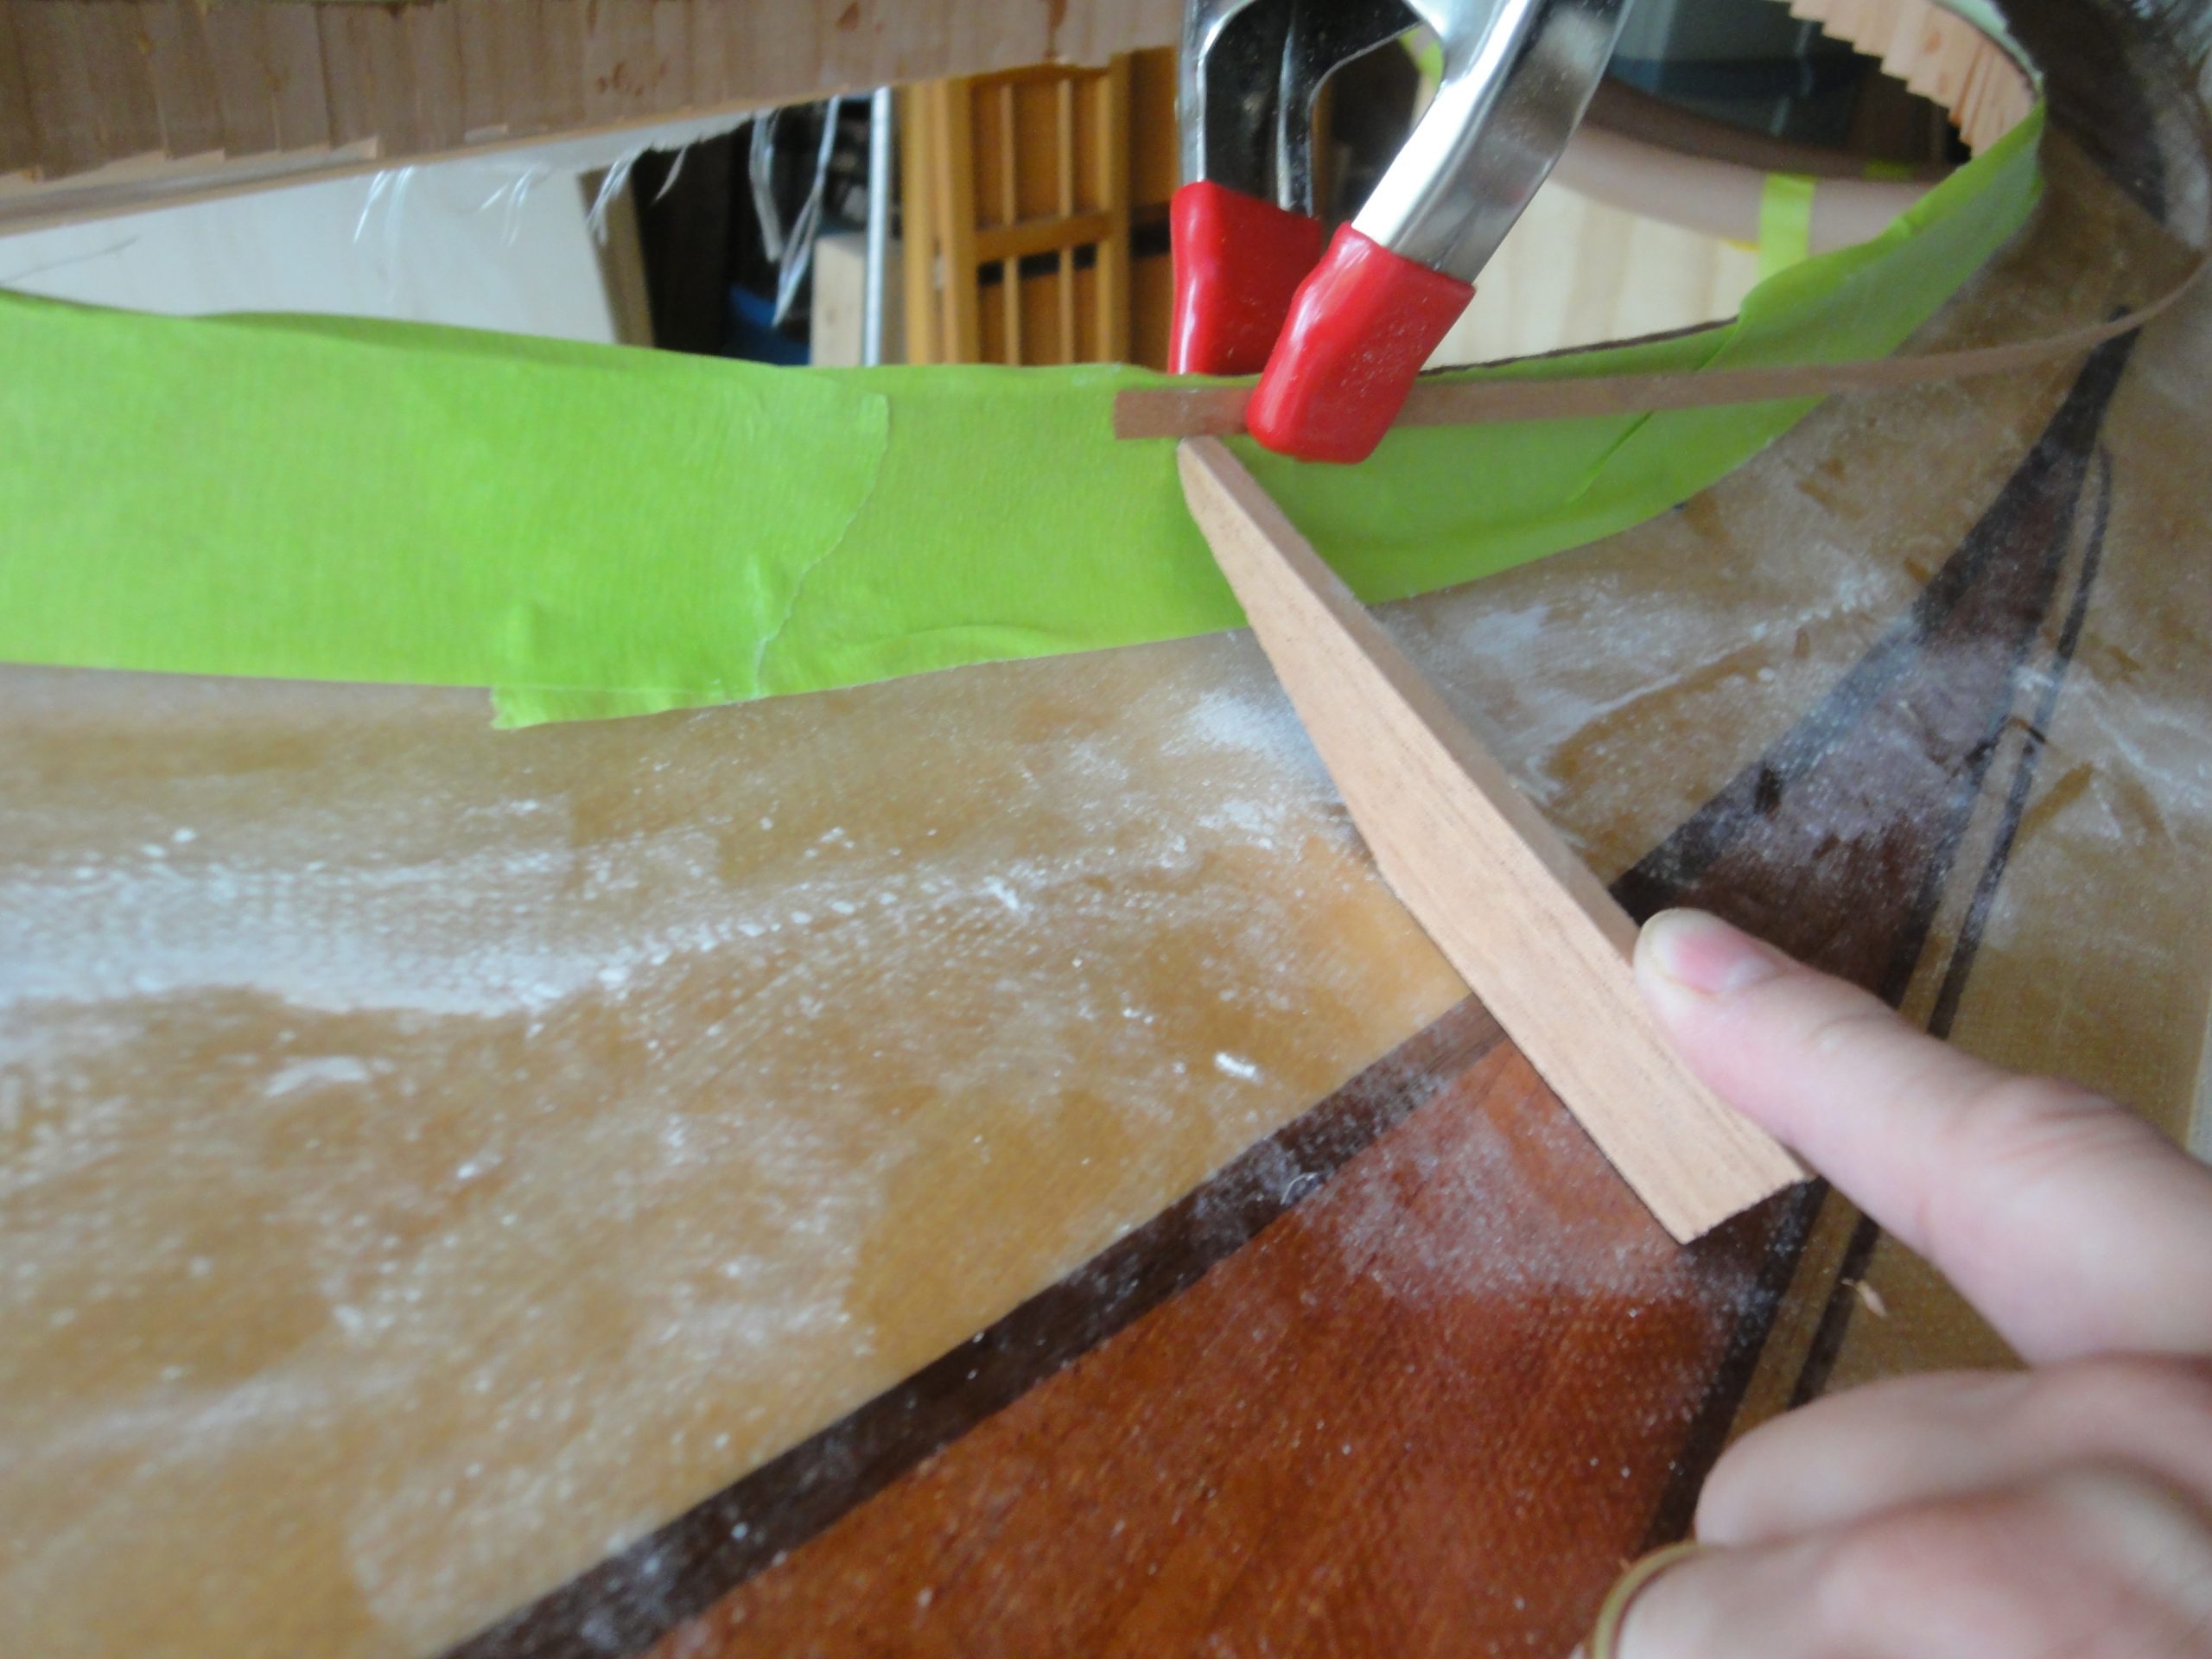
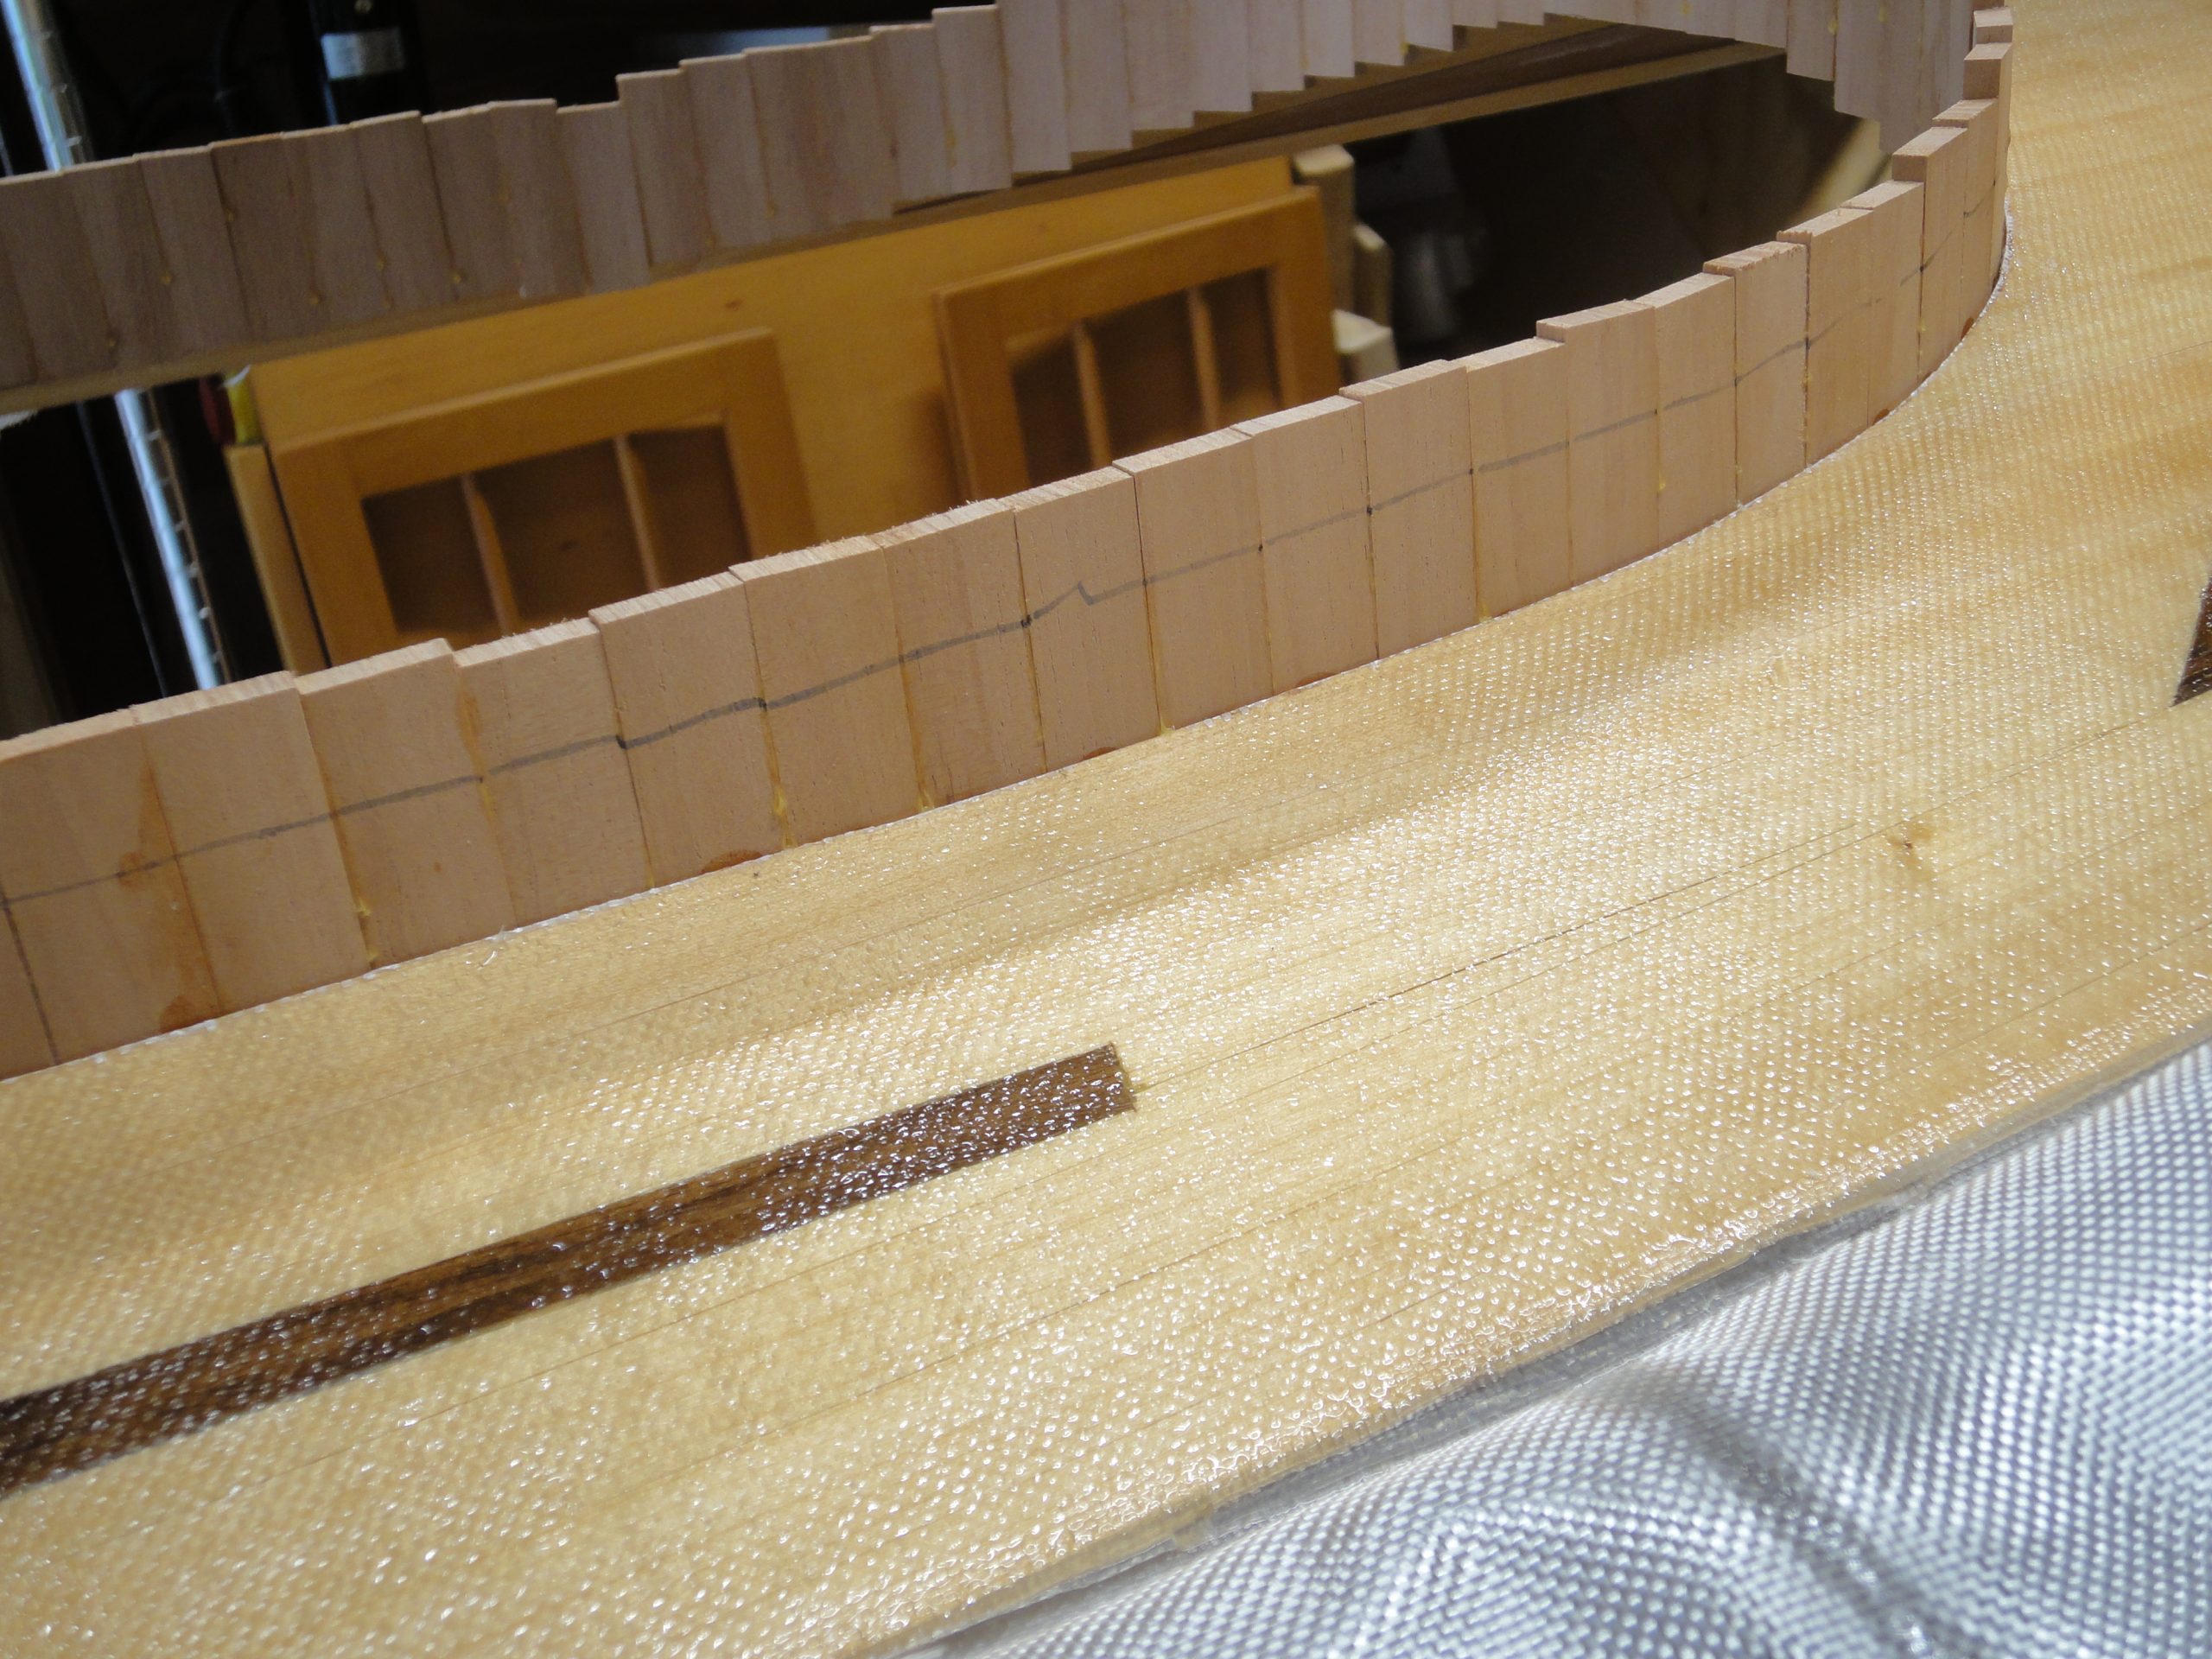
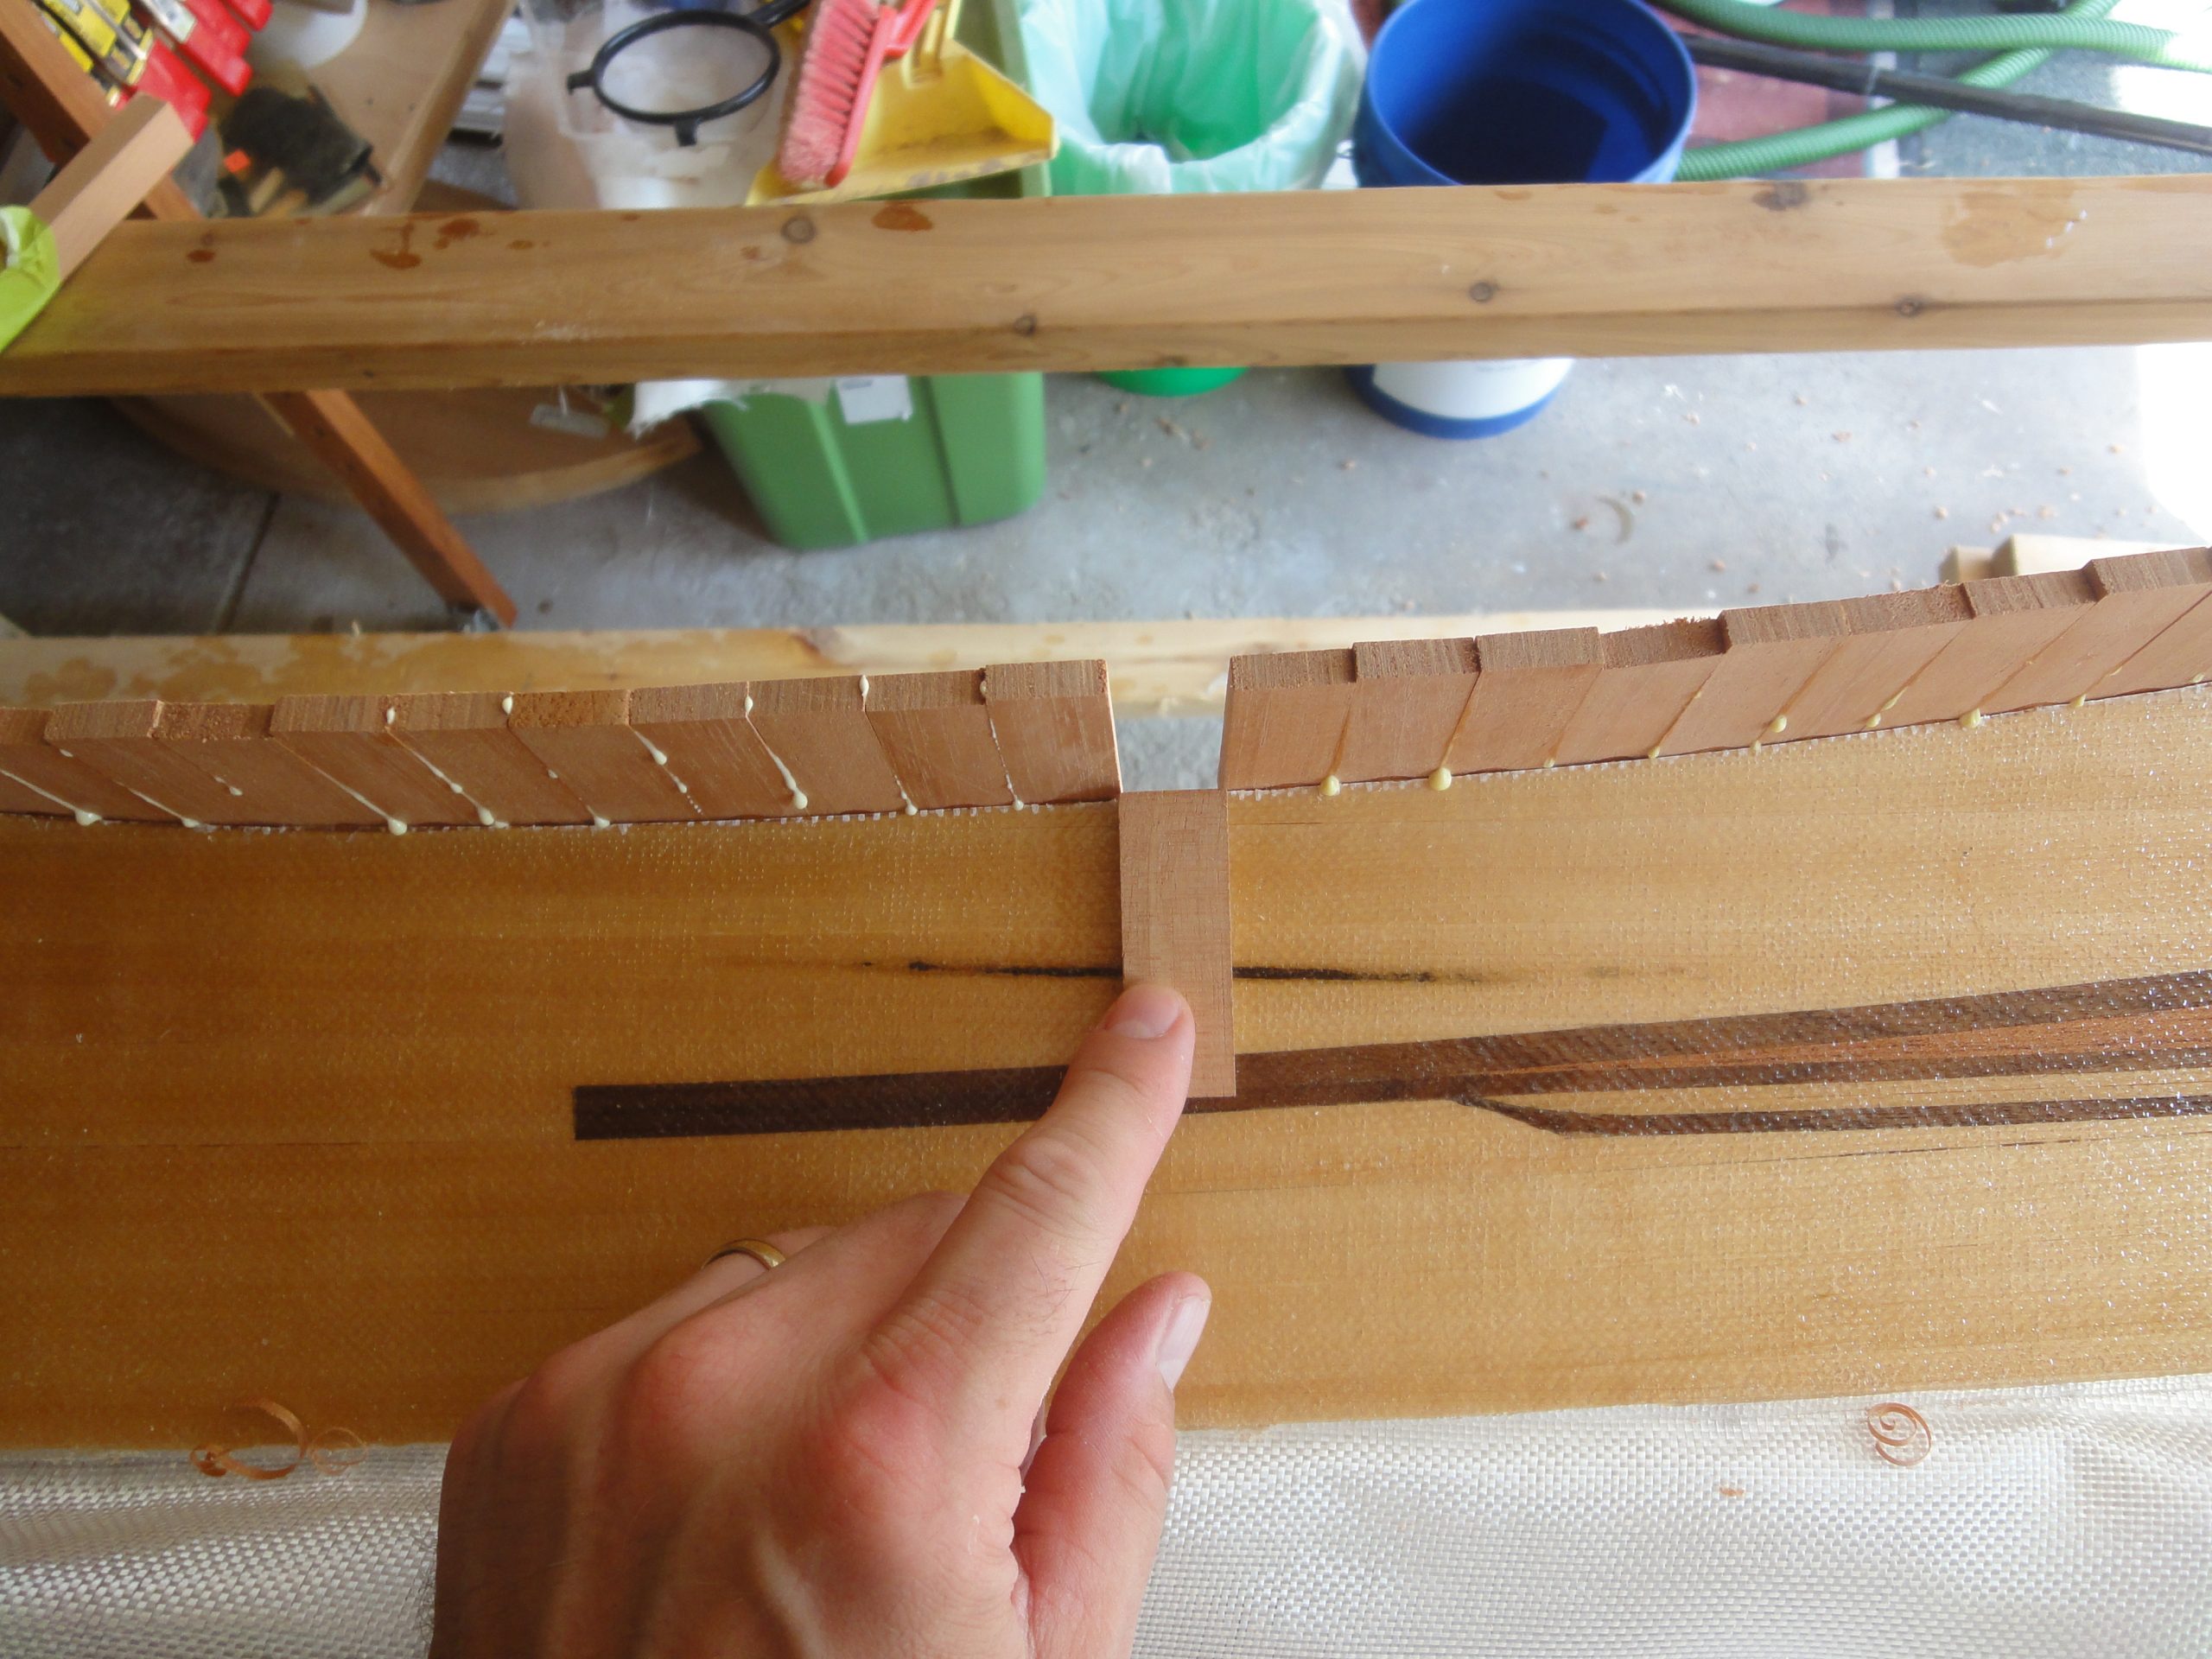
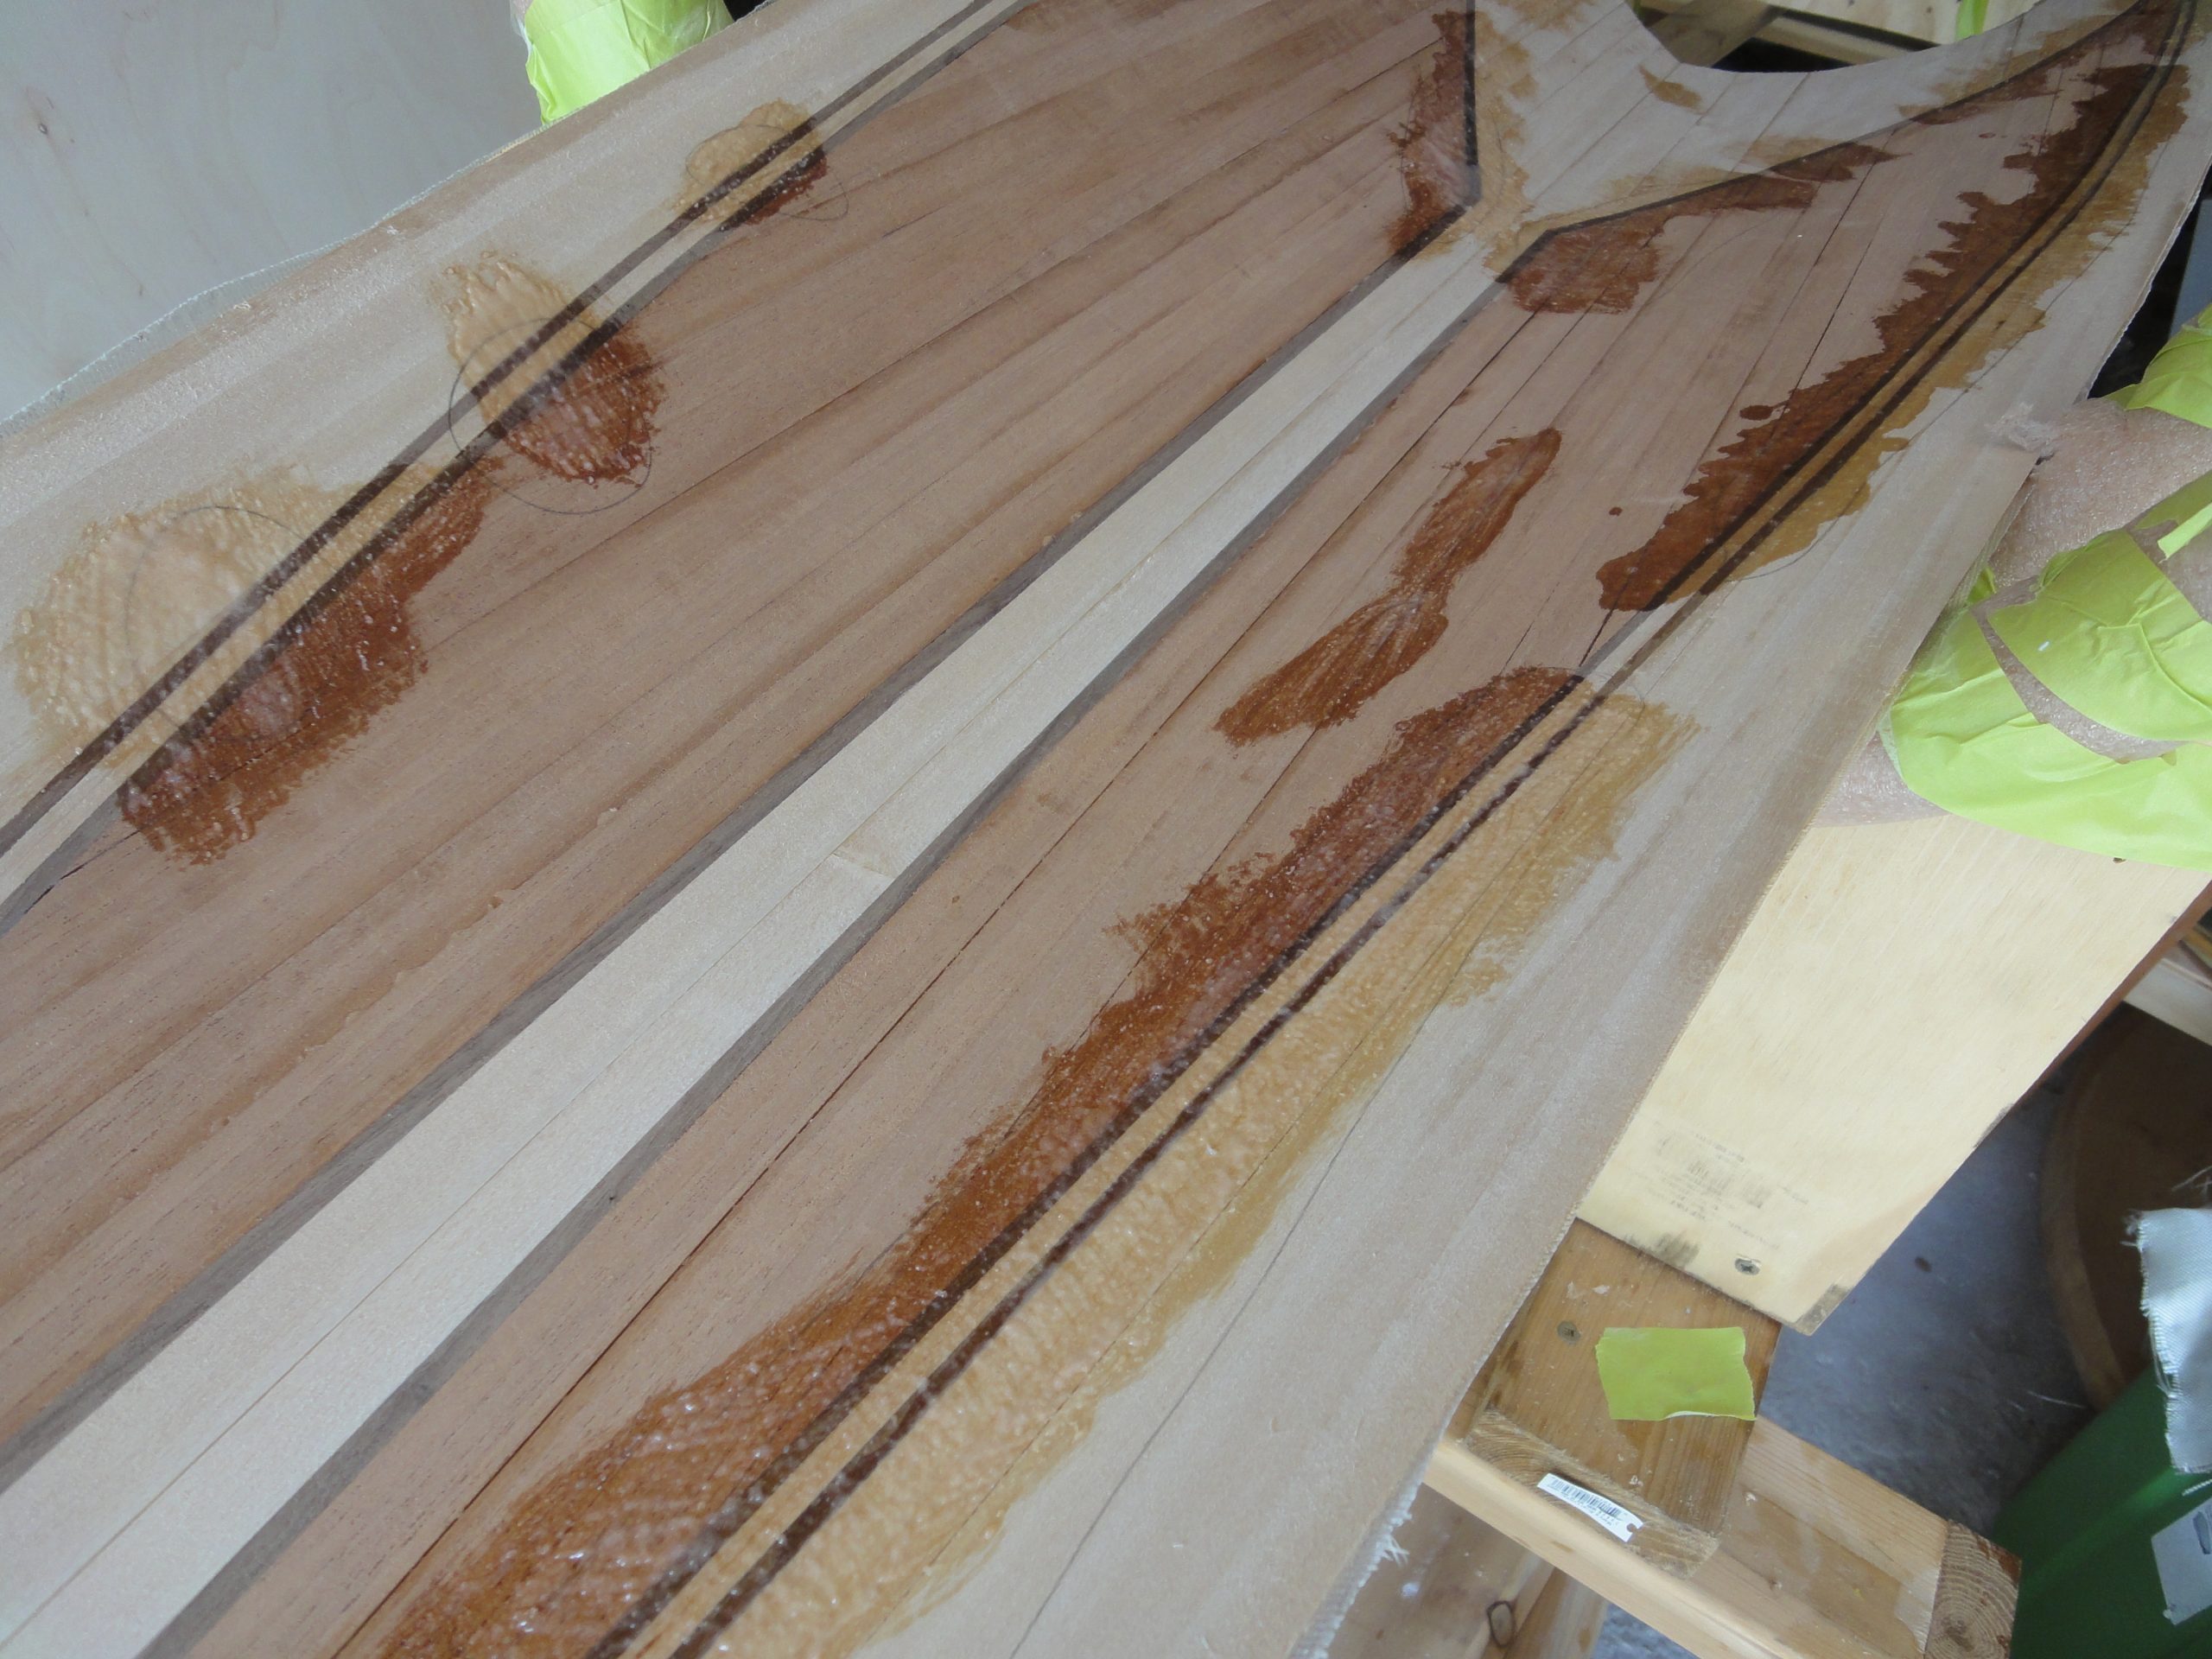
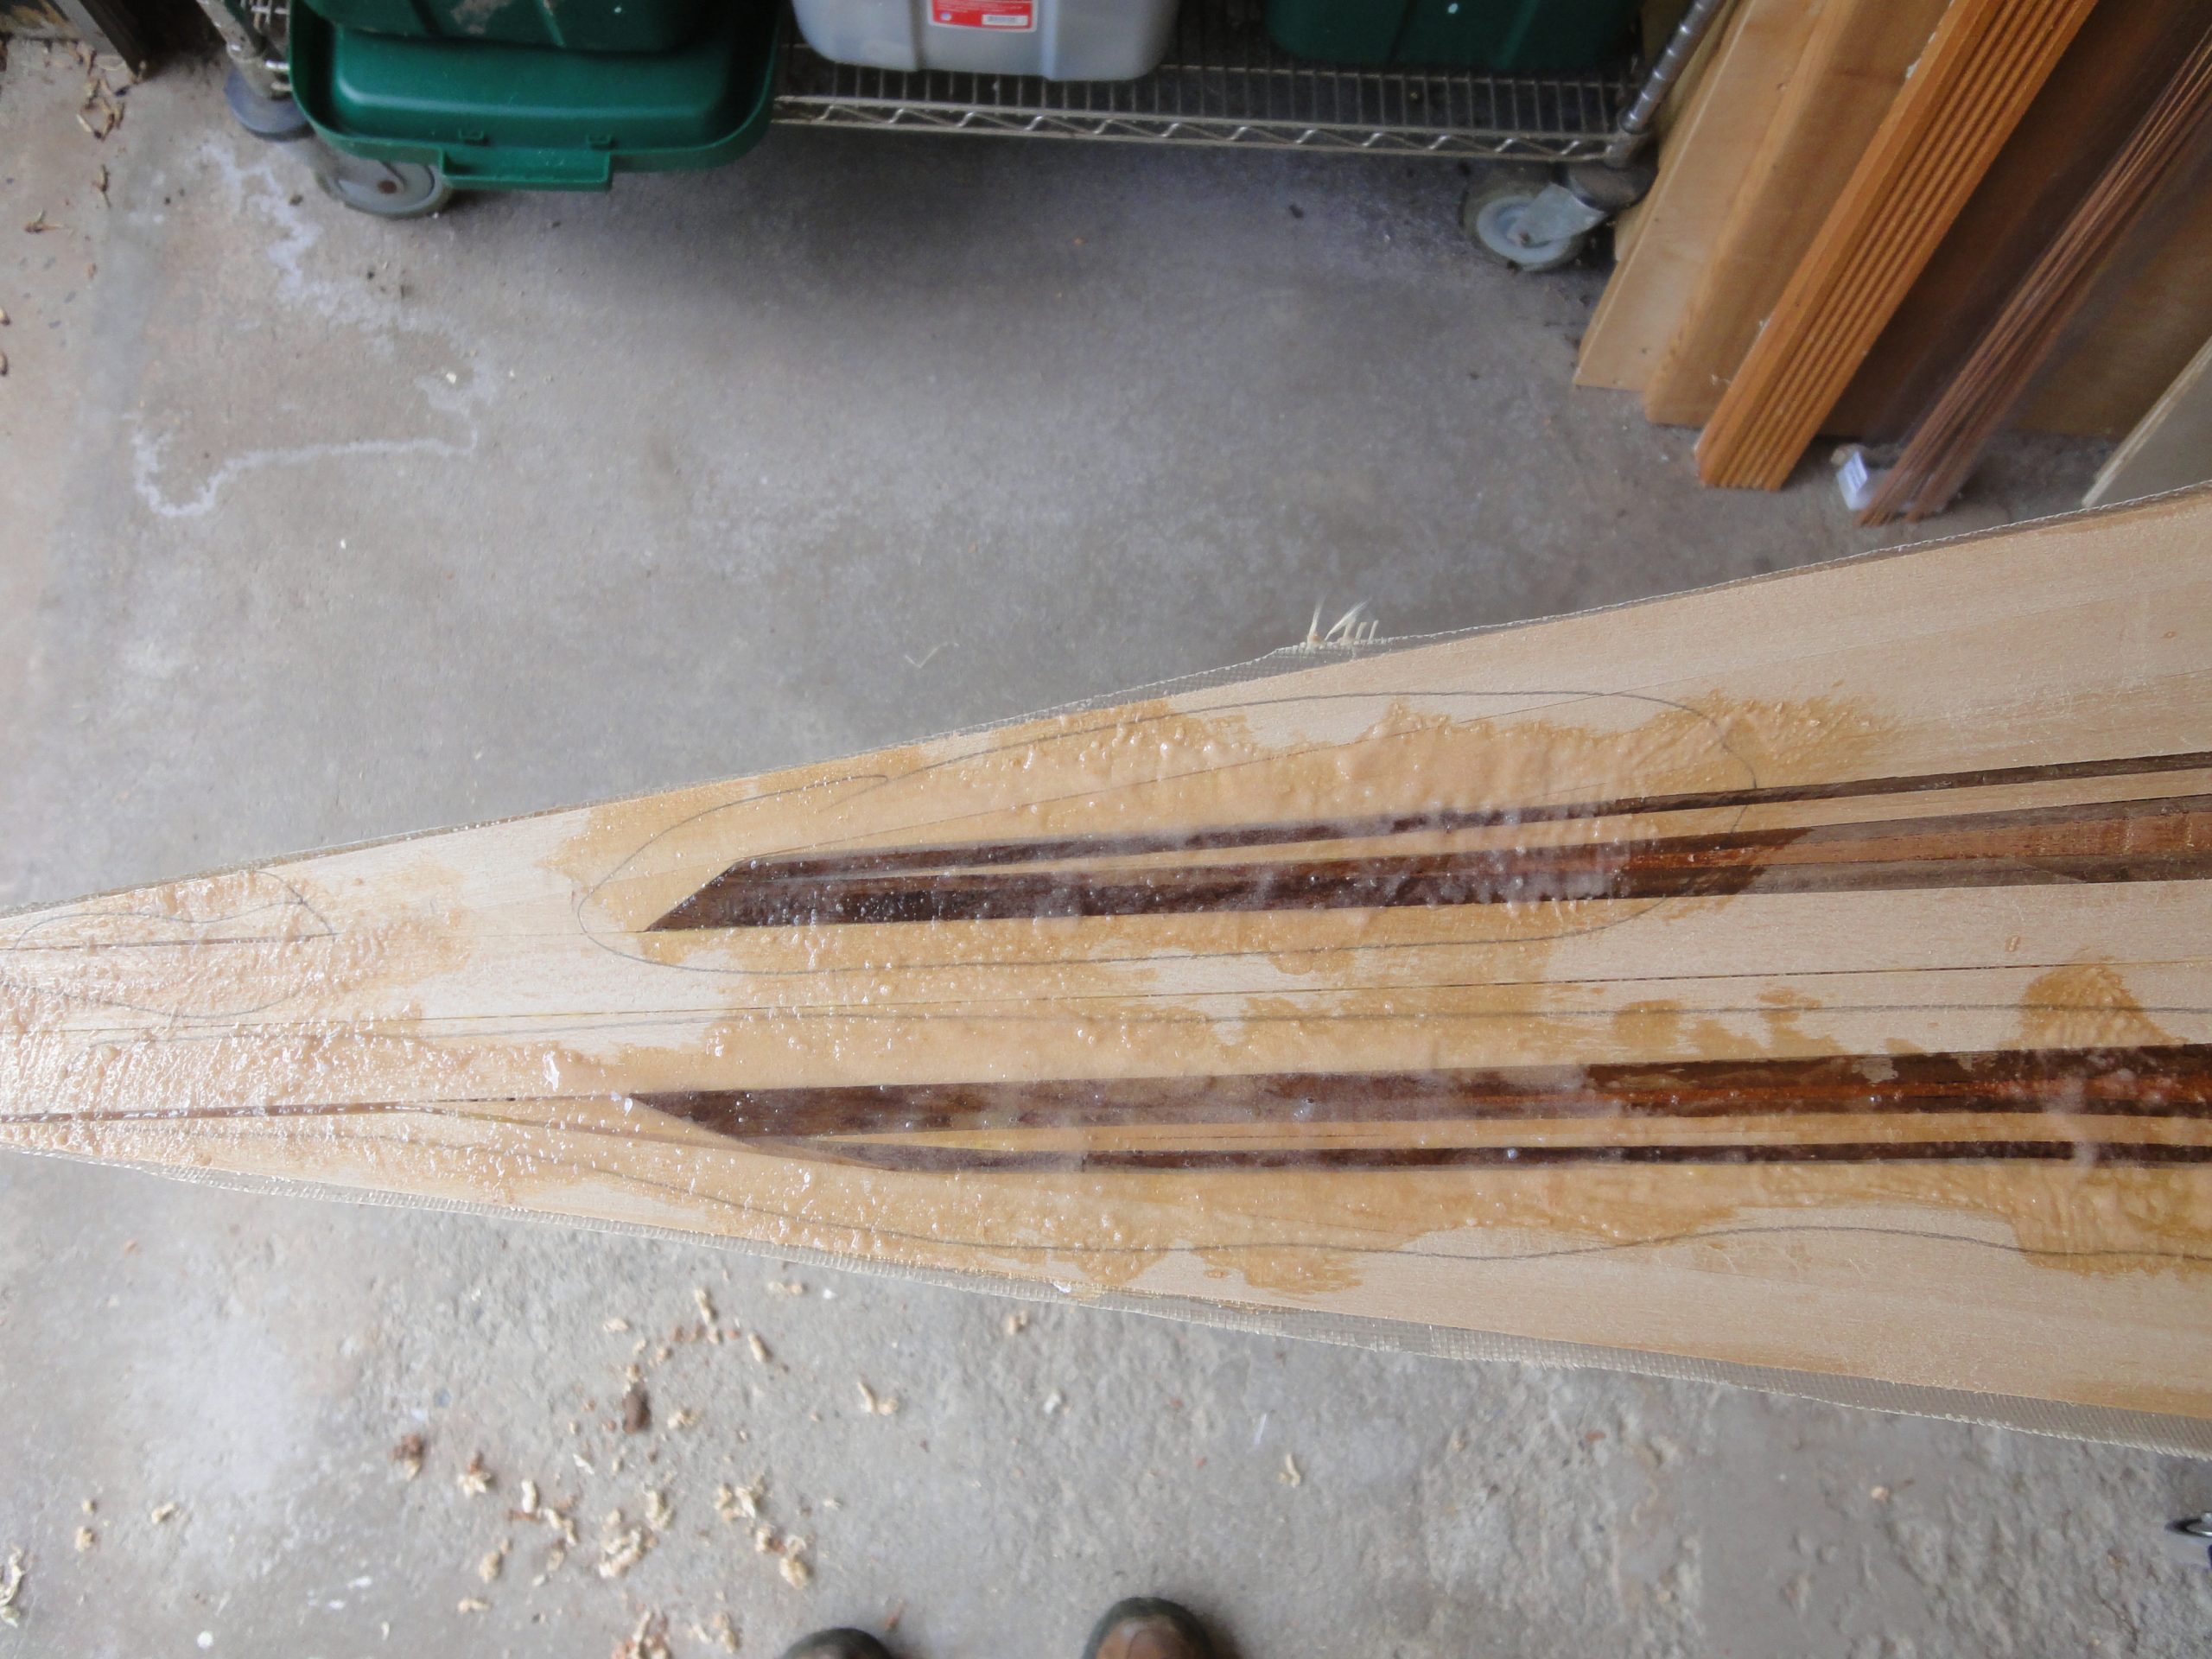
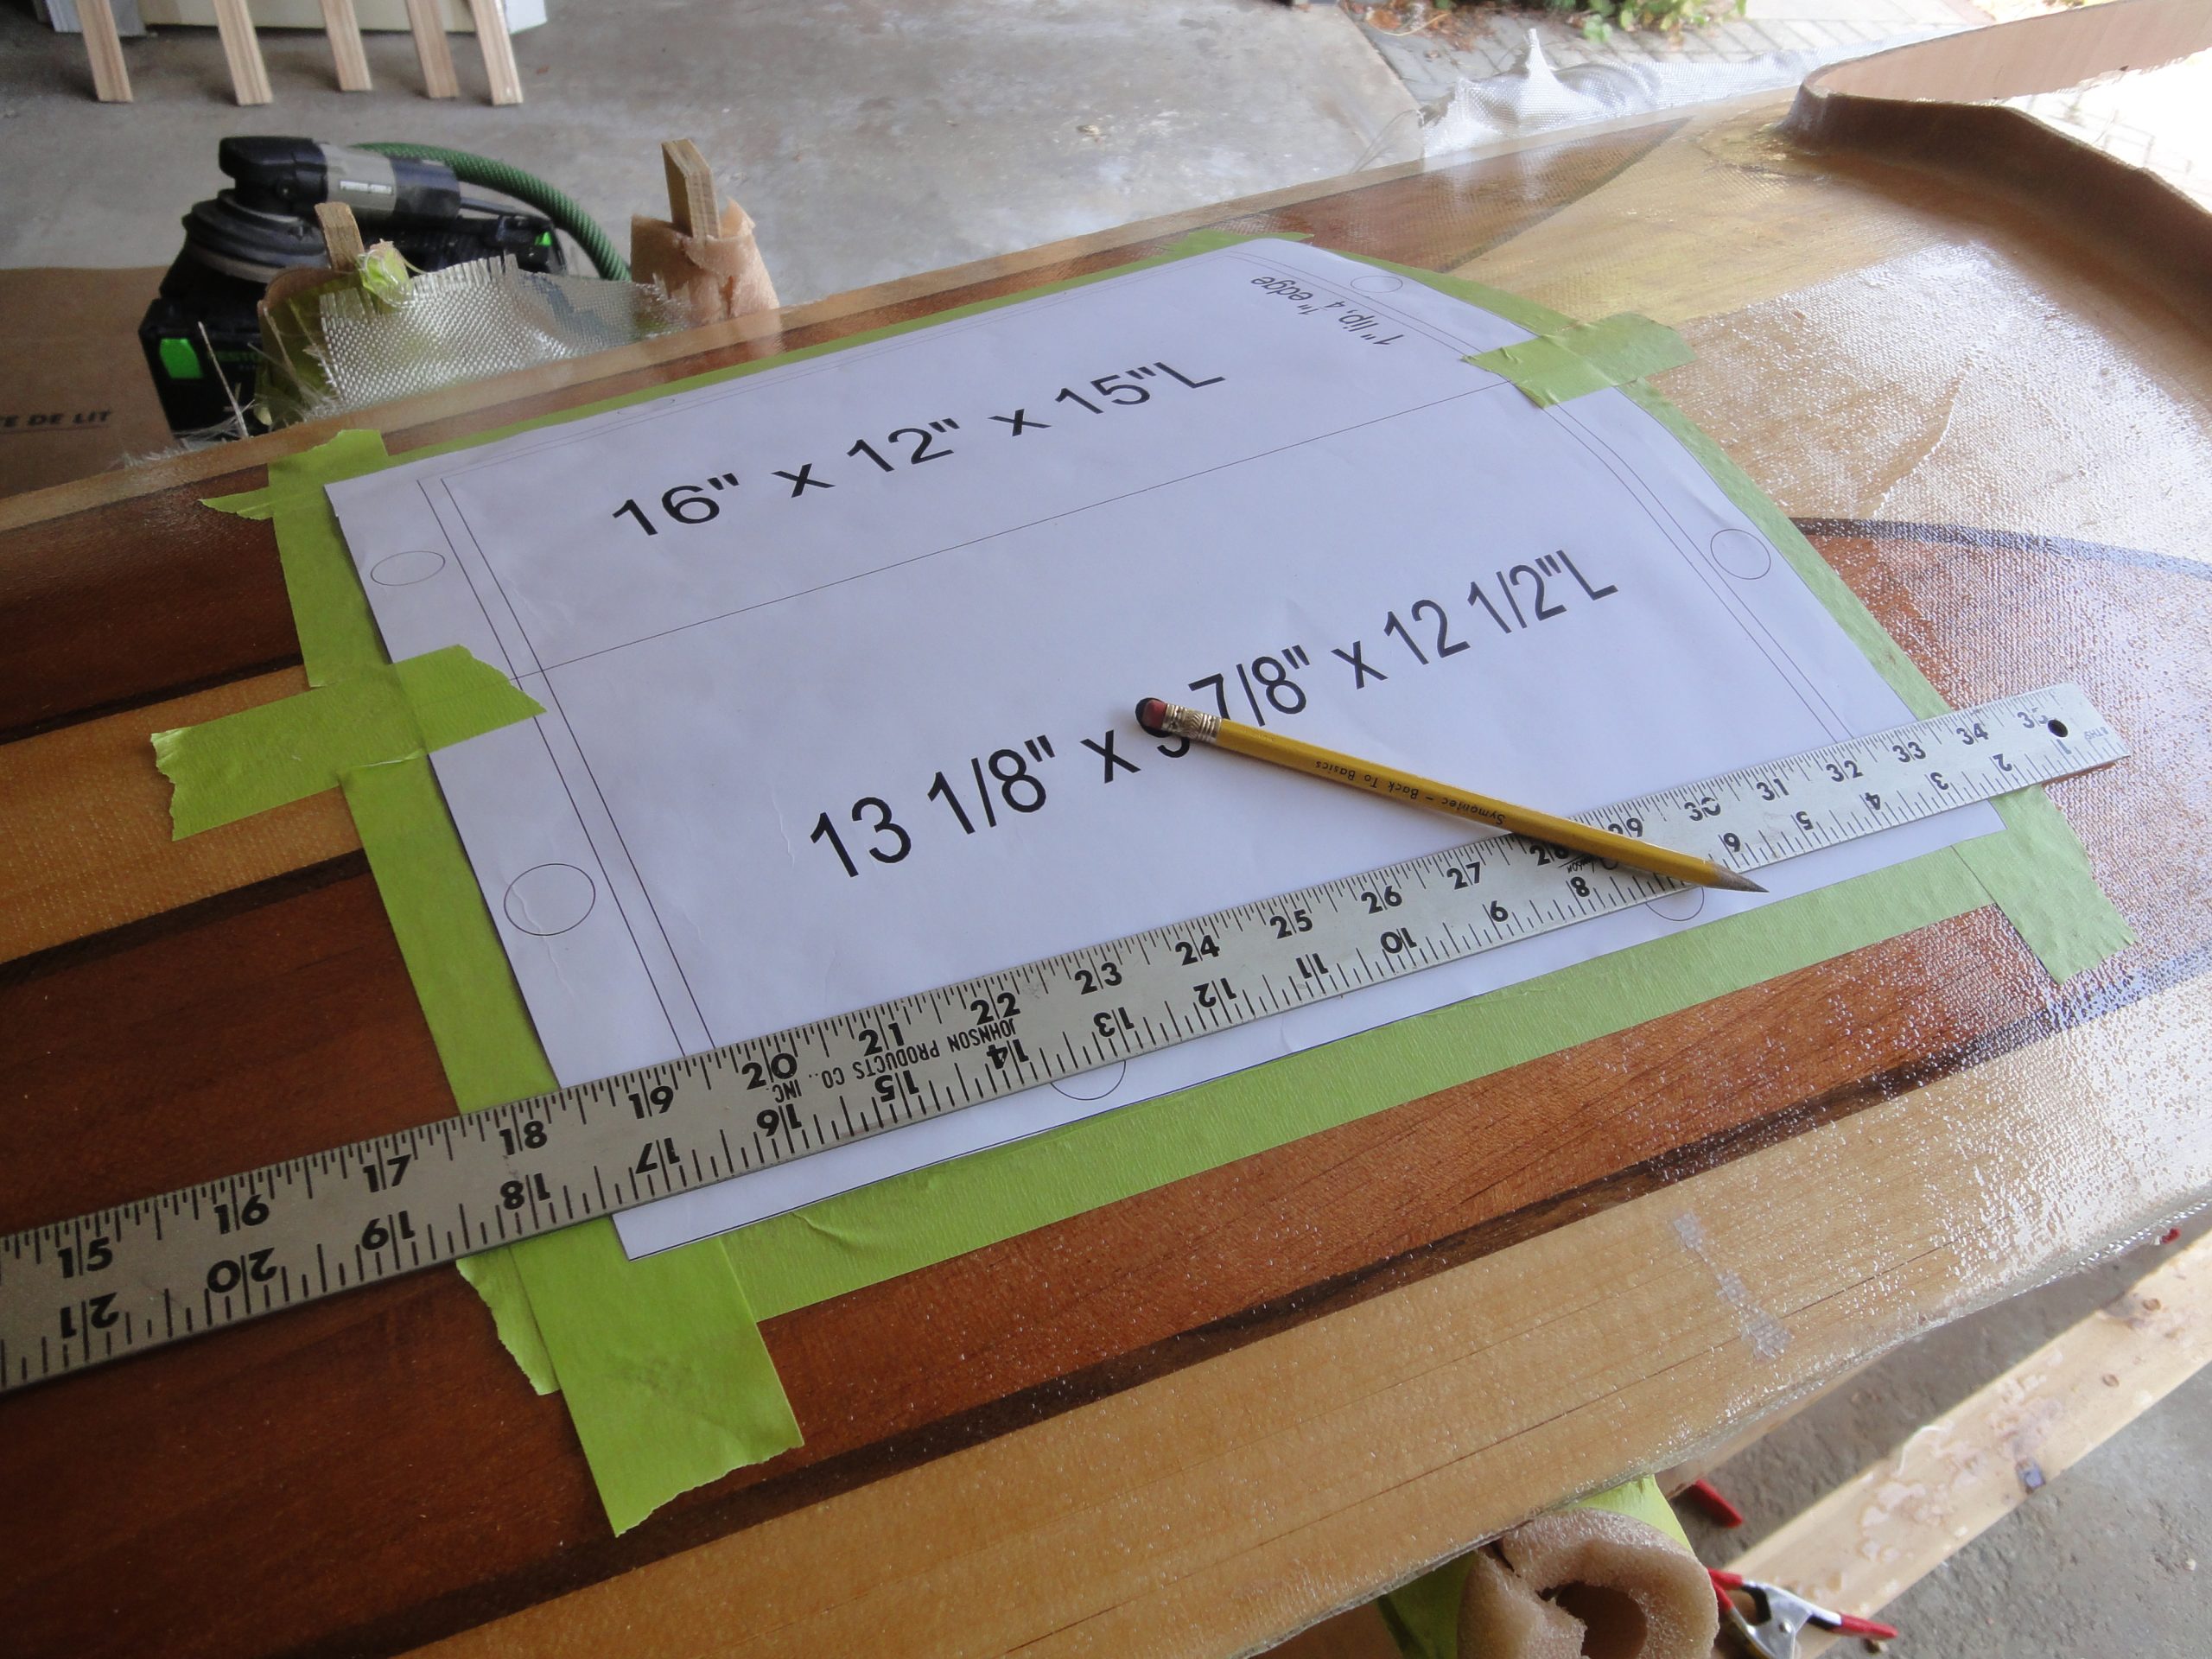
However the rear one is a given. First I took measurements and then drew some actual size templates to experiment with placement and appearance coupled with how big of an access opening I’d actually have. I carefully cut them out and started experimenting with placement.

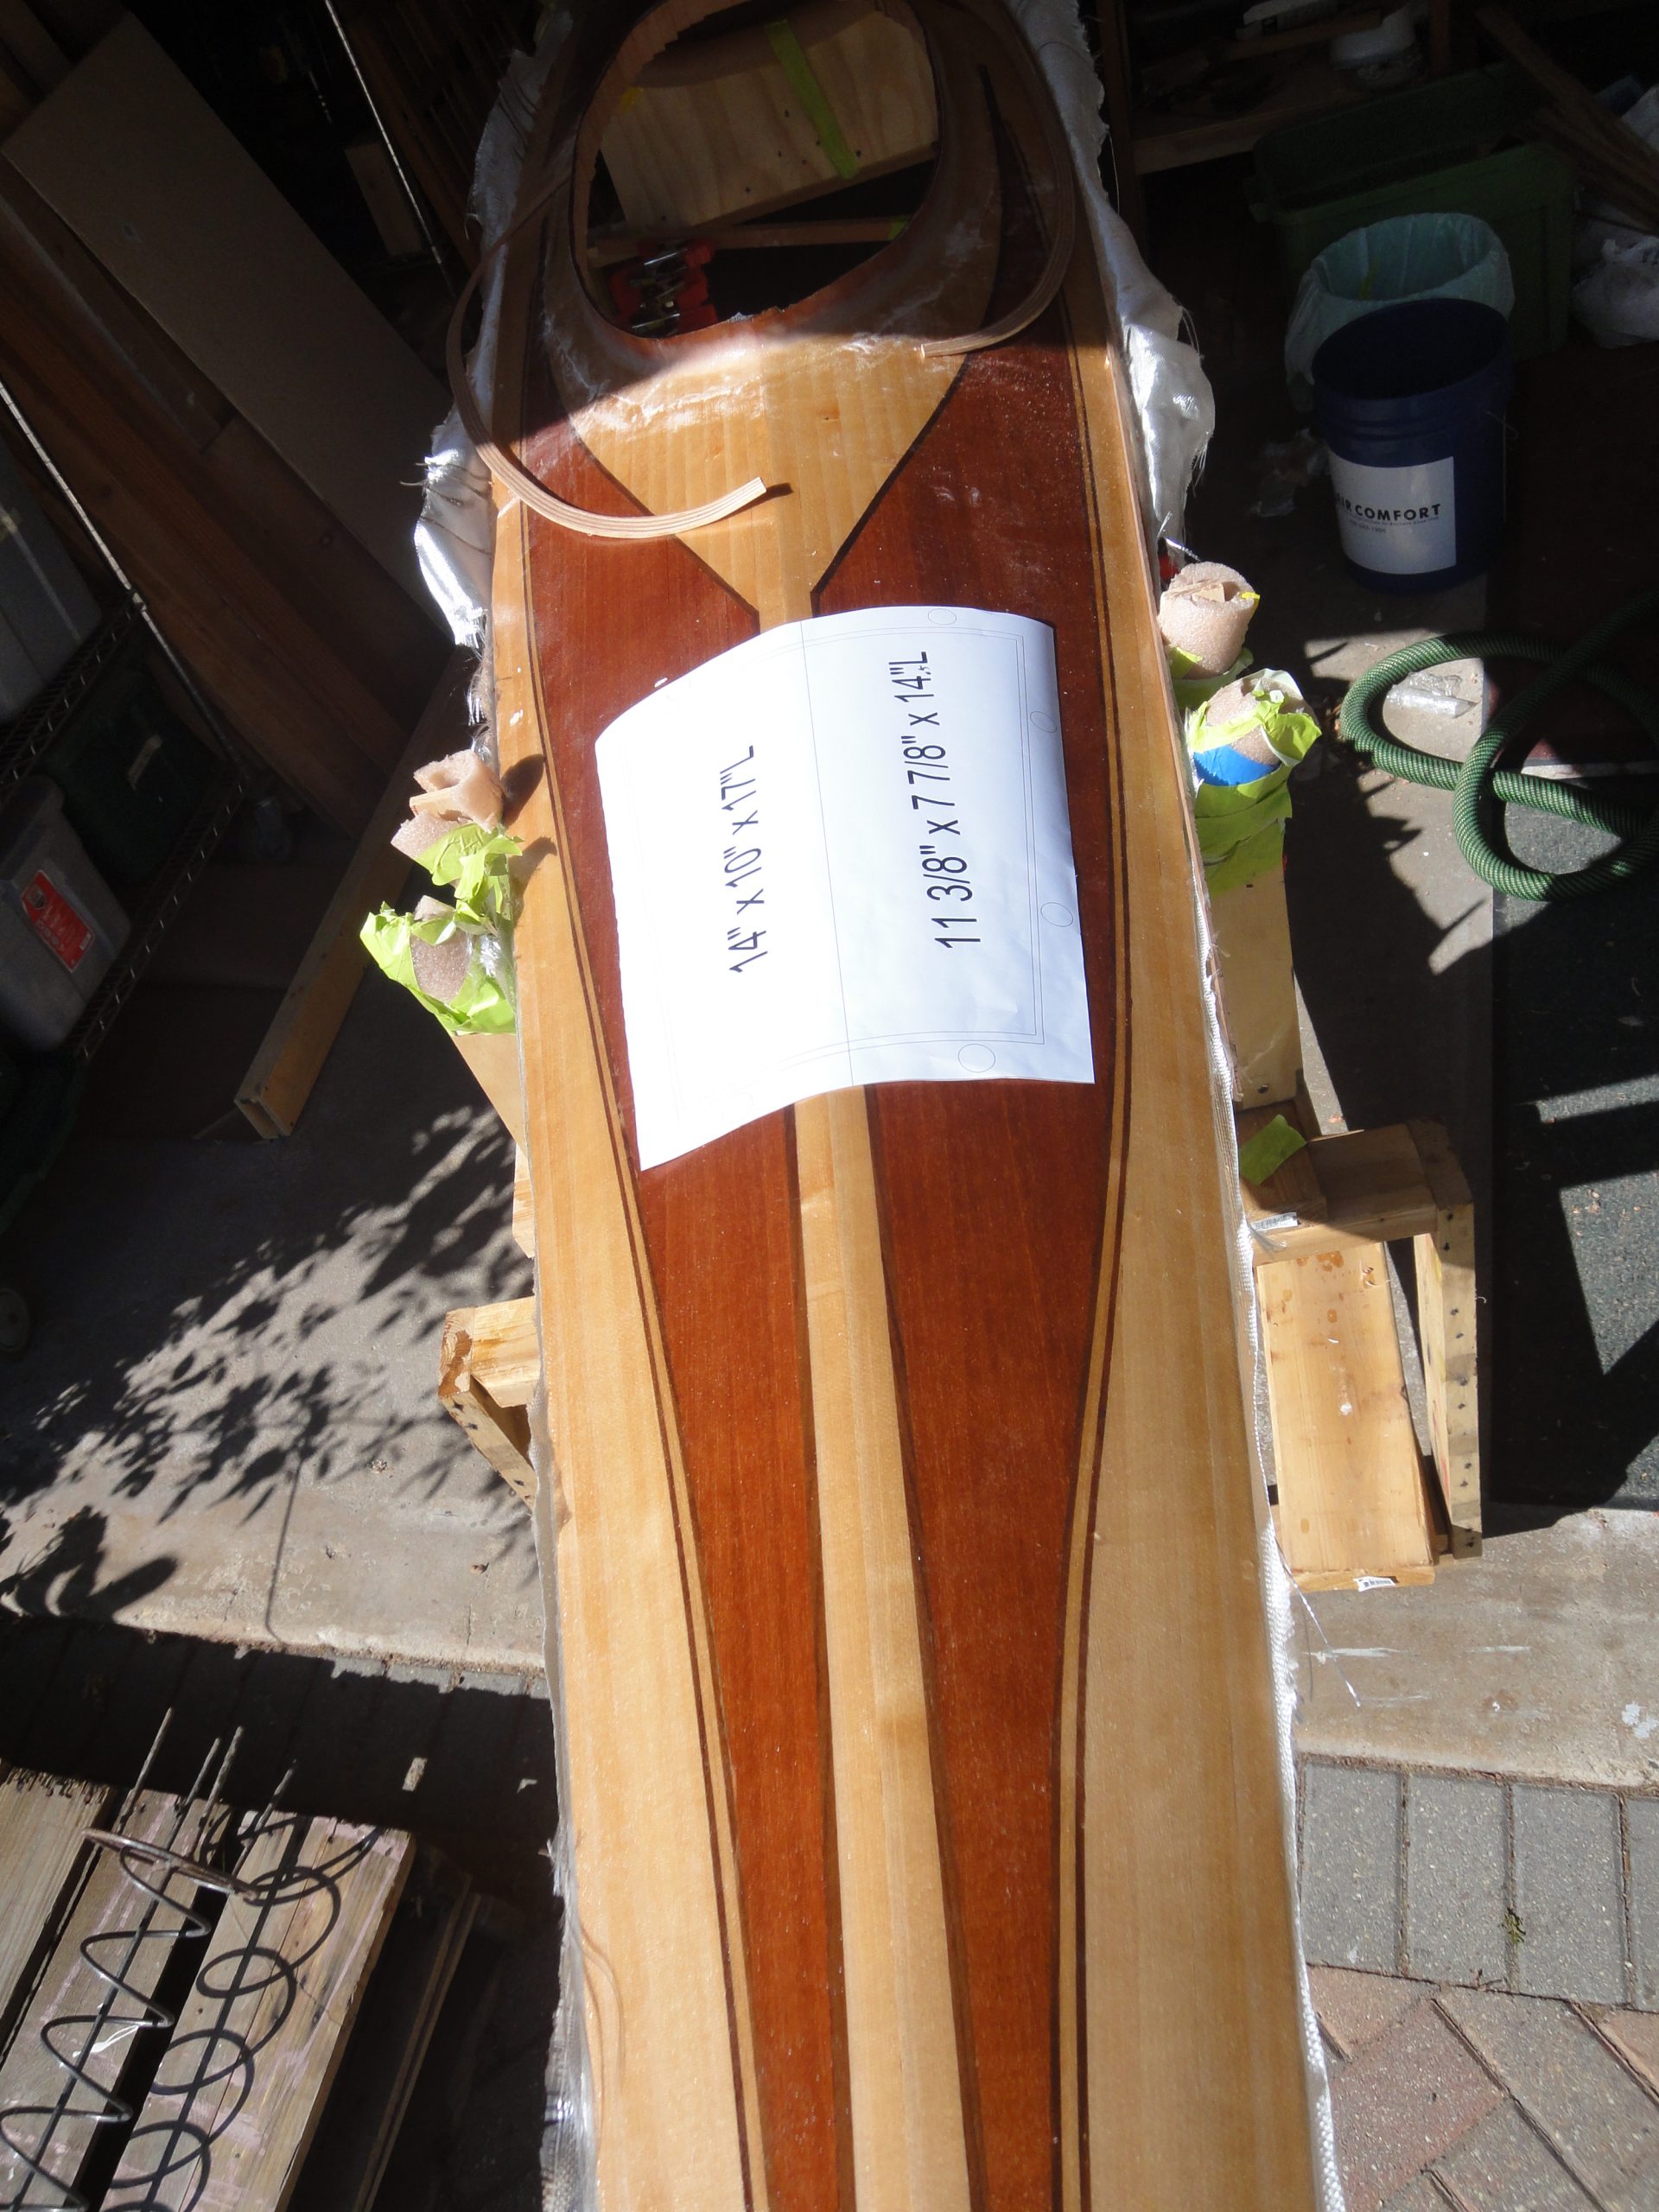
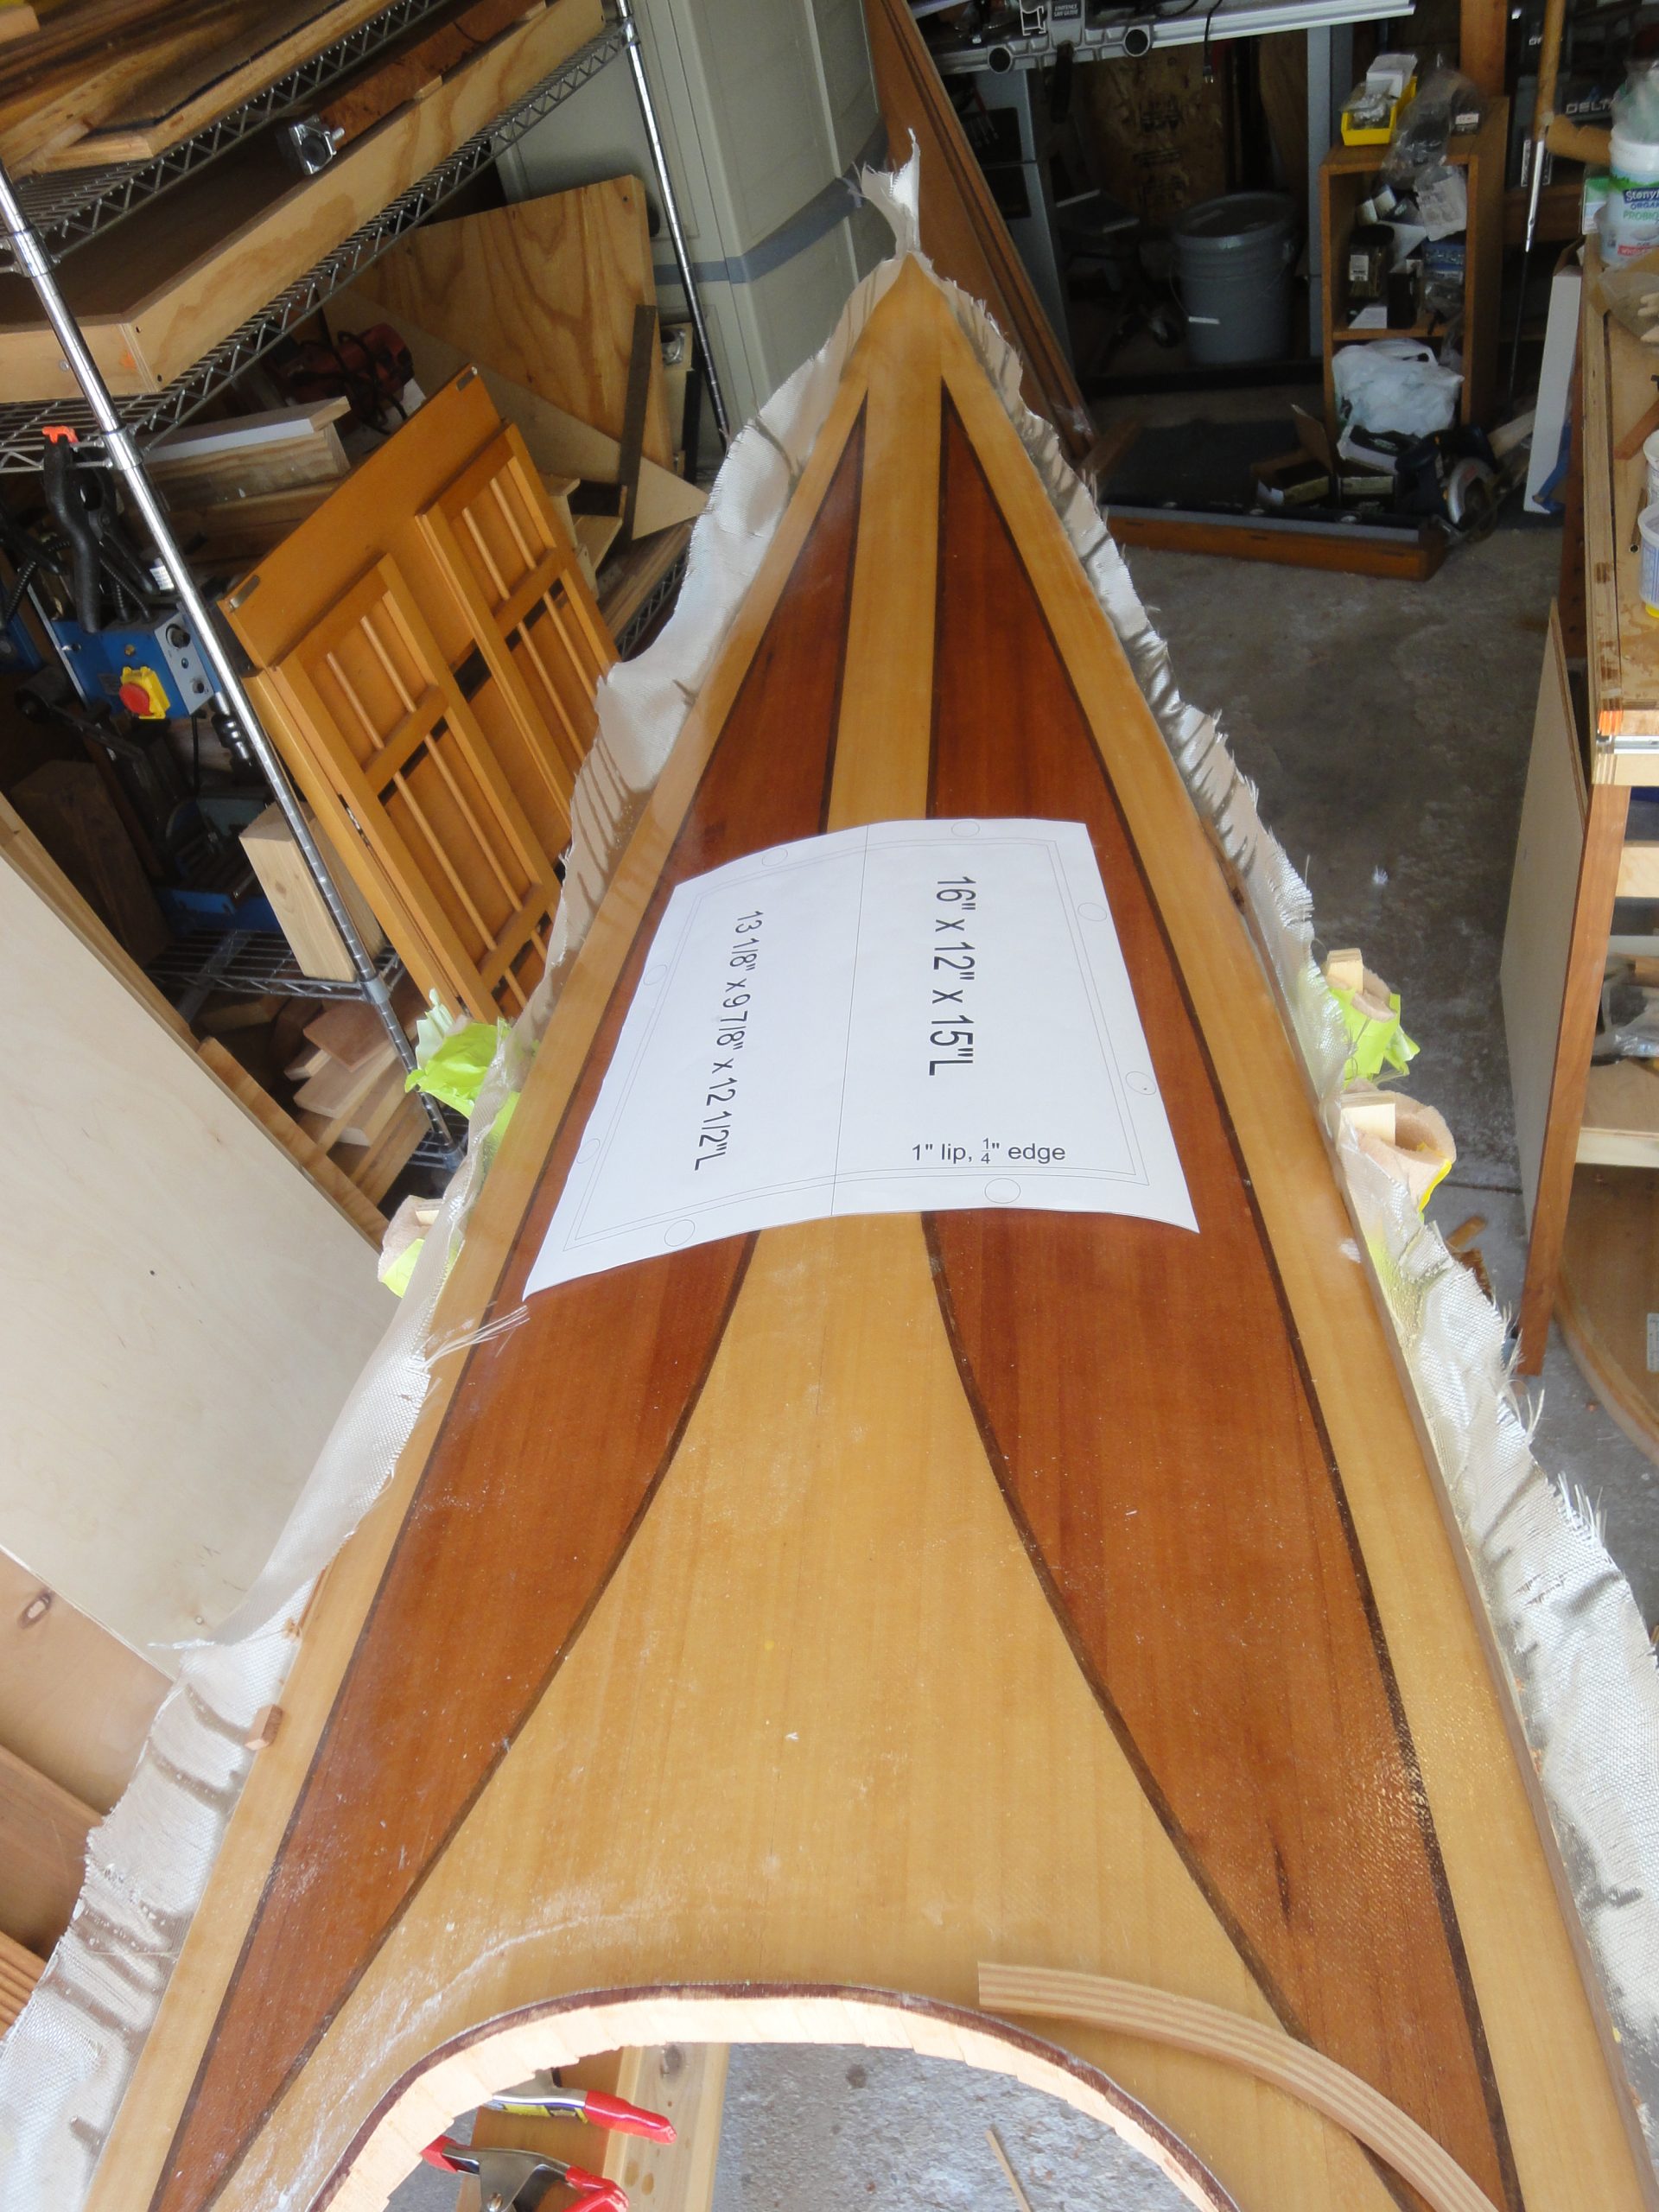
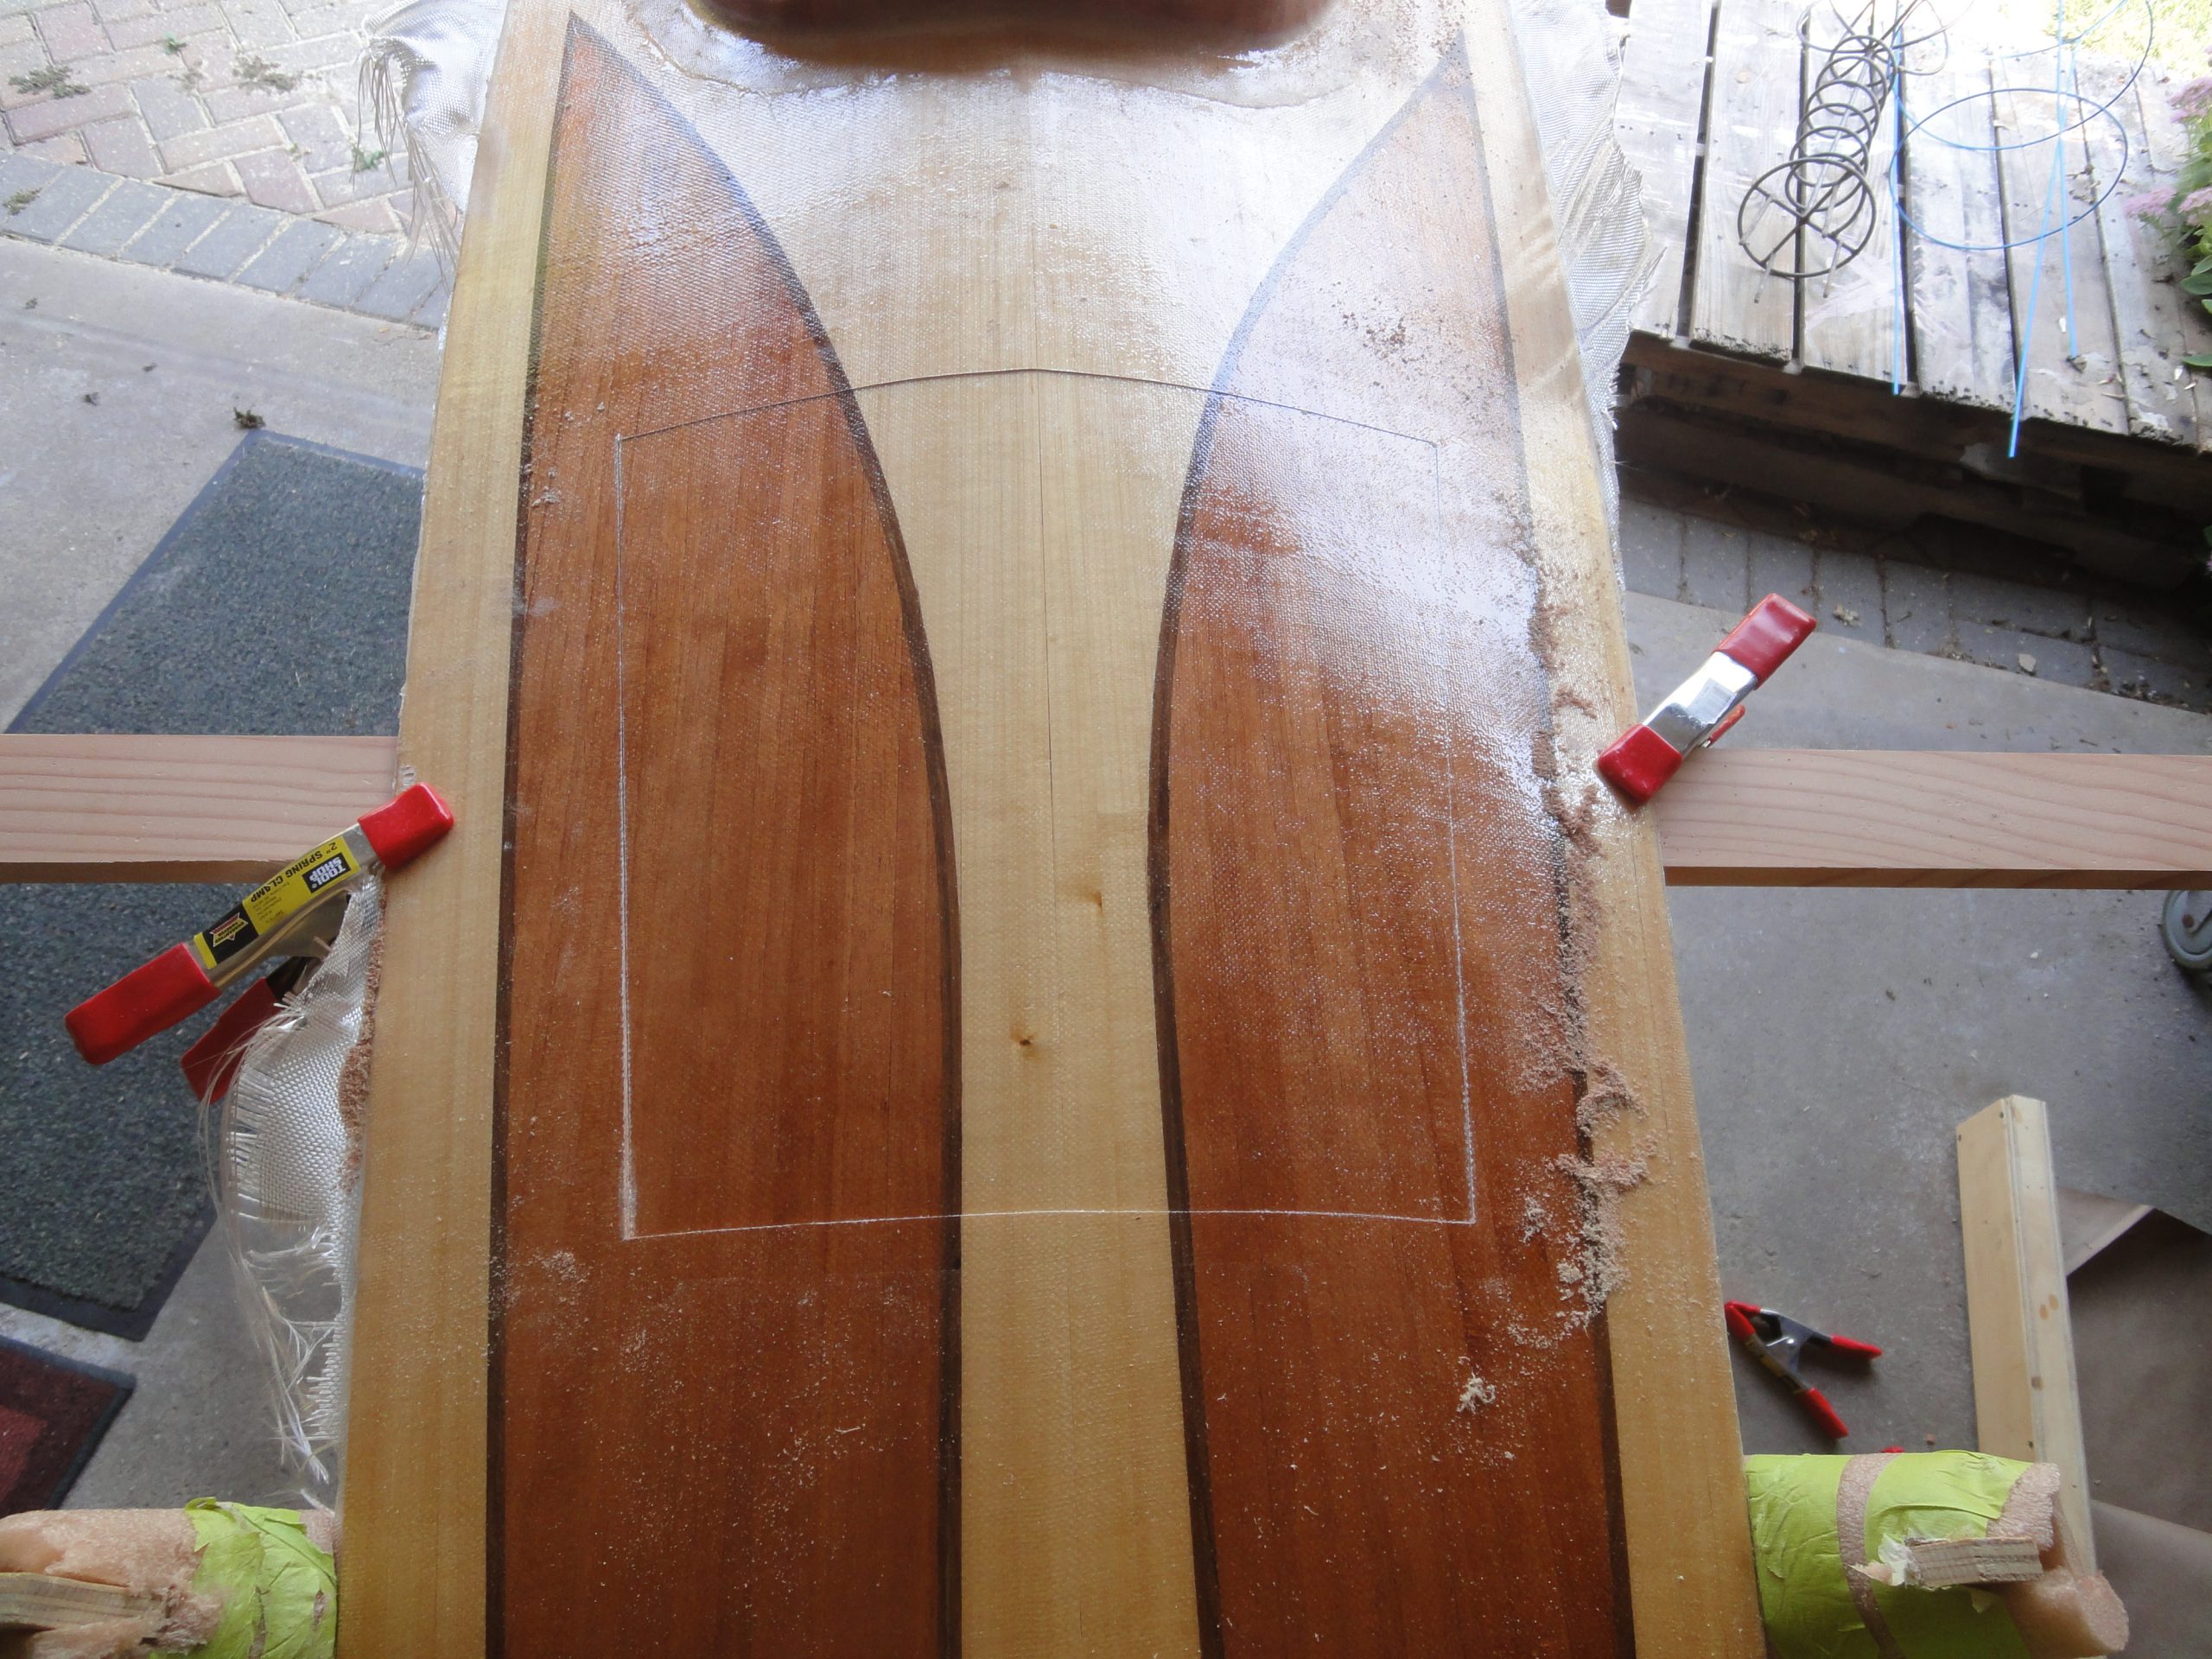
One thing that goes in the “oops” category is that the front decorative elements are not exact mirror images of each other. Close, but when I put the template there and measure up from each side, to center it, I found it noticeably closer to the edge of the red on one side compared to the other. I could offset it so visually it would be centered with the red but then physically the opening would not be centered. So, more and more I’m leaning towards a bulkhead hatch instead. With my elongated cockpit it won’t be difficult to reach and with my planned activities, the front storage will rarely be used.

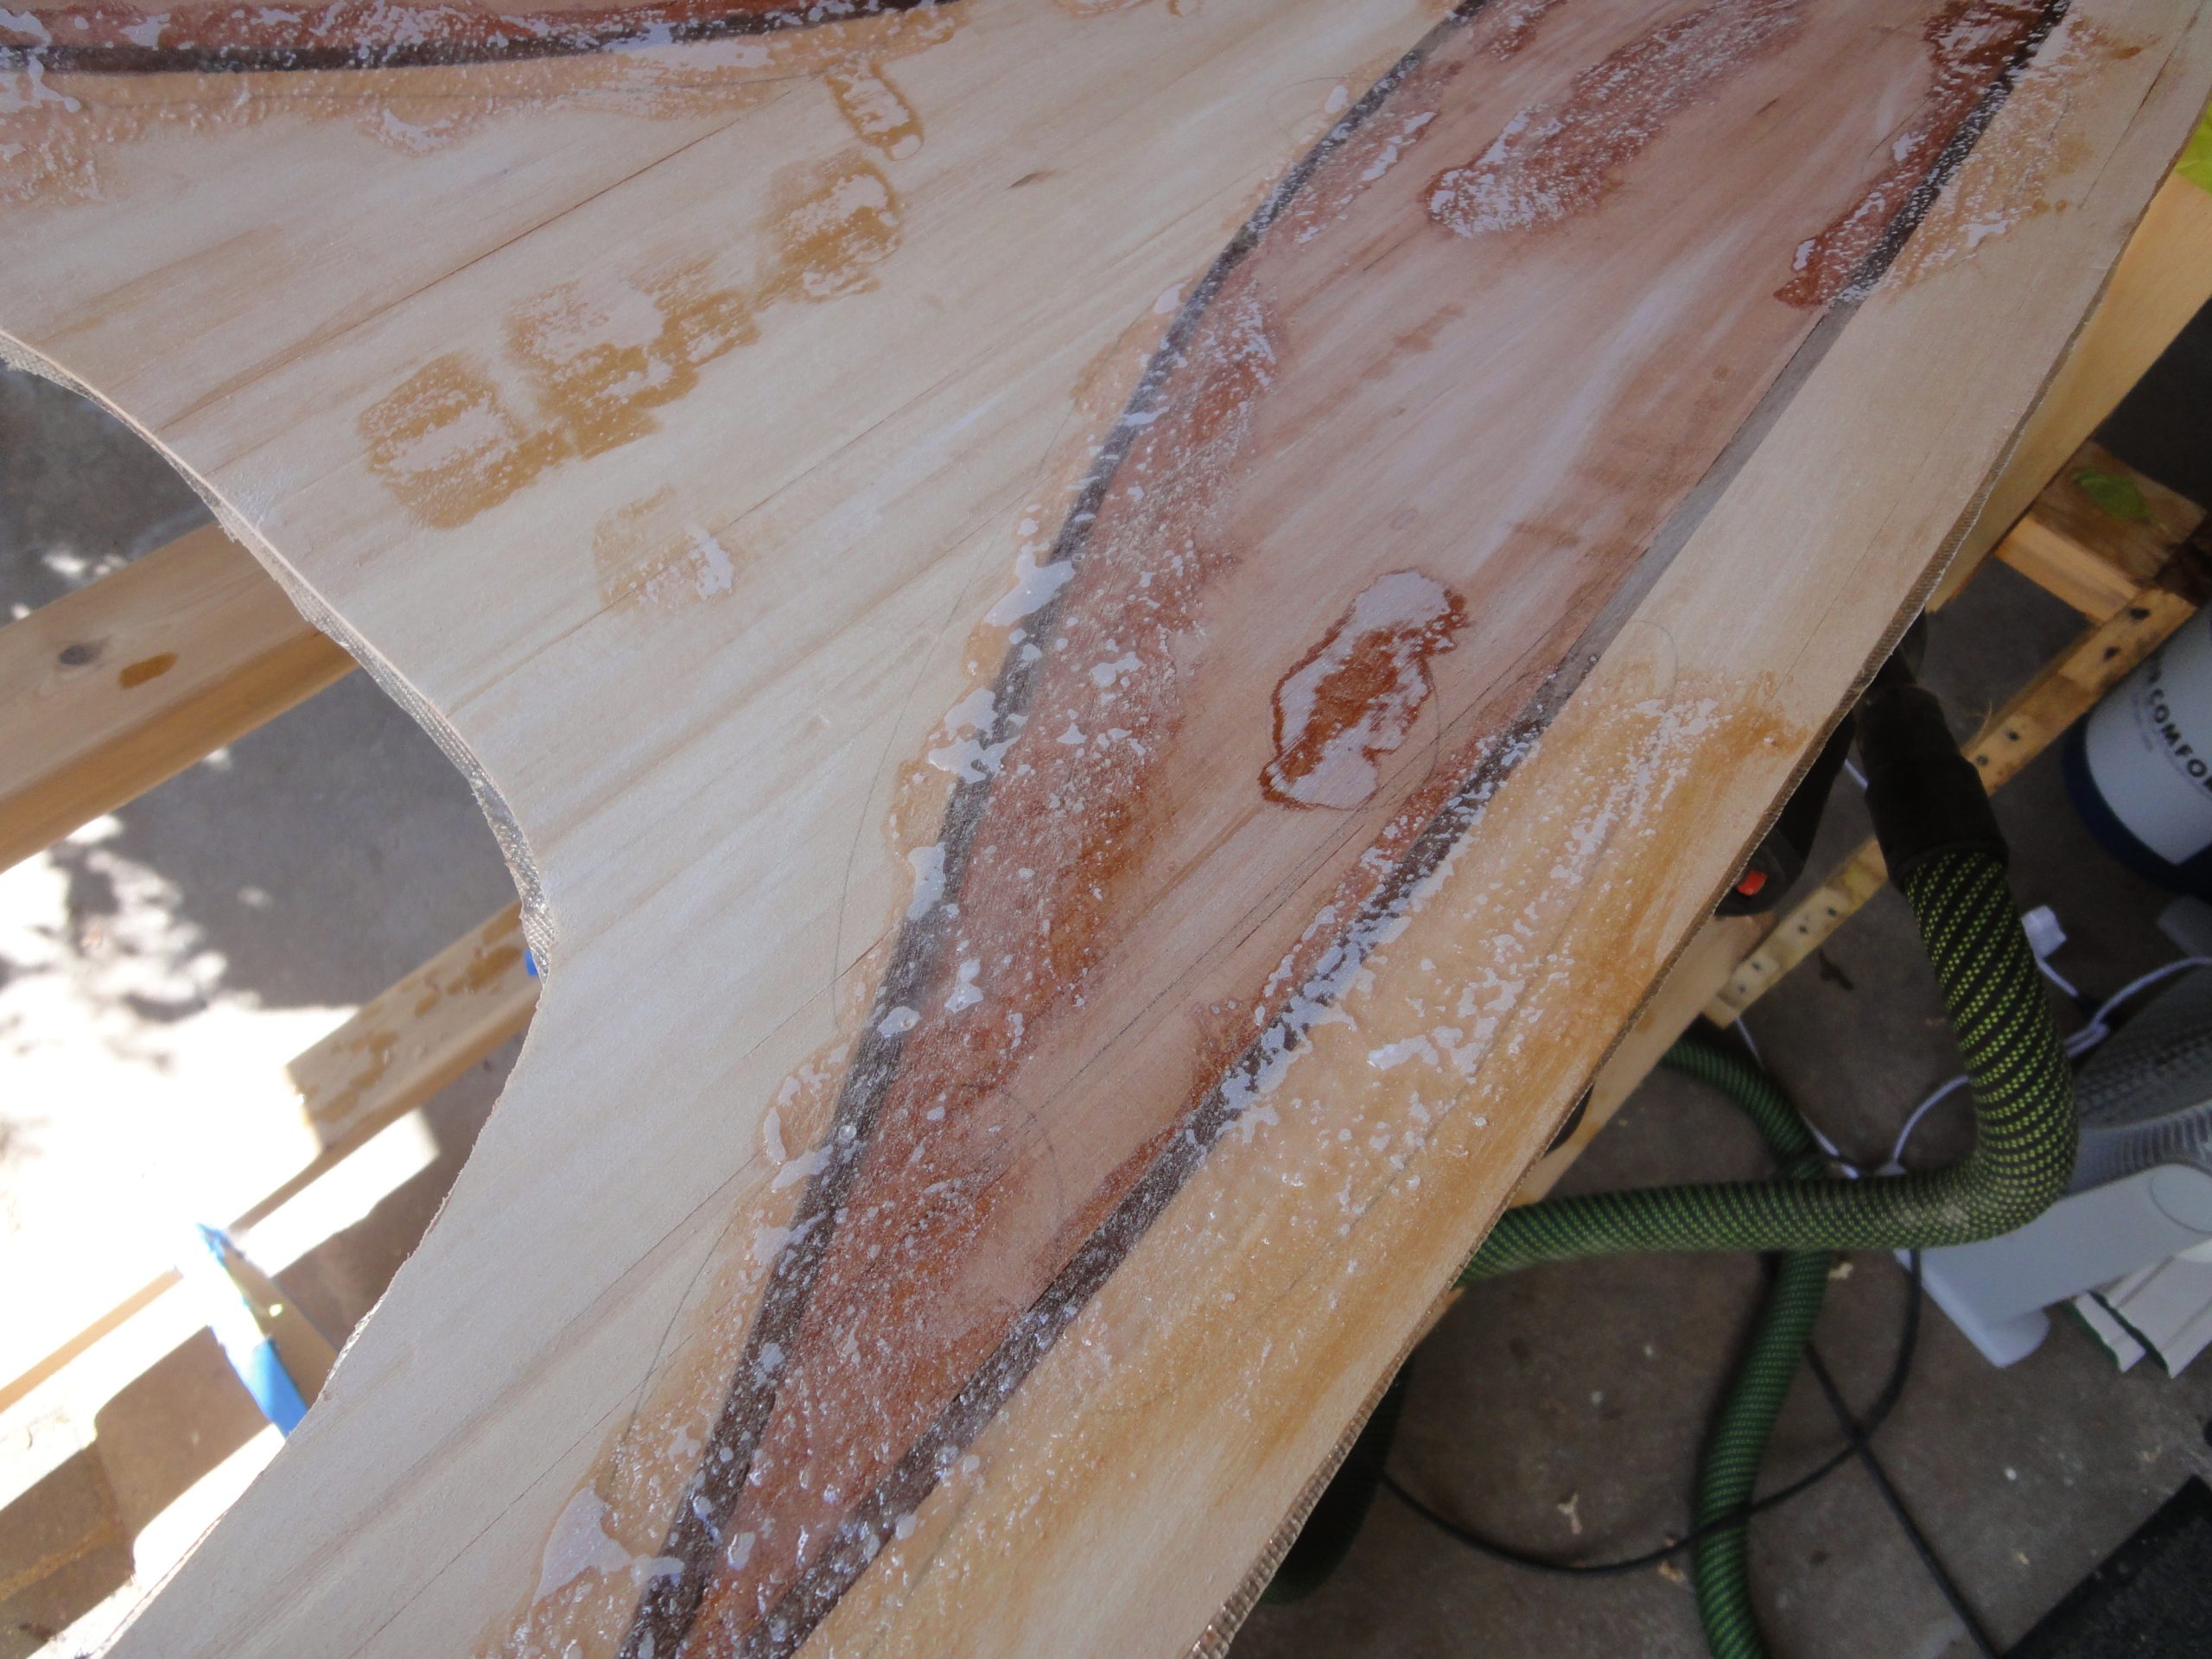
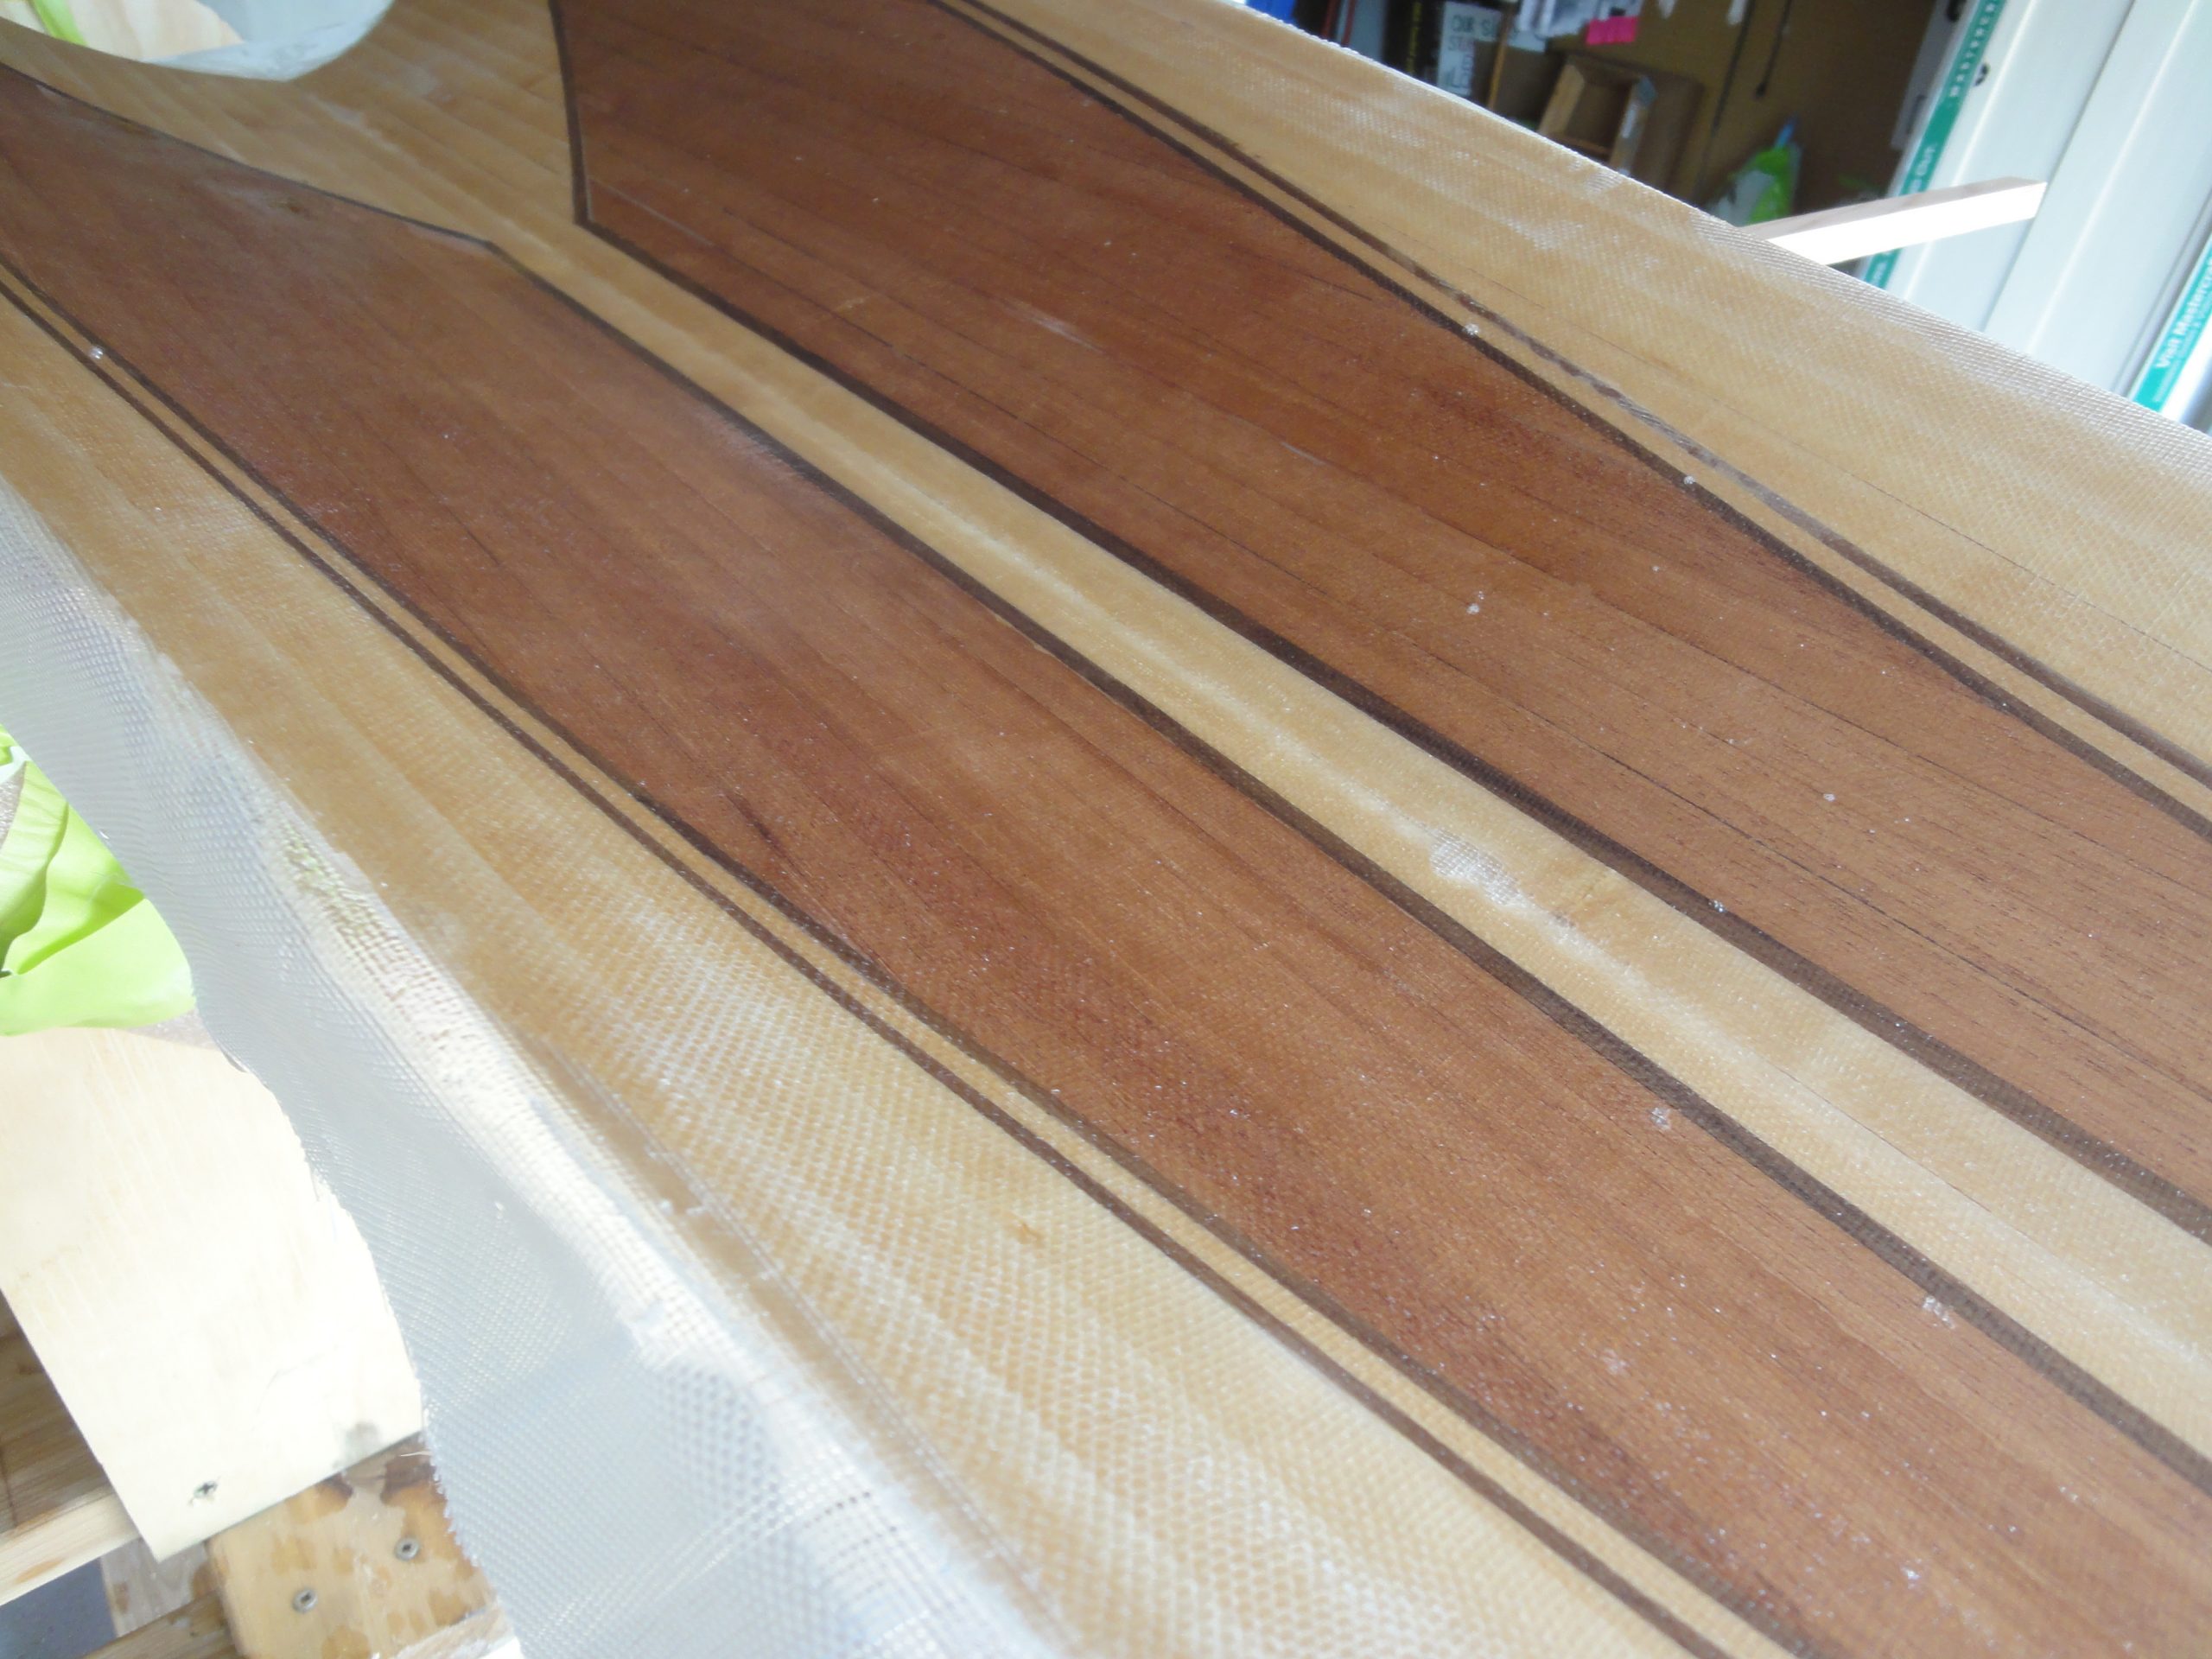
The rear one fits nicely, but was too far back in the picture. I since adjusted the template much closed to the cockpit. Once satisfied I taped it in place then marked the cut lines on additional tape applied to the kayak. This tape will help protect the surface as it’s cut and provides somewhere to actually see the lines I mark.

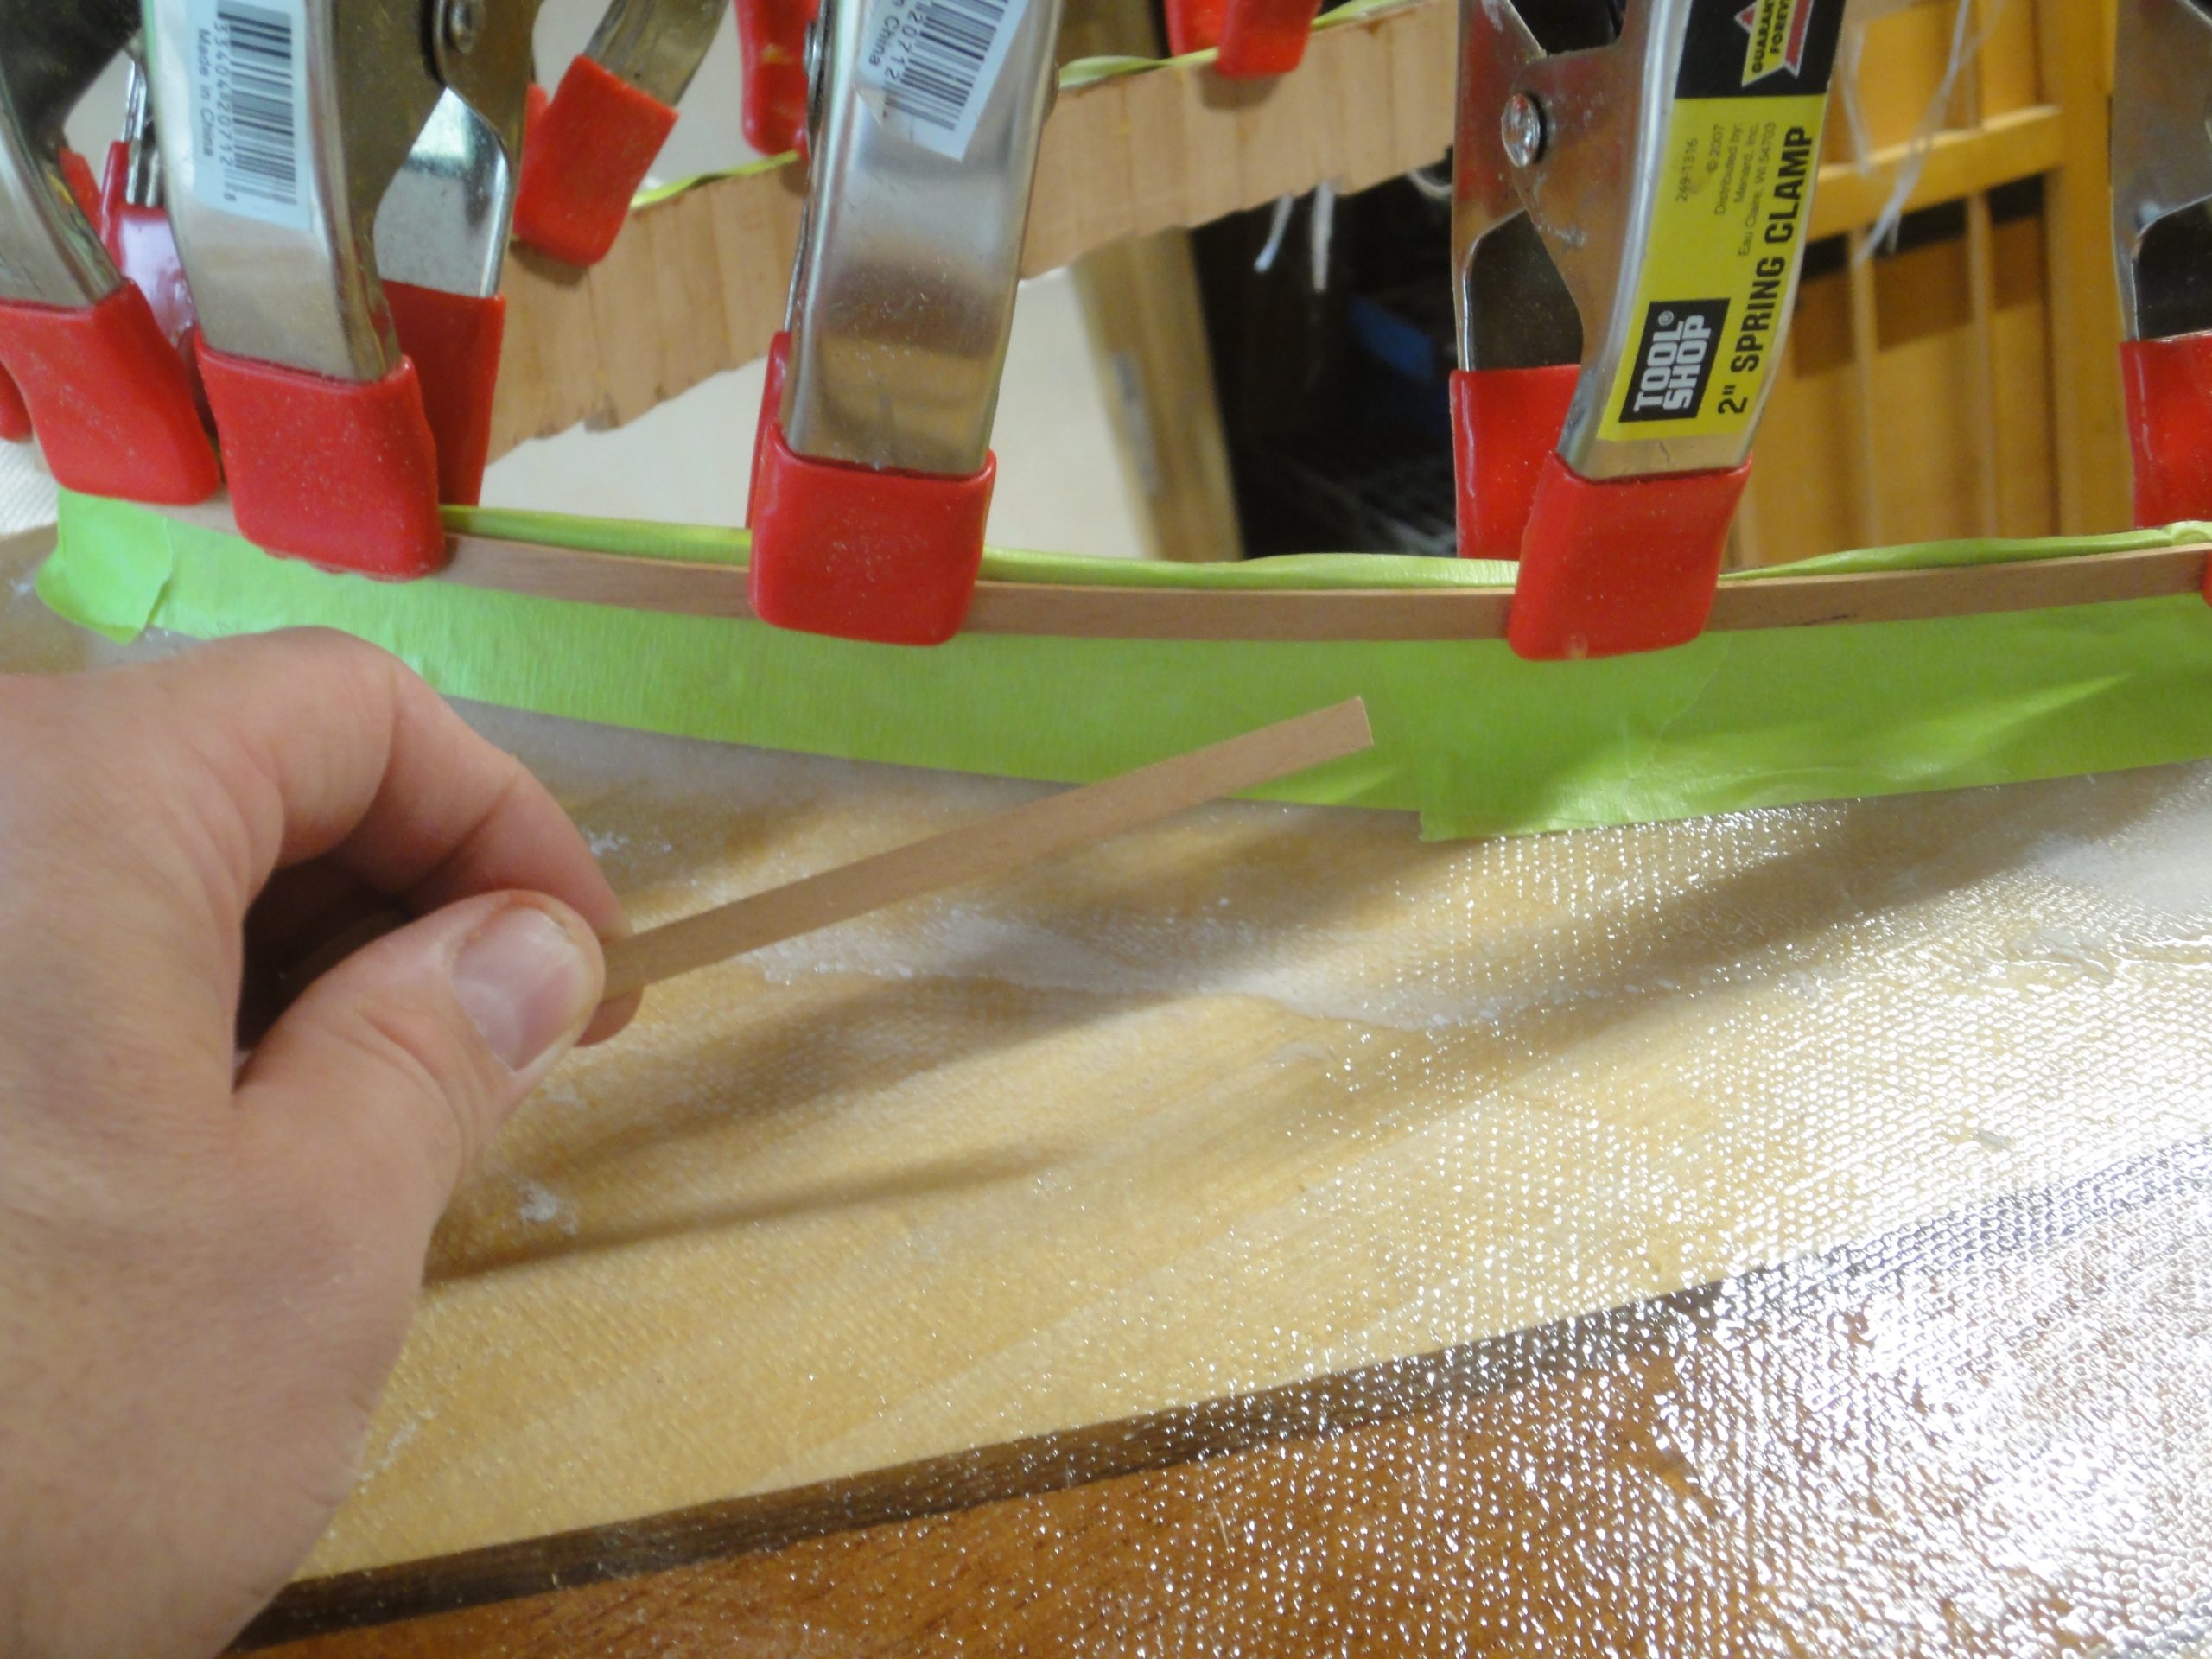
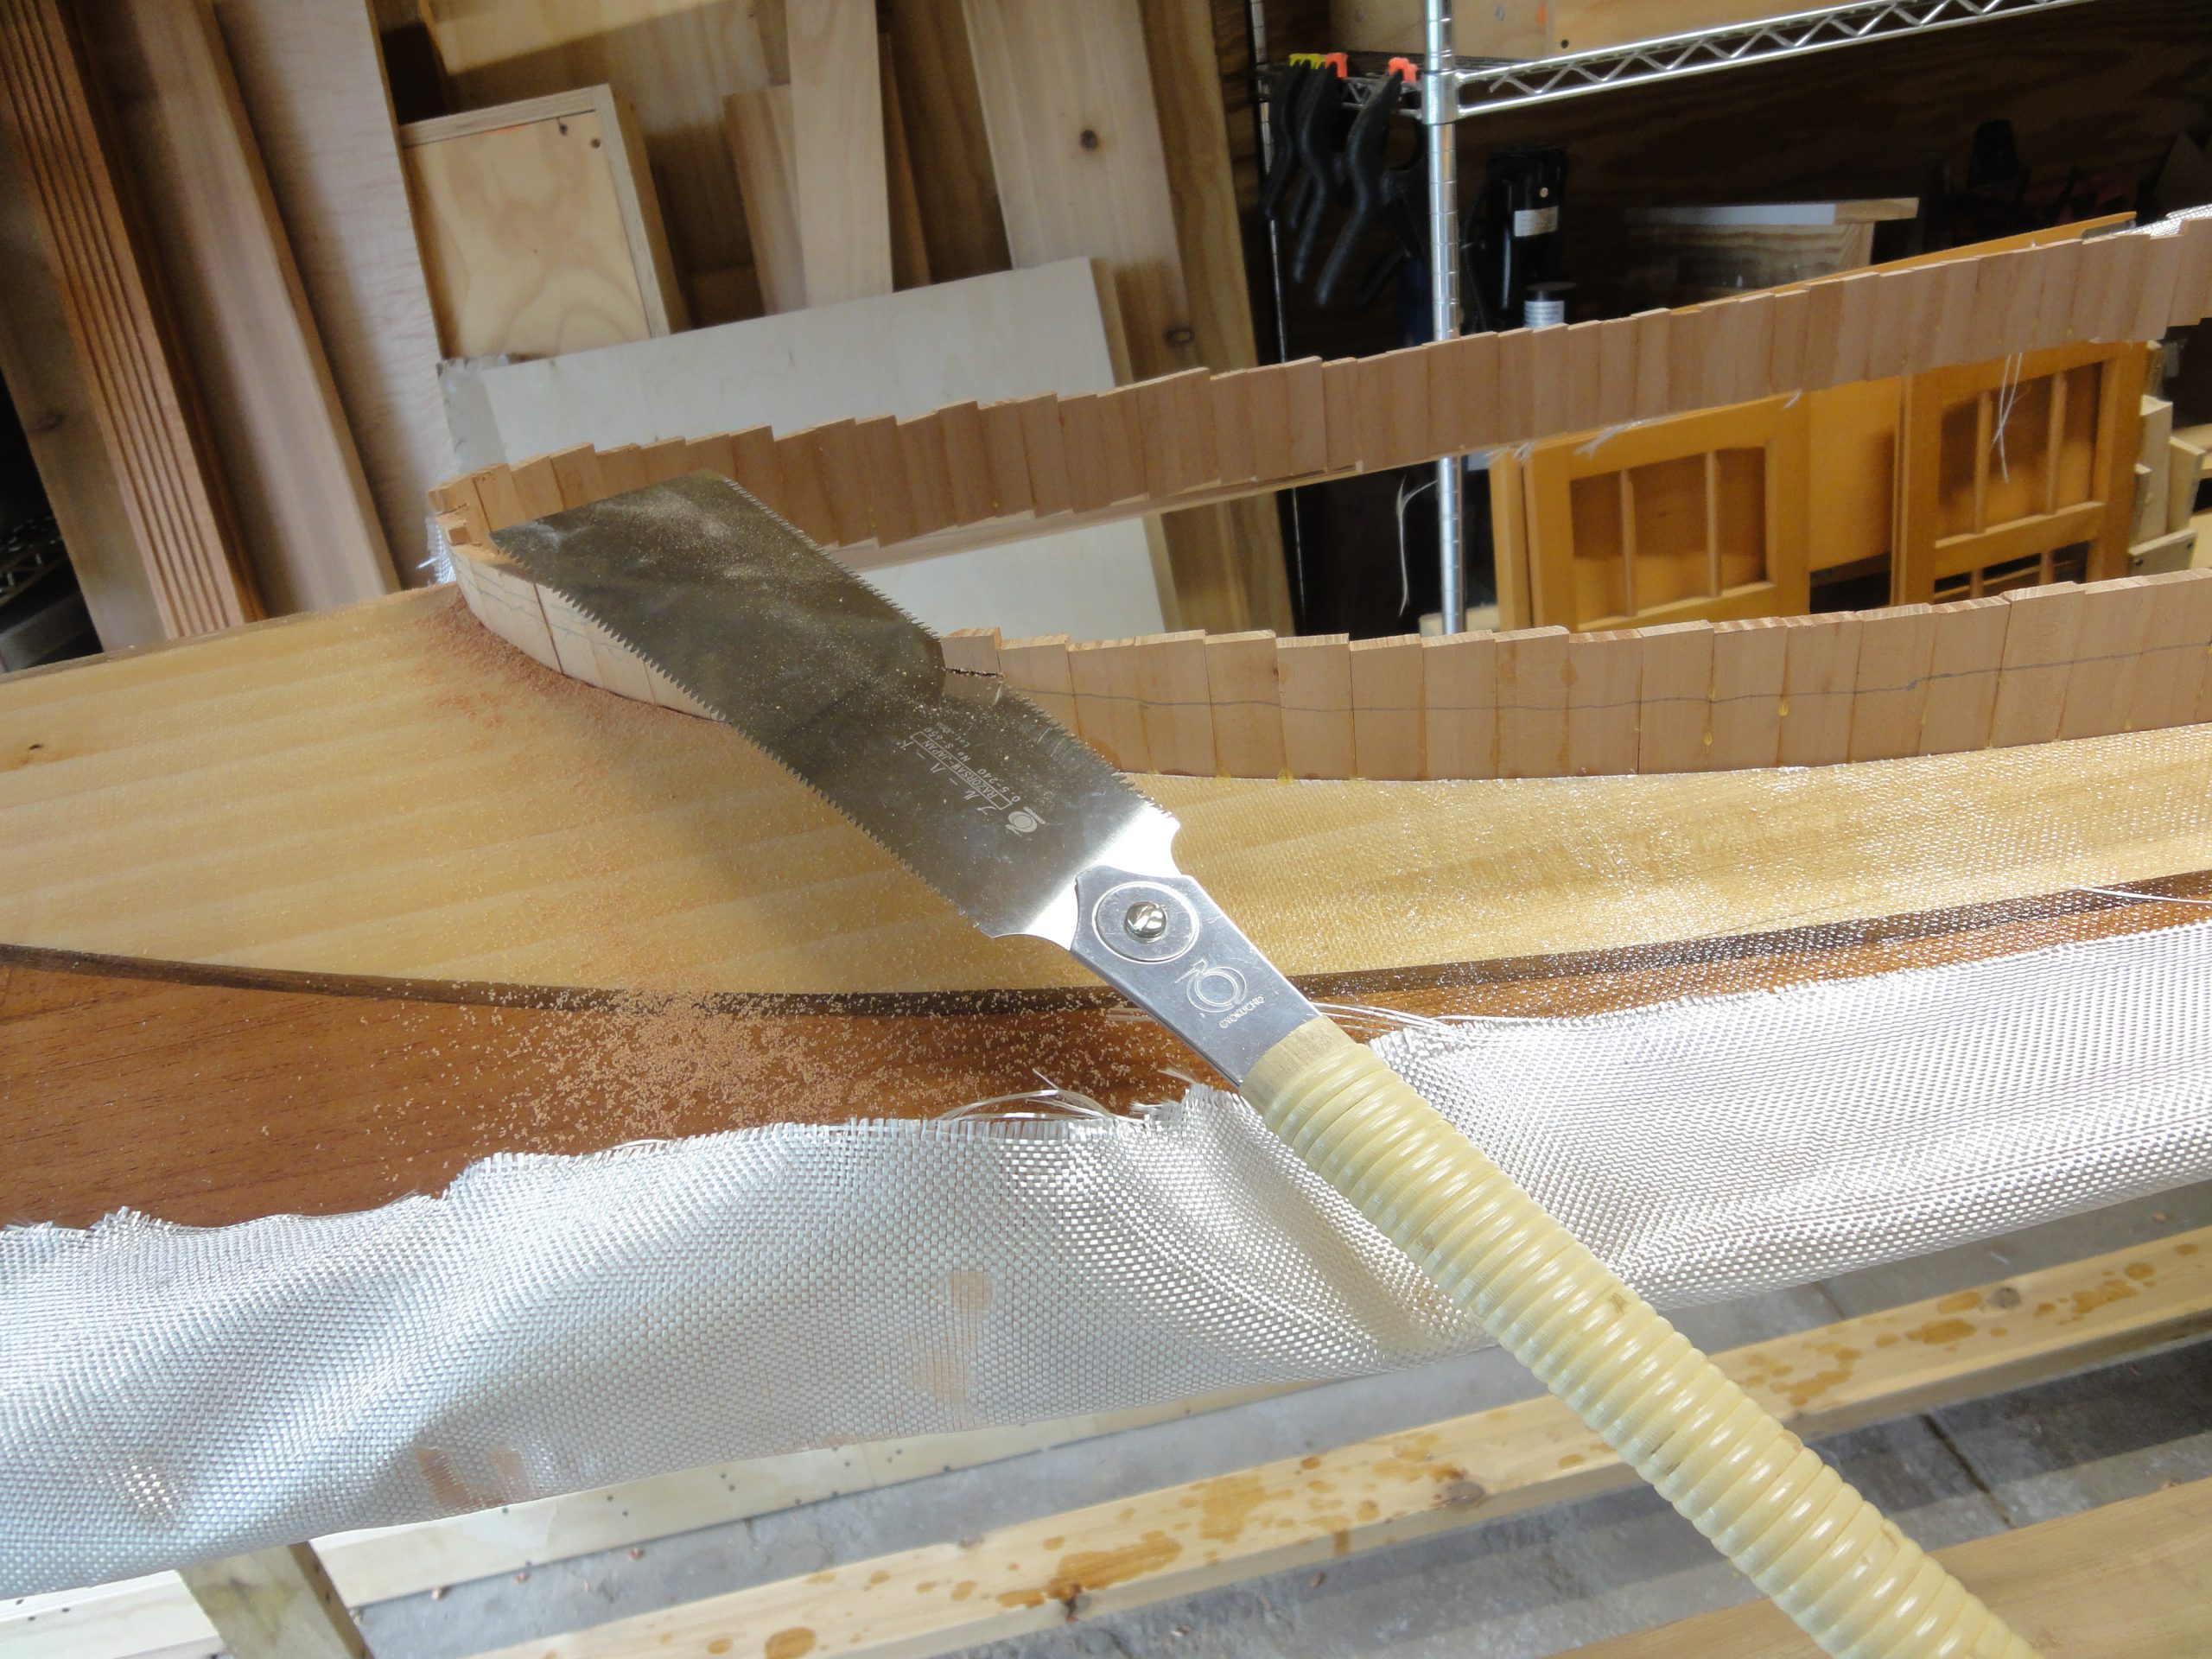
So I mentioned the first cut was not the hardest… the second one is. With the deck much further along, fiberglassed, epoxied and a lot of coaming work completed the thing that had me really concerned was cutting out the hatch. Once mistake and potentially the entire deck would have to be redone. I considered using a jigsaw/saber saw but I don’t get the quality of cut with my saw that I would like. A router with a 1/16 inch bit would work but I’d have to fashion a template which would have to work with the curved surface and once again one slip and bye bye deck.

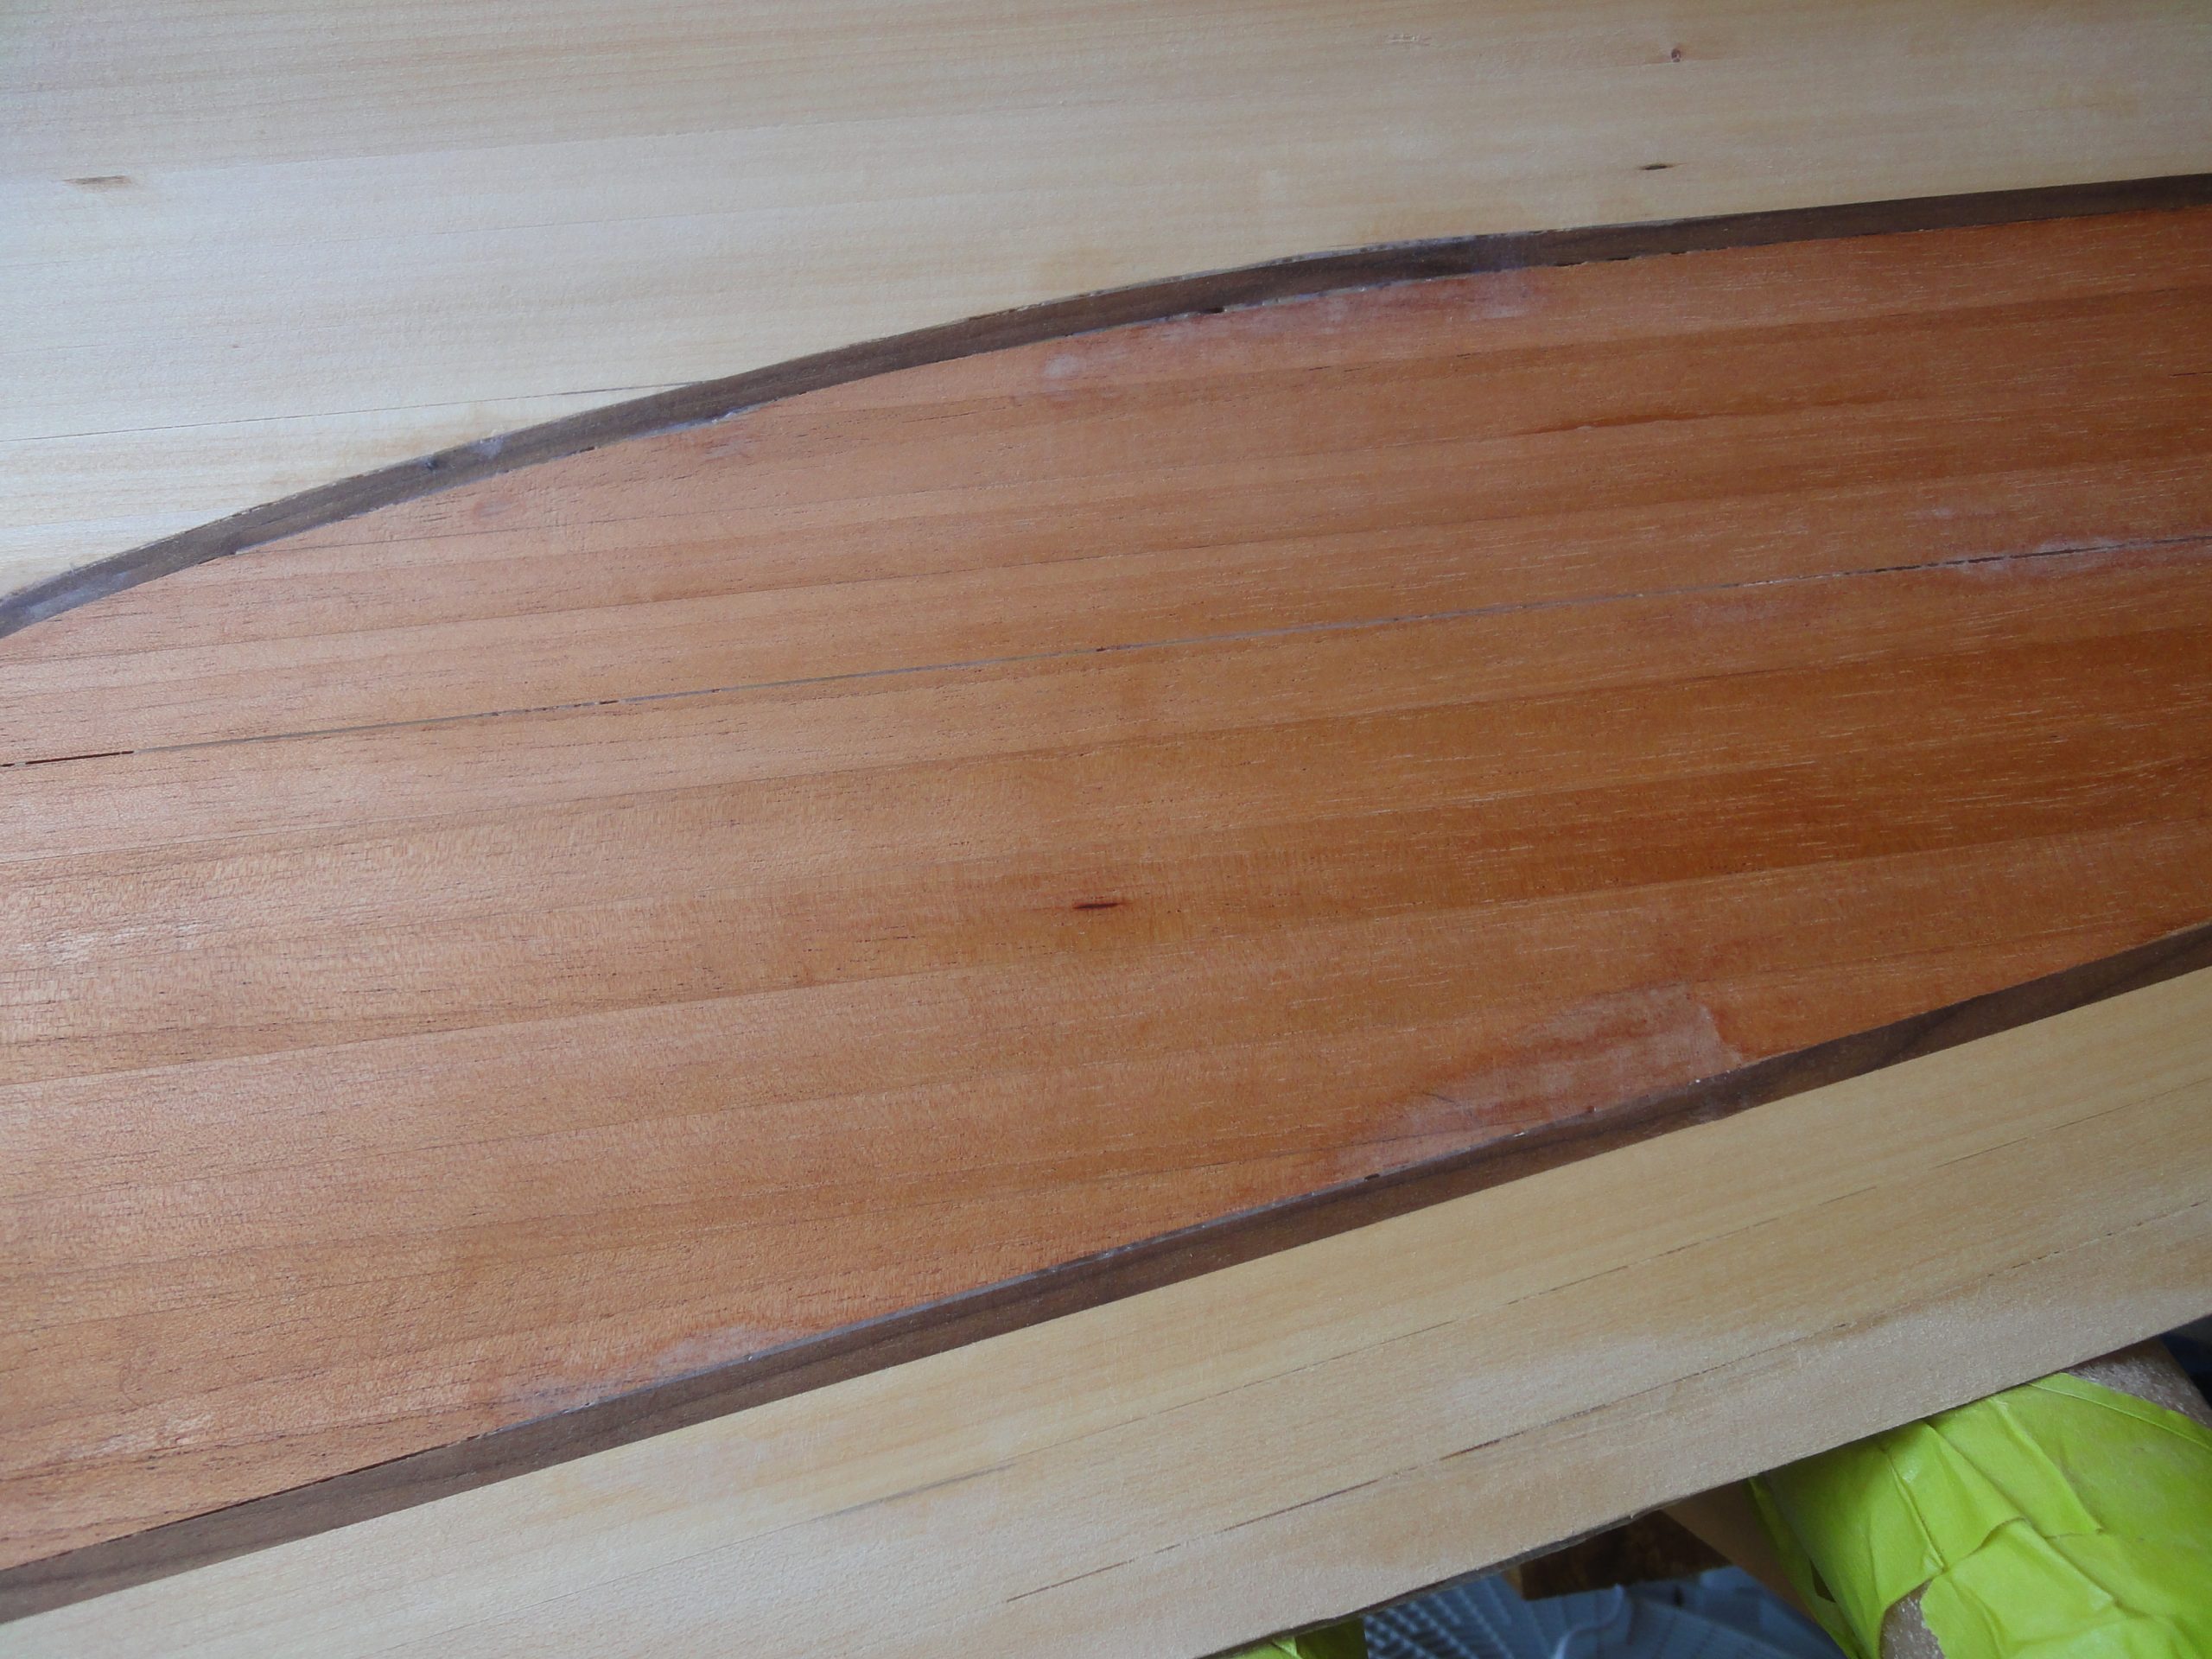
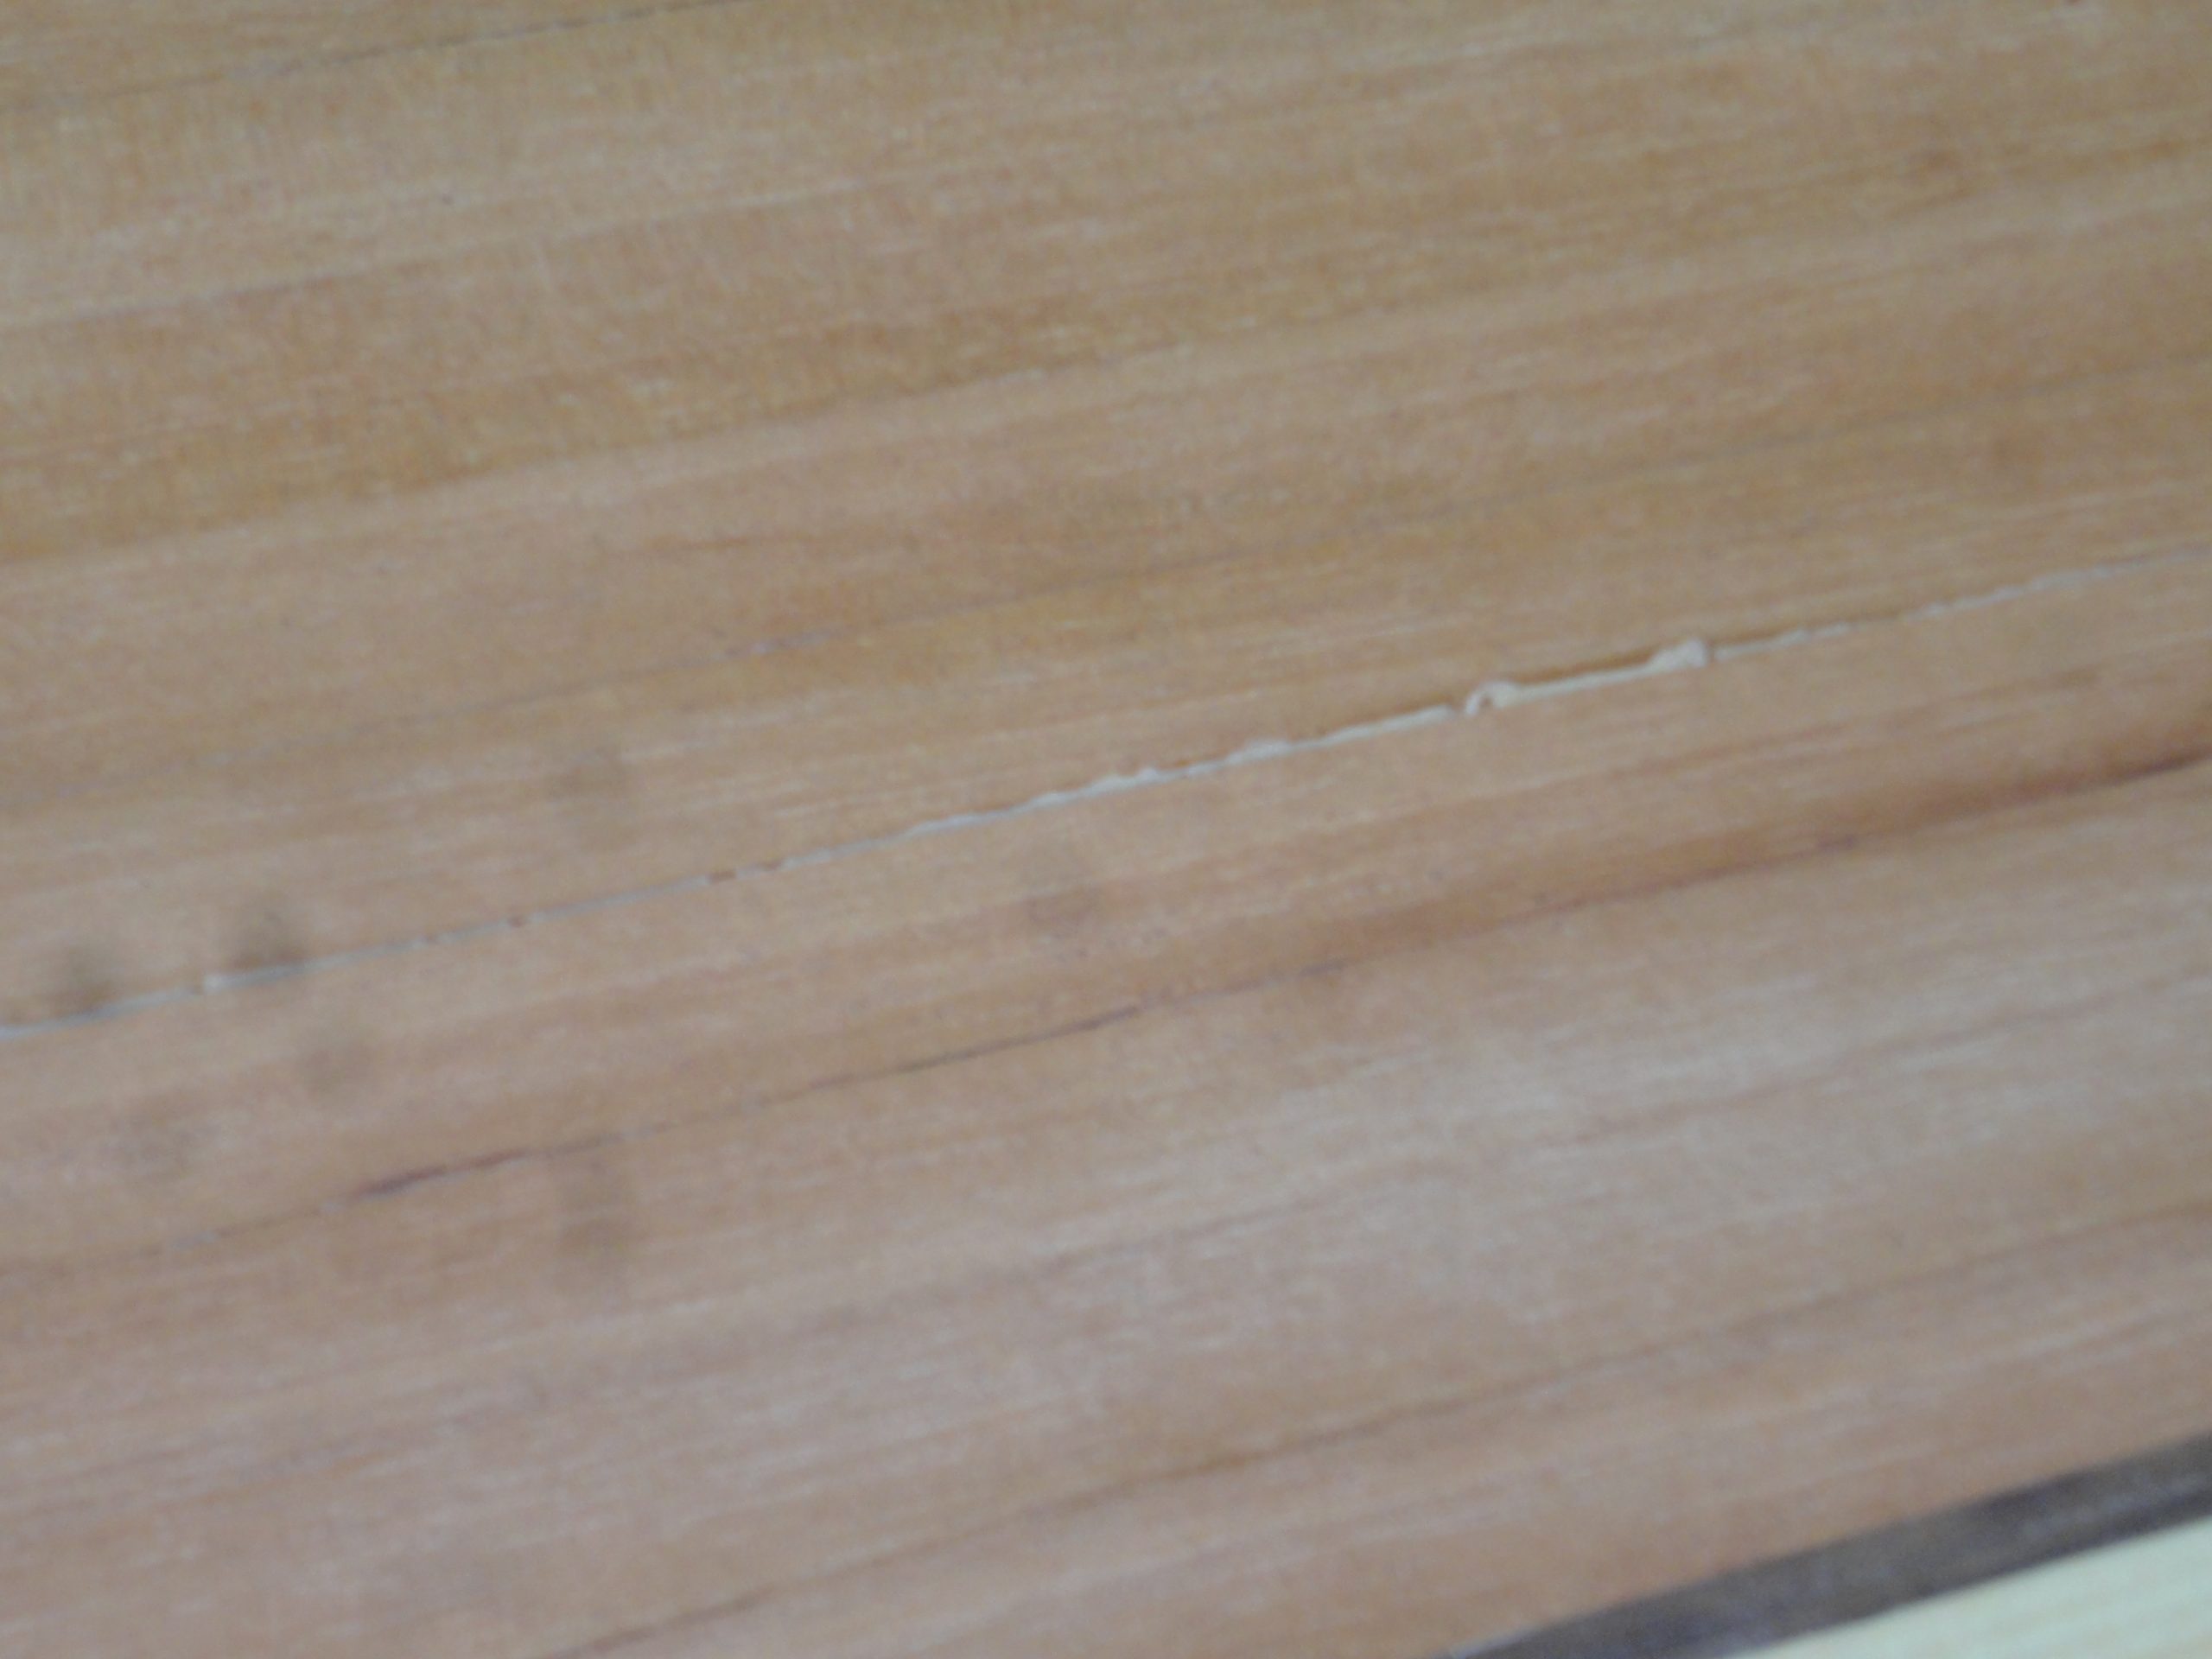
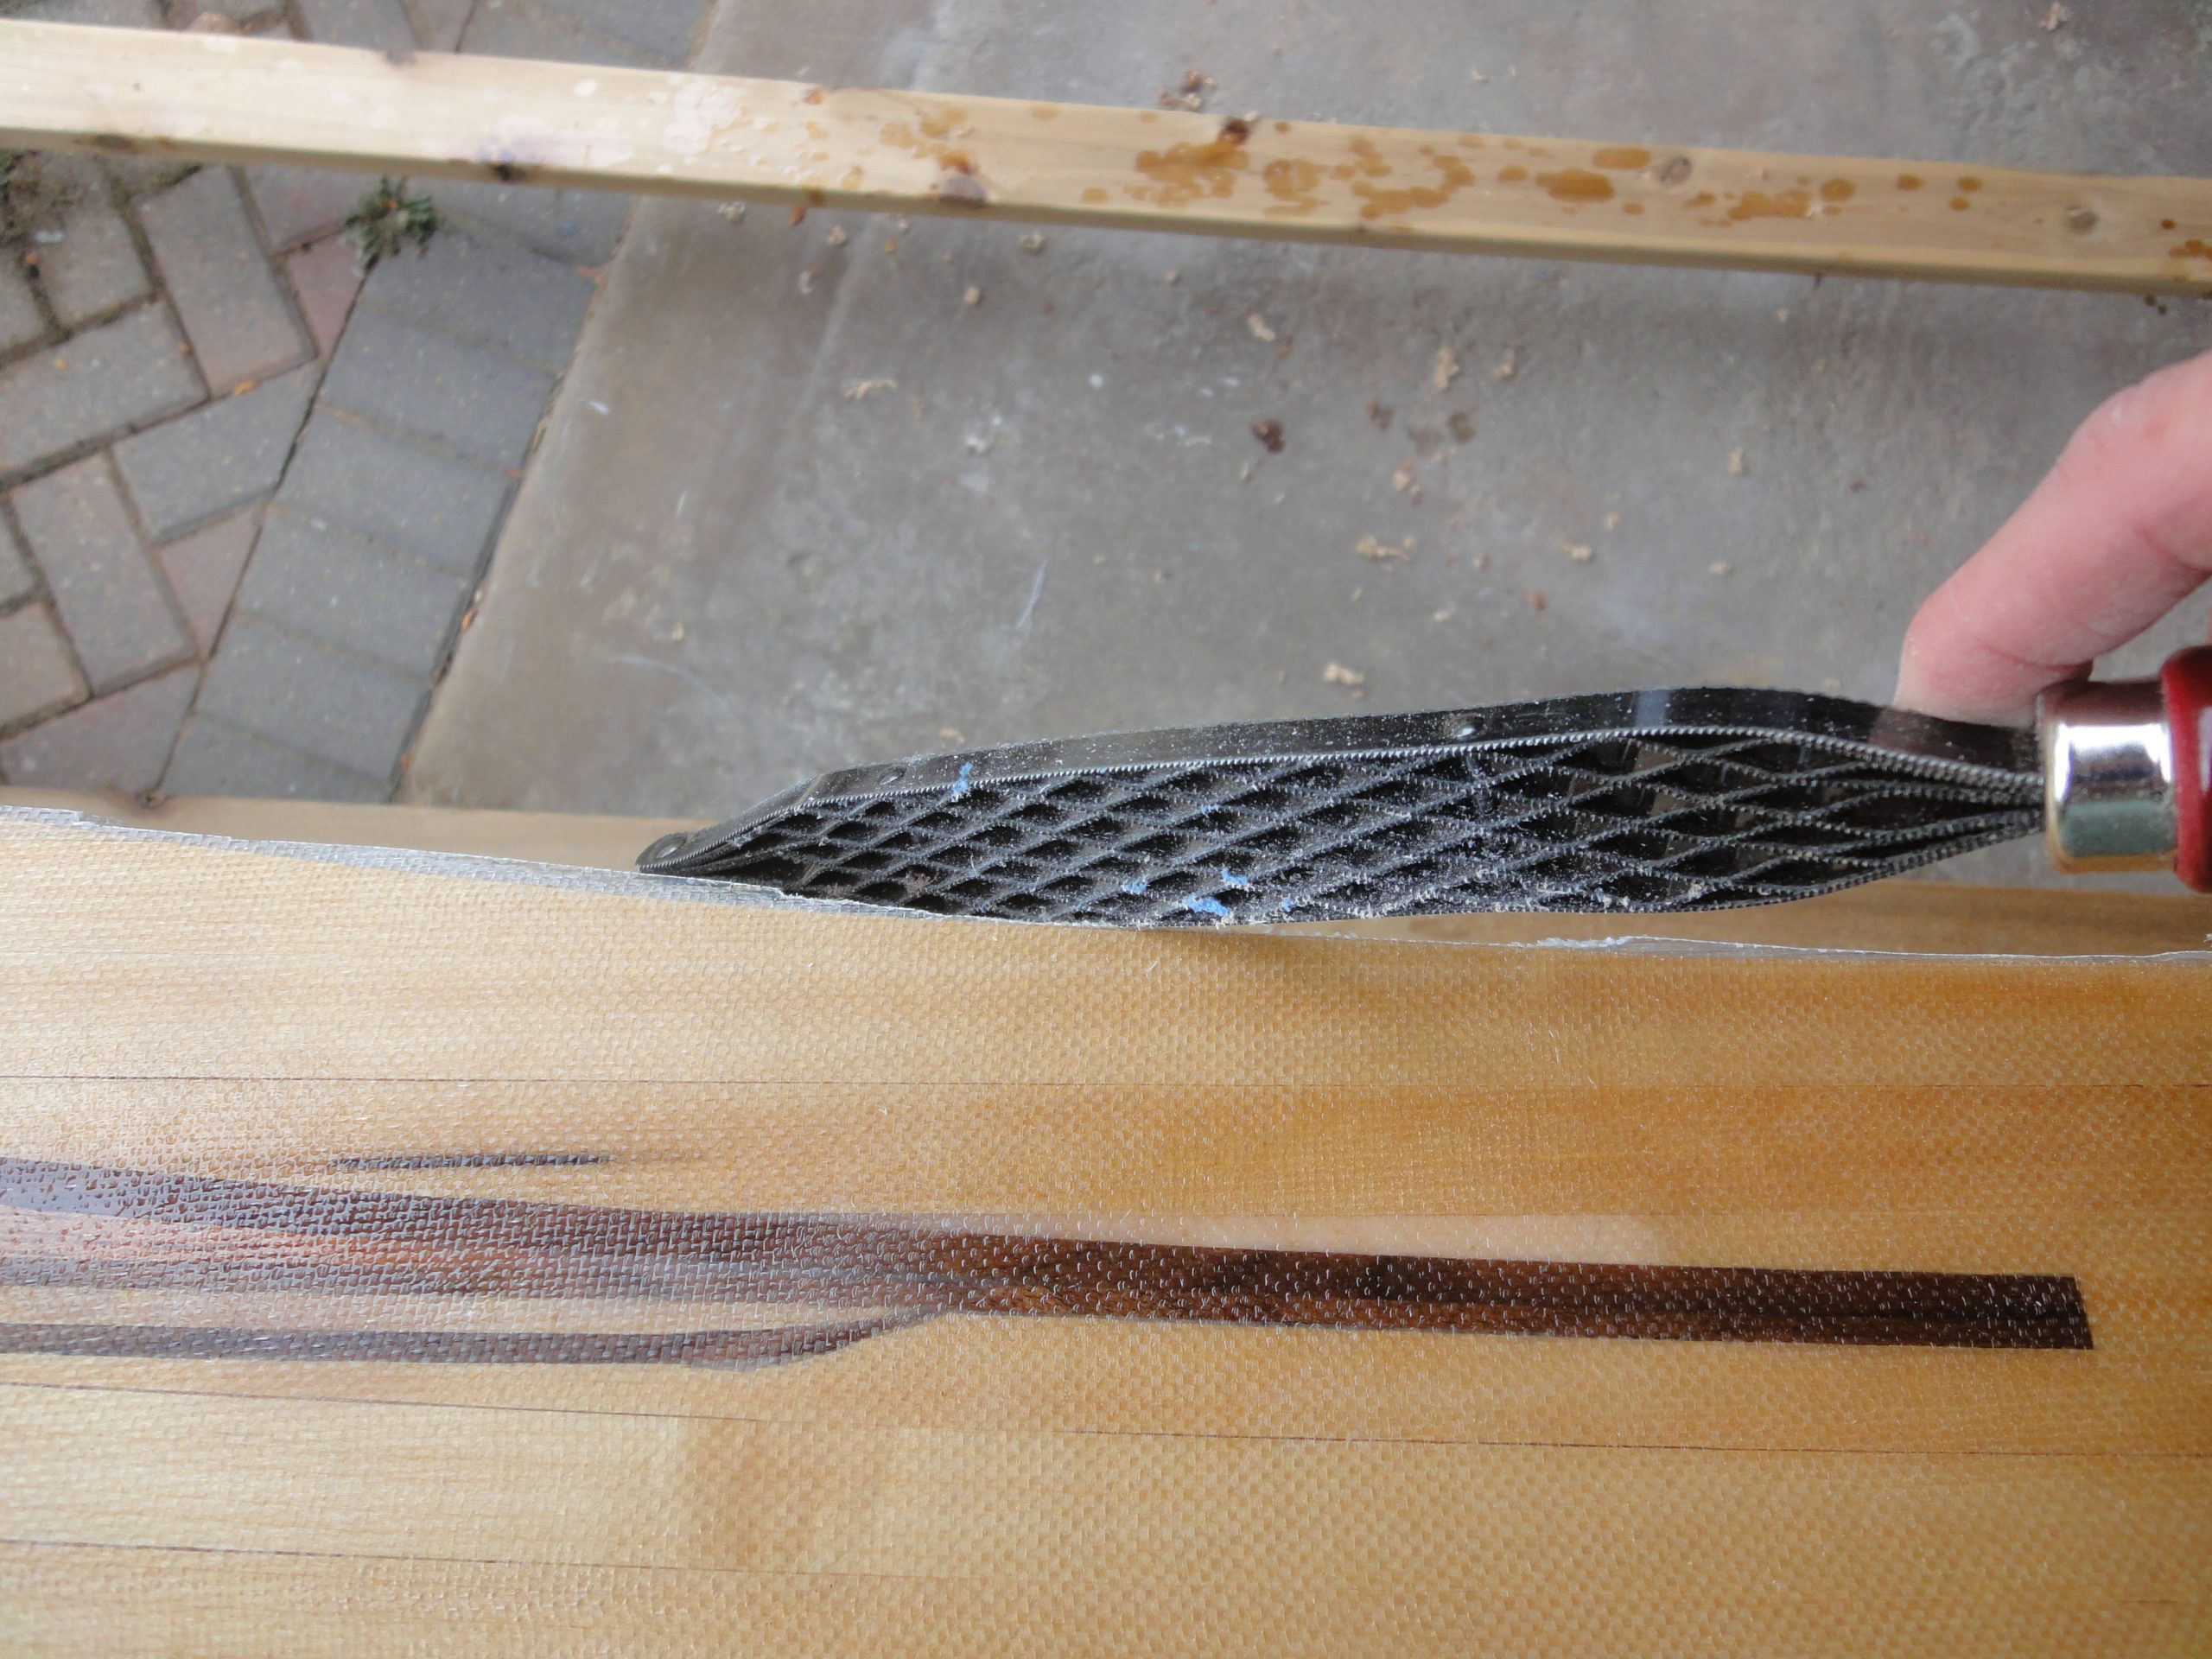
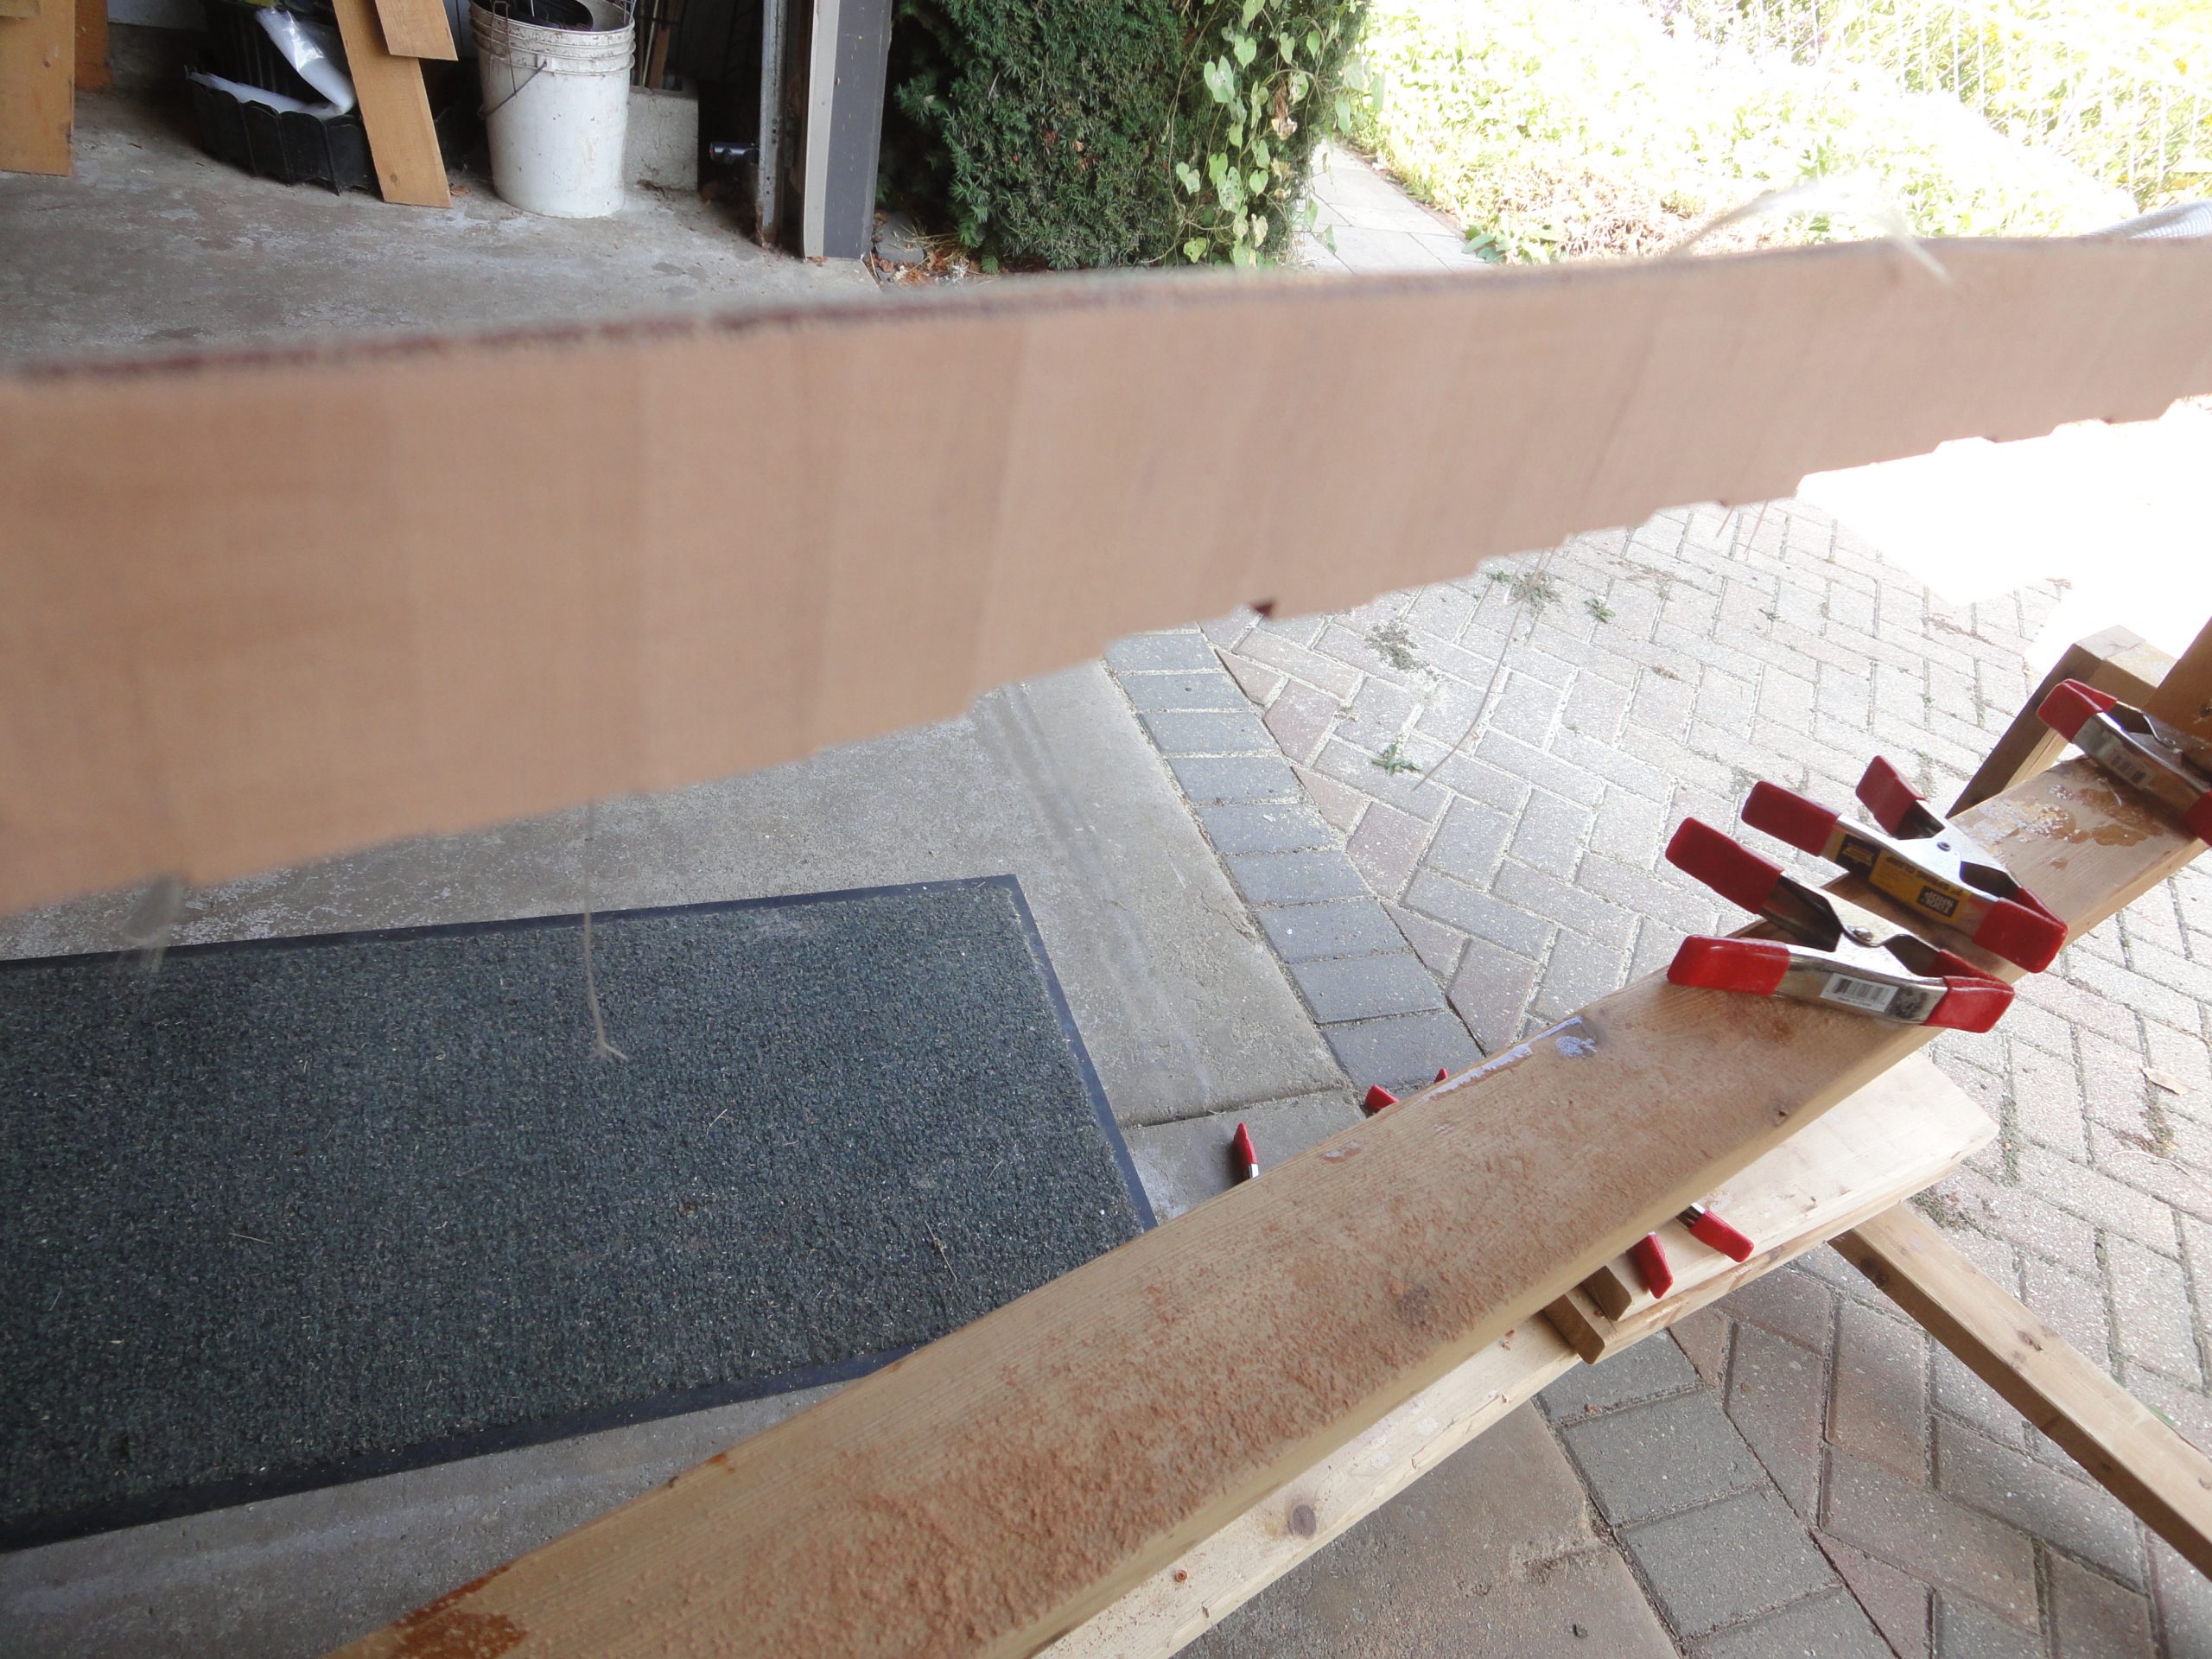
I finally decided the least destructive way to accomplish this cut is by hand. It’s worked for many other parts of the boat and it’s really difficult for a cut to get away from you. To assist I did clamp a guide board right along the line and ran the saw against the guide board.

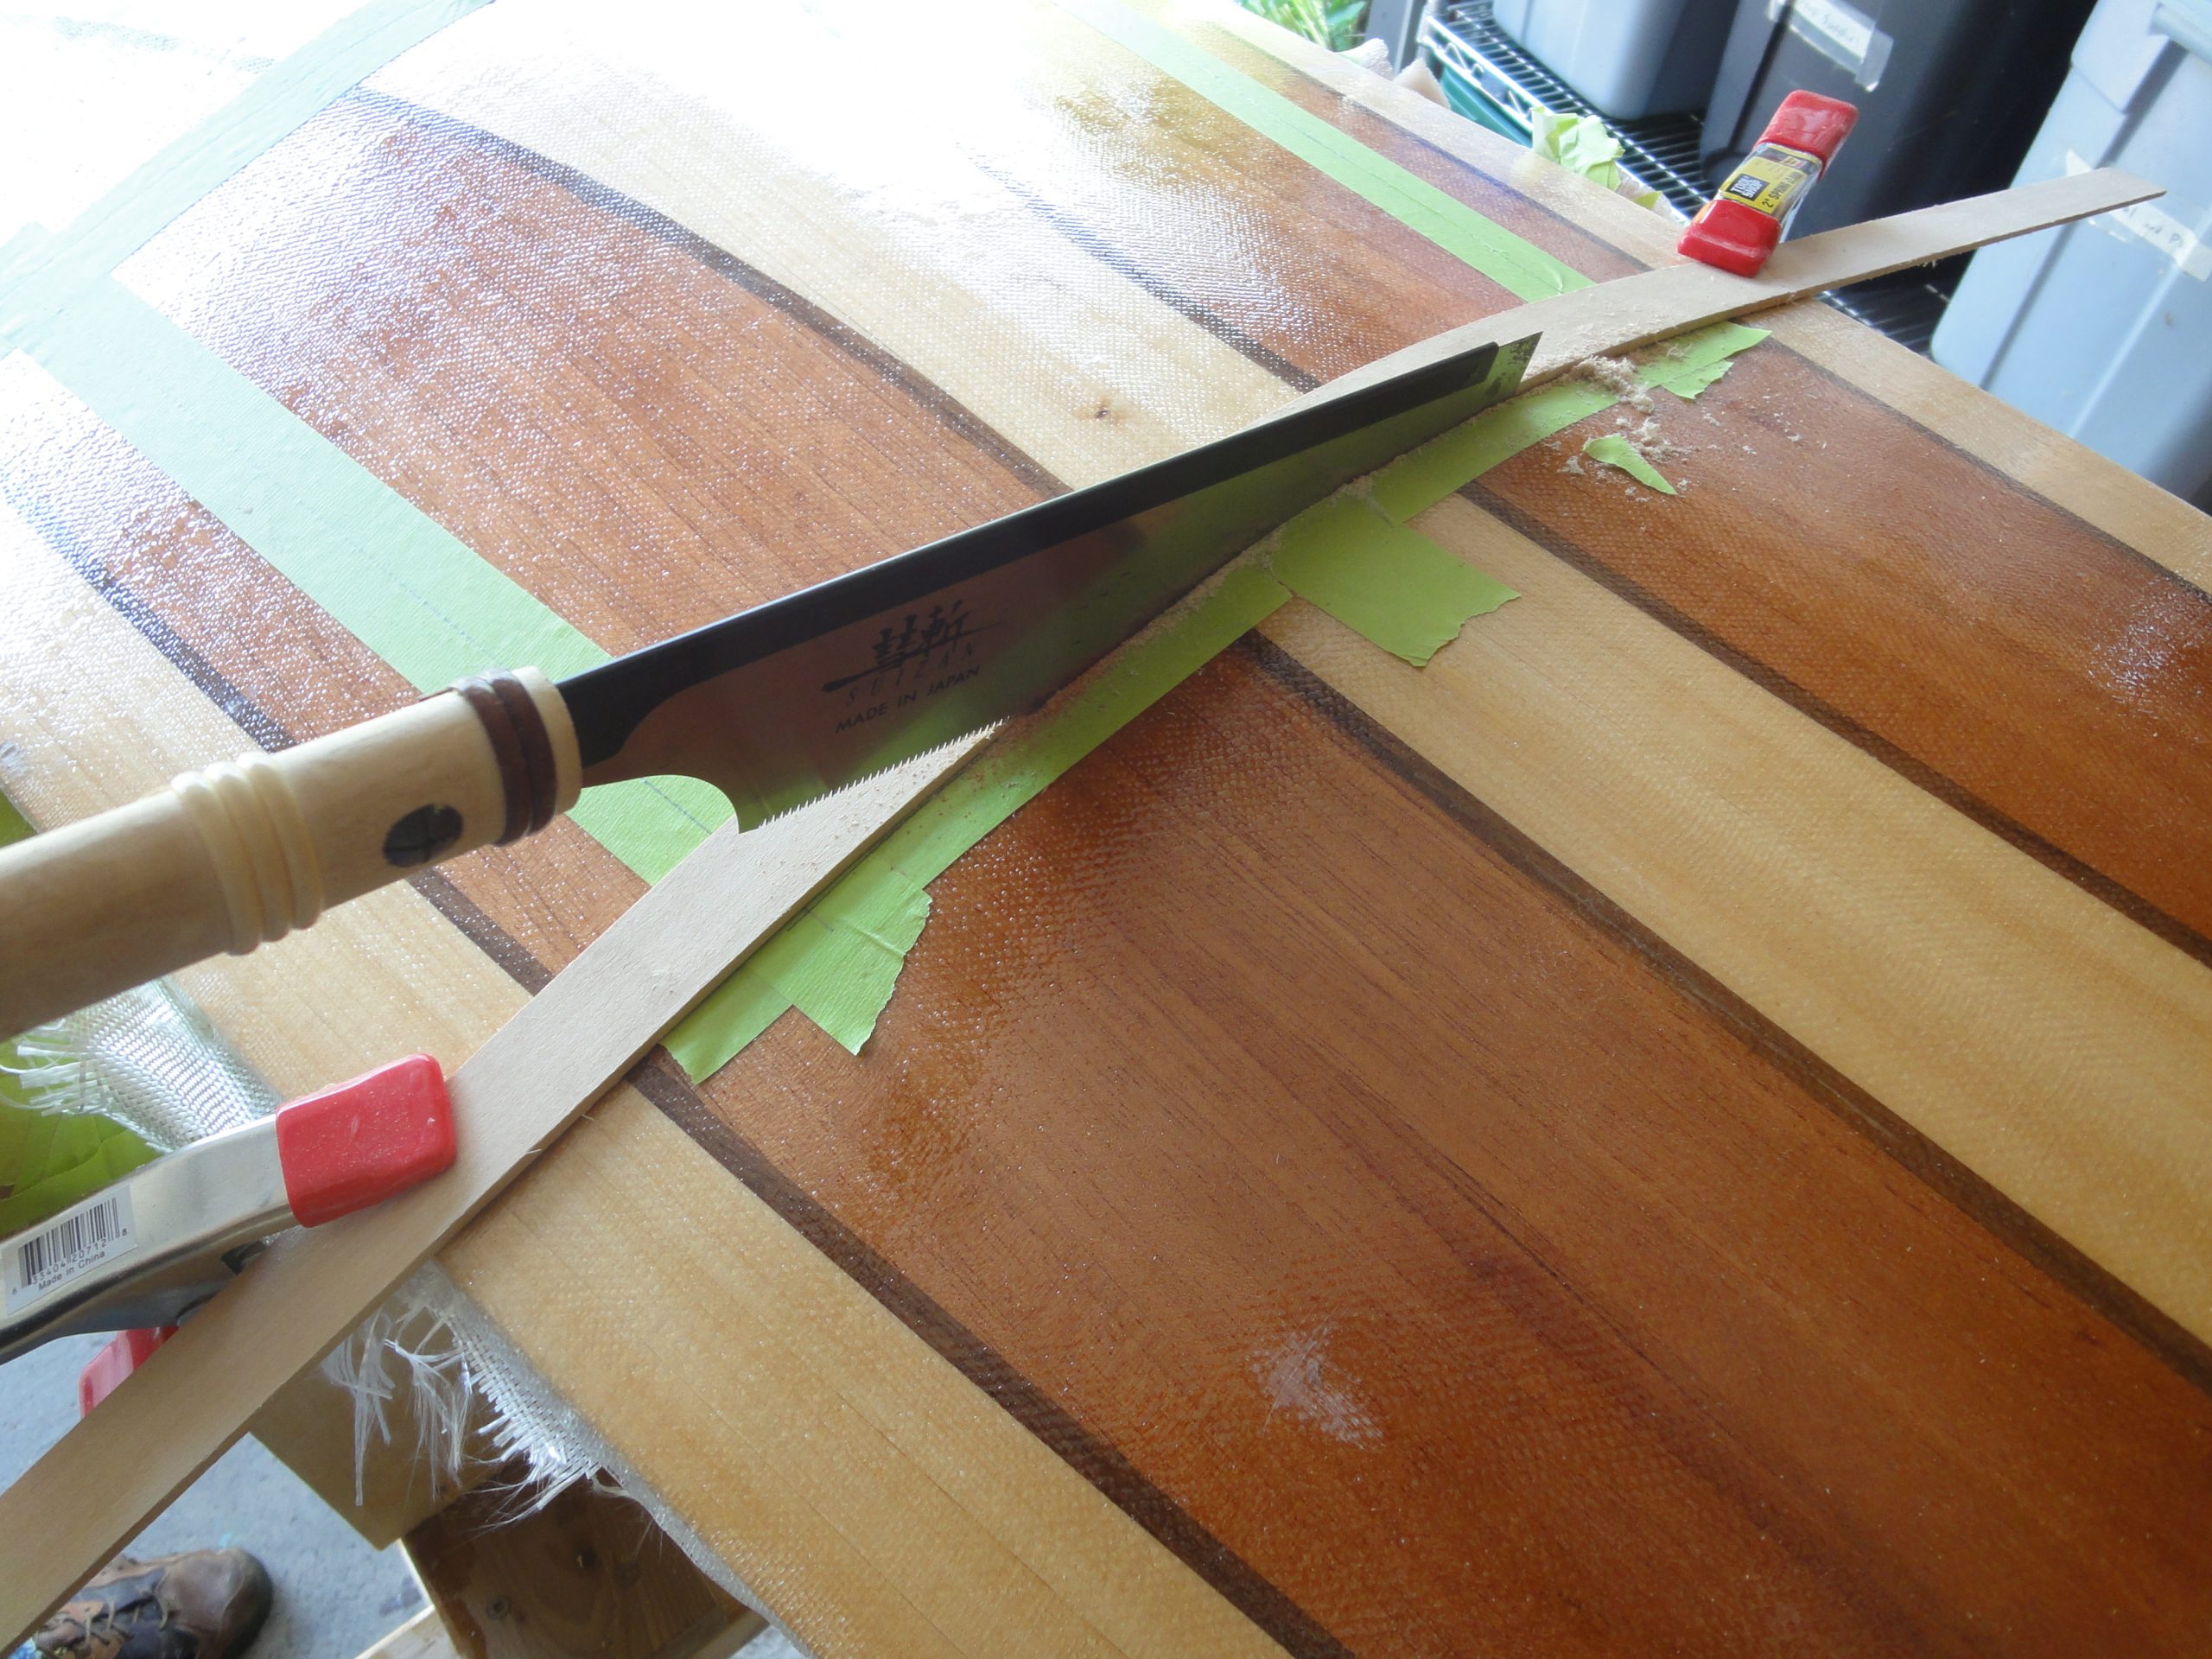
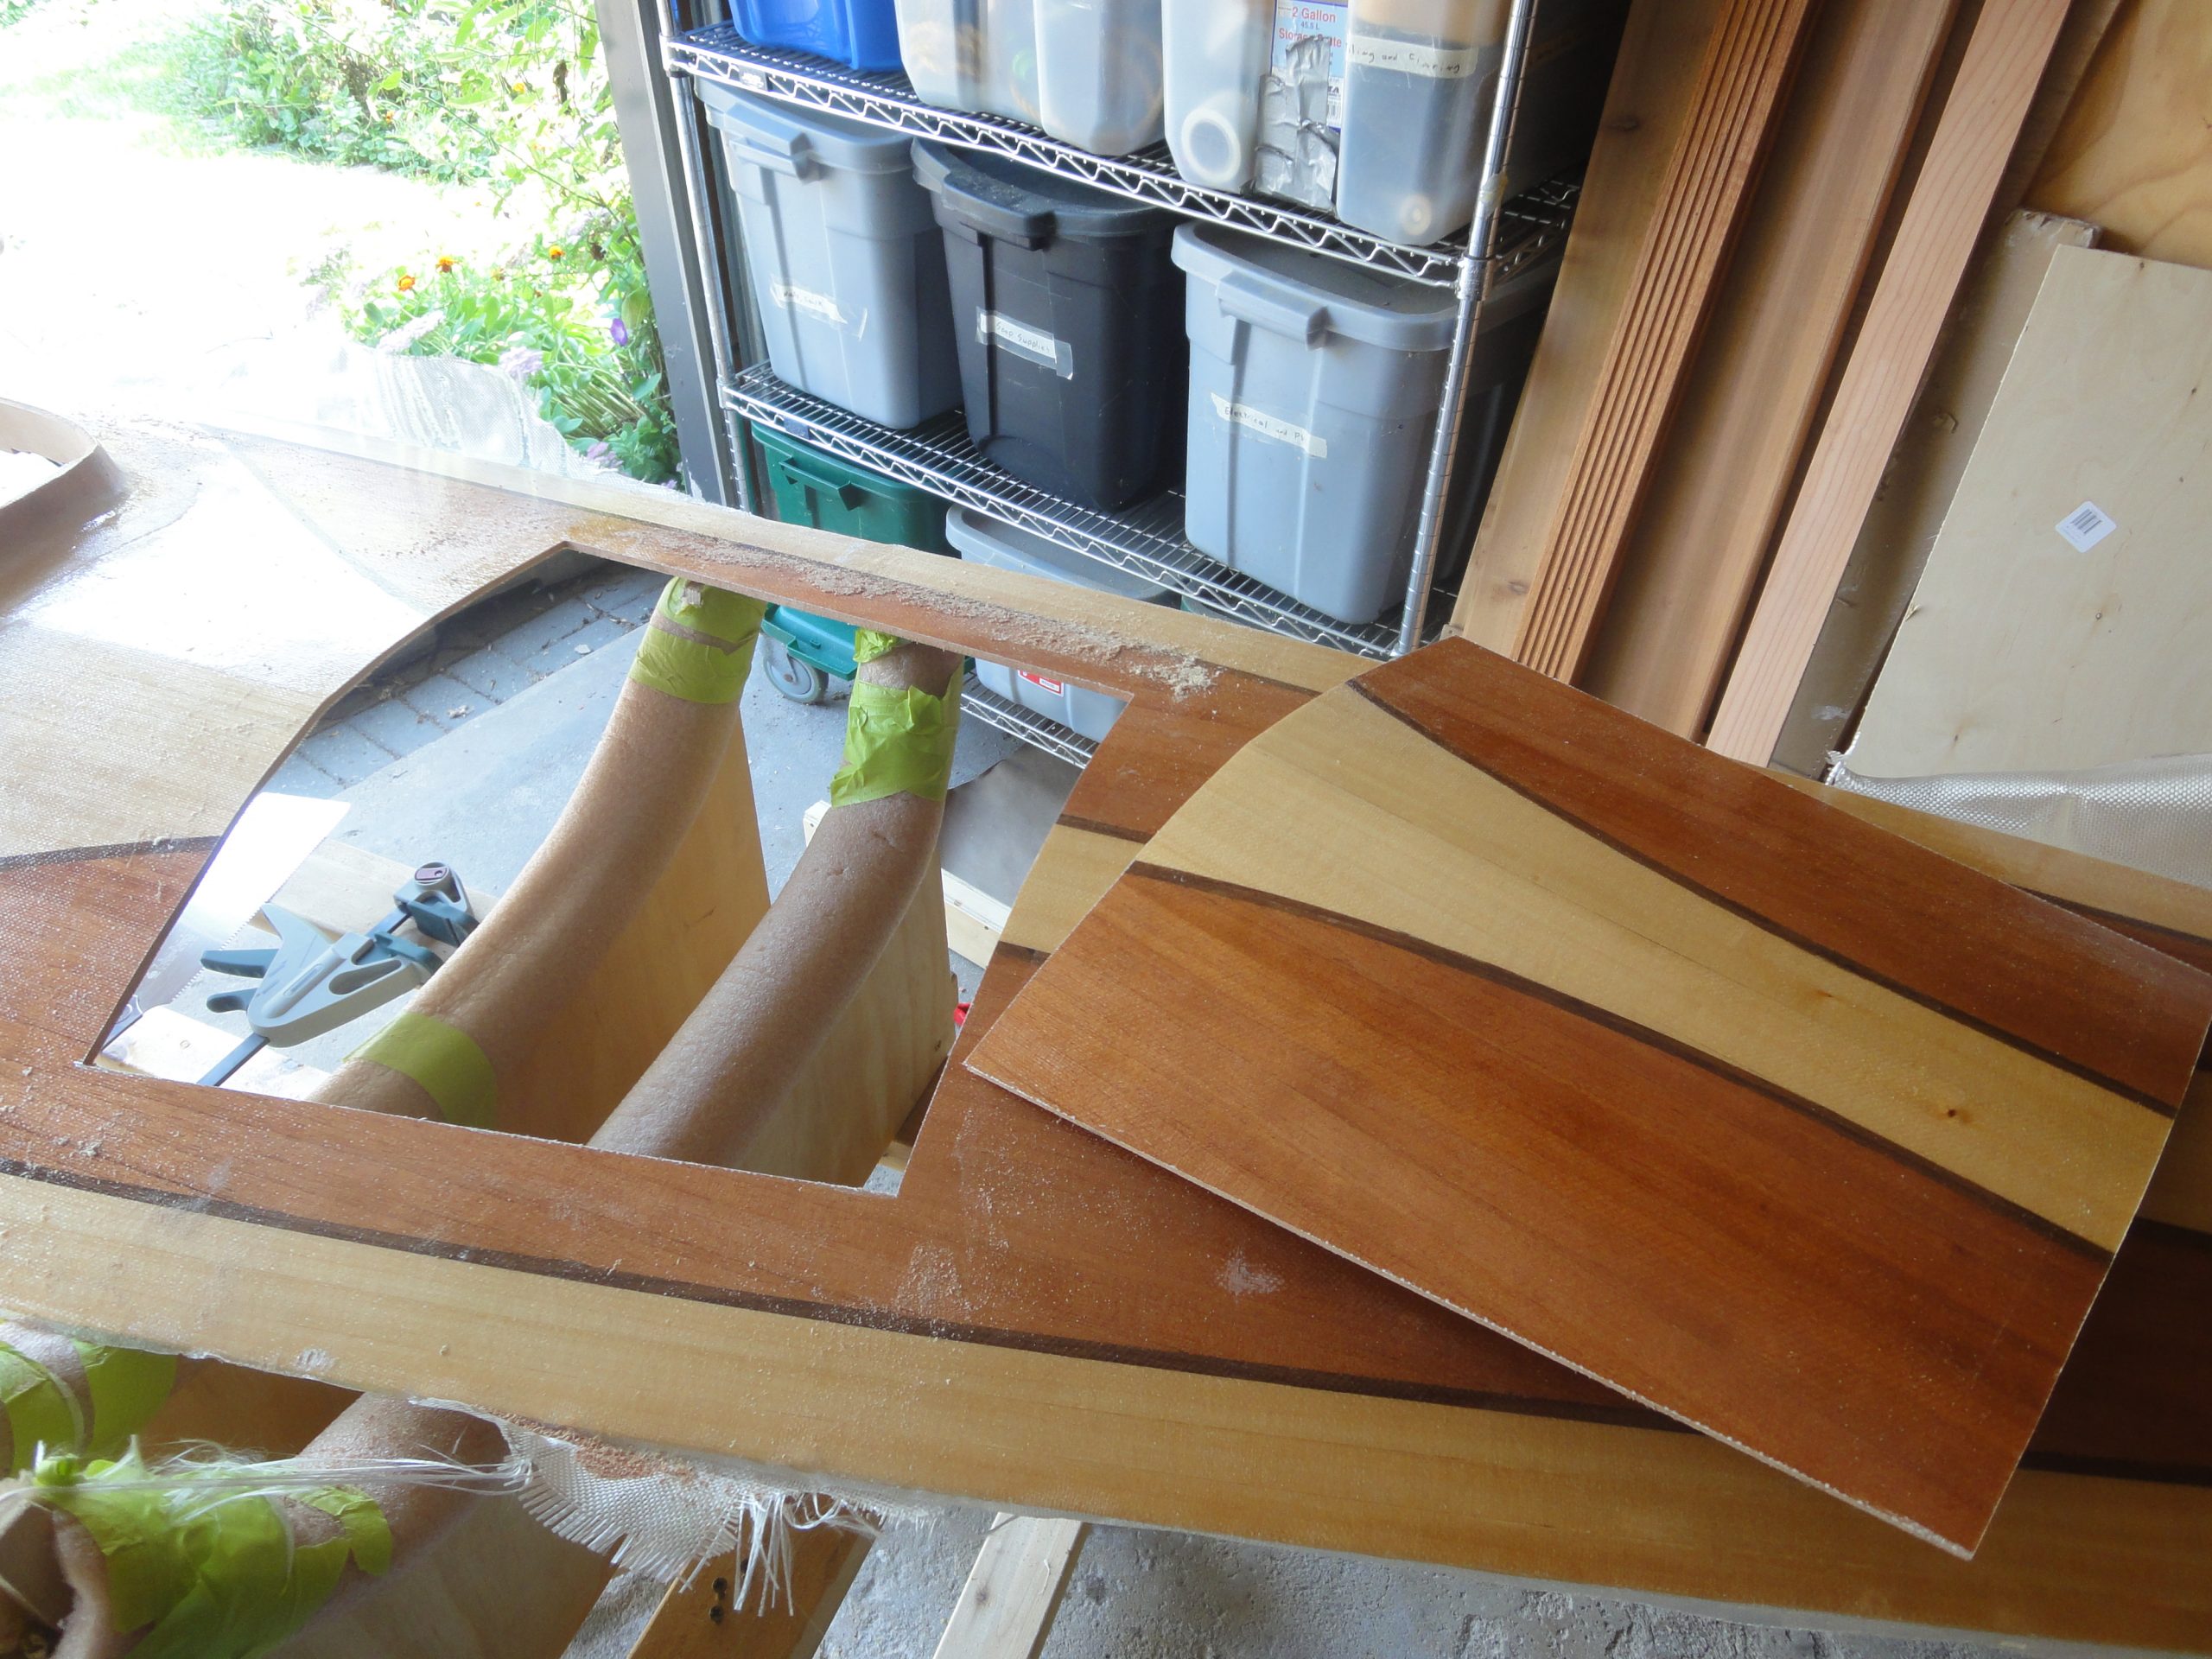
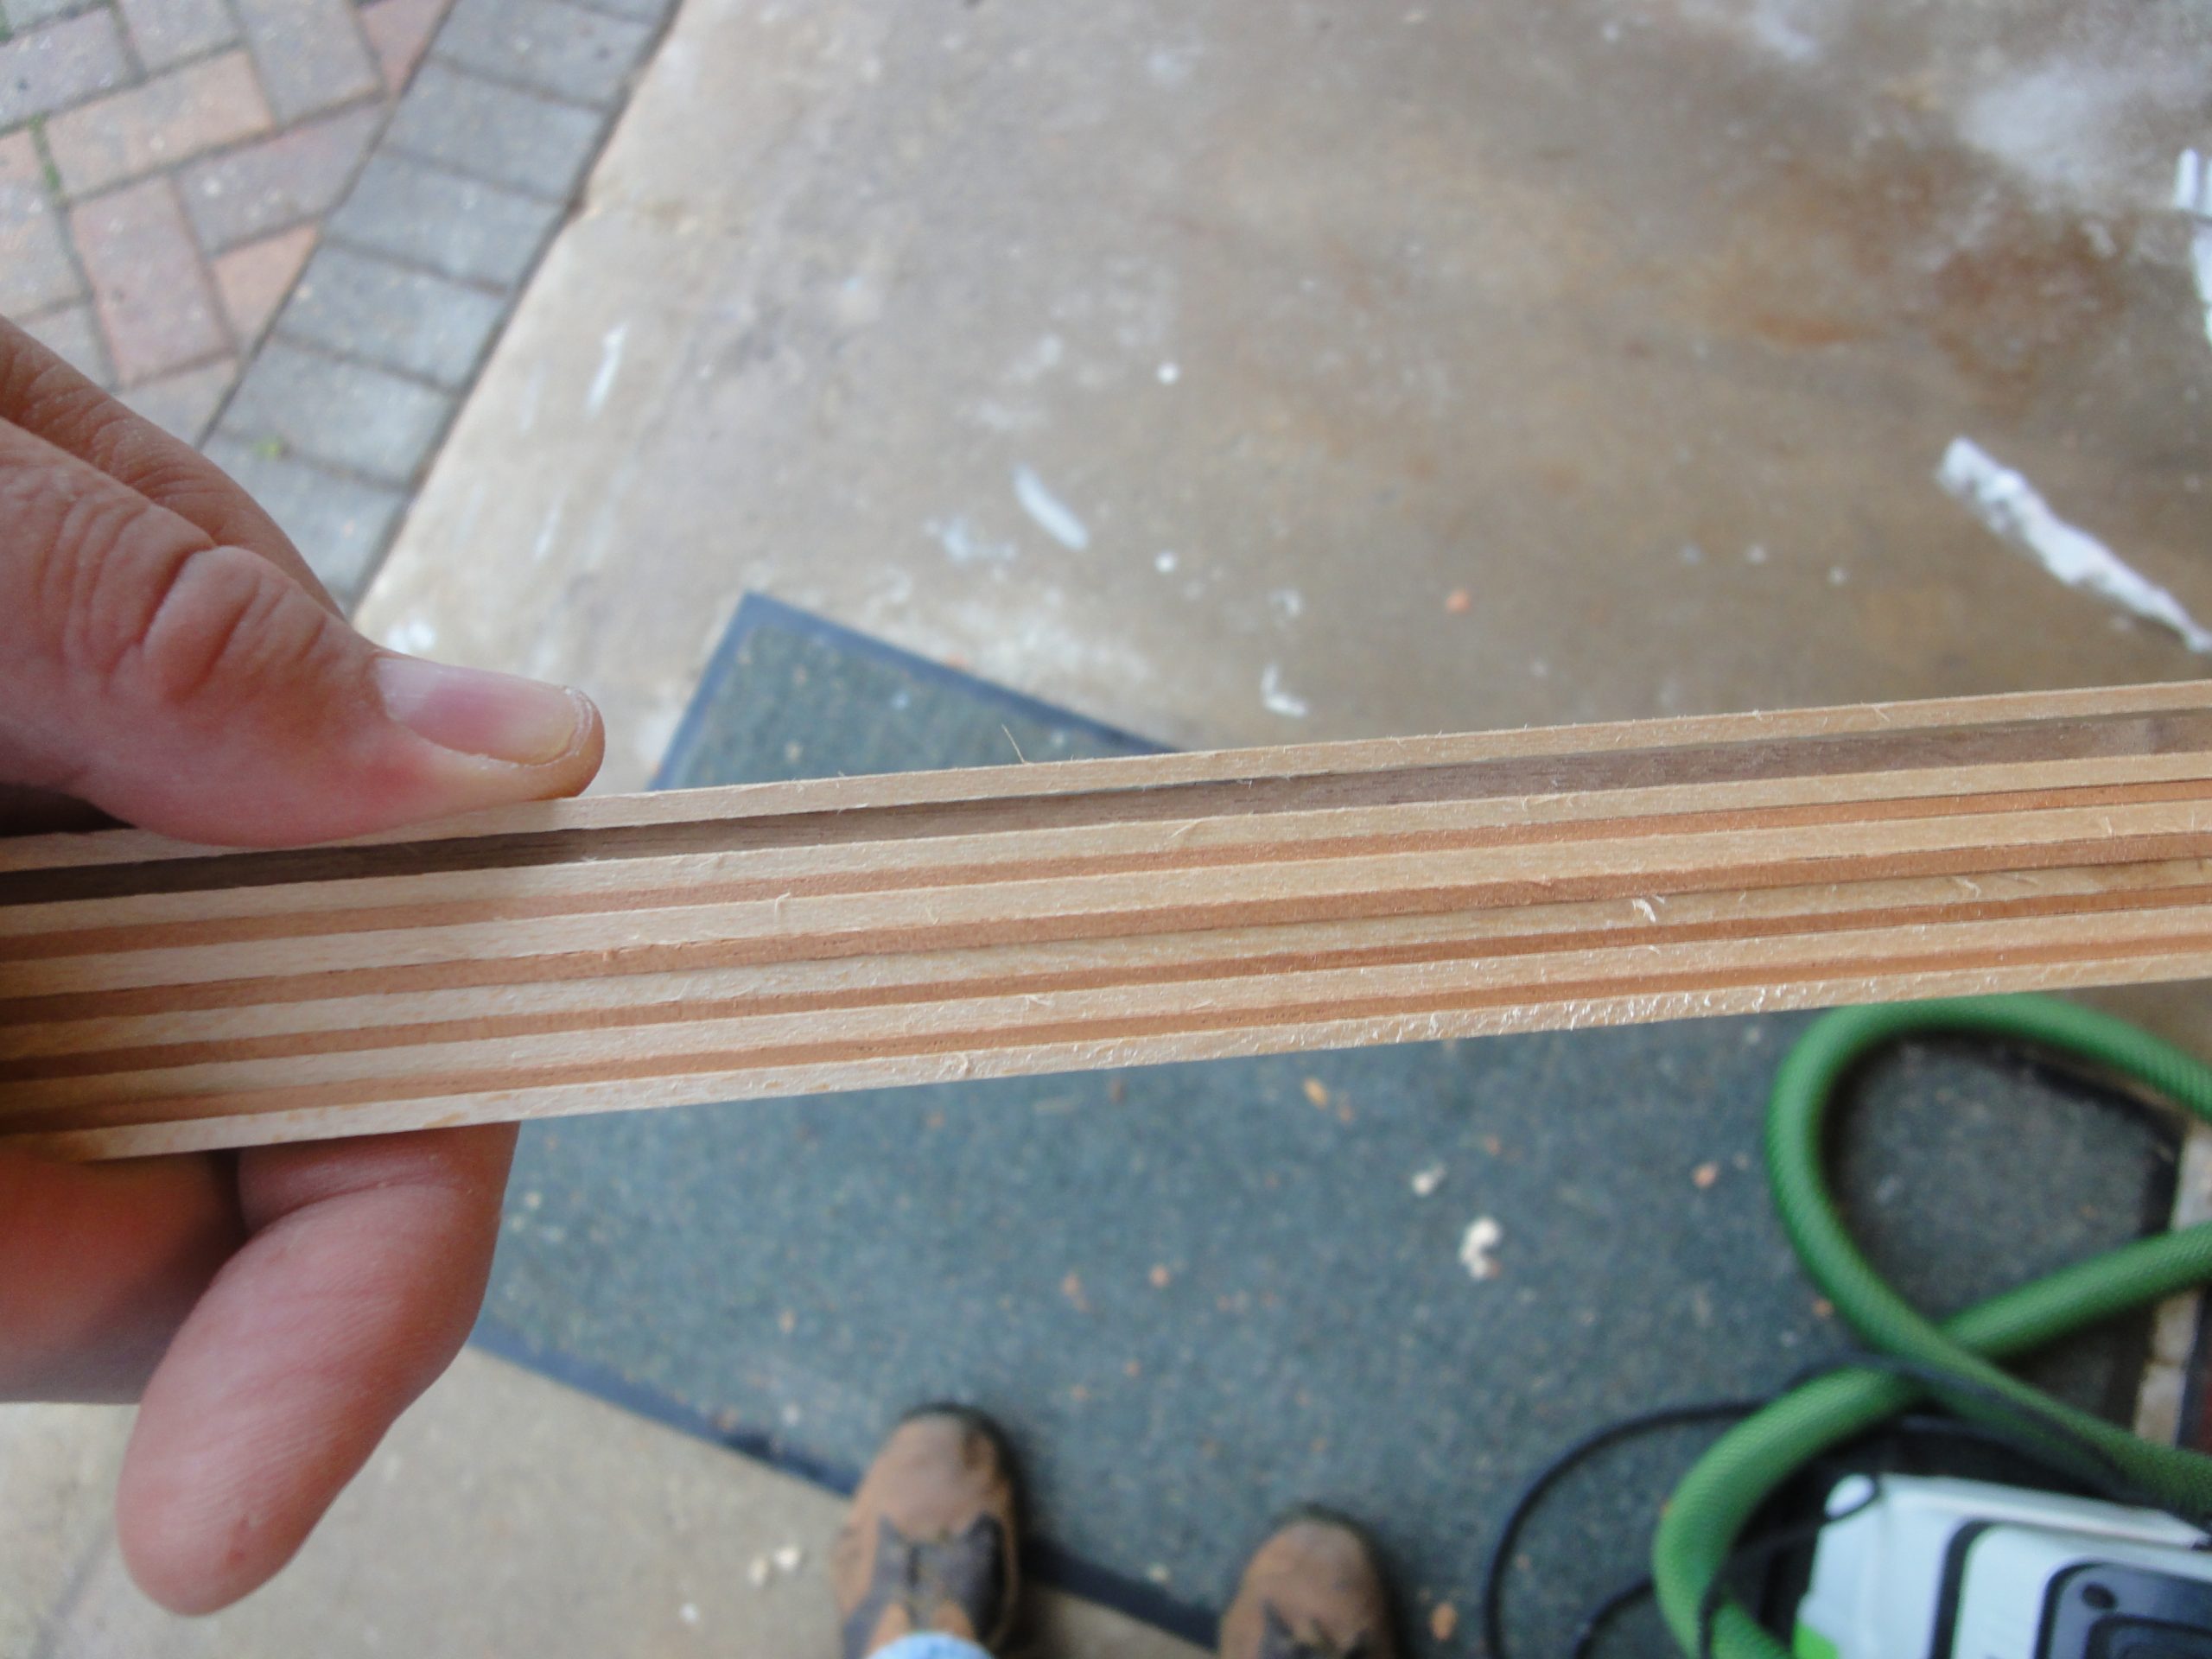
To say I was very pleased with the result would be a big understatement. Once I build the underside lip and get the hatch back into proper position, the cut line will all but disappear. It really went much better than anticipated and I now see I was stressing over this step for no reason. Or perhaps all the stress I felt helped me to really think it through first to ensure it was done right. Either way… progress!

Coaming Part 3

This work was performed over three days. After completing the riser portion and letting it dry I was very happy with the results. In hind sight I might have put it on a bit thicker and larger than necessary, but as this is my first build I’m not complaining. The picture below shows it whiter and brighter than it appears in person. Lifting the deck by the coaming no longer feels like it’s about the all fall apart but rather is very solid. Where the edge of the fiberglass laid out on the deck there were a few rough spots. I sanded a couple just to remove sharp edges. Note, I think I sliced/stabbed my fingers a half dozen times in less than a minute prior to doing this! Be very careful around fiberglass edges and have extra bandages on hand!

In preparation for the lip I created a little spacer jig that can sit on the deck and project where the bottom of the lip should be. Using this I lined up the first strip and in the process worked out some kinks. Figuratively and literally. The strips I had left over were not long enough to completely circle the cockpit. They also would not going to make a “V” bend at the front. So I decided to start at the point of the V, run half way around and cut off the excess. Then I would repeat on the other side. If I got really lucky I could trim them just right and have both joints meet nicely but I’m not expecting that to happen and already have a plan B in mind that will look intentional and not like covering a mistake. (at least I hope so).

Now I also don’t think I have enough strips of one wood species to make the approximate 3/4″ thickness I am aiming for. Easy solution is to just rip more. But before going through all that setup work I did some experimenting with mixing species.

I really liked the alternating strips and the walnut was a nice touch but it was also thicker and not liking the bends I was asking of it. With just the Spanish Cedar and Basswood I had enough to do the full lip. So I went with the alternating pattern in the middle picture.

Strips were glued 3-4 at a time with many clamps to keep everything in alignment. So many that I actually ran out trying to do two sides so I just worked on one side at a time. A section would be left clamped while another part was left free. Glue applied between strips and then slowly working around they were clamped into position. The other part was then un-clamped, glued and re-clamped. The wood had to follow the curve around the coaming and also a vertical curve to match the height. Being 1/8″ or less in thickness they followed along nicely.

I allowed a full overnight dry just to ensure all would be good. The strips actually held the shape pretty closely after removing the clamps. Of course with all the glue there was some clean up required so I shaved each one lightly with the block plane until both sides were smooth. In the process I created a bunch of wood “bacon” shavings.

Next I’ll need to fiberglass the lip to strengthen it and then fasten it to riser, perform some more clean up and then finally fiberglass over the whole area.

Coaming Part 2

Today I started by marking 1 inch up along the coaming. This should be the top of the lip but to have a little extra working room I cut above the line trimming the ragged end off.

Most processes seem to involve sanding. This was no exception as I sanded to clean up the surface and make it smooth and fair. Given the short height no power options here, instead just some muscle to sand it smooth and remove any ridges between the strips. Once smooth I went ahead and sanded a few inches of the epoxy/fiberglass on the deck to create a roughened surface to bond with. Finally a strip of tape a little over an inch from the coaming was applied to the deck all the way around.

Next the fiberglass was prepared. Given the curves and then need to wrap around them yet still lay flat it is recommended to use bias cut fiberglass. This is fiberglass cut 45 degrees to the weave You can see in the strips here the weave runs diagonally across the strips. I mixed up some thickened epoxy using a liberal amount of filler and loose fiber additives along with sifted saw dust. The mixture was put in a ziploc bag with the corner clipped and a generous bead squeezed out along the deck/coaming border.

Once the bead was in place the rounded corner of a squeegee was used to shape into a fillet. The flat part of the squeegee was then used to scrape up the extra. Non thickened epoxy was mixed and applied to the top vertical part of the coaming to pre wet it. Each strip was laid into position and the epoxy was dabbed on saturating the strips and bonding them to the coaming, the fillet and the deck. Care was taken not to push the fillet out of shape.

Once everything was saturated I used my finger to ensure the fillet was still shaped properly. After setting up for a bit a sharp fresh blade was used to cut along the edge of the tape. Peeling the tape up took the extra fiberglass with it. The visible edge of the second layer of fiberglass will easily sand off later making for a smooth surface.

Coaming Part 1

I worked on the coaming construction over a couple of days and it actually went together quite easily. Of course this is just the vertical part. I still need to trim it and do the lip, but I’m getting ahead of myself.

First I leveled the deck to ensure a vertical piece on one side would have the same angle to the deck as a vertical piece on the other side. Next I used a block plane to shave an angle into two pieces such that they would meet each other, and with the edge of the coaming, with no gaps. The pieces were joined together with Titebond and fastened to the edge of the deck with superglue. The superglue is not intended to be the sole method of fastening, but just enough to hold everything in place while the yellow glue sets up.

The process continued by adding additional pieces. Ever few I’d check for them being perpendicular to the horizon and occasionally that they were relatively straight to each other. If they weren’t I’d shave one into a trapezoidal shape to help bring the pieces back into alignment.

The pieces were added until about the half way point at which time I started over from the other end. The goal was to meet in the middle and put the two odd shaped pieces in the middle. One was just a slight bit less than full and the other was quite a bit smaller.

Overall this part actually went easier than I expected. Once it dries the next steps will be to trim the bottom flush, trim the top to a consistent height over the deck , sand everything smooth and then apply a fillet of thickened epoxy all the way around where the verticals meet the deck. Then I can move on to the lip itself and of course fiberglassing everything to ensure a strong connection with the deck.

Deck Underside Done (mostly)

Using a thickened and reinforced epoxy mix I filled the large gaps on the underside of the deck. Once dried I started sanding it to get everything back to smooth and fair.

A whole bunch of sanding (power and hand) working up through the grits got a pretty good surface. Even though you’ll never see this side I still went through the wetting with a spray bottle to highly missed glue spots and then went ahead and addressed those.

Once completed I went ahead and using one long piece of fiberglass I got everything ready for the epoxy. I mixed up the first batch and applied, second batch, and on the third one the pump splurted. This is not good as you are relying on each pump to put out the exact same measured amount each time. I picked up the can and realized it was nearly empty! So propped both up on a slight angle to get what was left to flow under the uptake tube. I was able to just barely finish one coat as both cans ran dry.

I had to order more and since I was unable to apply the second coat while the first was still curing I’ll need to do a light sanding to help with more of a mechanical bonding instead of a chemical one. Thankfully this is on the underside where the least amount of wear/contact should ever occur. I did have a slight bridging occur at the center line, as in the pic below, but was able to coax the cloth back into the gap.

When dry, the fiberglass was cut off around the cockpit and then I used a Shinto rasp to scrape down the edges. It went quite quickly and I even shot a short video to show this. I then worked my way around the entire cockpit working to get the edge as close to 90 degrees to the horizon as possible.

Next time I should be able to start on the coaming construction. The order epoxy arrived in just a few days from CLC Boats however I’ll wait to apply the additional coats at the time I’m working on the coaming fiberglassing.