
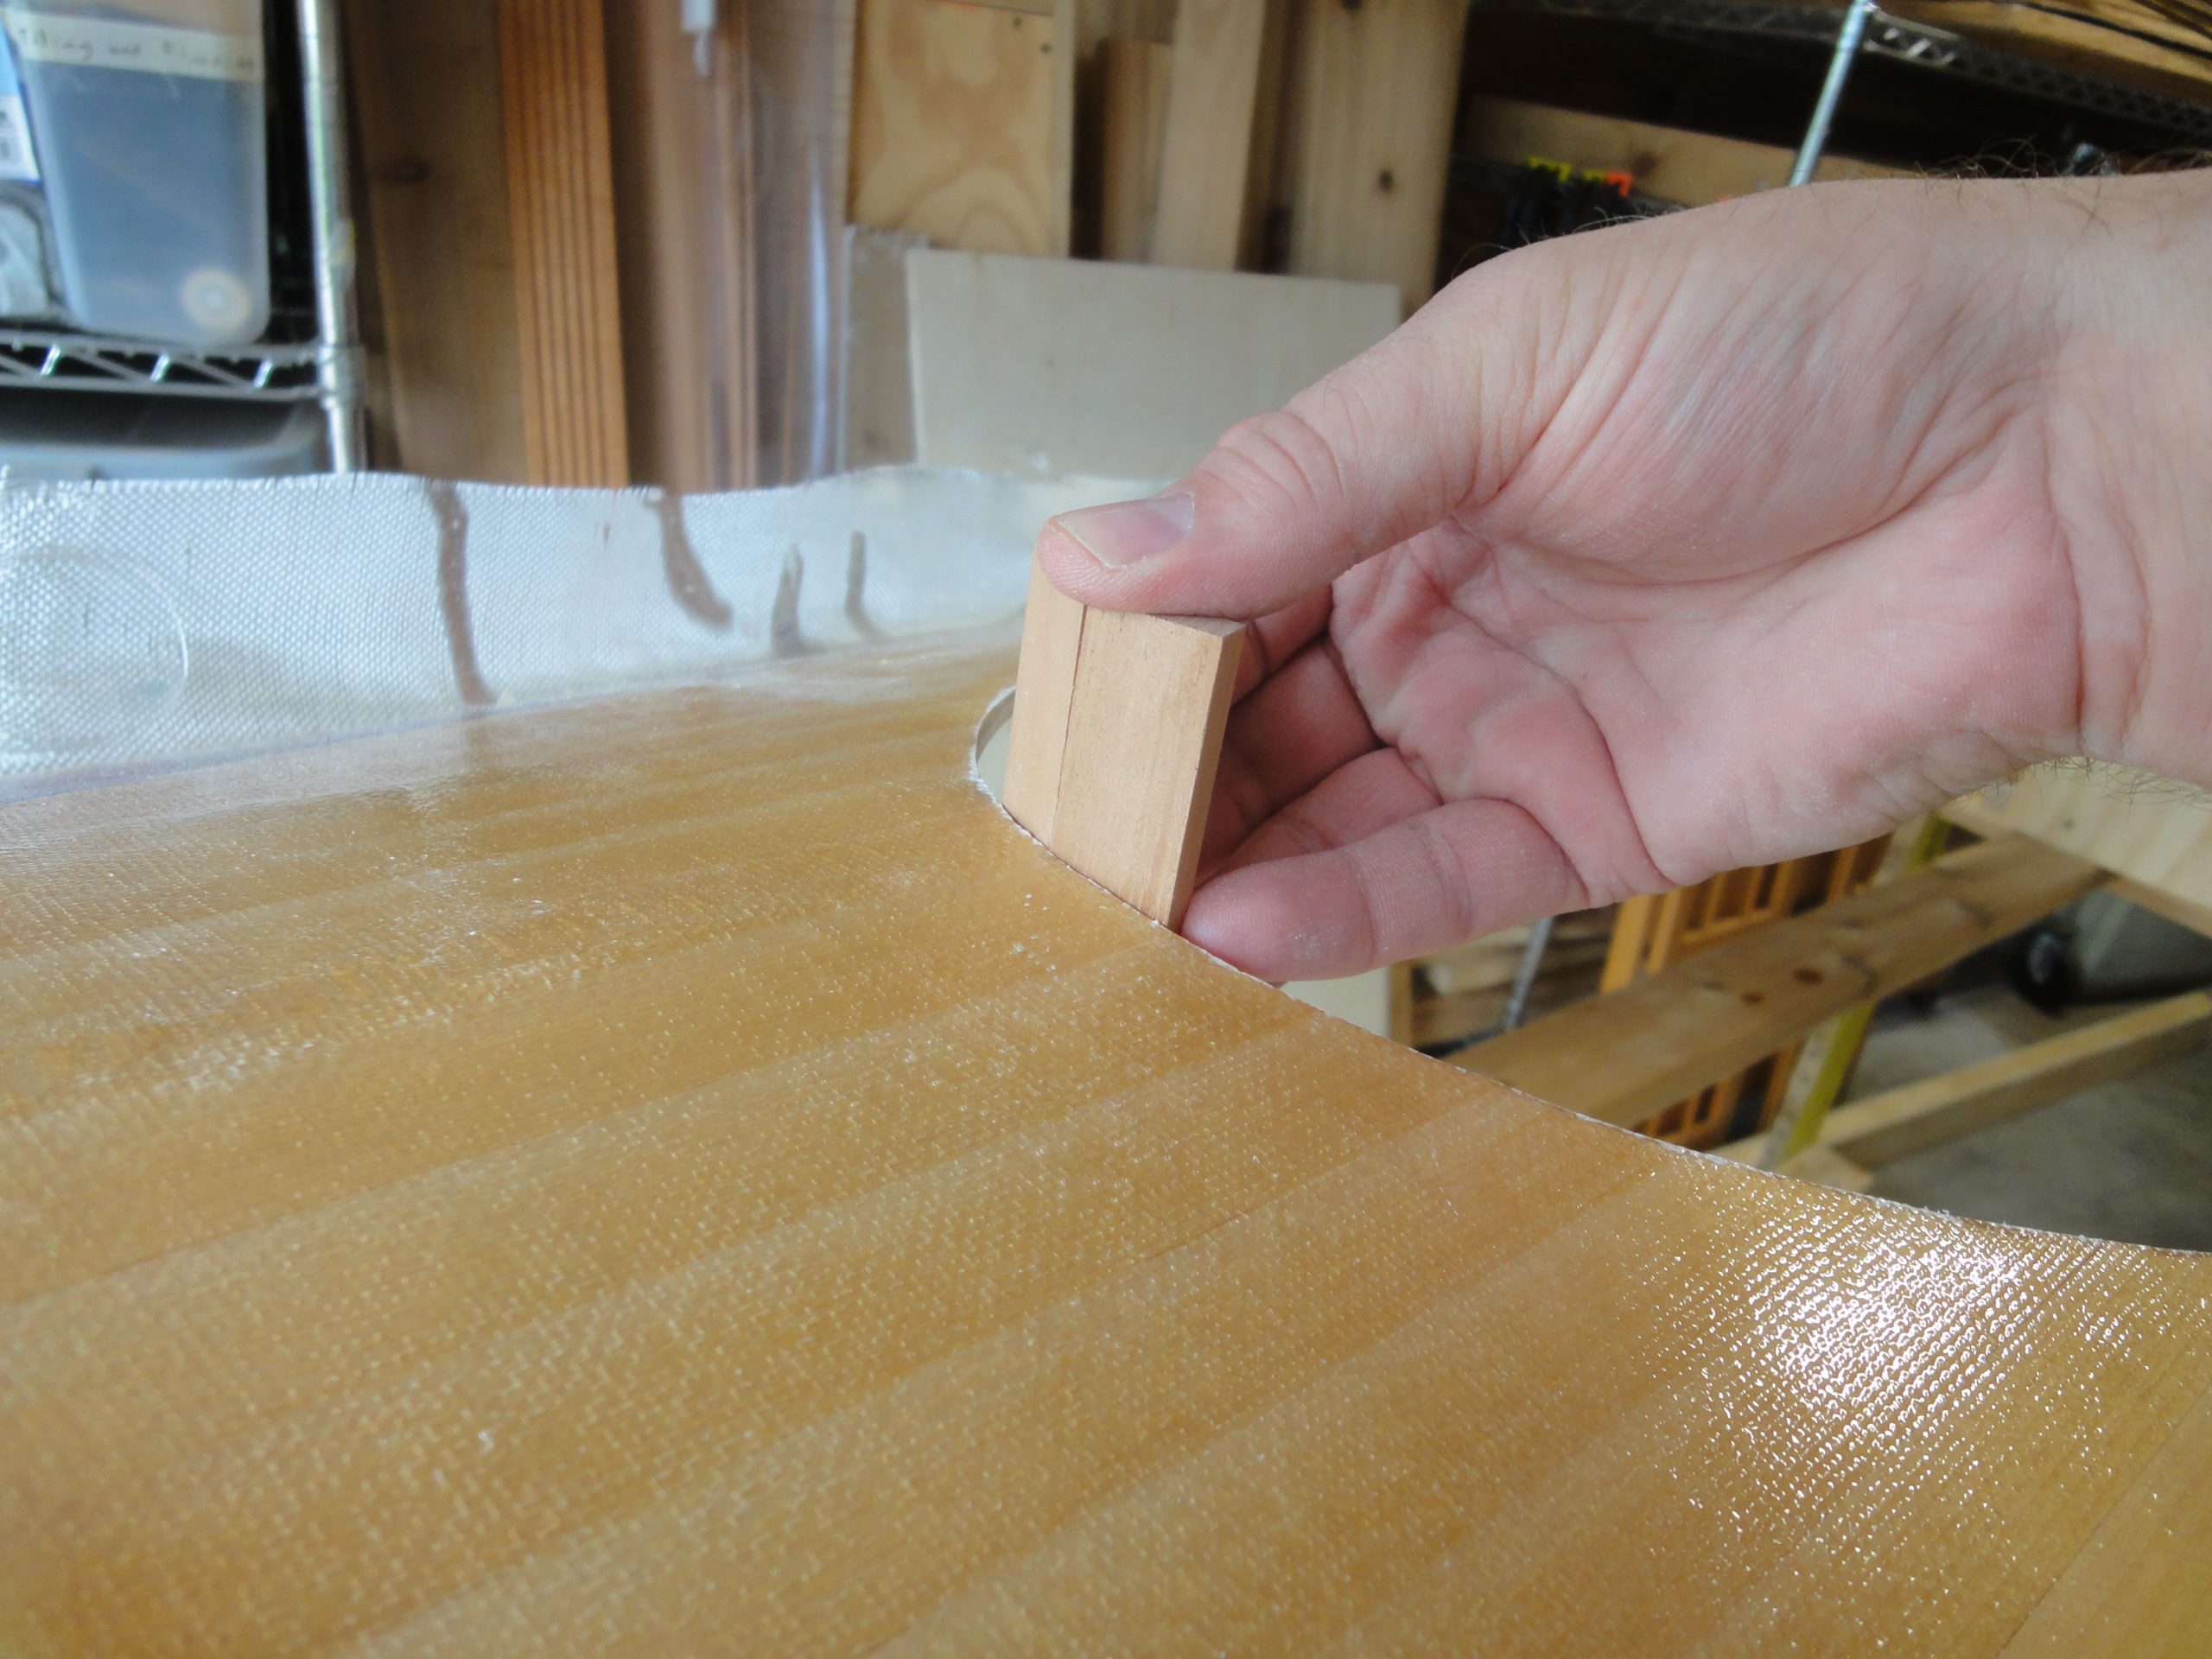
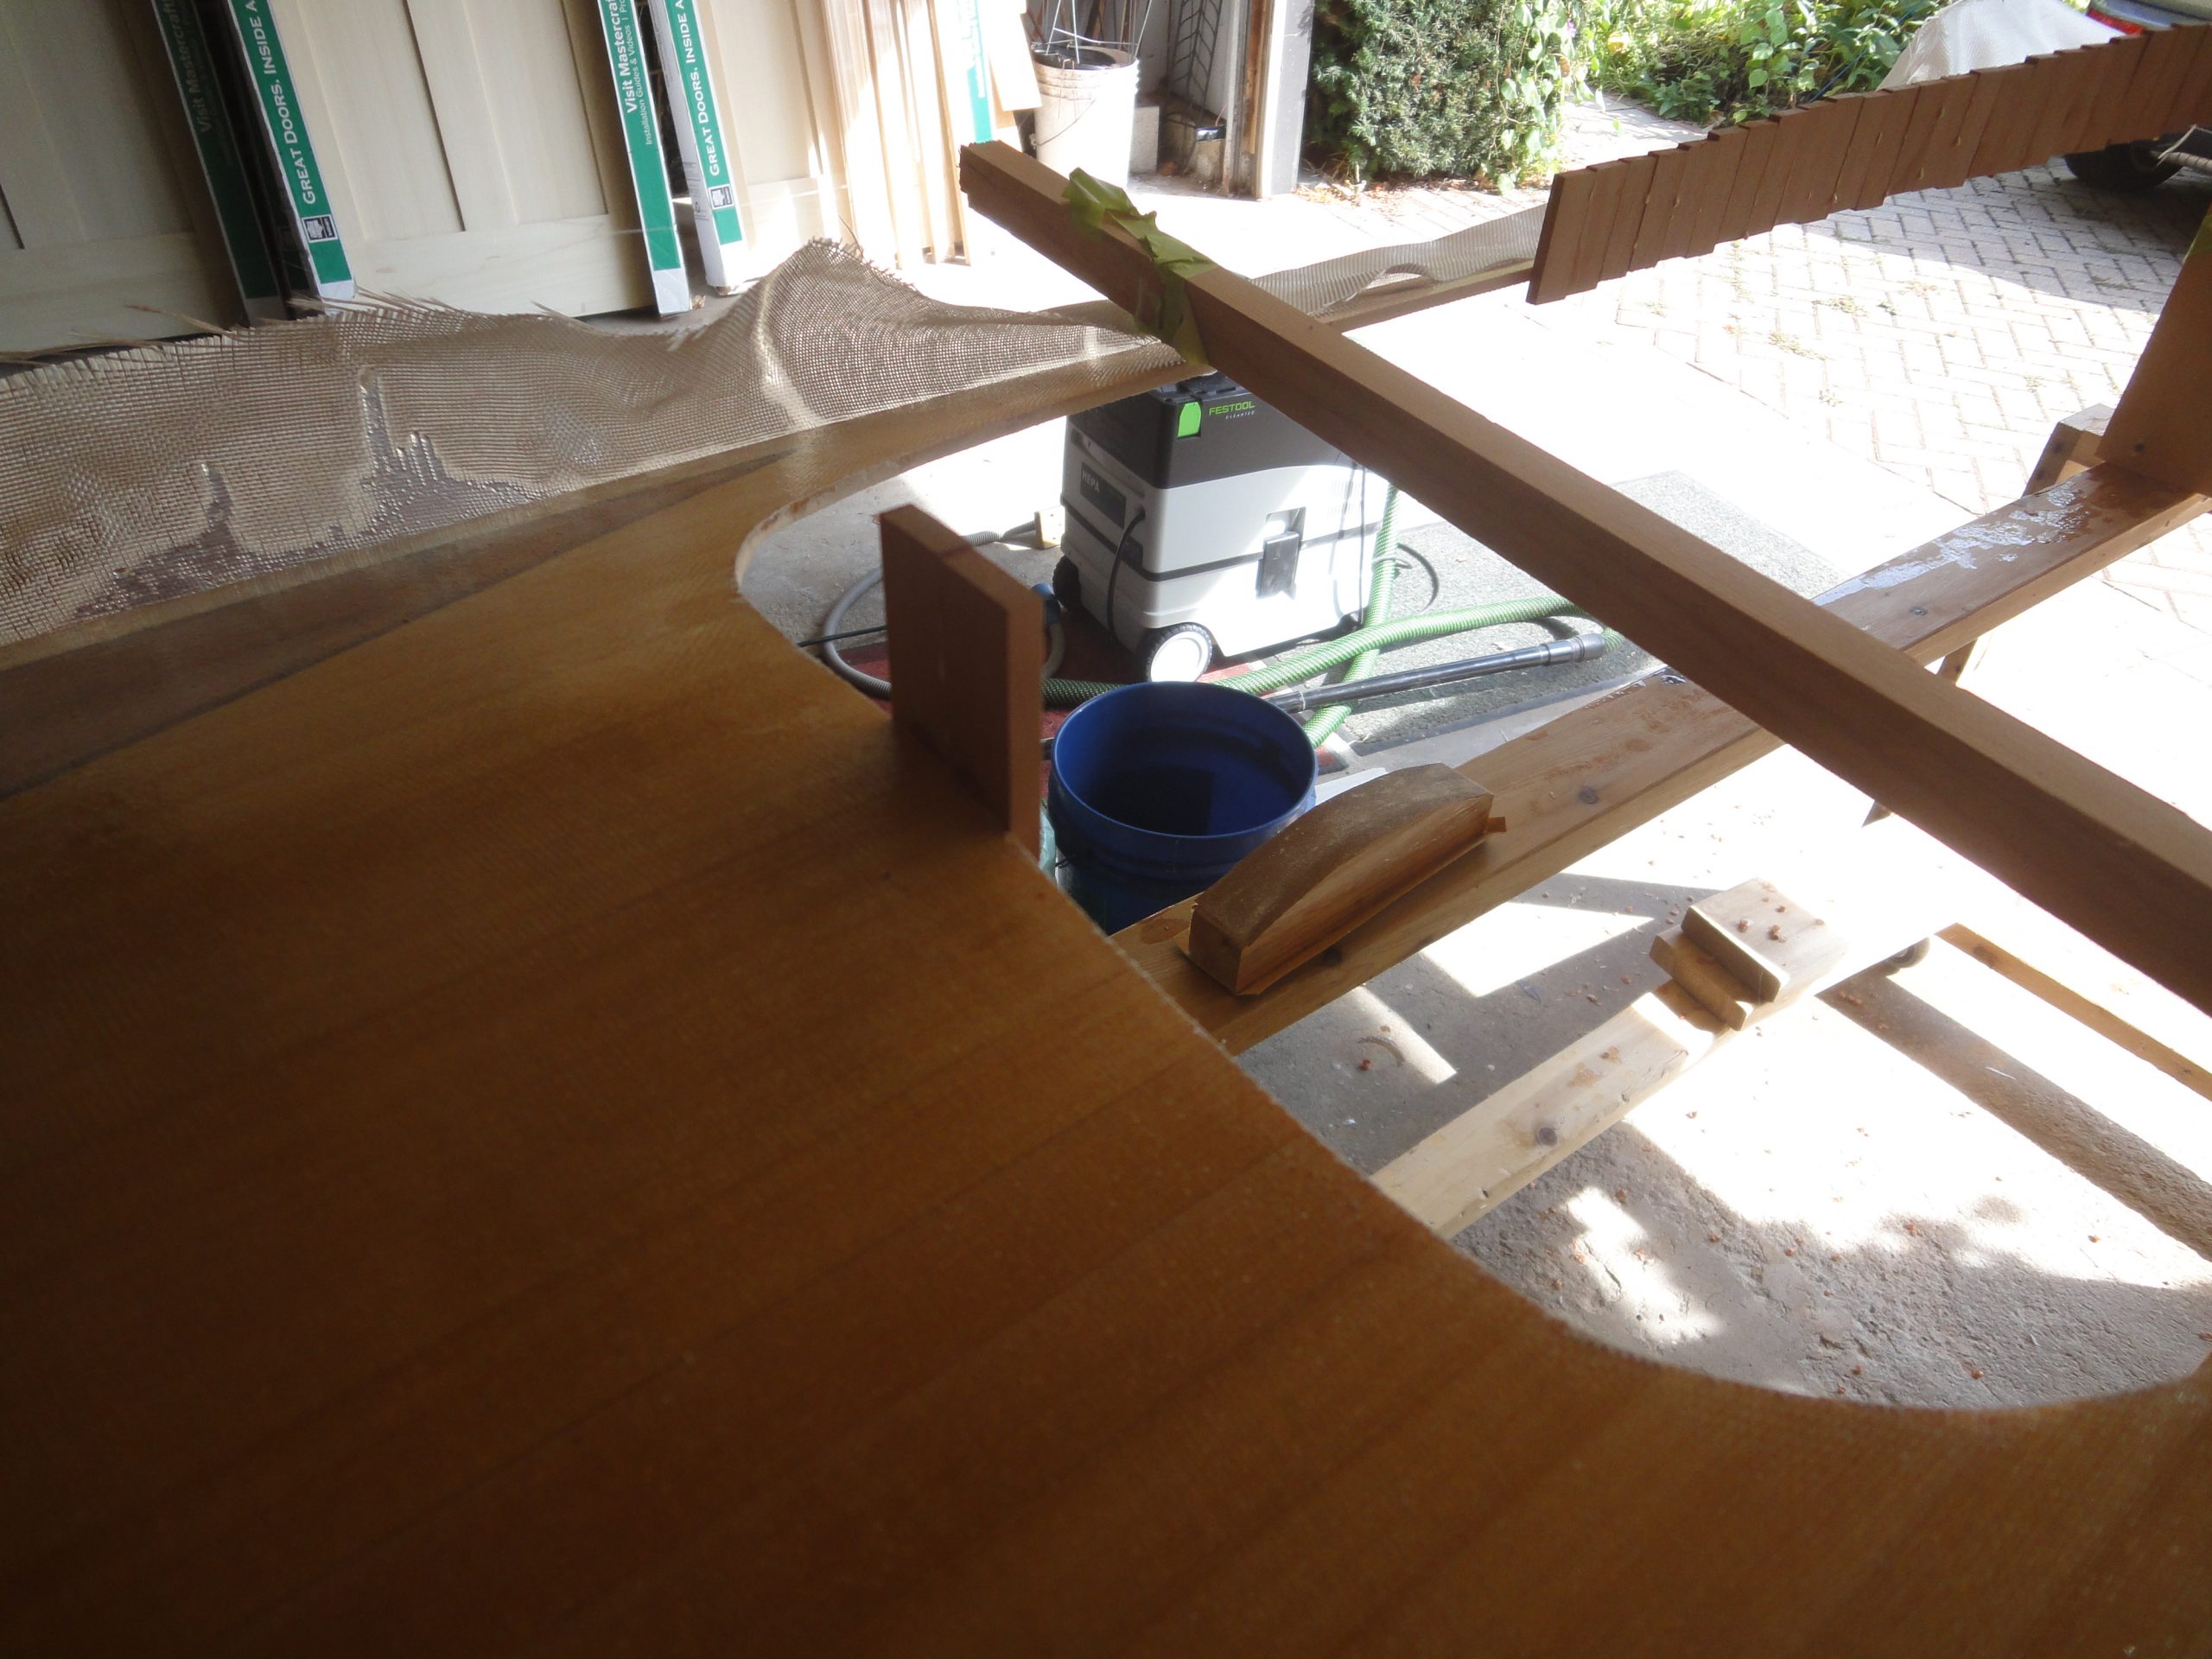
I worked on the coaming construction over a couple of days and it actually went together quite easily. Of course this is just the vertical part. I still need to trim it and do the lip, but I’m getting ahead of myself.
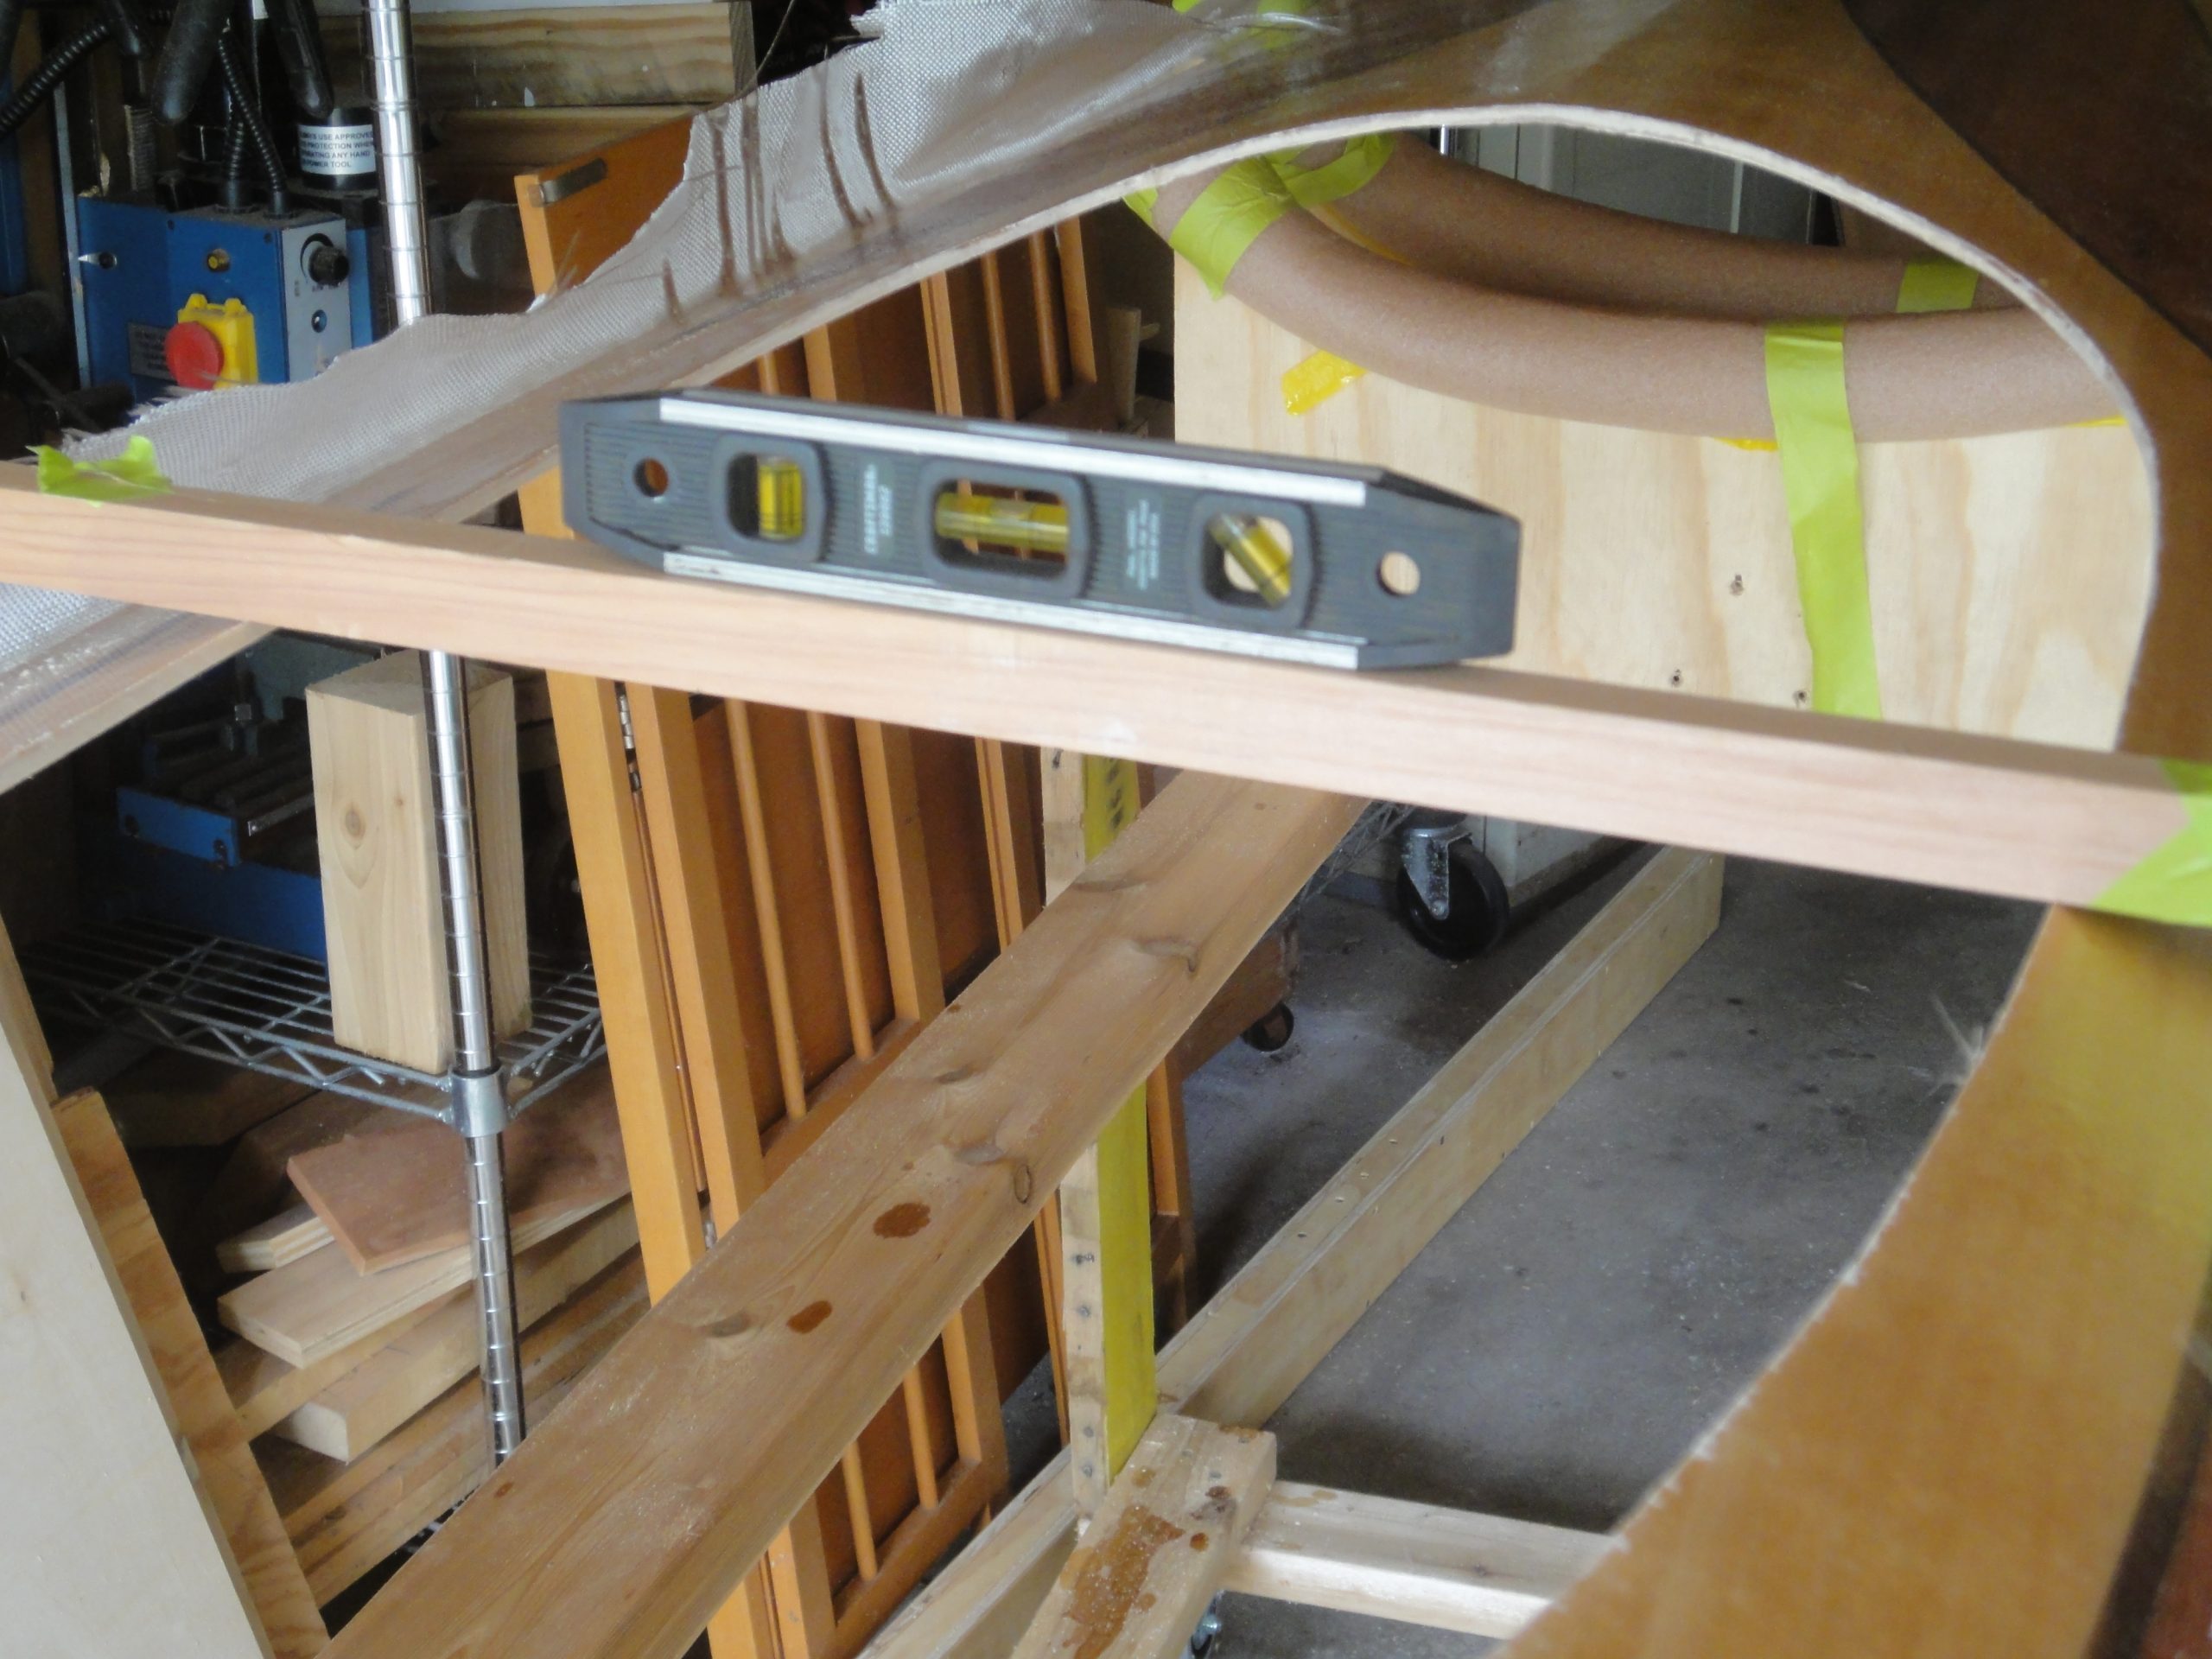
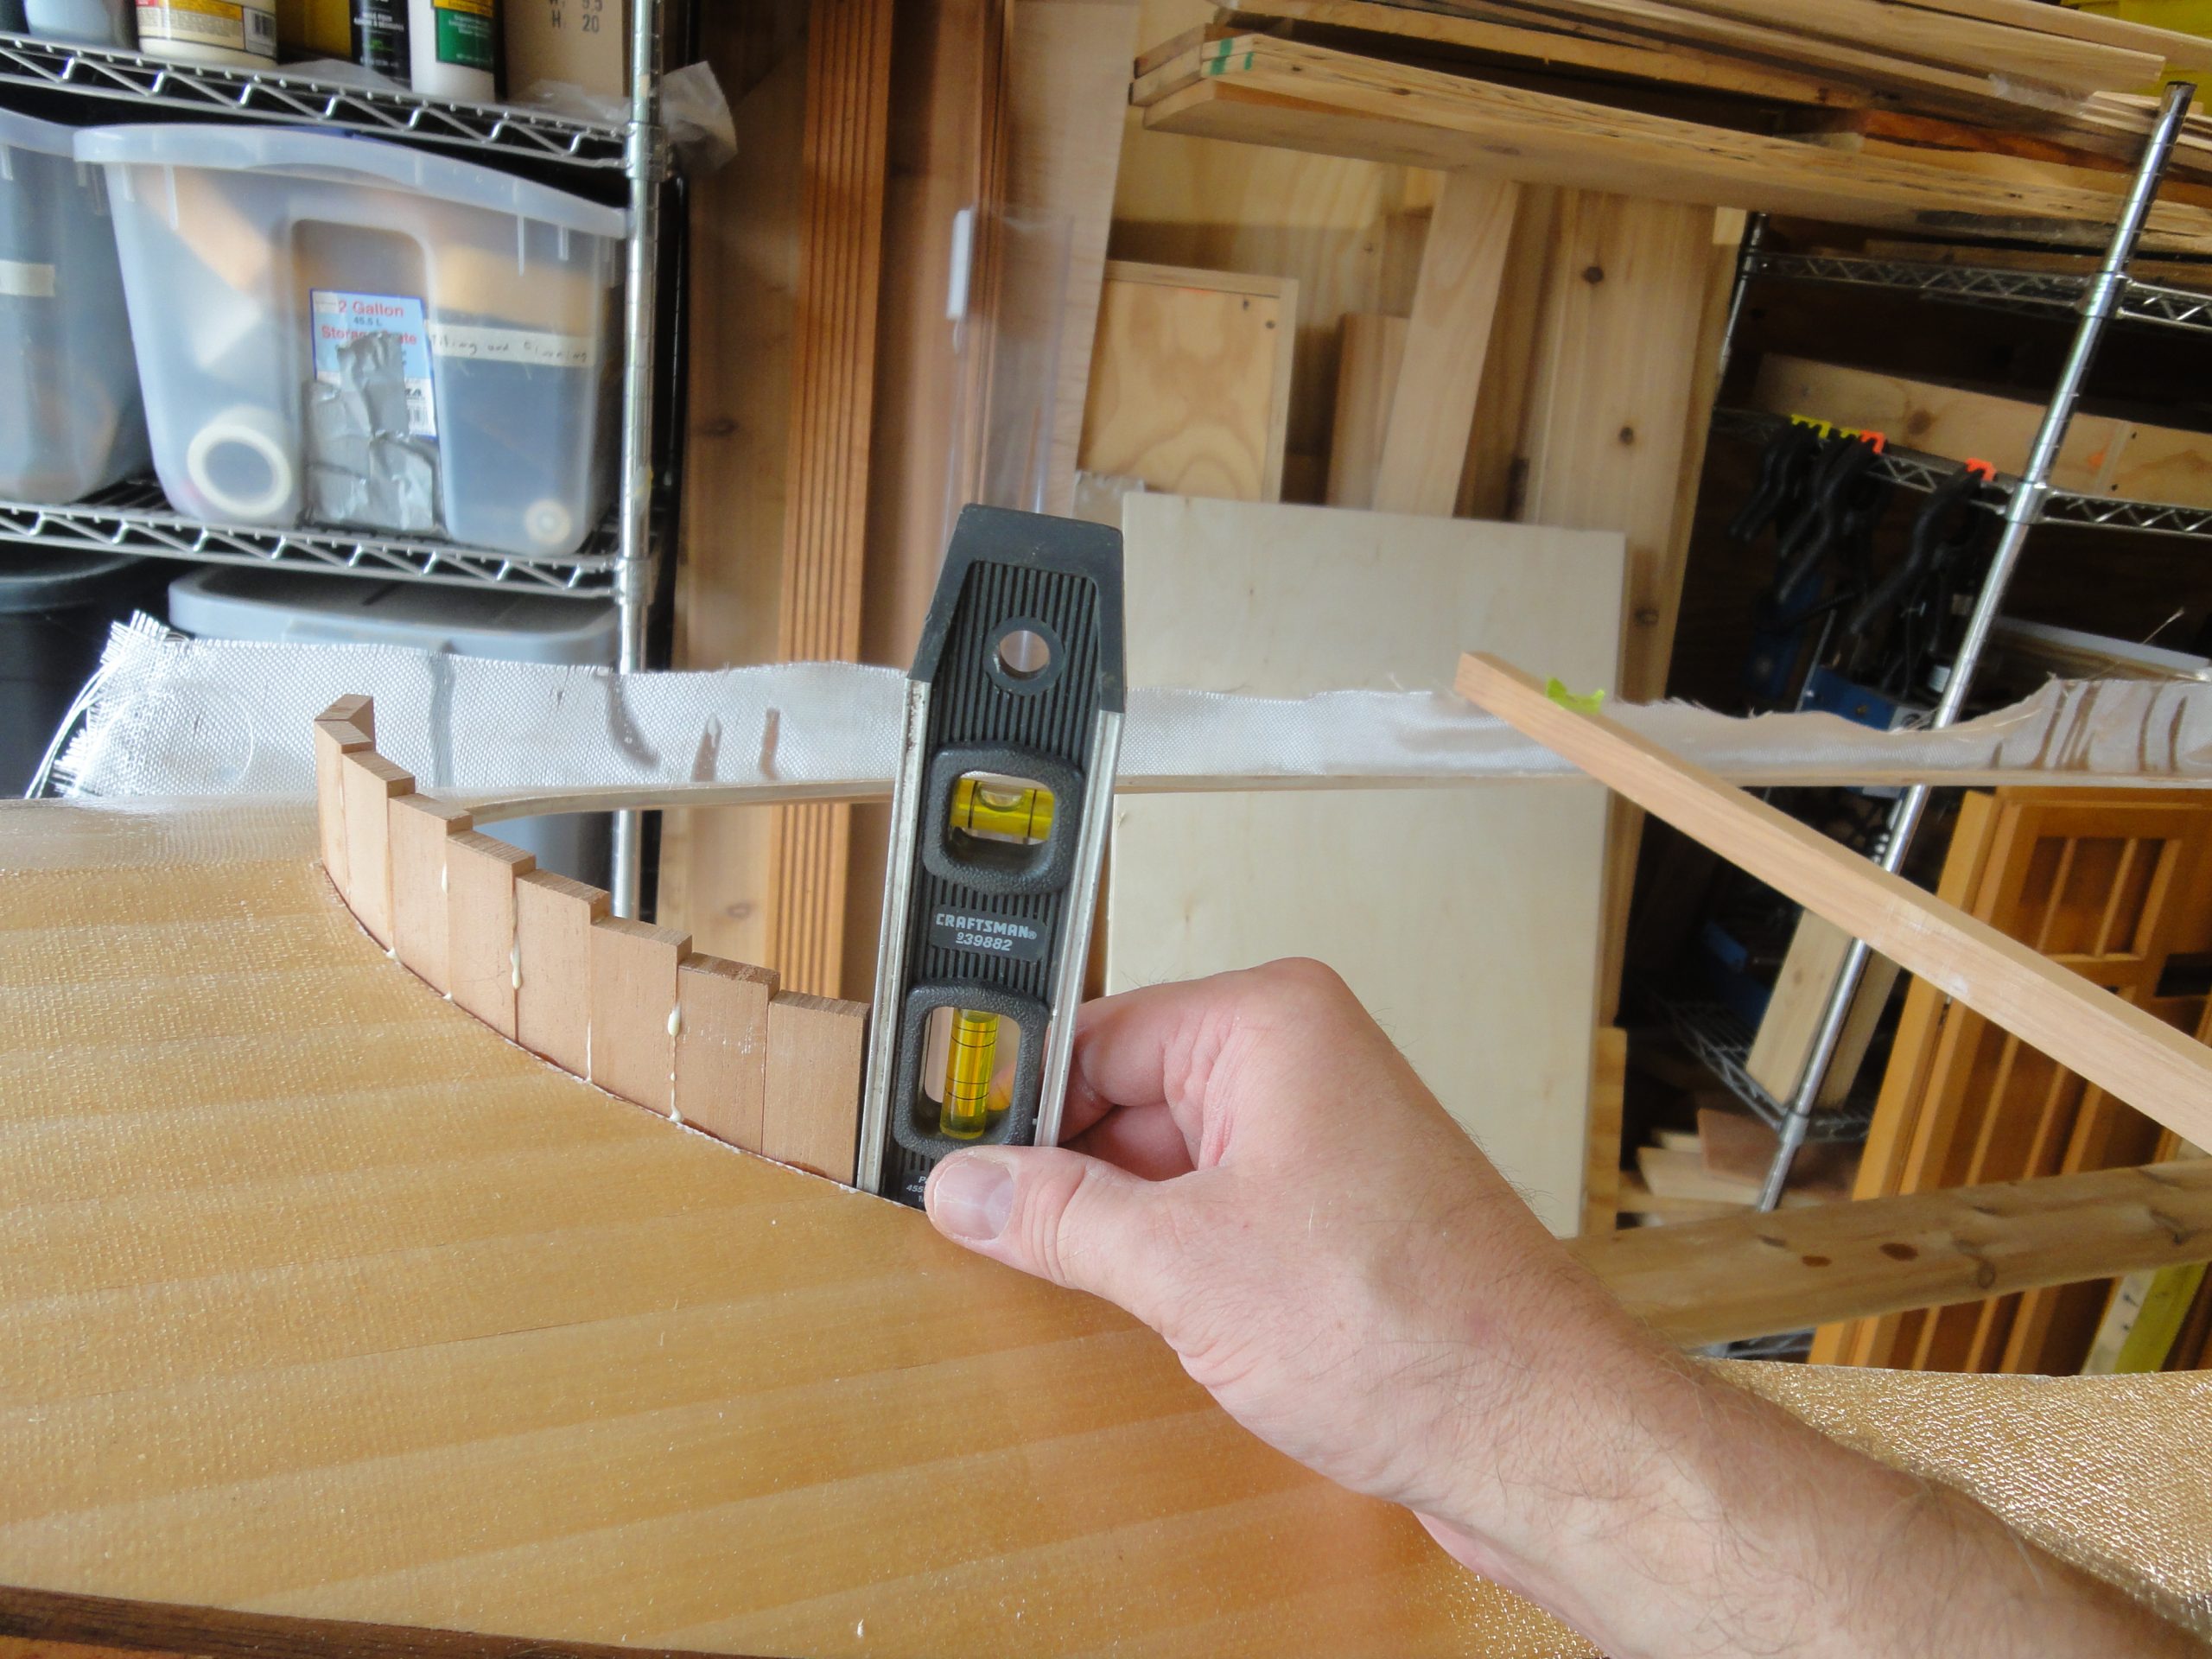
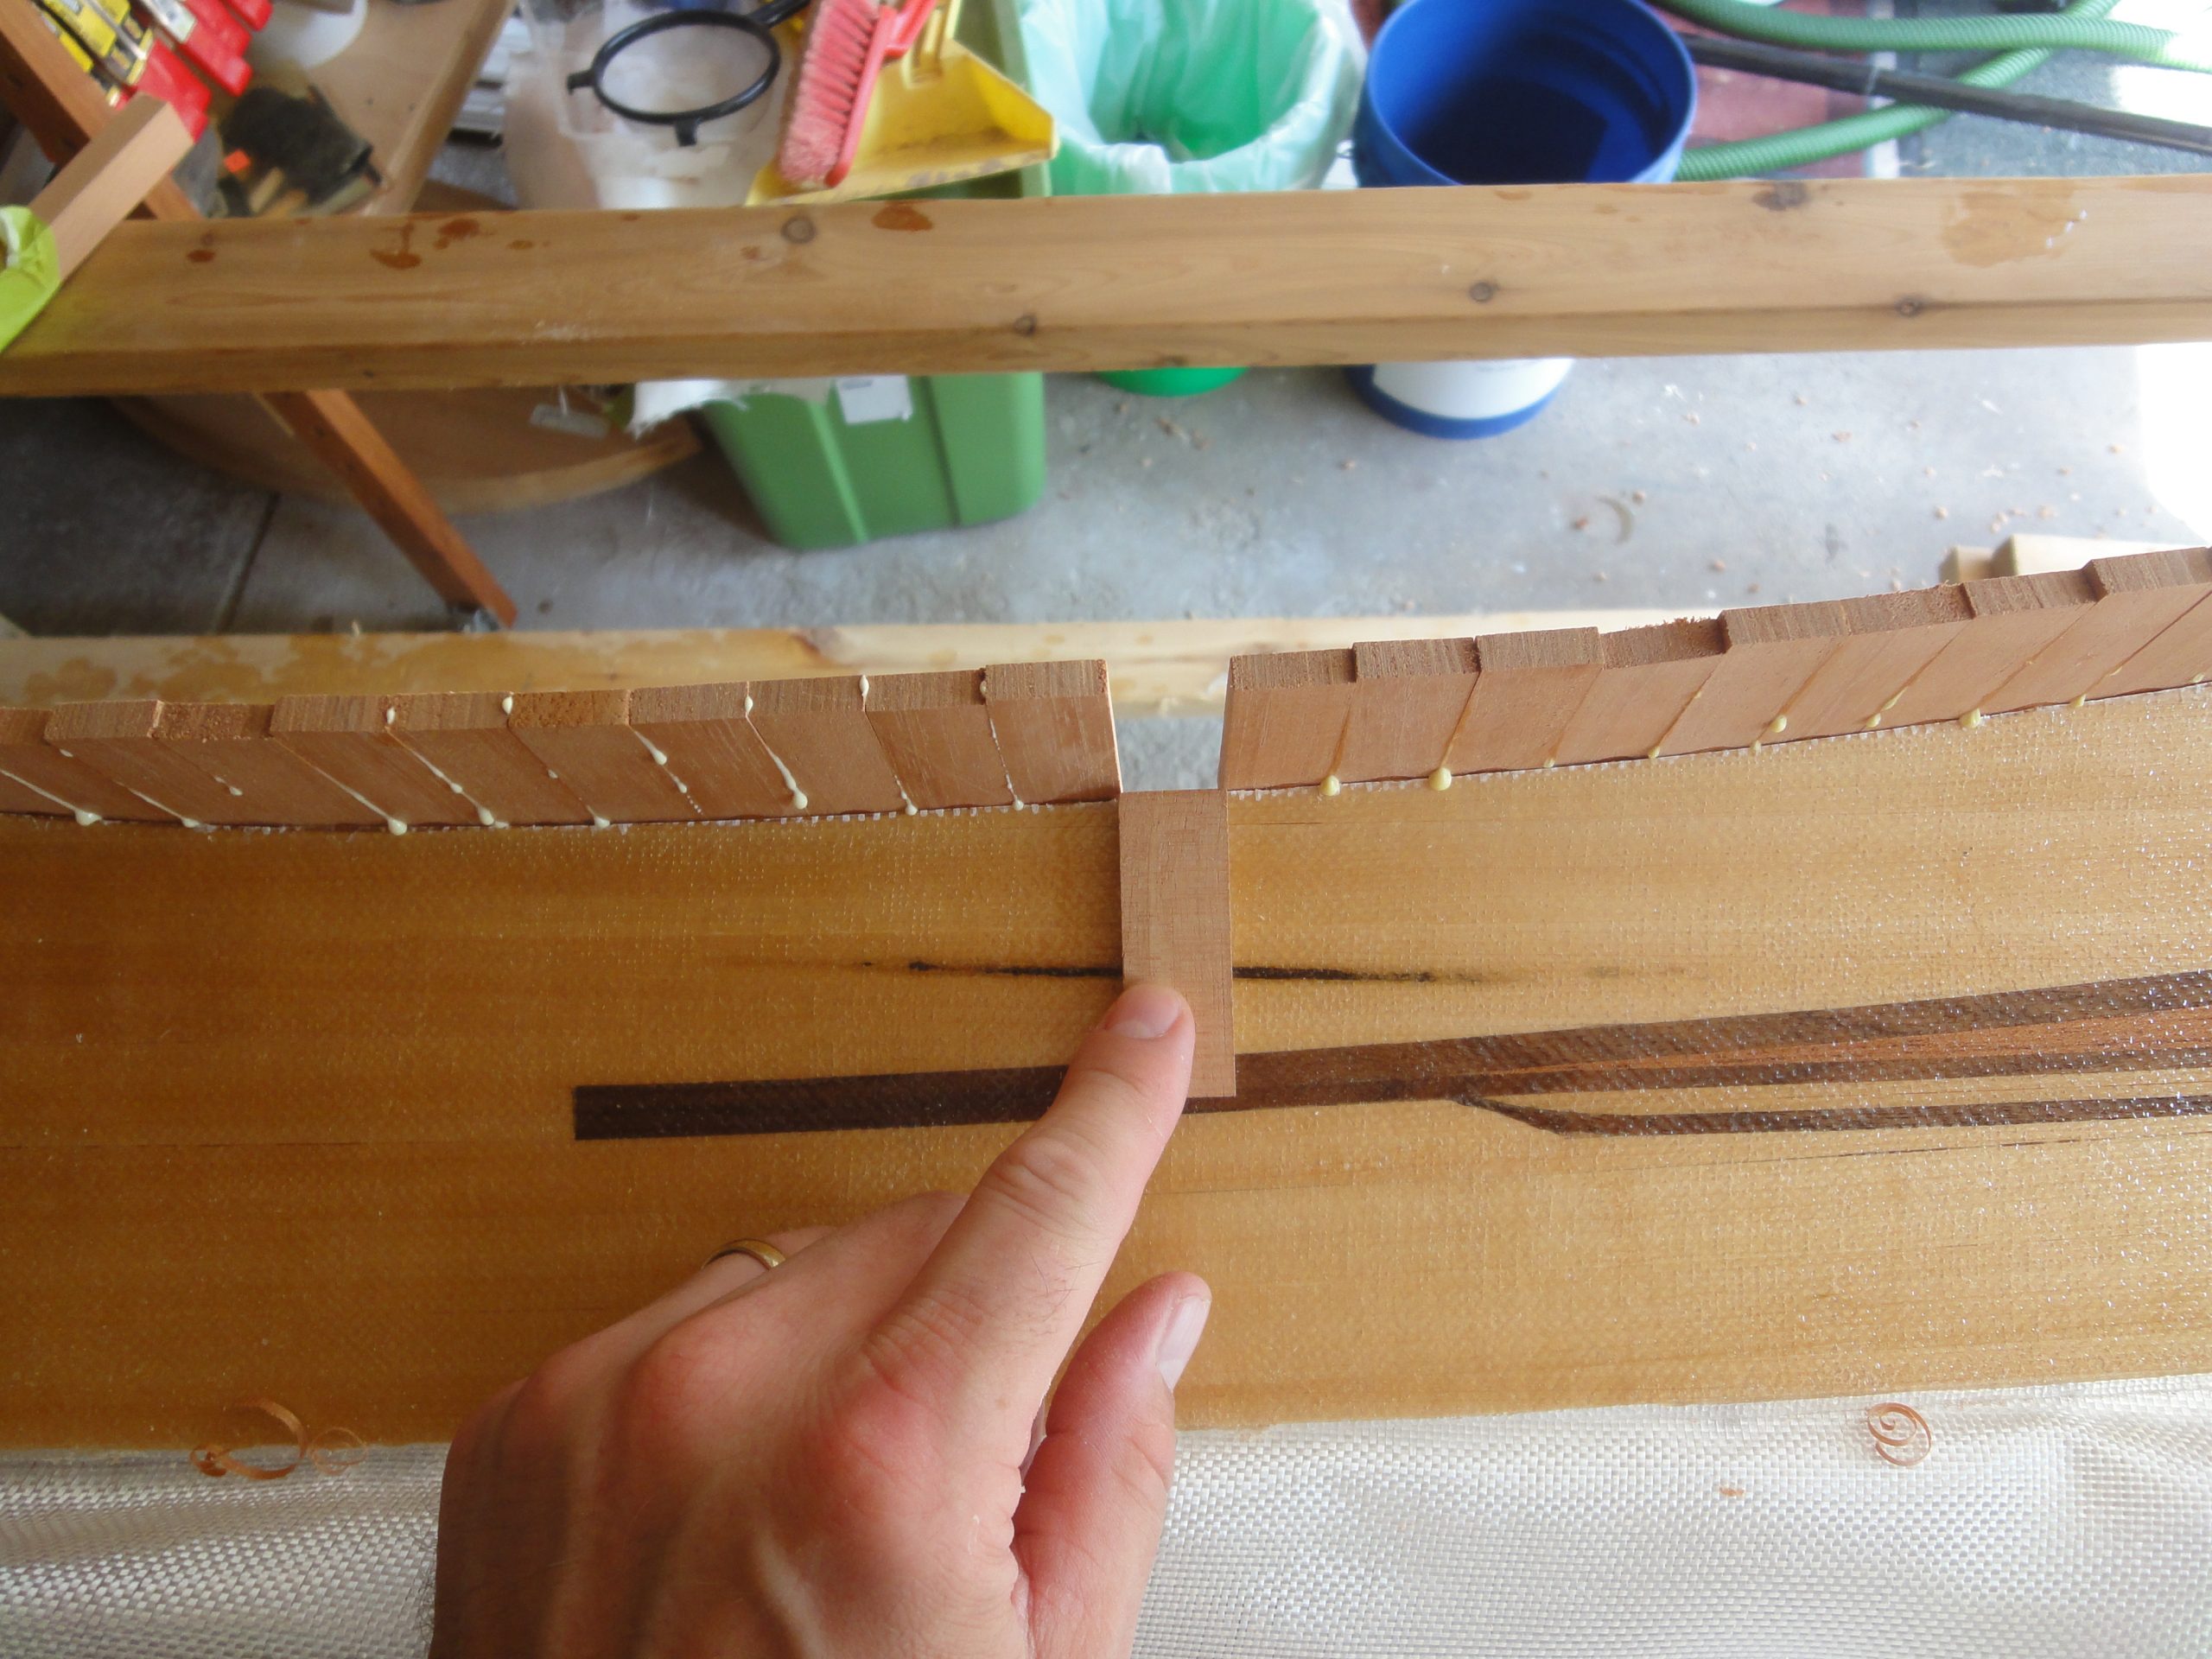
First I leveled the deck to ensure a vertical piece on one side would have the same angle to the deck as a vertical piece on the other side. Next I used a block plane to shave an angle into two pieces such that they would meet each other, and with the edge of the coaming, with no gaps. The pieces were joined together with Titebond and fastened to the edge of the deck with superglue. The superglue is not intended to be the sole method of fastening, but just enough to hold everything in place while the yellow glue sets up.
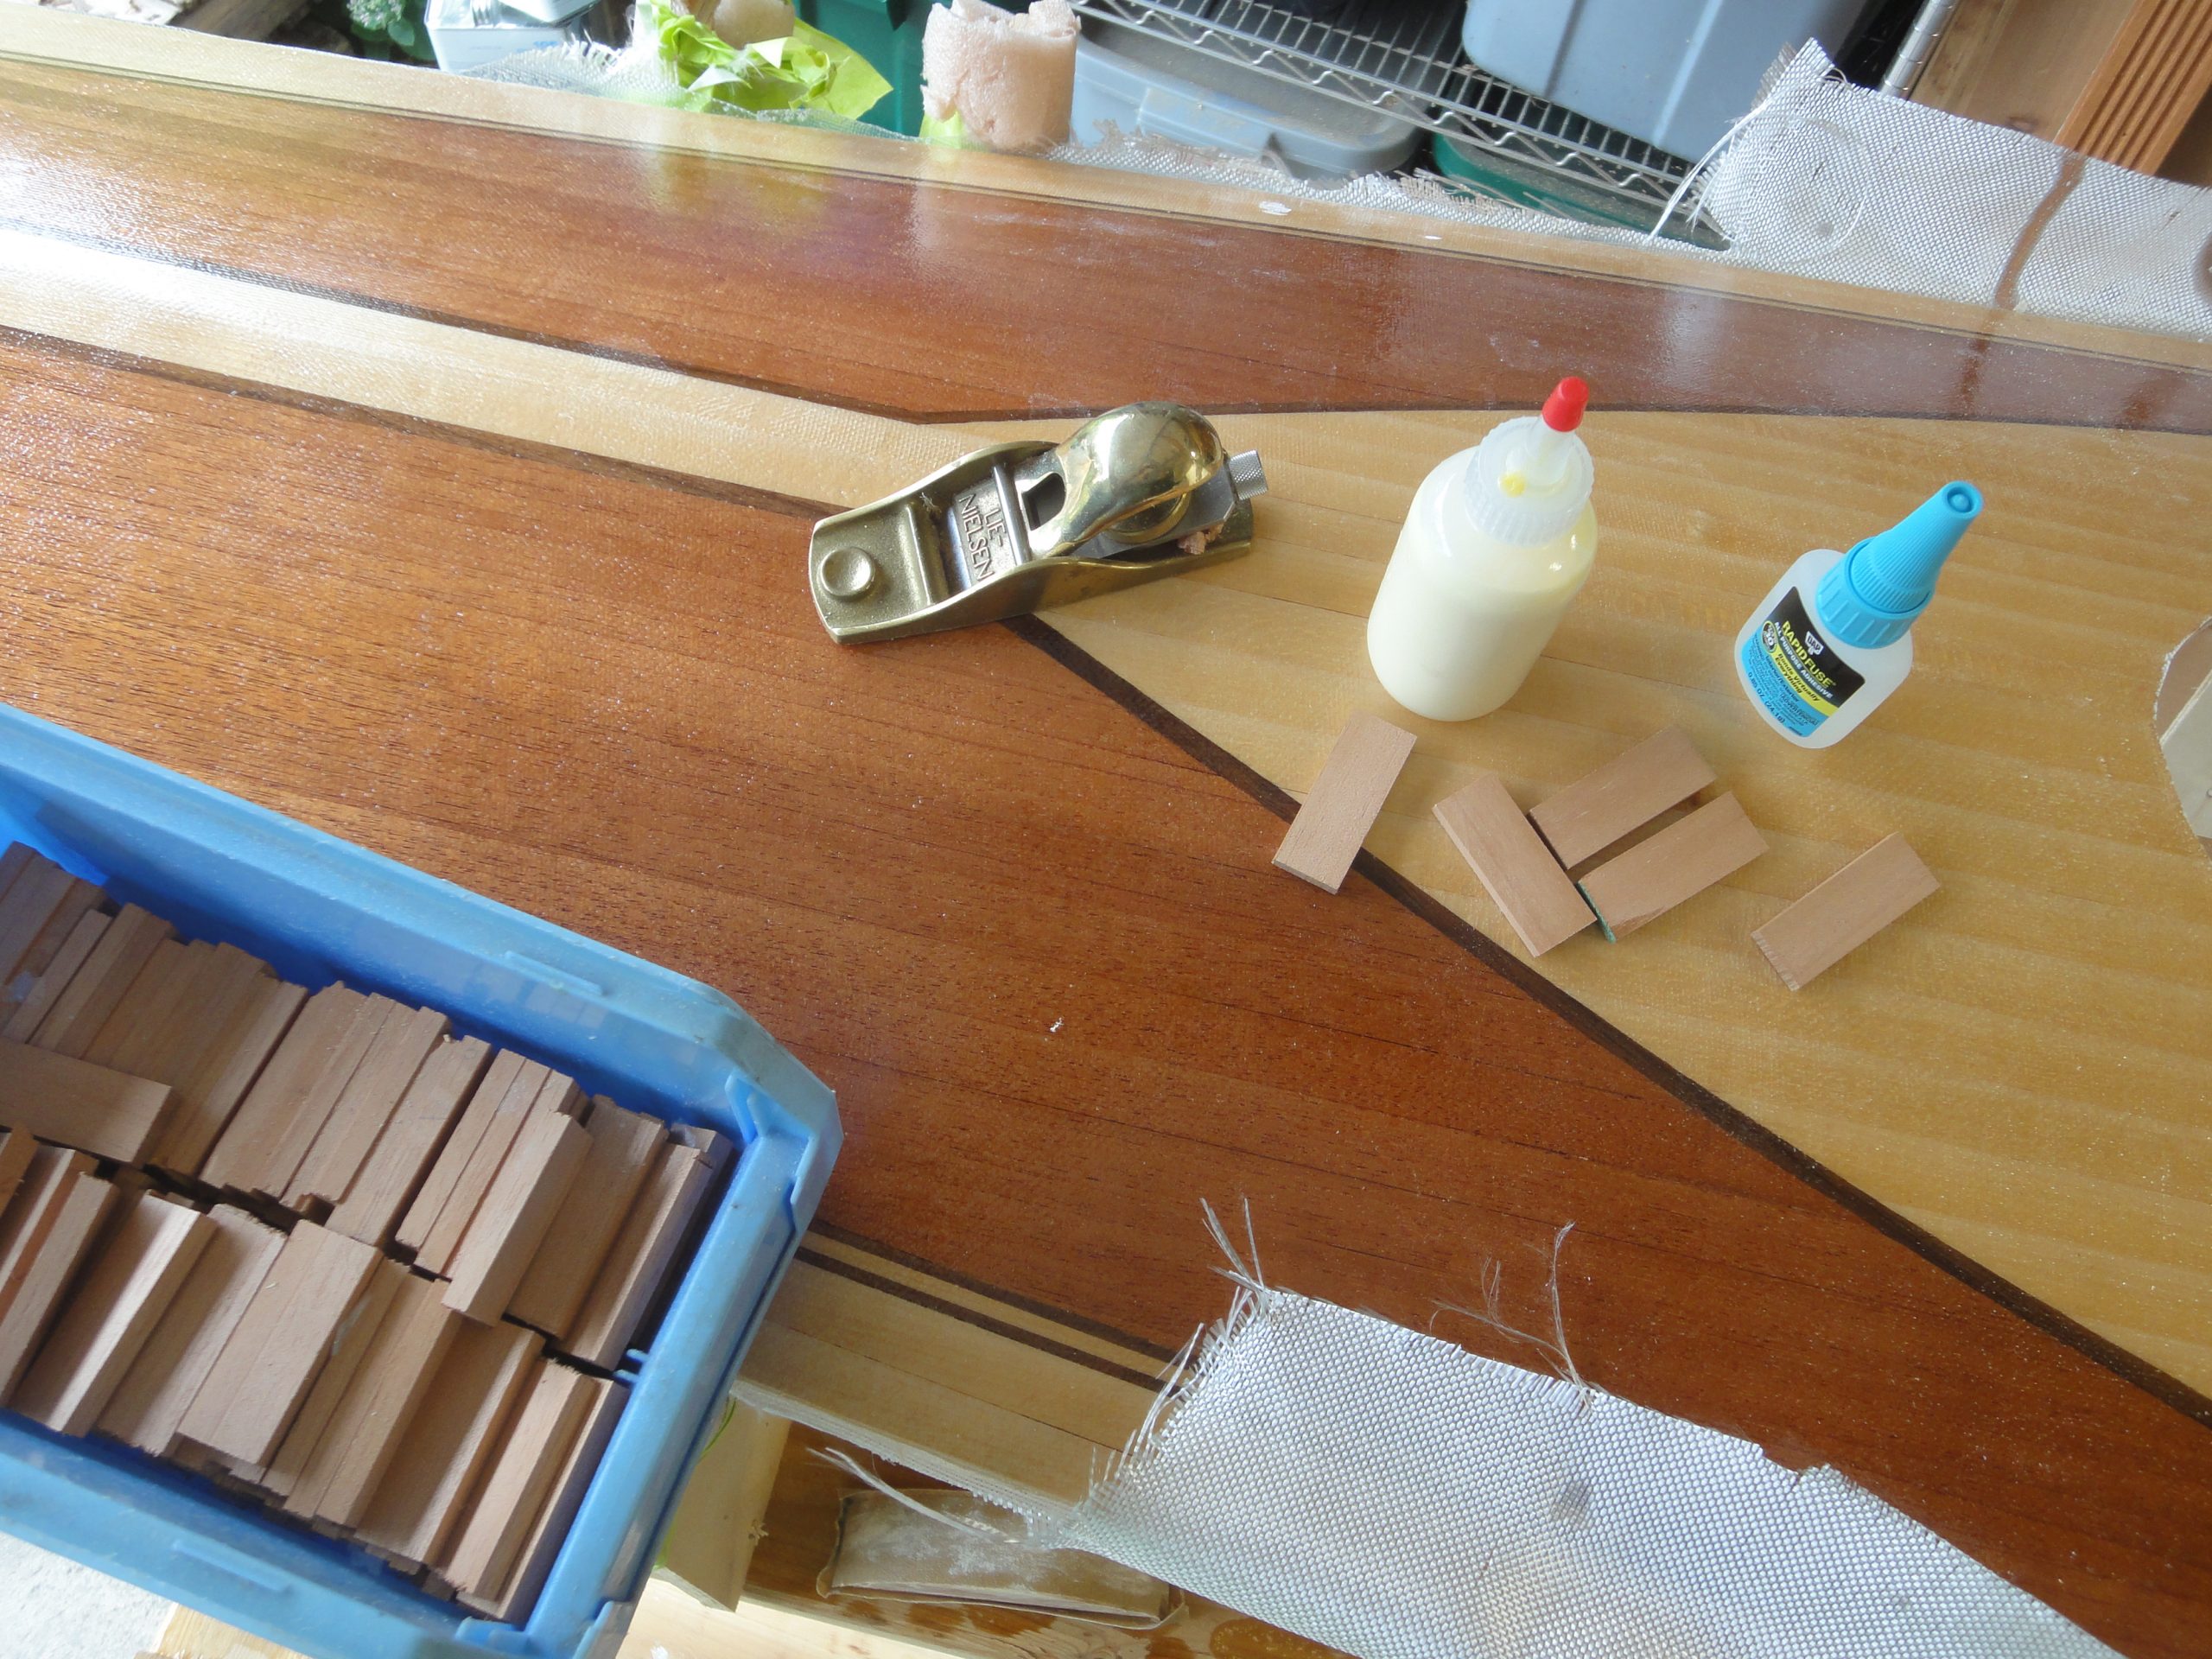
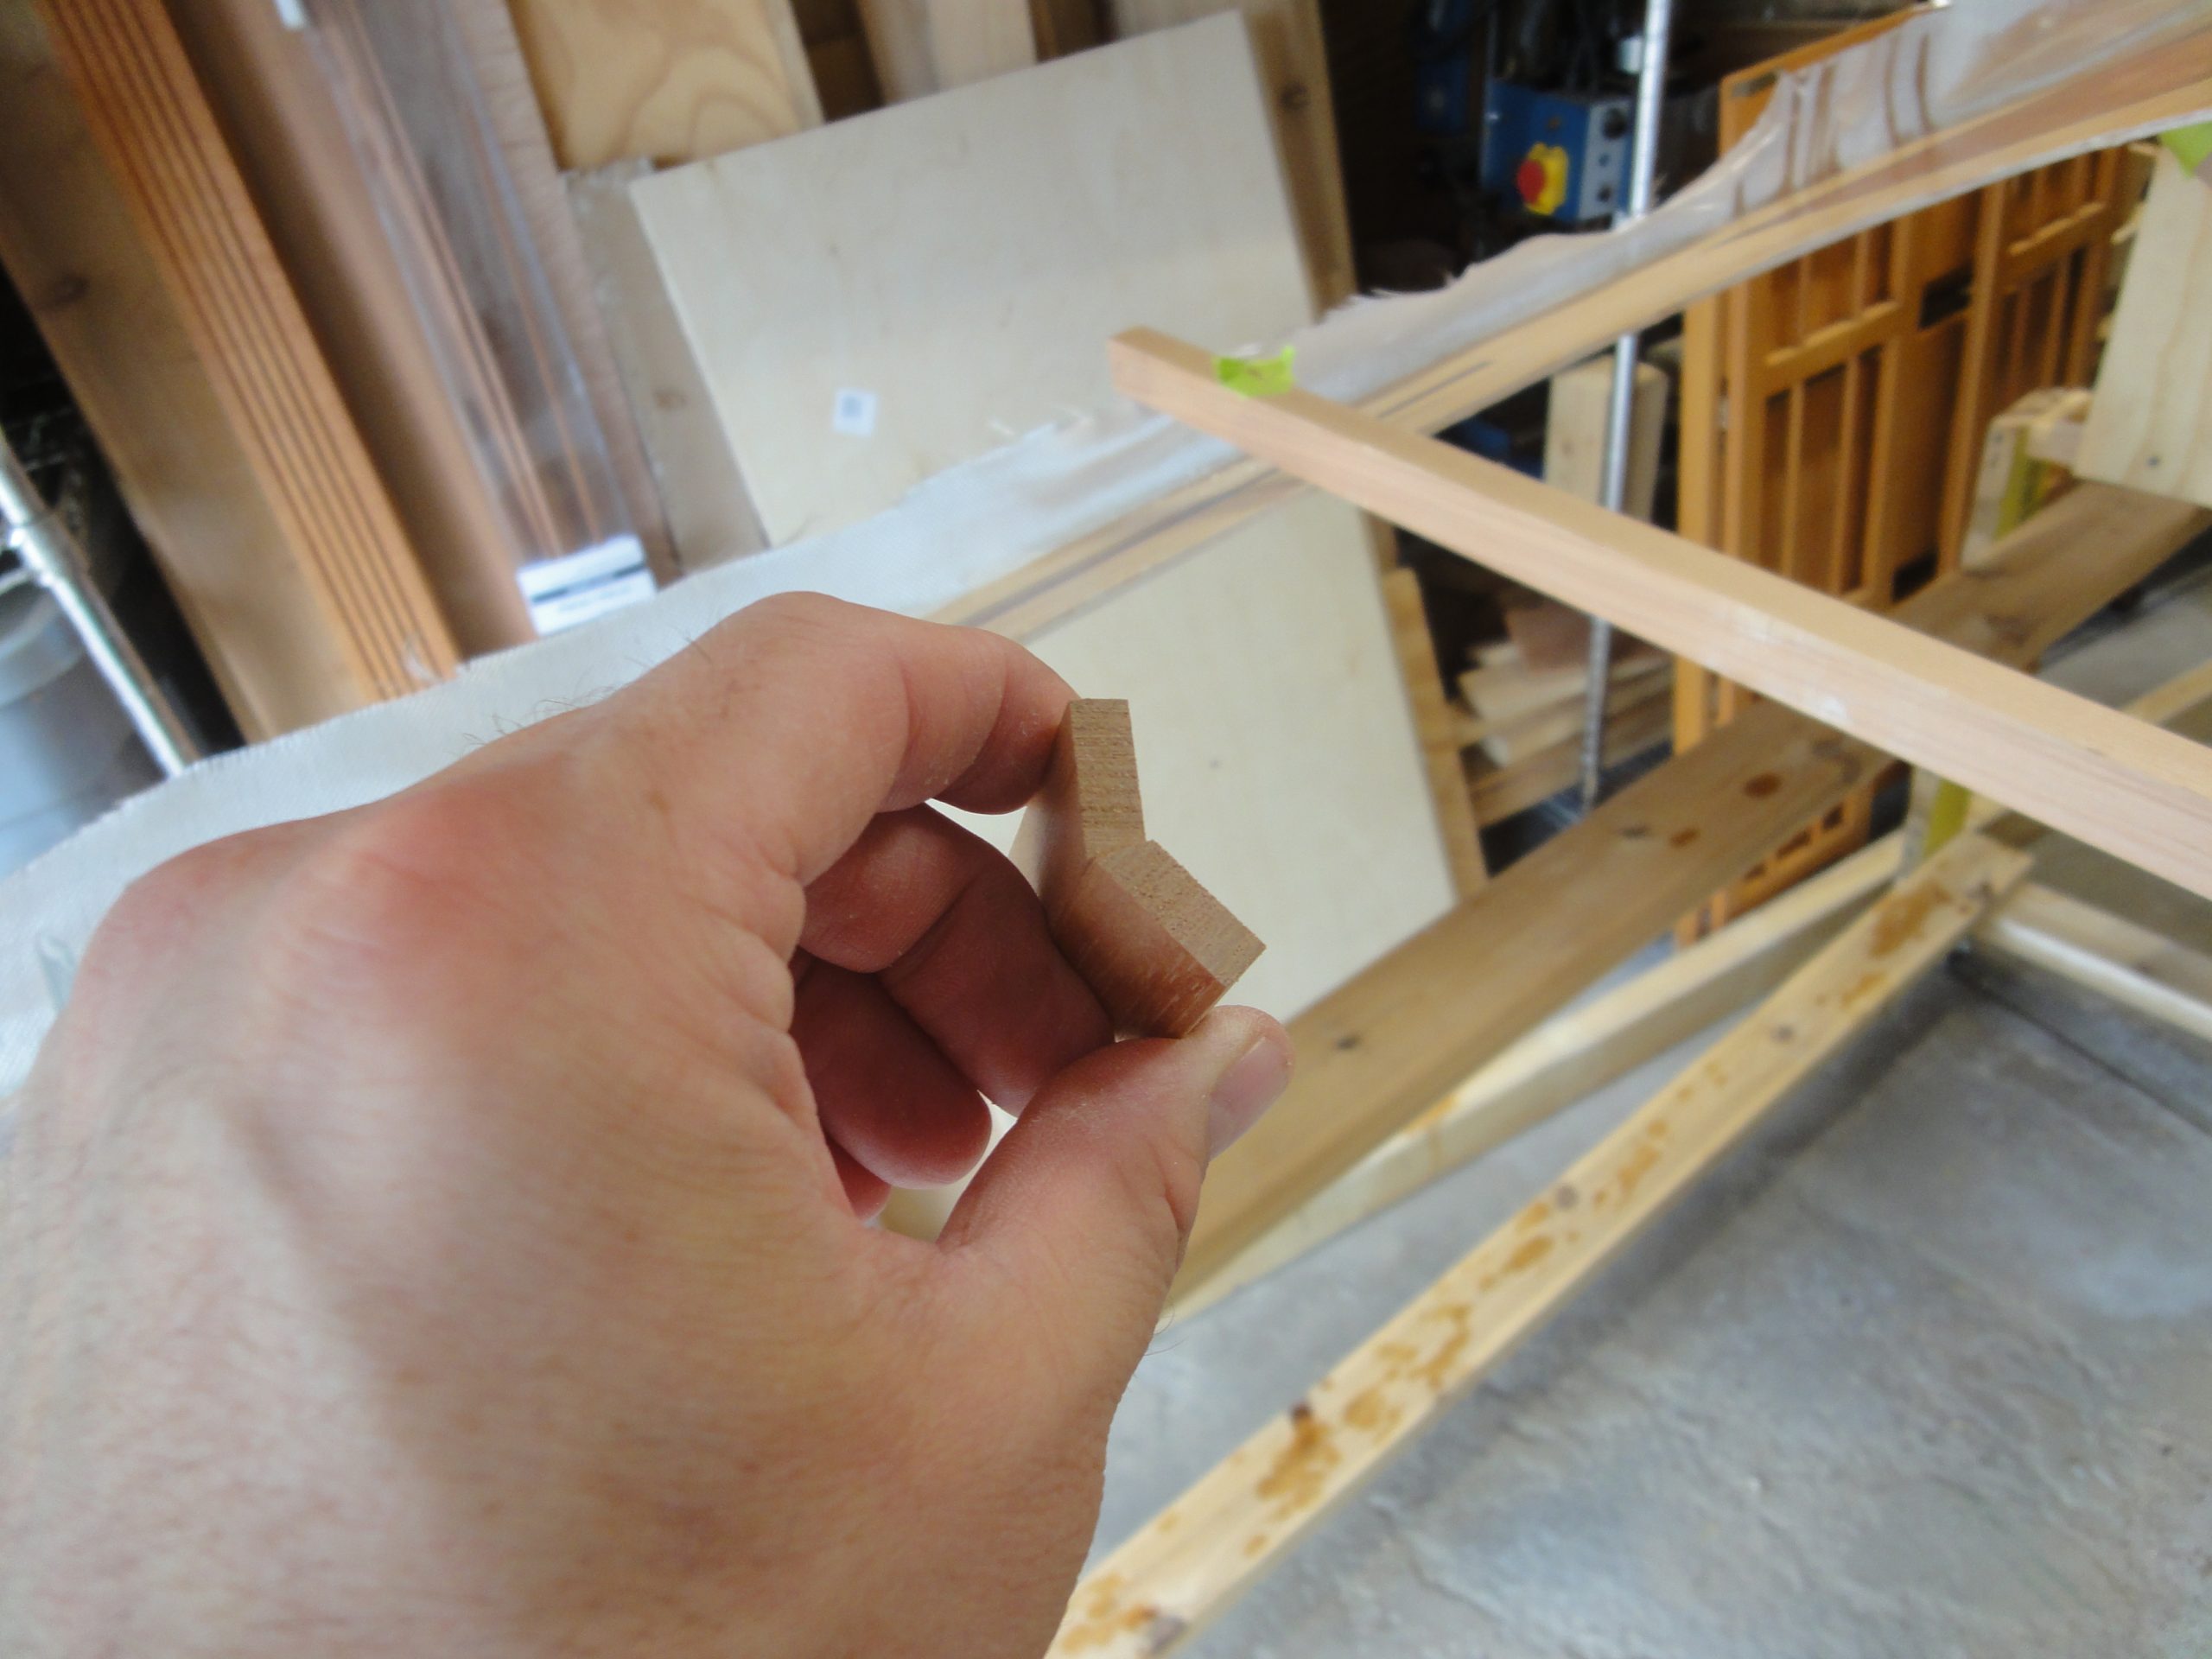
The process continued by adding additional pieces. Ever few I’d check for them being perpendicular to the horizon and occasionally that they were relatively straight to each other. If they weren’t I’d shave one into a trapezoidal shape to help bring the pieces back into alignment.

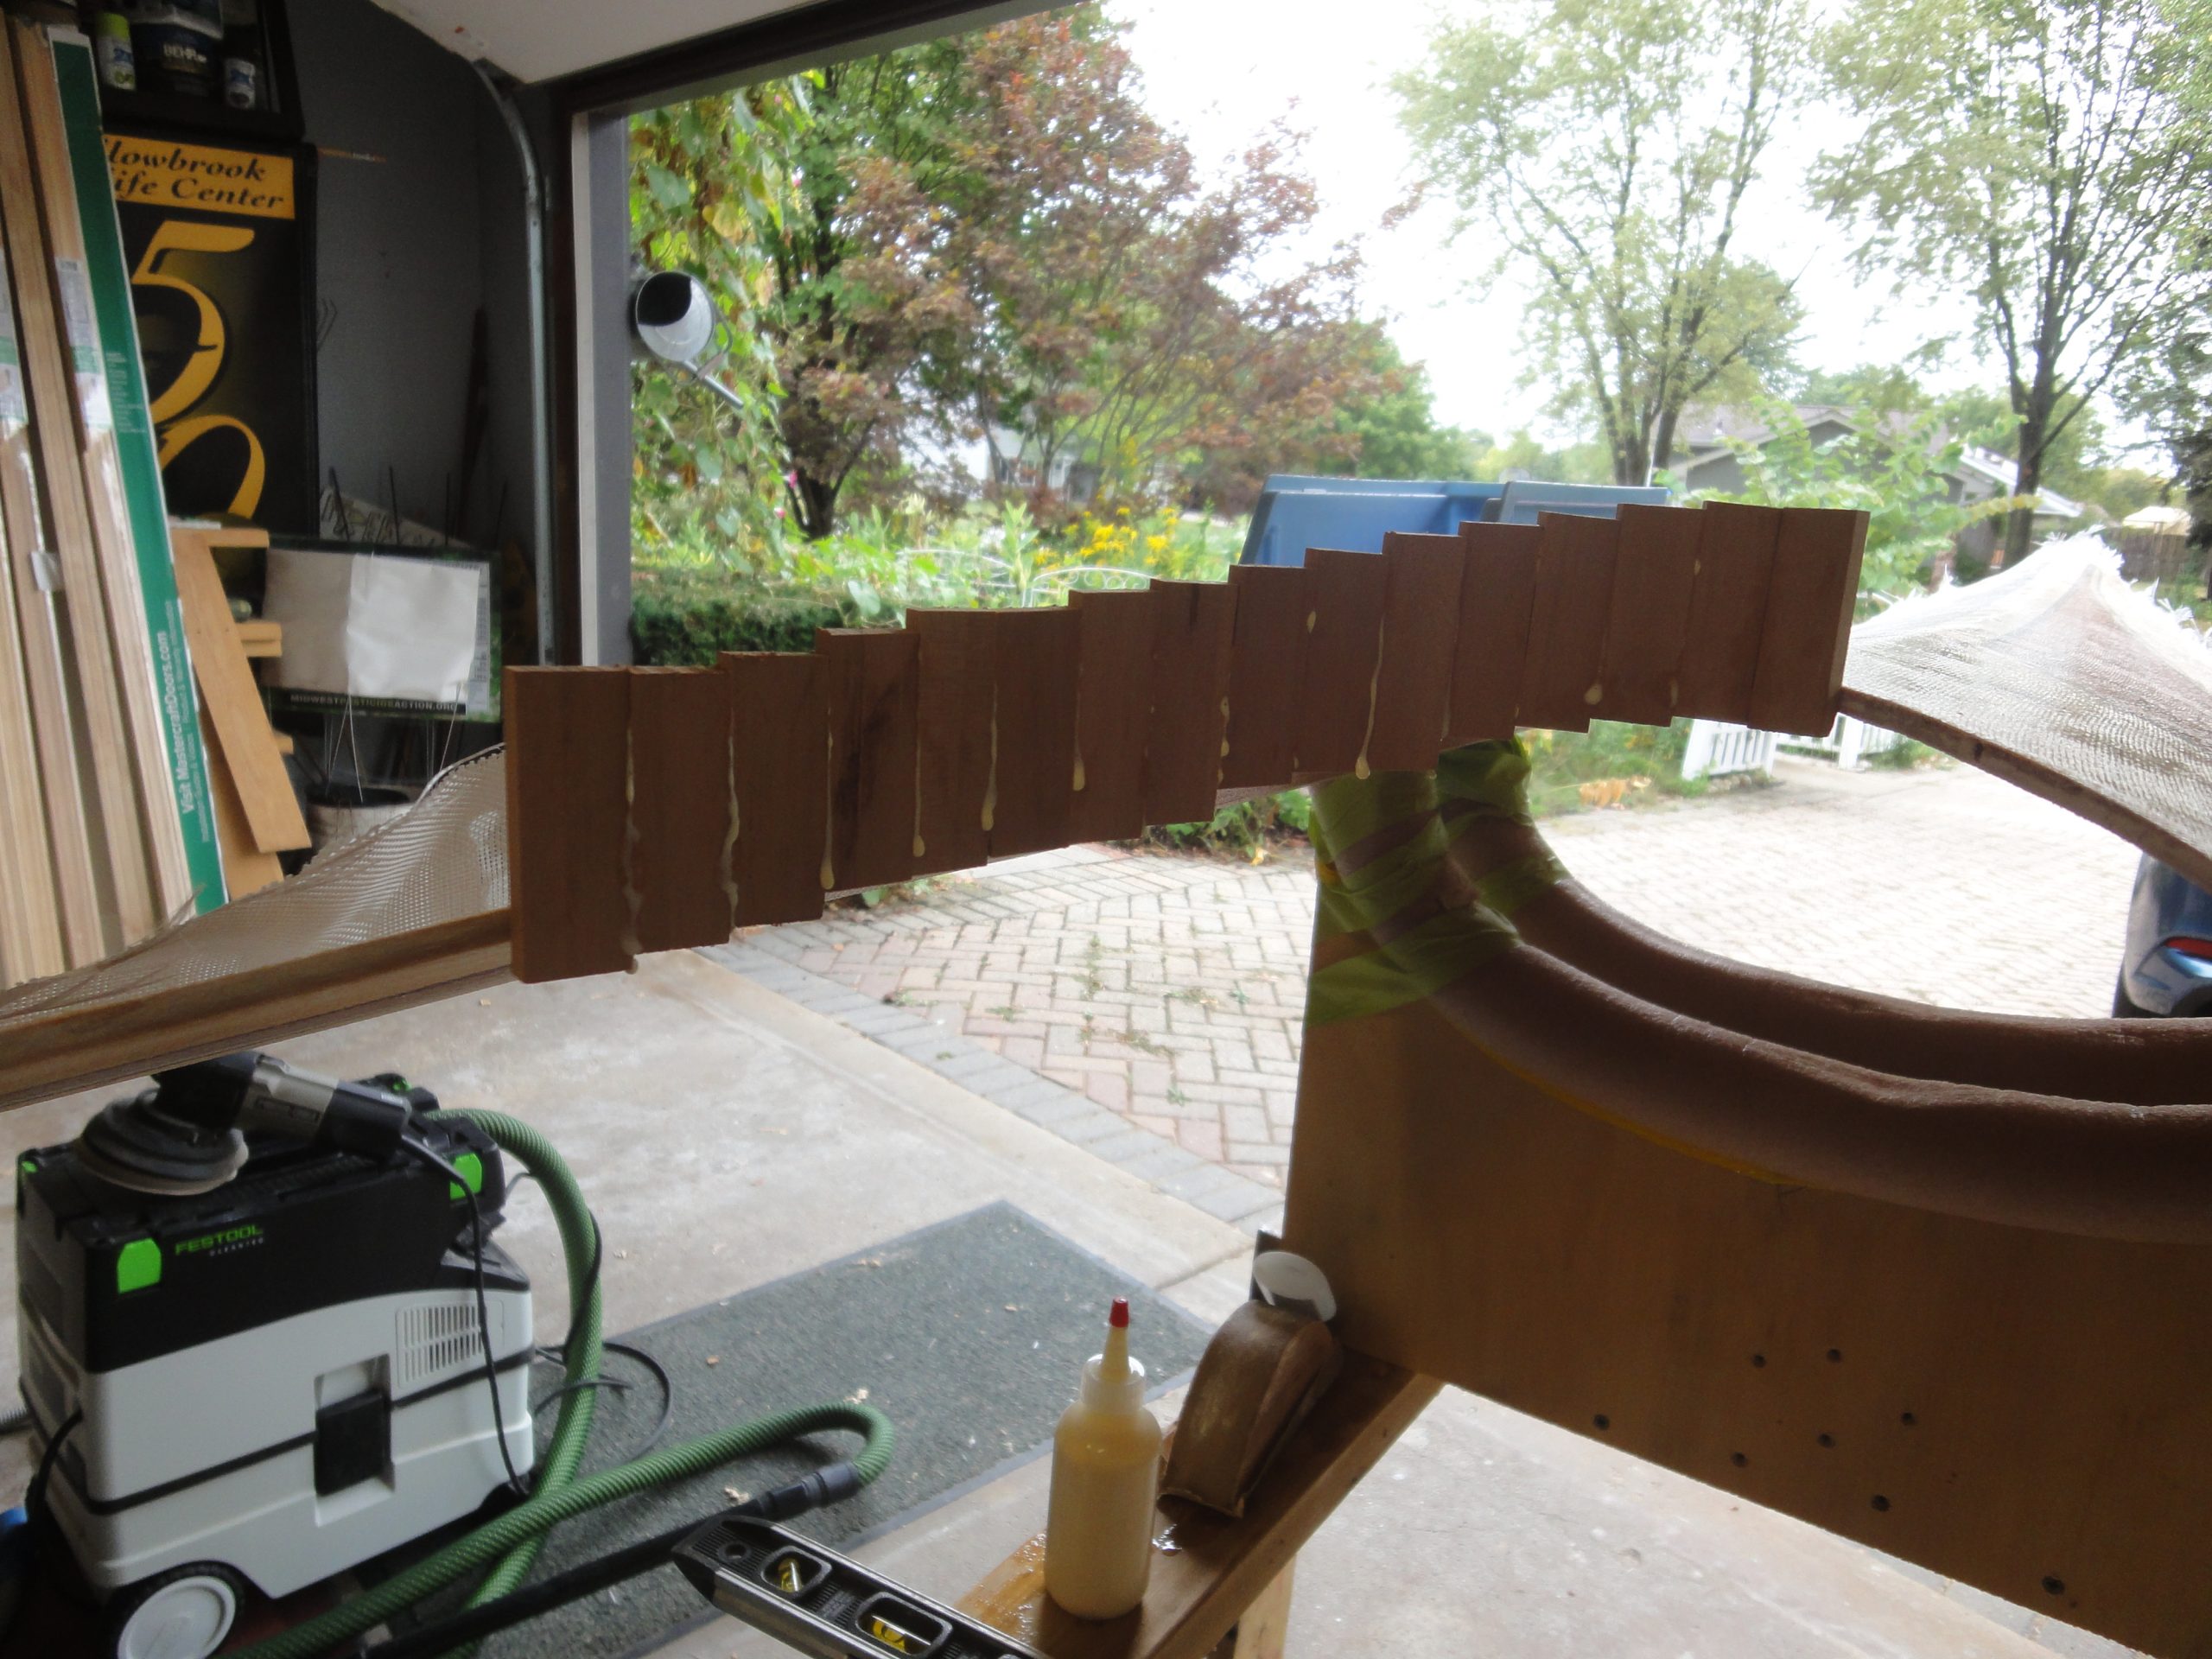

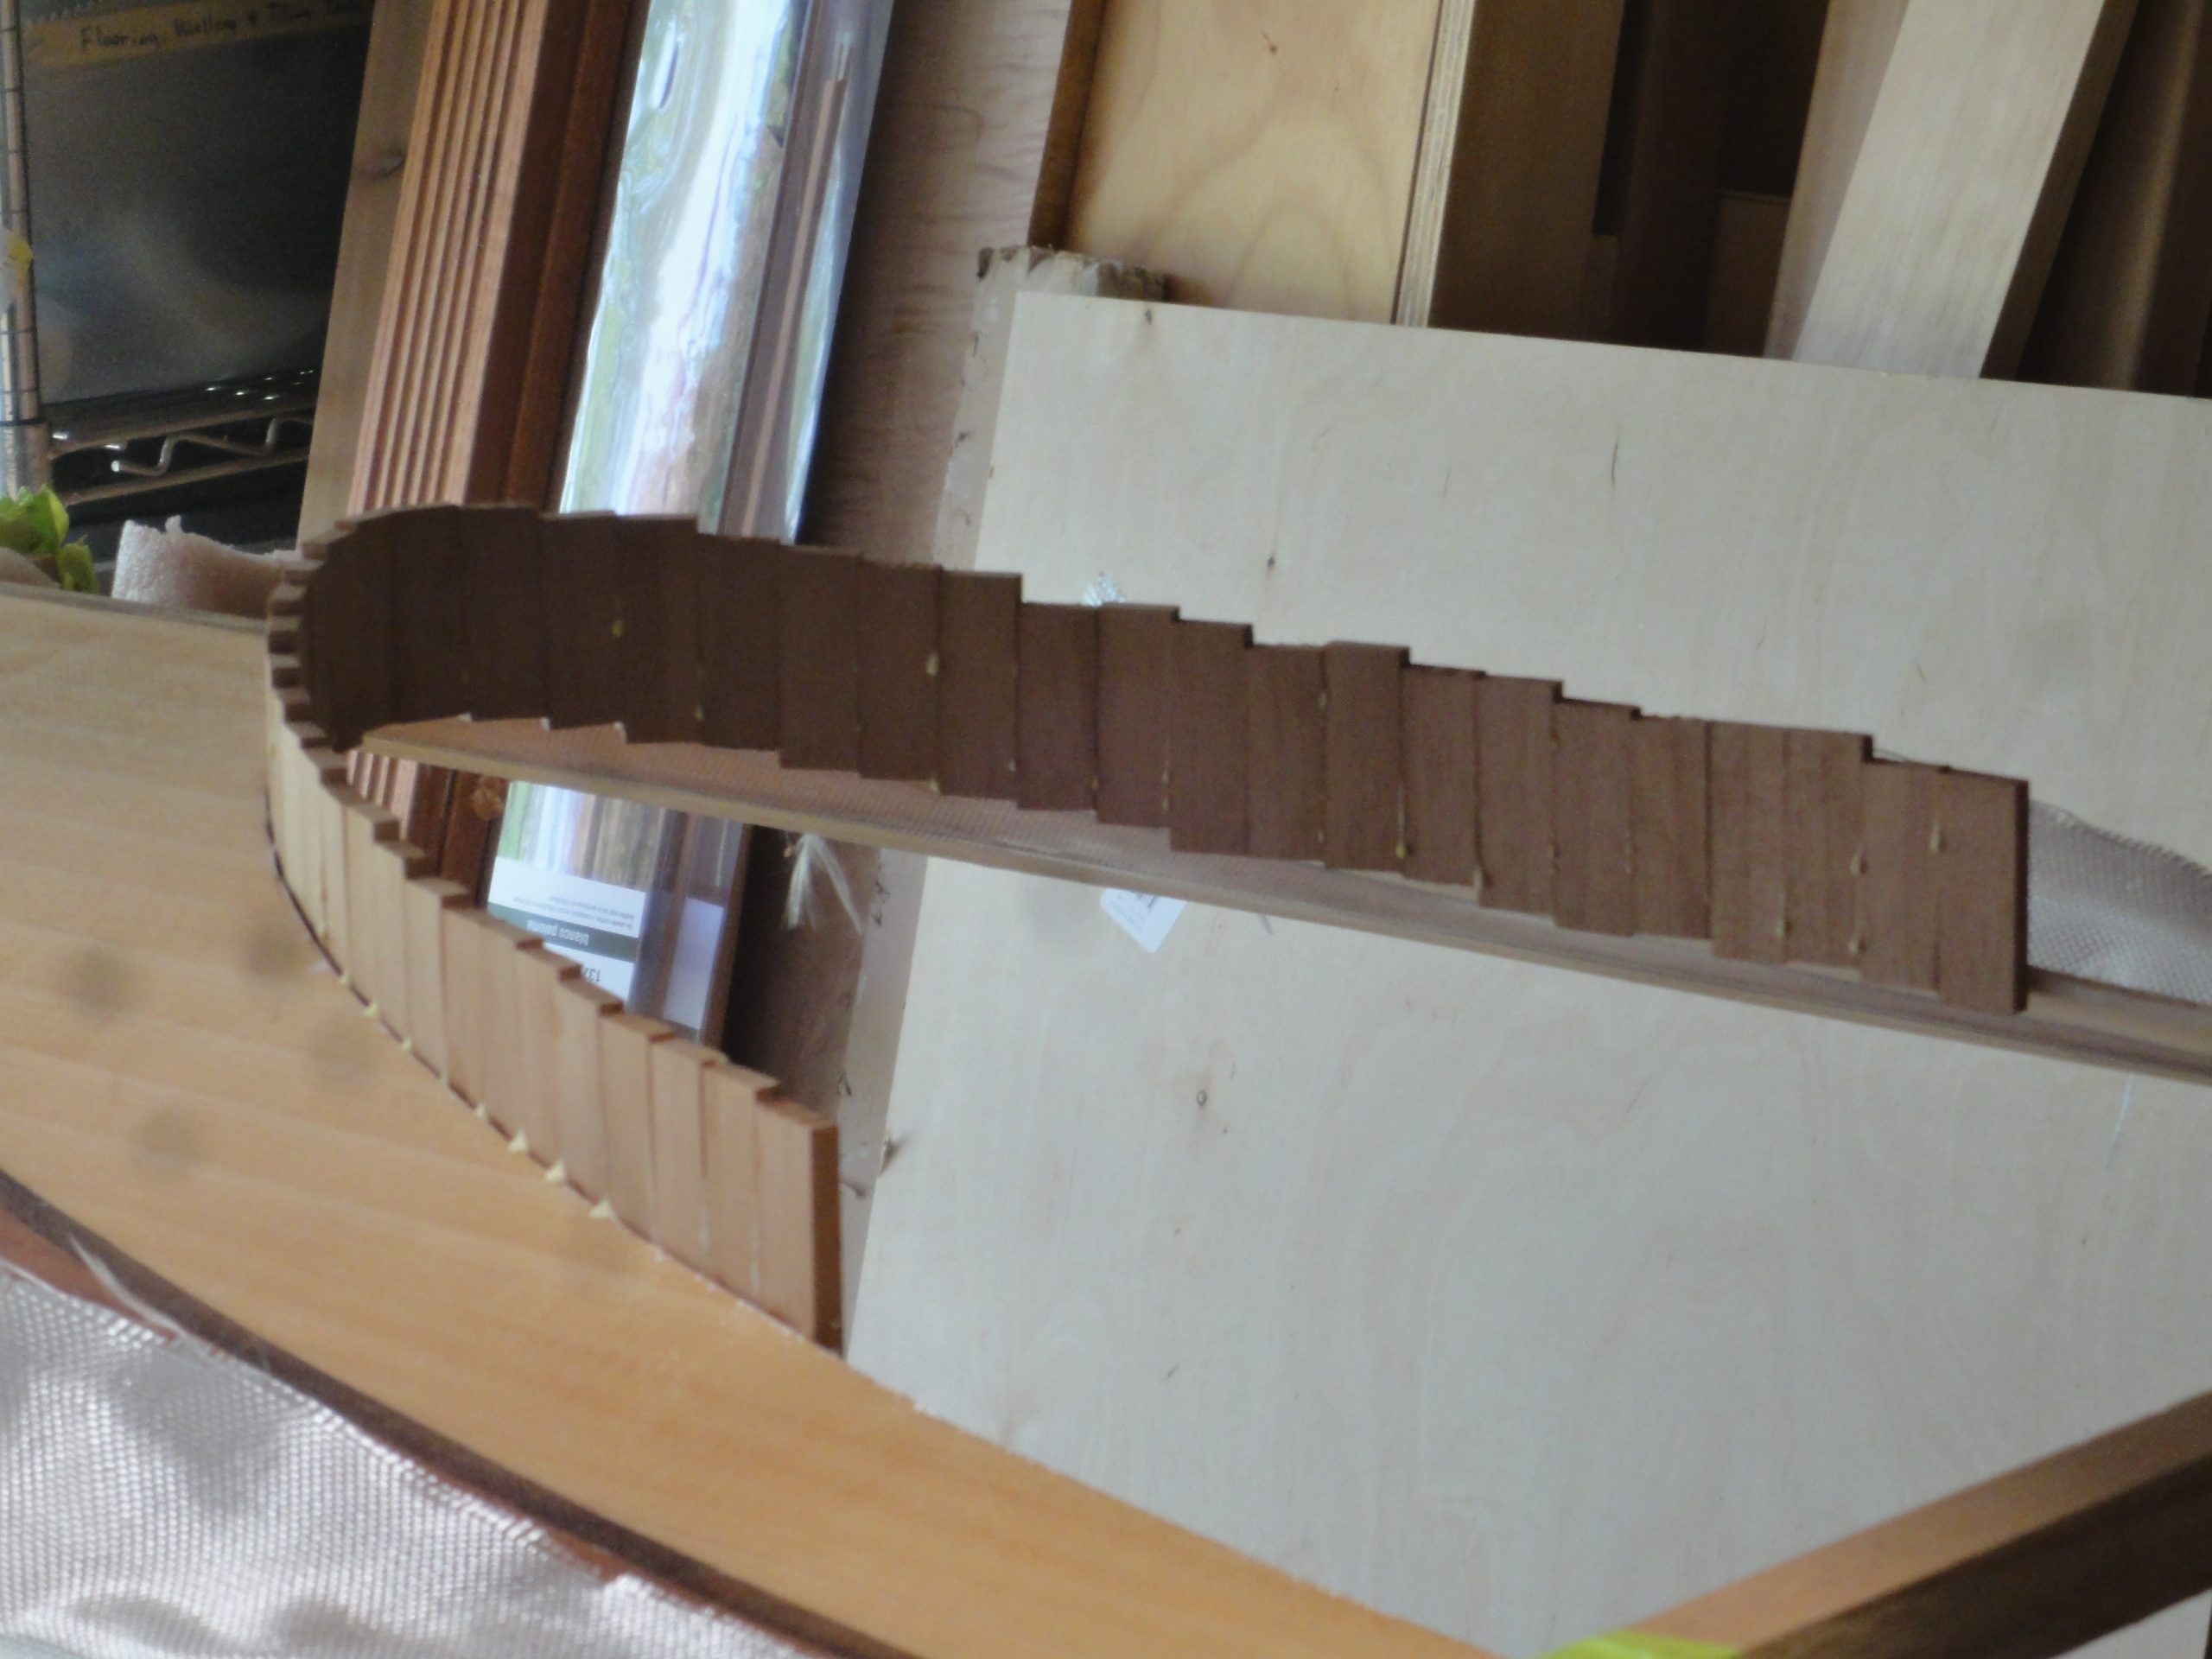
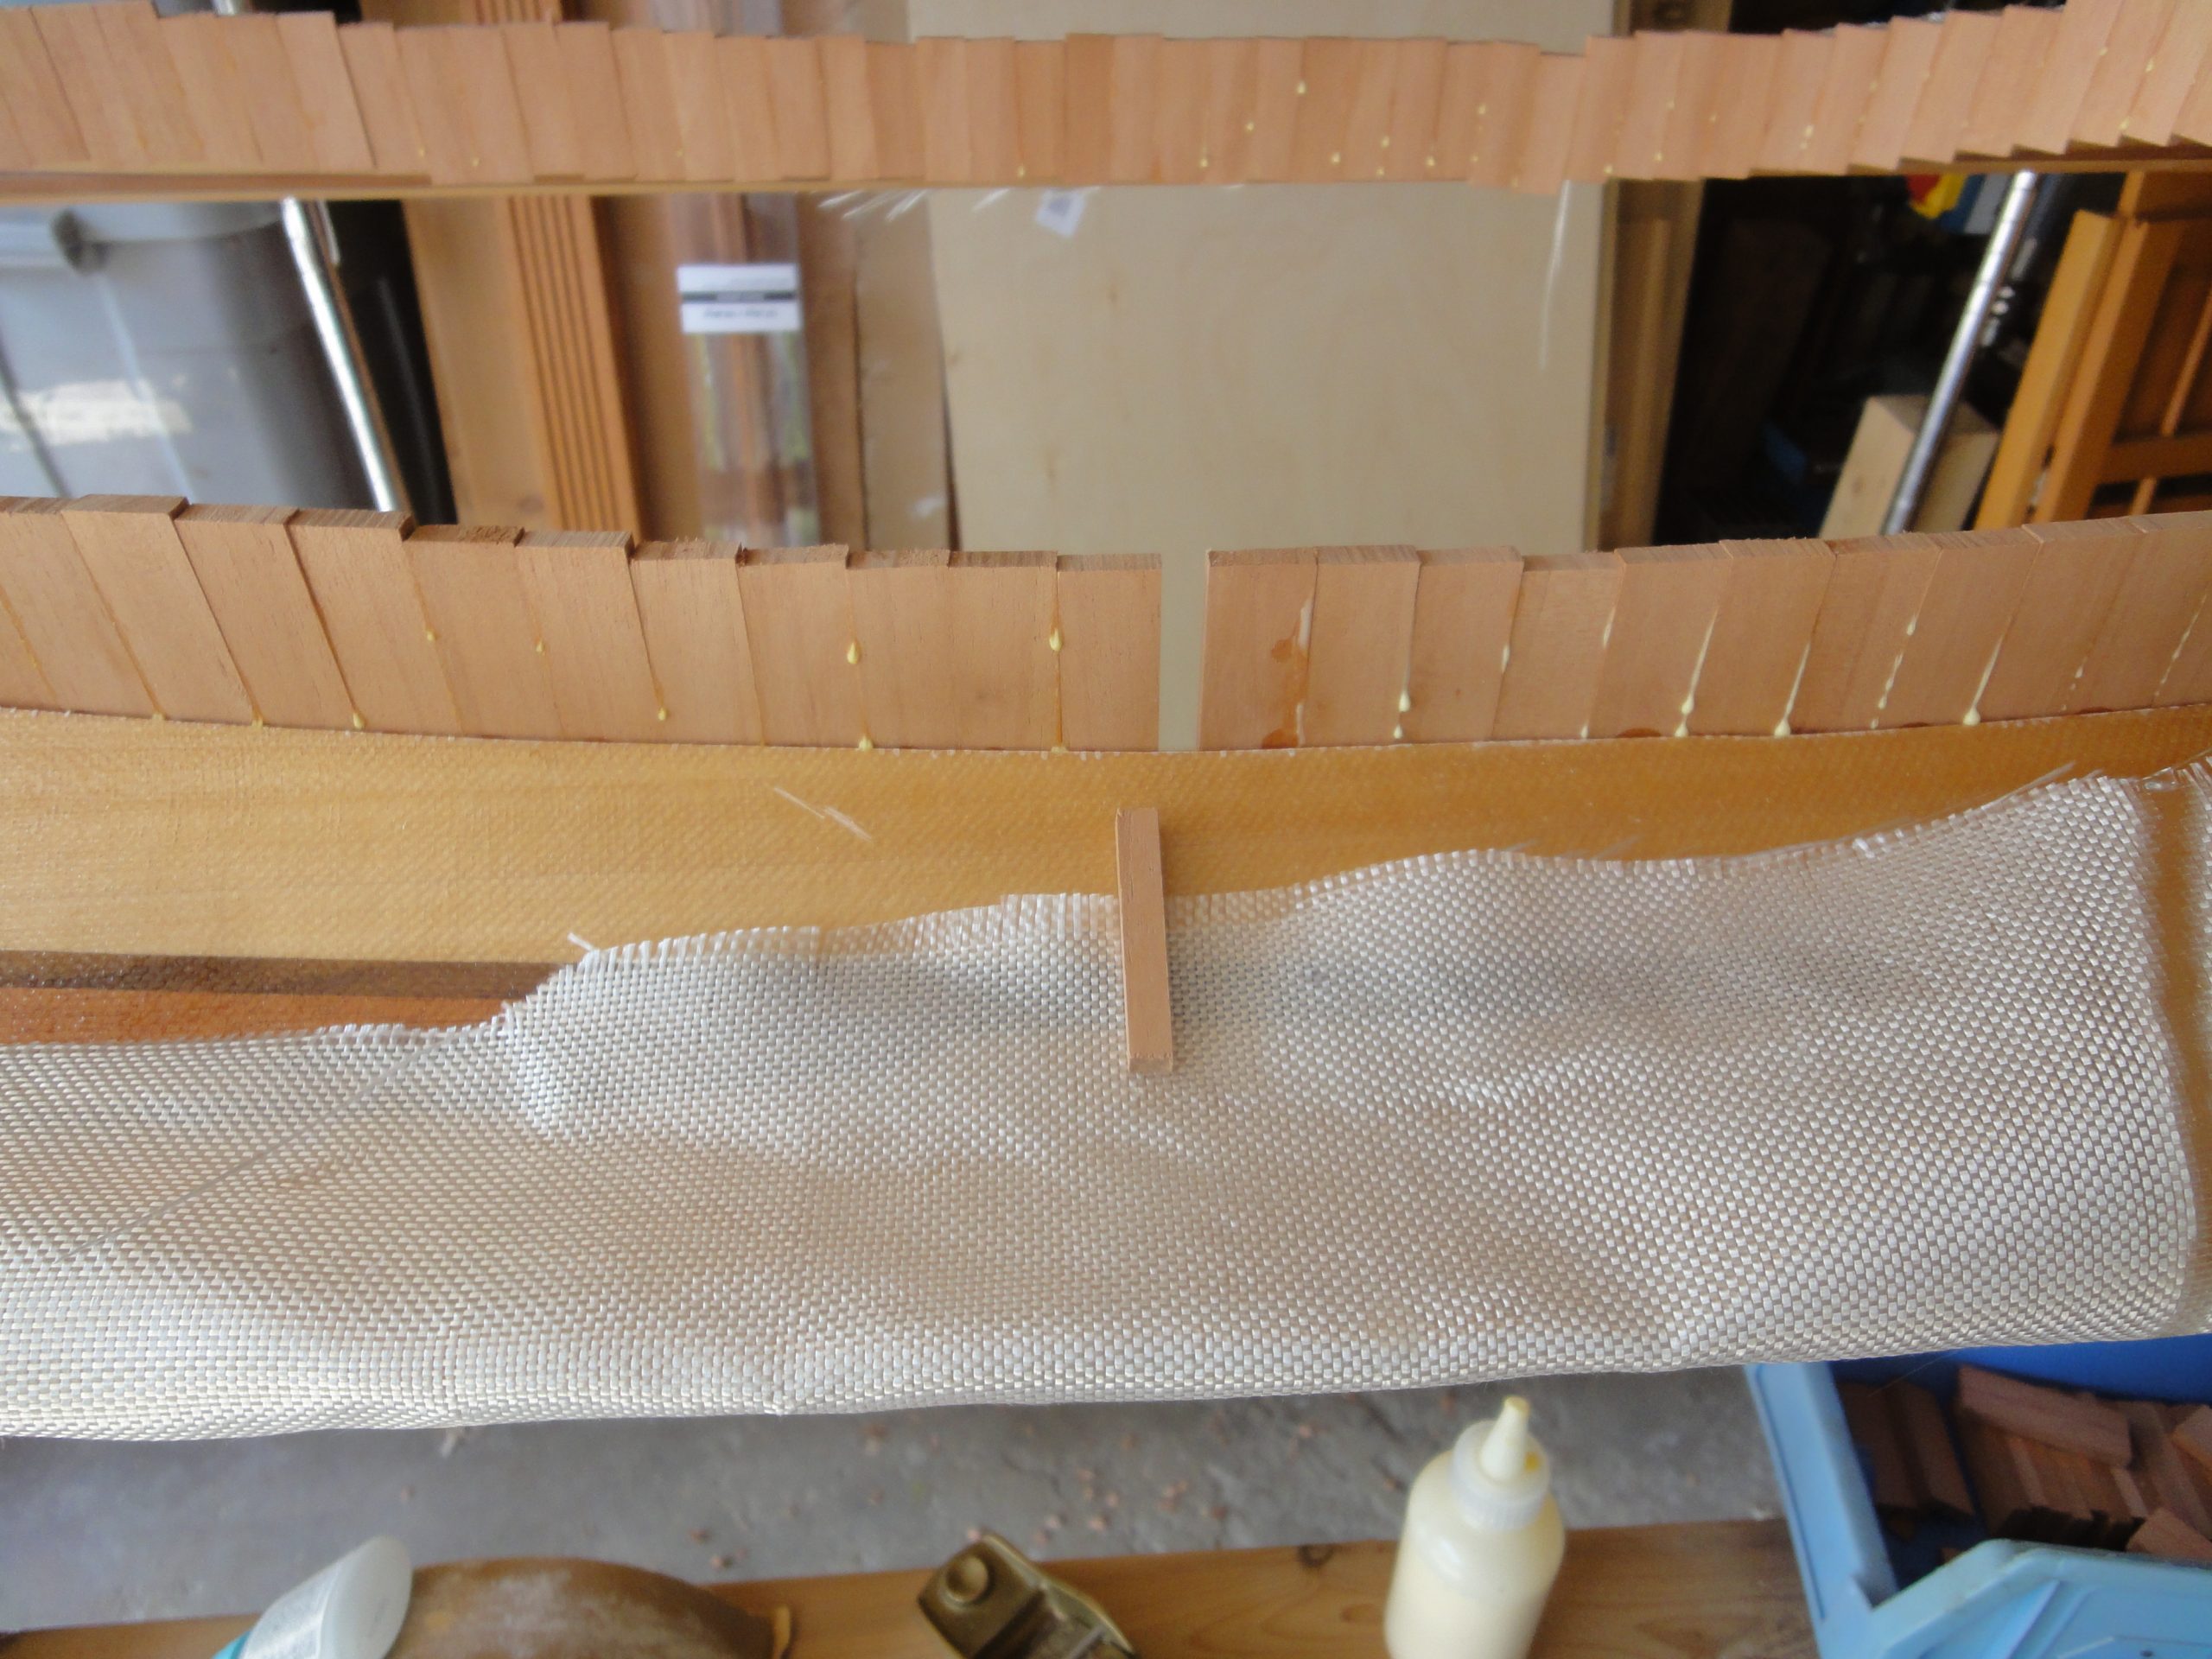
The pieces were added until about the half way point at which time I started over from the other end. The goal was to meet in the middle and put the two odd shaped pieces in the middle. One was just a slight bit less than full and the other was quite a bit smaller.

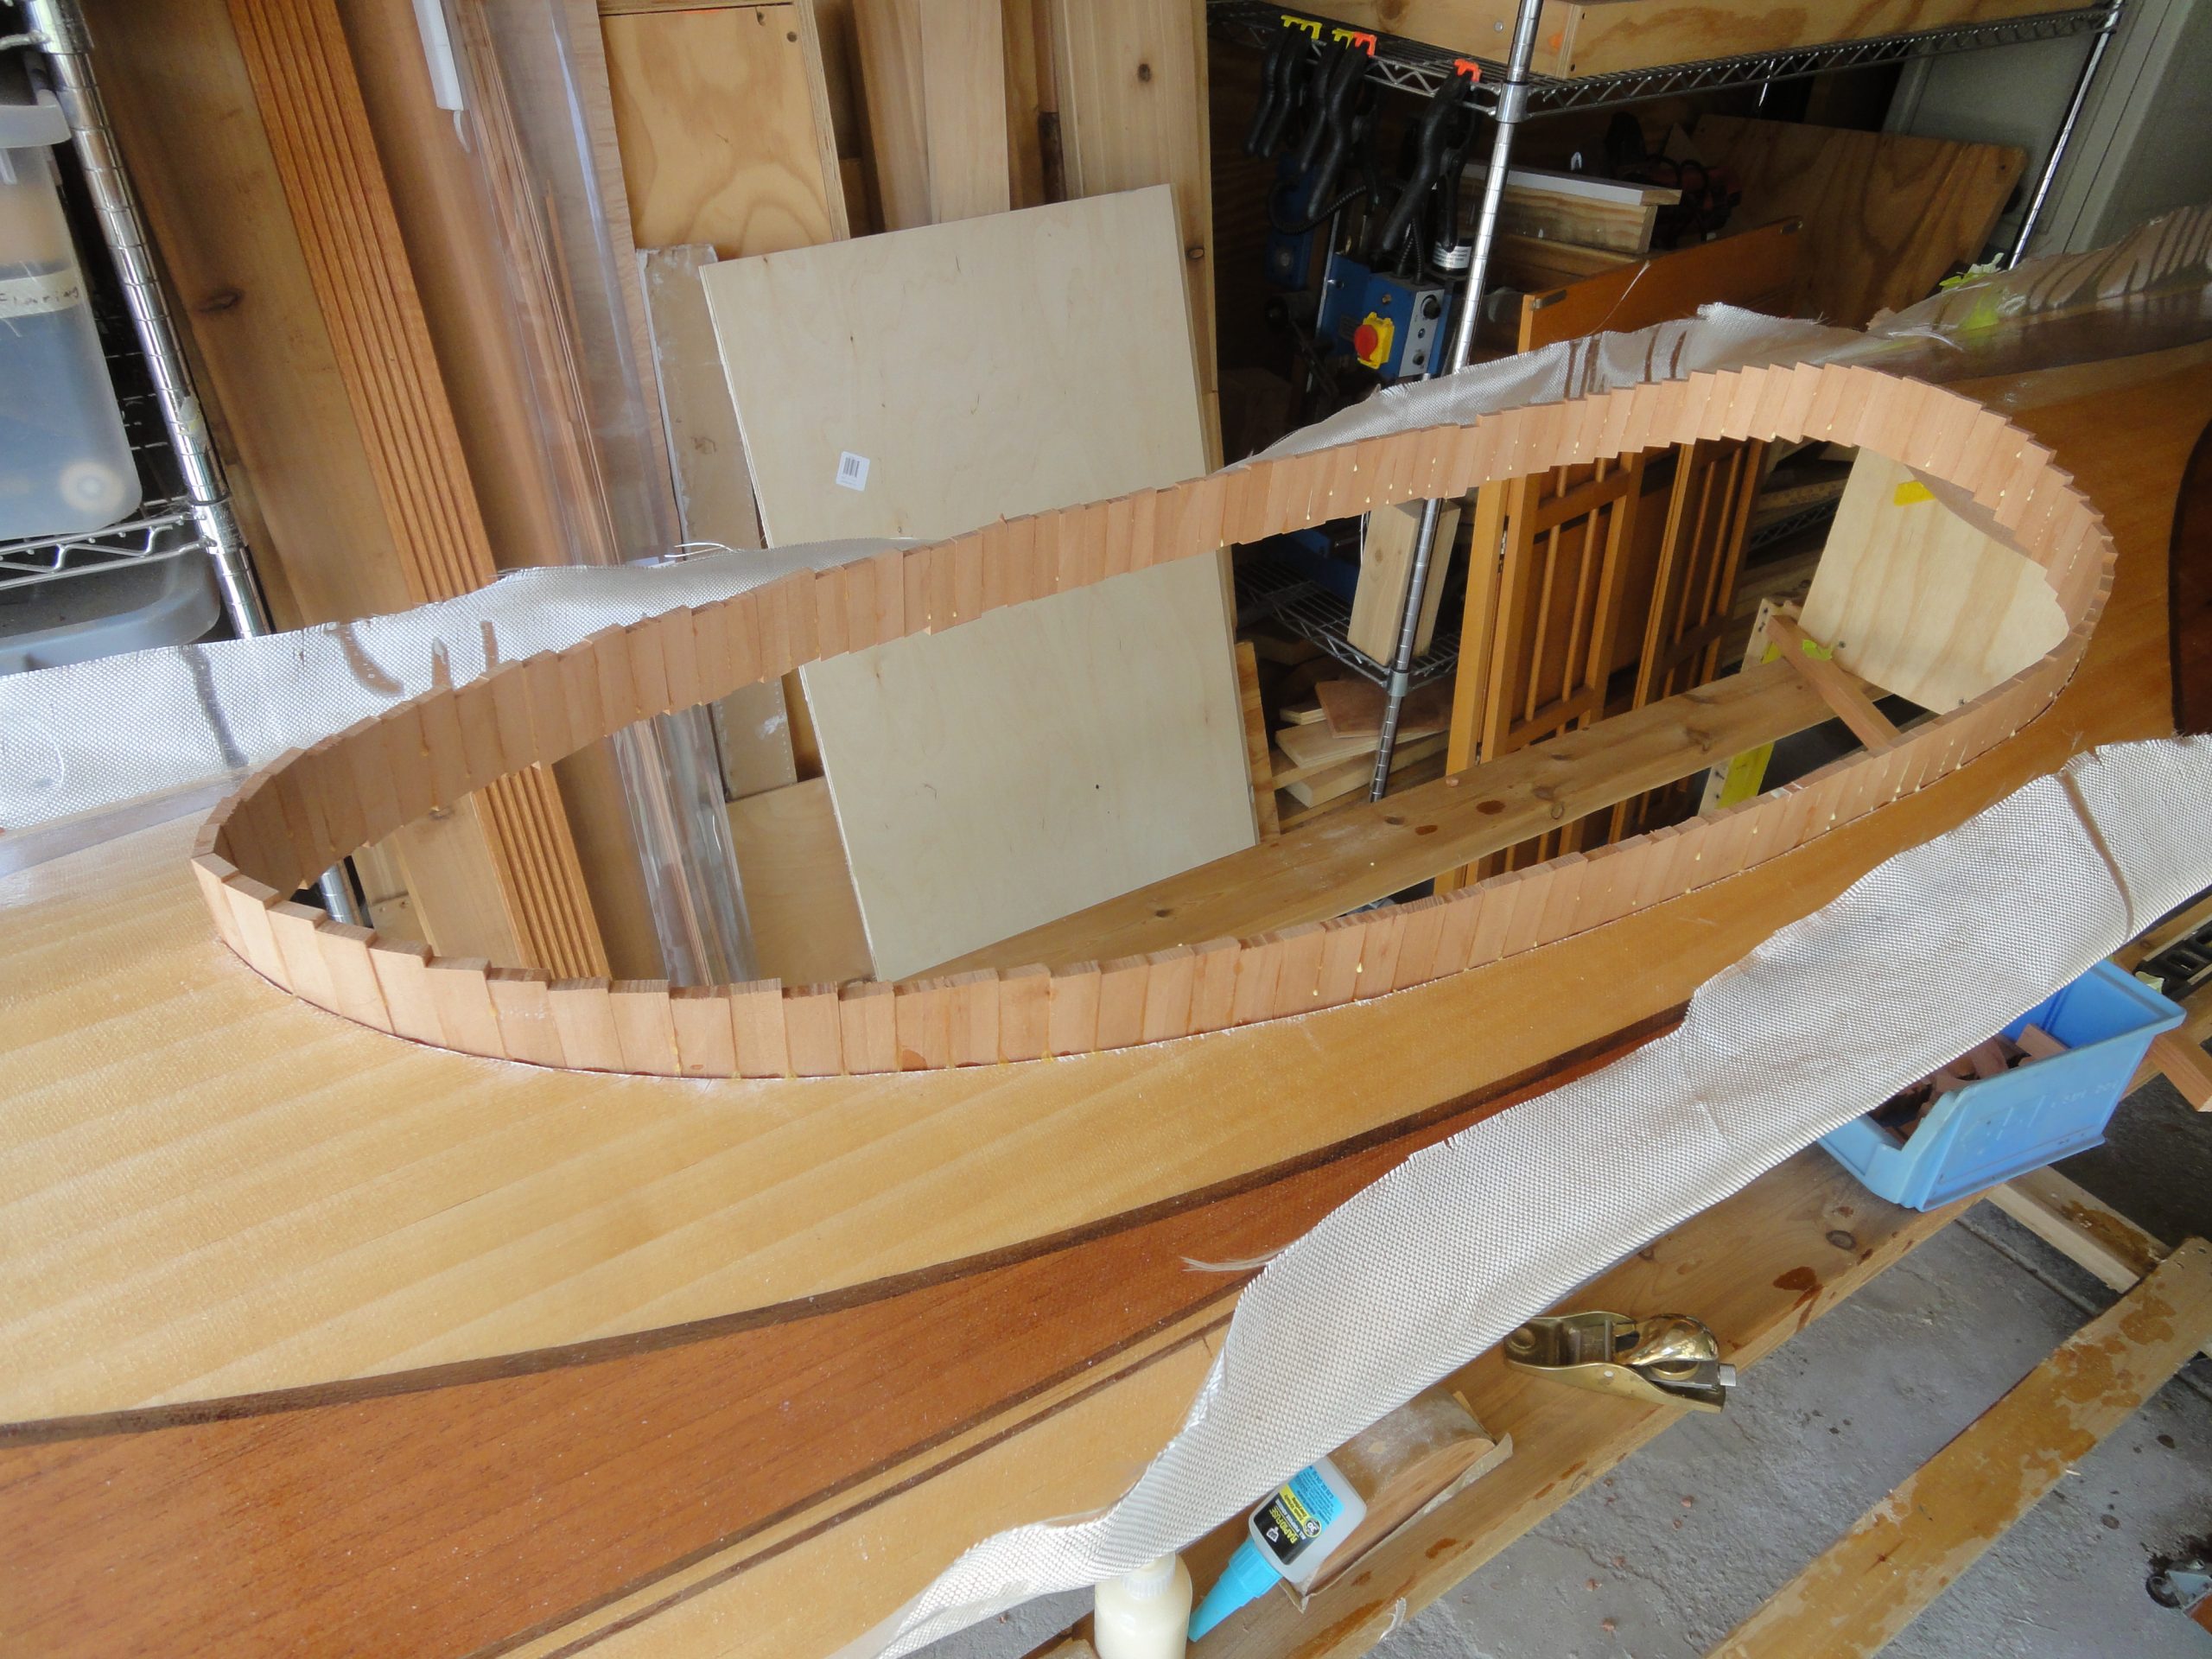
Overall this part actually went easier than I expected. Once it dries the next steps will be to trim the bottom flush, trim the top to a consistent height over the deck , sand everything smooth and then apply a fillet of thickened epoxy all the way around where the verticals meet the deck. Then I can move on to the lip itself and of course fiberglassing everything to ensure a strong connection with the deck.