
Today I started by marking 1 inch up along the coaming. This should be the top of the lip but to have a little extra working room I cut above the line trimming the ragged end off.
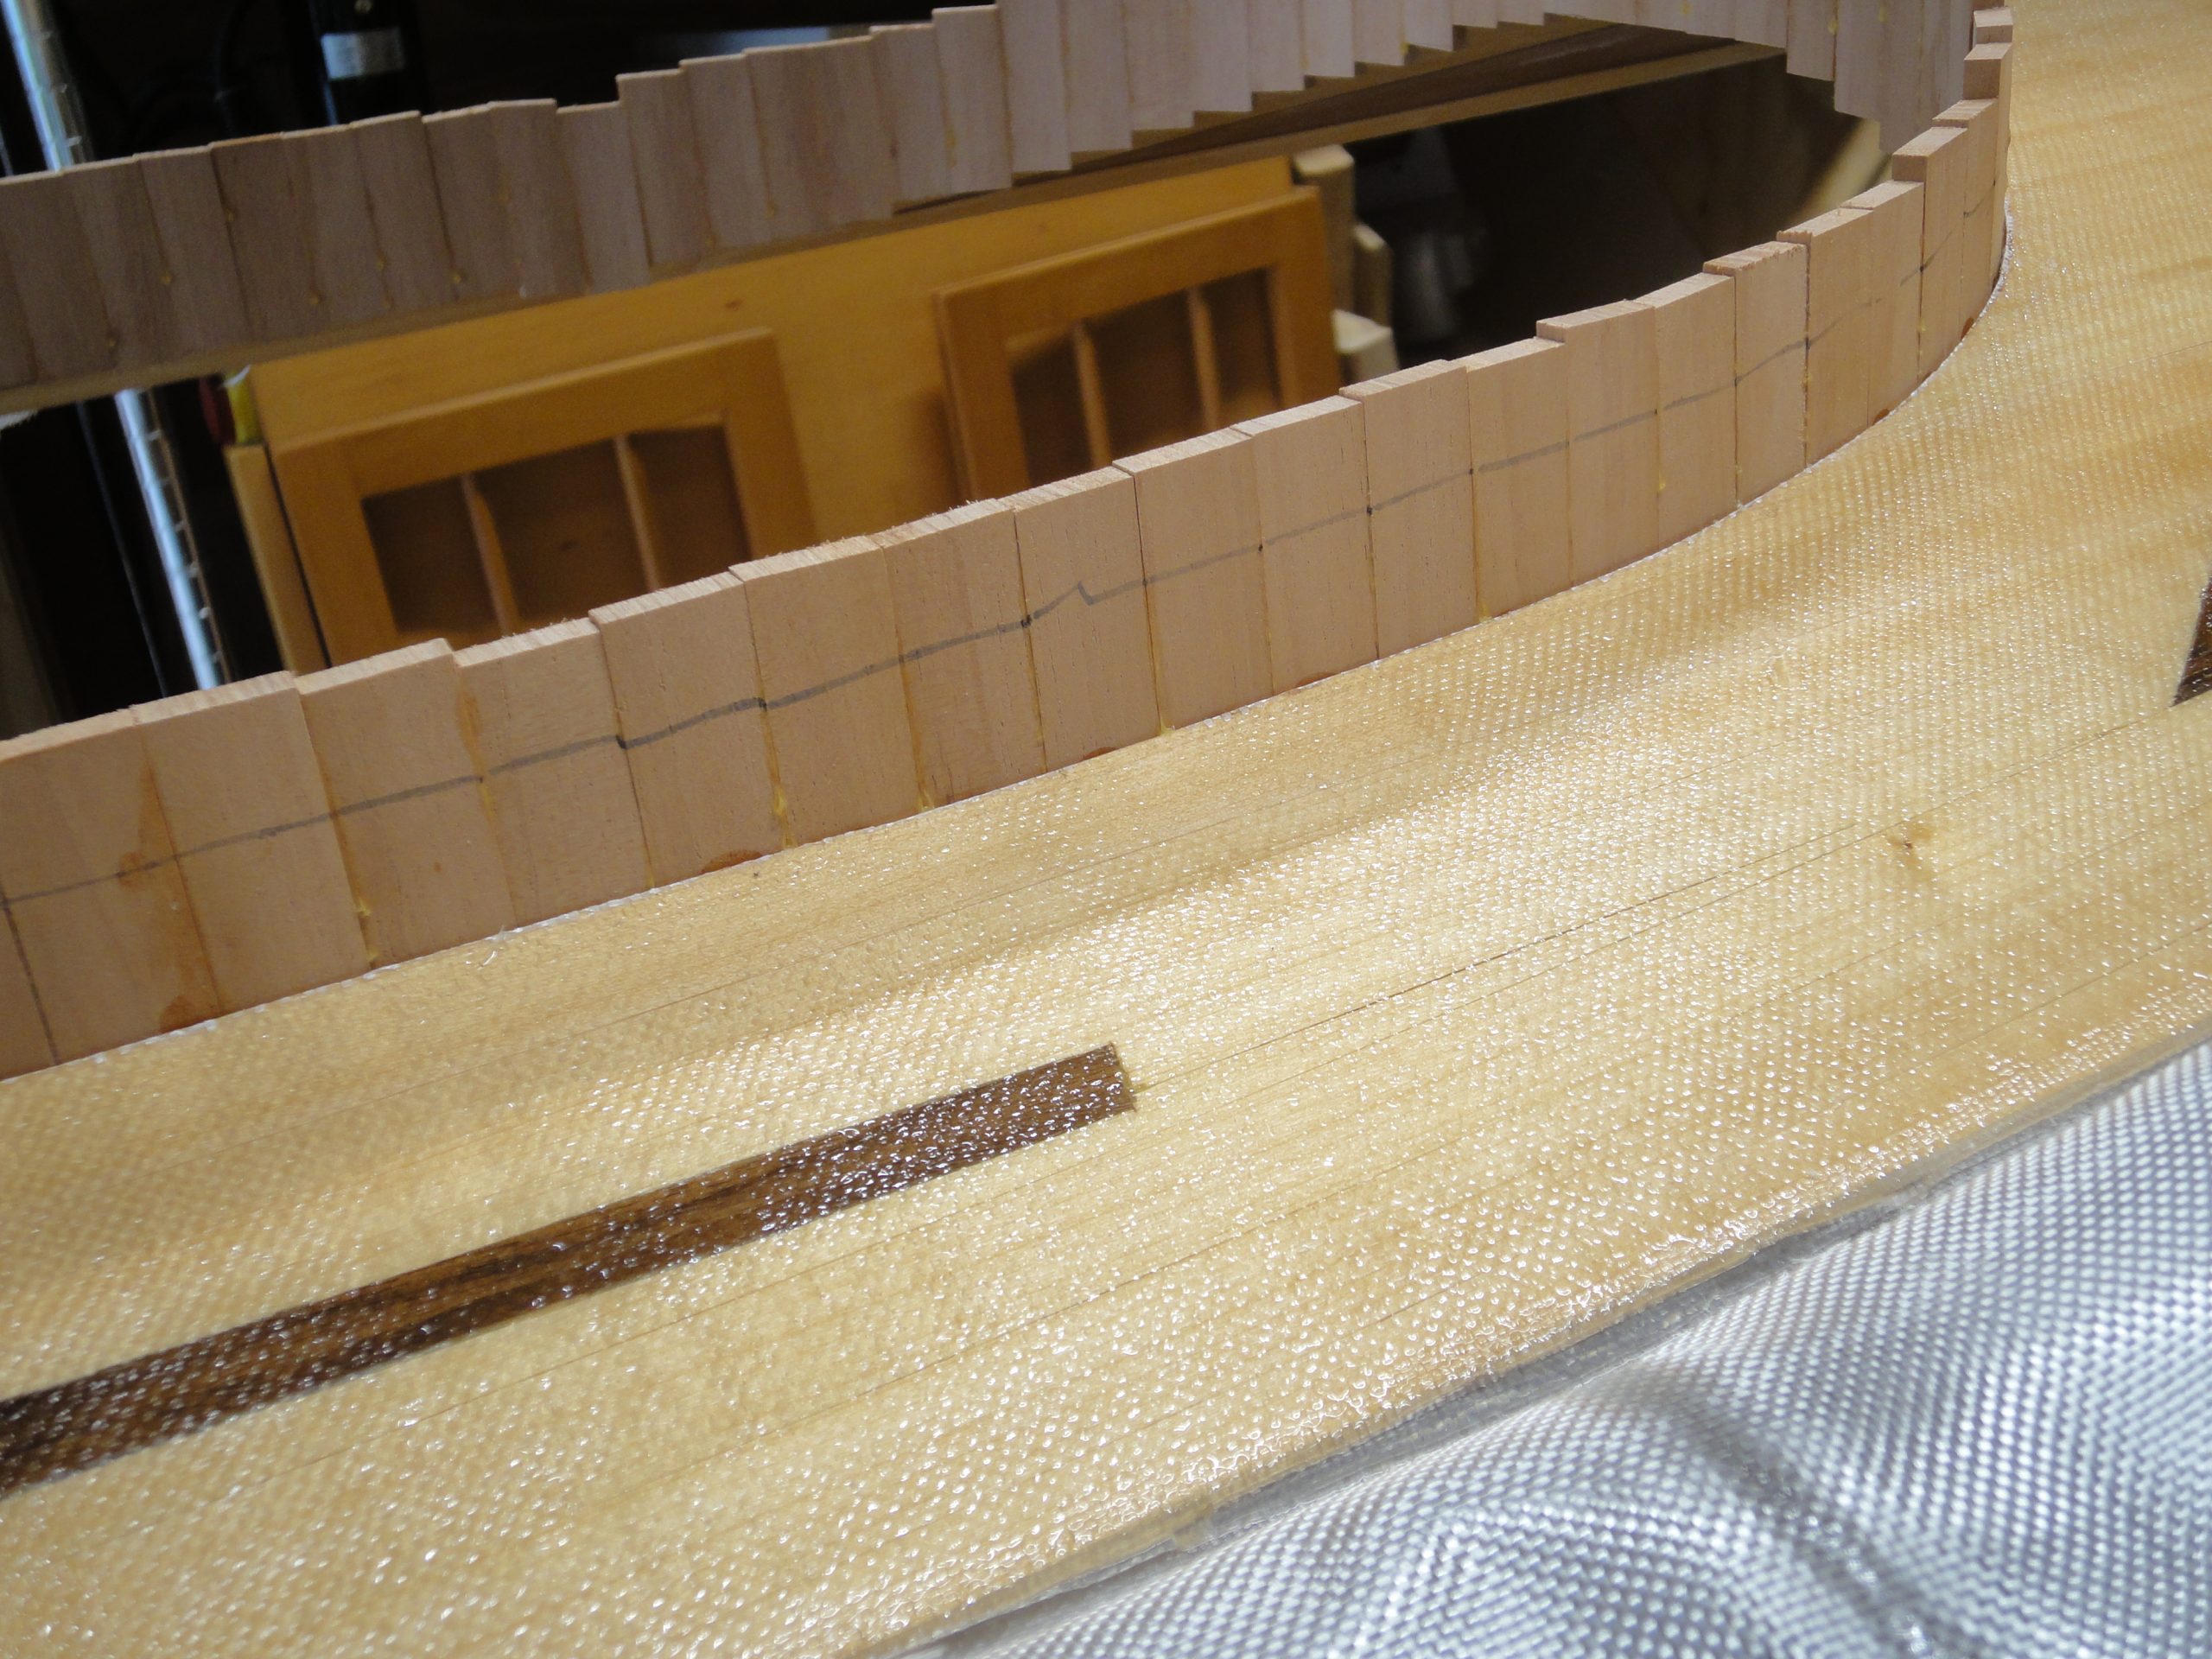
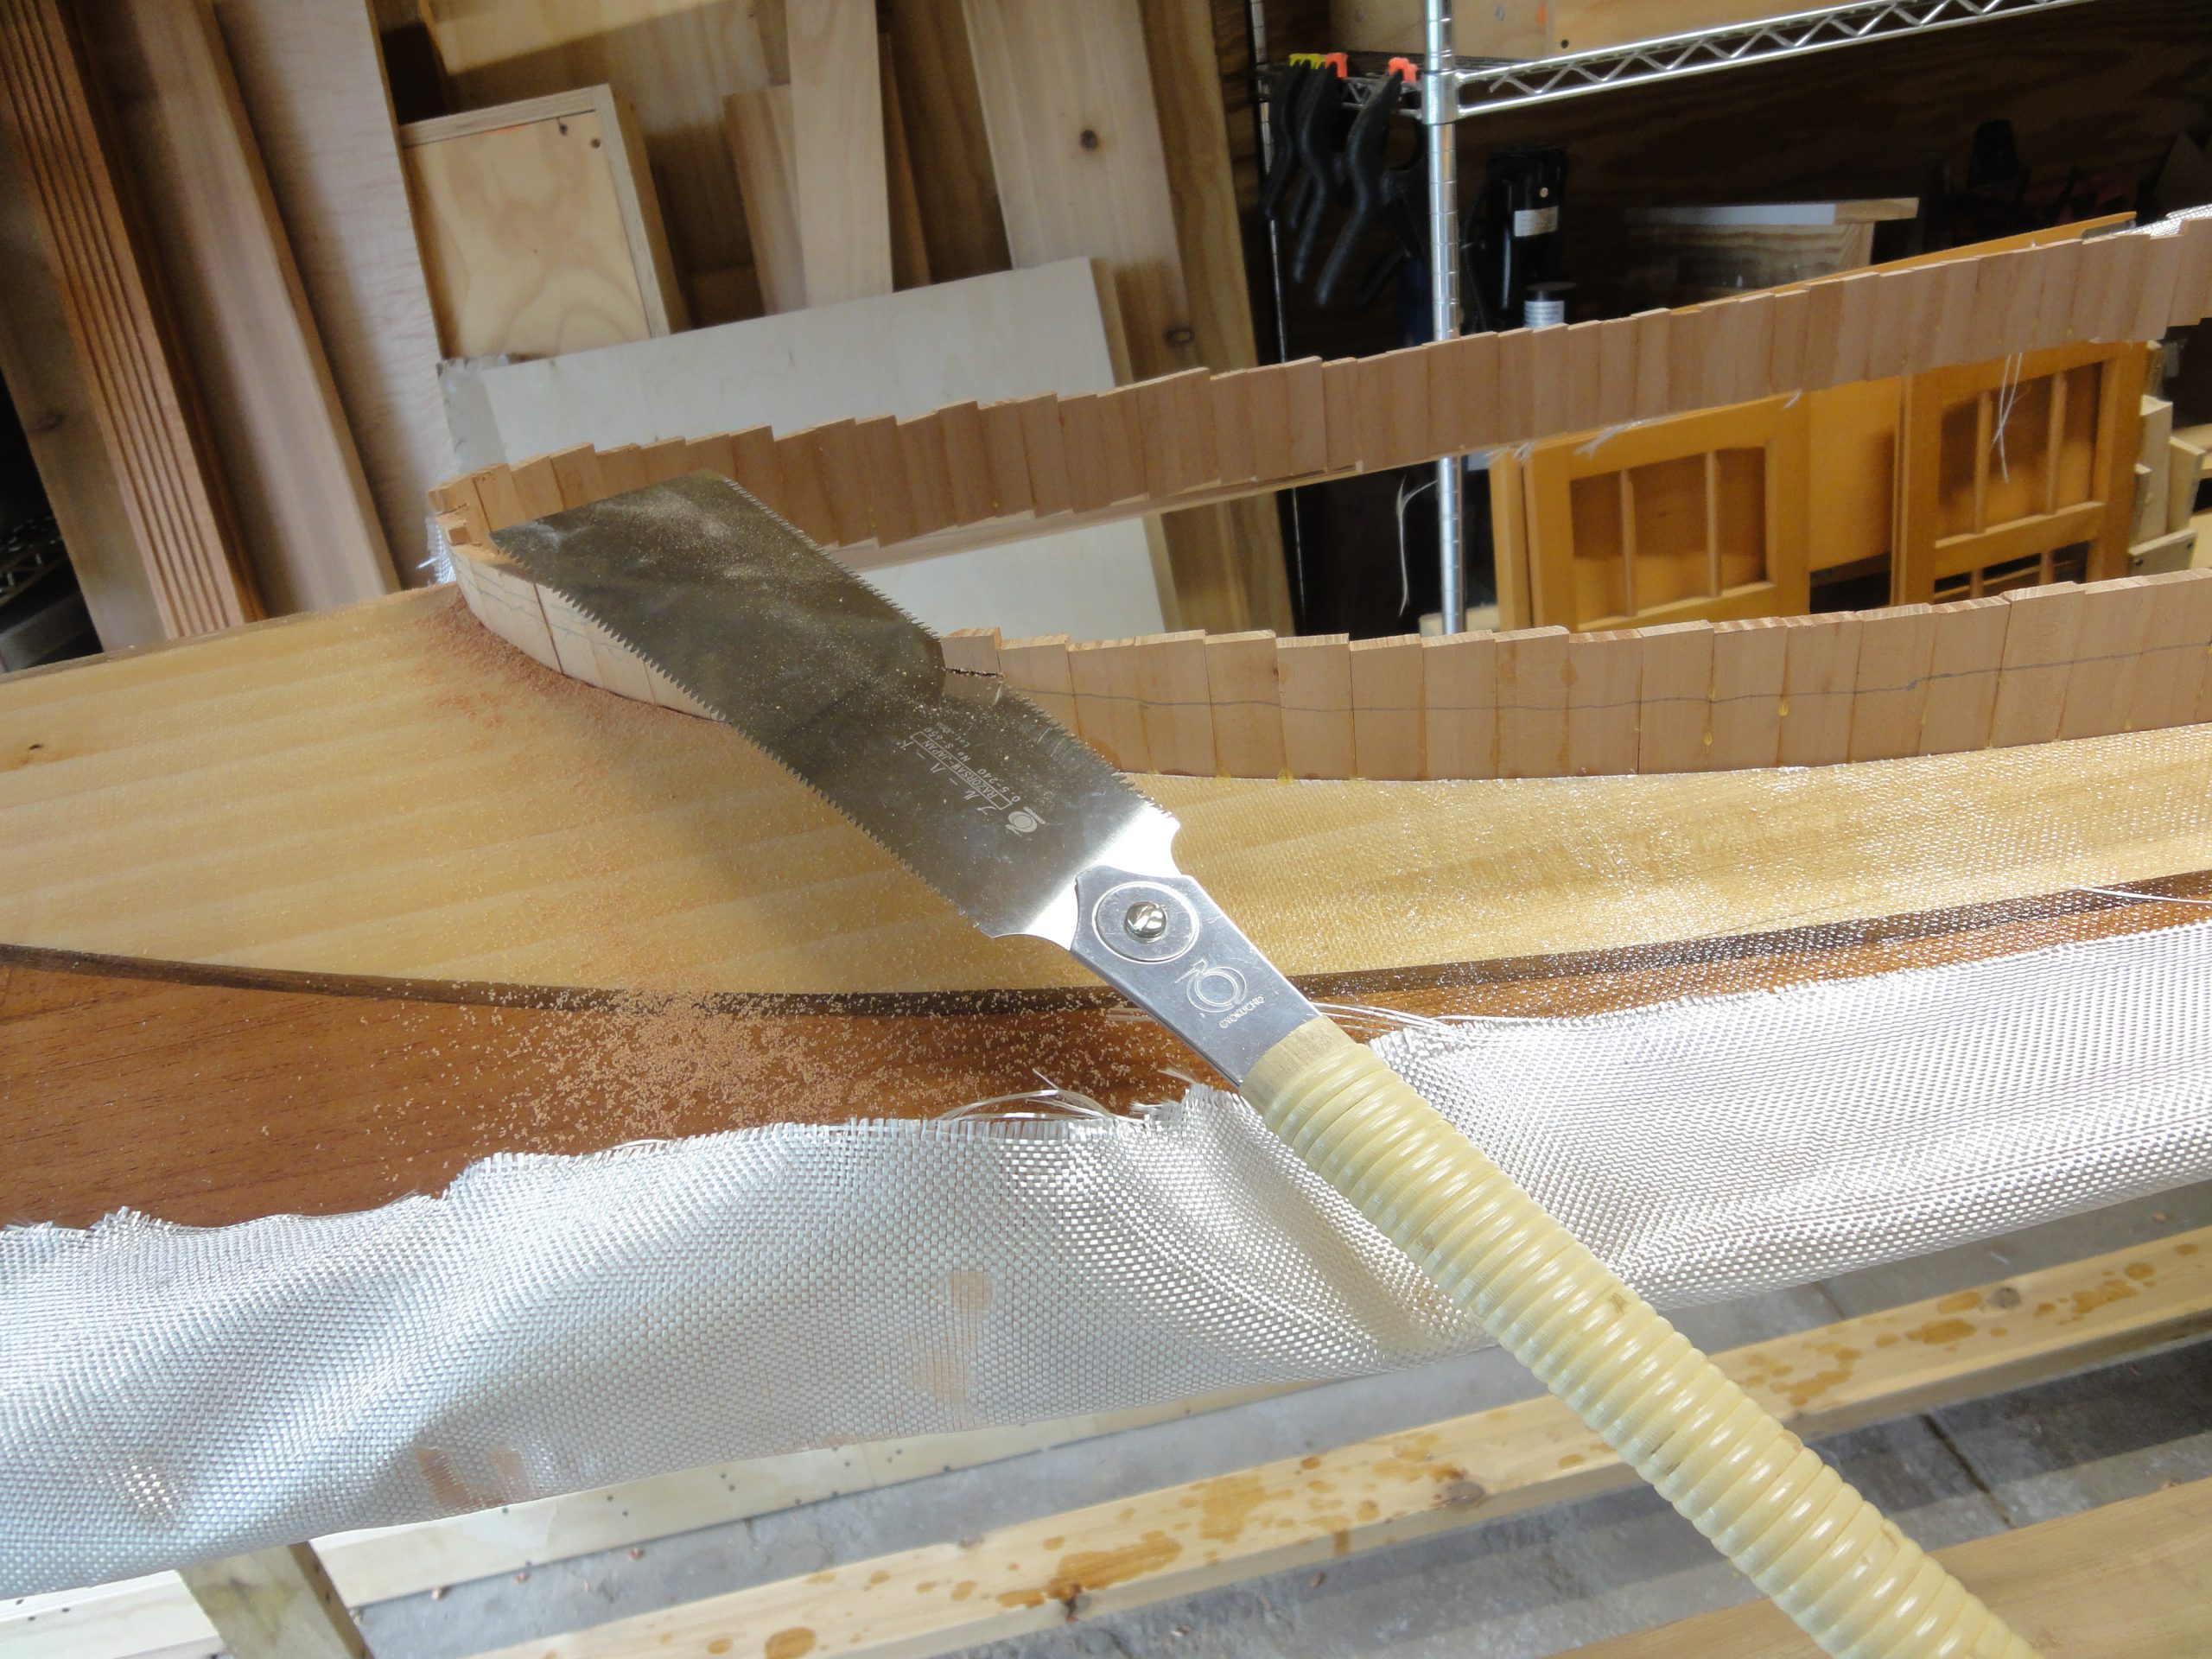

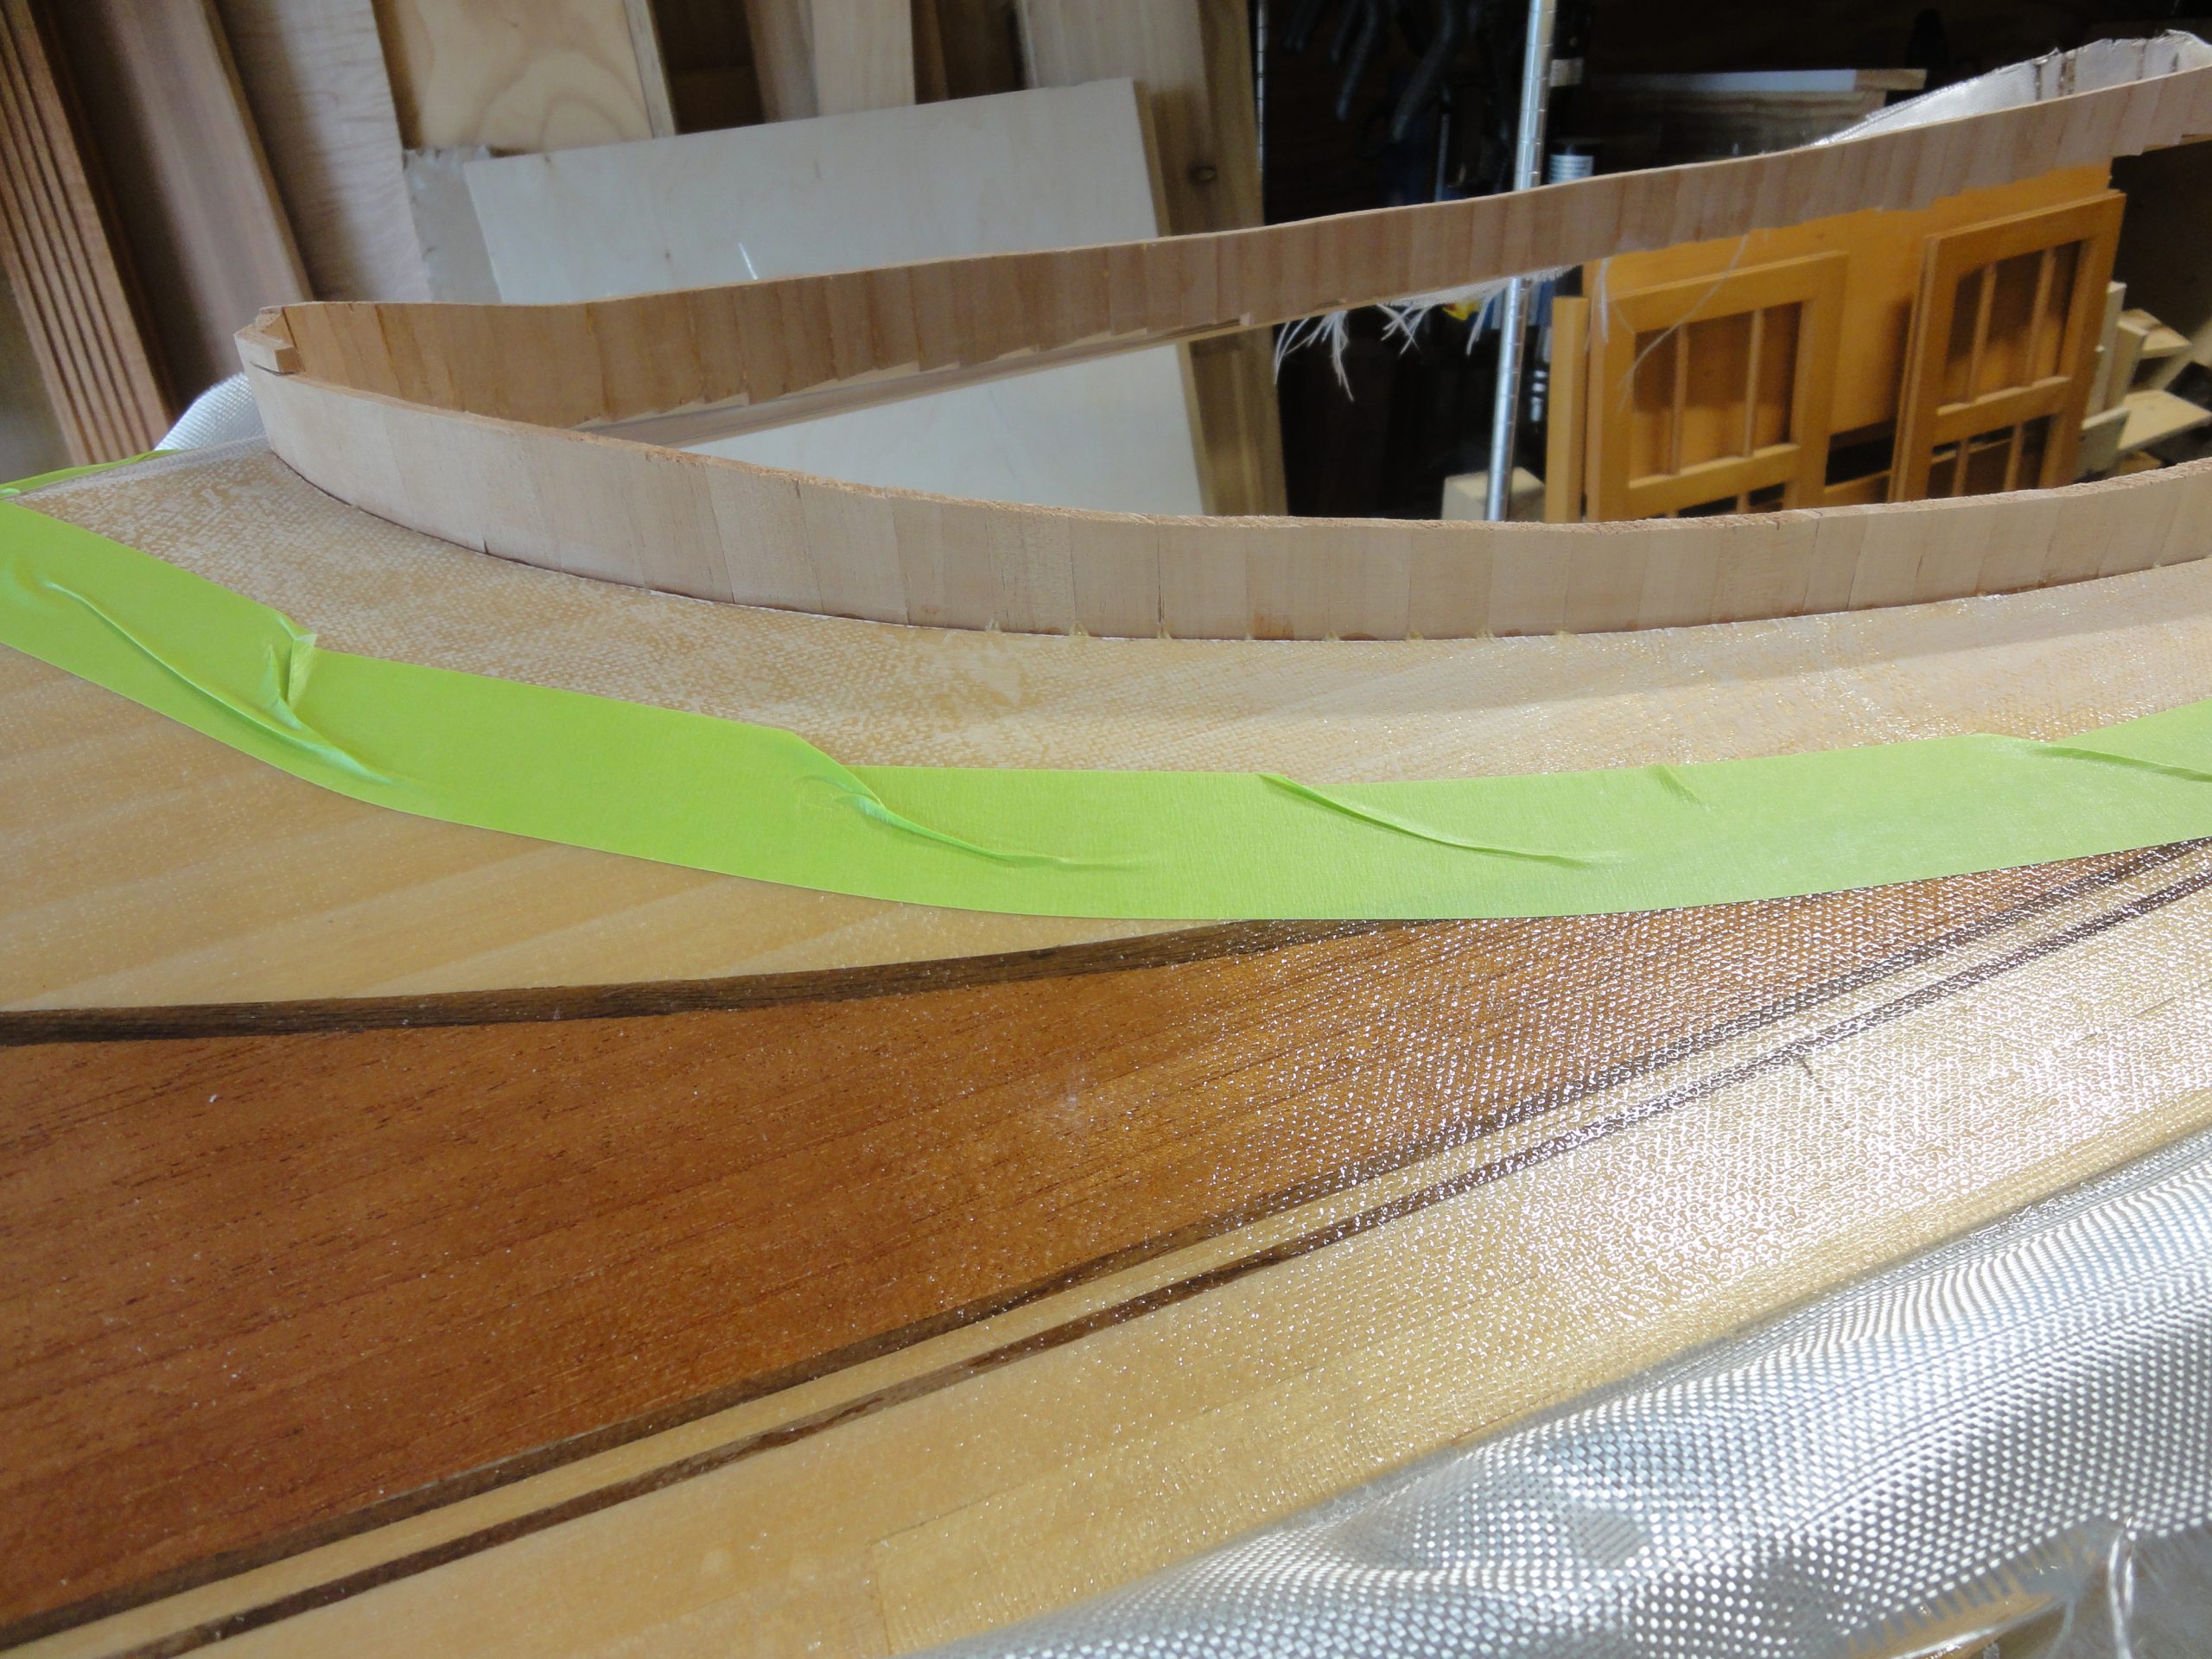
Most processes seem to involve sanding. This was no exception as I sanded to clean up the surface and make it smooth and fair. Given the short height no power options here, instead just some muscle to sand it smooth and remove any ridges between the strips. Once smooth I went ahead and sanded a few inches of the epoxy/fiberglass on the deck to create a roughened surface to bond with. Finally a strip of tape a little over an inch from the coaming was applied to the deck all the way around.

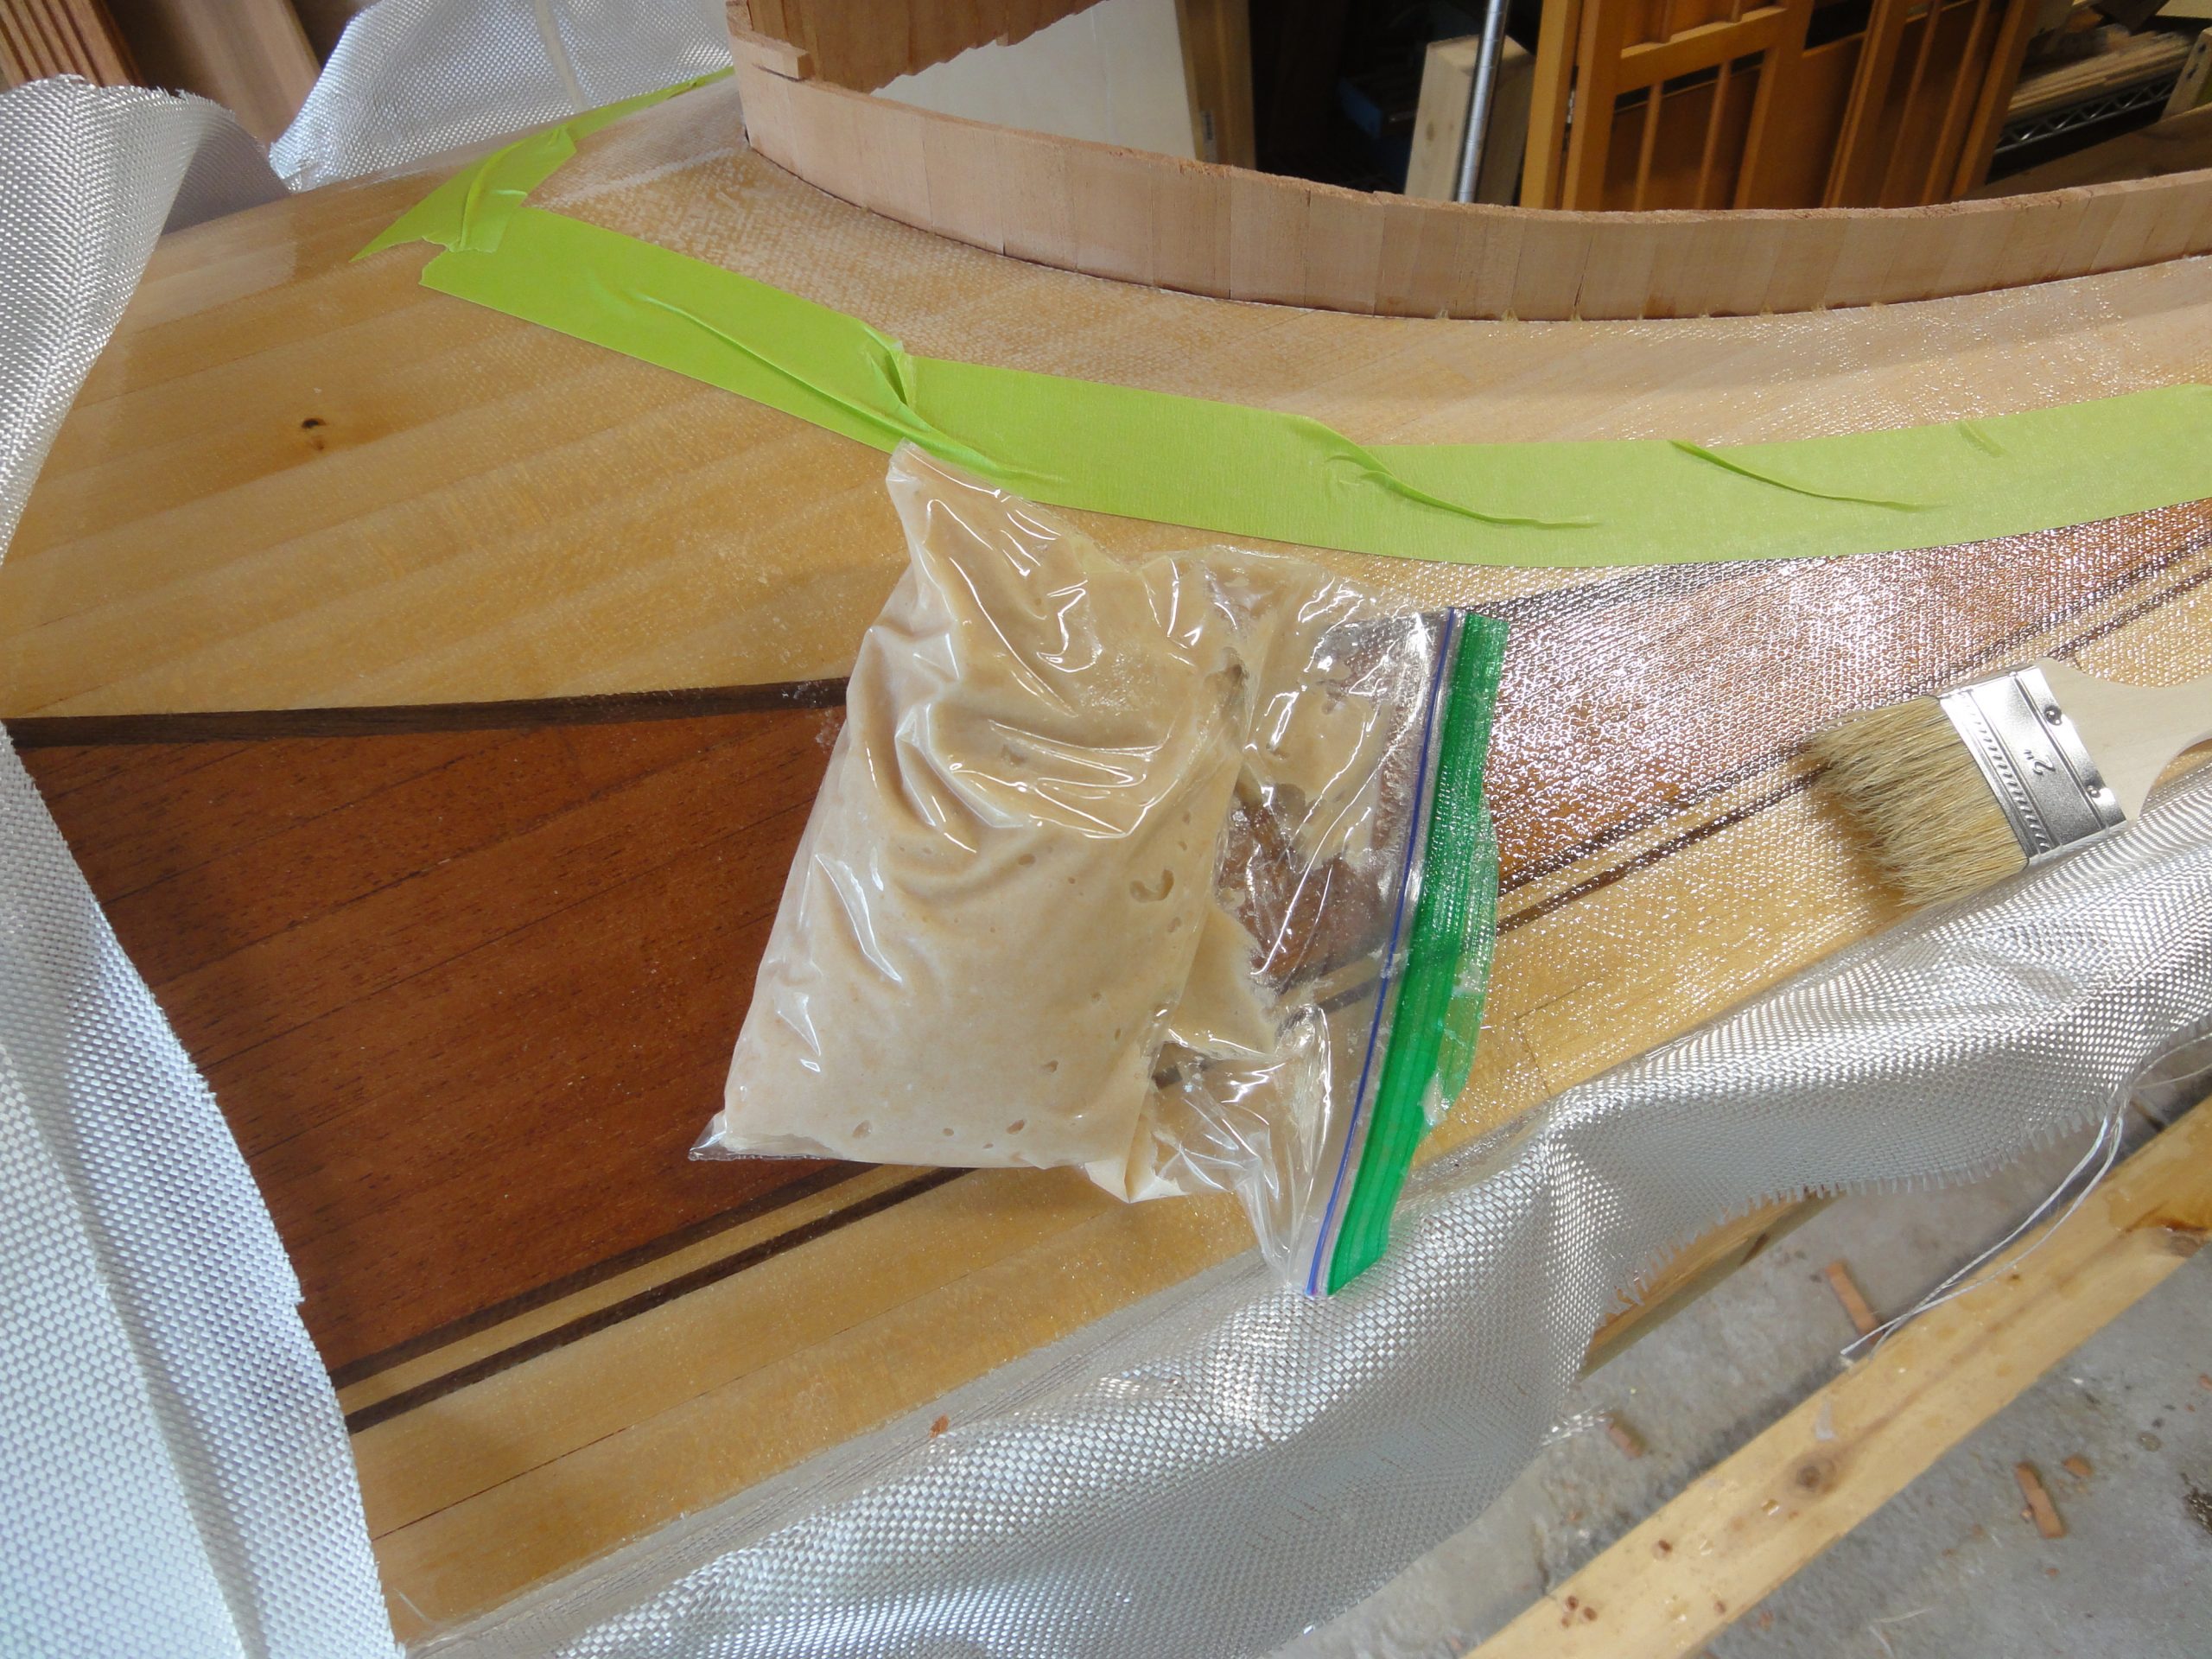
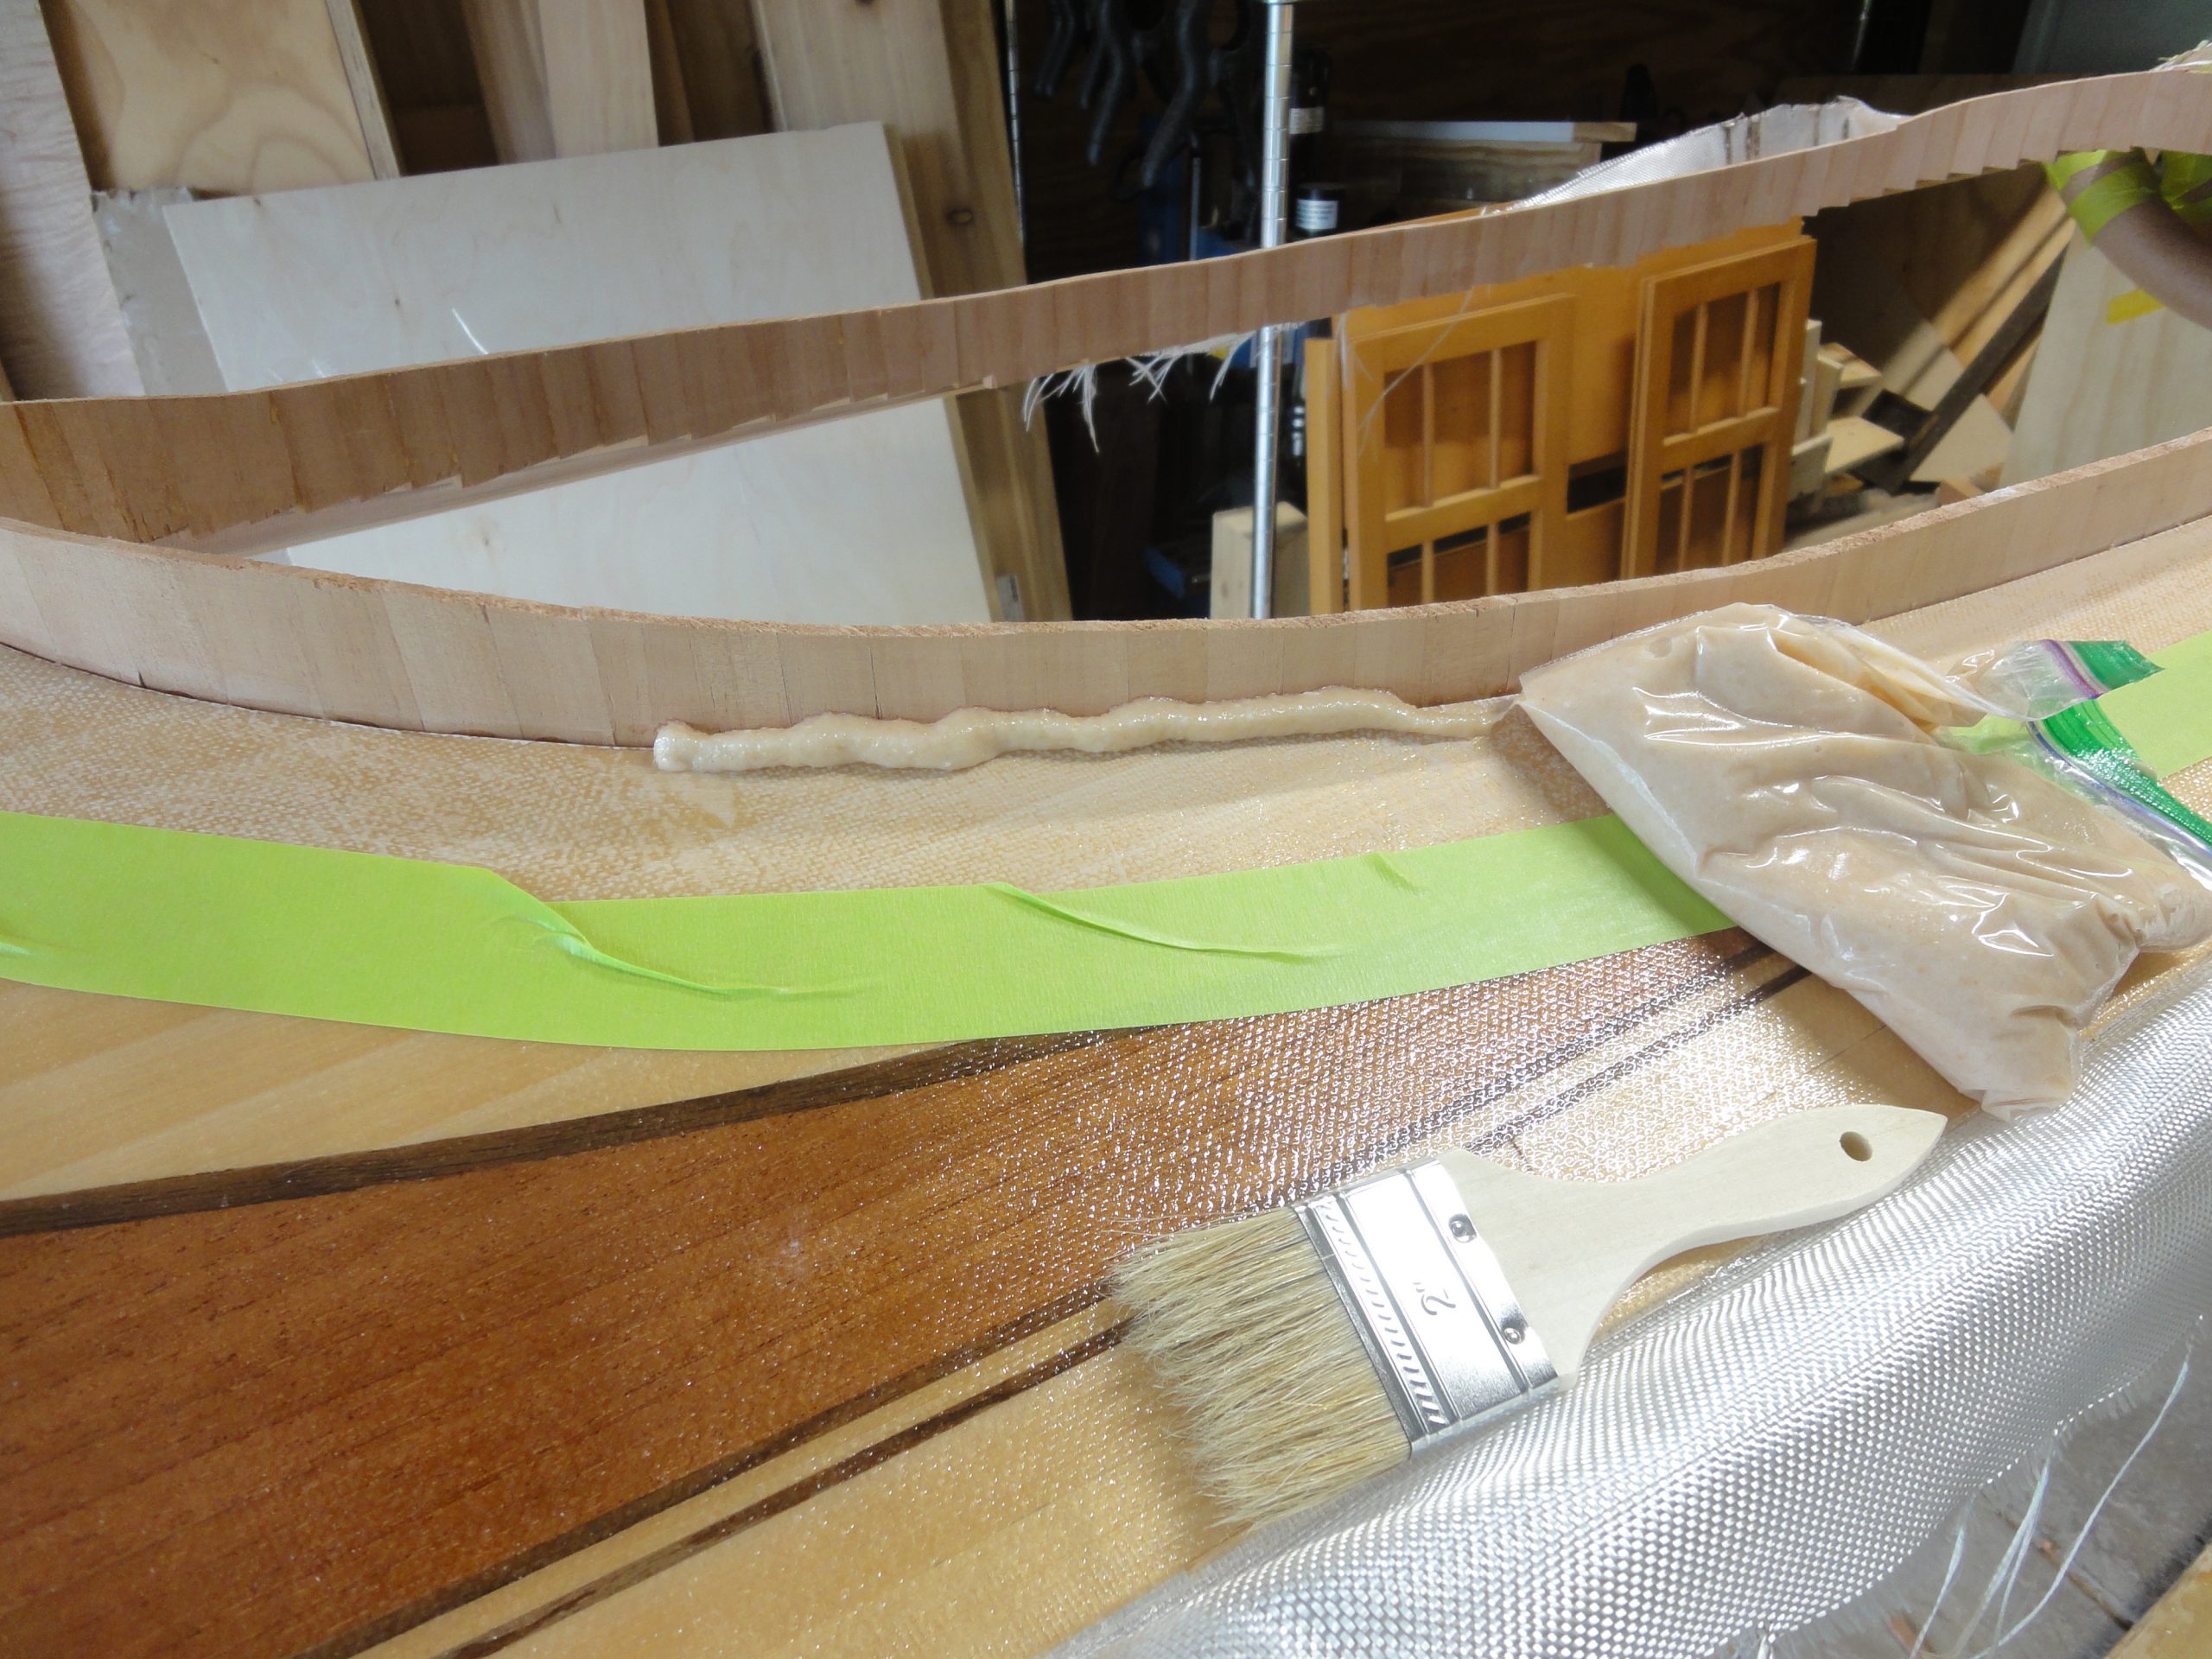
Next the fiberglass was prepared. Given the curves and then need to wrap around them yet still lay flat it is recommended to use bias cut fiberglass. This is fiberglass cut 45 degrees to the weave You can see in the strips here the weave runs diagonally across the strips. I mixed up some thickened epoxy using a liberal amount of filler and loose fiber additives along with sifted saw dust. The mixture was put in a ziploc bag with the corner clipped and a generous bead squeezed out along the deck/coaming border.
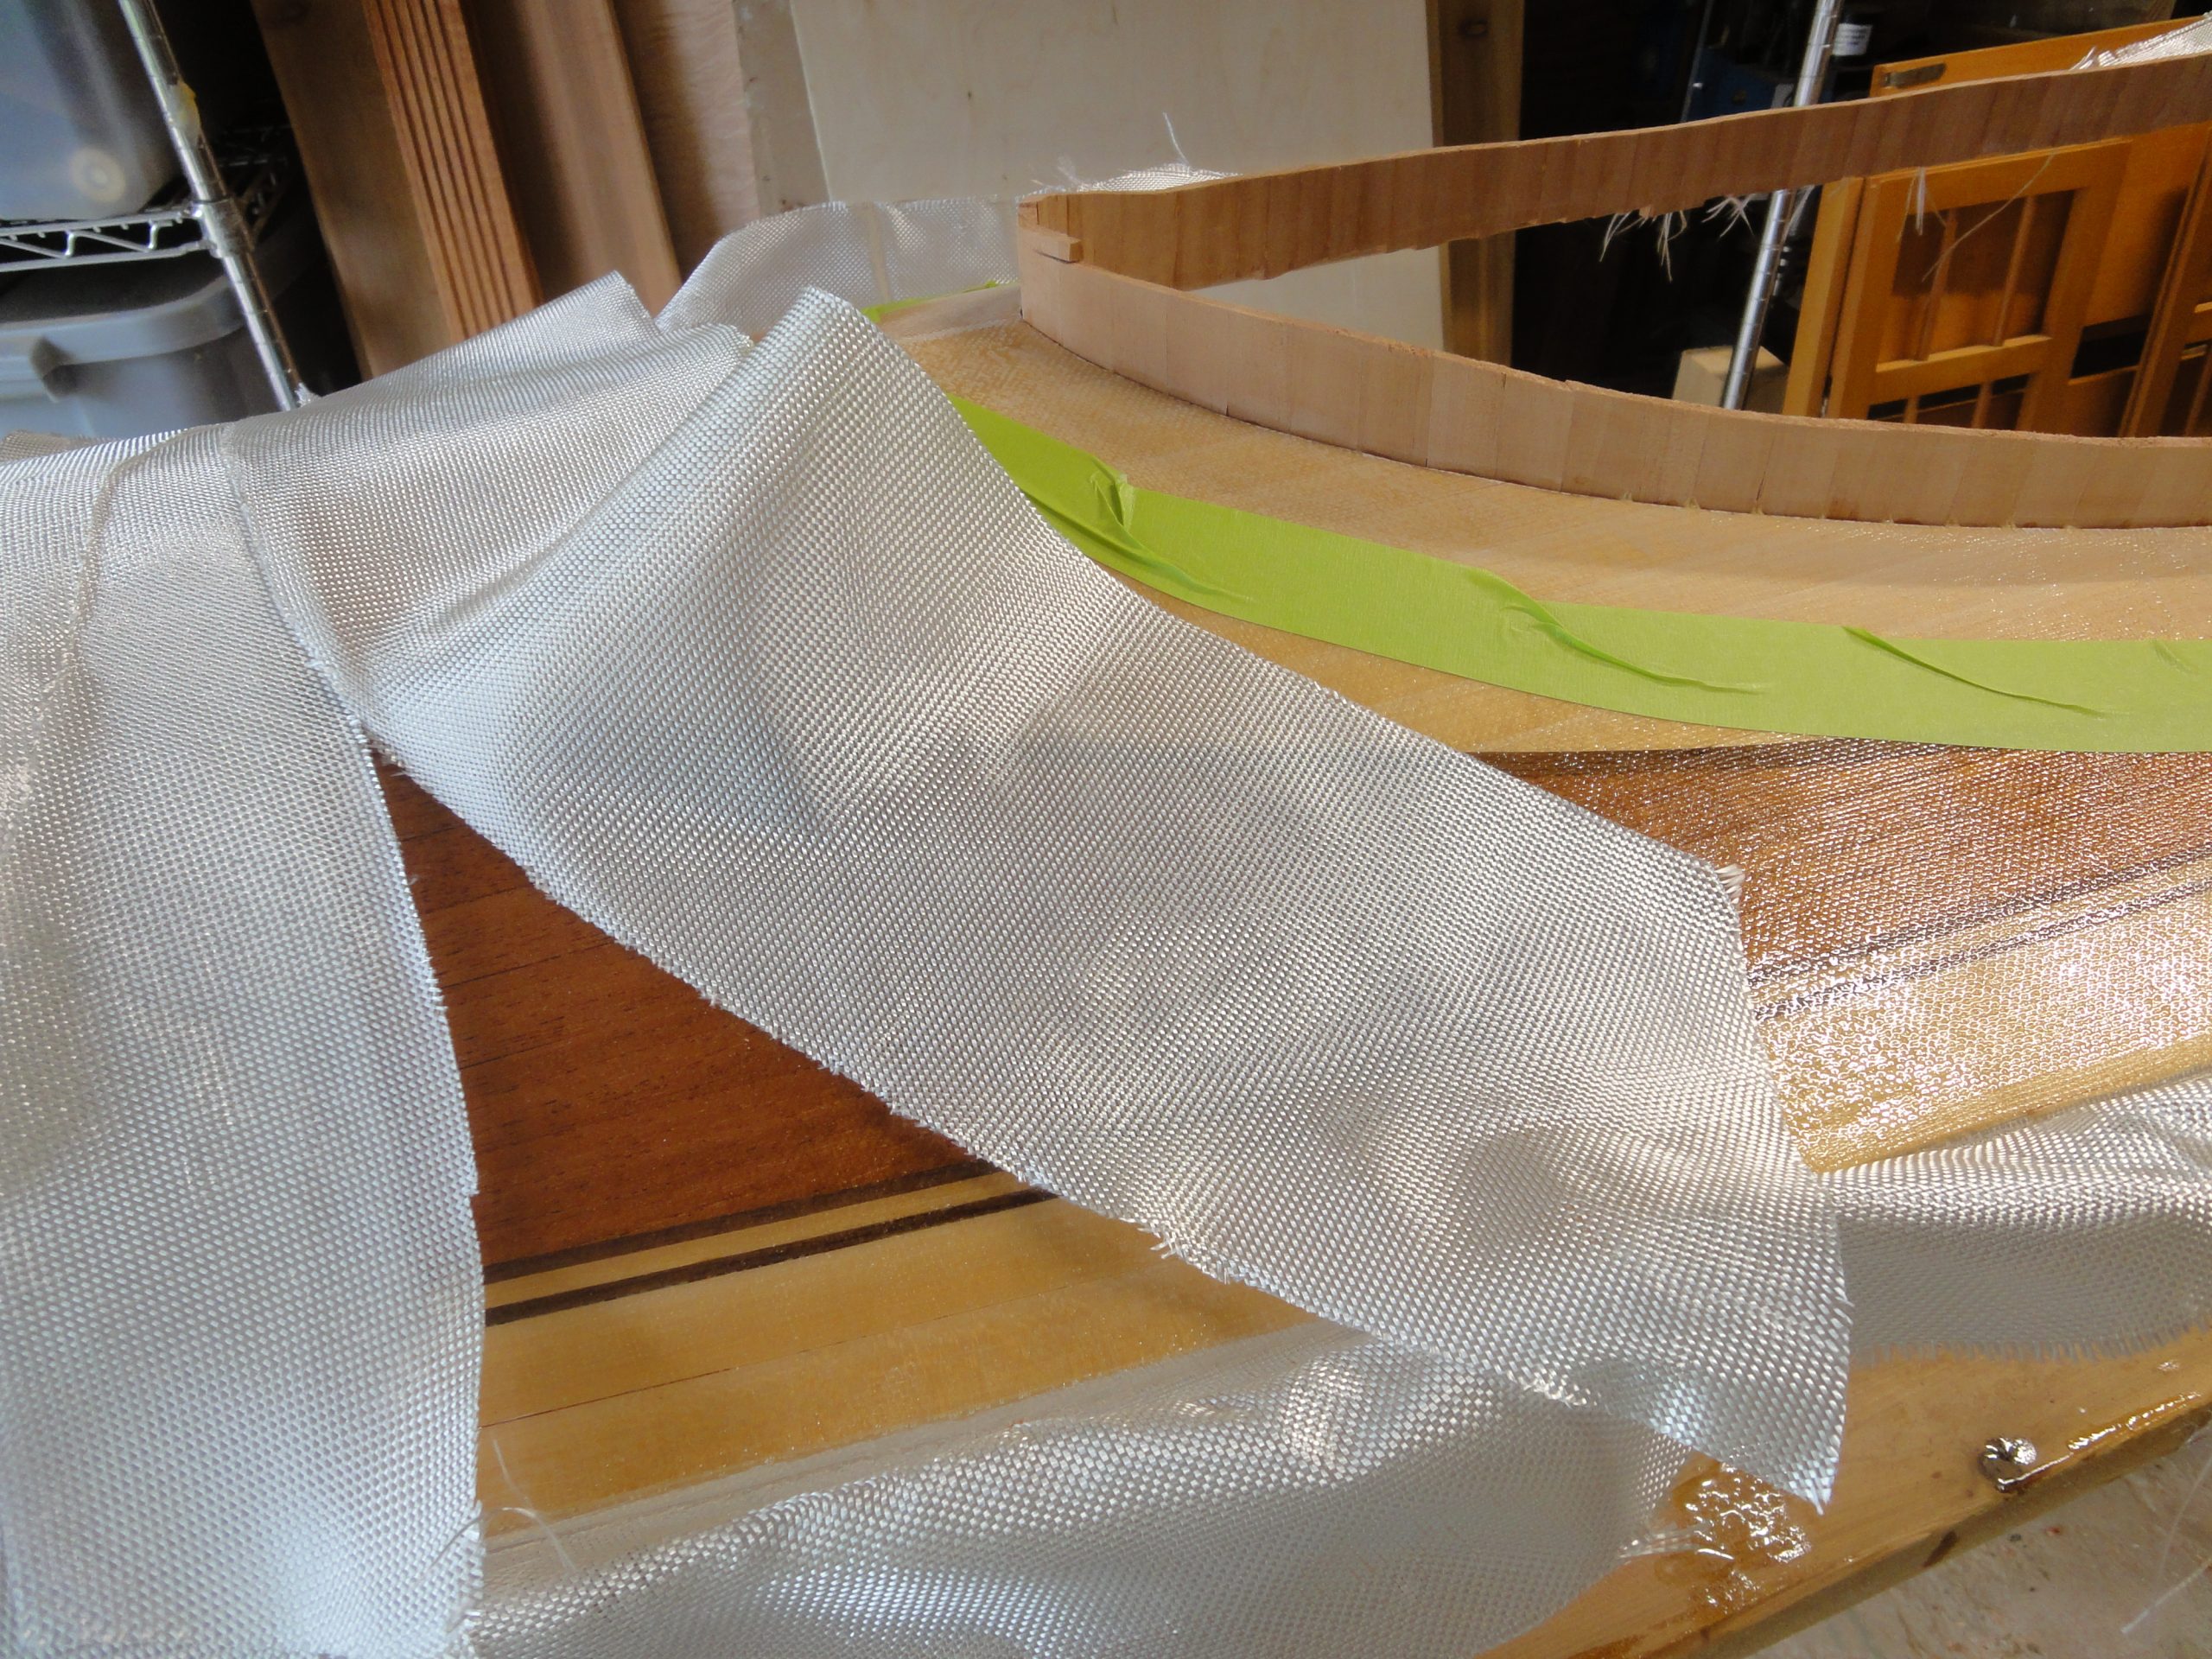
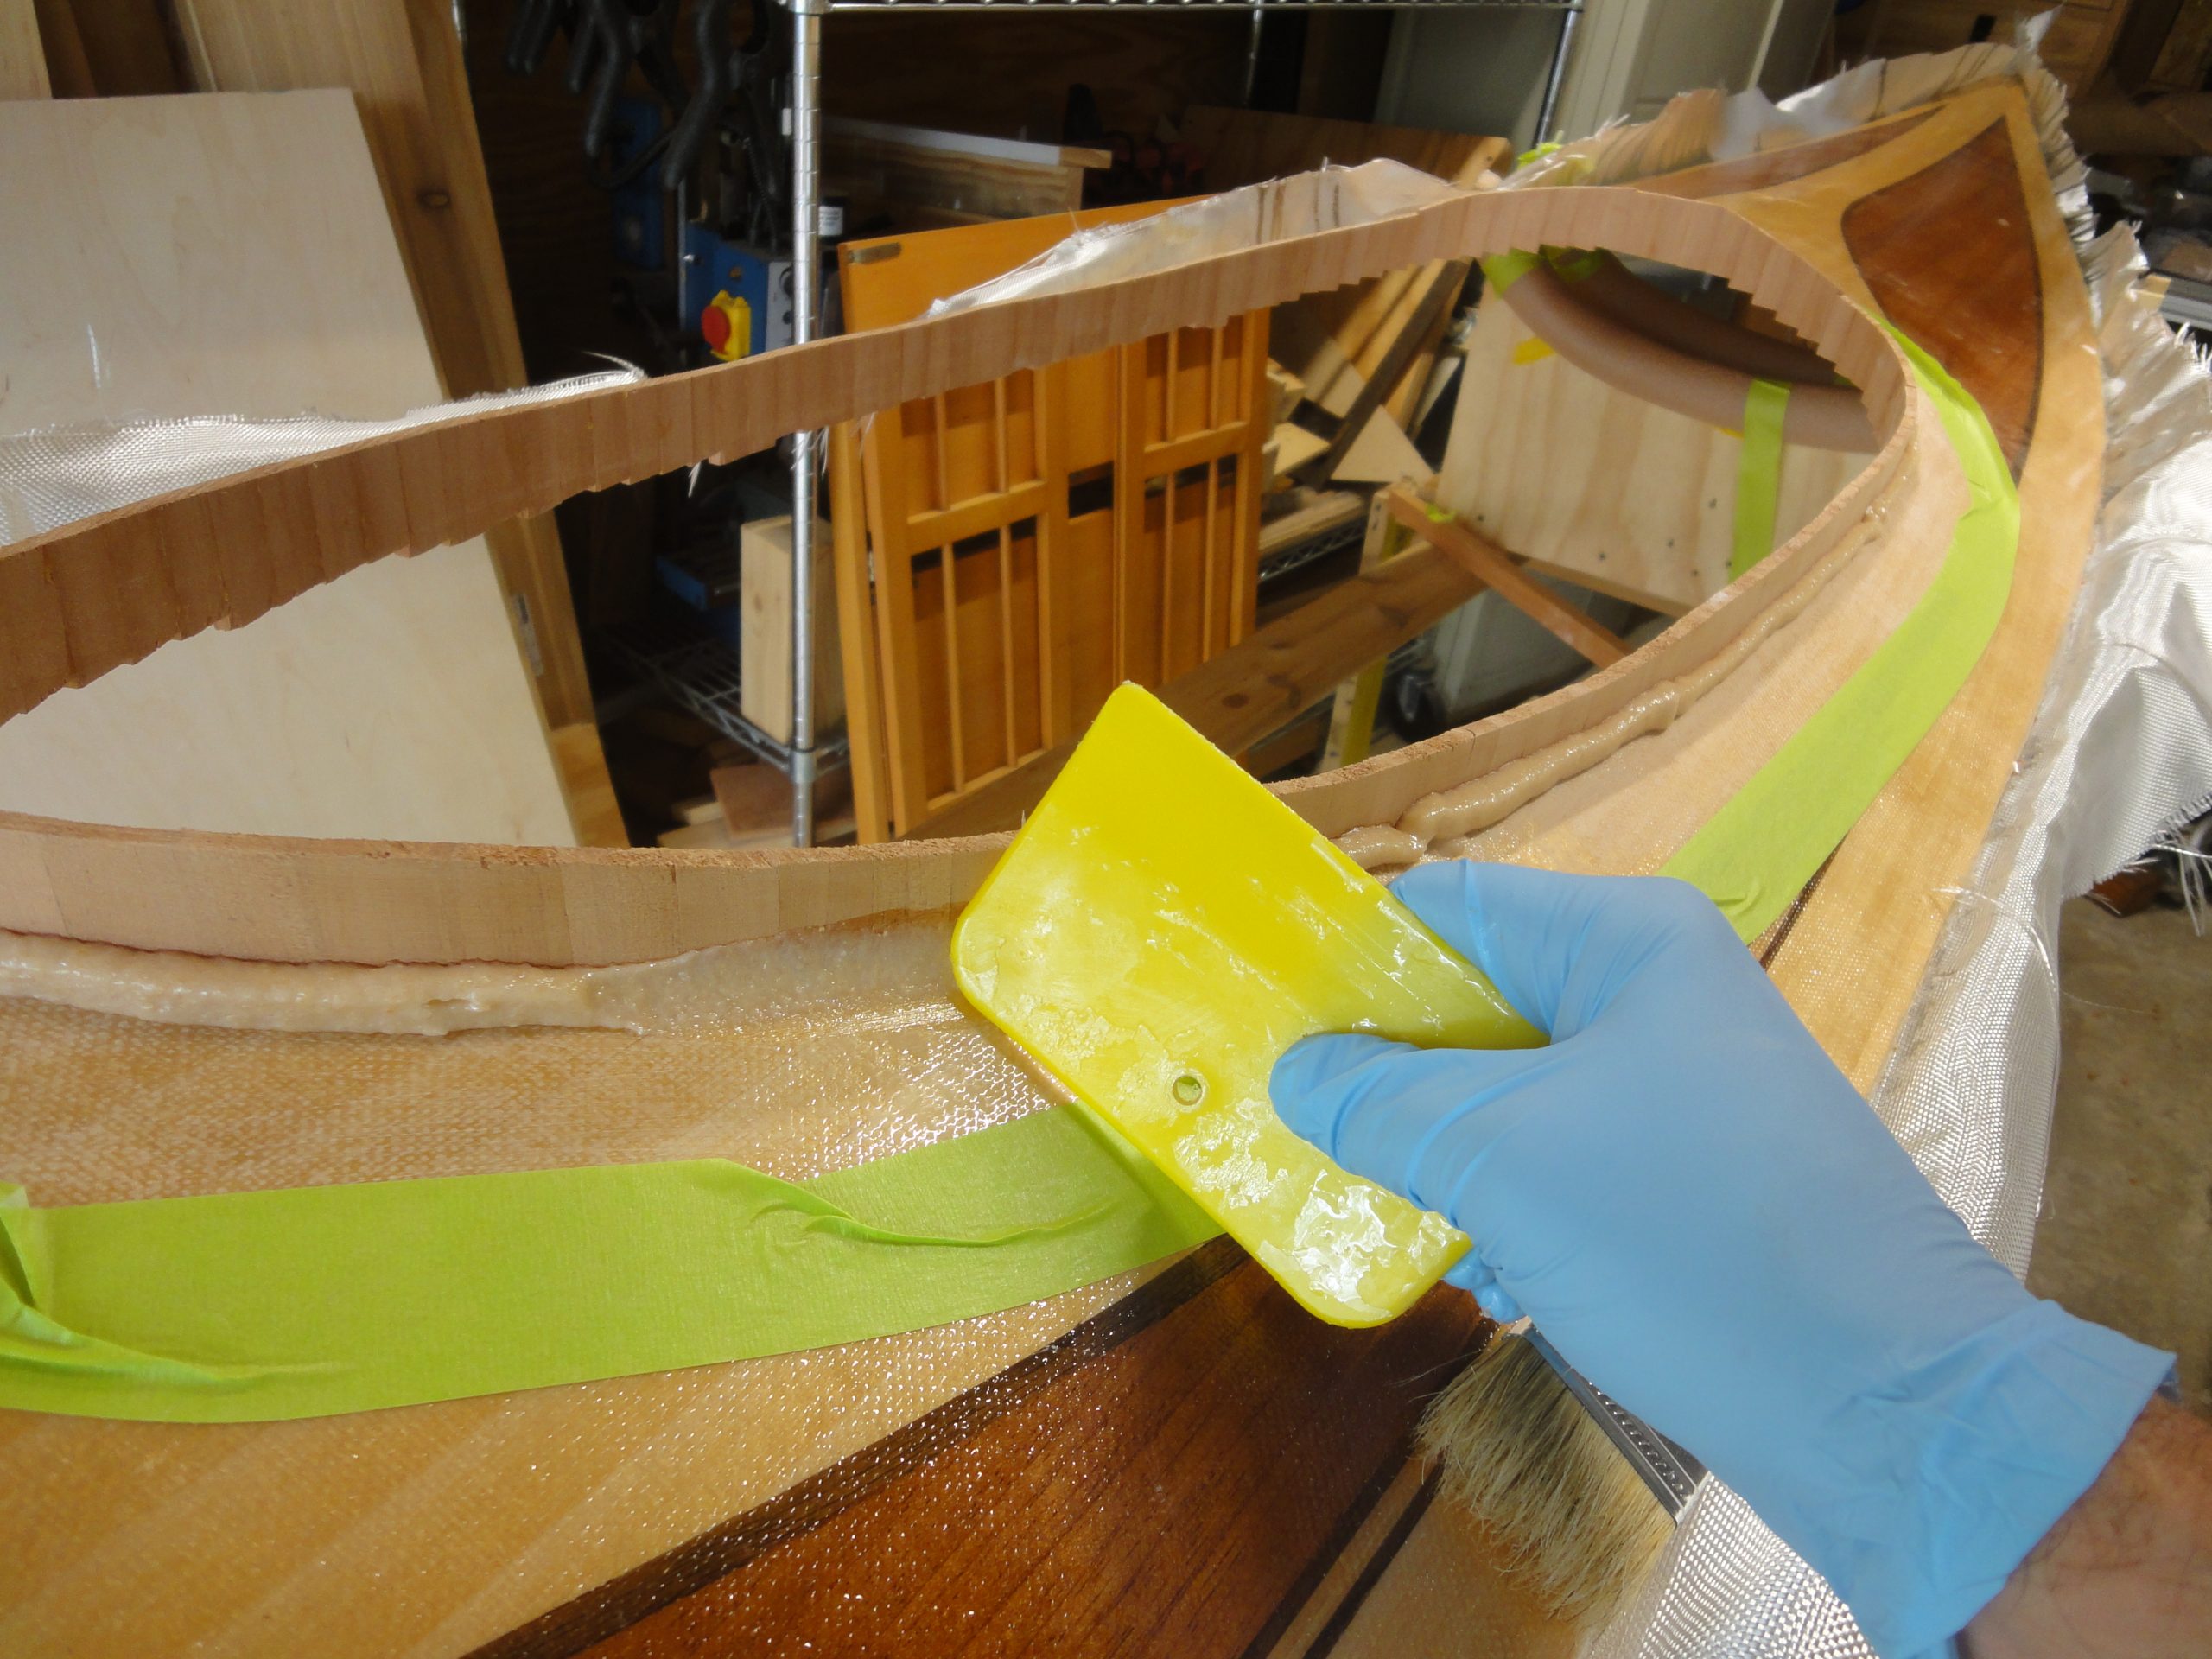
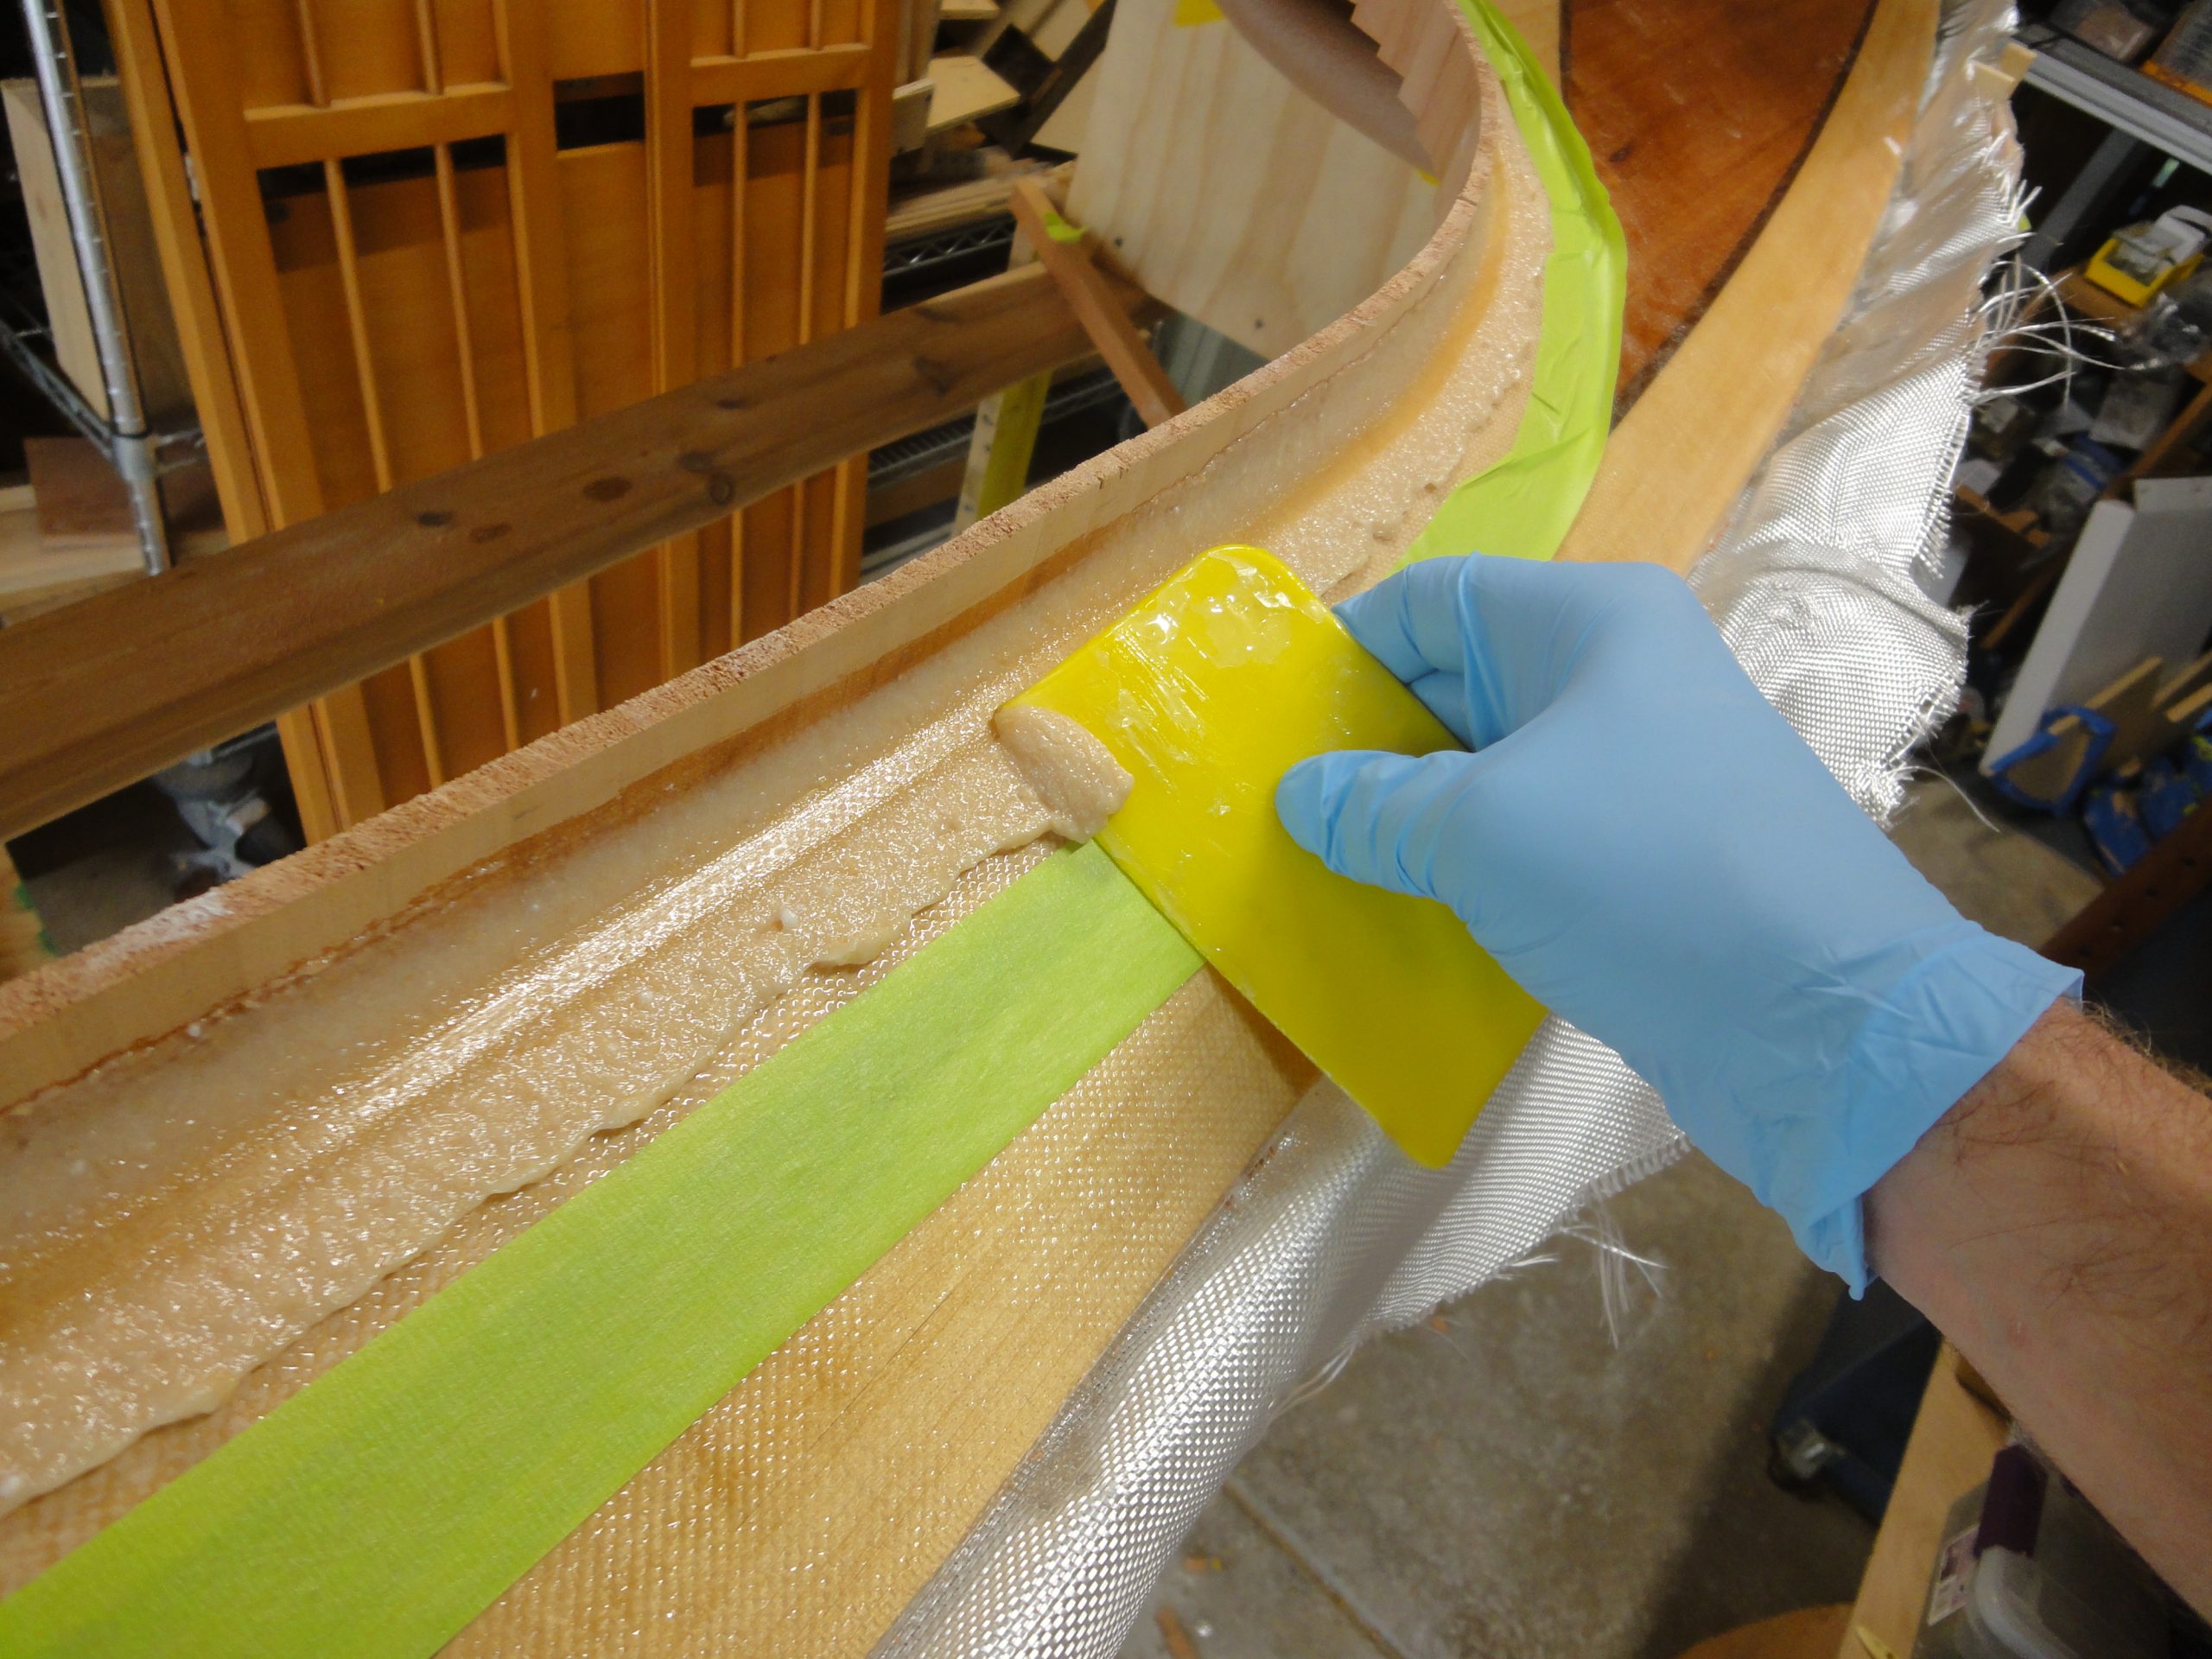
Once the bead was in place the rounded corner of a squeegee was used to shape into a fillet. The flat part of the squeegee was then used to scrape up the extra. Non thickened epoxy was mixed and applied to the top vertical part of the coaming to pre wet it. Each strip was laid into position and the epoxy was dabbed on saturating the strips and bonding them to the coaming, the fillet and the deck. Care was taken not to push the fillet out of shape.


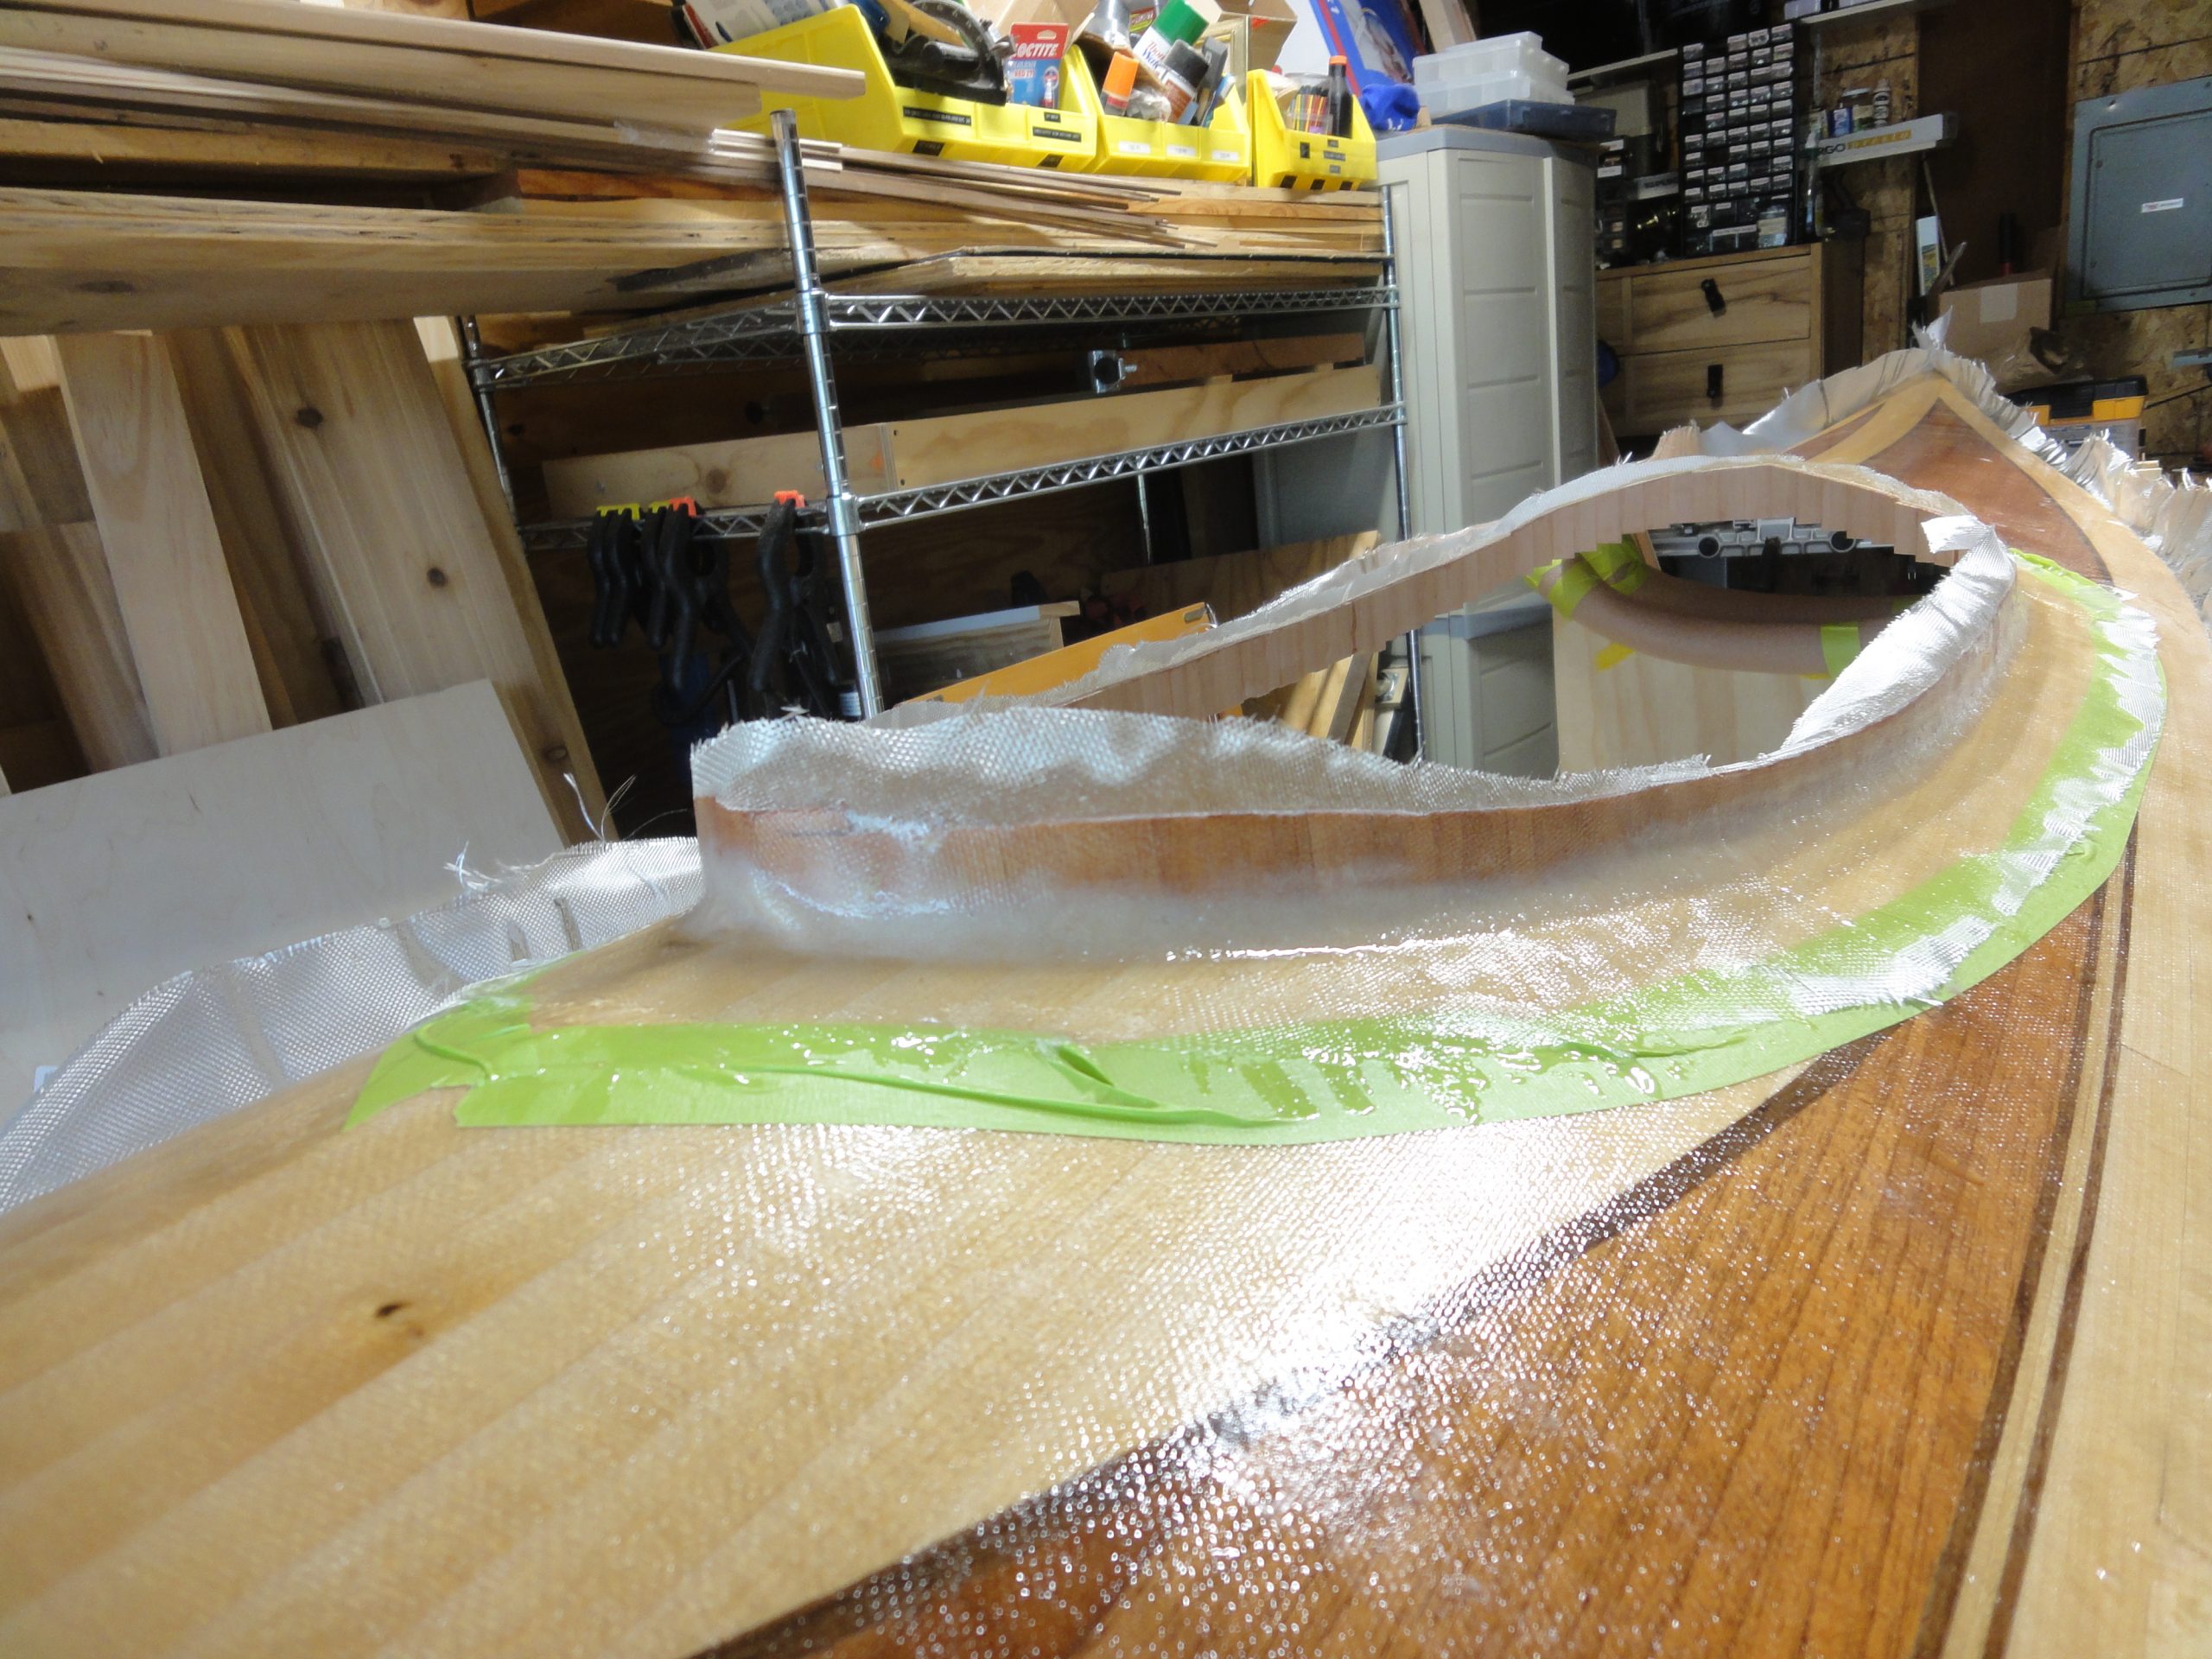
Once everything was saturated I used my finger to ensure the fillet was still shaped properly. After setting up for a bit a sharp fresh blade was used to cut along the edge of the tape. Peeling the tape up took the extra fiberglass with it. The visible edge of the second layer of fiberglass will easily sand off later making for a smooth surface.


