Done… for the year.

The weather has stopped cooperating and while I might get a day or two yet that are decent enough to head out to the (unheated) garage I figure it’s probably best to just put everything away and spend the last guaranteed nice day cleaning up. It will be good to get my car back in the garage again especially since I already had to scrape frost off the windows once so far in the past week.

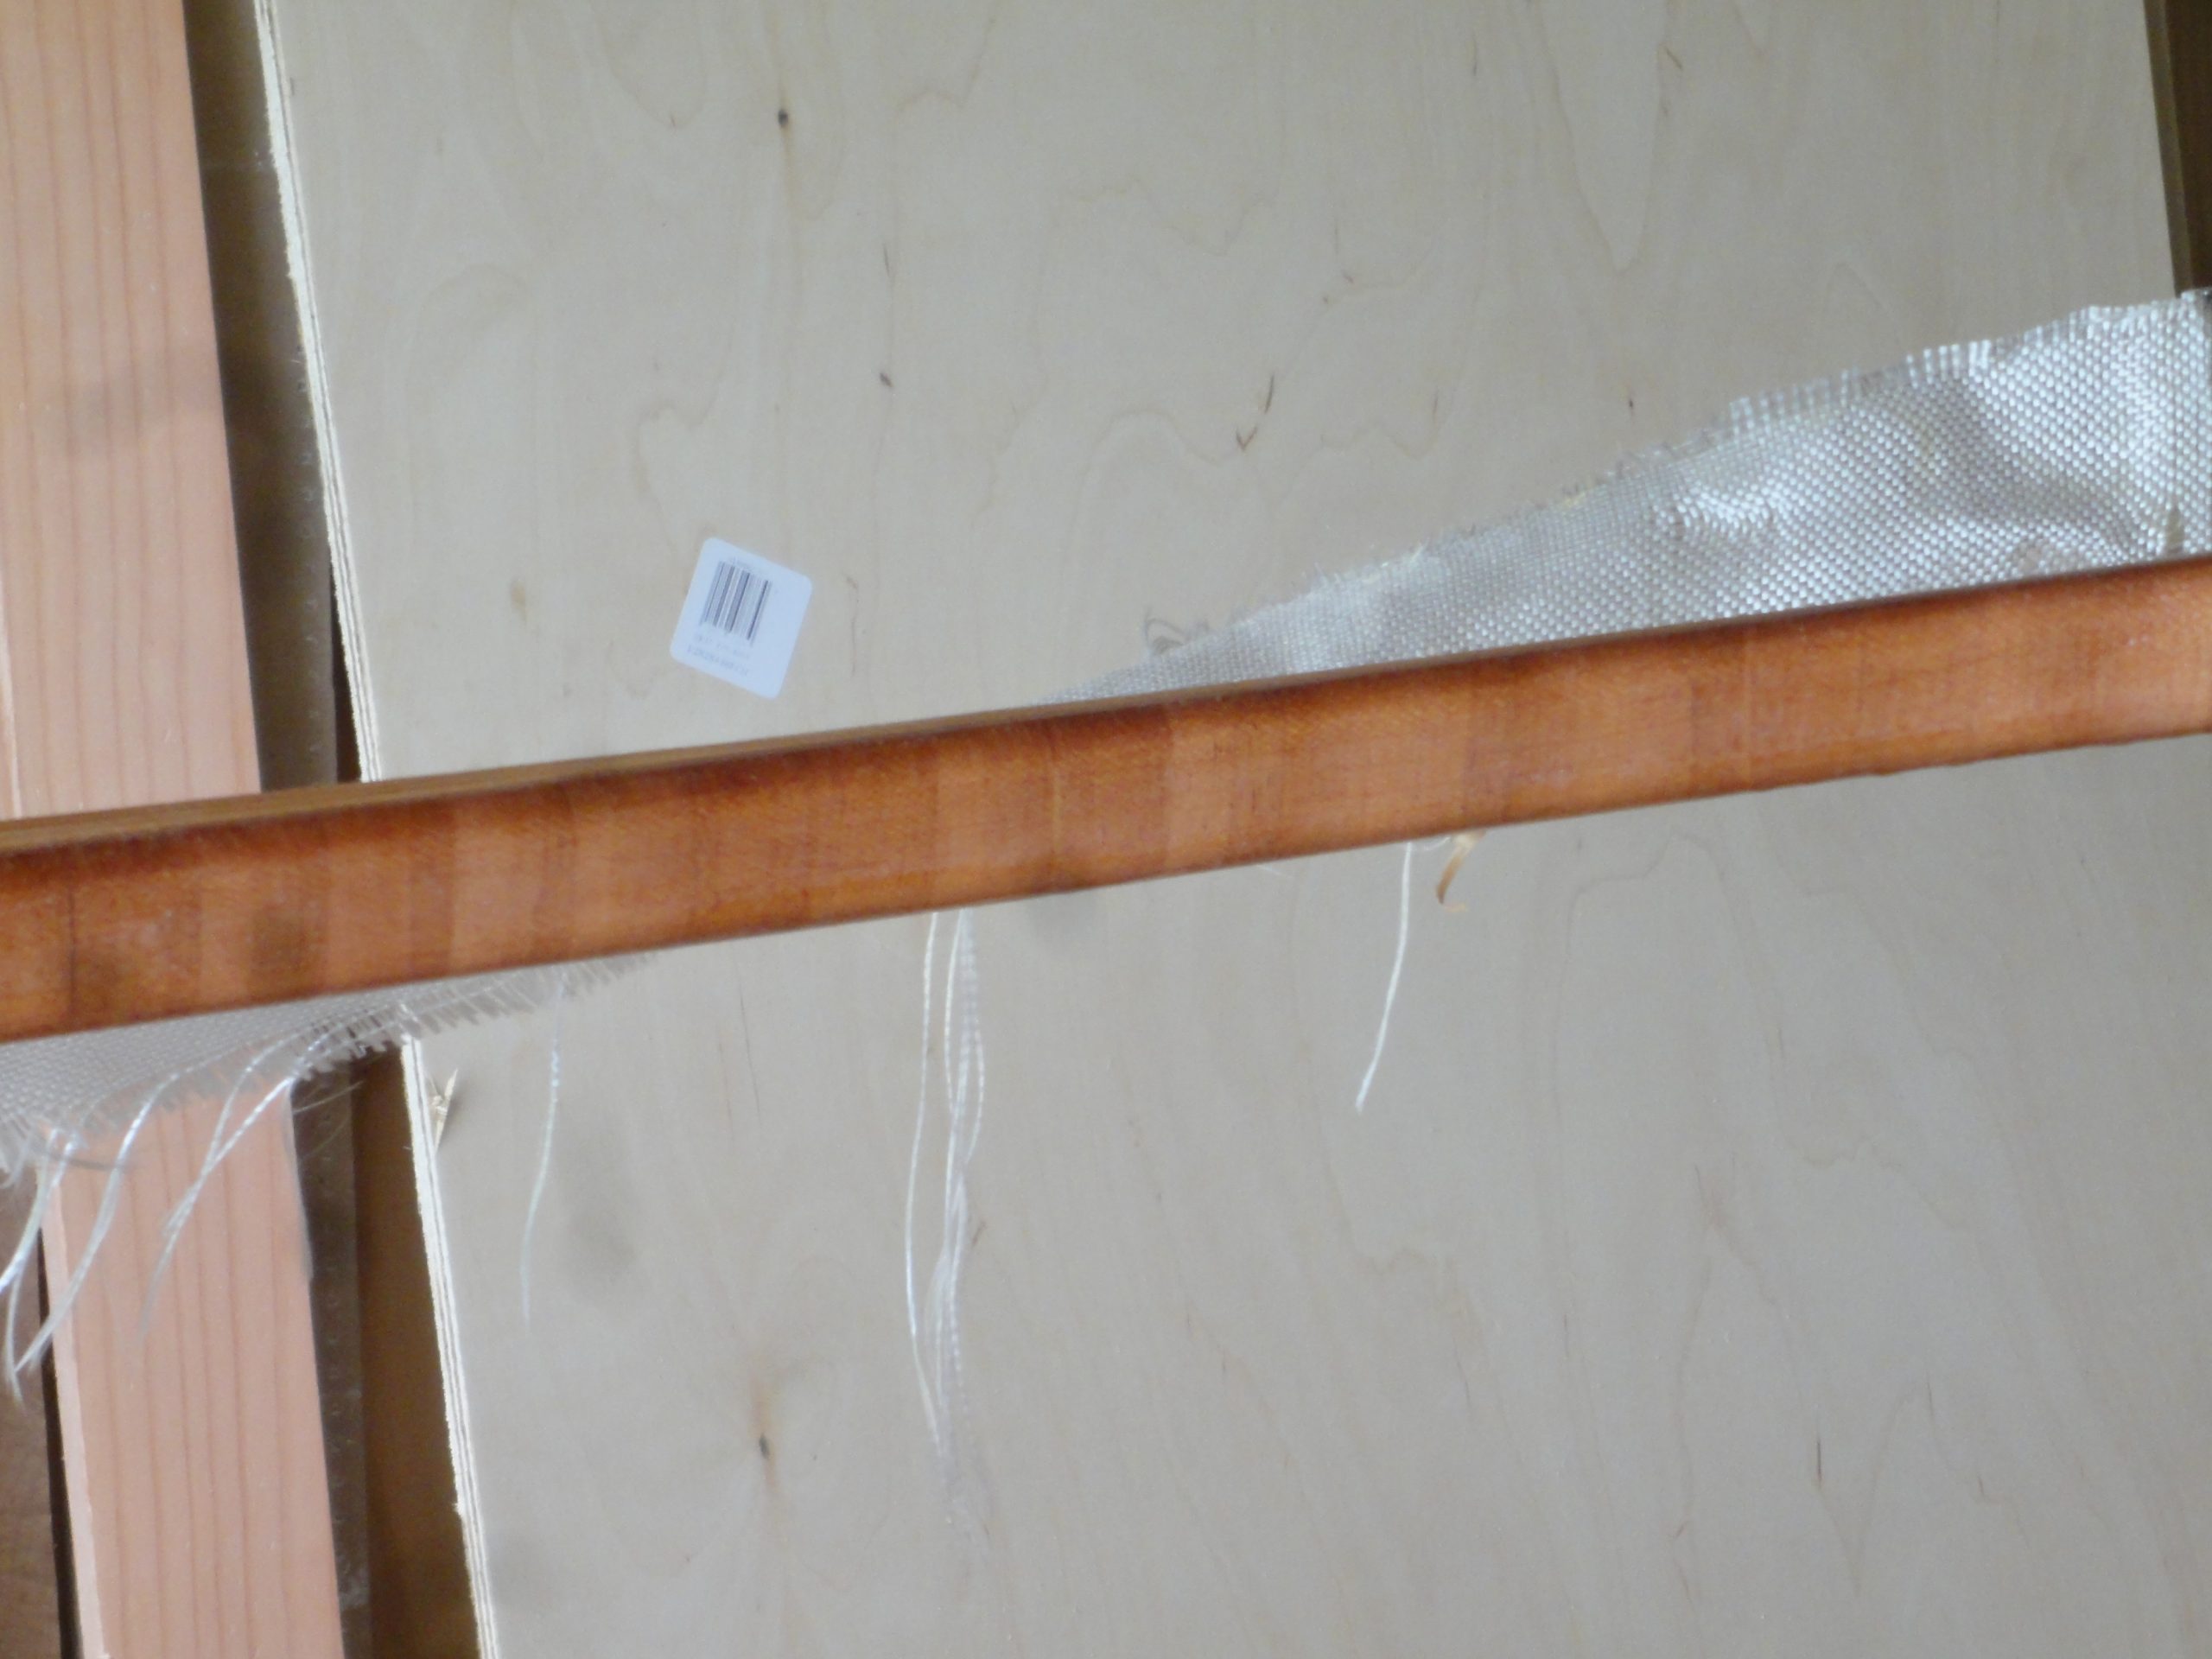
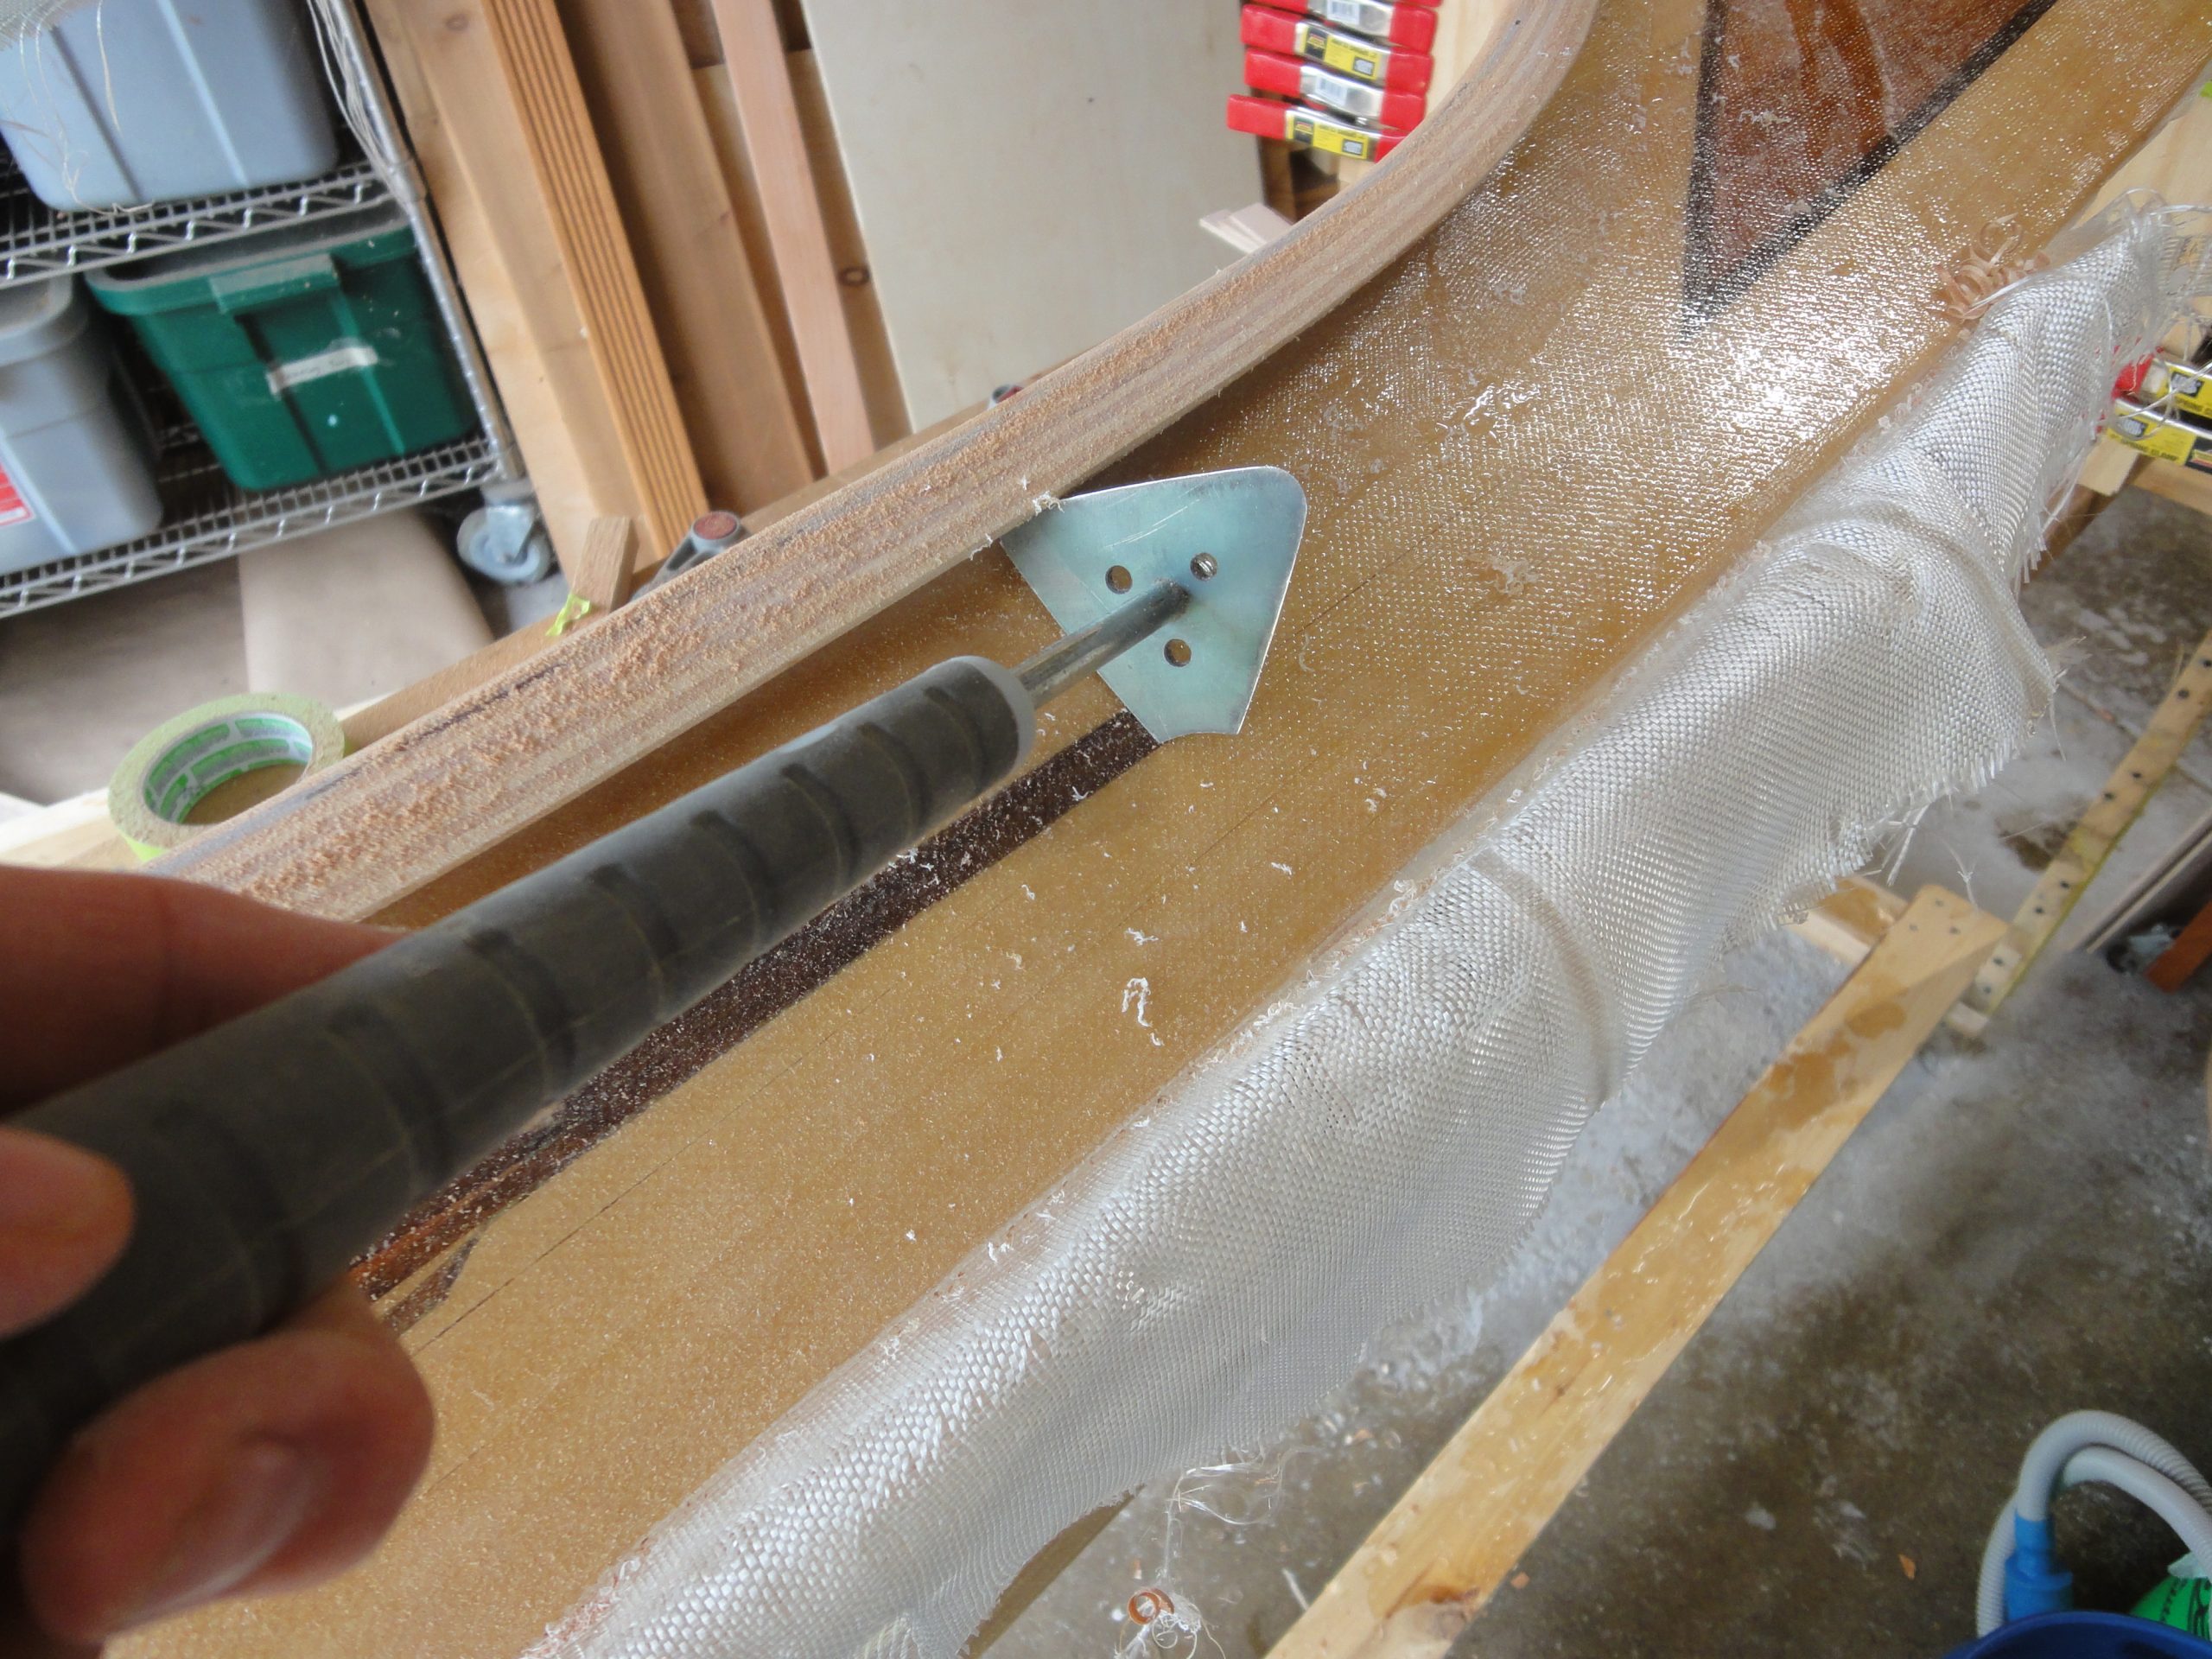
For my last session, before cleaning up, I did a thorough sanding with the random orbit around the cockpit blending the rim fiberglass/epoxy into the deck so there was no longer a bump or a ridge. No pics as it was just sanding.

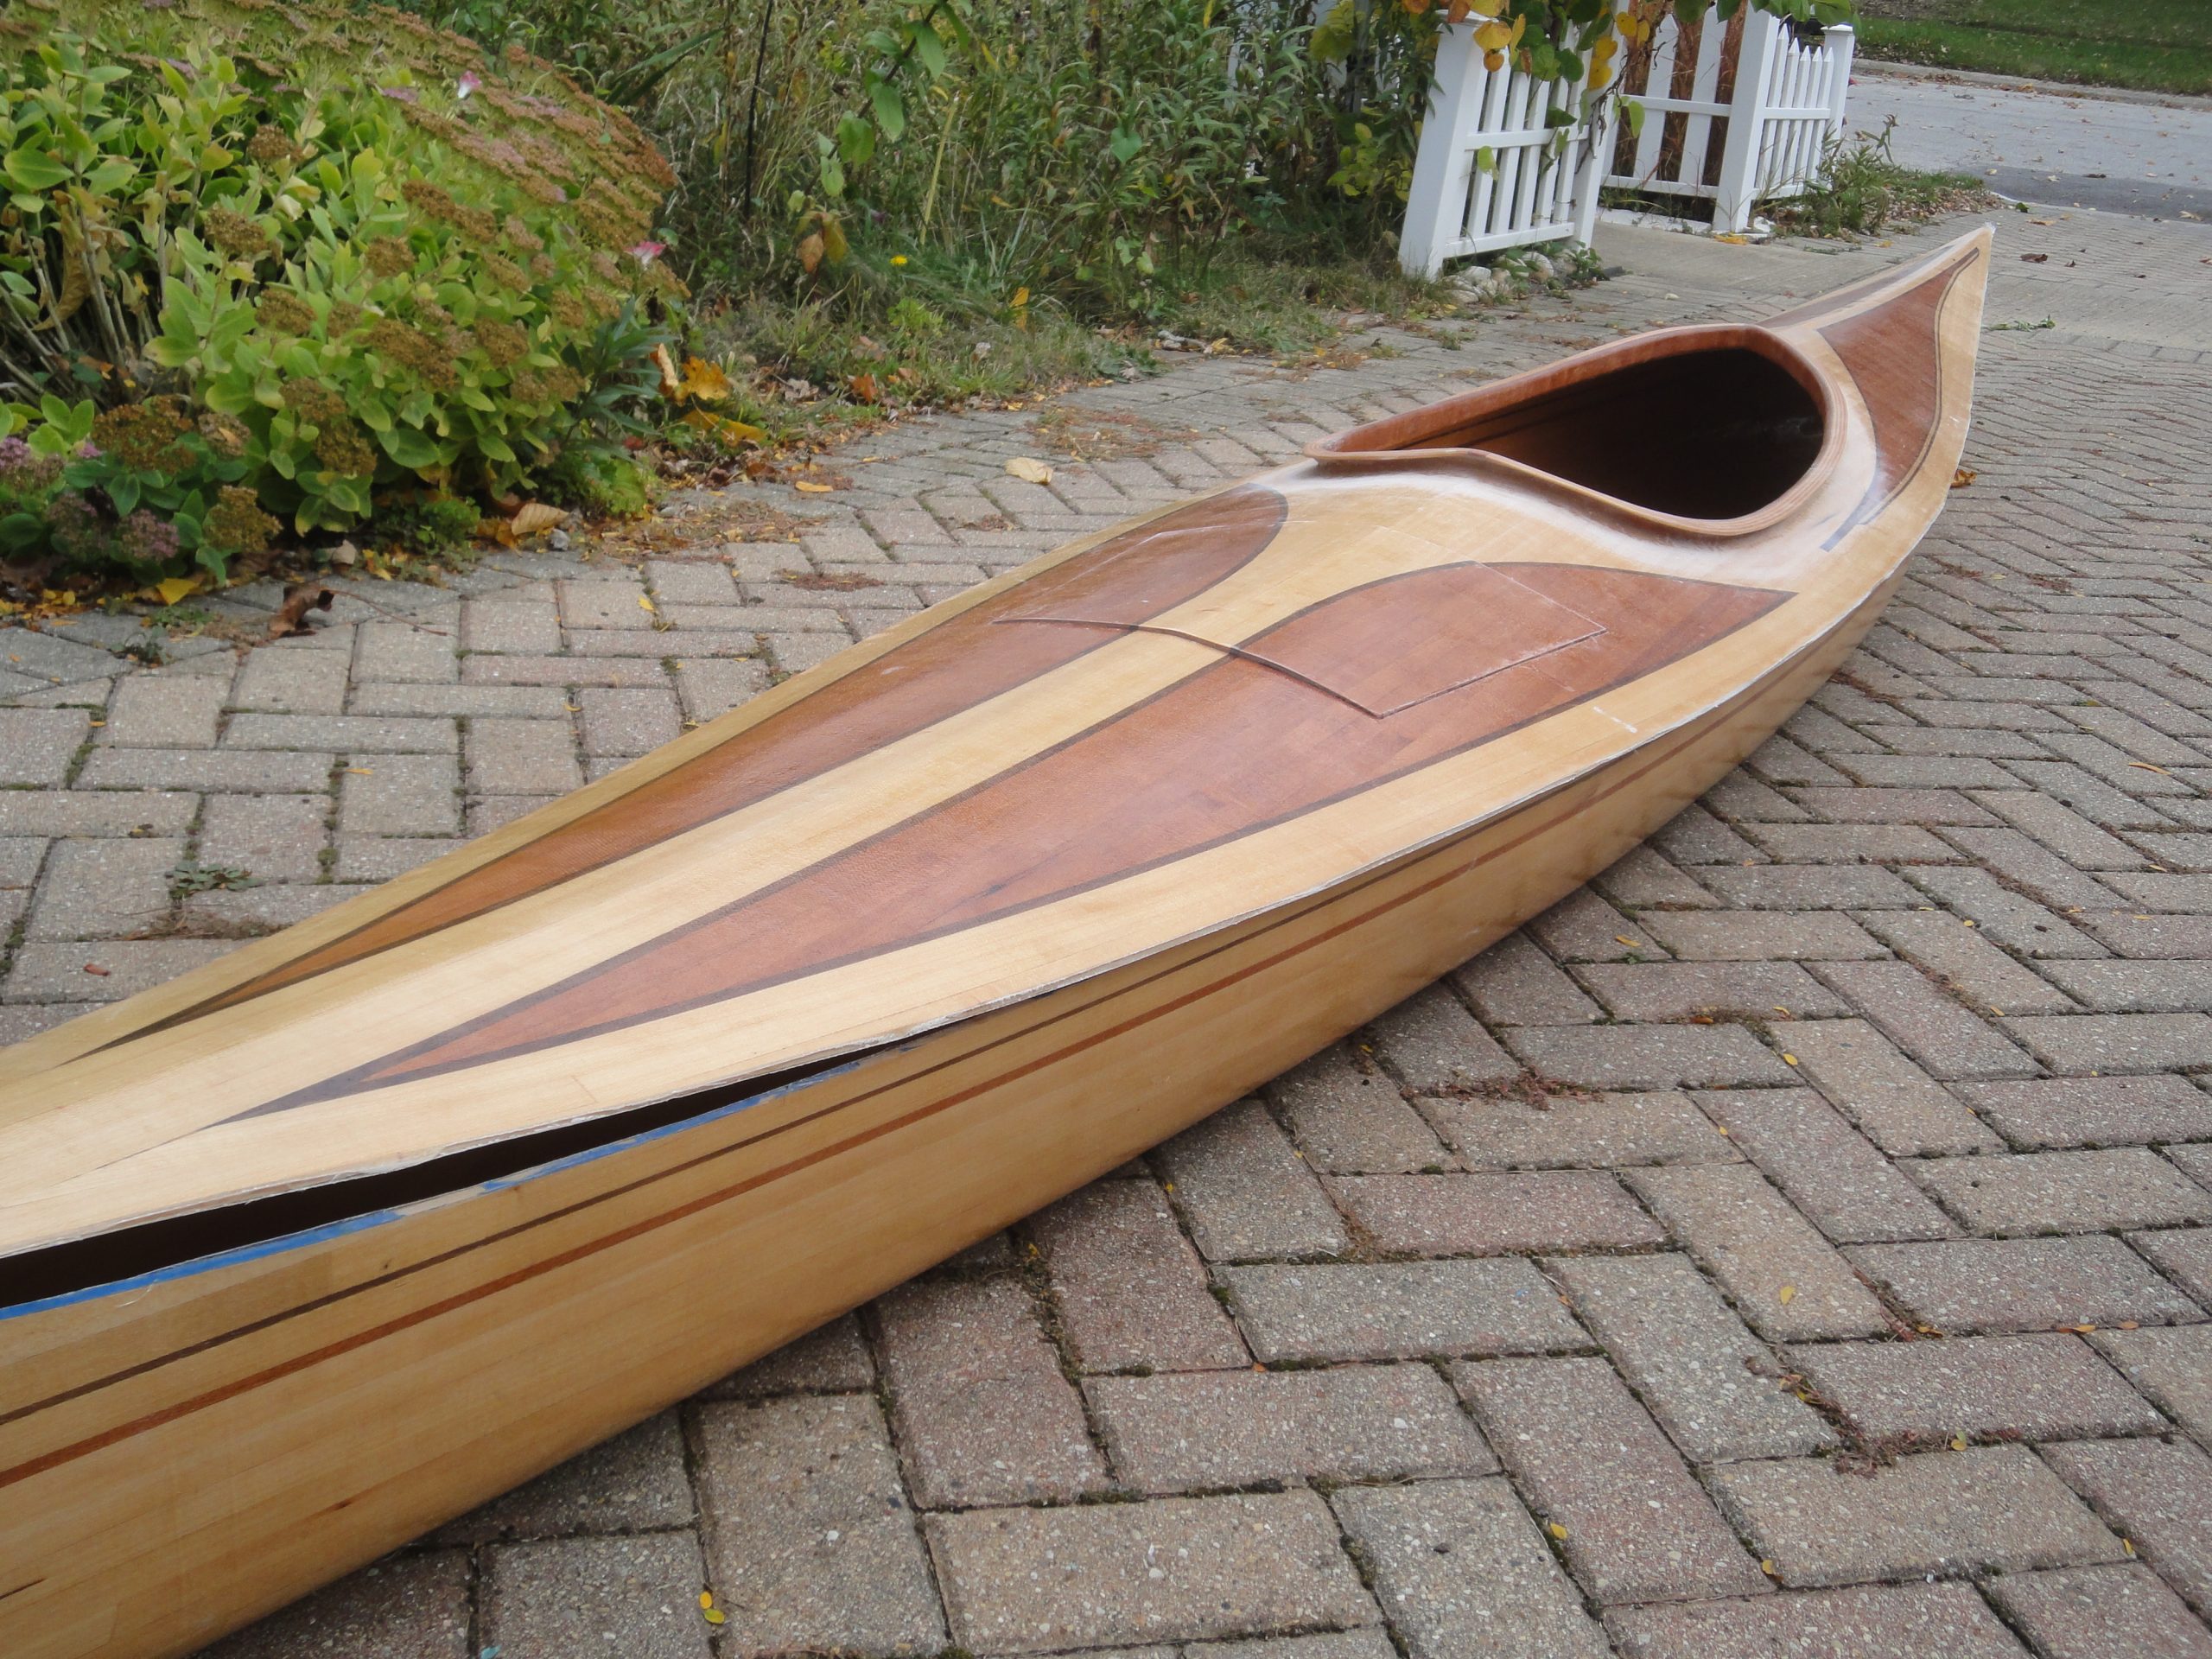
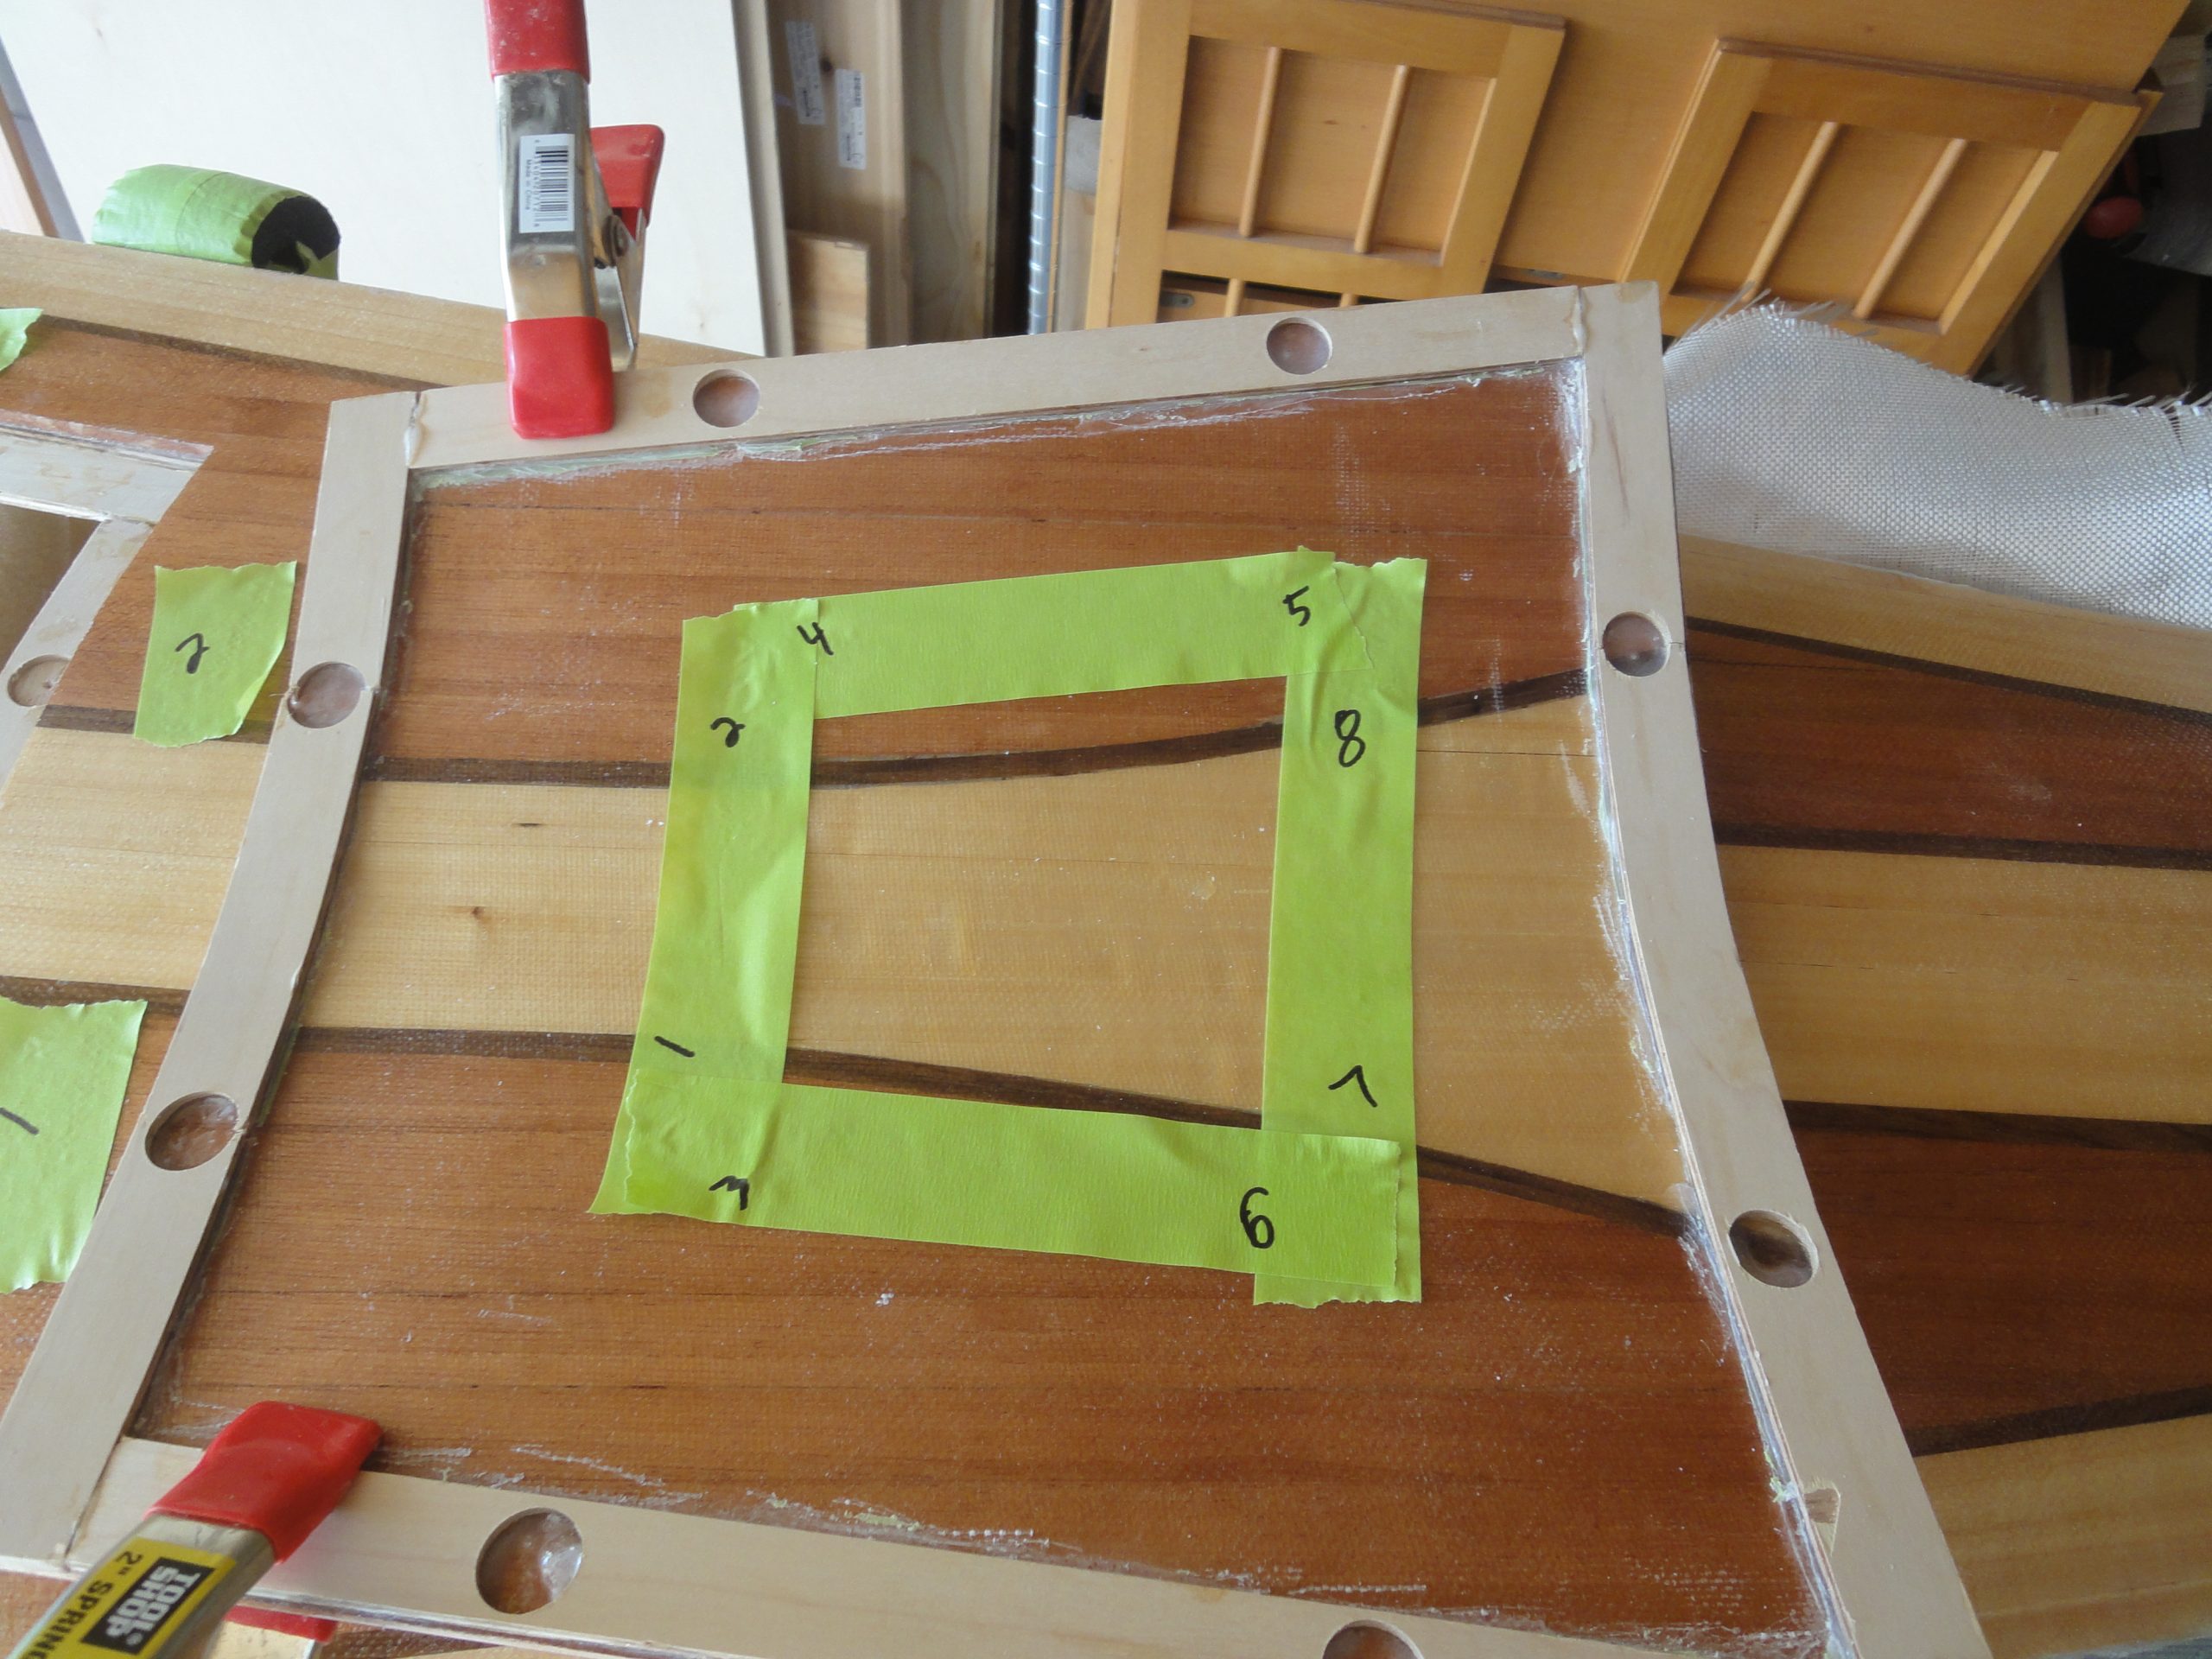
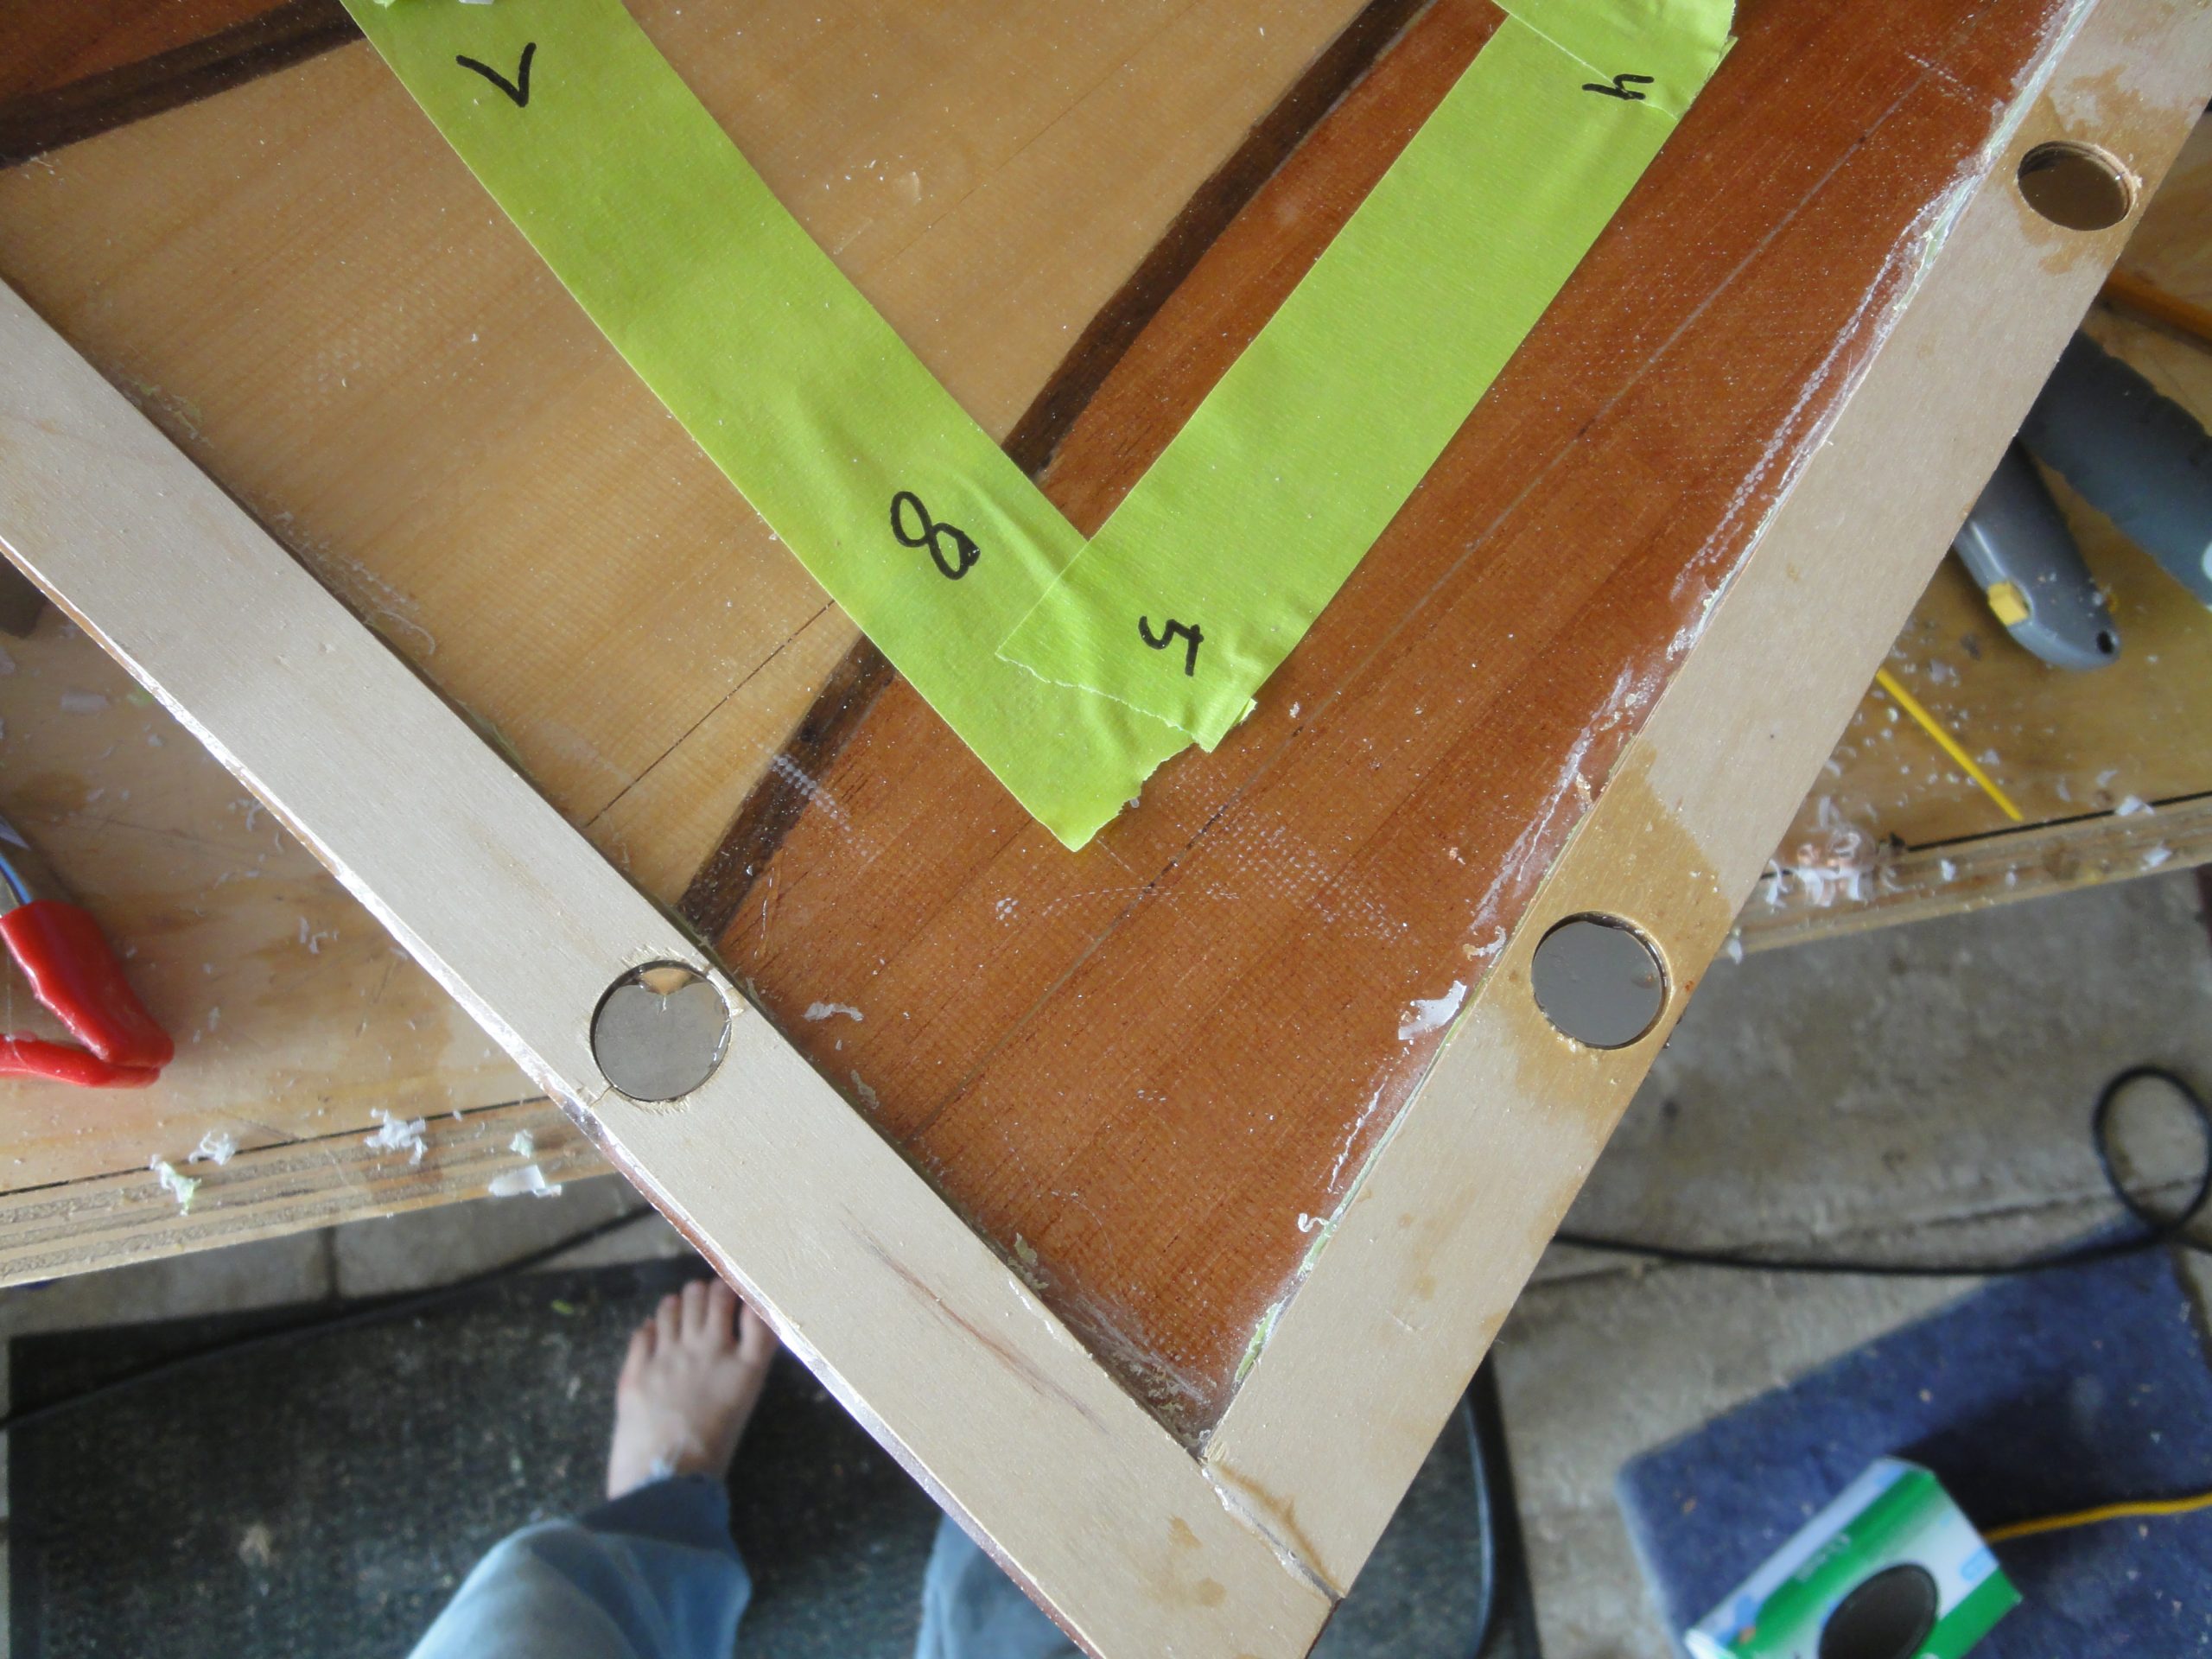
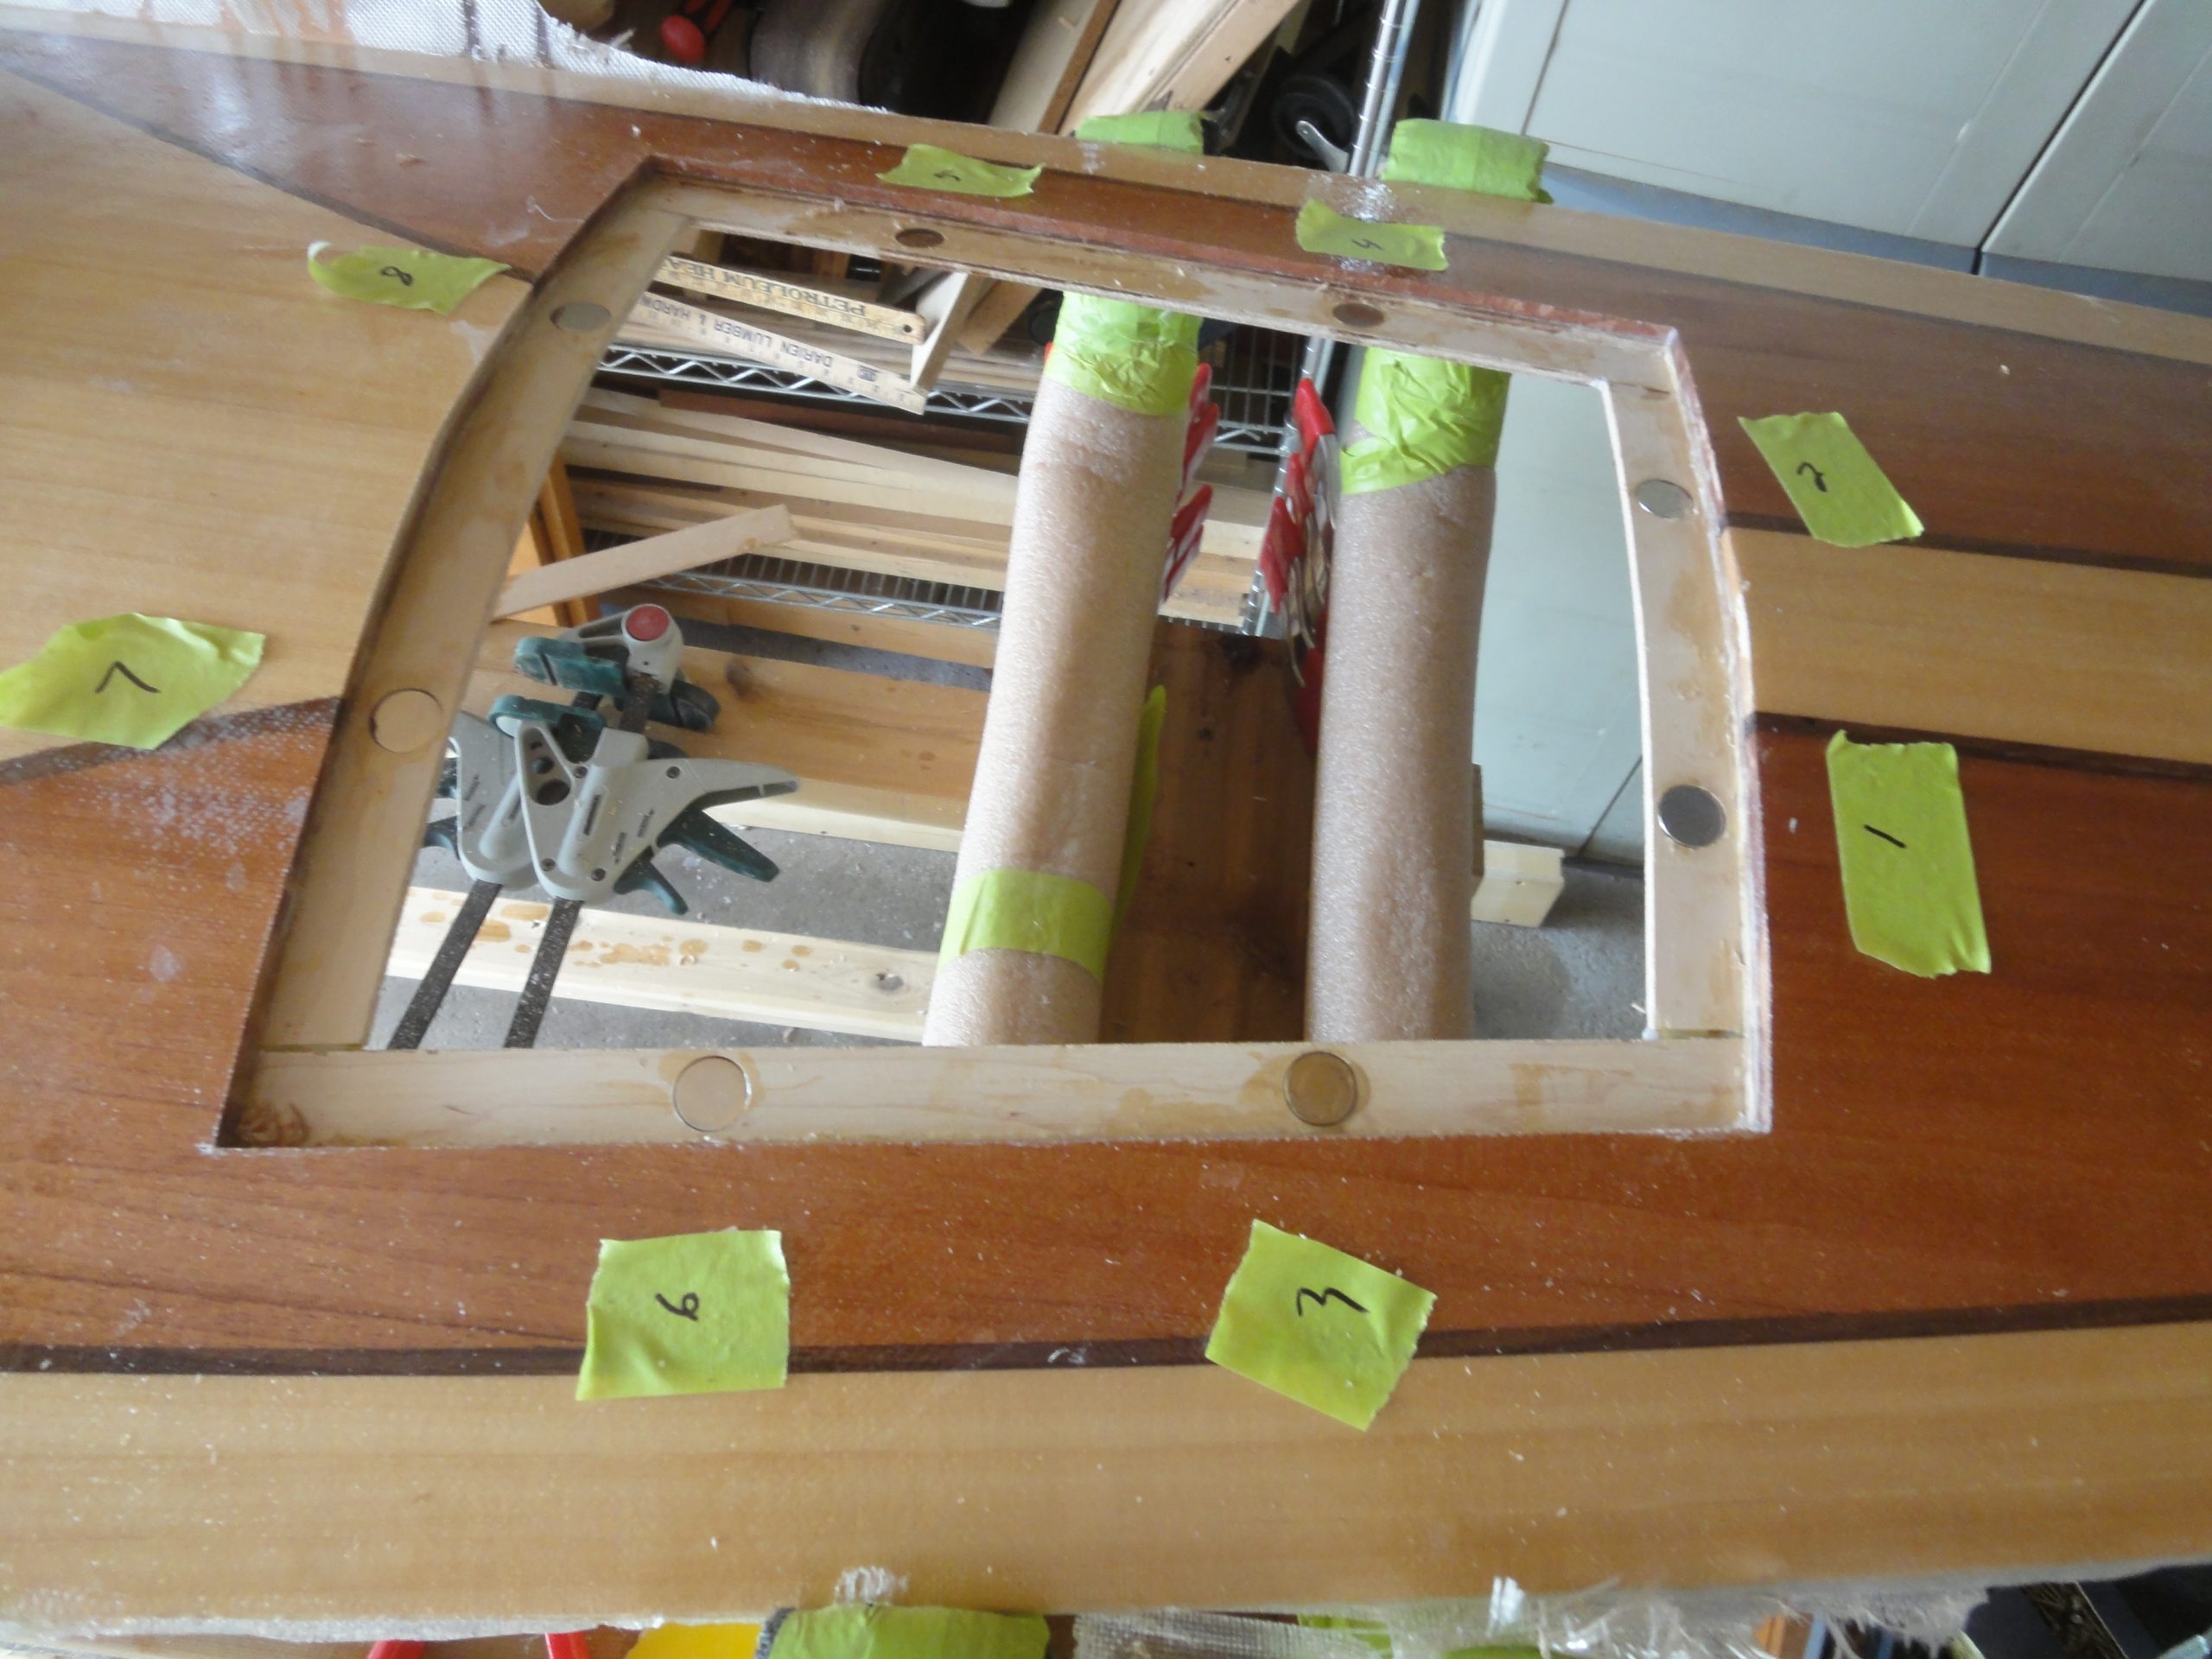
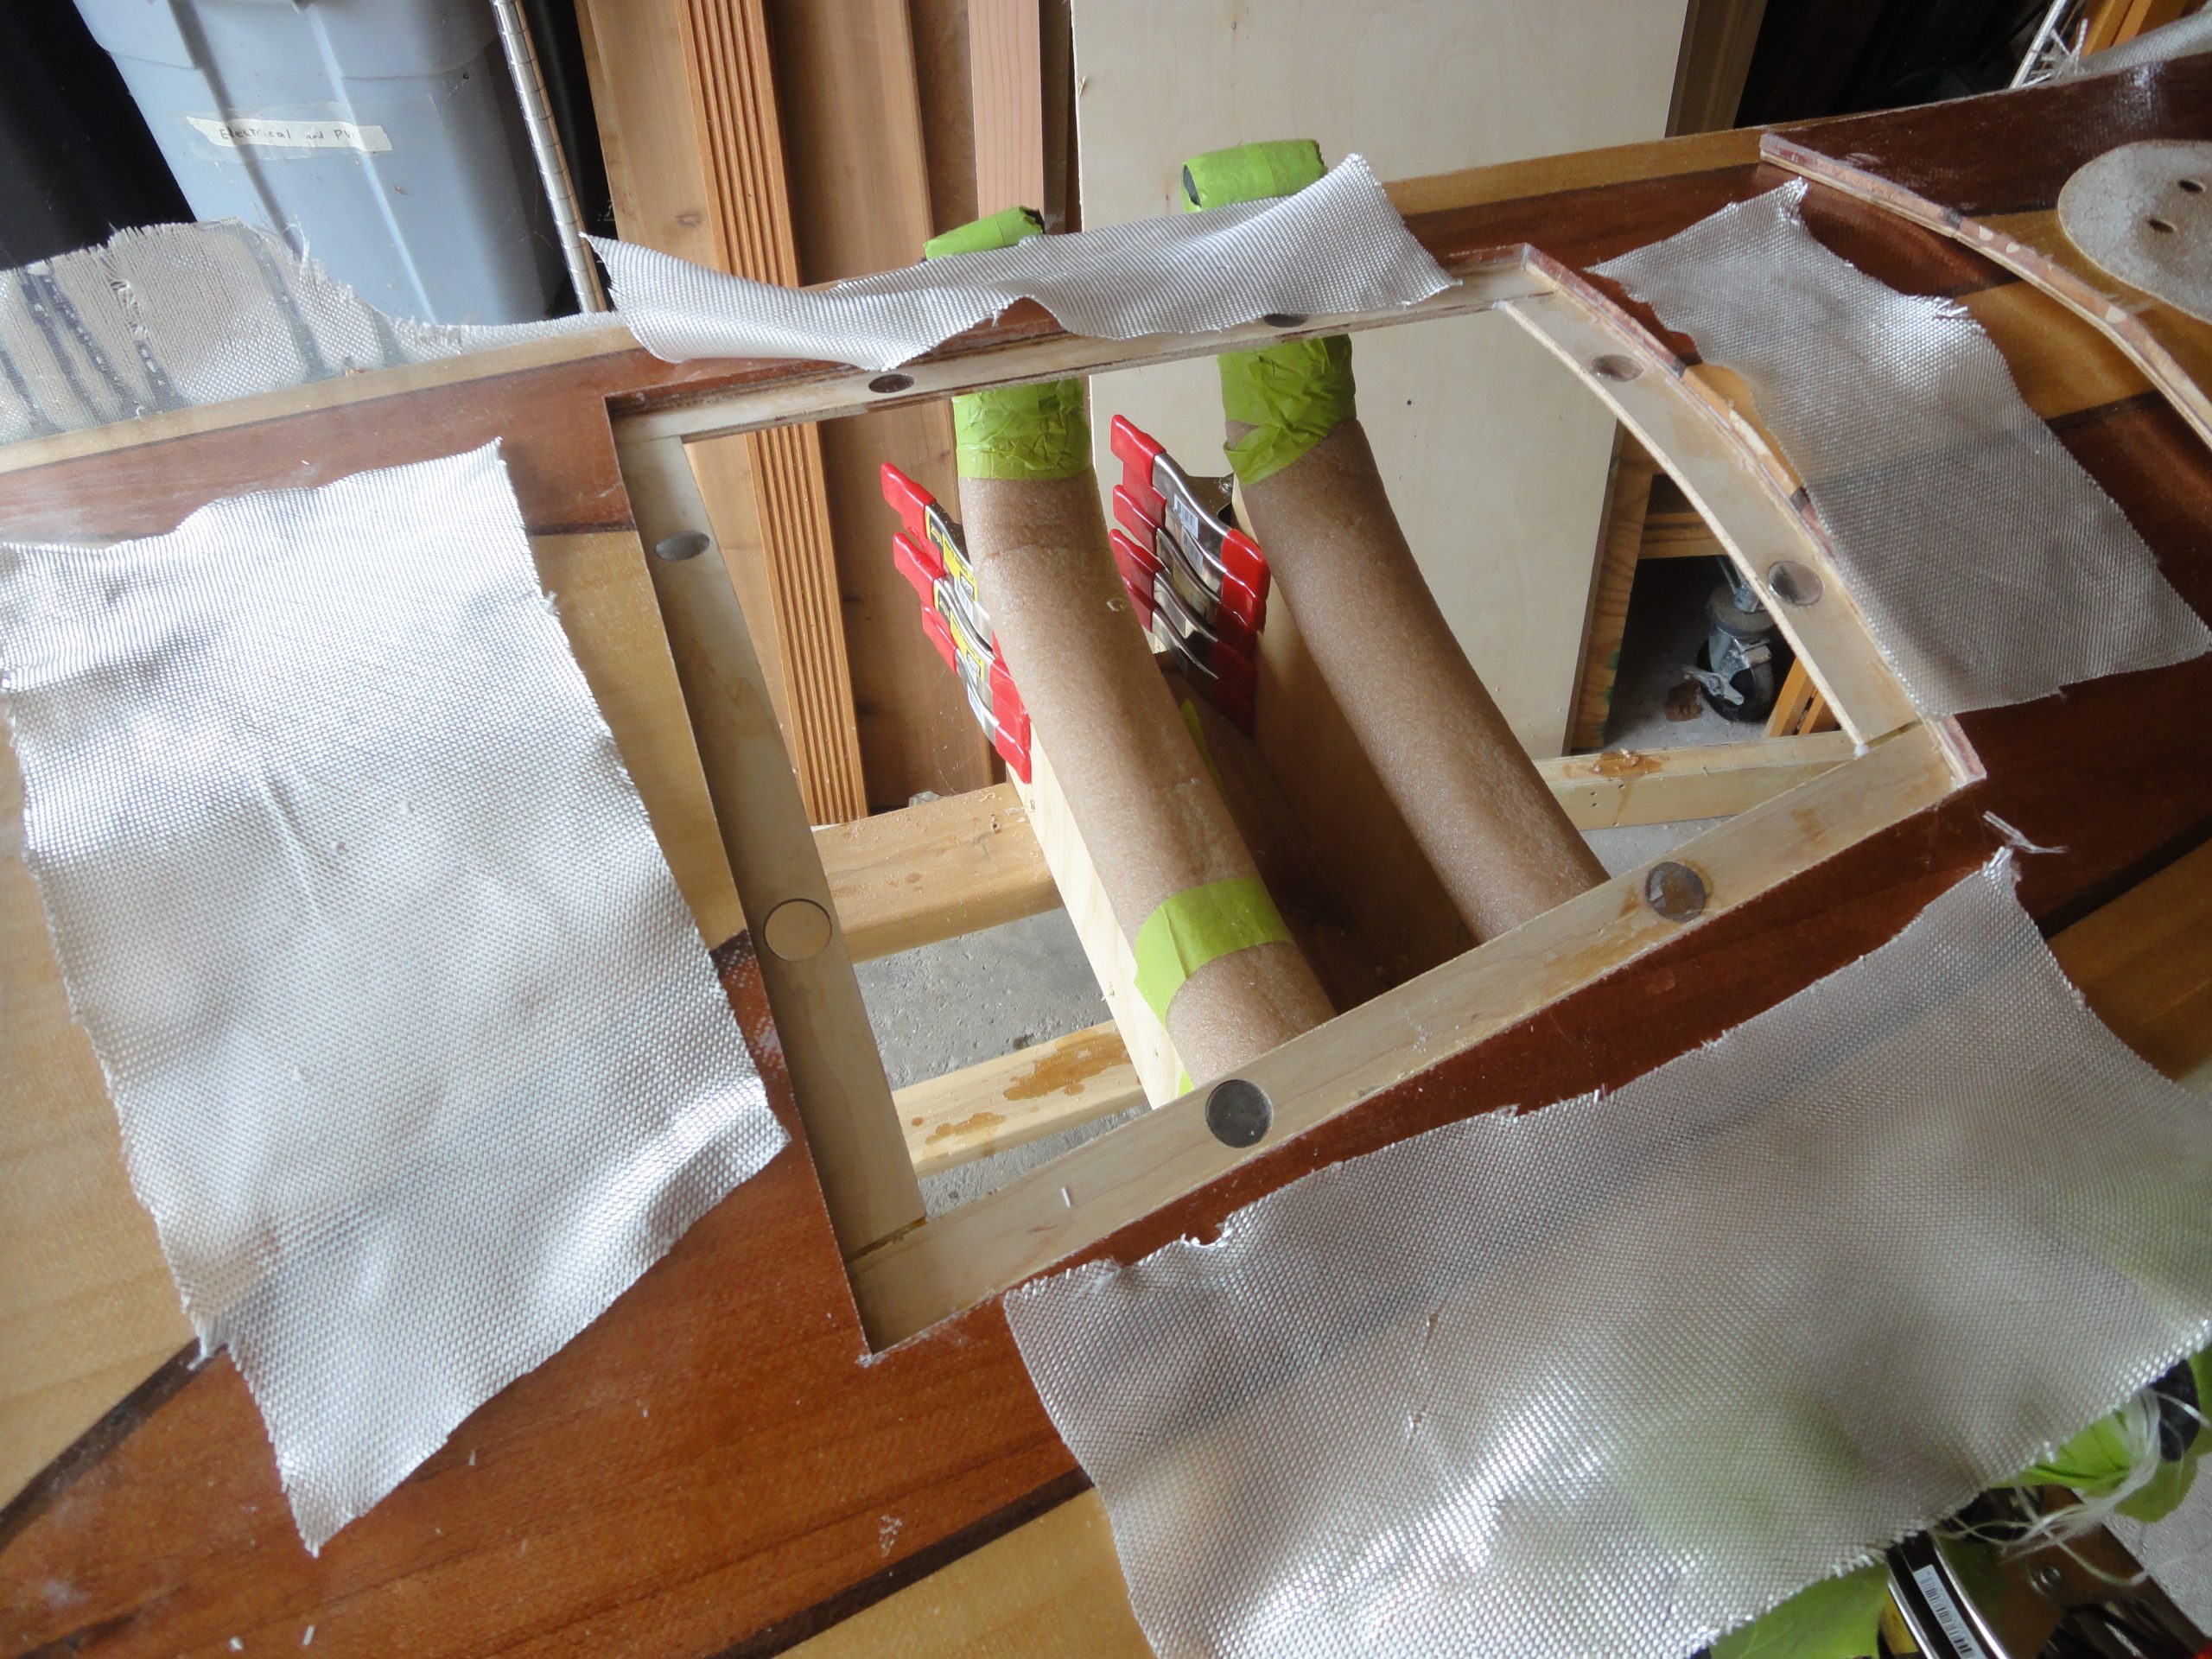
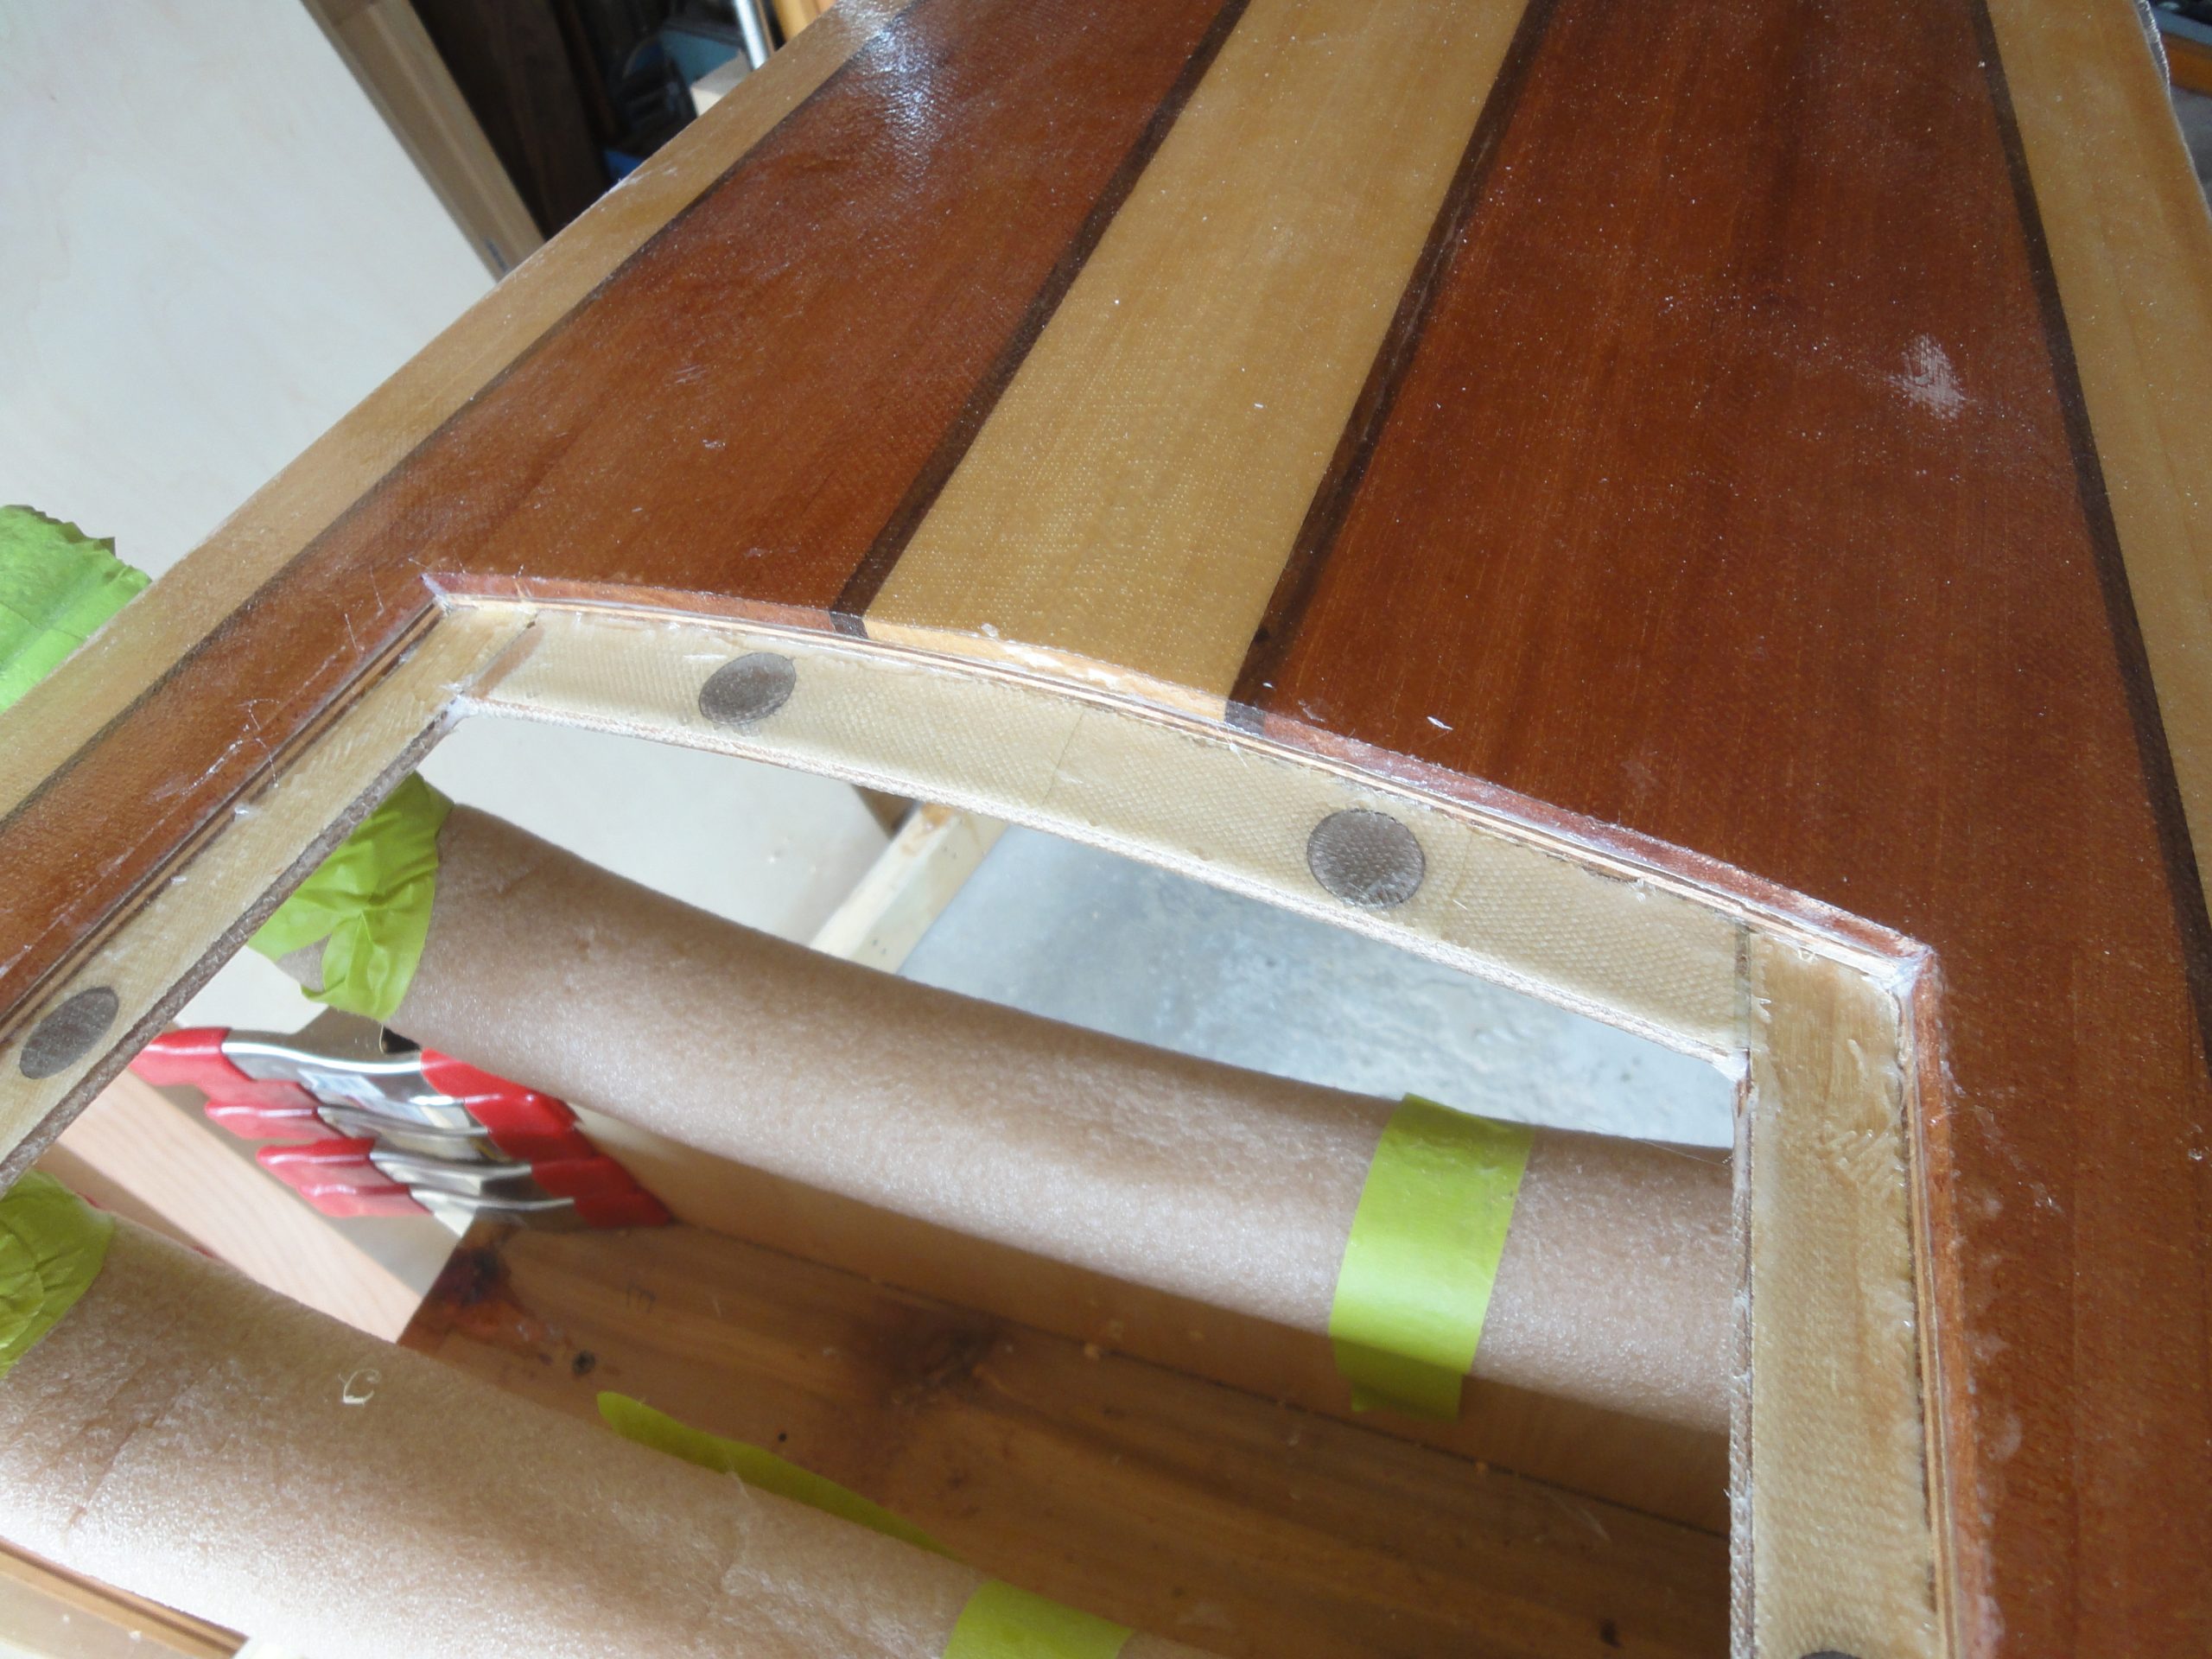
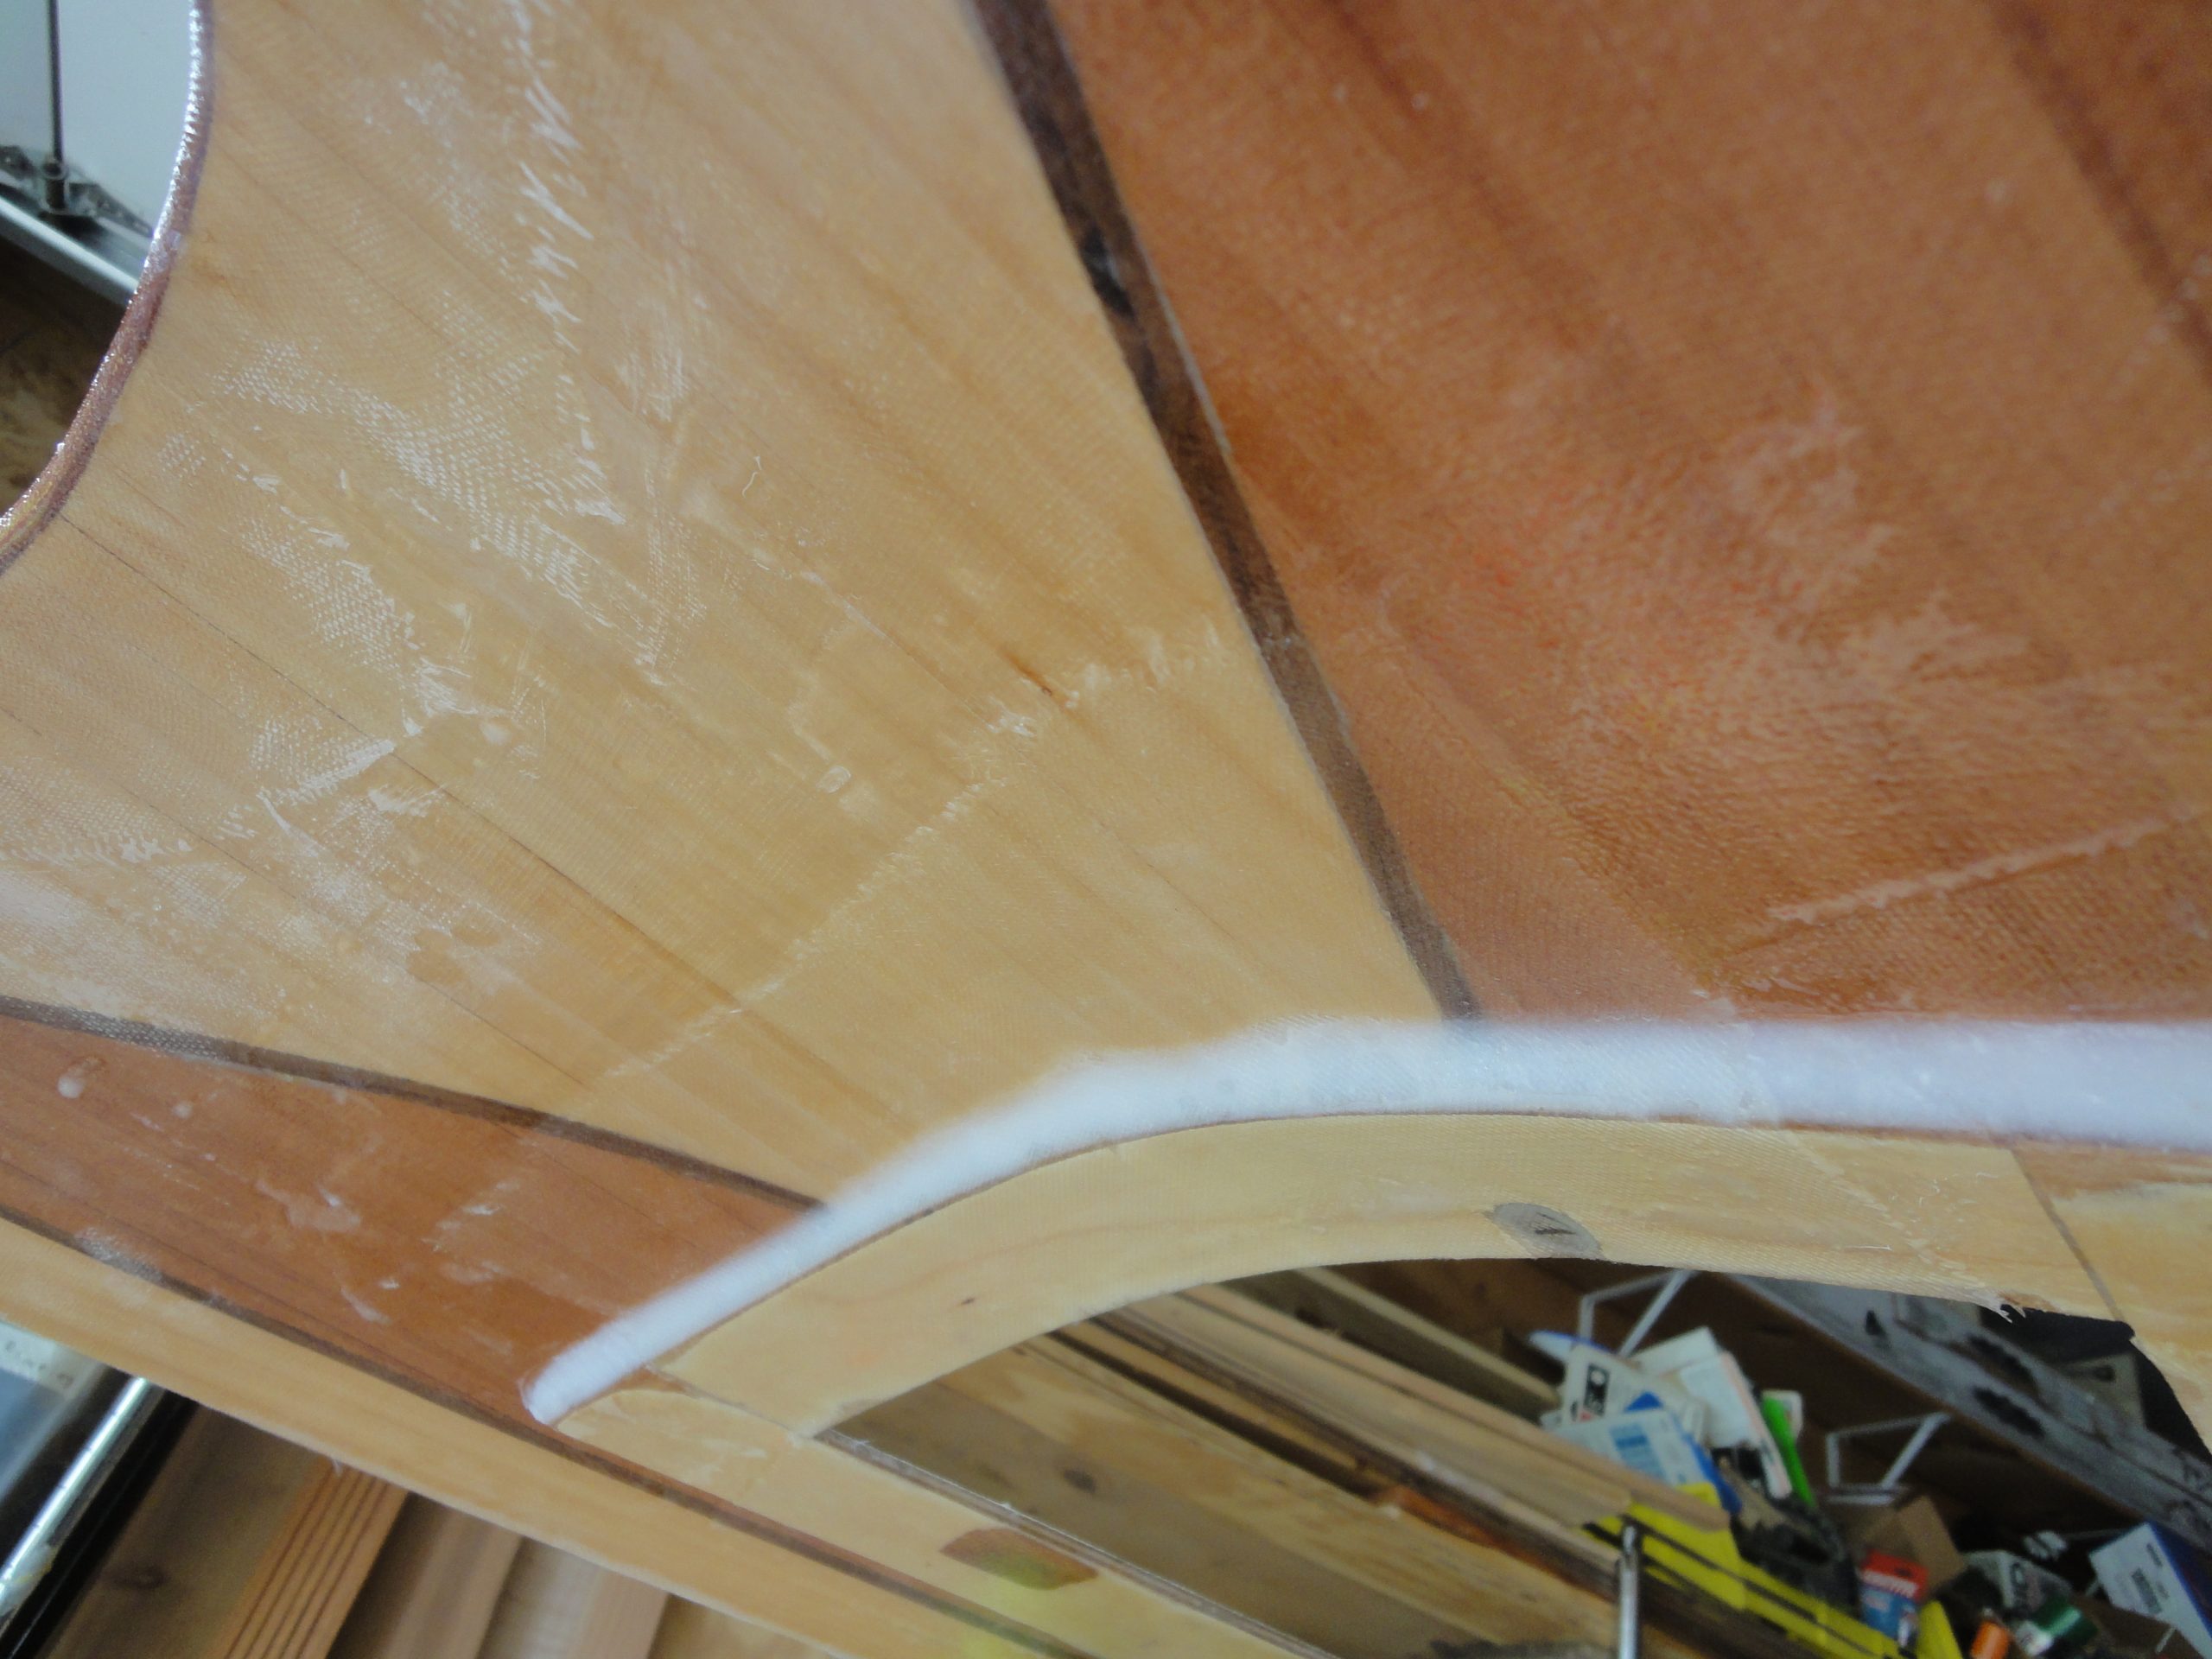
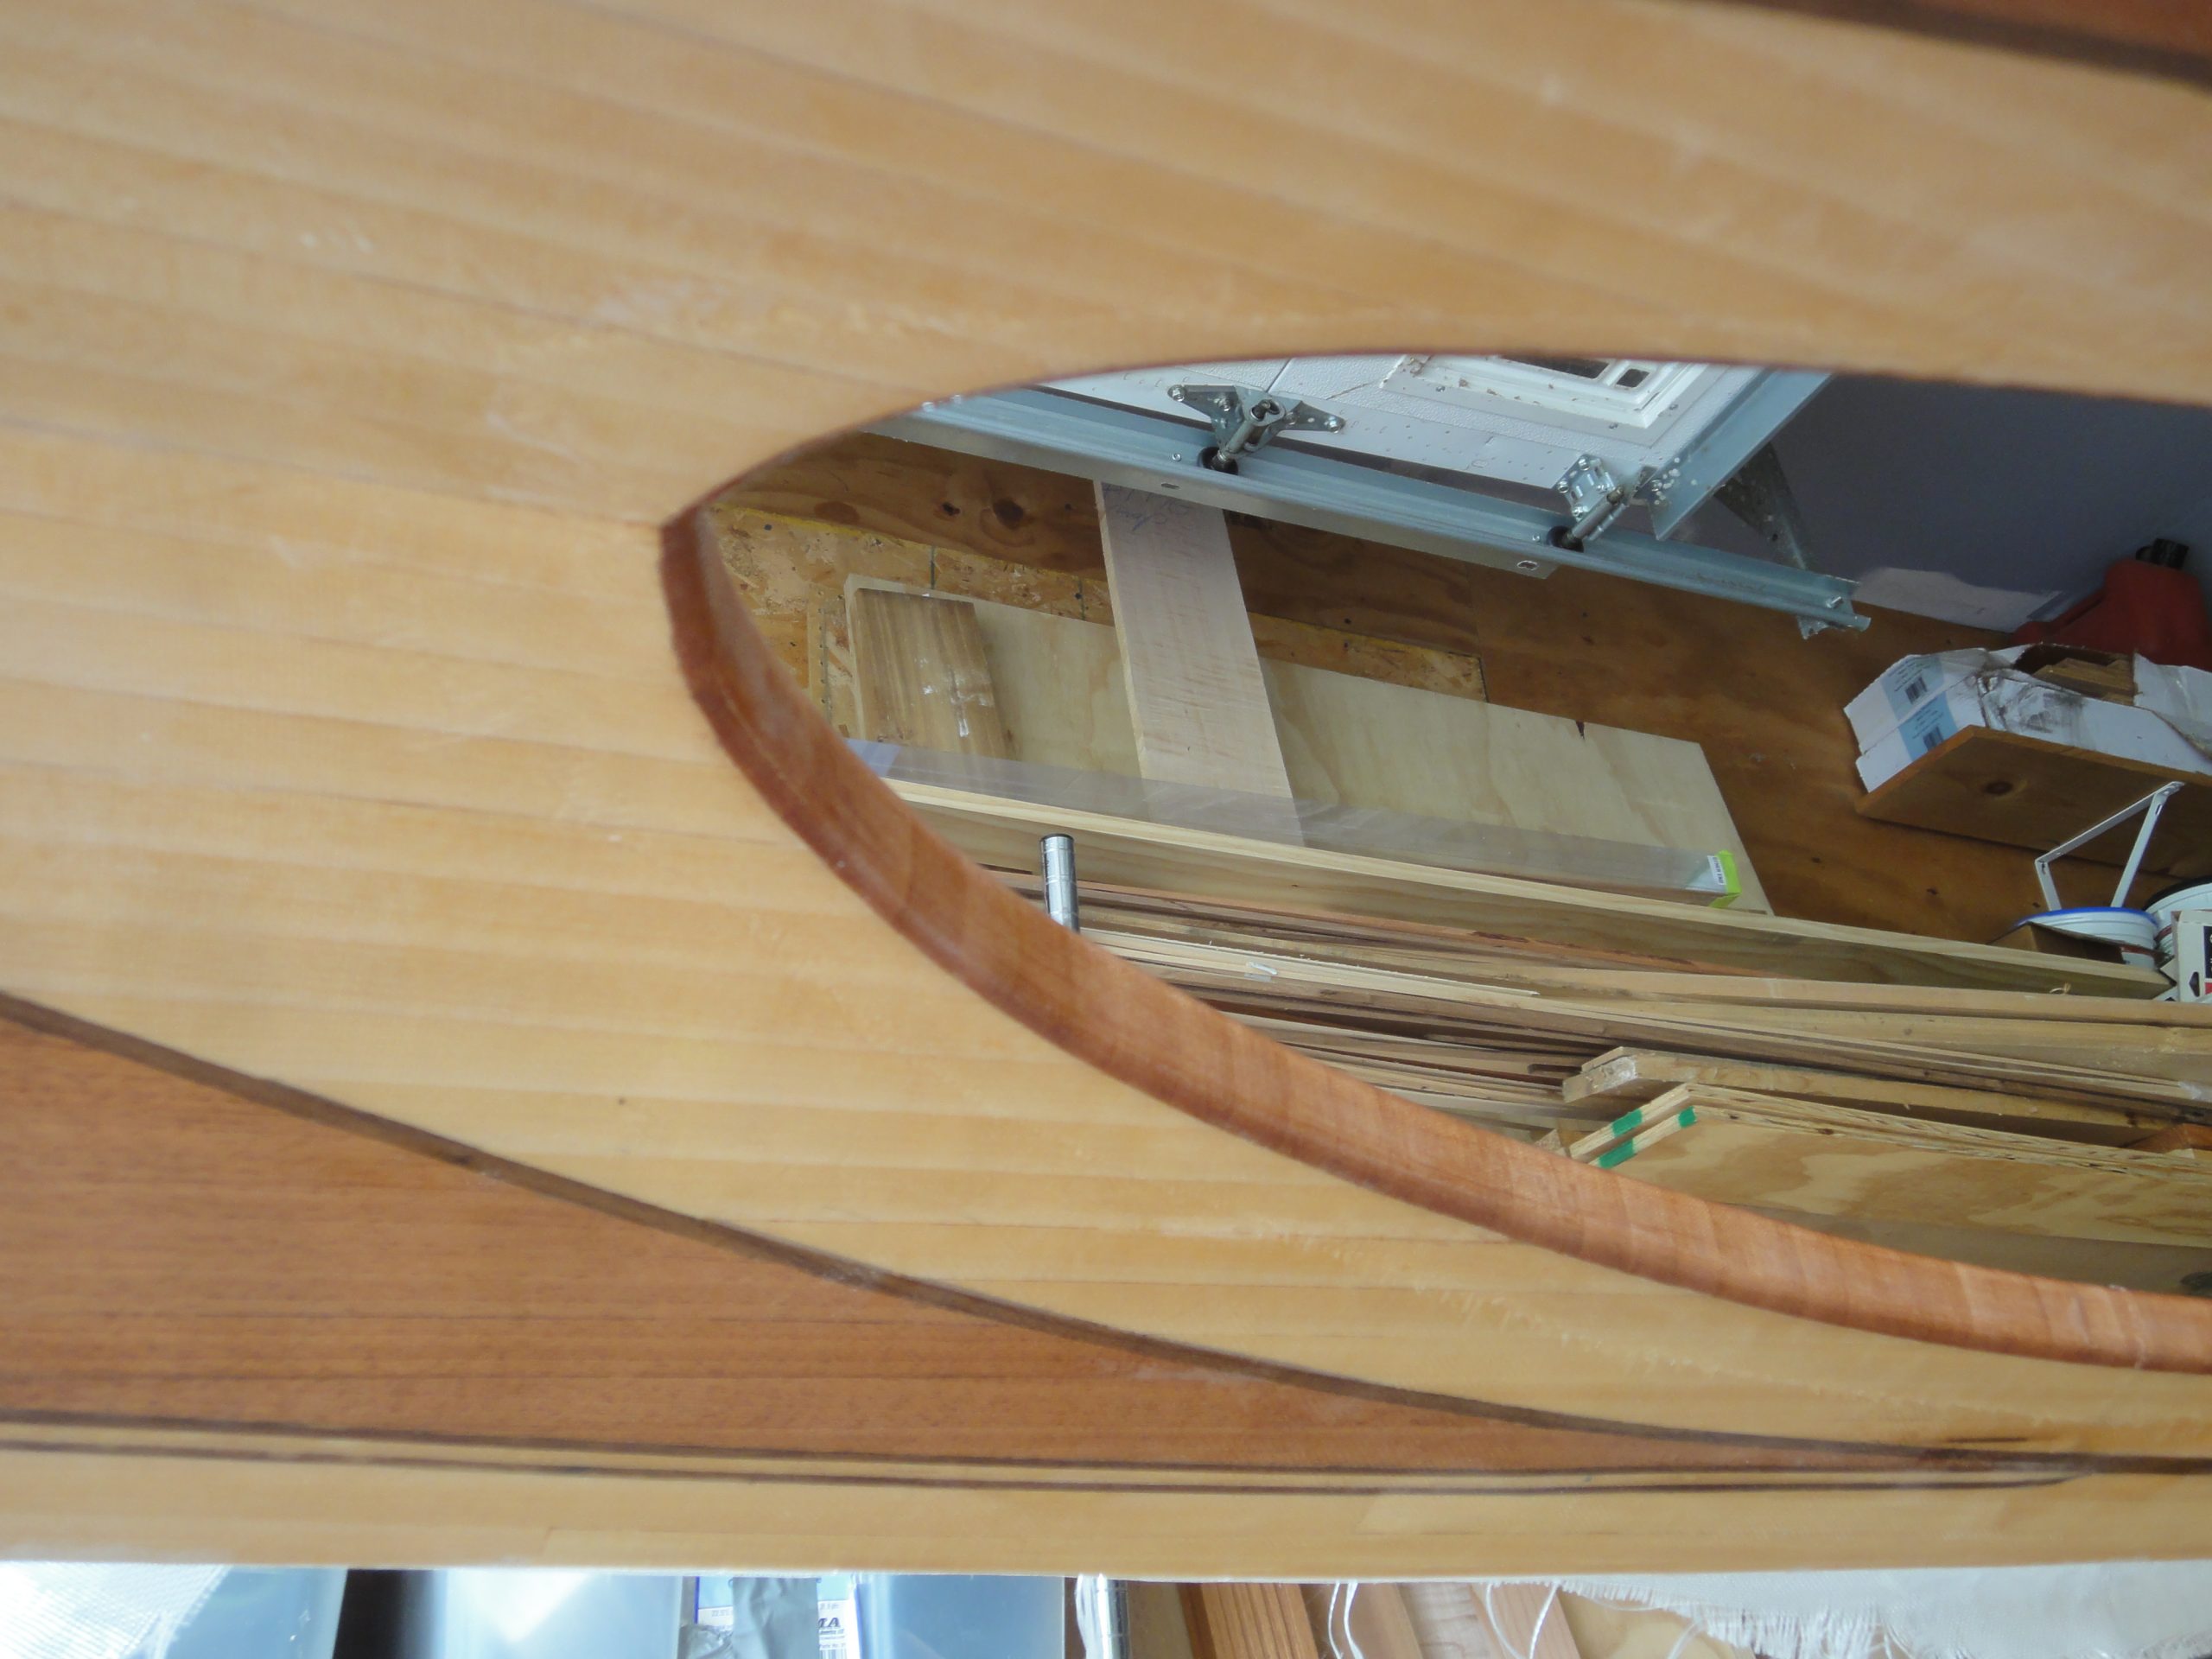
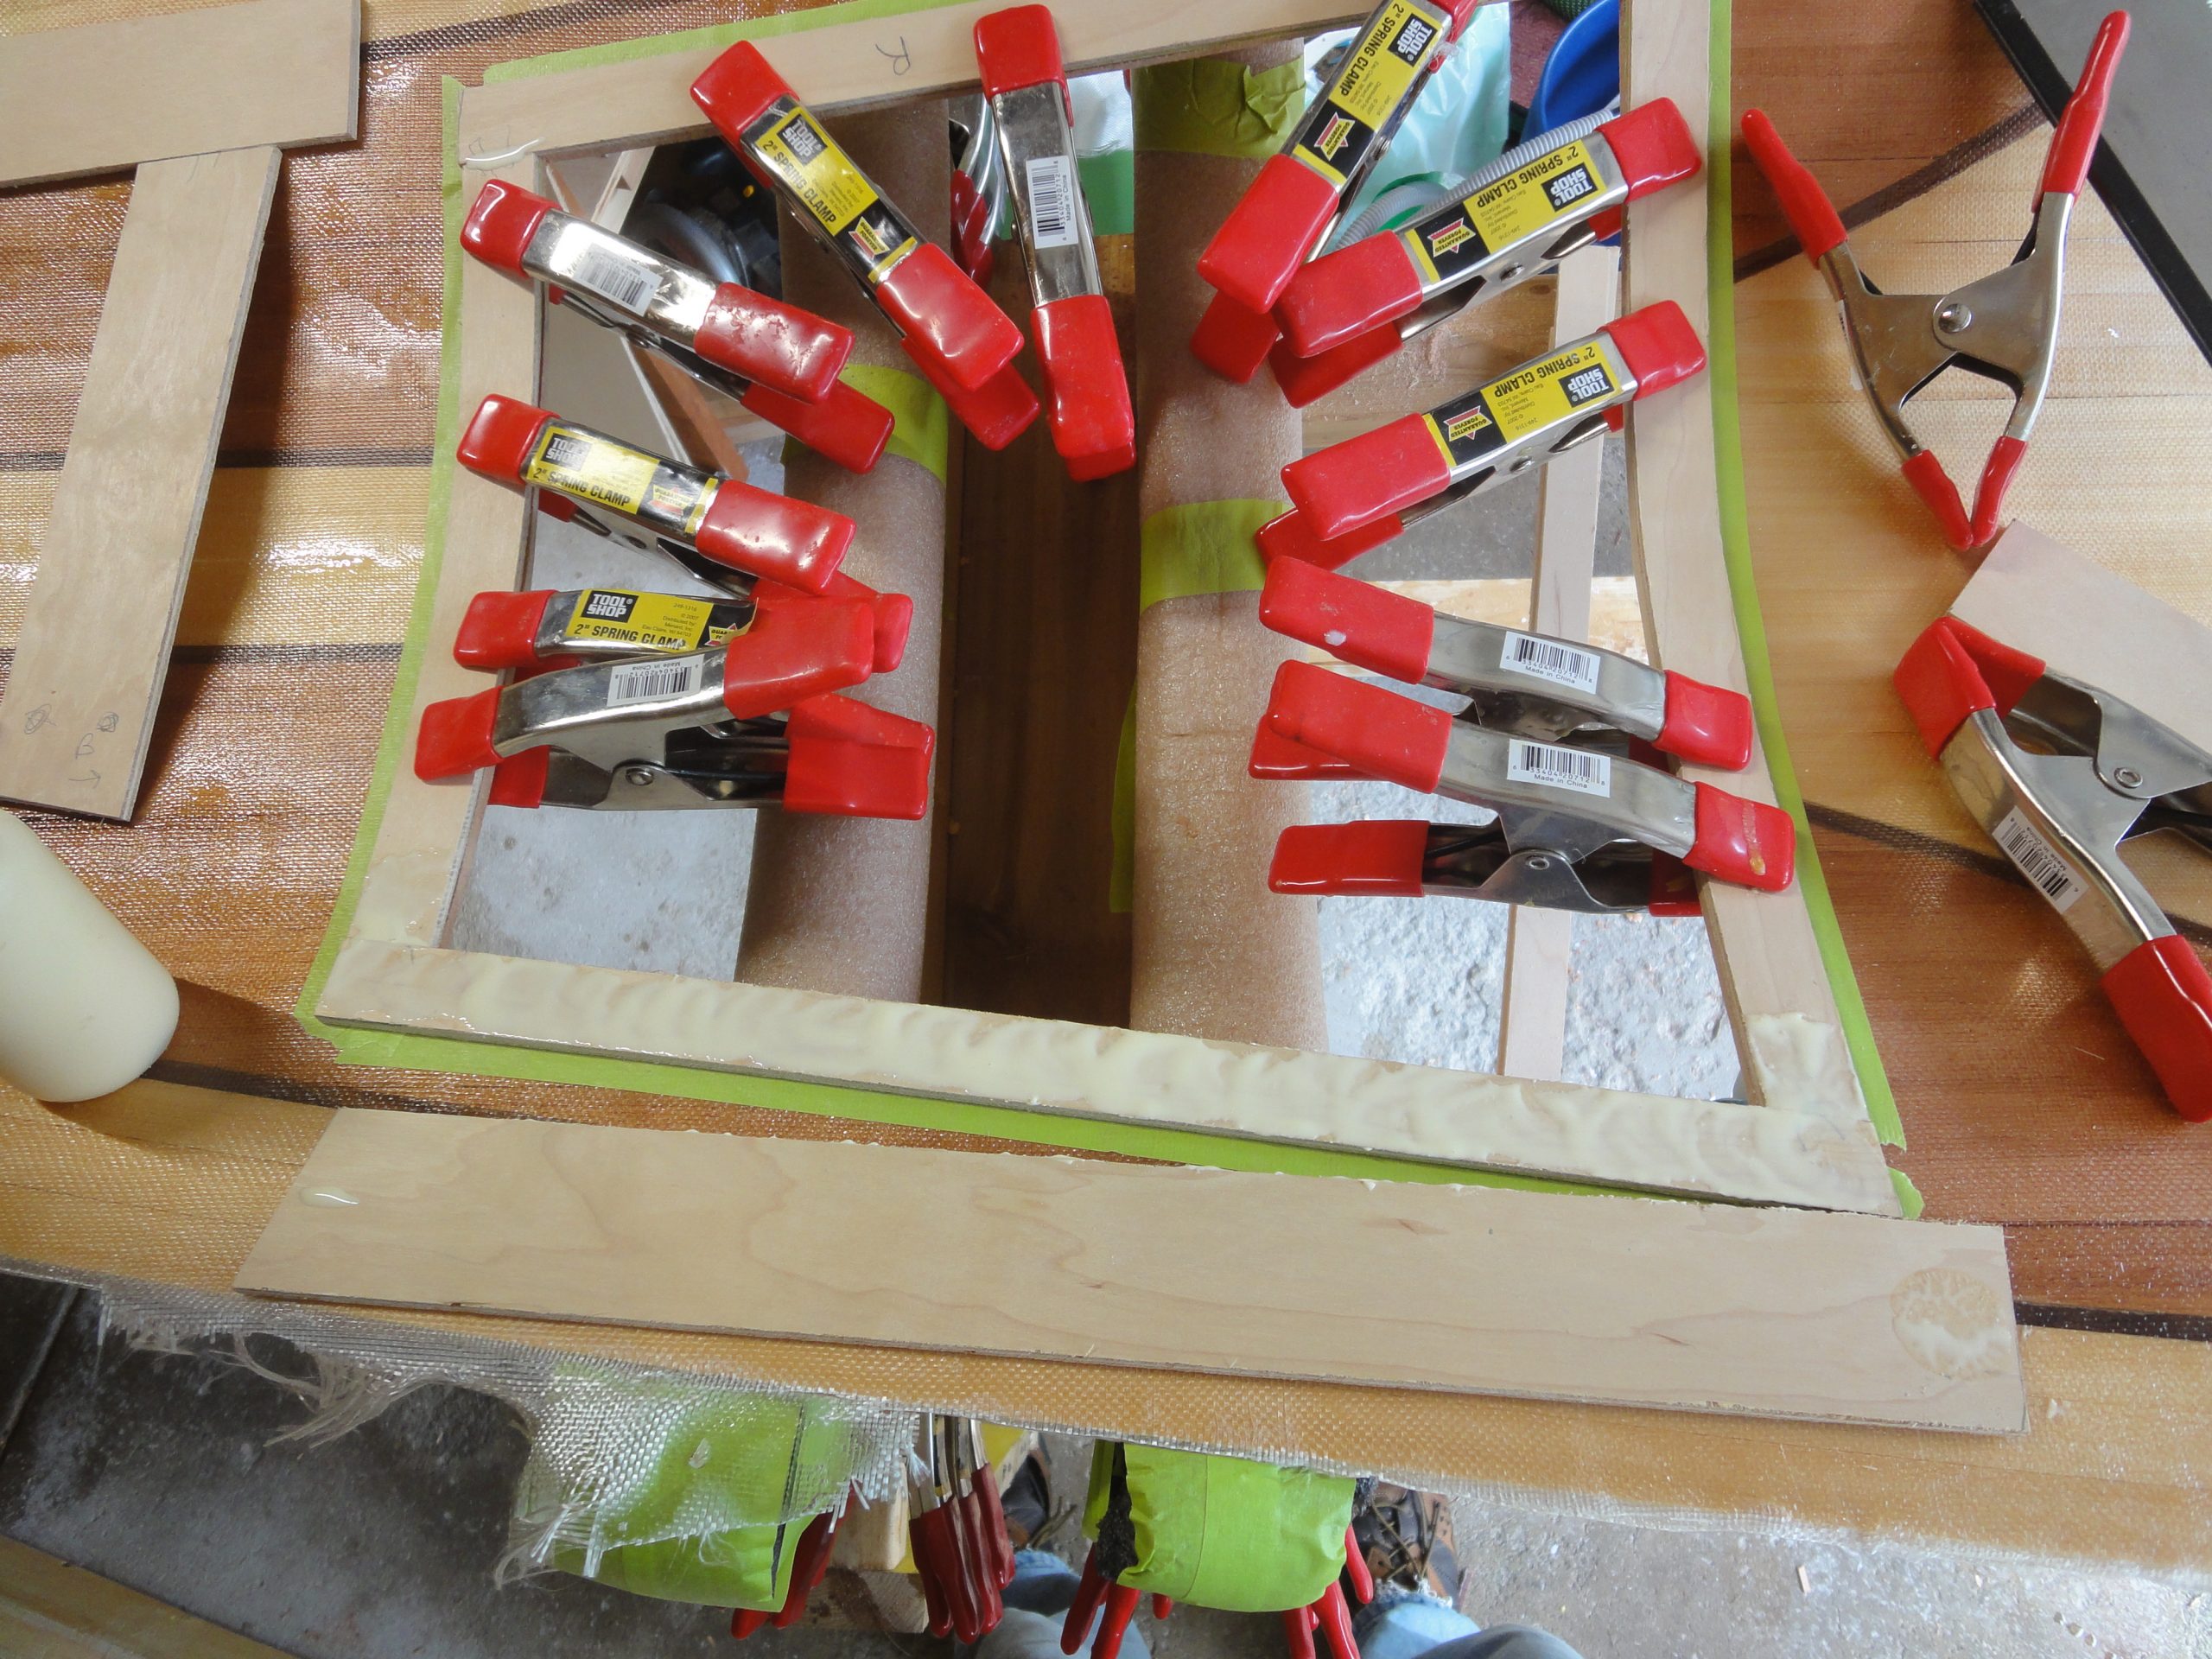
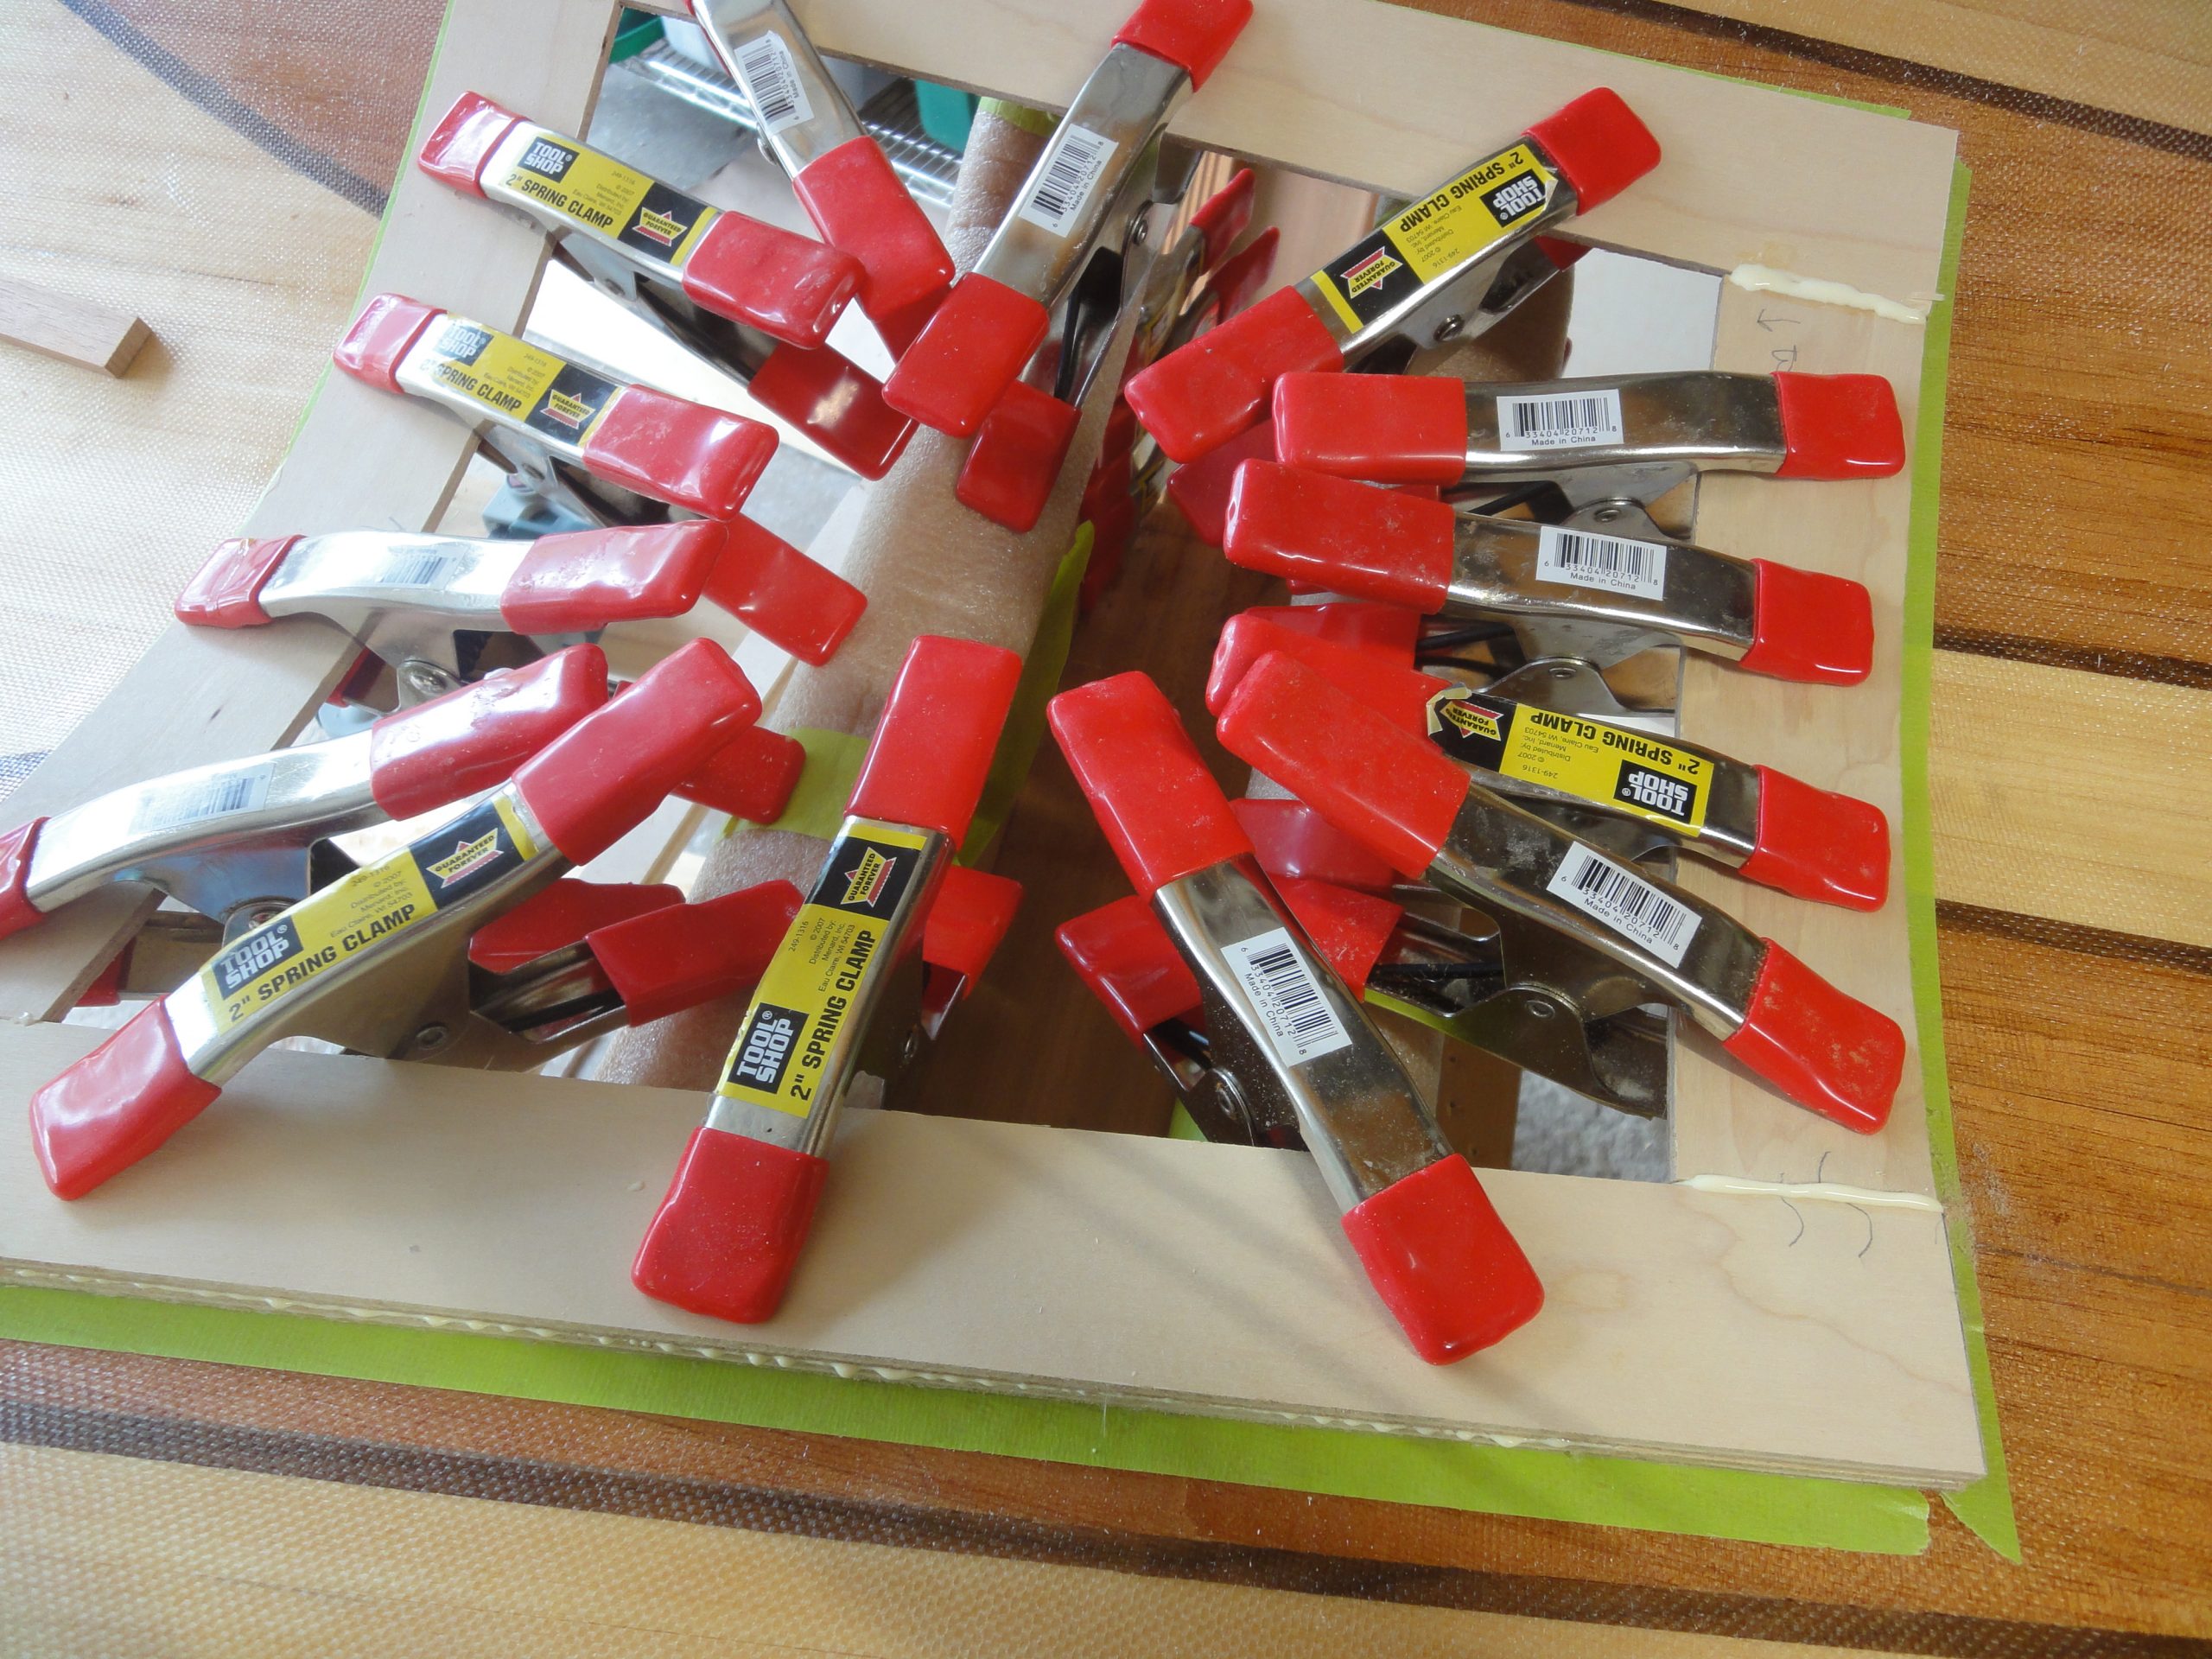
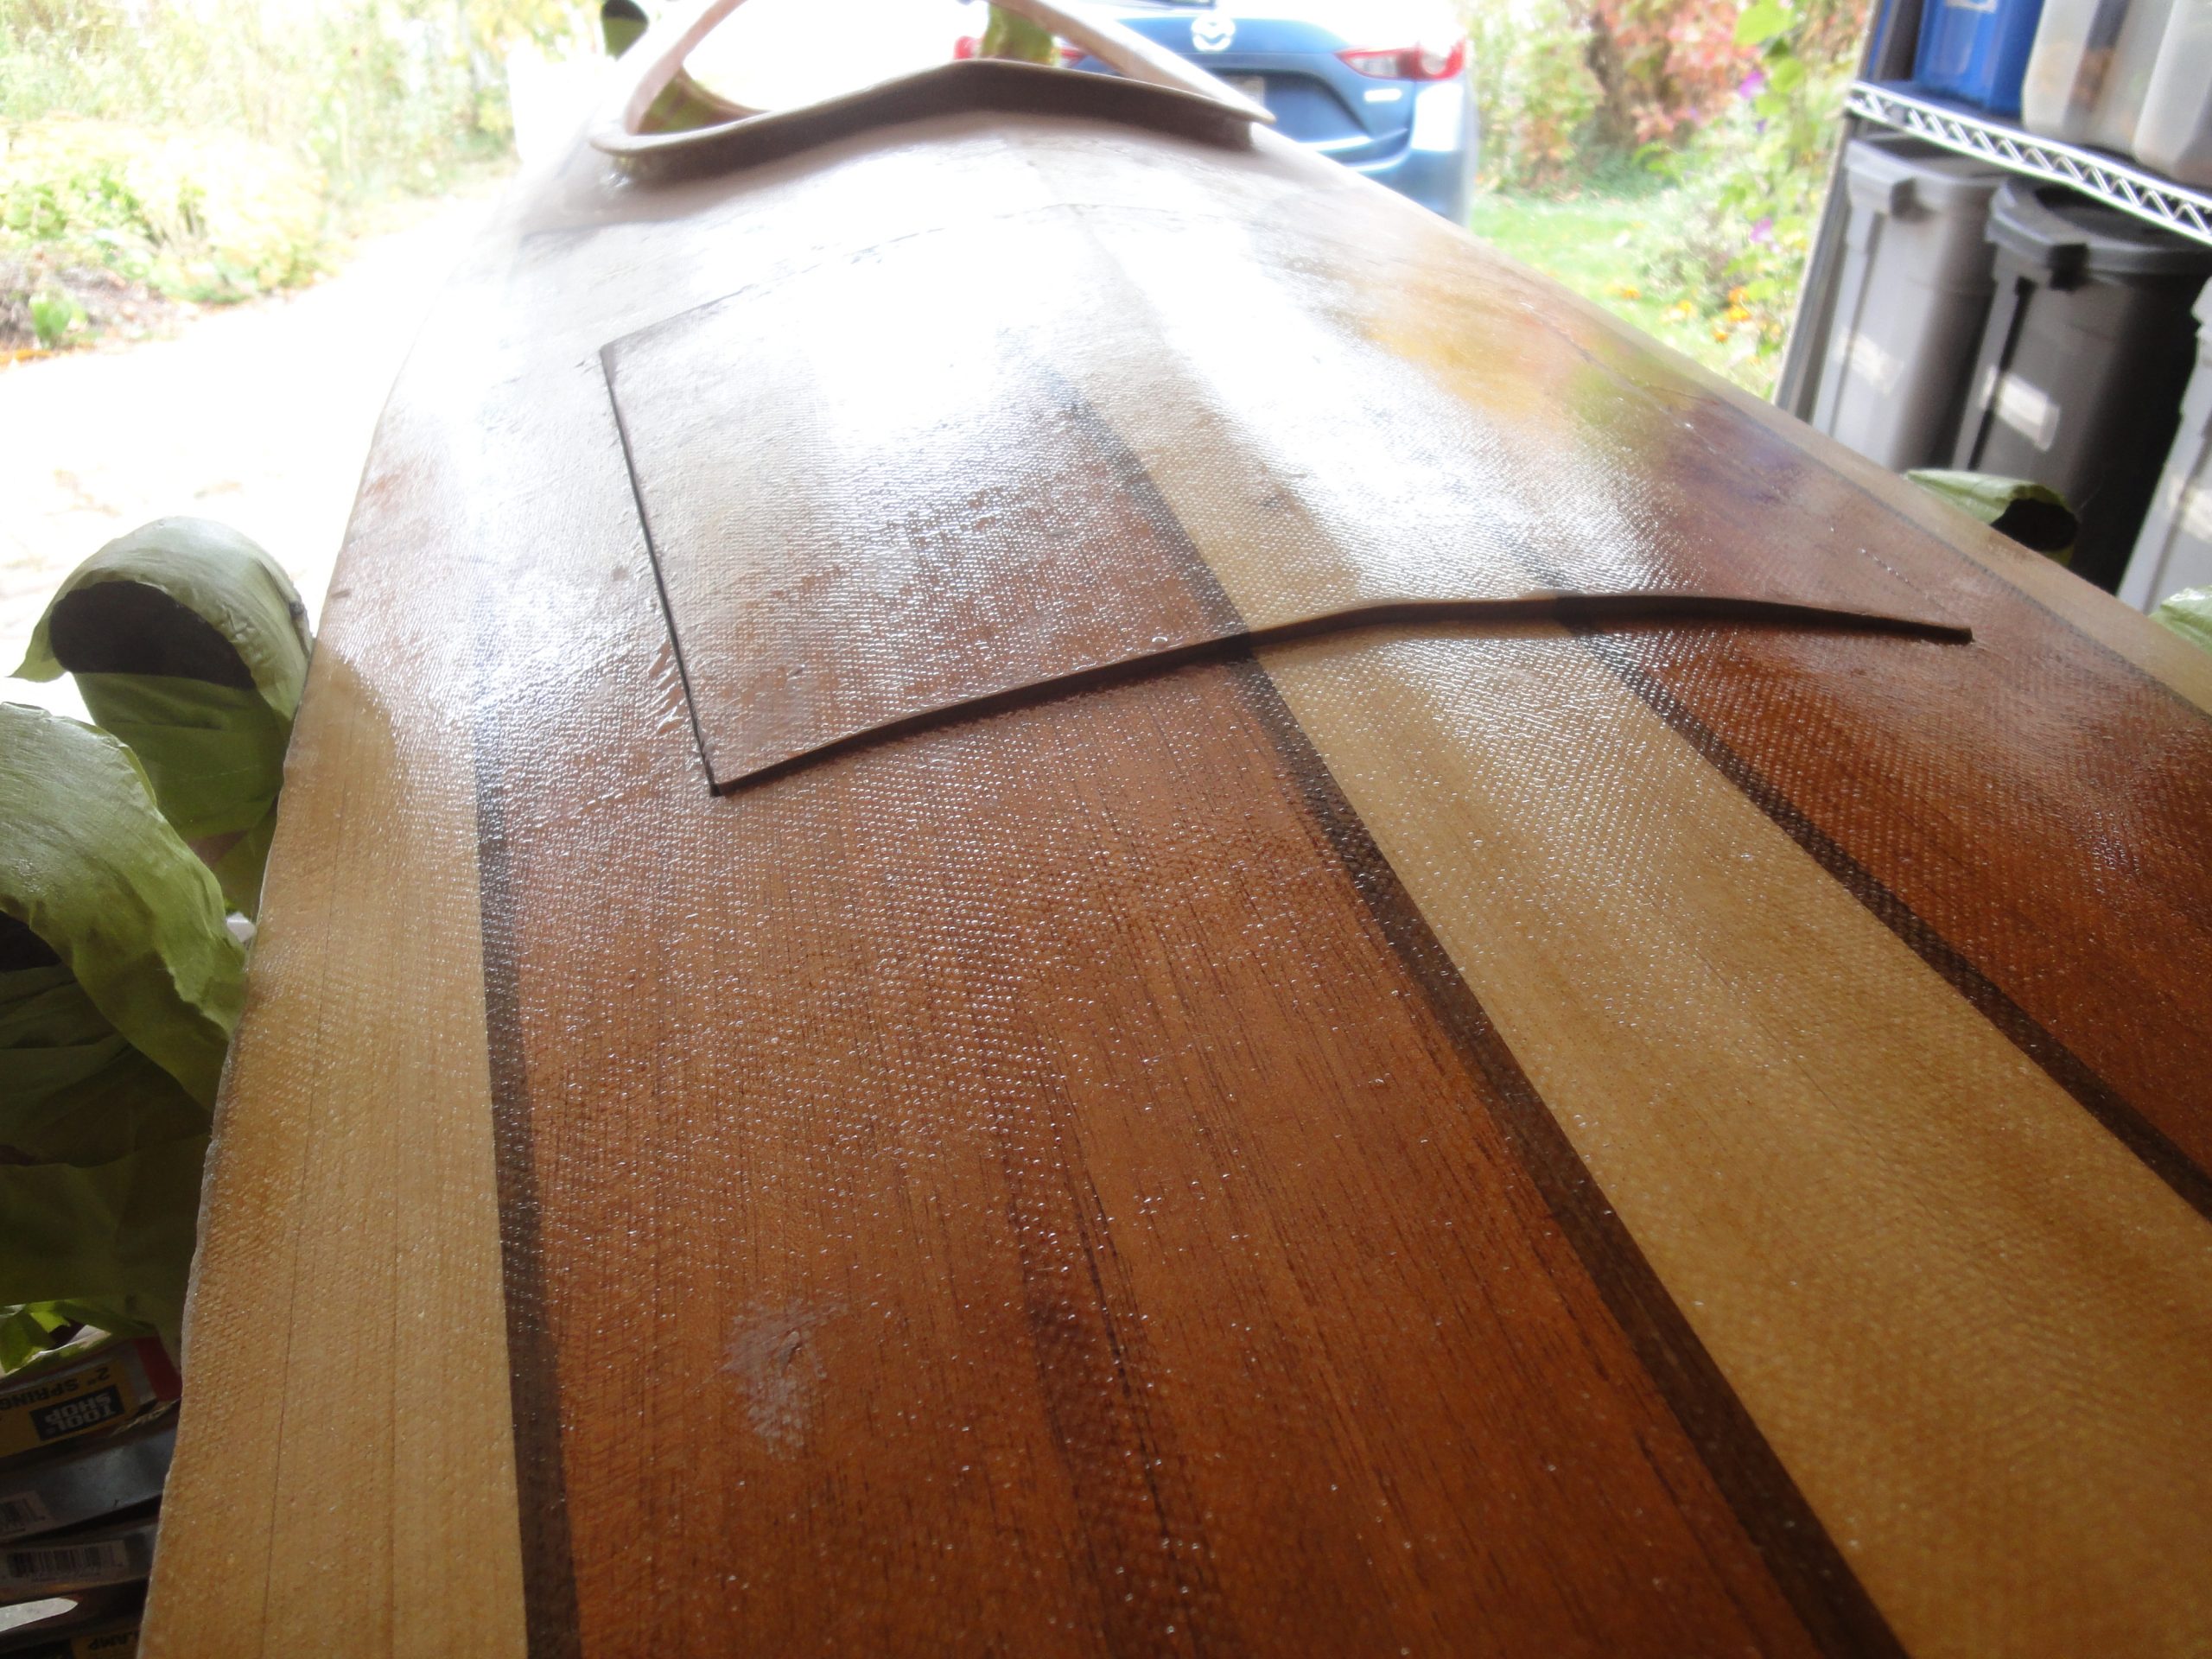
I also looked over the magnetic hatch and it’s working really well but even after a lot of sanding of the lip and a bit of the hatch itself to take down the fiberglass high spots, it still sits proud of the deck. The pics make it look worse than it is, at most there’s about an 1/8th inch sticking up. I’ll have to decide how to address this in the spring. Perhaps leave as is or more likely sand the hatch to blend it into the deck and then re-fiberglass the area where I had to sand it down.

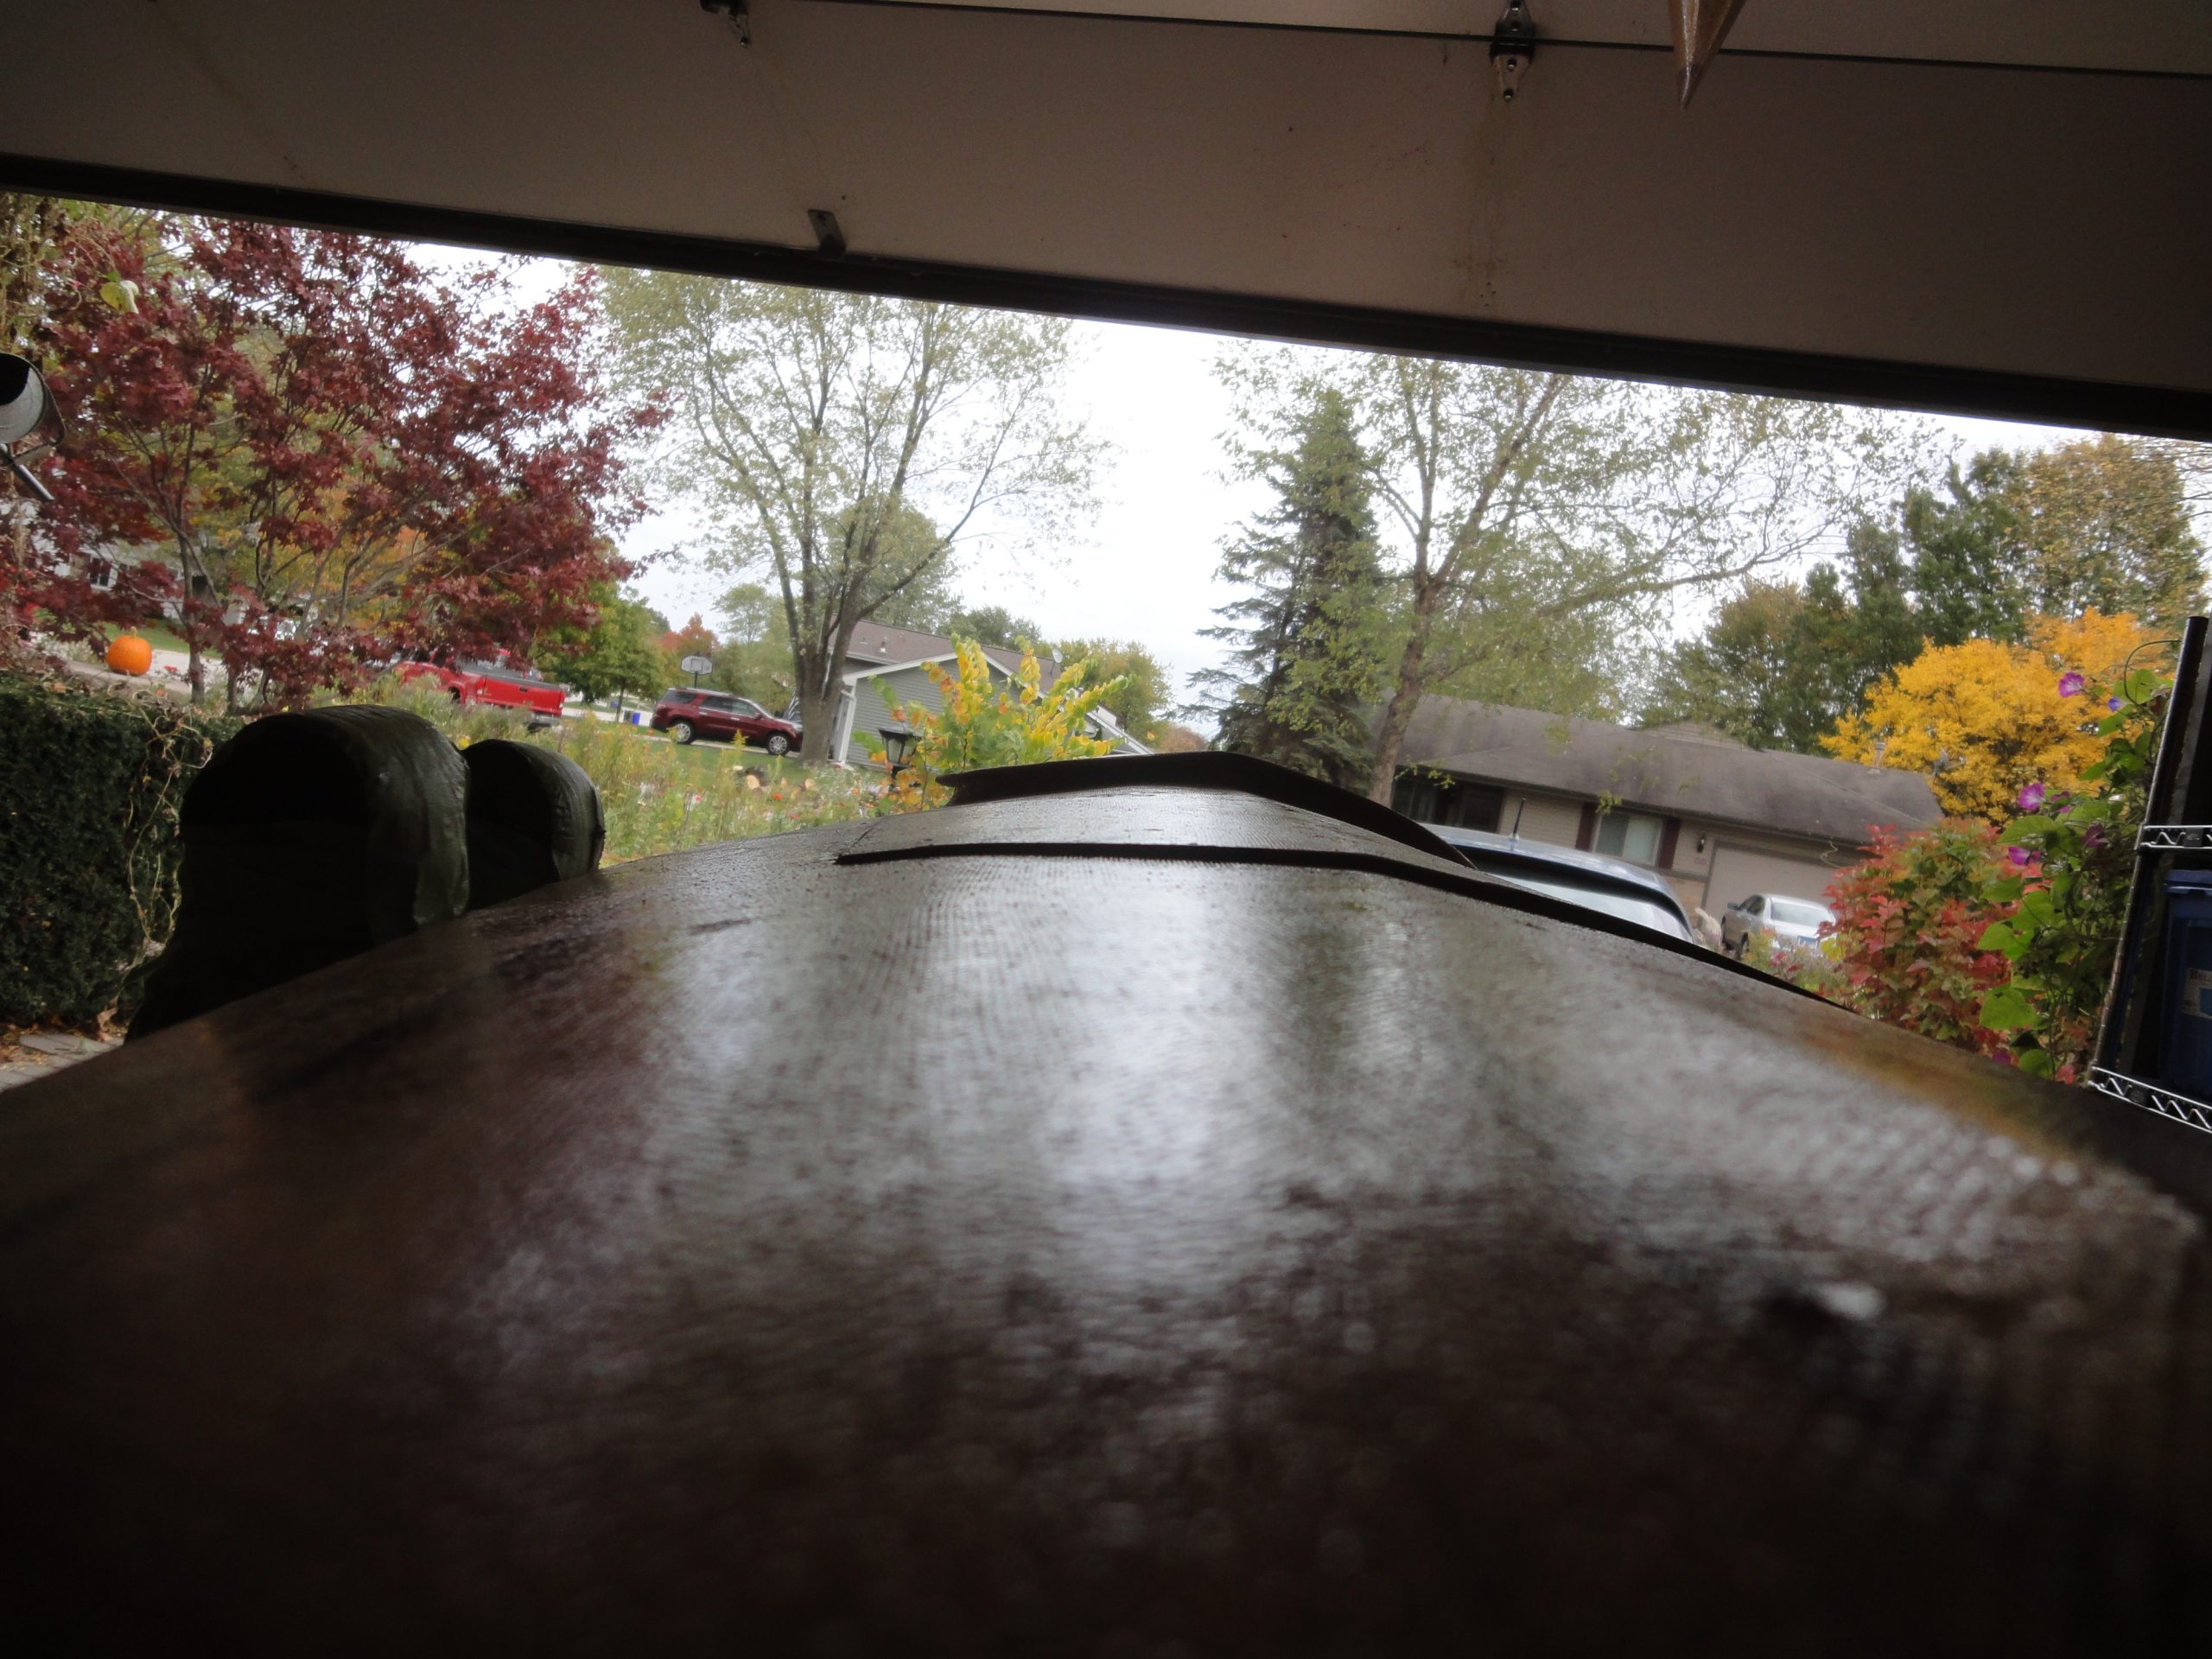
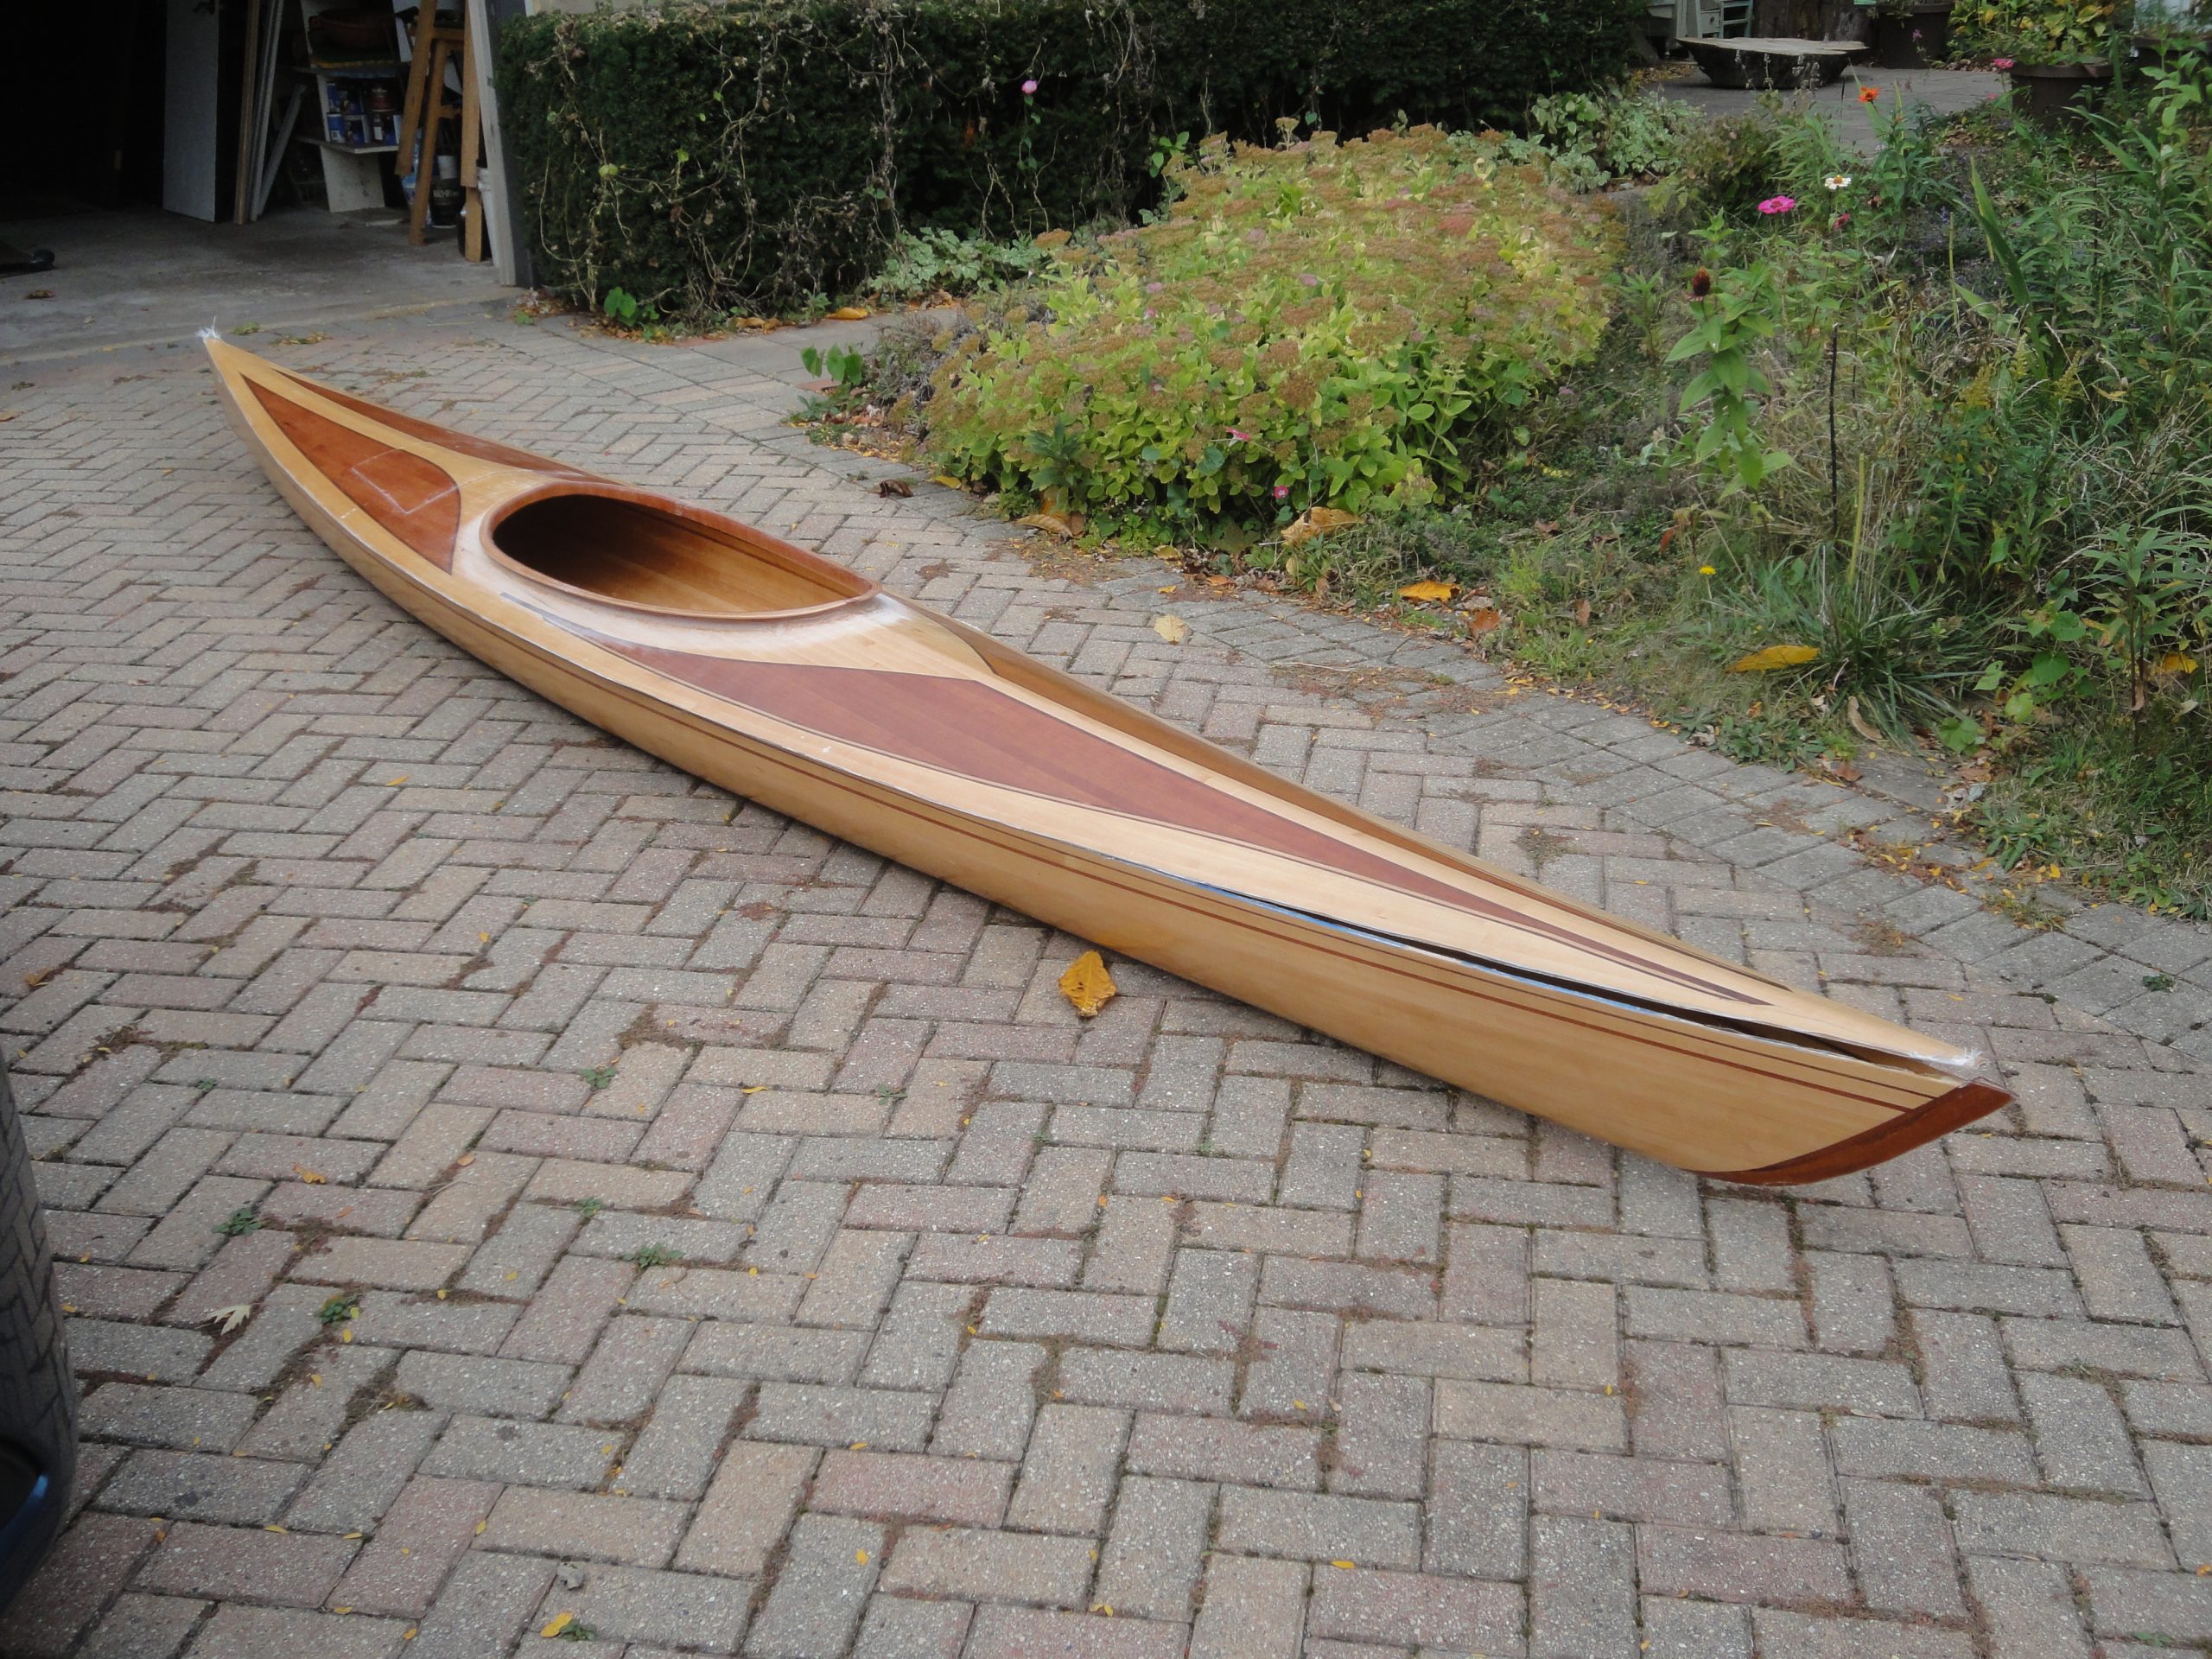
So I set the hull in the driveway, put the top on that and finally got a pic of (almost) what the finished kayak will look like. I sat in it and tested the leg room, entry/exit and overall feel and I’ve very pleased with the elongated cockpit. It was definitely, for me, the right call. I put tape where my heels are and where my toes would naturally lie (in preparation for the foot pegs) and then added a little bit and marked for the forward bulkhead. I tested and I will be able to reach it, but it won’t be anywhere near as easy as the rear so I’m going to have to give this serious thought over the winter if I want to do another deck hatch or still consider the bulkhead hatch I was leaning towards.

While I had it down I grabbed a scale and put it on there. Right now it’s coming in about 40 pounds. I figure with some sanding I’m going to take some of that current weight off, but with another coat (or two) of epoxy and then seat, foot pegs, end pours and varnishing it’s going to bulk out to hopefully no more than 50 pounds. That’s a number I can definitely live with, if I stay at/under it. especially for my first try.

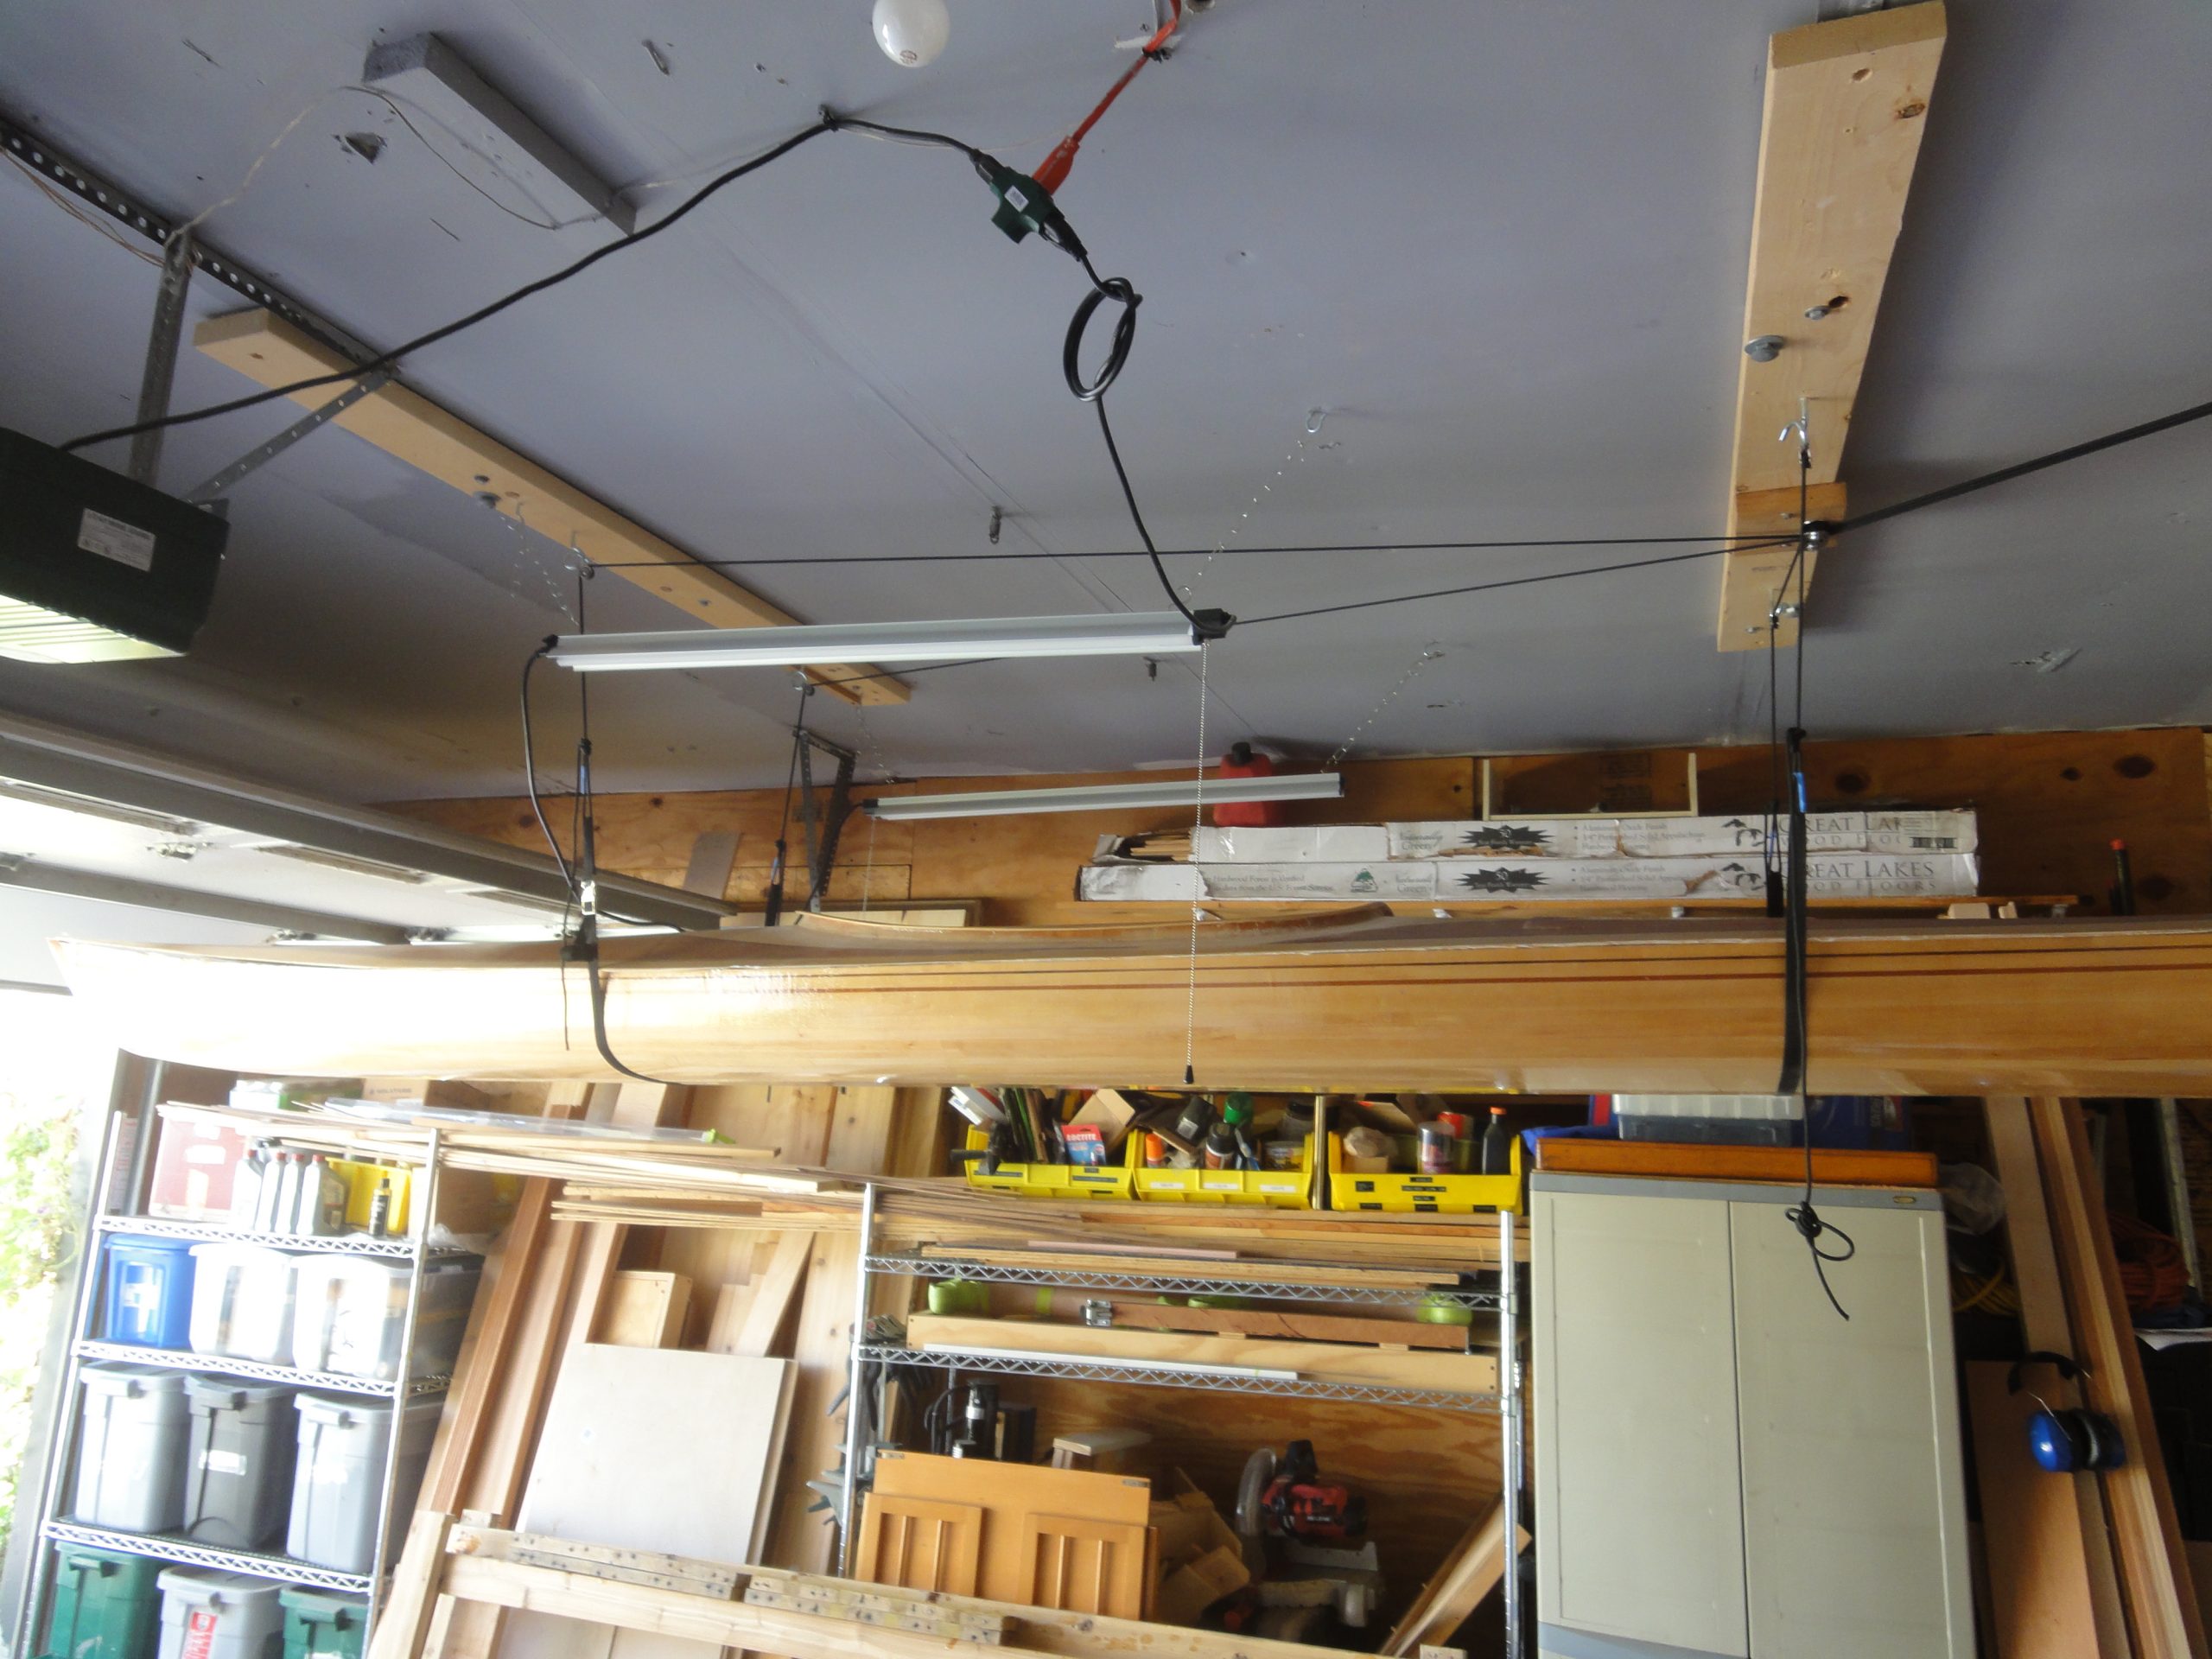
With the gratuitous pics done I strapped it in and raised it up for a second winter. If all goes well next year I’ll have on the water by late spring.

Hatch Part 5+

This posting covers a handful of days of additional hatch work.

With the lip completed and the strips for the cover cut and drilled I turned to the mounting process. After coming up with a handful of ways I finally settled on hot glue and tape to get them where they need to be, then remove, clean the hot glue and epoxy on for the final bonding. Unfortunately the strips did not want to curve so well and I had some breaks at the thin points. Once epoxied on this will not affect the operation, the epoxy will hold them on properly and unless you know to look for them the appearance will be fine too.

So I started by fine tuning all the pieces and cleaning the opening of any glue and epoxy squeeze out. Bunch of scraping and sanding, mostly, to clean it up. Once cleaned, and the strips sanded and planed for a good fit, I put the strips in place and dabbed on a few hot glue spots. The hatch cover was put in place and held down for a few moments for the glue to setup. I tried it with one piece but it wasn’t sticking so well so I went back, used more glue and did all four at once. It worked fine the second time. Keep in mind this is only temporary for placement purposes.

I then removed the hatch and carefully placed tape on the inside of each piece before removing them and scraping the hot glue off. Thickened epoxy was mixed up and slathered on. The tape, besides allowing for placement, also kept the inside of the hatch cover protected. Each piece was carefully aligned and then thoroughly clamped and give a few days to dry.

During the drying days I took the opportunity to start on some of the sanding around the cockpit. The goal was to blend in the second layer of fiberglass with the underlying layer resulting in a smooth transition instead of the bump between layers that I currently feel.

With the hatch cover now dry I removed the tape… Well I tried to. I should have cut it with a knife and peeled it away a few hours after applying the epoxy, not a few days later. End result, lots more time with a scraper to get the edges of the tape removed.

Next up was installation of the magnets. After testing a few I found the holes were no longer deep enough in some cases. Probably due to the epoxy from underneath. But whatever it was I chucked the forstner bit in a cordless drill and with a very low speed drilled each hole a bit deeper. Once all the magnets were fitting flush or even a bit recessed I was ready to install. To ensure that I didn’t install them the wrong way (and thus have them repelling) I labeled the pairs of holes (on top and bottom) and ensured that every magnet was labeled on the outside and always put the outside part in the holes. This way the faces that were attracting will still be oriented towards each other. Thankfully I got them all correct.

After a few more days of drying I did a quick test and was happy to see the lid fit and was held in place with the magnets quite well. I was able to easy lift the deck by the lid alone (without it popping out) and even trying whacking it pretty hard a number of times before I got it to open. I feel my hits were harder than any gear would impact it on a roll over so I considered this a big success.

The last step was to cut fiberglass pieces and fiberglass over the magnets. This will prevent them from potentially rusting and keep them in place if the epoxy ever fails. On the lip I went from the outer wall to the inner edge, wrapped around and then along the underside, over the epoxy filet and on to the underside of the deck. For the hatch I barely wrapped around the outer edge (and most of this will end up sanded off later), over the magnet lip, over another filet (that I did at the same time) and on to the underside of the hatch. You can barely see the fiberglass in the pictures.

Everything was left to dry for a few days. Hopefully mid week I can get a bit more time in. However while this weekend was really nice weather (70s and even touching into the low 80s) the next one, at least, doesn’t look to be as good. It’s going to be week by week and even day by day to see what, if anything else, I can get done this year.

Hatch – Part 4 & Some Musings

Just a bit of progress today but even that took some time. I took the hatch lip assembly and went ahead and planed/sanded the edges. I also took the time to bevel the outside corners where, on the underside, it goes from vertical to horizontal. The main goal was to avoid a sharp corner as later fiberglass is going to be applied to this.

I also glued on a little thin “patch” over the hole that went all the way through. It will act as a backer to hold the epoxy later and at that time can be sanded down or even sanded off when the epoxy dries.

The standard mix of epoxy with silica adhesive filler and microfiber reinforcement was mixed up. I had a jelly-ish consistency and applied it to the part of the lip assembly that would contact the underside of the deck. Everything was carefully aligned as I clamped it in place. You can see a bit of squeeze out at the seam. This was carefully scraped away.

I then flipped the deck over so I could easily work on the underside. A thicker mix of the epoxy was made, similar to peanut butter. (no, I wasn’t wanting a peanut butter and jelly sandwich) This was put in a bag and piped along the underside corner. Using the squeegee and my (gloved) fingers I was able to smooth and shape it into a nice bevel. Directly above the epoxy bevel you can kind of see where I beveled the corner of the wood. This will allow a piece of fiberglass to wrap around and transition to the deck with out having any sharp corners.

While progress is good, it’s pretty obvious the changing of the seasons is going to push completion into 2021. I could maybe try to rush it this year, but then I need an inspection to get a serial number to then get permits, etc. Just not worth it when I won’t even really get to use it this year. I’d rather take my time, do what I still can this year and then wrap it up in the spring.

Off the top of my head I still have the following to do:

  • Finish the hatch
  • Make two bulkheads (make, sand and fiberglass)
  • Put a hatch in one of them
  • Order the seat
  • Install the foot braces
  • Interior: At least 1 more coat of epoxy and probably after sanding that I’ll still need a very light second one.
  • End pours
  • Carry handles at each end
  • Varnish the interior (to protect the epoxy, UV protection only applicable in the cockpit area)
  • Attach the deck to the hull
  • Install the bulkheads
  • Install the seat
  • Add extra fiberglass layer to the bow/stern stem areas.
  • Exterior: At least 1 more coat of epoxy and probably after sanding that I’ll still need a very light second one.
  • Attach deck line assemblies
  • Final sanding for varnishing
  • 3-5 coats (estimated) varnish on the exterior, sanding between some coats.
  • Install deck lines and bungie cords.
  • Contact IDNR to come look at it and acknowledge that yes it is a boat. Have them assign me a serial number.
  • Attach/engrave/??? the serial number to the hull.
  • Go get it wet!

According to the law here, since it’s not a powered craft and under a certain length I don’t technically have to get a serial number. I definitely do not have to register it each year, that requirement was eliminated for craft like this a few years ago. However some of the local jurisdictions require a permit to use it on their lakes and the permit application requires a serial number. Also if I take it out of state (planned to take to the boundary waters in MN) and I don’t have it setup in my home state then technically I have to register it in that other state before use. So just to make it easier for me down the road I’ll jump through the hoops of getting a home built boat setup with an official serial number.

So, the end definitely is in sight, but still a distance off too.

Coaming Wrap Up – Hatch Part 3

With the coaming all sanded yesterday today was a fiberglassing day. I had some left over pieces of straight cut fiberglass and started trying to apply it. It wasn’t making the curves and wrapping around nicely so I pulled it off, tossed it and cut some bias cut strips. When I applied those they wrapped around all the curves quite nicely. So the previous recommendations for using bias cut fiberglass have a lot of truth behind them and my, um, er… test… proved that out.

The fiberglass was placed on top of the coaming and then when wetted out and stuck in place I trimmed it off to allow just enough to wrap under the lip. The other side went down the riser portion of the coaming and wrapped onto the underside of the deck. All was wet out and epoxied to the deck. I used the squeegee to remove the excess (carefully as to not pull the cloth out of position) and then a quick pass with the torch to remove any bubbles. I was very pleasantly surprised at how nicely the cedar darkened up and popped. As the additional coats go on and eventually the varnish this should really look sharp.

I then moved on to the hatch. As it was dried from the glue up yesterday I removed the clamps and was happy with the result. A small split at the peak will not affect it when the epoxy and fiberglass gets applied and I’ll plane off the point to make a more rounded surface.

Since I’m using magnets to hold it down I have to start the work for attaching them. First I laid them out in pairs and marked the two outside faces. These are 3/4″ by 1/8″ in size each. They were purchased from KJ Magnetics and I needed 32, at least originally I did when doing two deck hatches. Worst case I have some extras, but ultimately I think even if I do a bulkhead hatch I’ll still use most if not all of them.

Next I got a couple of scrap pieces from when I cut the lip assembly. I stacked them and did a test cut at the drill press. The goal is to go fully through one and half way through the other. This will allow the magnet to sit in the half way hole and in the other one I’ll add a bit of thickened epoxy and the put the magnet into that hole. Since I labeled the magnets, as long as I keep the number sequence positions (5 in one hole and 5 in the opposing hole for example) and I attach them with the numbered side in not visible in either hole) then I shouldn’t have any situations where they end up repelling instead of attracting.

I also cut and fit a second set of strips that will sit on the lip (and eventually attach to the hatch). With these strips clamped in place I went ahead and drilled the first hole. And promptly went all the way through both boards. Sigh.

Analyzing what went wrong I and I realized that the frame wouldn’t sit flat on the drill press table like my scraps did, and being just an eight of an inch up was enough for the bit to go through. So I bit the bullet and did all the cuts with it raised up on a block. I cut through the first hole and just a bit into the lip assembly to have a mark, then I went back and aligning to these marks, cut them free handing the depth. It came out just fine. Mostly. Sigh again.

The lip assembly actually was the part that worked fine, but one of the strips had a blow out where the narrow wood along the edge of the hole crumbled. So I cut another piece, fitted and shaped it and used the first as a template for the hole location. While cutting the replacement piece, it too blew out. Sigh… for the third time.

But I guess third time was a charm as when I made the piece, yet again, and cut the holes all went well.

Given the frustrations I thought it best to call it quits for today instead of plowing on and risking a really bad mistake that couldn’t be easily fixed.

The coaming is effectively done. It, like the rest of the kayak, will still need a sanding and an additional coat or two of epoxy but that will be done when all the rest of this little fidgety stuff gets finished.

Coaming Part 5 & Hatch Part 2

Got some good time in today and made substantial progress, although mostly on “little” details. I’ll start with the continued coaming work.

The little bit of the riser sticking above the lip was trimmed close to flush and then the extra was planed and rasped and sanded off. At the front and back where the lips didn’t quite meet nicely I trimmed both back and then fit a piece of cedar into the gap. I’ll trim it off later.

While these were drying I flipped the deck and trimmed off the riser parts that were sticking below the underside. Once cut off, that rough edges were planed, rasped and sanded flush with the underside of the deck.

The corner is a sharp 90 degree angle which will not feel nice if you bump it, risk a scrape or minor injury if/when an underwater exit is required and most of all the fiberglass doesn’t like hard angles so wrapping it around this will be difficult. So, again with the rasp I rounded it over. I considered a router with a round over bit which would work fine, but only for the underside. The top would still have to be done by hand. And when it comes down to it, by the time I get the router out, install the collet, insert the round over bit, run a few test cuts on some scrap to get the depth right and then do the cut… well it was faster to do it by hand. Literally took less than 5 minutes for the underside.

Once completed I used 40, 60, 80 and 120 grit sandpaper to smooth out the rasp marks. Some left over sanding disks from the random orbit worked just fine. The deck was flipped and a similar process was done on the inside of the lip. Moving to the outside lip I’ve got an upper and a lower portion. The upper is pretty easy to do and I started by taking a few passes with the block plane and then finished up with sanding. I can’t get the block plane on the lower part and the rasp didn’t really fit either. So I used a scraper to take the corner off and then once again ran through the four grits on all three rounded corners of the upper lip.

I actually bounced back and forth between the hatch and the coaming. As one glue up was drying I’d go work on the other part. So the above and the following steps were actually somewhat intertwined in execution.

The hatch was cut out the other day but now I need to construct a lip in the deck to hold the hatch in place. There are various methods, some involving twist cam locks, others just held in place with bungie cord. Most plastic kayaks have a screw on lid or a stretch fit rubber cover that goes over the opening. While all are valid, I want to keep my kayak mostly wood in appearance so that eliminates some options. The bungie cord would be fine but I’m hoping to keep the deck somewhat clear. So I researched alternatives.

What I settled on is to hold it on with magnets. Using rare earth magnets, which are very strong, the hatch cover should easily stay in place even if the kayak is upside down and has “stuff” sitting on the lid. To make this work I have to construct a lip to hold one half of the magnets and a seal that will keep out any little bit of water that splashes into the small gap between the hatch and deck. I looked at some examples out there and came up with a design that I believe will work well.

To start I got a 2′ x 2′ piece of plywood that is 1/4″ thick. I ripped four 2″ pieces and eight 1″ pieces. Four of the 1″ pieces were clamped to the underside of the deck and then trimmed so the fit nicely without overlapping.

The 2″ pieces were then positioned on top of the 1″ pieces, flush on the back side so the extra inch protrudes into the hatch opening. These too were trimmed to fit.

Once I was happy with the layout I took all the clamps off and protected the underside of the deck with tape. I then put the 1″ pieces back into place and glued along the butt joints. Not that this will be structural but I figured it couldn’t hurt. I then overlaid the 2″ pieces and glued them to the 1″ pieces and made sure everything was well clamped in place. I’ll leave this to dry overnight.