
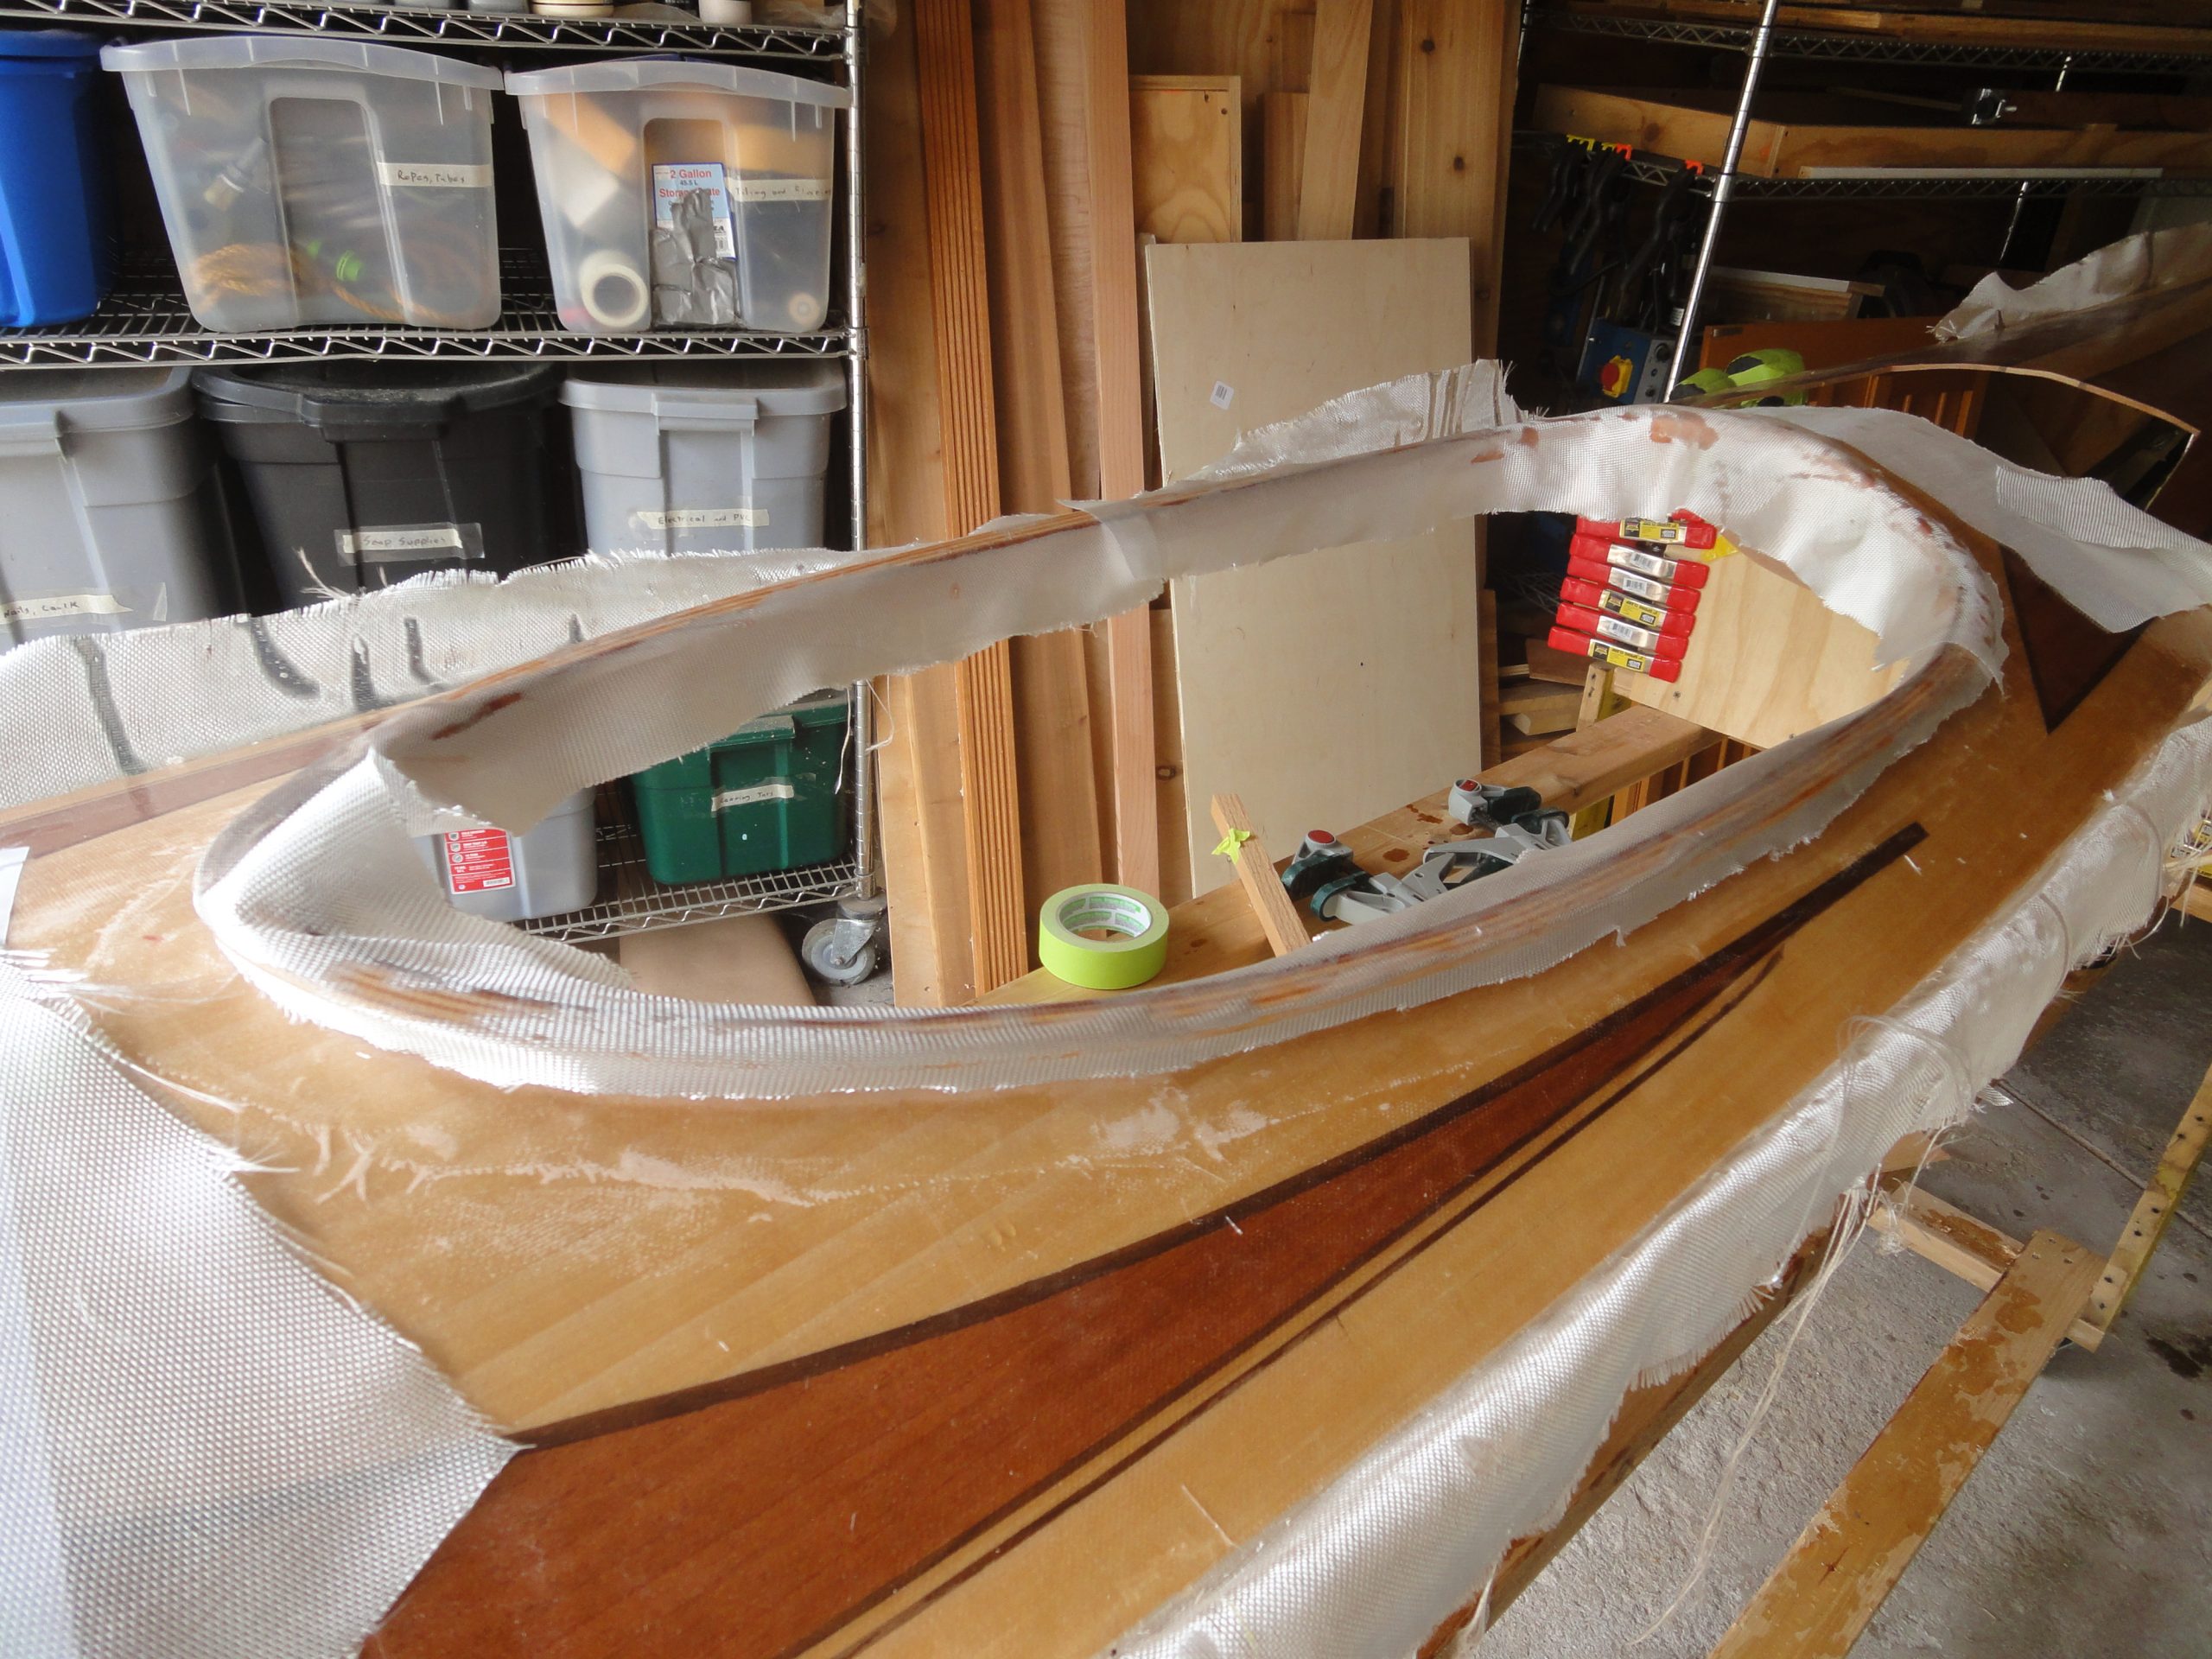
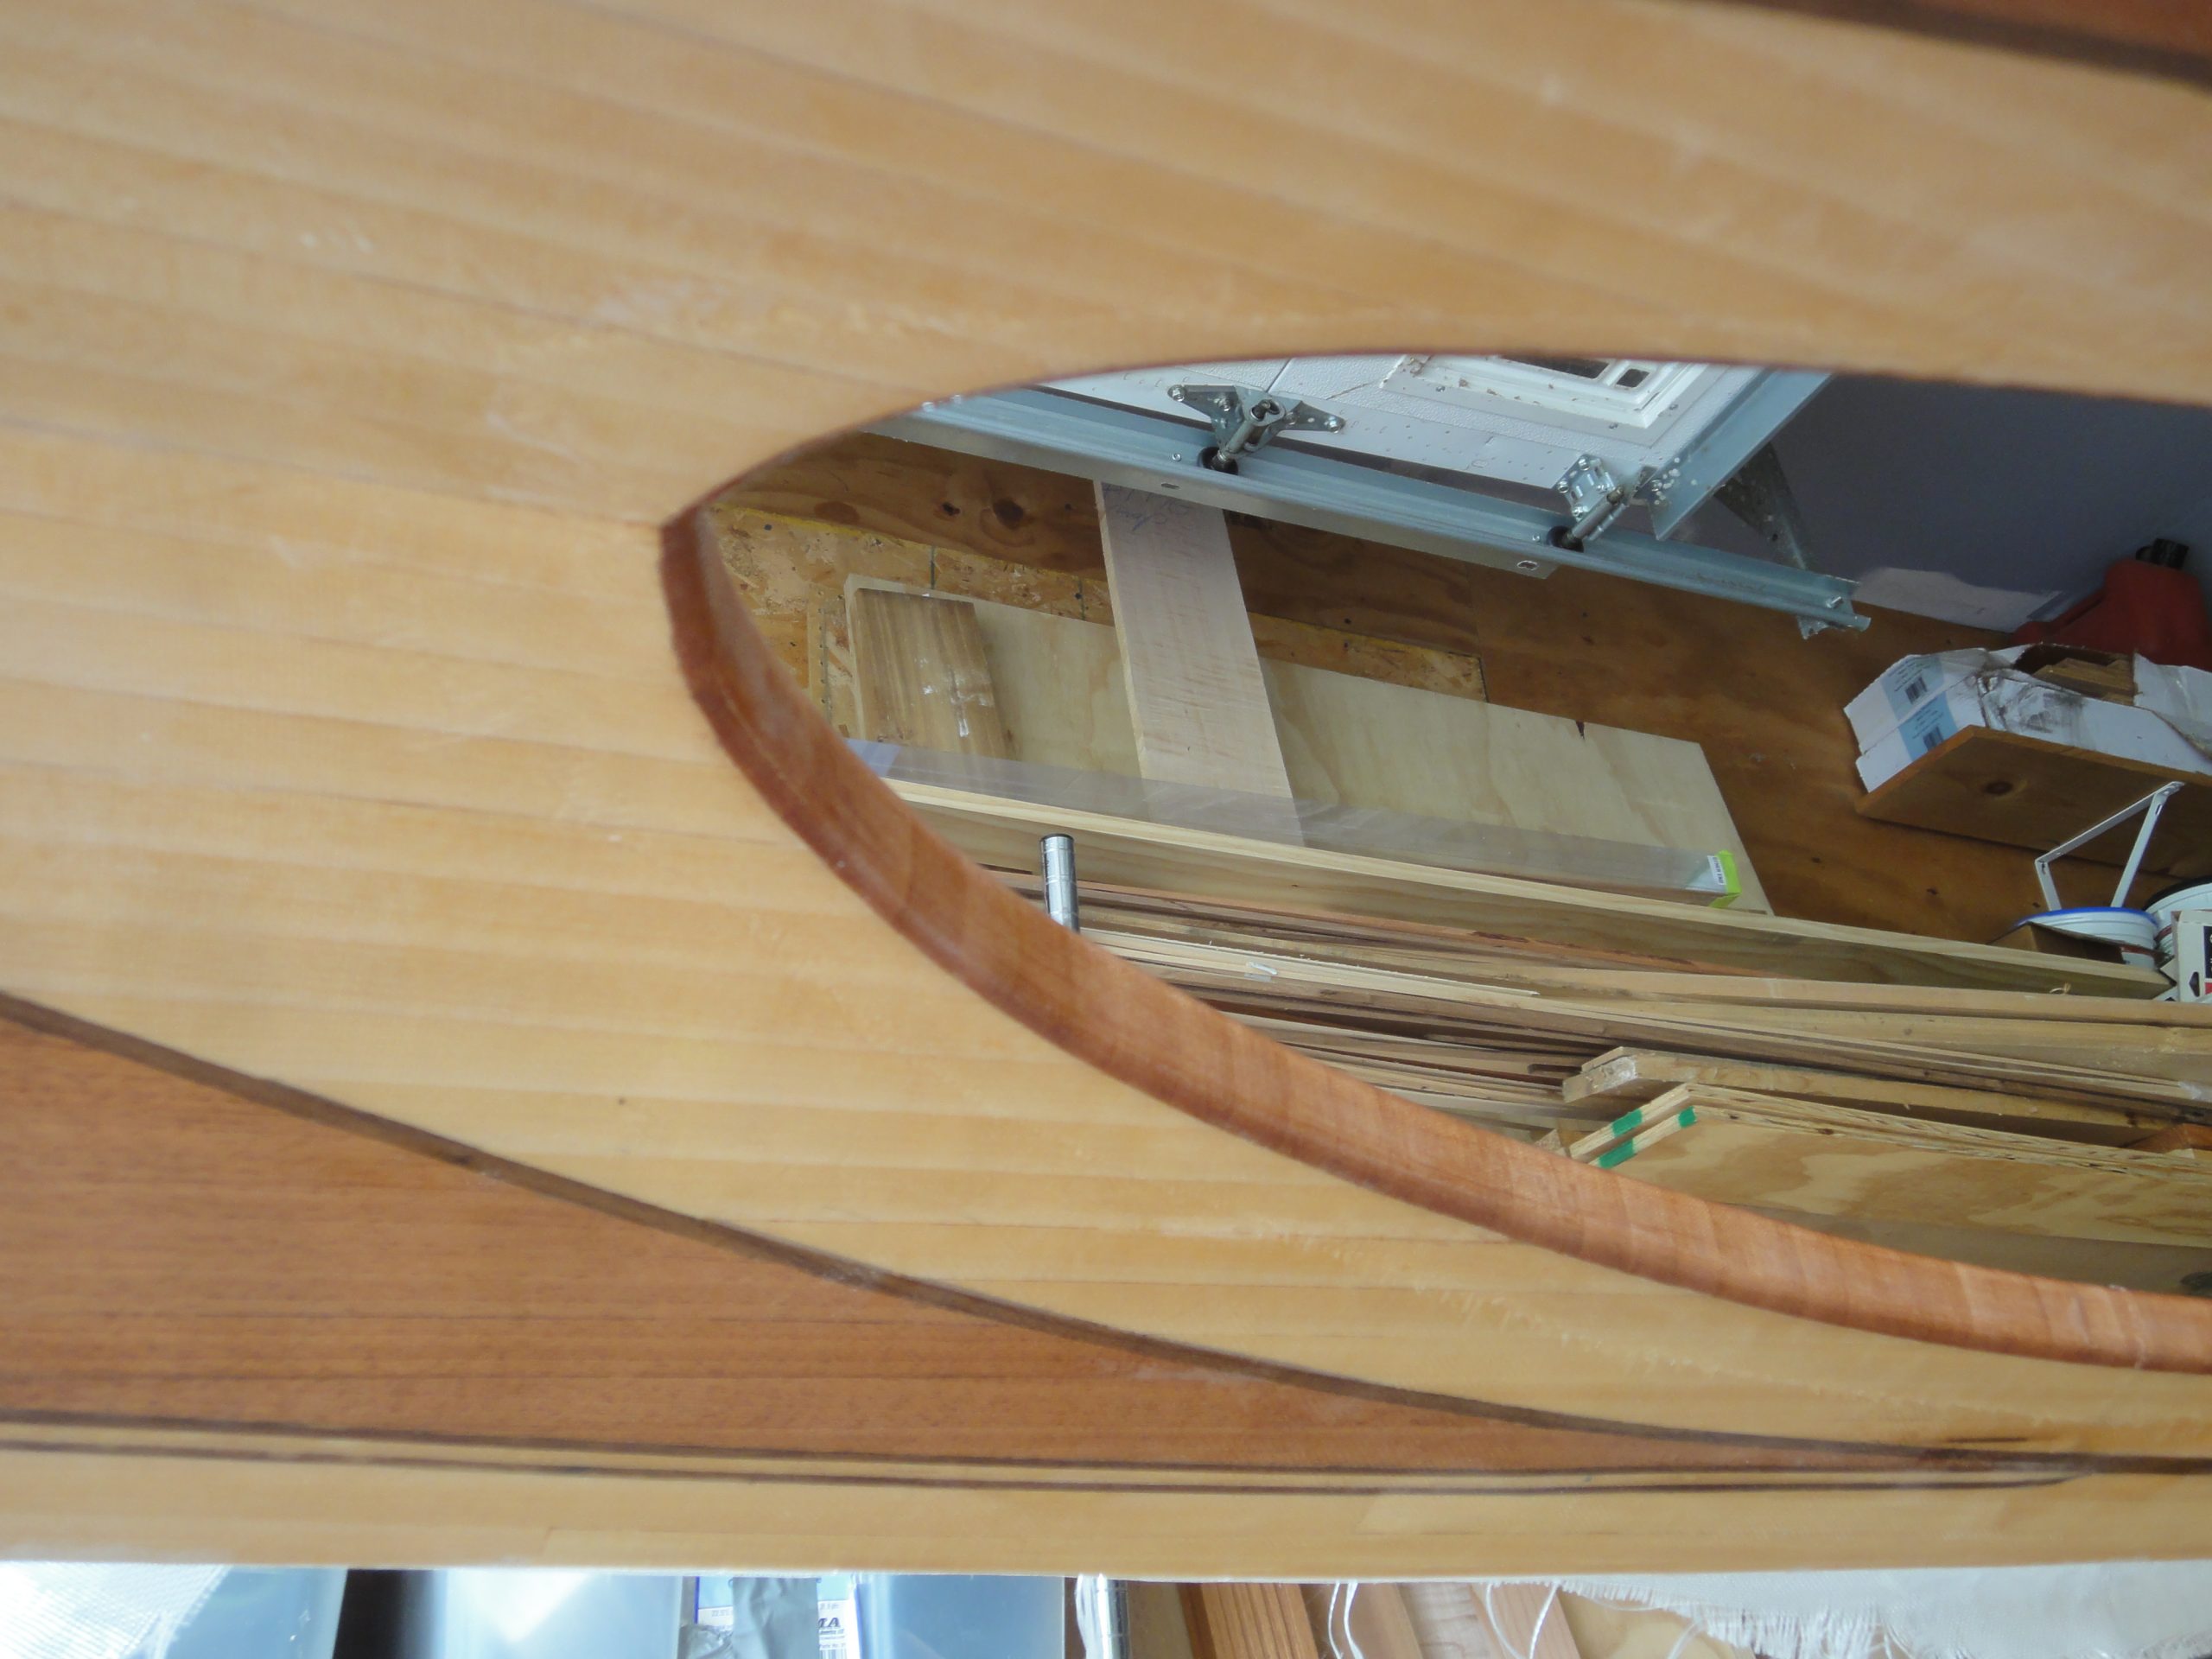
With the coaming all sanded yesterday today was a fiberglassing day. I had some left over pieces of straight cut fiberglass and started trying to apply it. It wasn’t making the curves and wrapping around nicely so I pulled it off, tossed it and cut some bias cut strips. When I applied those they wrapped around all the curves quite nicely. So the previous recommendations for using bias cut fiberglass have a lot of truth behind them and my, um, er… test… proved that out.
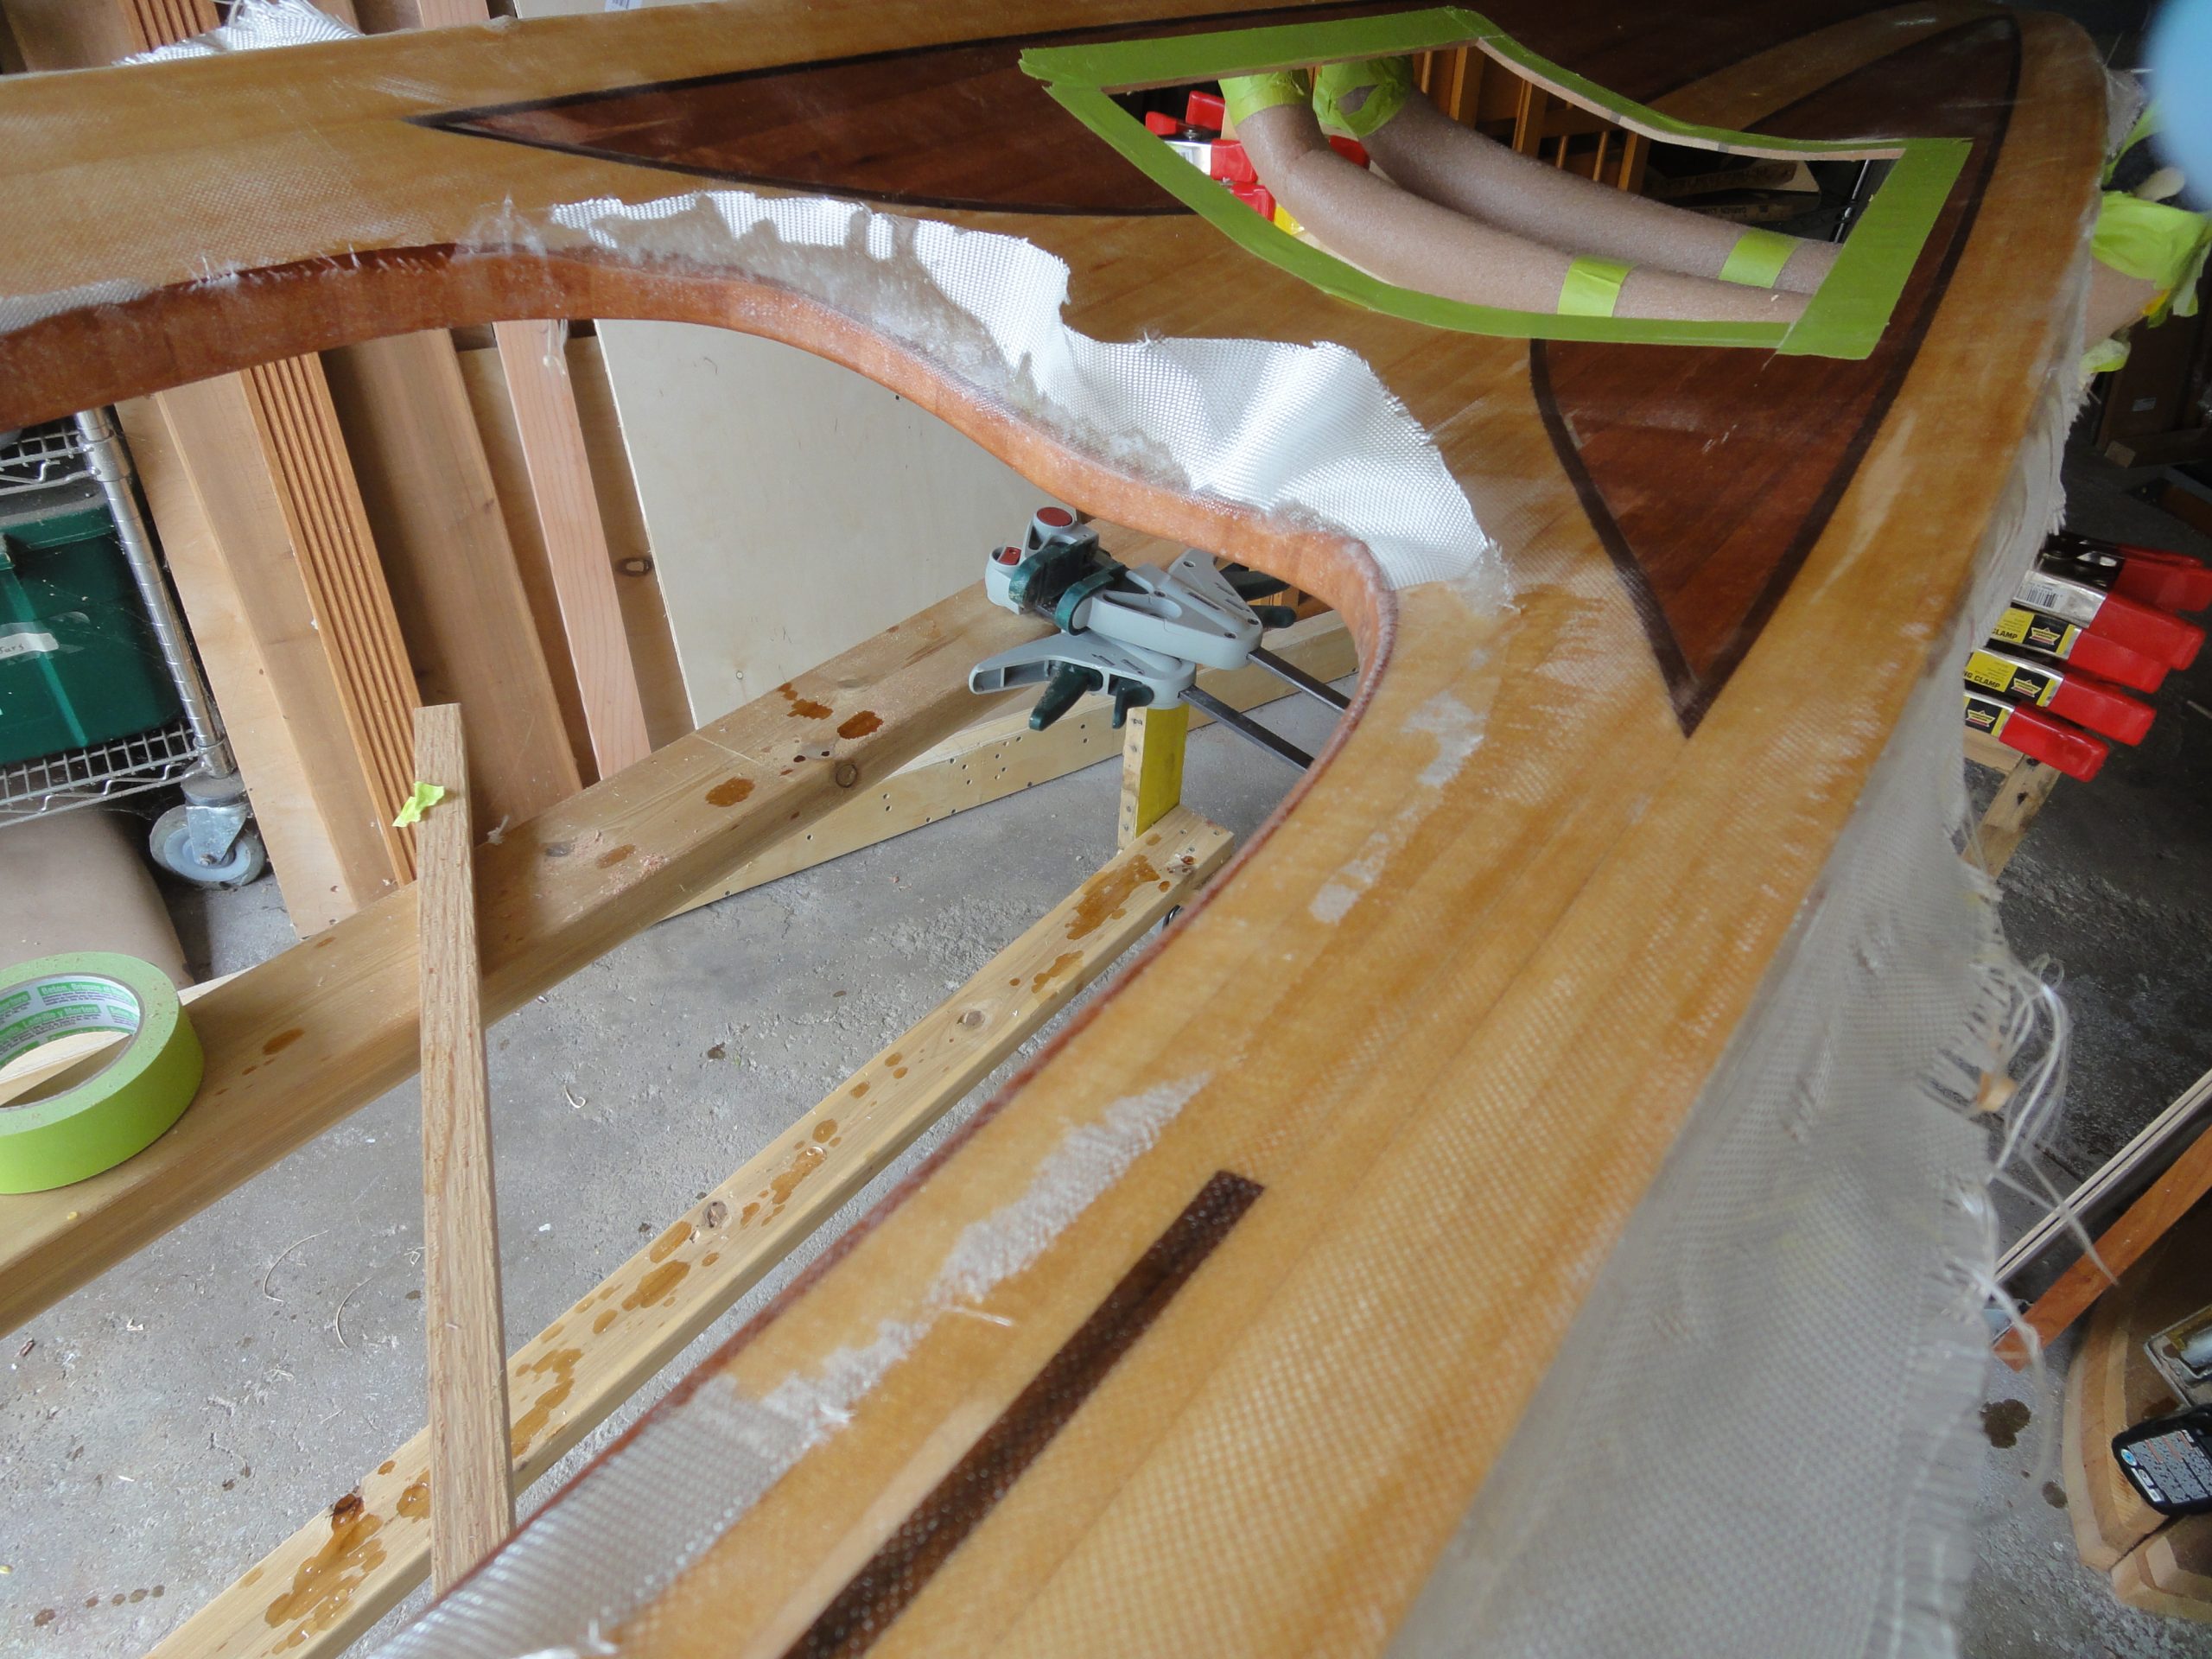
The fiberglass was placed on top of the coaming and then when wetted out and stuck in place I trimmed it off to allow just enough to wrap under the lip. The other side went down the riser portion of the coaming and wrapped onto the underside of the deck. All was wet out and epoxied to the deck. I used the squeegee to remove the excess (carefully as to not pull the cloth out of position) and then a quick pass with the torch to remove any bubbles. I was very pleasantly surprised at how nicely the cedar darkened up and popped. As the additional coats go on and eventually the varnish this should really look sharp.

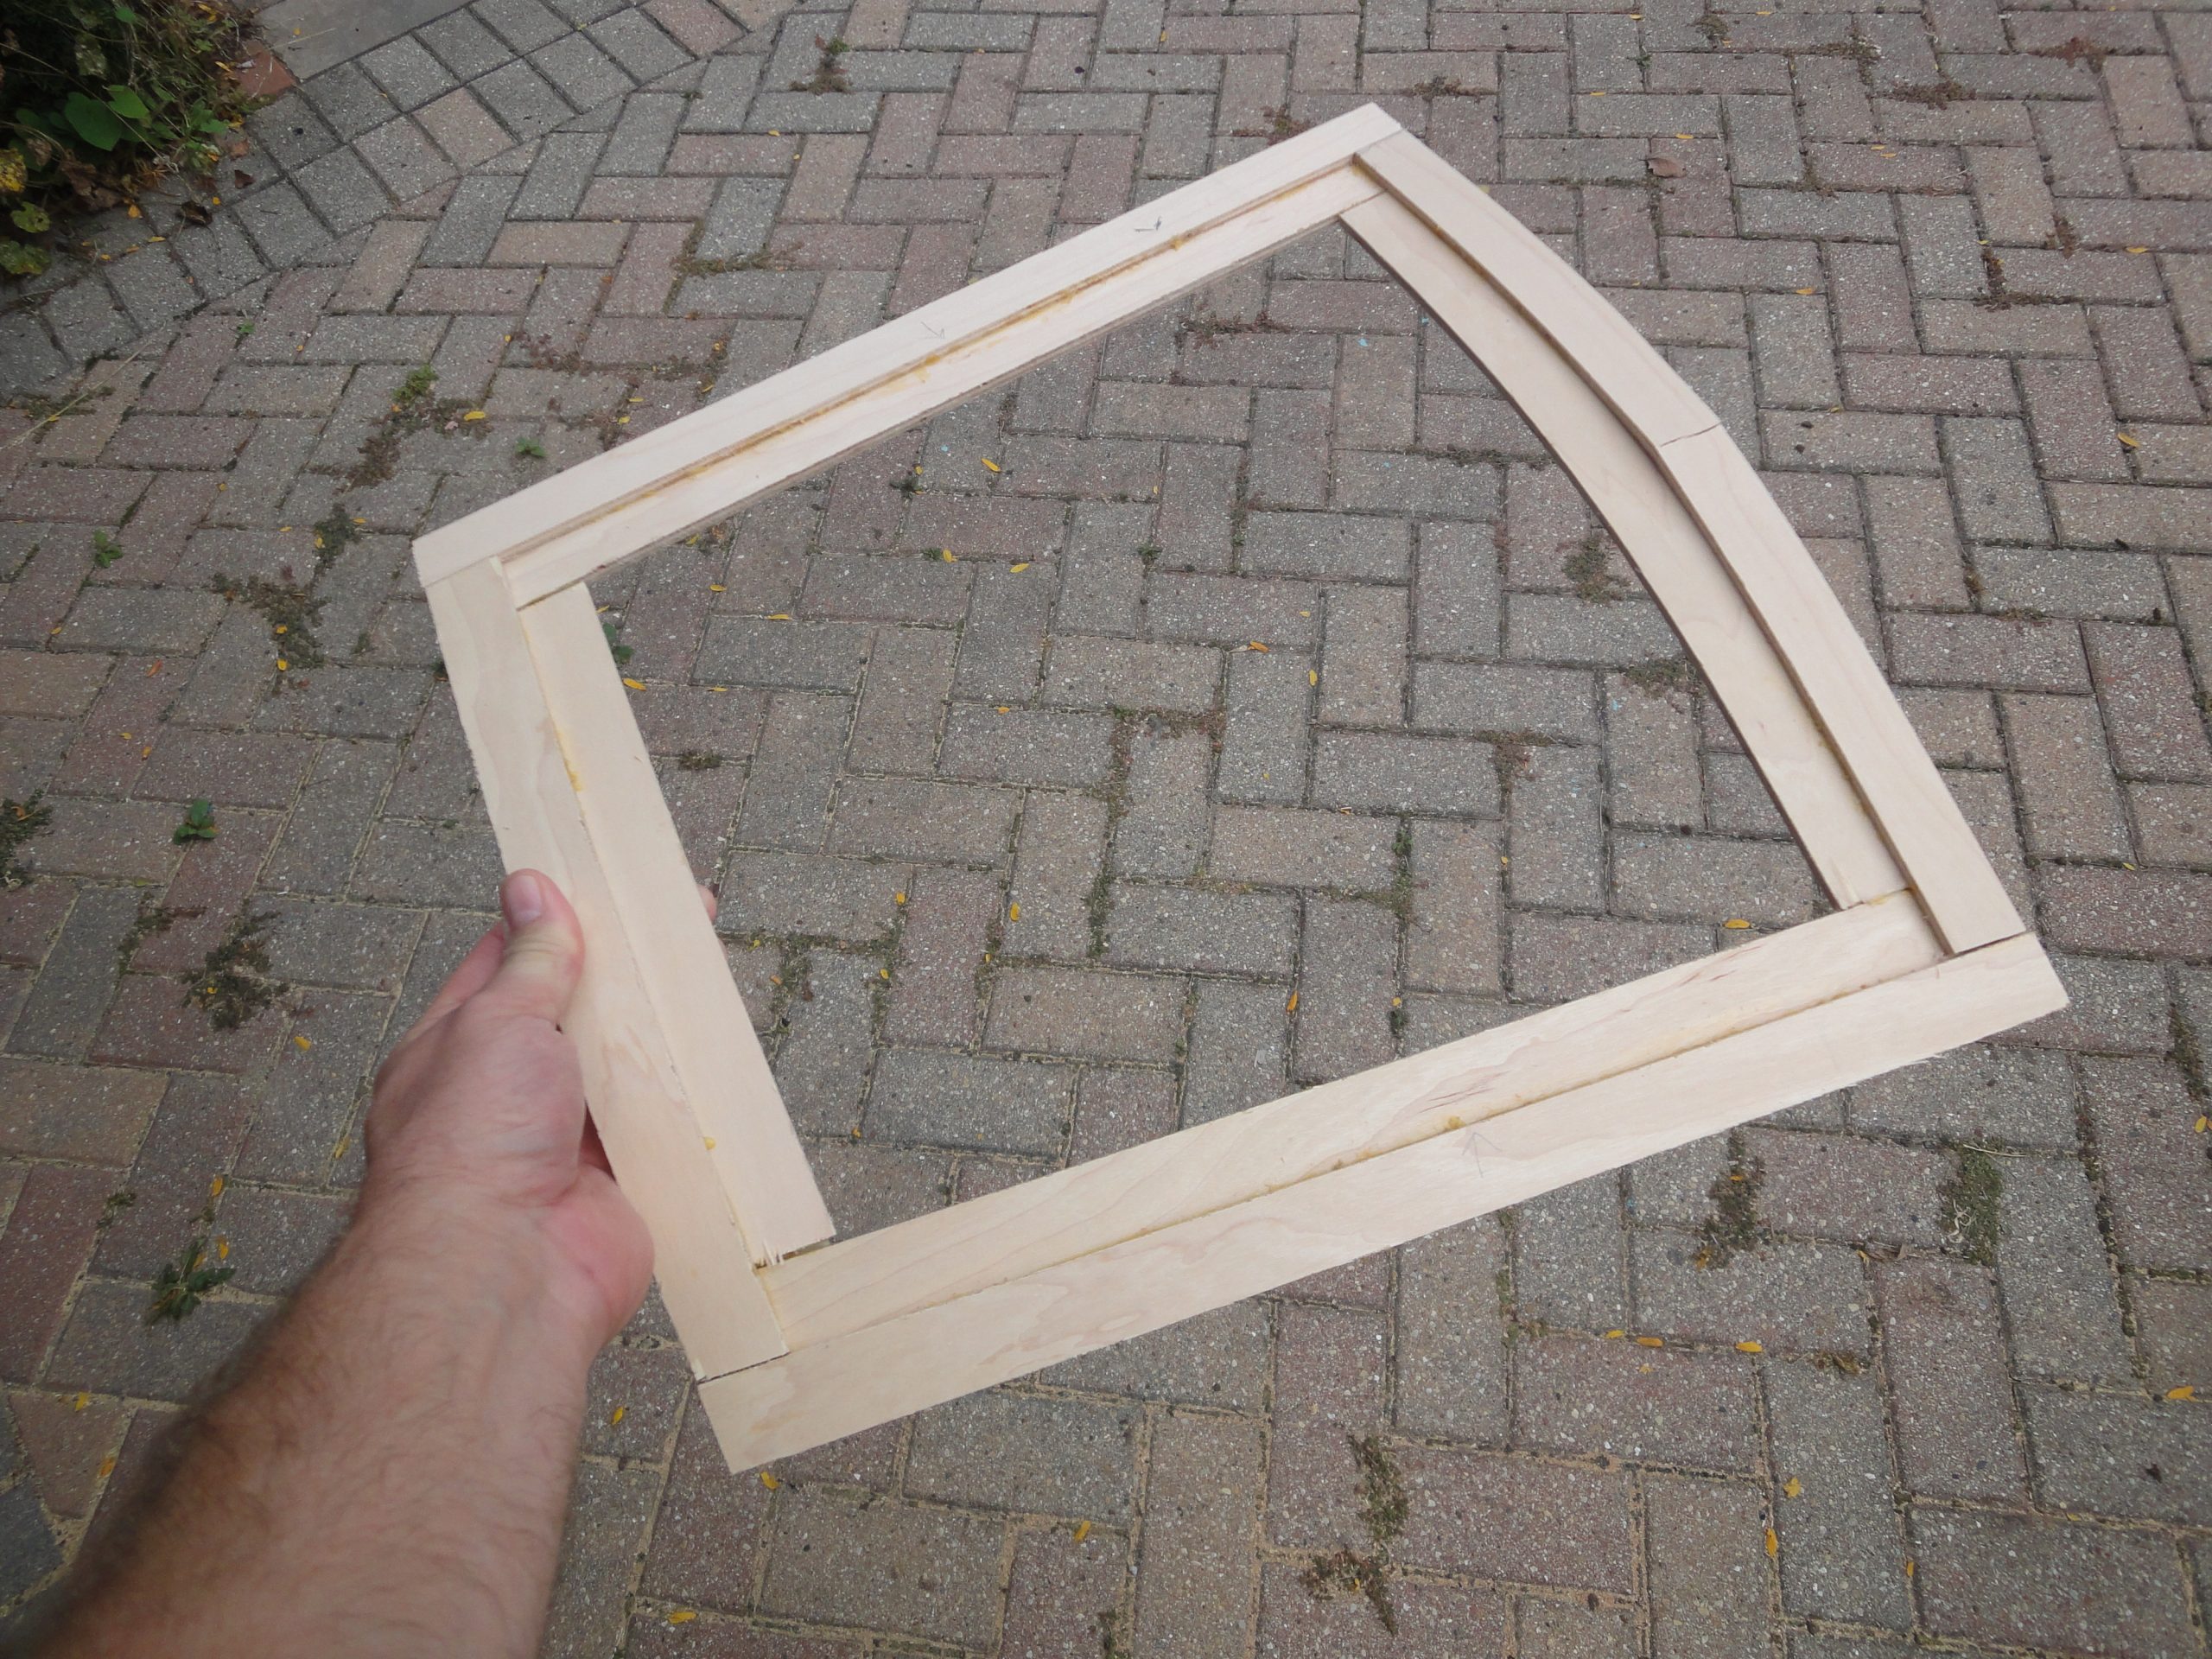
I then moved on to the hatch. As it was dried from the glue up yesterday I removed the clamps and was happy with the result. A small split at the peak will not affect it when the epoxy and fiberglass gets applied and I’ll plane off the point to make a more rounded surface.
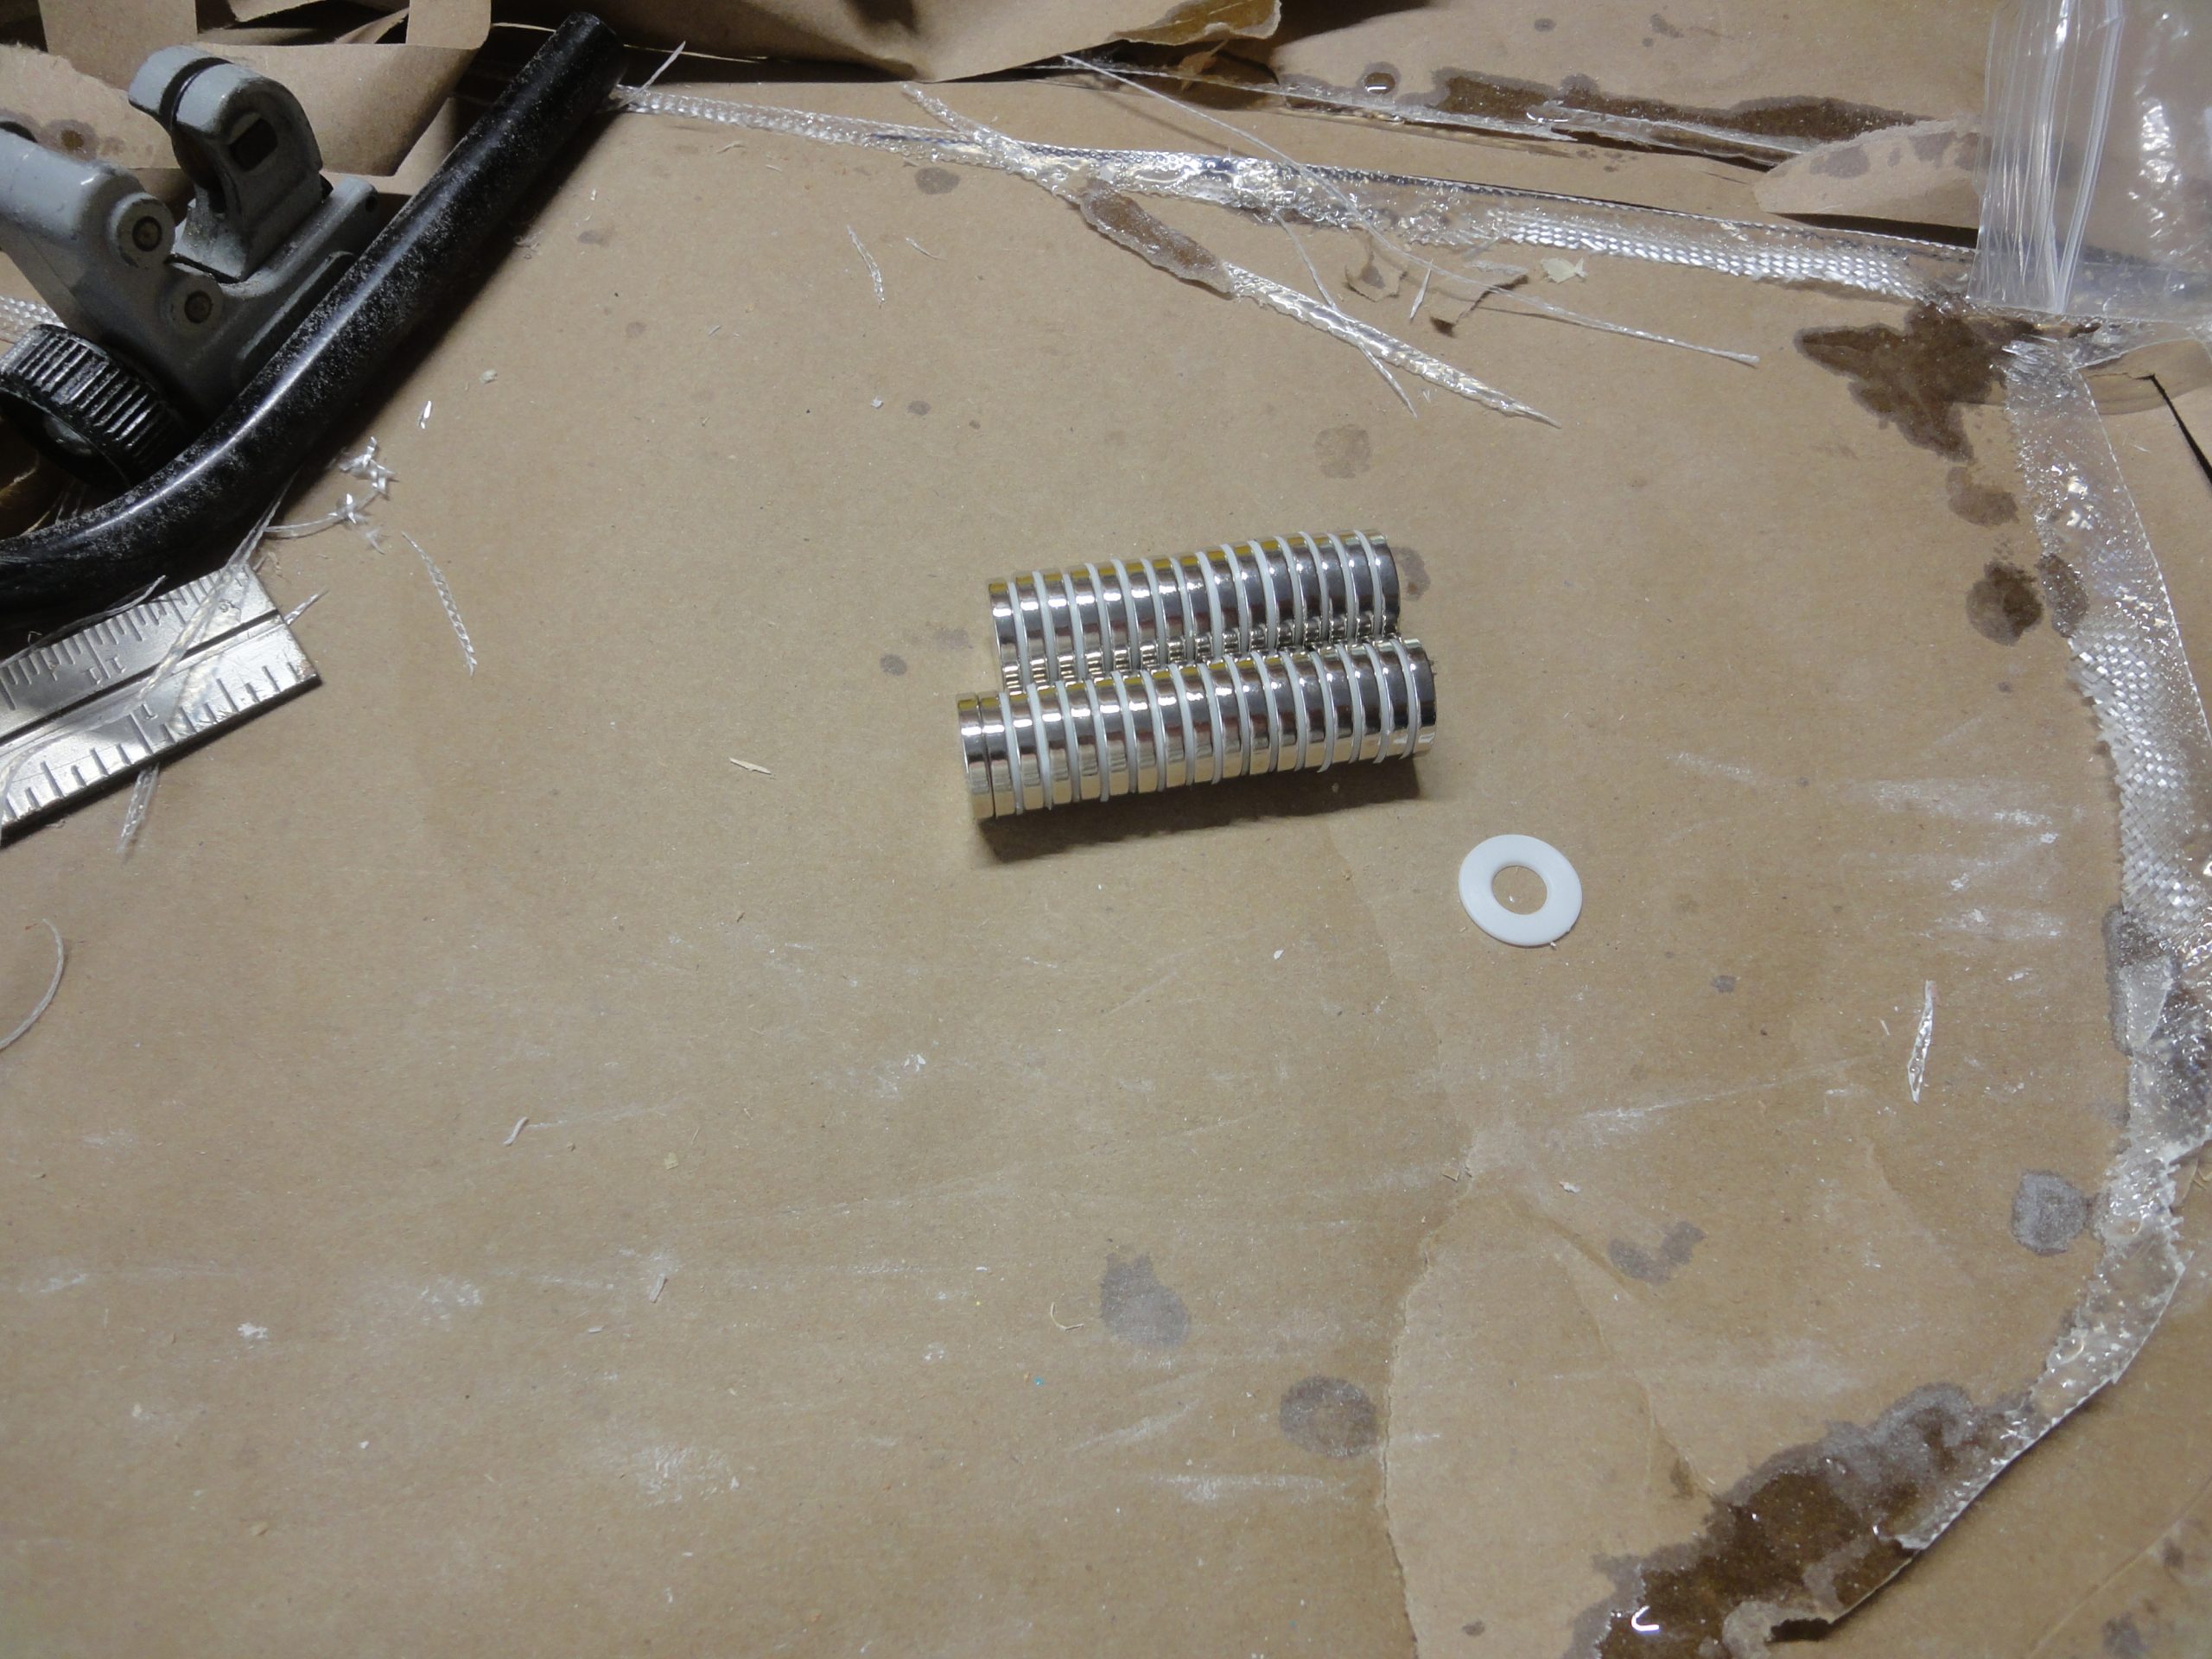
Since I’m using magnets to hold it down I have to start the work for attaching them. First I laid them out in pairs and marked the two outside faces. These are 3/4″ by 1/8″ in size each. They were purchased from KJ Magnetics and I needed 32, at least originally I did when doing two deck hatches. Worst case I have some extras, but ultimately I think even if I do a bulkhead hatch I’ll still use most if not all of them.
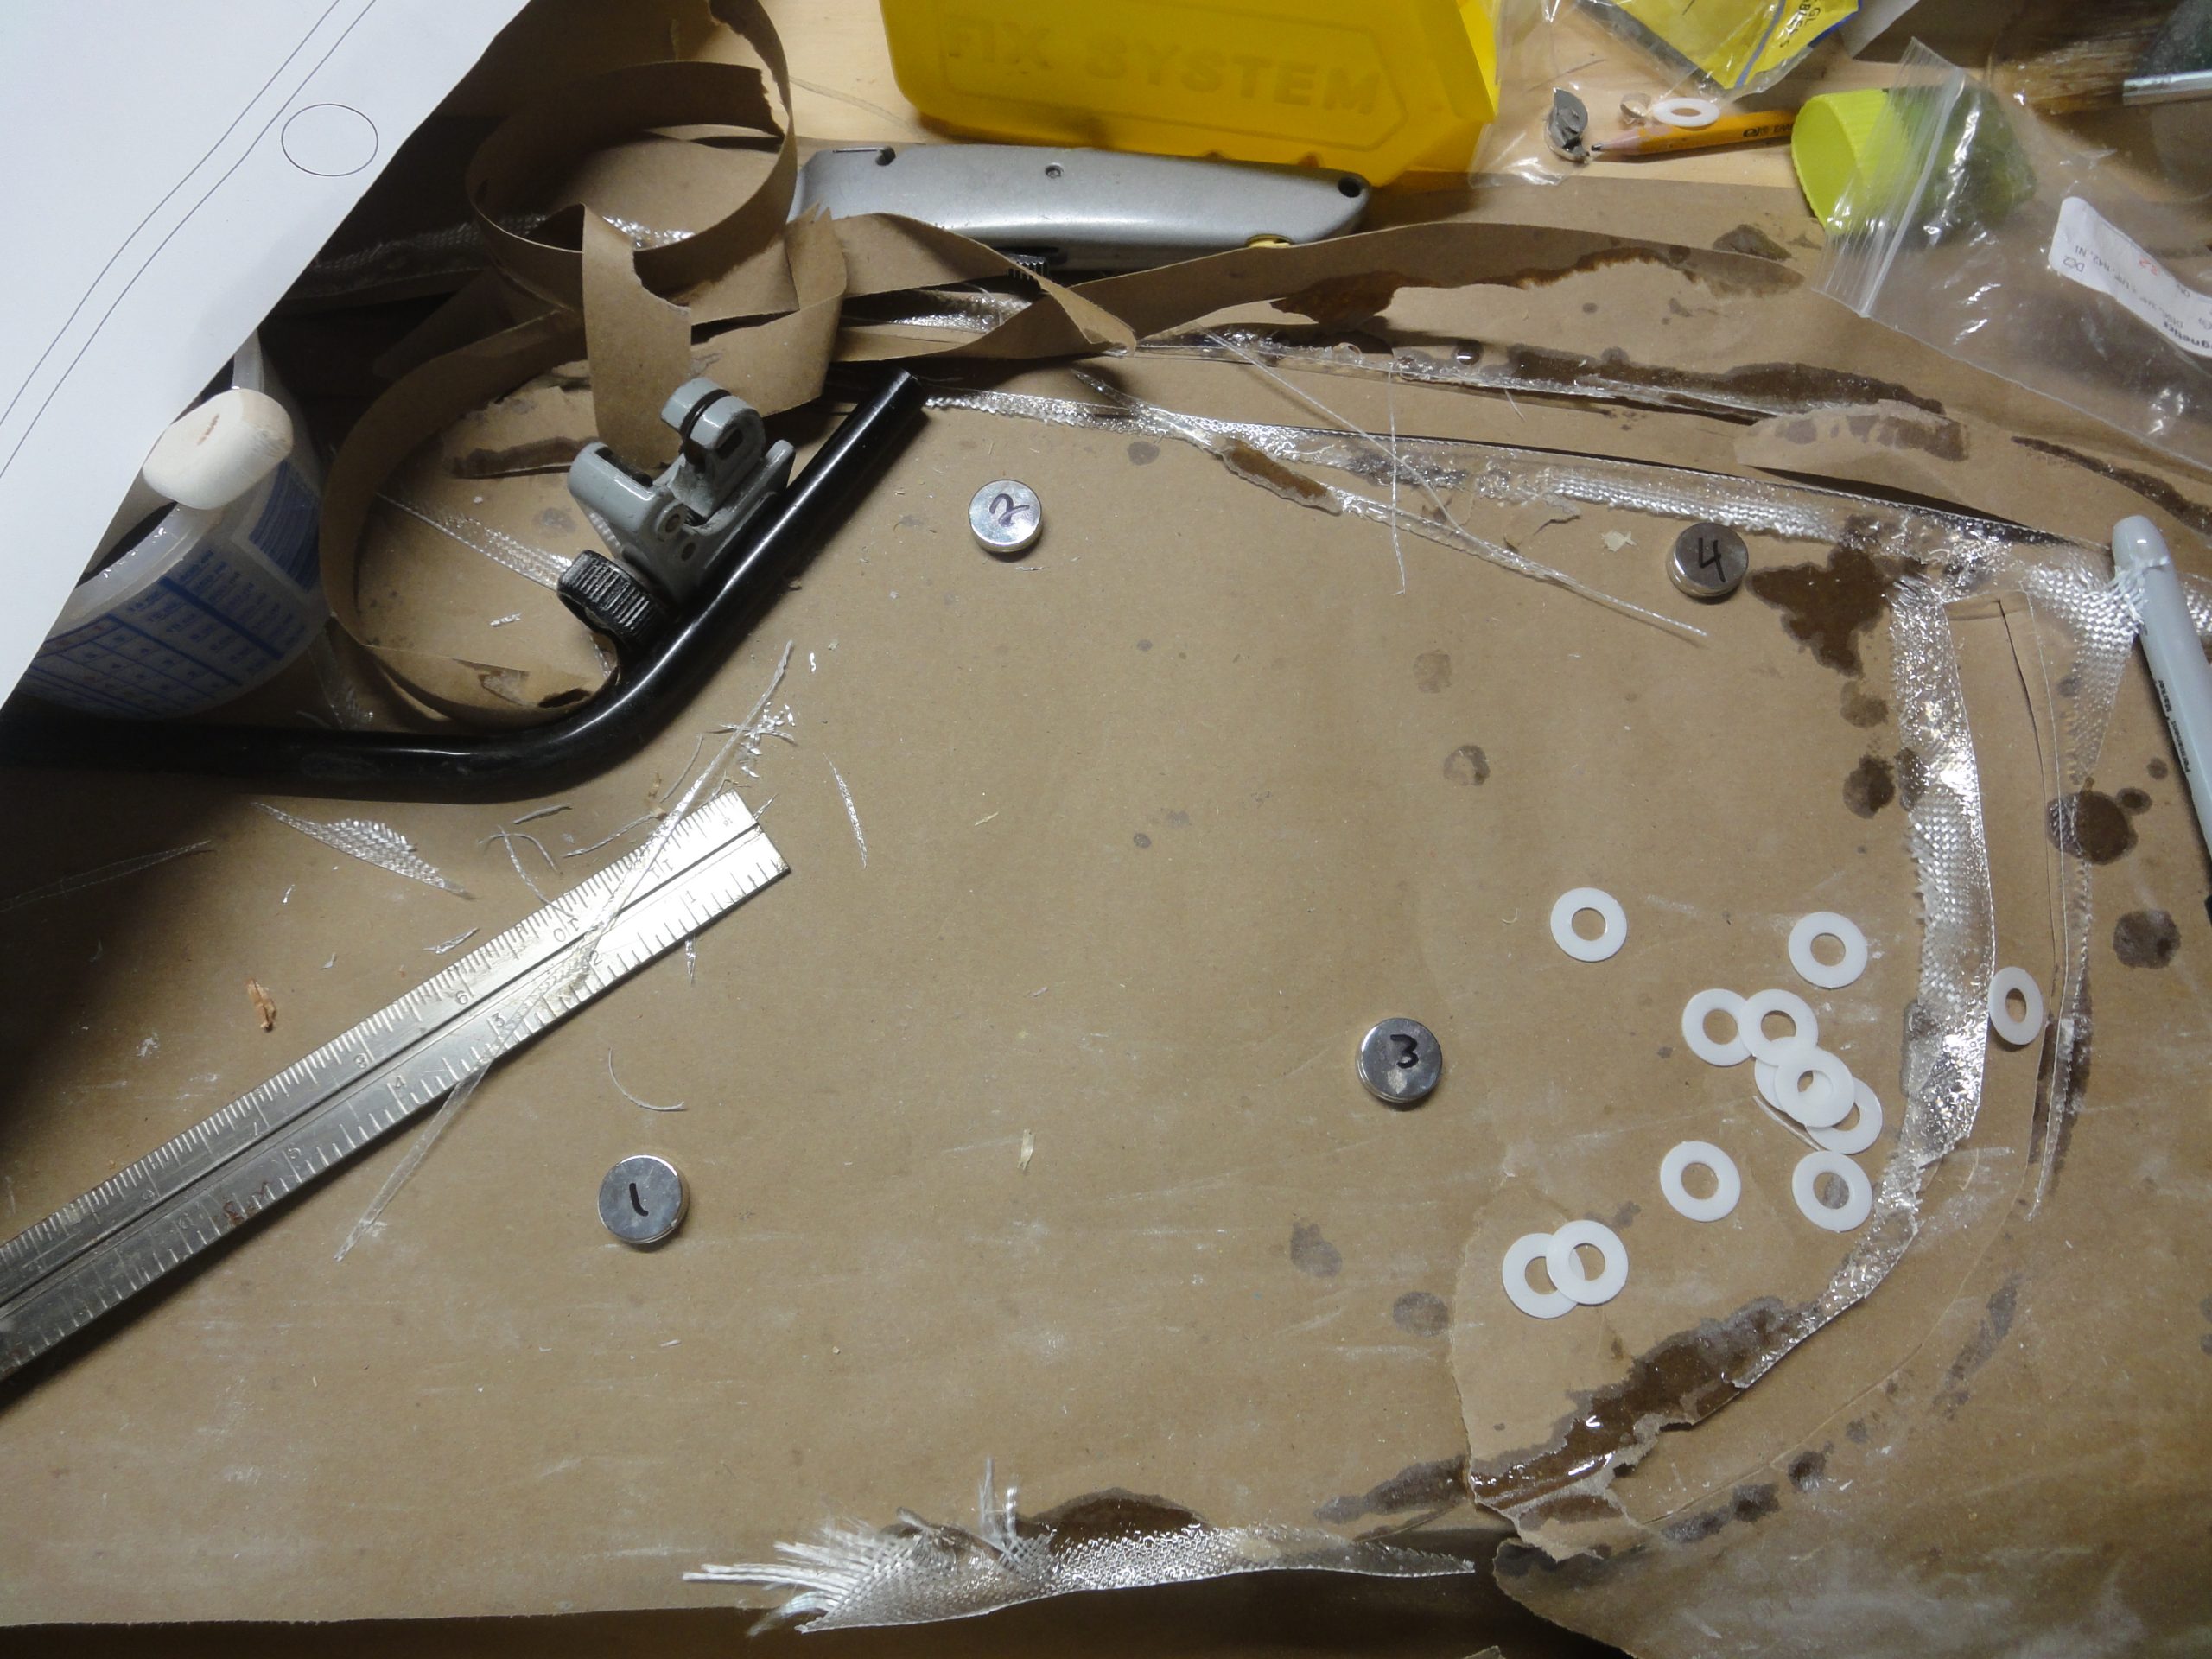
Next I got a couple of scrap pieces from when I cut the lip assembly. I stacked them and did a test cut at the drill press. The goal is to go fully through one and half way through the other. This will allow the magnet to sit in the half way hole and in the other one I’ll add a bit of thickened epoxy and the put the magnet into that hole. Since I labeled the magnets, as long as I keep the number sequence positions (5 in one hole and 5 in the opposing hole for example) and I attach them with the numbered side in not visible in either hole) then I shouldn’t have any situations where they end up repelling instead of attracting.

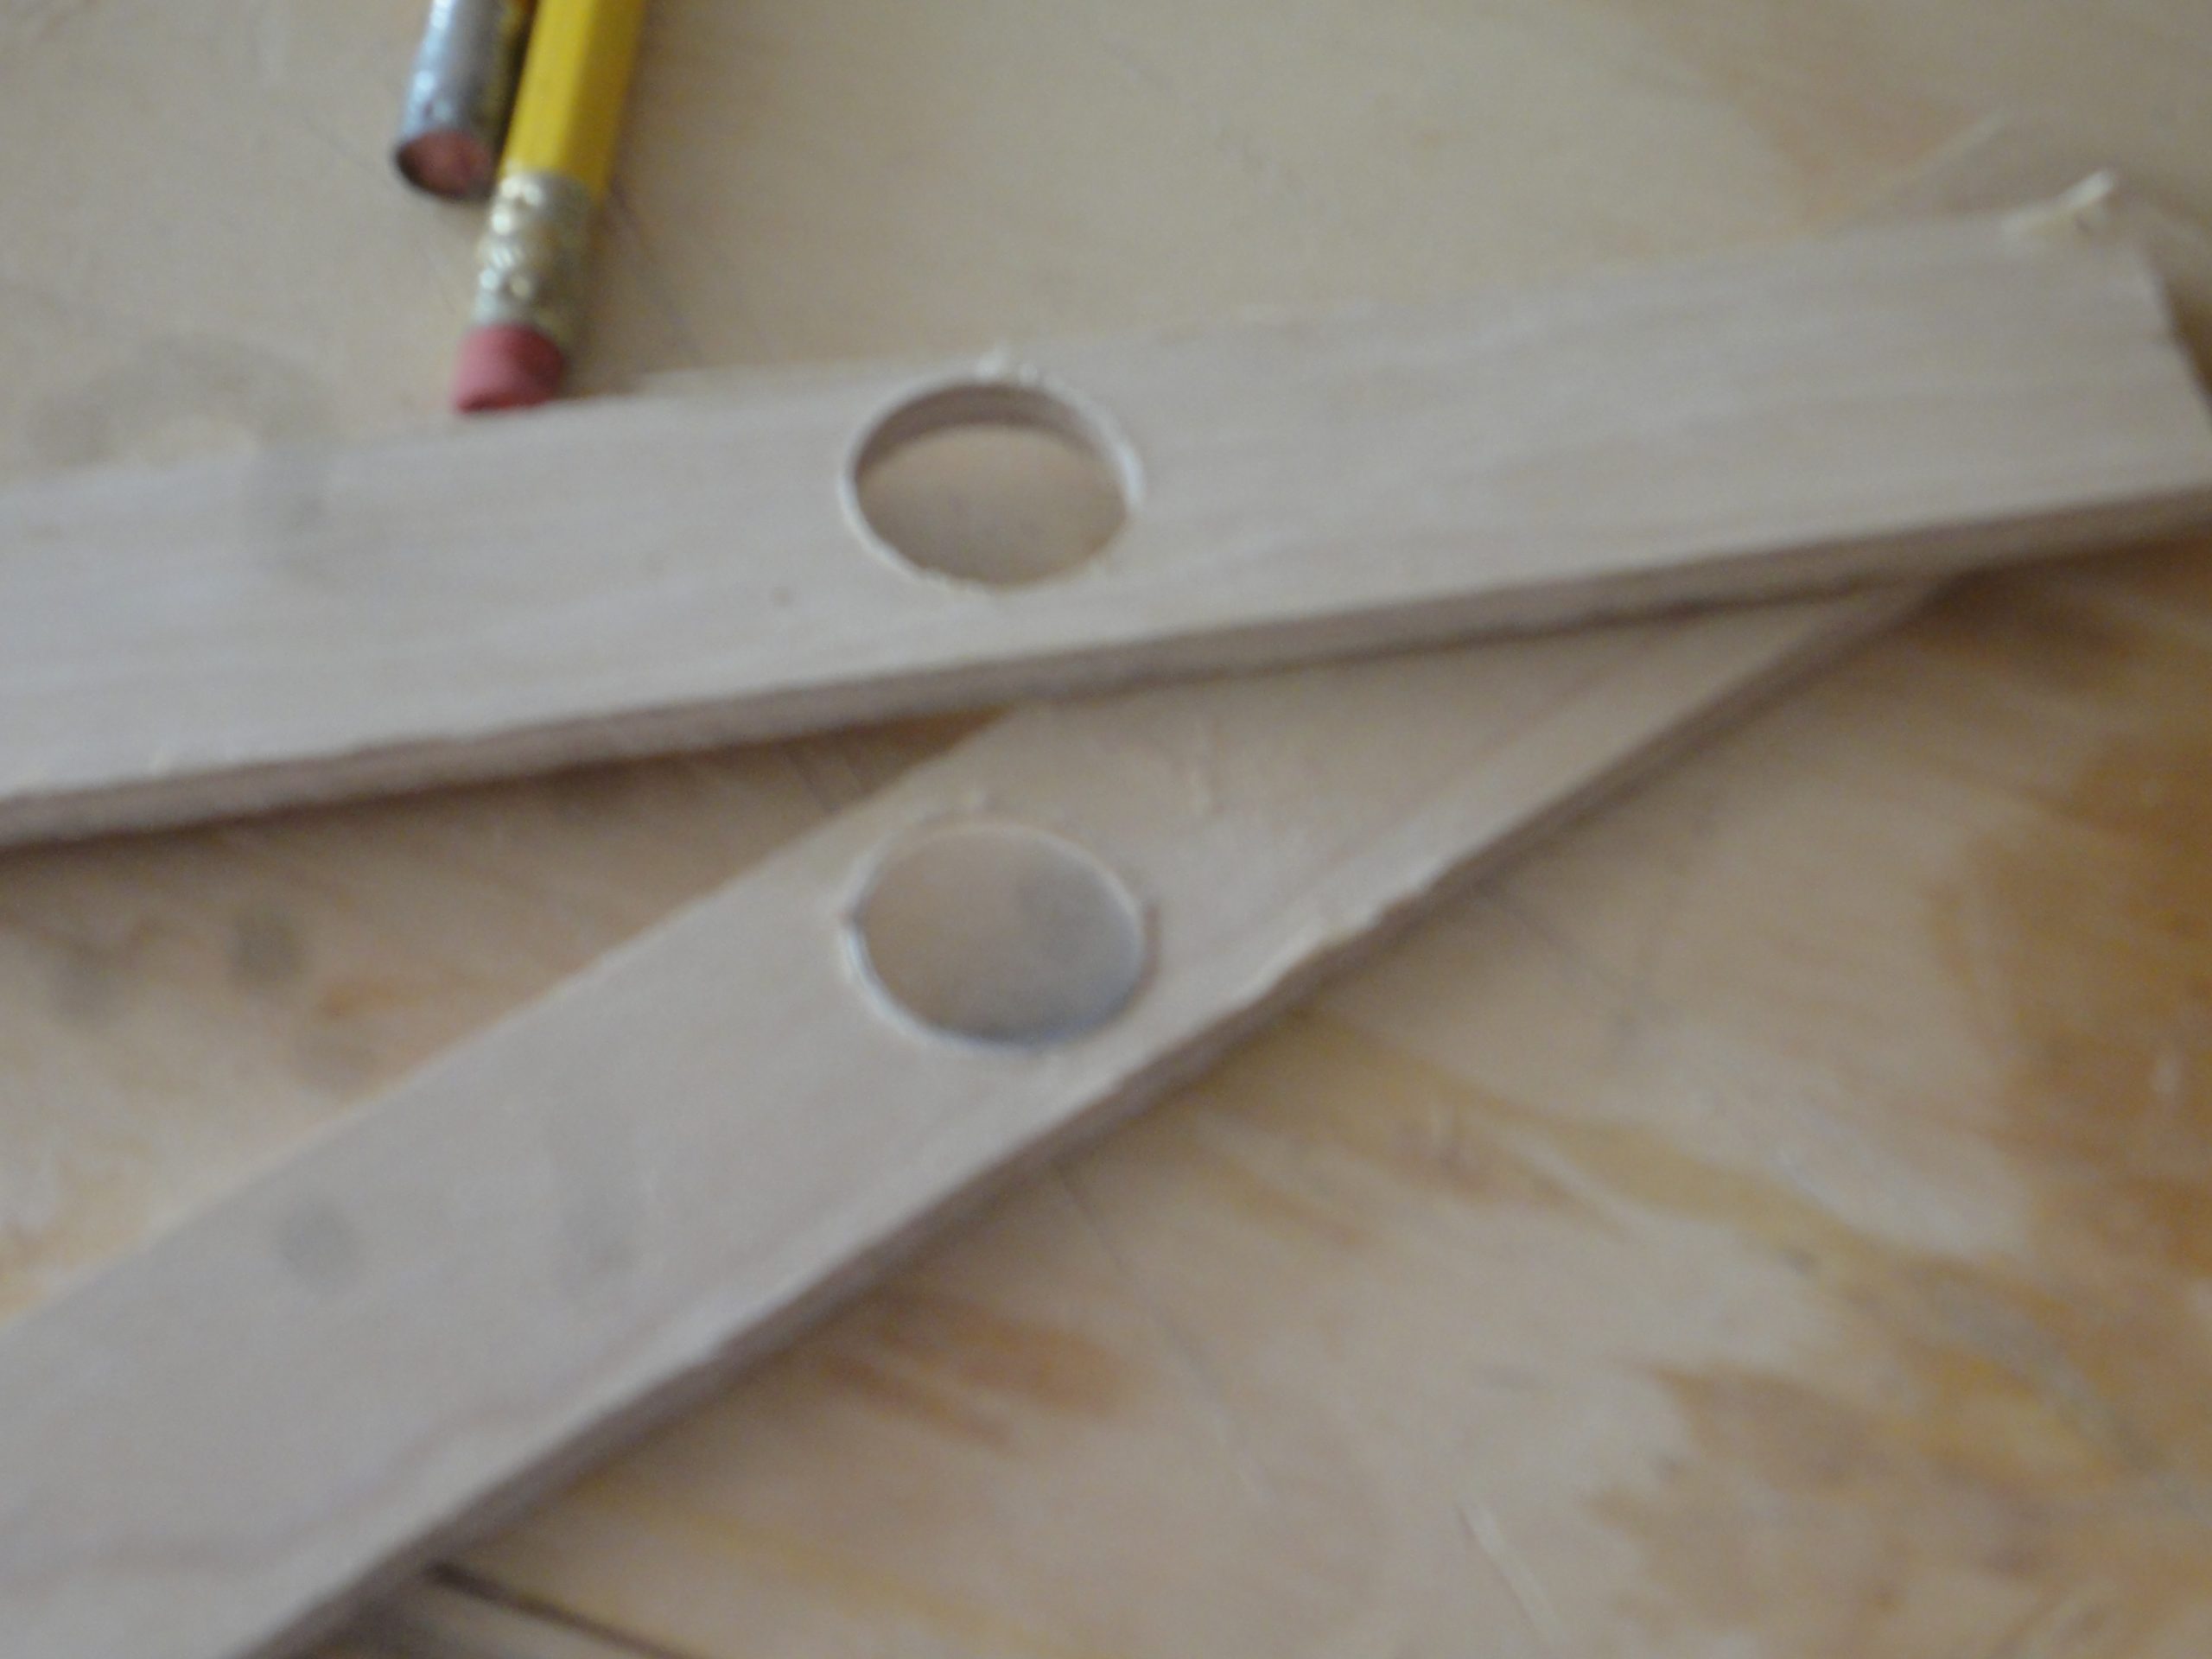

I also cut and fit a second set of strips that will sit on the lip (and eventually attach to the hatch). With these strips clamped in place I went ahead and drilled the first hole. And promptly went all the way through both boards. Sigh.
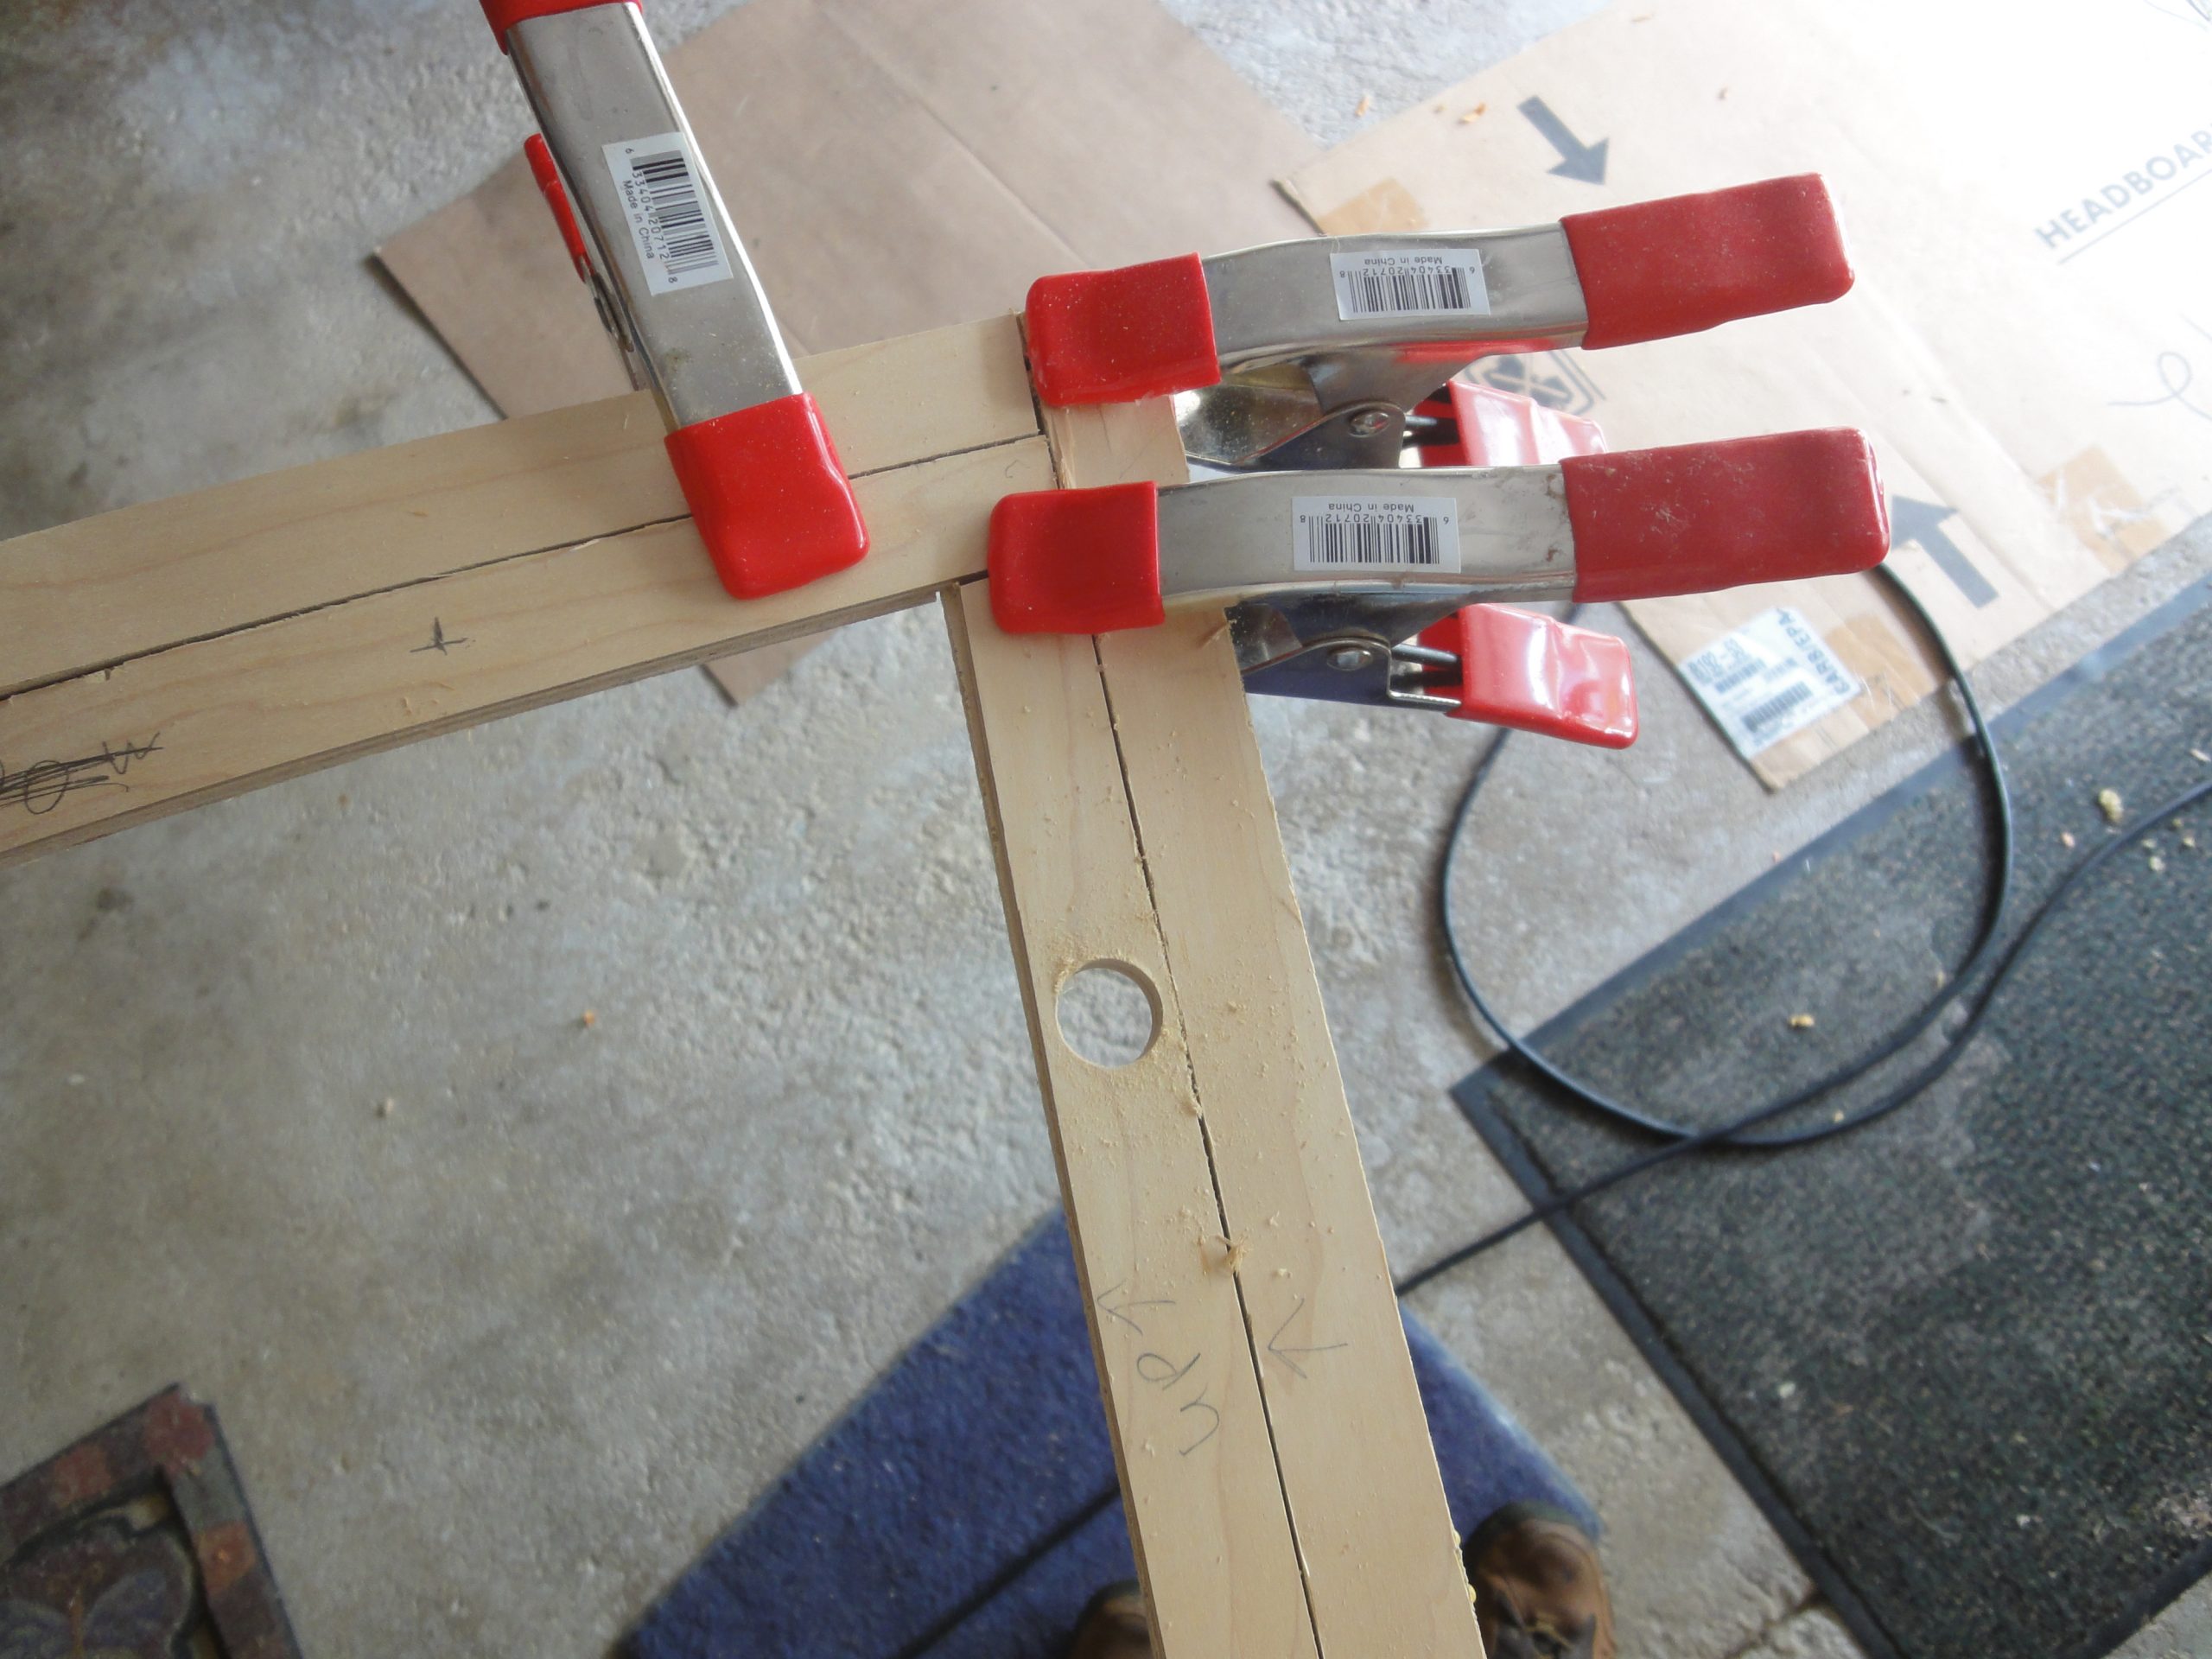
Analyzing what went wrong I and I realized that the frame wouldn’t sit flat on the drill press table like my scraps did, and being just an eight of an inch up was enough for the bit to go through. So I bit the bullet and did all the cuts with it raised up on a block. I cut through the first hole and just a bit into the lip assembly to have a mark, then I went back and aligning to these marks, cut them free handing the depth. It came out just fine. Mostly. Sigh again.

The lip assembly actually was the part that worked fine, but one of the strips had a blow out where the narrow wood along the edge of the hole crumbled. So I cut another piece, fitted and shaped it and used the first as a template for the hole location. While cutting the replacement piece, it too blew out. Sigh… for the third time.
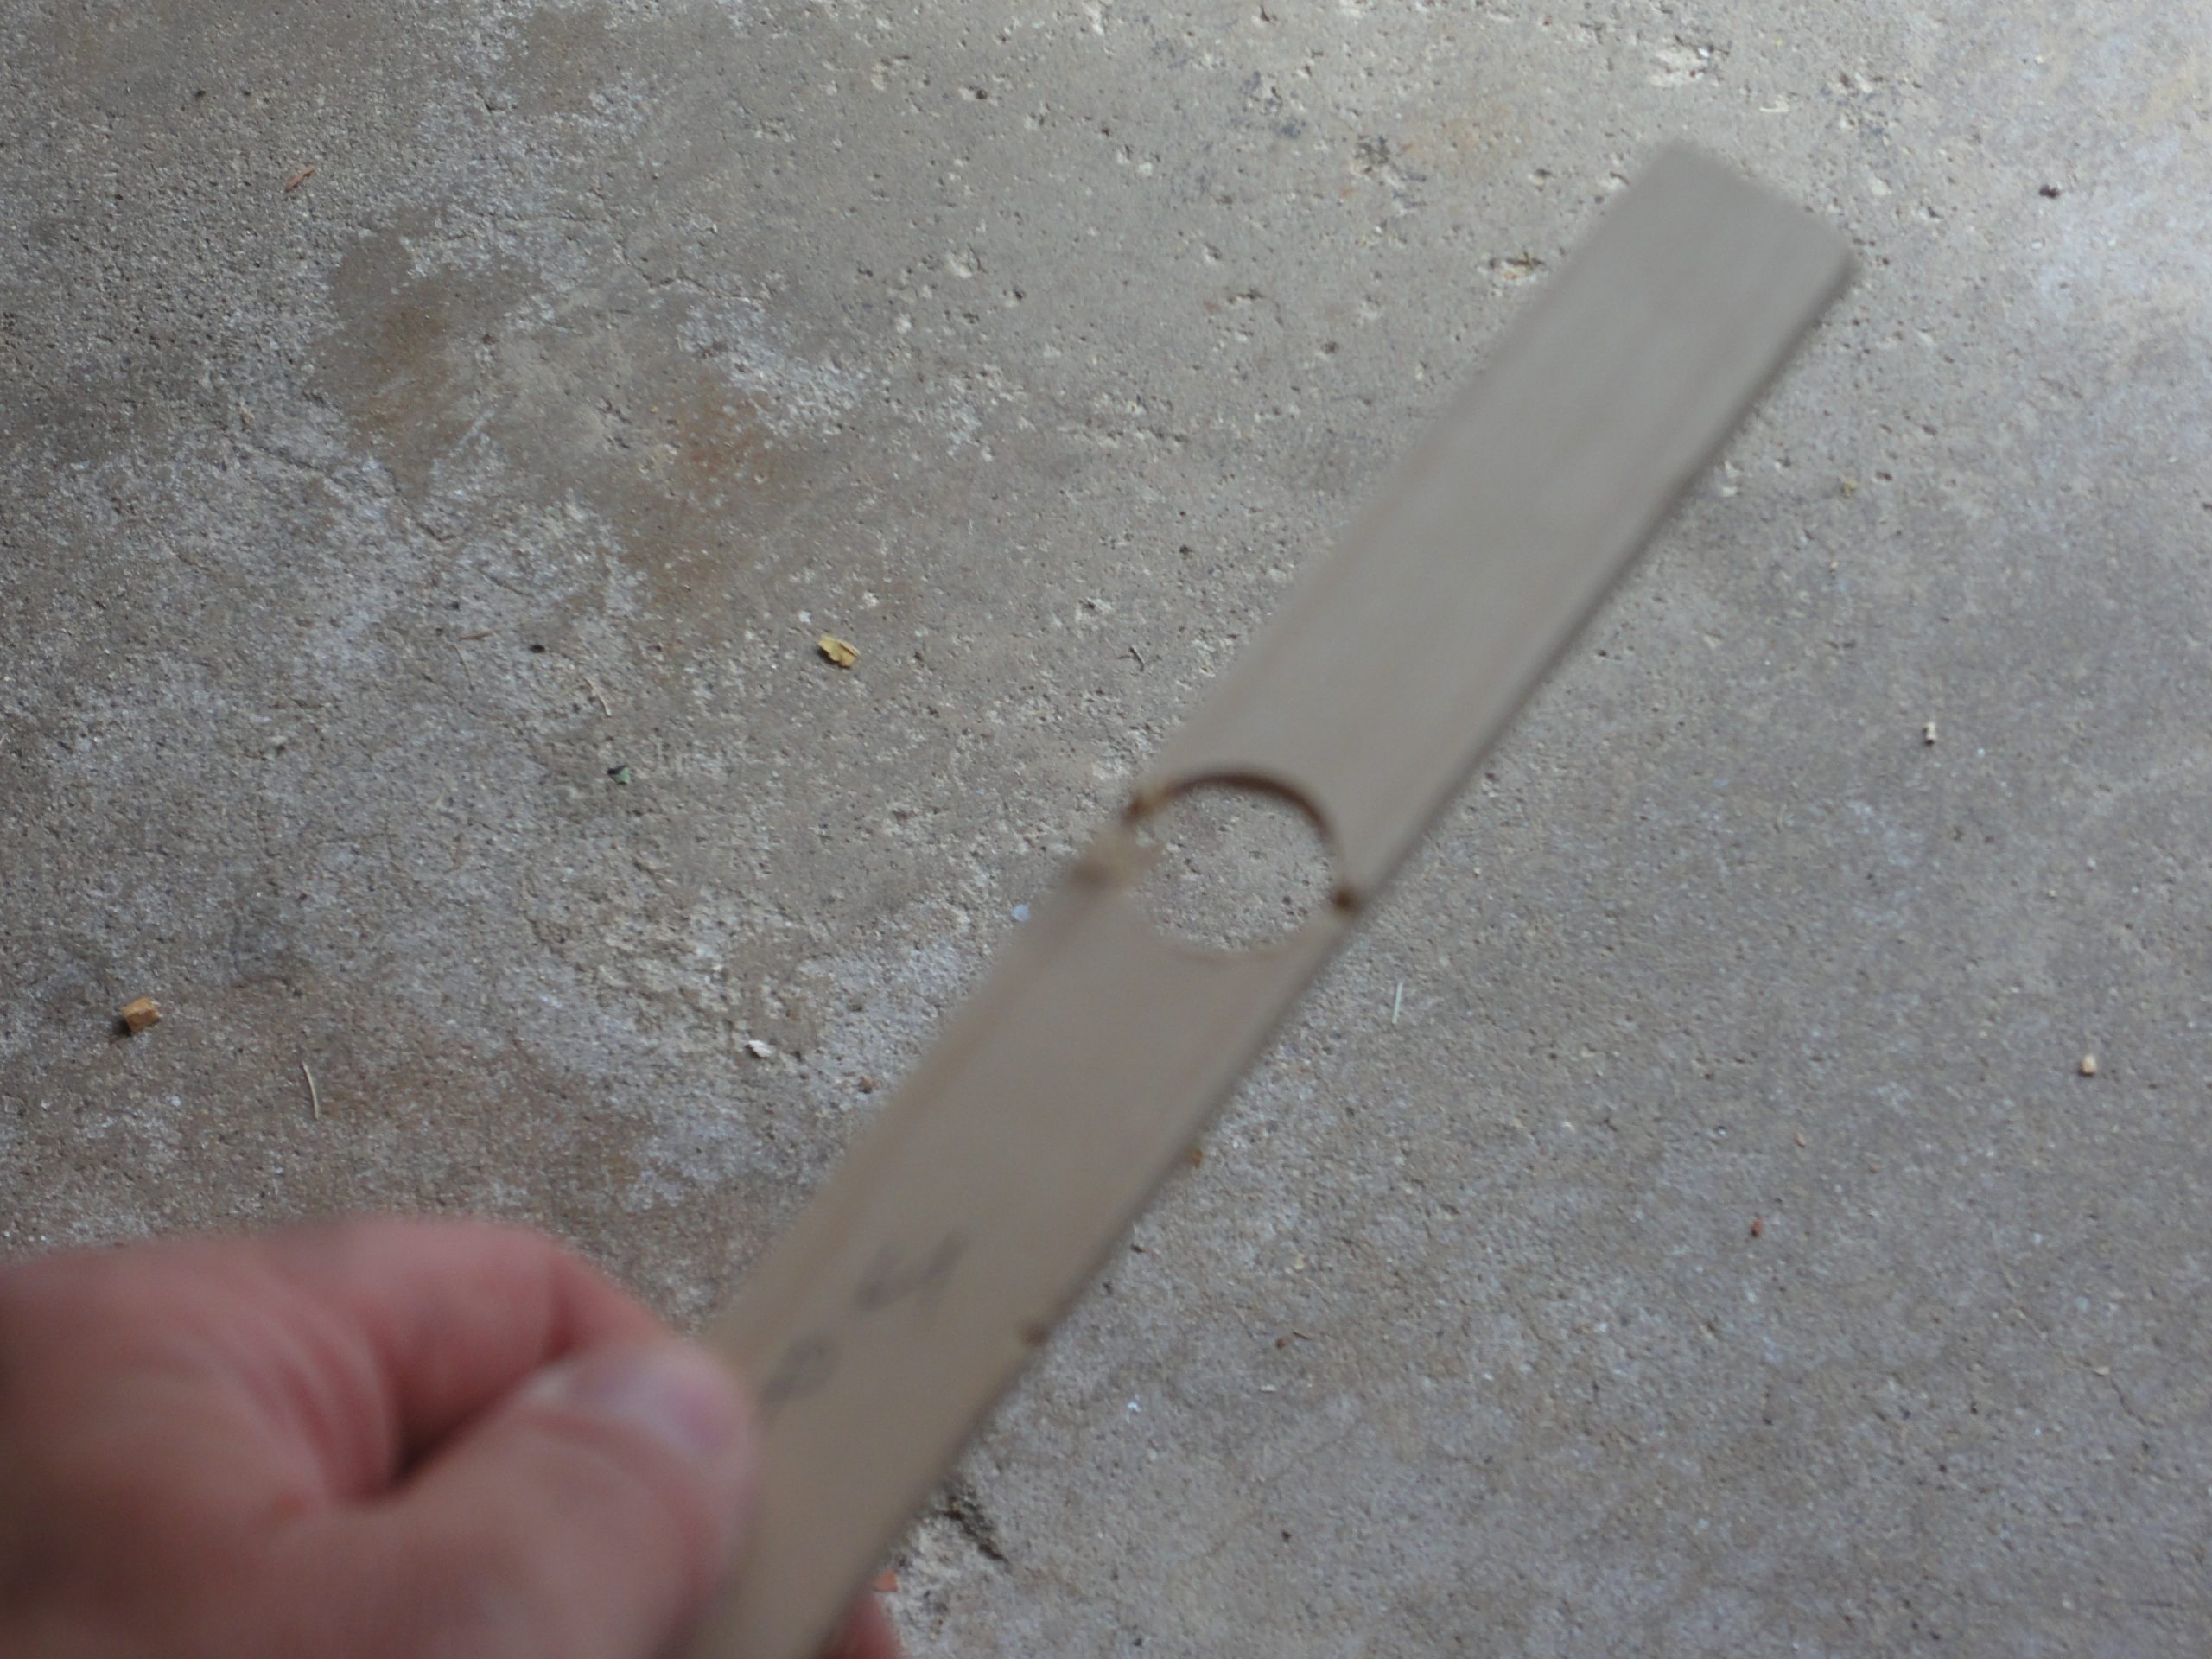

But I guess third time was a charm as when I made the piece, yet again, and cut the holes all went well.
Given the frustrations I thought it best to call it quits for today instead of plowing on and risking a really bad mistake that couldn’t be easily fixed.
The coaming is effectively done. It, like the rest of the kayak, will still need a sanding and an additional coat or two of epoxy but that will be done when all the rest of this little fidgety stuff gets finished.