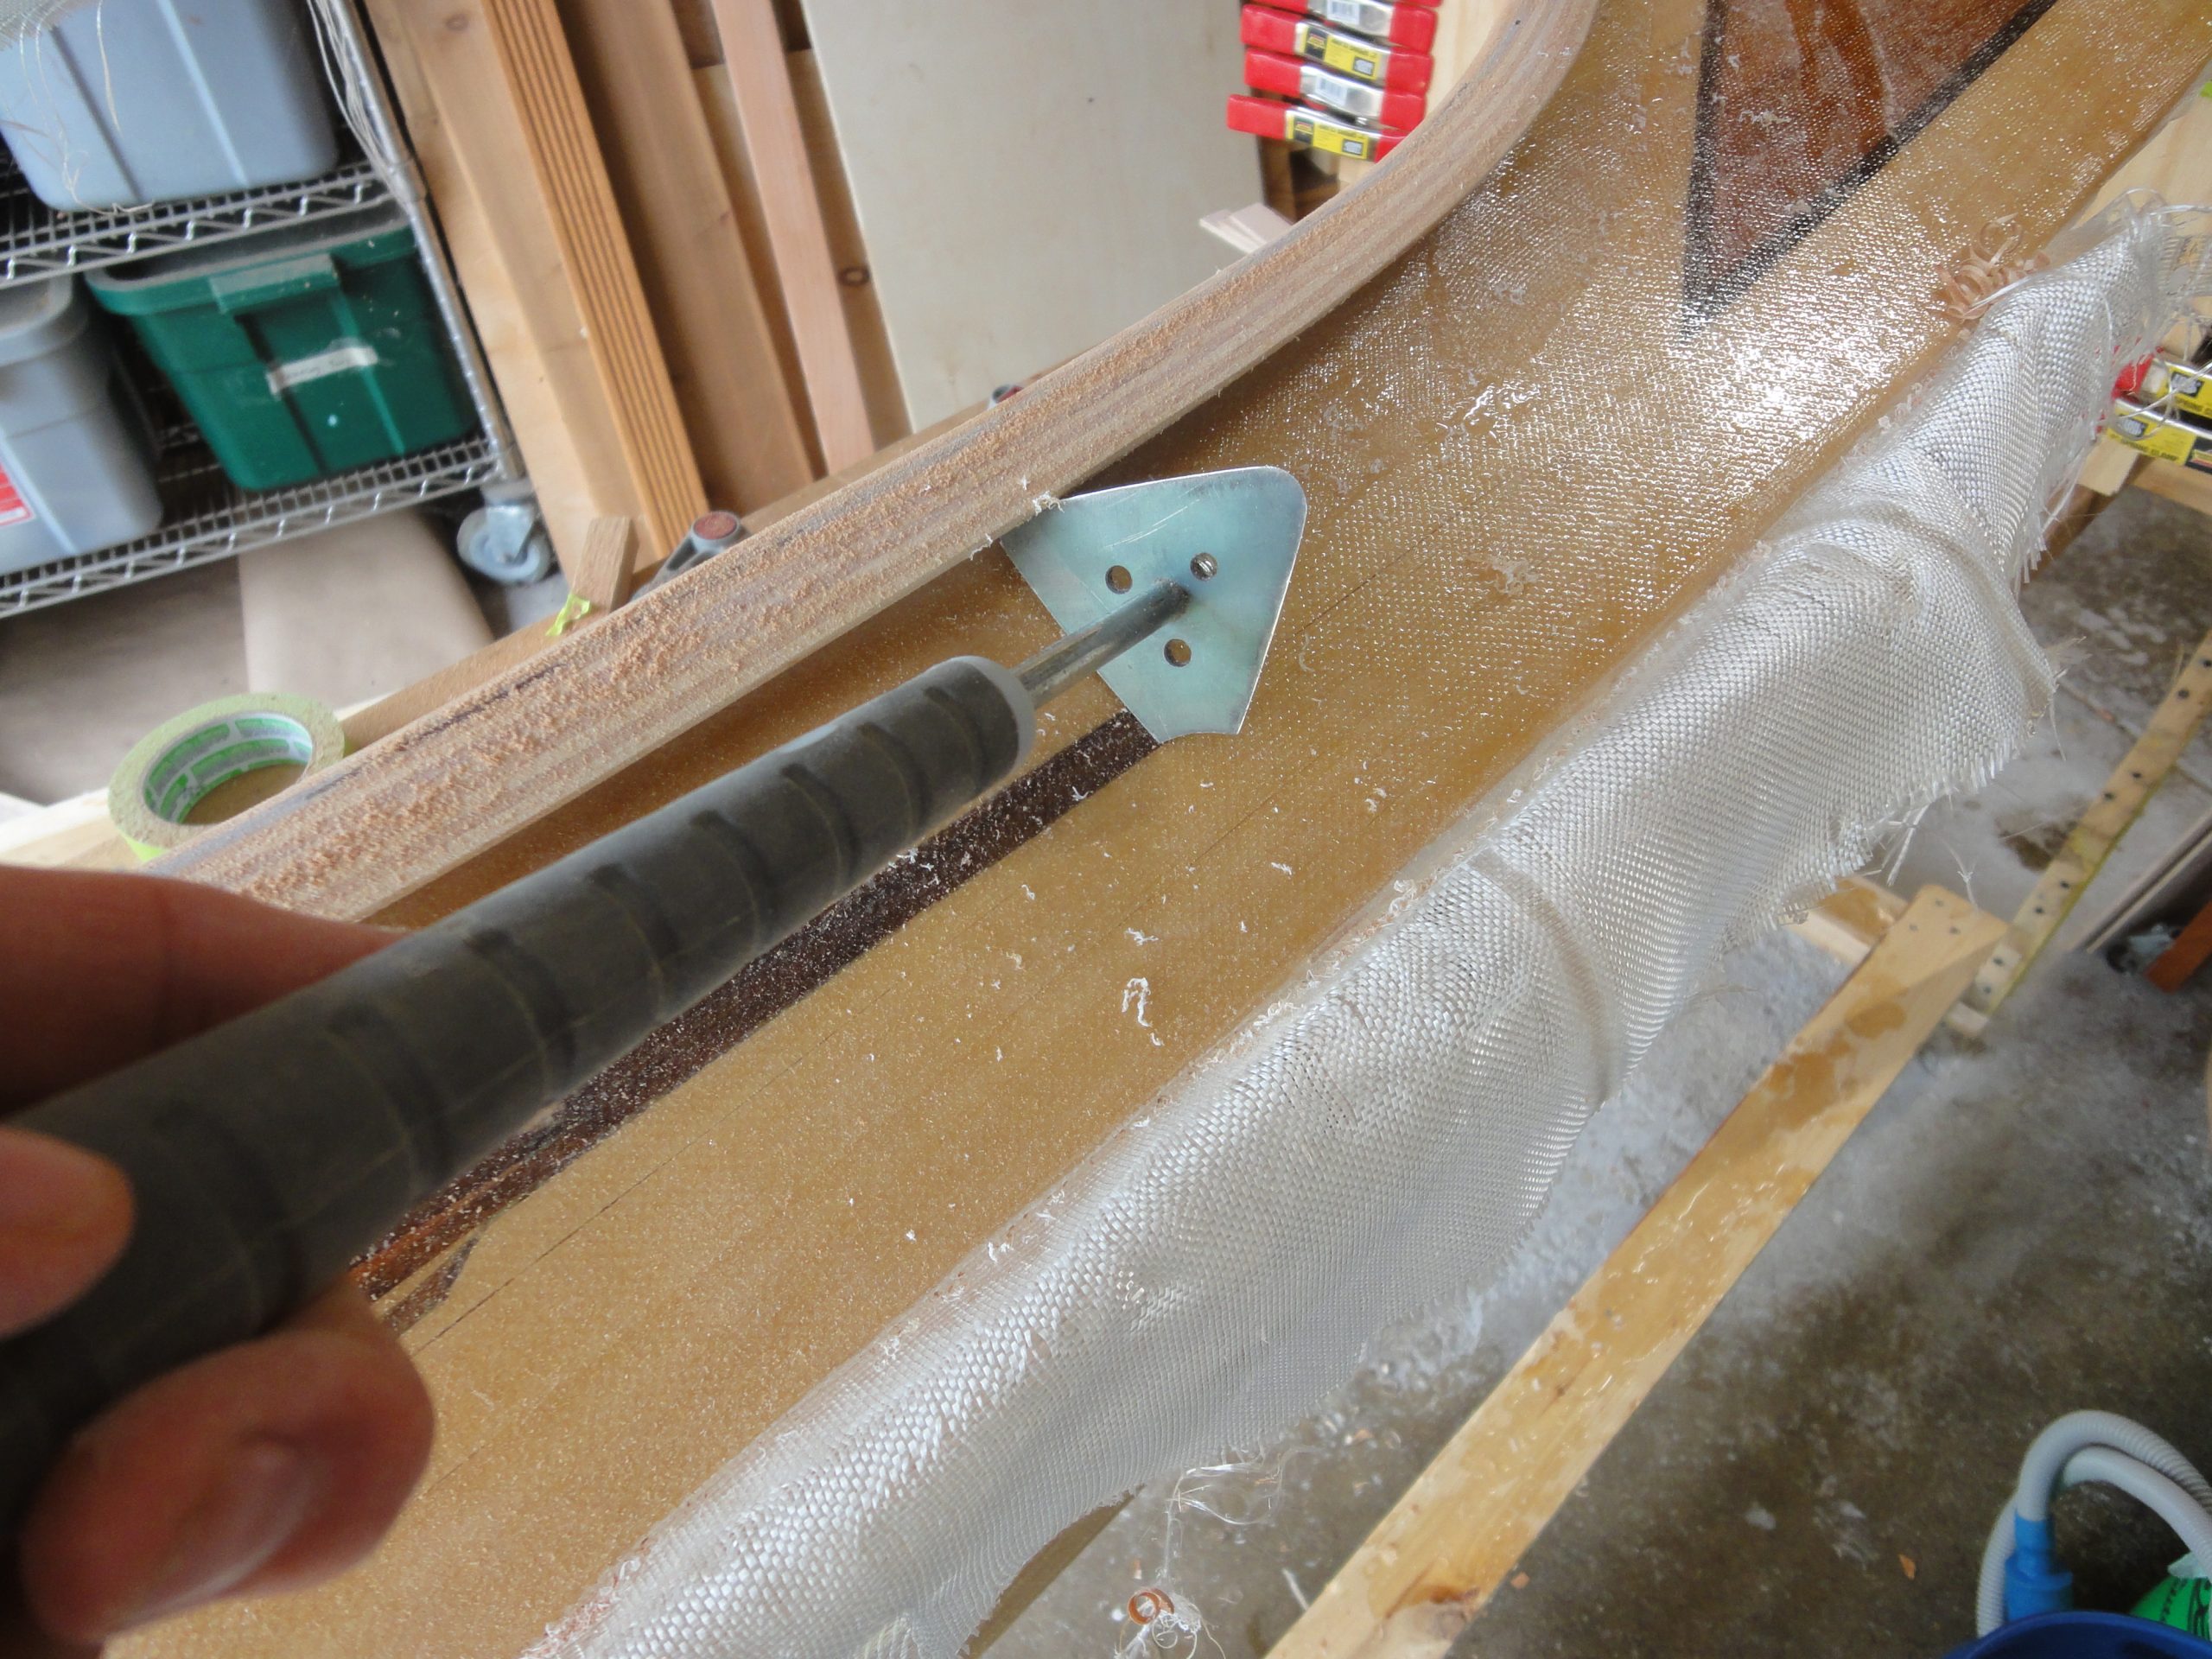
Got some good time in today and made substantial progress, although mostly on “little” details. I’ll start with the continued coaming work.
The little bit of the riser sticking above the lip was trimmed close to flush and then the extra was planed and rasped and sanded off. At the front and back where the lips didn’t quite meet nicely I trimmed both back and then fit a piece of cedar into the gap. I’ll trim it off later.
While these were drying I flipped the deck and trimmed off the riser parts that were sticking below the underside. Once cut off, that rough edges were planed, rasped and sanded flush with the underside of the deck.

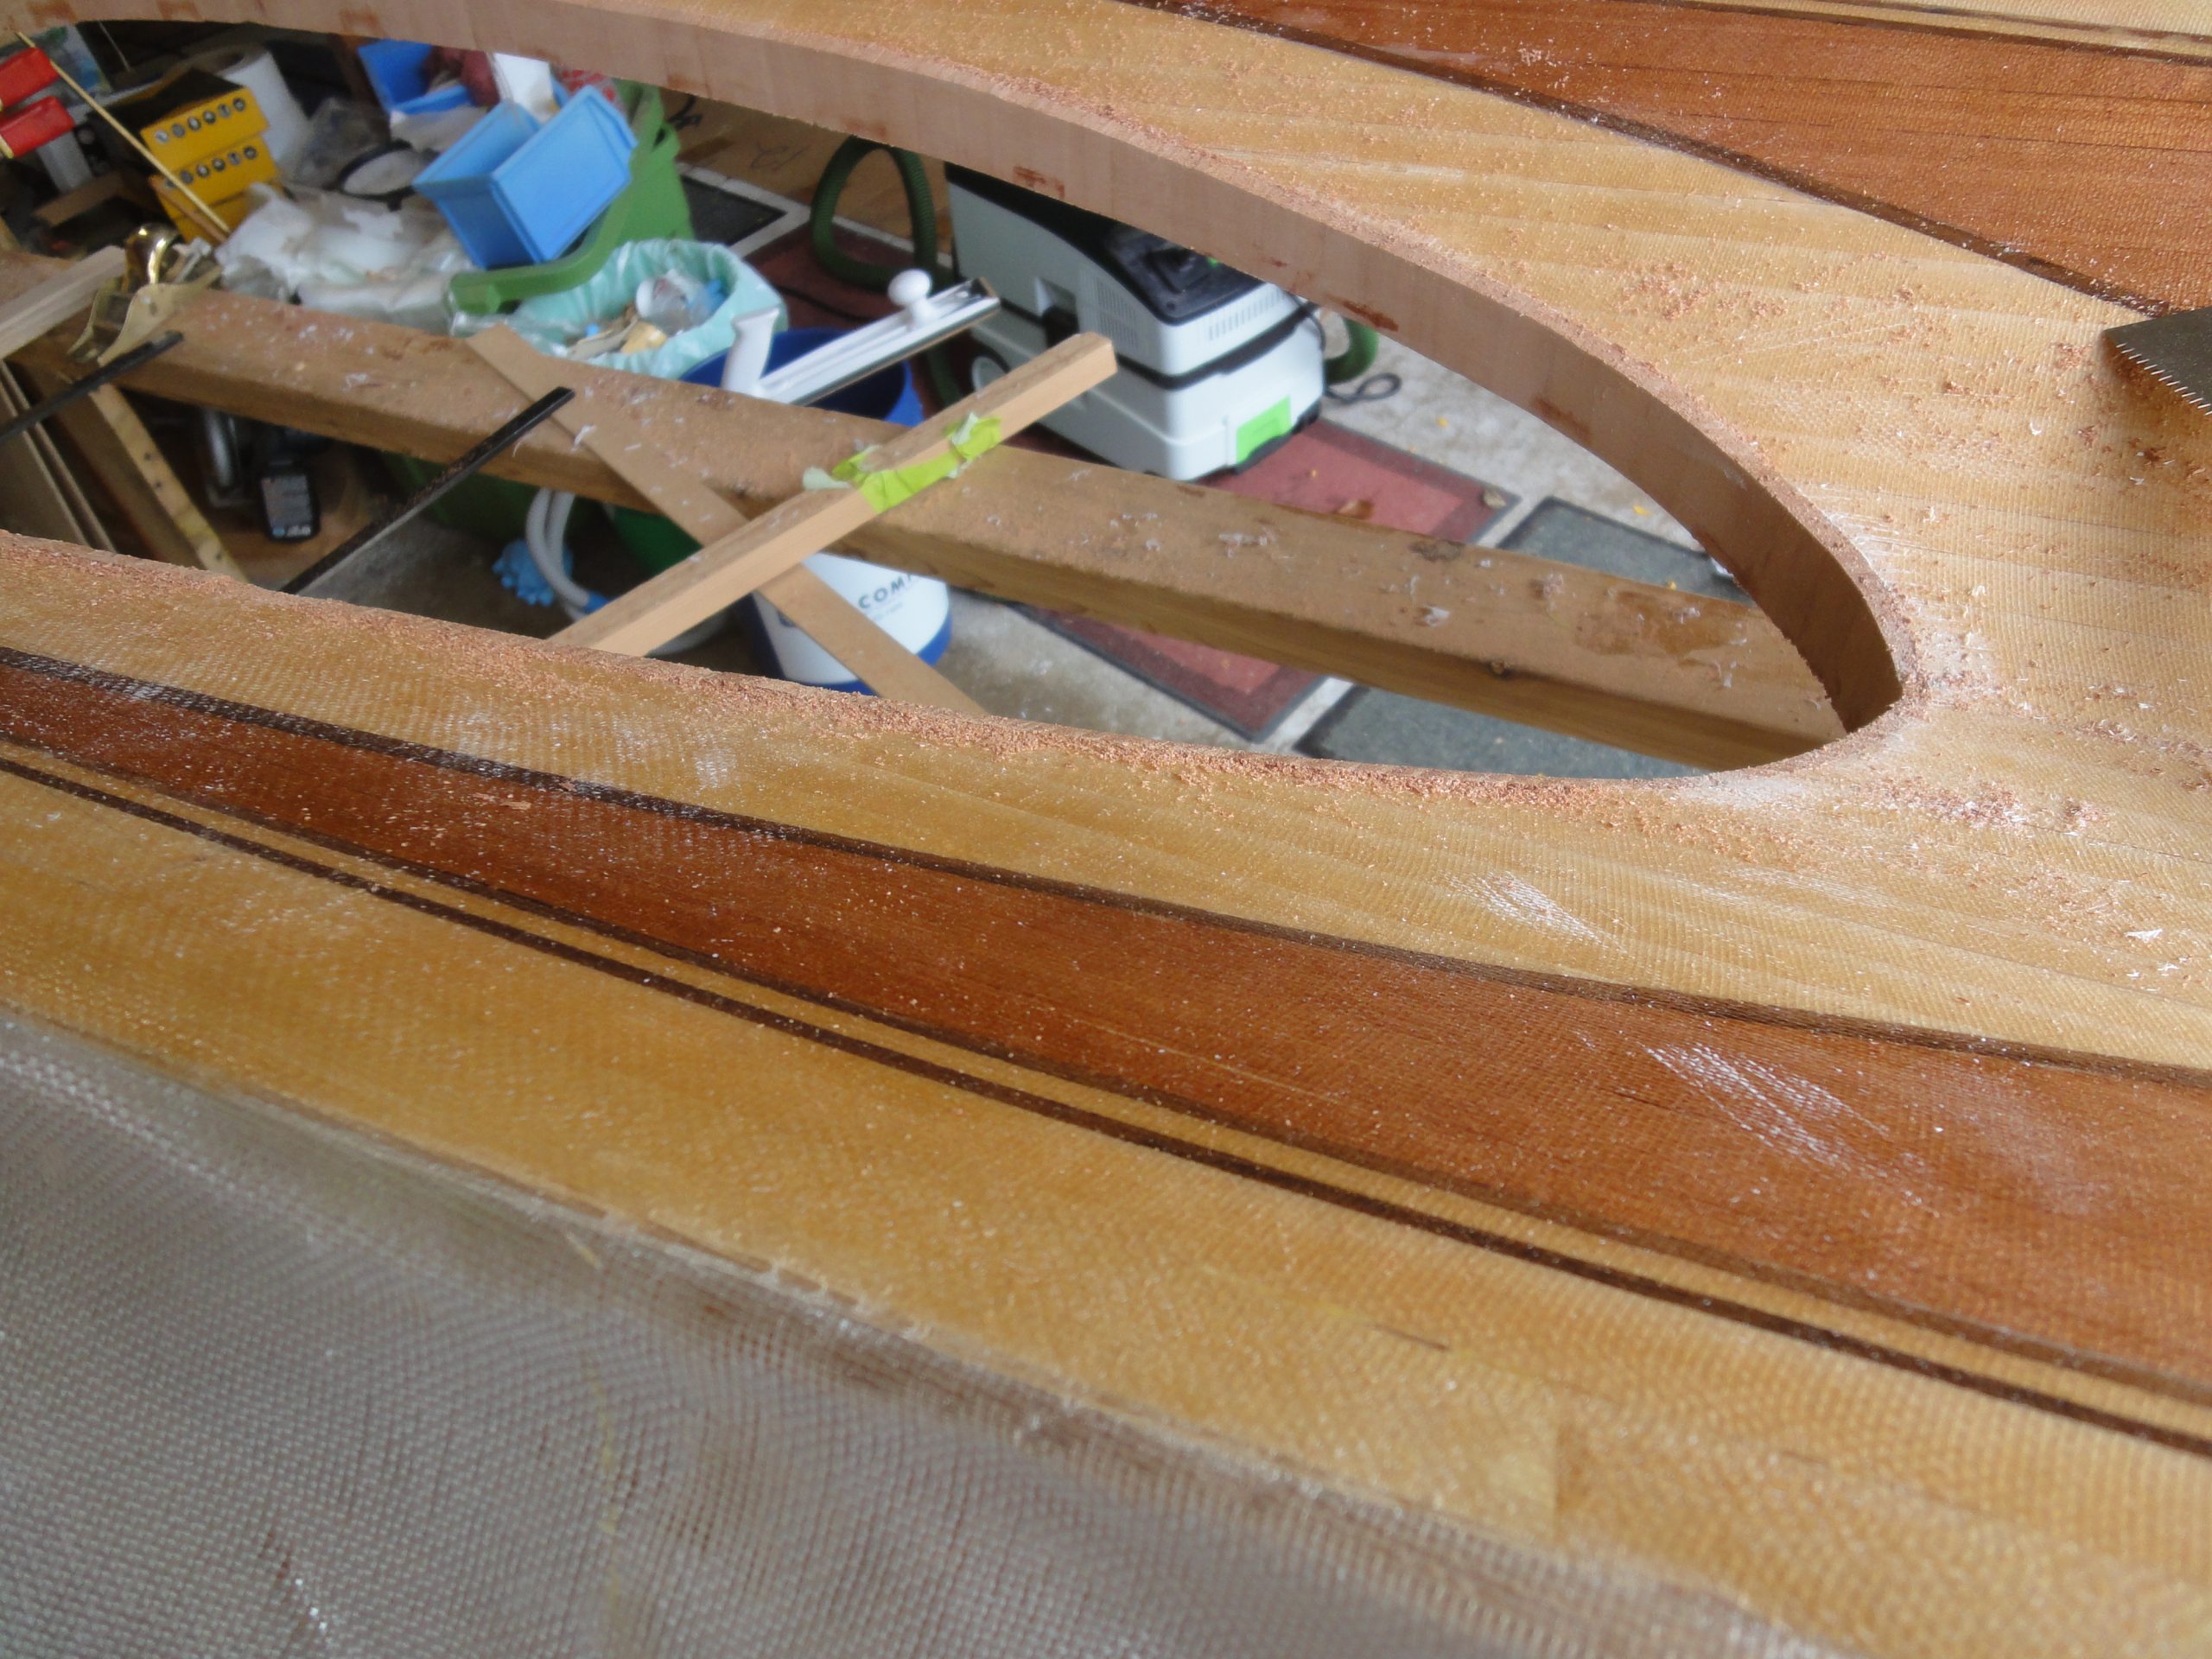
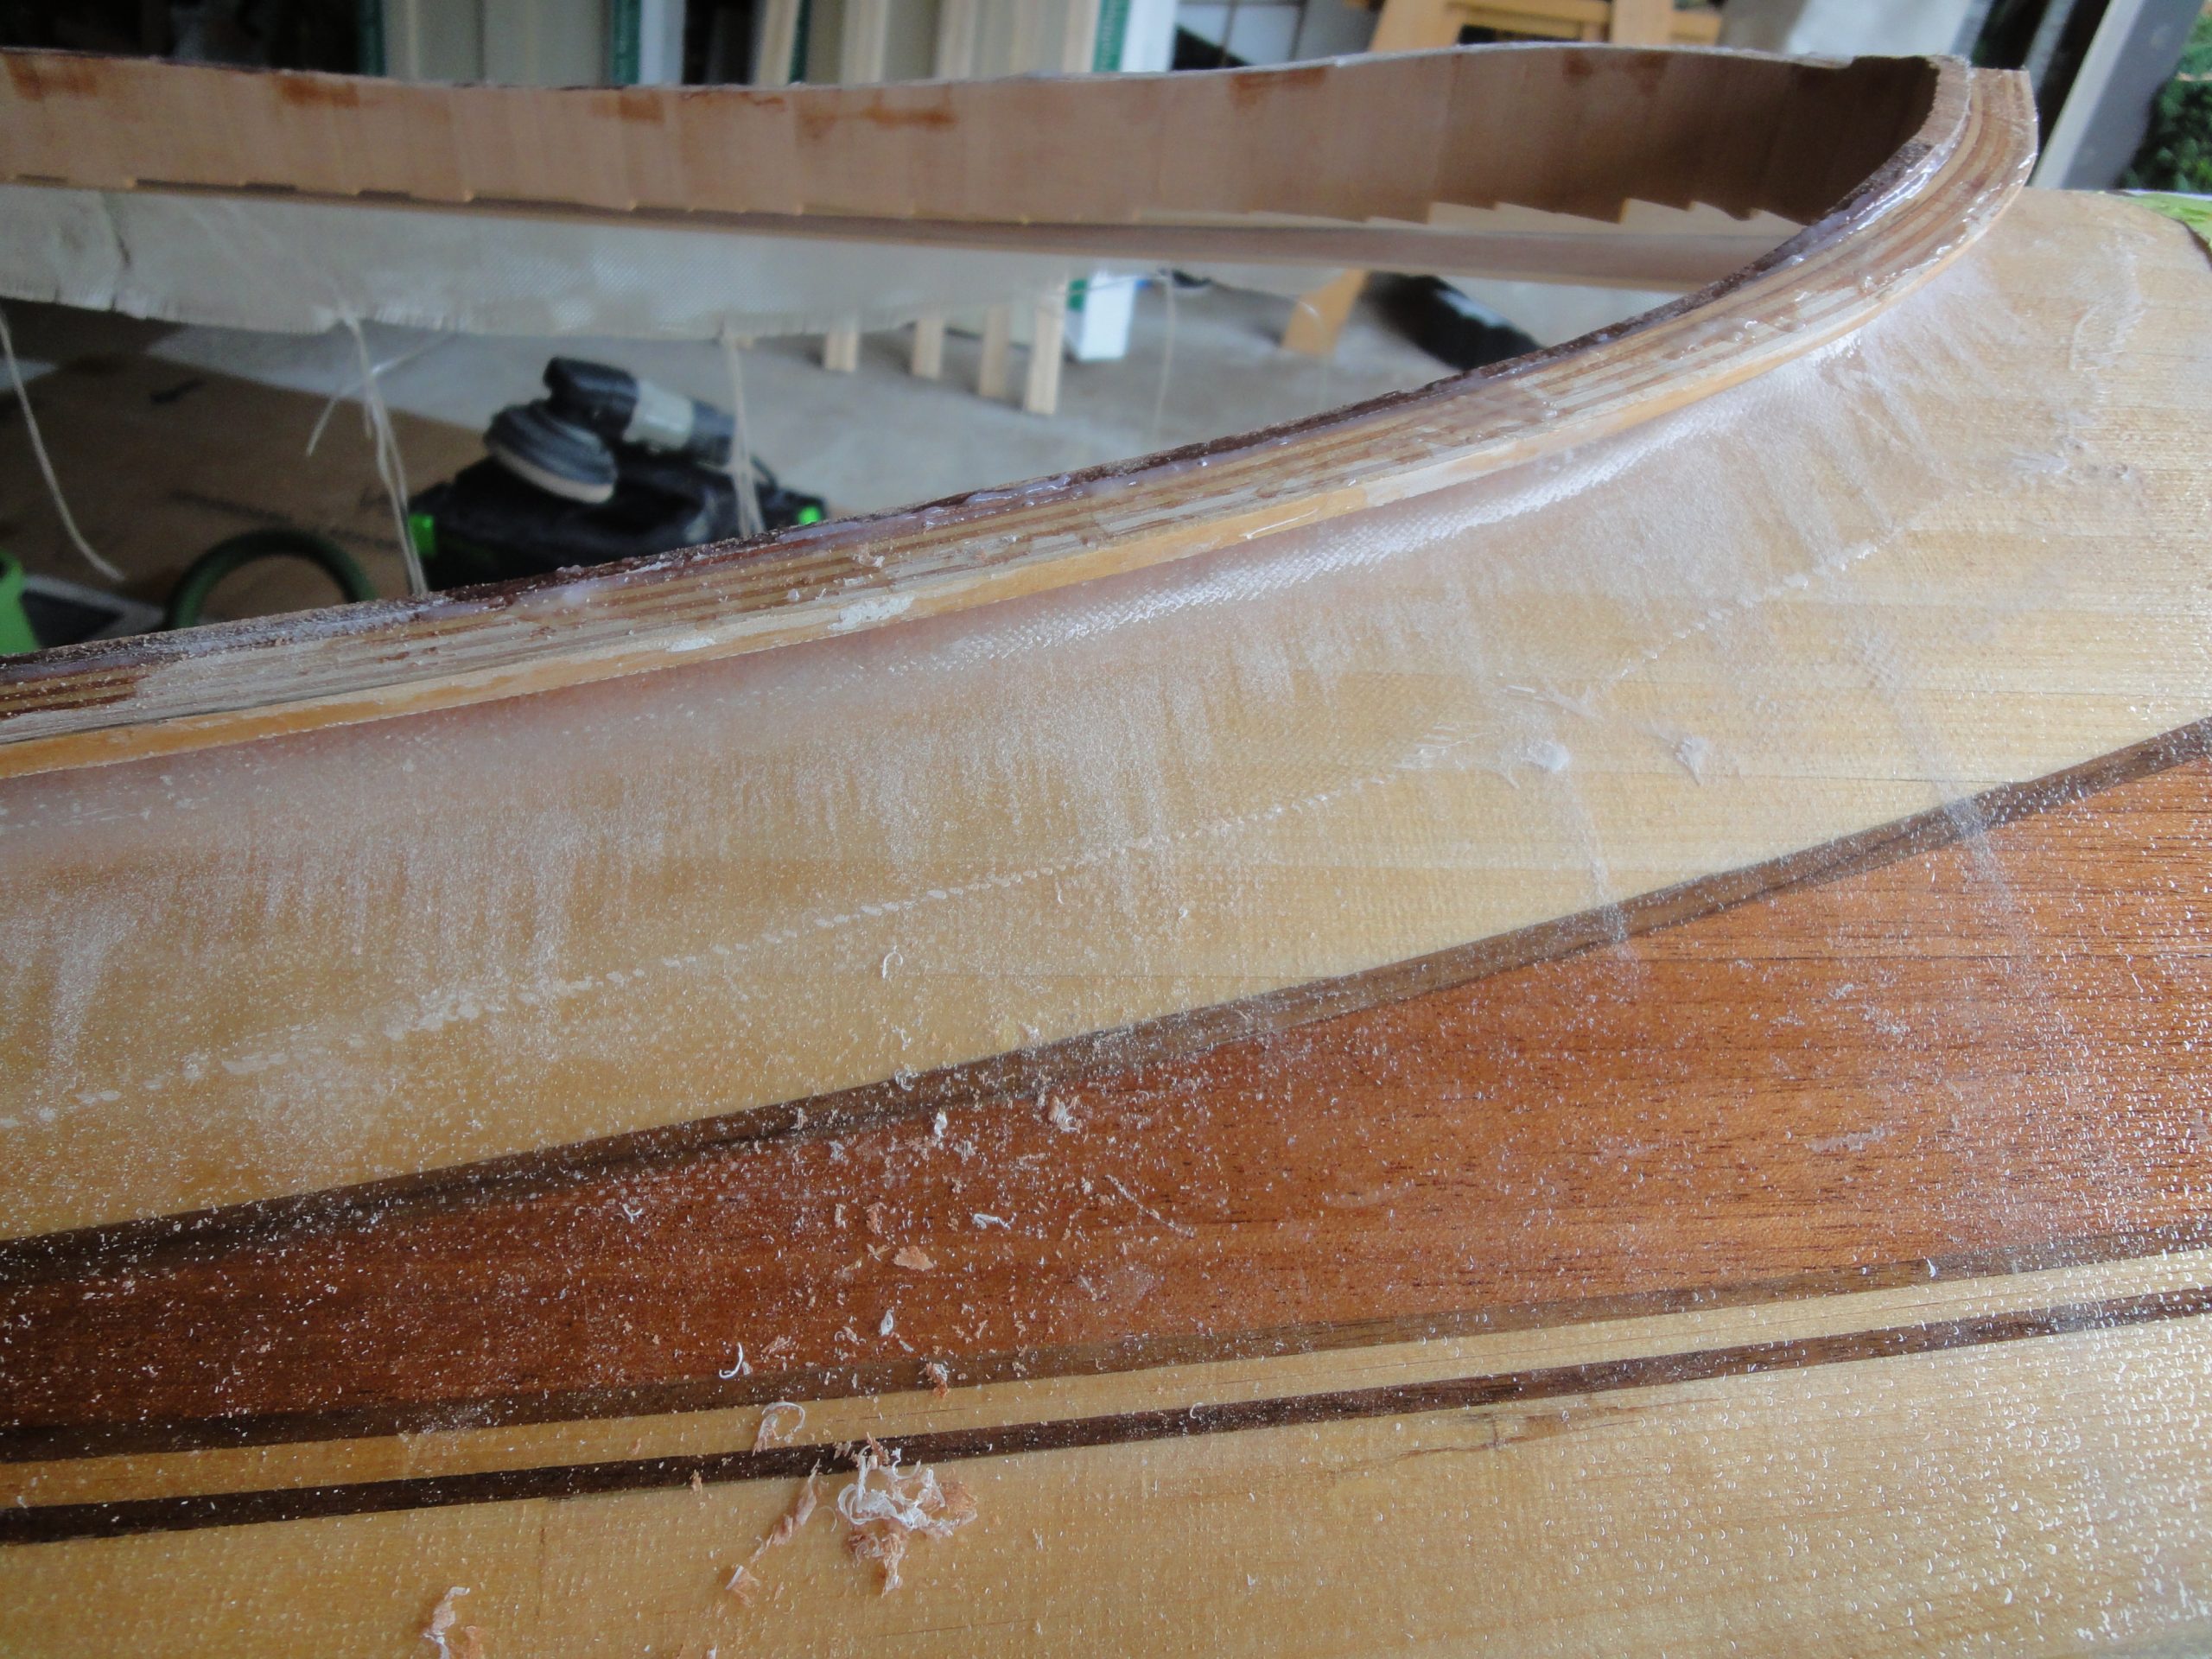
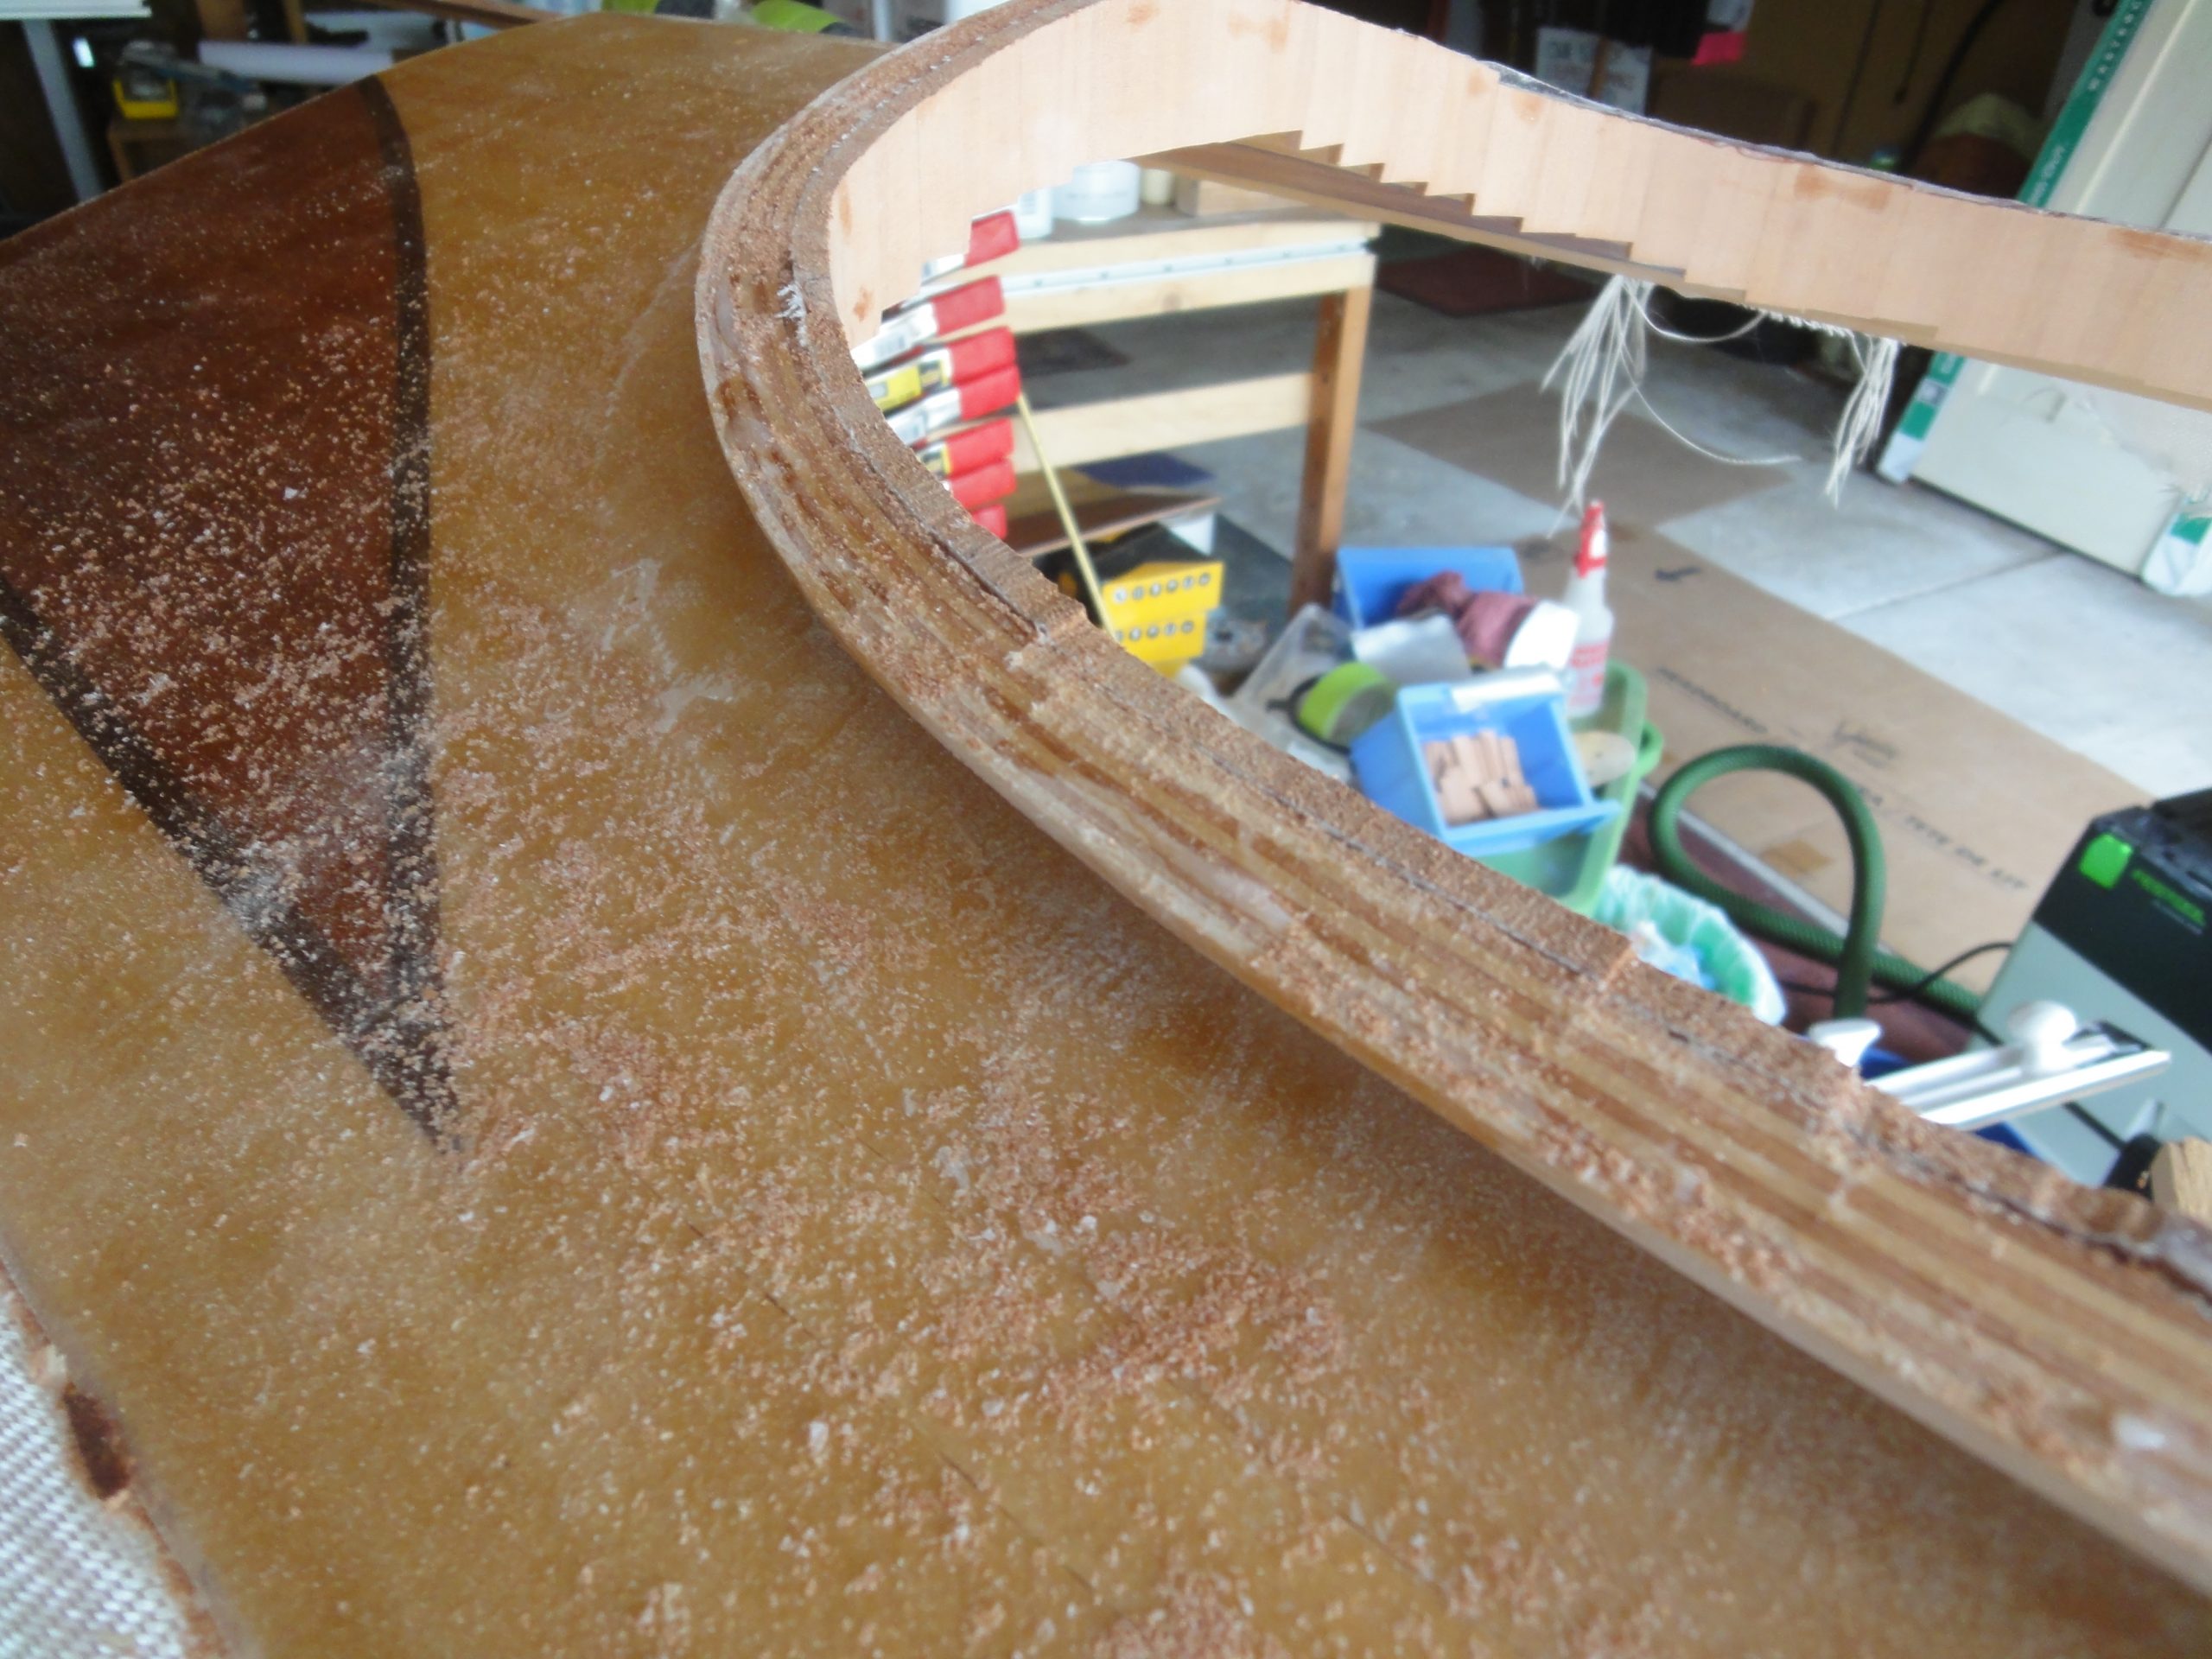
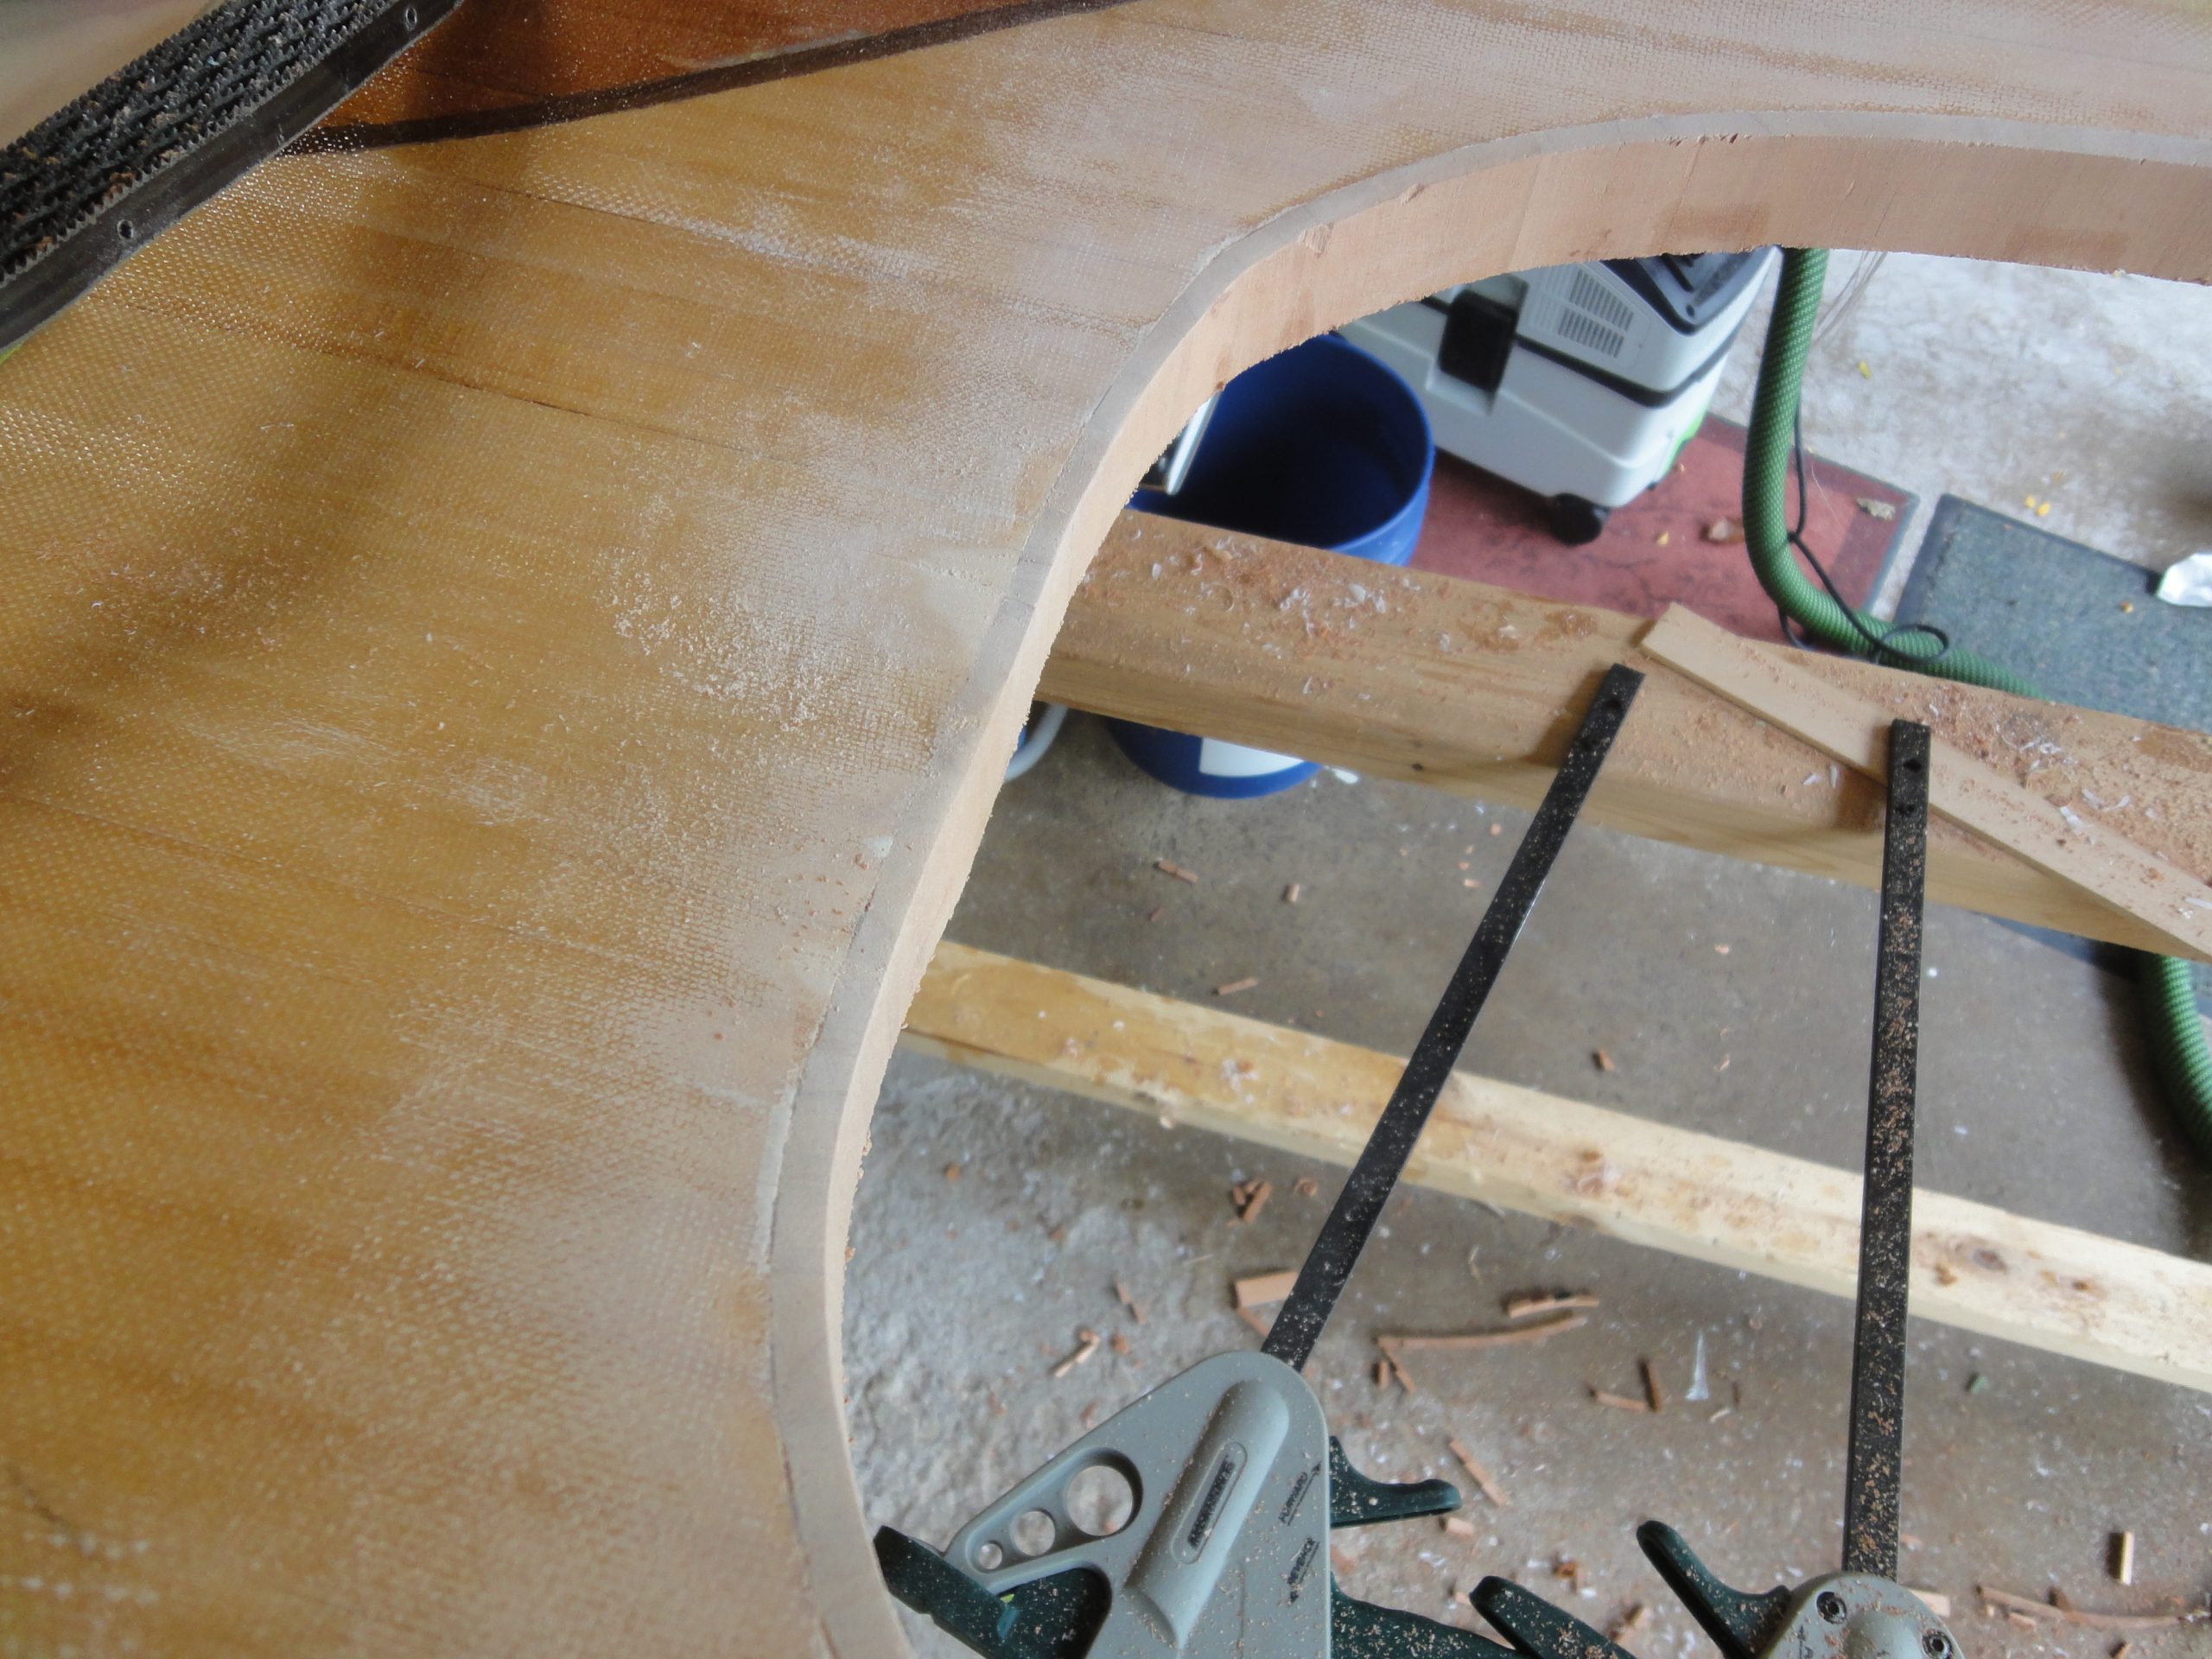
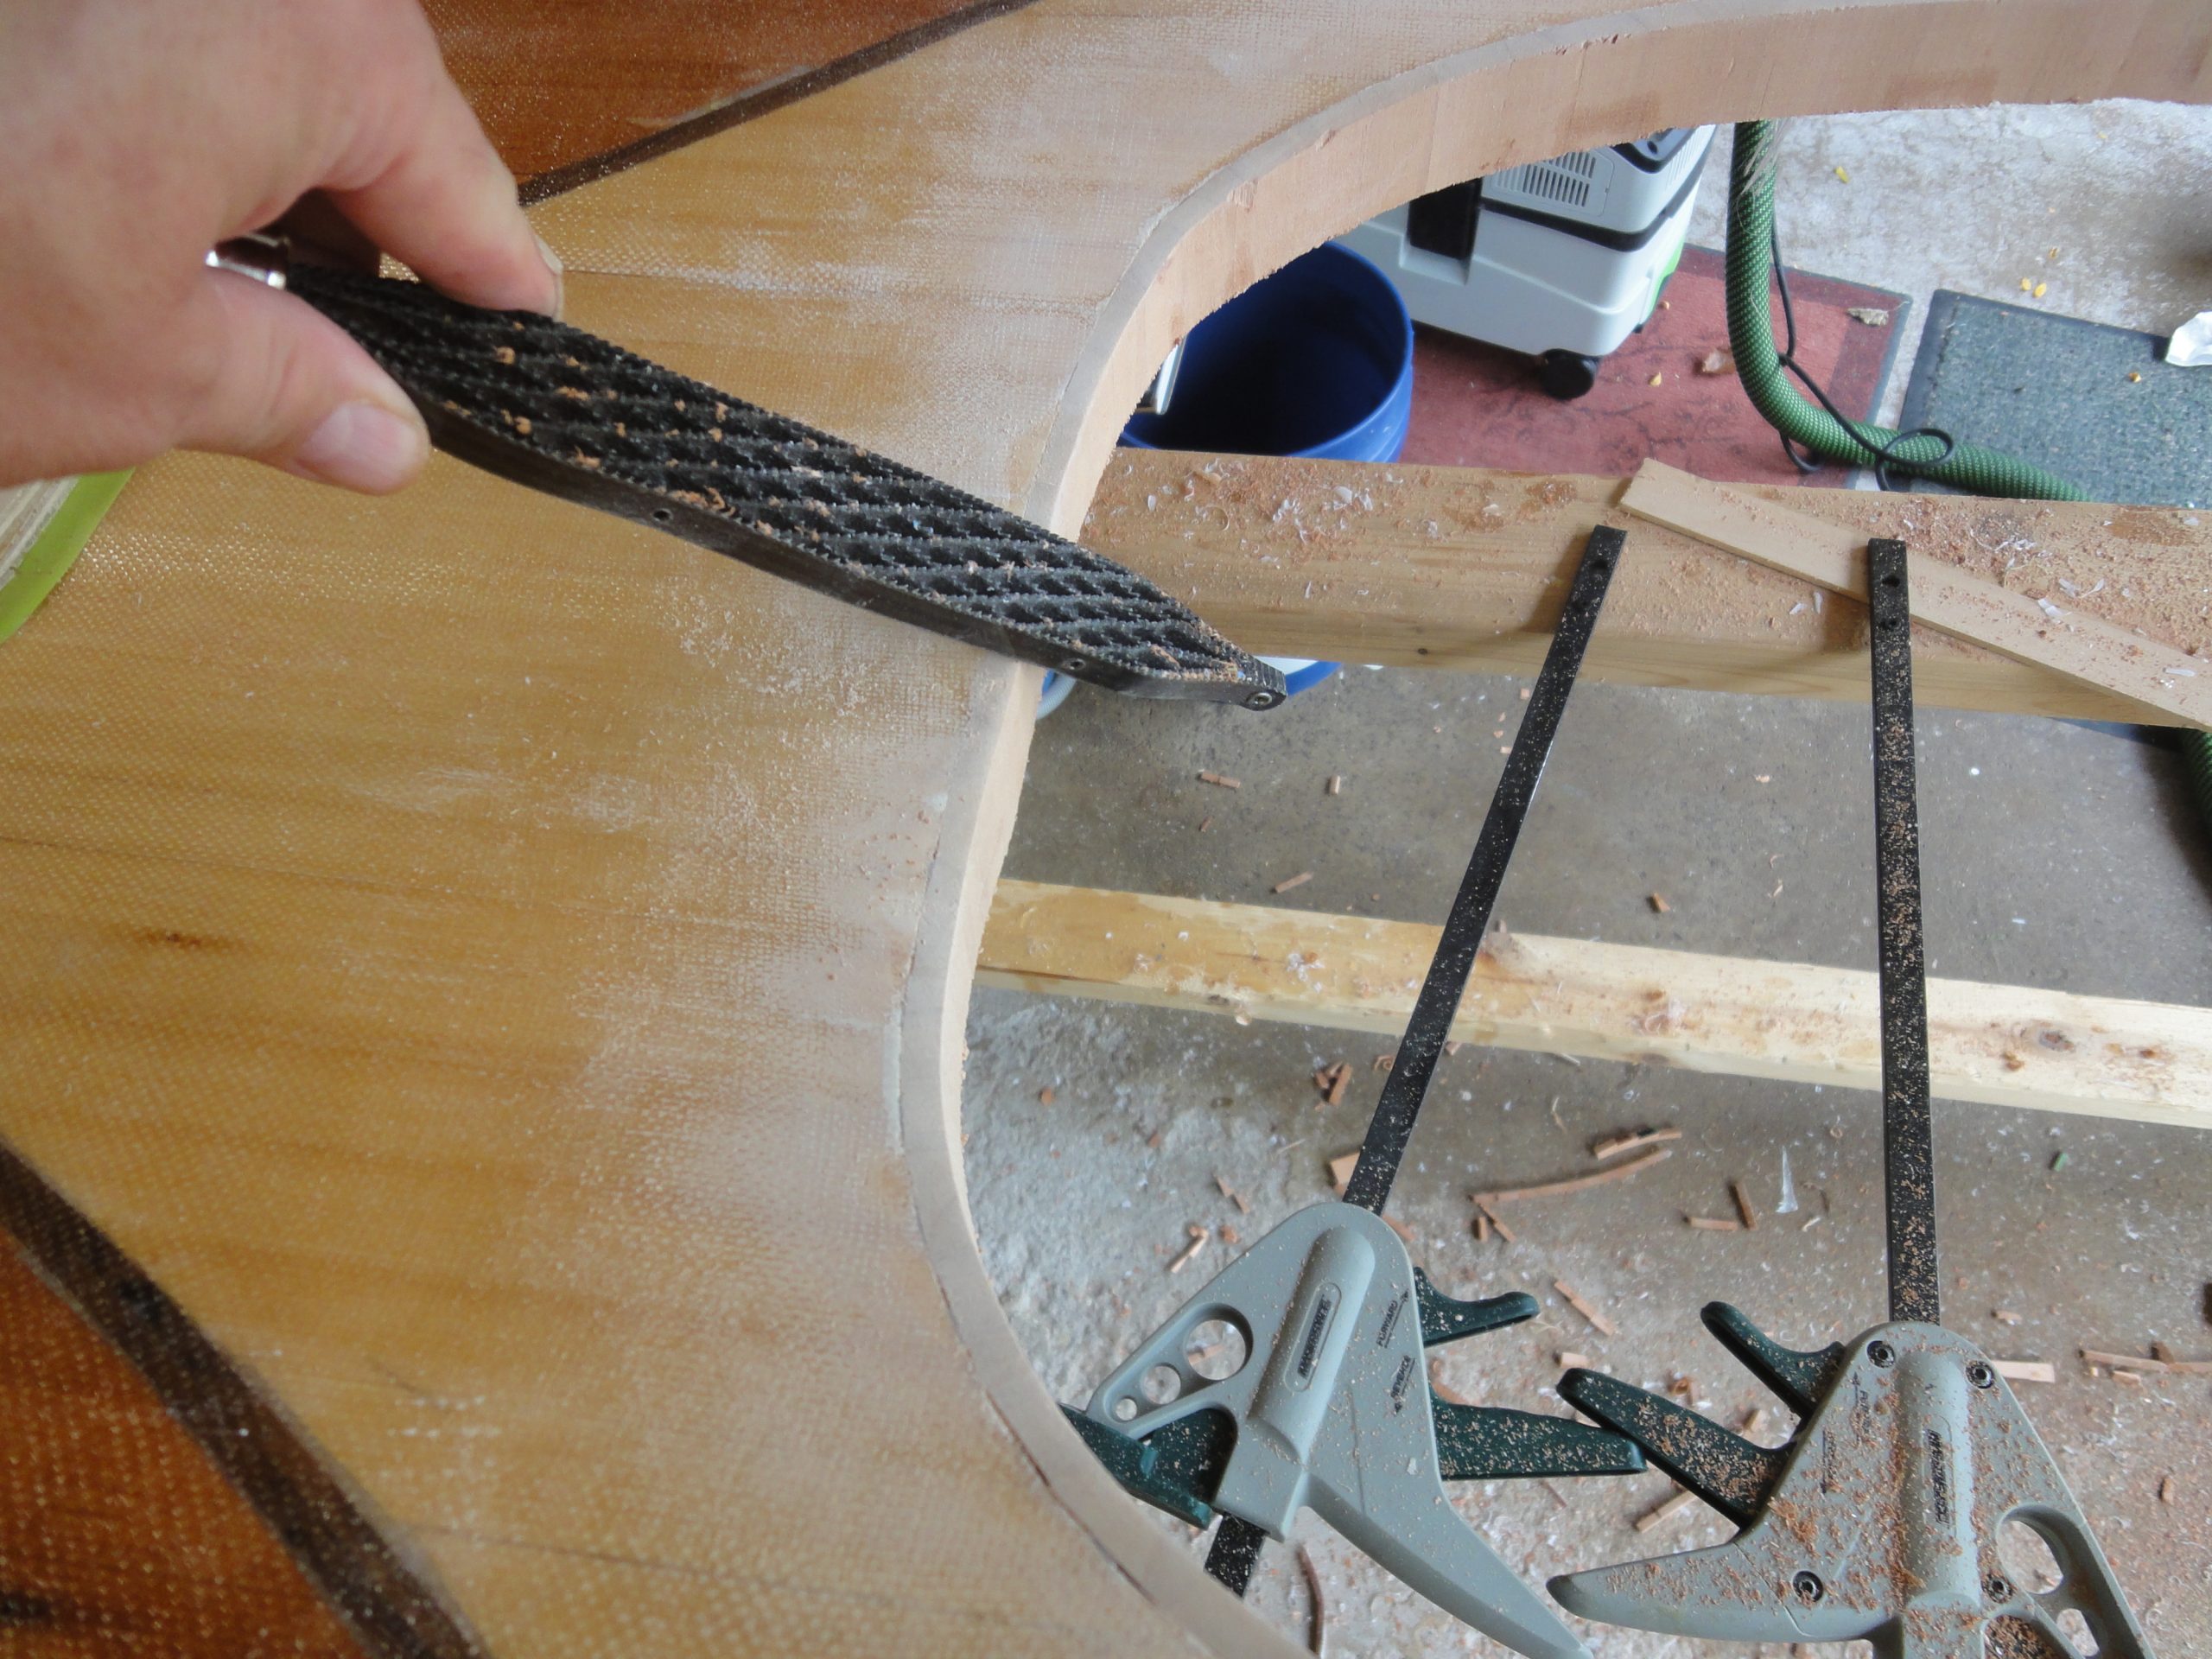
The corner is a sharp 90 degree angle which will not feel nice if you bump it, risk a scrape or minor injury if/when an underwater exit is required and most of all the fiberglass doesn’t like hard angles so wrapping it around this will be difficult. So, again with the rasp I rounded it over. I considered a router with a round over bit which would work fine, but only for the underside. The top would still have to be done by hand. And when it comes down to it, by the time I get the router out, install the collet, insert the round over bit, run a few test cuts on some scrap to get the depth right and then do the cut… well it was faster to do it by hand. Literally took less than 5 minutes for the underside.
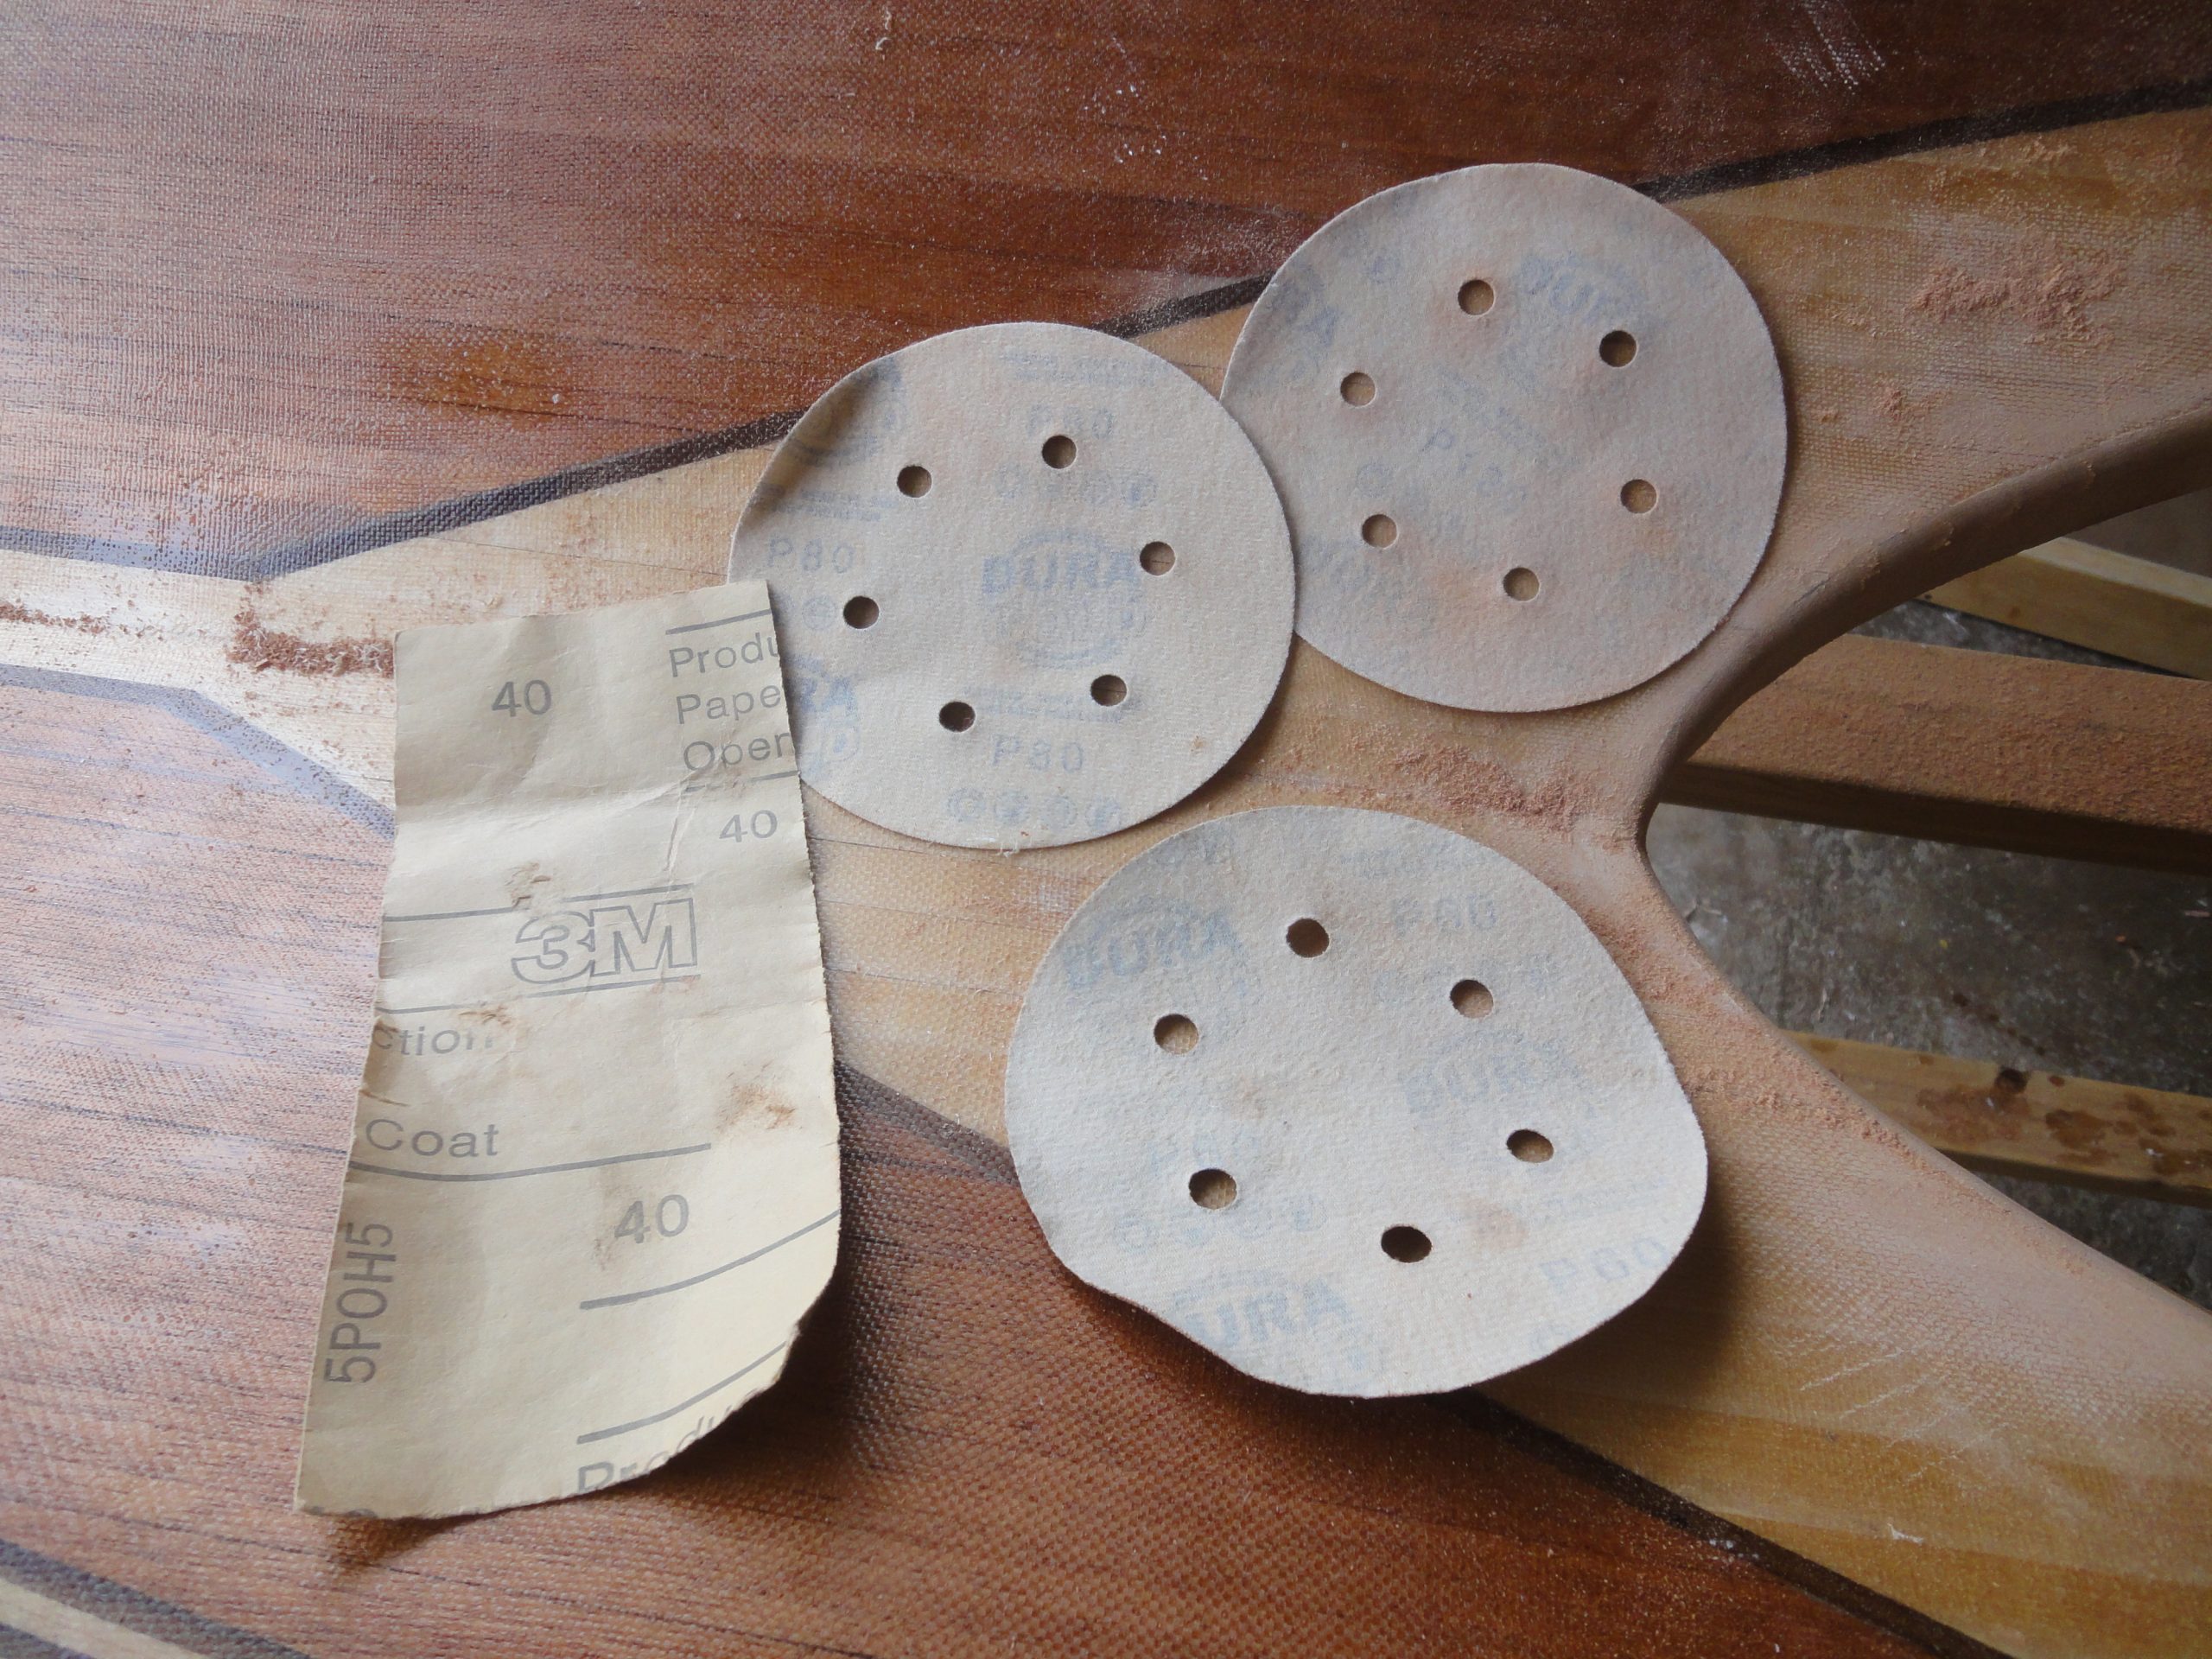
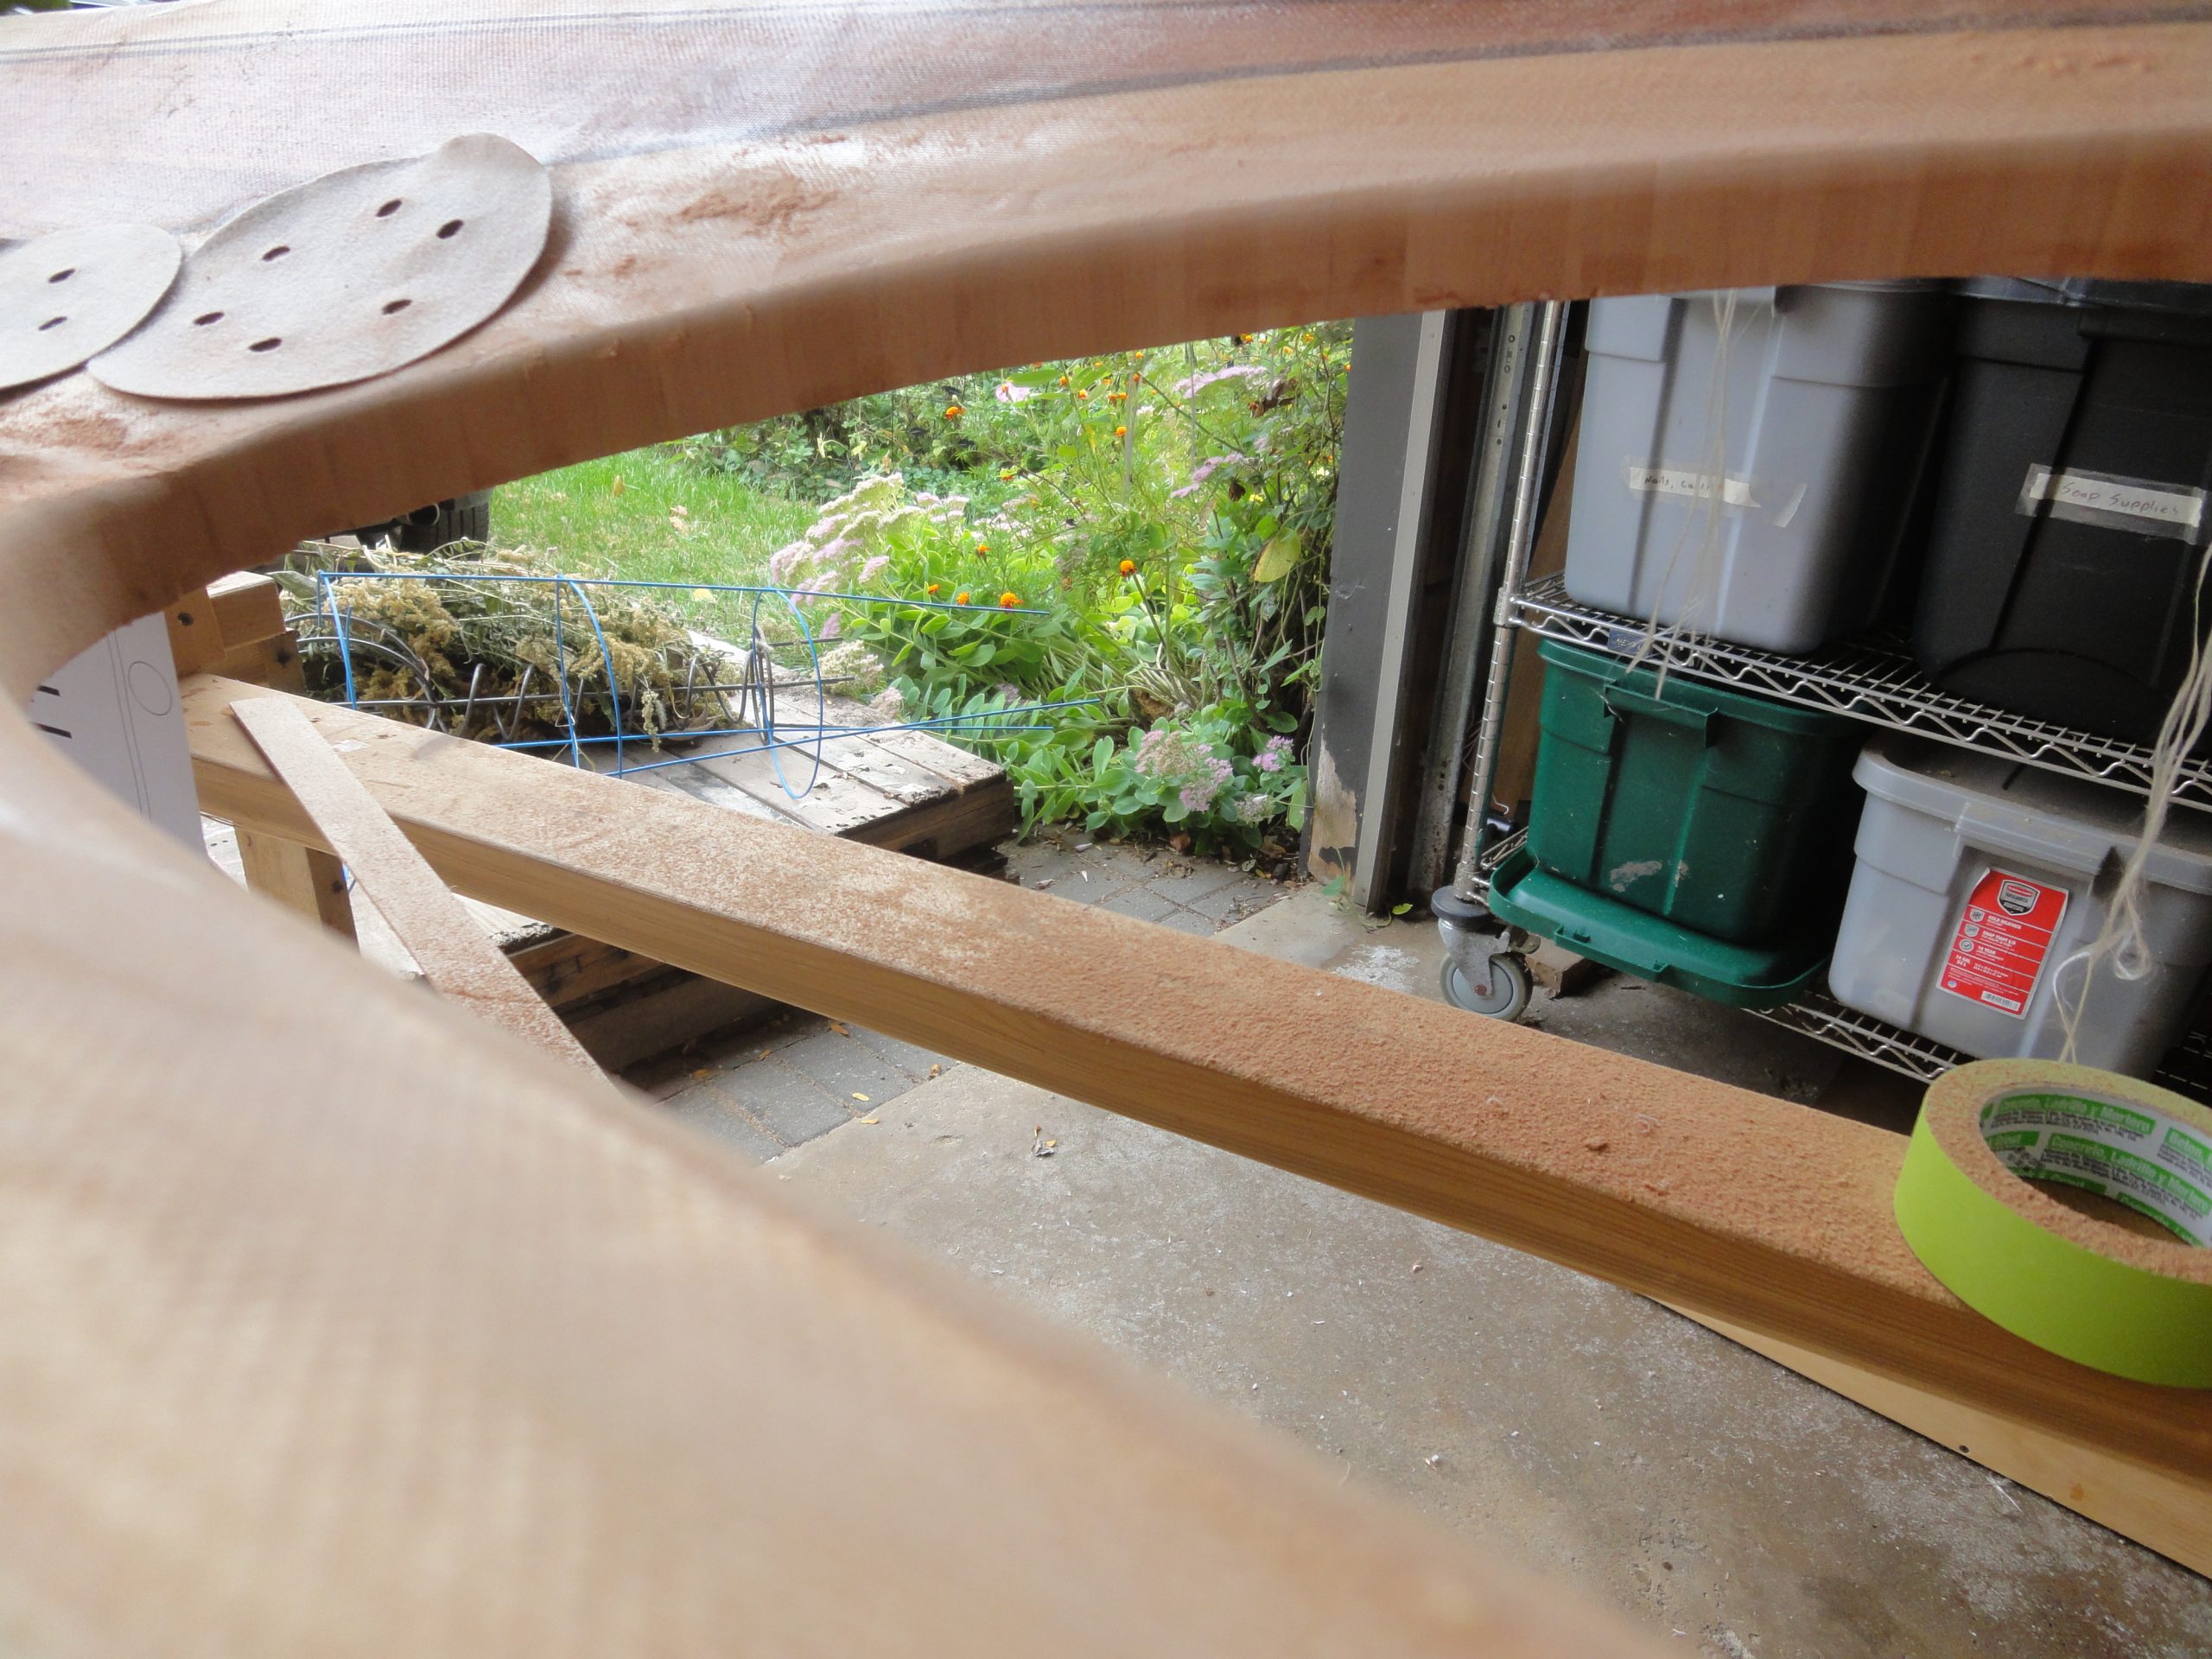
Once completed I used 40, 60, 80 and 120 grit sandpaper to smooth out the rasp marks. Some left over sanding disks from the random orbit worked just fine. The deck was flipped and a similar process was done on the inside of the lip. Moving to the outside lip I’ve got an upper and a lower portion. The upper is pretty easy to do and I started by taking a few passes with the block plane and then finished up with sanding. I can’t get the block plane on the lower part and the rasp didn’t really fit either. So I used a scraper to take the corner off and then once again ran through the four grits on all three rounded corners of the upper lip.

I actually bounced back and forth between the hatch and the coaming. As one glue up was drying I’d go work on the other part. So the above and the following steps were actually somewhat intertwined in execution.
The hatch was cut out the other day but now I need to construct a lip in the deck to hold the hatch in place. There are various methods, some involving twist cam locks, others just held in place with bungie cord. Most plastic kayaks have a screw on lid or a stretch fit rubber cover that goes over the opening. While all are valid, I want to keep my kayak mostly wood in appearance so that eliminates some options. The bungie cord would be fine but I’m hoping to keep the deck somewhat clear. So I researched alternatives.
What I settled on is to hold it on with magnets. Using rare earth magnets, which are very strong, the hatch cover should easily stay in place even if the kayak is upside down and has “stuff” sitting on the lid. To make this work I have to construct a lip to hold one half of the magnets and a seal that will keep out any little bit of water that splashes into the small gap between the hatch and deck. I looked at some examples out there and came up with a design that I believe will work well.
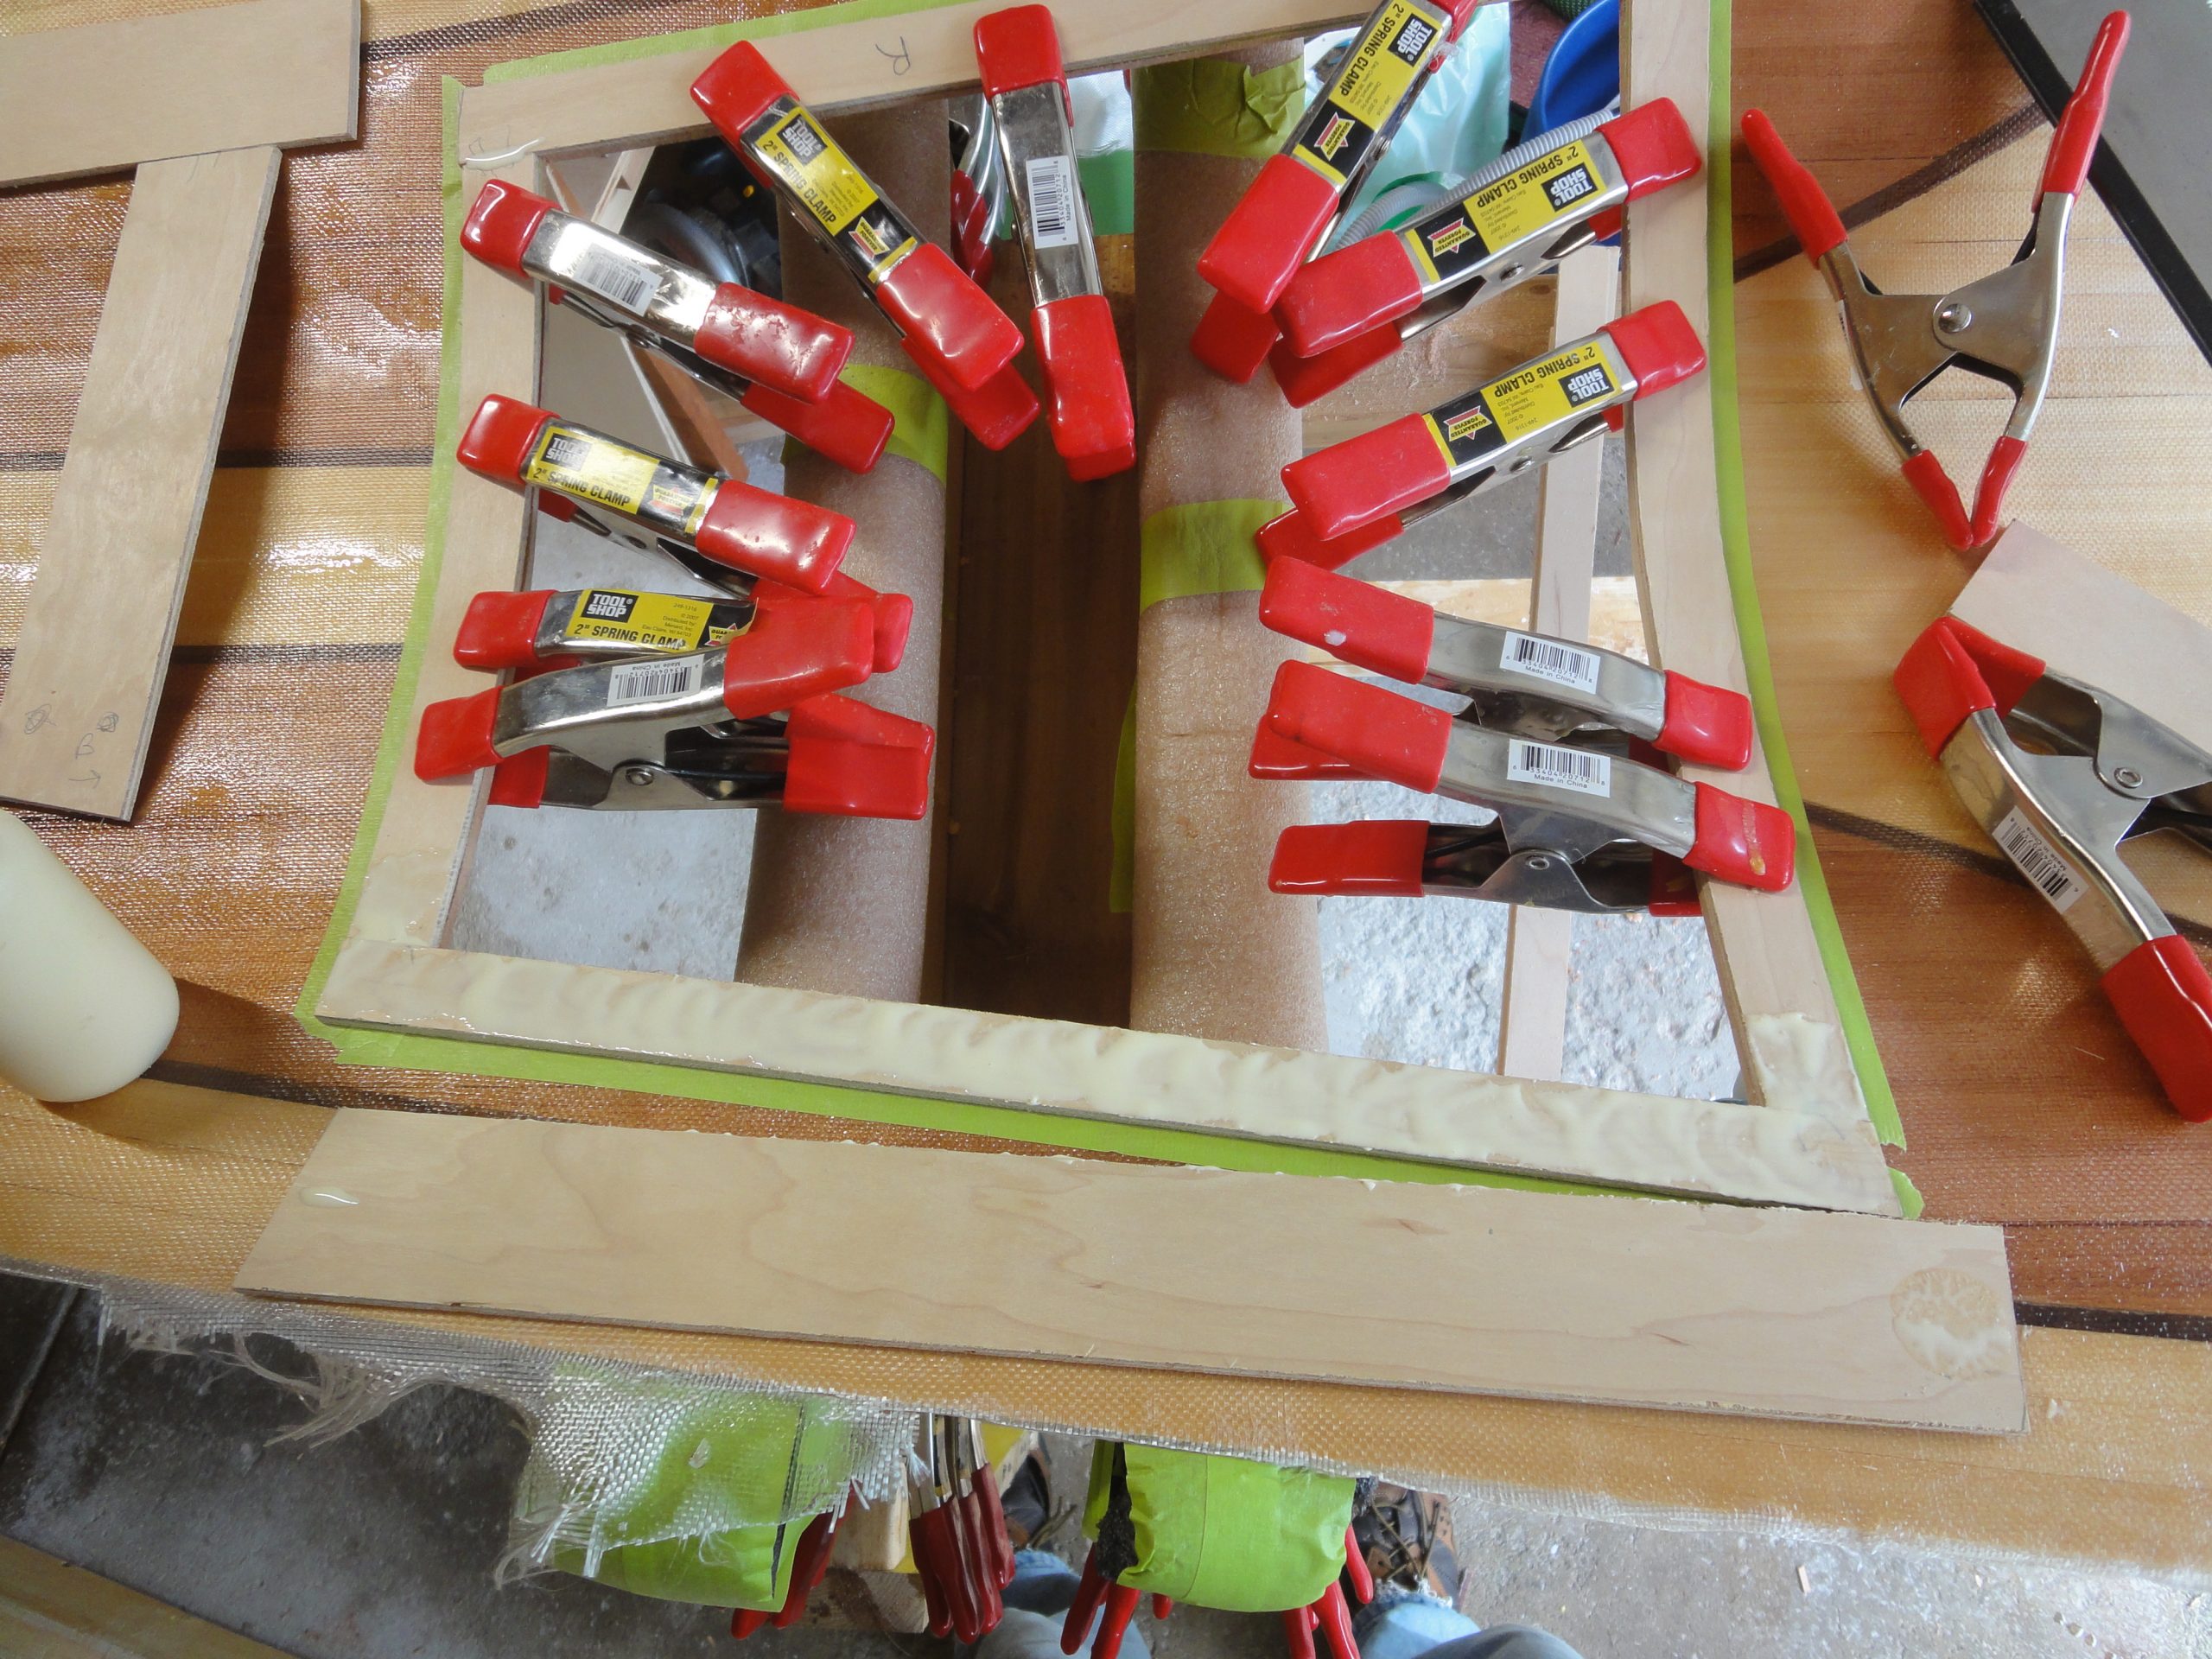
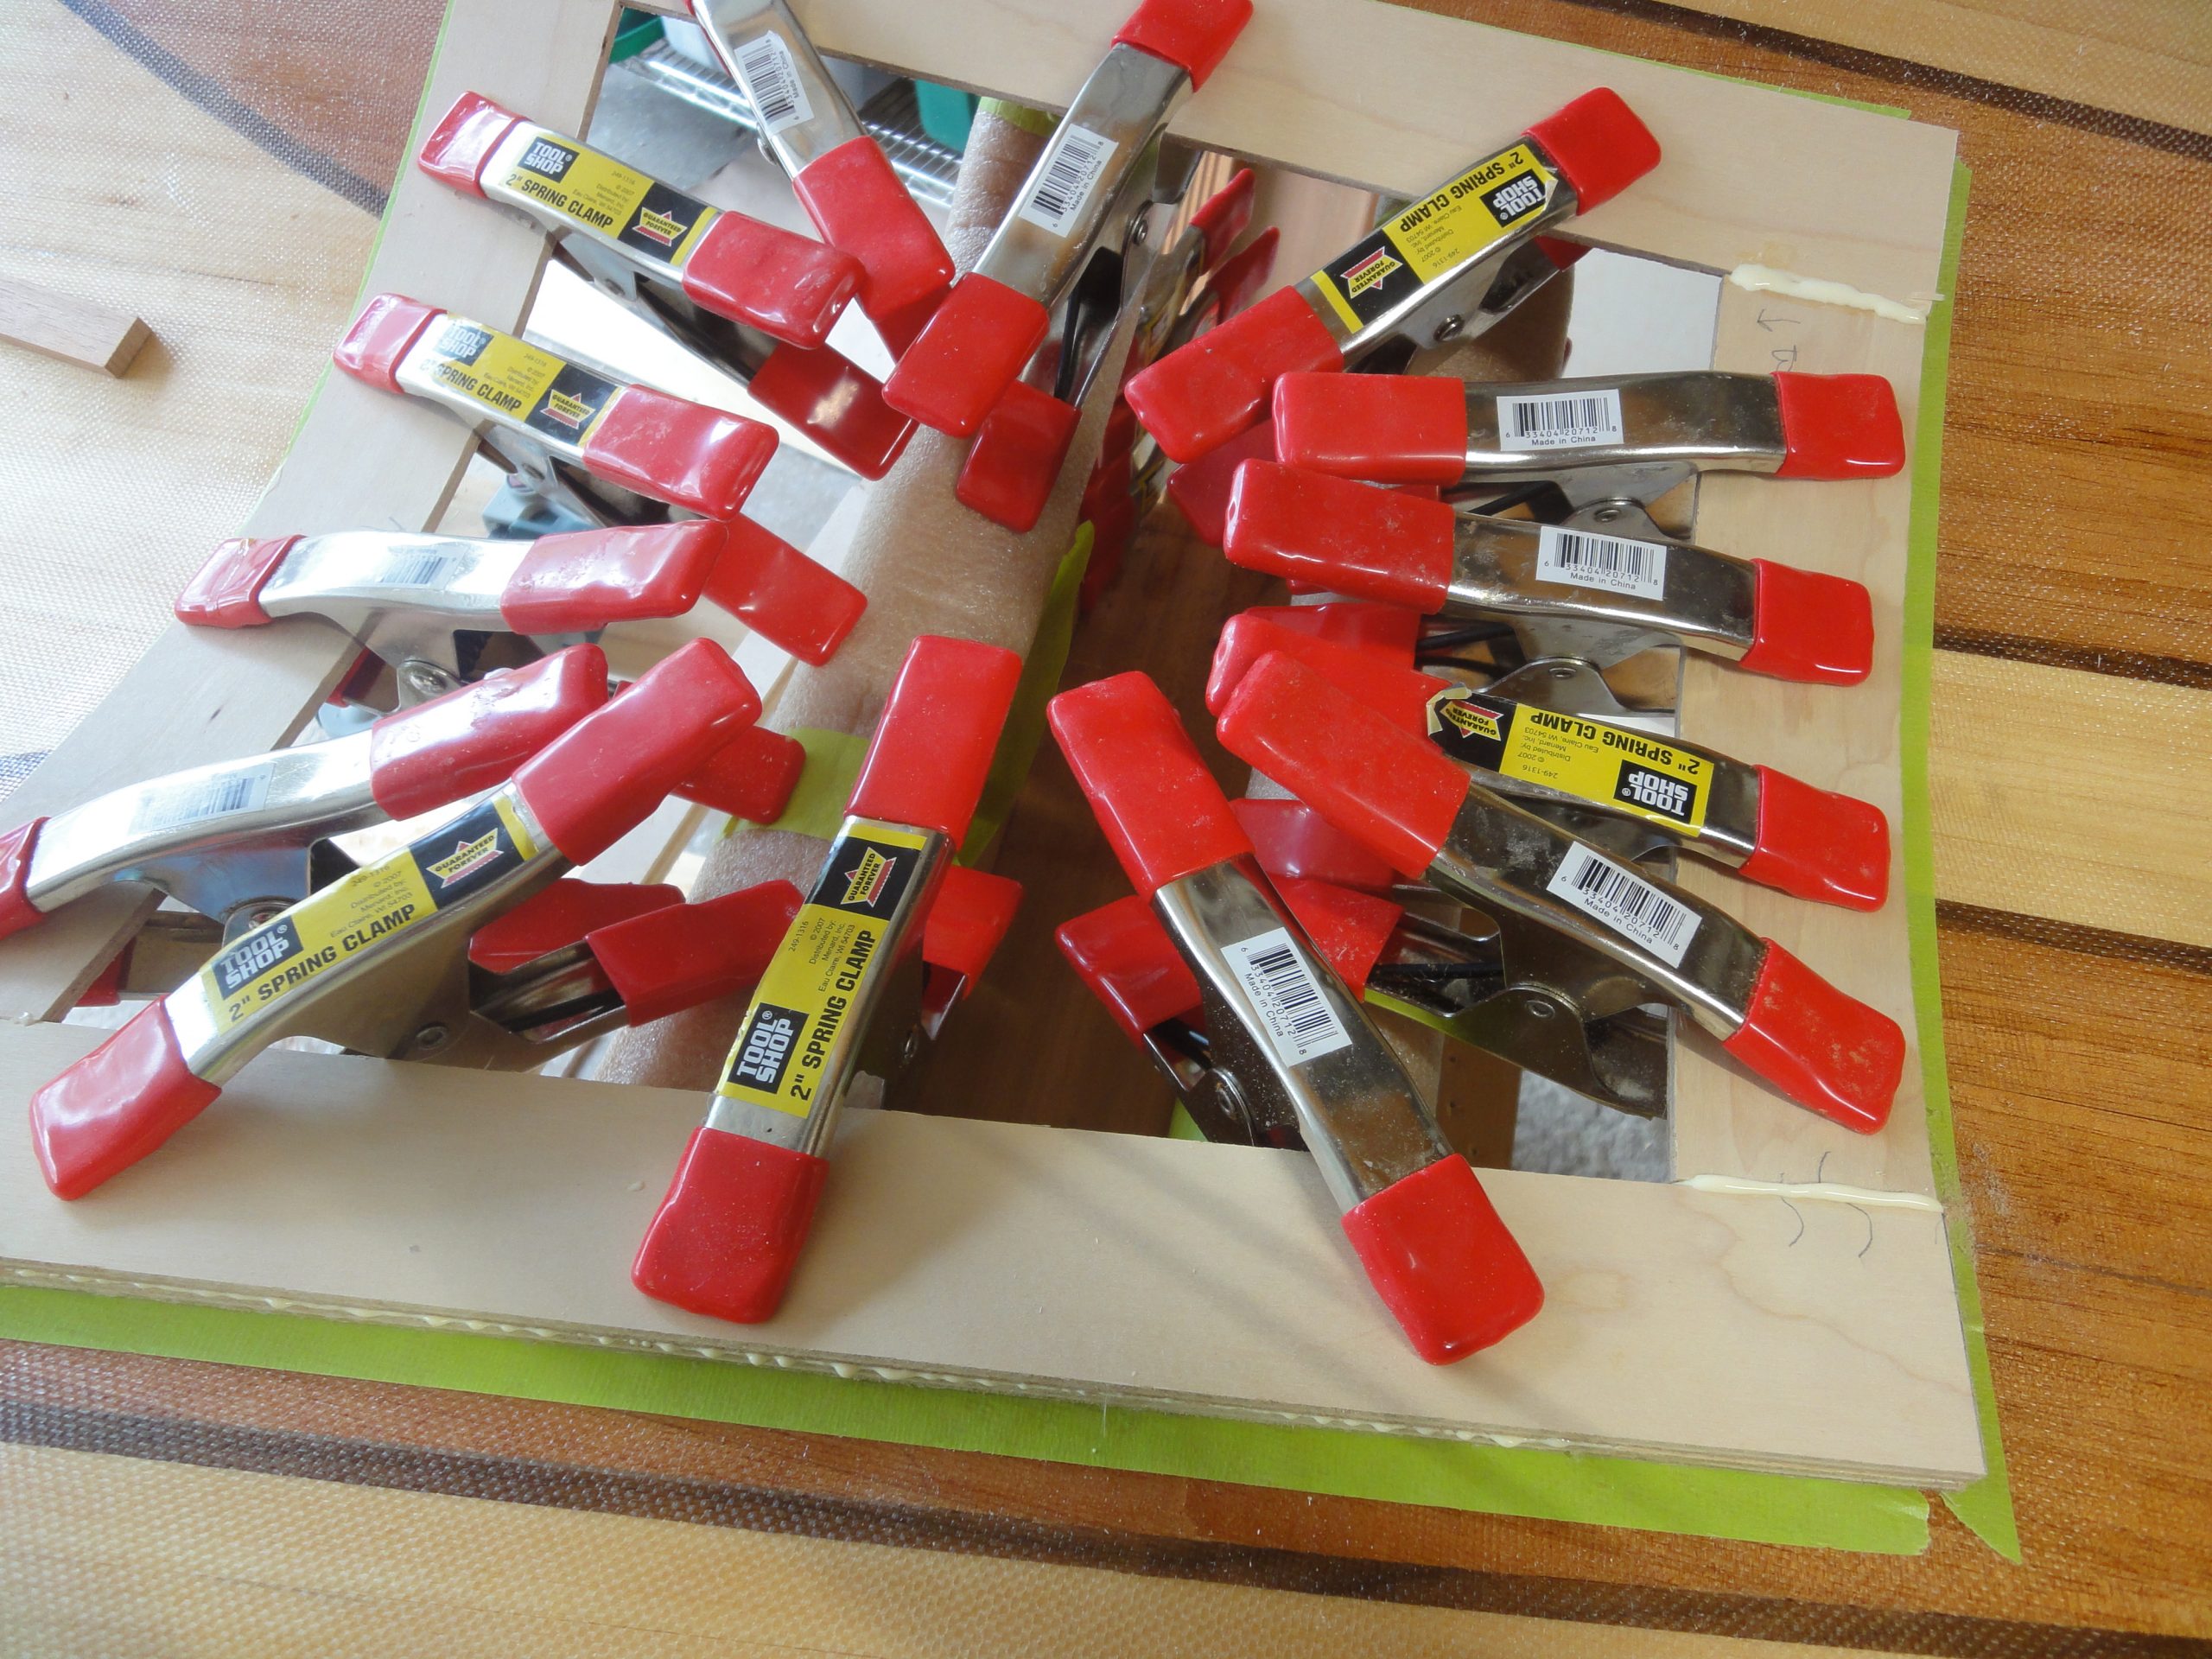
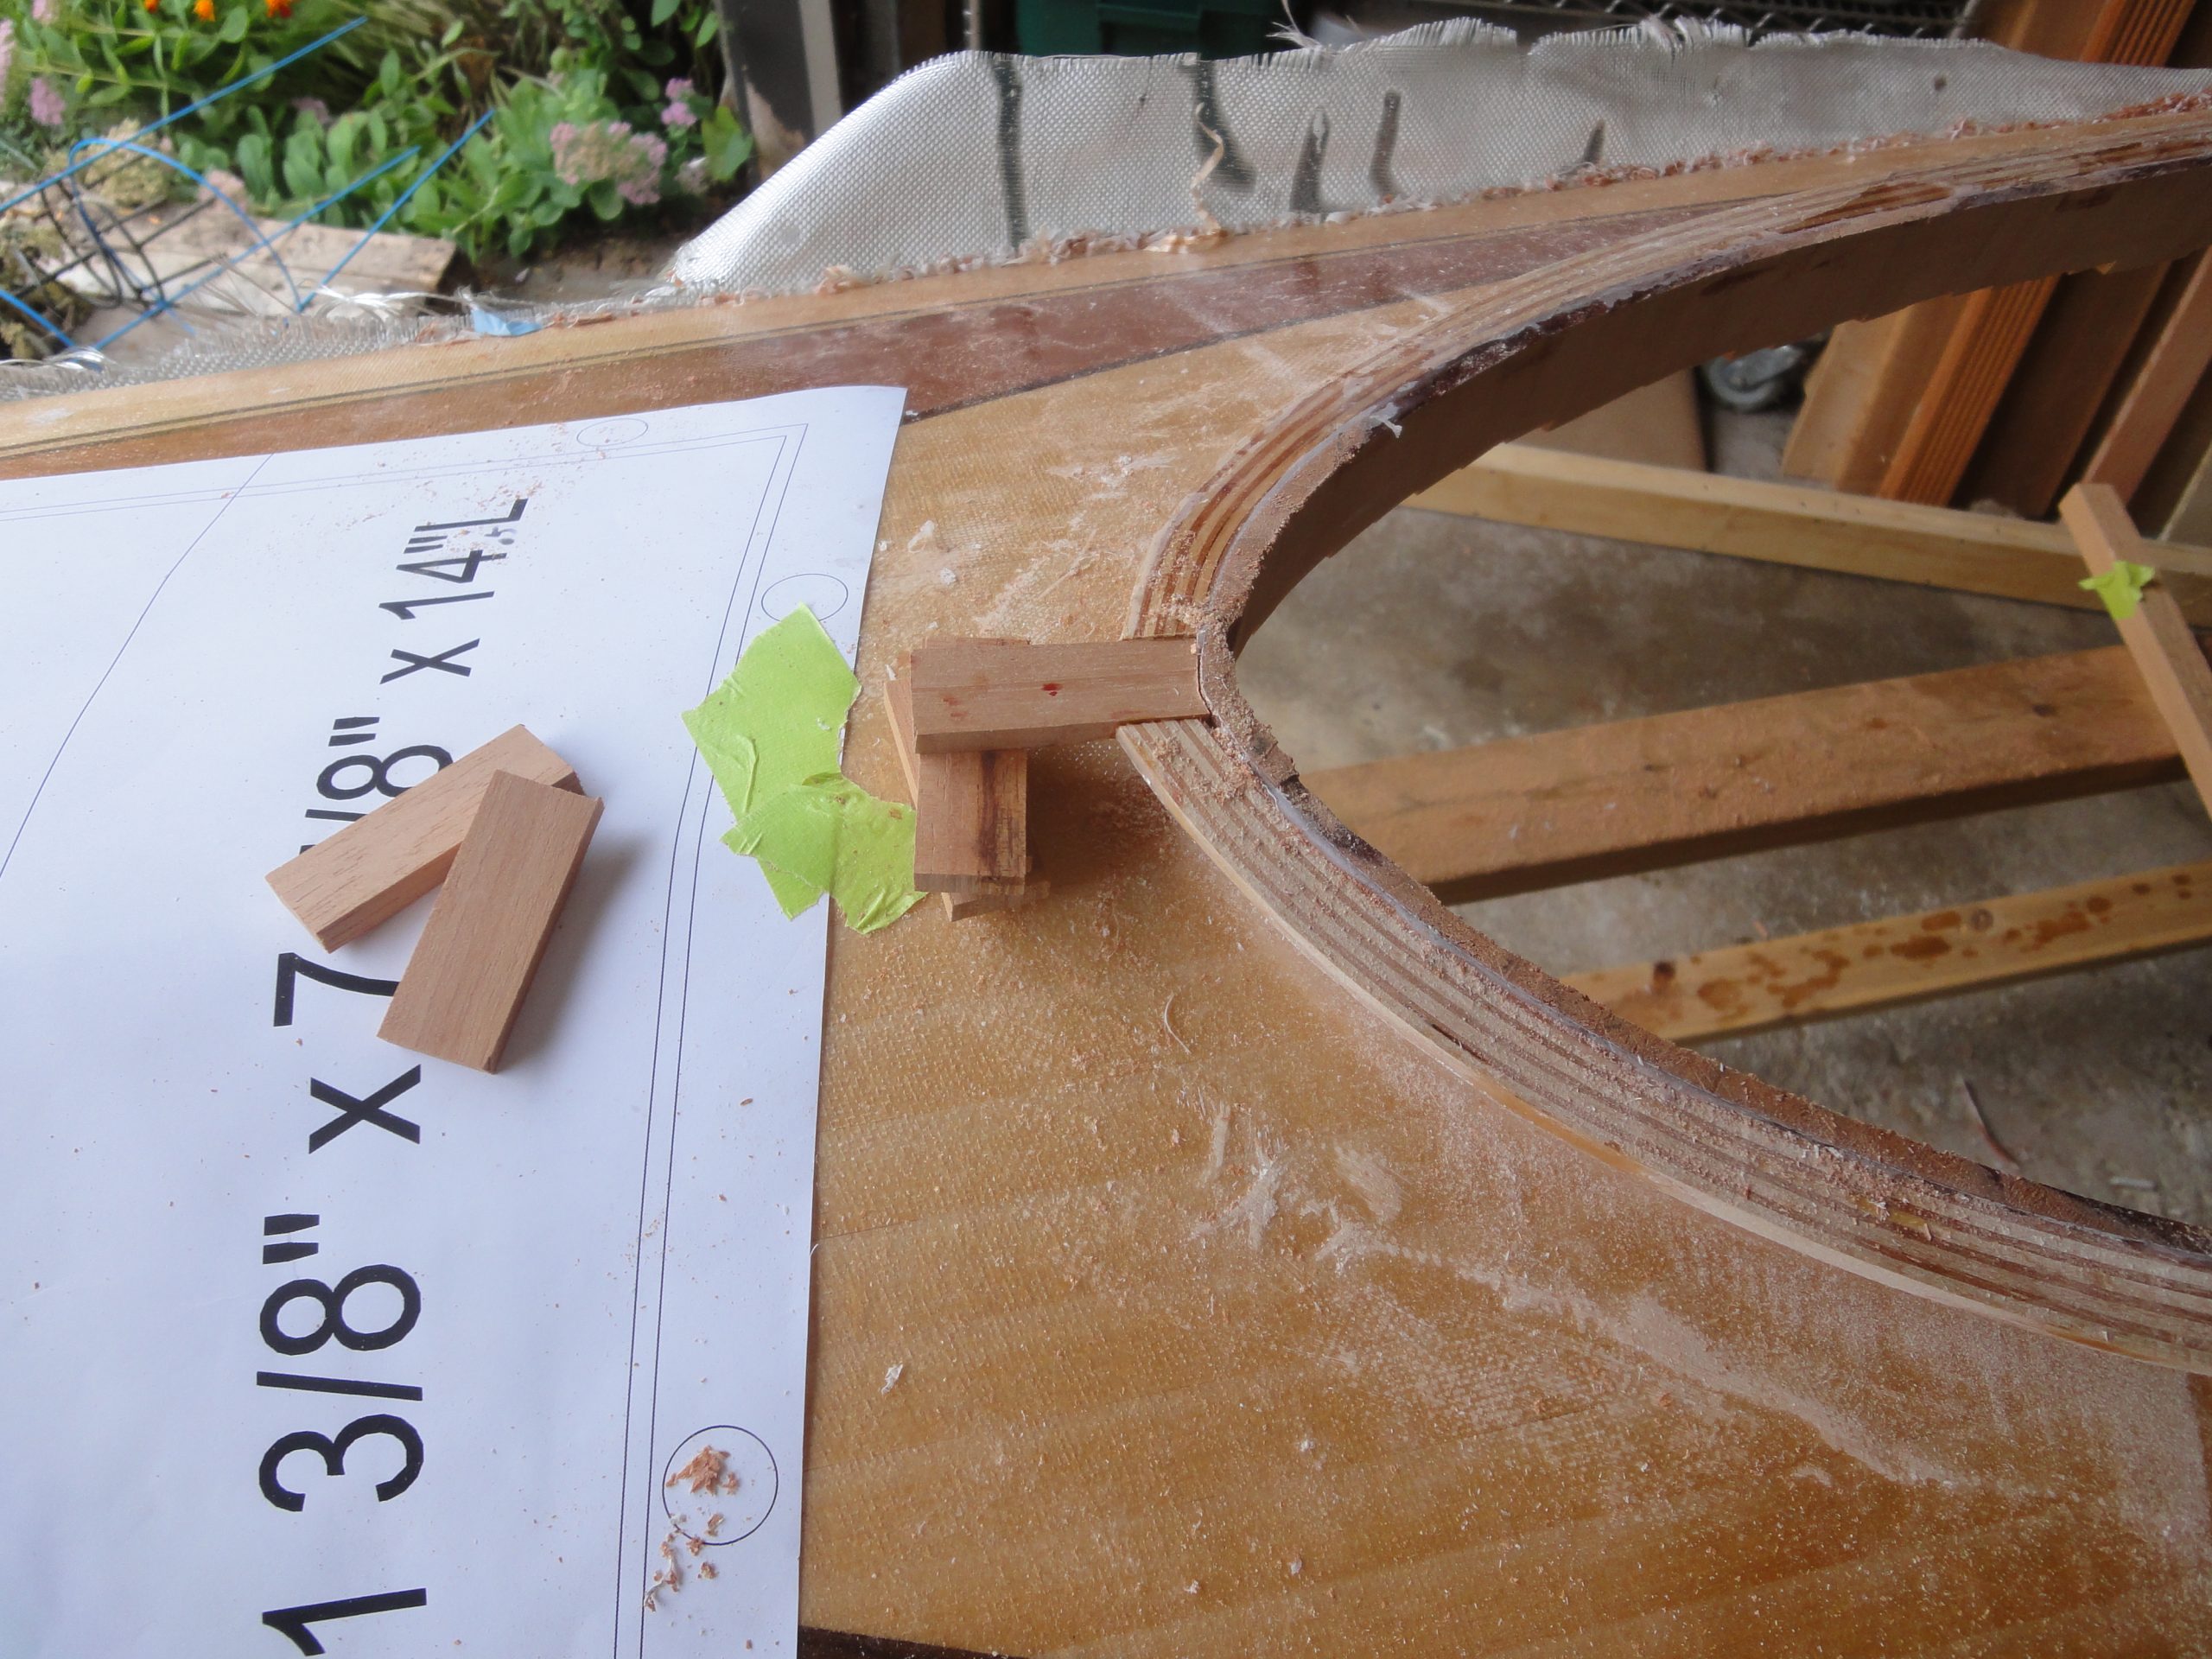
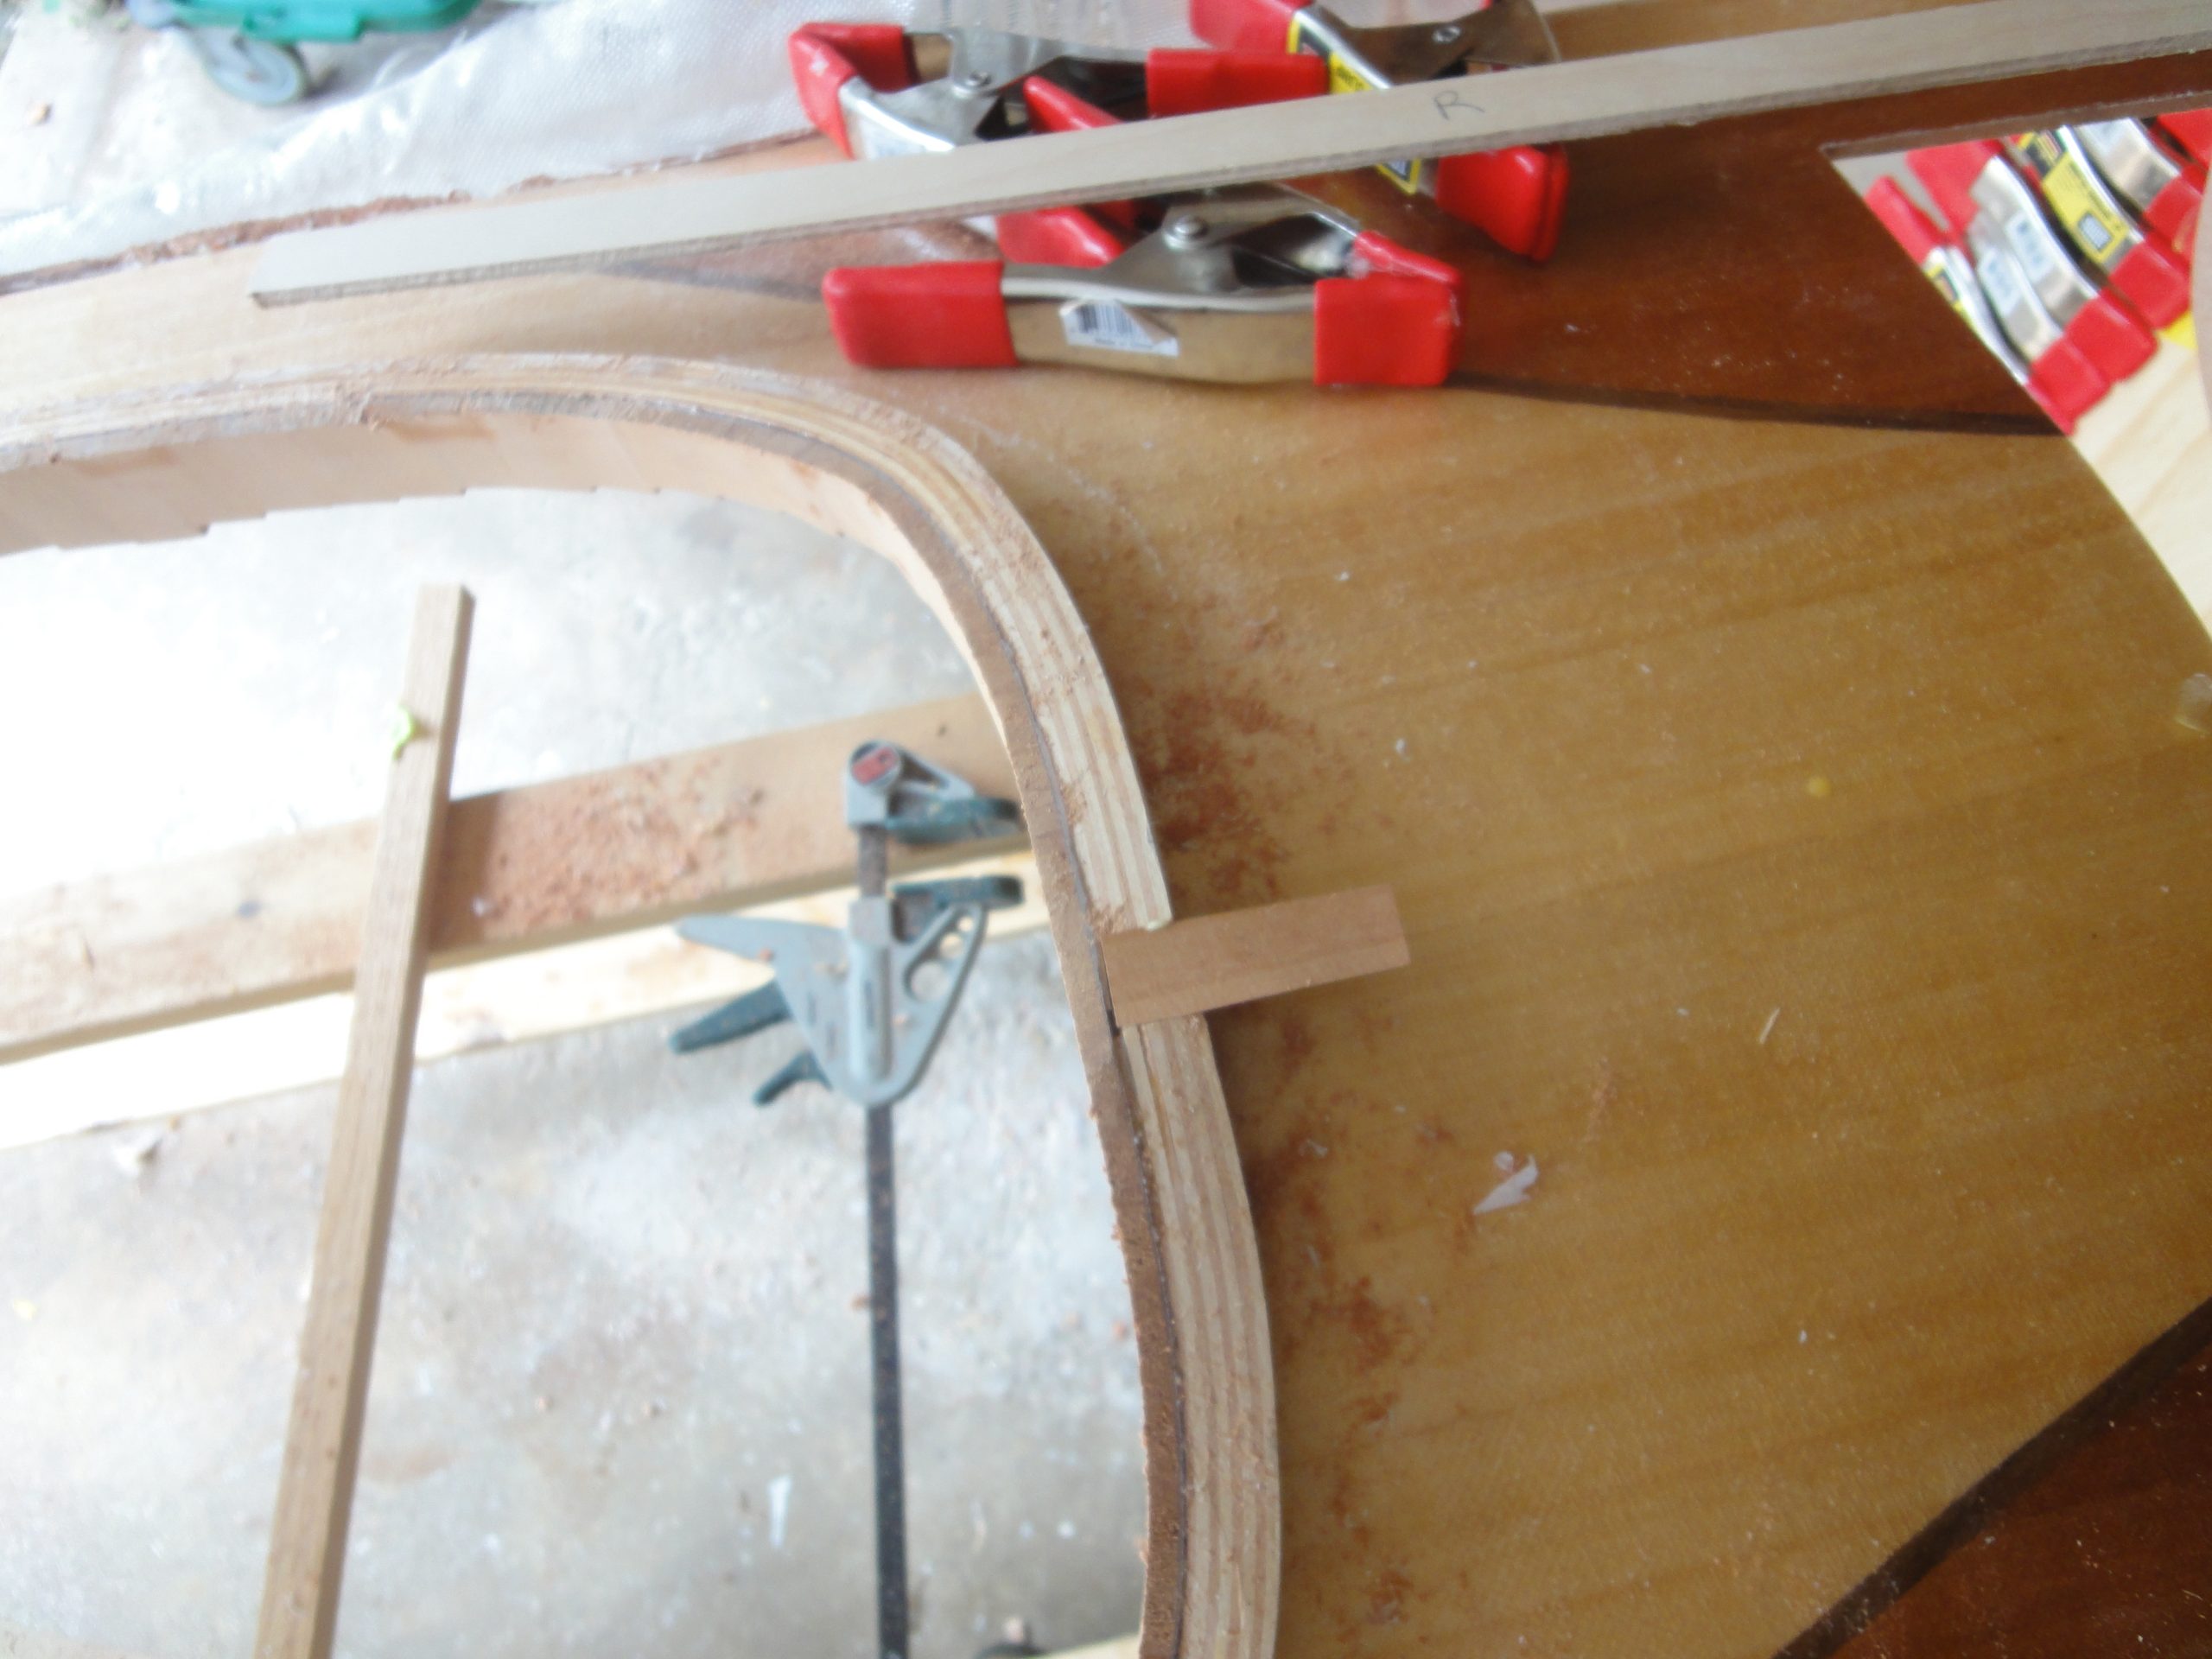
To start I got a 2′ x 2′ piece of plywood that is 1/4″ thick. I ripped four 2″ pieces and eight 1″ pieces. Four of the 1″ pieces were clamped to the underside of the deck and then trimmed so the fit nicely without overlapping.
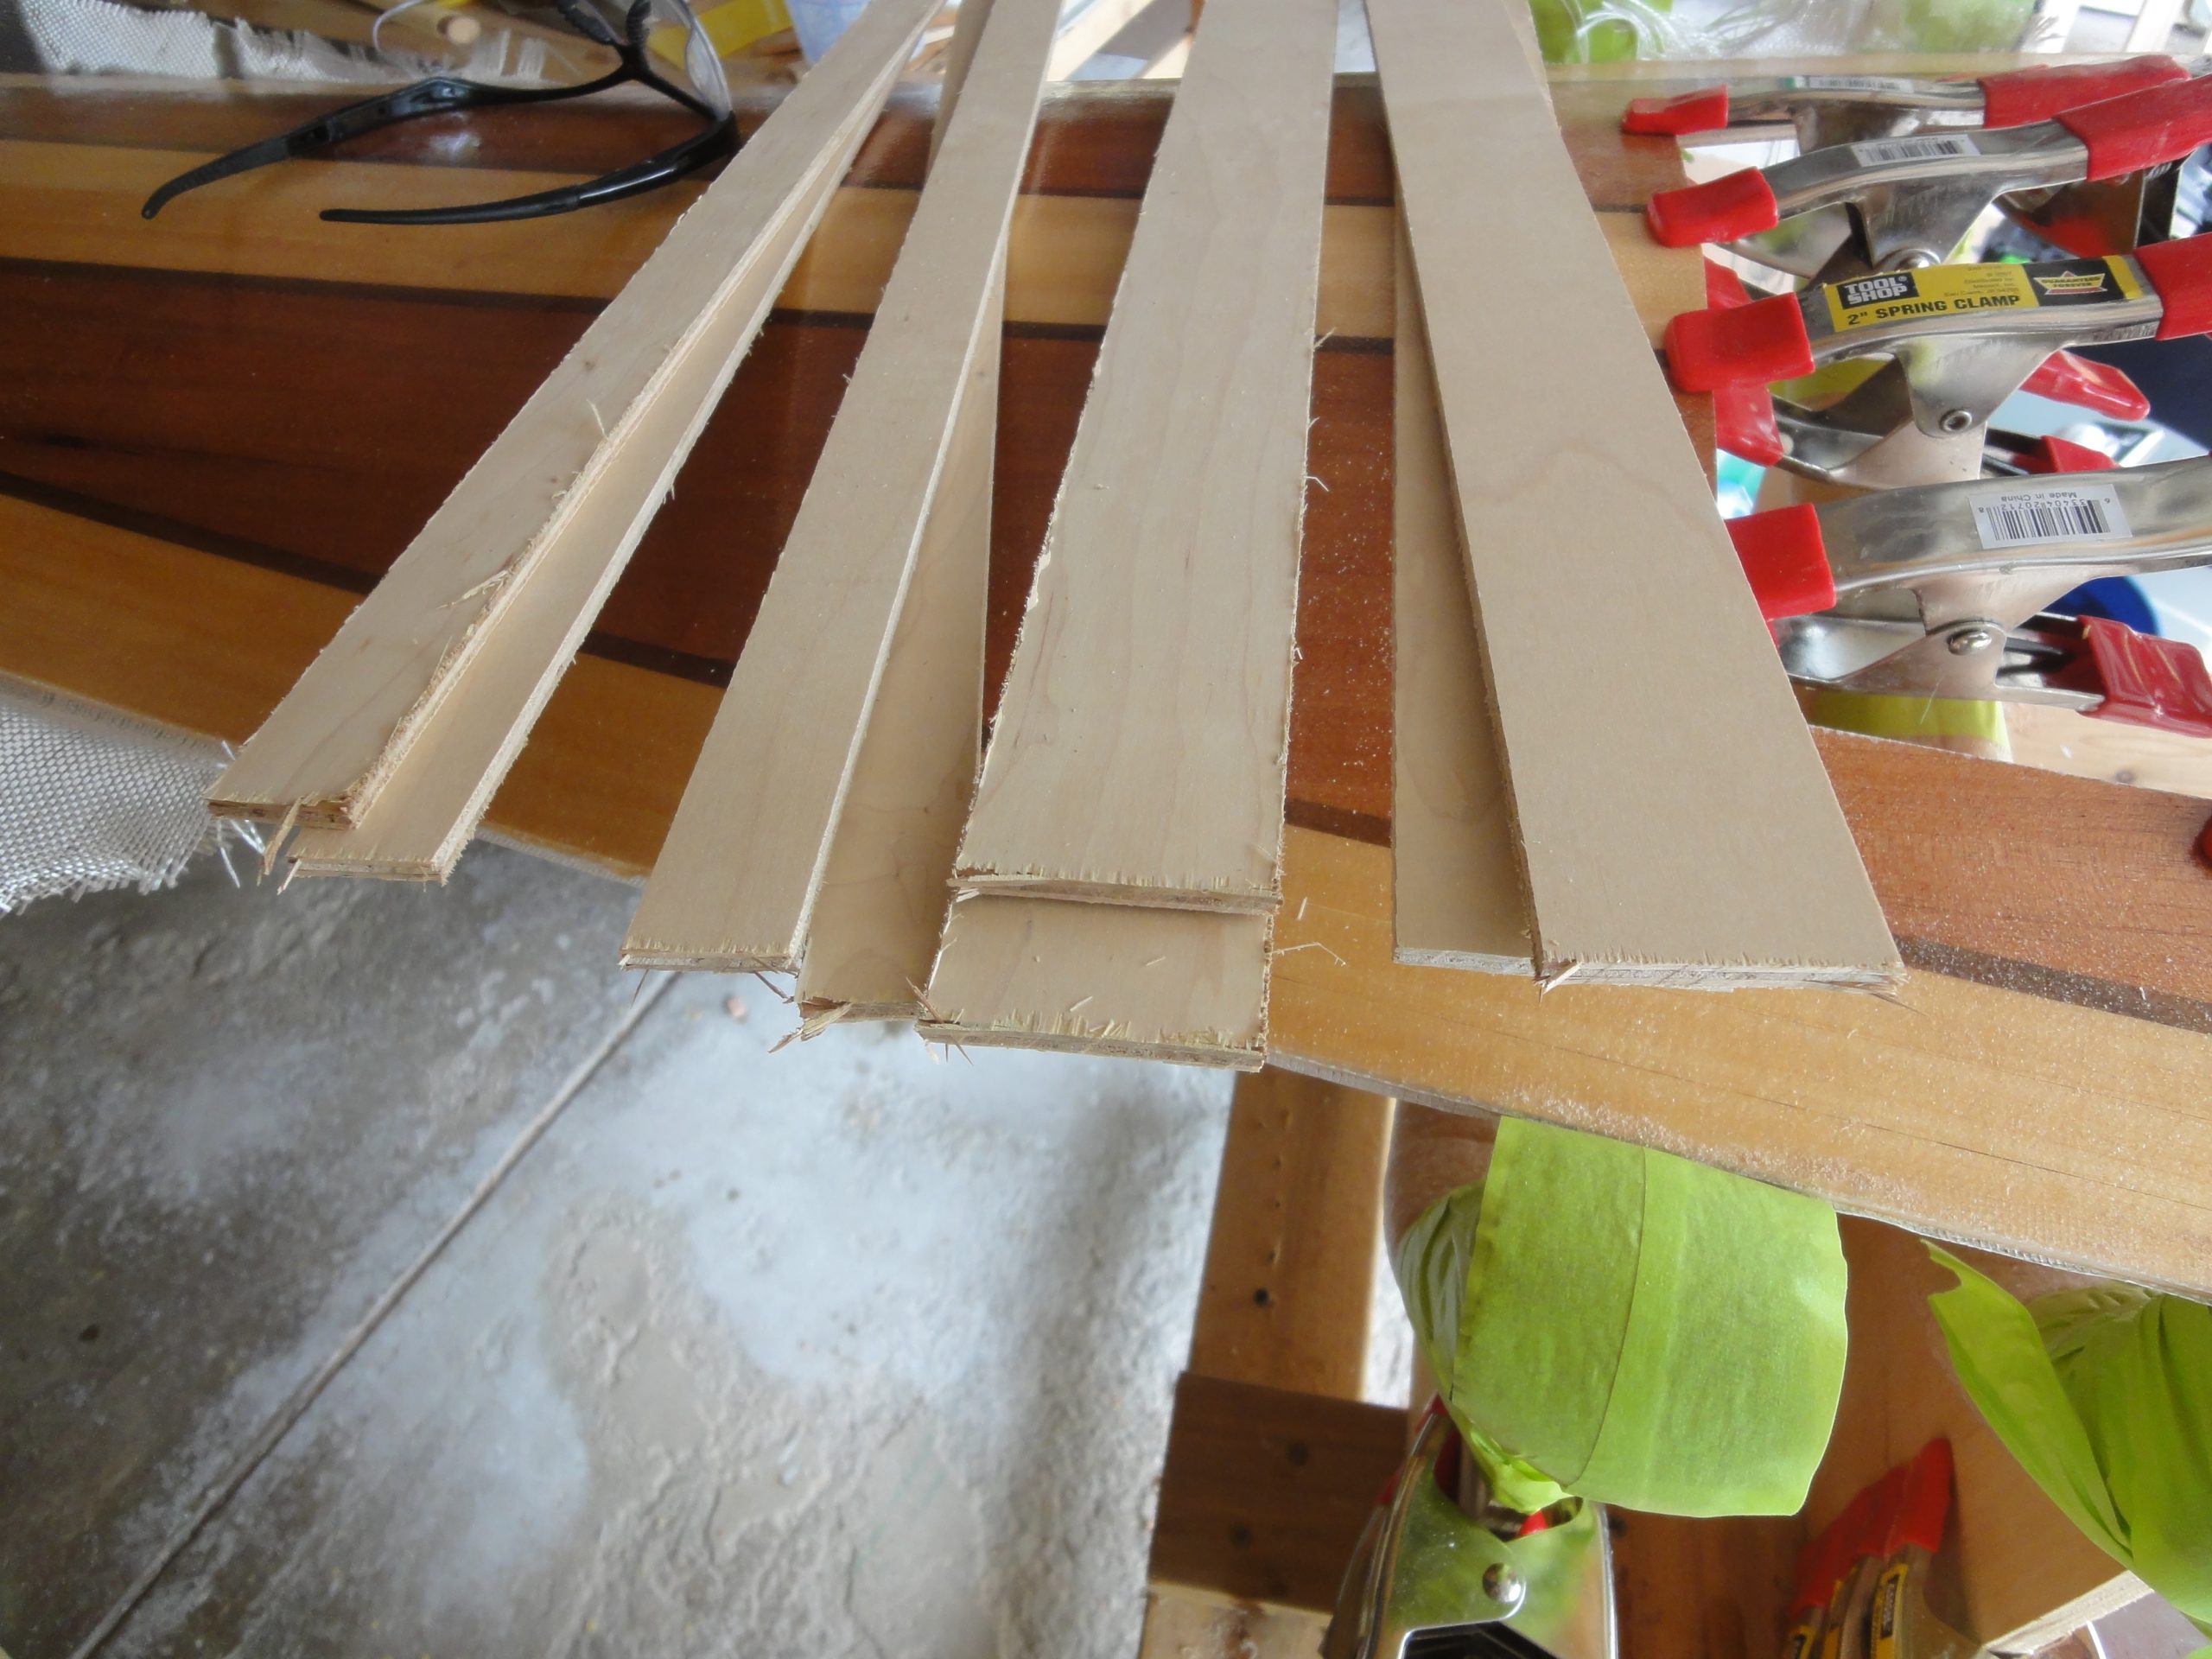
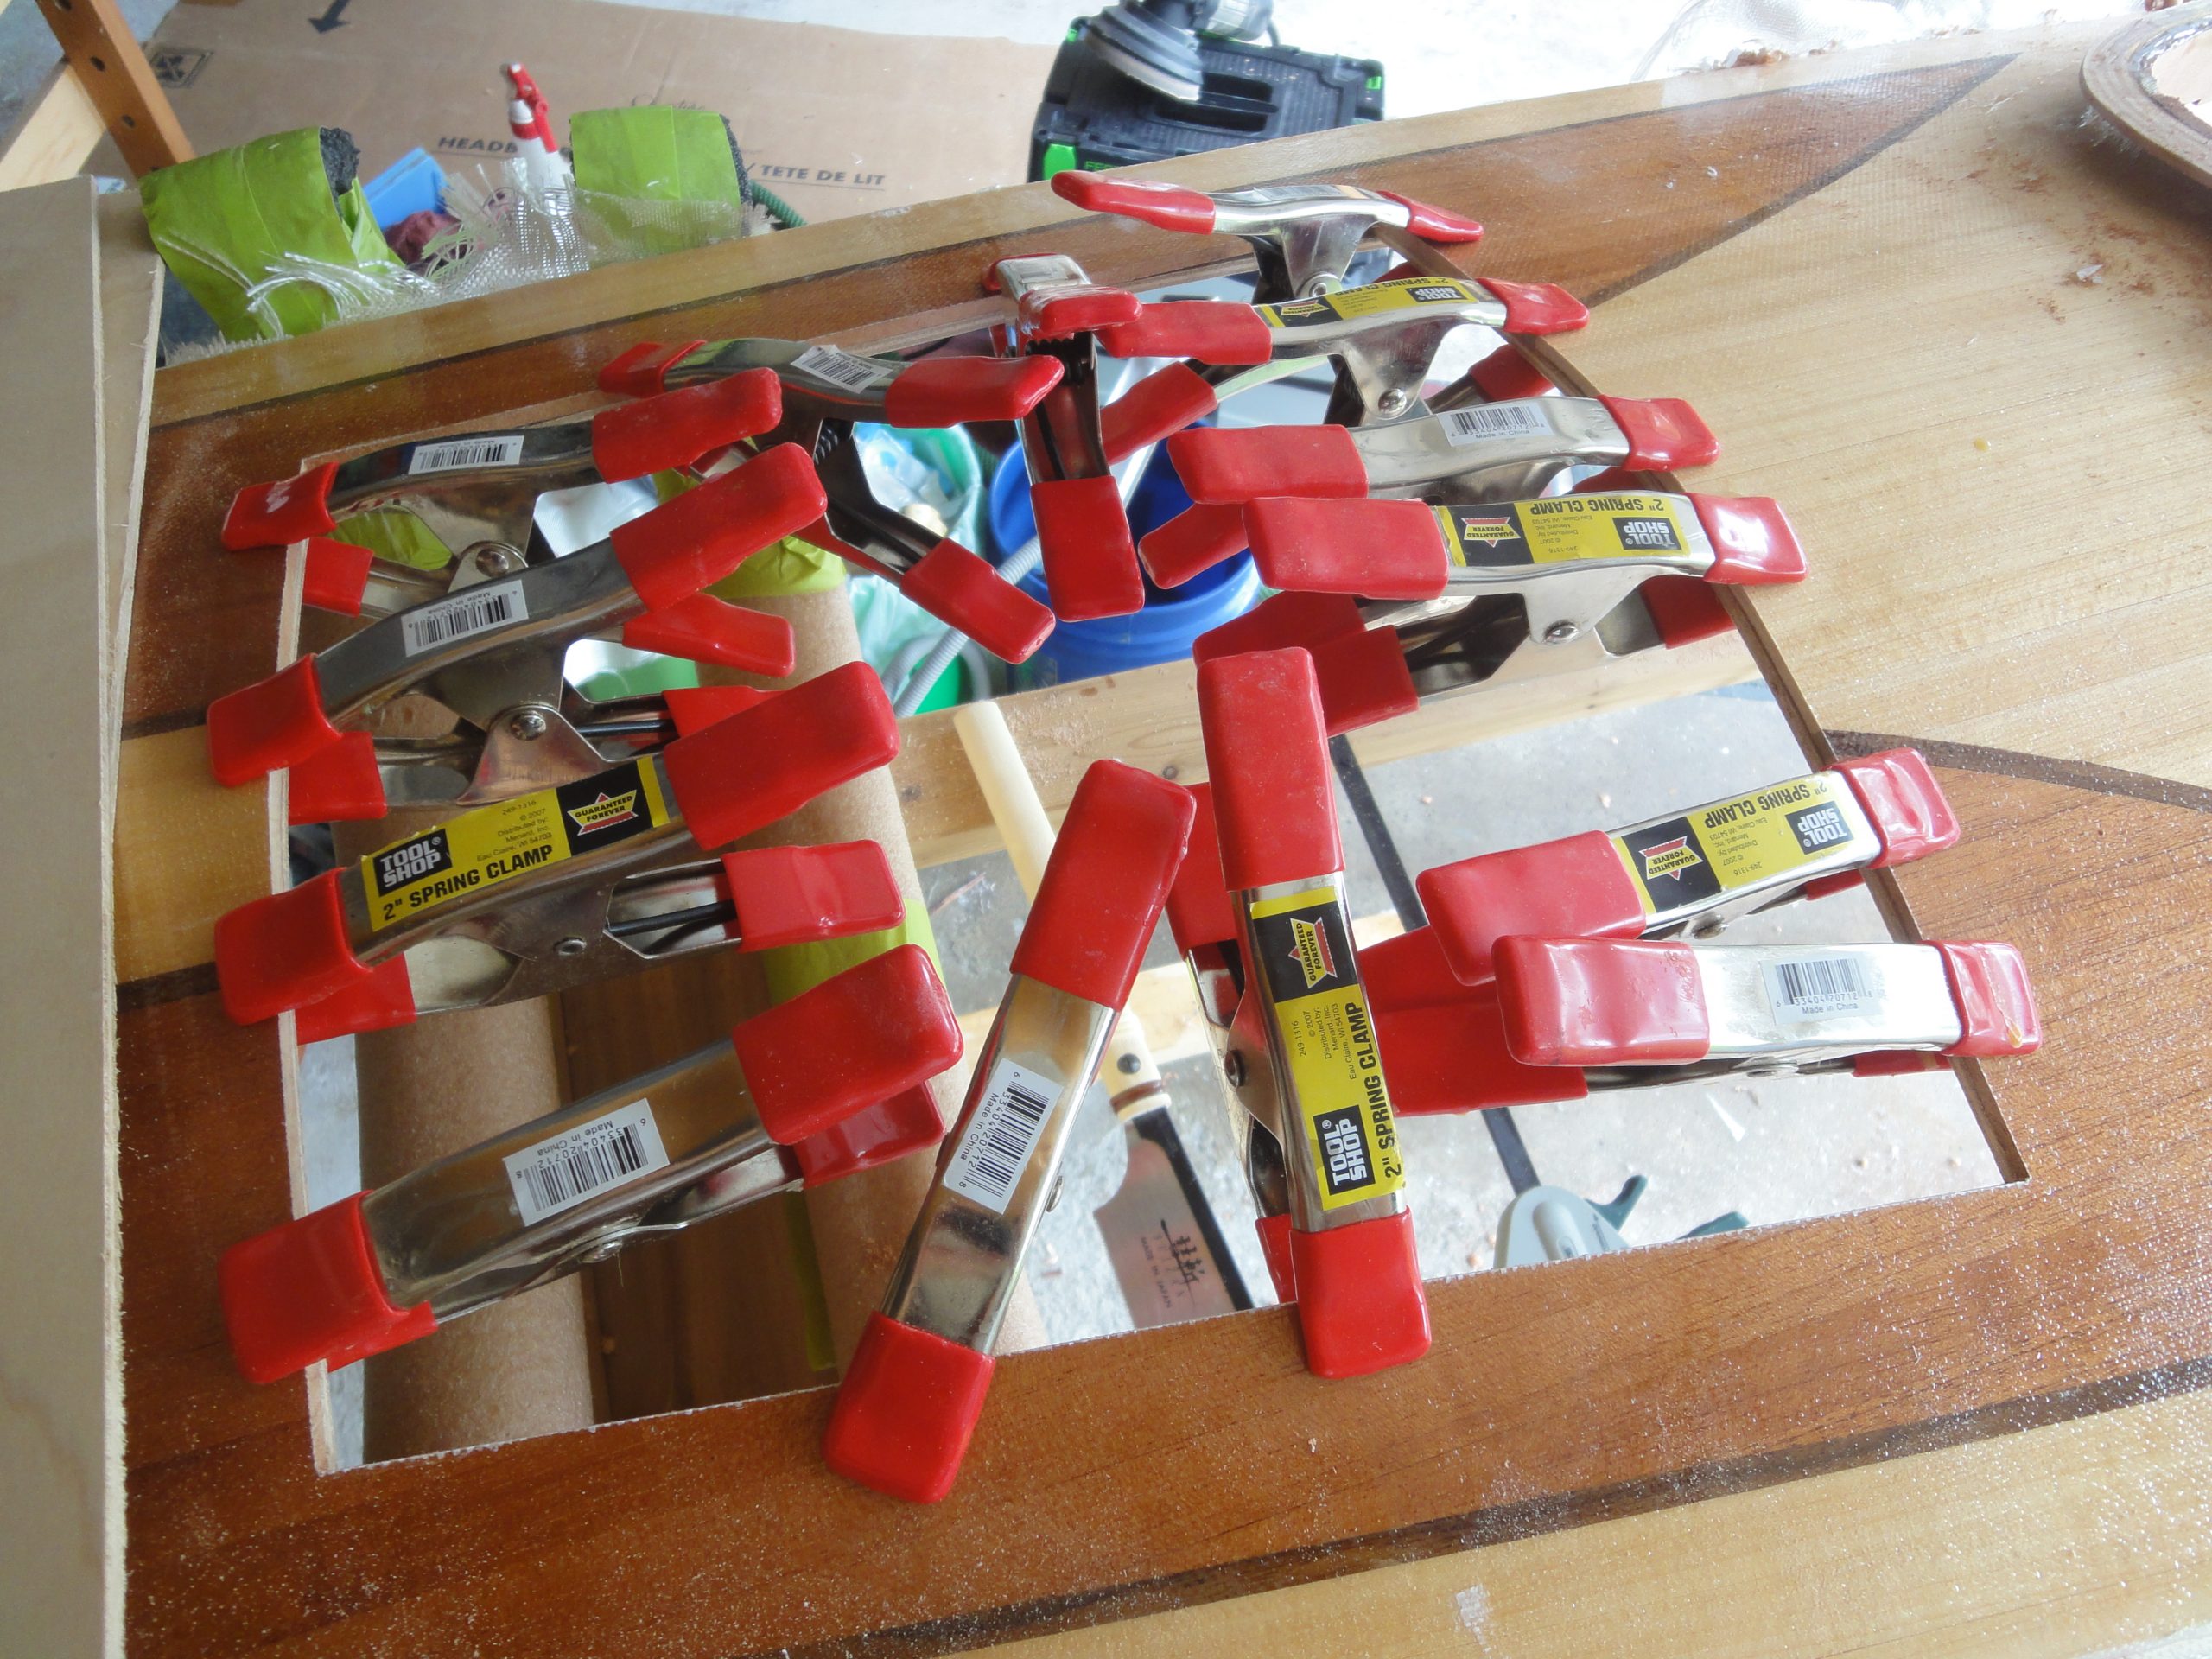
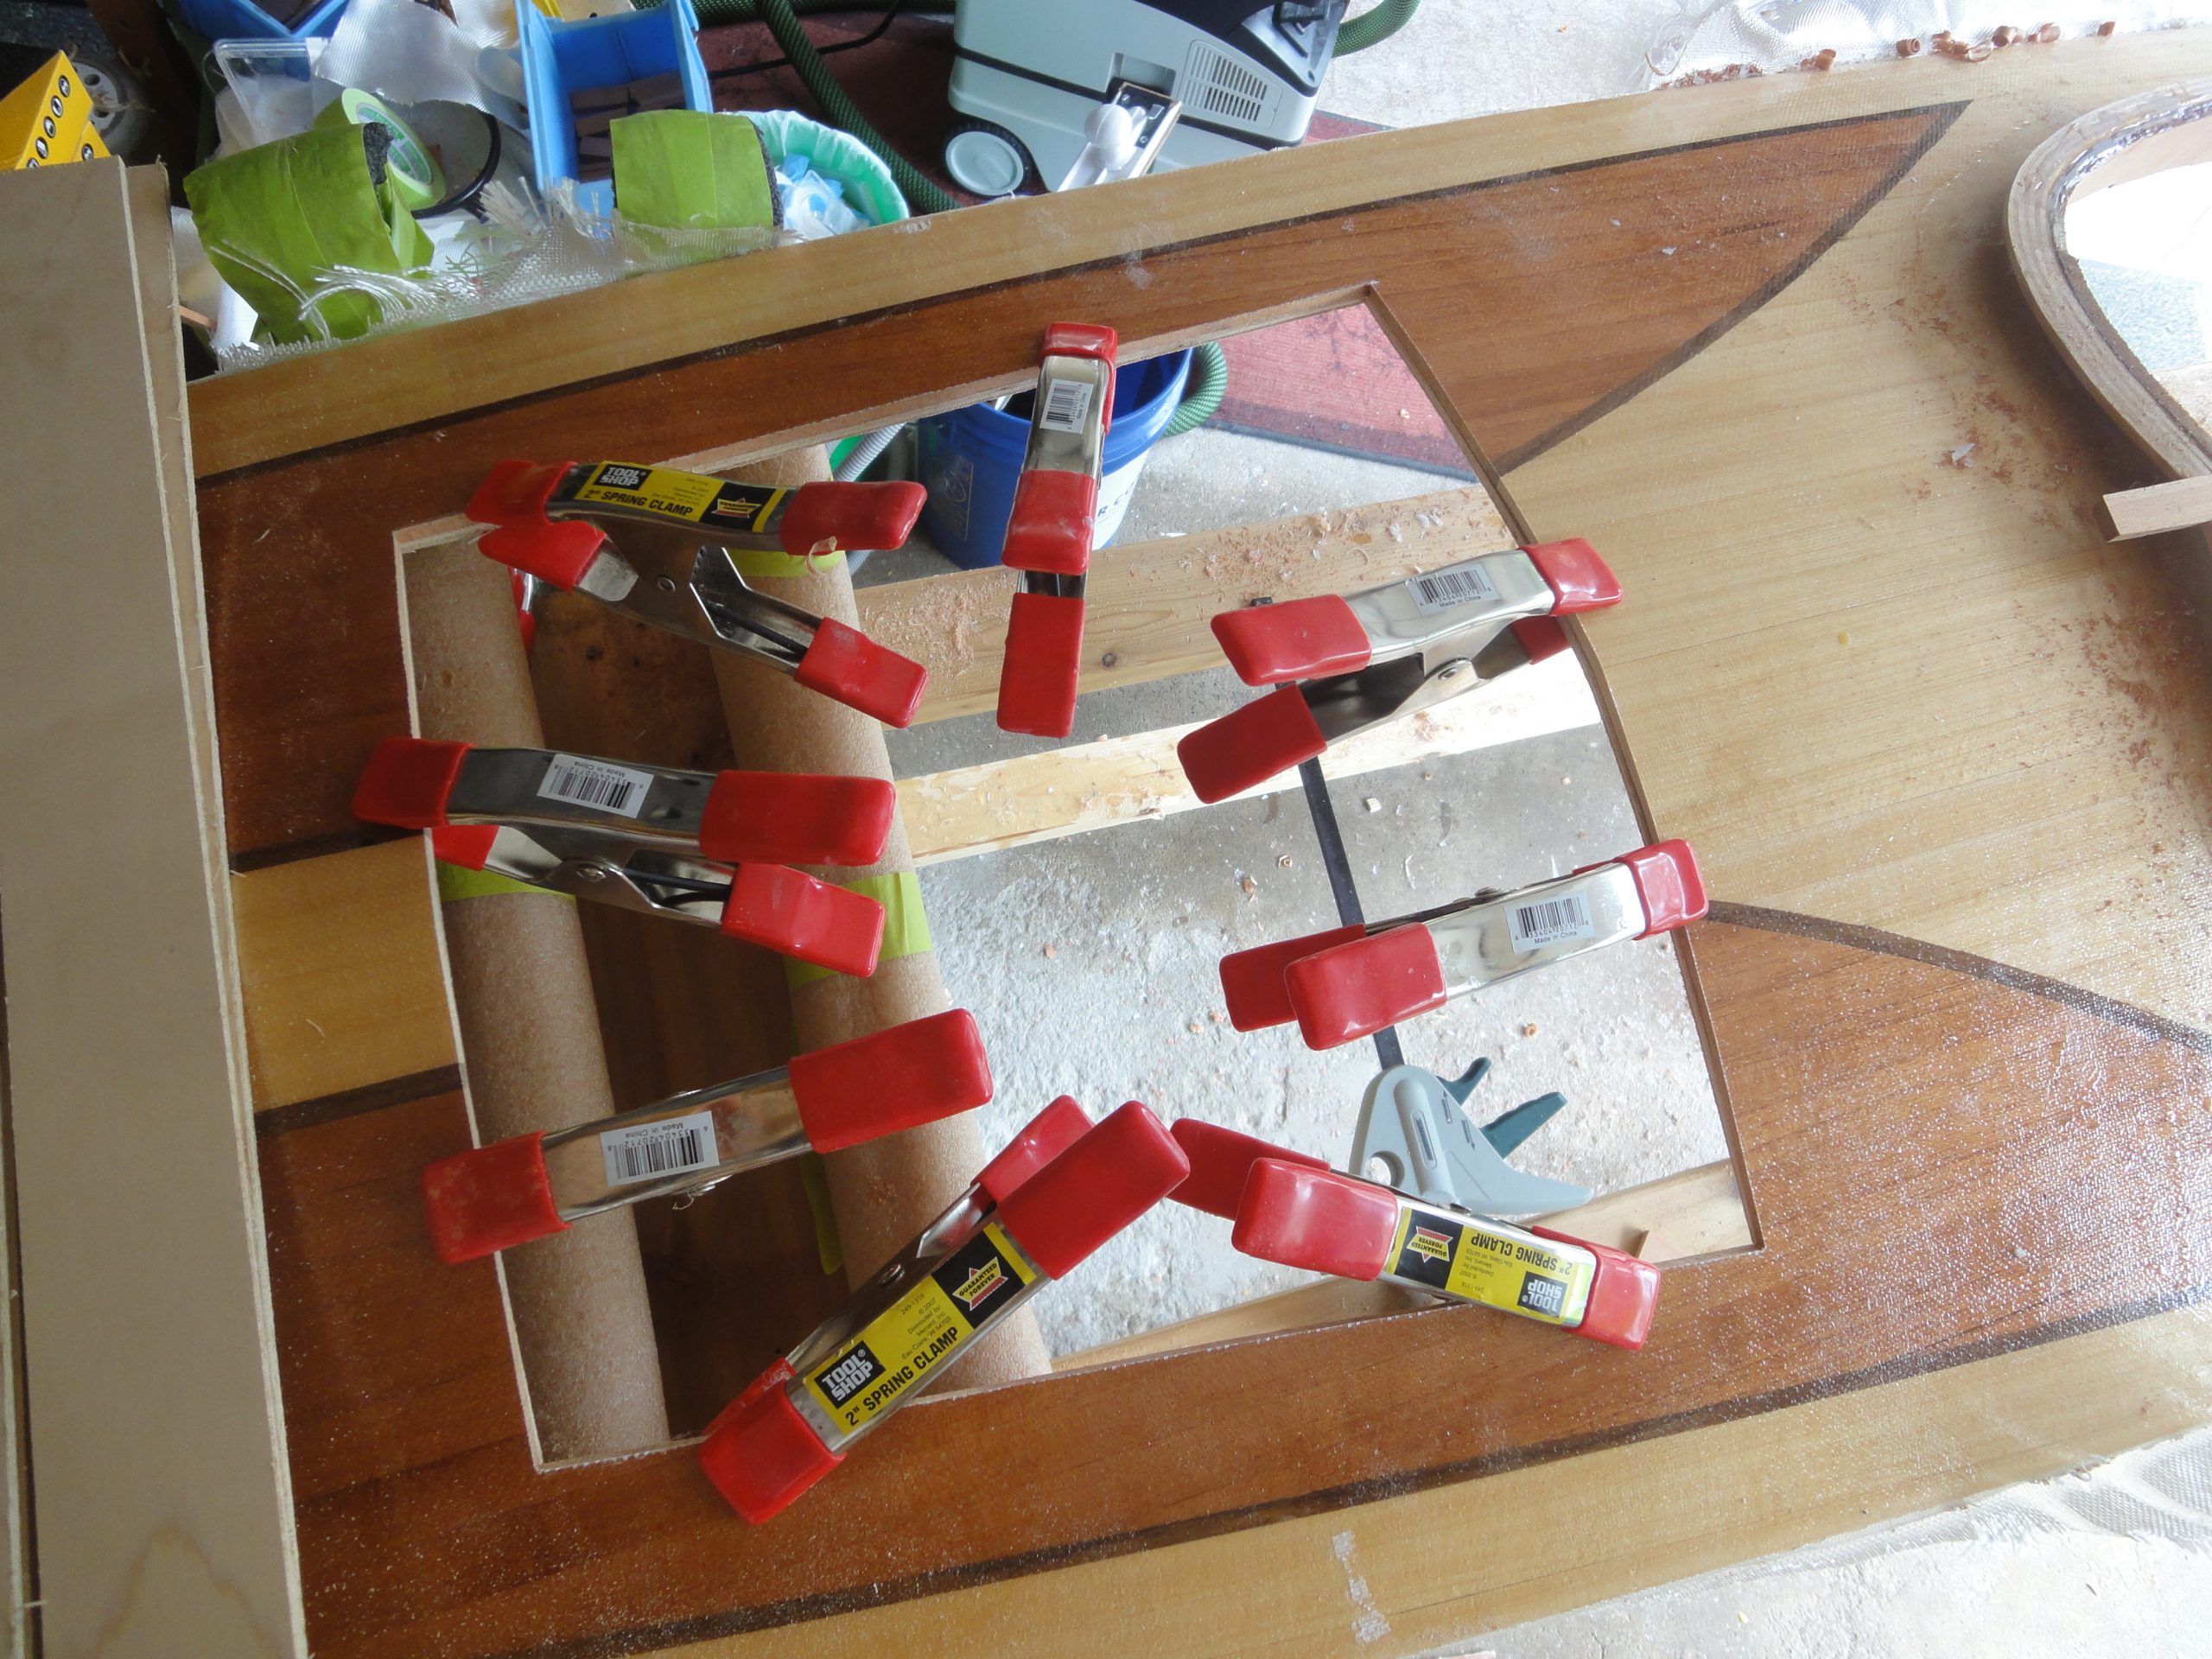
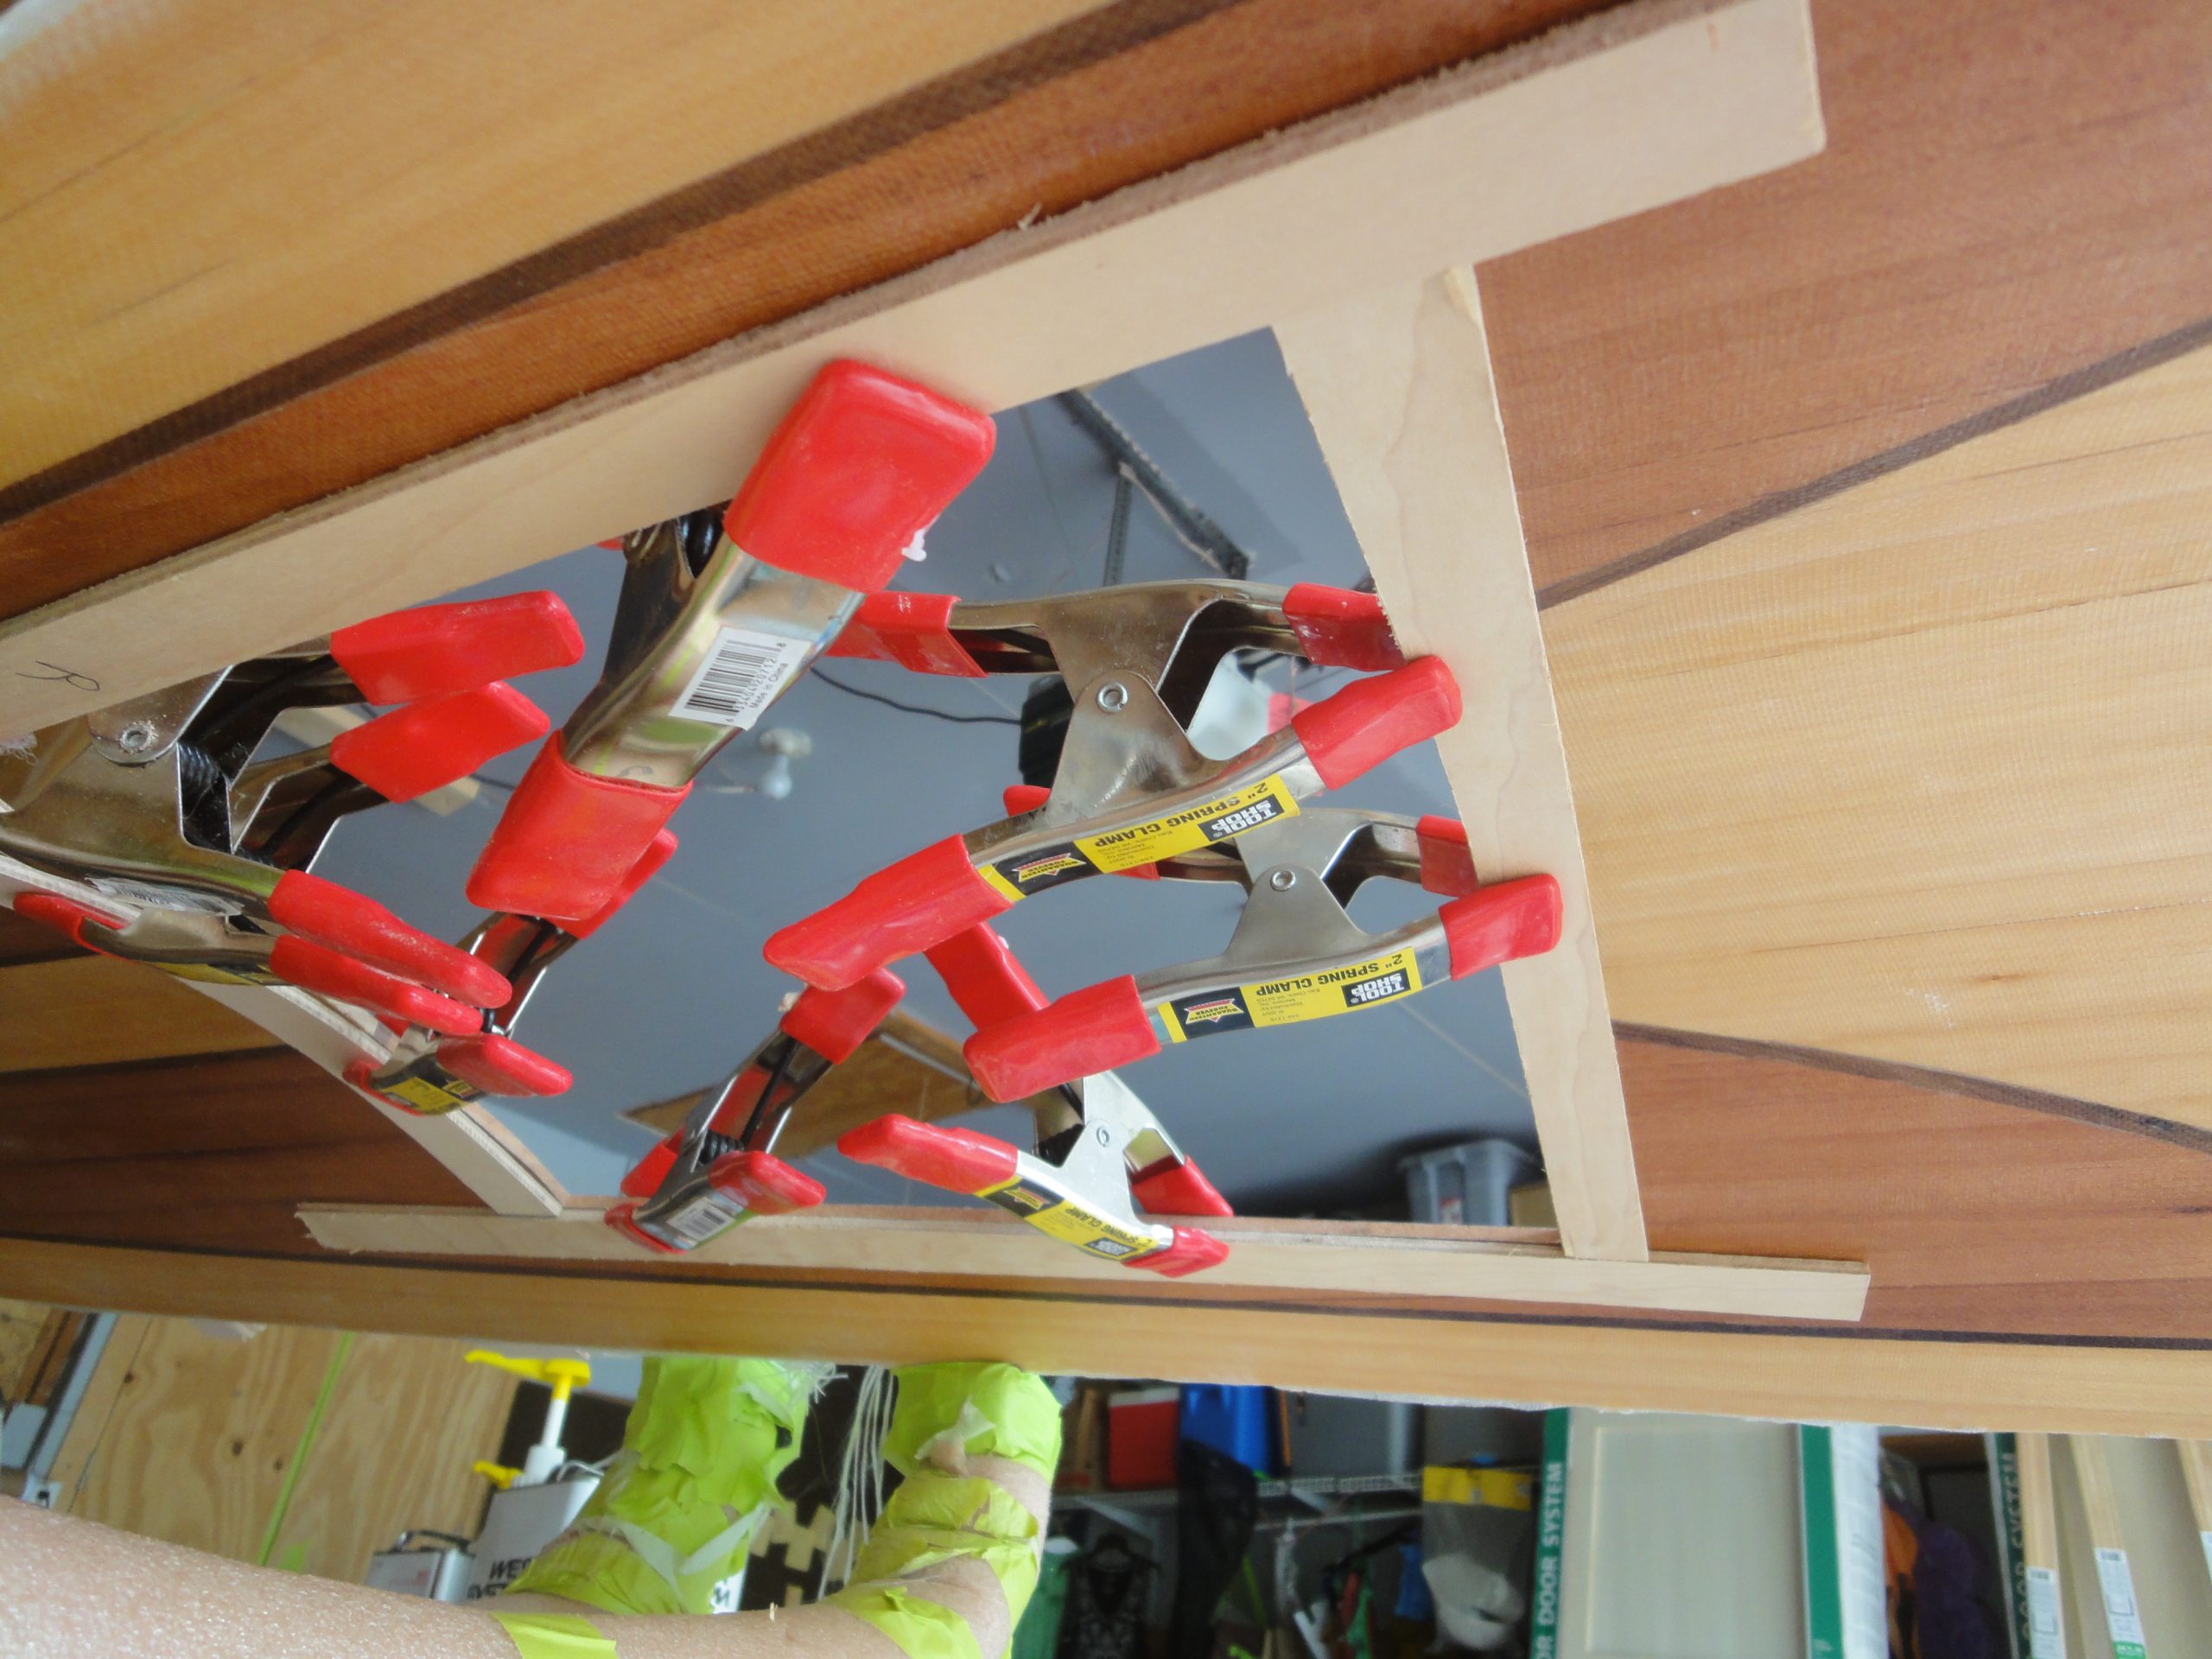
The 2″ pieces were then positioned on top of the 1″ pieces, flush on the back side so the extra inch protrudes into the hatch opening. These too were trimmed to fit.
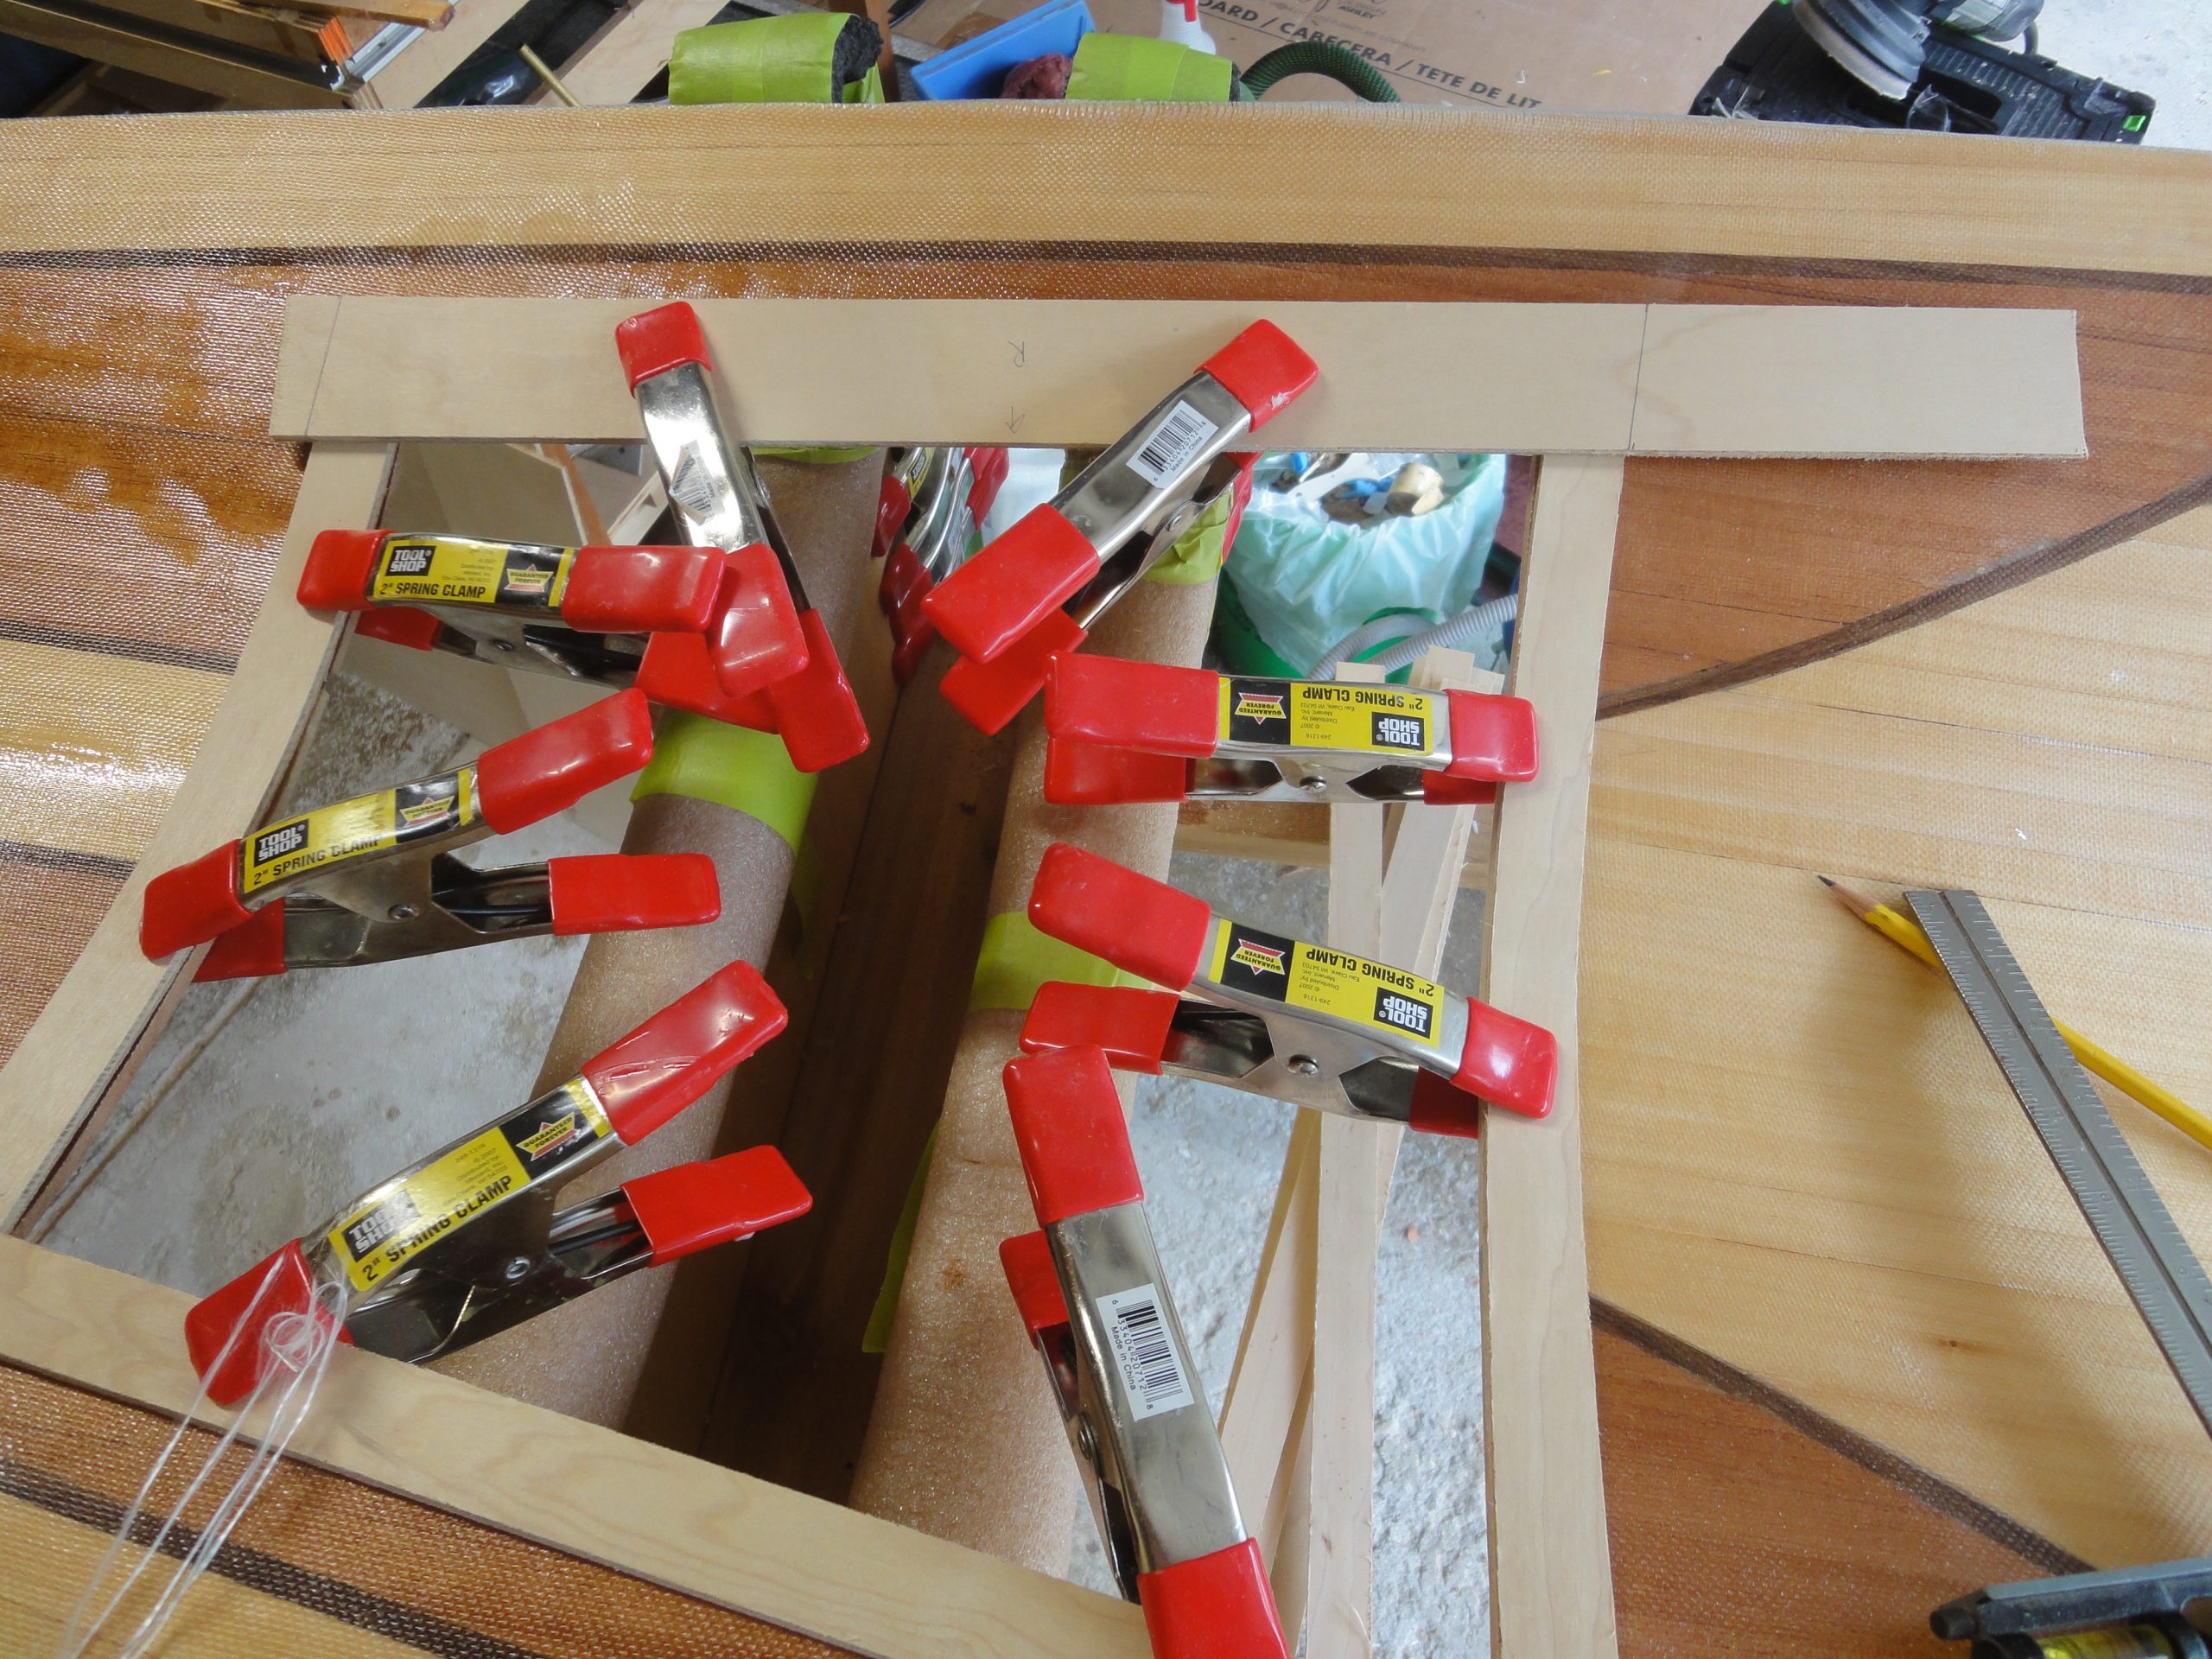
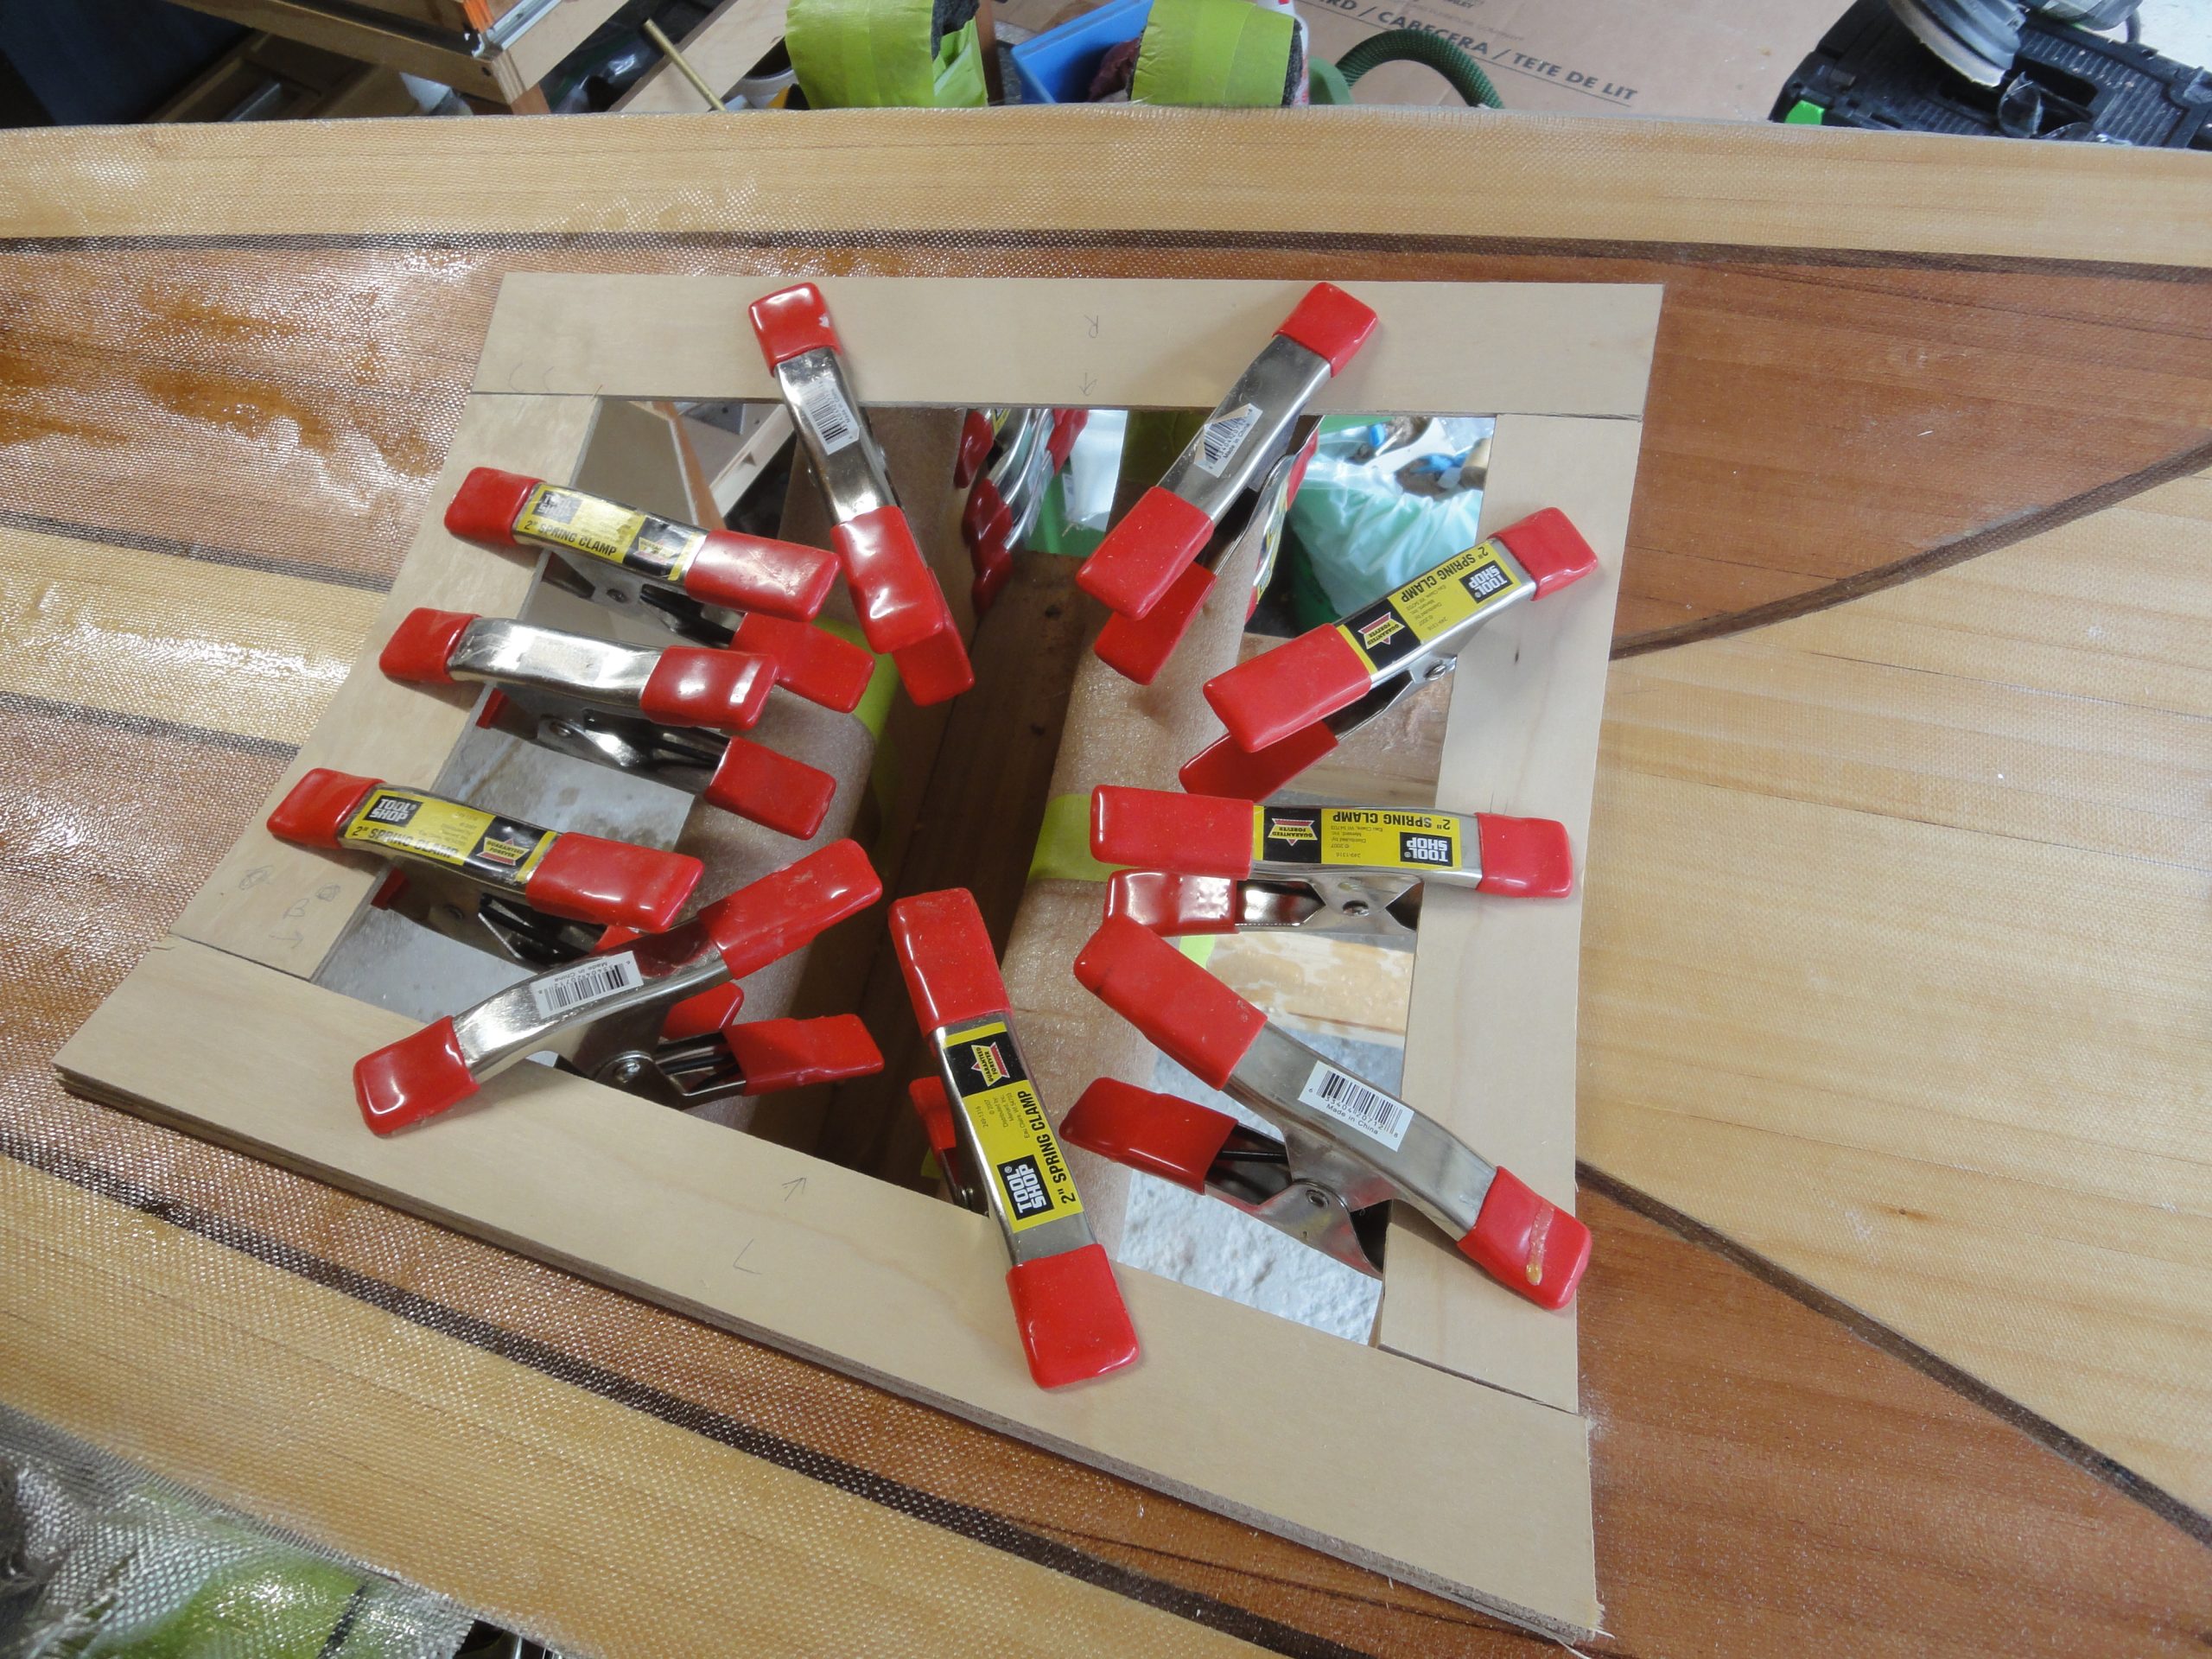
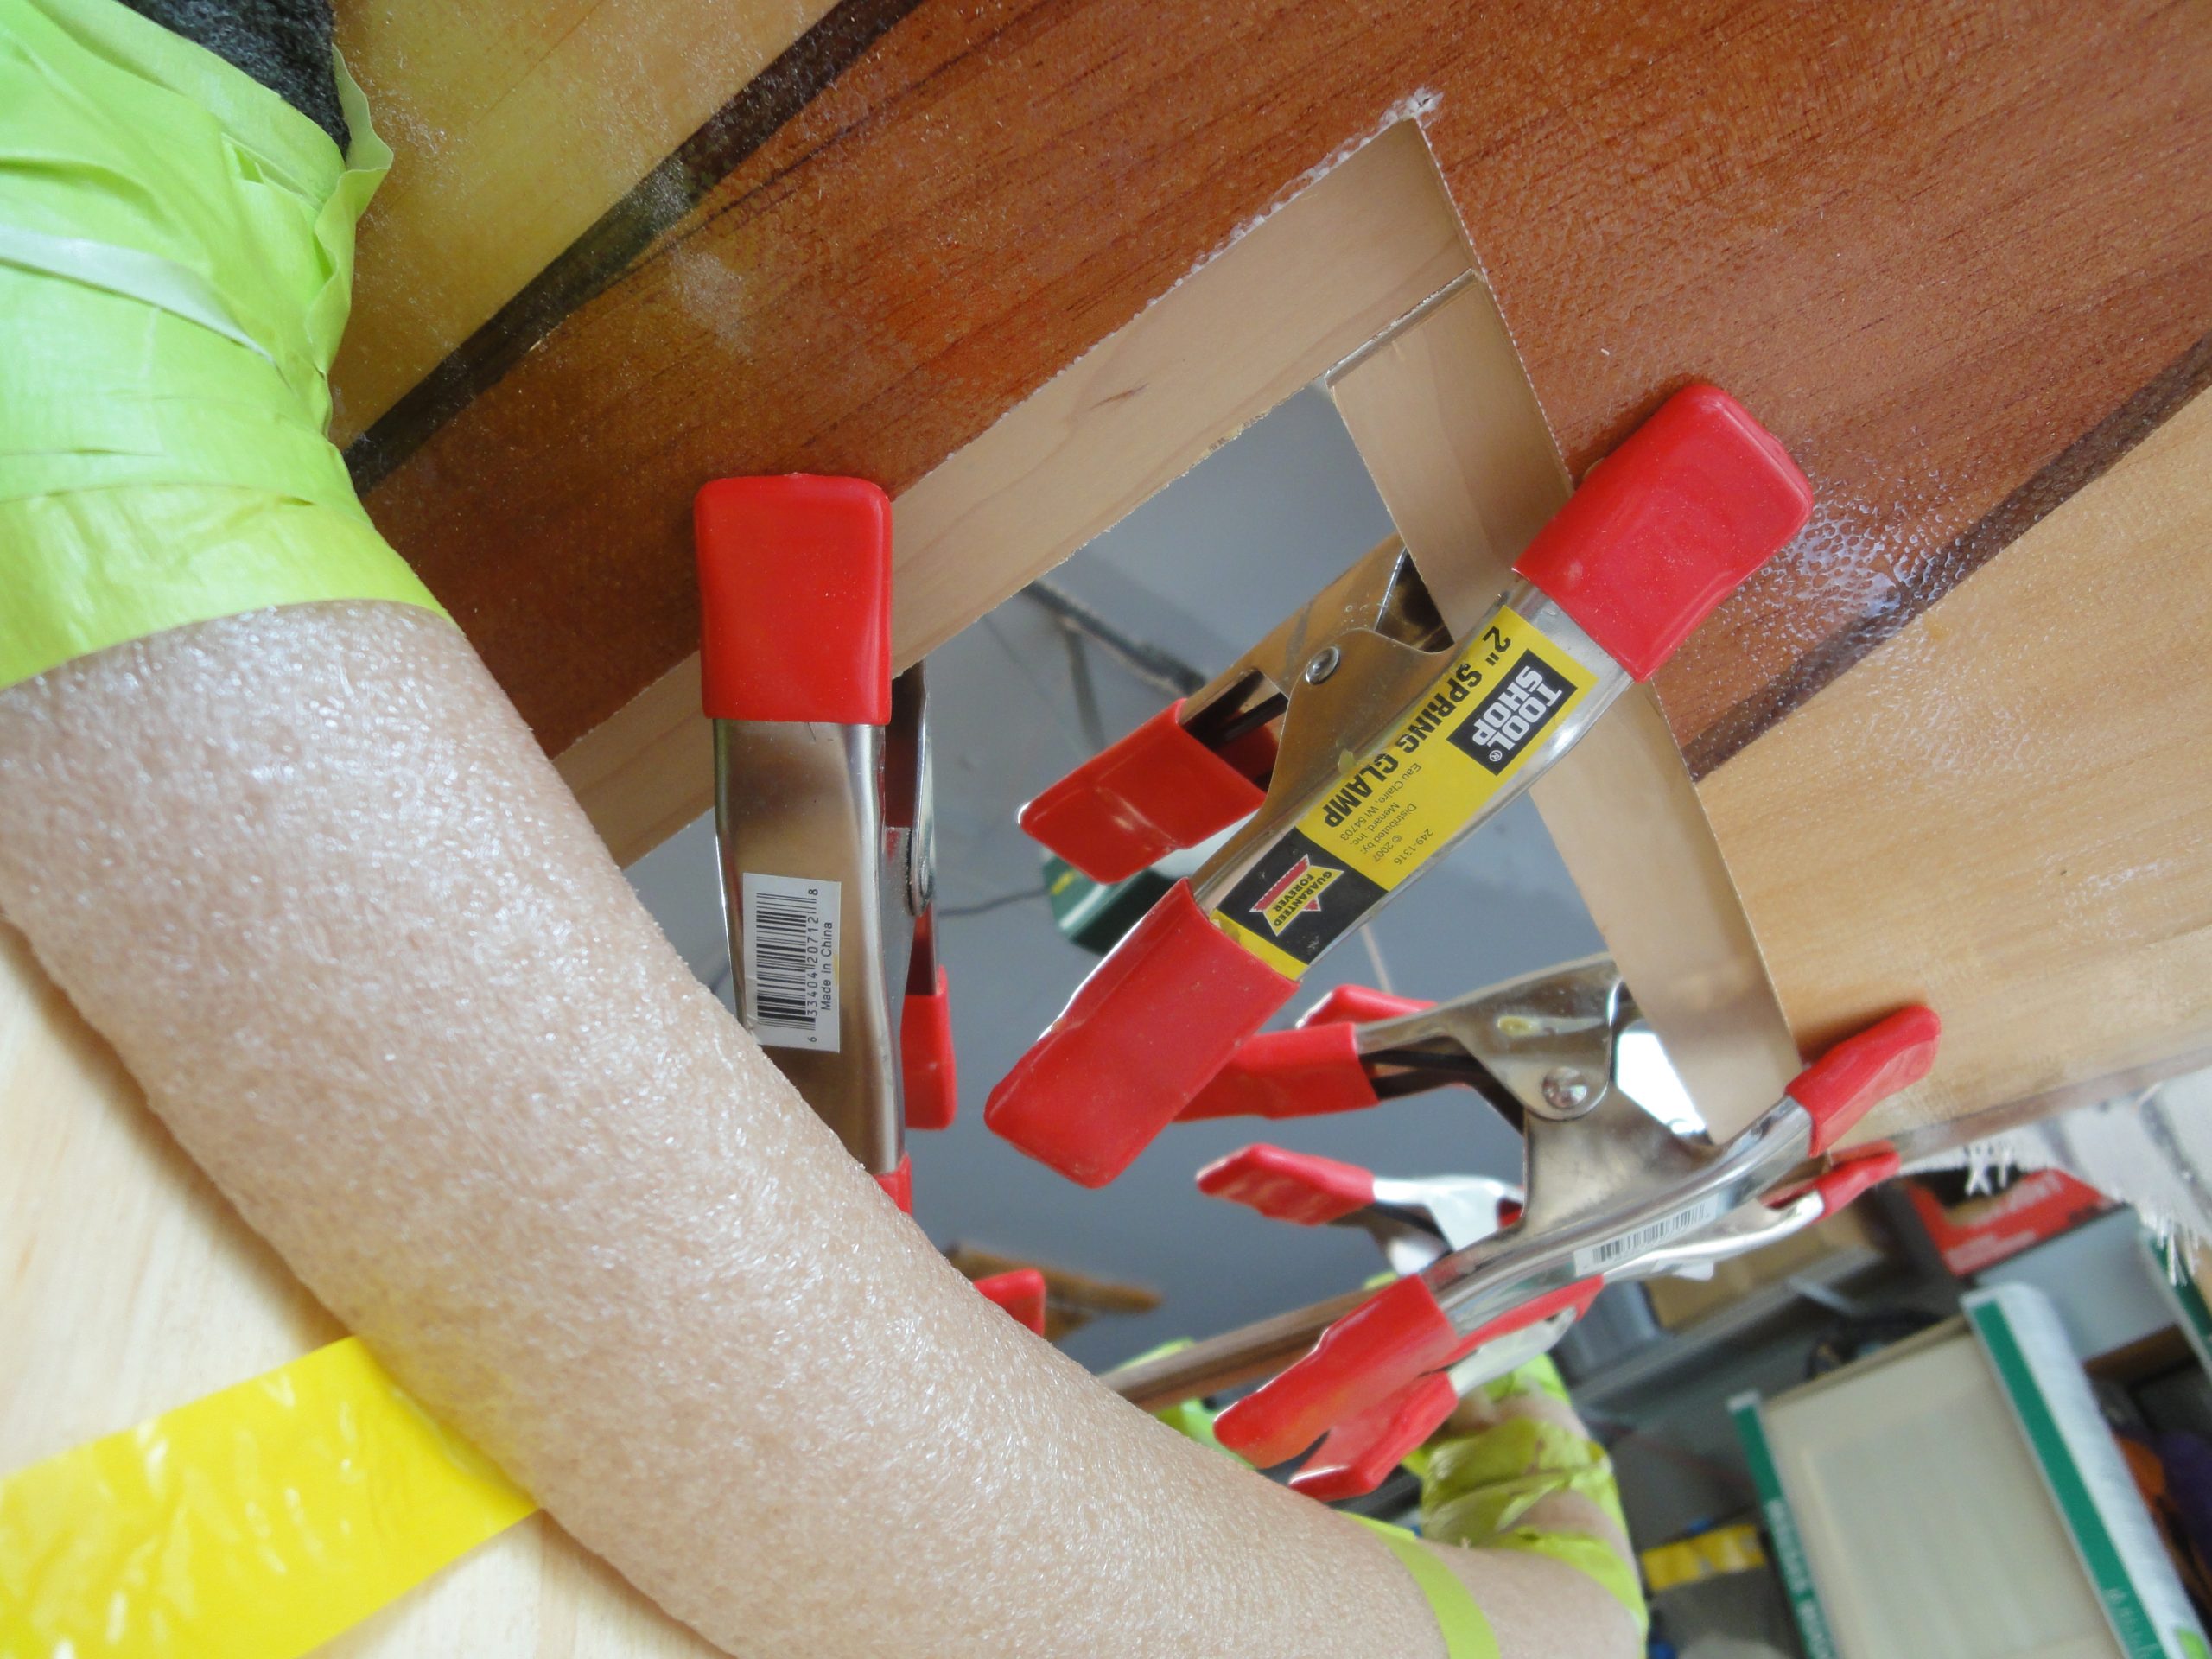
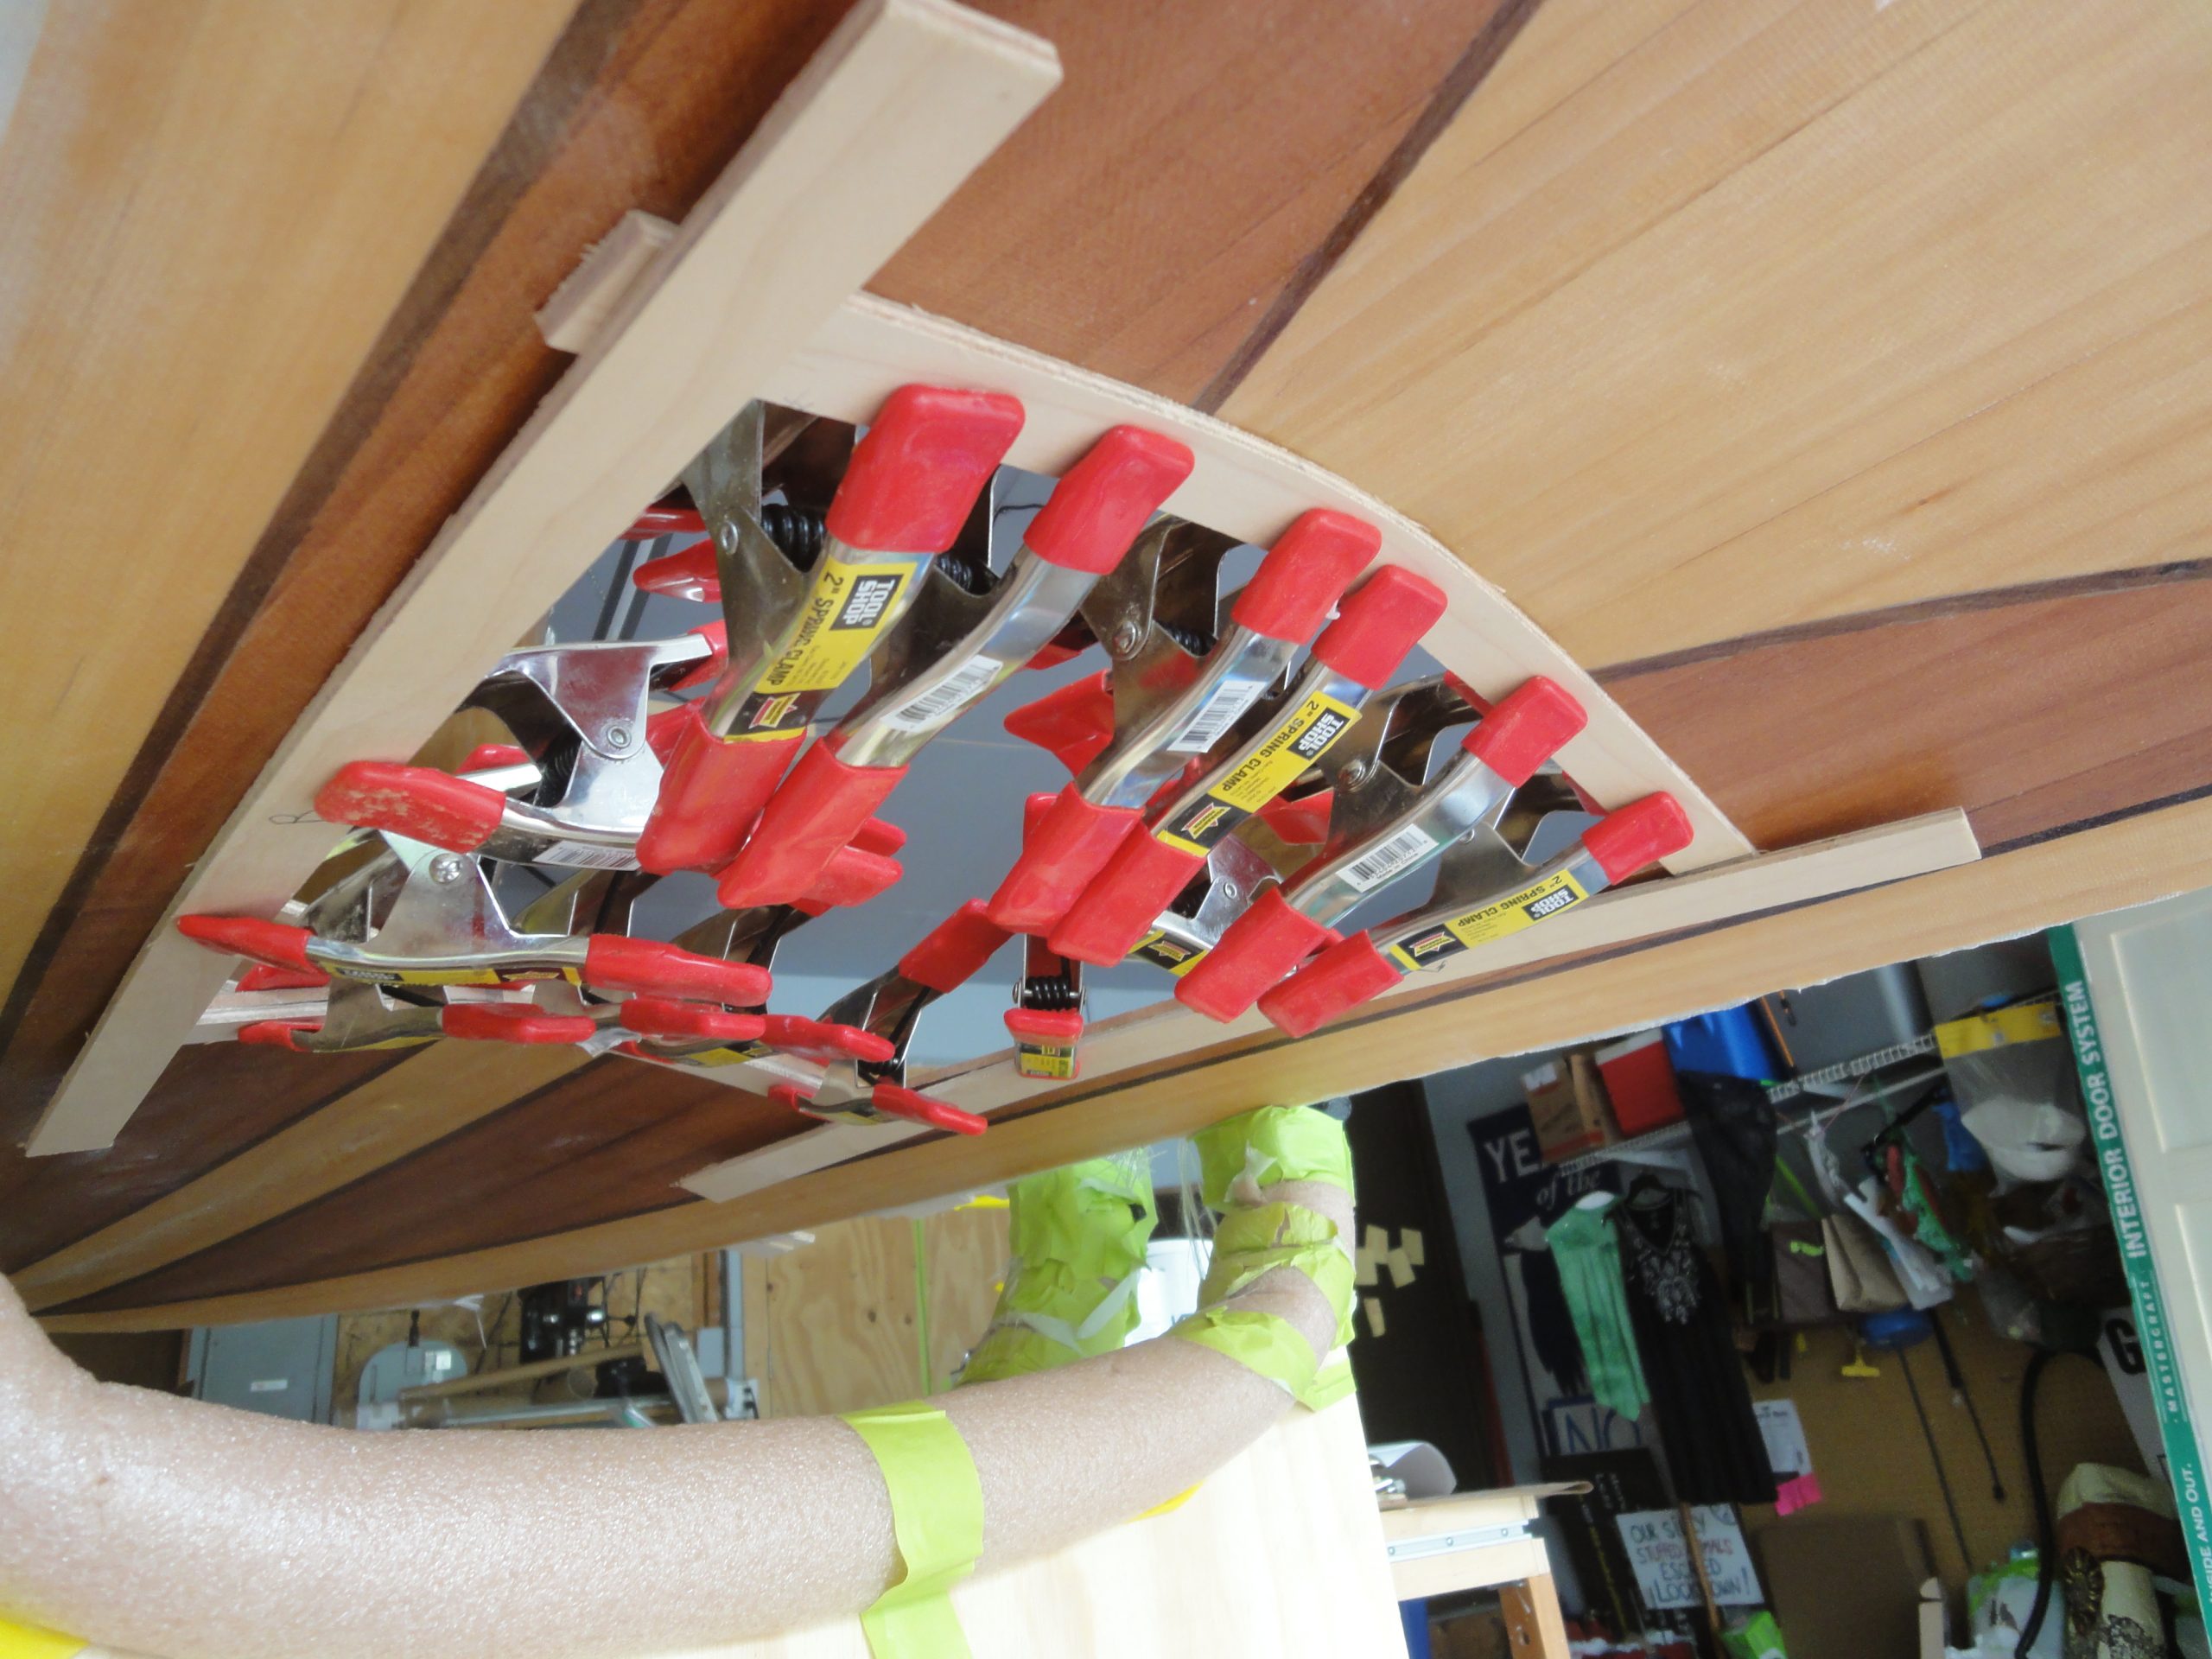
Once I was happy with the layout I took all the clamps off and protected the underside of the deck with tape. I then put the 1″ pieces back into place and glued along the butt joints. Not that this will be structural but I figured it couldn’t hurt. I then overlaid the 2″ pieces and glued them to the 1″ pieces and made sure everything was well clamped in place. I’ll leave this to dry overnight.