
Took Friday off of work to hopefully start cutting strips… didn’t get to it until Sunday due to our friendly postal service (who actually are friendly and pretty much the opposite of all the postal jokes… quick, efficient and reliable). They decided our brick mailbox had sunk over the years and was now too low to be regulation height. Hate to admit it but they were right. It weighed over 1000 pounds and in the last decade or so had sunk almost 7 inches into the ground! My wife picked out a wooden one online and I spent two days making it along with learning a new “finishing” technique known as shou-sugi-ban (plenty of youtube videos showing how). Basically taking a torch to wood and then sanding it. Fairly simple process (although time consuming) and pretty amazing results. If (when) kayak number two is built I just might consider finishing it this way.
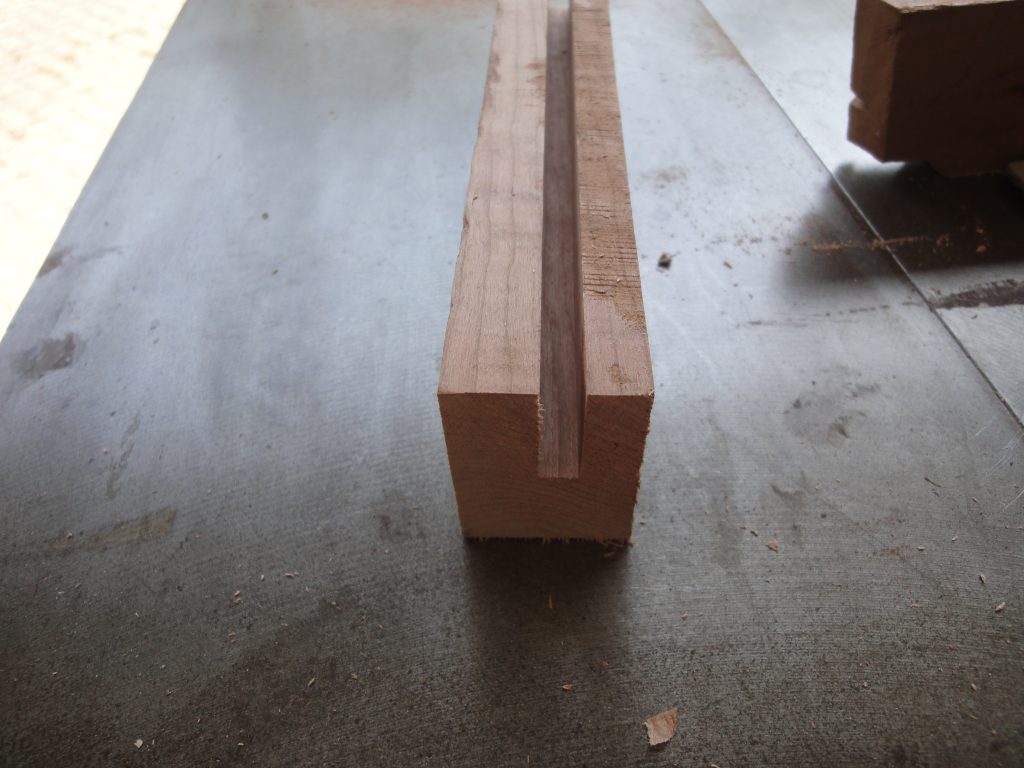
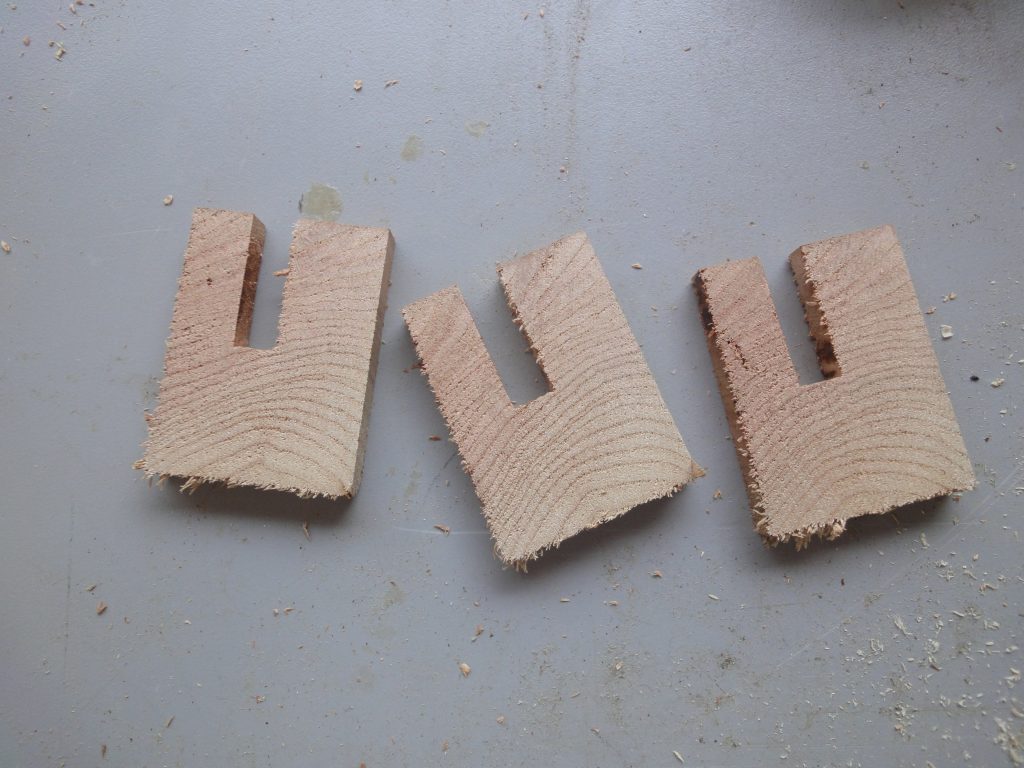
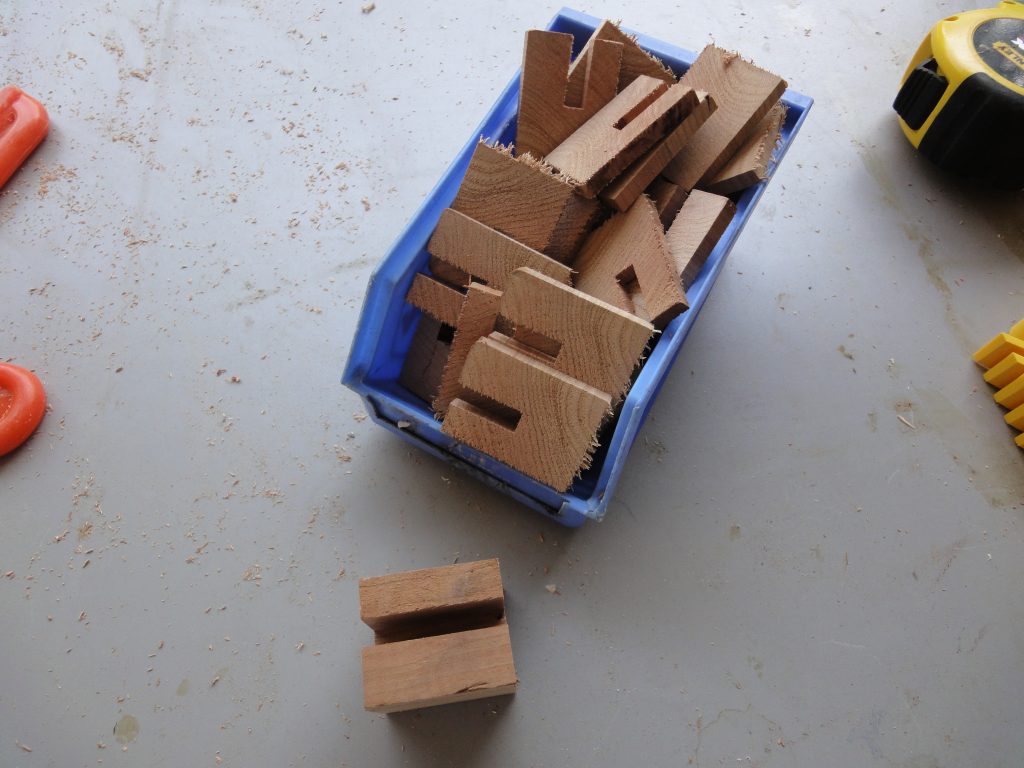
Anyway, I got that done late Saturday afternoon so Sunday was dedicated to kayak work. I started with some utility steps. First I took a piece of hardwood I had laying around, cherry I think, and cut a grove in it just over 1/4″ in width and then sliced it into approximately quarter inch pieces. I won’t go into why now, just that these will come in handy later on.

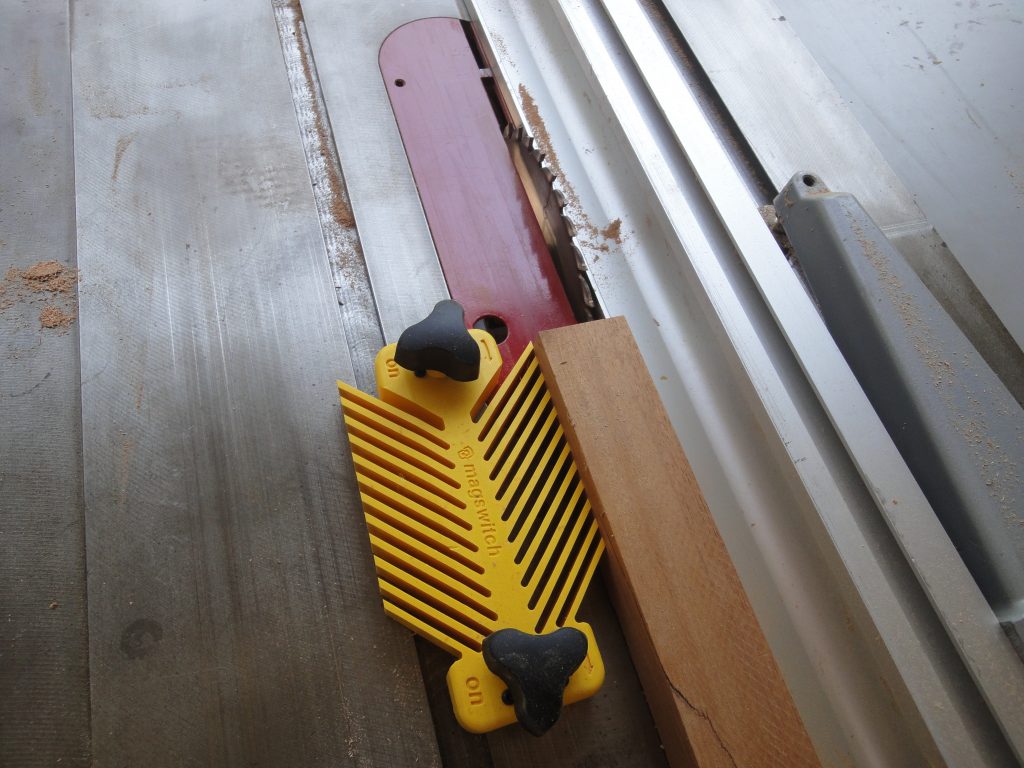
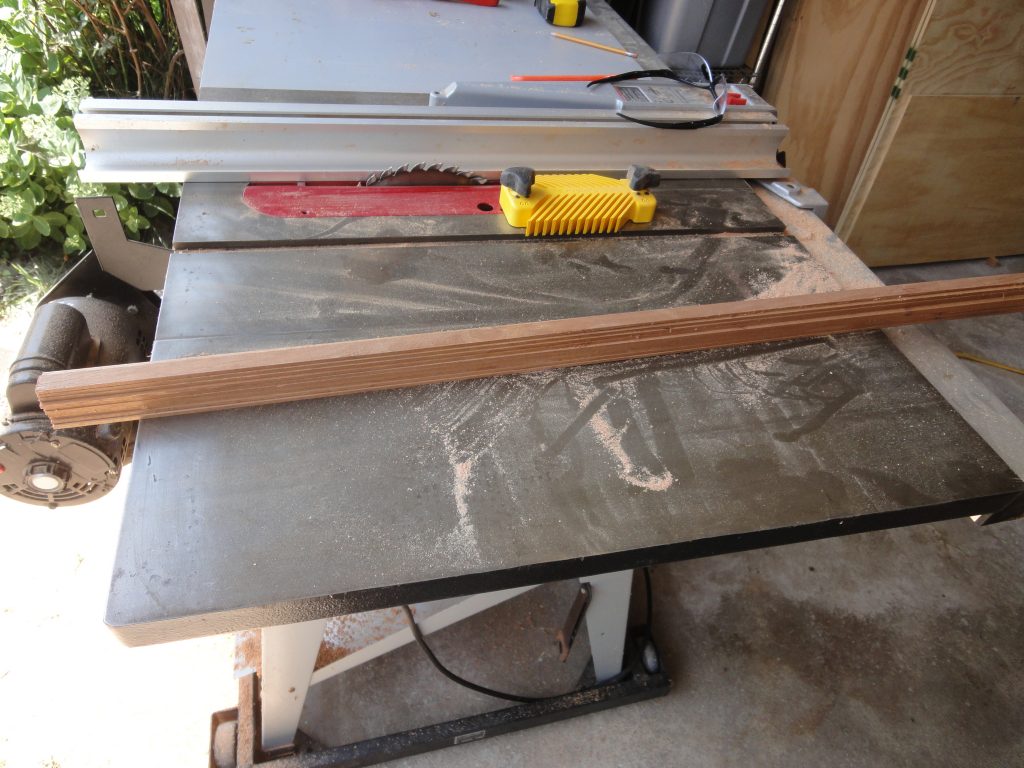
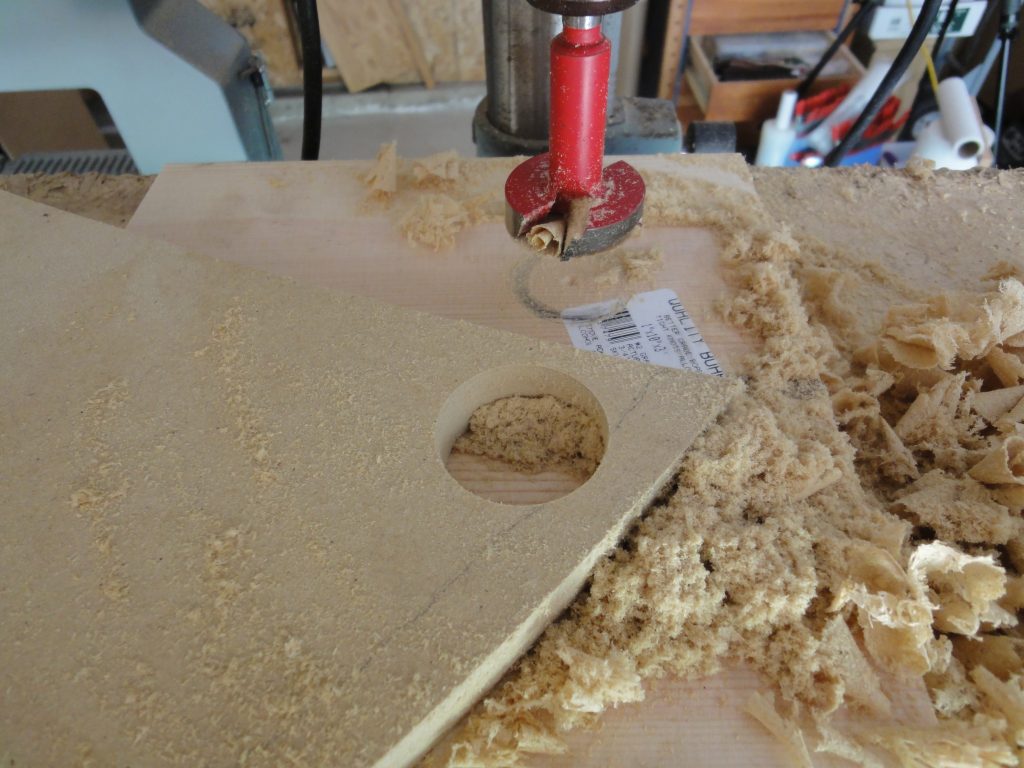
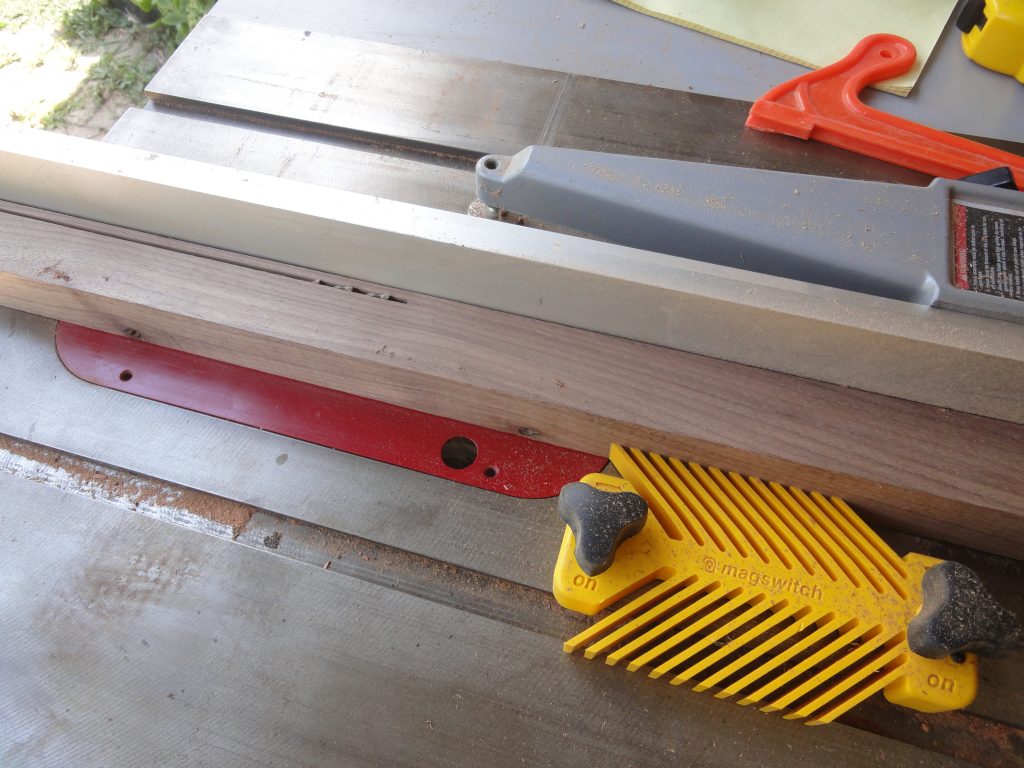
I suppose now would be a good time to mention the new tools and materials brought into the mix. There are a number of schools of thought on how to cut strips. For very long boards (16’+) that some people get so they can have single strips, they use a long bench (or the strong back itself with a sacrificial board) and then rip off the strips using a circular saw with a fence. Of course this works on shorter boards too. The other common method is to use a table saw. Since I’ve got one and none of my boards are over 9 feet, I’m comfortable using it and decided on this route. So, a table saw (I’ve got an old Delta but if/when I need to replace it a Saw Stop is a no brainer), a Magswitch quick release feather board, some plastic wrap, a roll of floor protector paper, a drill press (again an older model Delta bench top model) and a larger (around an inch and half or so) Forstner bit. Also I used a variety of clamps that I already had on hand. Some spring clamps and some small bar clamps. Blue painters tape was used as a glue shield and will be used for a lot more later on.
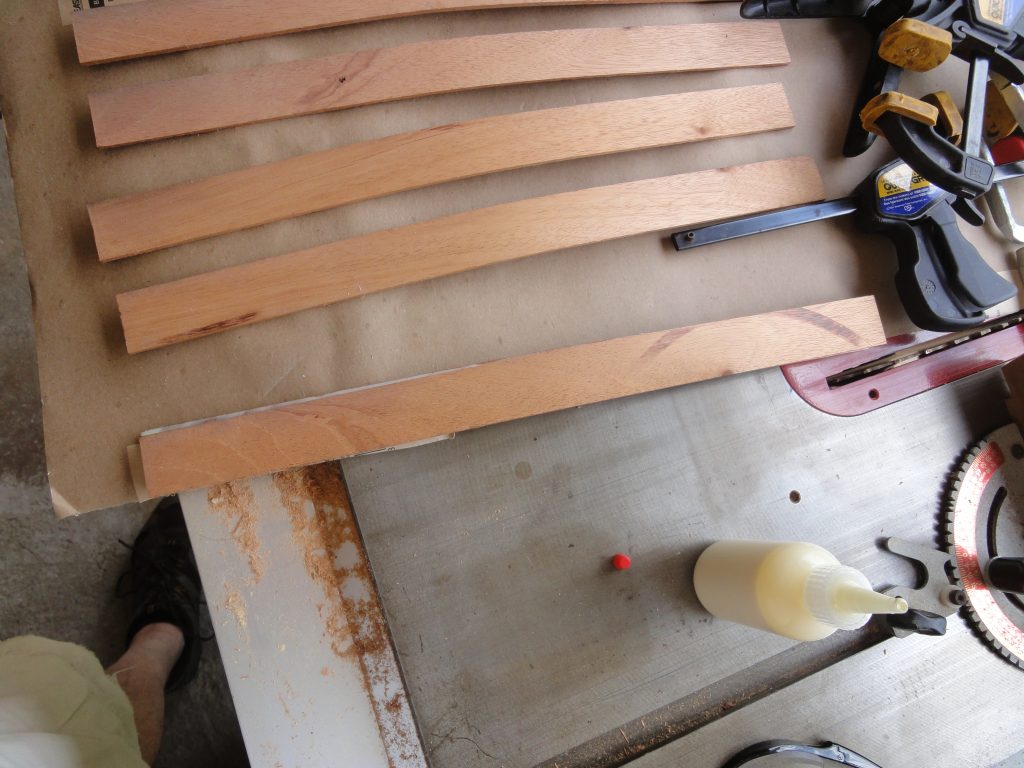
To begin with I found a longer piece of hard wood, cherry in this case, that I had on hand and decided to make my stem pieces out of it. The color should be similar to the spanish cedar when completed, but will darken a bit over the years too. These have to be bent and you’re not going to bend a 1″ or larger board so first task is to slice this into 1/8″ thick pieces and then cut these pieces into a longer piece for the bow and a shorter one for the stern. One of them split however the remaining pieces are still more than enough so I just discarded the split one.

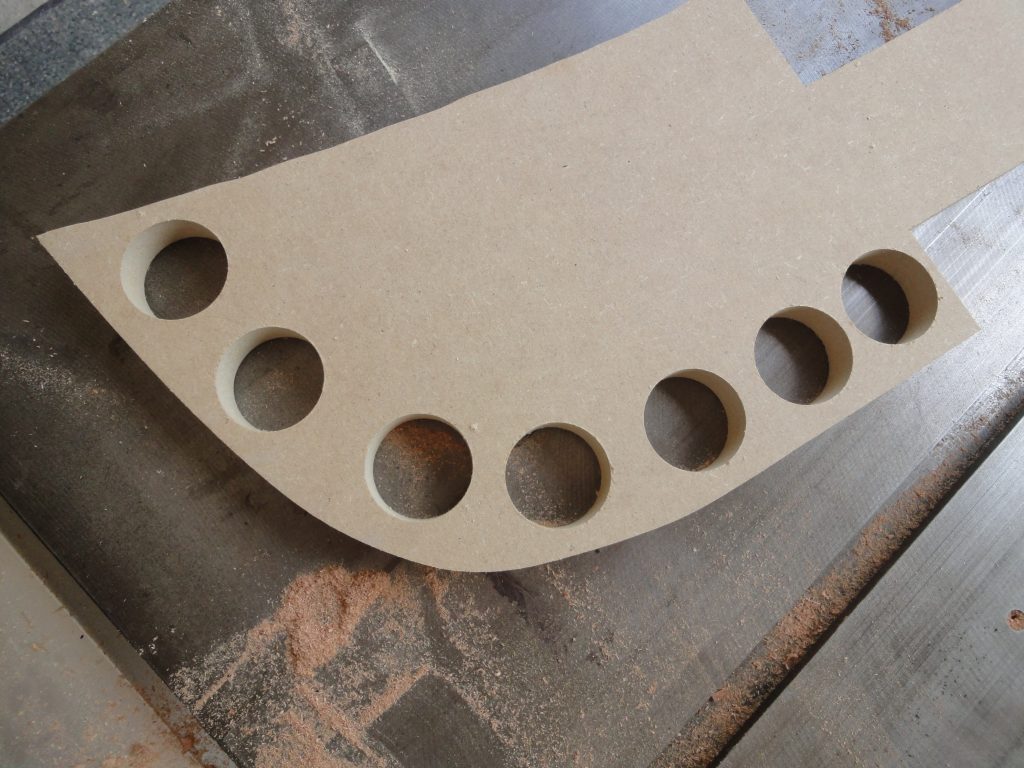
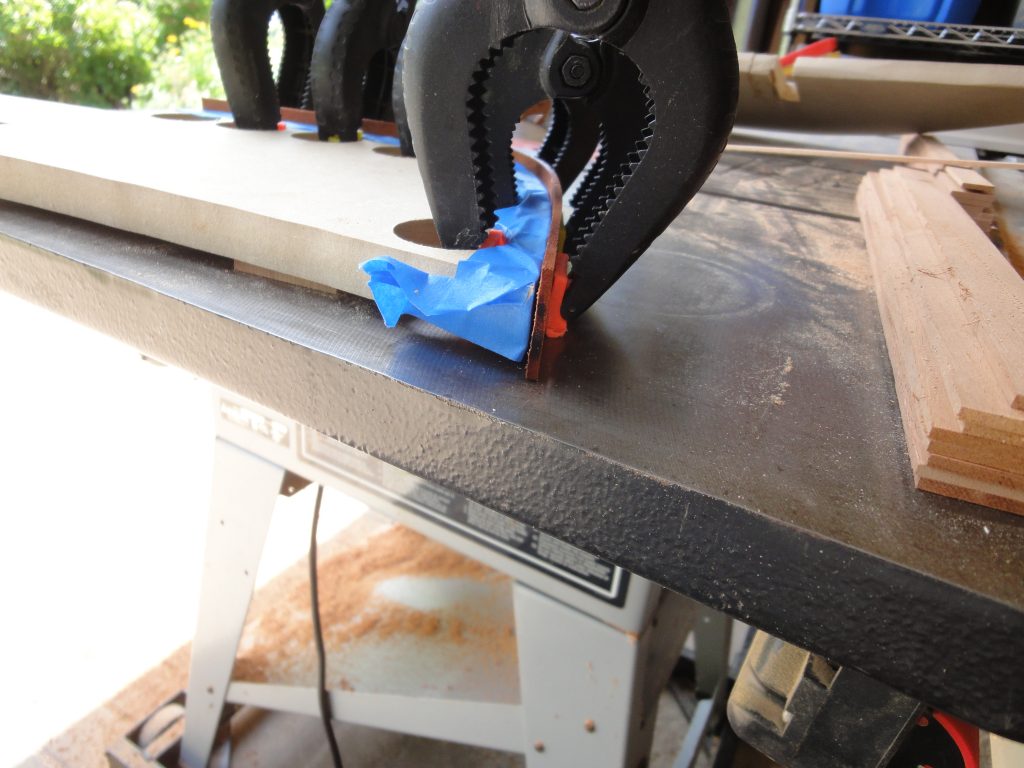
I need to attach these strips to the forms and also need a way to clamp them in place. Some holes drilled in the forms provided this.
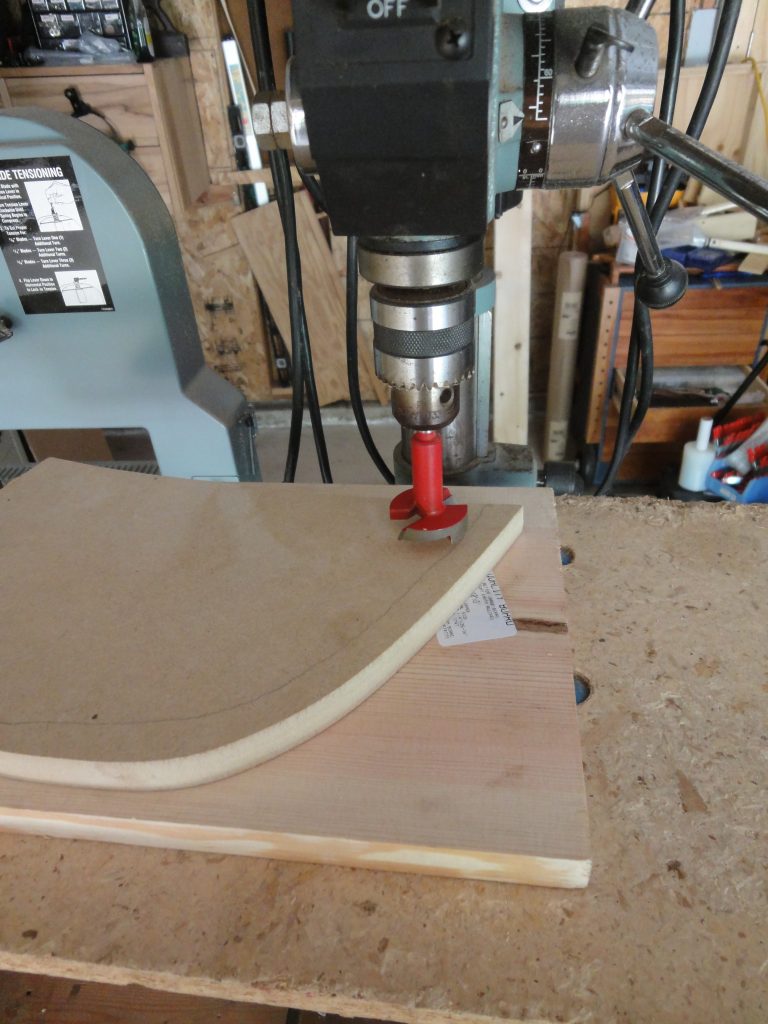
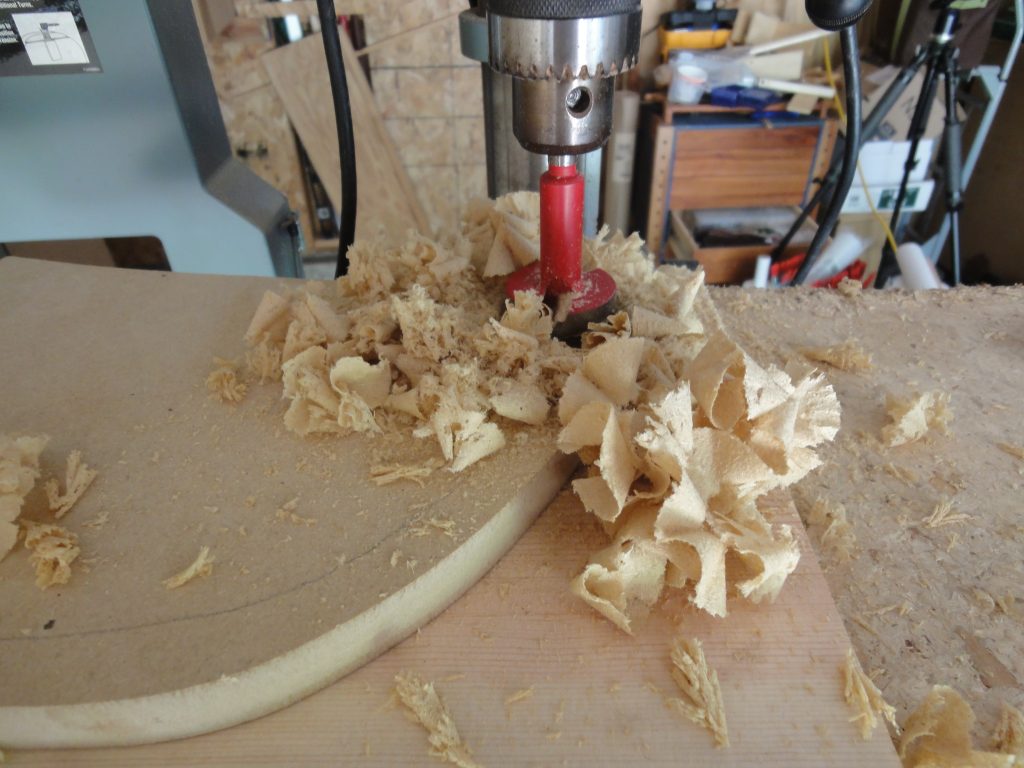
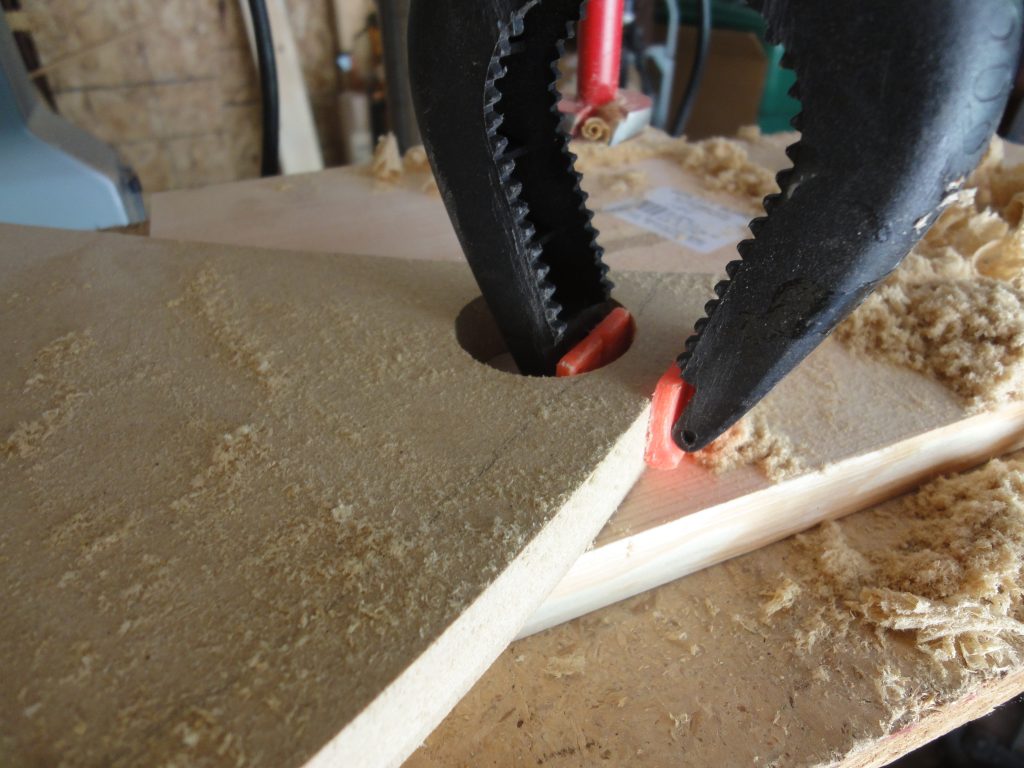
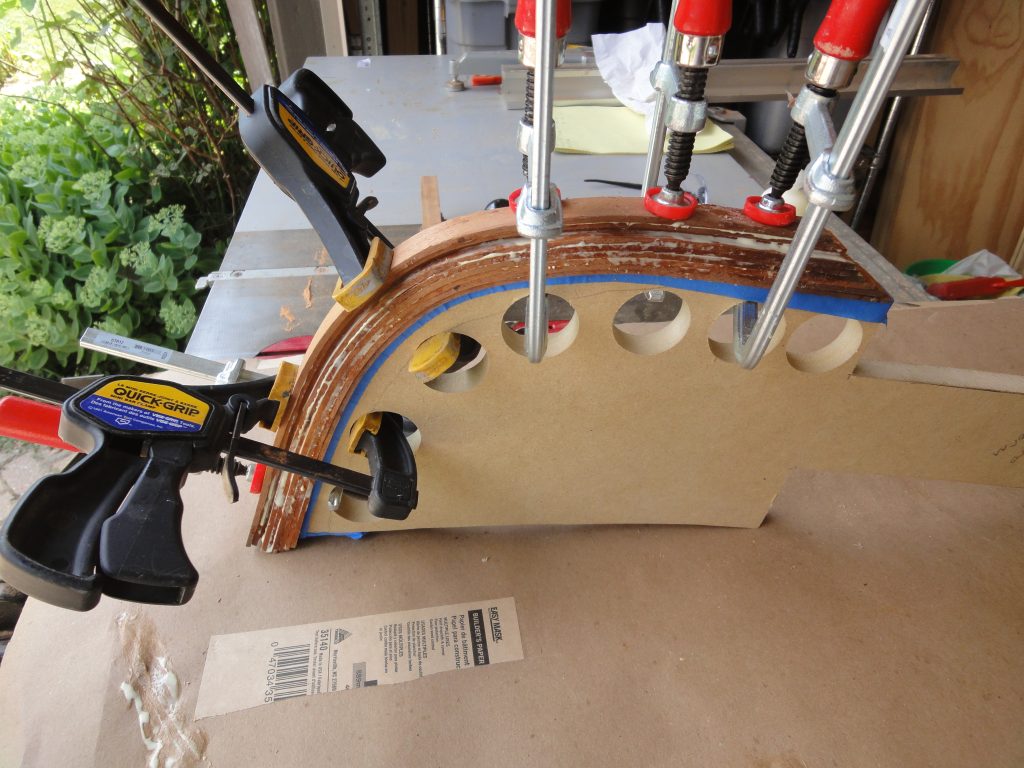
To test, a single piece was bent around the form. It was having trouble making the tight radius and I was concerned about breaking it. To help I wet the piece down. A few other options would be to steam it or to use a hot air gun on it. In this case I was lucky and simply getting it wet gave it the extra flex I needed. The pictures illustrate the use of the clamps and the holes.
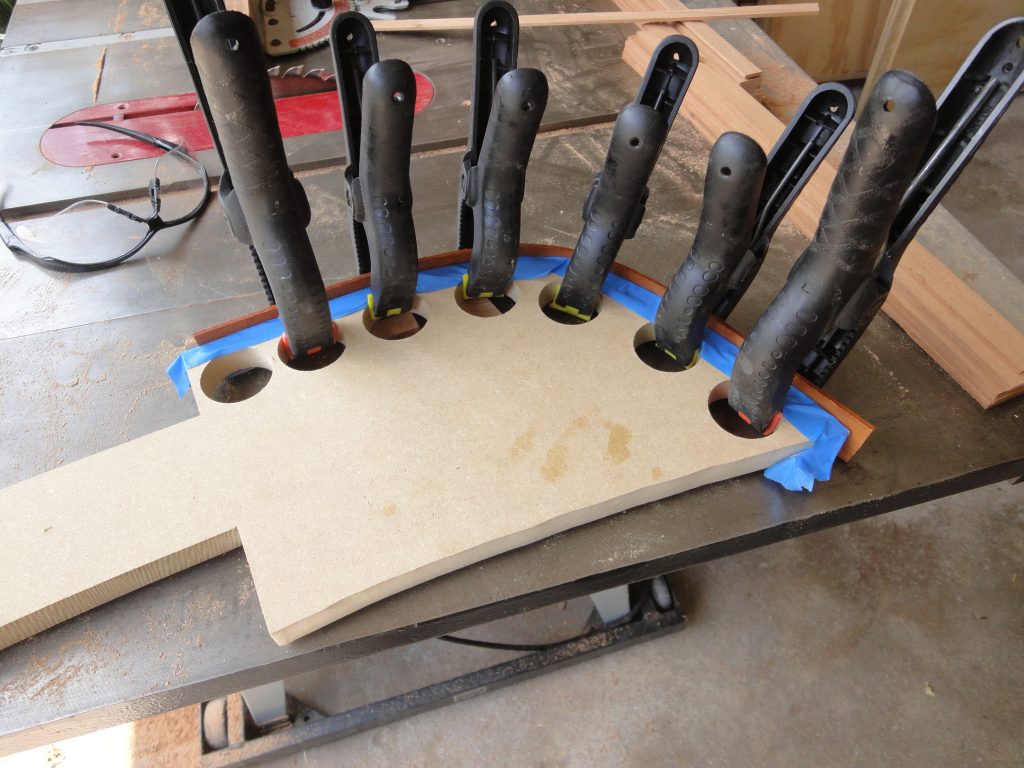
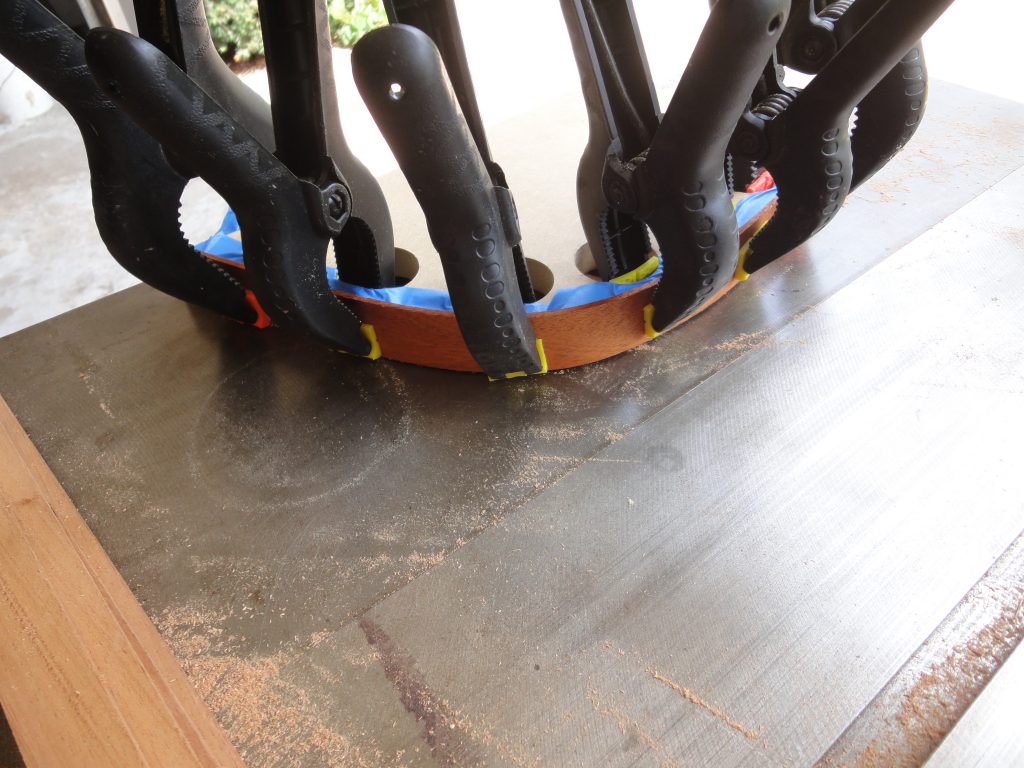
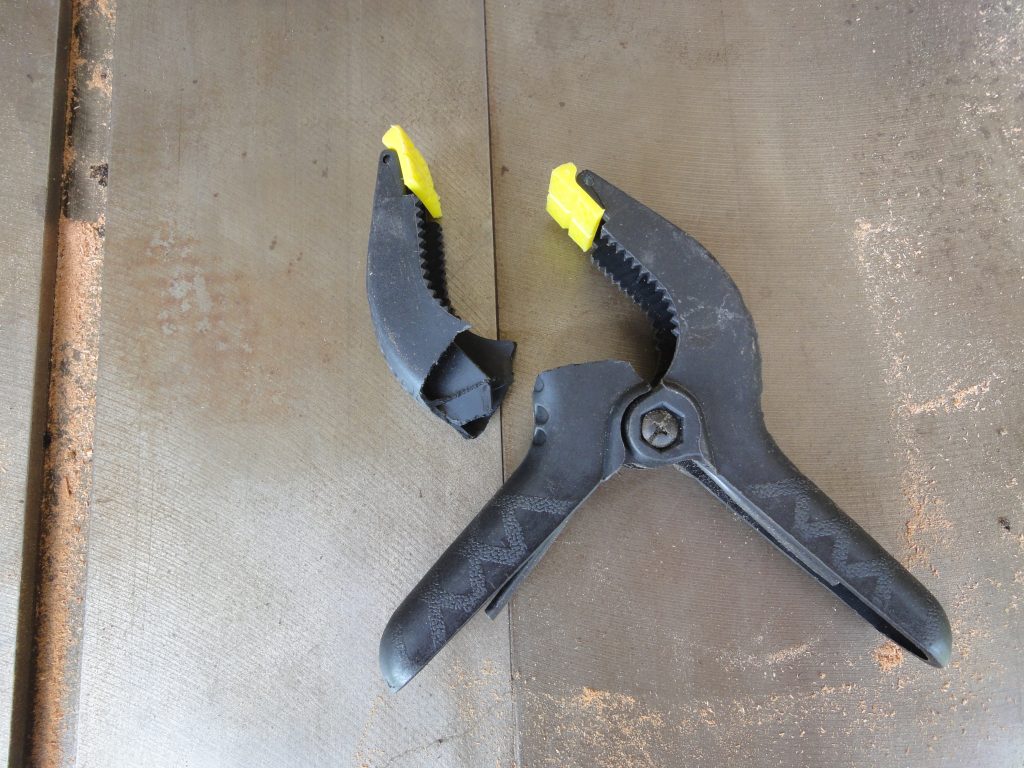
I did a test with all the boards at once next. Wet them down, applied clamps, etc. It was much harder with all of them. I found this out the hard way when my back was turned. A loud snap followed by the sound of pieces of plastic falling. As a result of the broken plastic clamp I dug up my metal bar clamps and mostly used those instead. Much stronger. After allowing this to sit for a few hours, the clamps were removed and the wood had already started to take the bend.

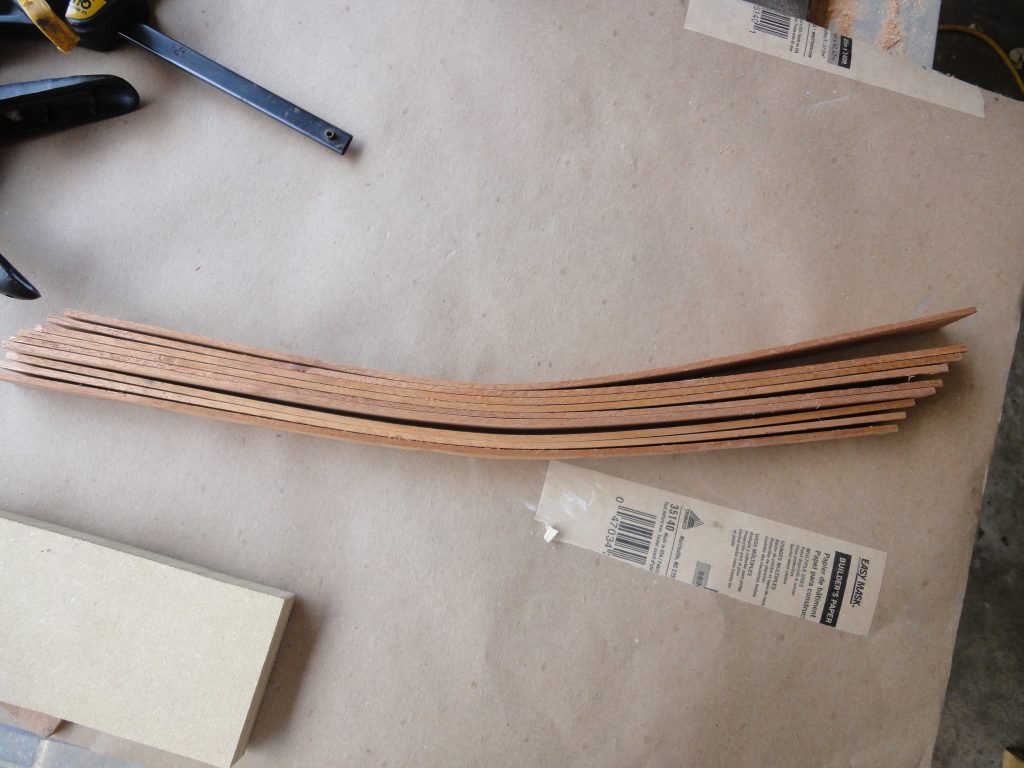
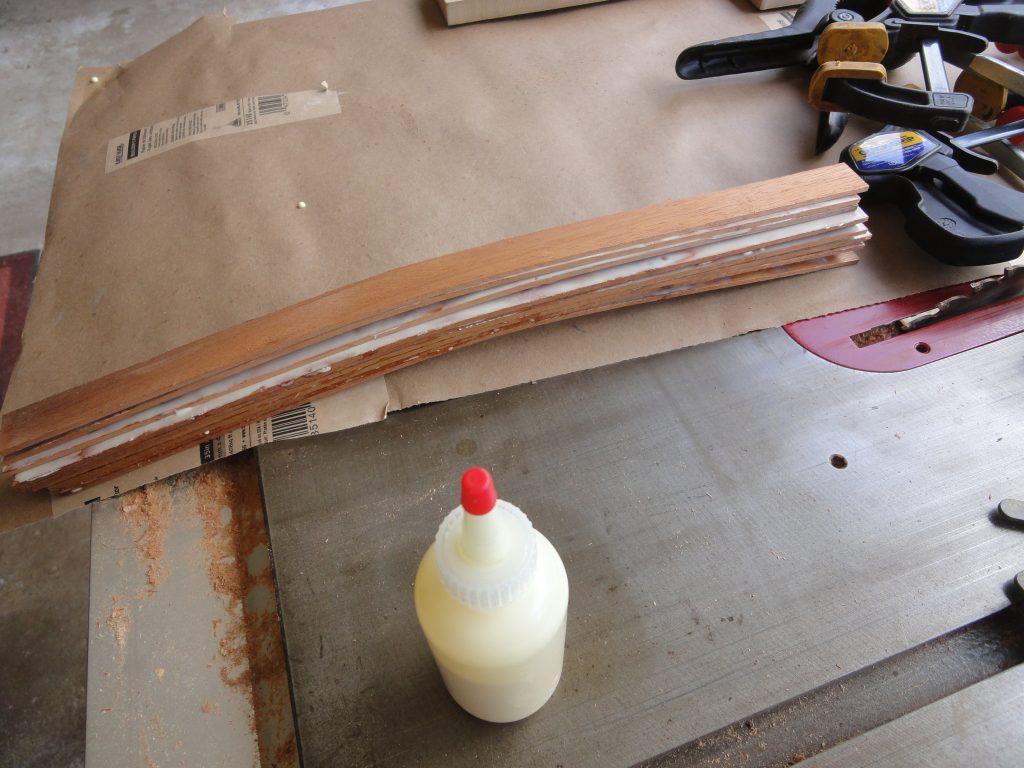
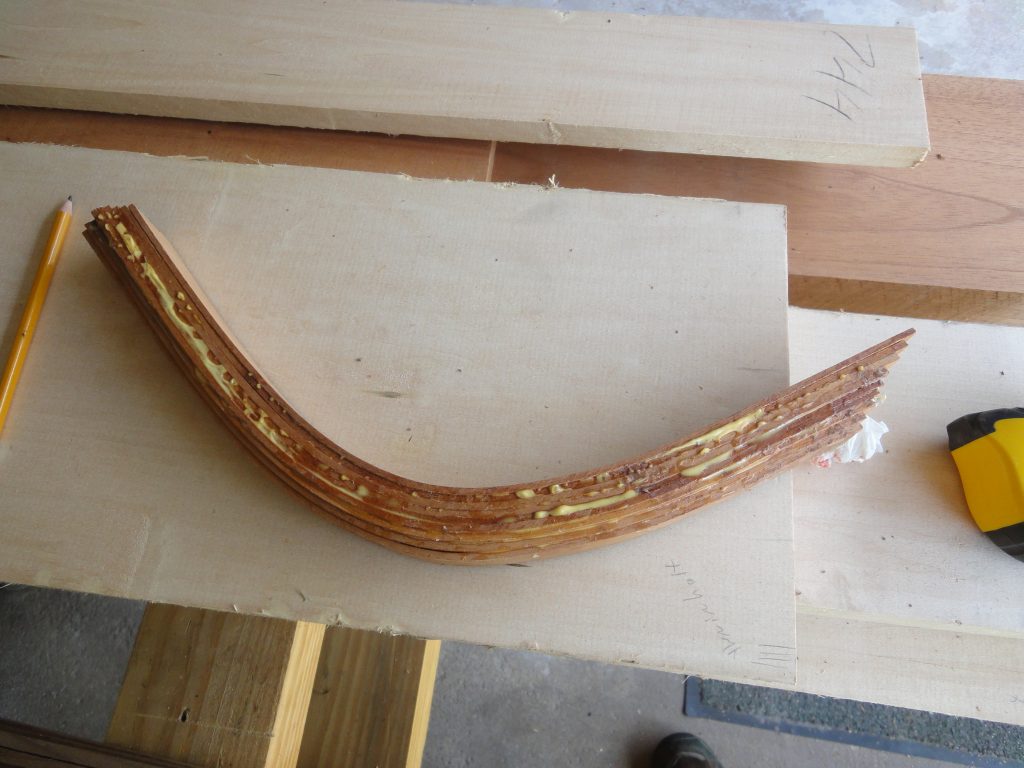
The next step is to glue the pieces together and place back on the form. I verified they were dry first and then a liberal coat of glue was put on each strip, they were stacked together and with a bit of coaxing I finally got them clamped in place. With the glue acting somewhat as a lubricant they want to shift around while clamping. Of course the whole time you’re racing against the open time (how long until the glue starts to set) of the glue. I left them for a few hours to setup up and then checked the assembly and found it was holding the shape pretty well. After the photo was taken I clamped it back in and will leave it there until the next time I can work on it.


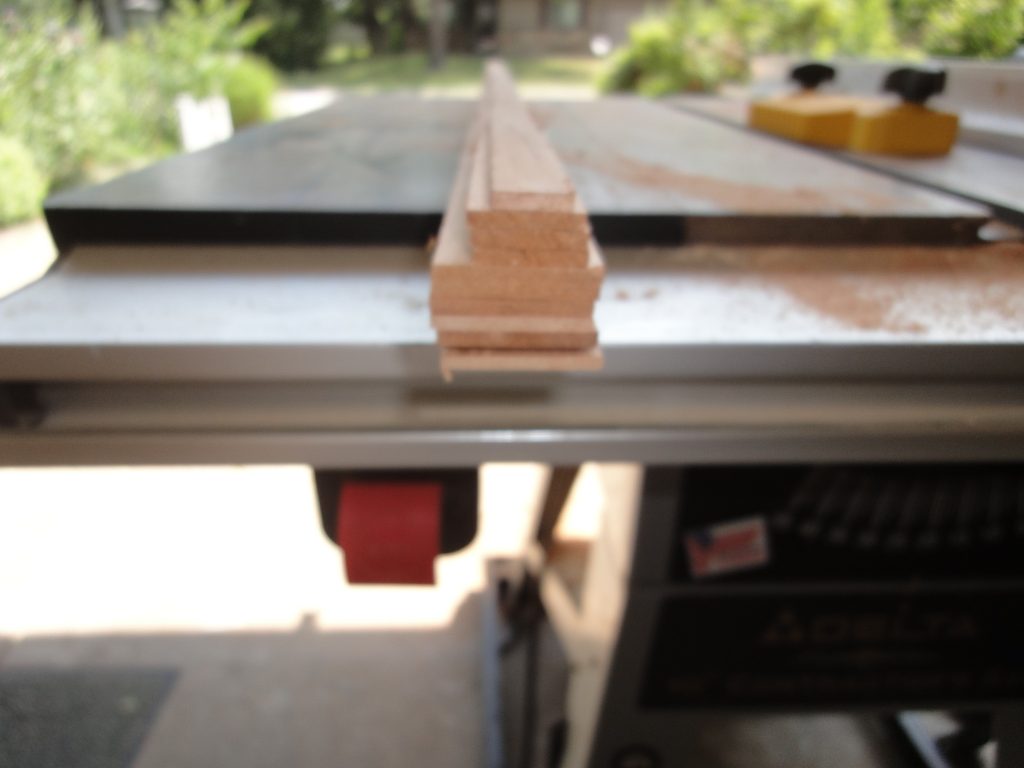
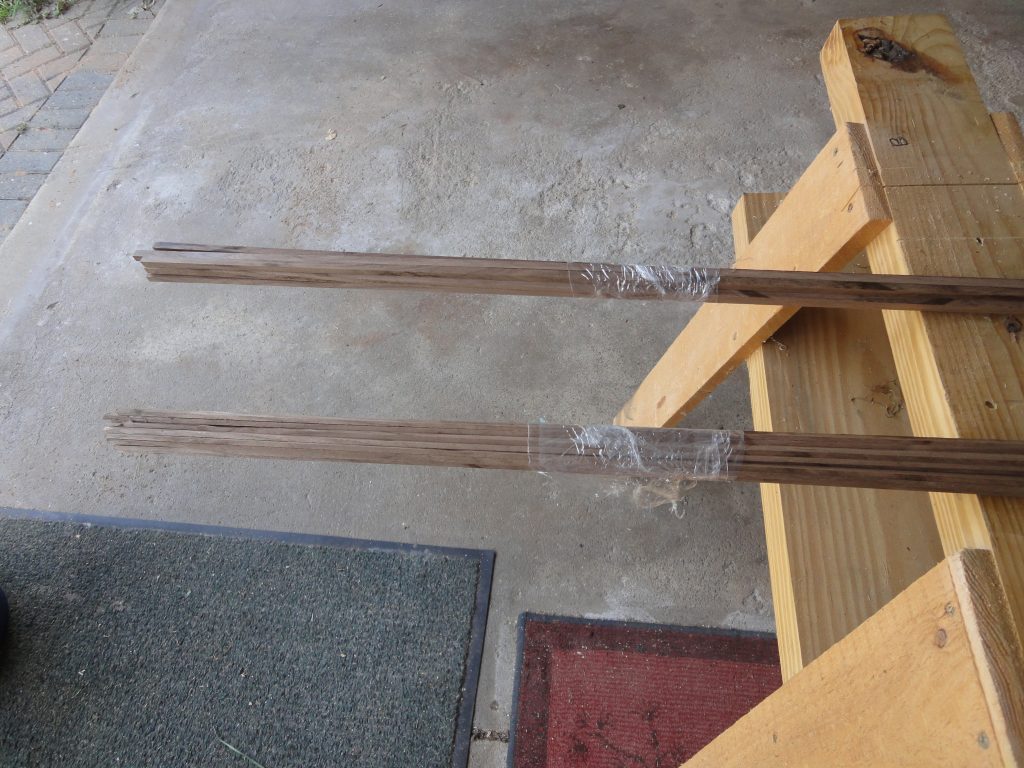
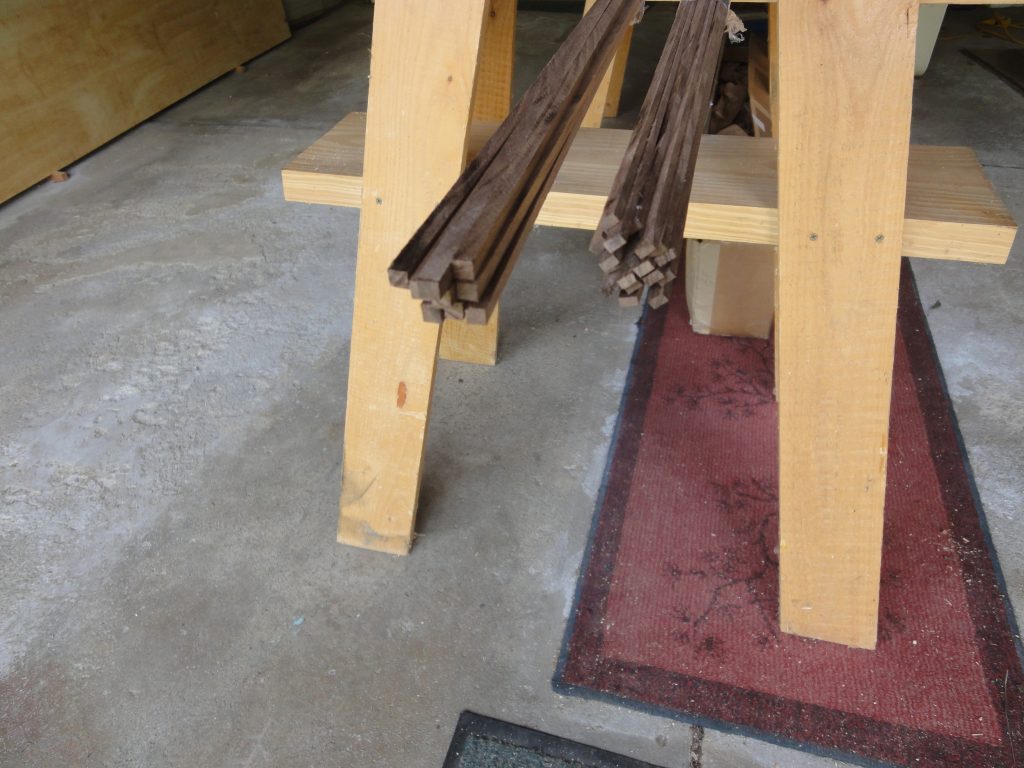
While this was drying I started on the strips. The walnut was first as it was a relatively small piece and I needed all 1/4″ x 1/4″ and 1/4″ x 1/8″ strips which will be used for accents. Over all the cutting went well with only one 1/8″ strip breaking and unfortunately also getting caught up in the blade and thrown back in a kick back situation. I had enough left over walnut to re-cut that strip. Essentially the block was ripped into 1/4″ thick lengths, then each piece was turned on side and 1/4″ or 1/8″ strips were cut off of it. The resulting bundle is not intended to be used in any particular order so I just gathered them and used stretch wrap to keep them together.
Next time I plan to glue up the pieces for the bow and start cutting the basswood strips. Most of the basswood is fairly consistent on grain so it’ll be mostly straight forward cutting. I’ll put together a better sequence of pictures at that time since they will be reflecting the majority of the strips and sizes that will be used.