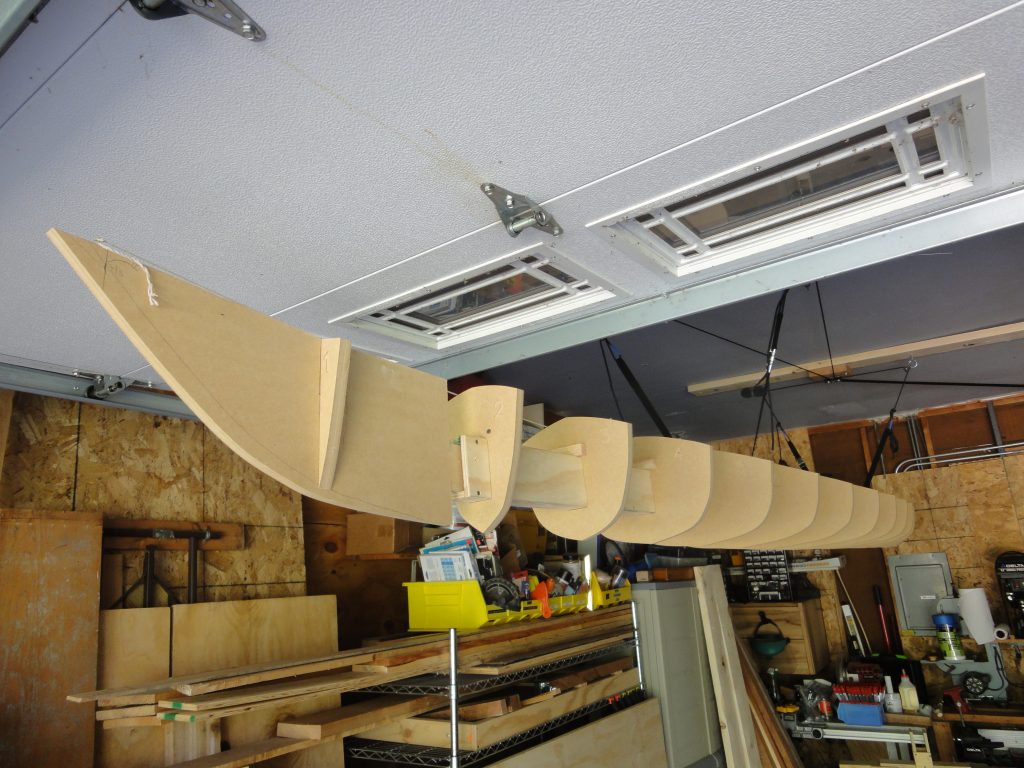
Today showed little visible progress but actually was quite productive in the prep work category. The goal was to get the forms permanently on the strongback since I could now lift it out of the way. While in previous posts I showed the forms on there, they were just slid in place and not aligned or all consistently spaced out.
I stared with attaching a small nail on the center of the tip of the bow and stern. A string was attached to both and pulled taut. Sighting down the string I was able start to check the forms for alignment. To ensure I was viewing the right spot I used a pencil to put a line right at the peak center point of each form.
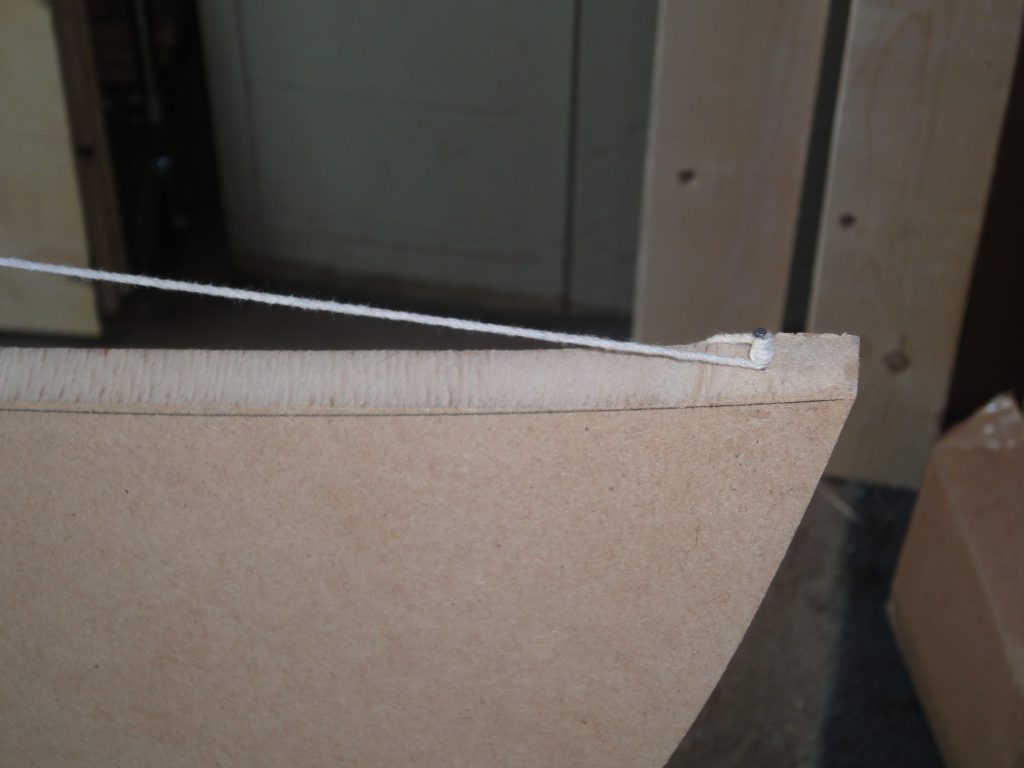
Attach a string to the bow and stern 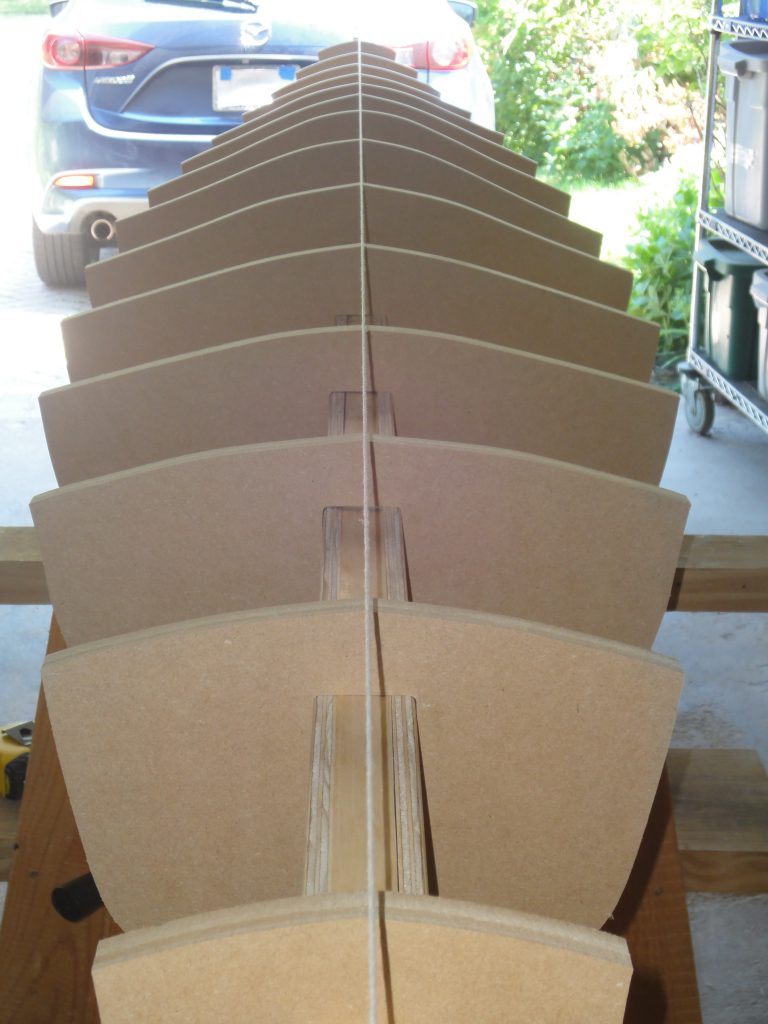
Sight down to view the form alignment 
Clearly the bow is not straight 
Some forms in the middle were also not aligned
Some small dowels were inserted along with a few screws to pull the bow into alignment. Once the bow and stern were straight the forms were next. They each fit fairly tight to the strongback but being wood, the strongback is not as rigid (straight) as an aluminum beam could be (but a heck of a lot cheaper) so there is some adjusting that needs to be done. When a form is out of alignment it’s pretty obvious.
Not aligned 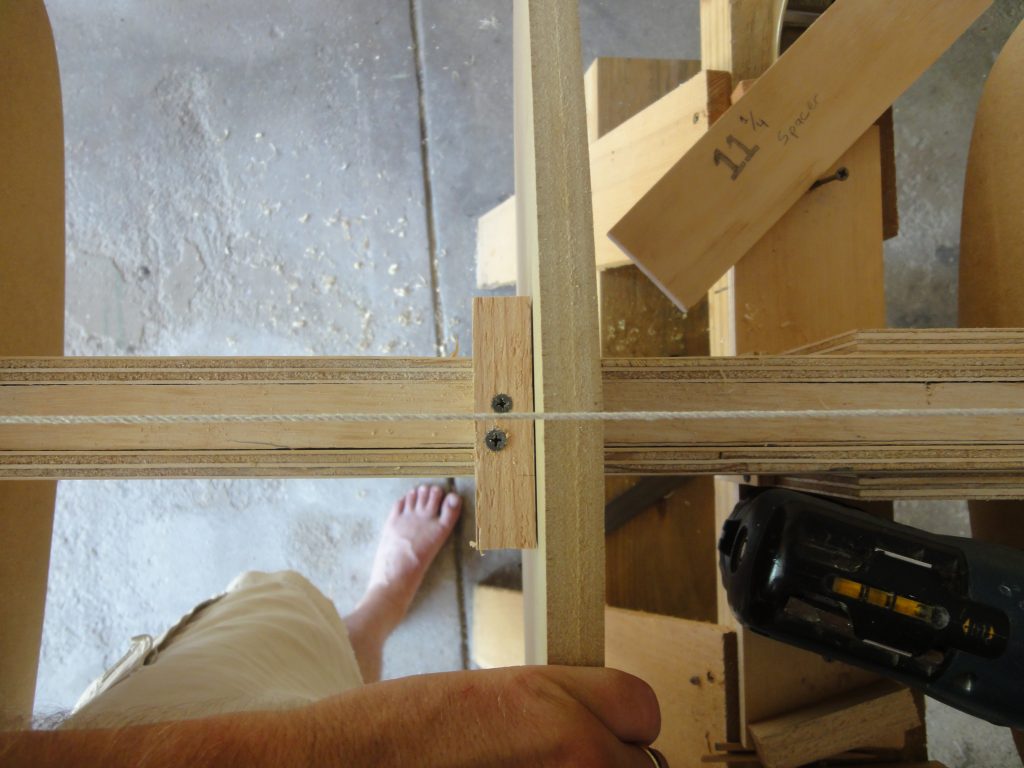
Aligned – the center mark disappears under the string
The steps to align a form are not difficult. First I look to see just how much it has to move. If it’s off just a tiny amount there may be enough play to adjust it. If not, then I use the block plane to shave off a little bit of the beam where the form goes. I don’t shave the whole beam, but rather just the corner areas that are tight to the form. When a little is shaved off the form can now rotate just a tiny bit. I recheck alignment. If still not good I repeat until the form can rotate into alignment.
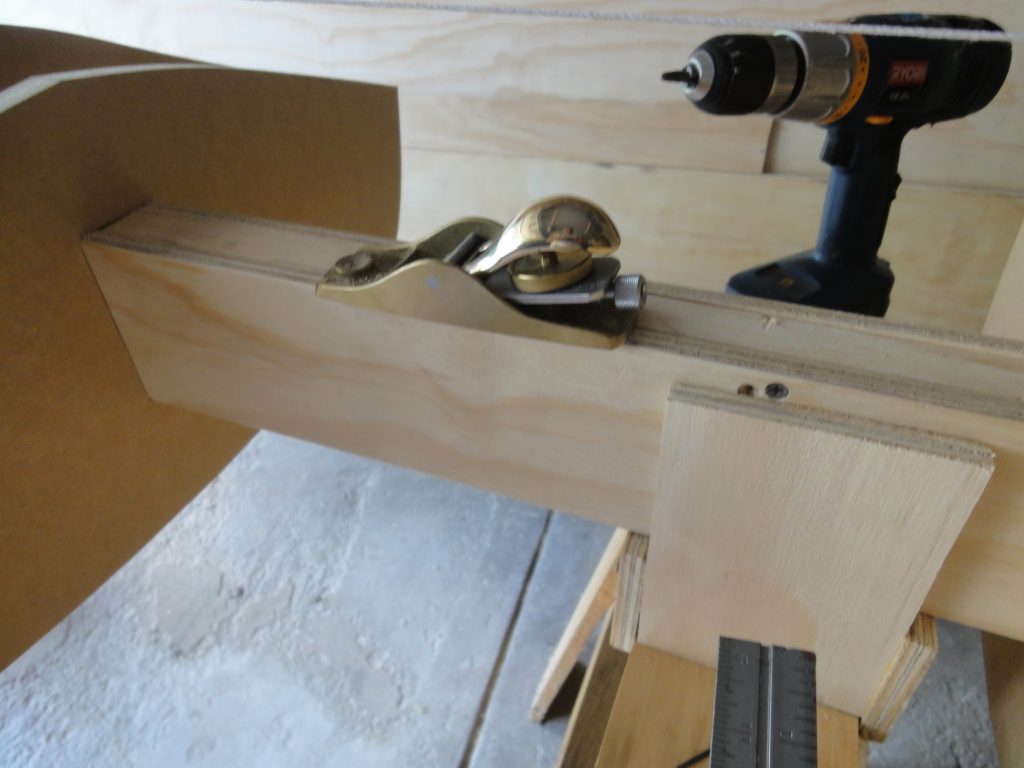
Plane down the corner areas to allow the form to rotate a tiny bit 
The area right above the screw was planed down
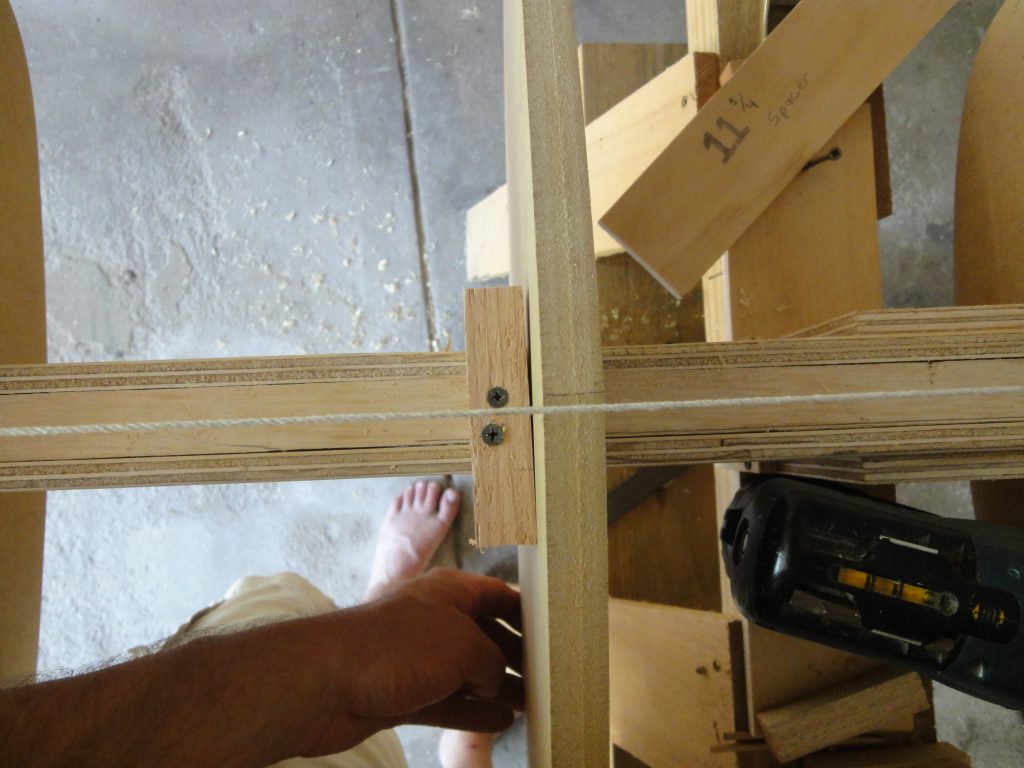
Once the form is aligned you need to some how keep it that way. To start, I cut a bunch of small blocks. About 3/4″ x 3/4″ from some scrap lumber. A spacer block of 11 3/4″ was used to determine the next form placement, that was slid into place and then the form was moved against the spacer block. These blocks were then moved against the form, aligned perpendicular to the beam with a combination square and two screws were used to hold them to the beam. The form was pressed tightly against the block, rotated into alignment (if necessary) and then two screws were used to attach the form to the block.
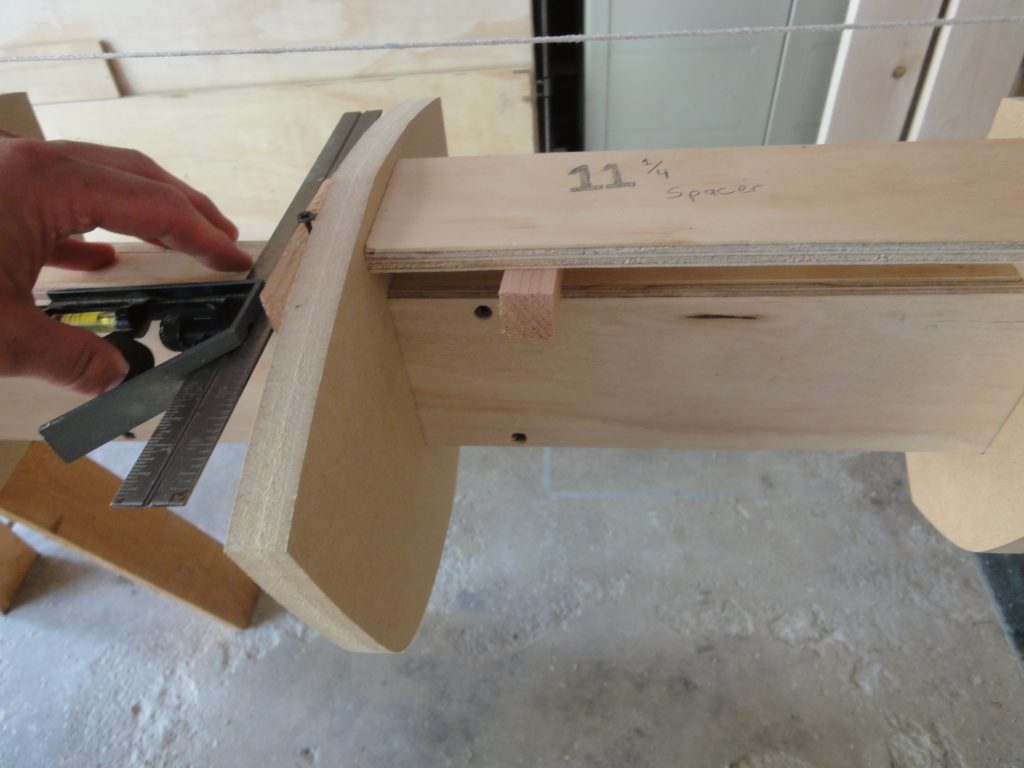
Space over the next form 
Place and align the attachment block 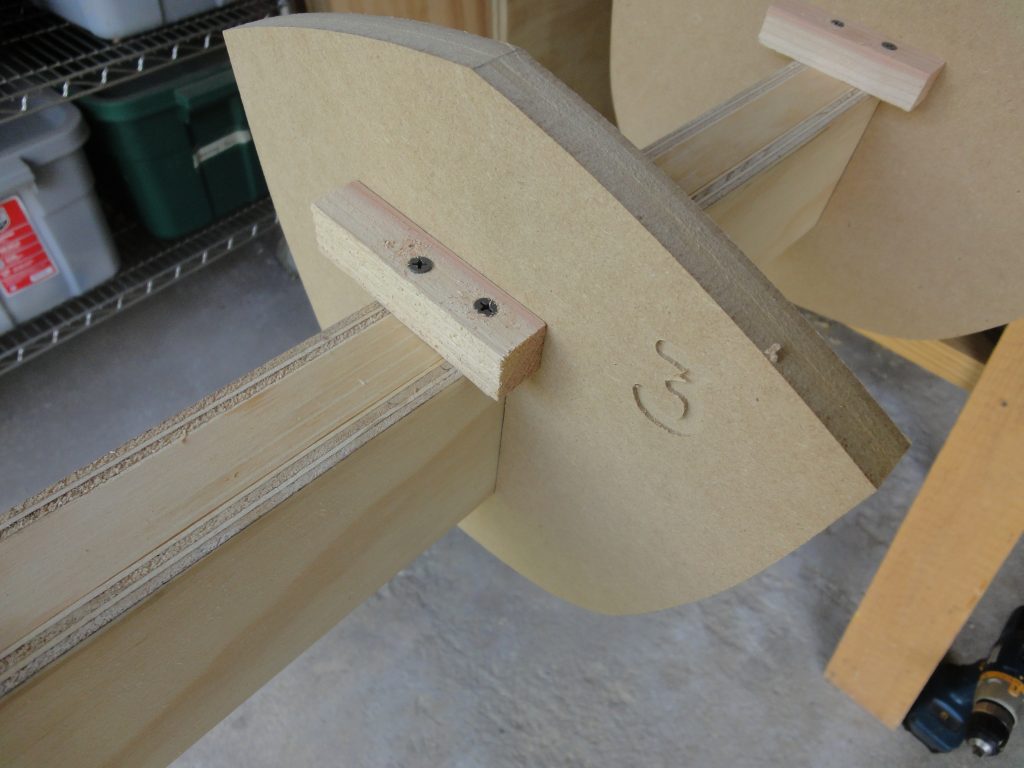
Two screws hold the block in alignment to the beam 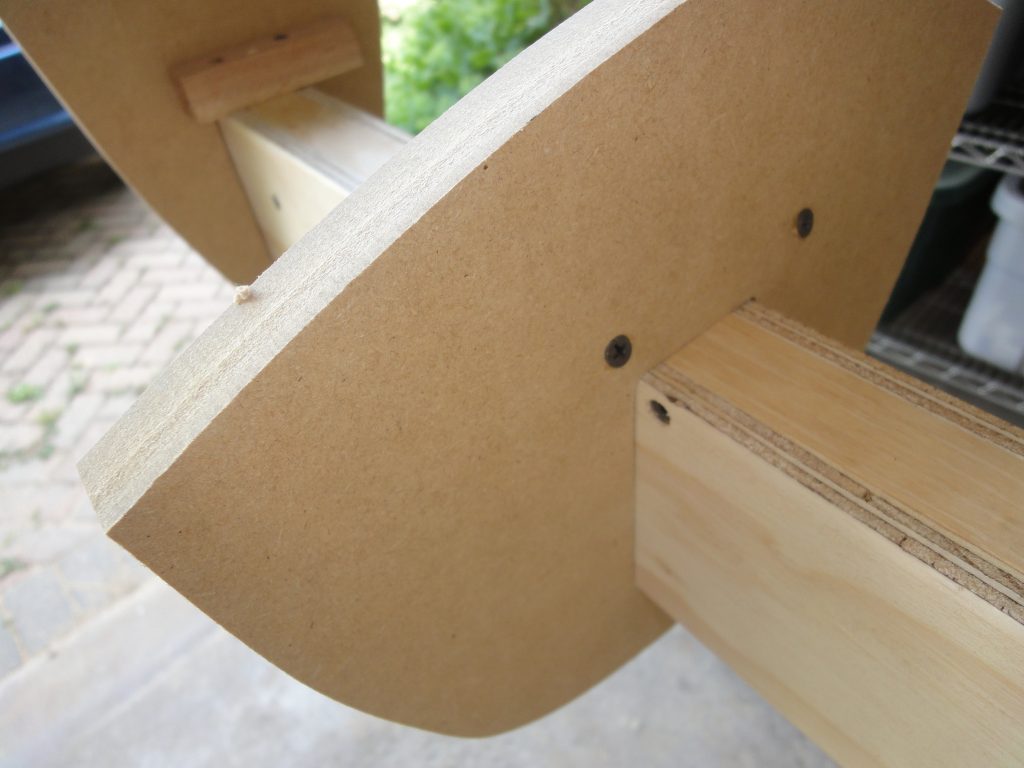
Adjust the form into alignment and then use two screws to attach it to the block locking it into alignment
The process is repeated for each form until all are in alignment.

By far most of today’s work was in aligning the forms but I also fixed my first mistake and started to plan and do a bit of the shaping. The oops was the placement of form #1 on the bow. As I stated, the prior alignment of the forms was just a “let’s see how they look” and I should not have mounted #1 yet. After doing the precision placement of each form I found I was about a full inch off. So a new notch was cut and the waste piece was glued into the previous notch. It isn’t really necessary but helps a tiny bit with structural integrity, especially as a backer block for the narrow bit that was left. The top point of form one should be even with the pencil line when form 1 is finally aligned.

The bow and stern will end up with an inner and outer stem or keel. I plan to use the bow and stern forms to create the outer keel, then with the outer as a template, create the inner and then finally trim off the part of the form where the inner will go. The reason for the inner stem is to have a place that the strips can be glued to. You can’t attach them to the form or the form would never be removable. The stem itself will just sit against the form but not be attached to it. The pencil line is an approximate estimate of about the size of the stem.

Finally the bow and stern have to be shaped to match the angles of the eventual stem (comes to a point) and the surrounding and overlapping forms. So the top has a small point in the center that has to be formed at form 2 and 1 and then it should curve over to a point at the tip. You can see this somewhat in the drawings and the video demonstrates the approximate angles that I’ll need to move the plane to cover this area. The final image is my first shaping and sanding. When I can shape all the way to the point I’ll finalize this rolling bevel, but this won’t be until I have the stems made.

The bow needs to be angled to match the form. 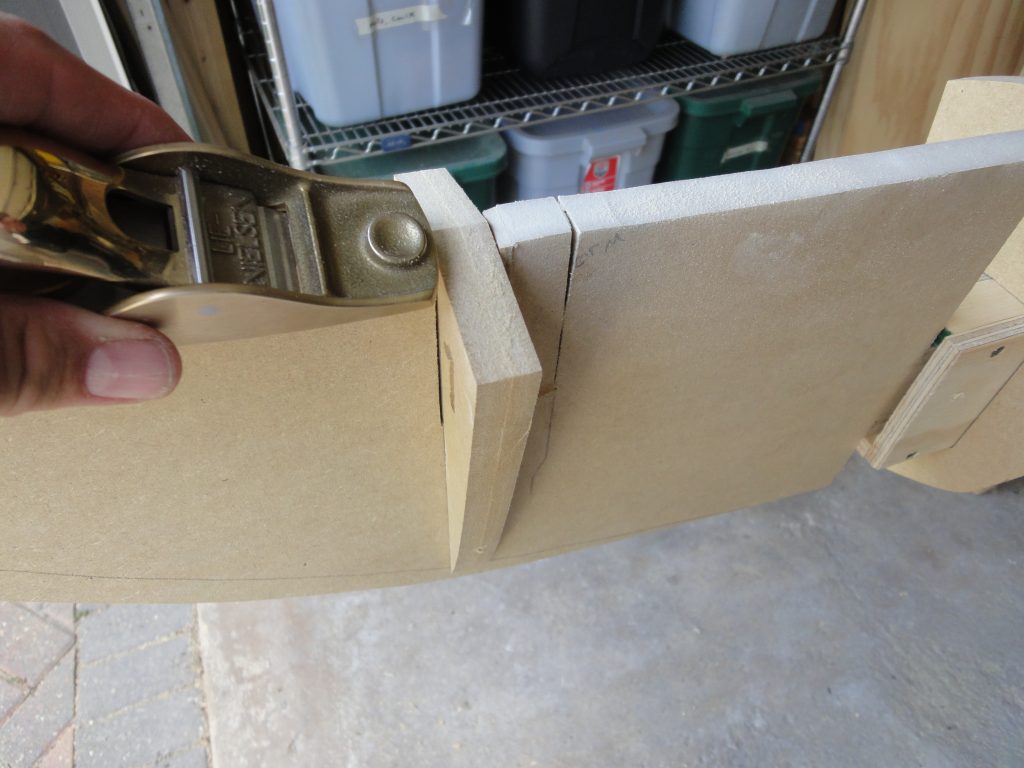
This requires an approximate plane angle as shown 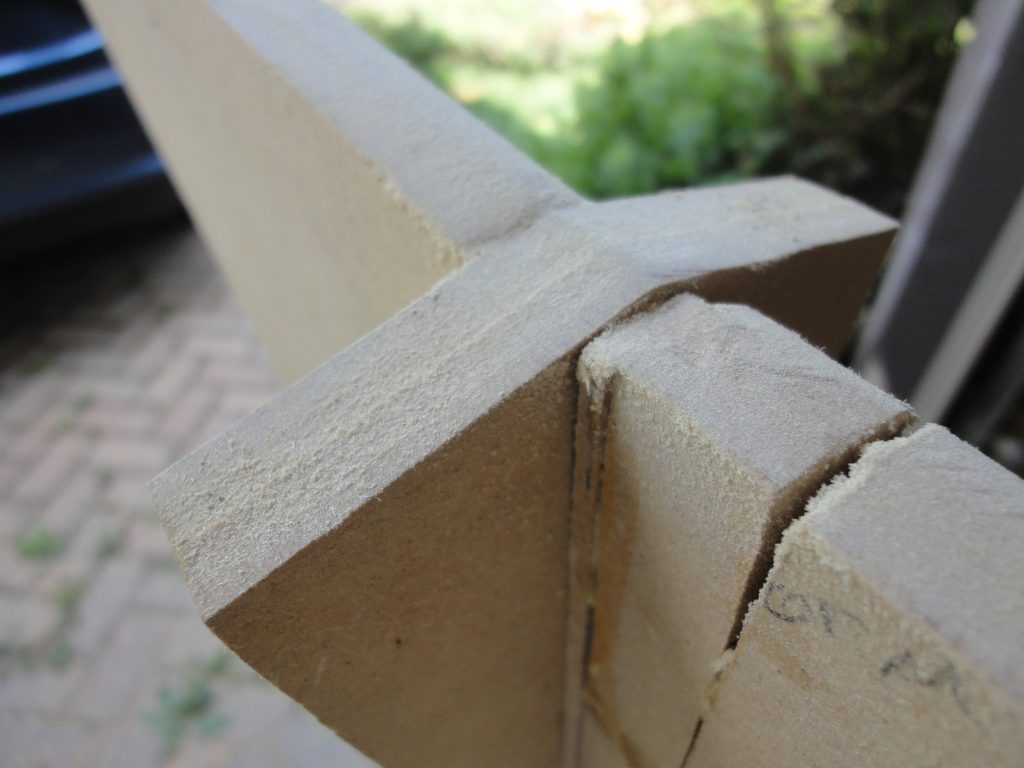
Starting to shape the bow form to match form #1 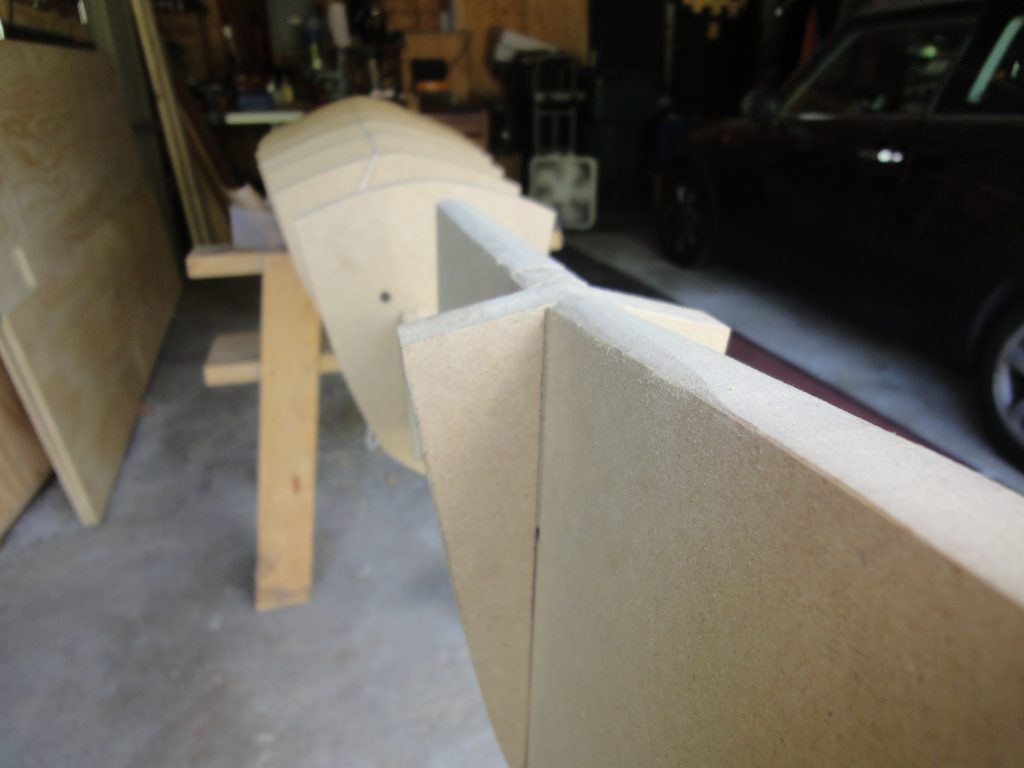
A few inches on either side of form 1 are pretty much angled properly now.
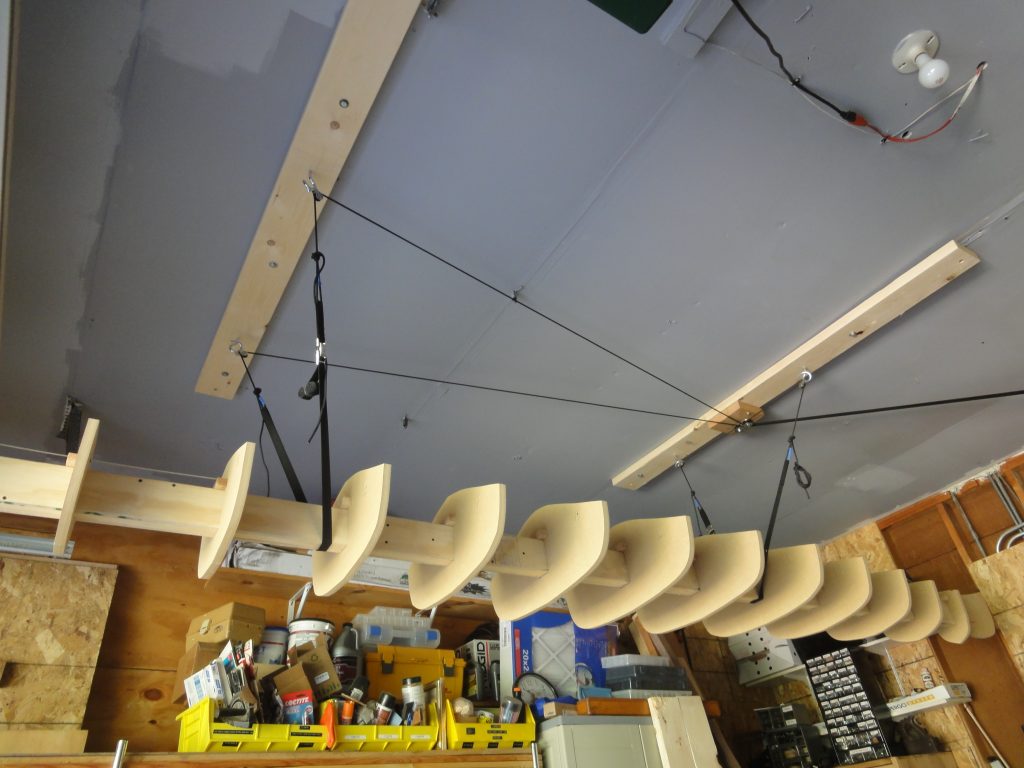
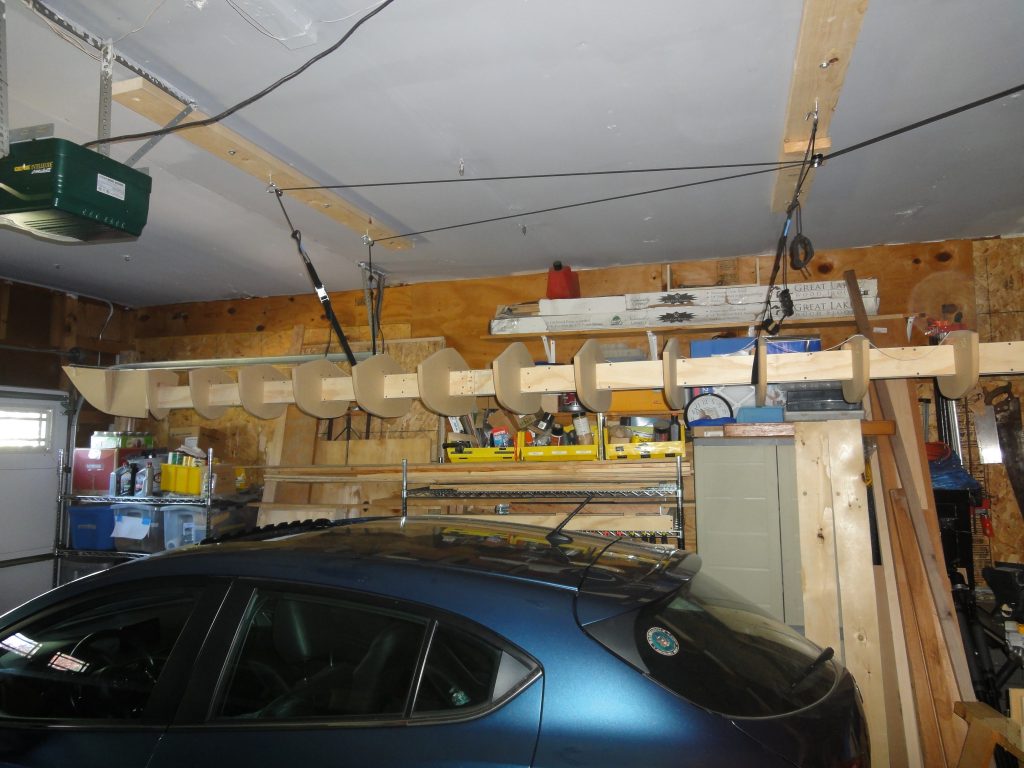
At this point I decided the 90+ temperatures were quickly sapping my energy so I’d clean up and call it quits for today. This was my first try at using the lift to raise up the kayak forms. I’ve still got it sitting below the door but this is fine for now as it clears my car. The straps could have been placed a bit better too but this will work itself out as the kayak starts to take shape. Standing back and looking at it and I can already see my completed kayak hanging there.