Deck Underside

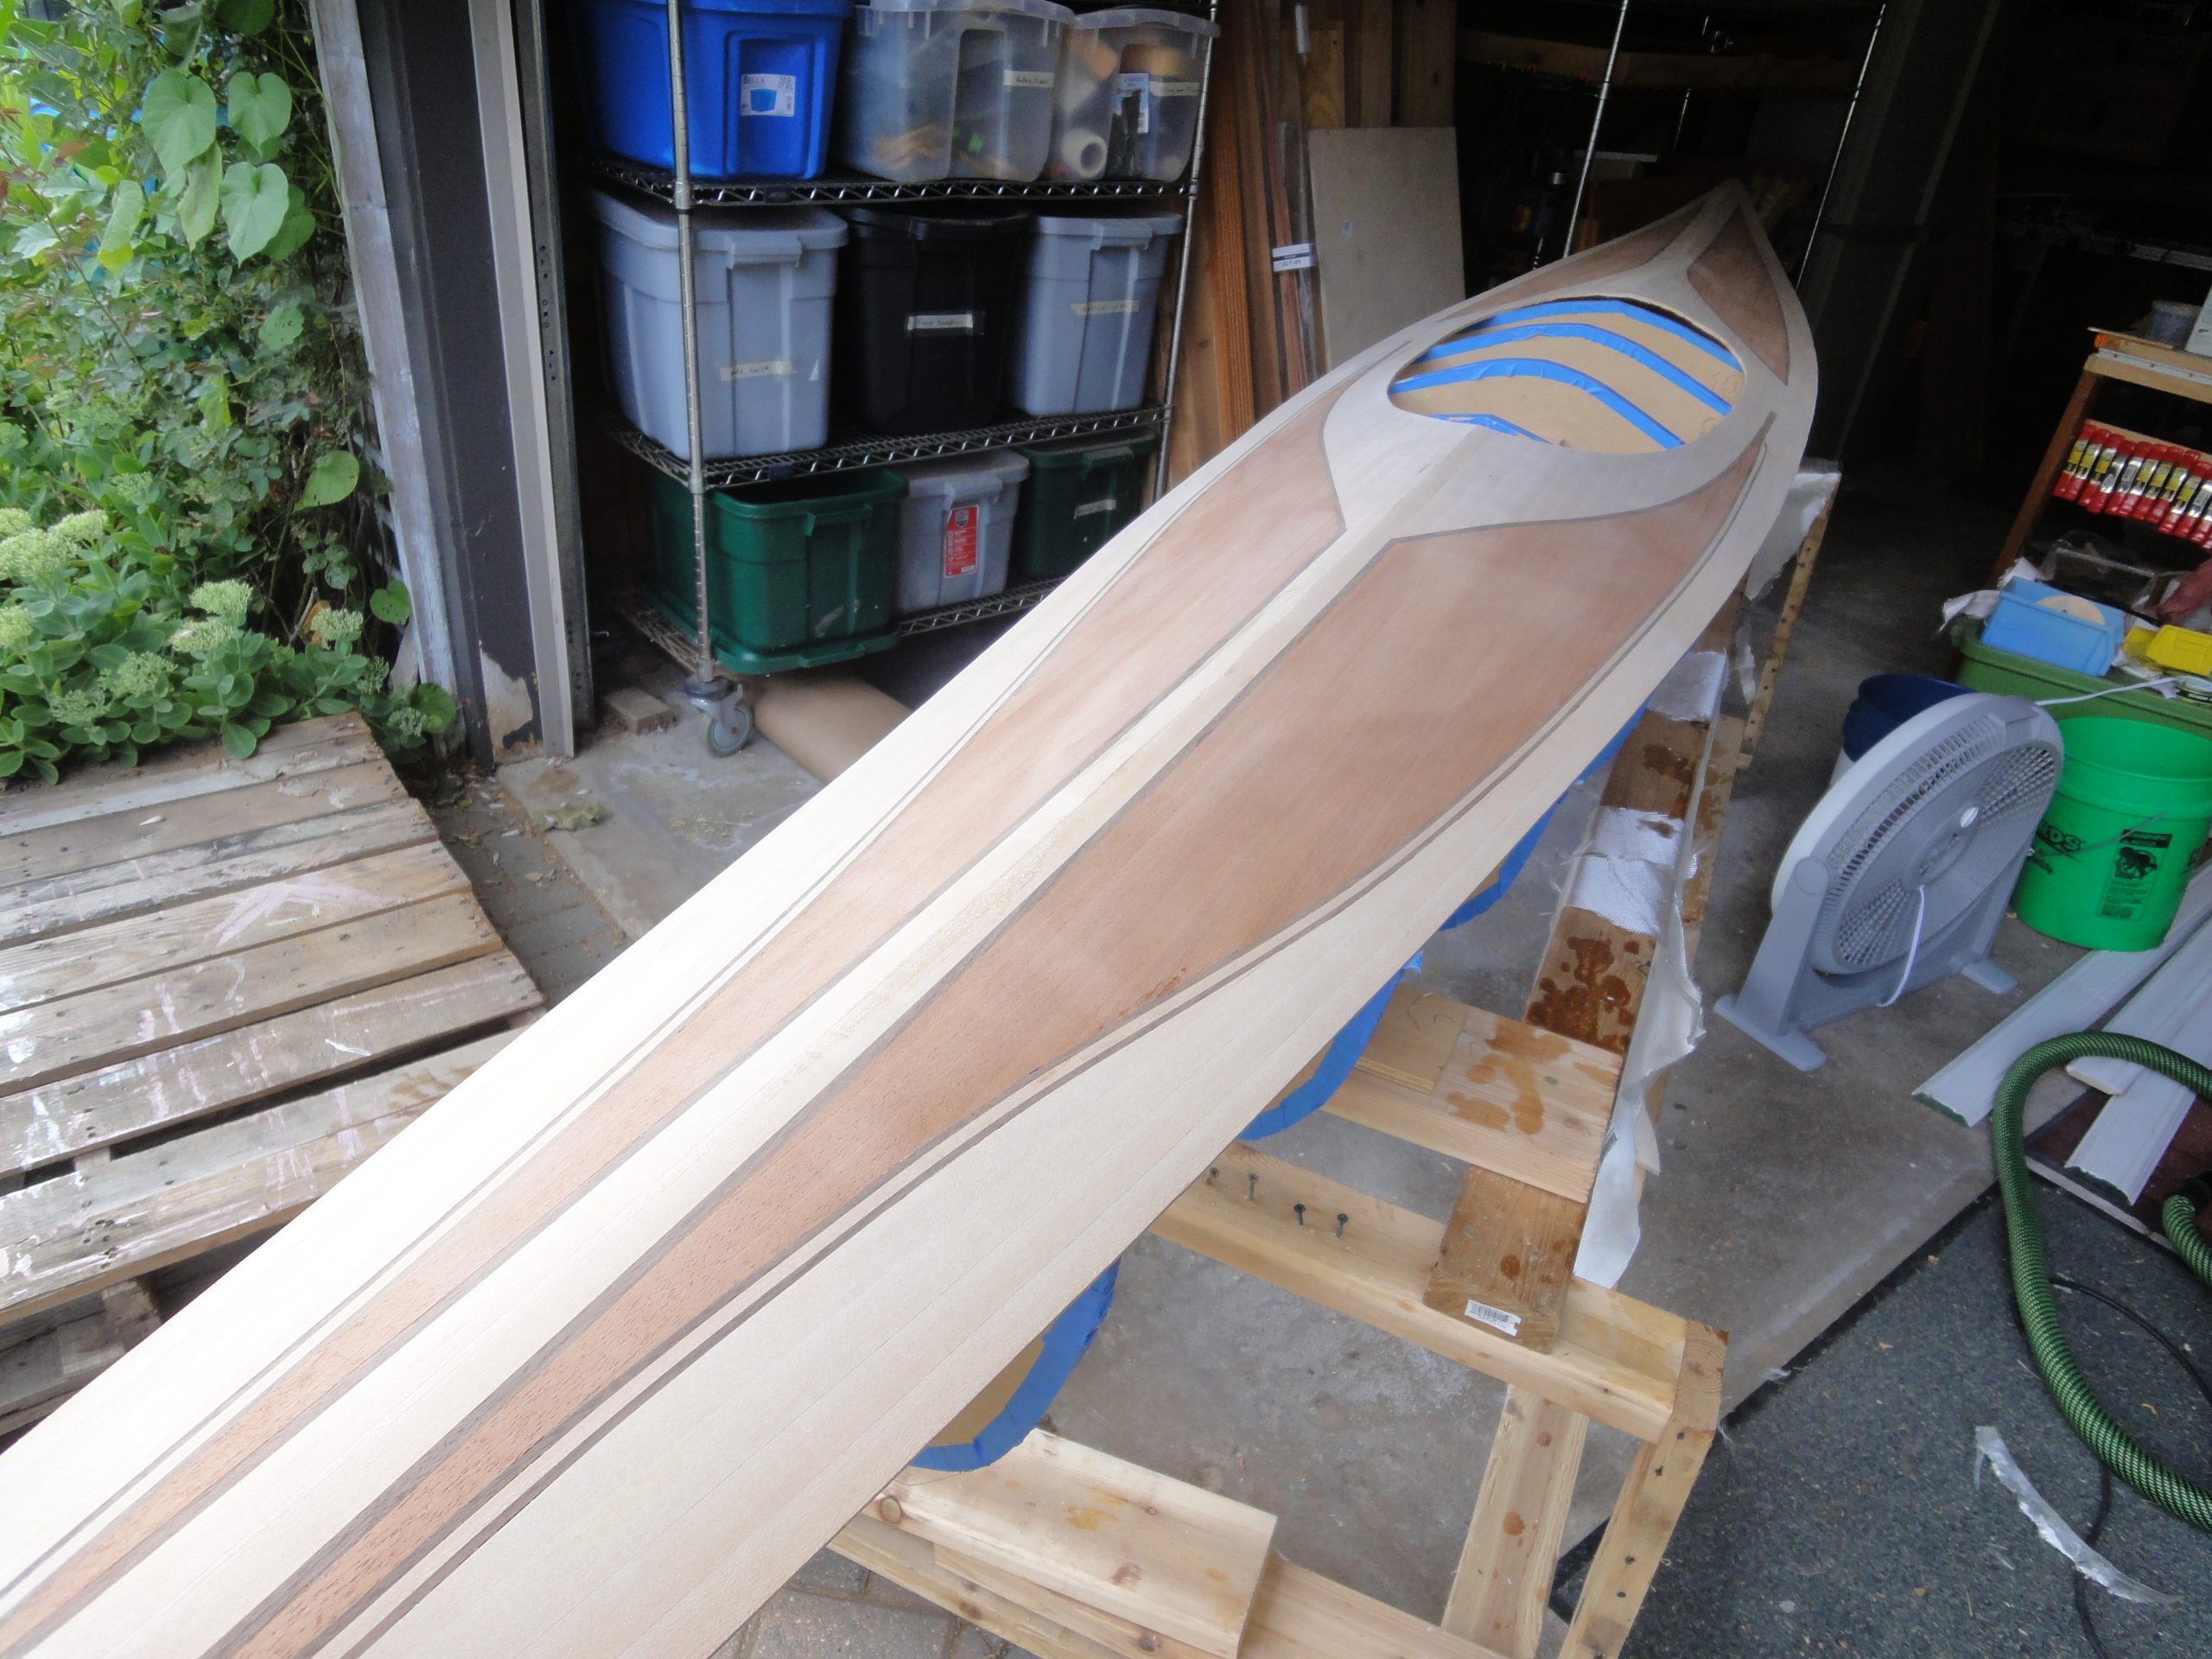
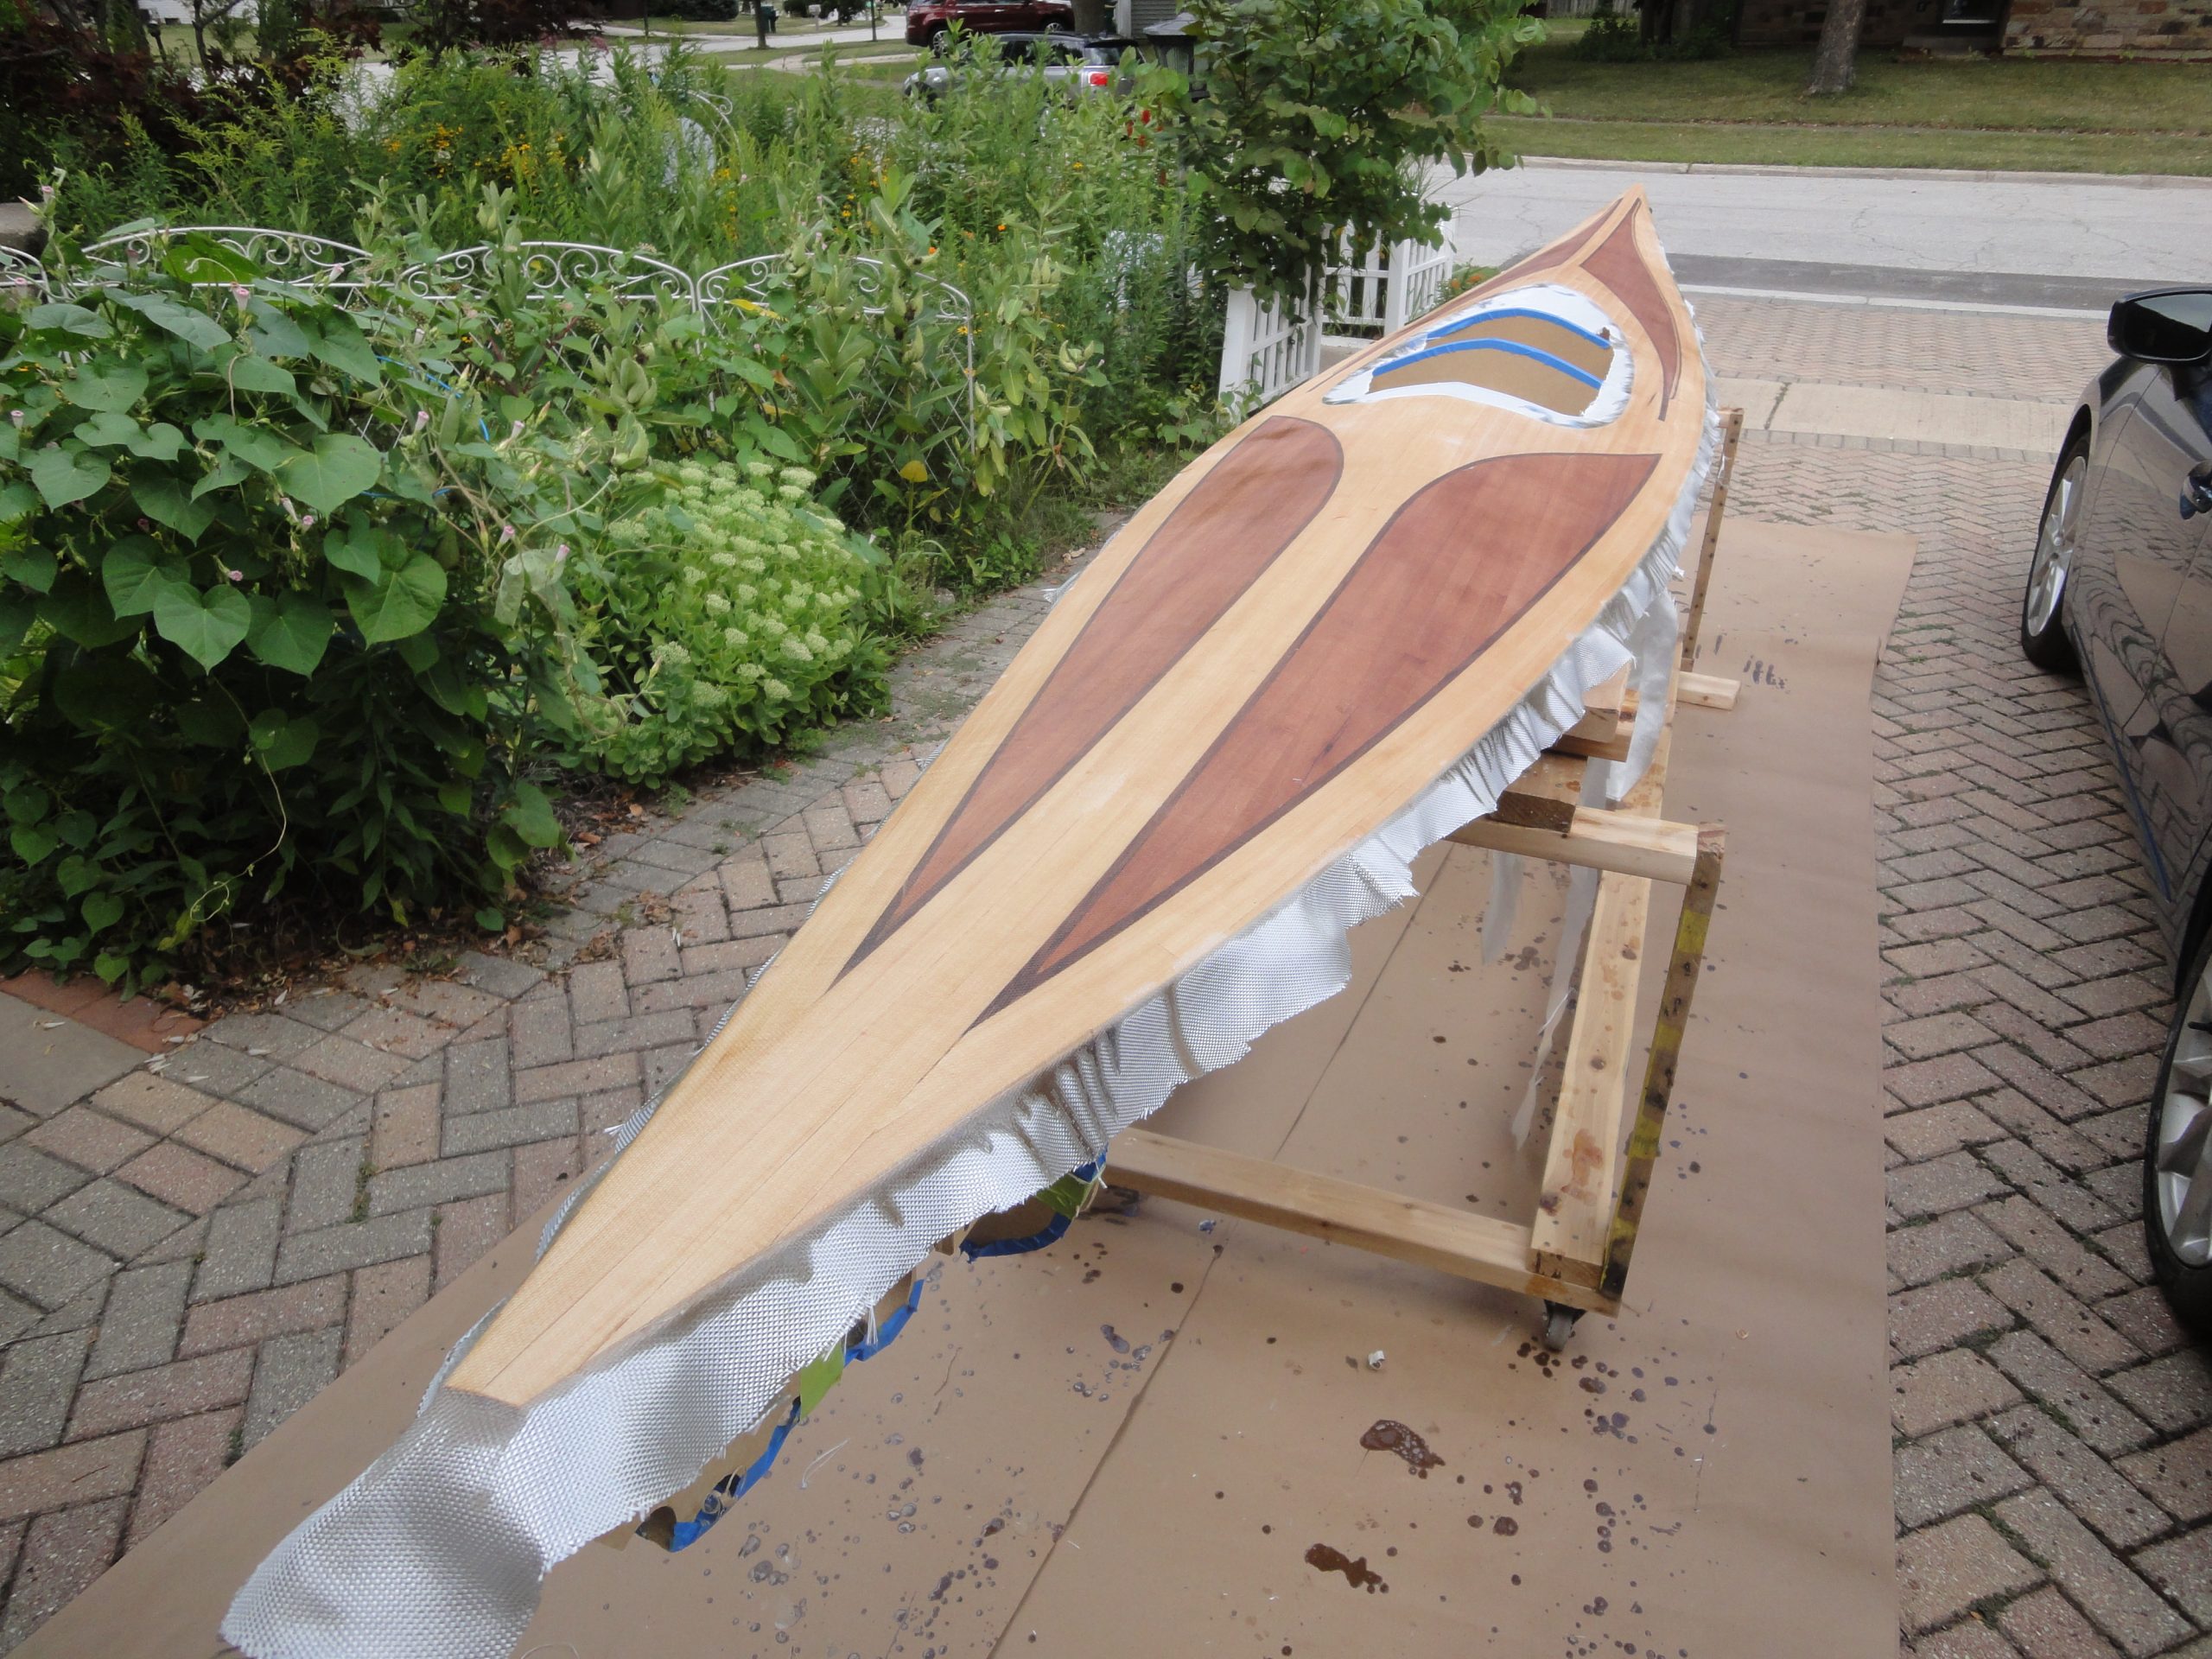
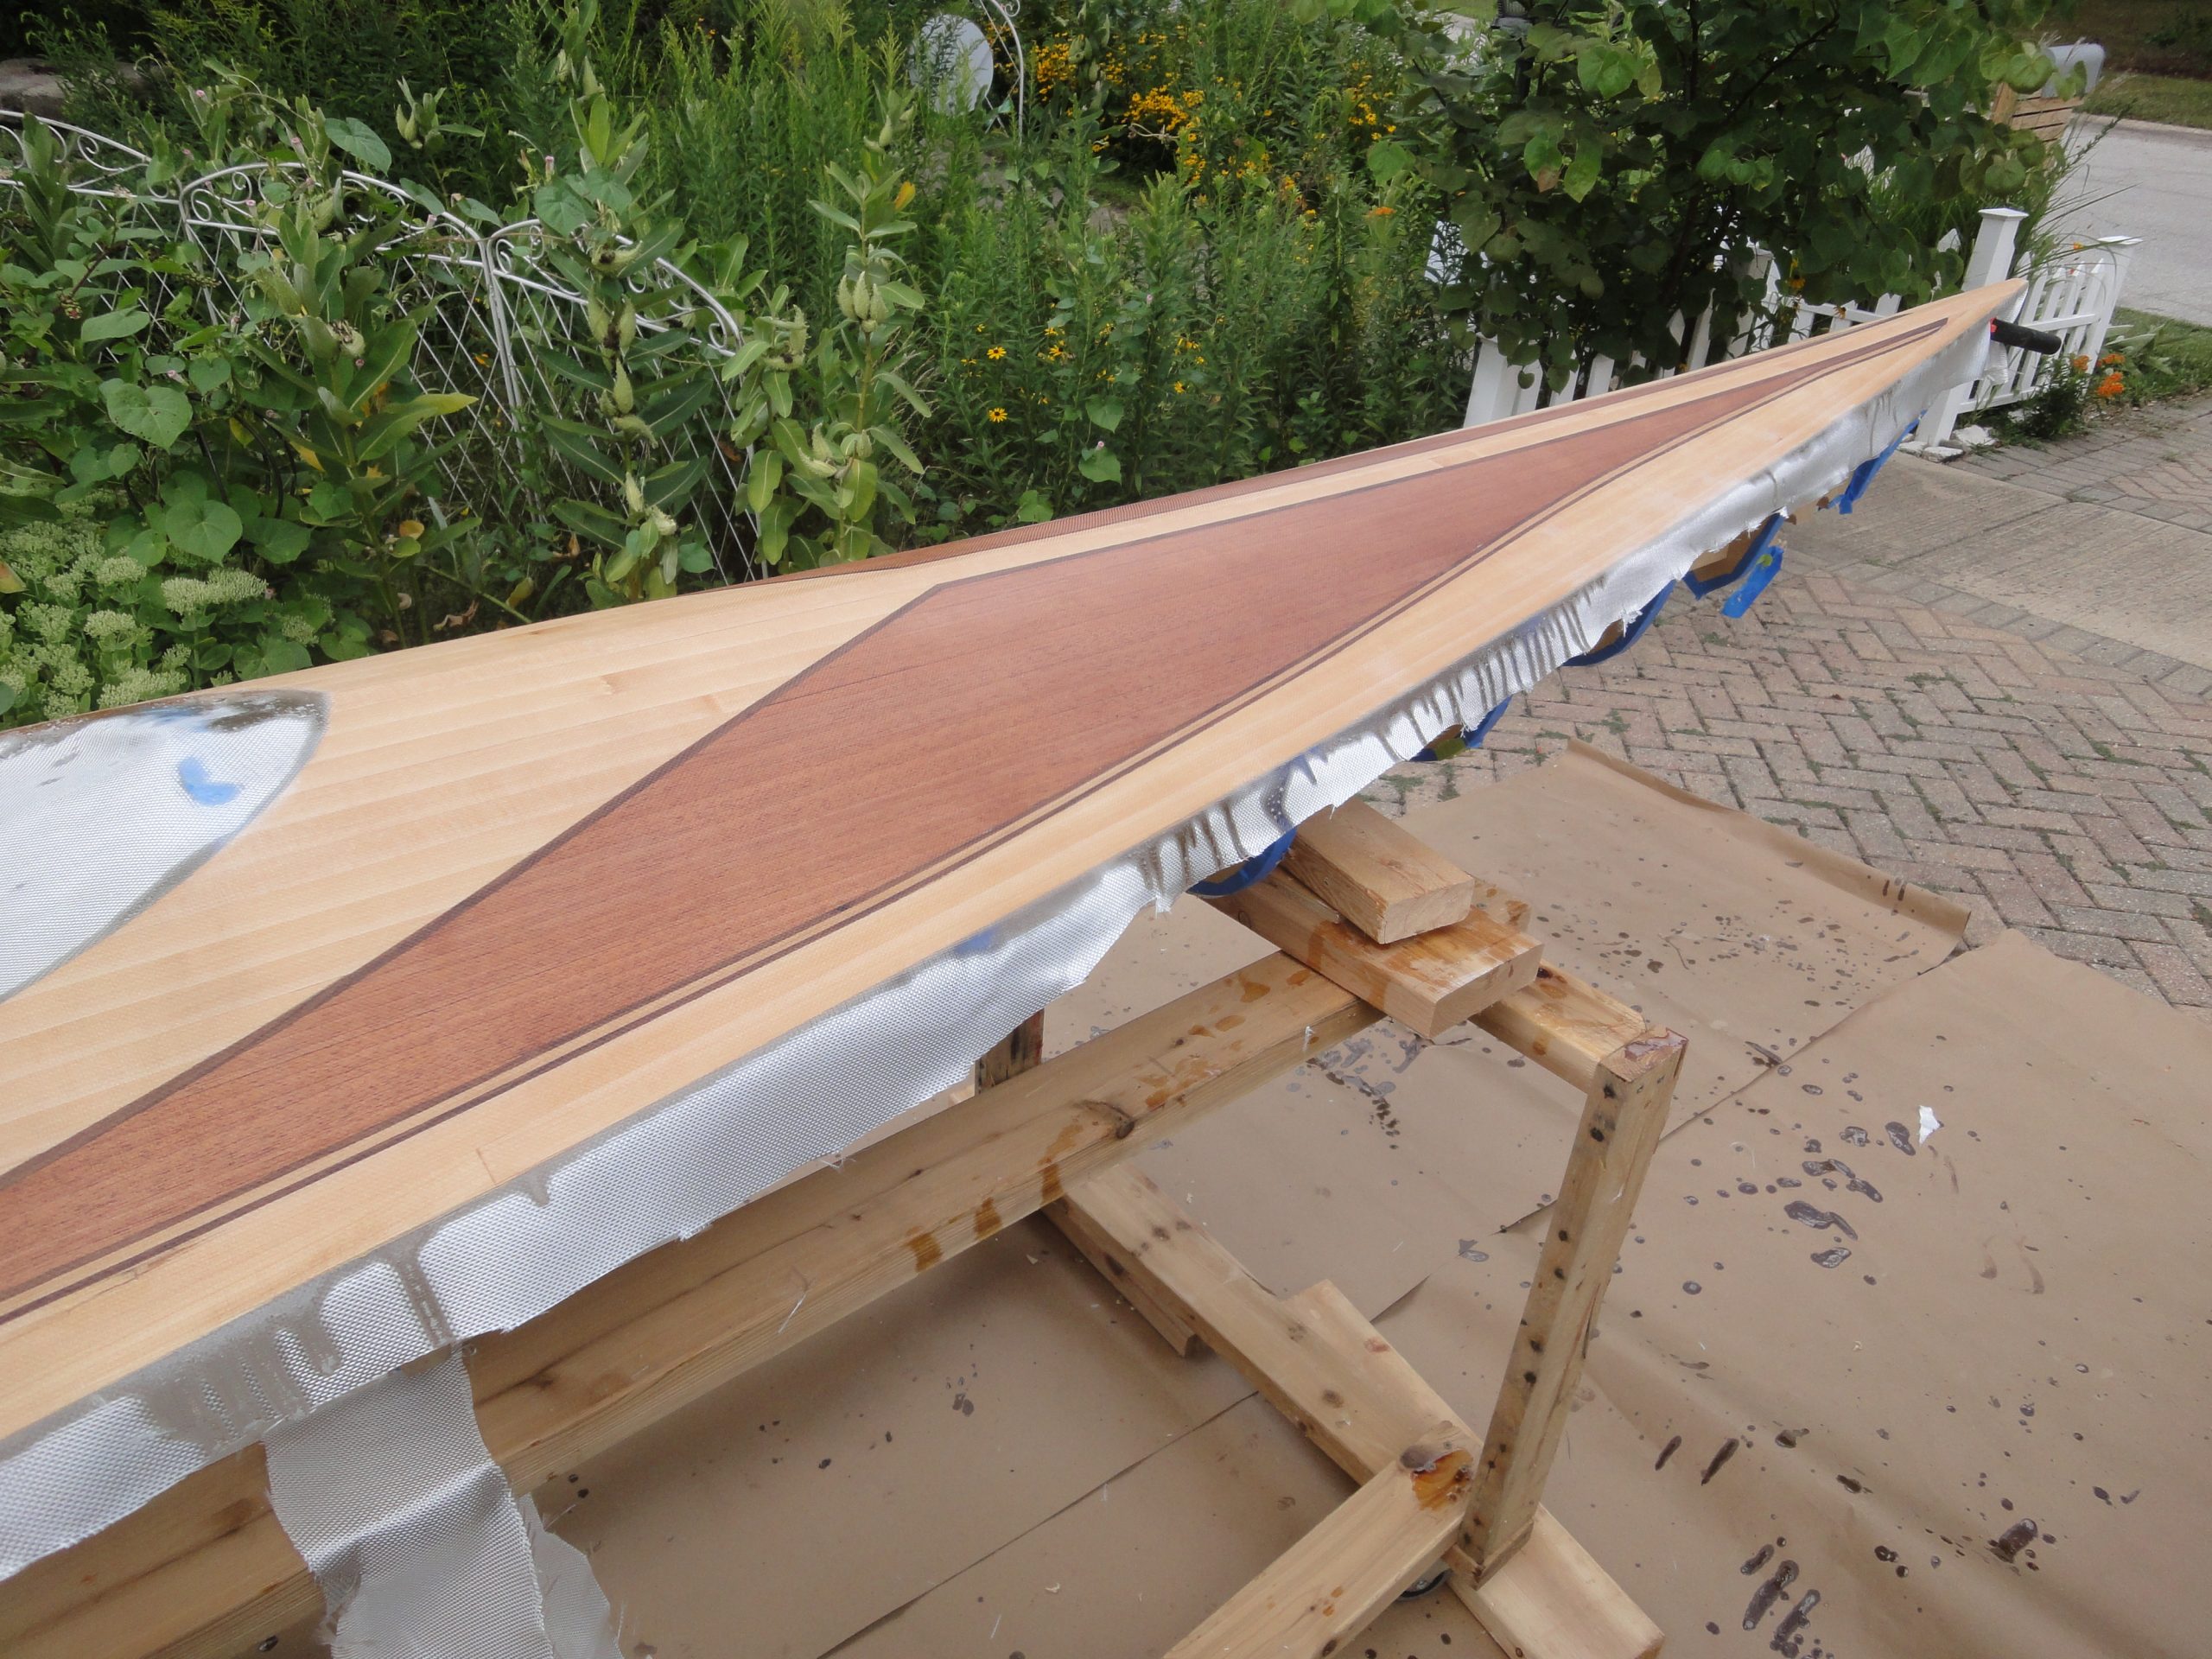
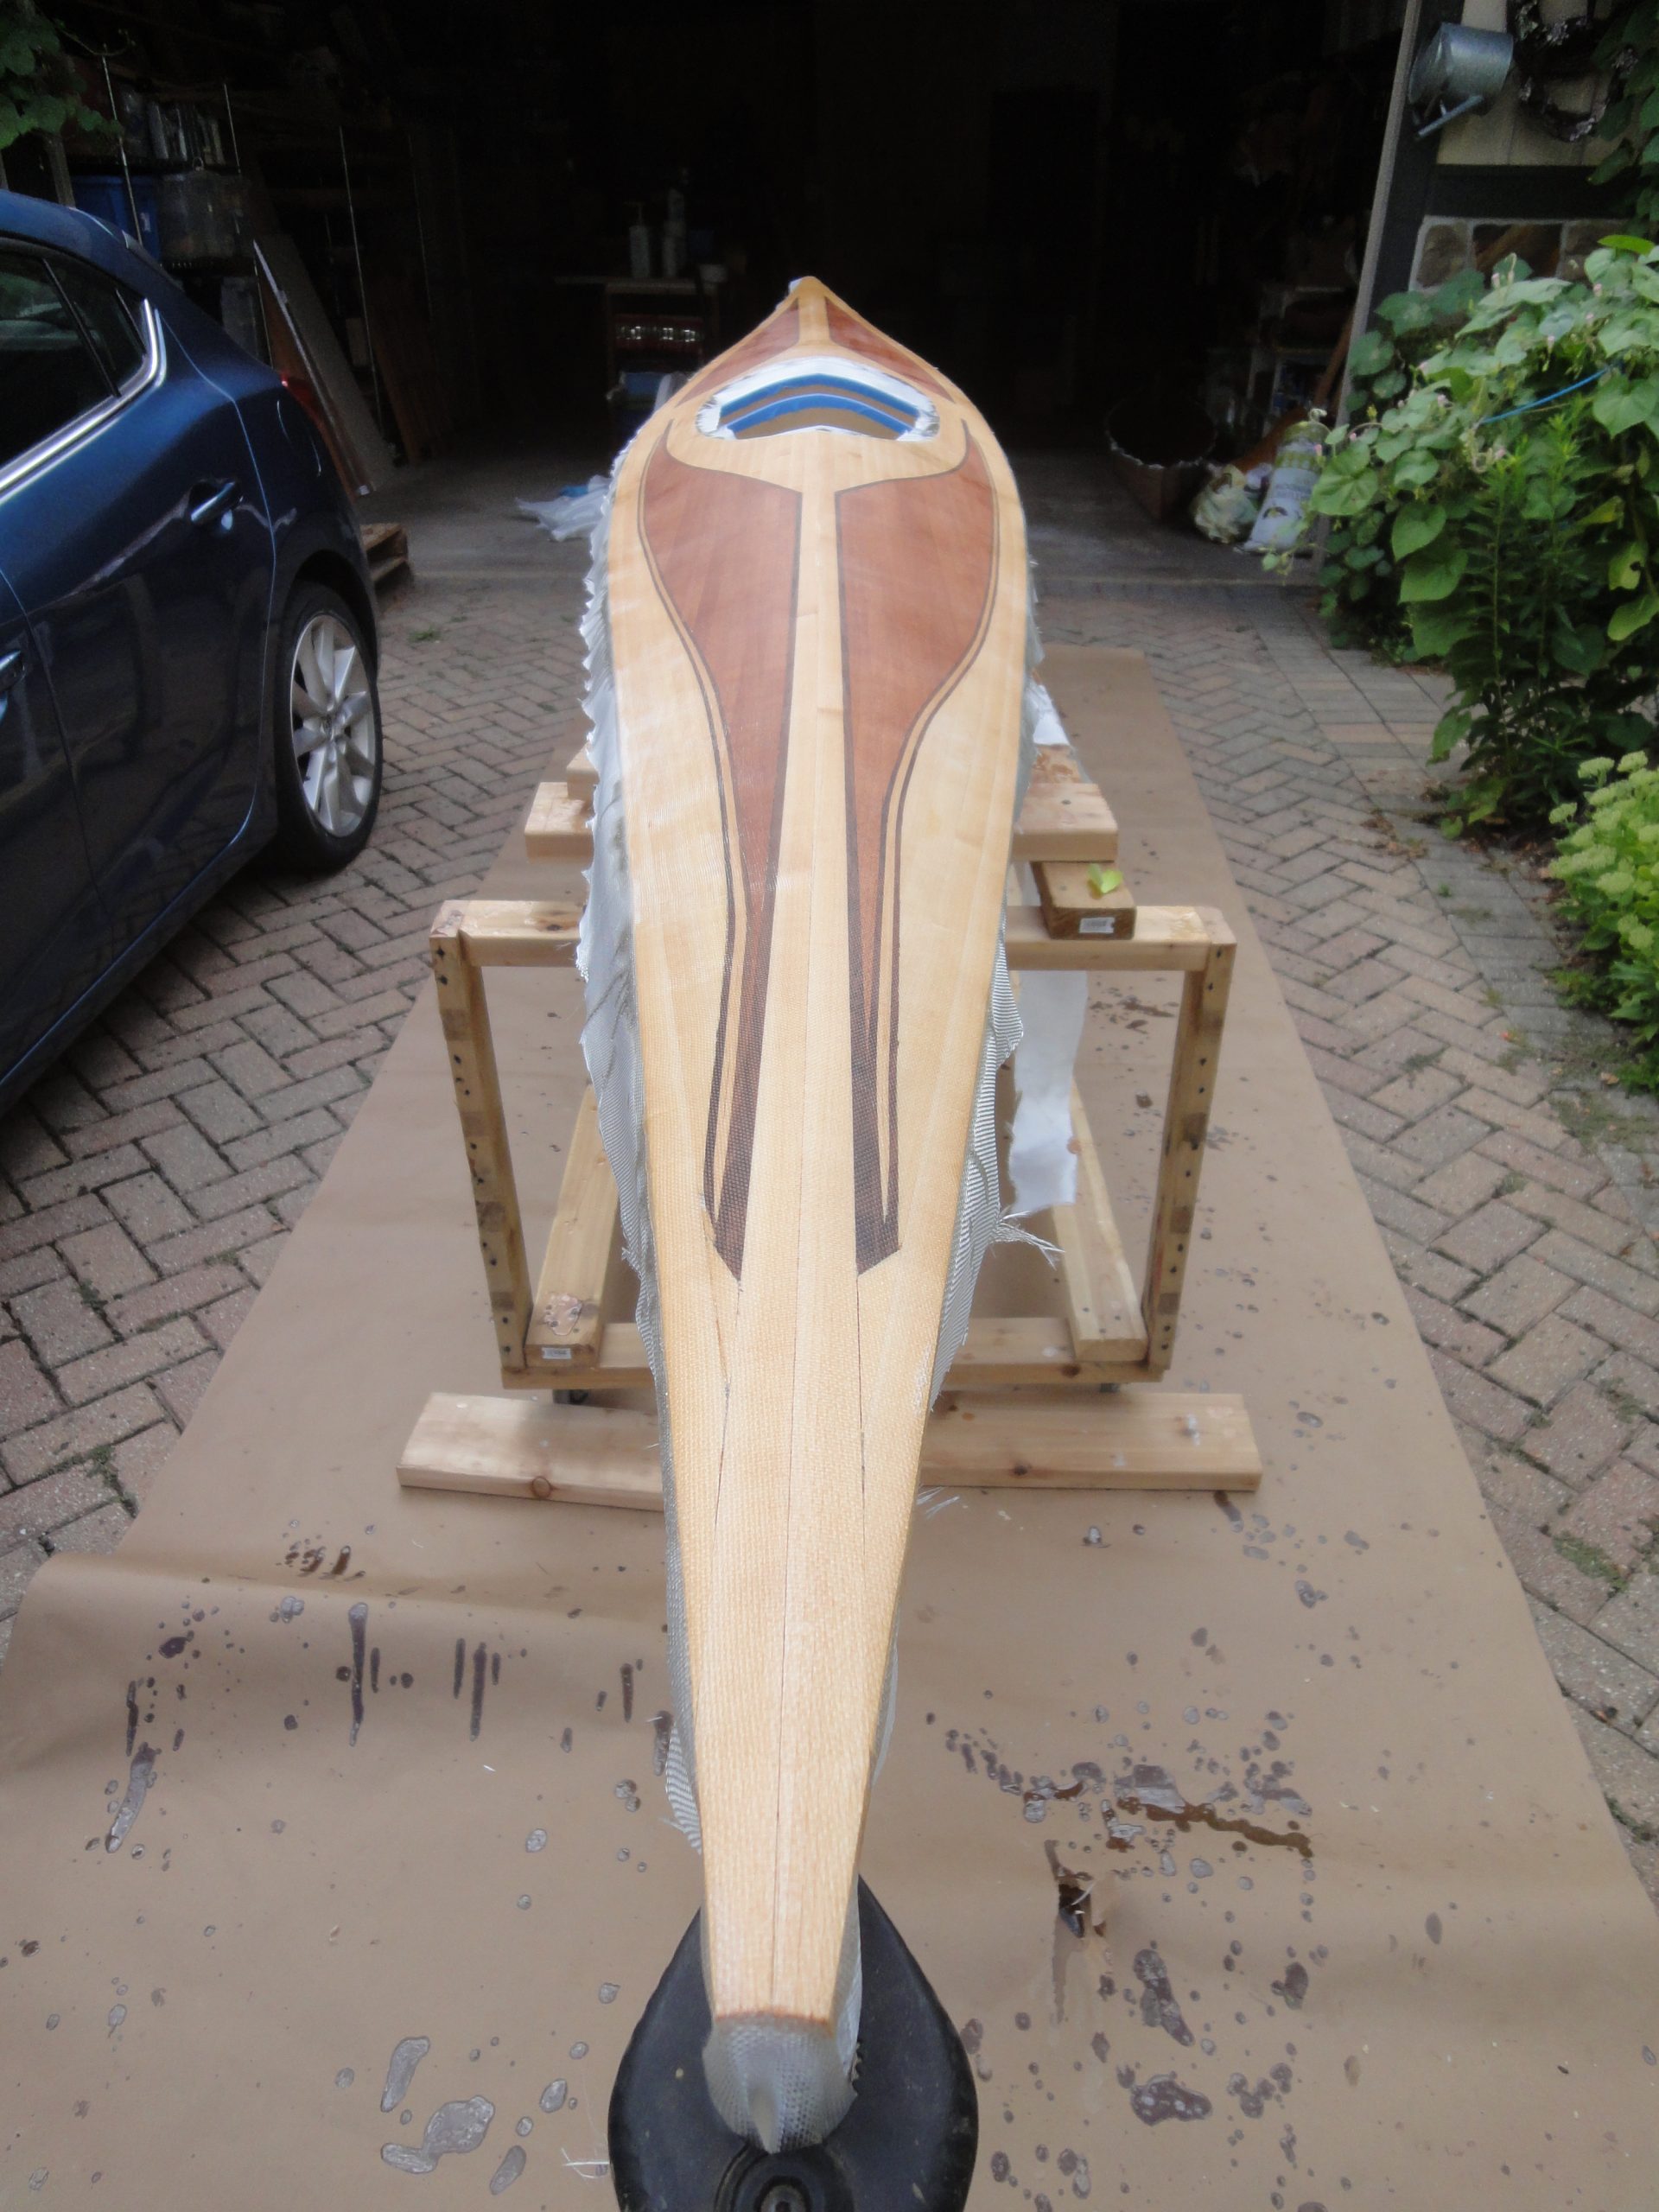
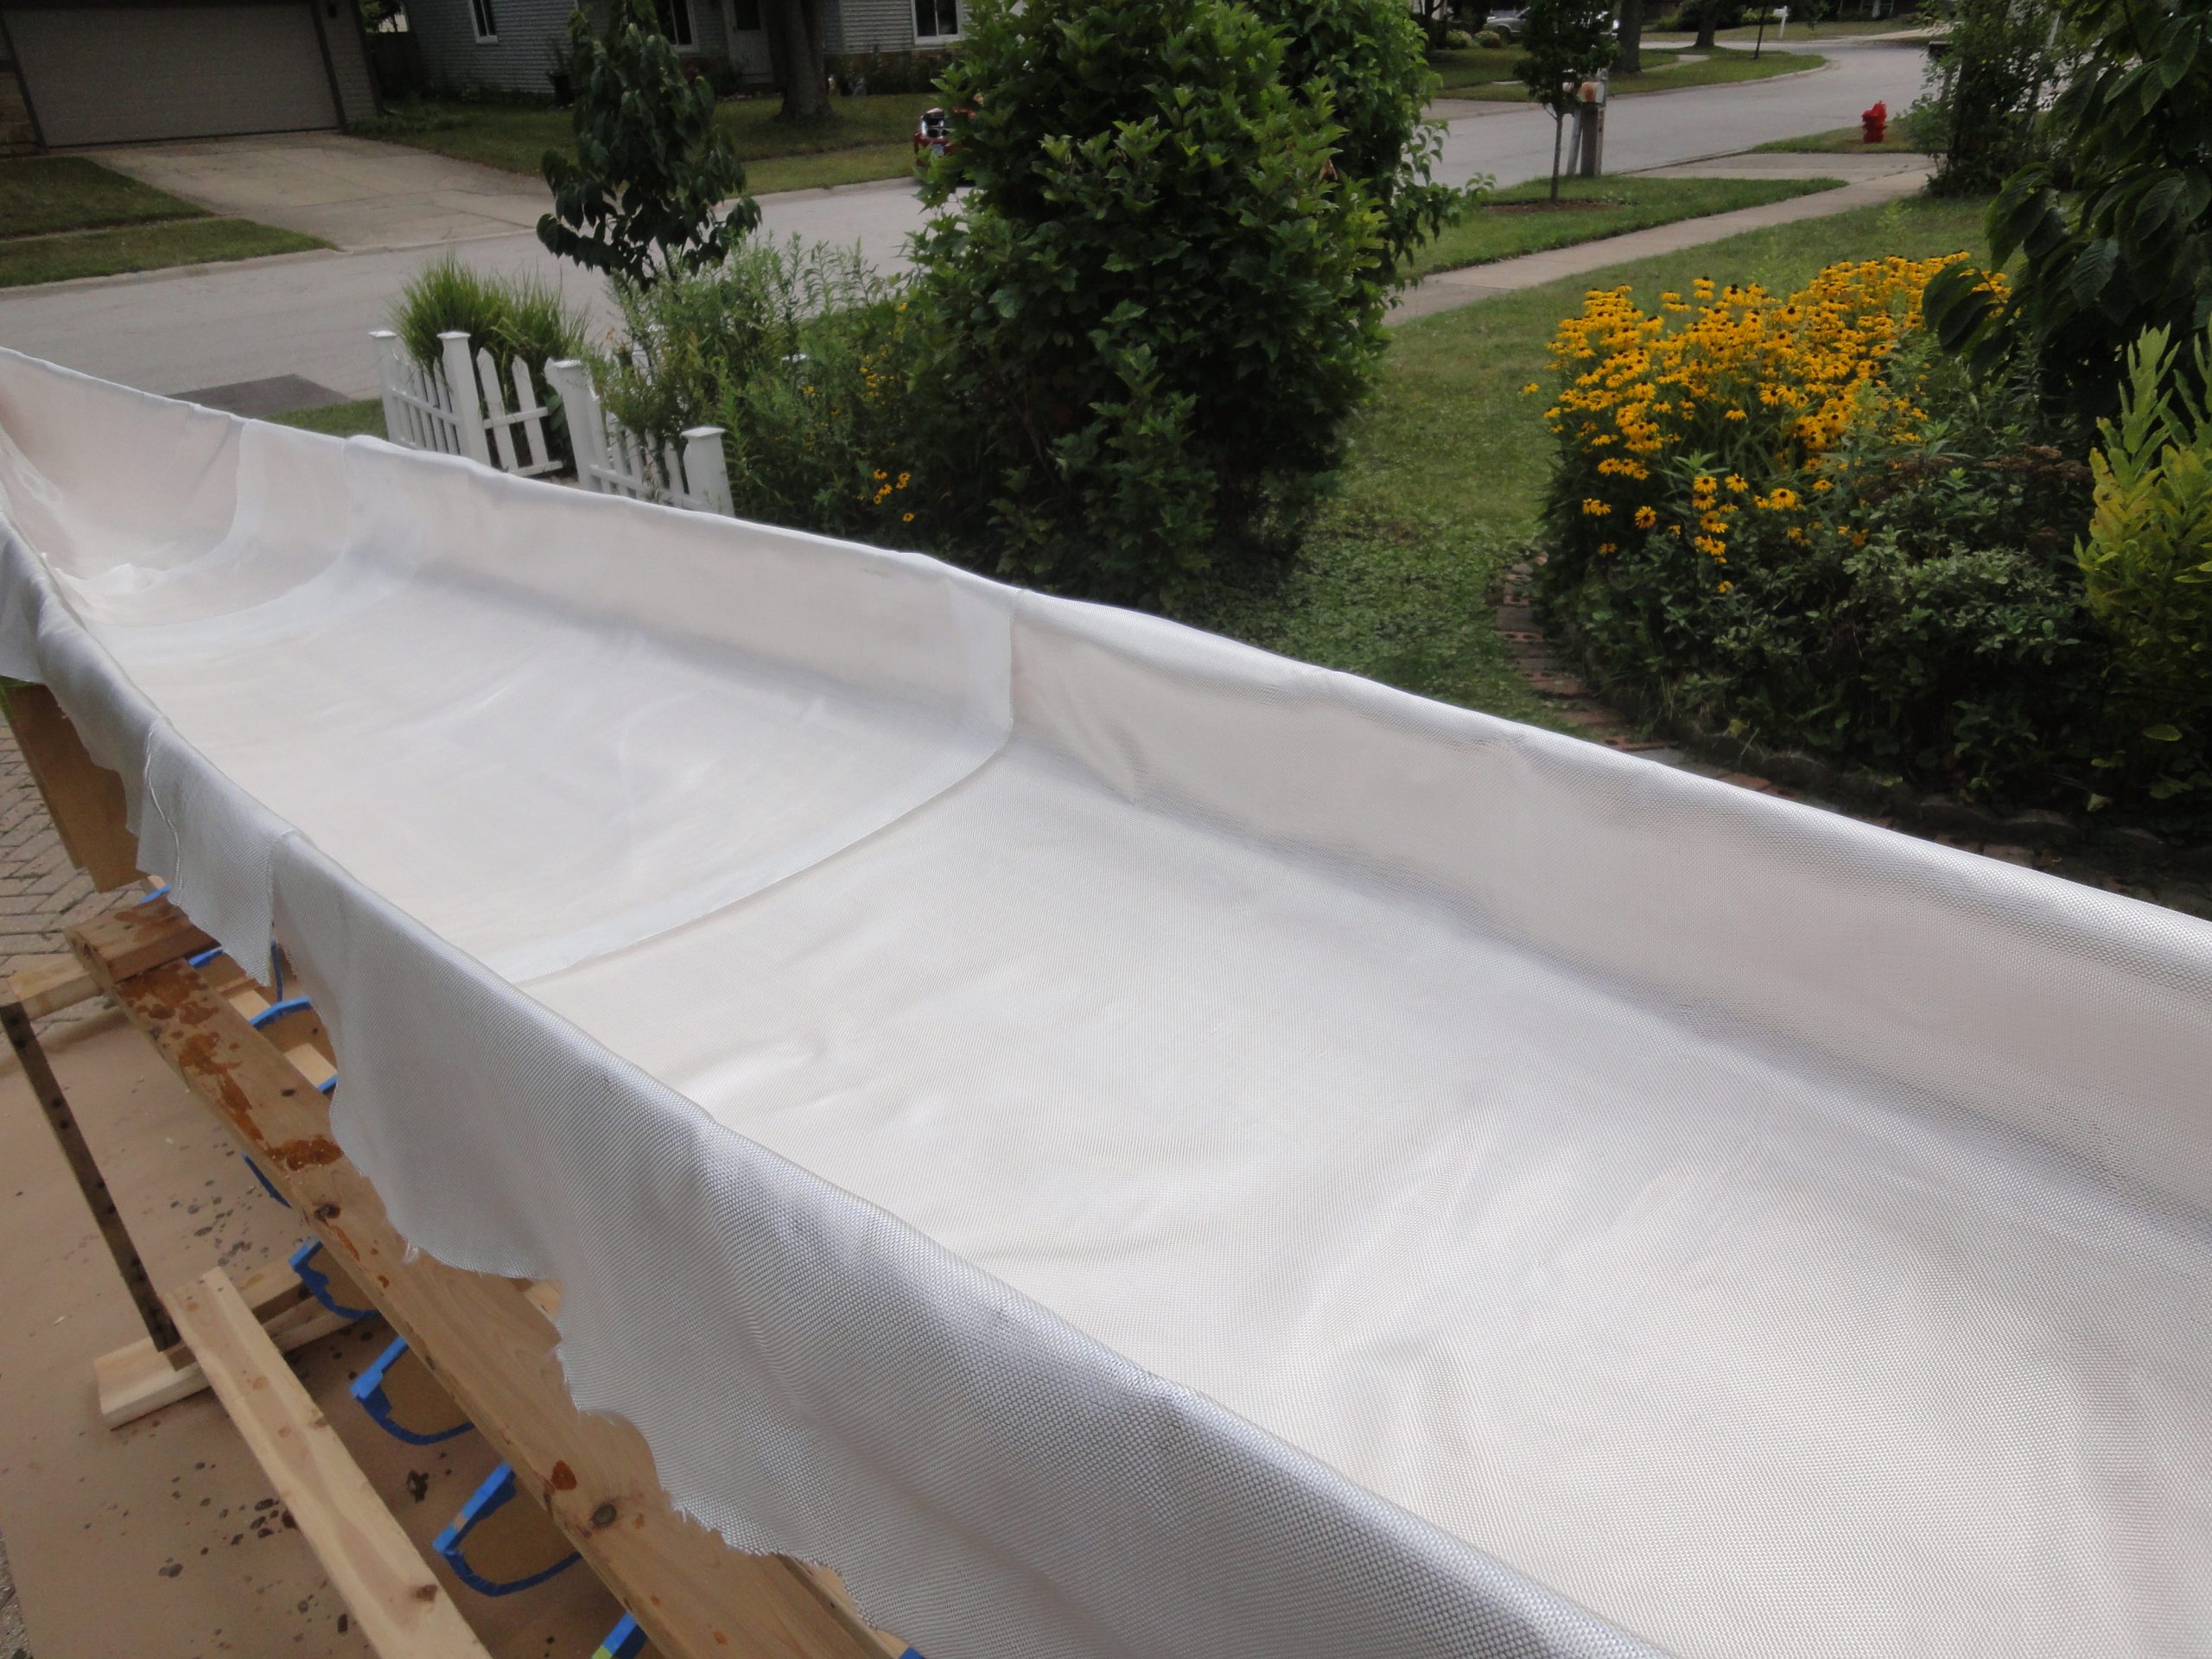
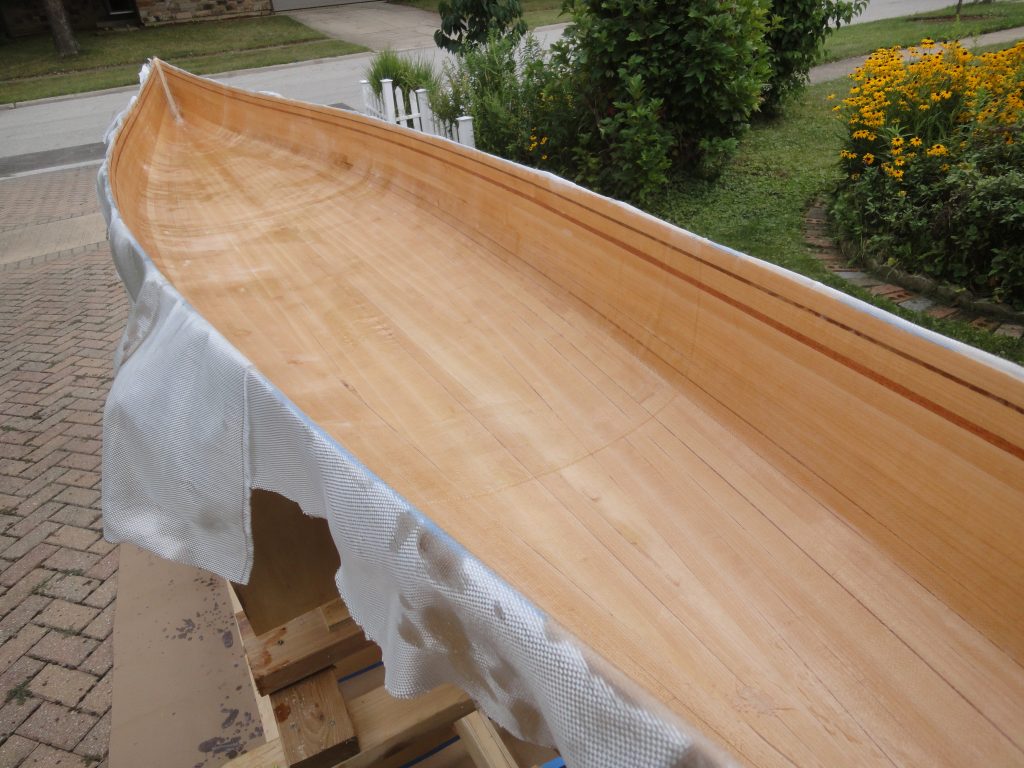
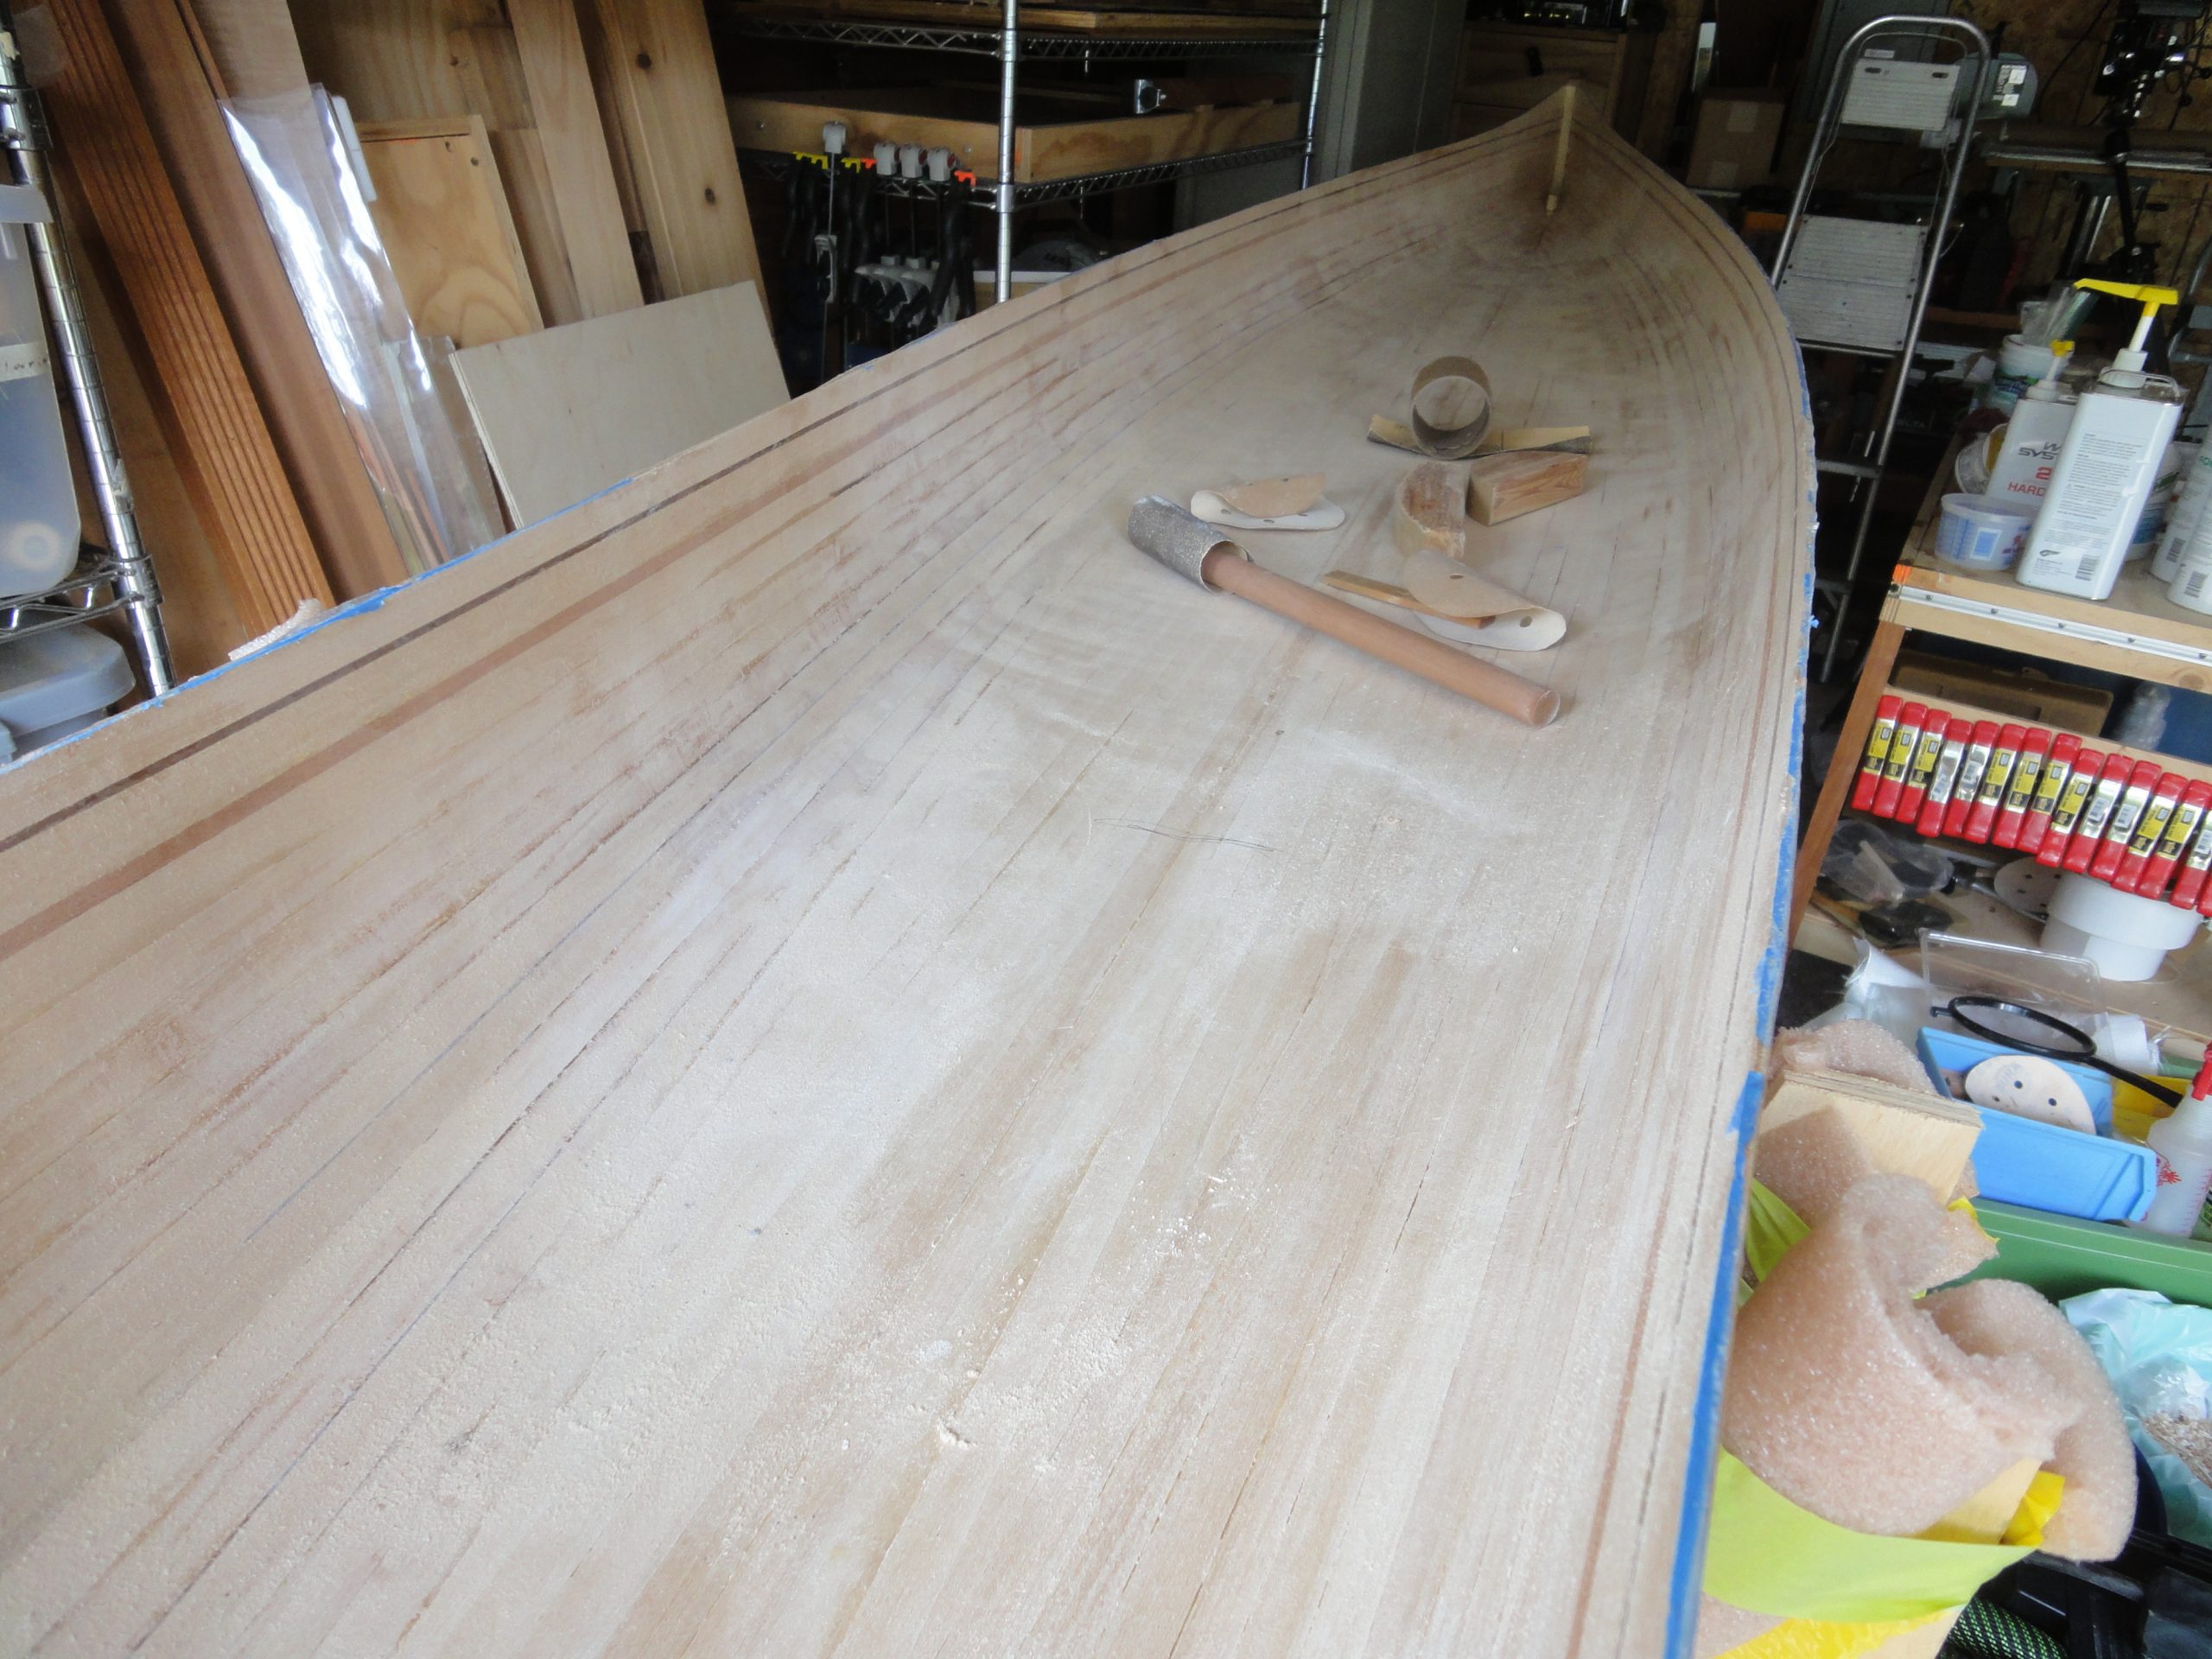
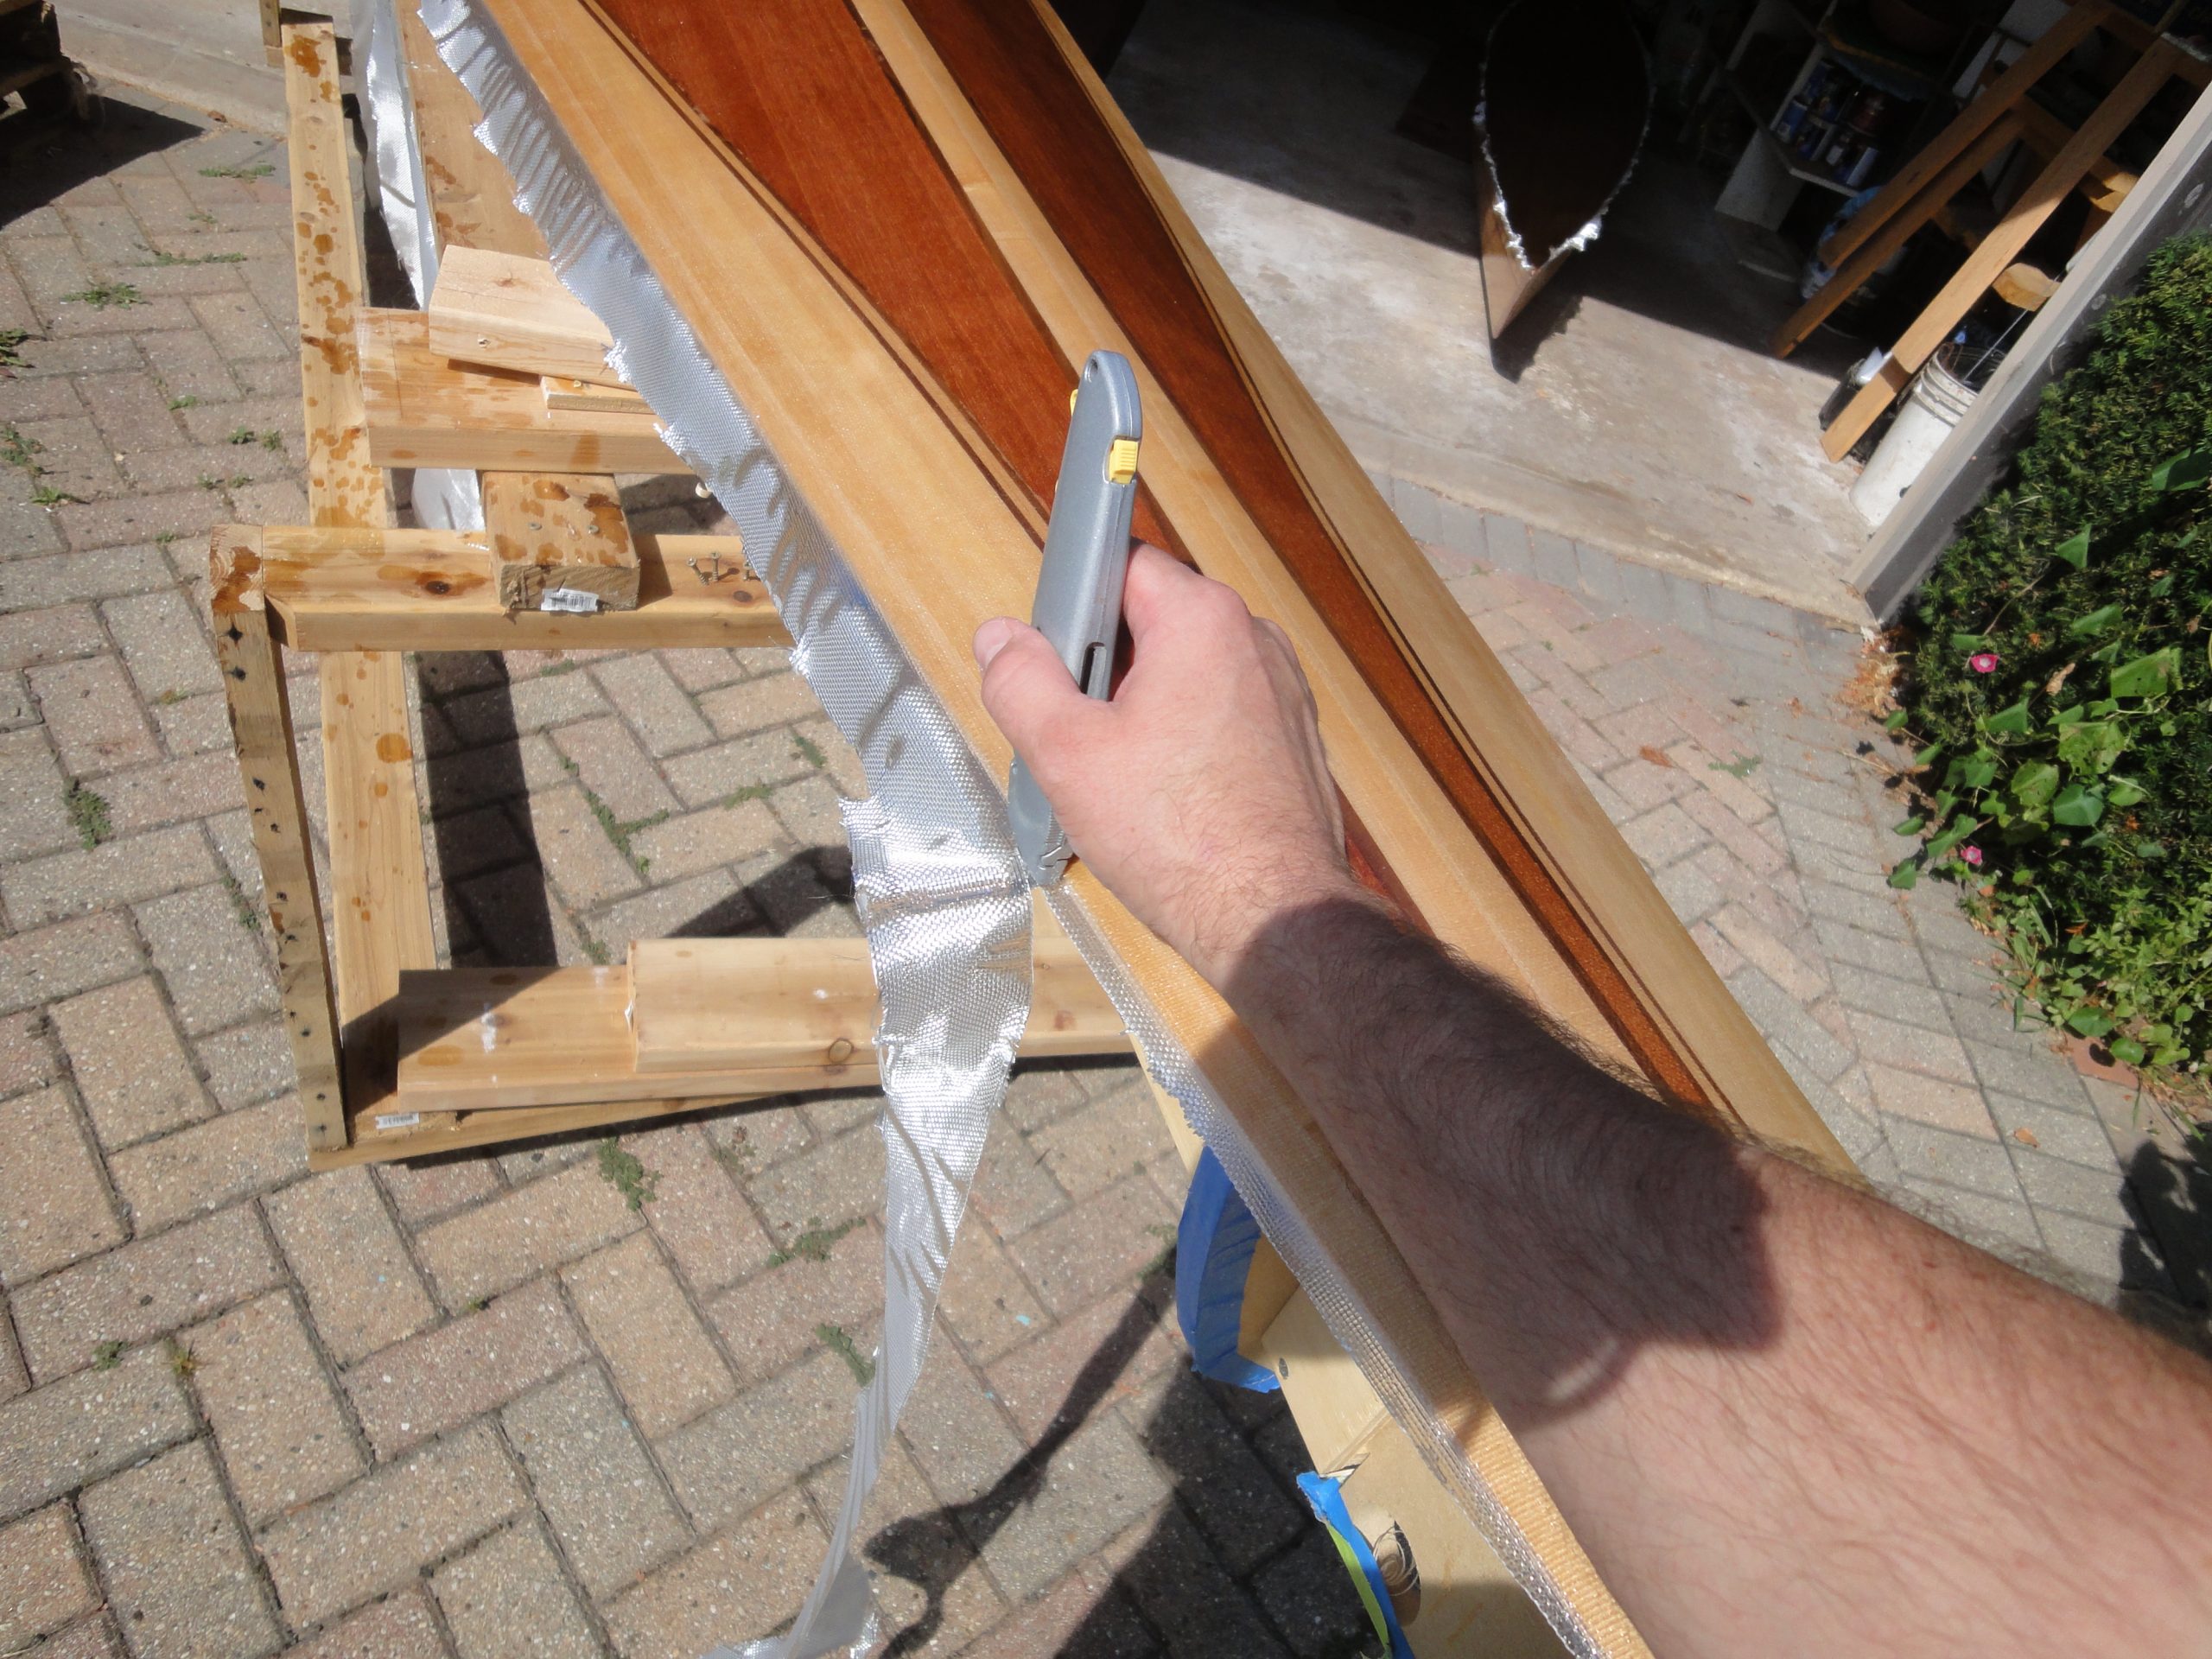
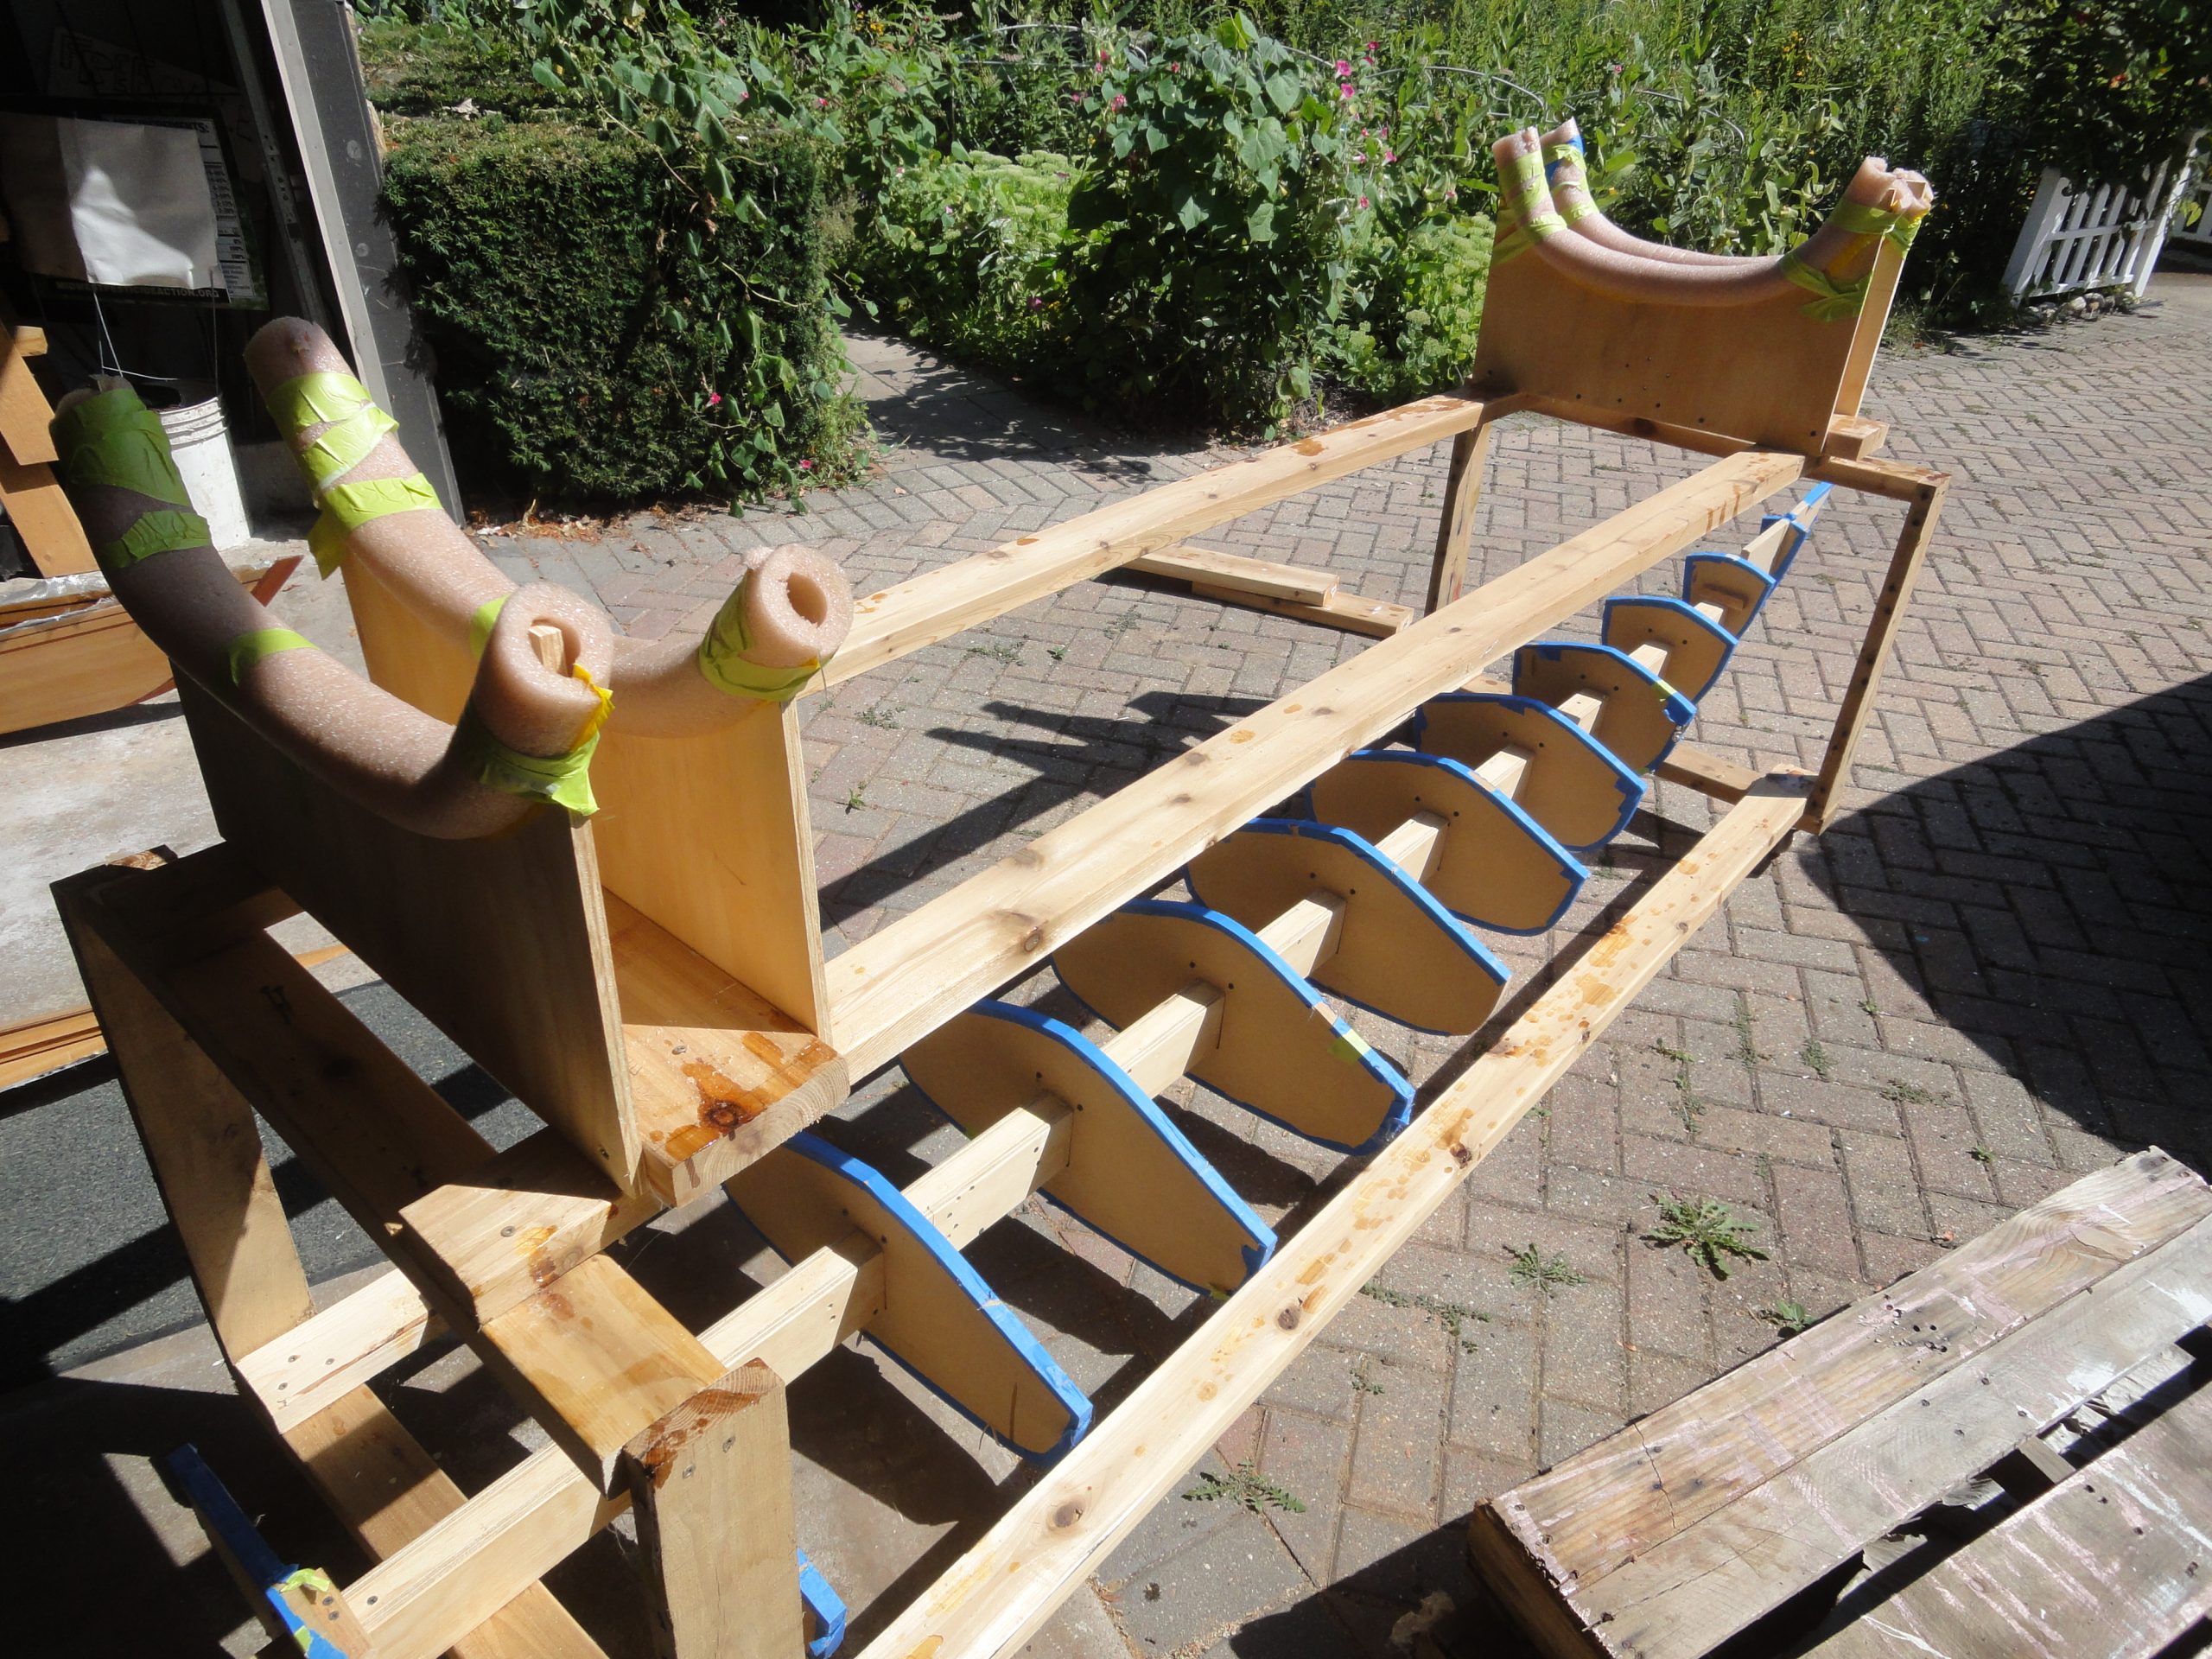
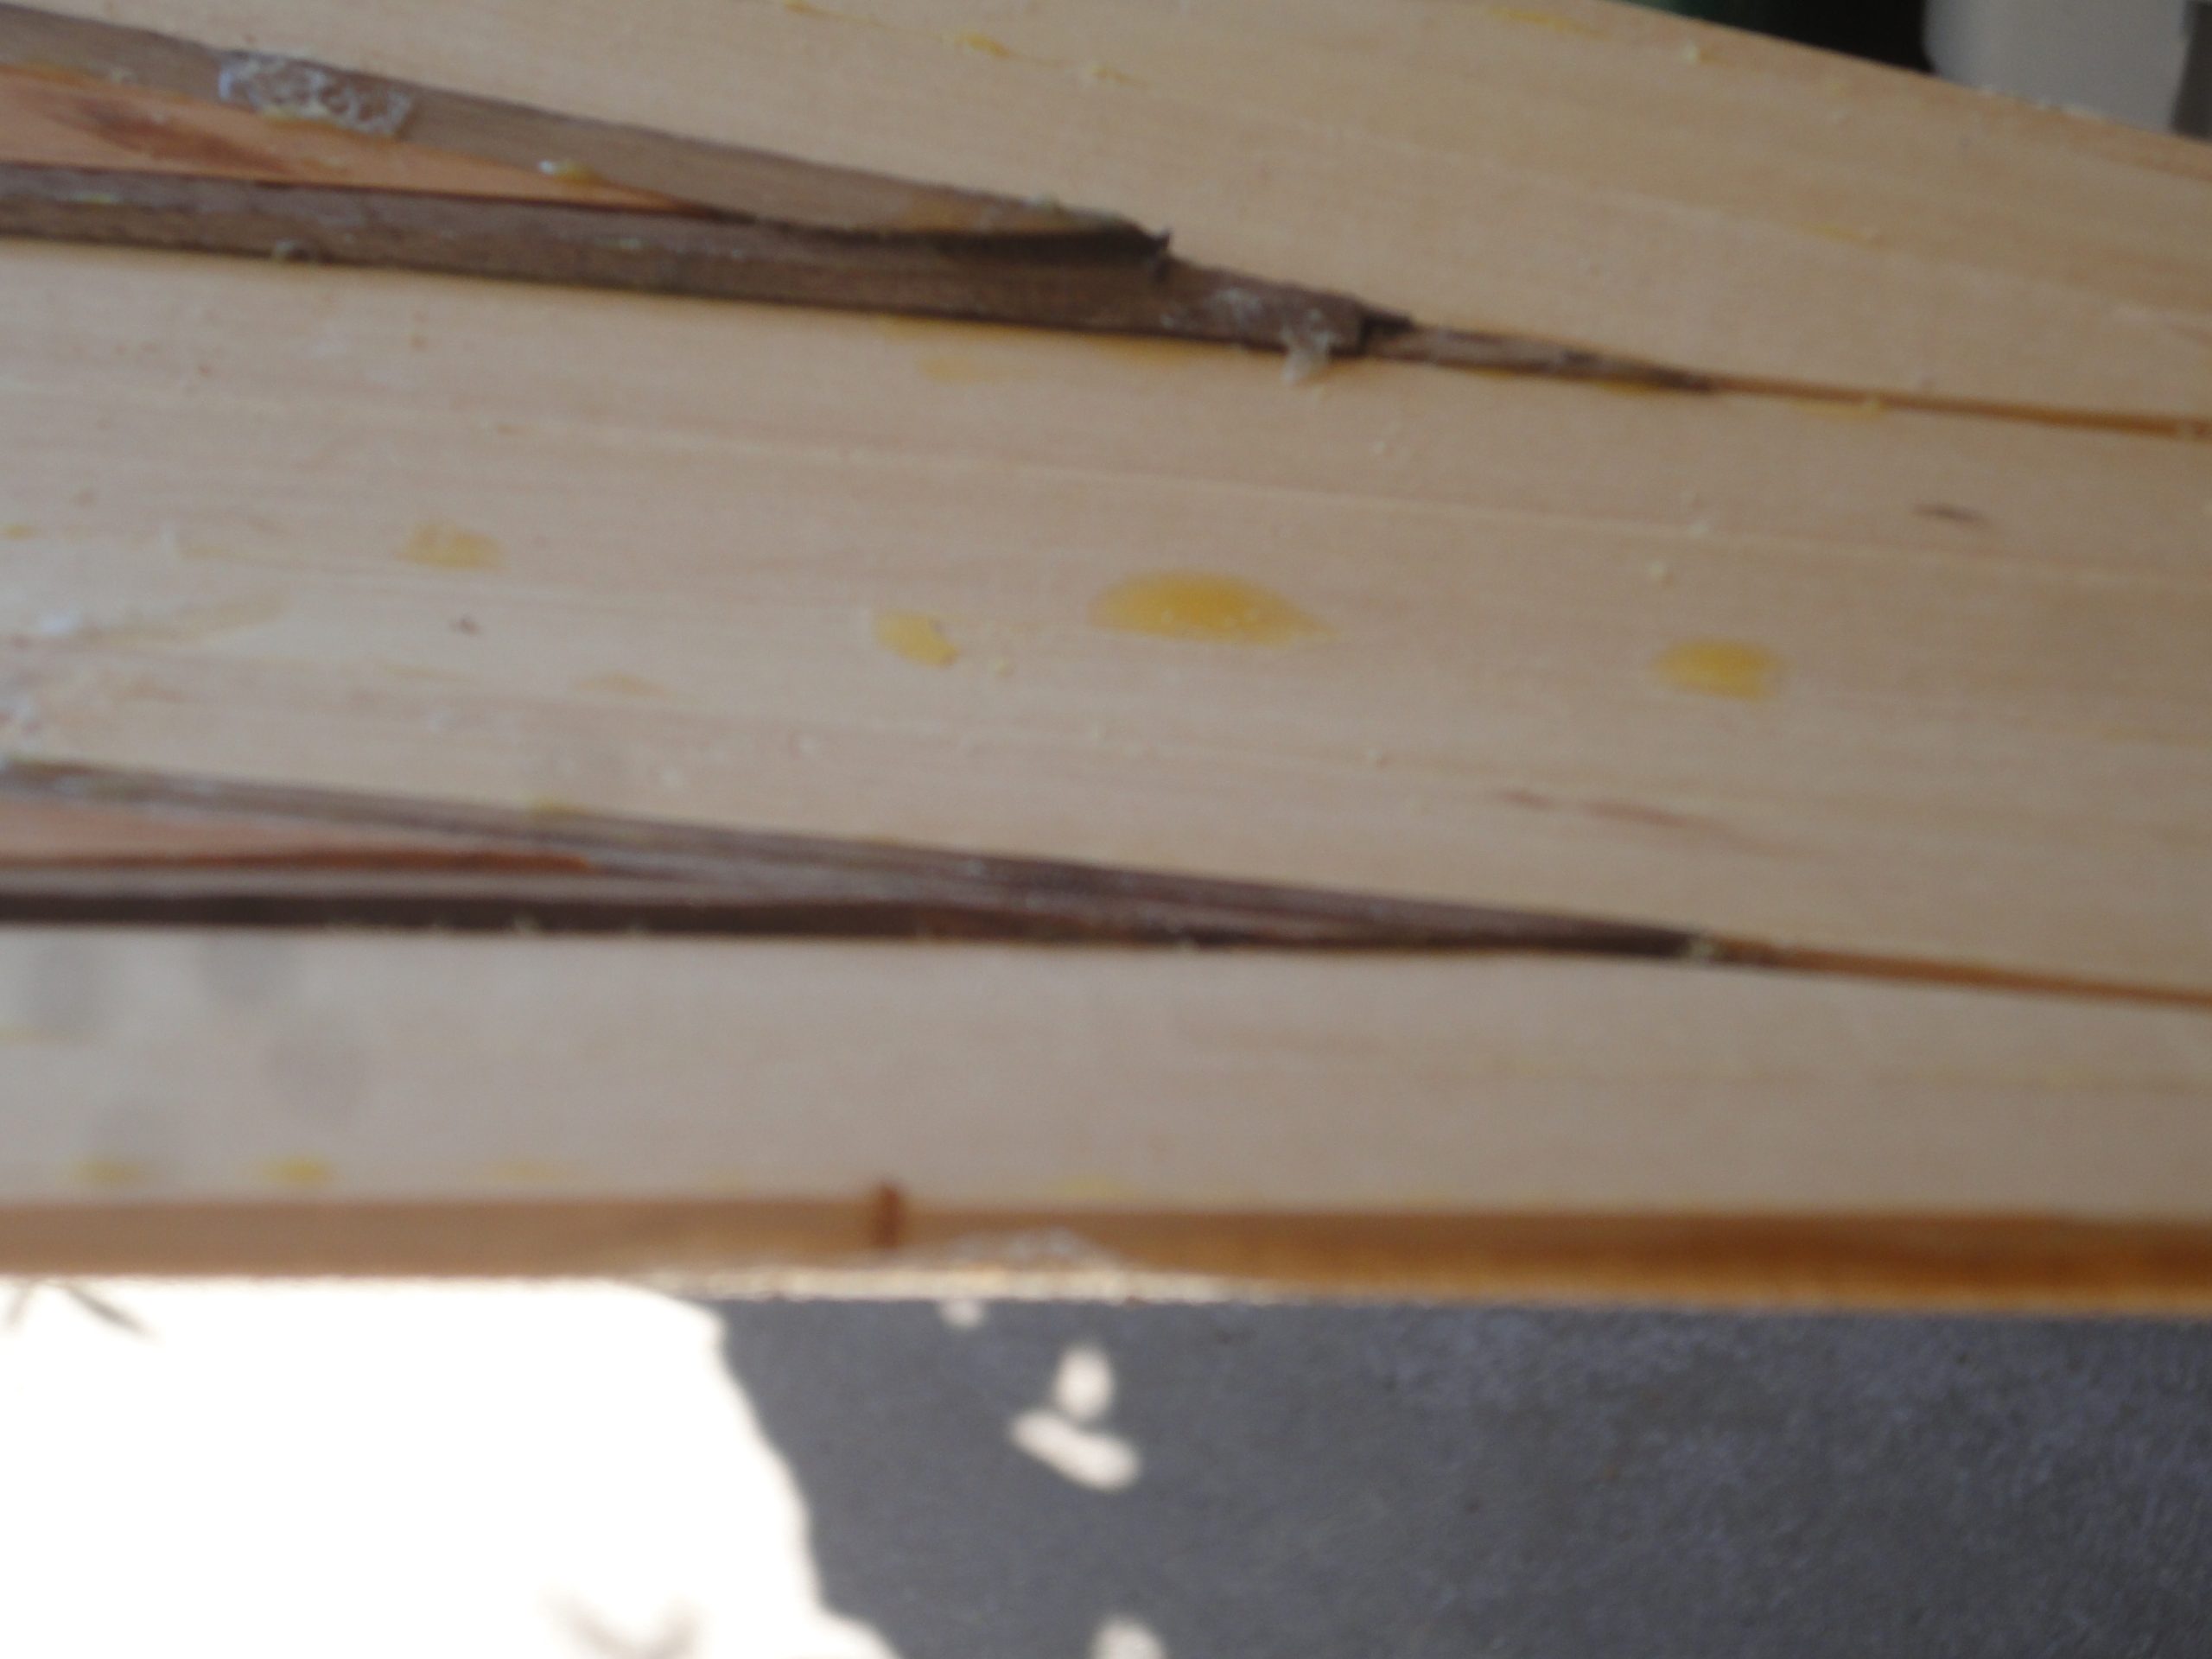
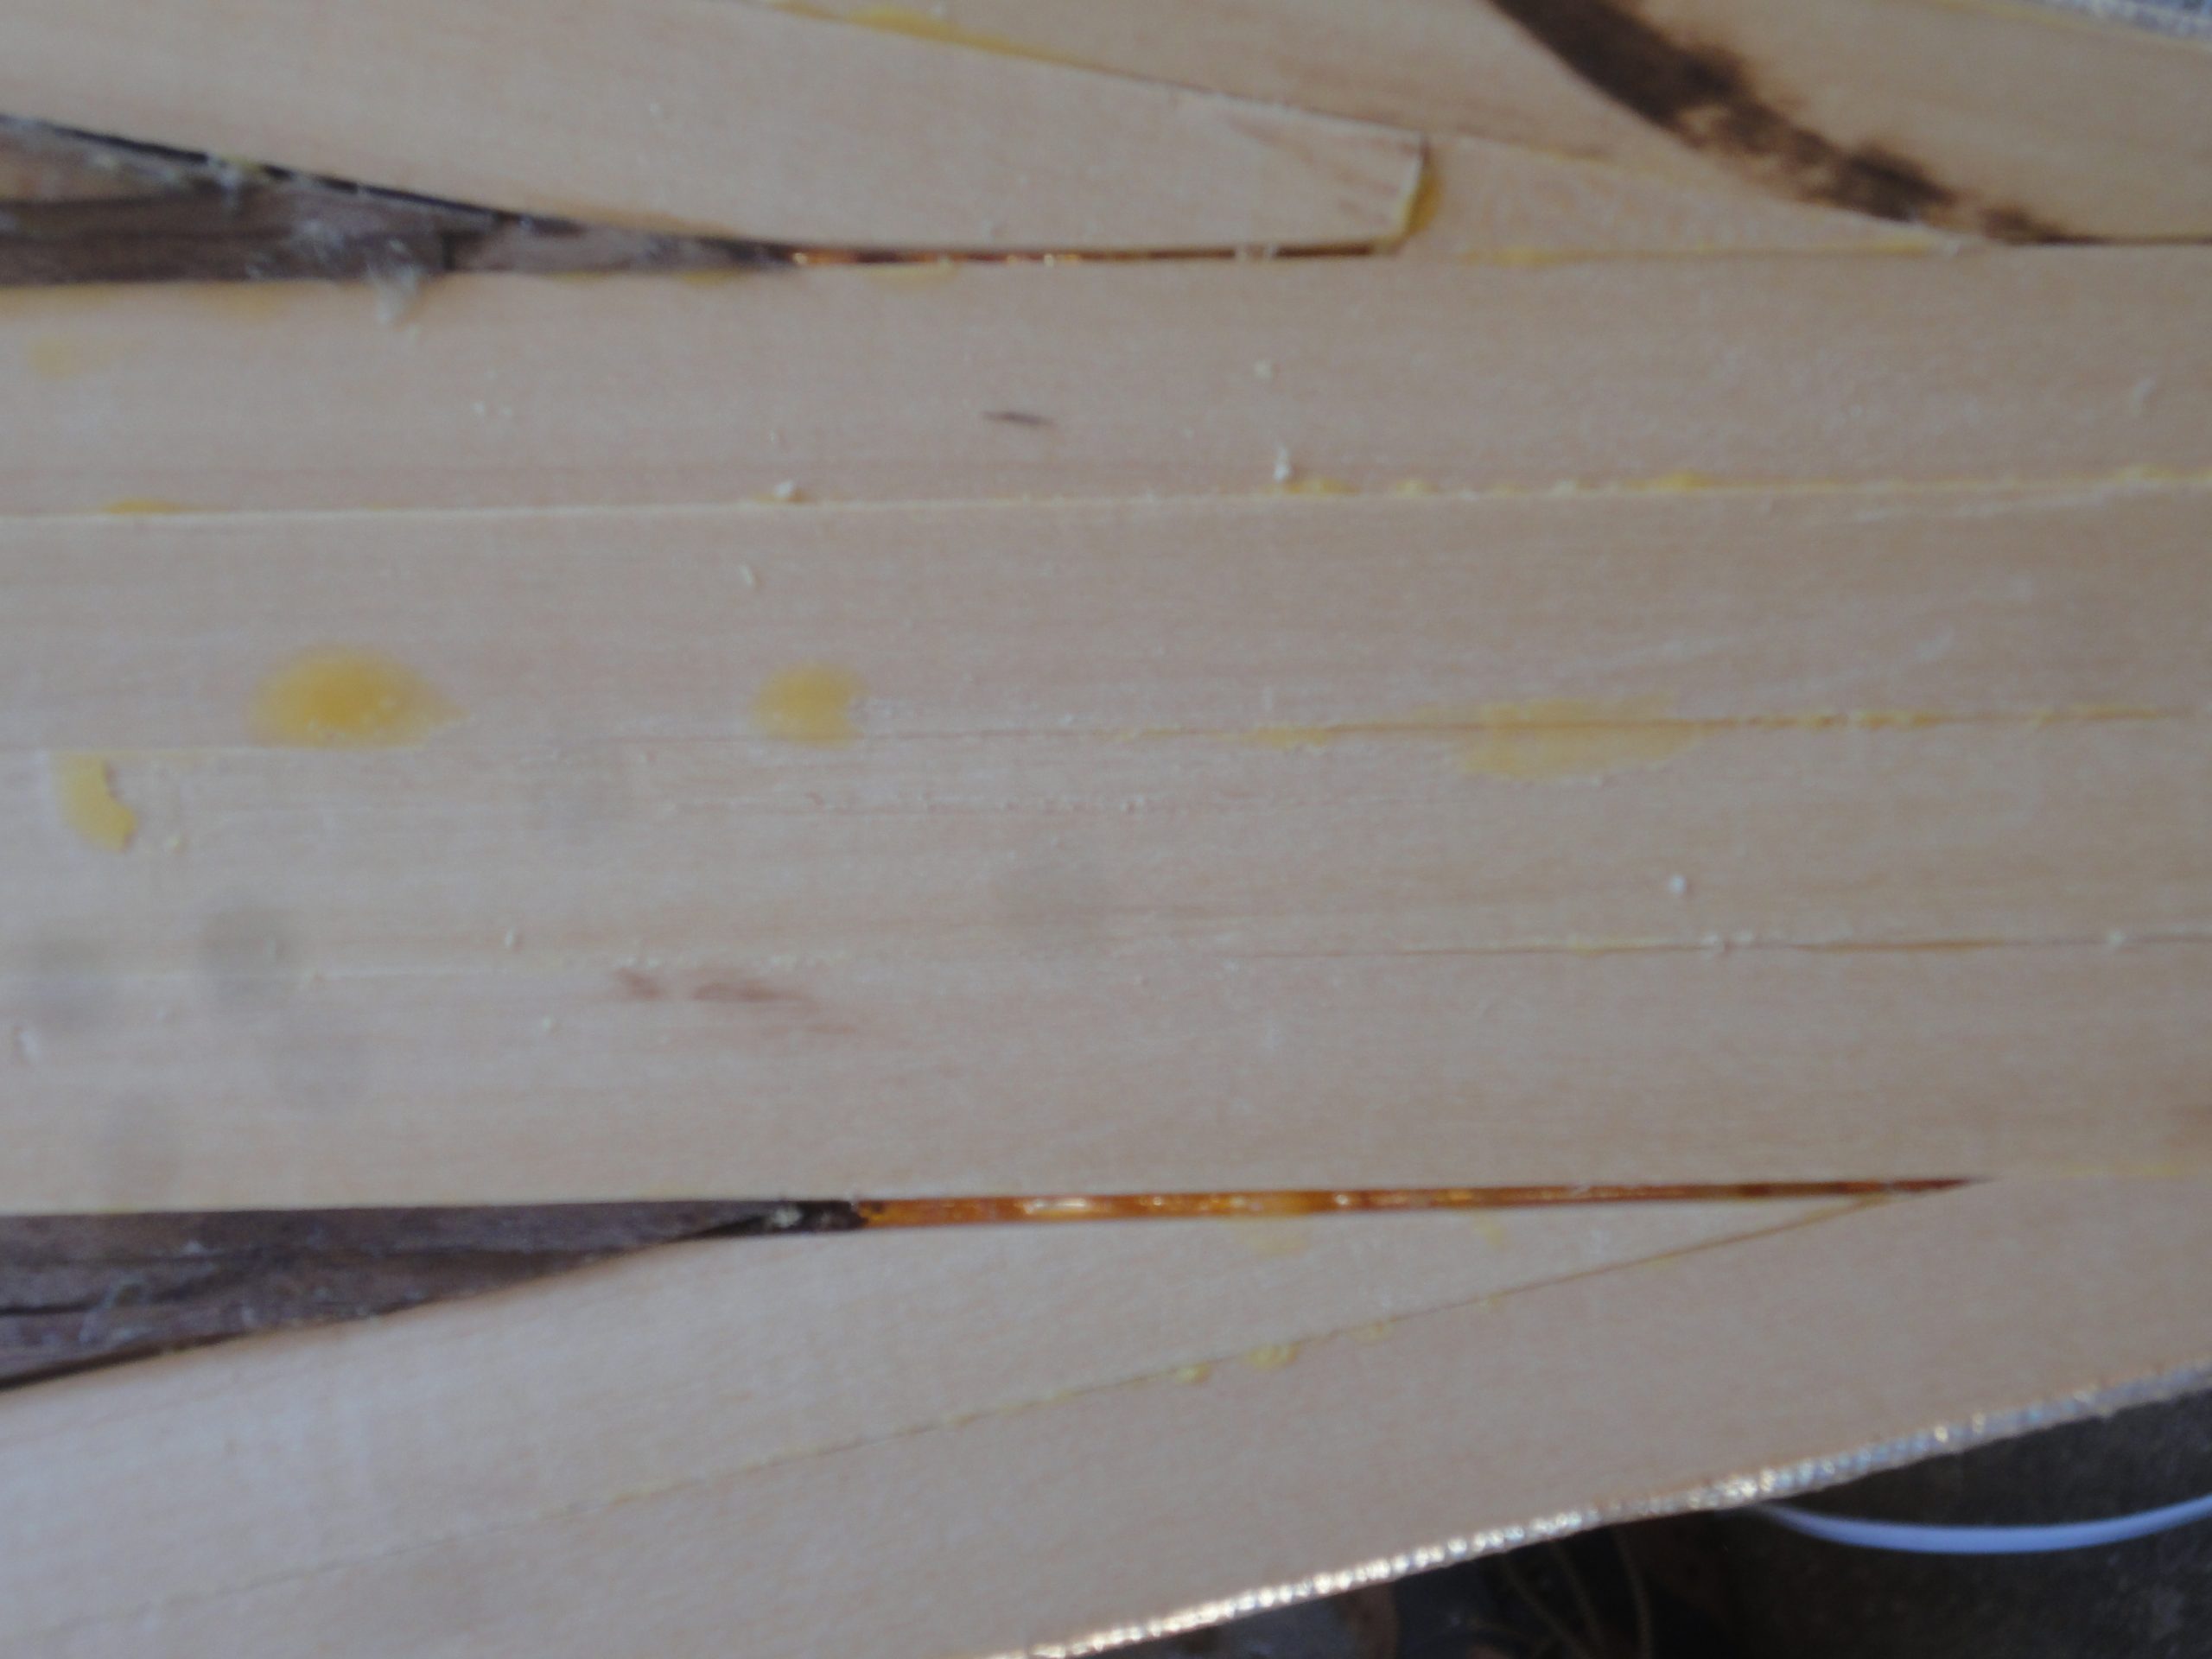
Starting off I trimmed as much of the excess fiberglass off as I could. Remember until sanded these edges will be sharp. With the epoxy cured I reconfigured the stand once again, removing the forms, and placed the deck on there upside down. This gave me the first real chance to handle it without worrying about the wood coming apart again and to really inspect the inside. overall I’m quite pleased. There are a few sizable ridges and some definite gaps that will get the thickened and reinforced epoxy filler that I used on the hull, but these are just a few discrete spots.

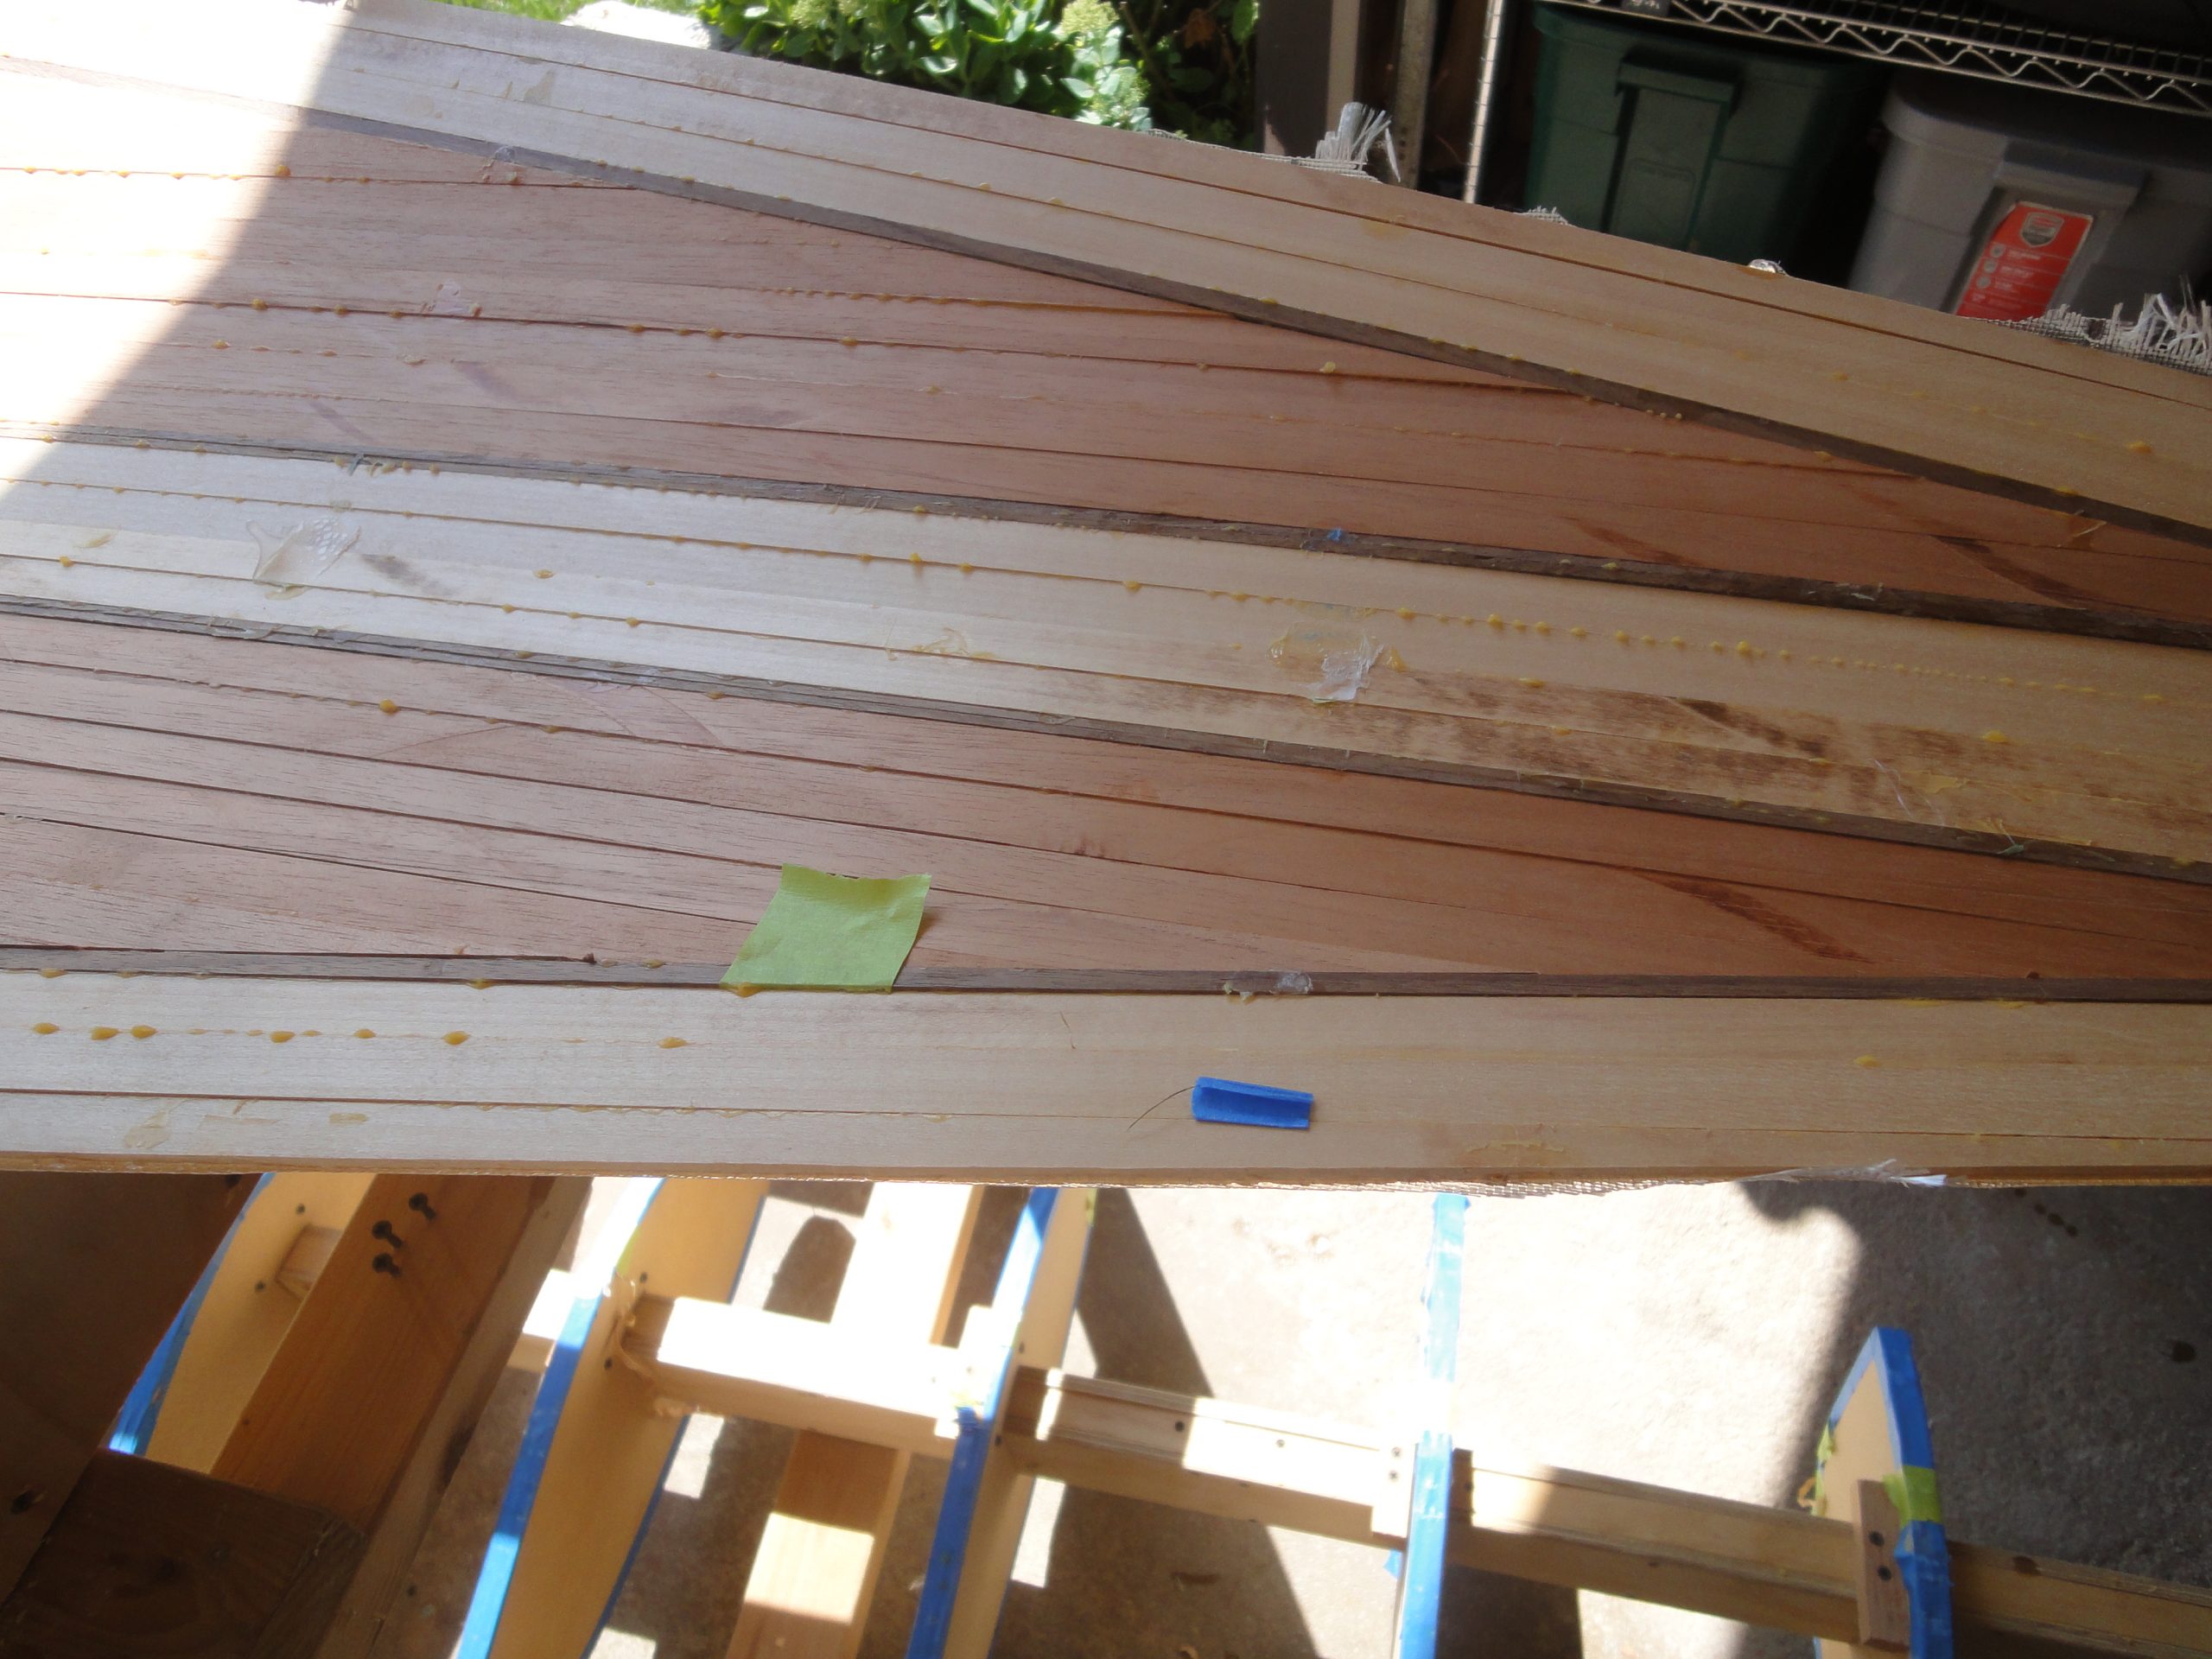
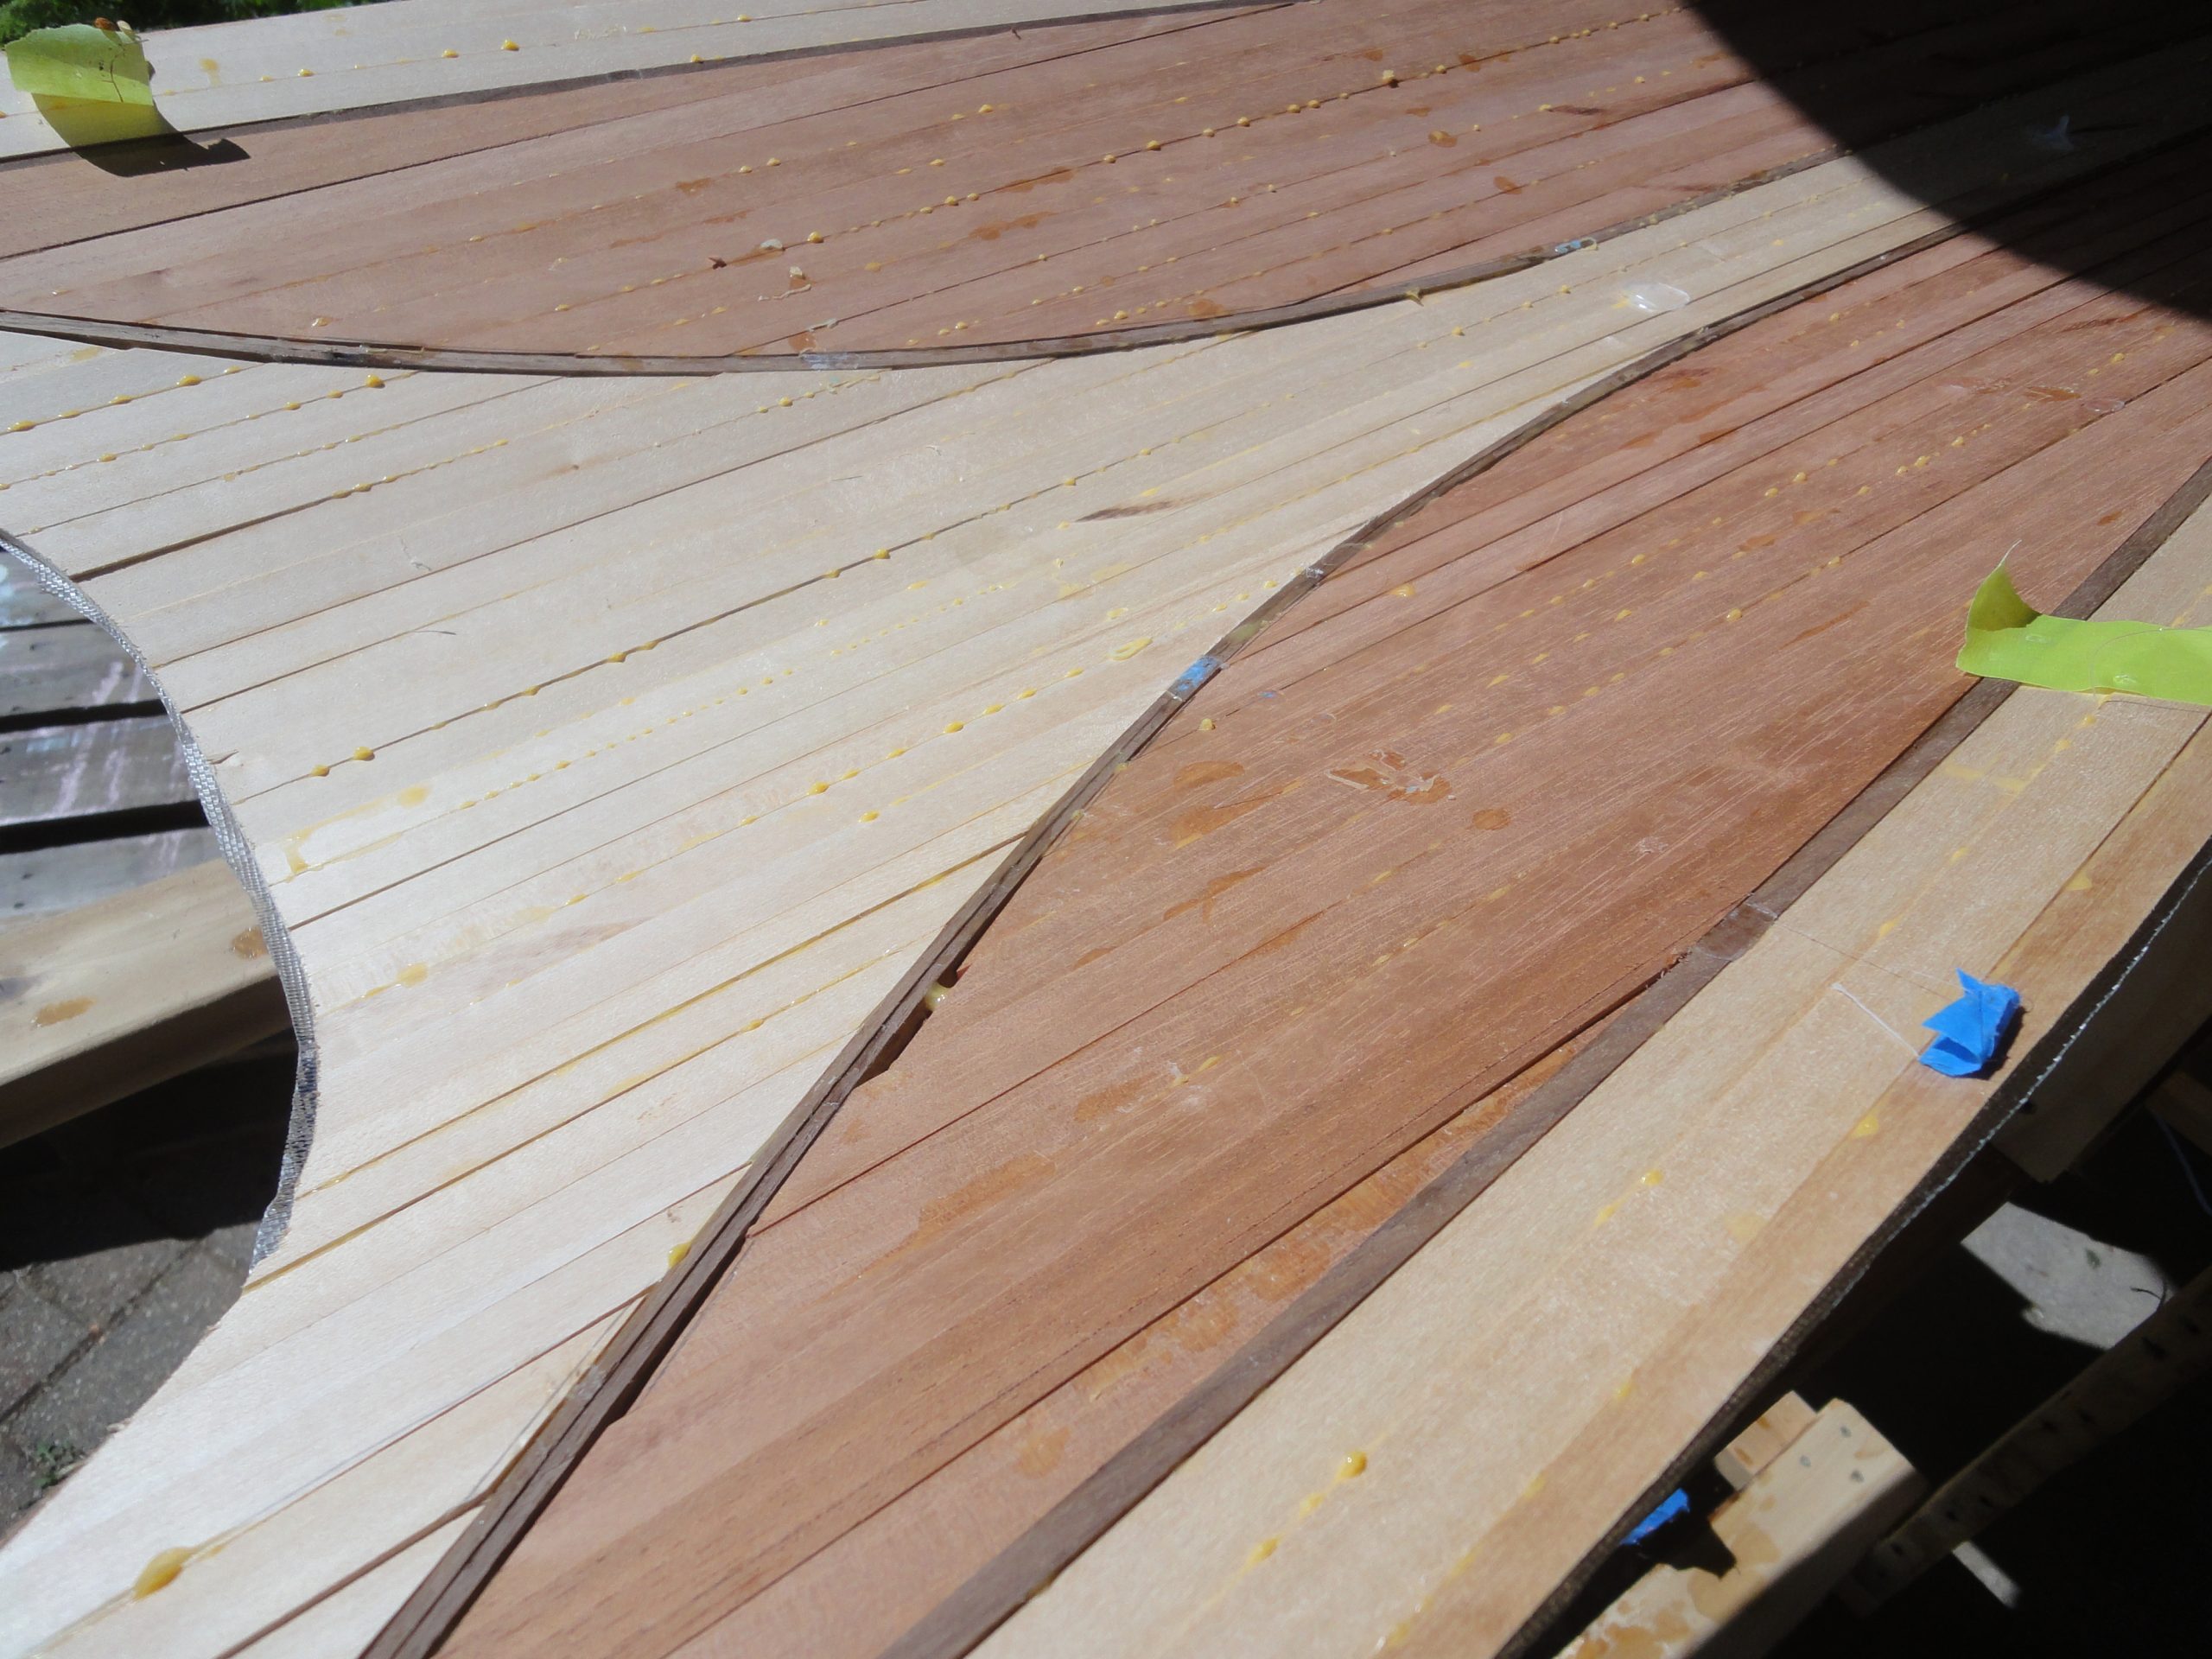
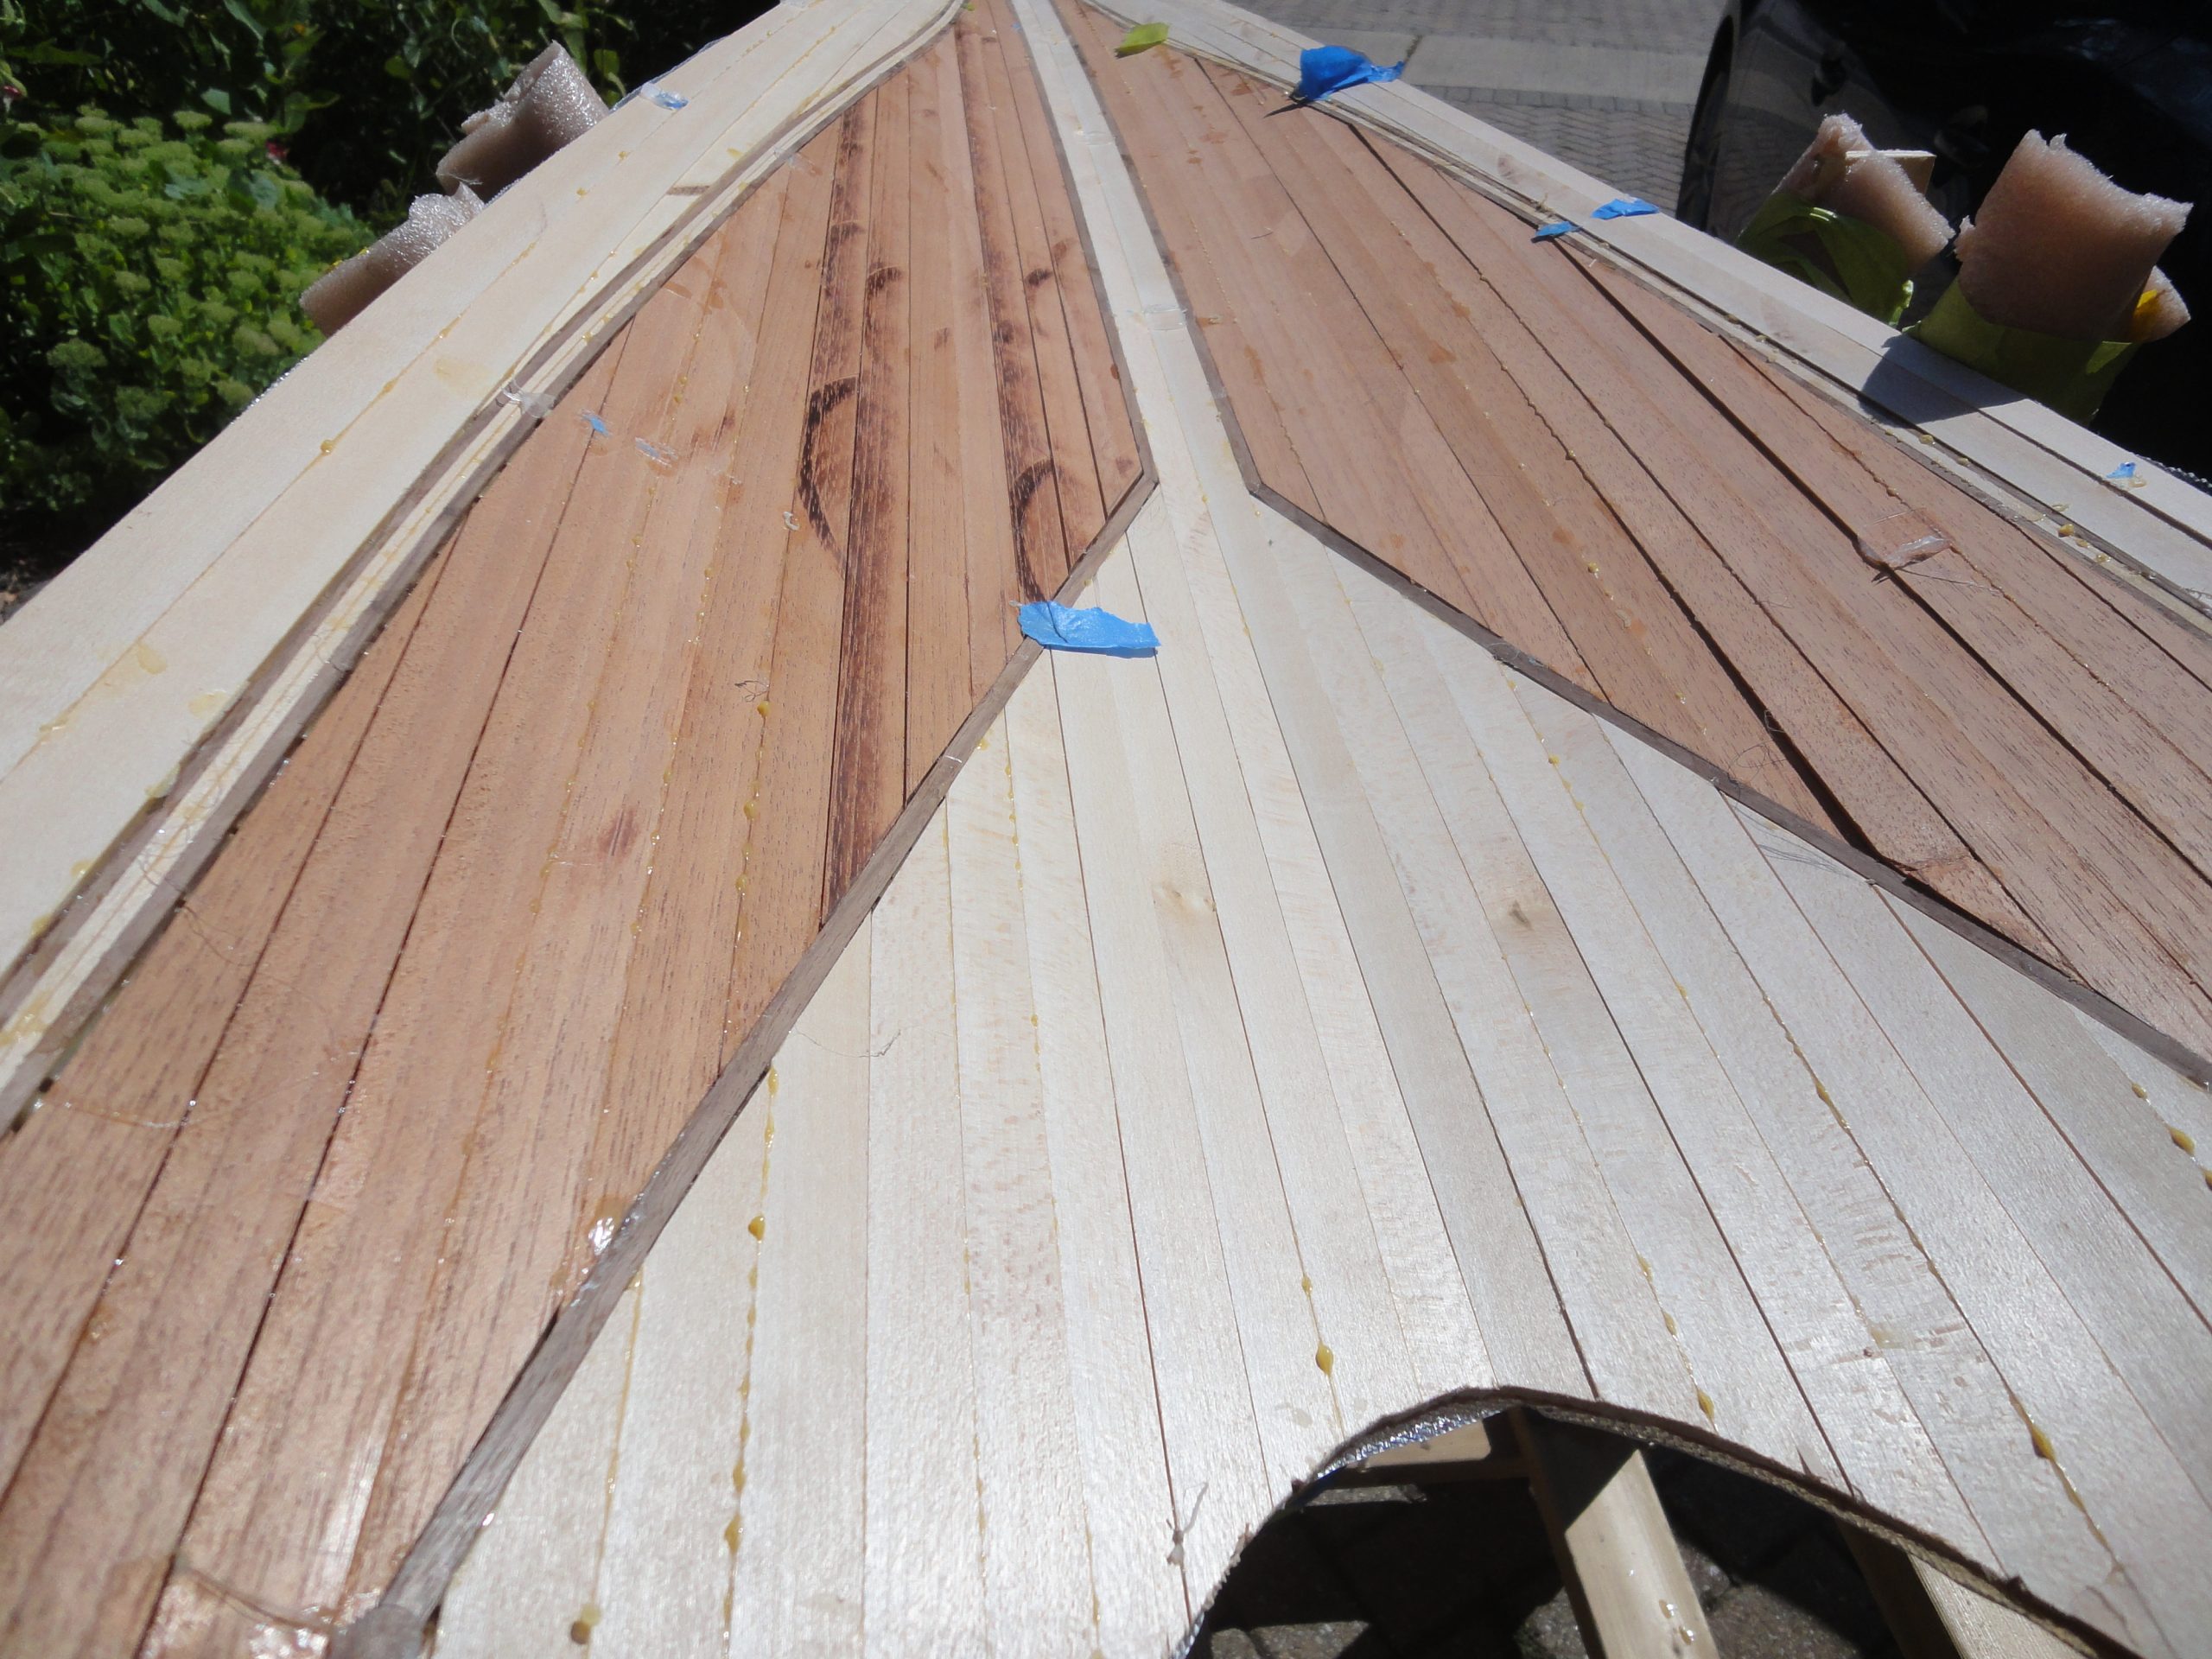
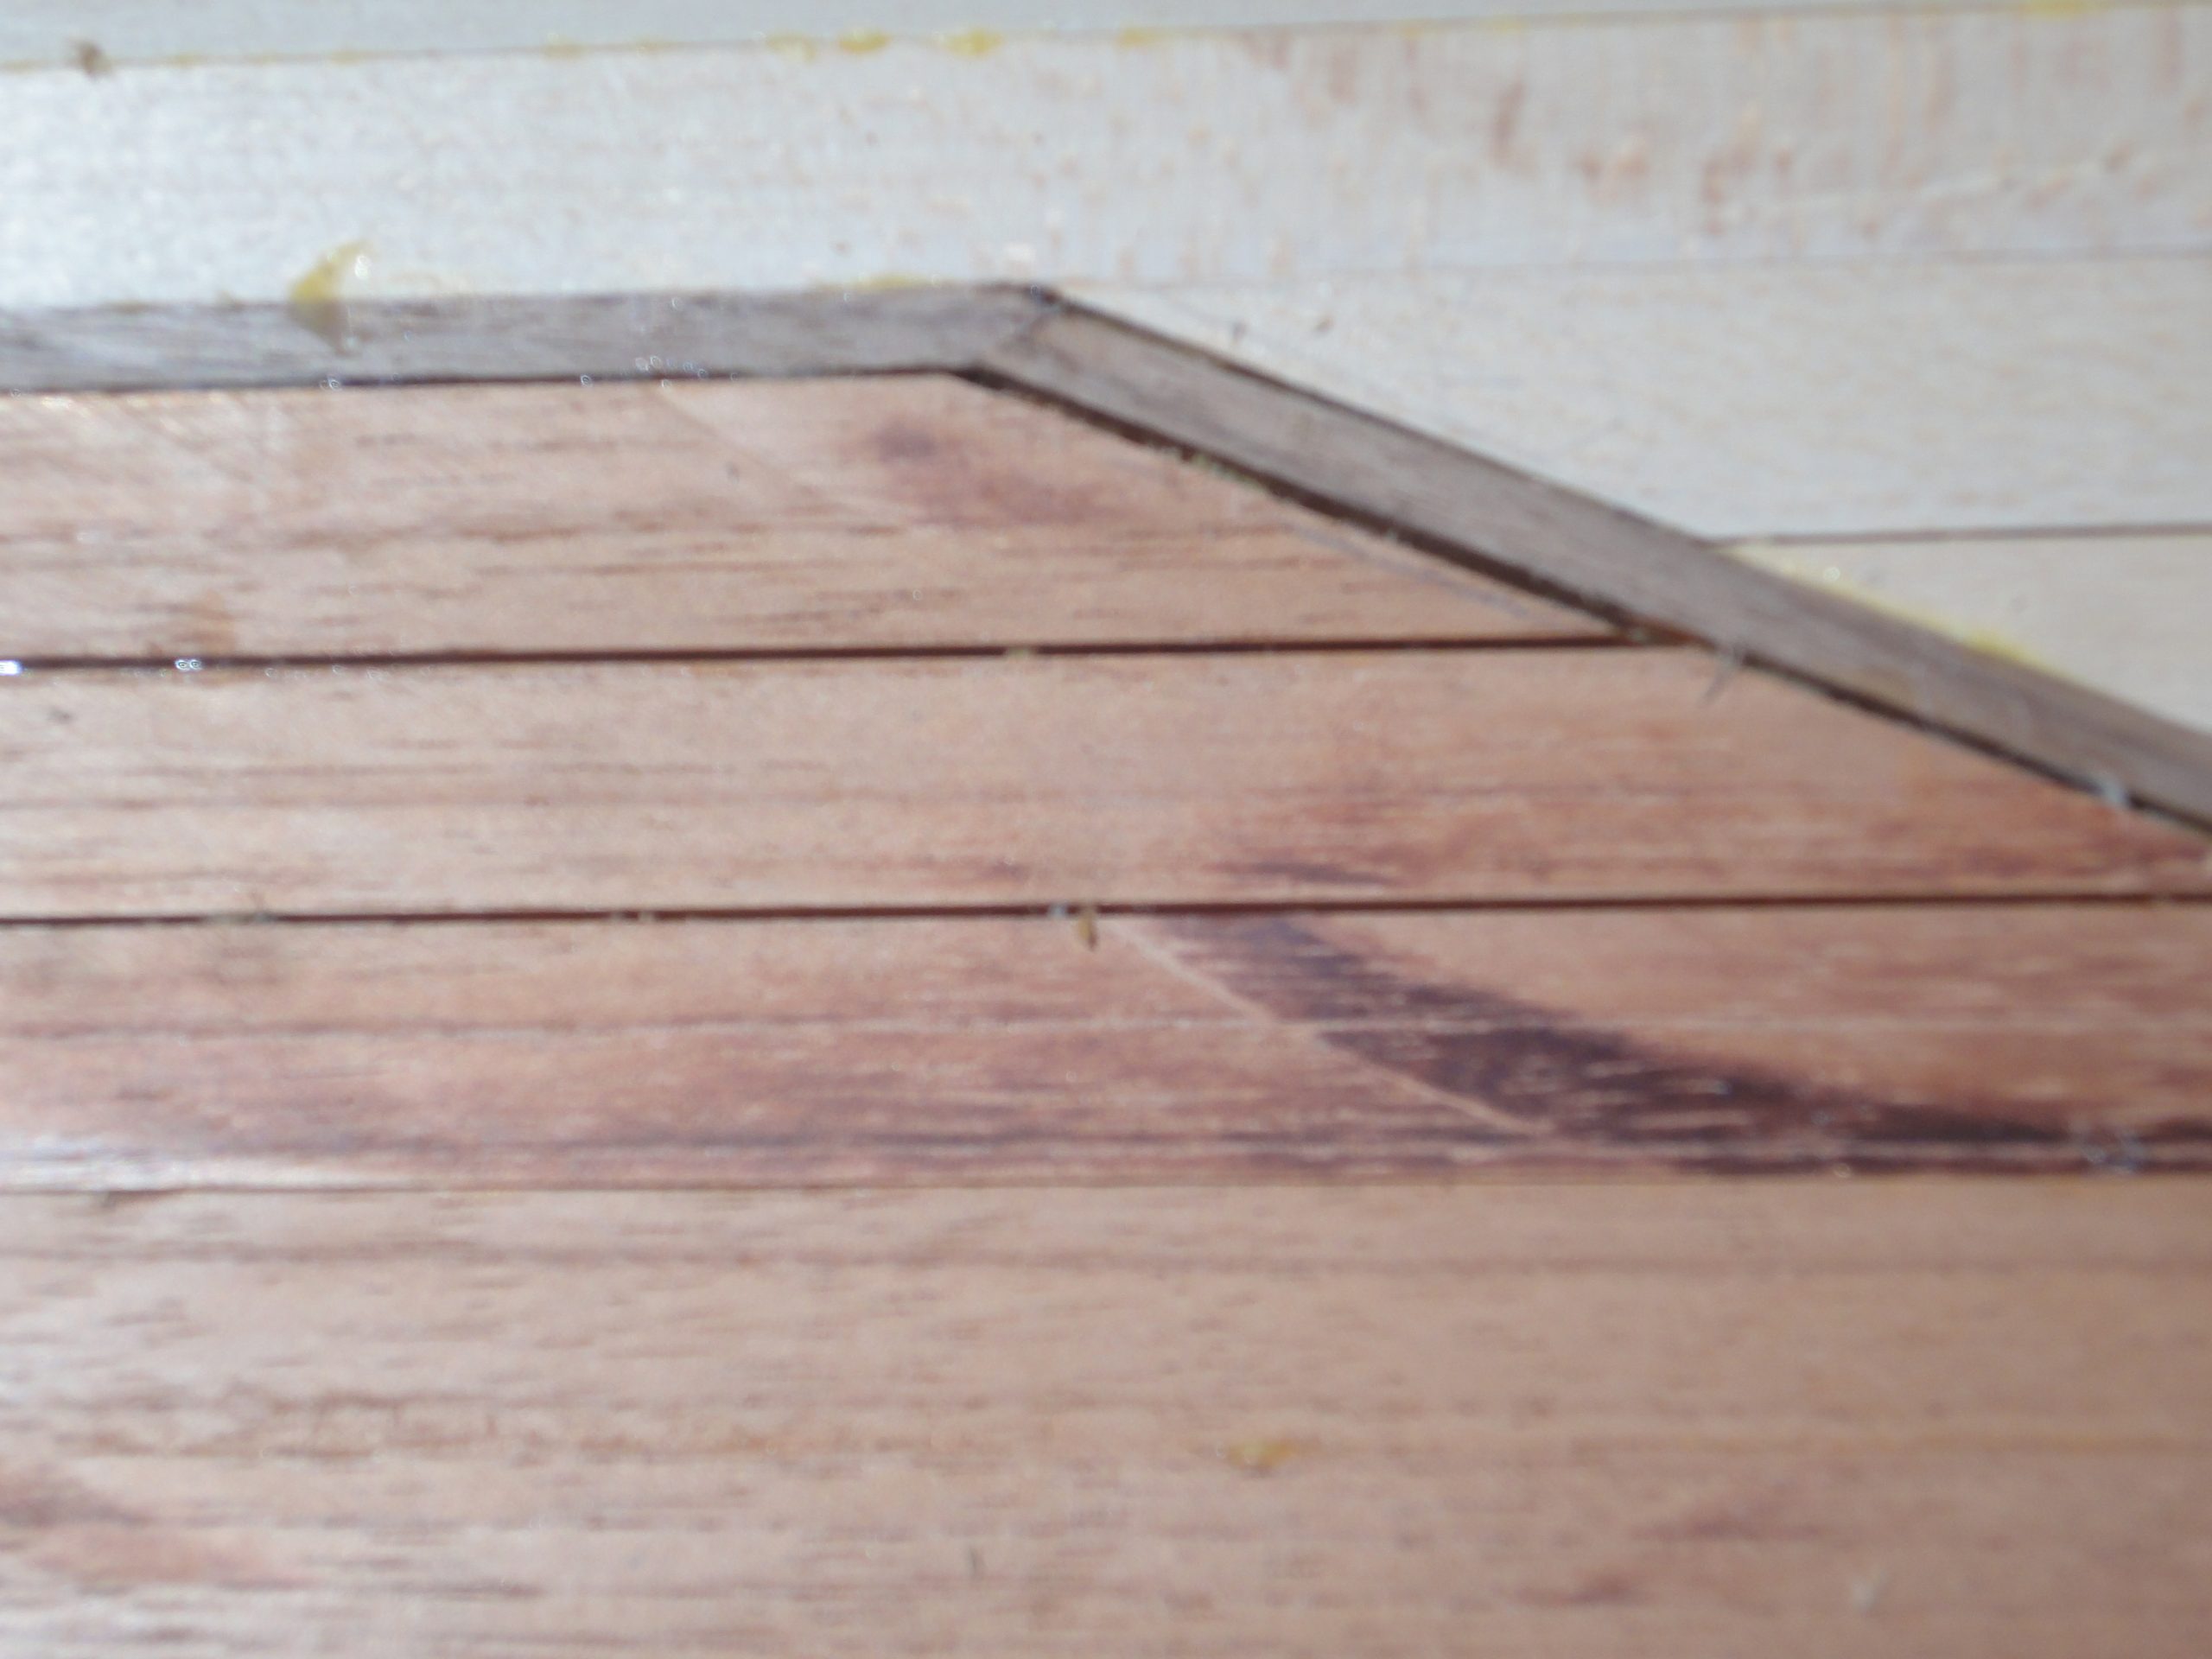
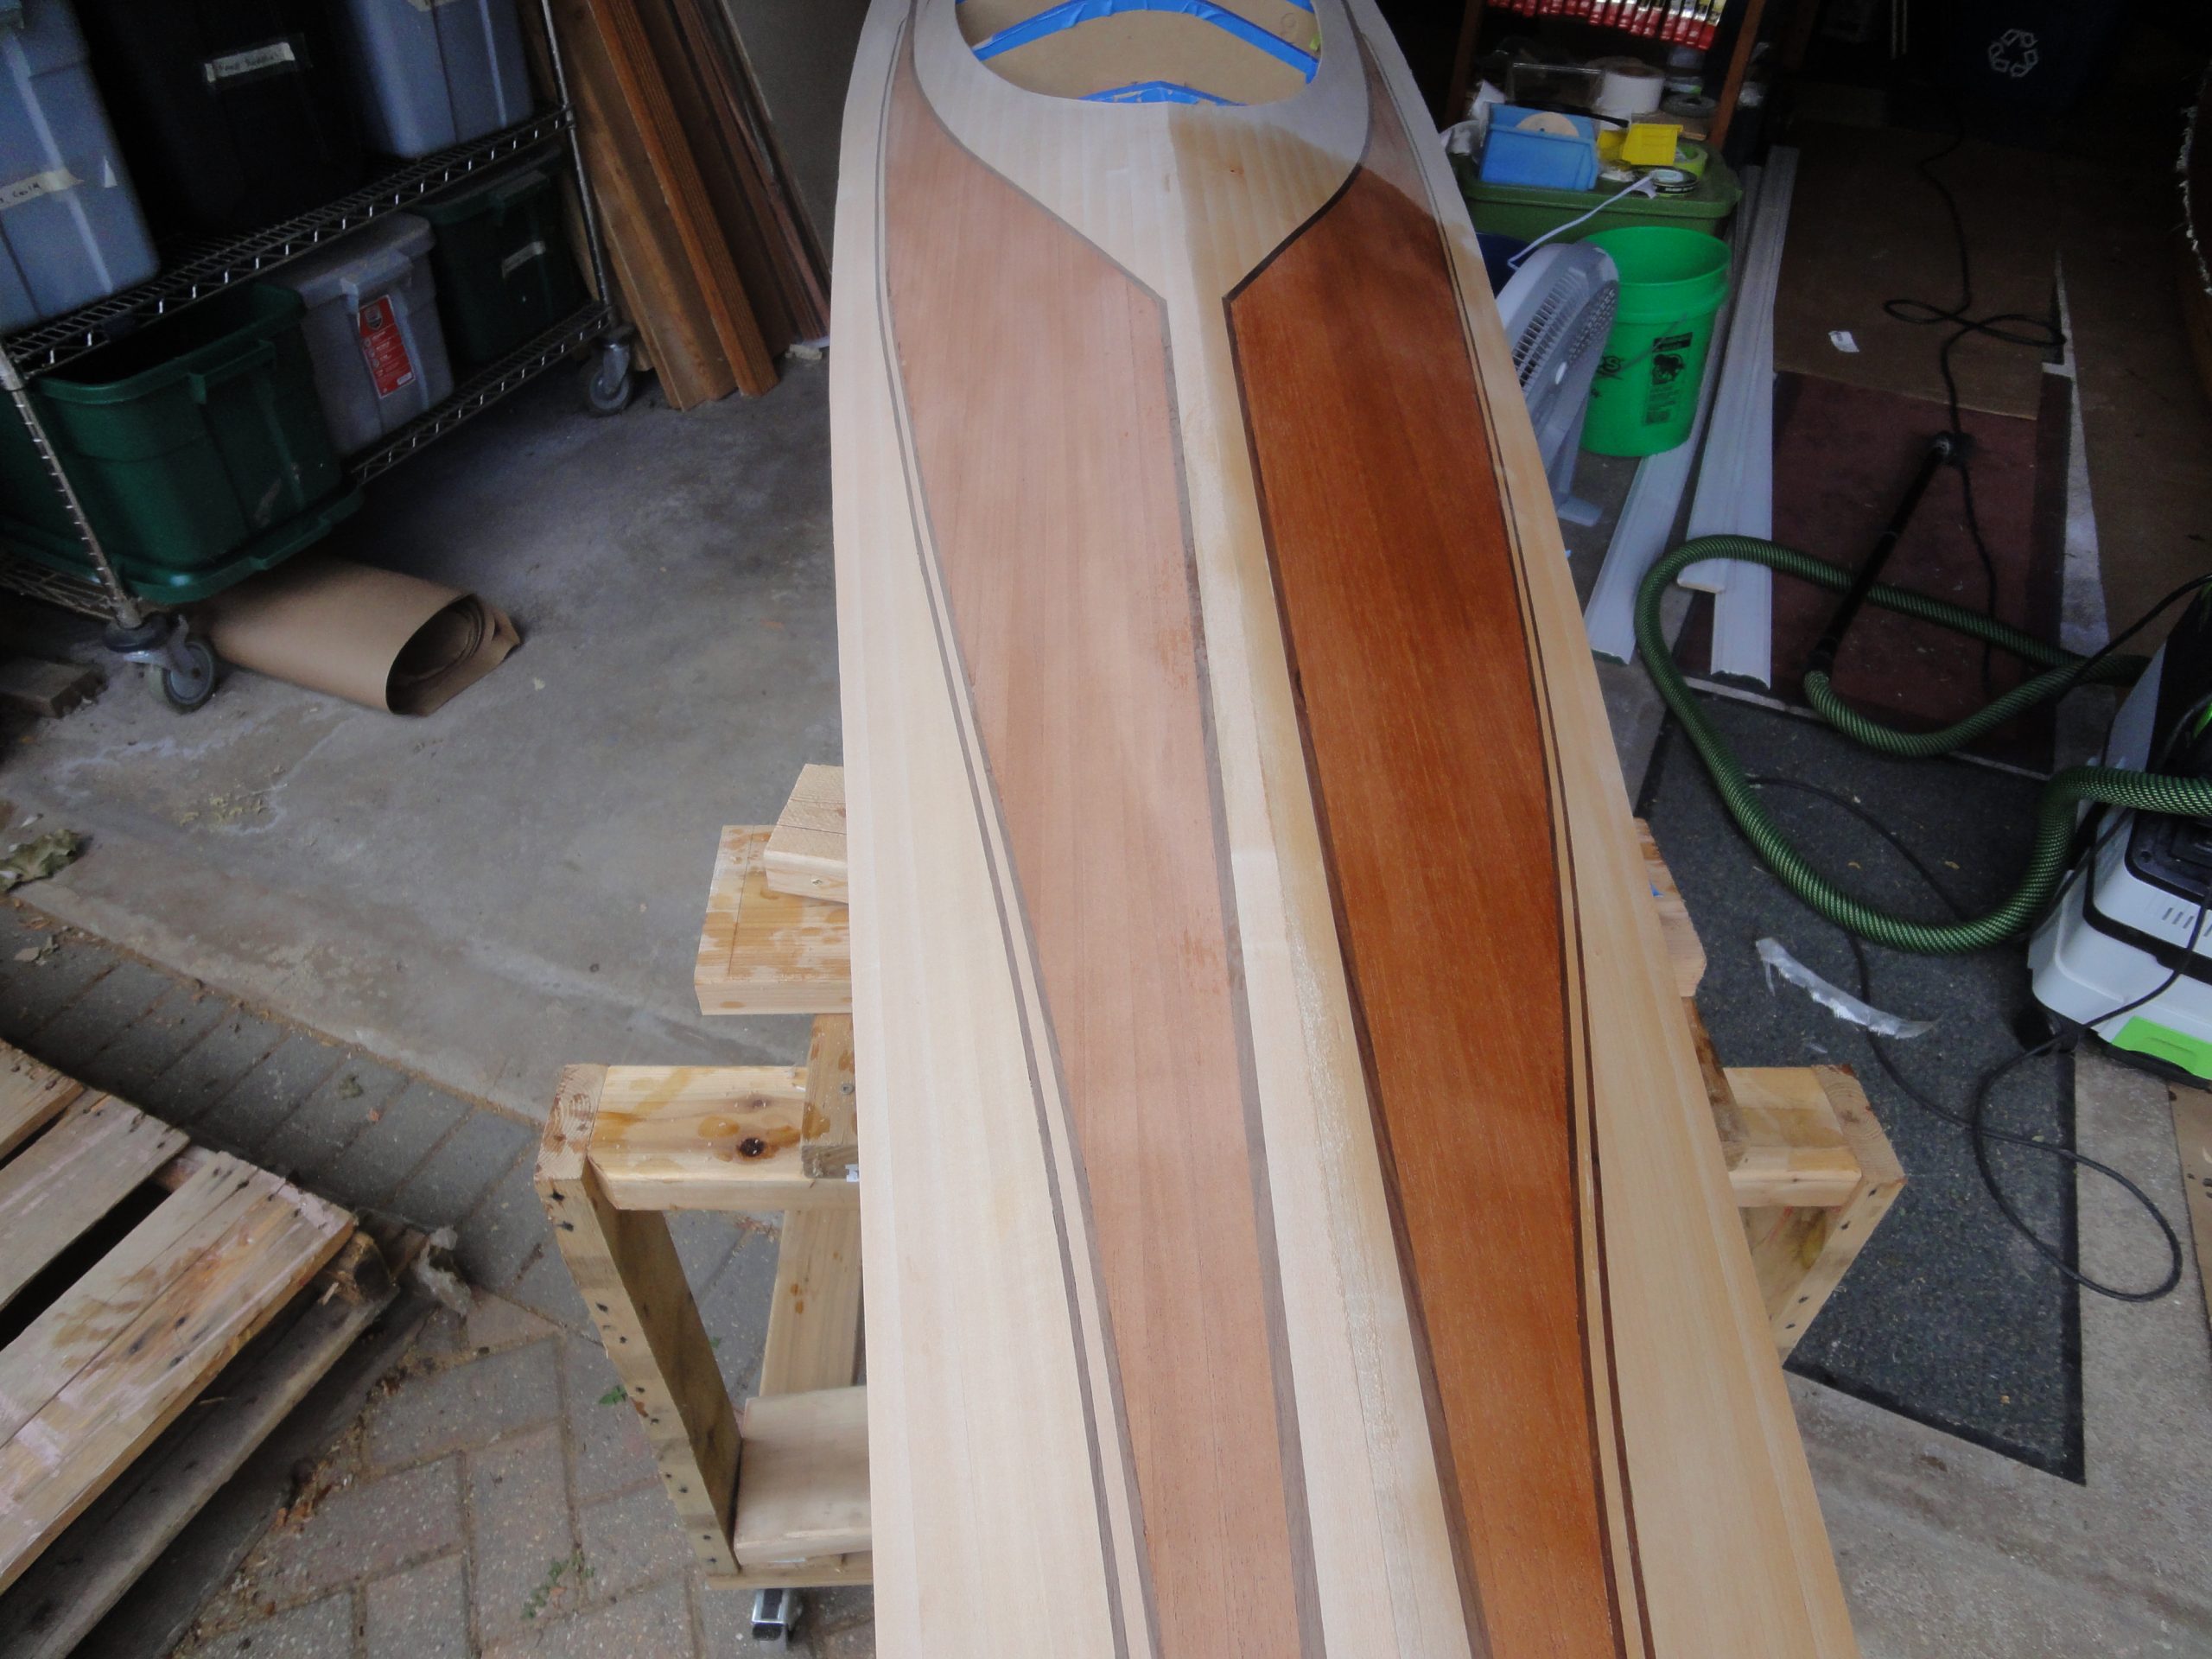
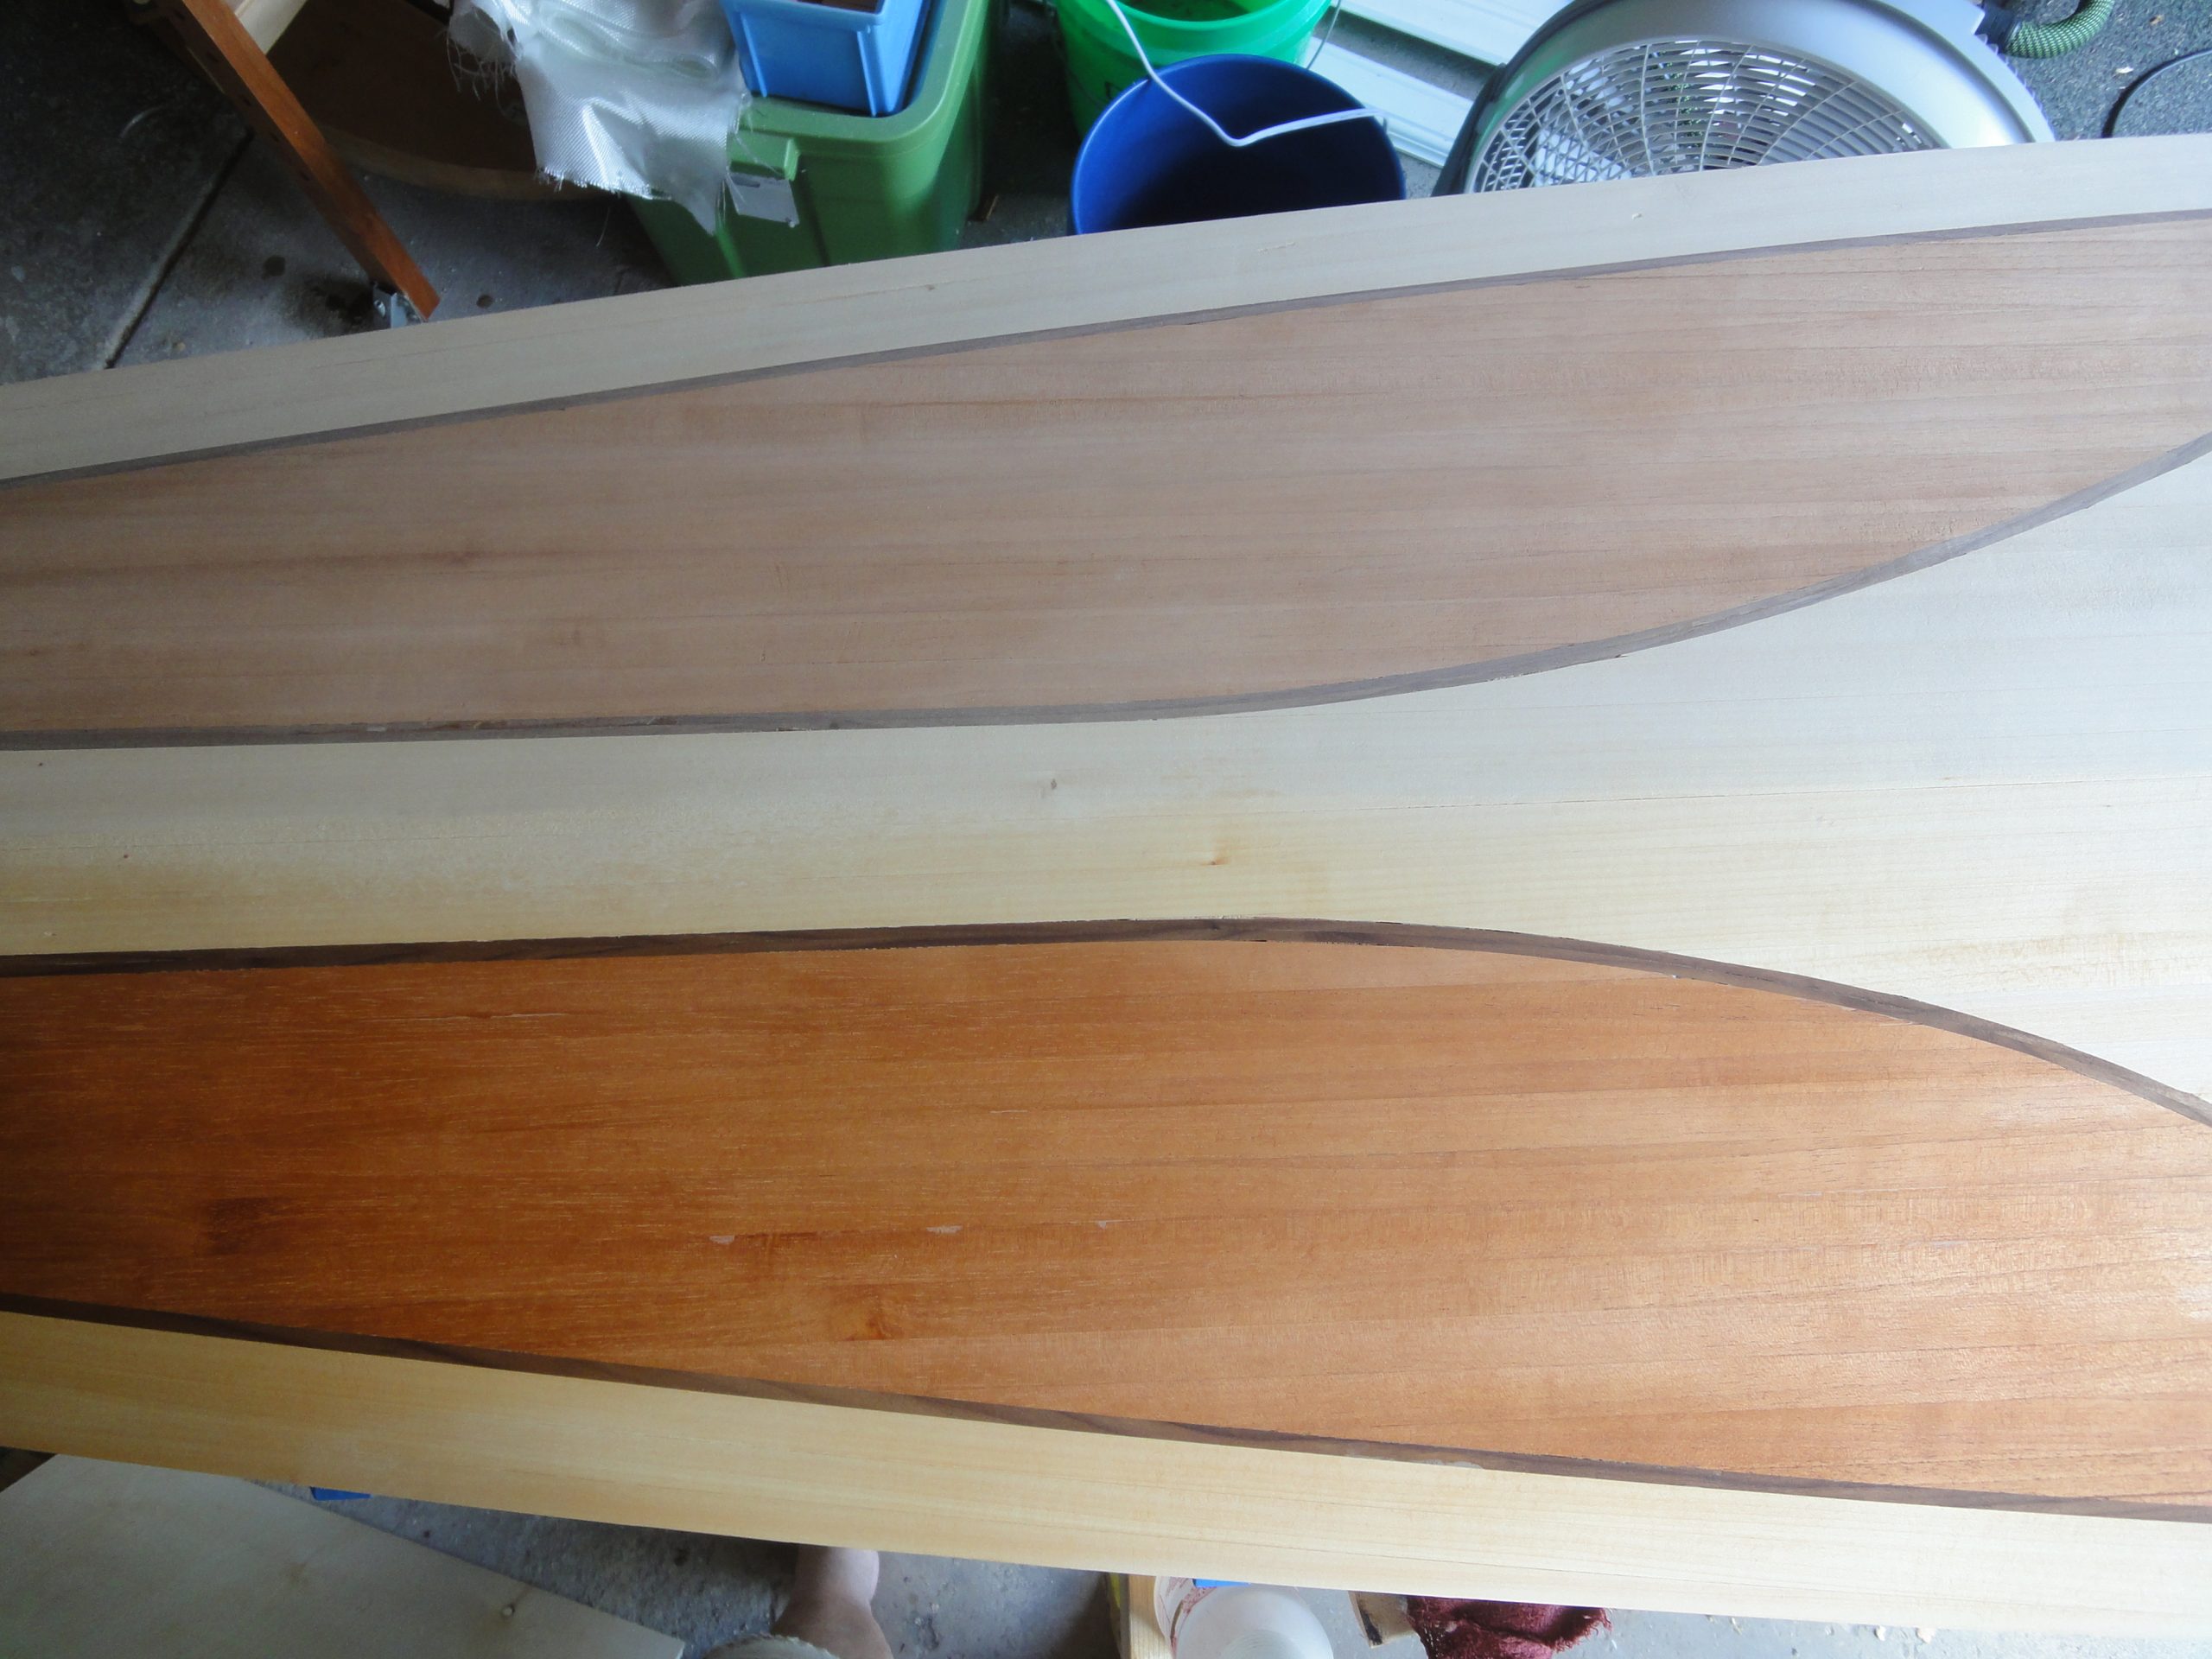
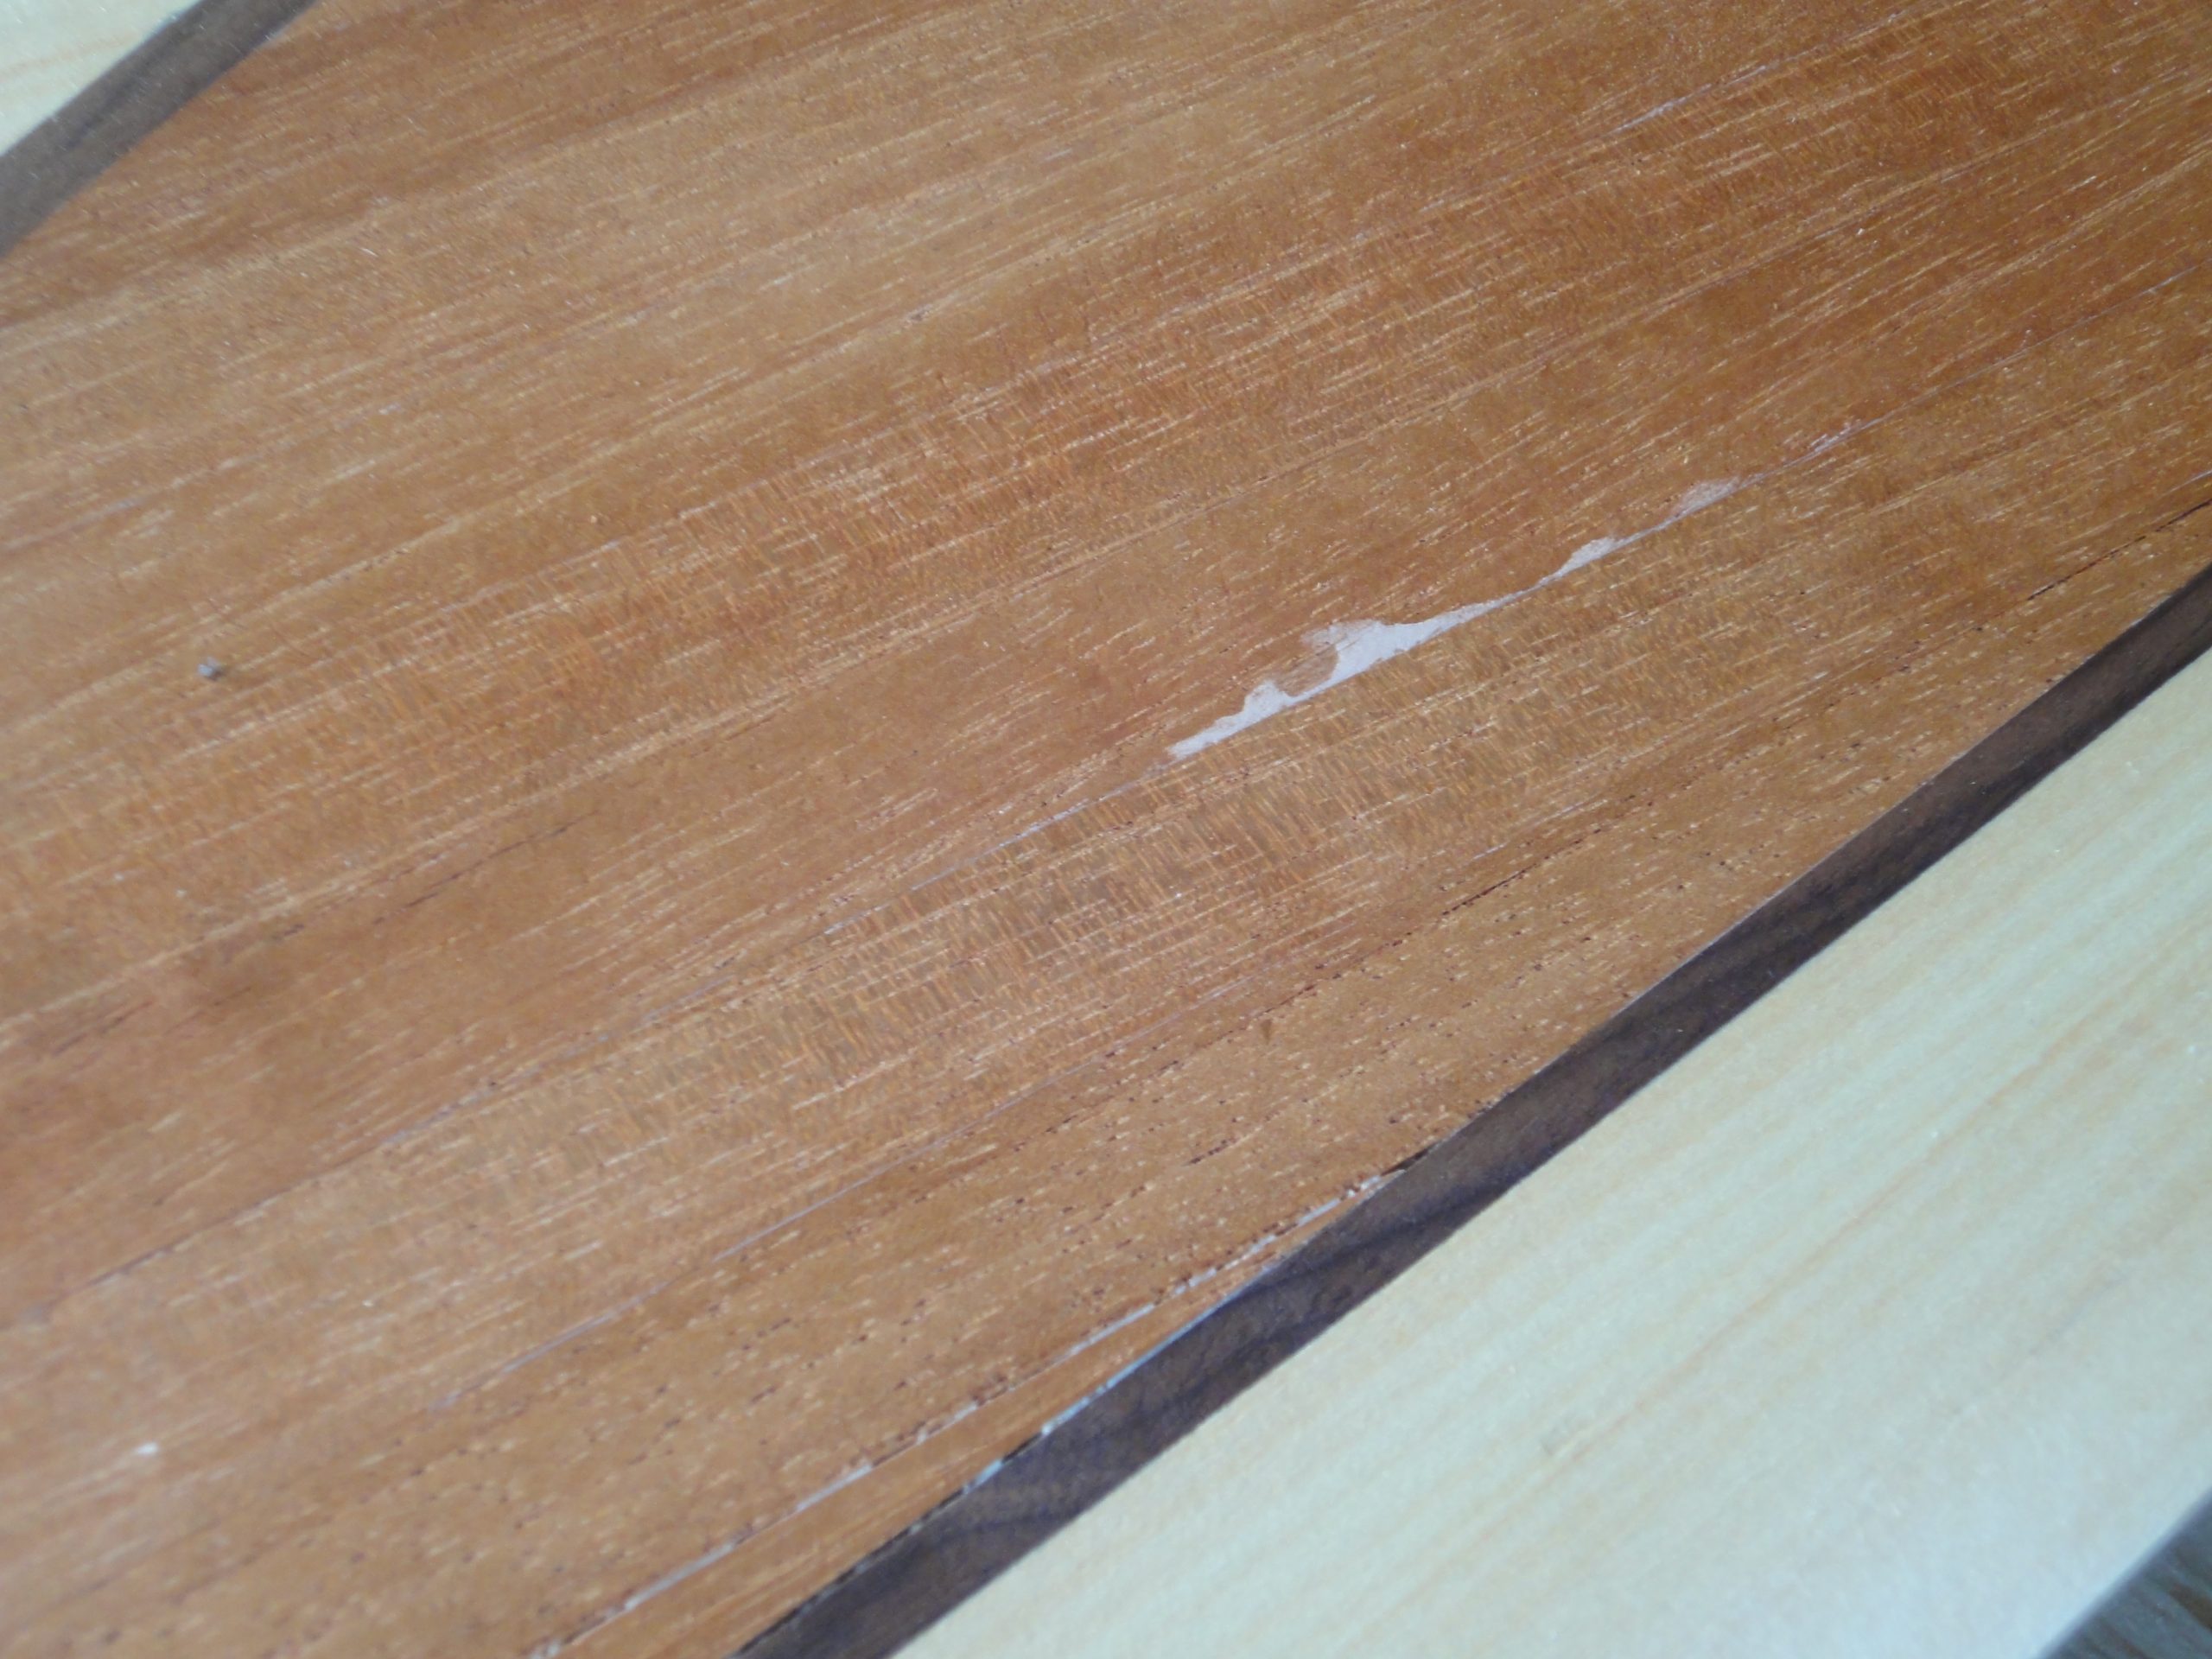
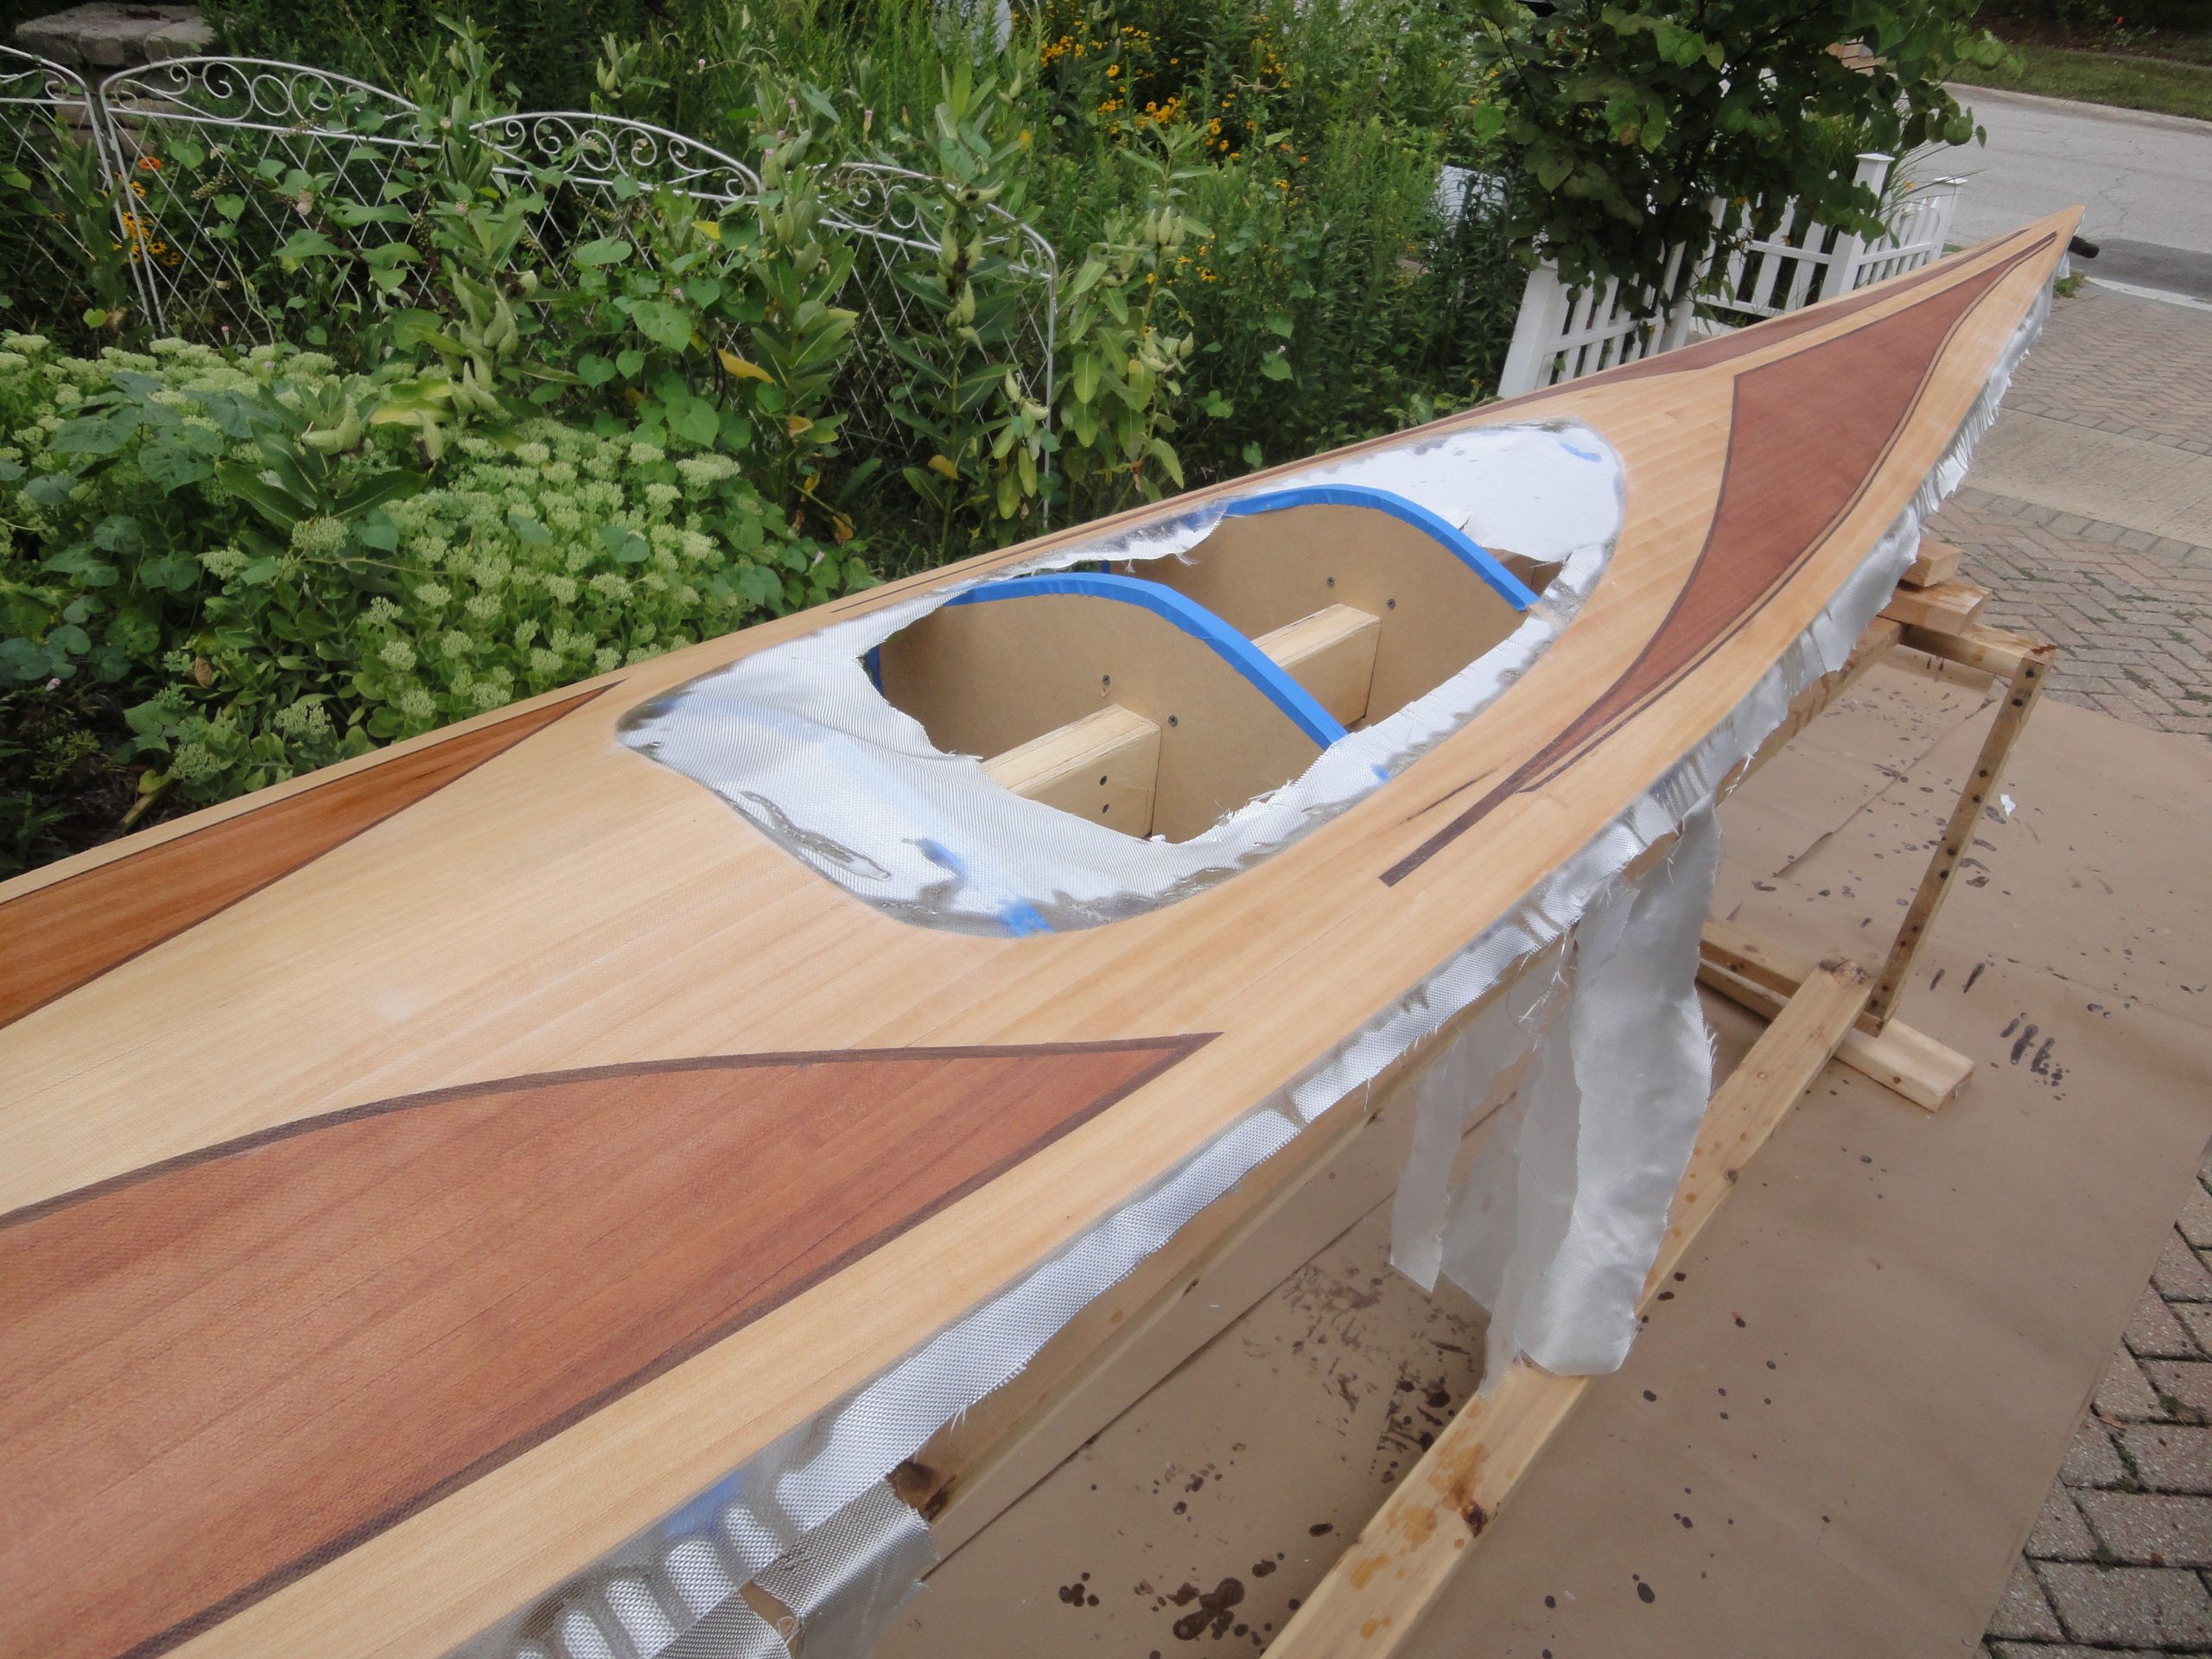
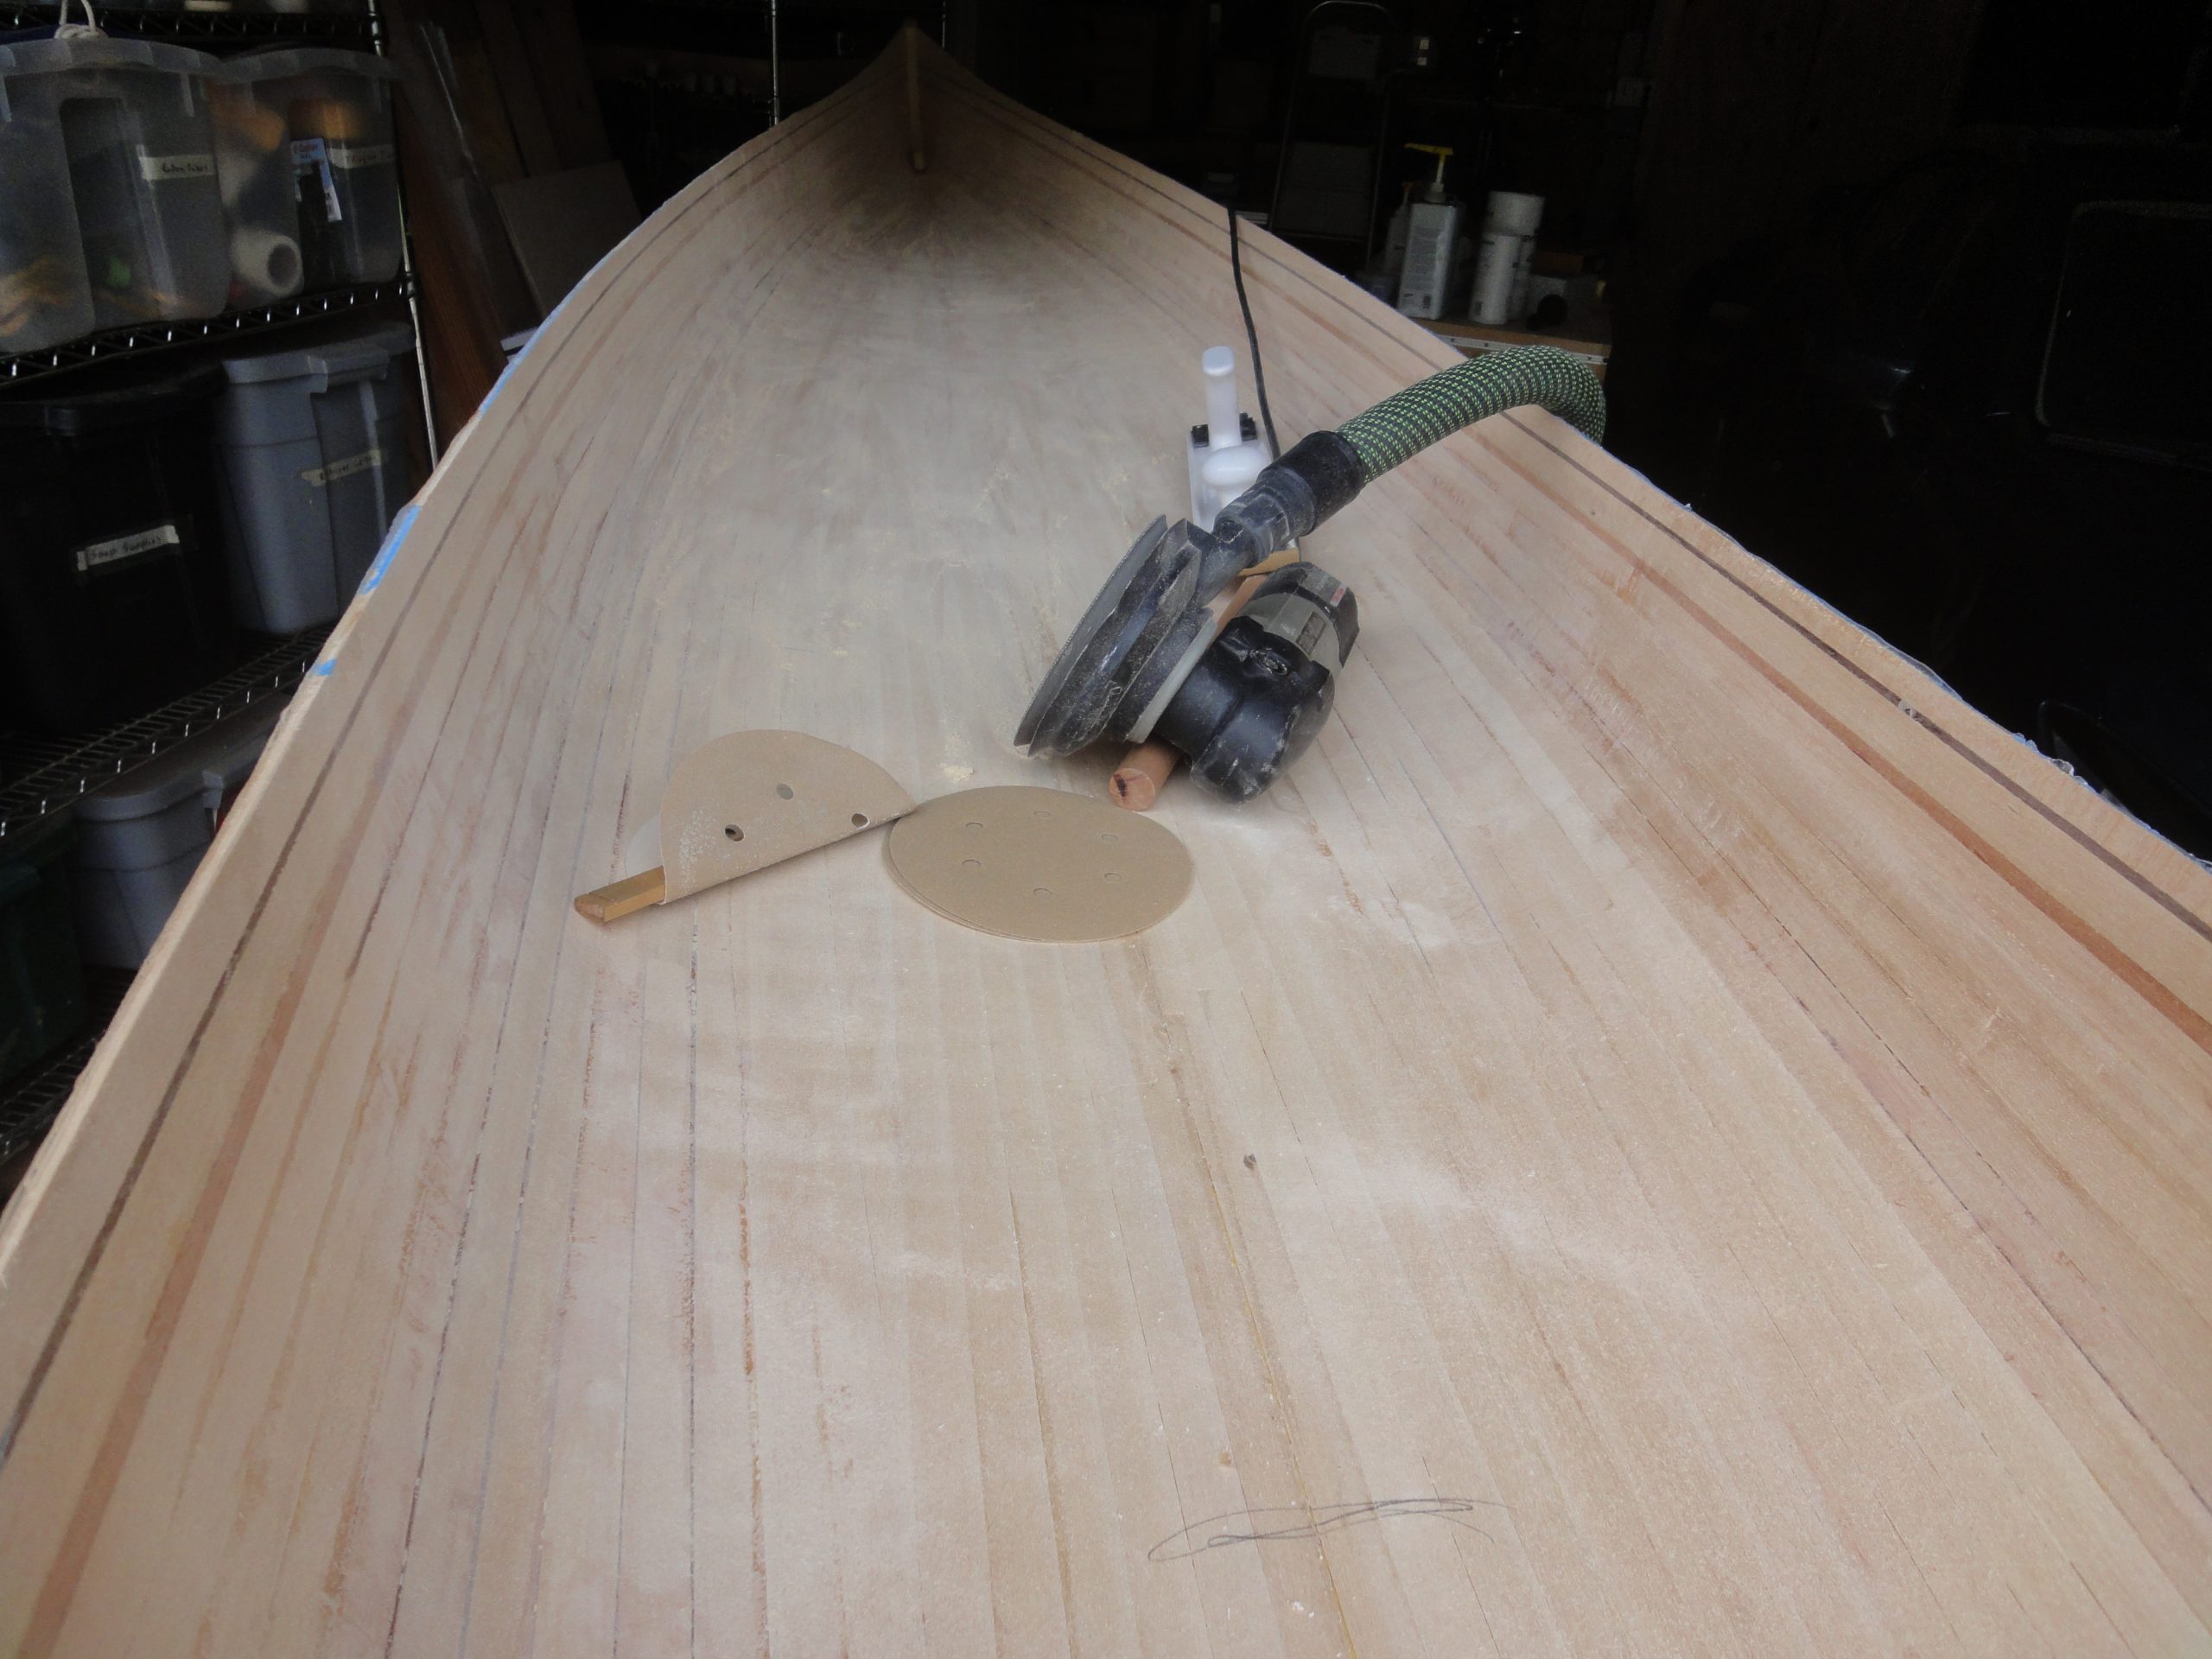
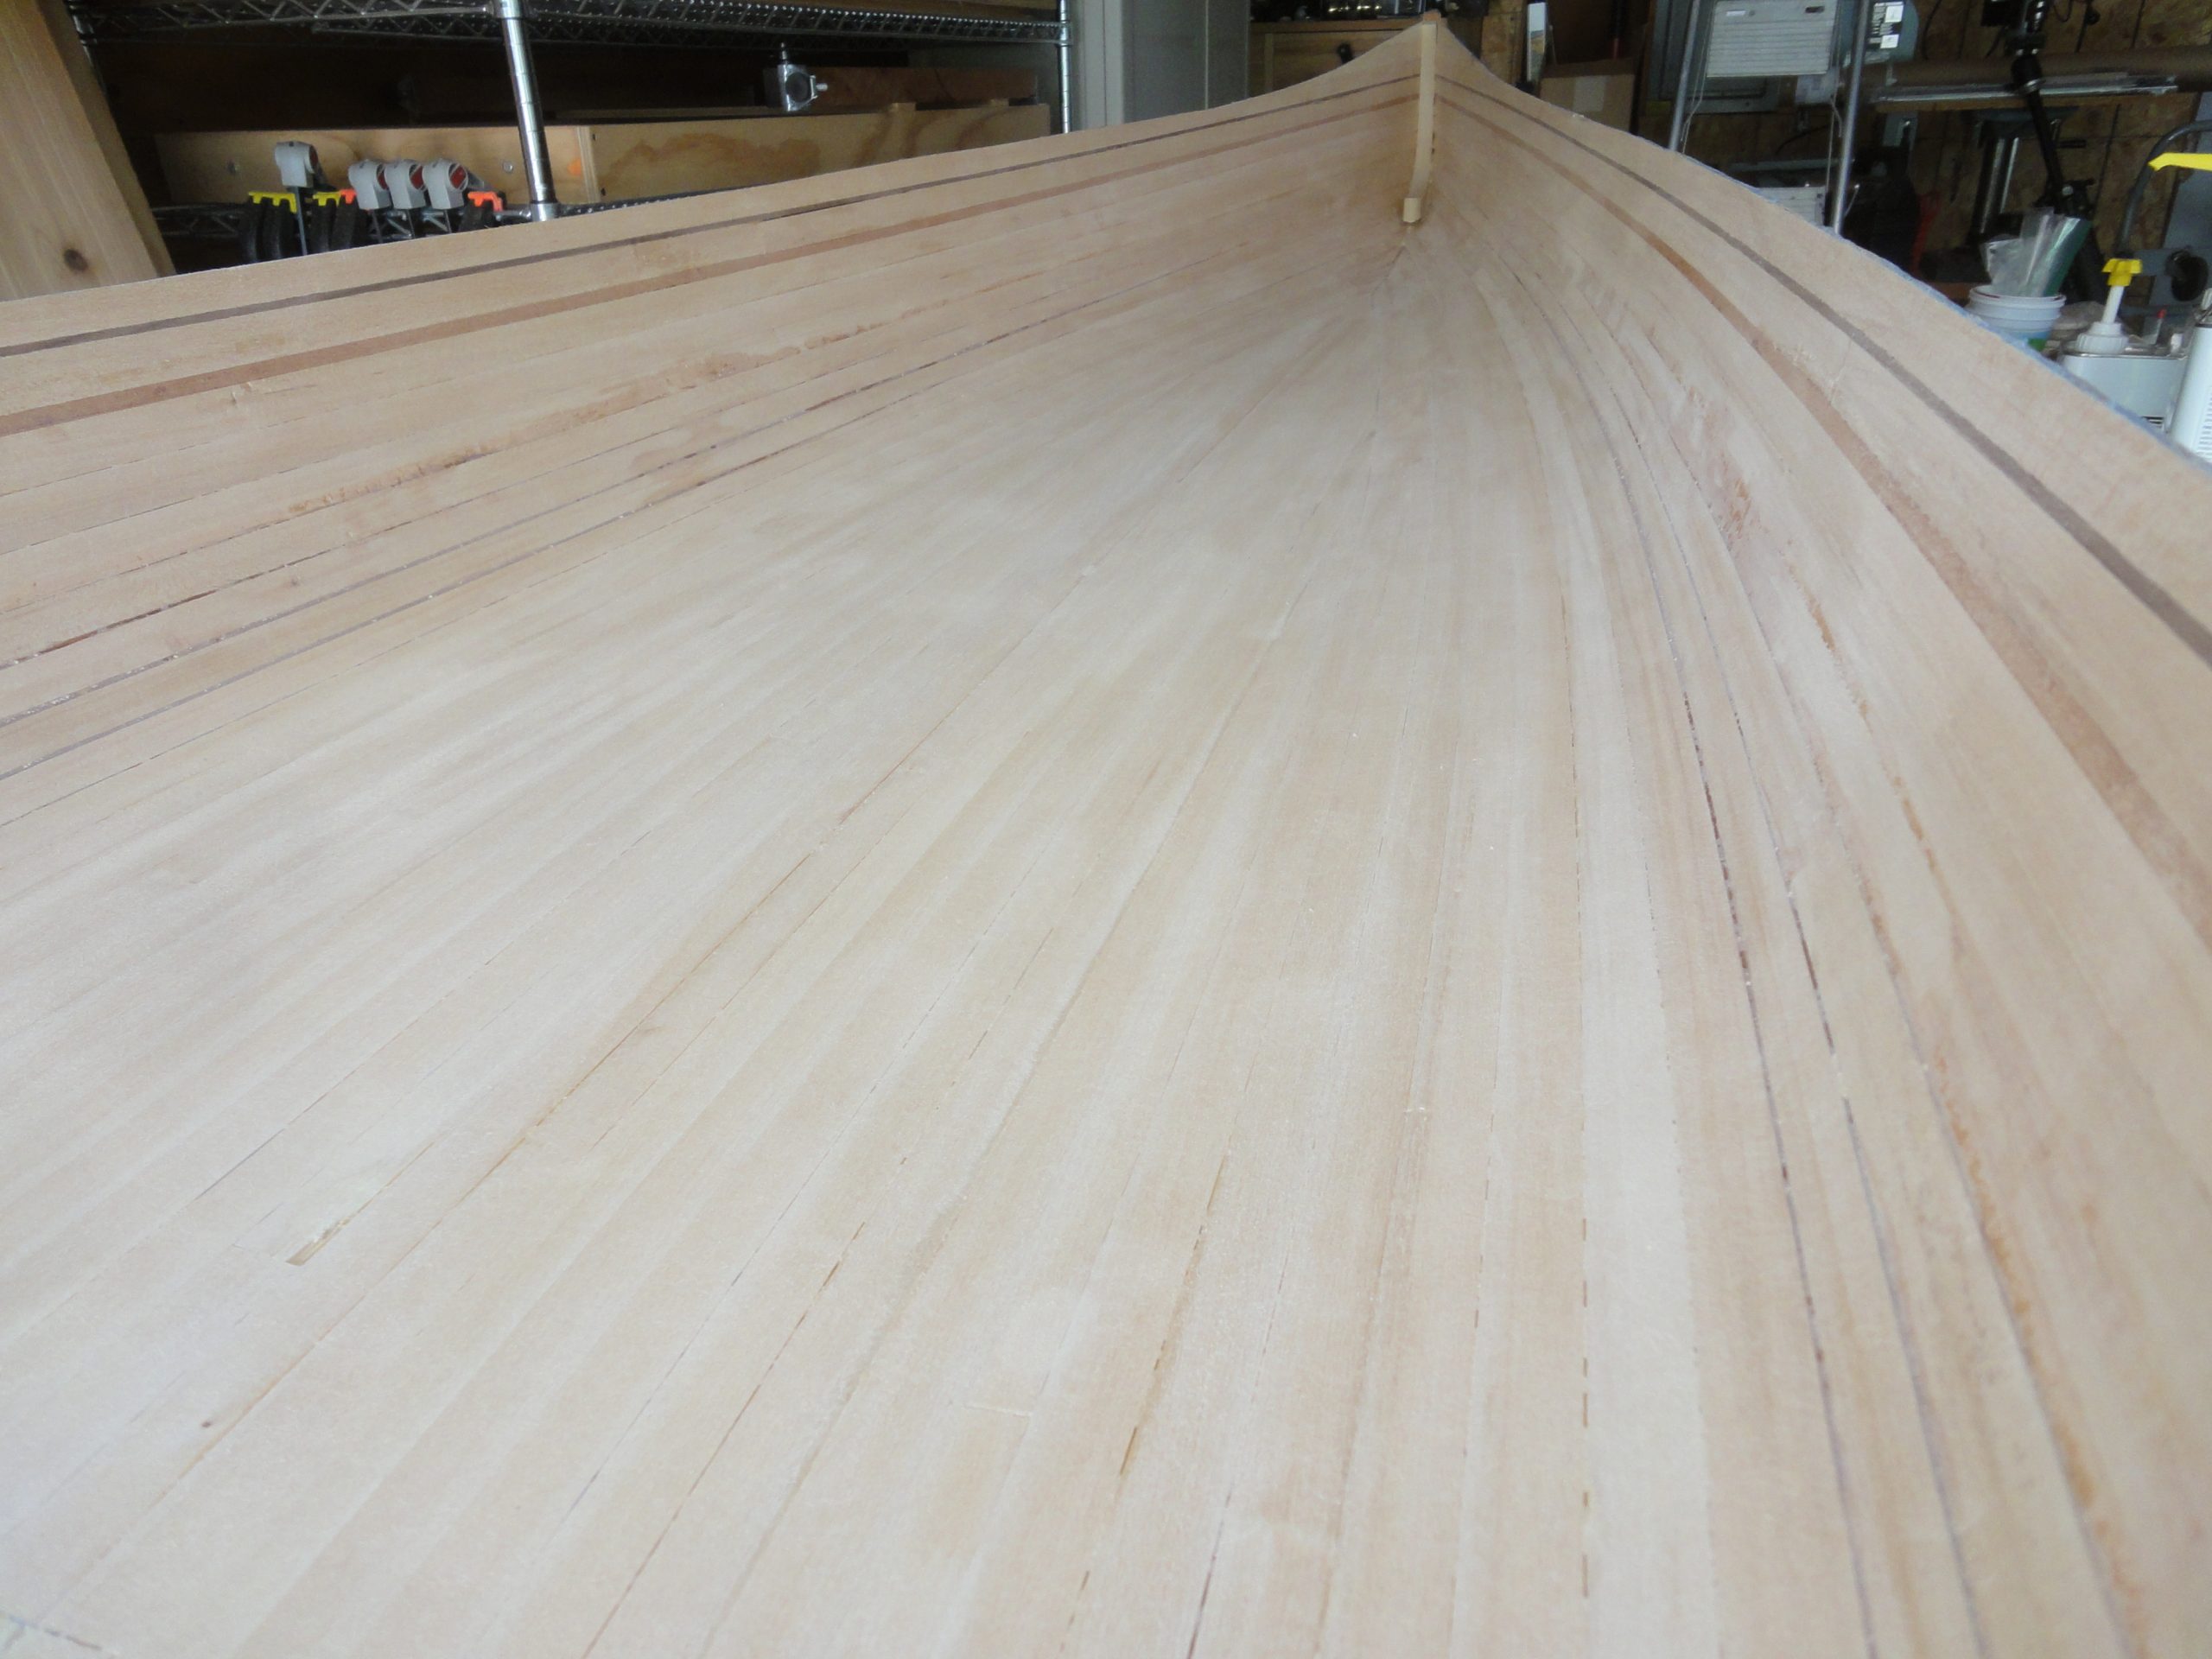
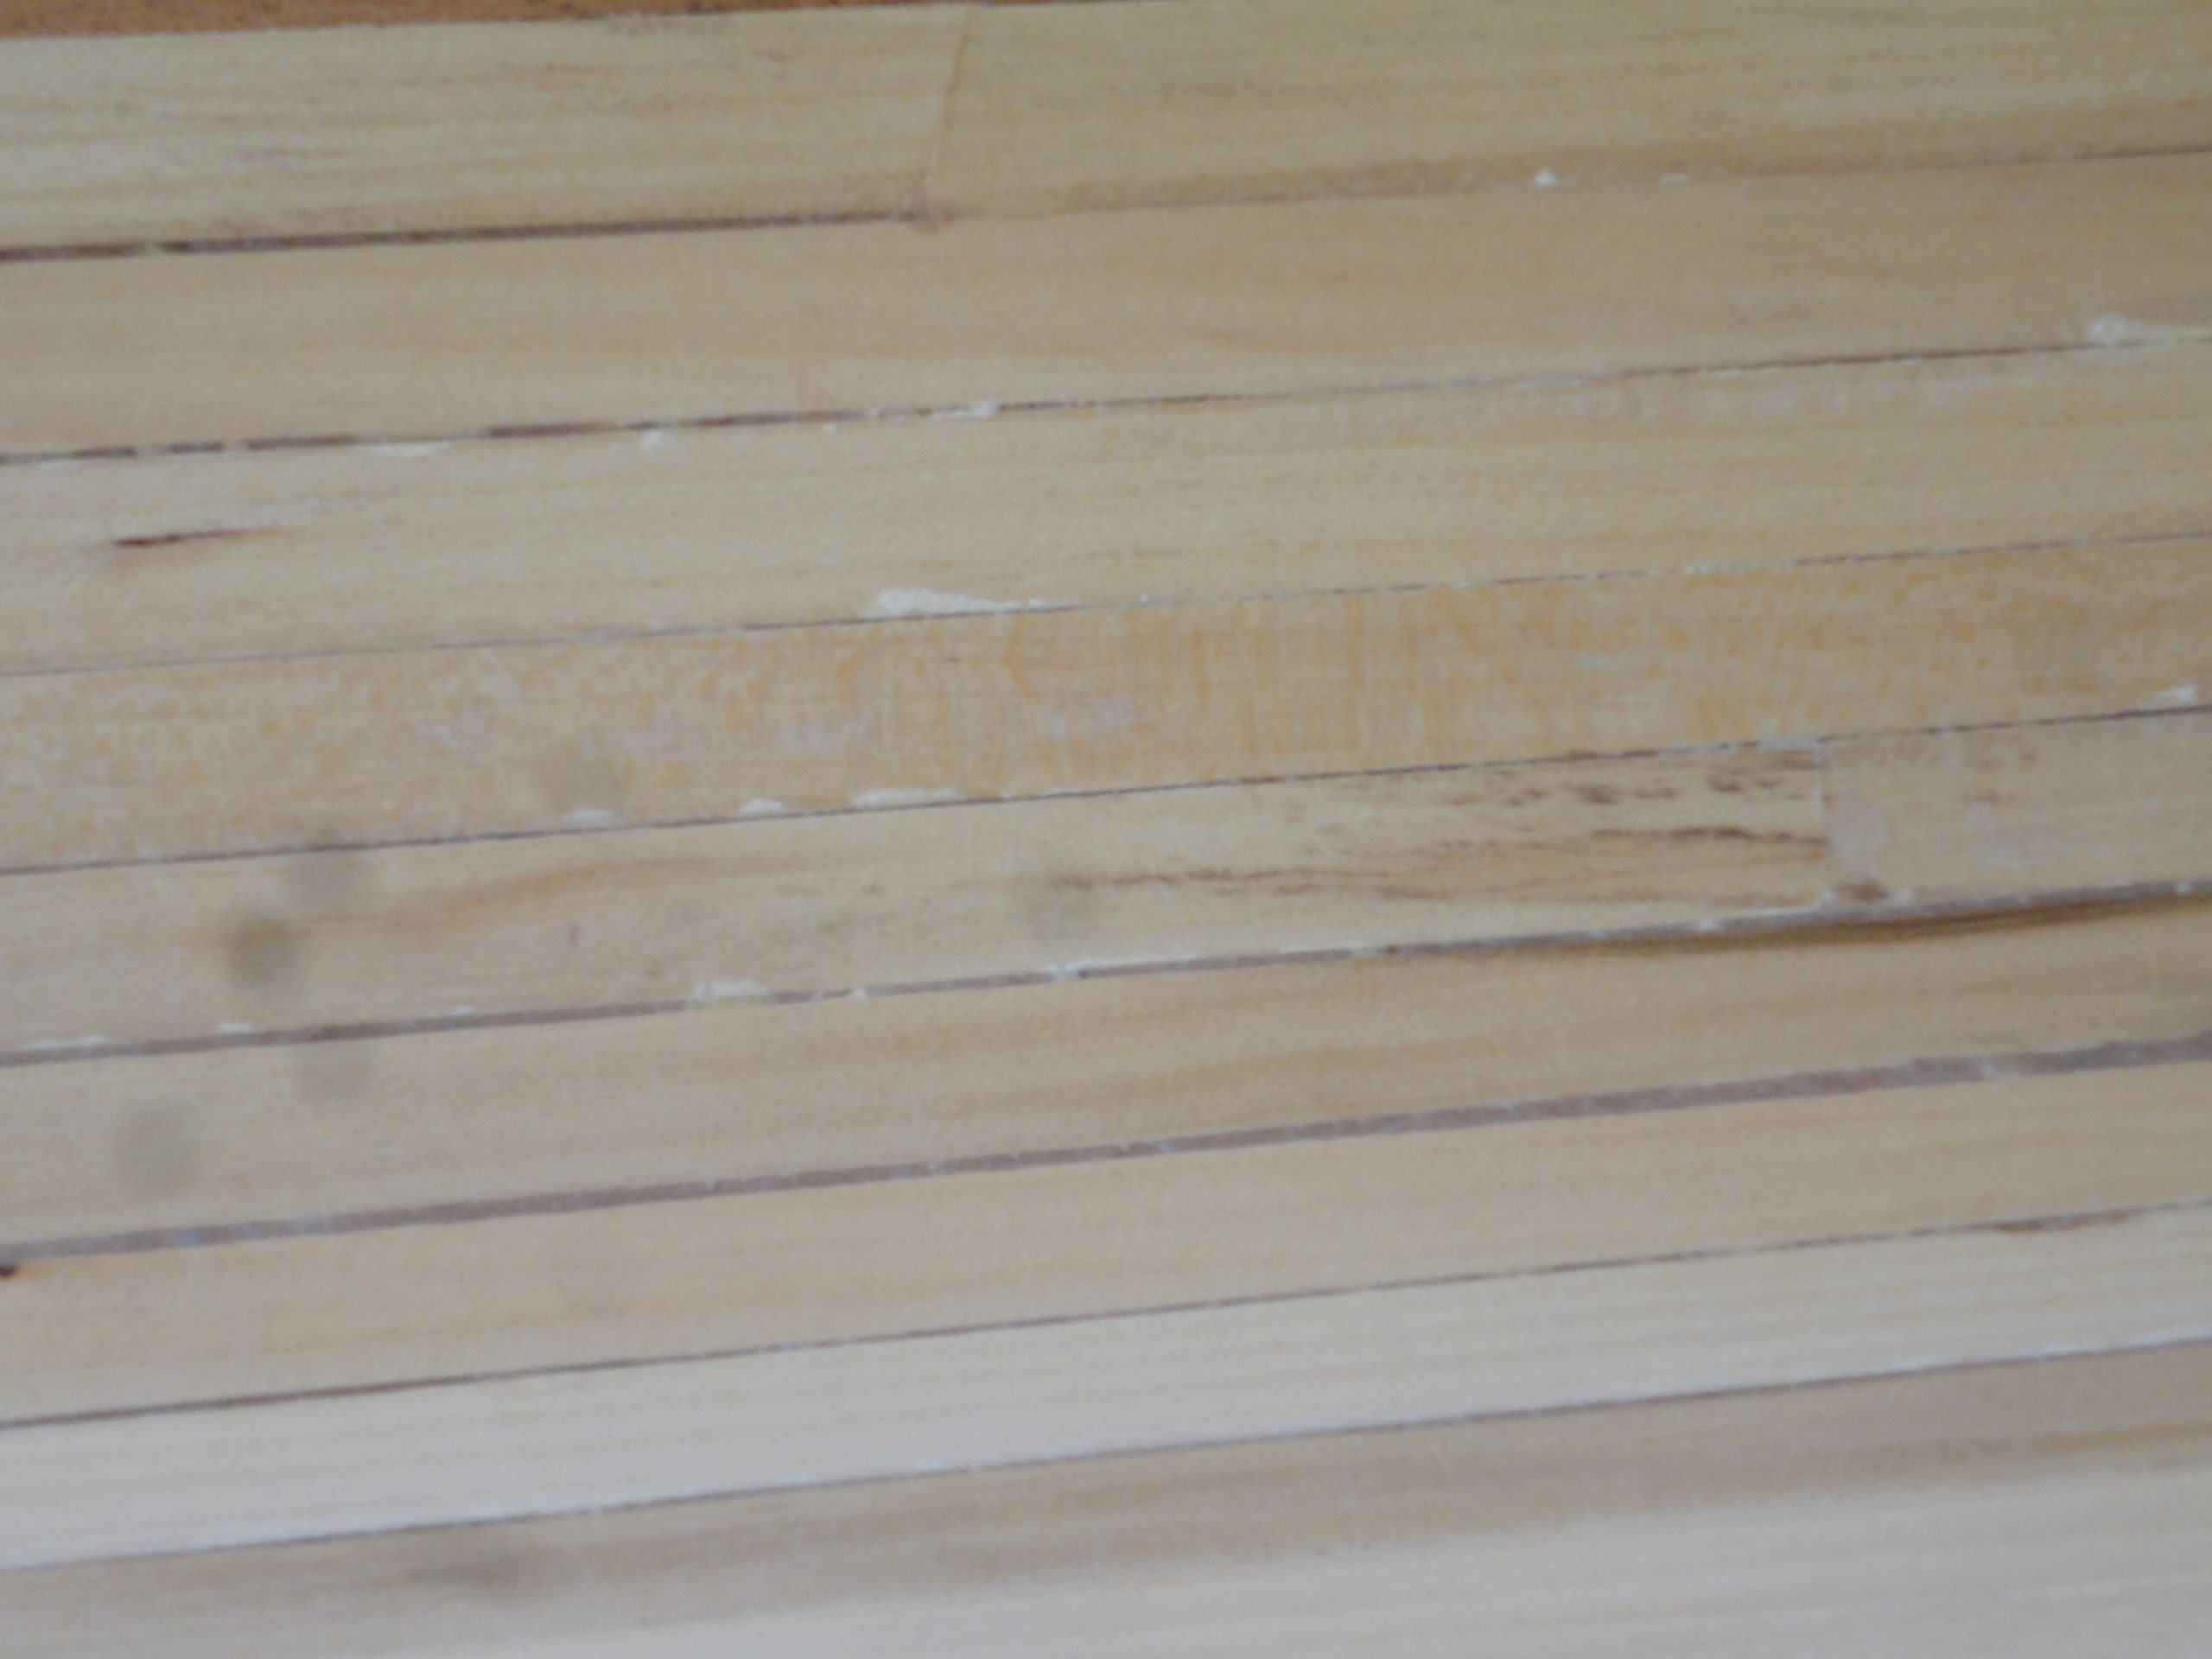
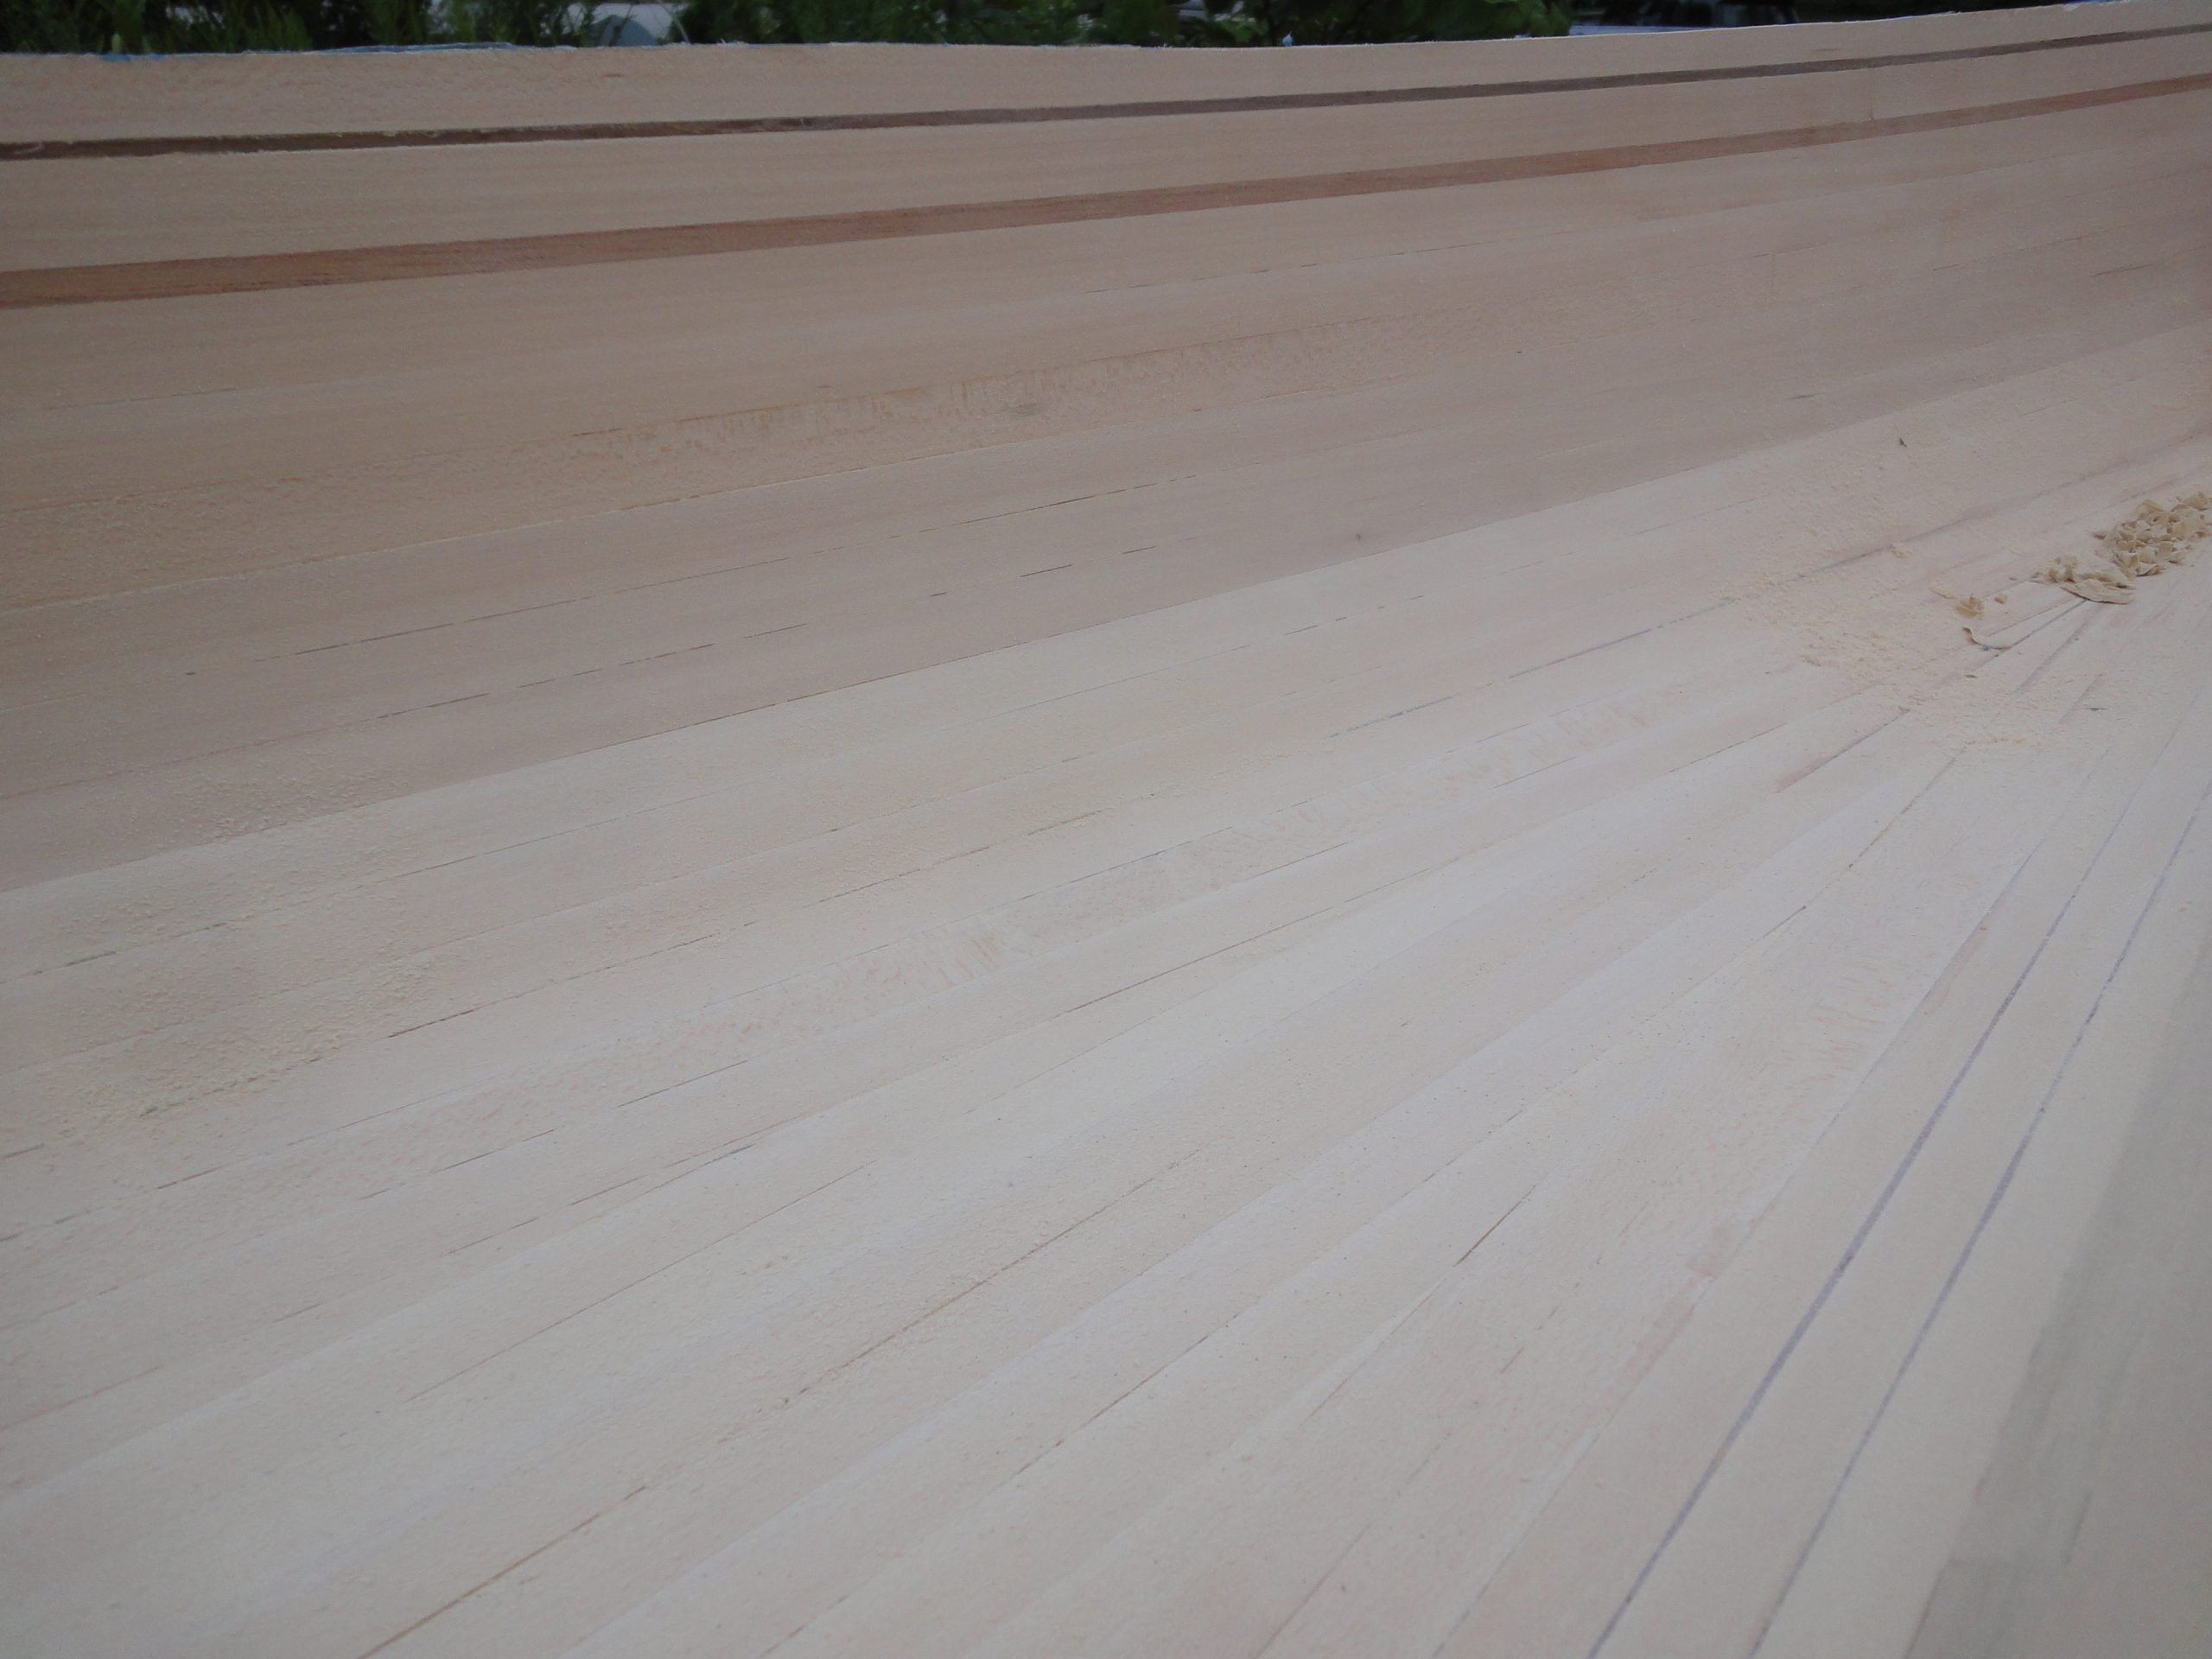
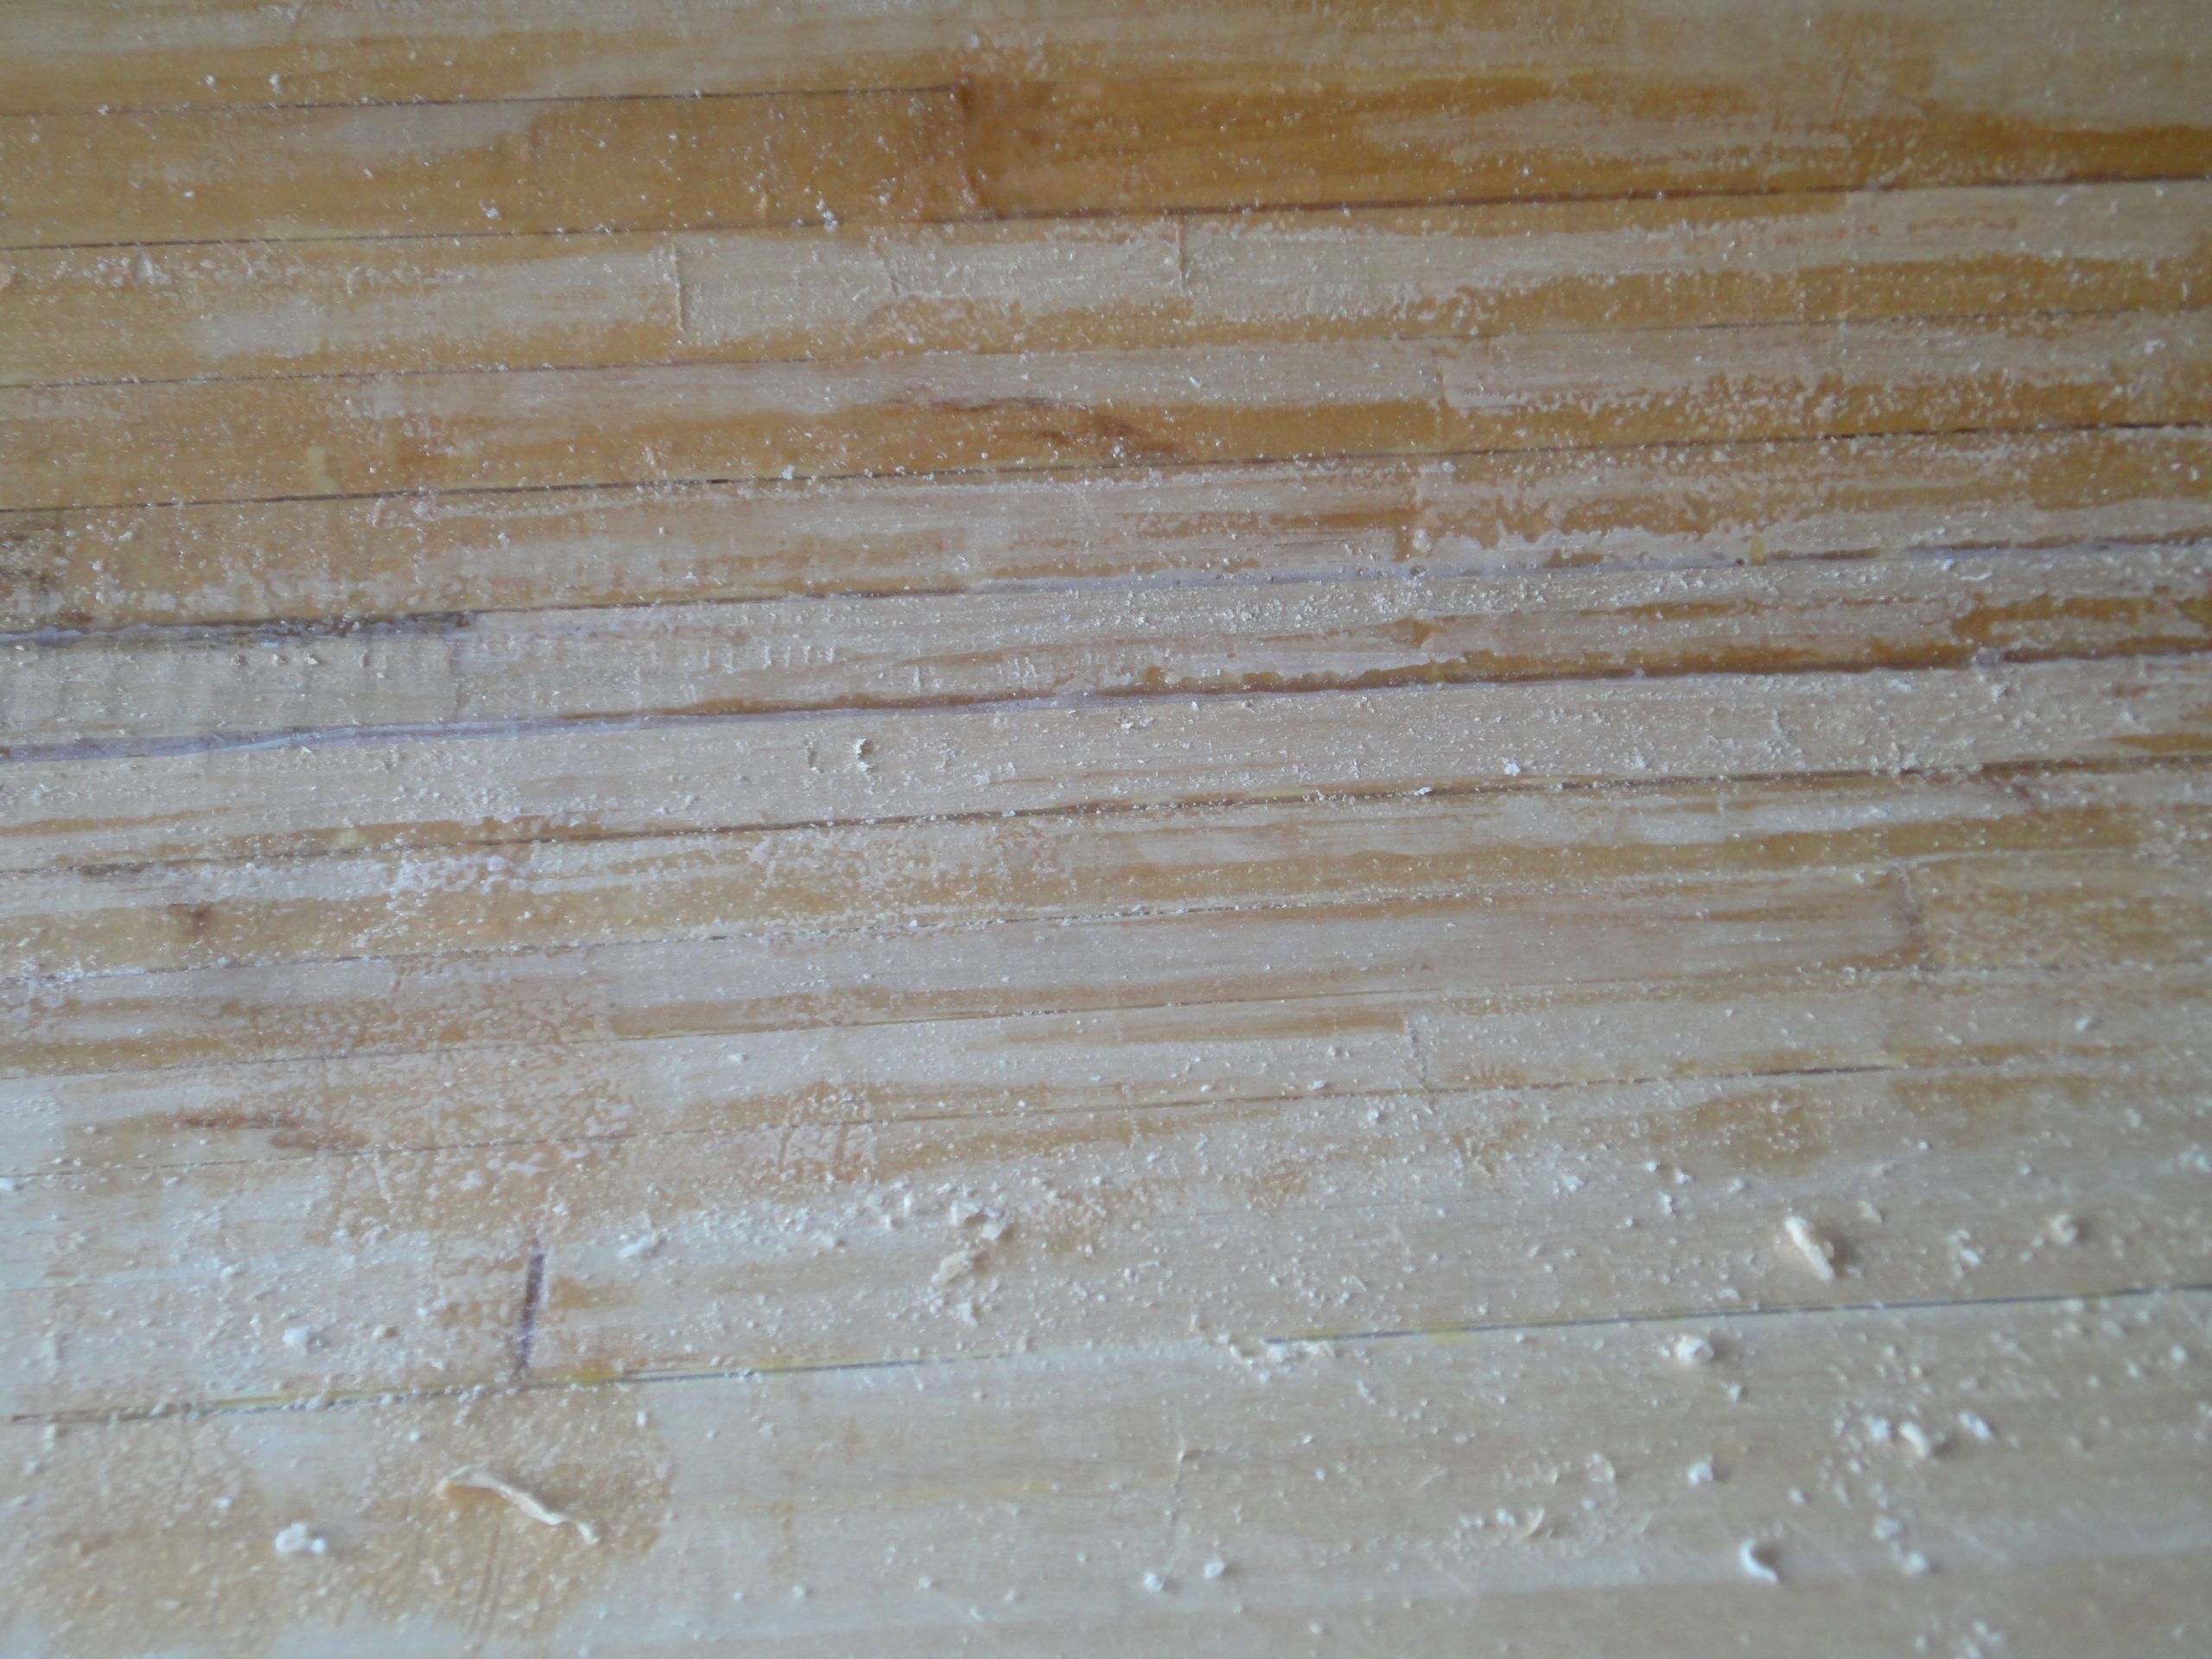
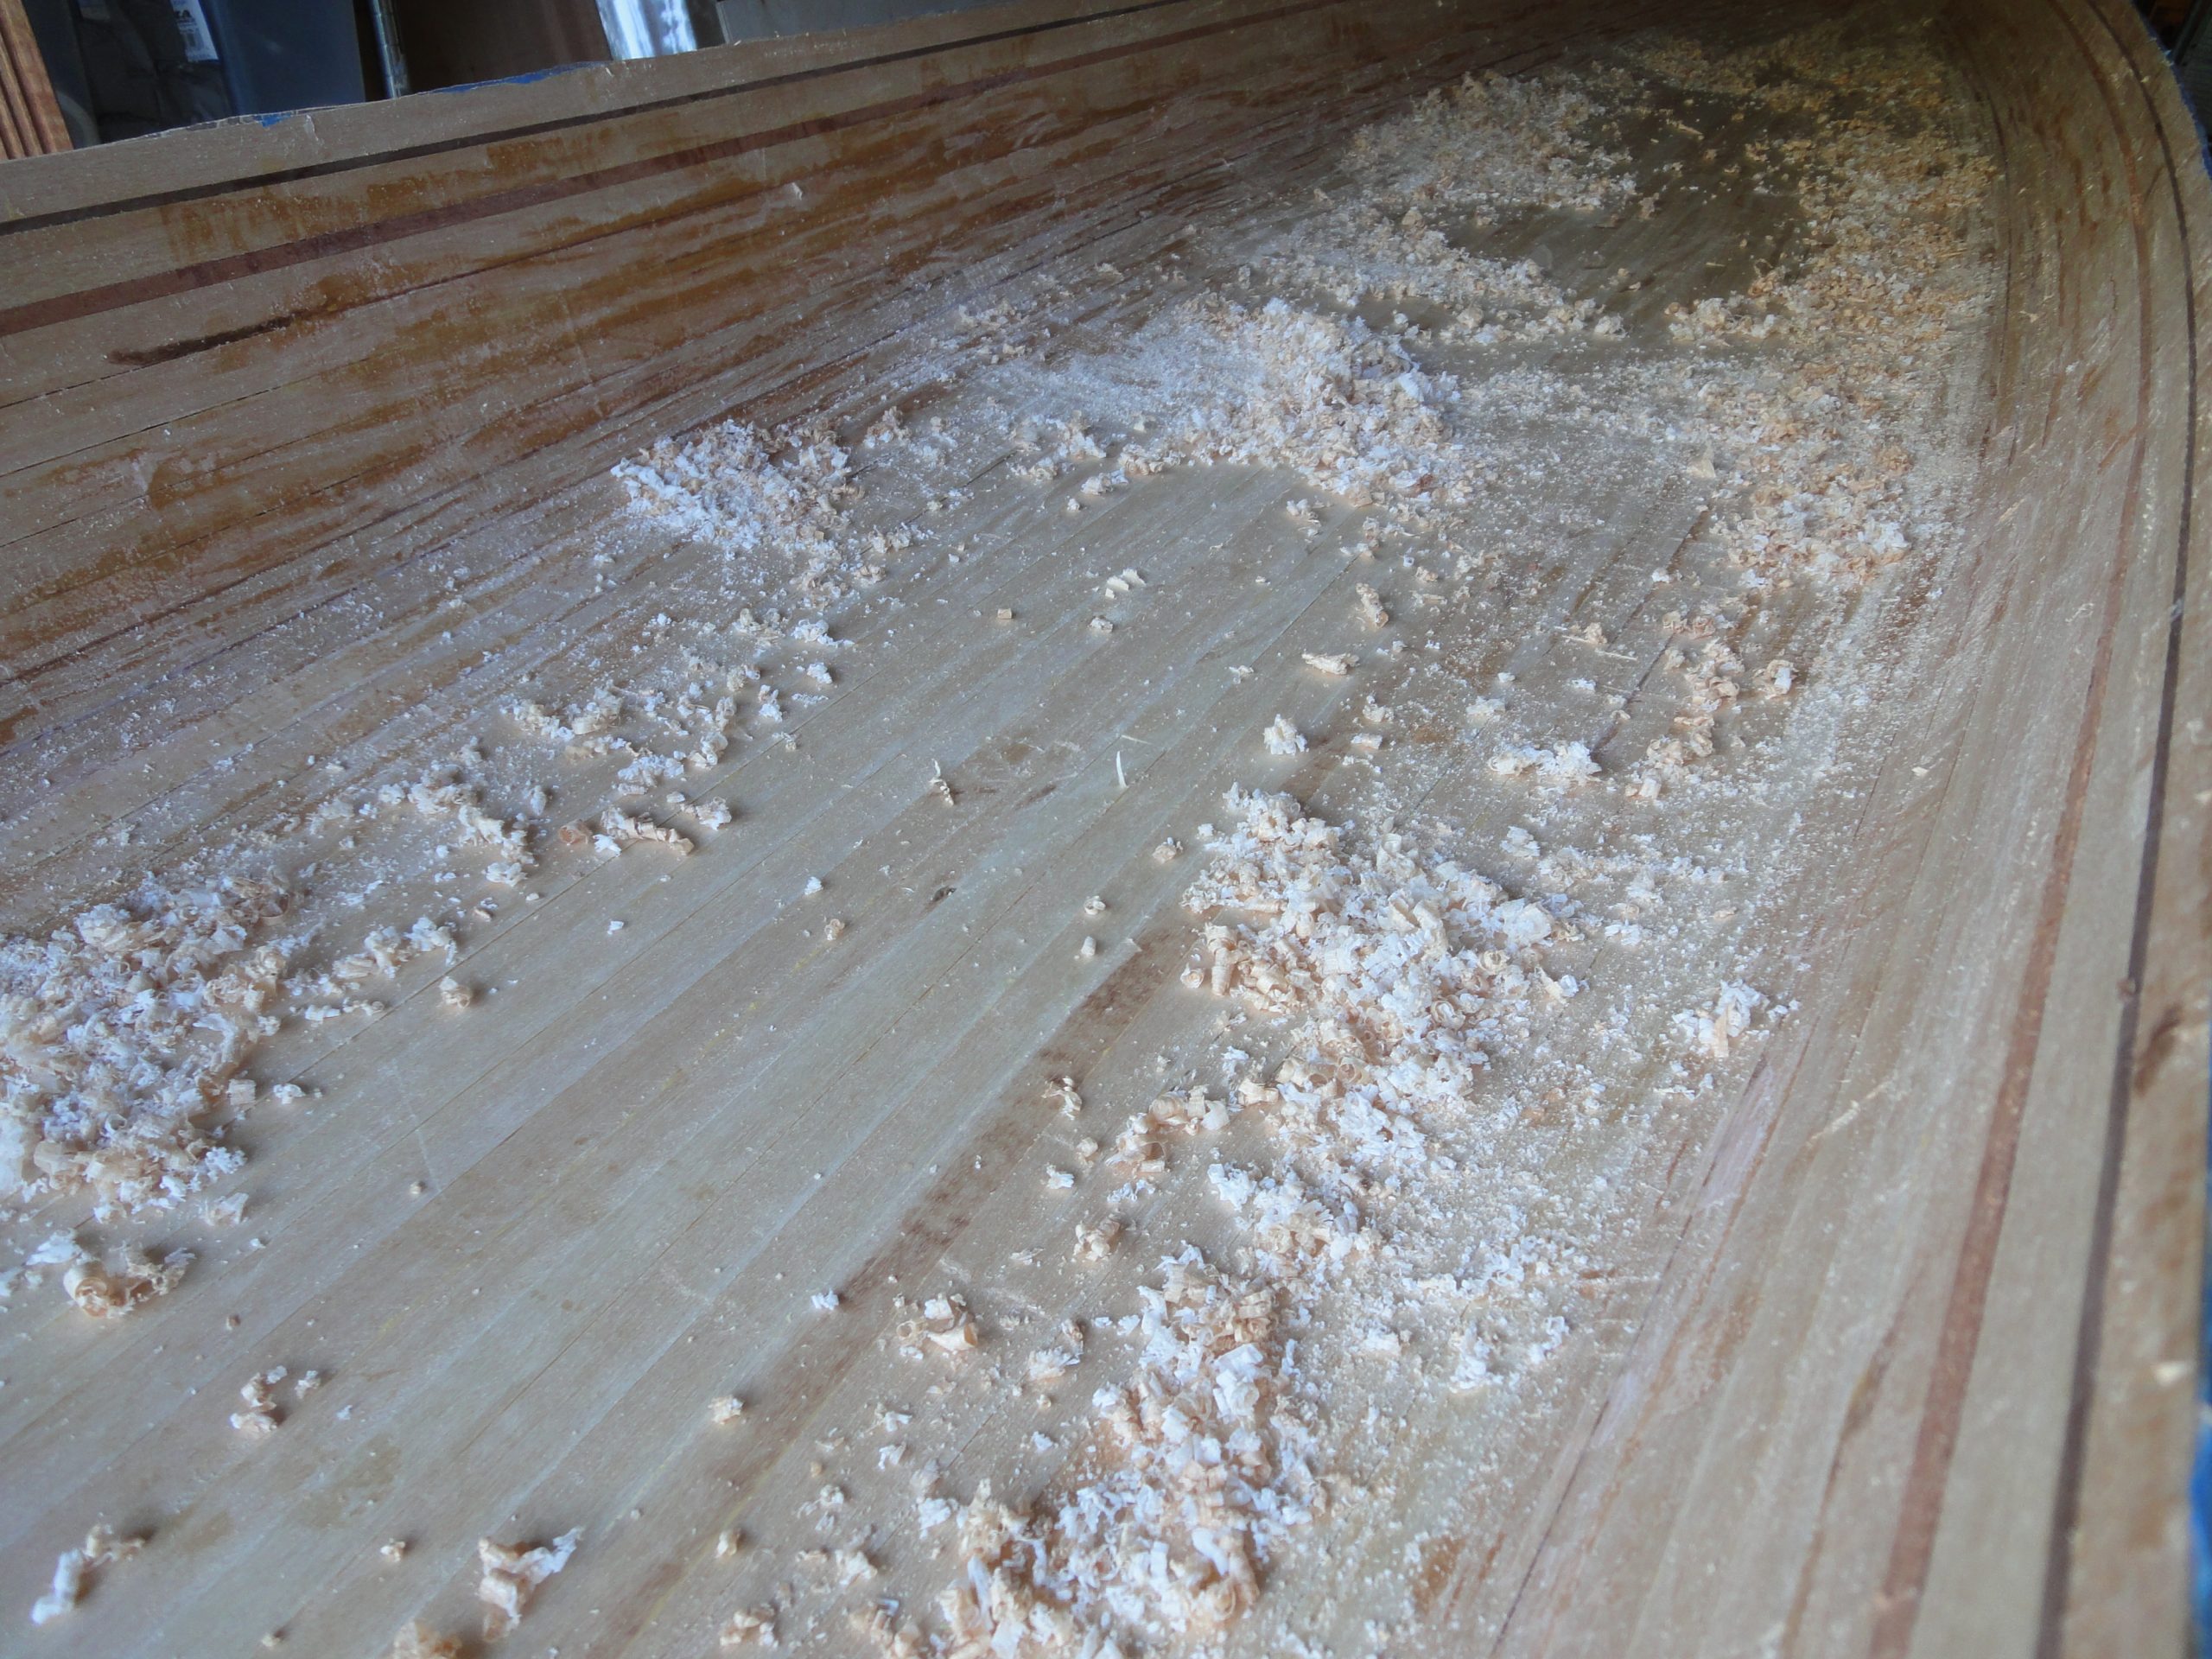
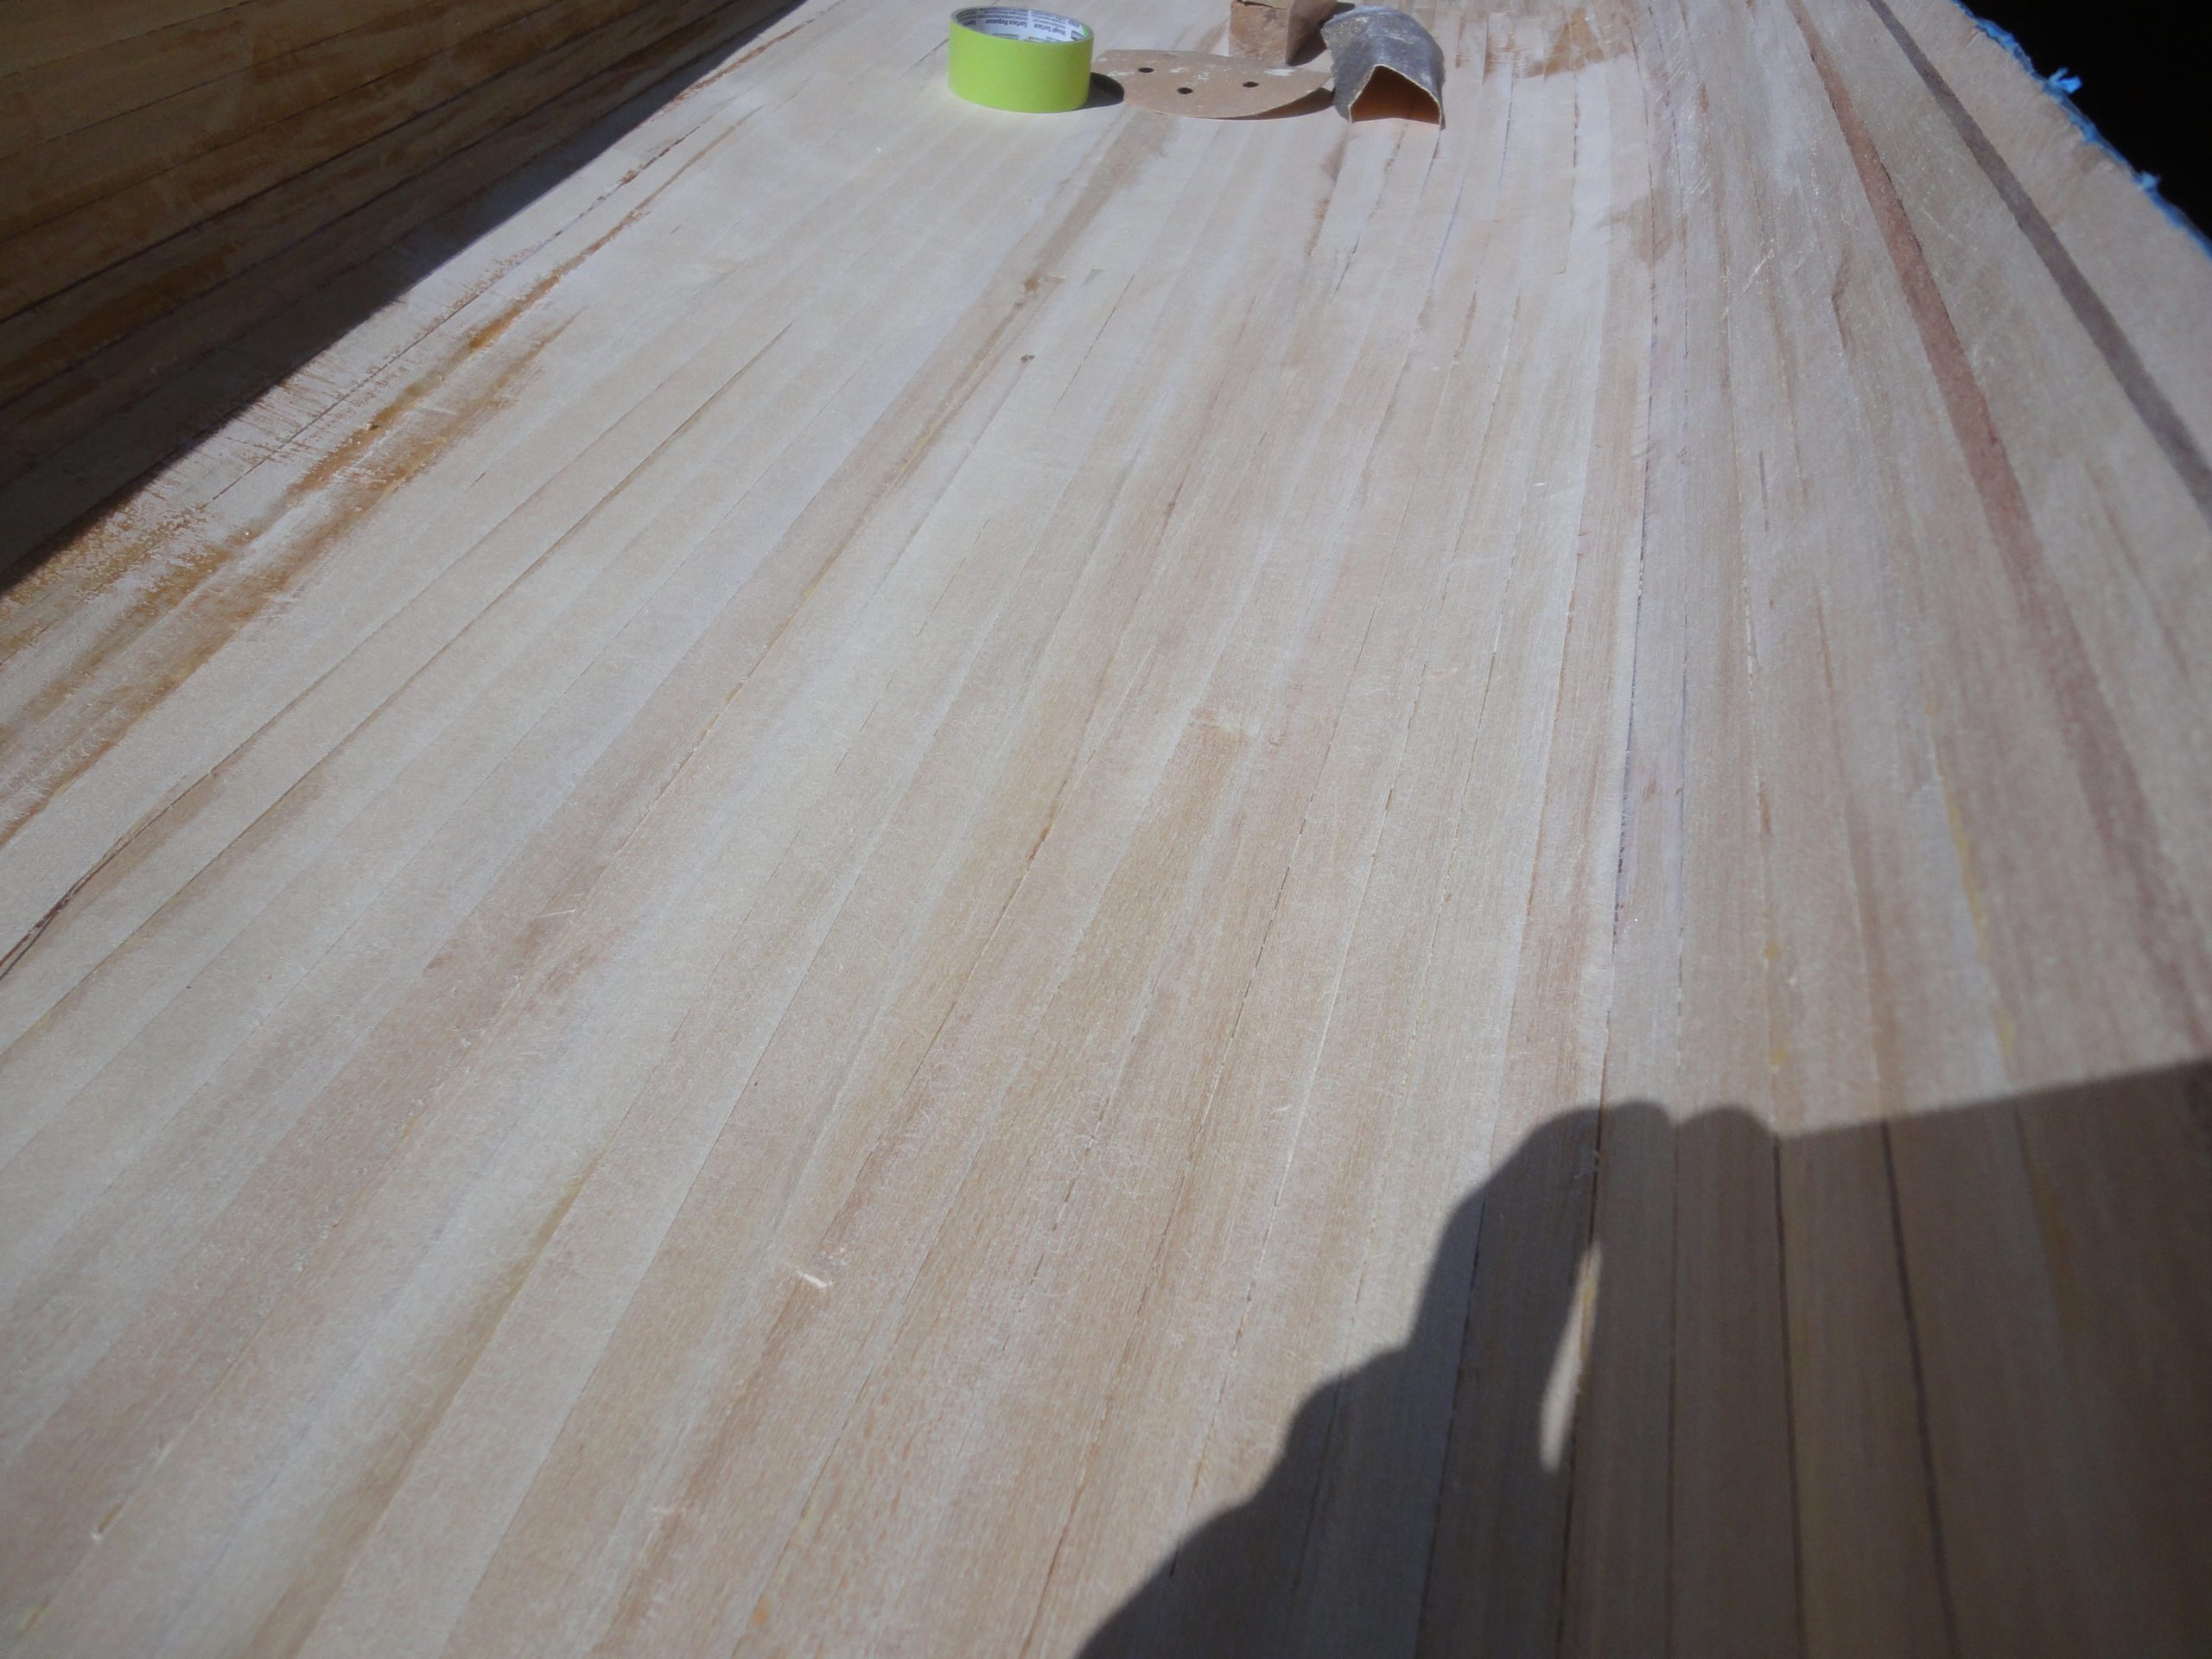
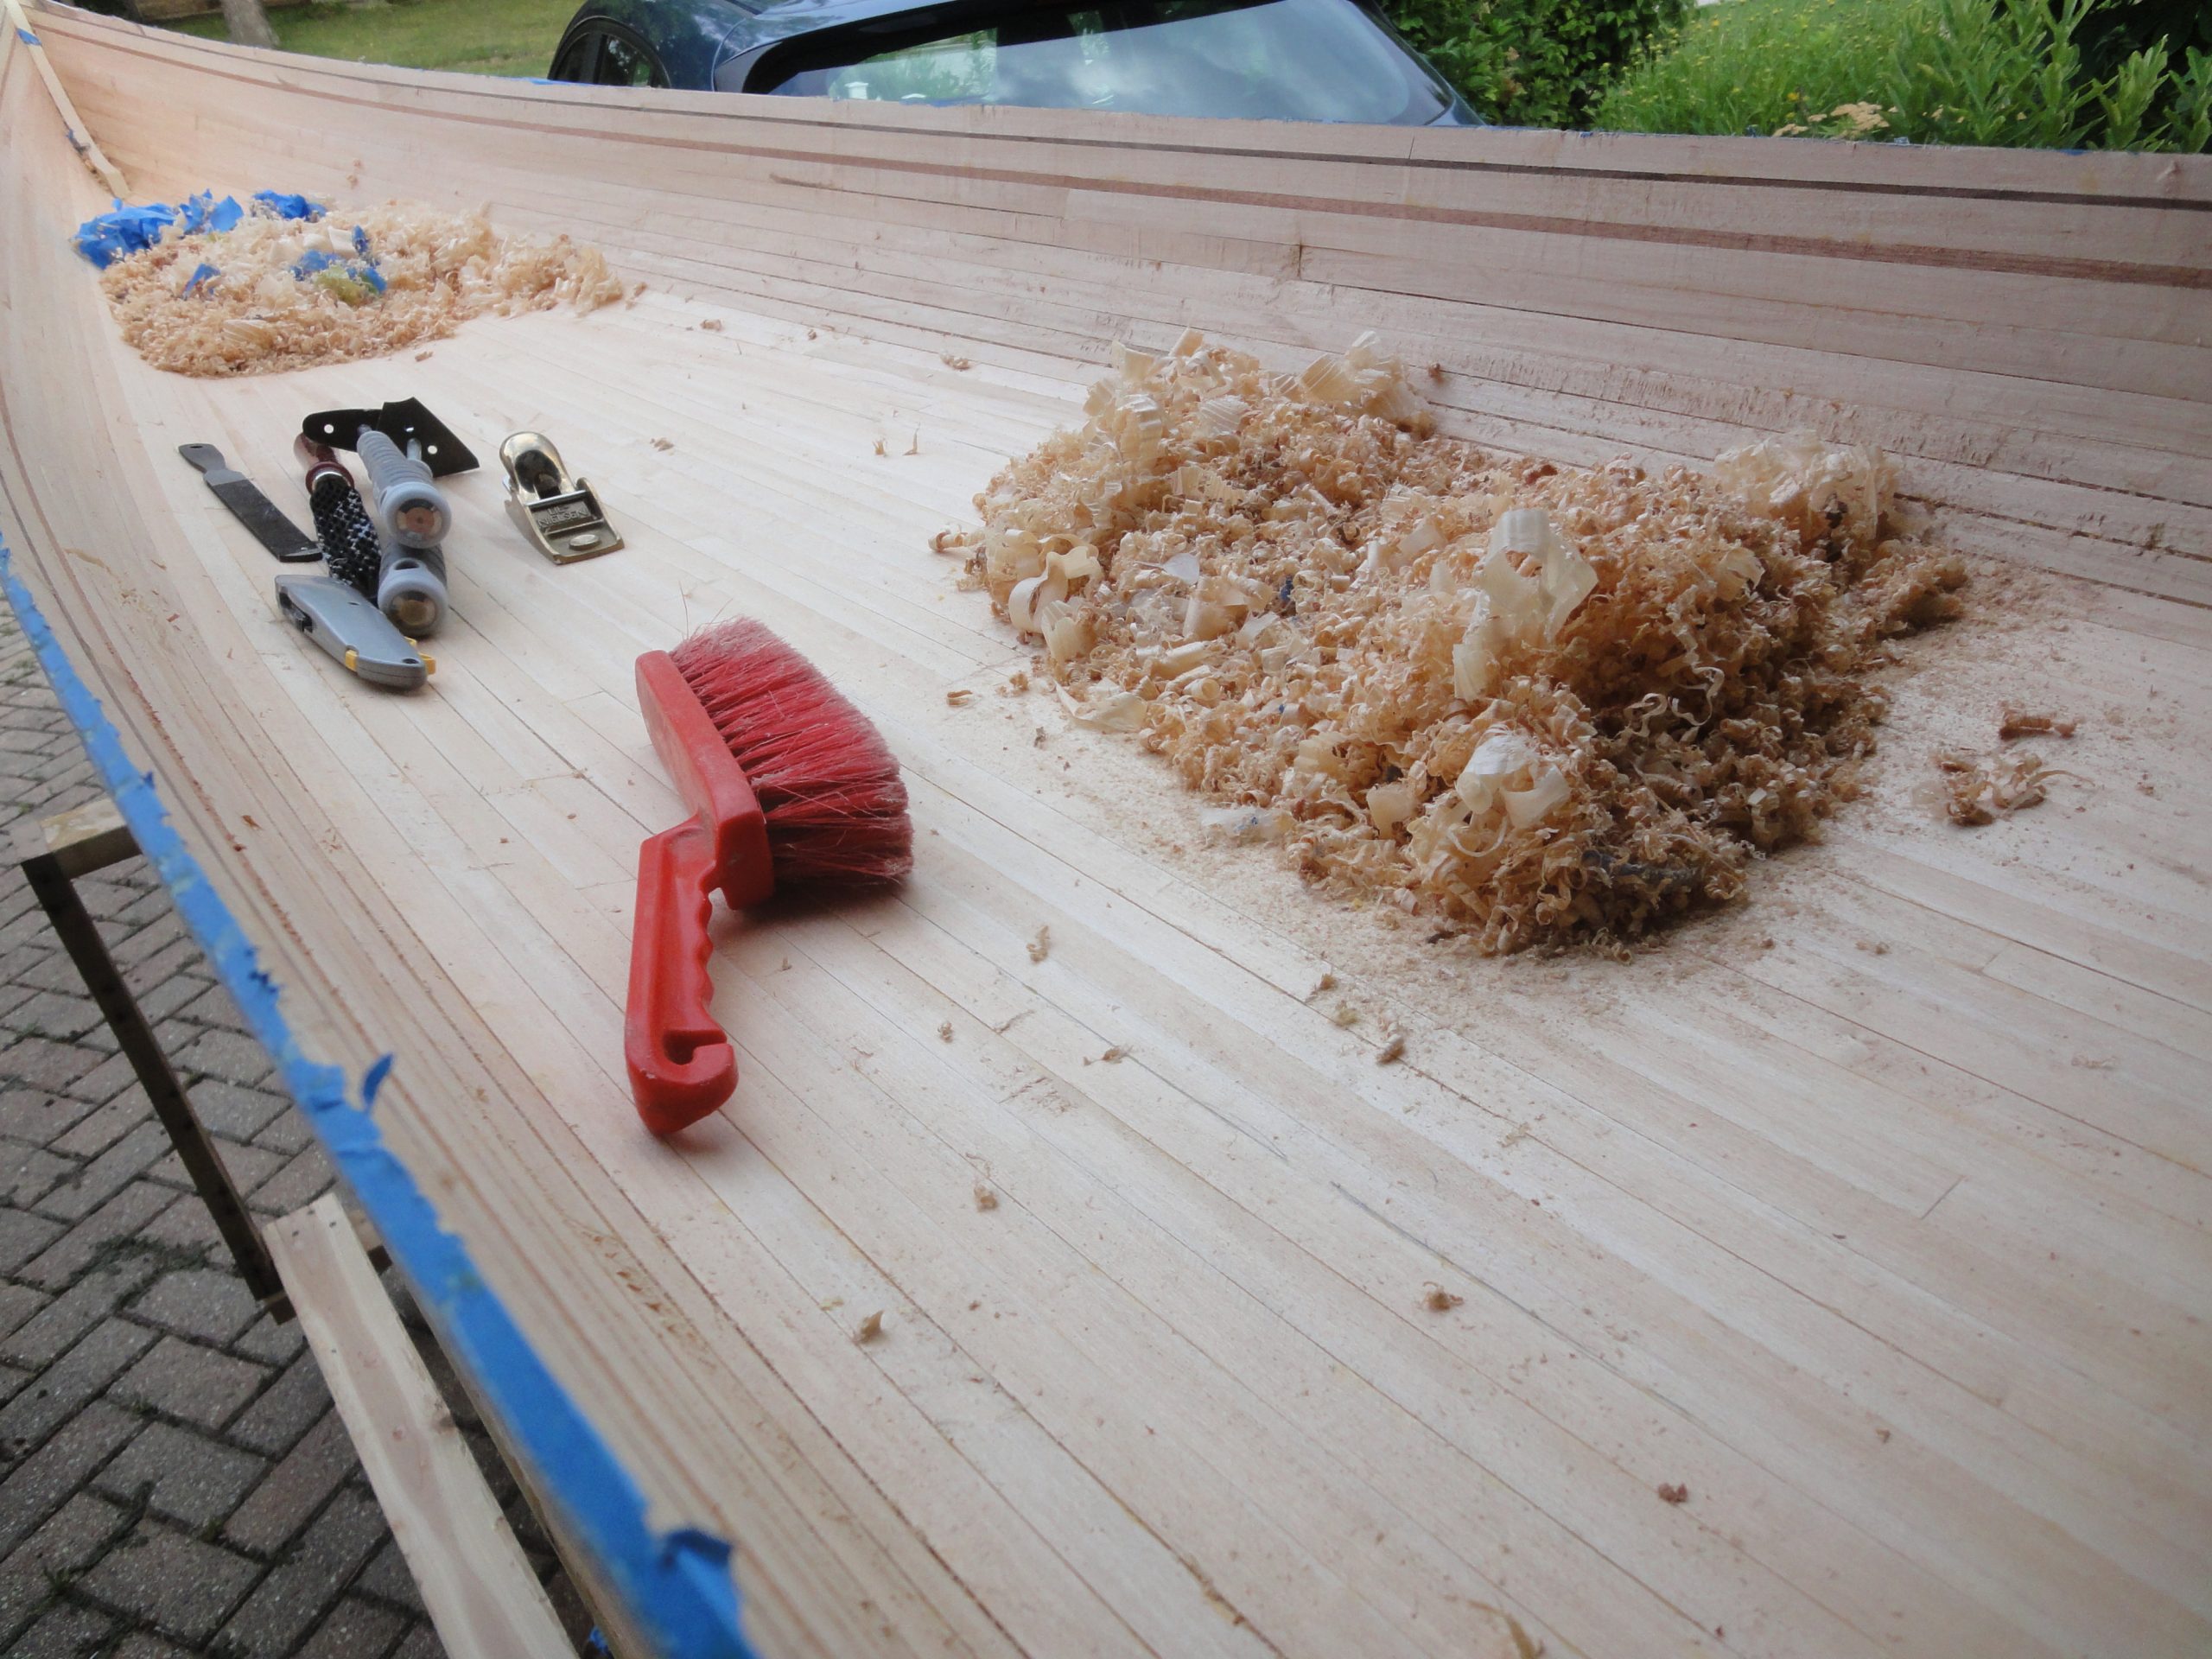
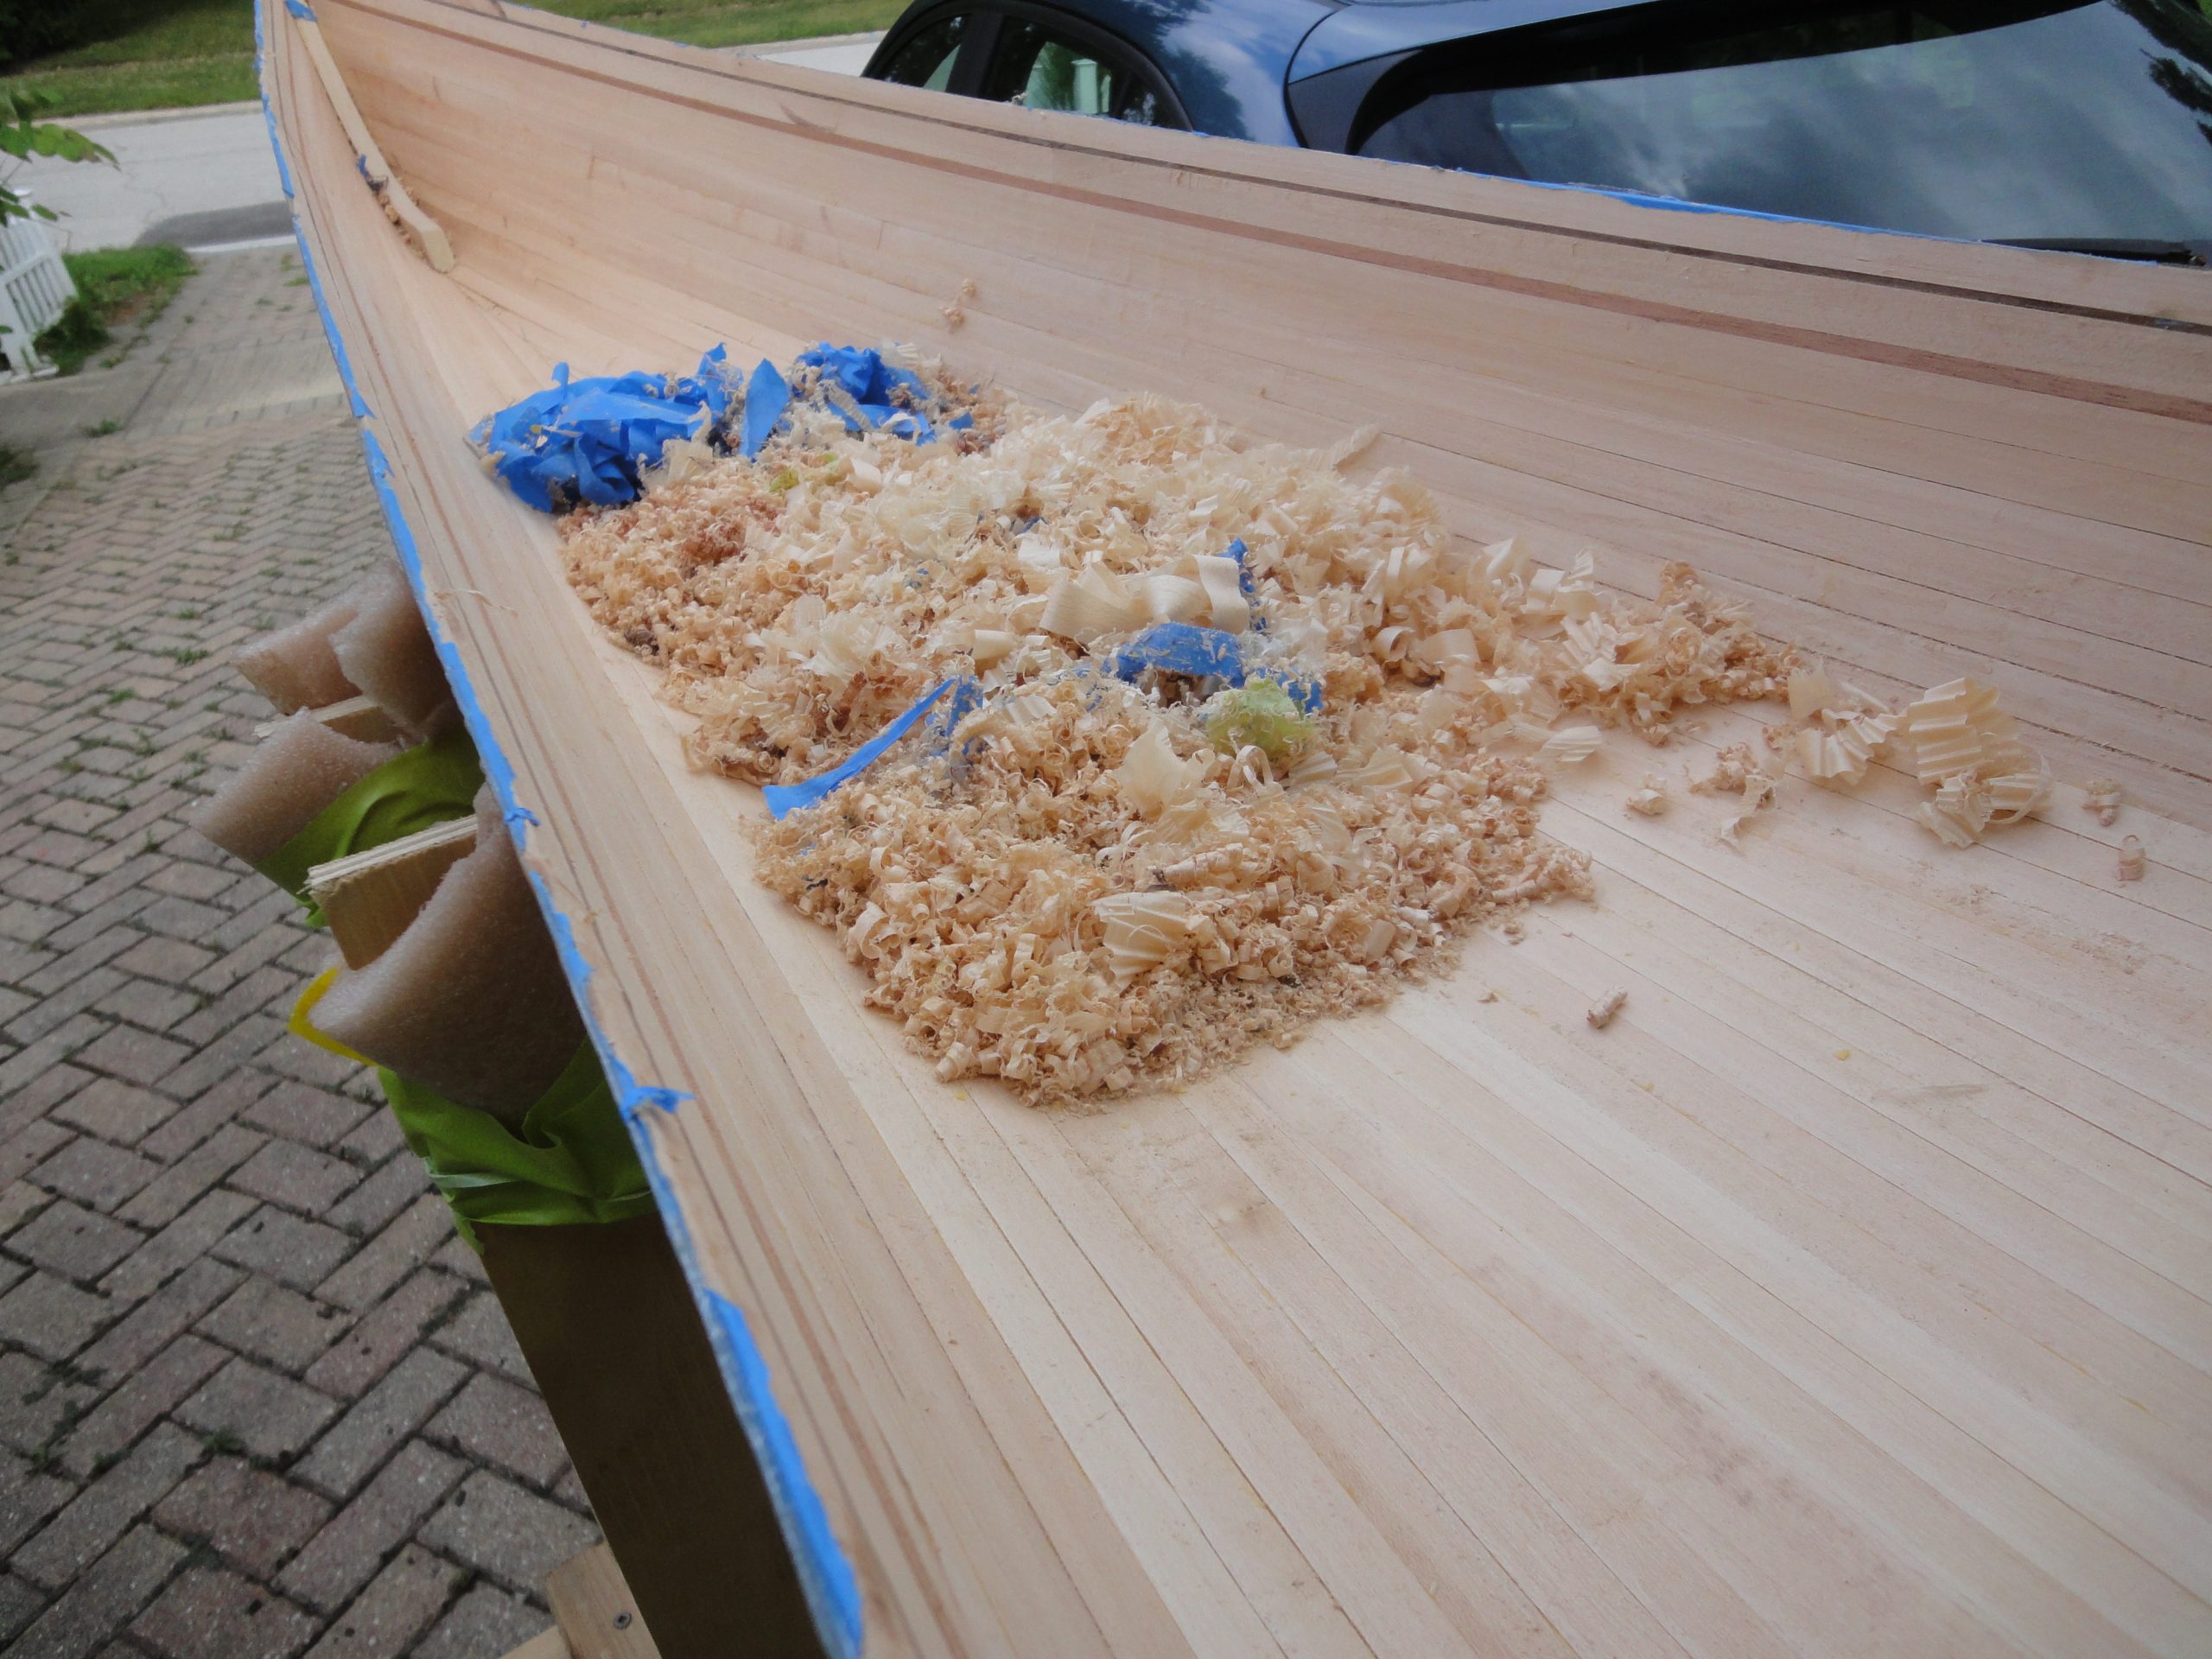
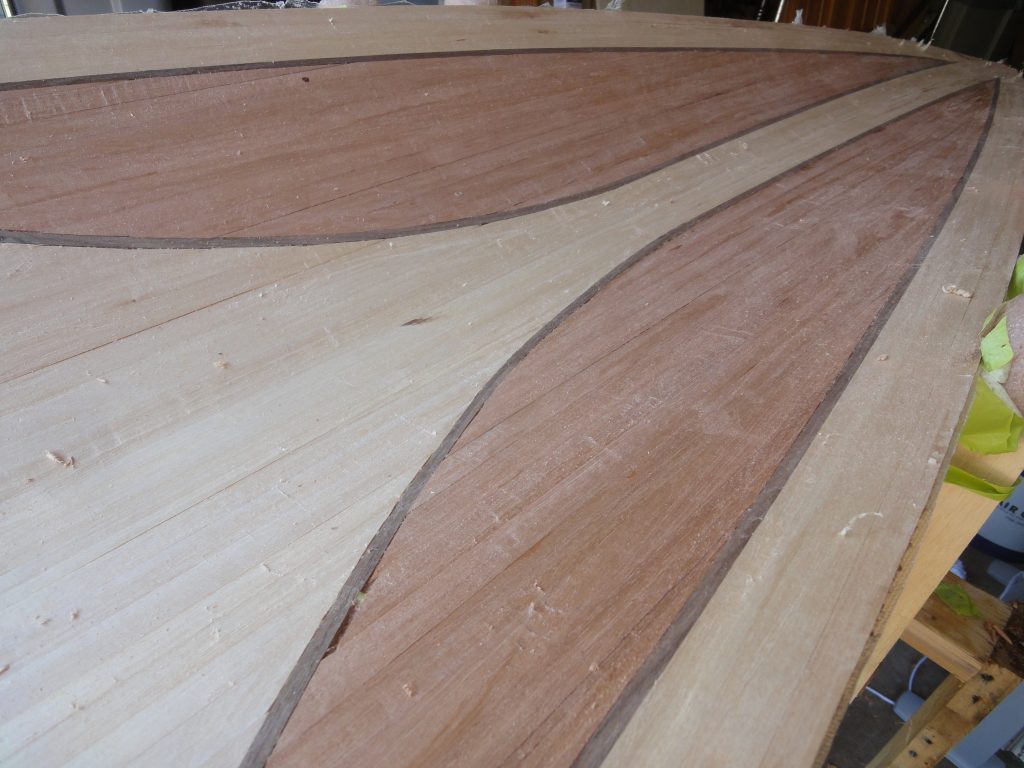
Working mostly with the scrapers and a bit with the block plane where possible I cleaned up the last half plus the entire cockpit. All that’s left to do is the bow portion another day. The scraping went well with the glue easily coming off and the mostly shallow ridges quickly being eliminated. It cleaned up quite nicely and since the surface was just a bit concave it was no where near as difficult as the hull. It’s also going to be on the inside where no one will ever see it. Again I won’t do a sloppy job but also don’t need to be as concerned about the appearance either.

Next up will be to finish the rest of the deck and then start sanding it.

Preparing the Deck

Just like the hull I now moved on to the deck. There was an accident with it last fall where the top had split. I had glued it up and left it over the winter. Now checking it over and it looked in good shape, just a little bit of scraping and sanding on those glue lines and it would be ready.

Of course things couldn’t go that easily. I gave it a wetting down for the final sanding and saw I had more work to do.

Eventually I got all the glue cleaned up and was satisfied with the surface. Given the convex surface I once again went with one piece laid end to end. A bit of trimming at the cockpit and a brushing out to get it to lay nicely and it was ready to be fiberglassed.

As shown in the previous posting video, the fiberglass method should be pretty straight forward by now. And once again the wetting out coat was followed by a second fill coat.

At this point I left everything to dry and cure for at least 72 hours.

Getting Near the End (of sanding)

Made a bunch of progress the last number of weeks although I’m a bit behind in my postings. First there was a bunch more sanding. The gaps filled with epoxy show darker but they should blend in later.

So it looks good, feels smooth and it is time for fiberglassing. Or is it? A quick spray of water to raise the grain for a final quick sand shows many glue spots (as light colored areas) that still need attention. When dry they pretty much disappear.

Once sanded out (and checked once more with a light water spray) and then one more very light quick sanding it is ready to be fiberglassed. I started by putting the cloth on there. Given the inside bends and that it’s harder to get it to lay nicely I followed Nick’s approach and did it with overlapping pieces laid side to side instead of one piece end to end.

The overlaps always go toward the outside so when the epoxy is spread outwards you don’t catch the cloth with the squeegee.

In the following video I demonstrate the entire process from pouring the mixed epoxy on to wetting out the cloth and ensuring a good bond with the wood. Given the concave surface you are going to experience bridging where the cloth comes away on the inside of the curve. Don’t worry about it and just keep spreading the epoxy. Once it’s all applied then go back and feed the cloth down from the top to fill the curve back in. Work it carefully from that point to avoid pulling it away again.

Once the whole kayak is finished, go back and squeegee off the excess epoxy. This was shown in a previous posting, When completed there should be a uniform appearance with no puddles of epoxy. There will be some bumps at the overlap edges but that will be sanded down later. After allowing about 3 hours for the epoxy to dry to a just barely tacky state I went ahead and added a second coat and then again squeegeed off the excess. It came out pretty good I feel.

Ugh… Will the Scraping and Sanding Ever End?

Three different work sessions, somewhere around eight hours in total for a guess to scrape, power sand and hand sand the interior of the hull. I finally have it in pretty good shape and think I’m at the point I can switch out of the coarse grits (40 & 60) and start moving to the finer grits (80 & 120) to further smooth and refine the interior. No new processes or techniques, just more of what was done on the outside. The inside curves do make this more difficult and the ends have to be done by hand as you can’t get a random orbit sander in there.

In the above images you can see the progression from rough to fairly well blended with a reasonably smooth surface. In order to sand it adequately I was wrapping sand paper around pretty much any shape I could find to fit the various profiles, including just using my fingers.

Scraping and Crack Filling

More scraping. And scraping. And scraping. A handful of evenings and weekend time and I finally scraped the entire entire interior from one end to the other. Definitely more difficult on the concave surface. I’d rate this as the most difficult part of the process so far. At the end the result looked passable for now. I need to fill the cracks and then give it one more scraping before moving on to sanding. The piles from the first round were pretty sizable.

For filling I decided instead of a “putty” filler that I used on the outside I would instead make an epoxy based filler for the inside. This would hopefully add some strength and if there is a color difference, well it’s on the inside and not very noticable. The containers I used last time, had the left over dried epoxy in them. Give a squeeze or two to flex them and it pops right out and the container is ready for reuse. I used the colloidal silica and the microfibers for additional strength along with some sifted sawdust. For a standard 5 pumps (resin and hardener) I used 2 heaping spoons of each of the three additives. At first I mixed just the epoxy, then added the powders and then mixed again. Unfortunately the colloidal silica clumps up and it seems all but impossible to eliminate the white lumps, but with lots of stirring you can eliminate most.

The easiest way to apply the mixture to the cracks is to “pipe” it in. Similar to how a cake is decorated. So I grabbed a ziplock bag, poured in the mixture and then snipped the littlest bit of corner off the bag.

The process to fill the cracks was to pipe on a generous amount right into the crack, and then when I emptied the bag to go back and use the plastic applicator to spread it out and help ensure it is forced all the way into each crack.

Now I need to give it a few days to harden and dry. At that point I will attempt another scraping with the goal of eliminating any ridges between boards. Once that’s completed I can move into the sanding process. But that’s all for another day.