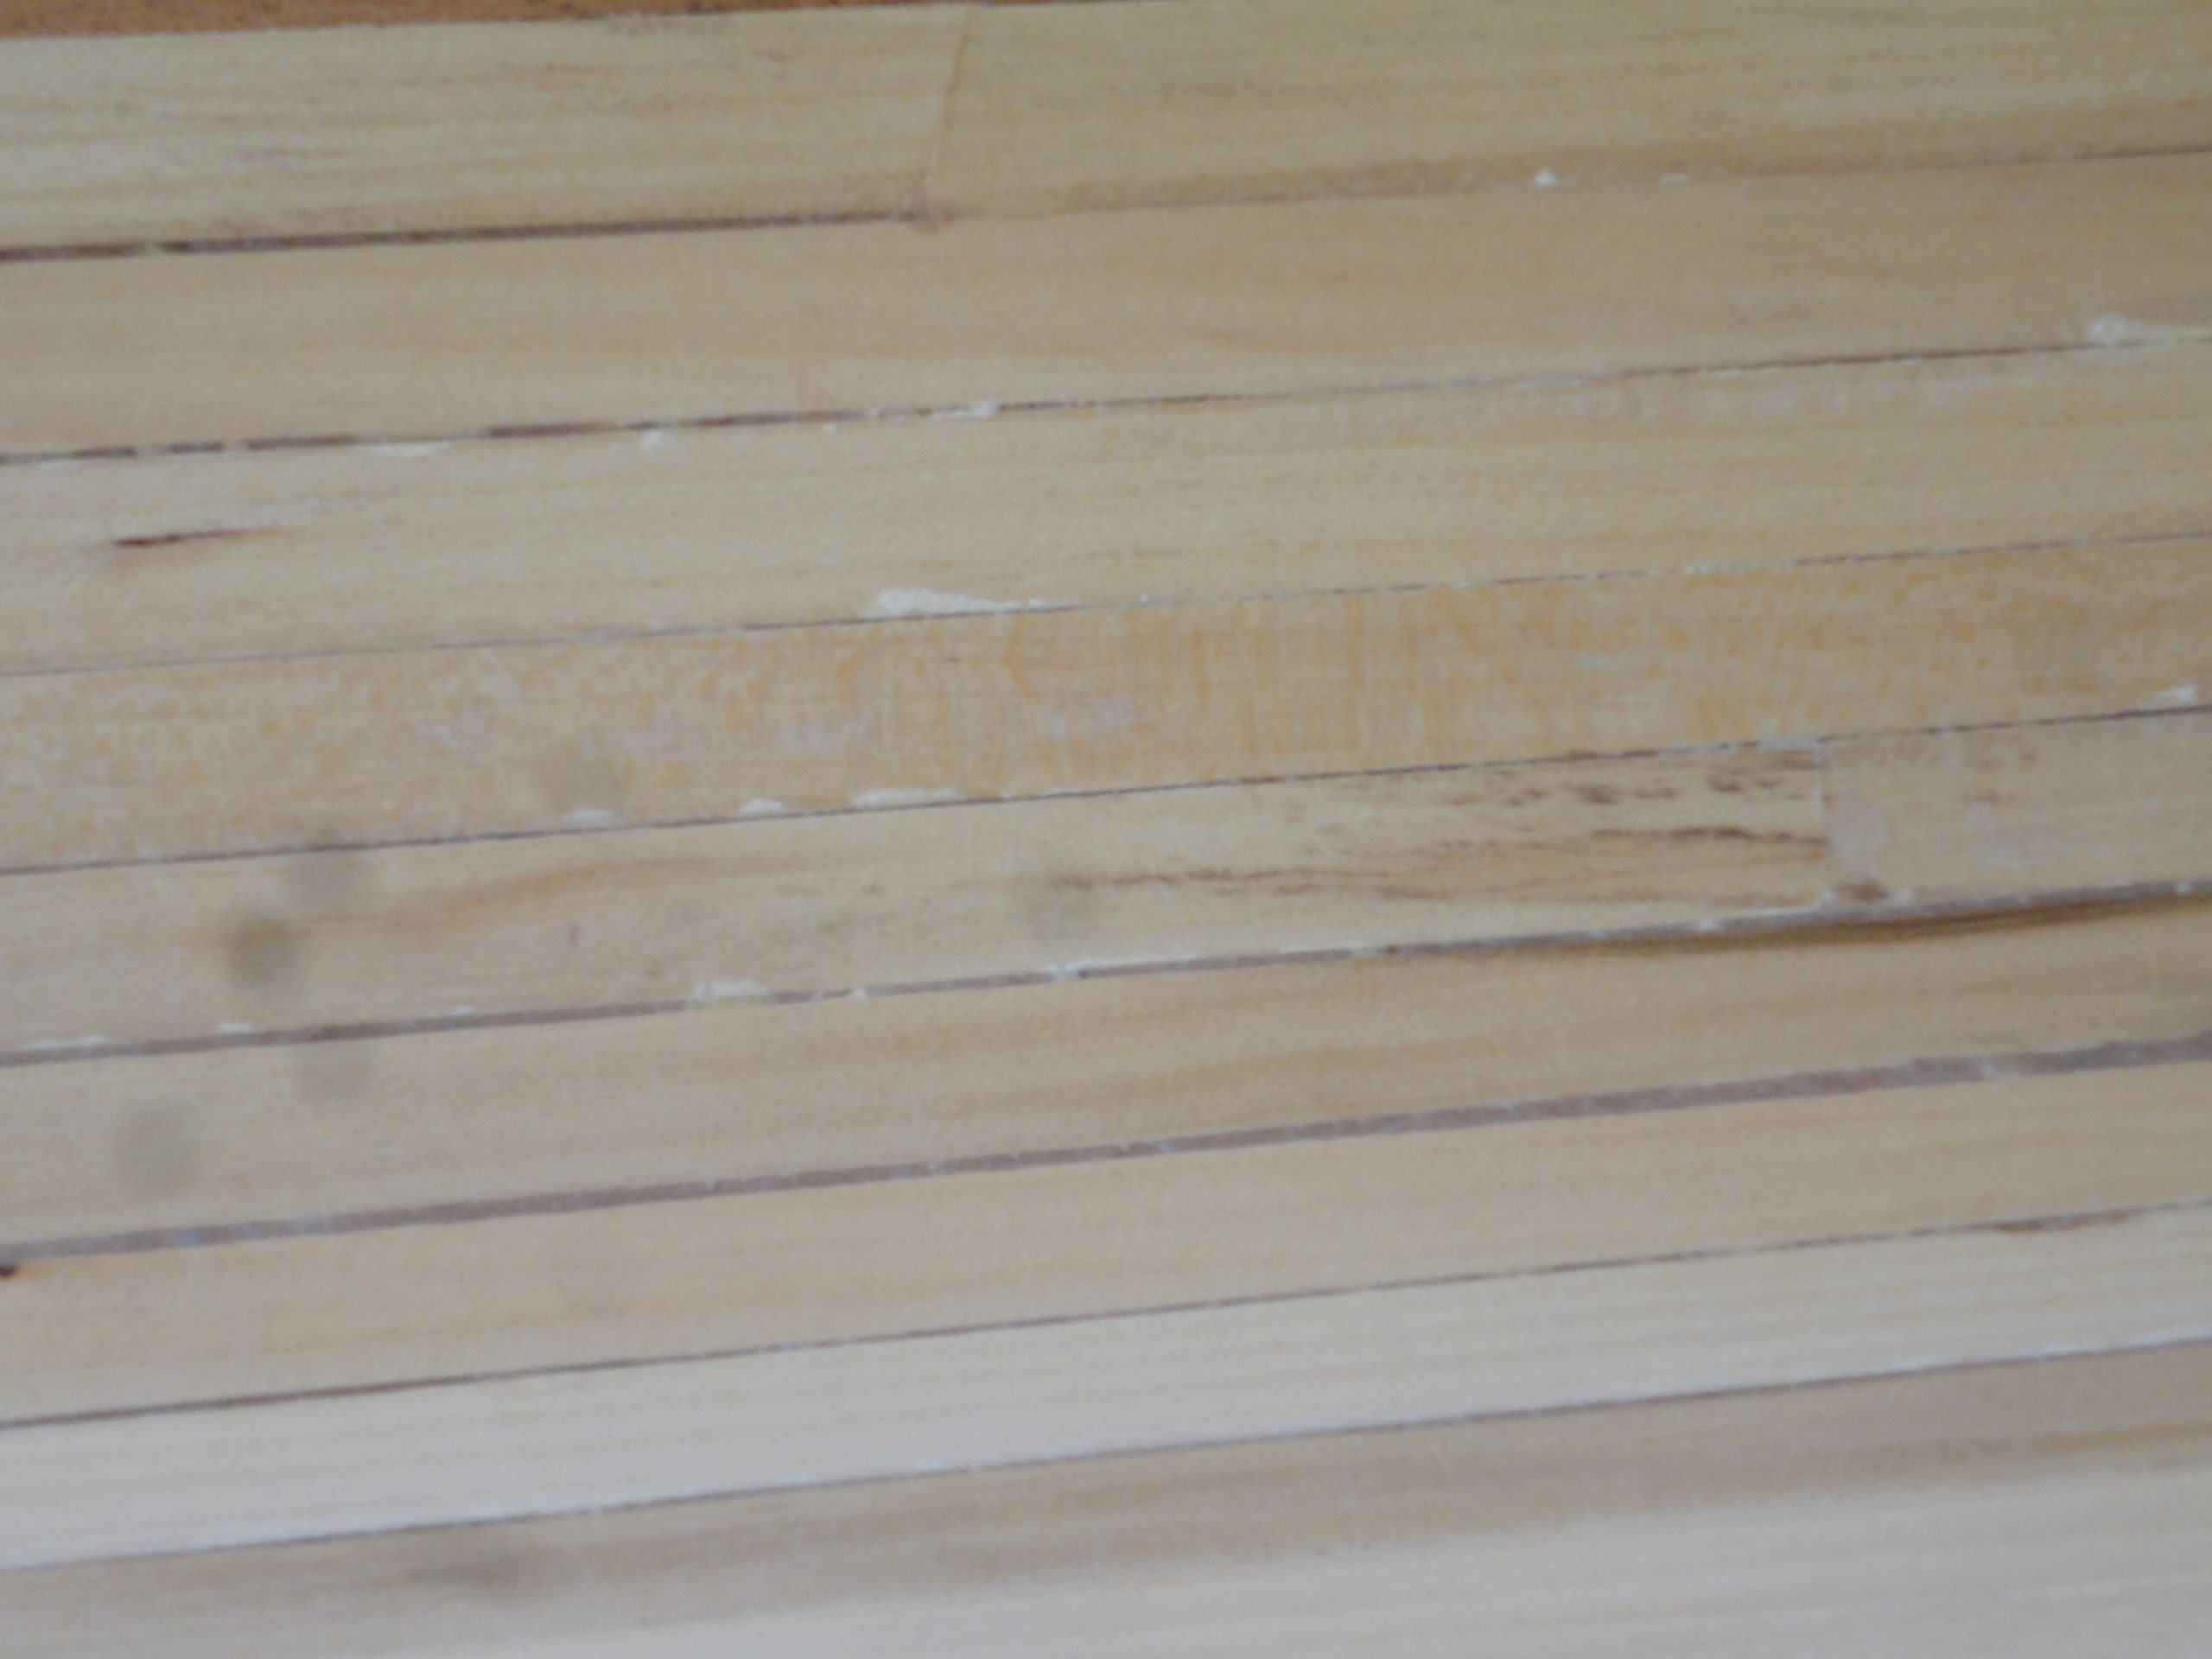
Made a bunch of progress the last number of weeks although I’m a bit behind in my postings. First there was a bunch more sanding. The gaps filled with epoxy show darker but they should blend in later.
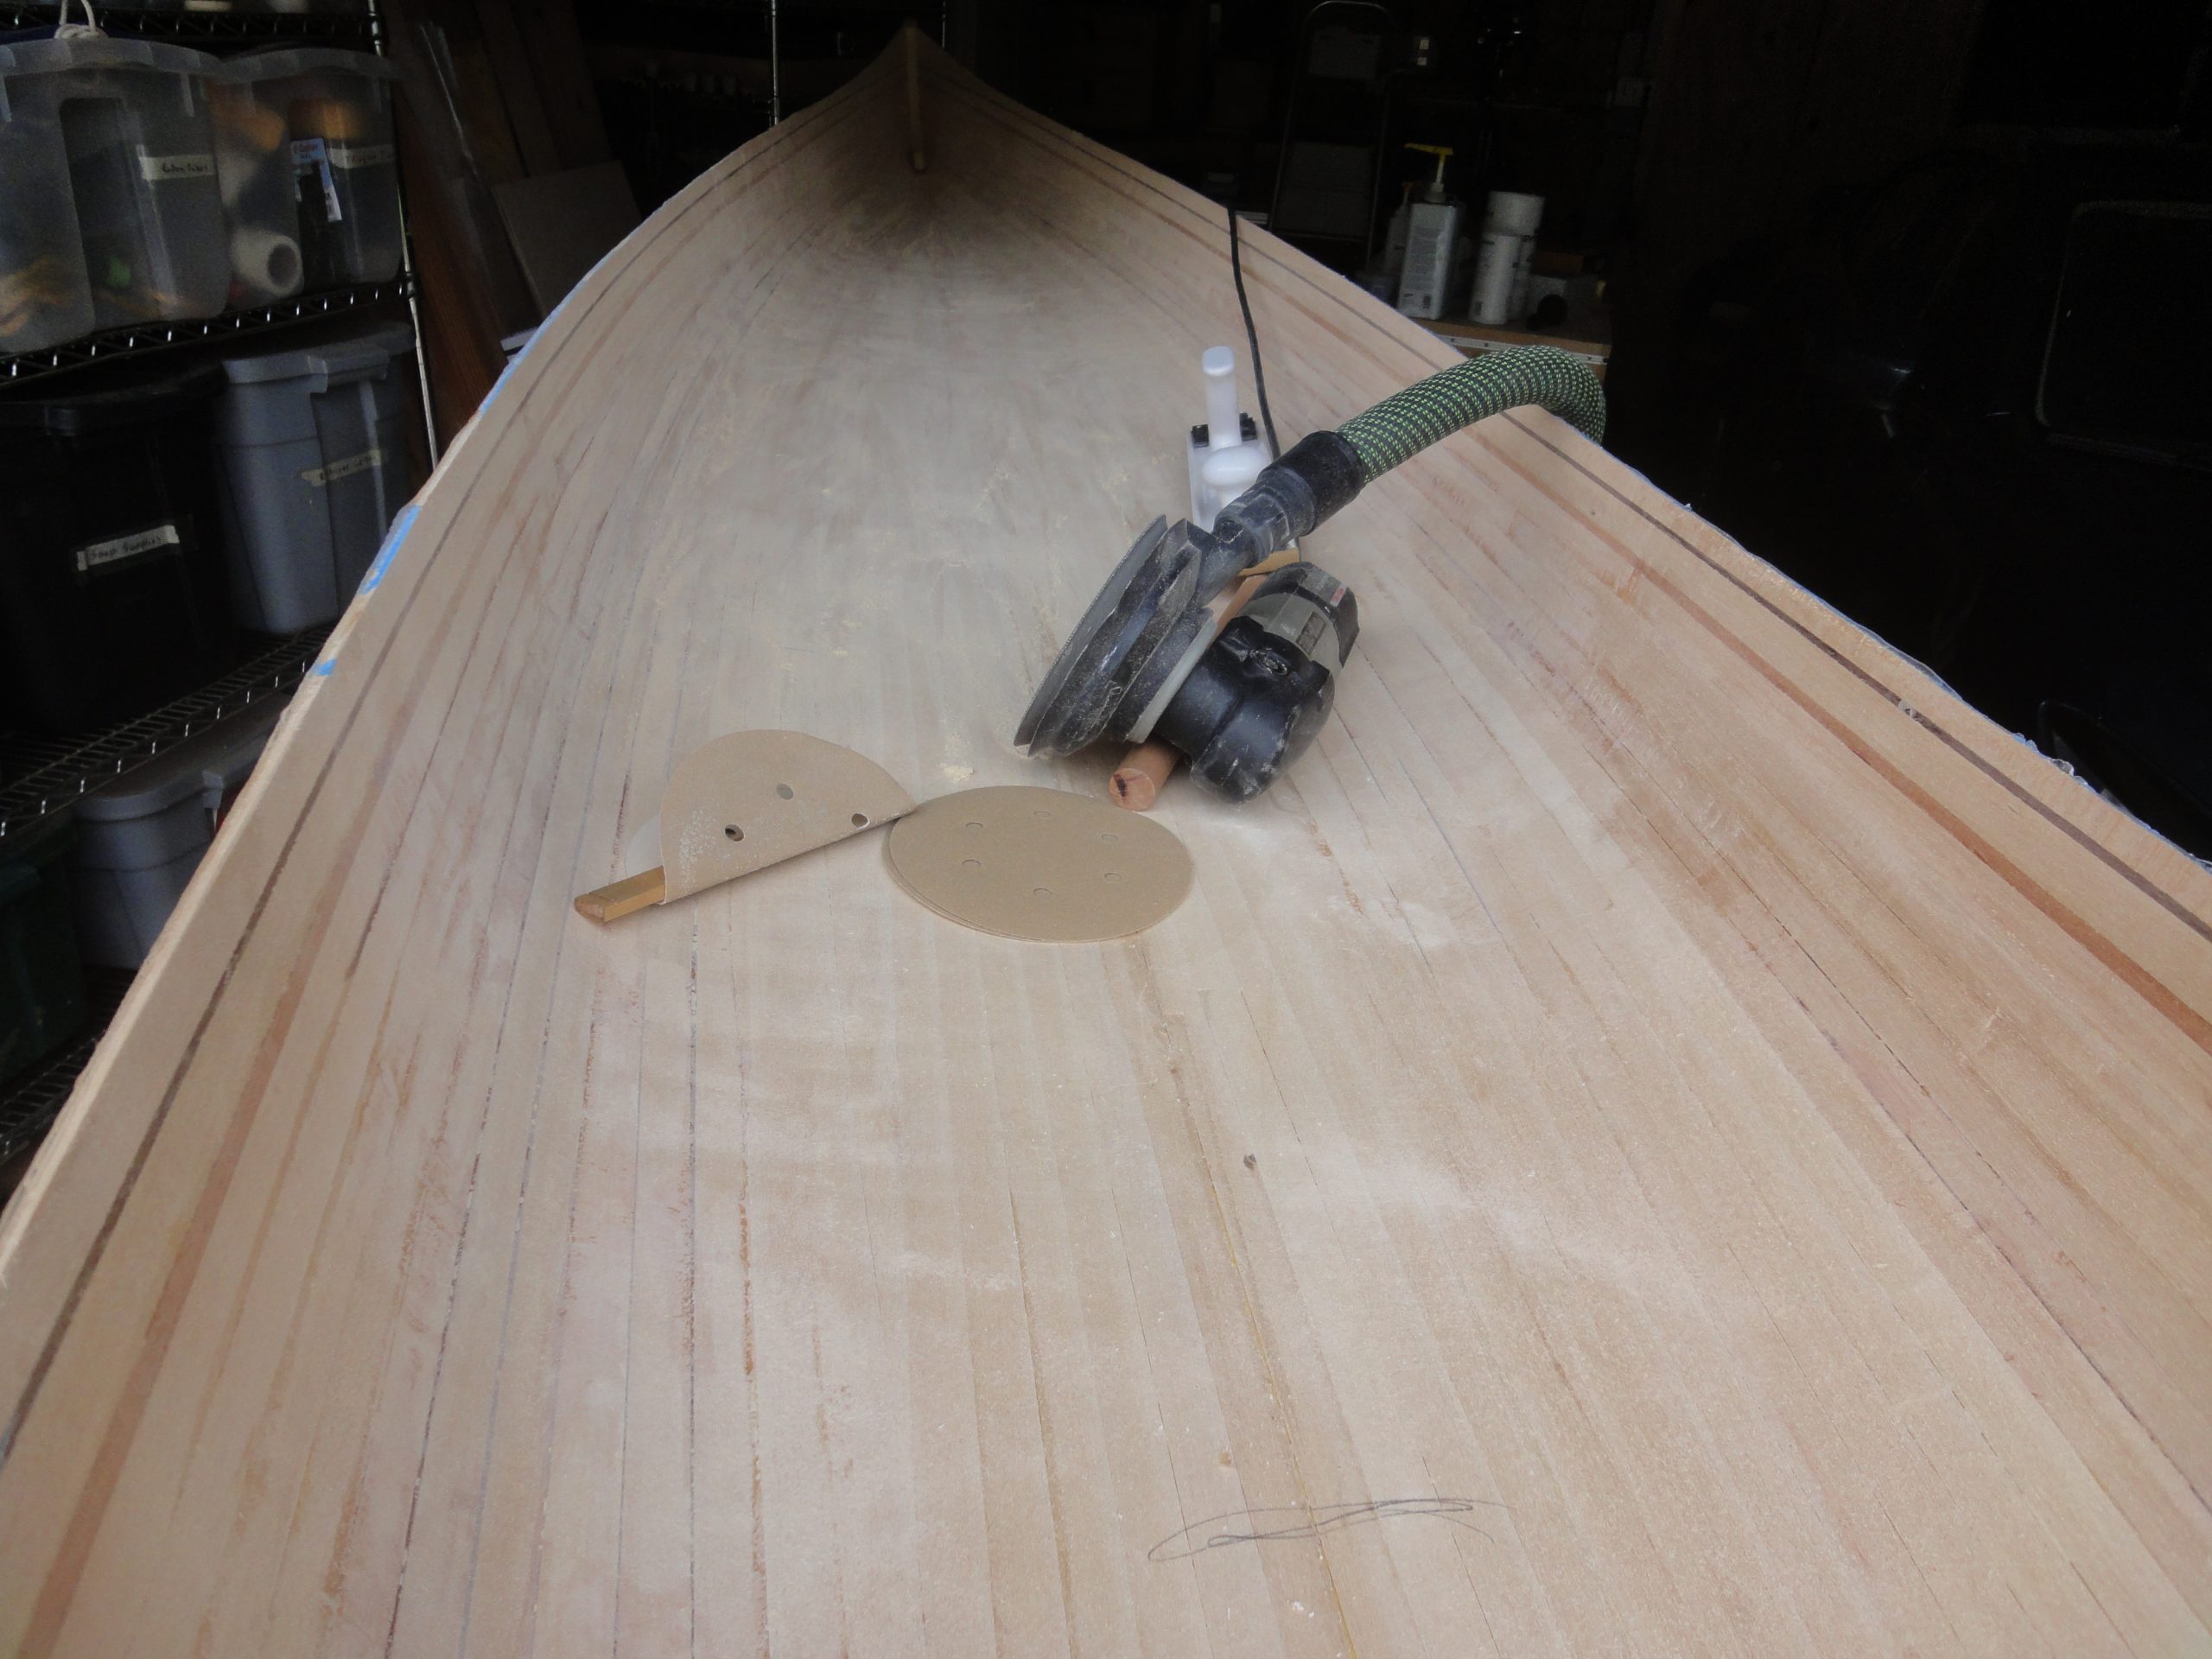
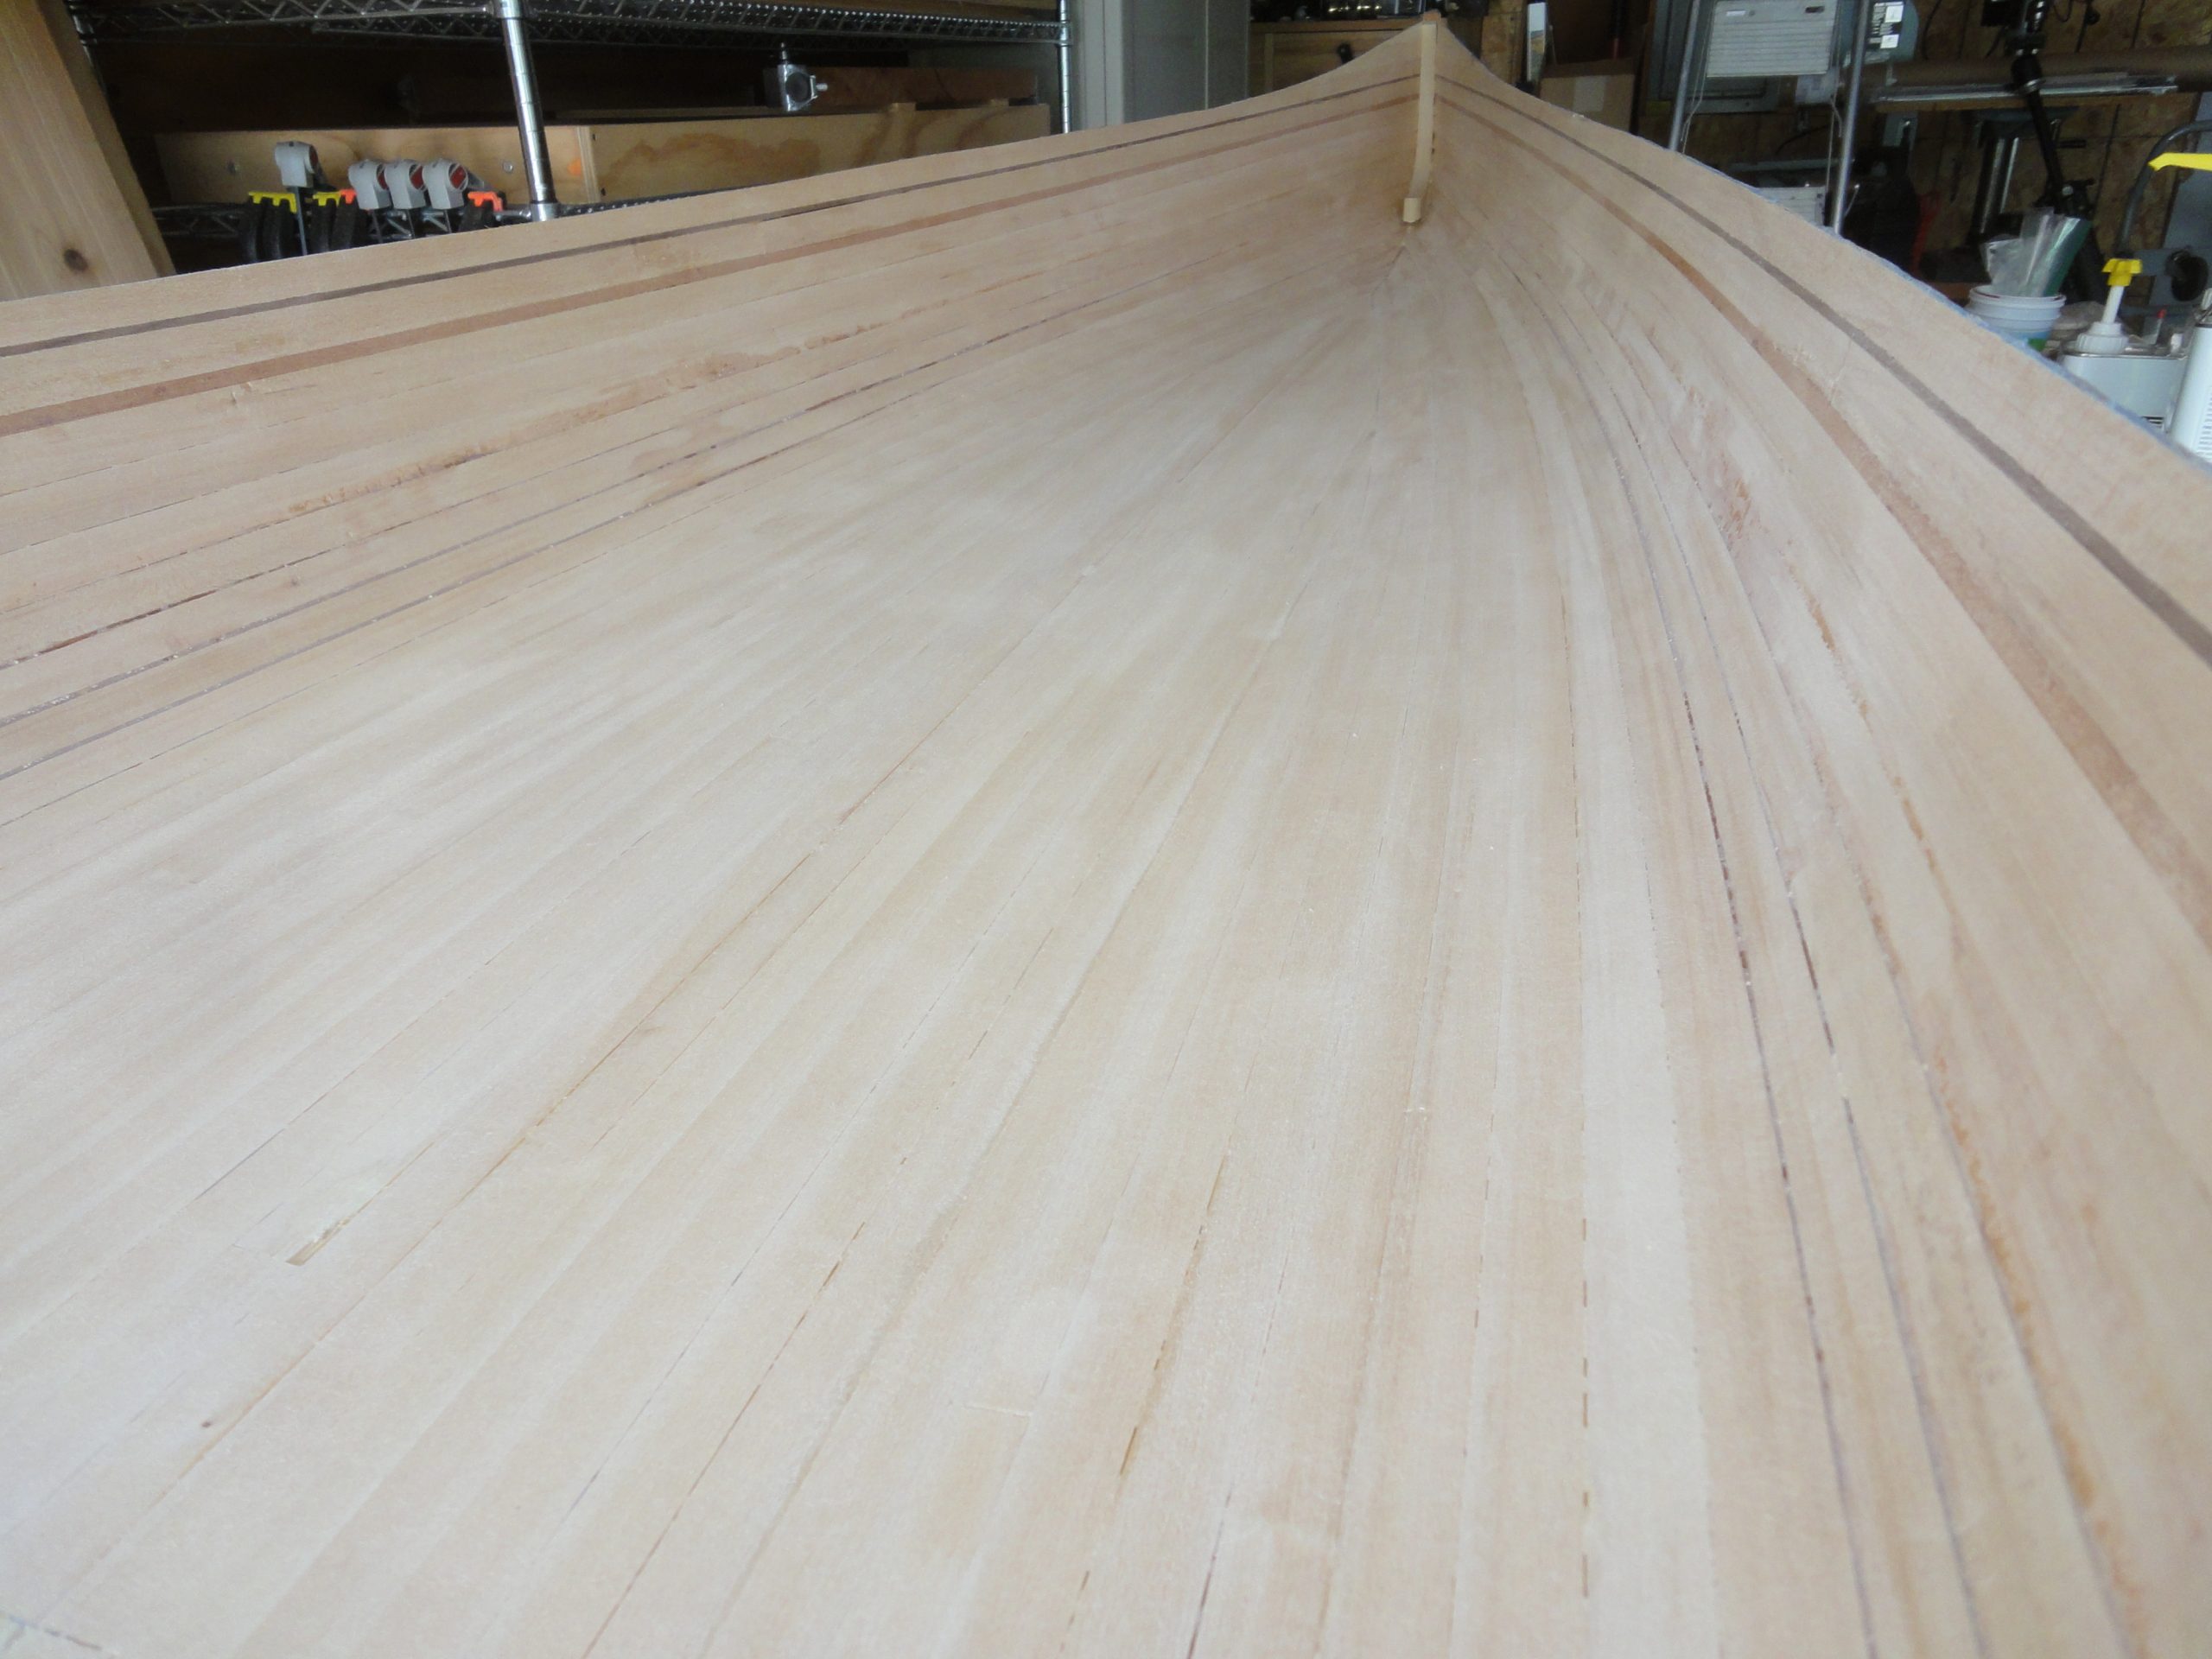
So it looks good, feels smooth and it is time for fiberglassing. Or is it? A quick spray of water to raise the grain for a final quick sand shows many glue spots (as light colored areas) that still need attention. When dry they pretty much disappear.
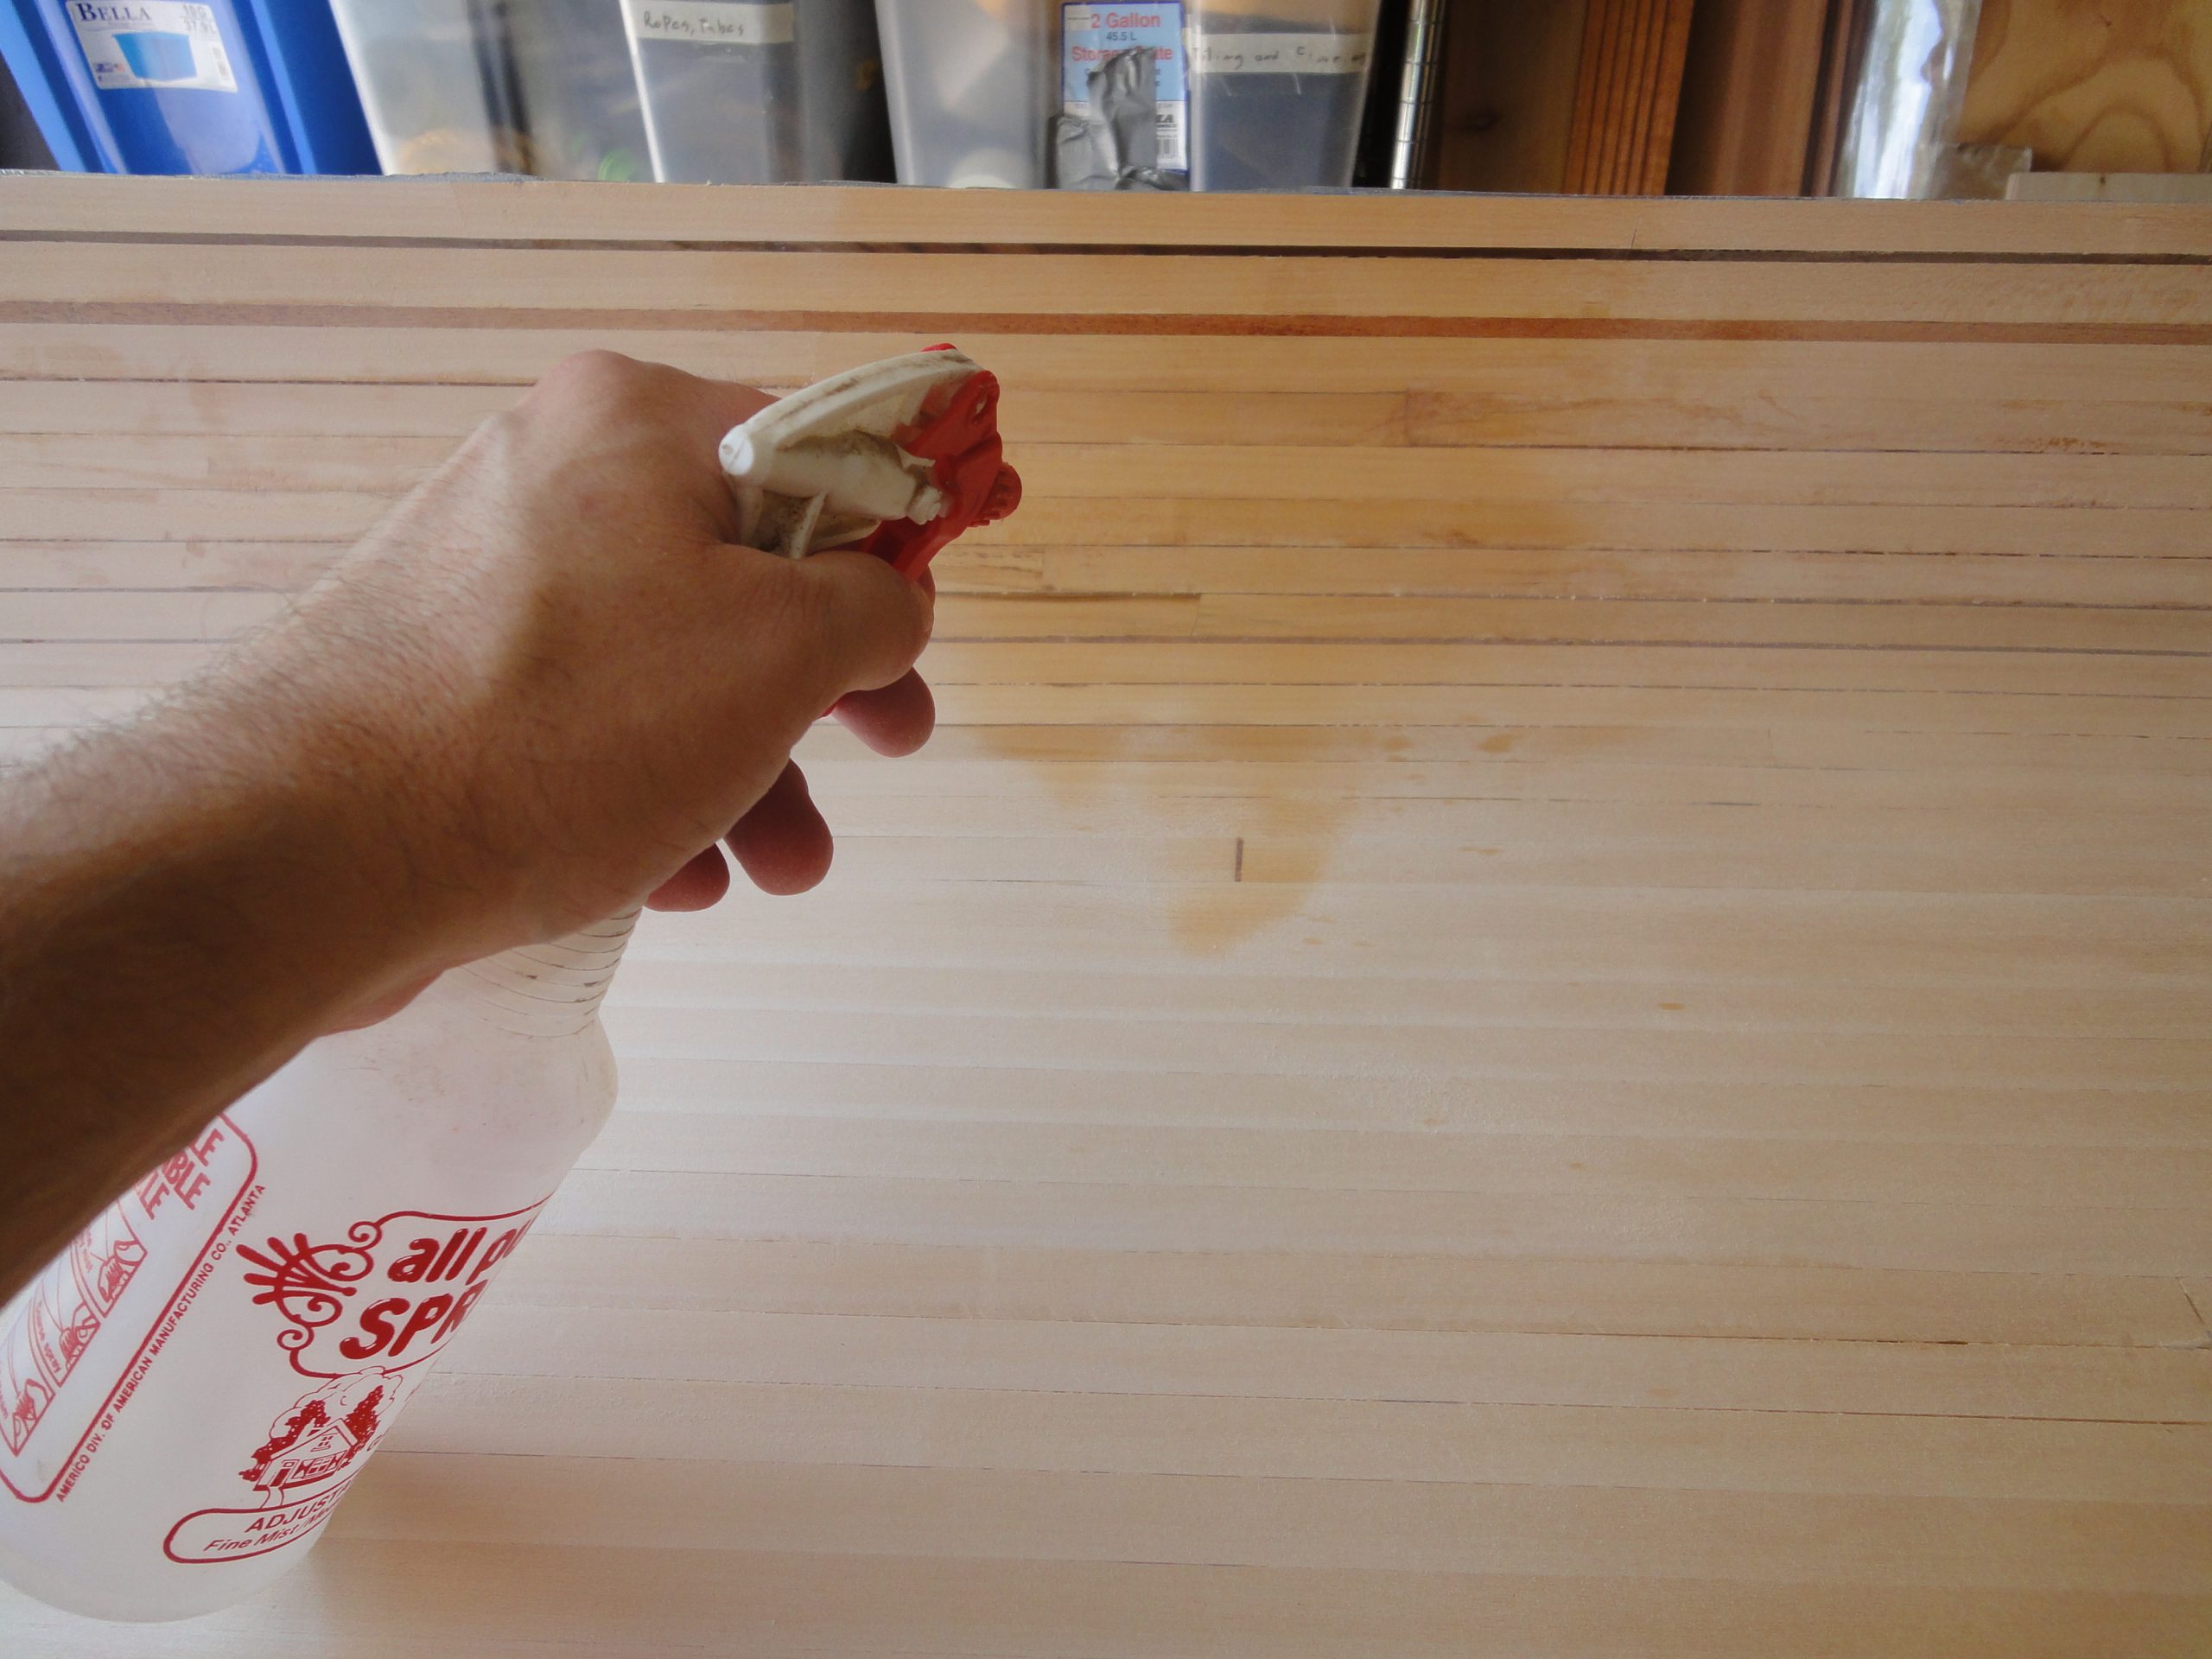
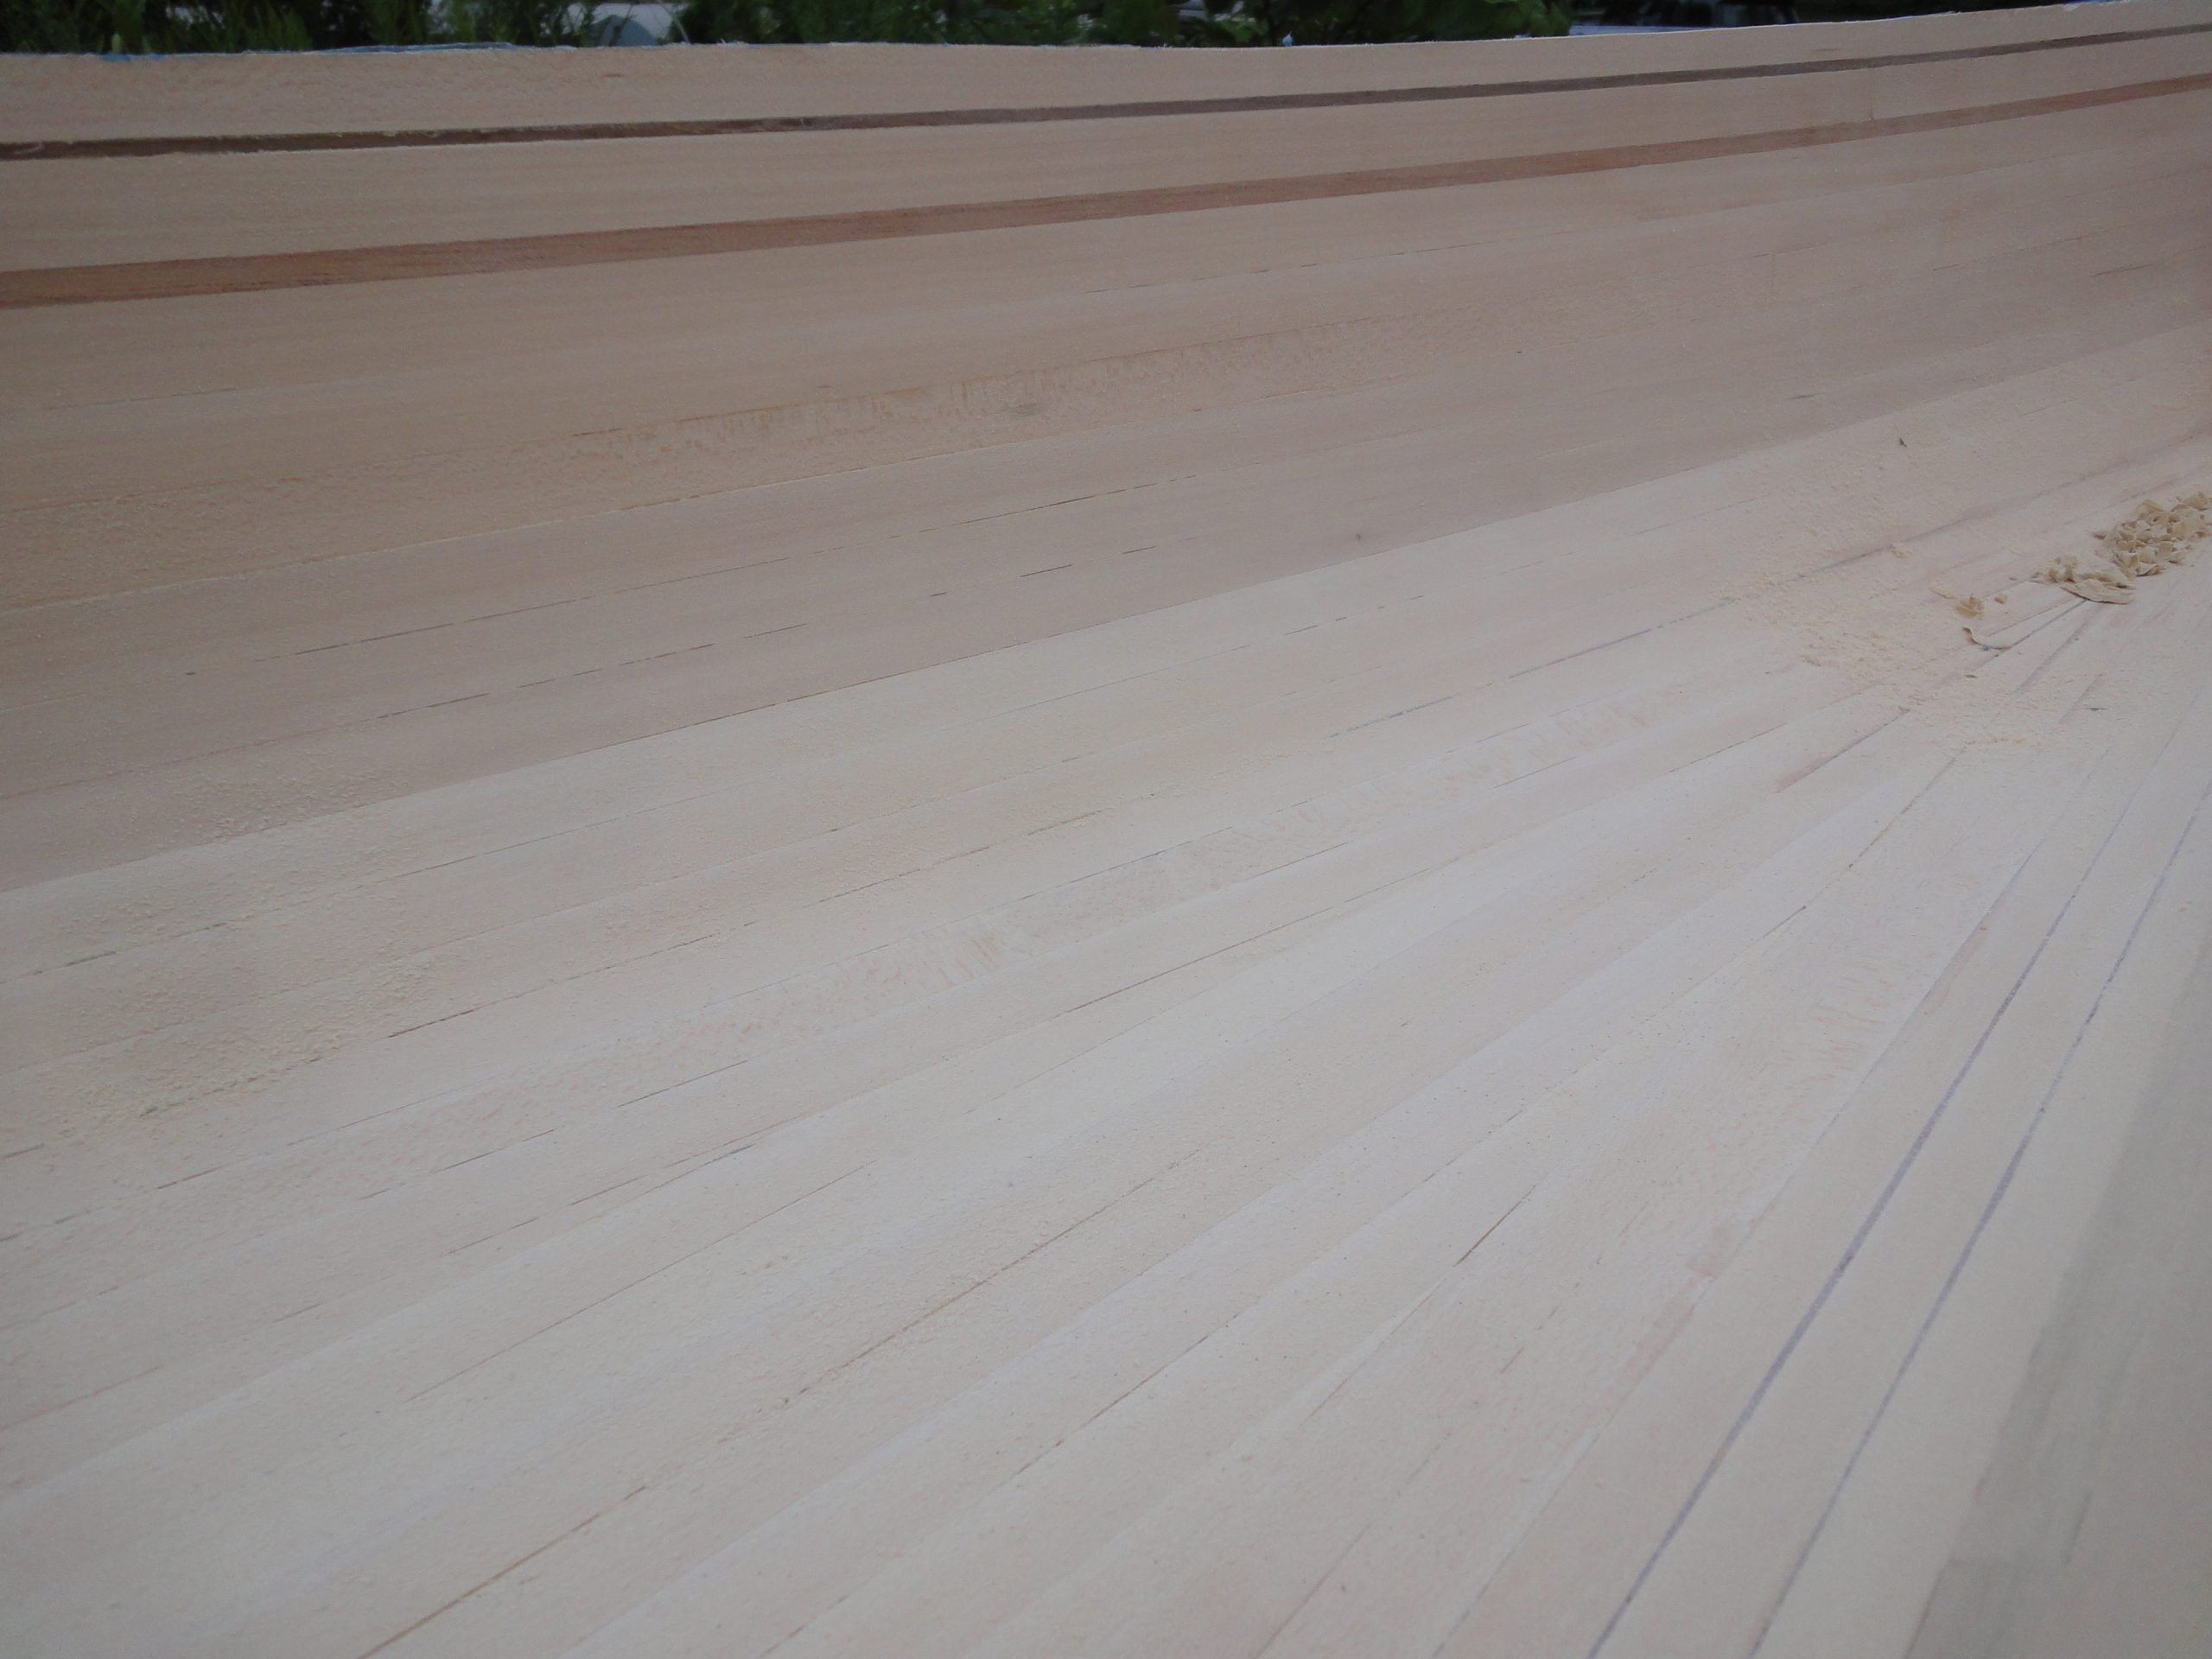
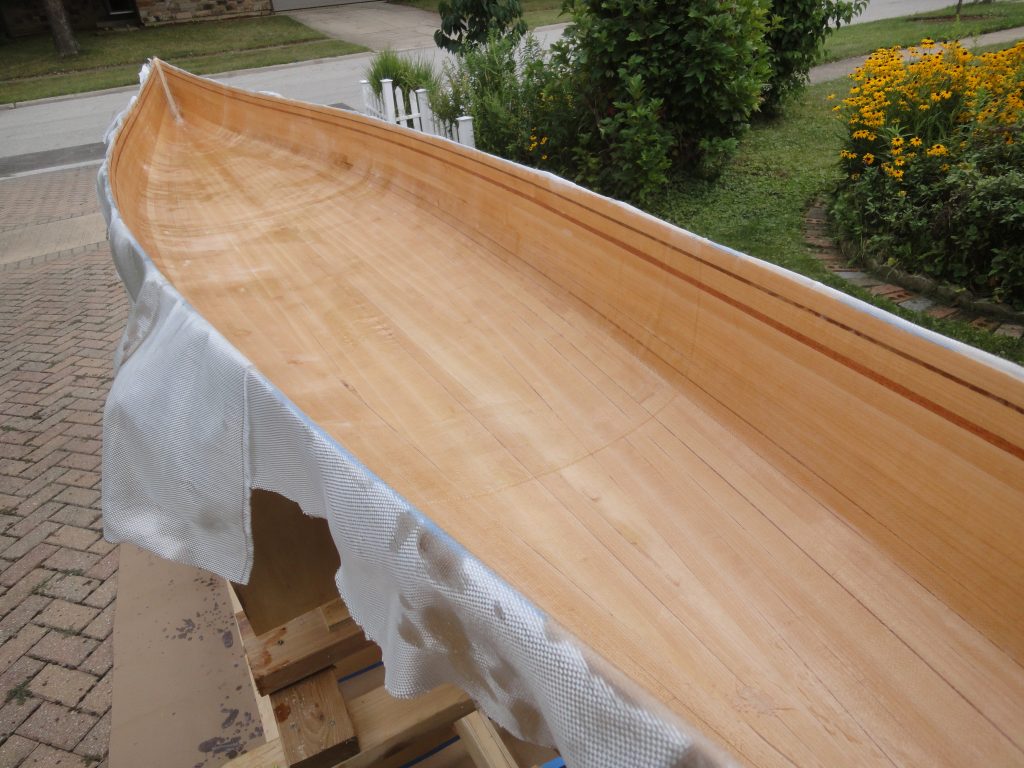
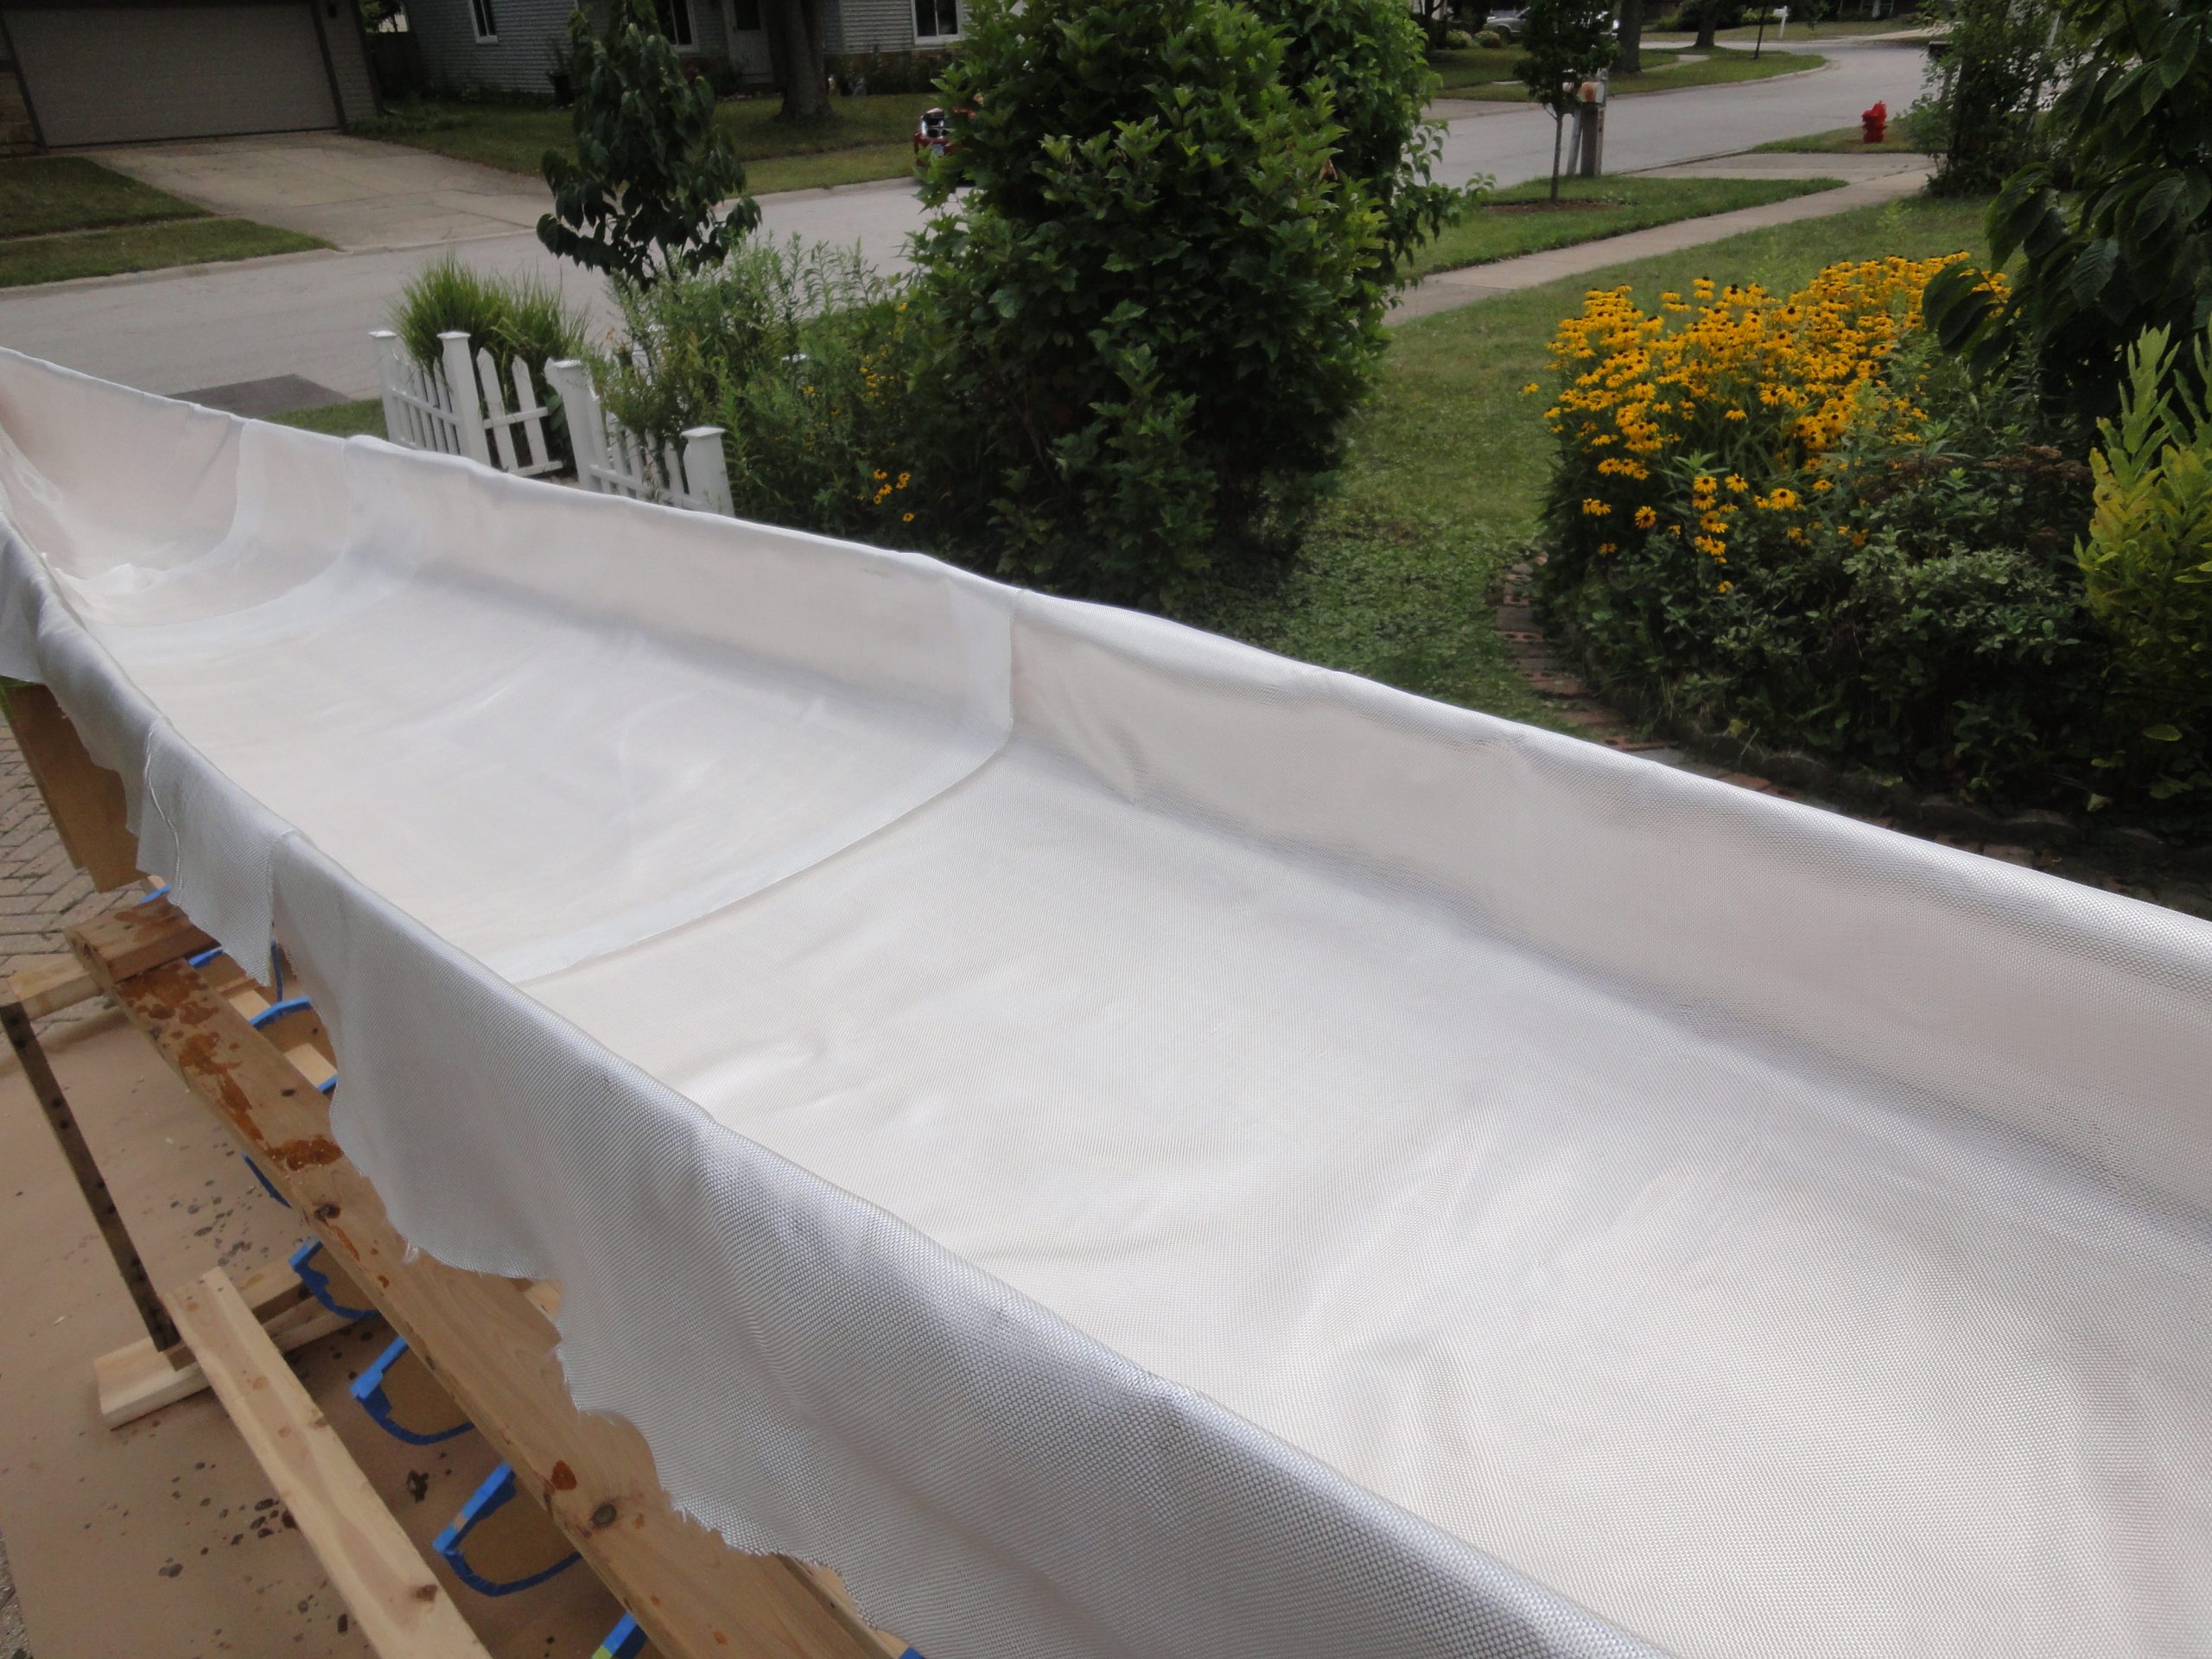
Once sanded out (and checked once more with a light water spray) and then one more very light quick sanding it is ready to be fiberglassed. I started by putting the cloth on there. Given the inside bends and that it’s harder to get it to lay nicely I followed Nick’s approach and did it with overlapping pieces laid side to side instead of one piece end to end.
The overlaps always go toward the outside so when the epoxy is spread outwards you don’t catch the cloth with the squeegee.


In the following video I demonstrate the entire process from pouring the mixed epoxy on to wetting out the cloth and ensuring a good bond with the wood. Given the concave surface you are going to experience bridging where the cloth comes away on the inside of the curve. Don’t worry about it and just keep spreading the epoxy. Once it’s all applied then go back and feed the cloth down from the top to fill the curve back in. Work it carefully from that point to avoid pulling it away again.
Once the whole kayak is finished, go back and squeegee off the excess epoxy. This was shown in a previous posting, When completed there should be a uniform appearance with no puddles of epoxy. There will be some bumps at the overlap edges but that will be sanded down later. After allowing about 3 hours for the epoxy to dry to a just barely tacky state I went ahead and added a second coat and then again squeegeed off the excess. It came out pretty good I feel.